Not so long ago I added a new 15 minute photo challenge to Adorama TV, if you can see the video below in case you missed it.
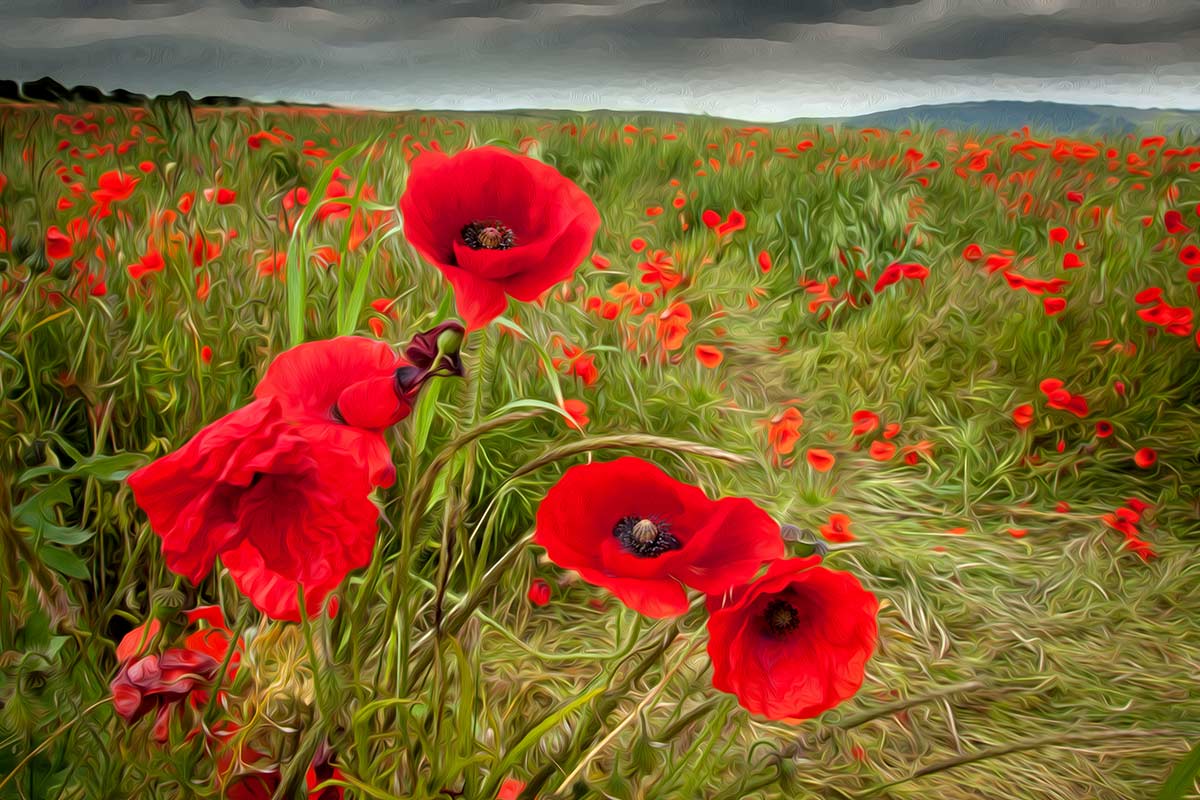
This time I visited a field of poppies growing on the south downs just outside of Brighton, Sussex.
I’m a sucker for poppies, may be it’s the bright red colour, which always looks great in photos. May be it’s the beauty of the poppies themselves. Either way I can’t resist photographing them and I wasn’t alone. In the sort time I was at the field I bumped in to several other photographers who couldn’t resist the lure of a field full of poppies either.
[youtube]http://www.youtube.com/watch?v=Xmz2ZVy1Ykw&feature=c4-overview&list=UU8Pksdbj37CdE00kmE7Z1dw[/youtube]
Can’t see the video? Click Here http://youtu.be/Xmz2ZVy1Ykw
 Equipment used in this video:
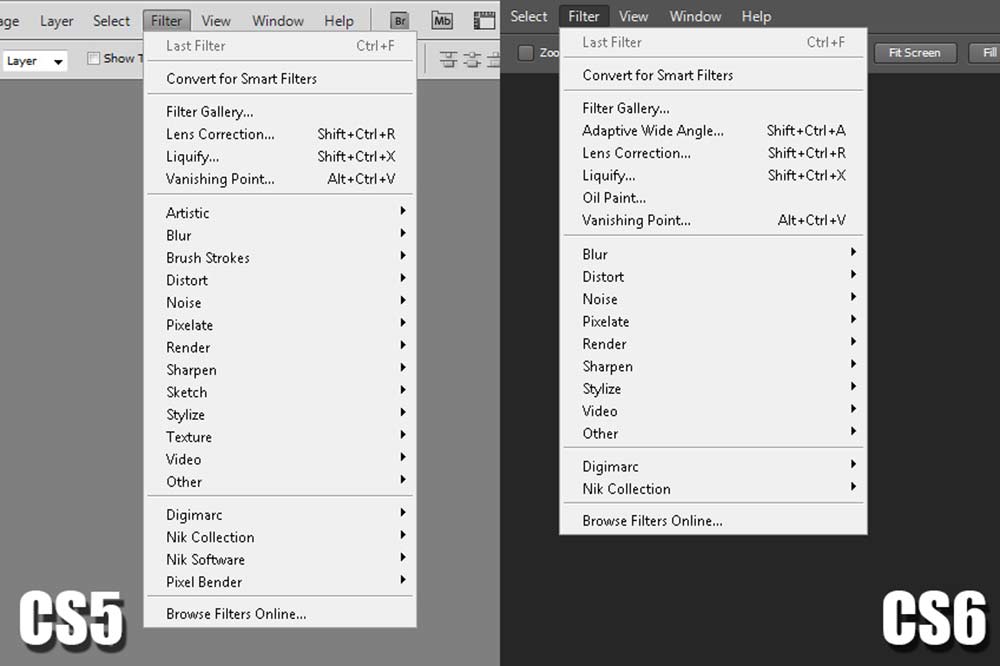
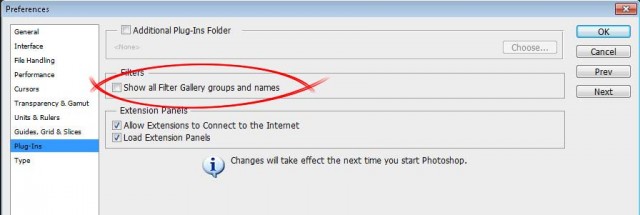
Adobe Photoshop CS6 http://www.adorama.com/searchsite/default.aspx?searchinfo=photoshop+cs6&category=4294967278+11&KBID=67338
Canon 60D http://www.adorama.com/ICA60D.html?KBID=67338
Canon 24-105L f/4 IS http://www.adorama.com/CA24105AFU.html?KBID=67338