BTS Dressing Room Shoot

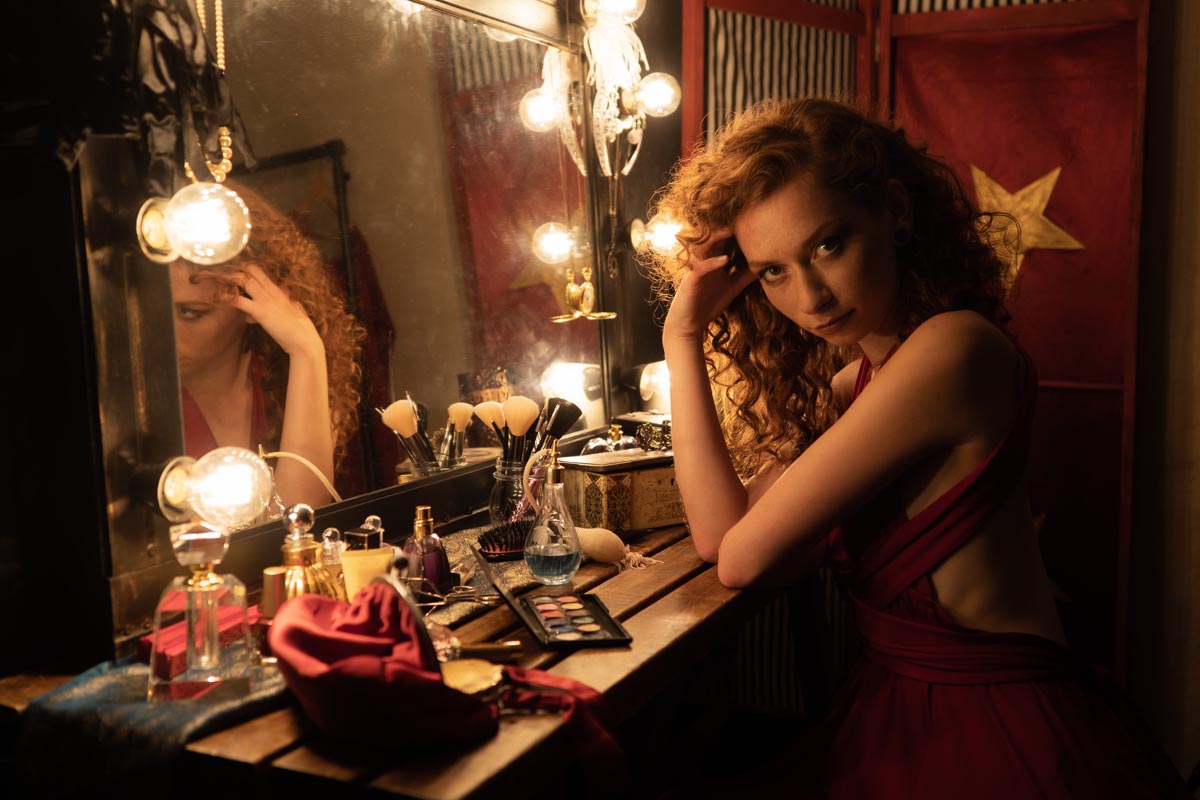
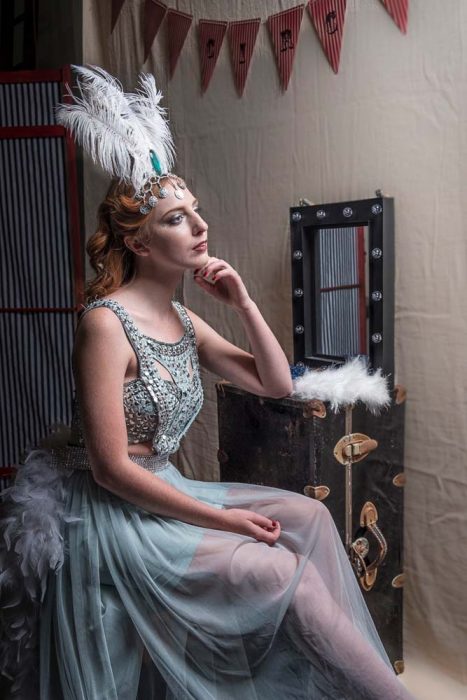
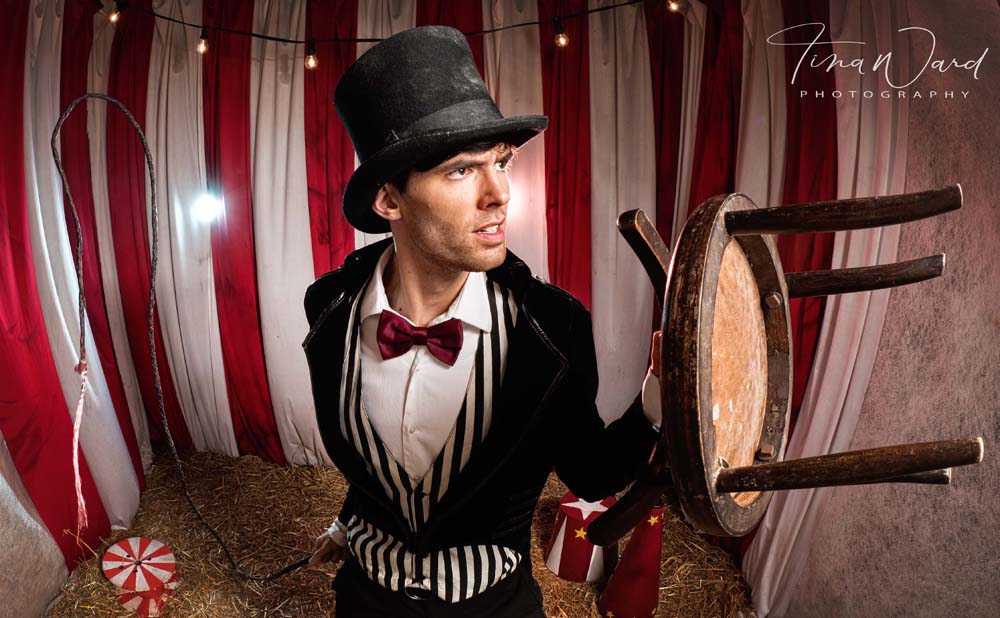
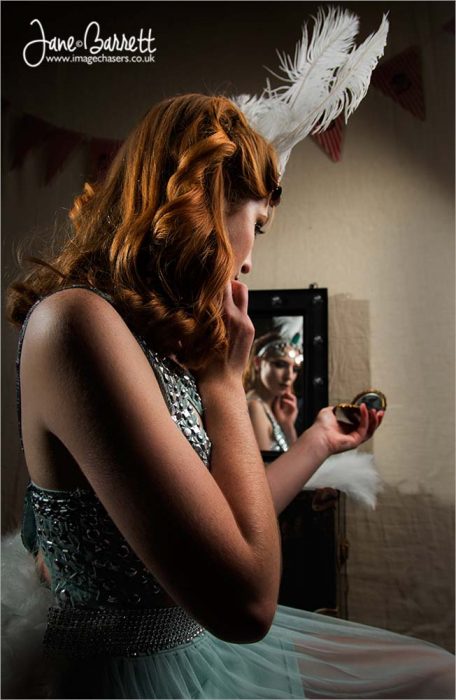
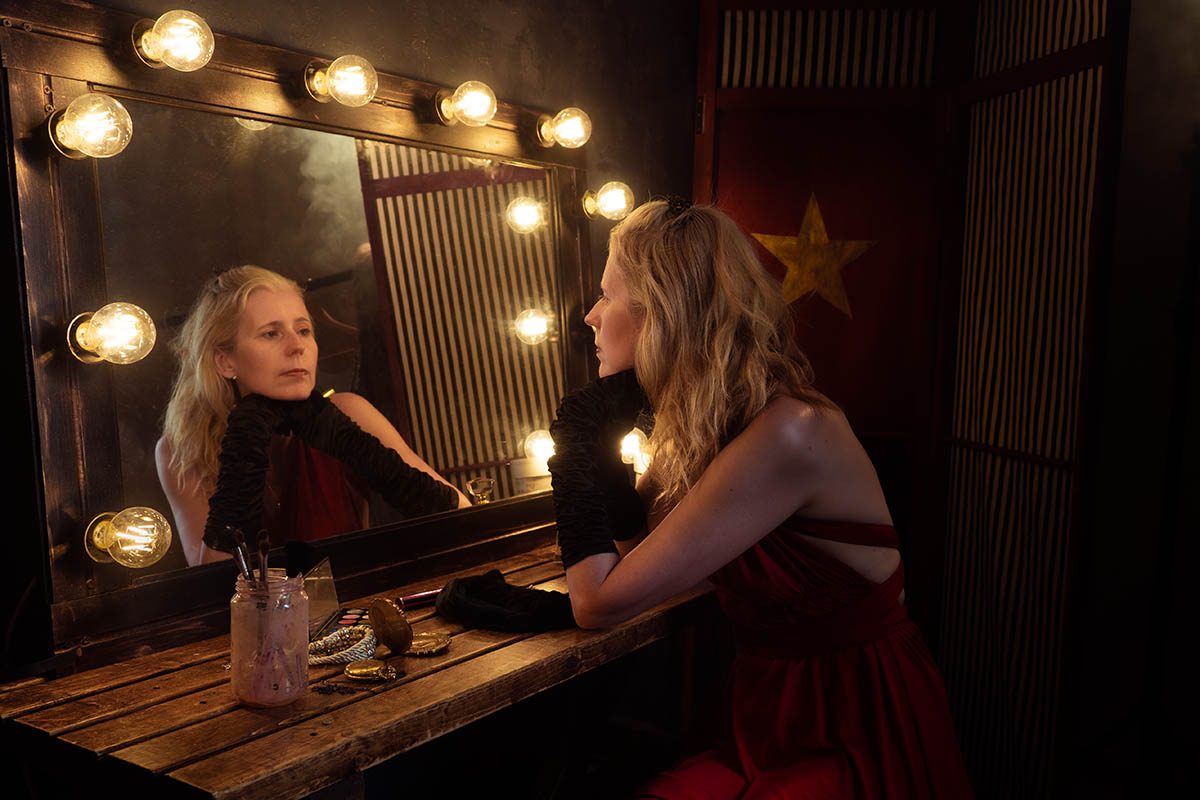
Gavin had an idea of creating a dressing room look, a behind the scenes glimpse at a theatre style. A real challenge in his small home studio, but he reckoned he was up to the challenge!

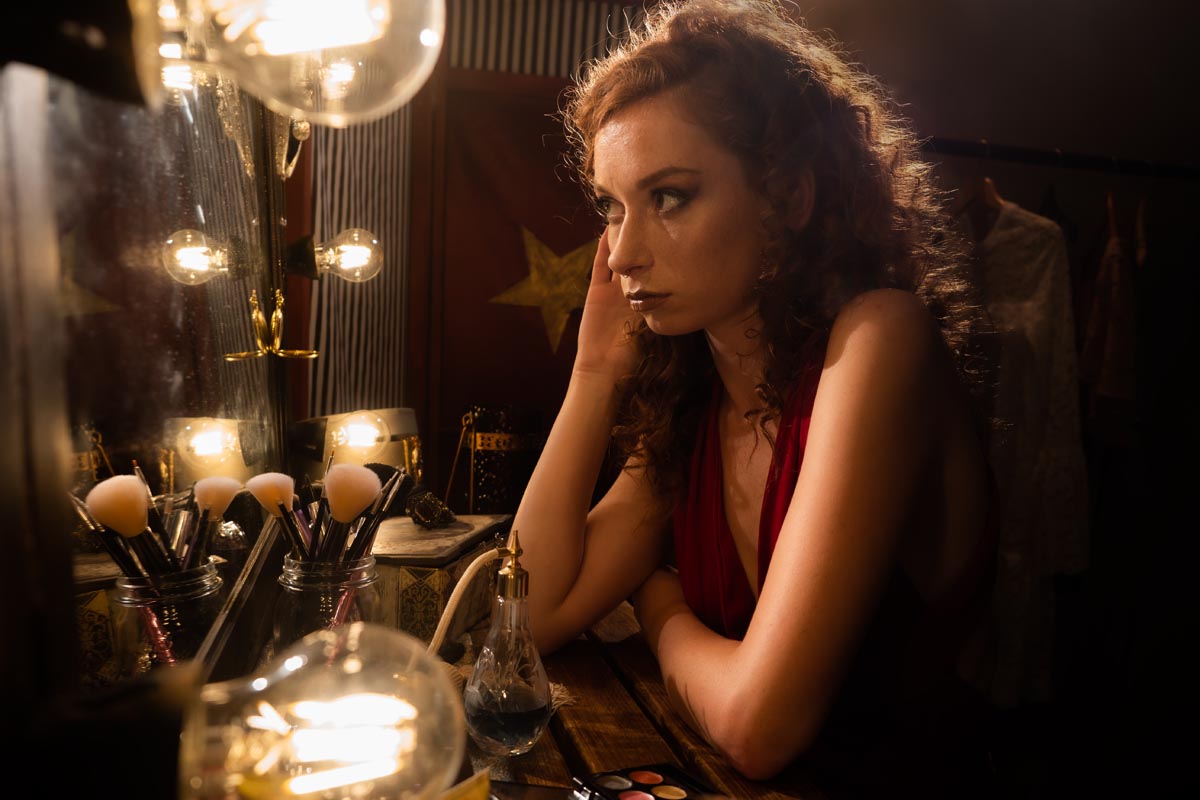
The main thing we felt we needed was the classic and slightly cliche mirror with lights. Surely we’d be able to get our hands on one of those without breaking the budget…..not an easy task as it turns out. Not one to be put off, Gavin decided “I can make one” (a familiar sentence uttered in our house, with varying degrees of success!).

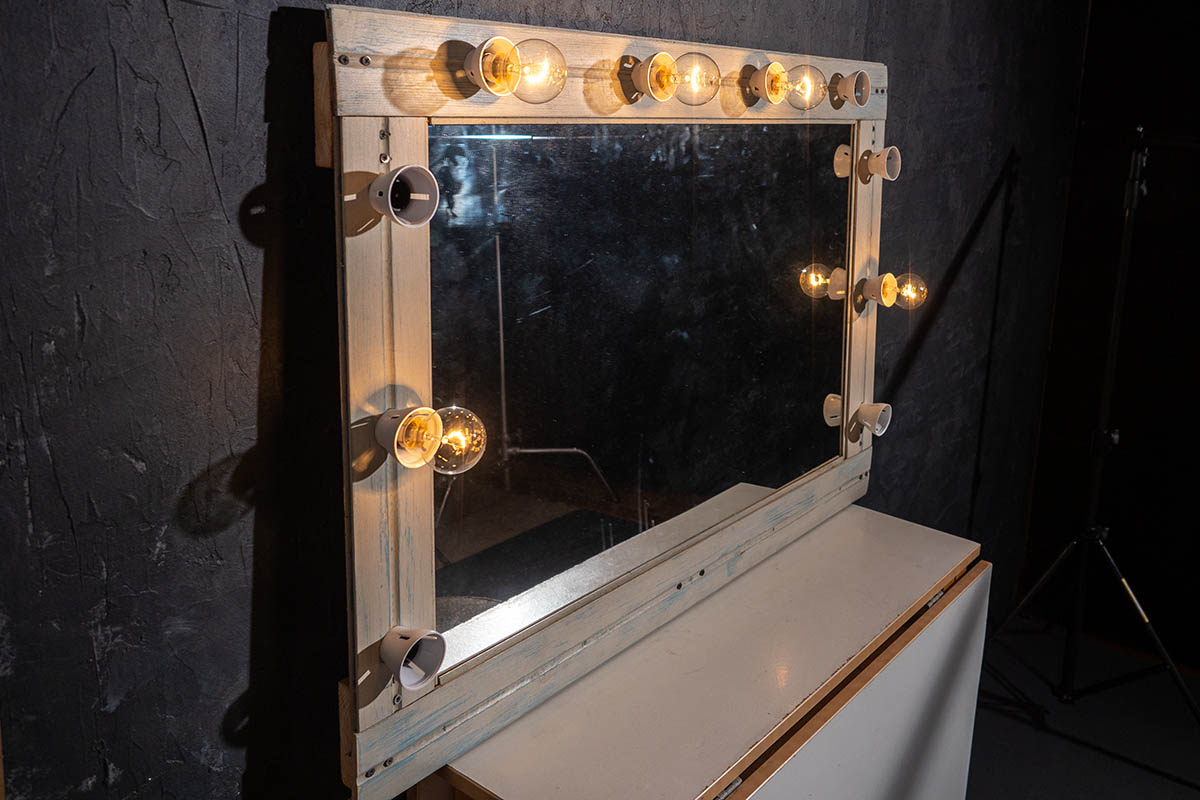
We recycled the mirror from a previous shoot and Gavin made a surround using some of my old tongue and groove planks. I gave it a paint and gilded effect. Although a bit labour intensive, it came out really well and worked like a charm when we did a test shoot. Ten bulbs would generate a lot of heat and as we were filming on an already hot day, Gavins choice of LED bulbs proved to be a good one.

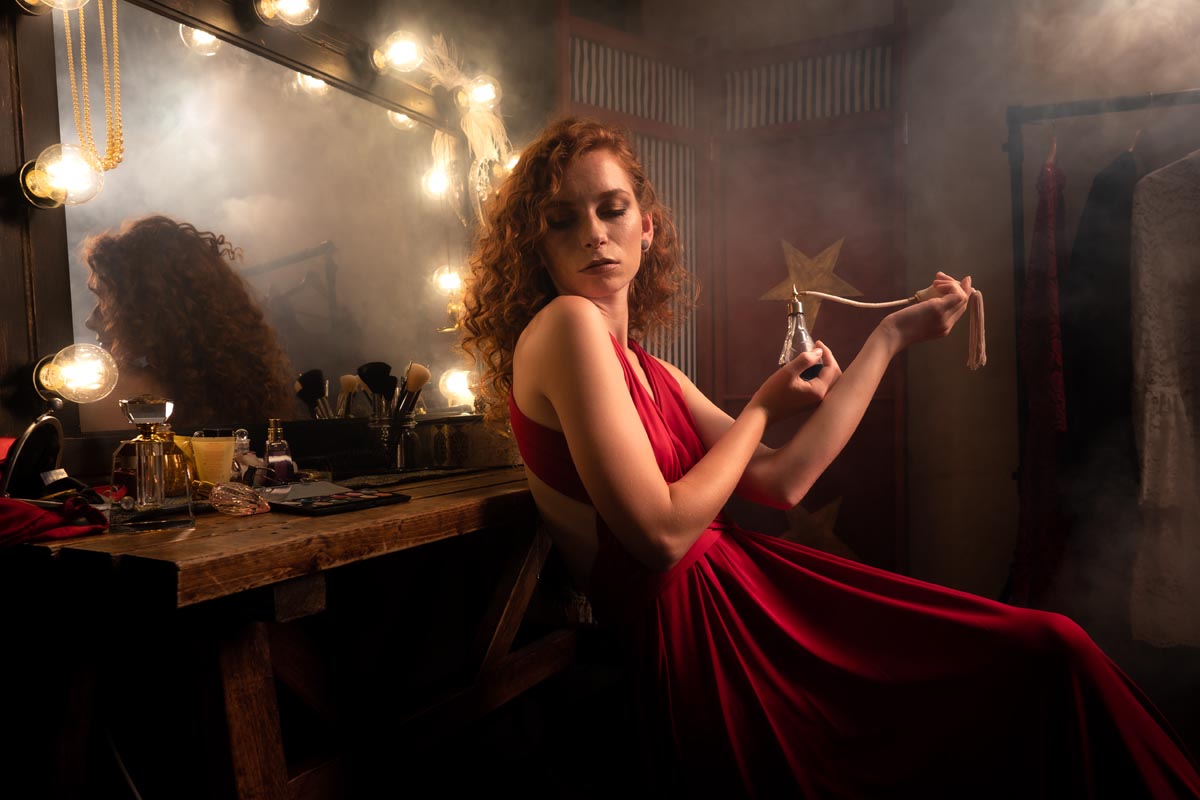
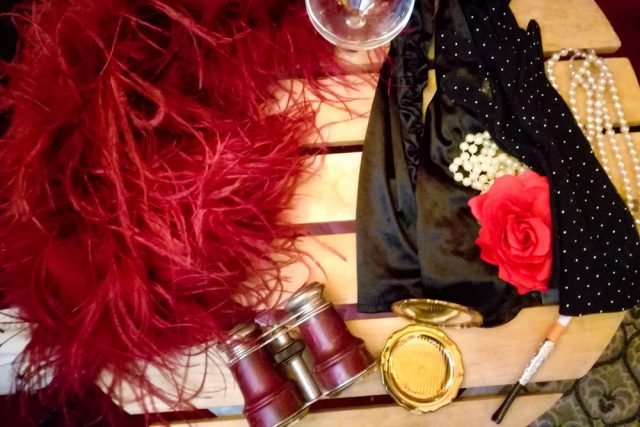
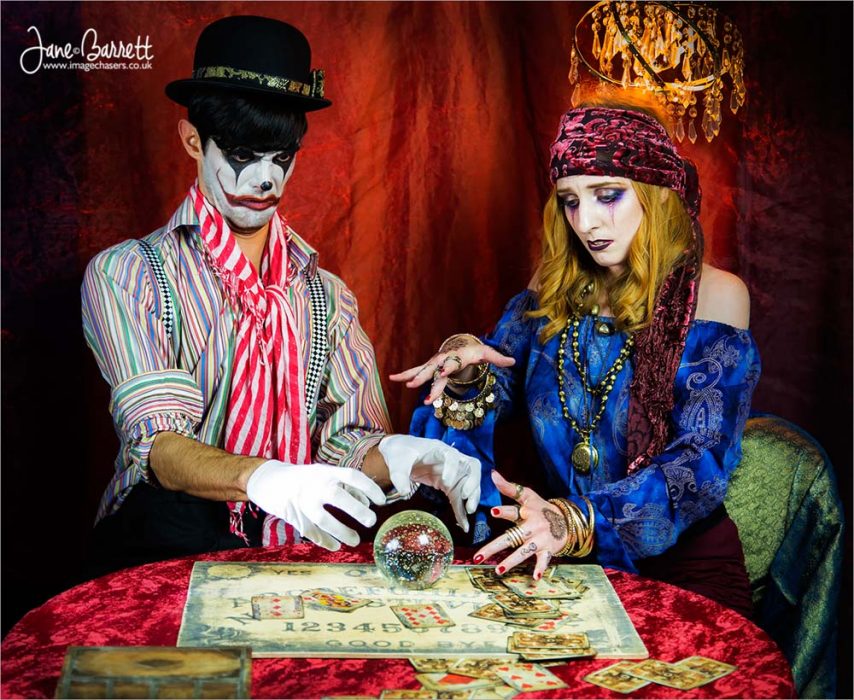
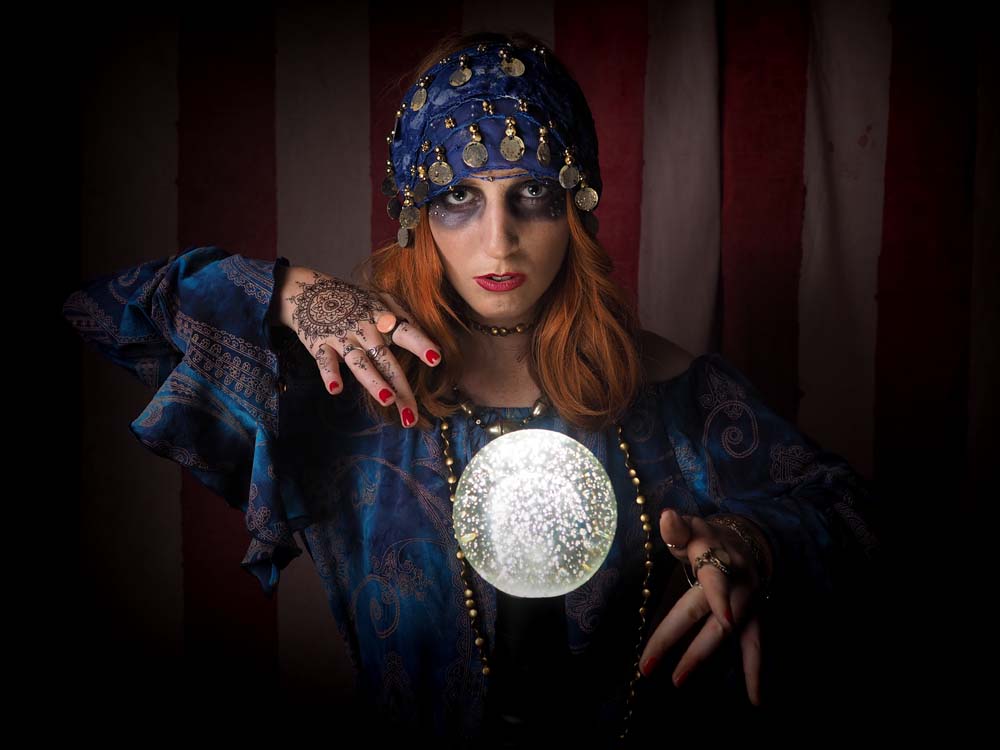
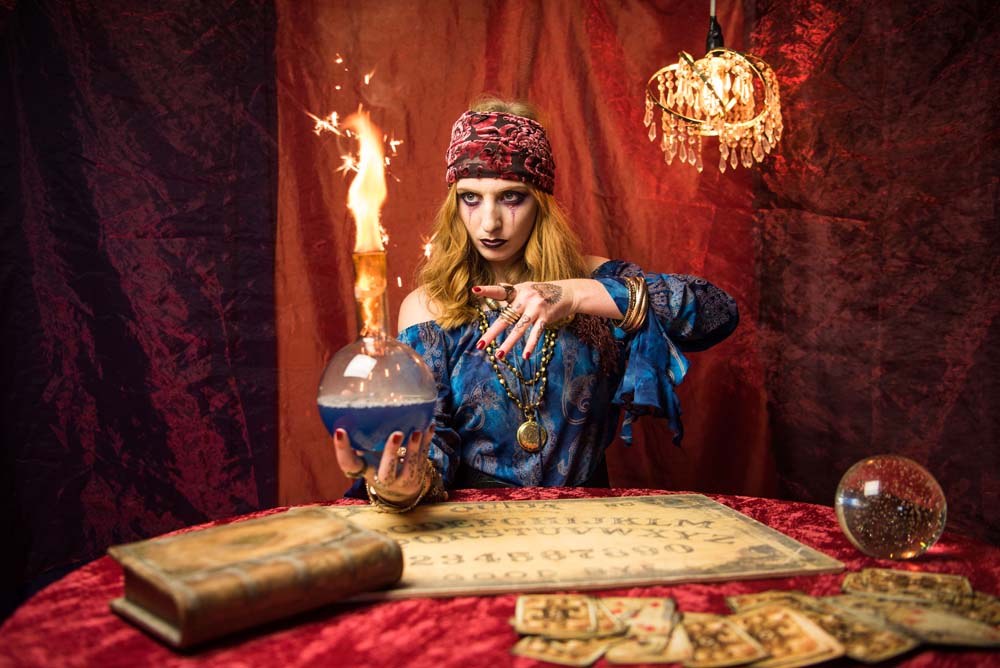
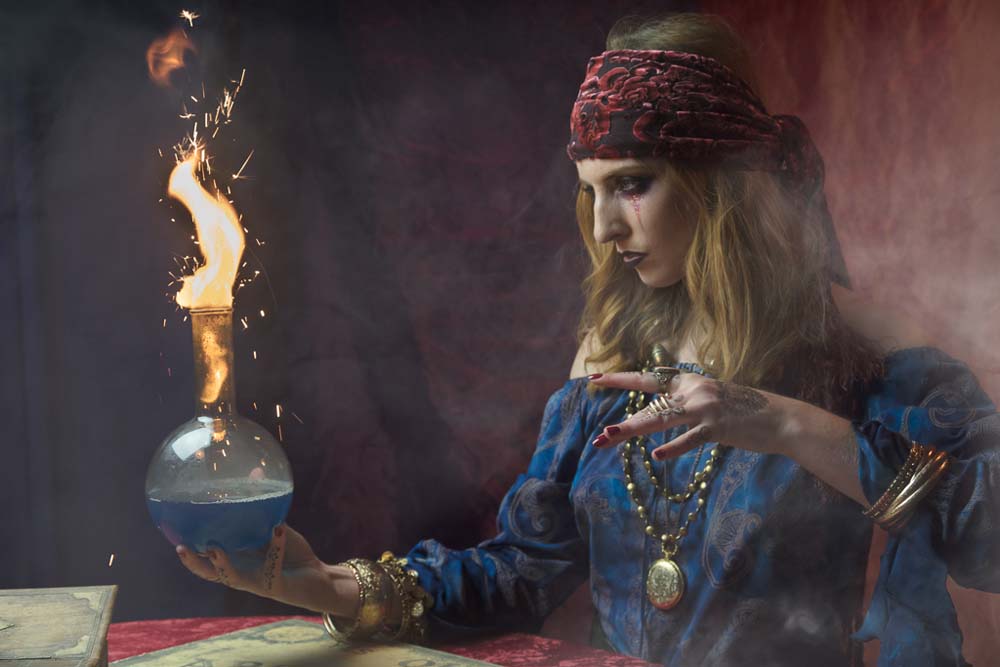
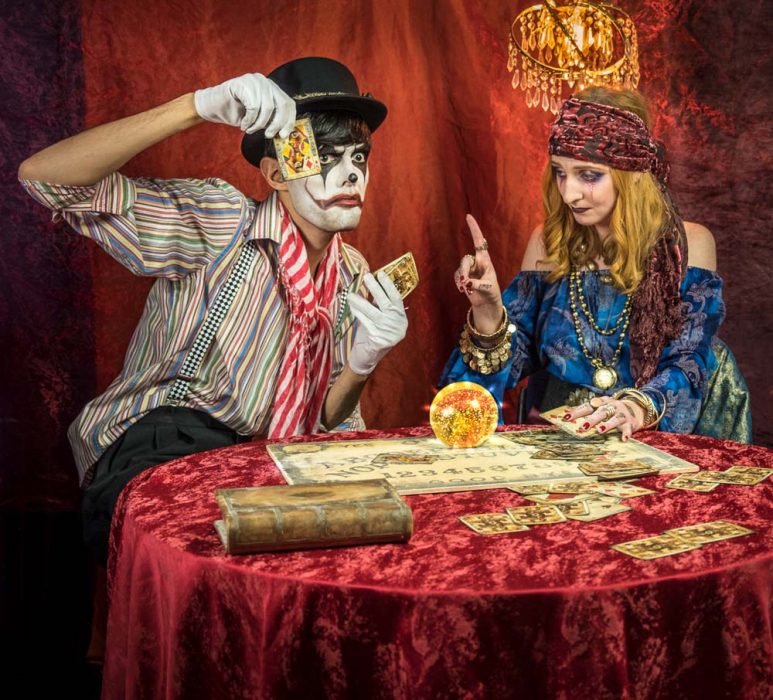
To compete the look we purchased some props and recycled others from previous shoots to give our ‘dressing room’ a vintage and slightly eclectic look.

[youtube]https://www.youtube.com/watch?v=jBYPlTfE4ck[/youtube]

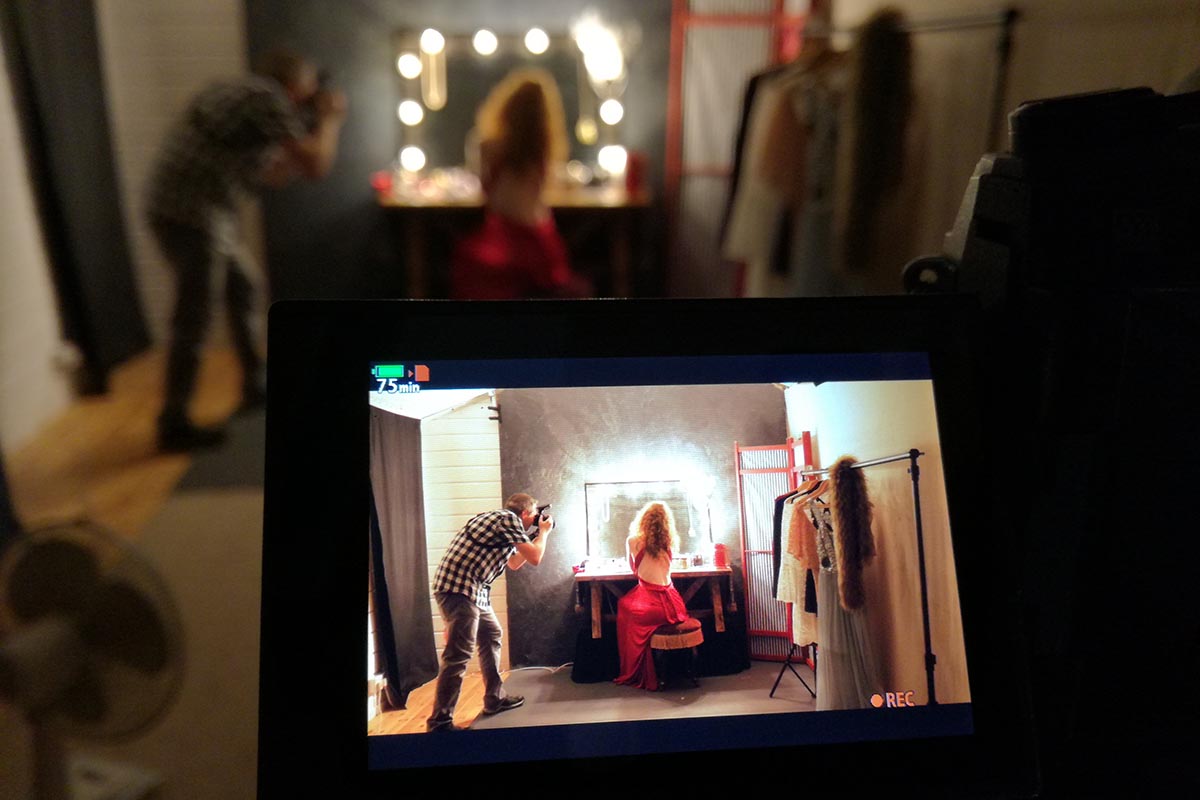
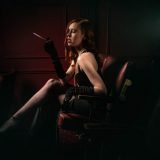
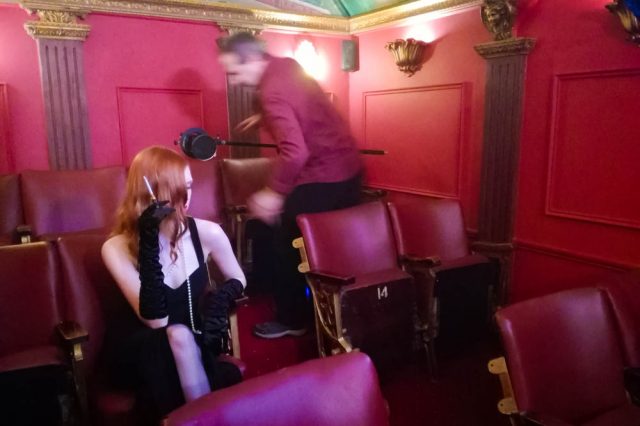
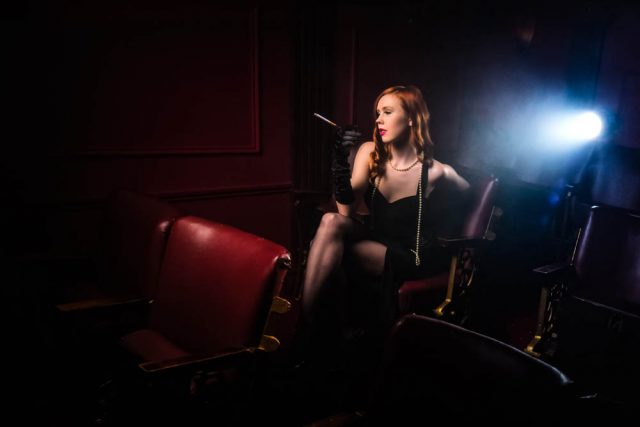
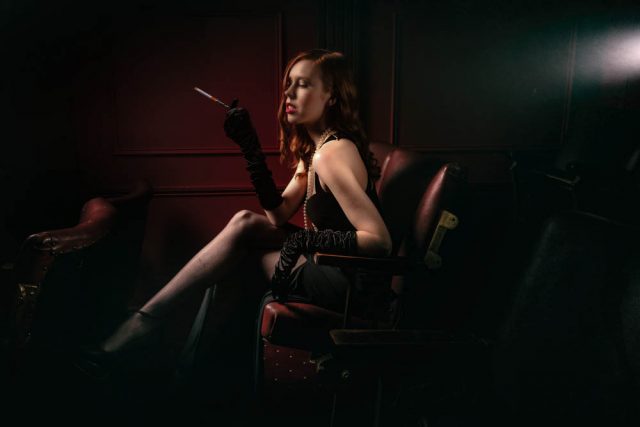
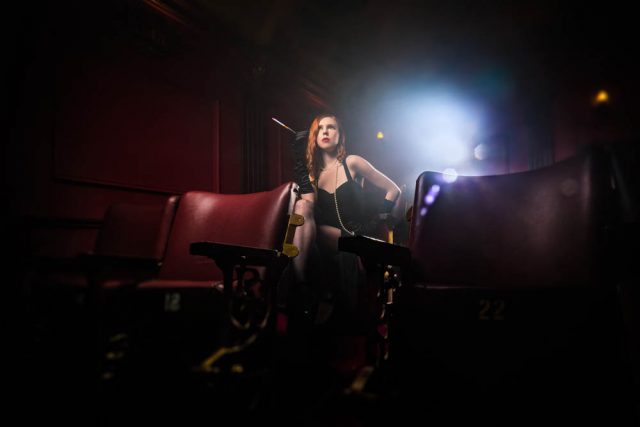
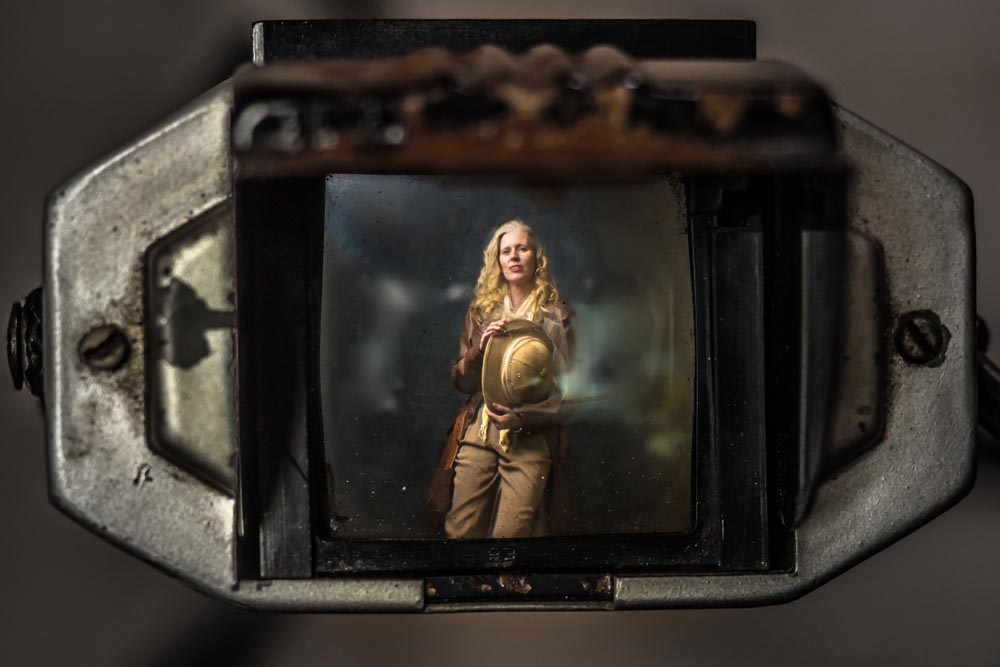
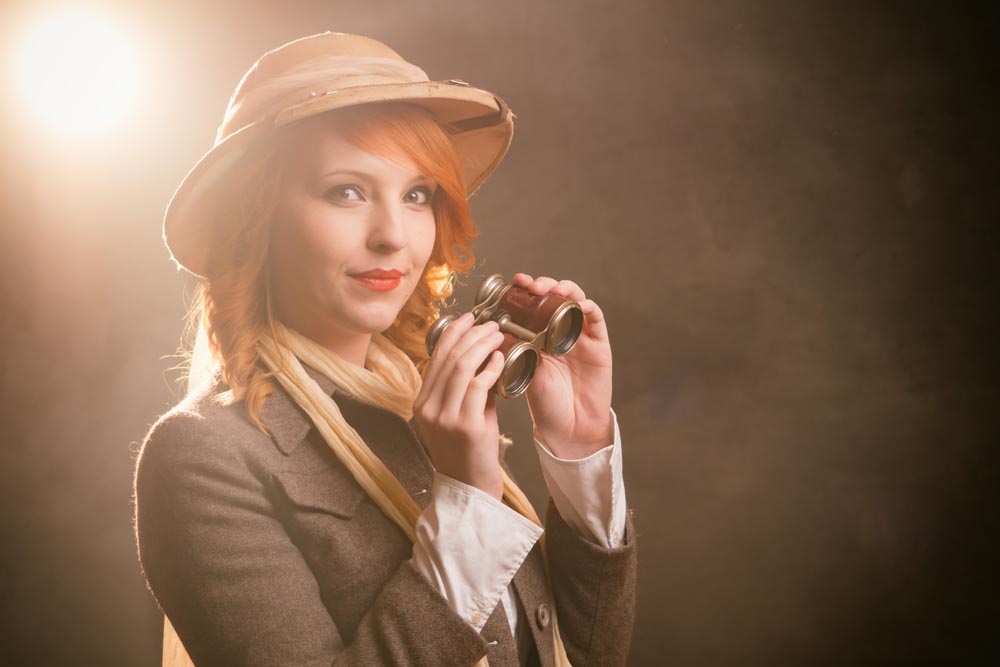
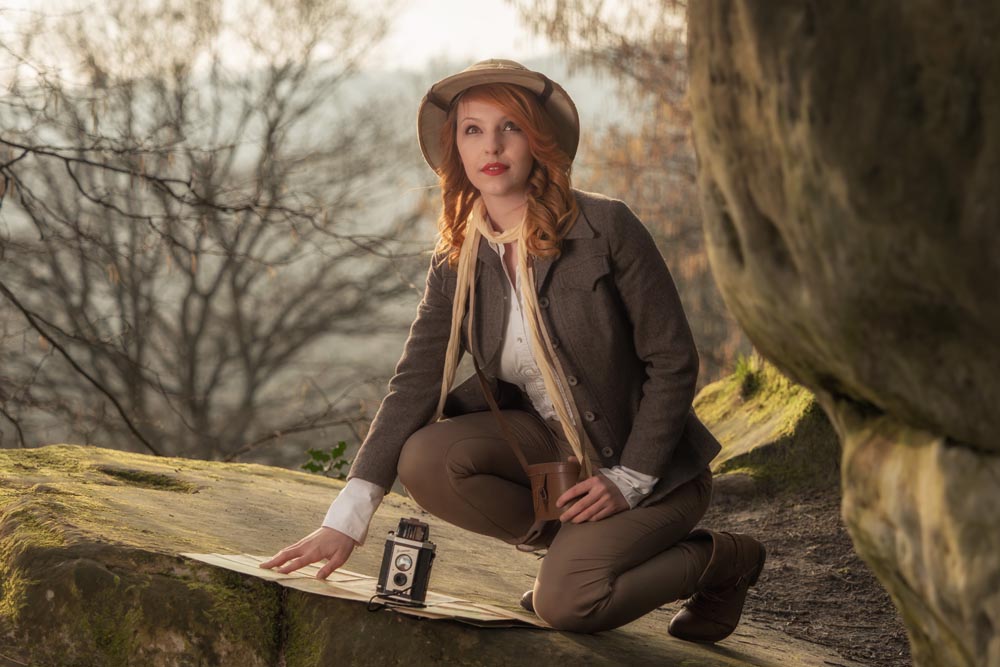
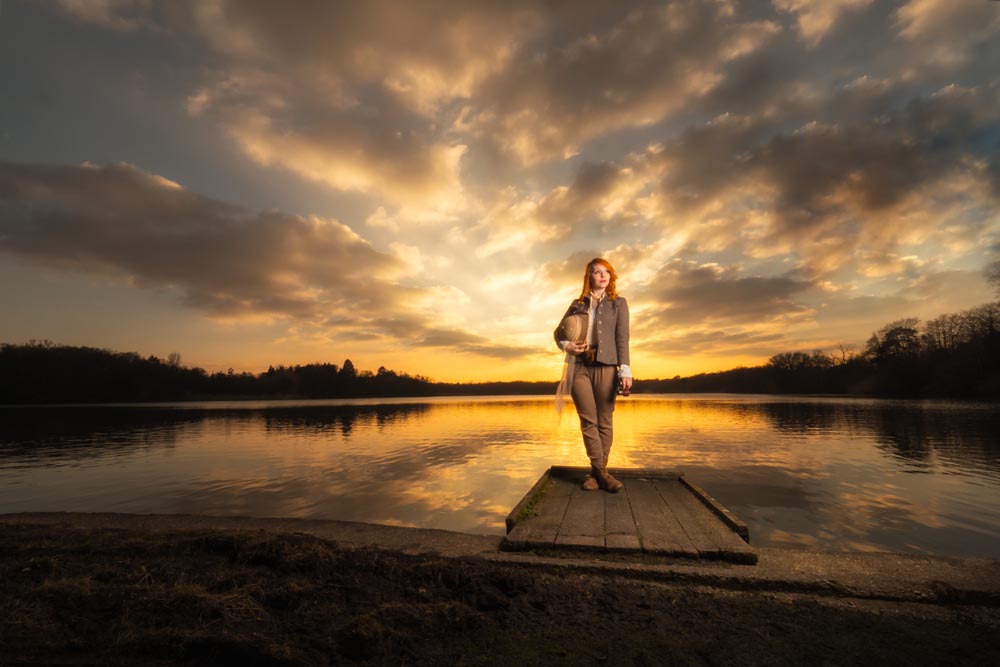
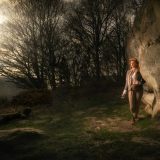
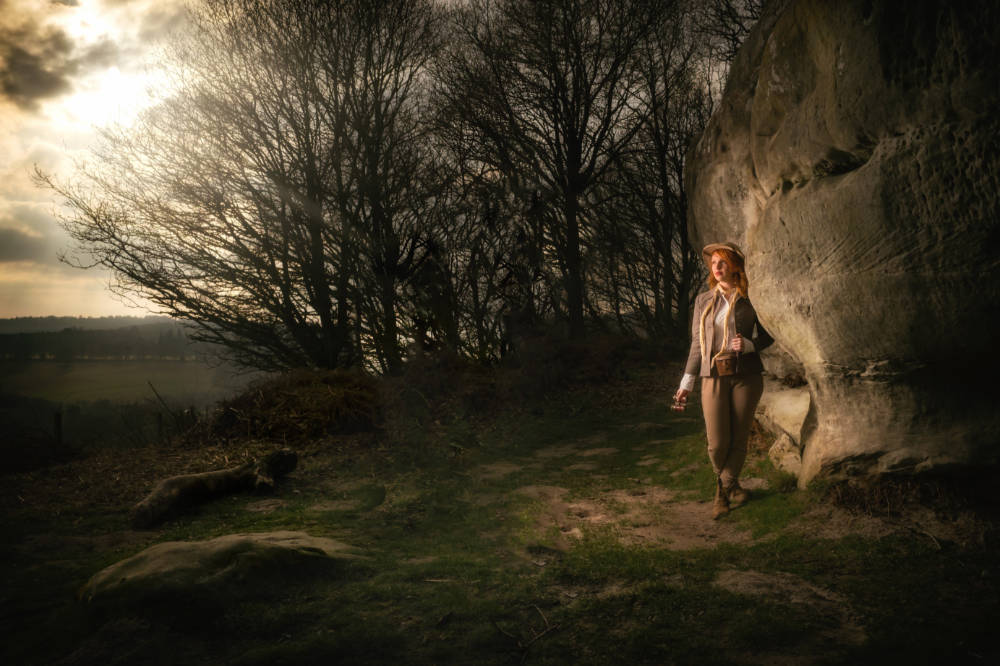
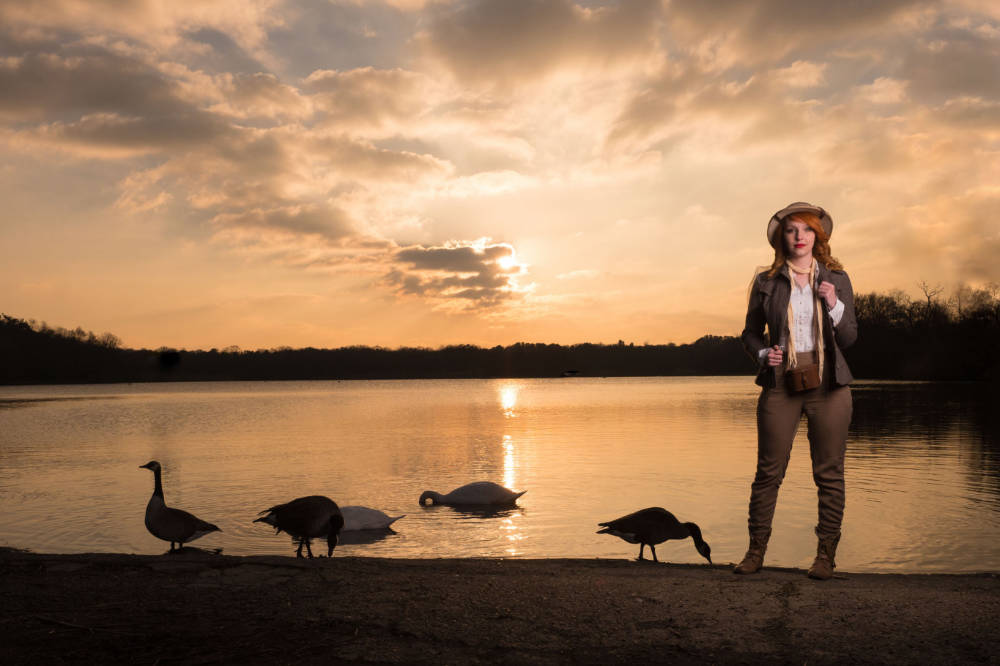
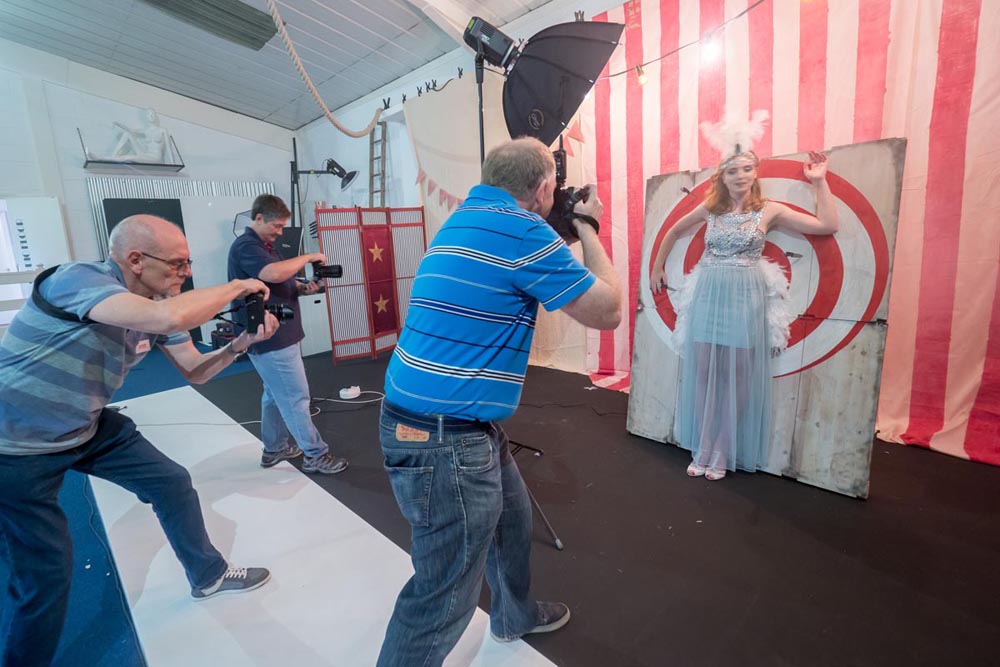
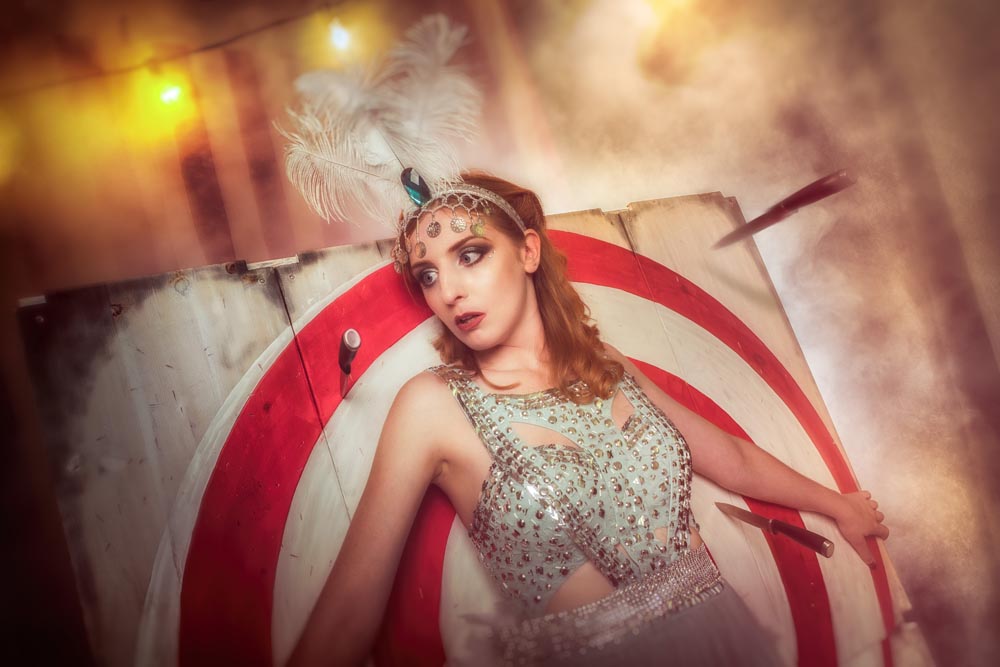
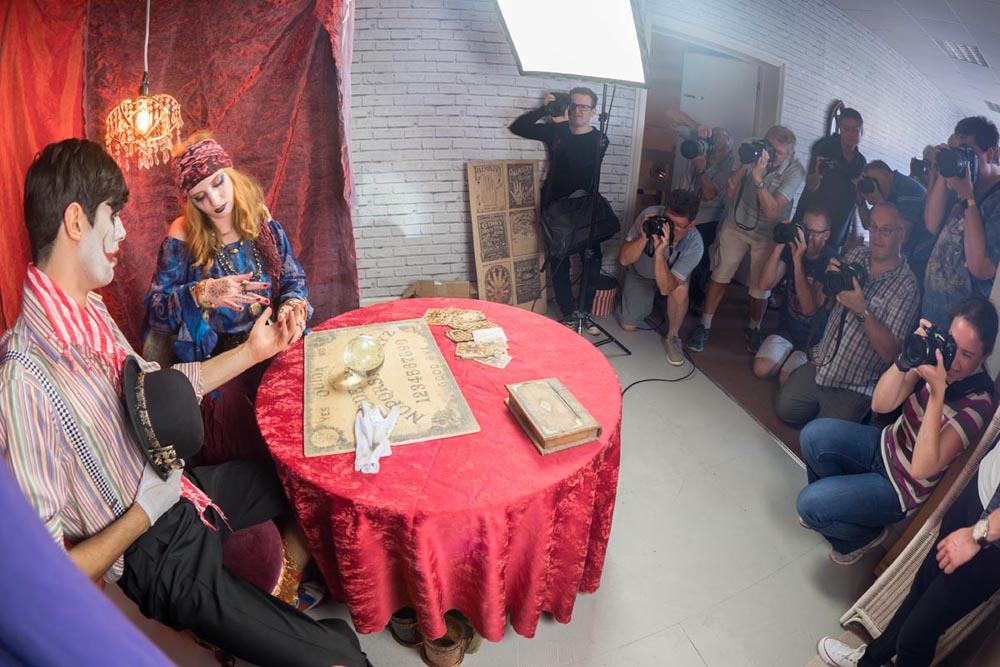
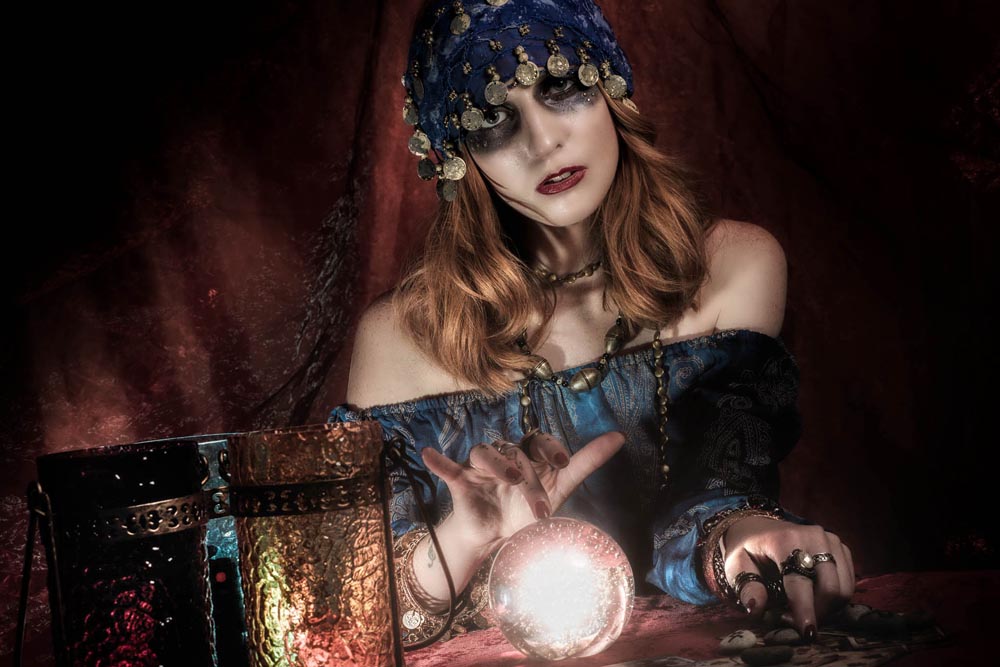
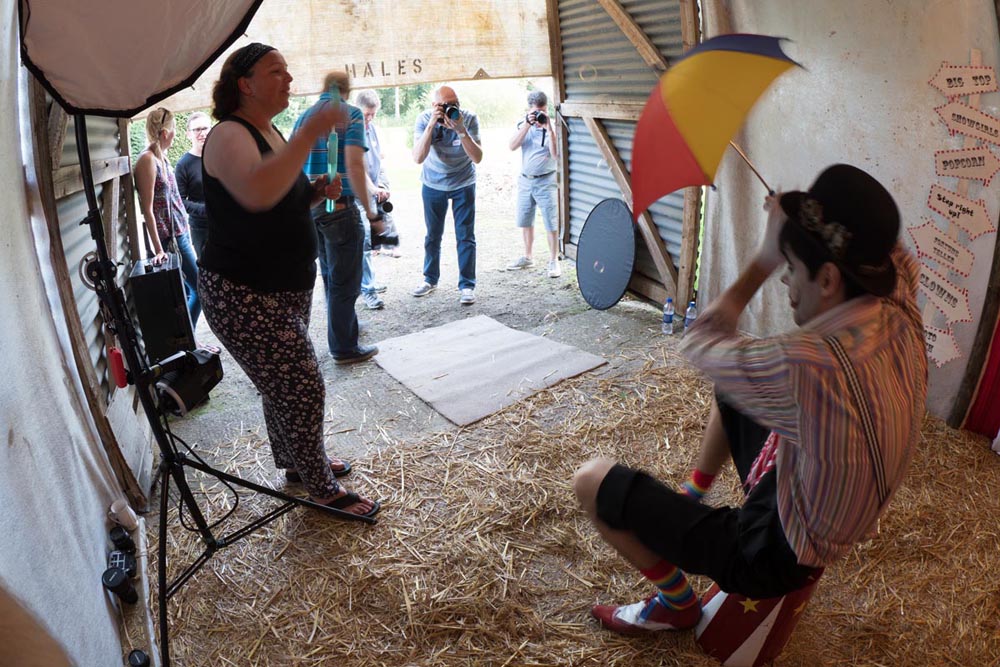
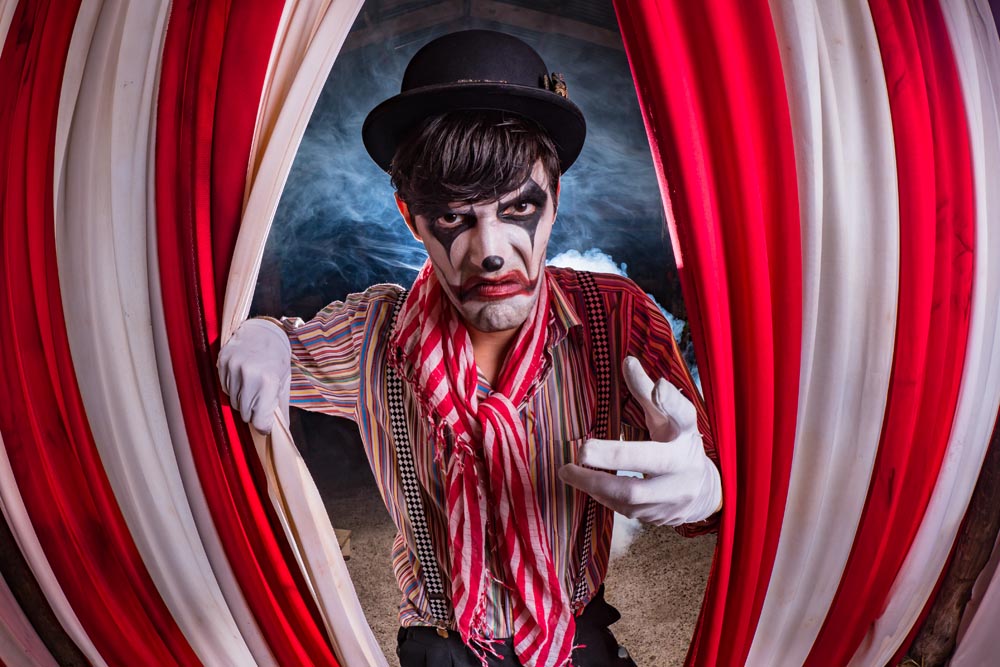
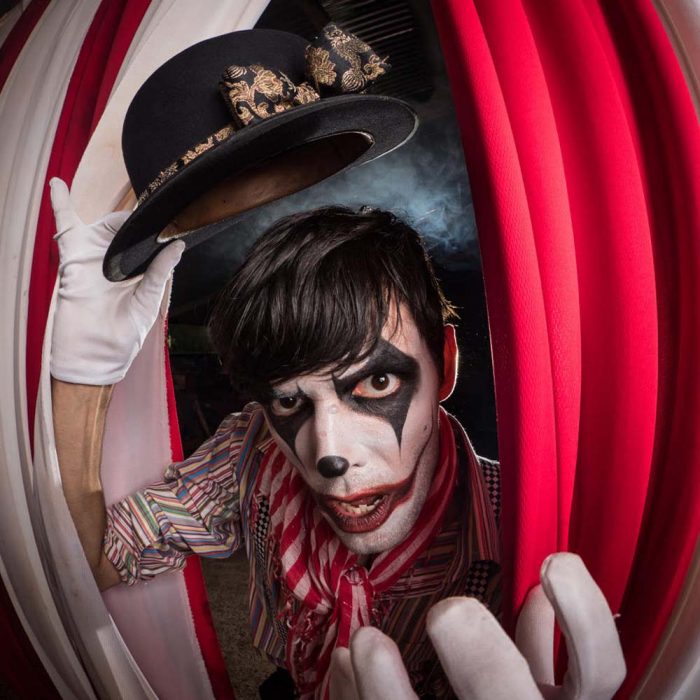
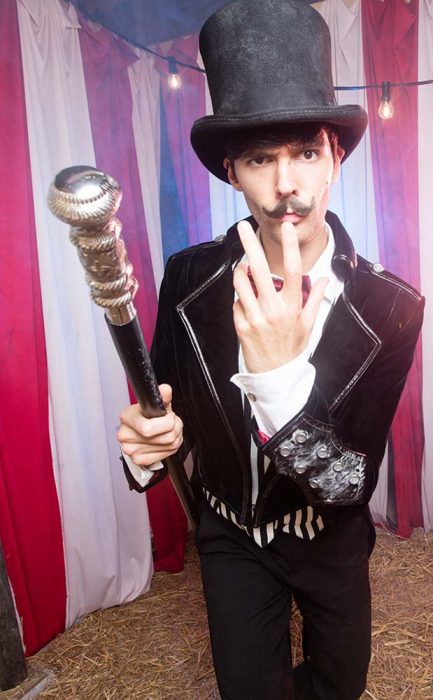
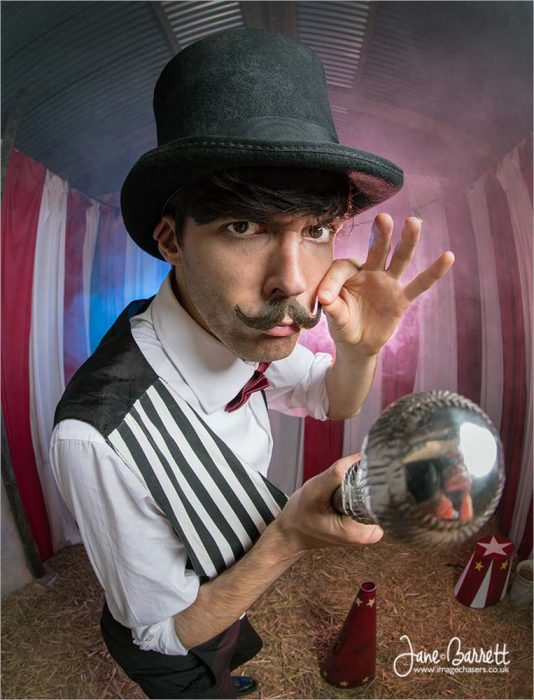
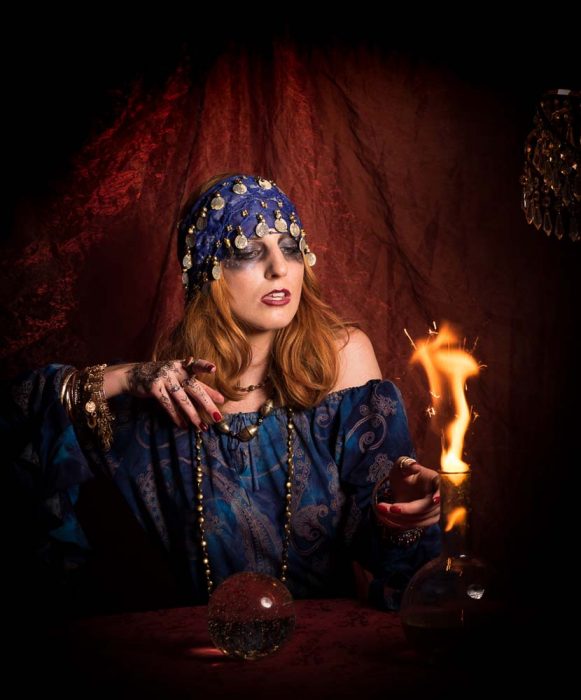
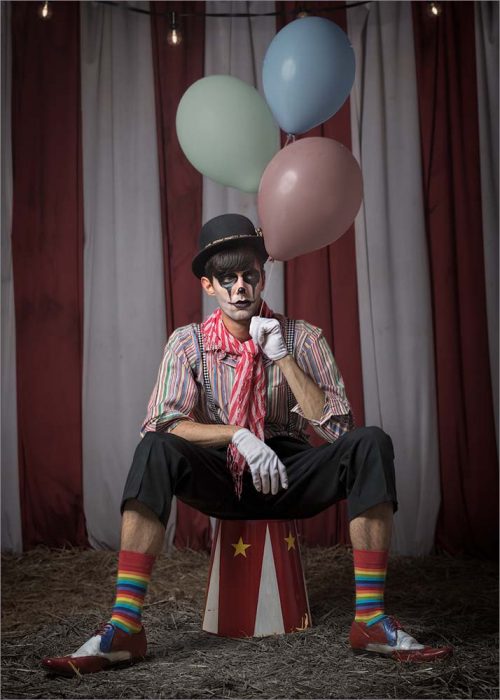
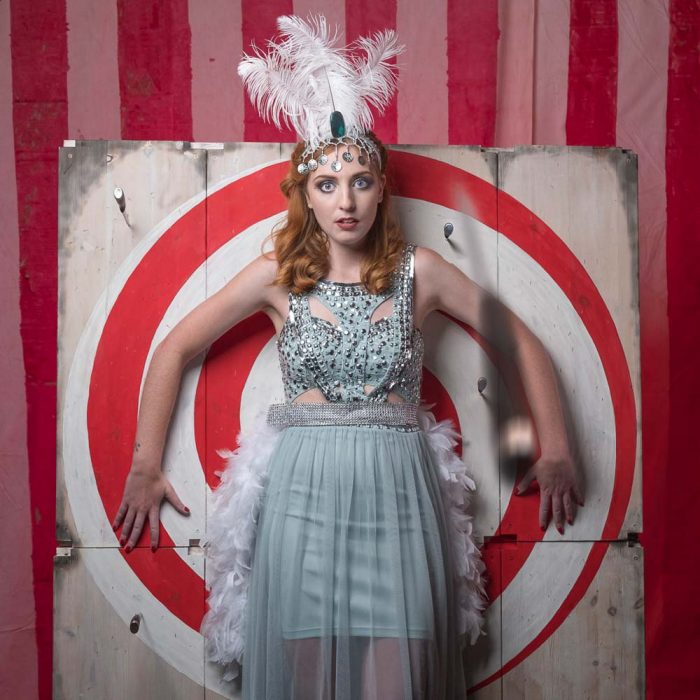
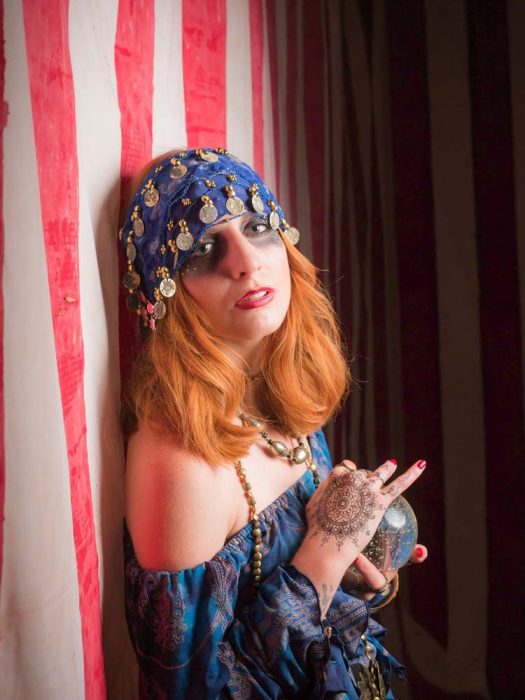
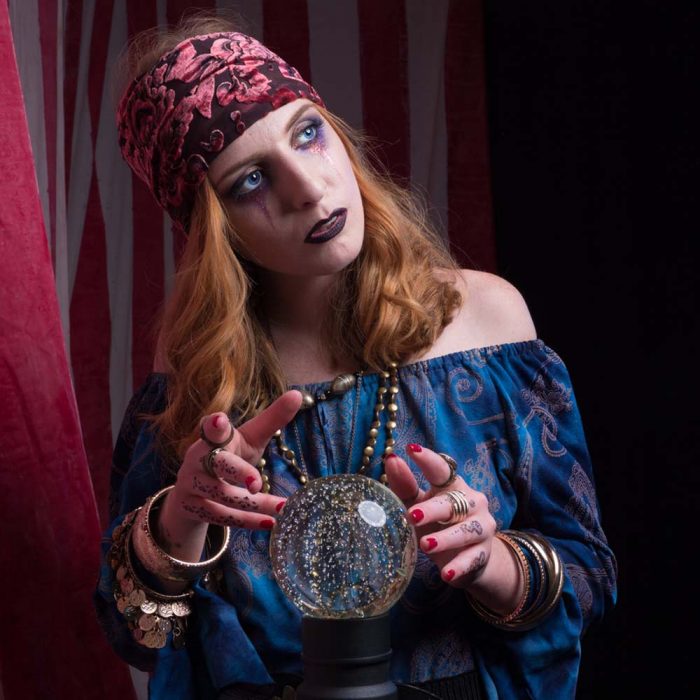
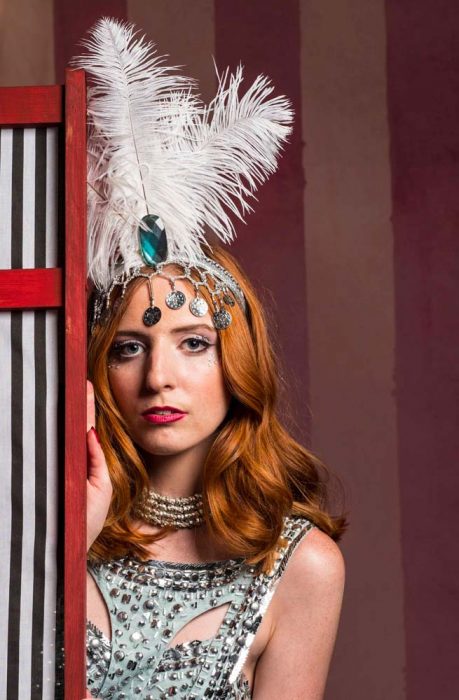
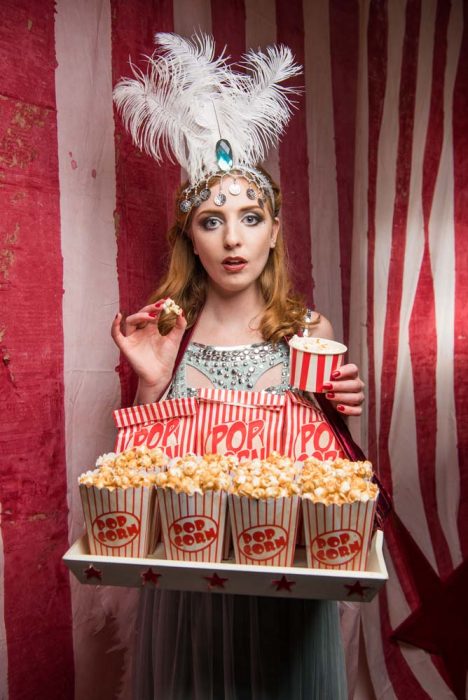
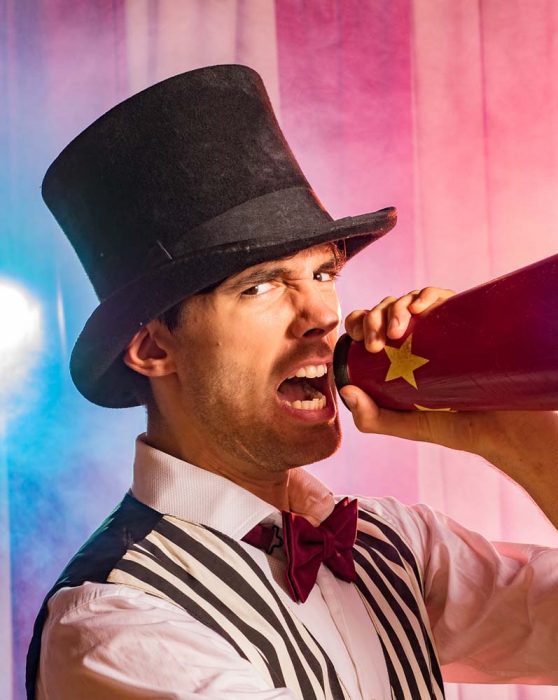
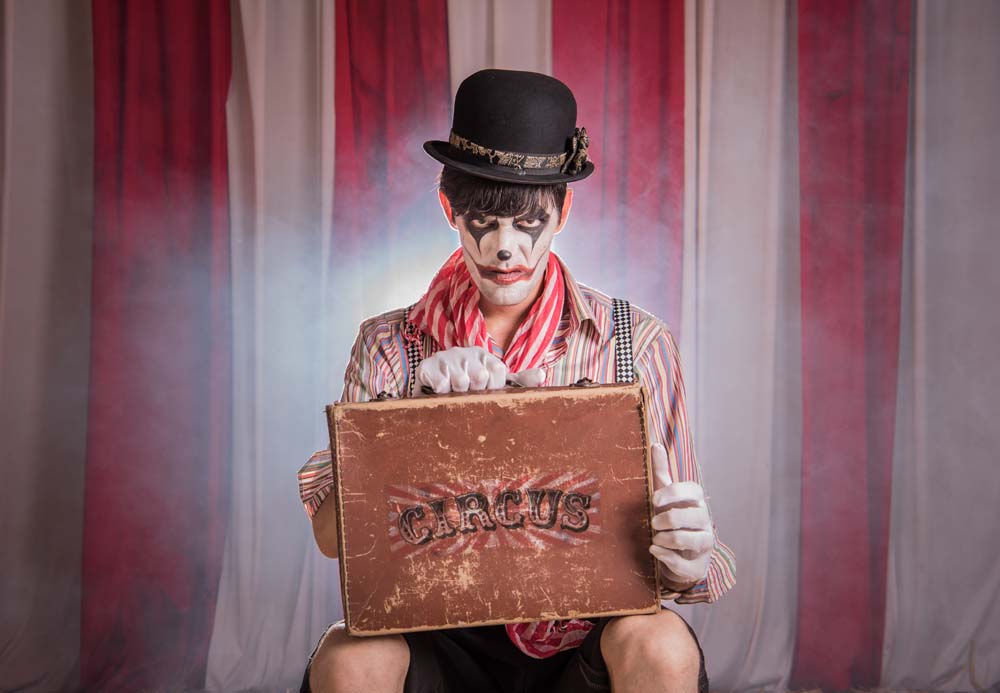
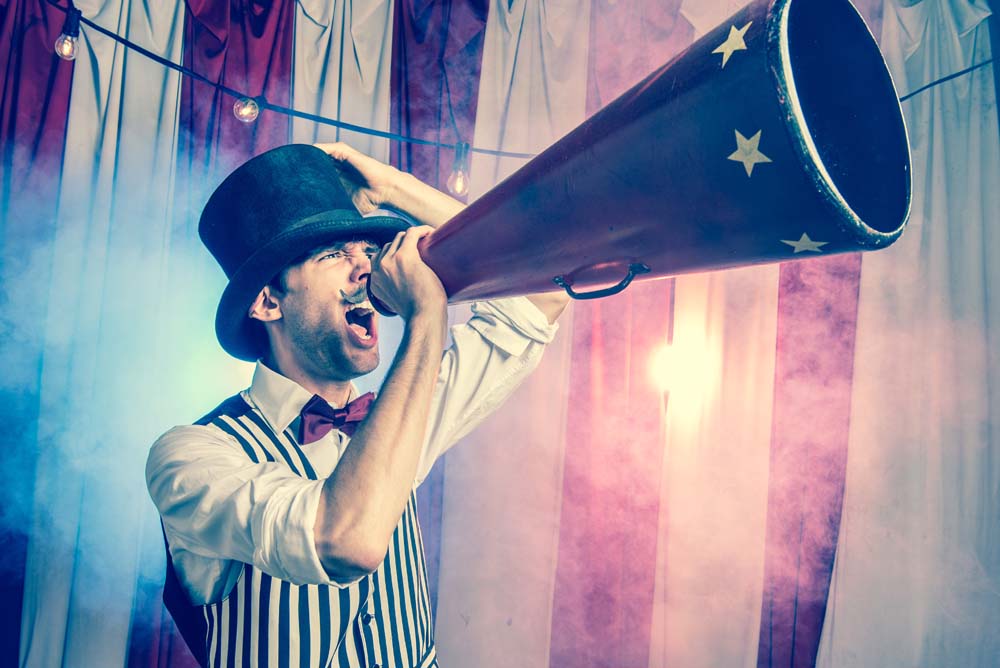
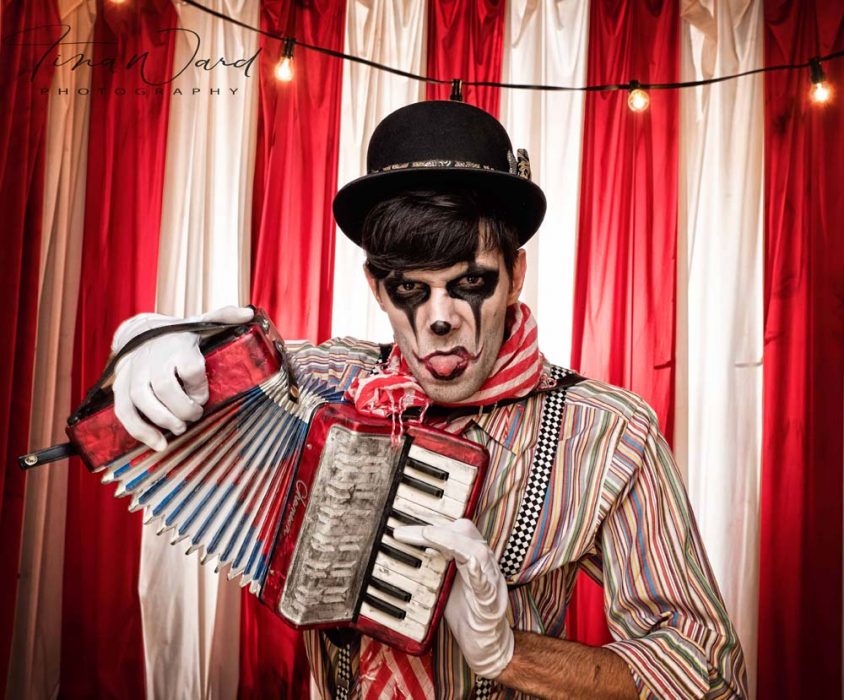
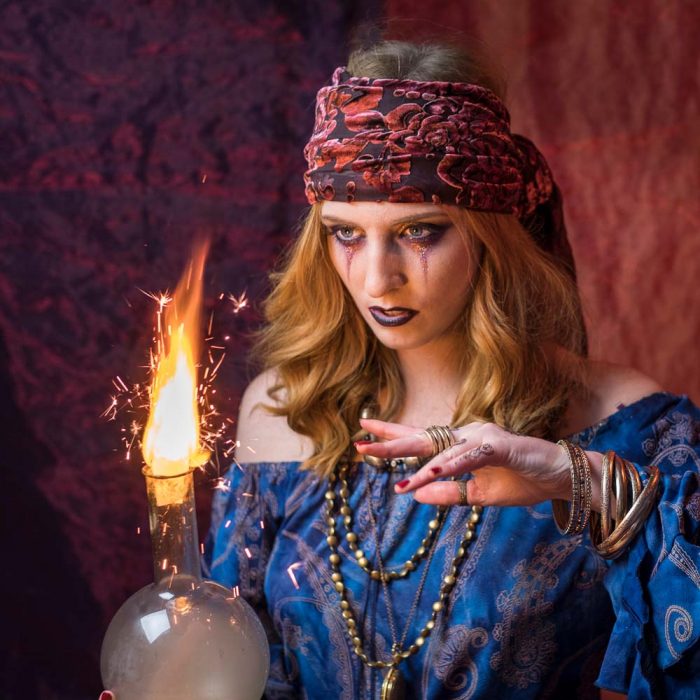
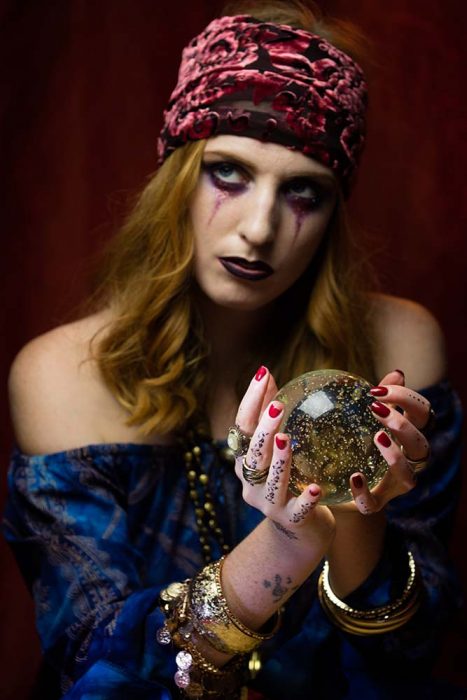
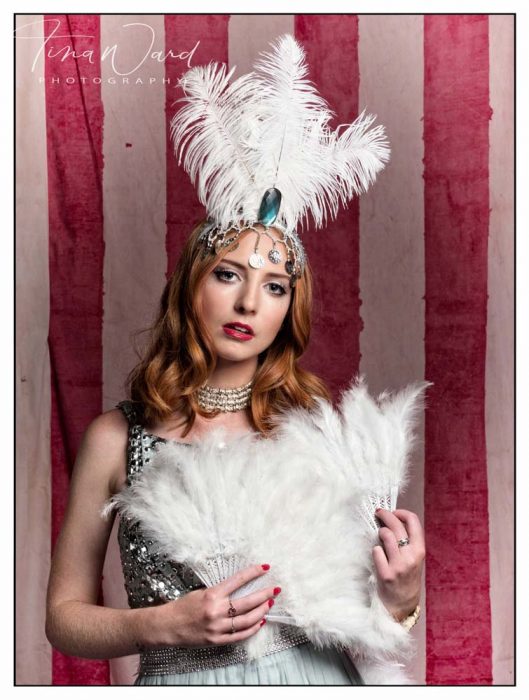
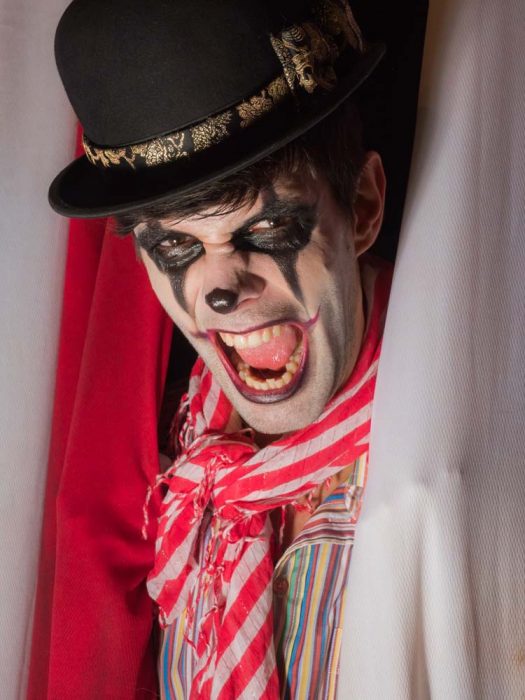
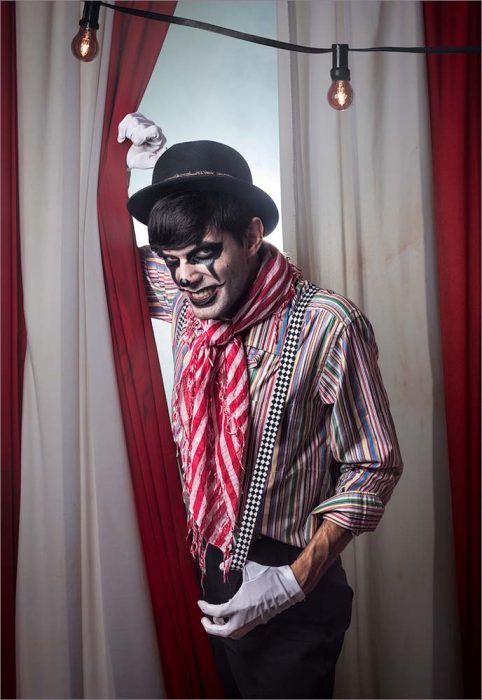
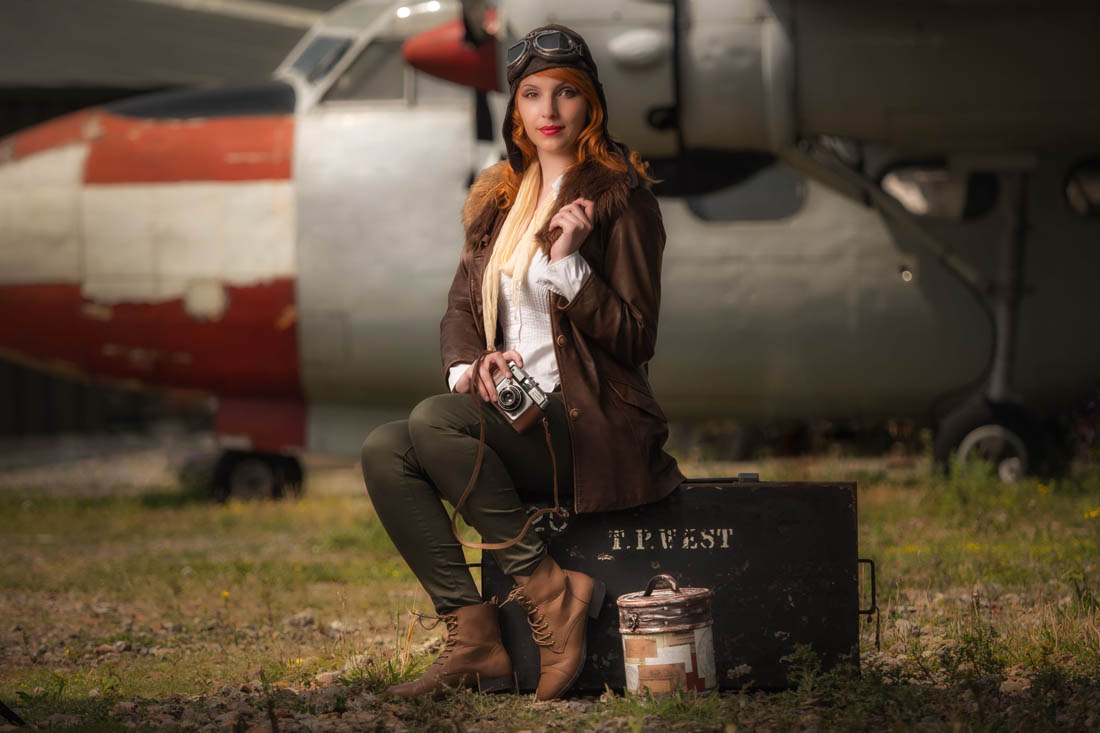
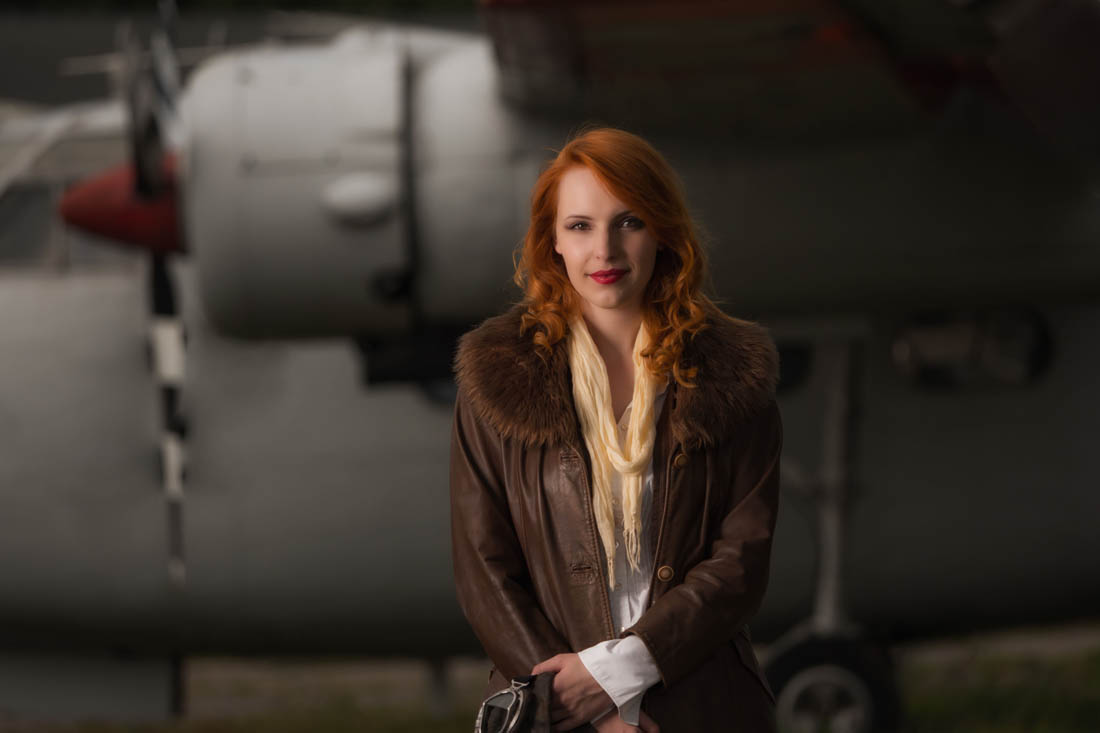
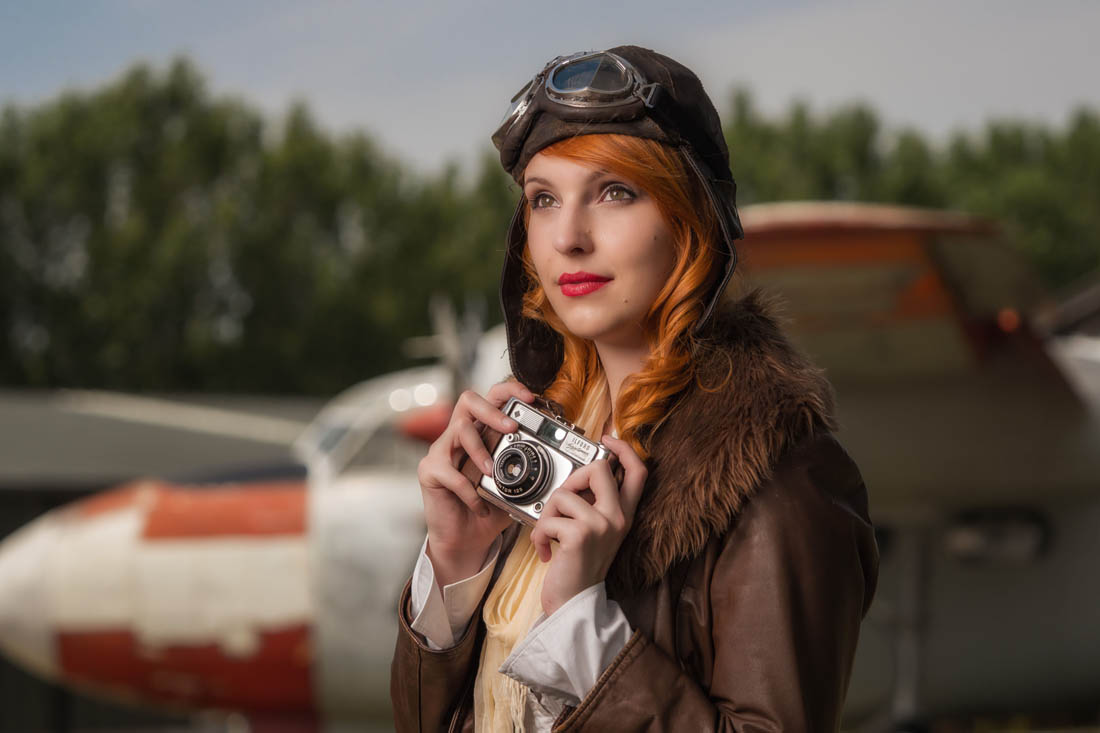
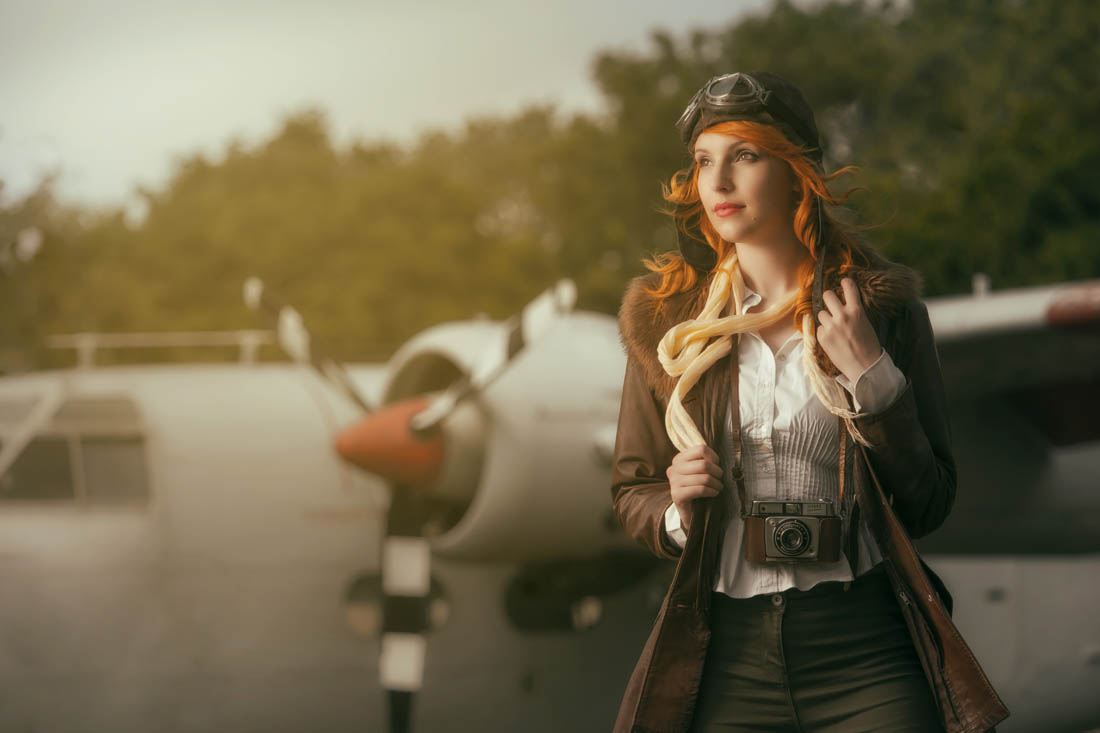
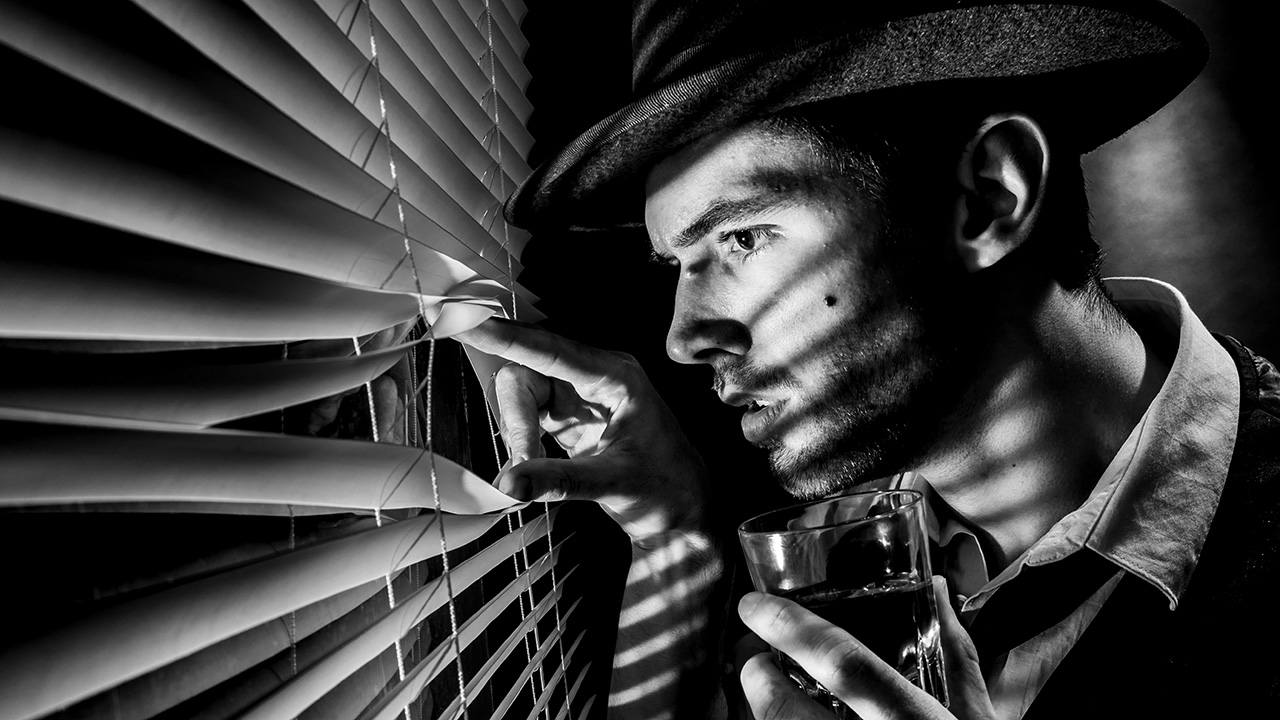
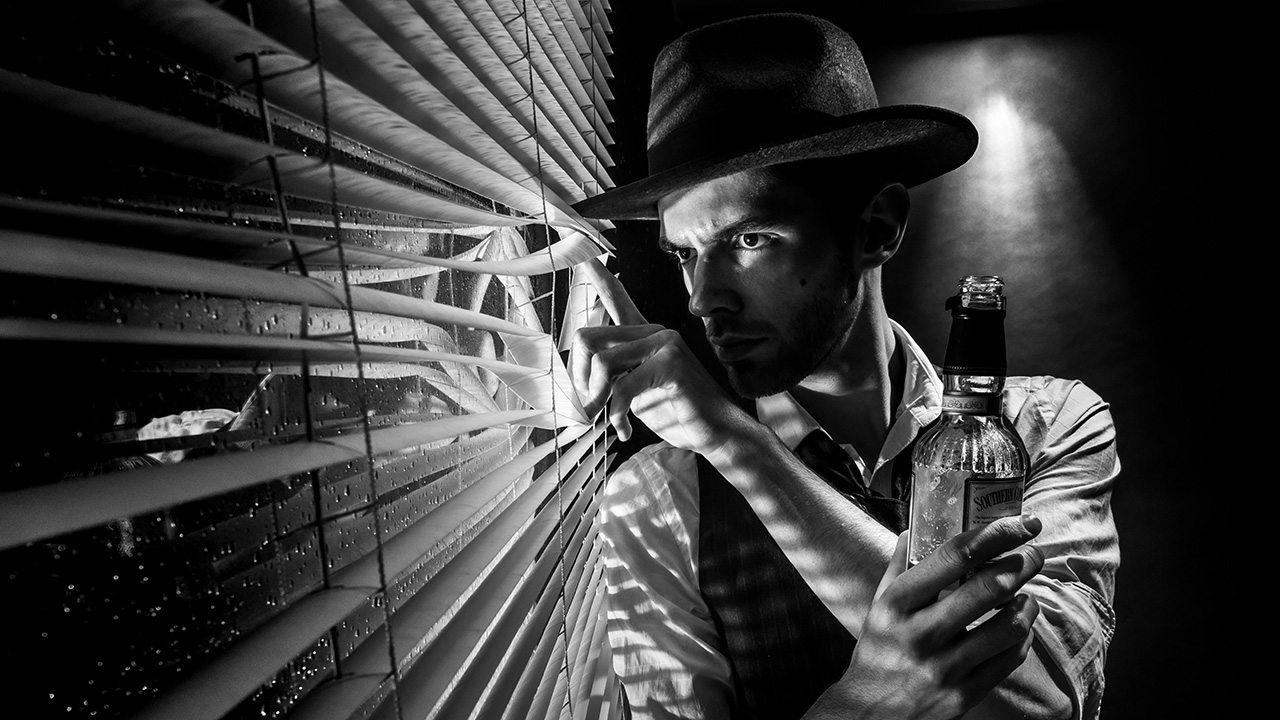
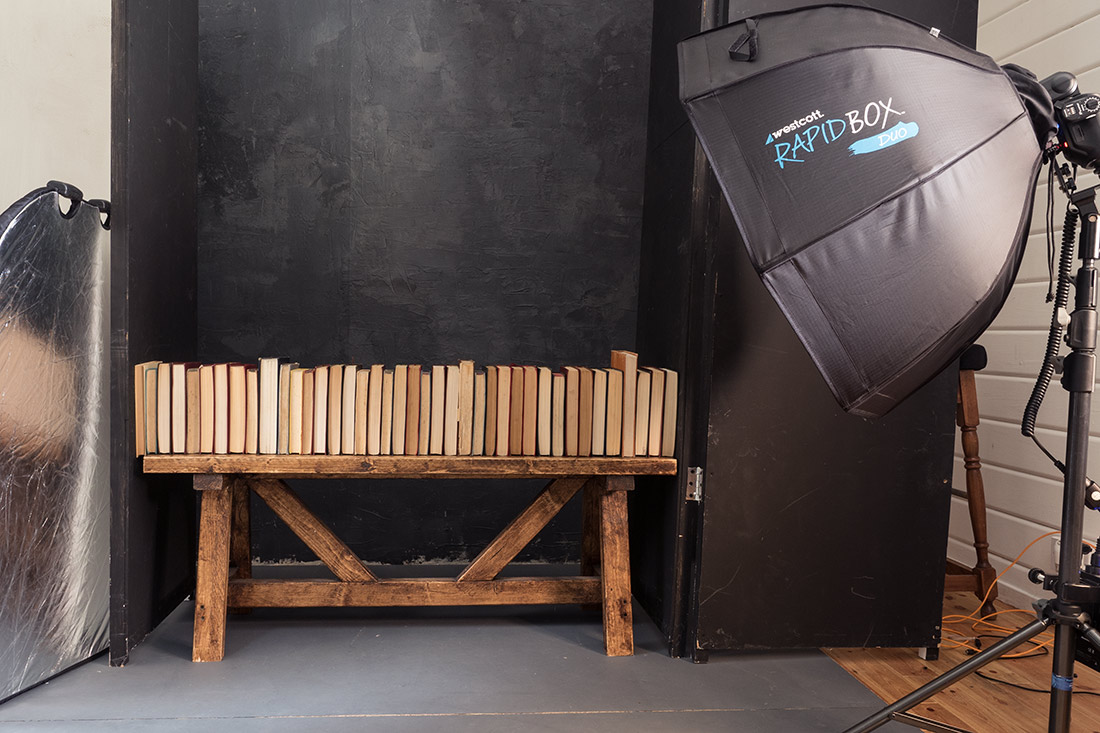
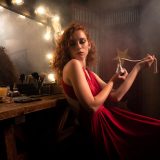
Sporting the outfit and accessories on the video shoot day was the fabulous Gracie Here’s some of the final photos and a behind the scenes shot of the behind the scenes shoot!

Secret Portrait Shoot Picture Palace

Sam here and we’re back with another Secret shoot!!! If you don’t know what that is let me explain. I  arrange a shoot that Gavin knows nothing about, he will just turn up to shoot. No planning, no research, a real challenge, as he is someone who is organised and likes to plan as much as possible beforehand.

I booked a unique cinema in a shepherds hut in Chichester called The Picture Palace

The venue had been recommended to me by one of our photographer workshop attendees Andrew. In fact he helped out on the day, just so happens we both managed to stay mostly out of shot!

I booked Fern as our model, I knew she would be perfect for a sassy vintage screen goddess look. She totally got it straight away. I thoroughly enjoyed getting the outfit together, it’s the little touches that can really matter. By the way that dress is amazing, perks of the job as I wore it Christmas day! (didn’t look quite the same with a pinny on too….)

Gavin had to get his creative mind working fast to bag some awesome shots before our booked time slot was up. The space was very limited and with gear (remember we also have all the video gear too) and the seats in place the challenge was very real. I loved the shots, they were what I had imagined and more.

Check out the video here.
[youtube]https://www.youtube.com/watch?v=OUJvQ54v2z4[/youtube]

Vintage Explorer – Plan It, Shoot It, Edit

This is the first of a new series where I take you behind the scenes on one of my shoots. You get to come along for the ride as I plan the shoot, do the shoot and edit the photos.

The theme for the first “Plan It, Shoot It, Edit” is Vintage Explorer.

Plan It
It all starts with an idea, then there’s the preparation and planning. A location has to be found, props need making and finally there’s a test shoot to do. Of course not everything goes to plan, as you’ll see.

[youtube]https://www.youtube.com/watch?v=ri5f29WqWqs[/youtube]

Shoot It
Now for the fun bit… the shoot itself. The weather was cold, so I decided to get some banker shots in my studio before heading out on location. Sometimes you just get lucky and on the way home I stop off to shoot against a spectacular sunset.

[youtube]https://www.youtube.com/watch?v=3dNqKYBZNus[/youtube]

Edit
Here’s where the photos come alive. Adding colour and contrast is all that most of the shots needed but if you want to shoot wide shots and light the model with a softbox, there’s bound to be a bit of Photoshop needed.

[youtube]https://www.youtube.com/watch?v=2onA5CUF2uk[/youtube]

Behind The Scenes… Coming Soon.

I often get asked how I come up with my ideas or what my creative process is. With that in mind the next video for Adorama TV will be a different format to usual. Encompassing the creative process behind one of my  photo shoots.

There’s a lot of planning and organising behind the scenes, all the stuff I don’t show usually. In the next 3 videos you will be part of the journey from initial concept through organising and shooting right to the end processing results and final conclusions.

You’ll see how we work as a team, that things don’t always go as planned. The importance of a plan B (and C) and much more. I hope you’ll join me, warts and all, to get a glimpse from the other side of the camera.

https://www.facebook.com/gavtrain/videos/2173023796040948/

Faded Circus 2017 Workshop – Wrap Up

Our big summer workshop is becoming something of an annual event. This years theme was “The Faded Circus” which we held at Square One Studio in Surrey on two dates in July and August. Steve, the studio owner, allowed us to take over both his studio areas and even gave us rare access to his barn for that authentic circus feel.

We were joined by 12 photographers for each date and two amazing models, Beth Smith and Brian Mansi. In order to keep the groups small and the shooting time high, I once again roped in the help of Tommy Reynolds as a group leader who did a brilliant job passing on his ideas and passion.

We’ll be running this workshop again in April 2018 (exact date TBA). Register your interest here 

For the morning sessions Beth took on the roll of a show girl. We had the whole of the main studio to play with and set up various areas for Beth to sell popcorn, brave the knife throwing board and even had a little back stage area.

Brian became the circus ring master and carnival carnie. Being outside in the barn meant we could put straw on the floor and had room behind for some creative back lighting and LOTS of smoke.

After lunch it was all change. Beth was in the second studio which we’d set up as a fortune-teller’s tent. Ouija boards, crystal ball and even a little bit of fire added to the shoot. For the second shoot, we made time at the end to bring Beth and Brian together. It was a bit of a bun fight for the photographers but brilliant fun.

Who doesn’t love a clown? Well lots of us don’t and Brian played that hand to perfection. Miserable, angry and at times a little bit scary, it’s exactly what the faded circus theme was all about.

There’s nothing more frustrating to me than seeing a workshop organiser shooting photos for themselves at the expense of the attendees. As a result I only took a few shots. Fortunately, the photographers who joined us took thousands of photos and below are a few that I’ve been sent so far.

High Speed Sync Flash

High speed sync is the one flash feature I’ve been missing since swapping to Olympus from Canon a few years back. Yes I could work around it with ND filters or shooting at either end of the day but neither worked as conveniently as high speed sync.

Also known as FP flash or just HSS, flash manufacturers have been slowly catching up and now there are a couple of brands supporting Olympus, Panasonic and Fuji. The first I came across was Profoto but sadly they’re way beyond my budget. Then Godox introduced the TT350o which works like a charm.

[youtube]www.youtube.com/watch?v=jywWCwvf7ps[/youtube]

As you can see in the video above, HSS allows the camera to shoot at shutter speeds far beyond the tradition flash sync speed of around 1/250th sec. The upshot of reducing the exposure time is that you either reduce the ambient light contamination (perfect when shooting inside with large apertures) or if you want to record the ambient and flash together, you can shoot with wider apertures for less depth of field.

The Godox TT350o flash/trigger that I used here is branded as the Adorama Zoom Mini o (O for Olympus… and Panasonic) there’s also a f version as well as a C, N and S version.

Since then Godox have launched the X1T-o also known as the Adorama Flashpoint R2-o in the USA or the Pixapro ST-iii T in the UK

Film Noir in a small studio

How do you sum up the film noir style? For me words like dark, moody and sinister would be fitting but there’s a lot more to it then that. There’s the style both in lighting and subject matter to consider too.

I always think of Film Noir as being high contrast, black and white scenes lit with hard light resulting in strong shadows. Rightly or not I also think 50’s style crime drama and that’s what I set out to produce in my small home studio.
[youtube]www.youtube.com/watch?v=-9o1Pc6uDRU[/youtube]

The trick here was to set my main light low and hard (No softboxes or umbrellas) That gave great shadows from the Venetian blinds and the up light gave a sense of menace, as well as the subtle feeling our hero was on a higher floor looking down.

The rest was down to Styling. So asking Brian (the model) to have a bit of stubble, giving him a bottle of whiskey (or cold tea in this case) and of course, having him hold a vintage kids cap gun all helped set the scene and tell the story.

Vintage Bookshelf – Friday Freebie


Recently IBook-Background-GAVTRAIN did a shoot which required a background made up of vintage books (video coming soon) and as luck would have it, I found 40 old books at a local boot sale for a bargain price. The books looked brilliant in the shoot but at the end of it I was left with a box full of slightly damaged Reader Digest books which I no longer needed.

So what do you do with 40 unloved books? Well the answer is obvious. I made them into a Friday Freebie to share on my blog. The more eagle eyed will notice there’s a few more books here than the 40 I started out with. You can thank the, magic of Photoshop for that.

You can download the book background here:
https://drive.google.com/file/d/0B_Mmmm3K1utNeVFyV0s4WUo0aVE/view?usp=sharing

This isn’t a template or a texture, it’s a stock image for you to use as you see fit (subject to the usage rules below).

BTS-Books-FF

As you can see from the behind the scenes shot above, I shot the books on a wooden bench in my studio. I then randomised the book order a couple of times and took some more shots. In Photoshop I did a quick cut and paste job to create the illusion of book case stacked high with books. You’ll also notice that you only see the pages of the book and not the spine. That’s a deliberate choice on my part for a couple of reasons but mostly because the pages are the bit with all the texture.

If you create a photo using the Friday Freebie then let me (and everyone else) know by leaving the link in the comments below.

Usage rules
The image is copyright Gavin Hoey 2016. Use is limited to any personal but non-commercial purposes. Please share the Friday Freebie by linking back to this page. Do not redistribute the original image without my permission.

Download instructions
1. Click on the correct download link below (no sign up is needed)
https://drive.google.com/file/d/0B_Mmmm3K1utNeVFyV0s4WUo0aVE/view?usp=sharing

  1. Click the Download button download_icon
  2. The download should start automatically
  3. No support is provided with the Friday Freebies. If you need help Google or YouTube the question and you’ll almost certainly find the answer

Gatwick Aviation Museum Re-Opening

I’ve been to the Gatwick Aviation Museum more times than I can remember but for the past year it’s doors have been closed to visitors as it underwent major alterations. The great news is the new hanger has been completed, the planes have been moved inside and it’s ready to re-open its doors to aviation enthusiasts and photographers alike.

To celebrate the re-opening, the museum is holding a special four day event over the Easter weekend. As well as their usual displays, they’ll be joined by some special guests. More details can be found on their website www.gatwick-aviation-museum.co.uk

Gatwick Pano NEW

I’ll be at the Gatwick Aviation Museum on Saturday 26th March from around 11:30am until mid afternoon. If you fancy coming along I’ll be on hand to offer some photo advice whilst you get up close to some classic British aircraft.

The Gatwick Aviation Museum always had a reputation of being extremely welcoming and accommodating to photographers. So even if you can’t make it along this weekend you’ll find the volunteers at the museum will be delighted to show you round most Fridays, Saturdays and Sundays.

easterposter

Tips for Better Bokeh

Recently I shared a few of my bokeh shots as a Friday Freebie. Nice as they are, nothing beats shooting your own stock shots and luckily bokeh is easy to do. This time of year is also perfect for bokeh shots with many places covered in festive lights which makes brilliant bokeh.

In the video below I cover the basics of bokeh, what it is, how you can control it and some simple tips for getting some great photos with it.

[youtube]https://www.youtube.com/watch?v=4zBfBDNyGpA[/youtube]

OK, so you’ve mastered bokeh and it’s time to go beyond basic bokeh. In part 2 of this mini series I dive a bit deeper by adding flash, doubling my bokeh count and changing the bokeh shape.

[youtube]https://www.youtube.com/watch?v=3mXg7-Juvrc&feature=youtu.be&a=[/youtube]

Bokeh is brilliant fun to play with but remember it’s not just for Christmas, the basic principles can be applied year round on any shot that has small points of light in the background.