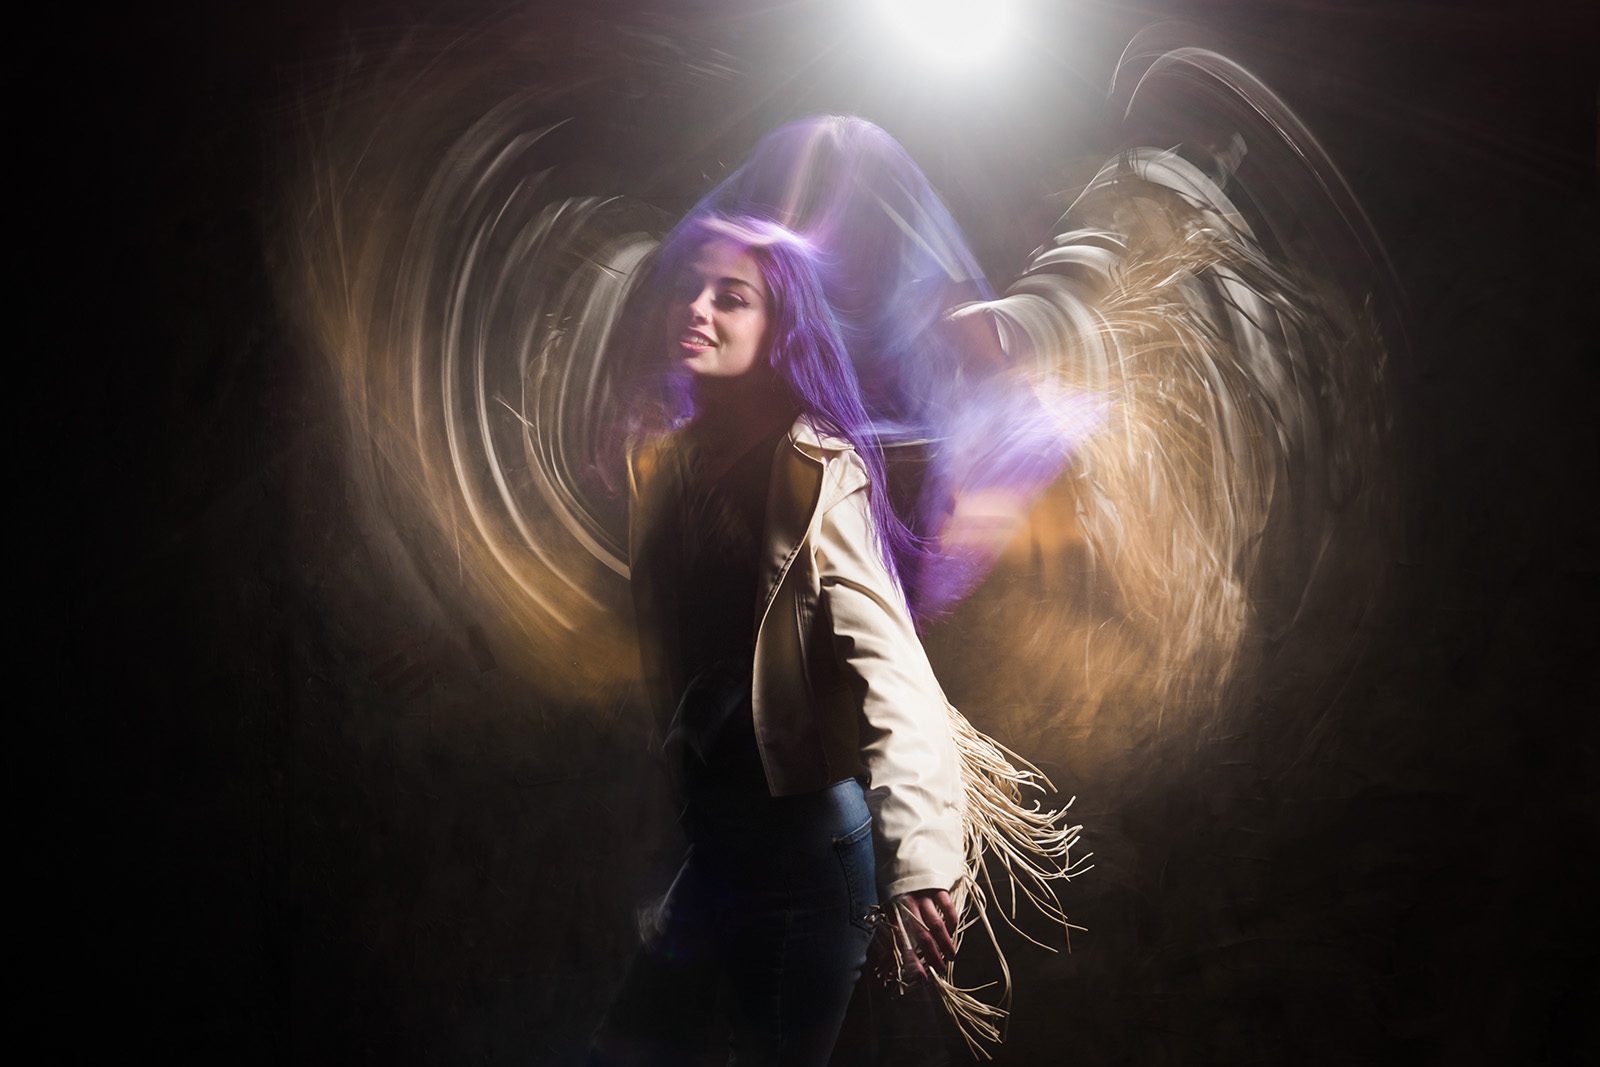
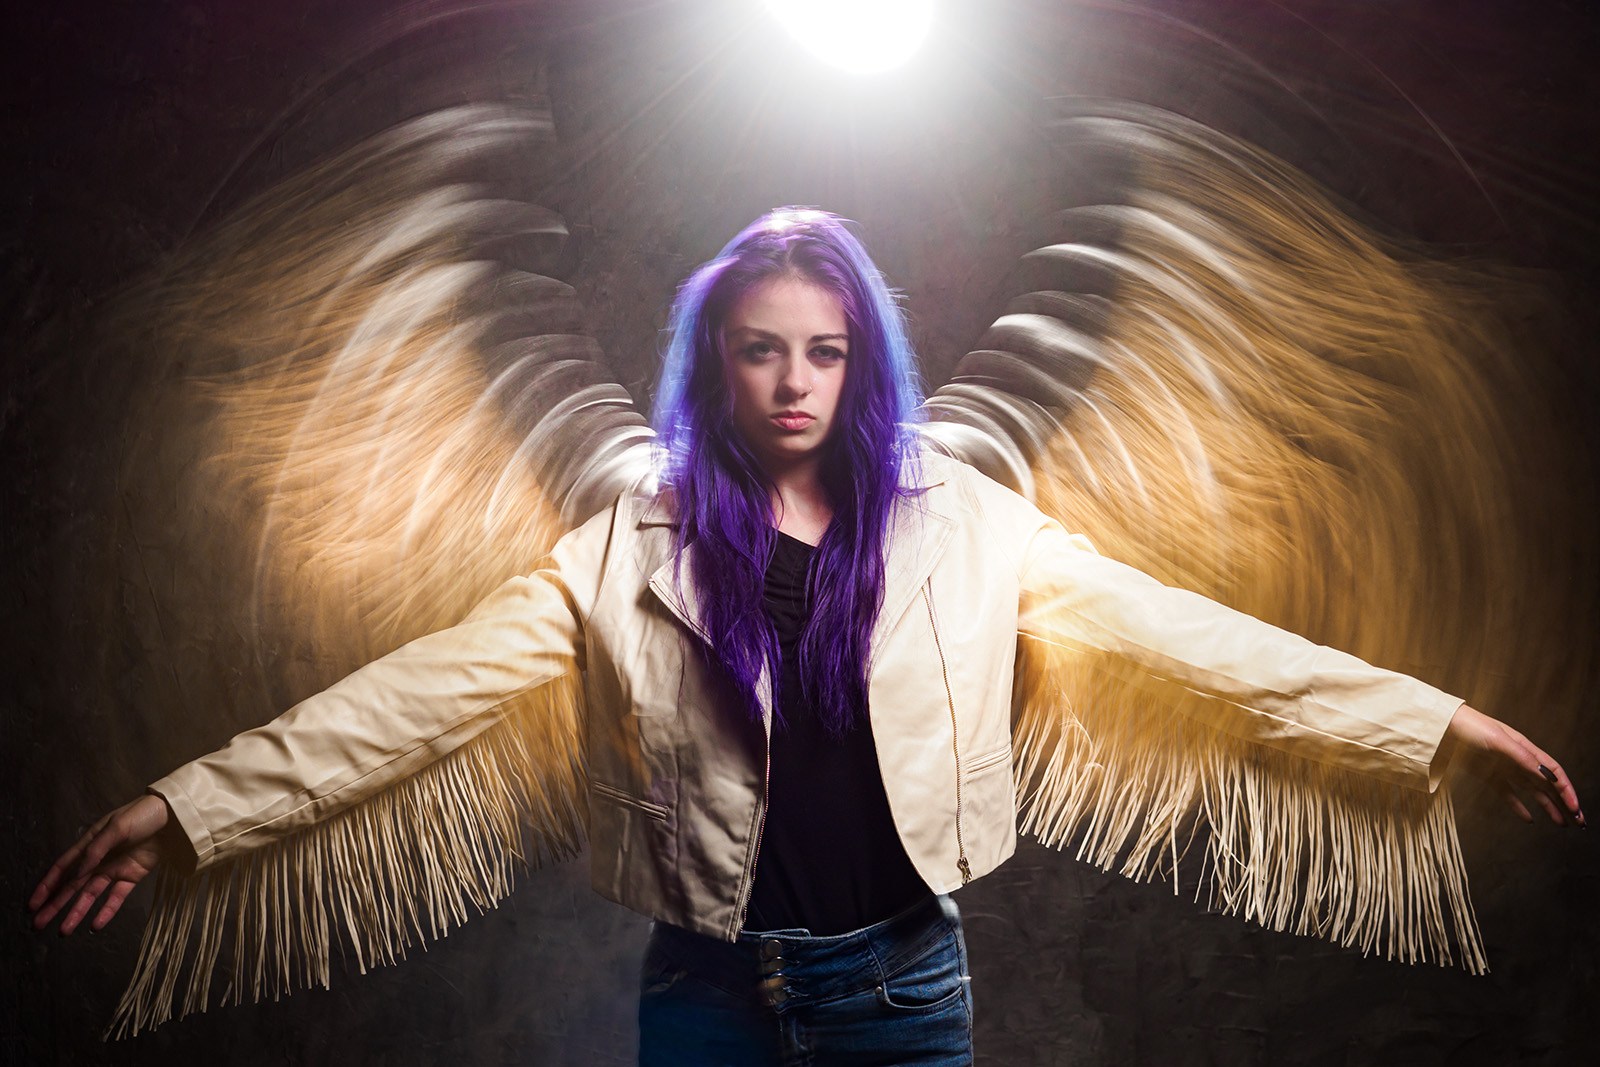
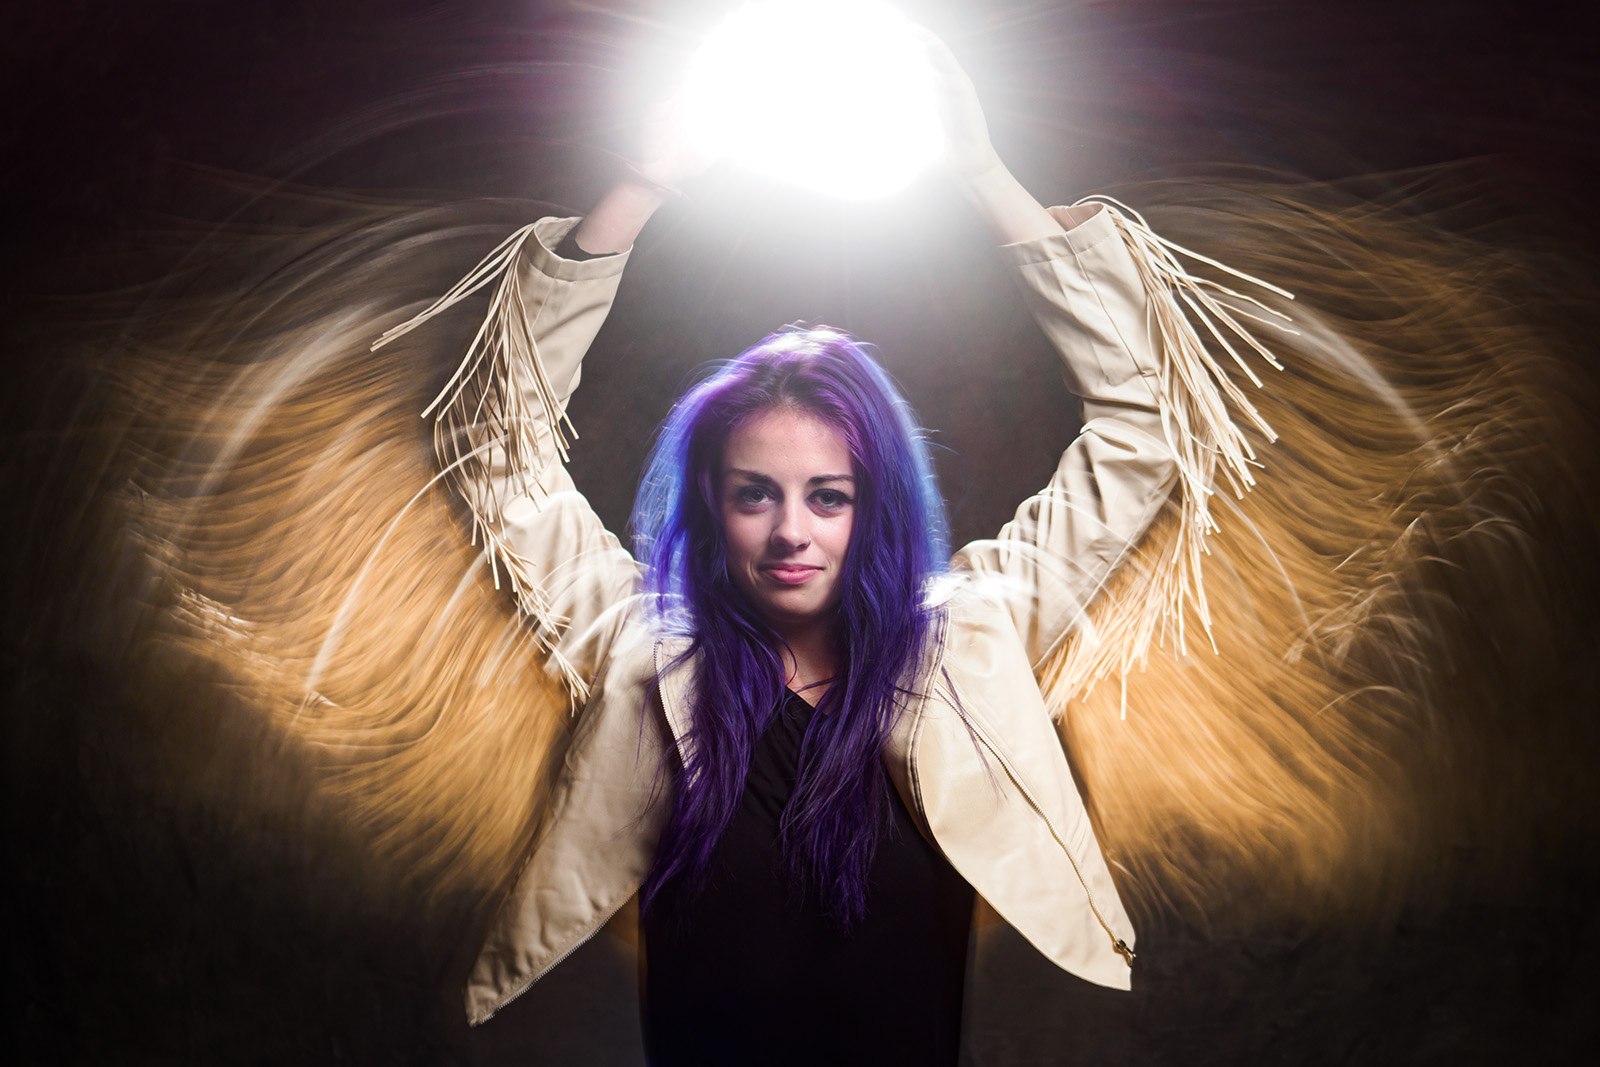
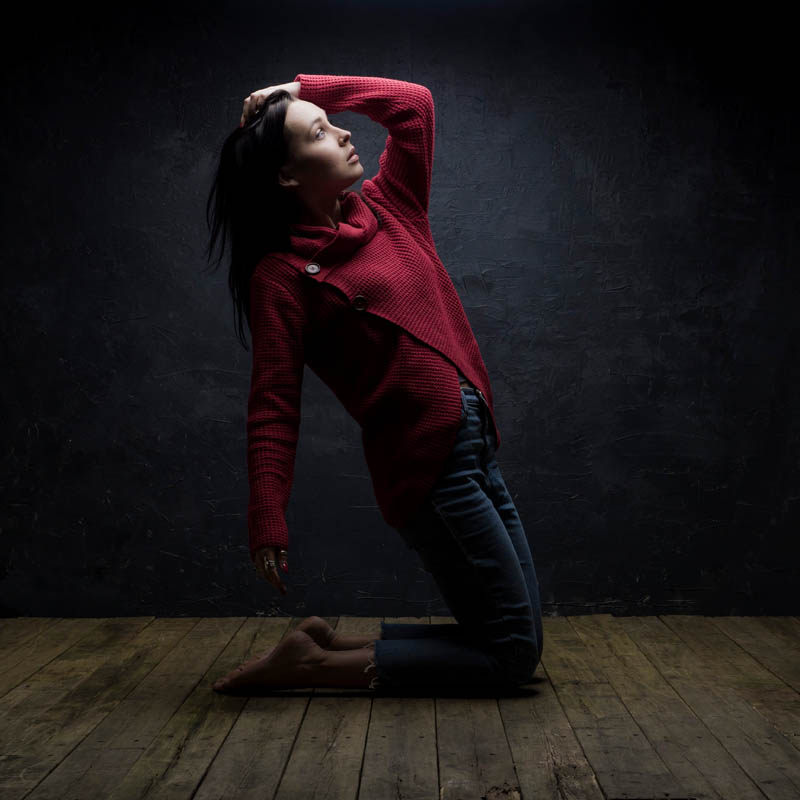
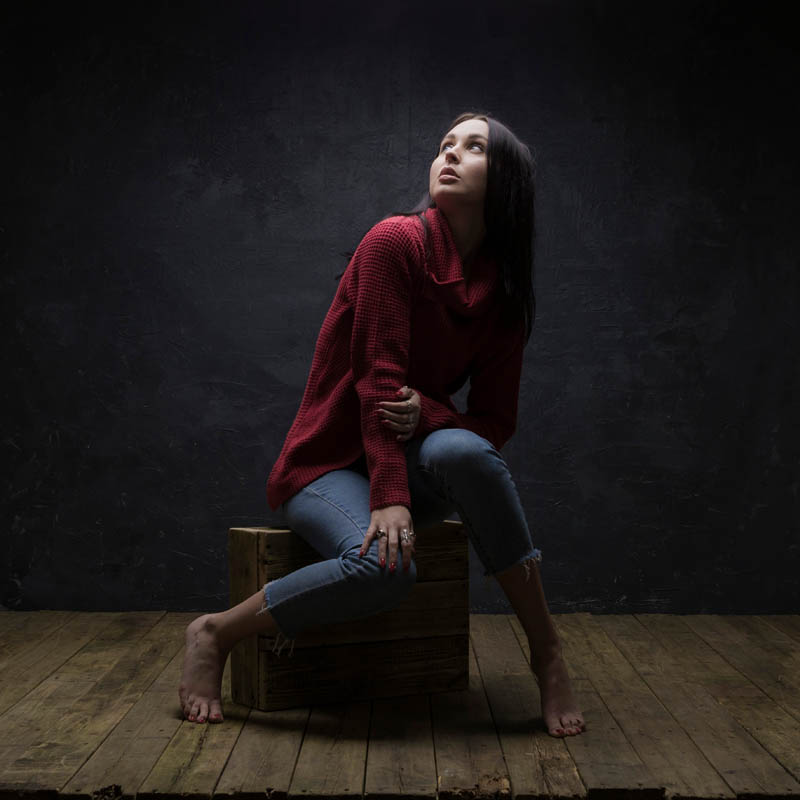
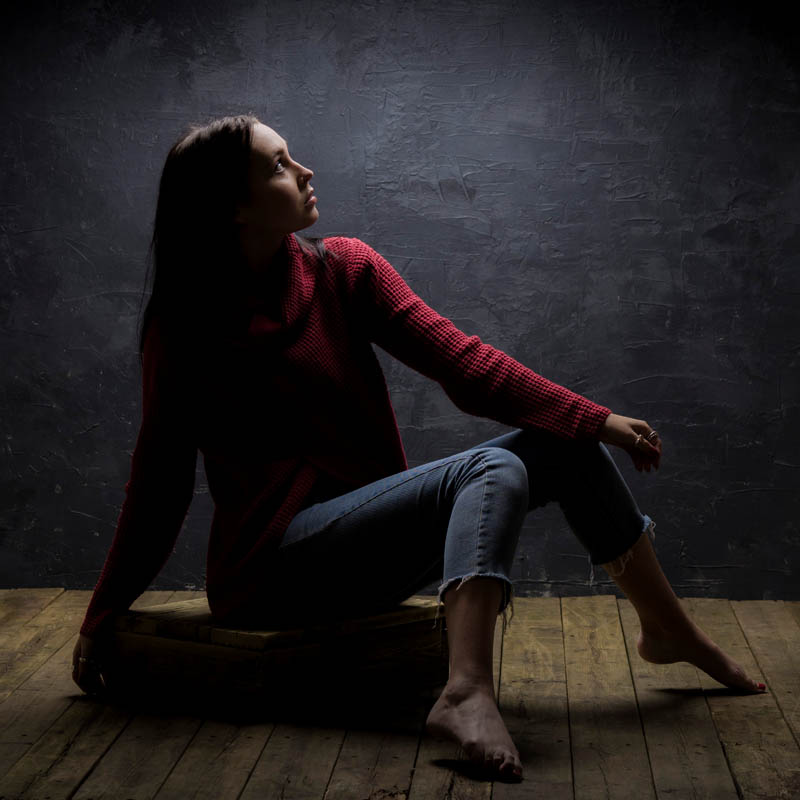
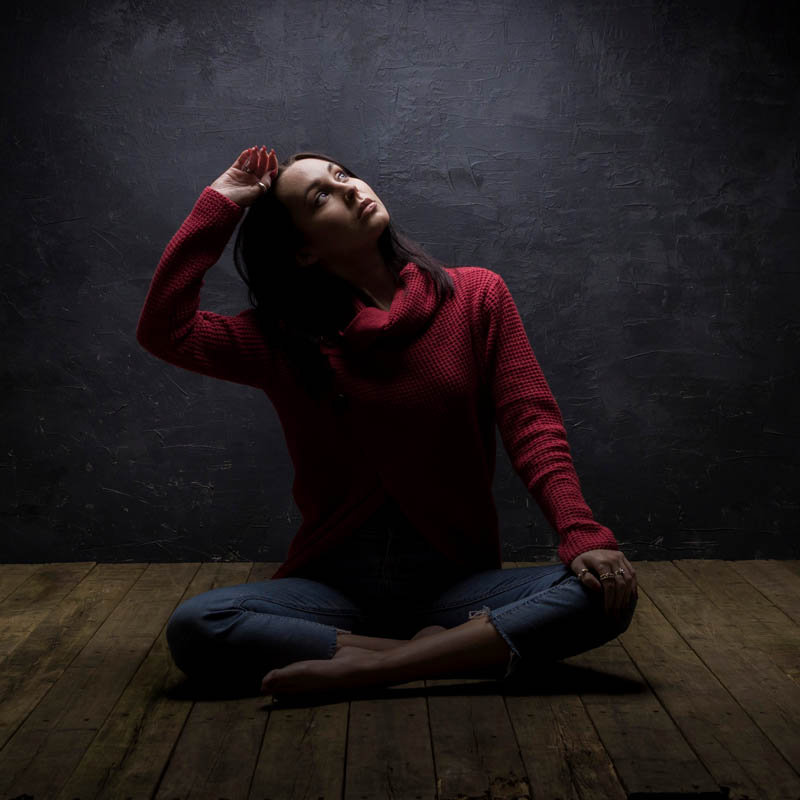
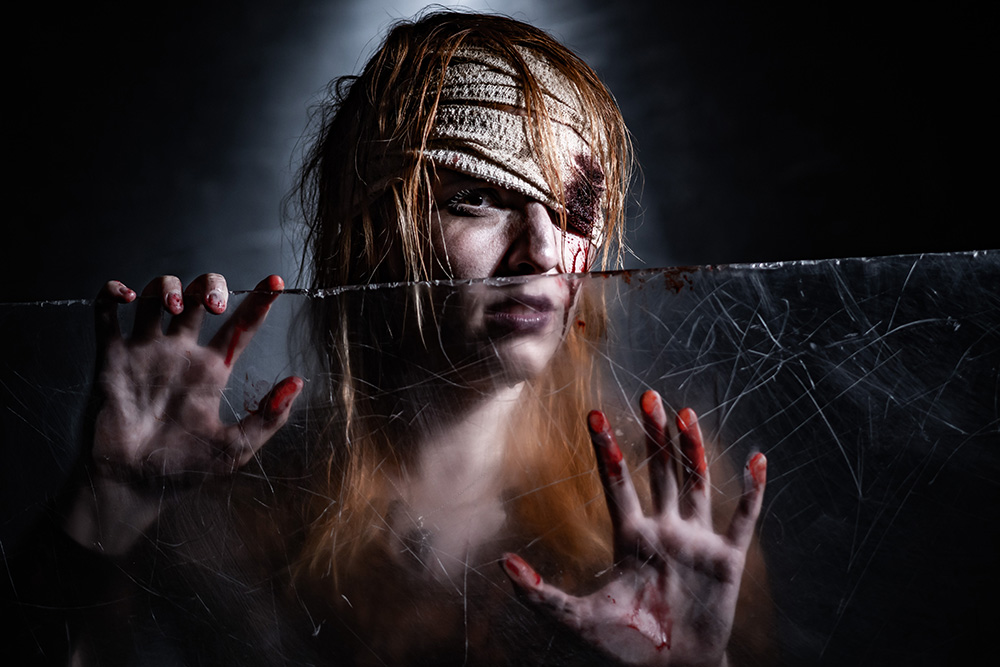
Freezing and Blurring Movement with Flash

Capturing the sense of motion can be done by freeze the action to cature a unique moment in time, or you could let the movement blur to give the sense of time passing. But why choose one or the other when you can have both in one shot.

In this video I’ll cover everything you need from using a long exposure with ambient light, mixing in flash, and finally the advantage of rear or 2nd curtain sync flash. Even with the limited space of my small home studio, you’ll be surprised at just what’s possible when you mix flash, LED lights, and motion together.

Gear used in this video
Godox 300 Pro https://amzn.to/2Mf1Vmg
Godox Transmitter https://amzn.to/3o5SOl6
C-Stand and Boom Arm https://amzn.to/3iFUCjt
Olympus E-M1 Mark iii https://amzn.to/3iAdIaE
Olympus 12-40mm f/2.8 Pro https://amzn.to/393NVVf

Model: Jessica Maria https://www.instagram.com/jessicamariamodel
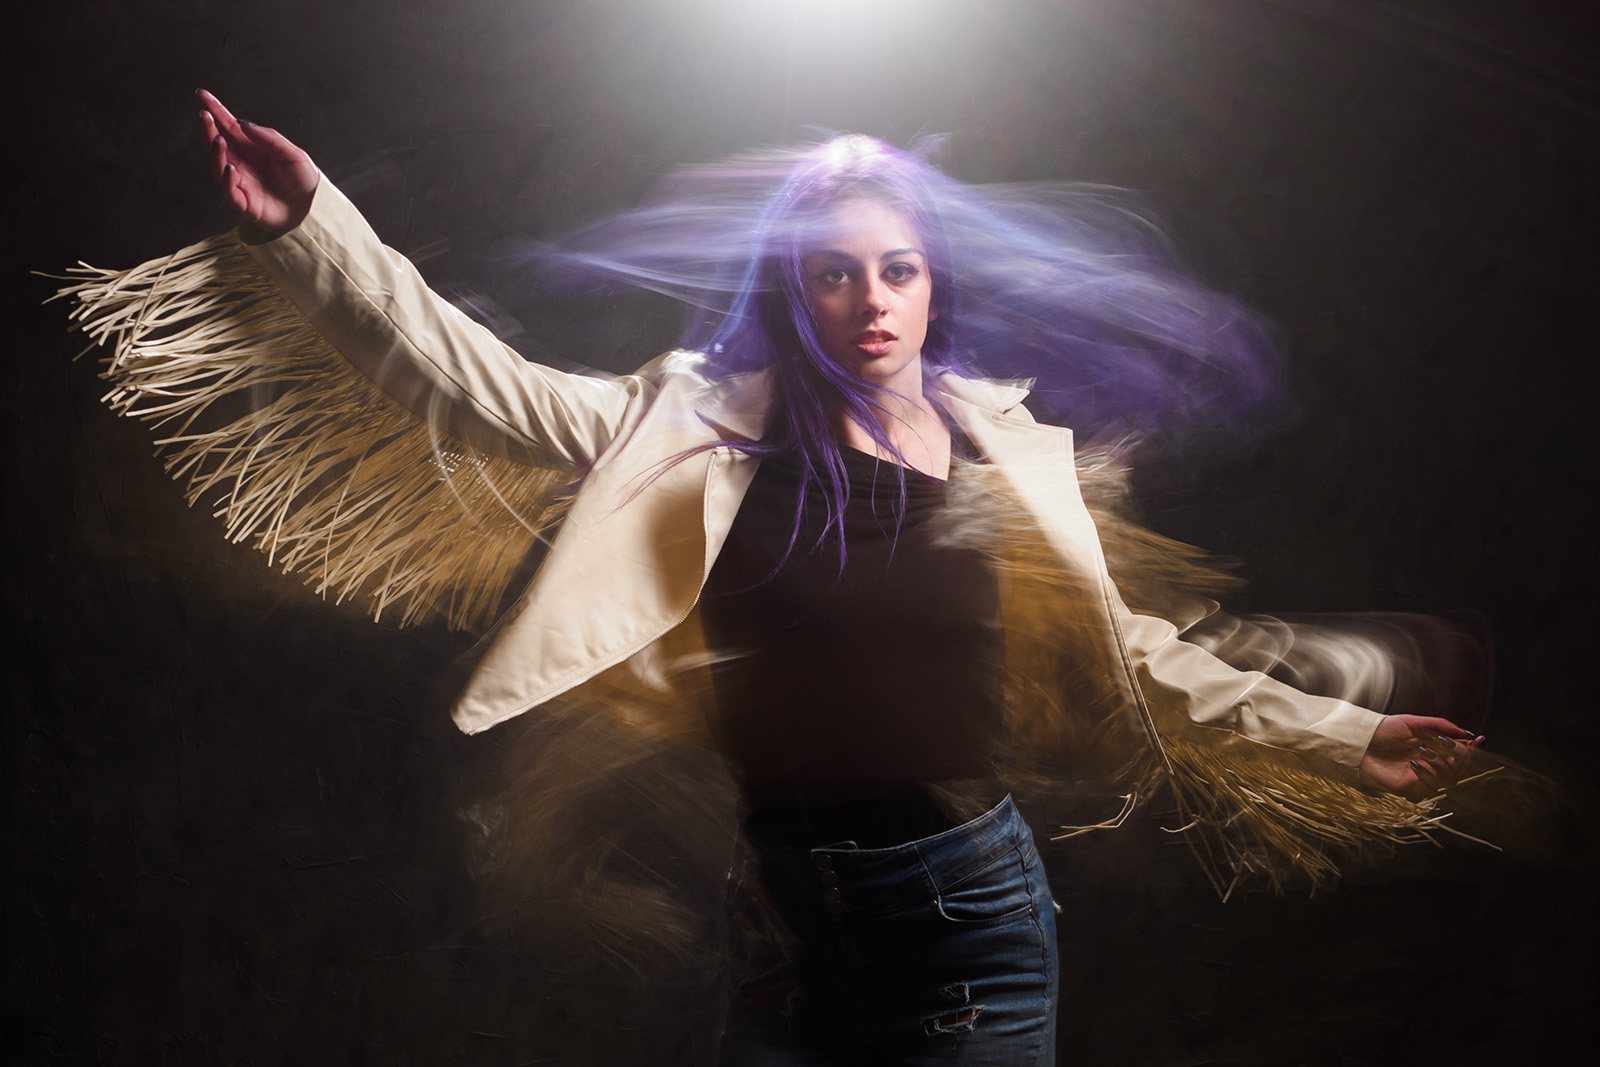
Smoke Photography (almost) LIVE!

About 10 years ago I made a video all about photographing smoke patterns. Dig around on YouTube and you’ll find it but a lot has changed in that time and I don’t just mean how grey my hair has gone.

I felt it was time to revisit photographing smoke patterns and Olympus UK were kind enough to host the live shoot on their Facebook page. If you missed it live, you can catch the whole thing here

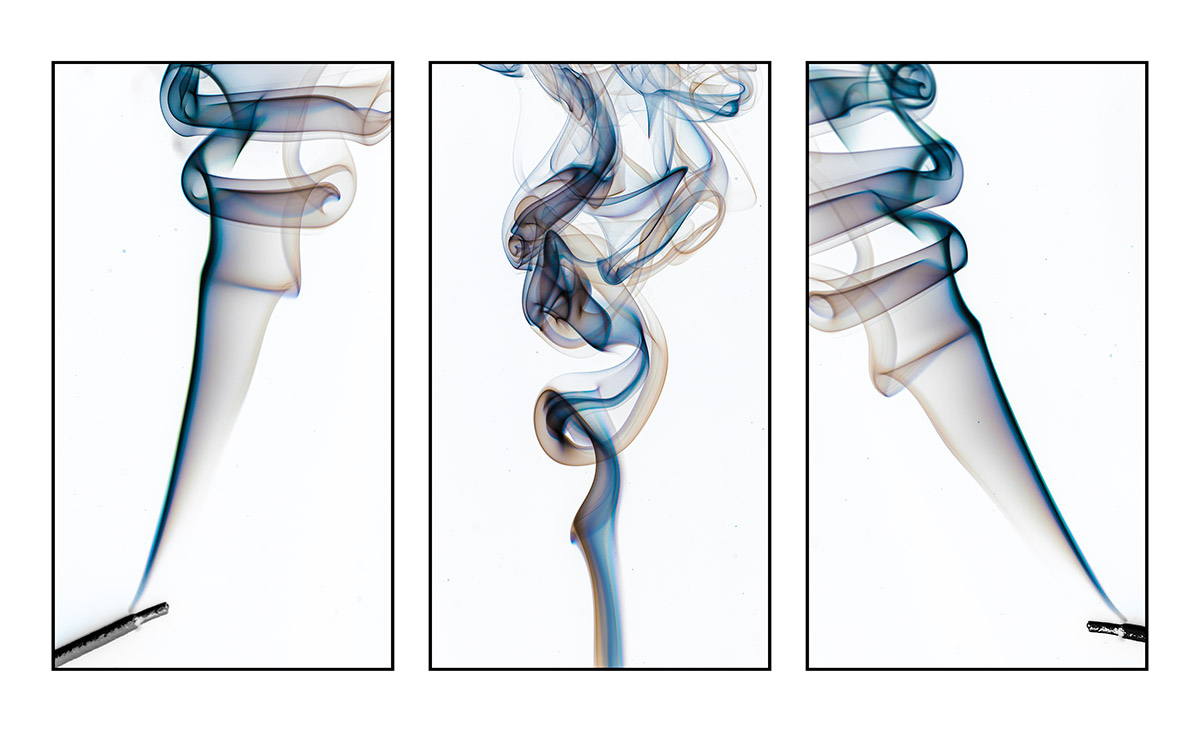
At the end of the demo I made a triptych from three smoke images. To save time I created a Photoshop action which automated the process down to one single click.

Since the demo I’ve had many requests for the triptych action, so here it is.

To action assumes a few things. First it will make the triptych from three images that are already open in Photoshop. Next it assumes they’re the newest images you have on screen. Finally, all the images need to be exactly the same size and shape.

Usage rulesThe Photoshop Action is copyright Gavin Hoey 2020. Use is strictly limited to any personal but non-commercial purposes. 
Please share the action by linking back to this page. Do not redistribute the original action without my permission.
No technical support is provided.

Download instructions     1. Click on the correct download link below (no sign up is needed)
https://drive.google.com/file/d/11bJ2fcJsmuDYB4sKGTAv6trw1ozW0oqs

  1. Click the Download icon download_icon
  2. The download should start automatically
  3. Unzip the download and install the Photoshop Action
  4. No support is provided with the Photoshop action.
  5. If you need help Google or YouTube the question and you’ll almost certainly find the answer

Instant (Overhead) Rain Action

On a recent live stream I created an overhead, rainy day scene in my small home studio. If you missed it, I’ve added the video below. During the stream I added some rain using a Photoshop action and as promised, I’m sharing it here.

The action does a few things you need to be aware of. First it makes a duplicate of your image, so the original is always untouched. The effect is random, so running a few times will give different patterns of rain. I’ve also left the rain as layers, so you can fine tune as needs be and if you need a higher resolution version, you can copy, paste and re-size the rain to your original image.

If you create a photo using my Photoshop action then let me (and everyone else) know by leaving the link in the comments below.

Usage rules
The Photoshop Action is copyright Gavin Hoey 2020. Use is strictly limited to any personal but non-commercial purposes. 
Please share the action by linking back to this page. Do not redistribute the original action without my permission.
No technical support is provided.

Download instructions
     1. Click on the correct download link below (no sign up is needed)
https://drive.google.com/file/d/1wB5LoehRGOSYA1k3WF7suyNi94J3ep_e

  1. Click the Download icon download_icon
  2. The download should start automatically
  3. Unzip the download and install the Photoshop Action
  4. No support is provided with the Photoshop action.
  5. If you need help Google or YouTube the question and you’ll almost certainly find the answer

BTS Dressing Room Shoot

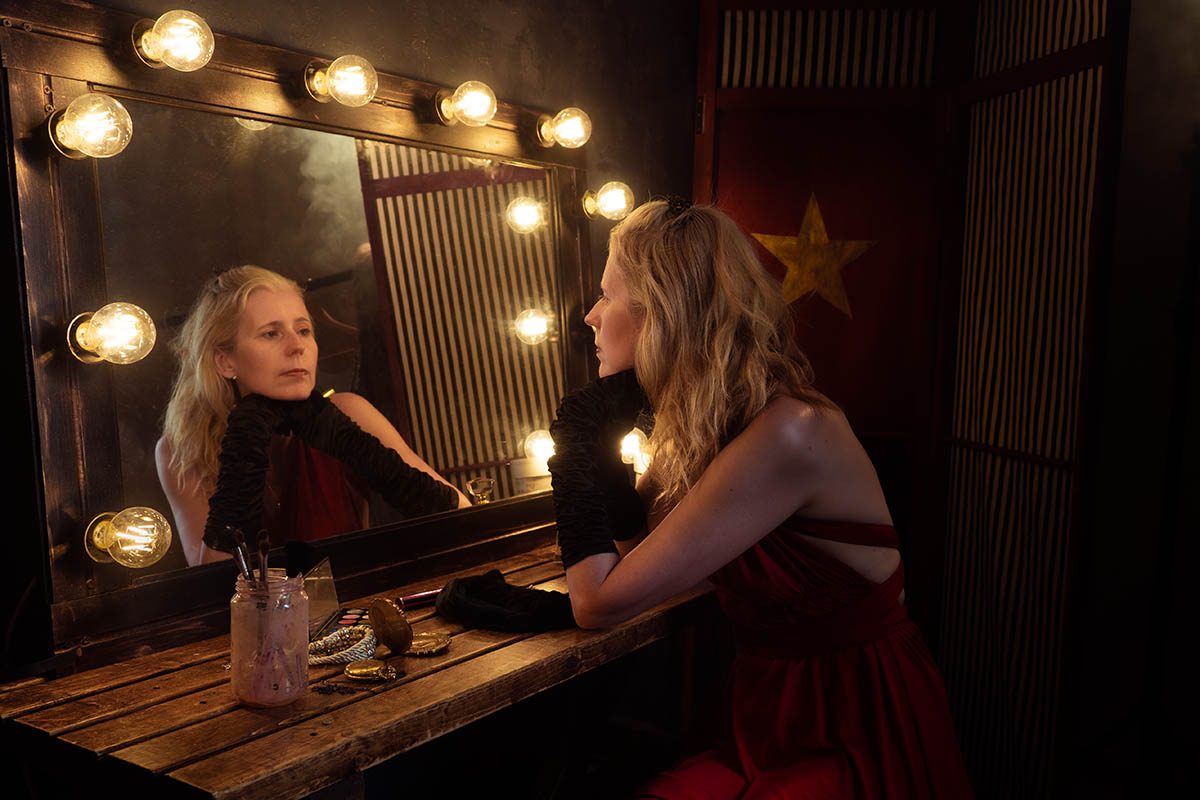
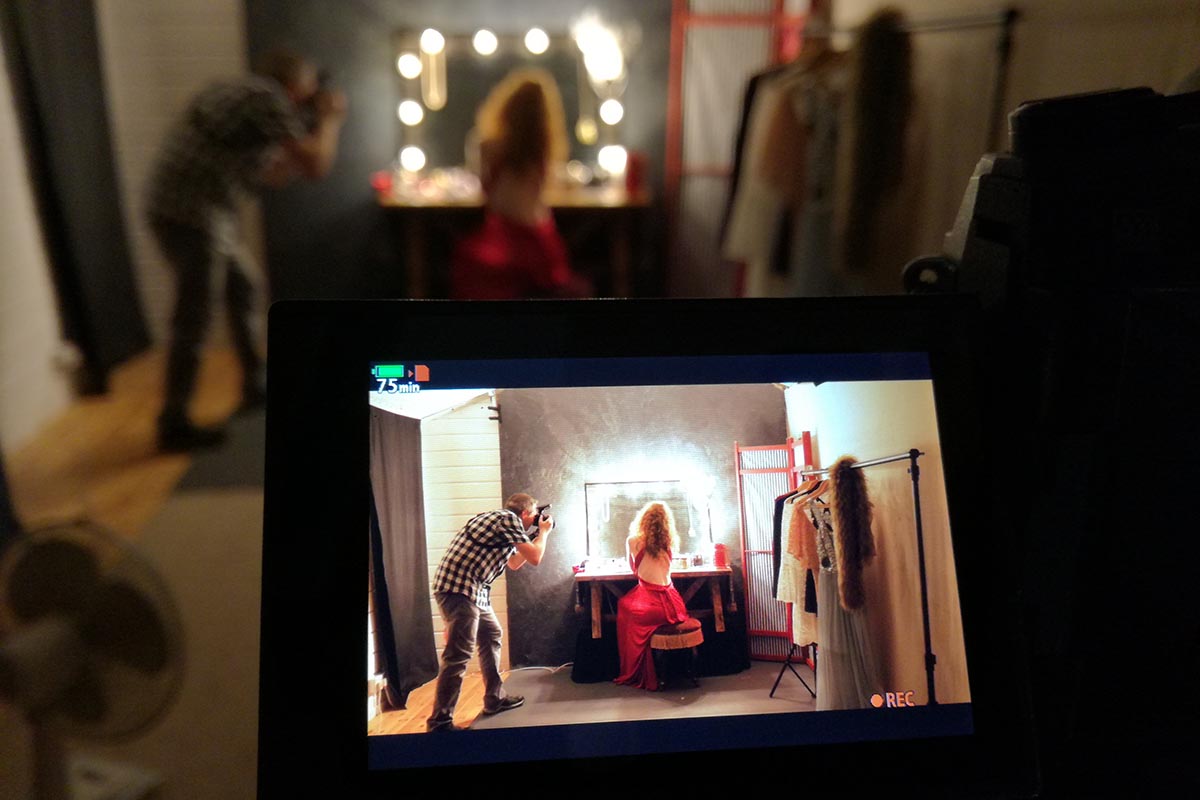
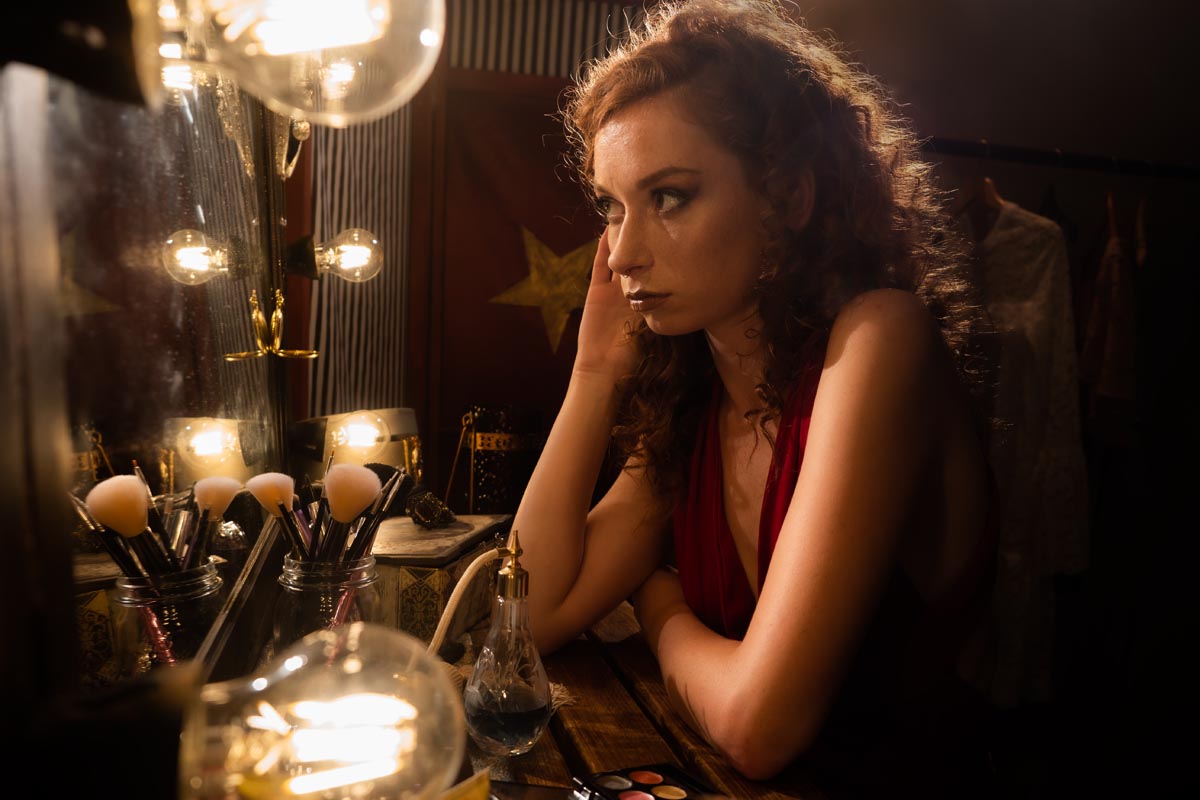
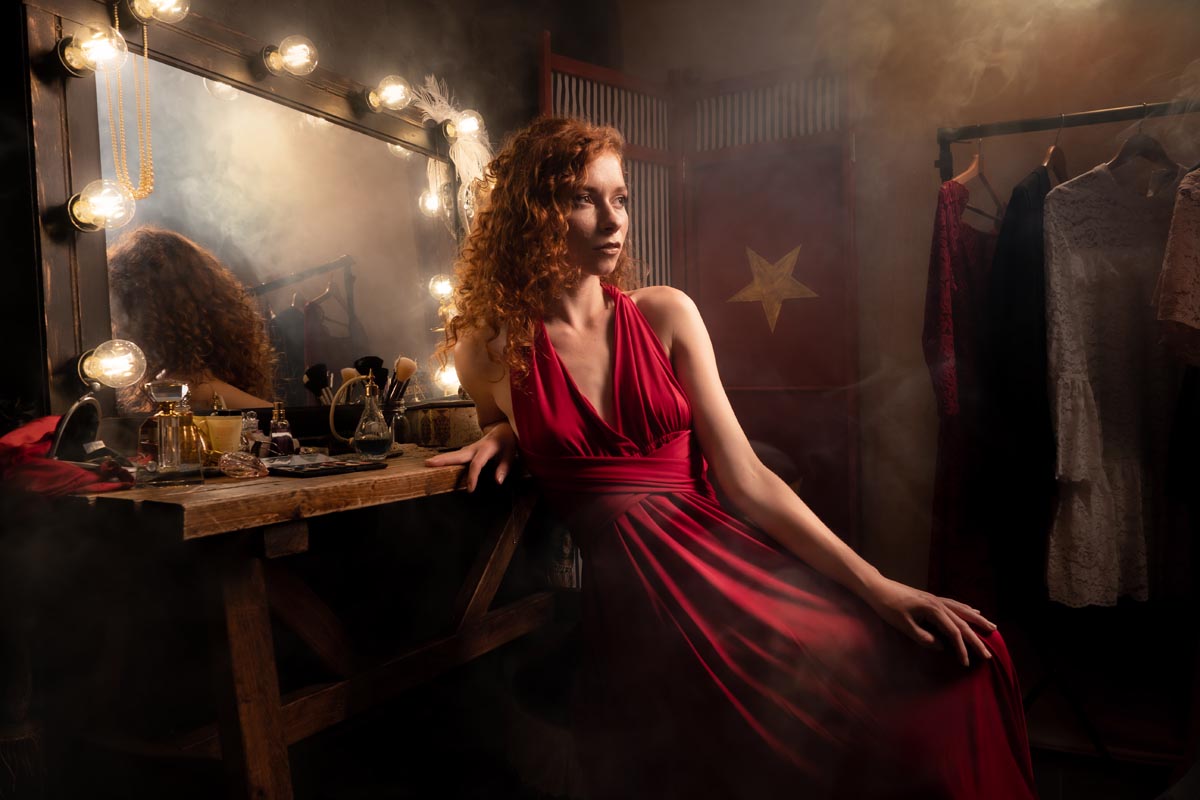
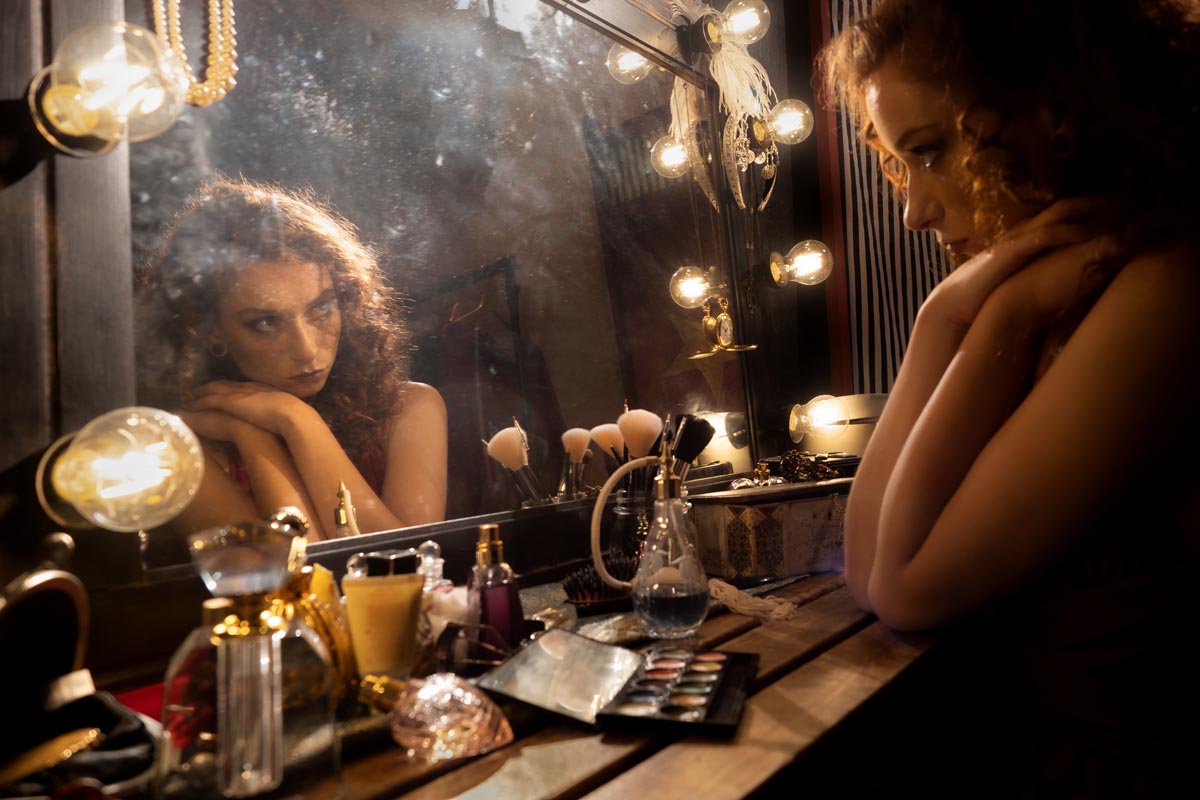
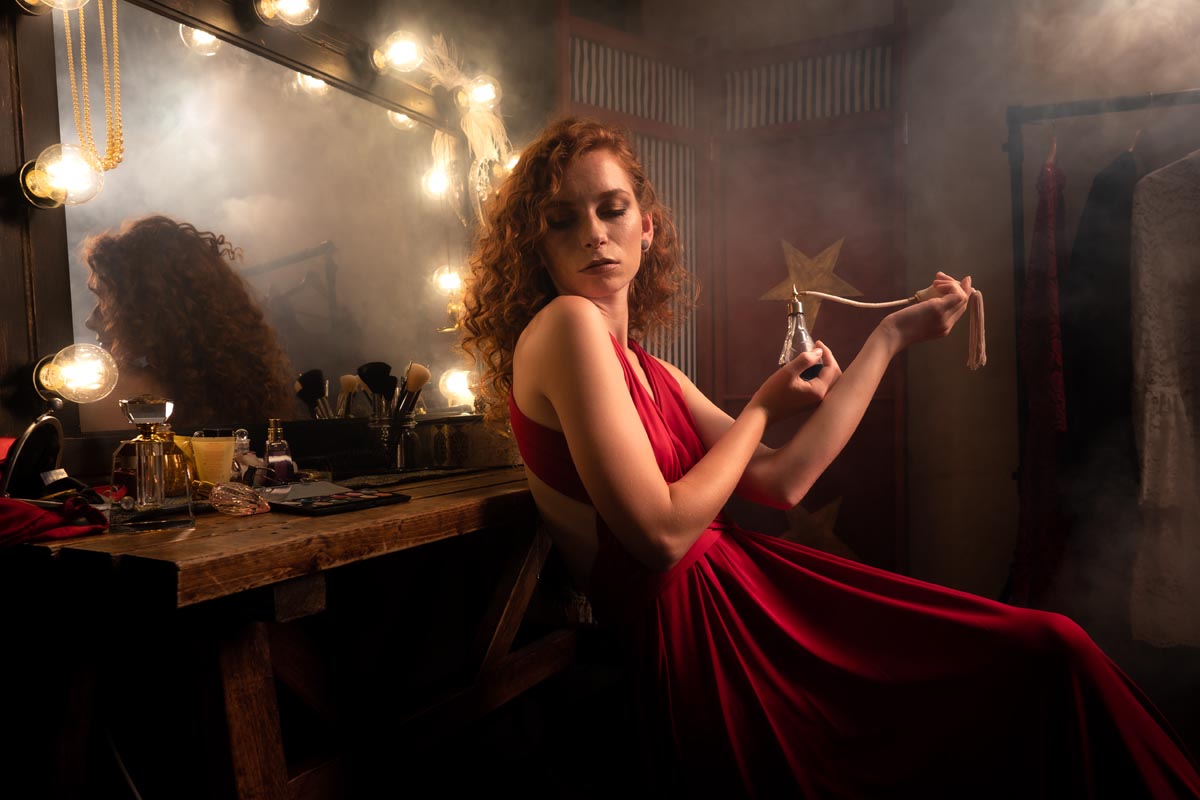
Gavin had an idea of creating a dressing room look, a behind the scenes glimpse at a theatre style. A real challenge in his small home studio, but he reckoned he was up to the challenge!

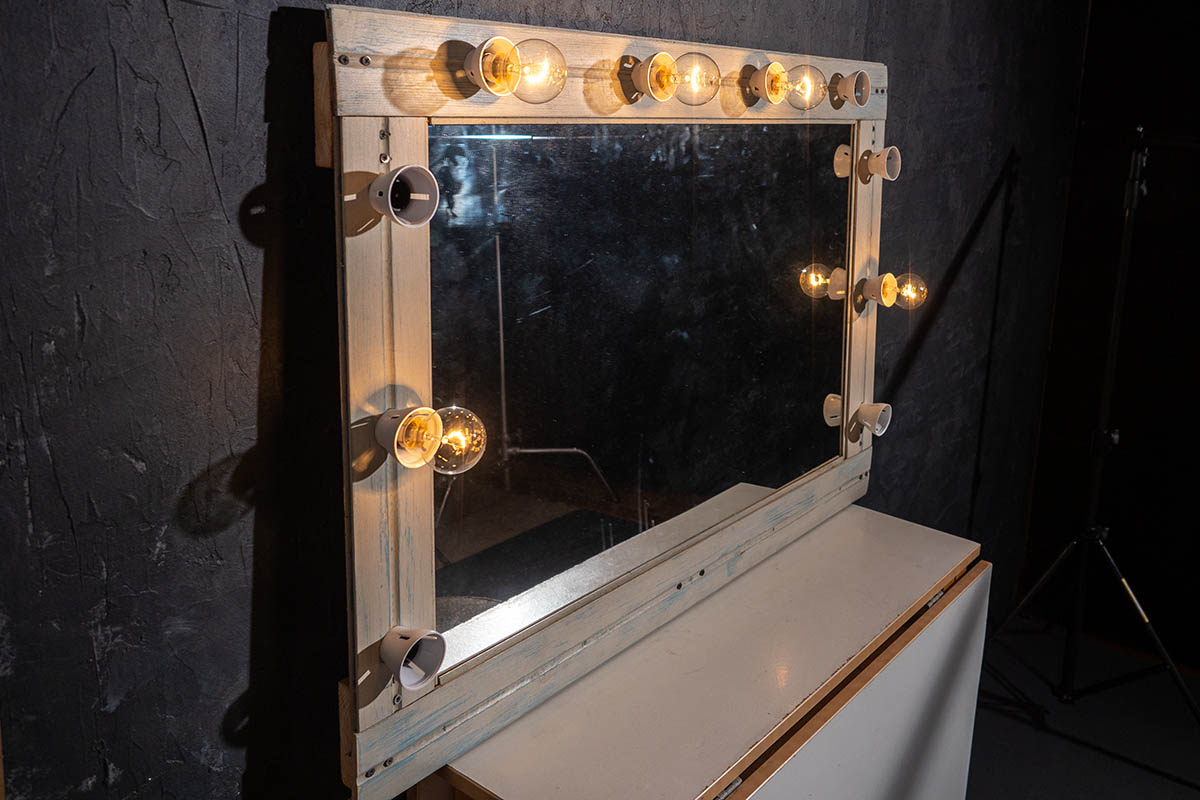
The main thing we felt we needed was the classic and slightly cliche mirror with lights. Surely we’d be able to get our hands on one of those without breaking the budget…..not an easy task as it turns out. Not one to be put off, Gavin decided “I can make one” (a familiar sentence uttered in our house, with varying degrees of success!).

We recycled the mirror from a previous shoot and Gavin made a surround using some of my old tongue and groove planks. I gave it a paint and gilded effect. Although a bit labour intensive, it came out really well and worked like a charm when we did a test shoot. Ten bulbs would generate a lot of heat and as we were filming on an already hot day, Gavins choice of LED bulbs proved to be a good one.

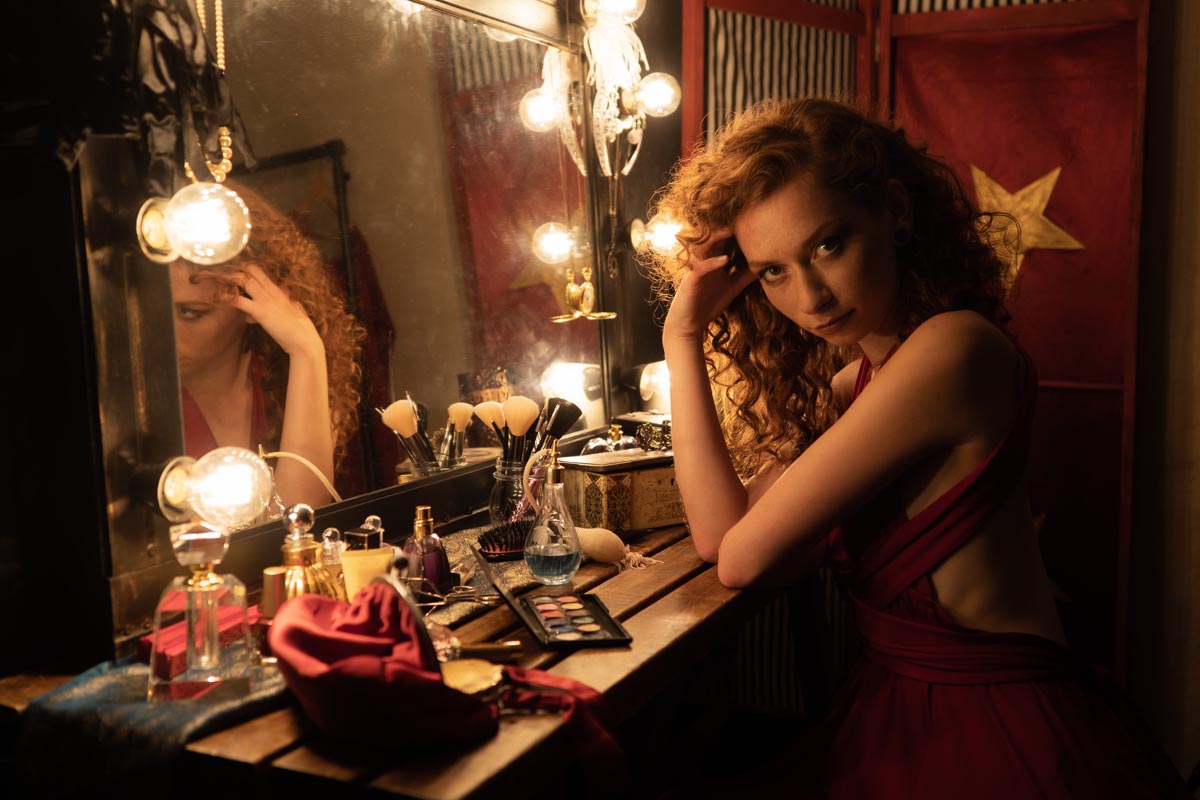
To compete the look we purchased some props and recycled others from previous shoots to give our ‘dressing room’ a vintage and slightly eclectic look.

[youtube]https://www.youtube.com/watch?v=jBYPlTfE4ck[/youtube]

Sporting the outfit and accessories on the video shoot day was the fabulous Gracie Here’s some of the final photos and a behind the scenes shot of the behind the scenes shoot!

Tulip Field Portrait Shoot

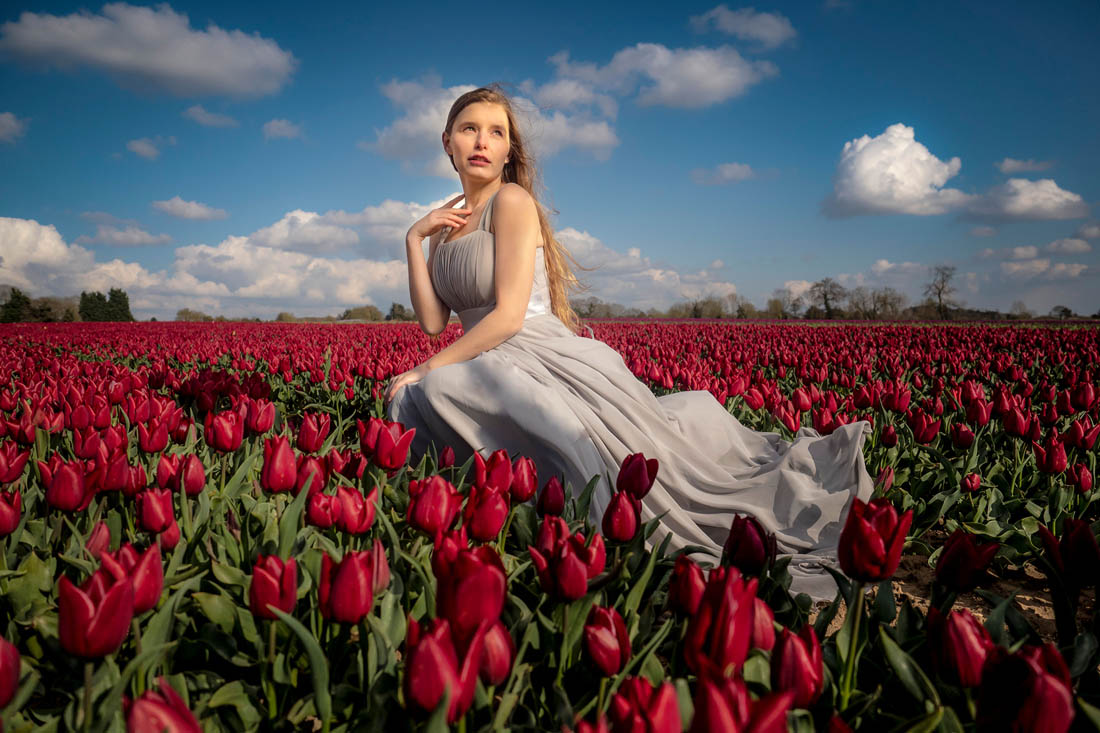
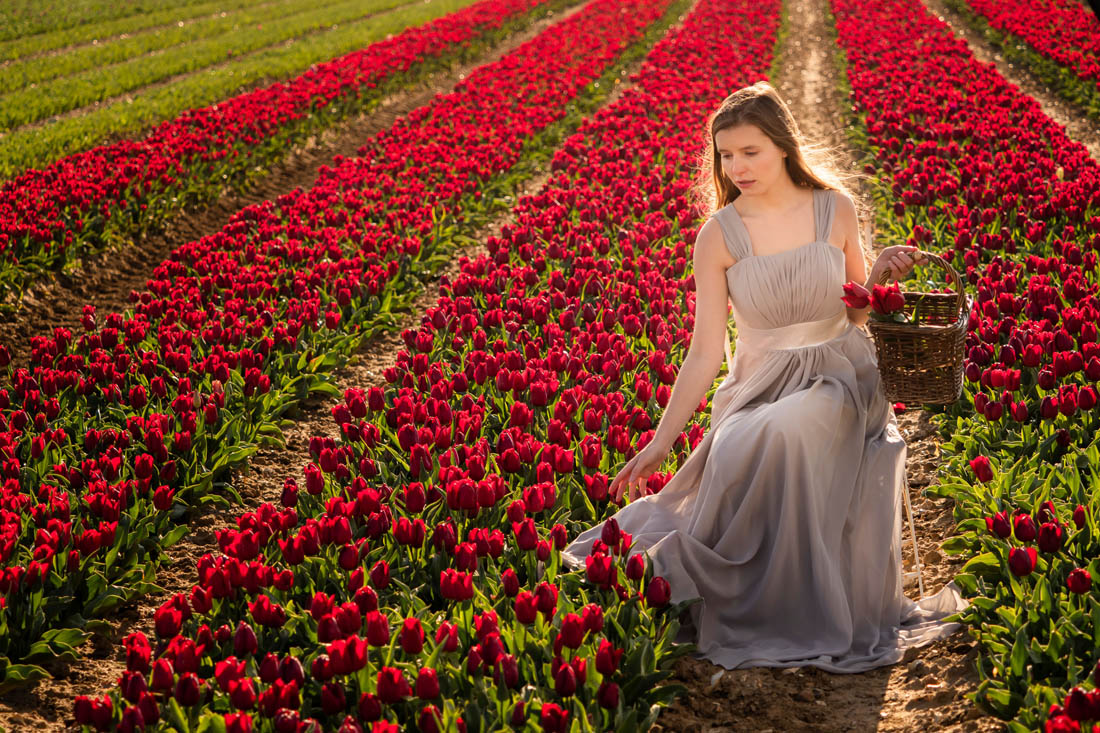
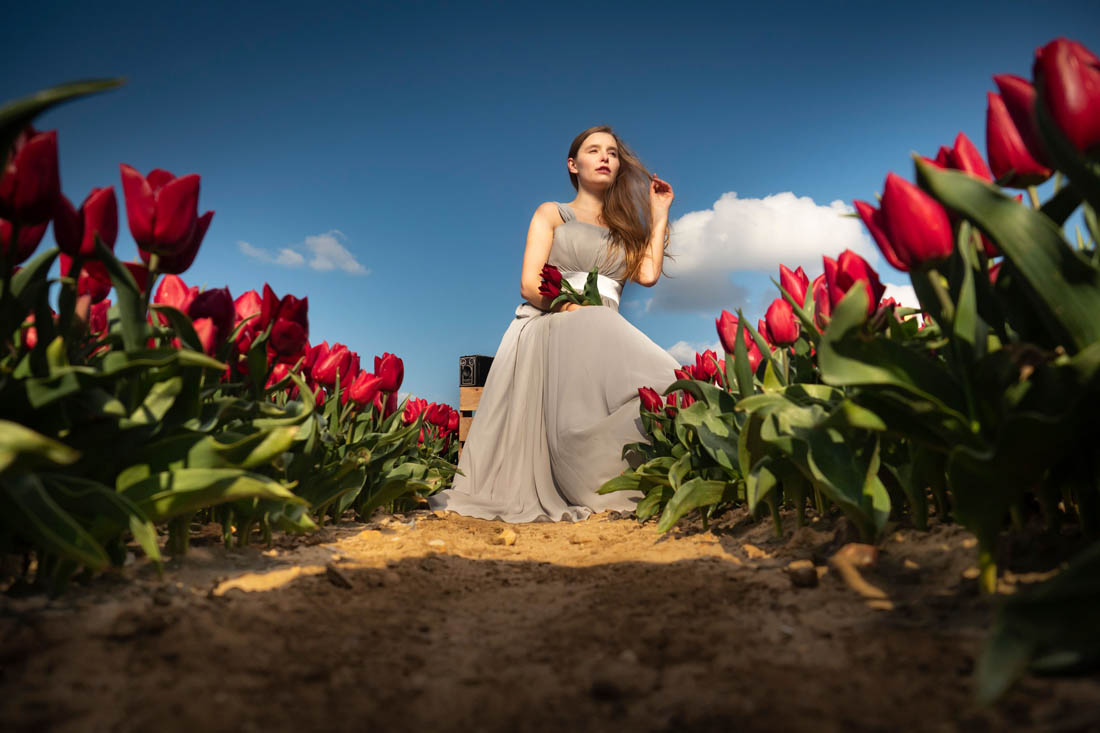
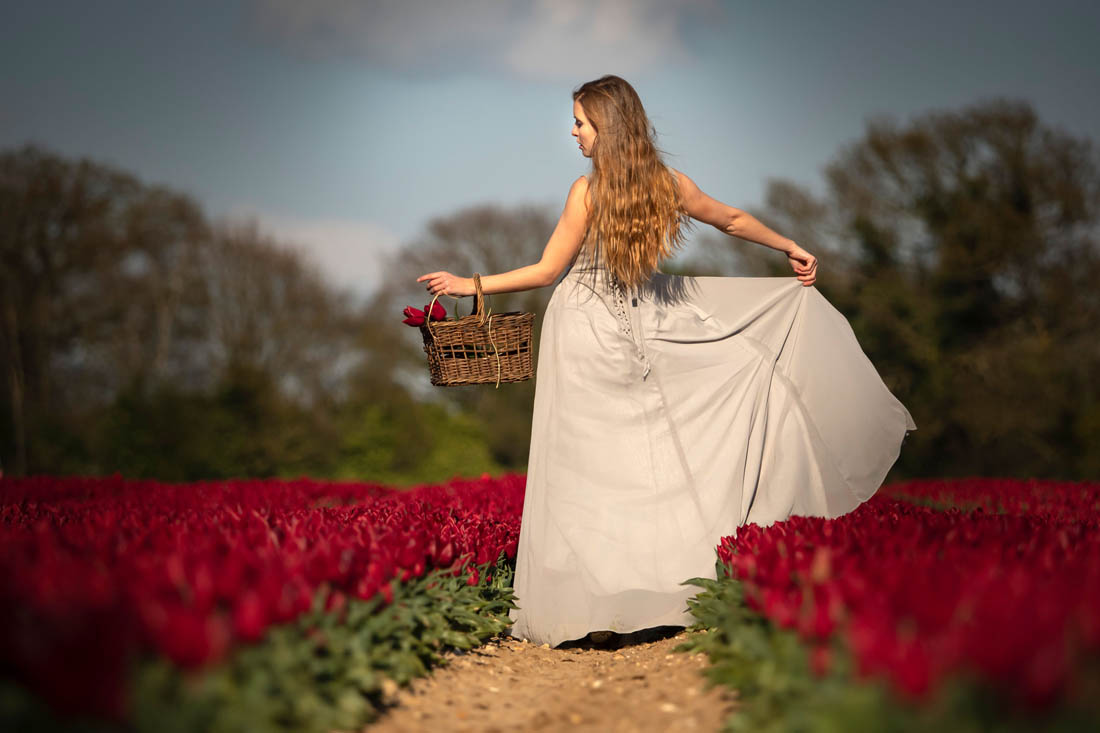
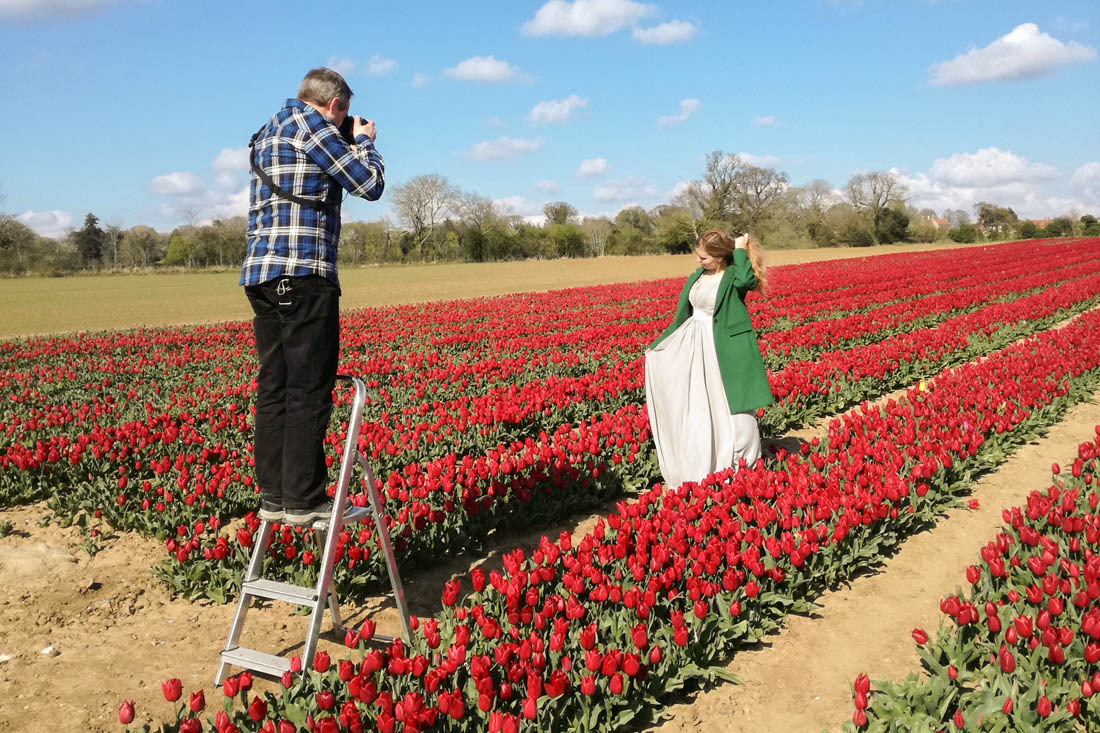
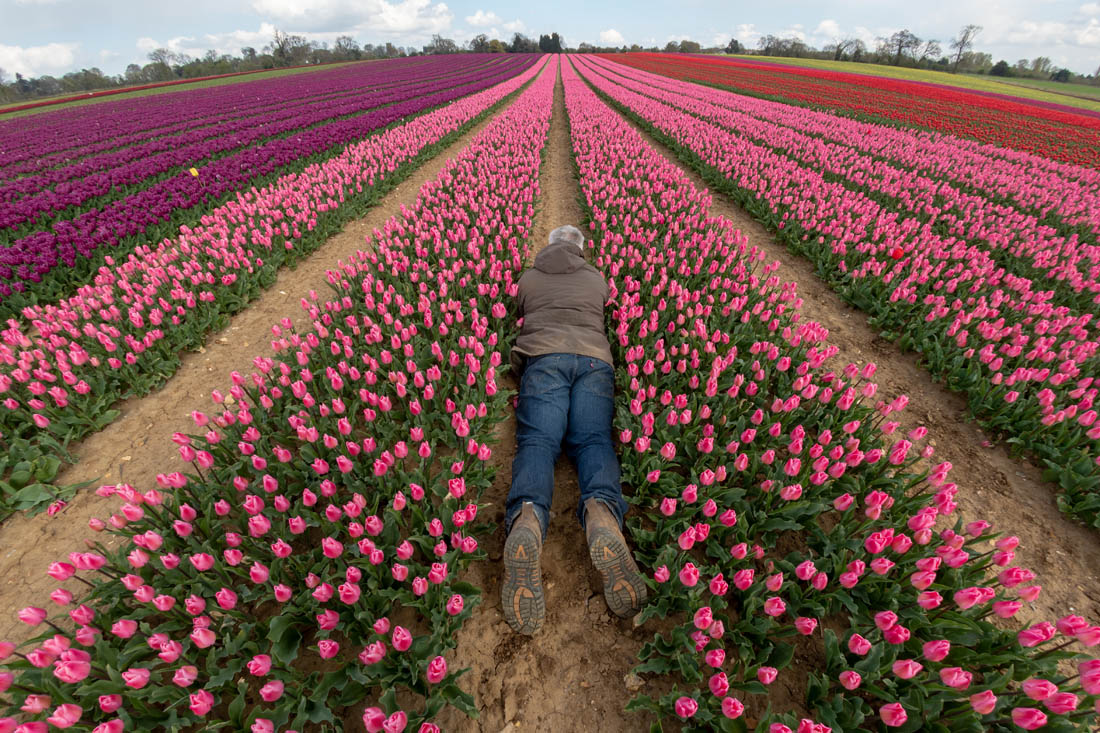
We were incredibly lucky to be allowed to do a portrait shoot in the amazing tulip fields of Mark & Susanne in Norfolk recently. Something usually prohibited as it compromises the crop and many other factors.

We had a couple of hours of shooting with Mark, the tulip farmer, with Gavin giving some tips before meeting with Jade Lyon to do a portrait tutorial. Mark also shot some drone footage for us which you can see in the final edit.

The weather was rather changeable (typical UK). We dodged a few showers and had to deal with very breezy conditions (to the detriment of a softbox as we forgot the sandbag!) with harsh sunlight too! Quite a challenging shoot all round, but very much worth it.

Check out the video here
[youtube]https://www.youtube.com/watch?v=1mgfQ2dhFCE[/youtube]

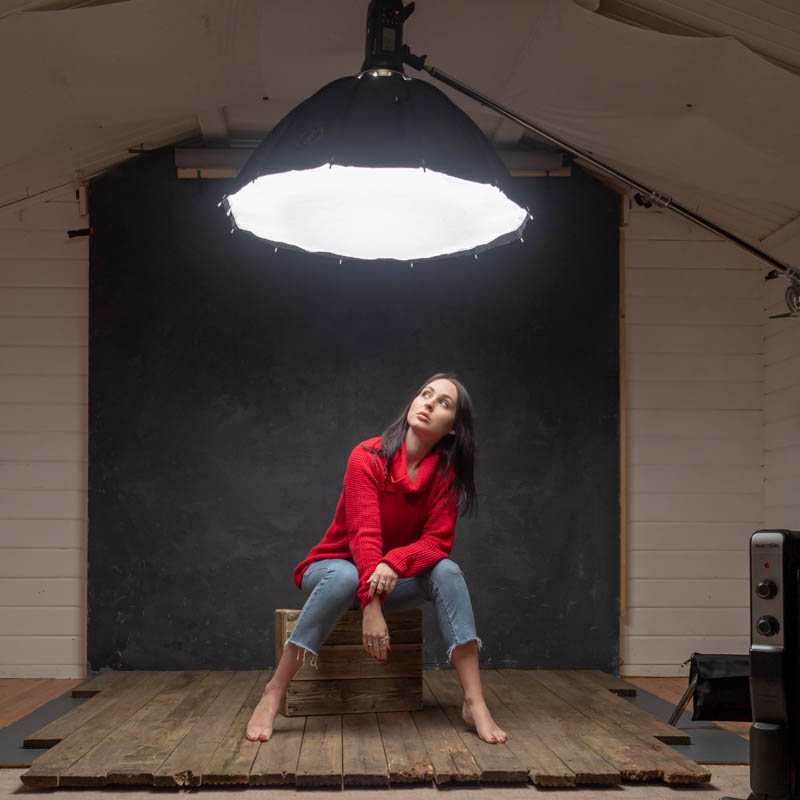
One Overhead Lighting Set Up

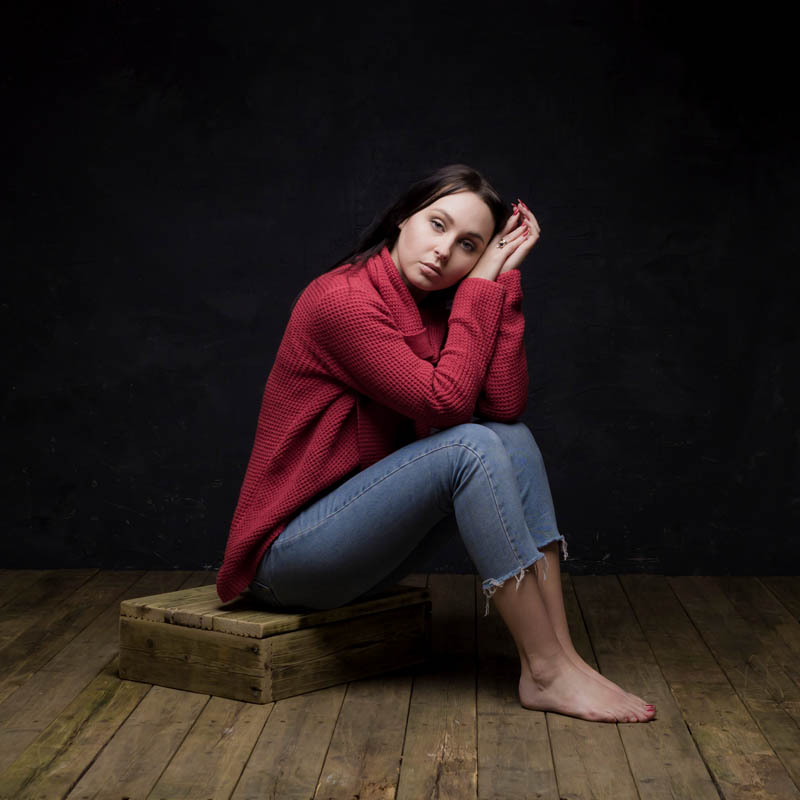
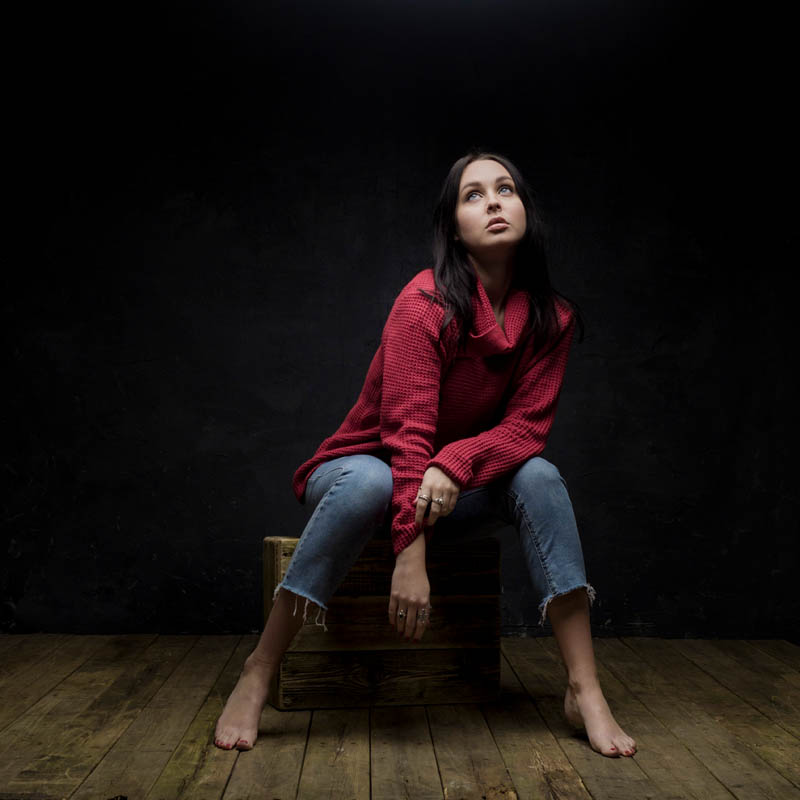
It’s always a challenge to keep things fresh and new in Gavin’s small home studio and sometimes that means taking it back to basics. The difference between just a small movement in the light can be really marked.

The flooring is our old recently replaced decking (up-cycling at it’s best) I think it really adds to the mood for this shoot with the awesome Sophie Daly, model and make up artist extraordinaire.
In this video Gavin changes the softbox and shows the dramatic differences. What’s the best shot? Well, that’s totally up to you.

[youtube]https://www.youtube.com/watch?v=hyRWOk1_BVY[/youtube]

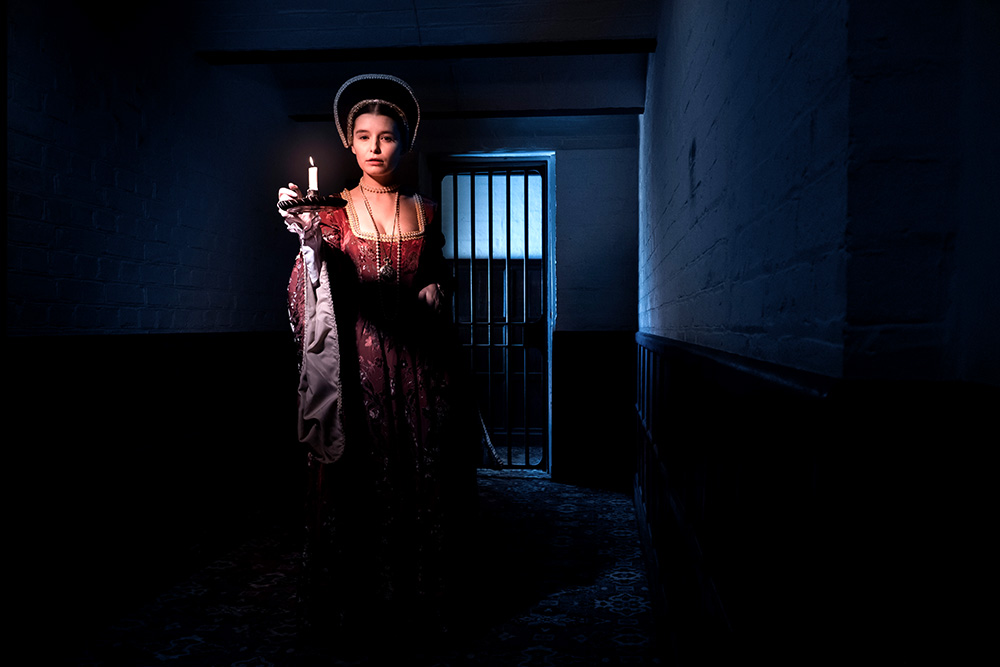
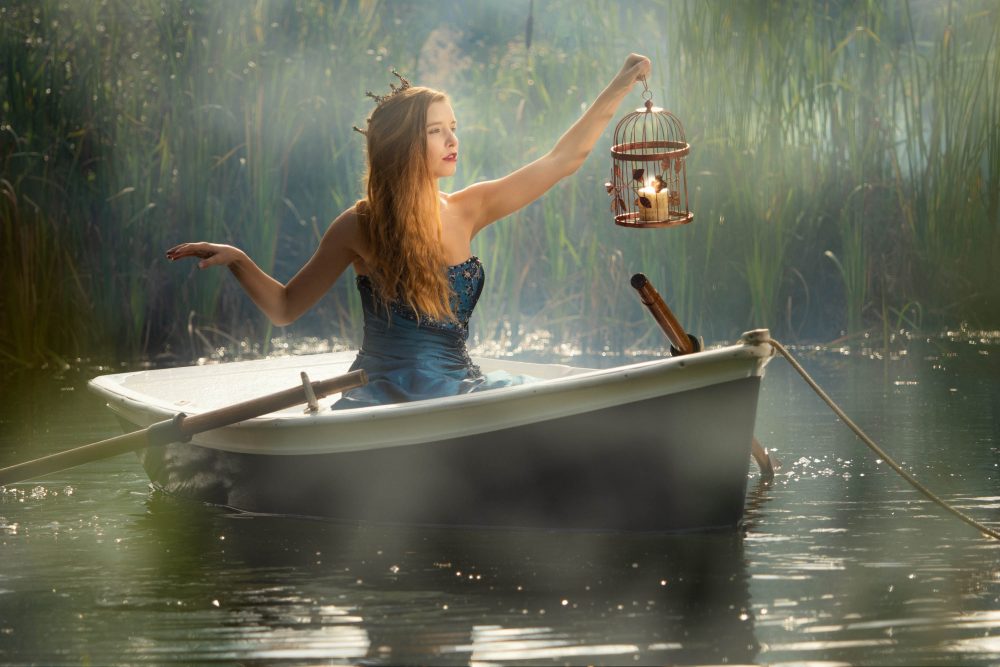
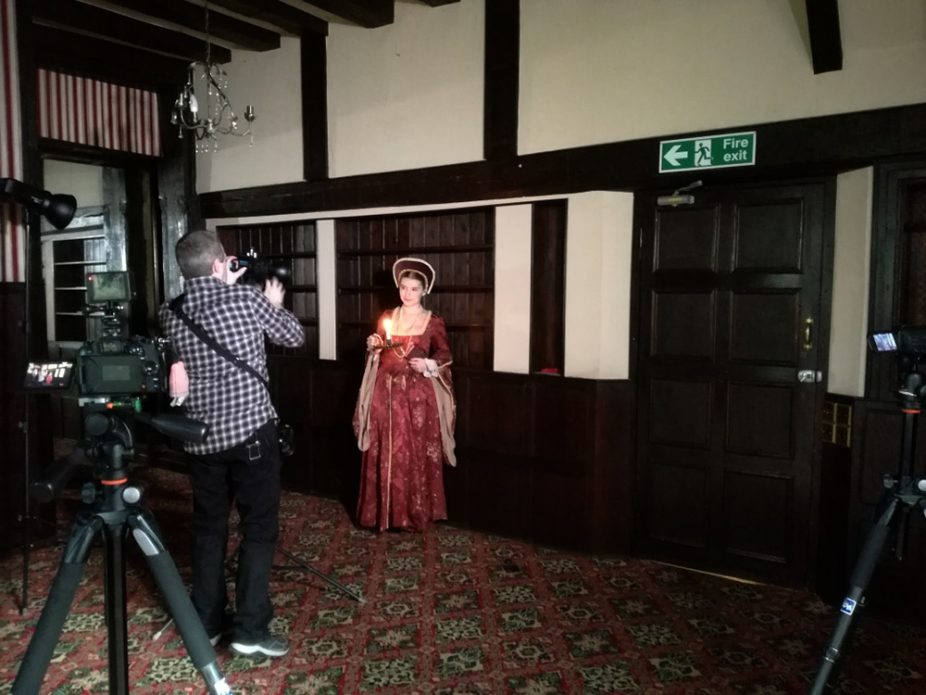
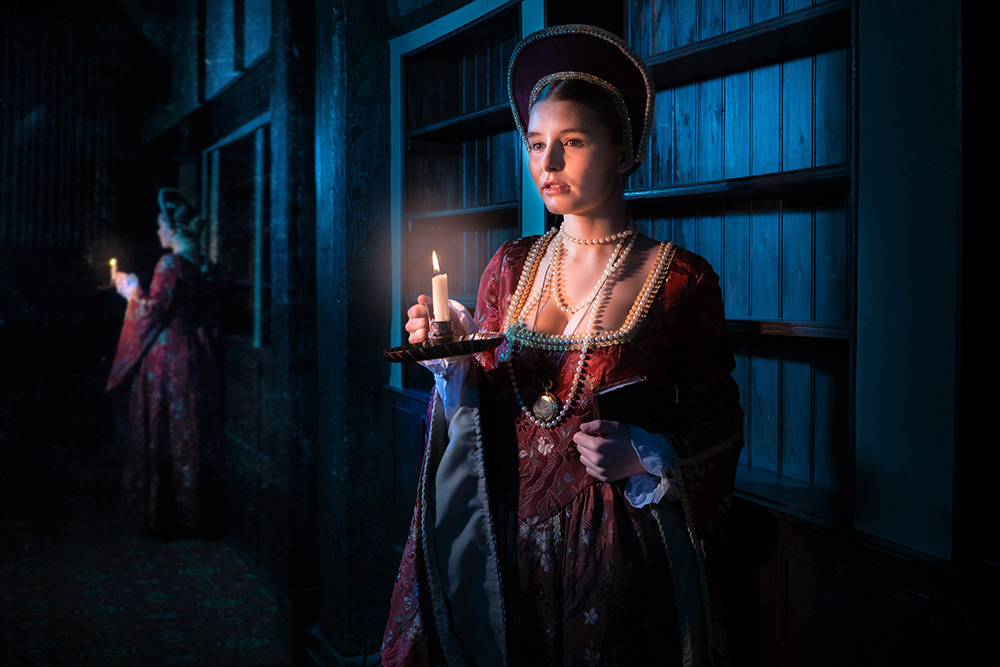
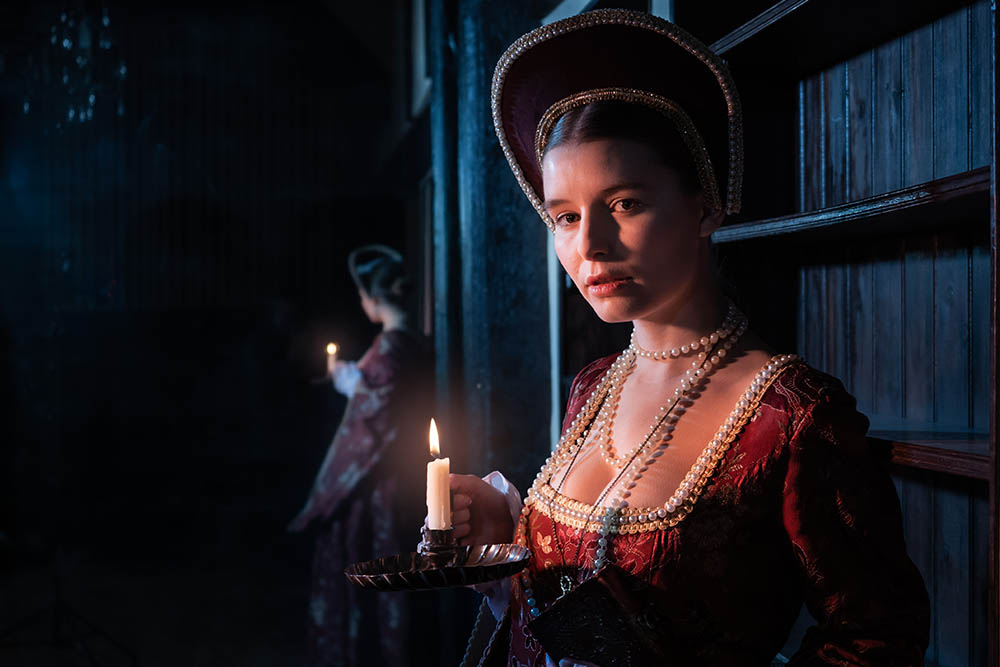
Tudor Style Flash to Candle Light

After having a recce at the amazing Rowfant House we knew that a Tudor style theme would work really well.

It also gave me a great excuse to hire a costume from a nearby theatre costume hire place based in the grounds at The Chequer Mead Theatre. The ladies running the place were super helpful and loved the prints I gave them when I returned the outfit.

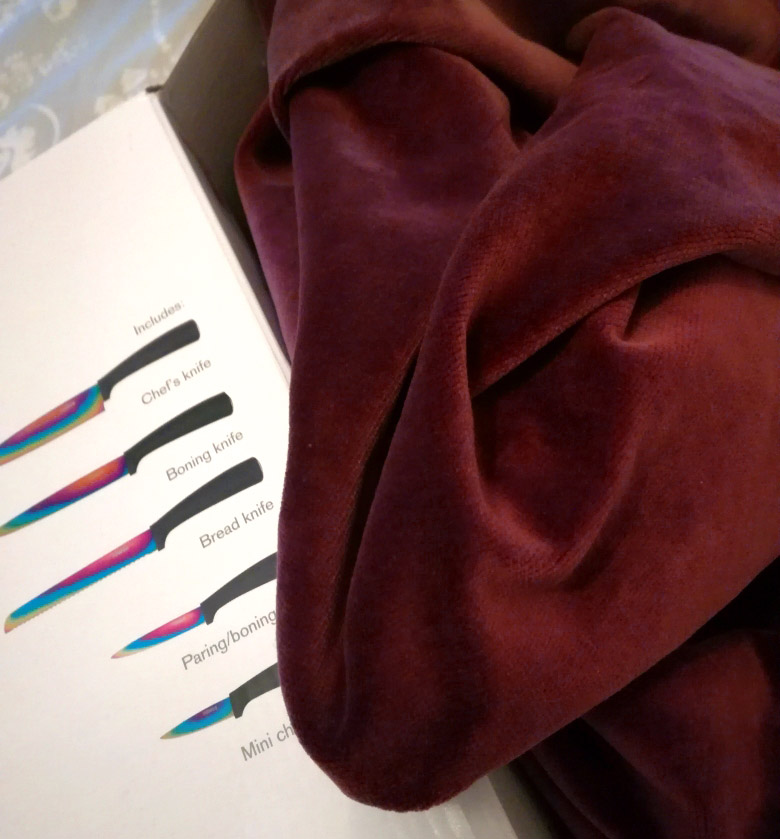
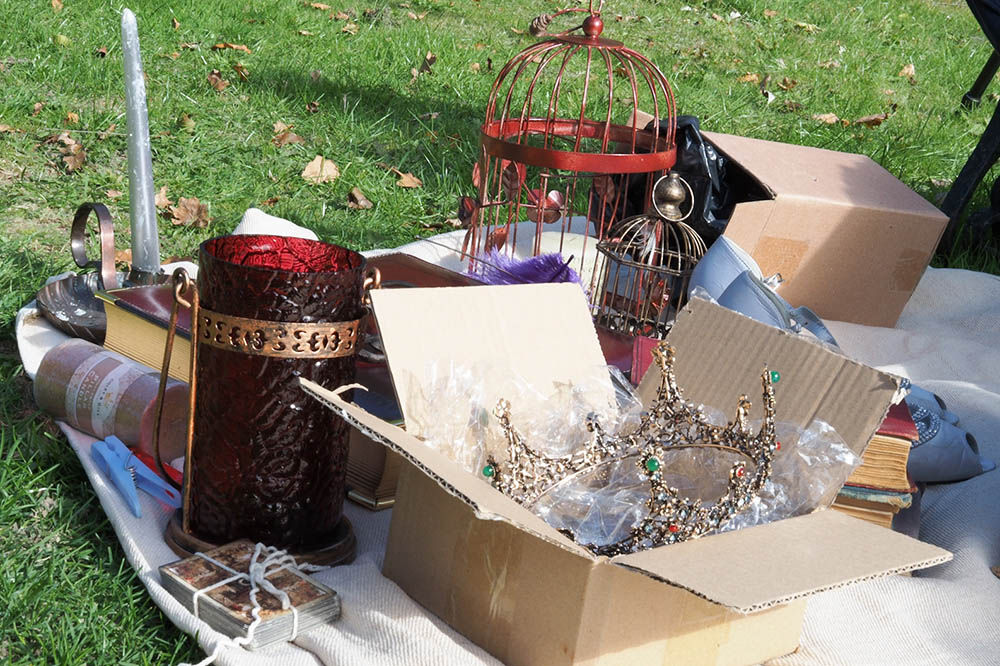
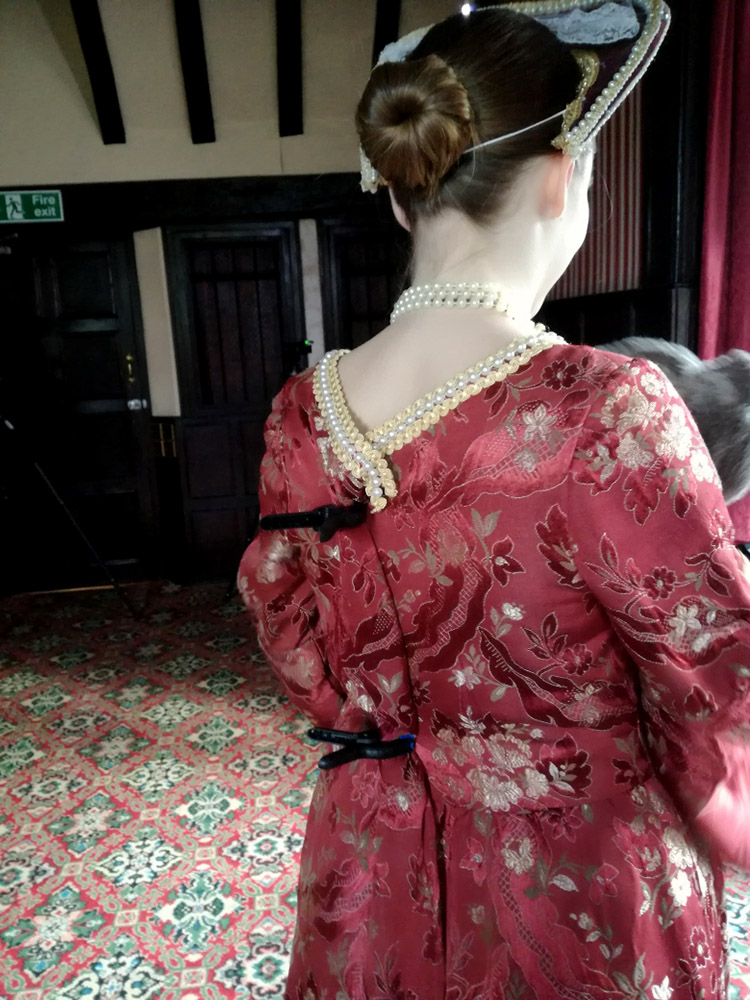
To make the headpiece I used an off cut of velvet fabric and the cardboard box my kitchen knives came in! Adding the lace and pearls really made it look the part, thank goodness for the glue gun! I also added a length of elastic which helped keep a good shape once it was in place.

As you can see it’s not always glamorous to be a model! The dress was far too large so we adjusted the fit using clamps (a studio must have). Our fabulous model Jade is also carrying a hot water bottle (the gray thing she’s holding) as it was very cold inside the manor house. Jade was a trooper and never complained about the cold, bless her.
[youtube]https://www.youtube.com/watch?v=M1MFgB6D2aQ[/youtube]

Colour Management video teaser

There are a few questions we get asked about regularly and colour management is one of those topics.

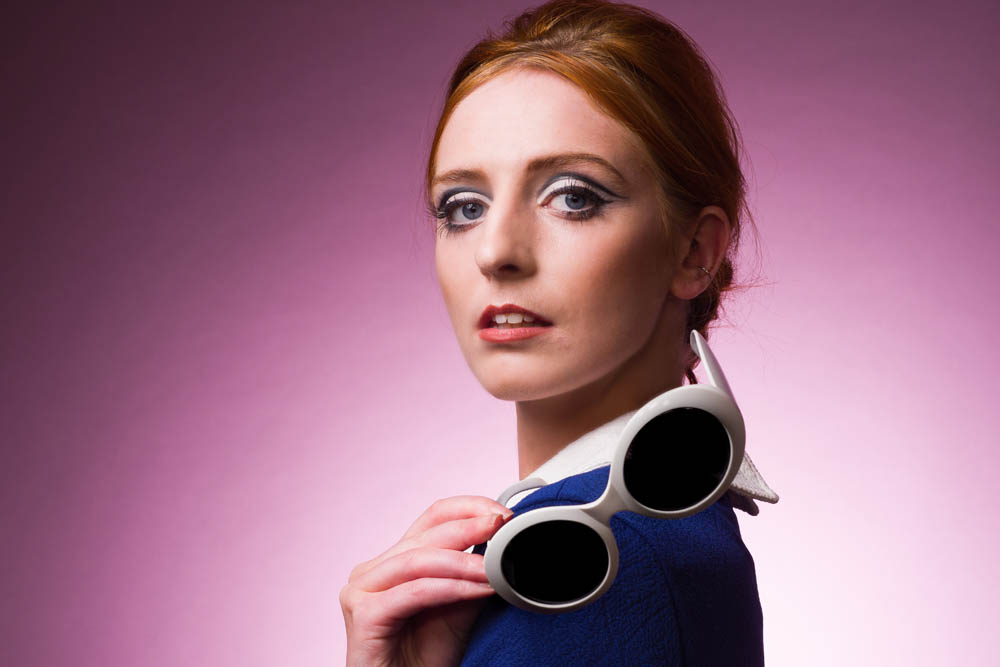
We had great fun in the studio making this video, we knew we wanted an awesome model to showcase some colours and killer moves, Beth Smith always delivers! Teamed with the fabulous make up and hair skills of Sophie Daly and some 60’s inspired bits of clobber it’s colourful and fun (and hopefully educational too).
Here’s a teaser to whet your appetite! The full video is due out on the 22nd of November.

[youtube]https://www.youtube.com/watch?v=TsjdtqTytDg[/youtube]

Secret Portrait Shoot

People often ask Gavin where he gets inspiration or how he stays motivated, a really good question. For my part, I try and come up with ideas and suggestions and this one was something that Gavin really liked the idea of.

I suggested that I could arrange a shoot that he knows nothing about, he will just turn up to shoot. No planning, no research, a real challenge as he is someone who is organised and likes to plan as much as possible beforehand.

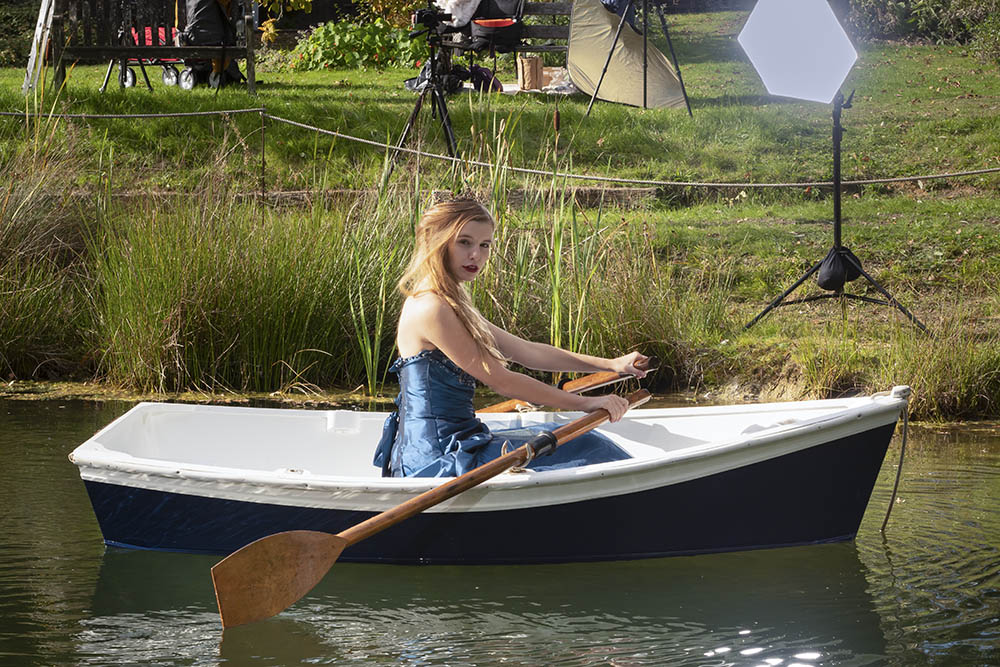
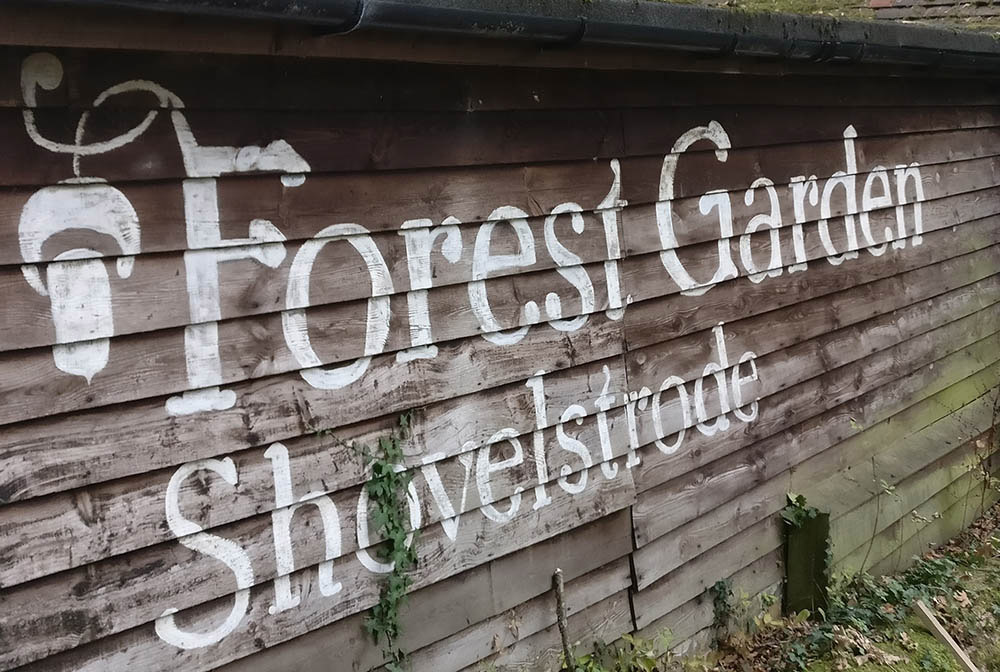
I have wanted to arrange a shoot at the beautiful Forest Garden at Shovelstrode. Beautiful woodland, a large pond, amazing yurts and cabins, there’s a lot to love here. Lisa and Charles, the owners, were so accommodating and helpful. We were very fortunate to have amazing weather on the day of the shoot, even though it was October!

Here’s a few behind the scenes photo’s and one of my favourite images from the shoot.

Here’s a teaser, the full video will be out on AdoramaTV Thursday the 8th of November.

Hopefully this will be the first of a series of Secret Portrait Shoots.

[youtube]https://www.youtube.com/watch?v=3Wbi79meS5g[/youtube]

Scary Halloween Basement Shoot

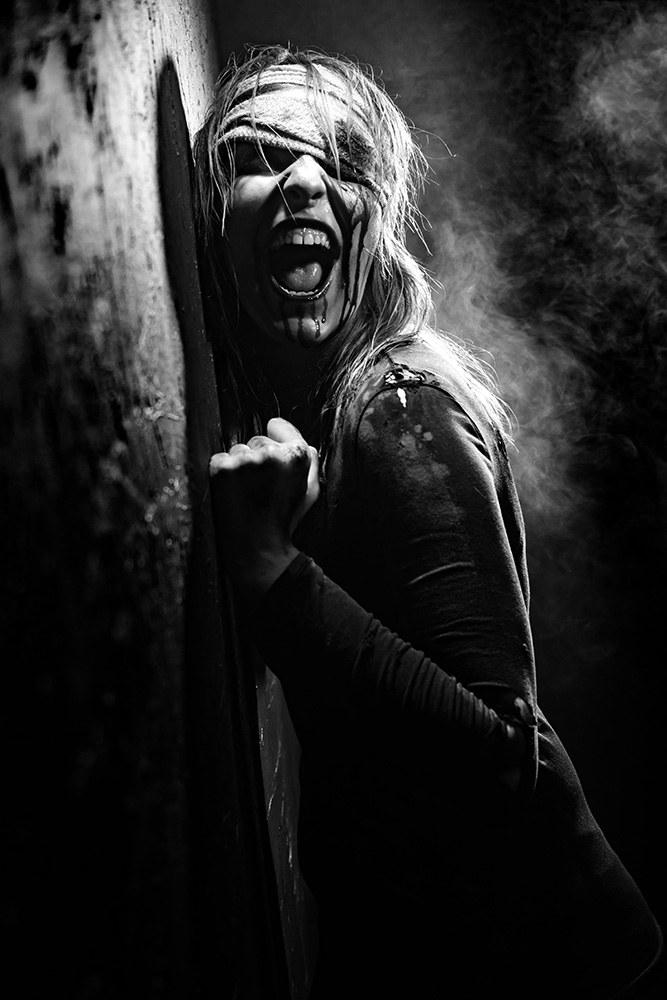
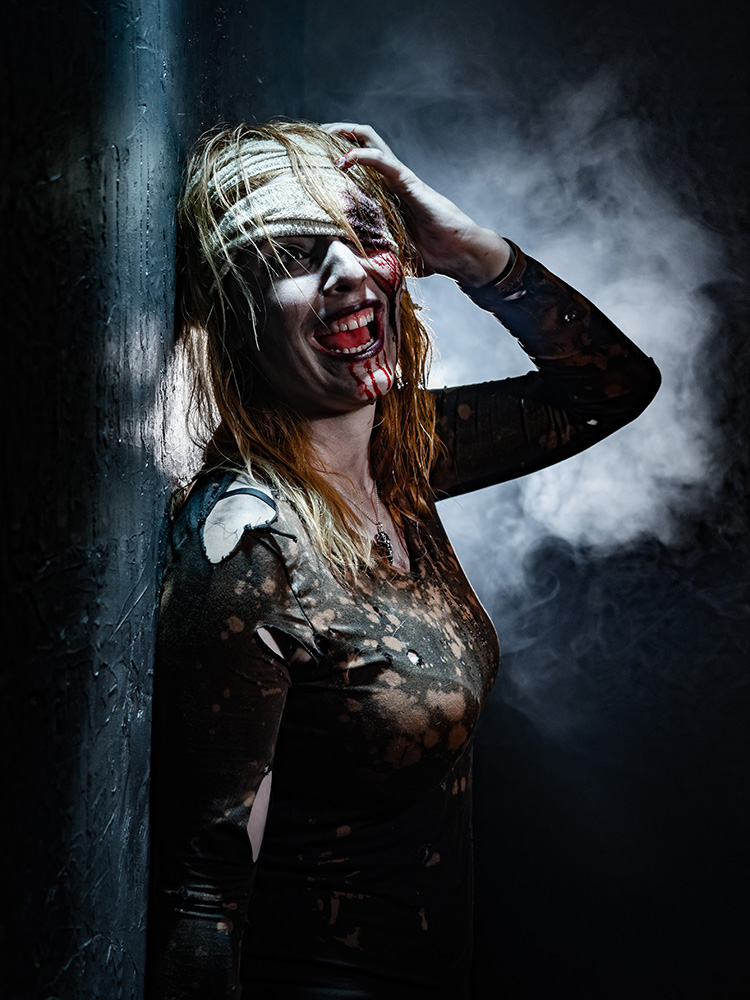
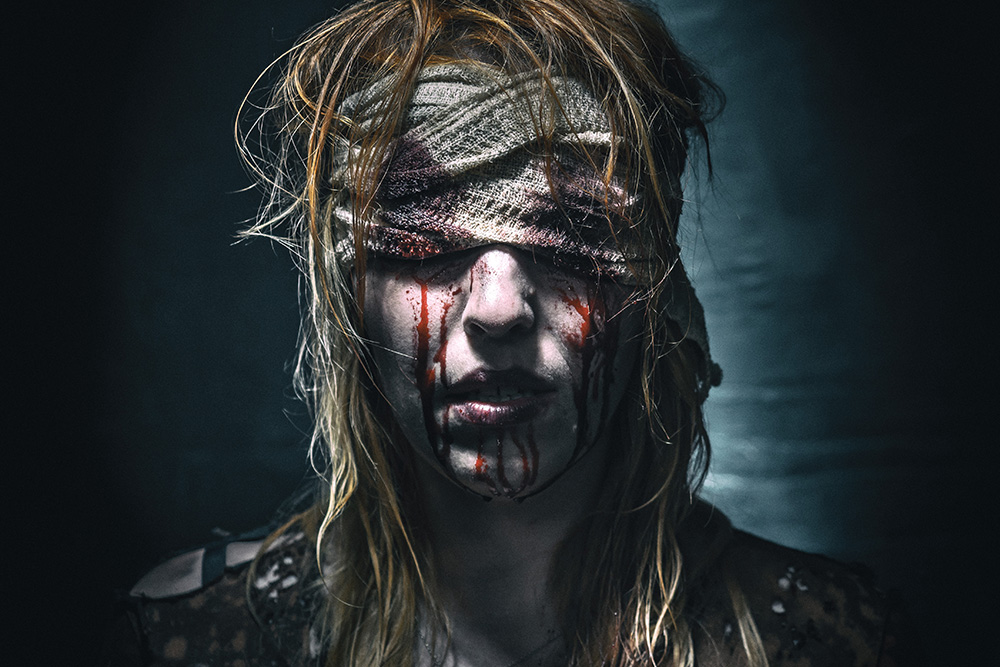
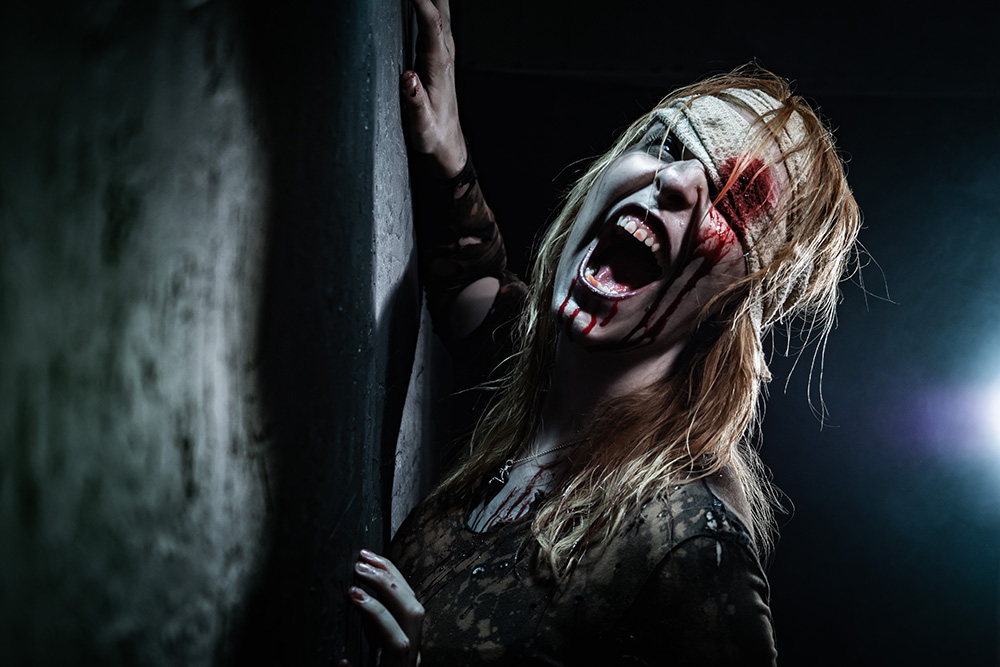
When Kerry said she was available for a shoot, even though it was only August, we knew it should be a Halloween shoot. Not sure why but most of the models, make up artists and quite a lot of photographers love this theme!

Despite the scary look, this was such a fun shoot. Also the first time I’ve had to clear up blood drops and splatters from the studio walls and floor, thank goodness all fake!!

[youtube]https://youtu.be/ScVEJfBzOJ4[/youtube]

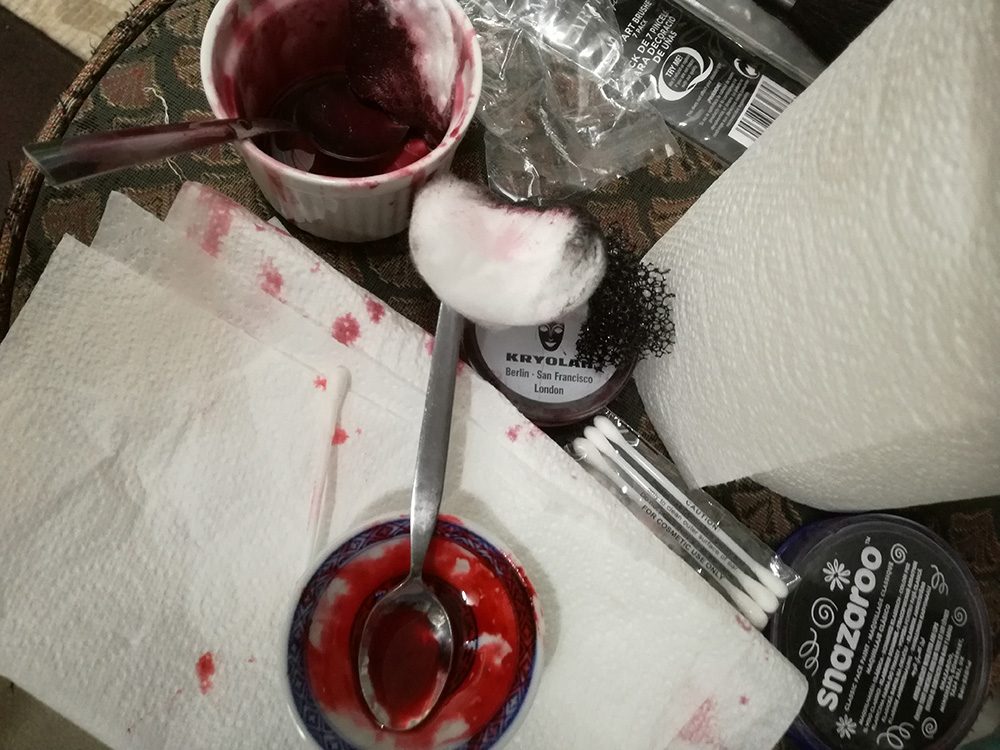
As you’ll see in the video, the blood used was tried out first. The one used for the closest skin contact, especially on the bandages close to Kerry’s eye, was homemade. I used a mix of runny honey, a little cornflour and some red food colour gel. As it was edible and Kerry likes honey!