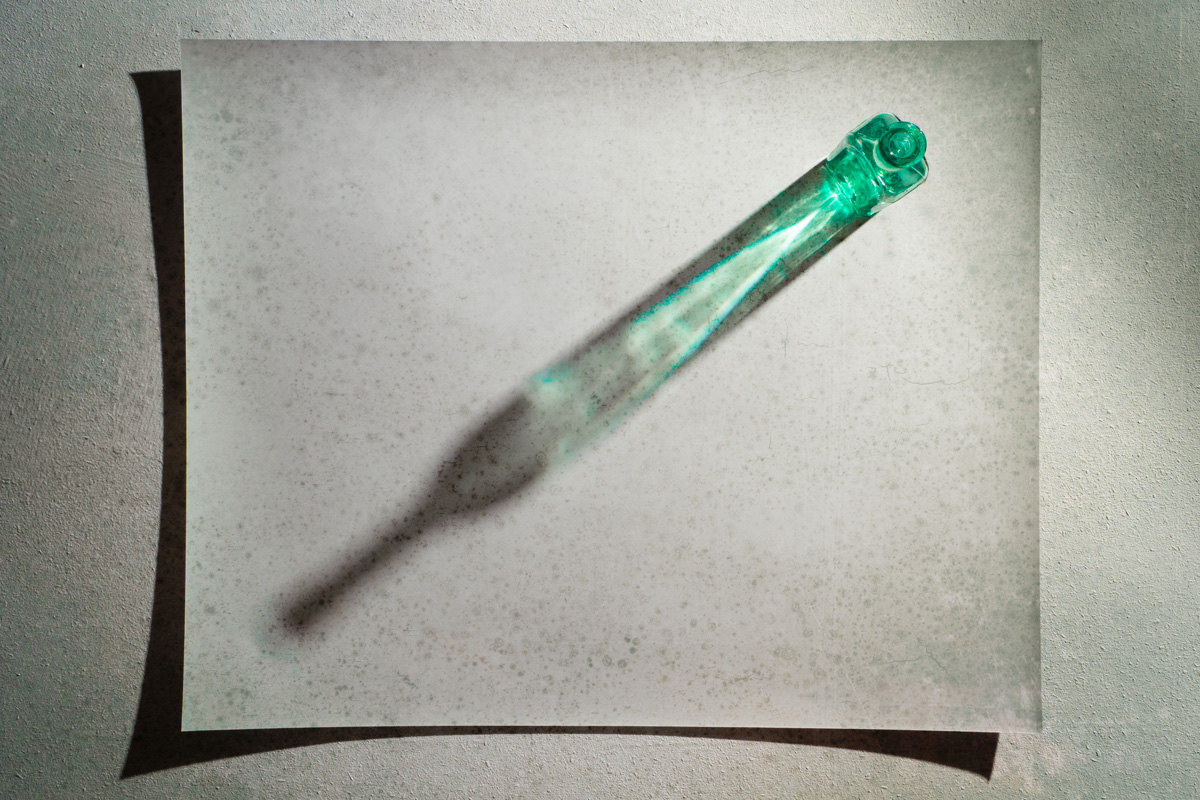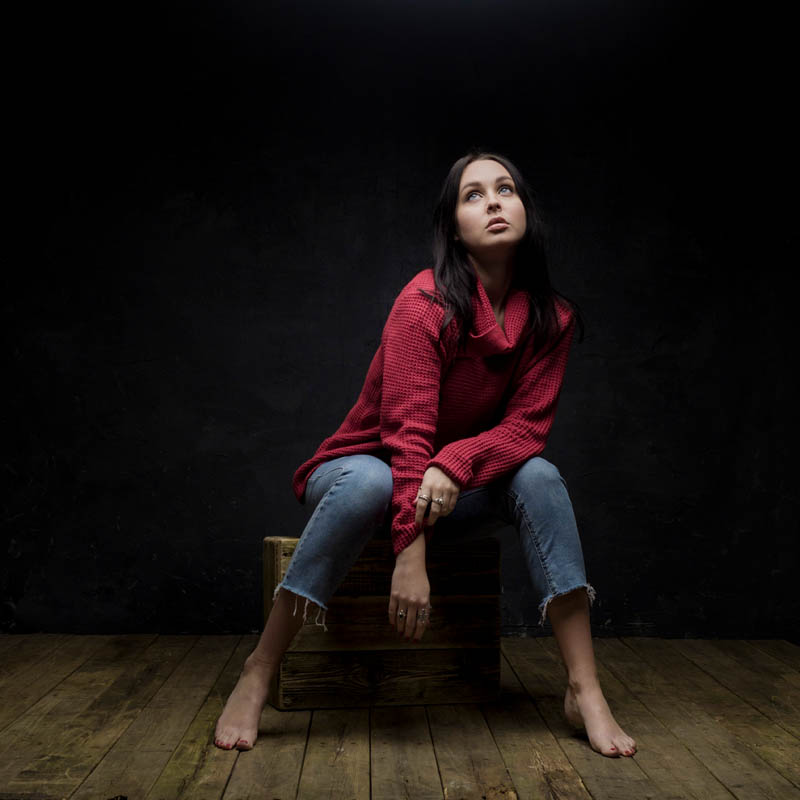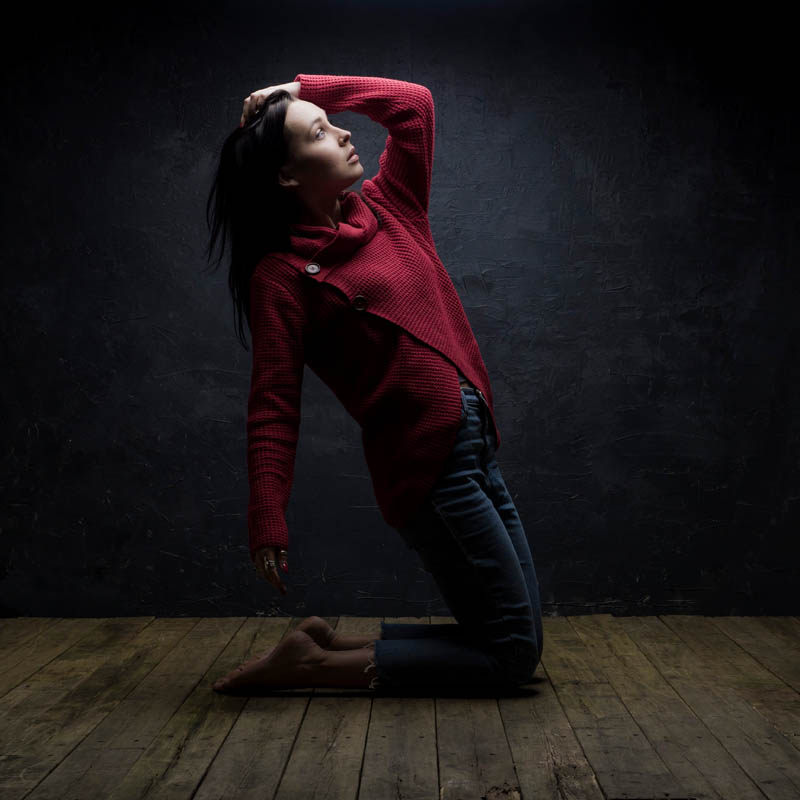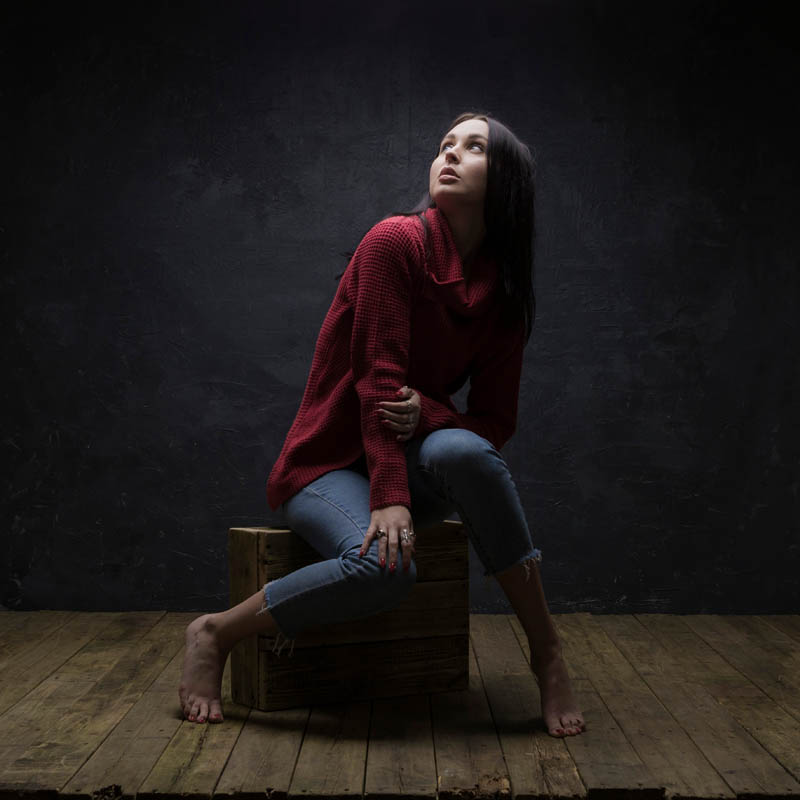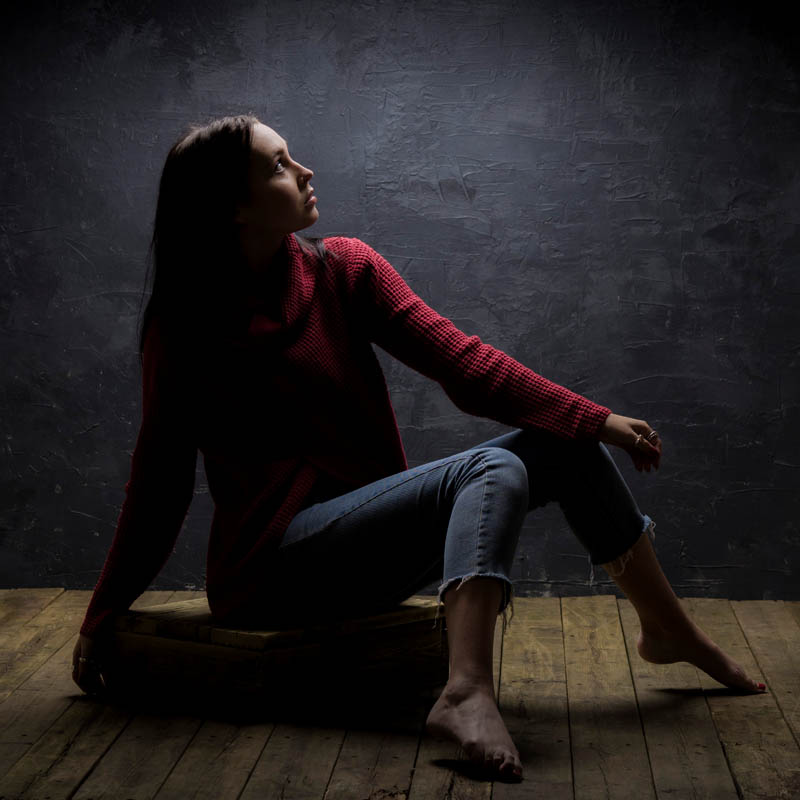
Bottle Shadows – LIVE!

With lock down in full swing here in the UK (and around much of the rest of the world) I’ve finally had the time to explore the possibilities of live streaming some shoots from my small home studio.

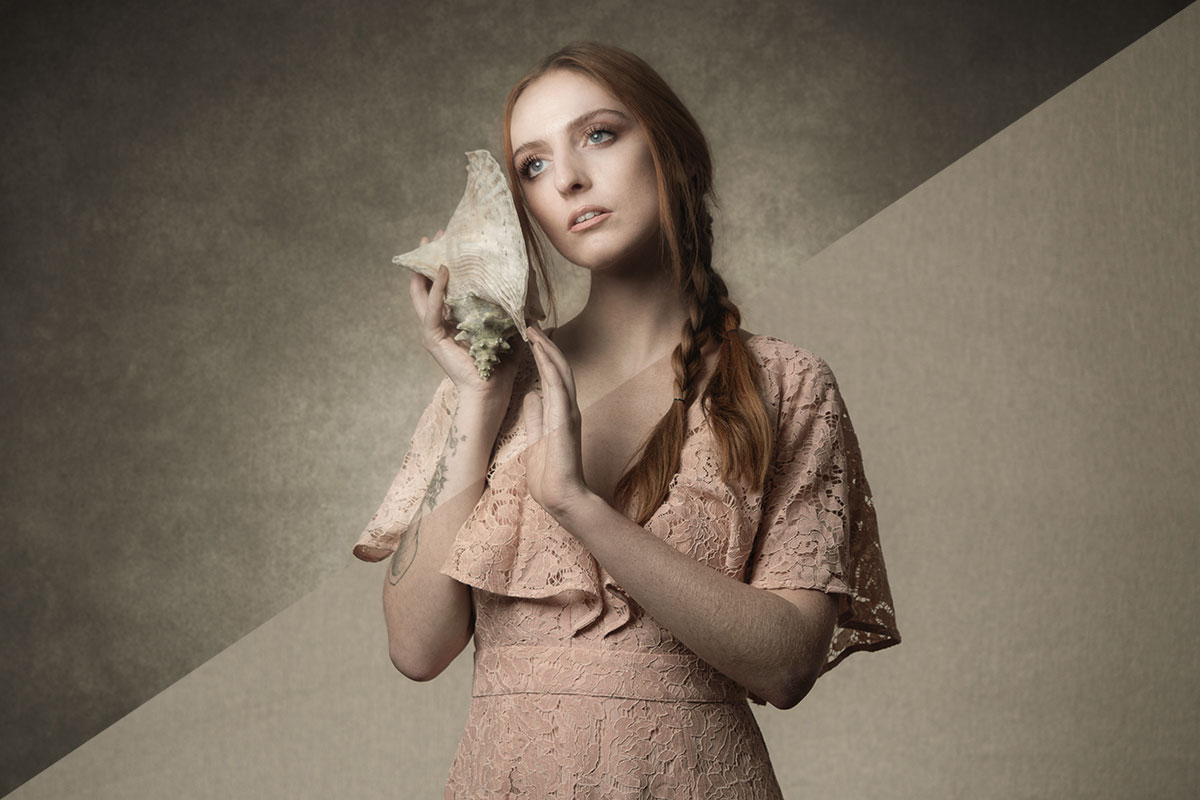
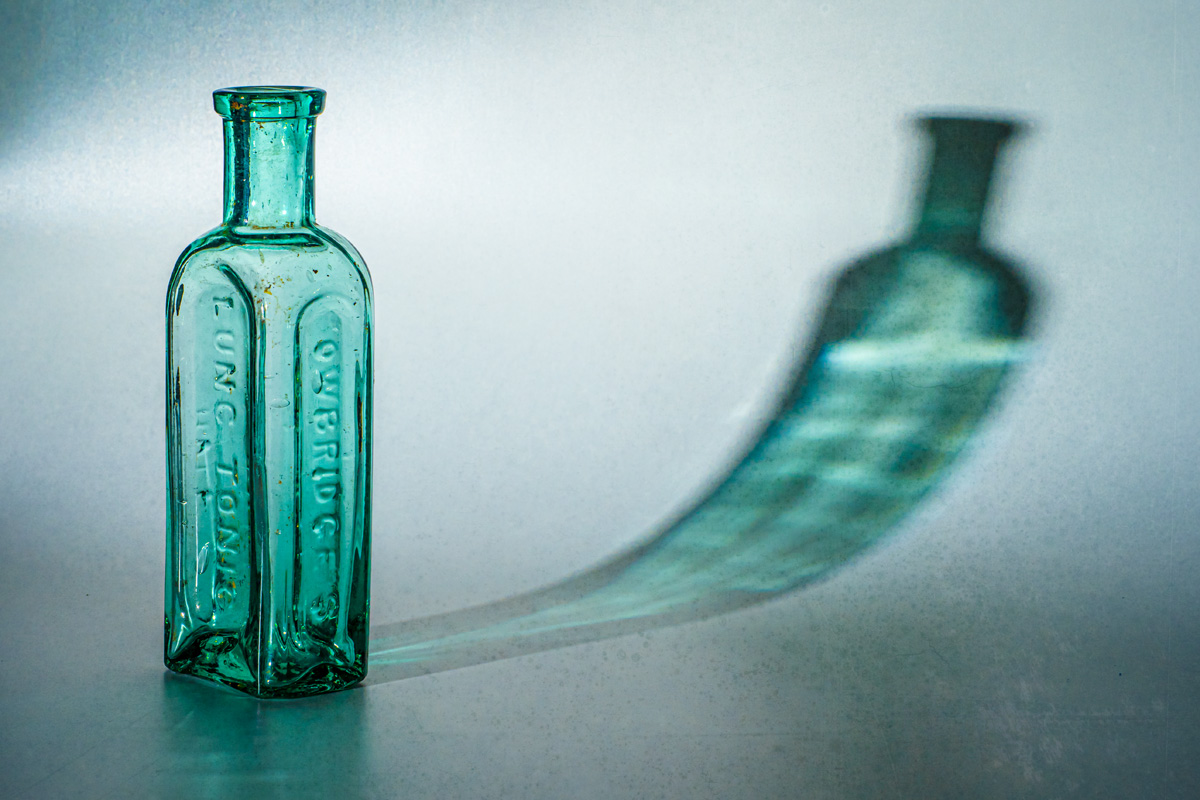
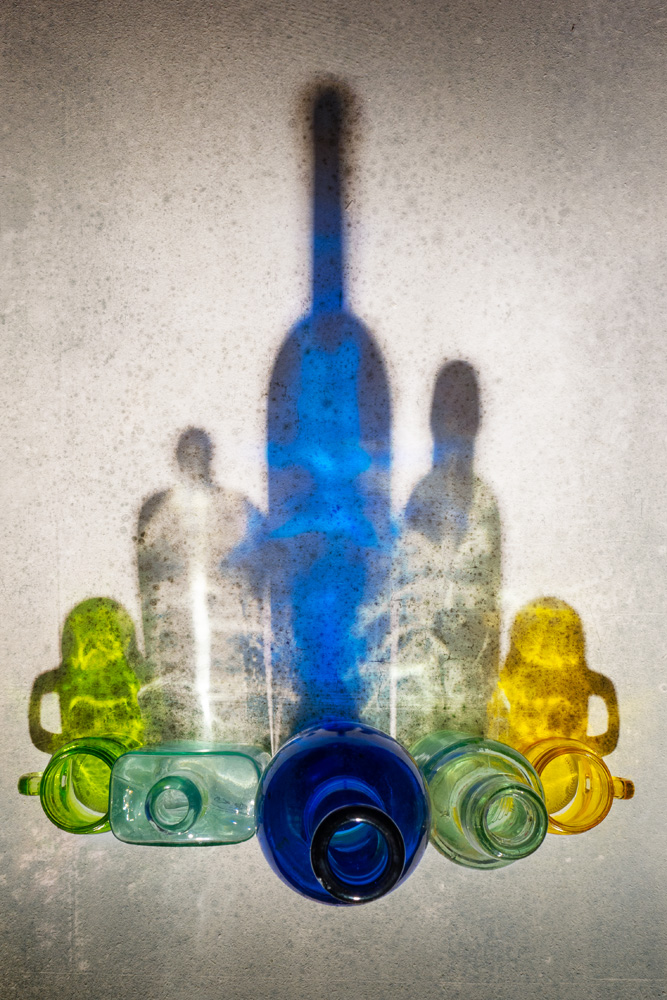
So here’s the first of (hopefully) many live sessions. This one was hosted last week by Olympus UK on their Facebook page. It’s a simple “stay at home” photography project using nothing more then some empty jars or bottles, a flash and a the back of an old print.

There’s more of these to come, keep an eye on my Instagram Stories for link to them and hopefully I’ll see you (virtually) at a live event soon.
You can download the texture I used in this video here
https://drive.google.com/file/d/1vld-rdsFAXkDEmLIGyMBG58E52o6zoJj/view?usp=sharing
Usage rules
The images are copyright Gavin Hoey 2020. Use is limited to any personal but non-commercial purposes. Only share by linking back to this page. Do not redistribute the original image without my permission.
No support is provided. If you need help Google or YouTube the question and you’ll almost certainly find the answer.

Neon Background Shapes

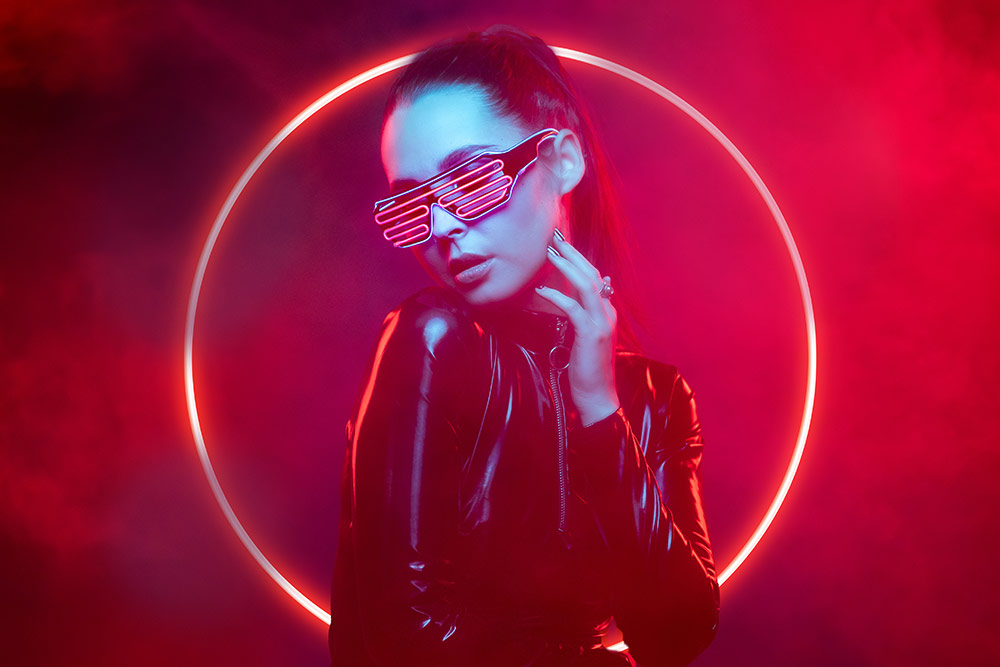
Neon backgrounds are not normally something you’d find in a studio but with a bit of planning, my free neon backgrounds and a little time in Photoshop, you can.

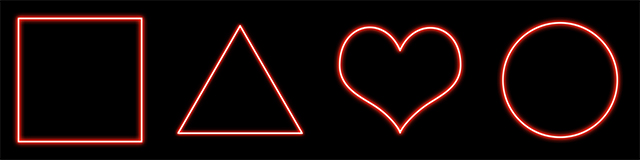
There are four free neon shapes in this set. I’ve made them all red but you can adjust the hue to make them any colour you like.

Usage rules
The images are copyright Gavin Hoey 2020. Use is limited to any personal but non-commercial purposes. Only share by linking back to this page. Do not redistribute the original image without my permission.

Download instructions
       1. Click on the download link below
https://drive.google.com/drive/folders/1I4zGWjBMAx2Y5i_pP9f009pp8zKDg4MF

  1. Click the Download button download_icon (top right of screen)
  2. The download should start automatically
  3. No support is provided. If you need help Google or YouTube the question and you’ll almost certainly find the answer

Light Textured Background

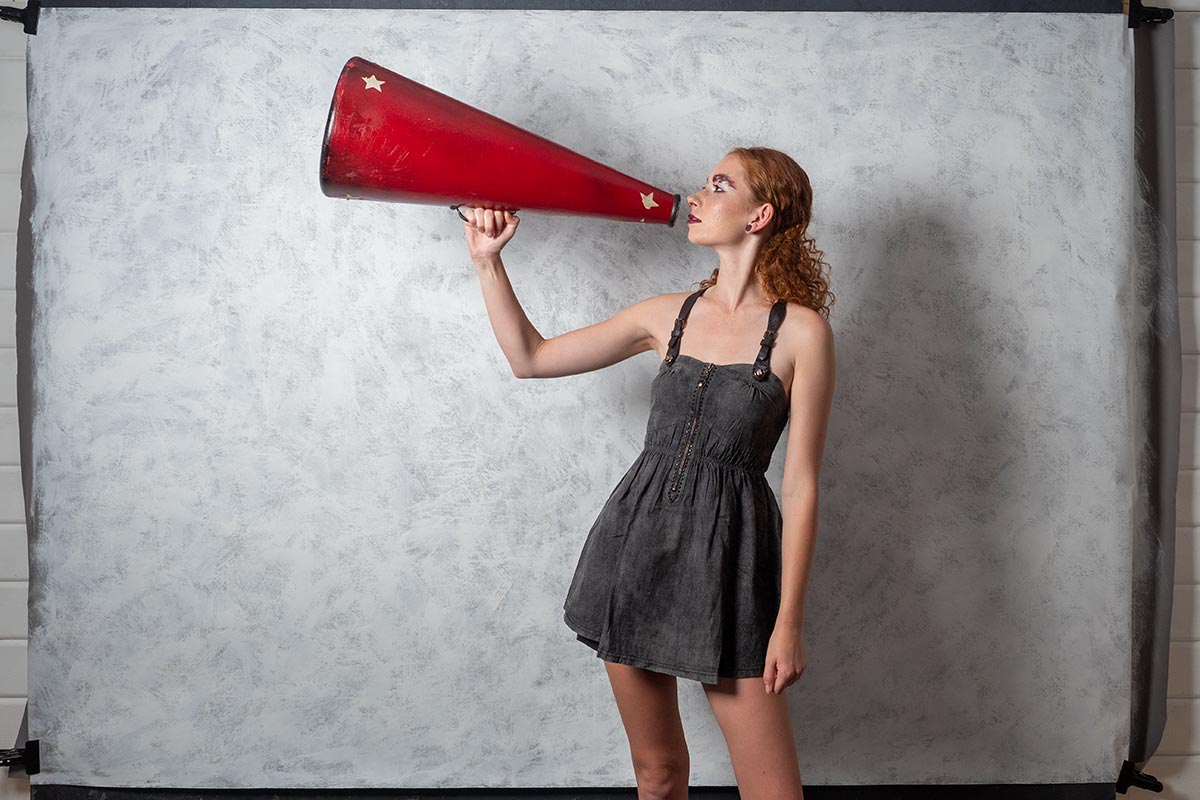
Not everyone is lucky enough to have a permanent studio and even fewer have the space for a textured wall. So being able to add texture to your portraits is a handy skill to have.

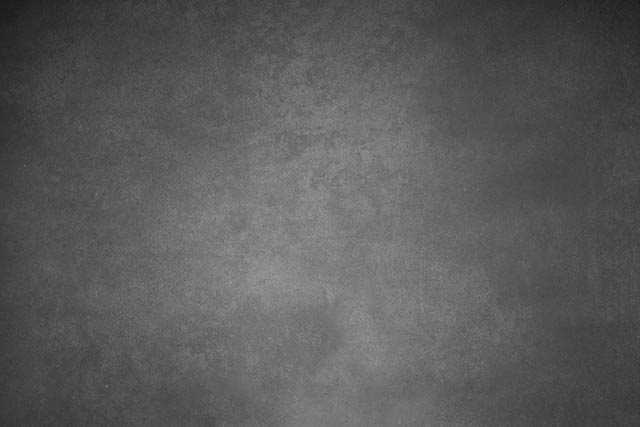
Of course for this to work you’ll need some great textures. So to start you off here’s one of mine. It’s a combination of multiple blank pages from old books and textures found mouldy surfaces… glamorous  work, it’s not!

The end result is a subtle texture with fine grain which makes it the perfect choice for portraits.

Usage rules
The image is copyright Gavin Hoey 2020. Use is limited to any personal but non-commercial purposes. Only share by linking back to this page. Do not redistribute the original image without my permission.

Download instructions
       1. Click on the download link below https://drive.google.com/file/d/1MmTbLar1DDb6dfssloUxq8koGSNYlDsP/view?usp=sharing

  1. Click the Download button download_icon (top right of screen)
  2. The download should start automatically
  3. No support is provided. If you need help Google or YouTube the question and you’ll almost certainly find the answer

Making A Rustic High Key Background

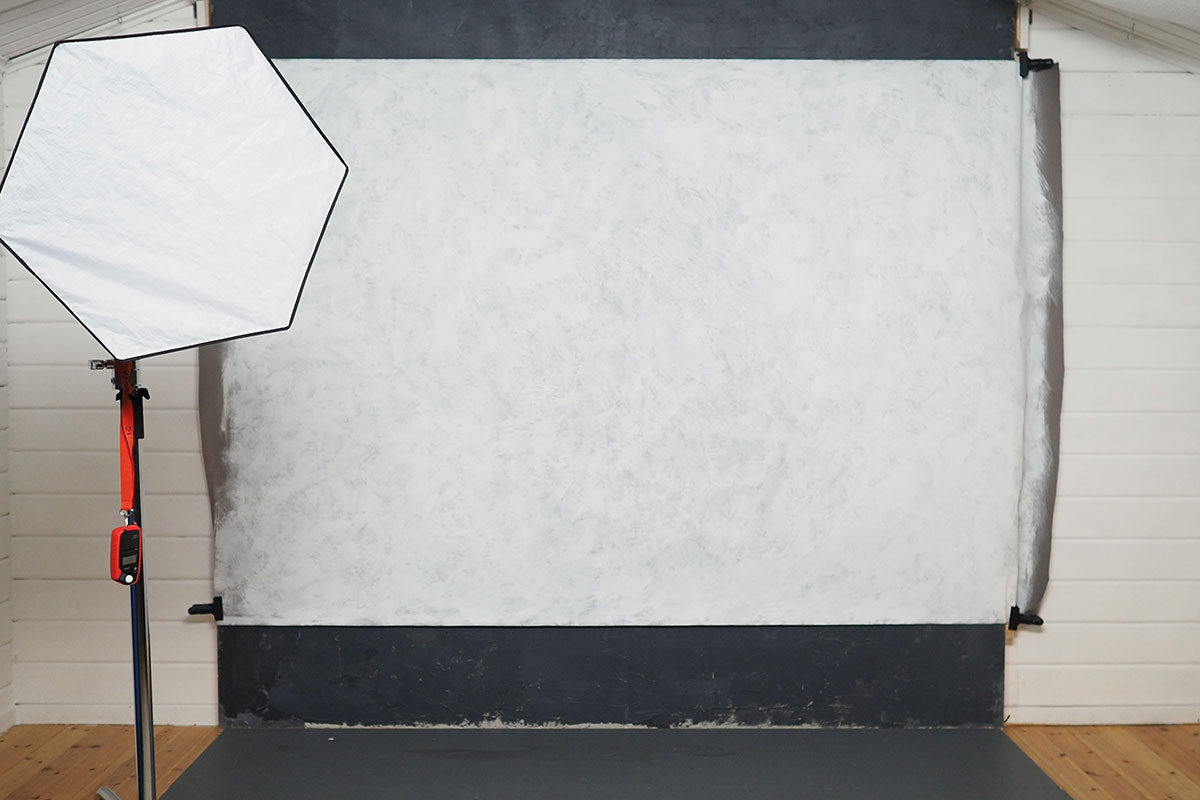
When Gavin decided he wanted to shoot high key portraits in a very small space he wanted to a background that was a little different for the usual pure white seamless look. So I was tasked with creating a more rustic looking light background and I do love a challenge!

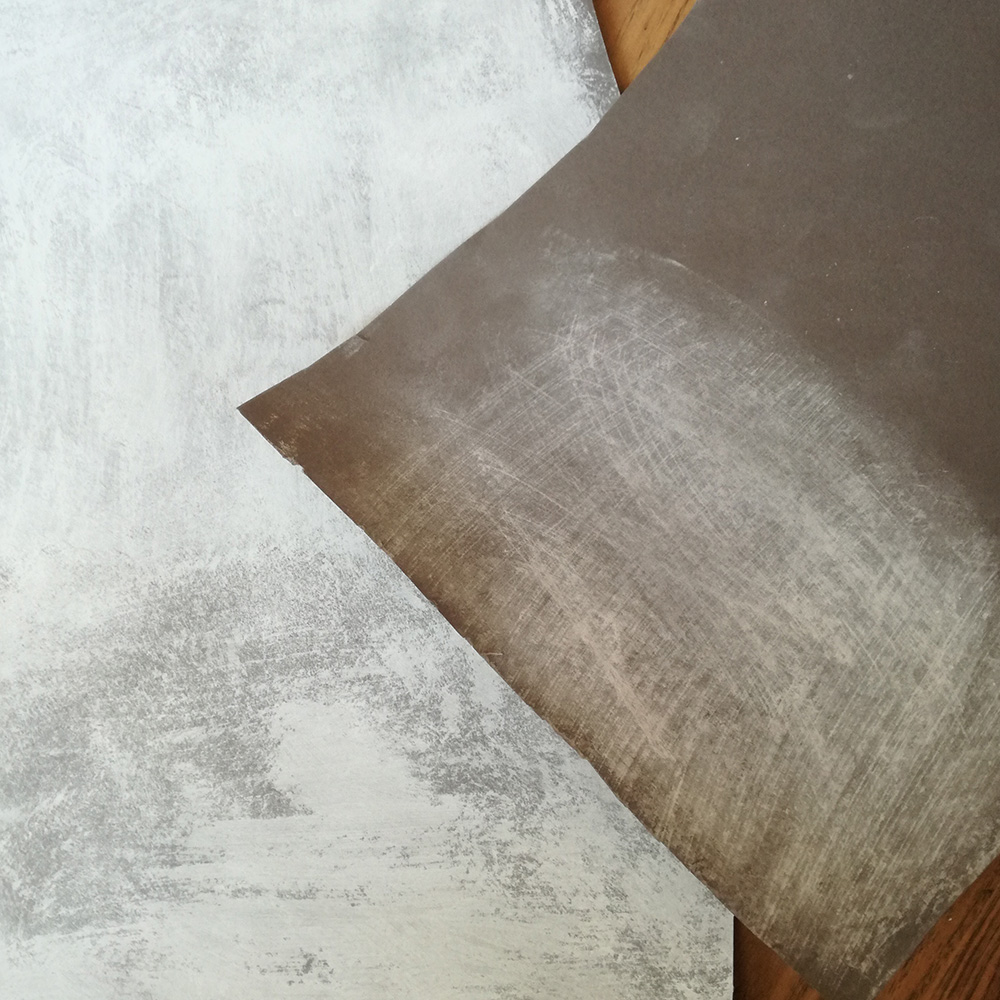
To keep cost down the plan was to re-use Gavin’s favourite grey paper background that had seen better days. I took a sample of the long roll of grey paper and tried out a few methods. Originally I was convinced a chalk coating would be perfect. Well, it looked pretty good but took quite a bit of elbow grease and loads of chalk. But the huge downside was that it smudged and dusted everything in a layer of chalk dust! Not ideal, so back to the drawing board (literally).

I have loads of white paint (most walls are white in the house) so thought a rough coating of paint would be worth a try out. Now, paper and wet paint would not be a great combination, the paper would change shape and be difficult to work with, so I used a dry brushing technique. This is where you dip the paint brush in the paint and then wipe off the excess on kitchen paper towels and then paint what’s left onto the background. This means that it goes on practically dry and doesn’t cause the paper to buckle. Perfecto!
We shot a time lapse, I think it makes me look like I work really quickly and efficiently!! The camera never lies…………
[youtube] https://www.youtube.com/watch?v=v9OBWOy_Eng [/youtube]

The shoot day was brilliant. We worked with Gracie for the first time, she totally got the idea and it all worked like a charm with the background.

One Overhead Lighting Set Up

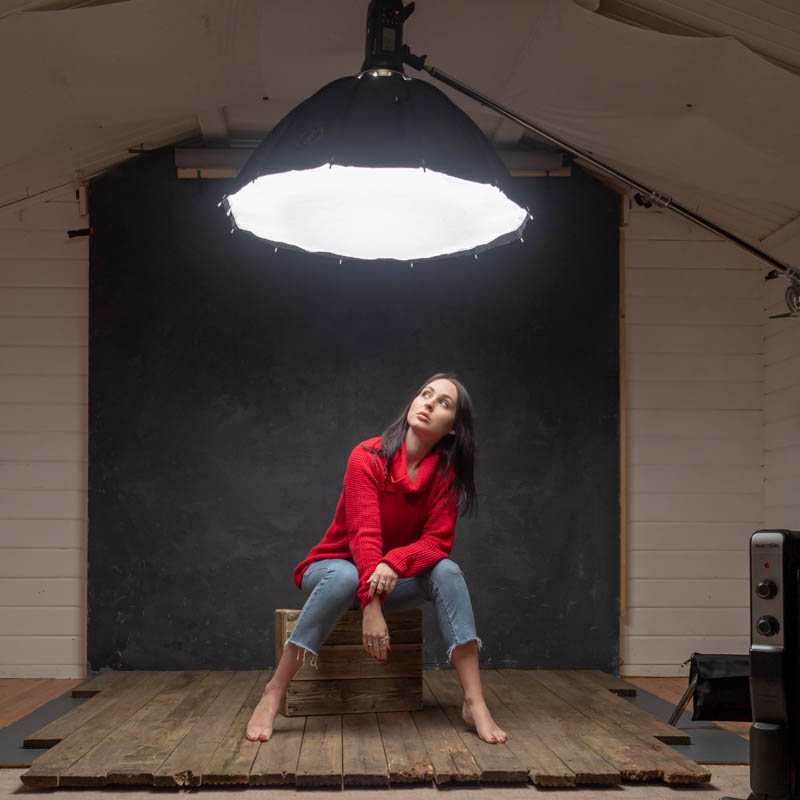
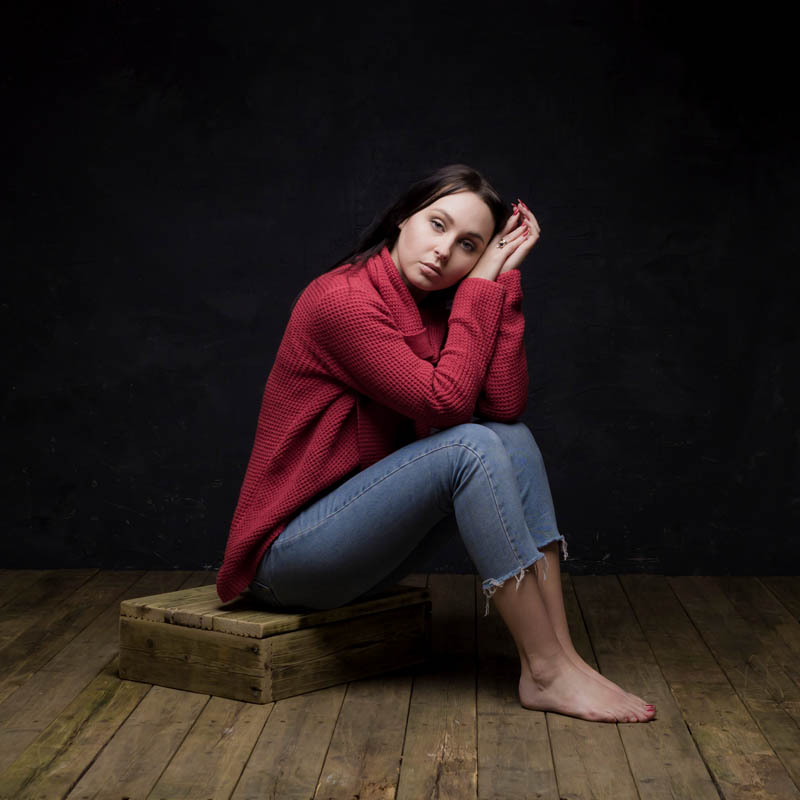
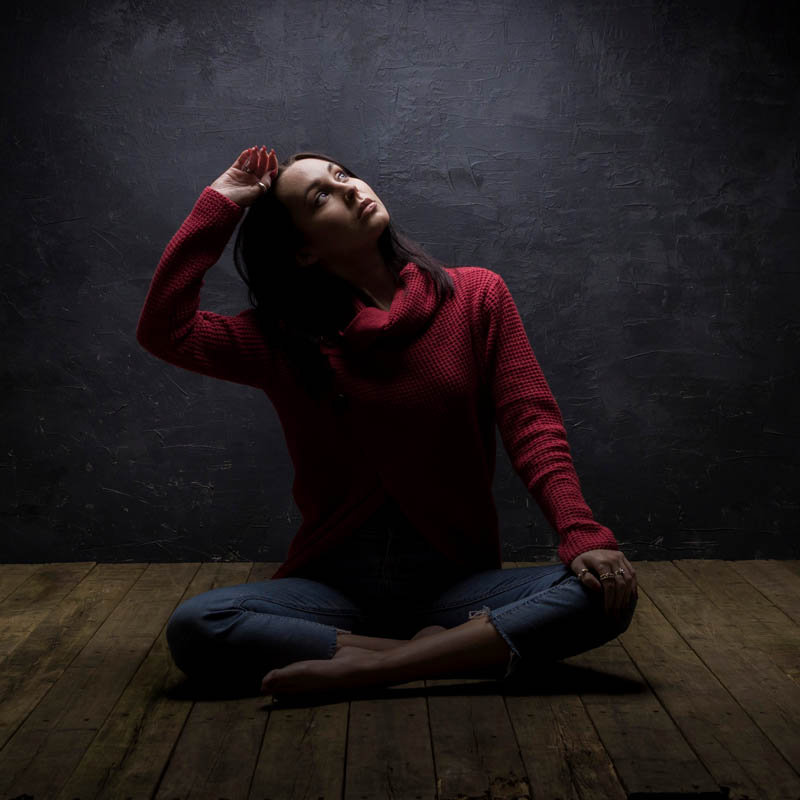
It’s always a challenge to keep things fresh and new in Gavin’s small home studio and sometimes that means taking it back to basics. The difference between just a small movement in the light can be really marked.

The flooring is our old recently replaced decking (up-cycling at it’s best) I think it really adds to the mood for this shoot with the awesome Sophie Daly, model and make up artist extraordinaire.

In this video Gavin changes the softbox and shows the dramatic differences. What’s the best shot? Well, that’s totally up to you.

[youtube]https://www.youtube.com/watch?v=hyRWOk1_BVY[/youtube]

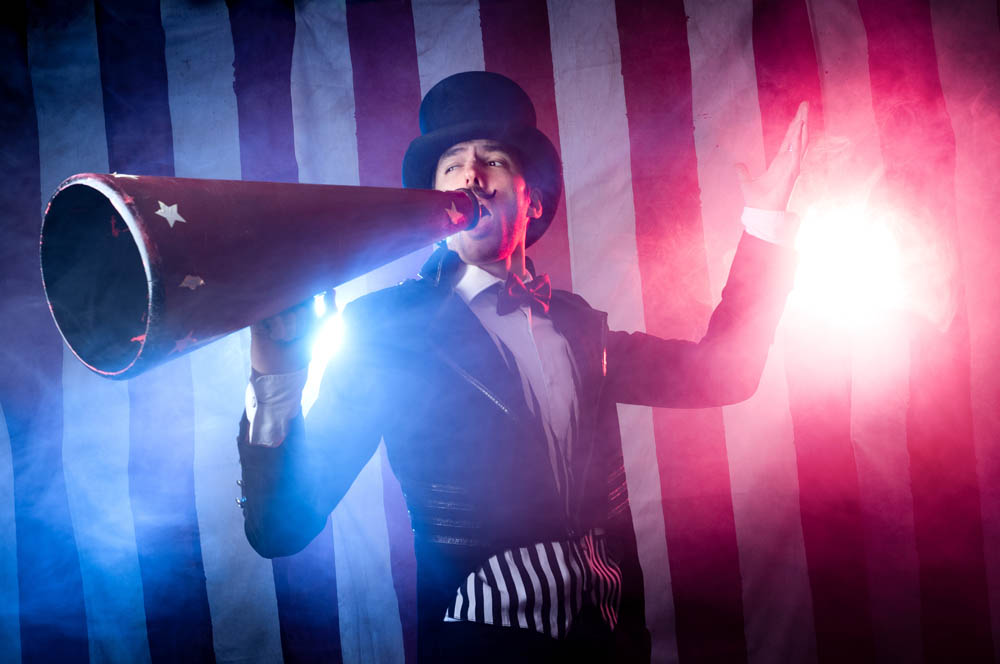
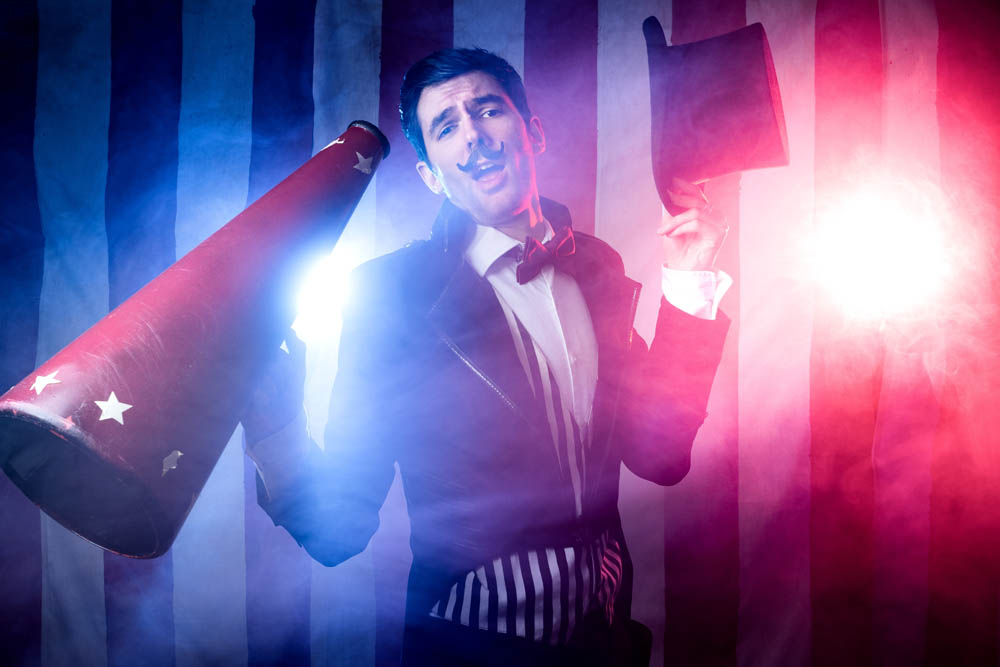
Circus in the studio shoot!

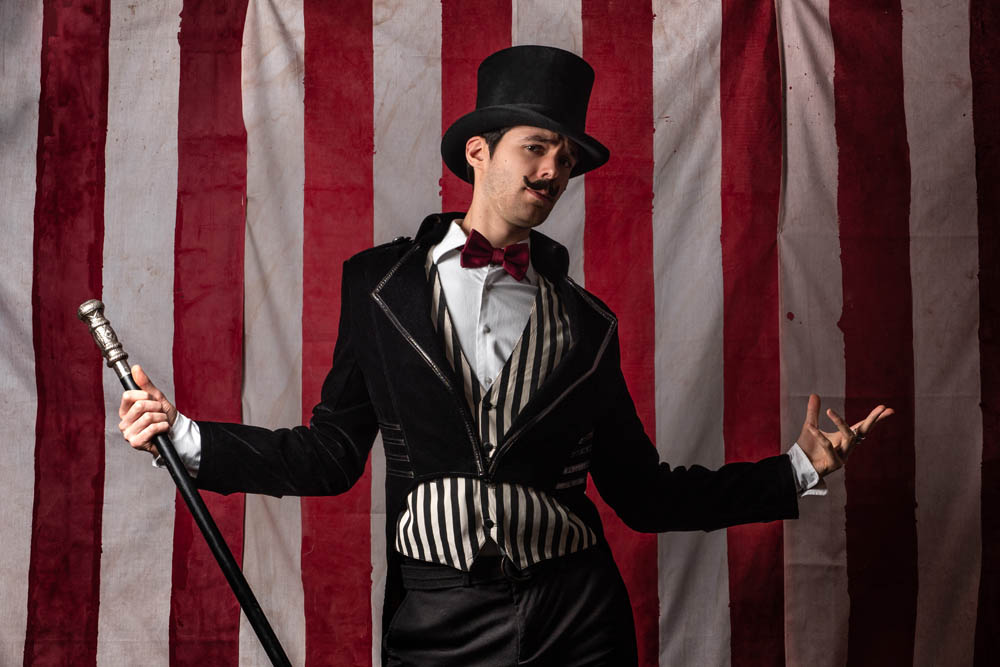
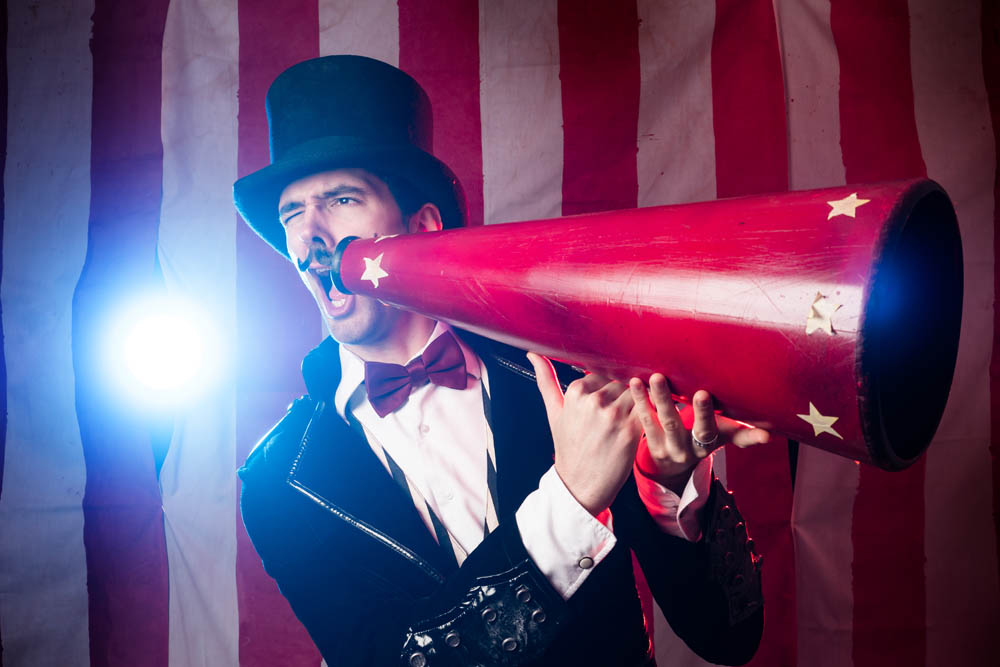
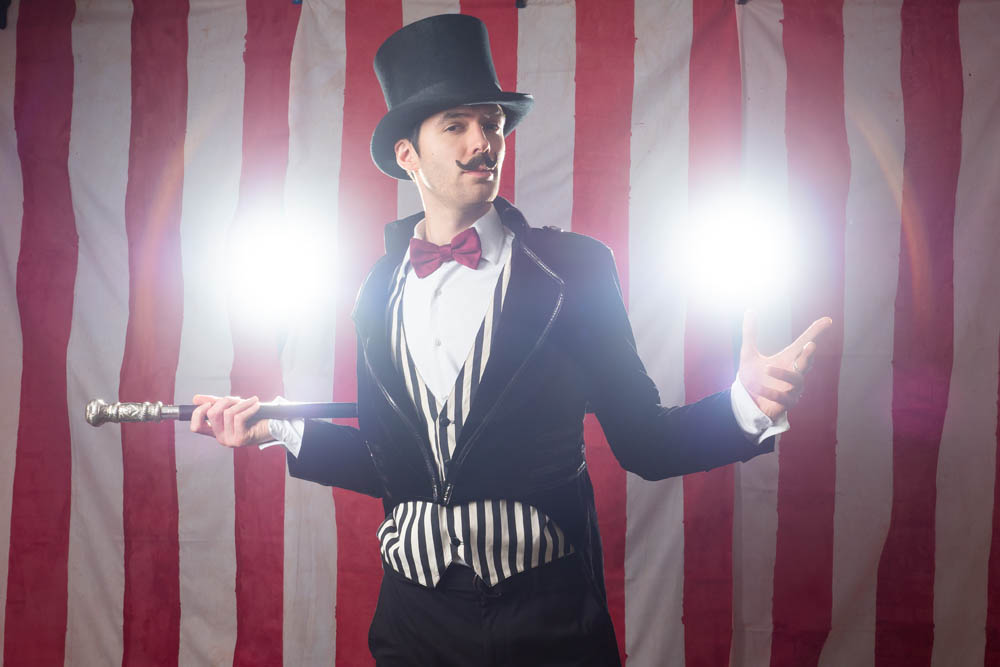
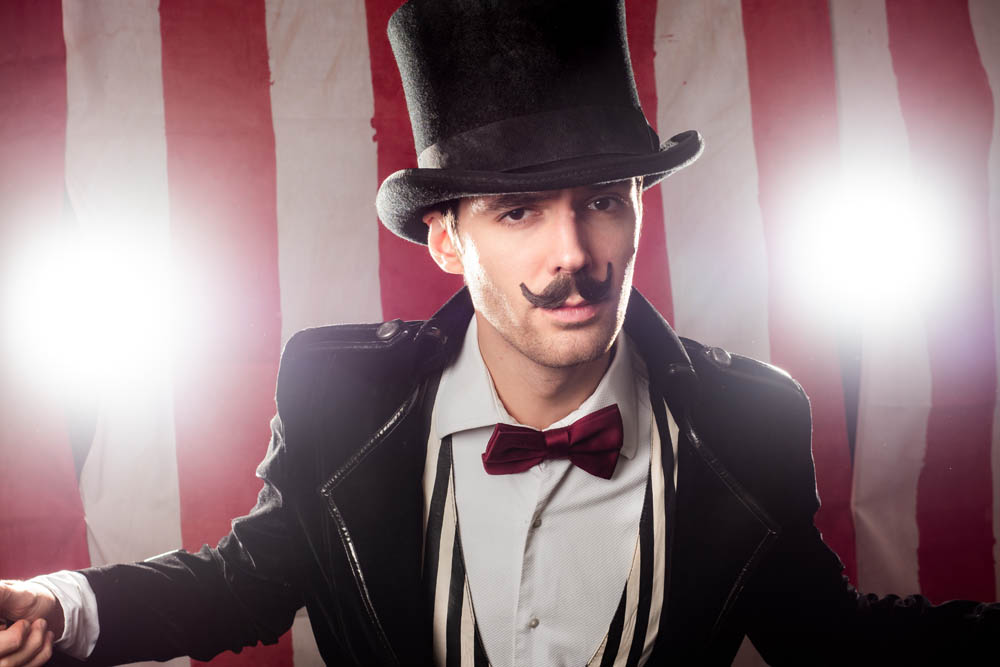
It’s easier than you may imagine to turn your shooting space in to a circus! We got the amazing Brian in the studio to show how to create something so eye catching and different.

[youtube]https://www.youtube.com/watch?v=BtxjuTPKJSo[/youtube]

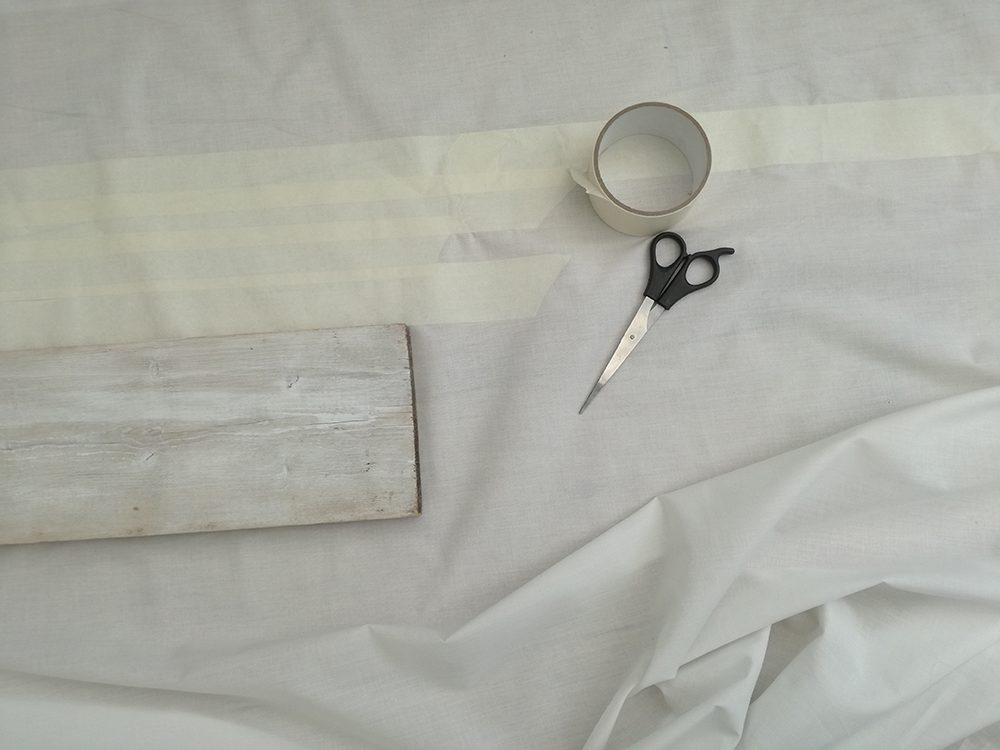
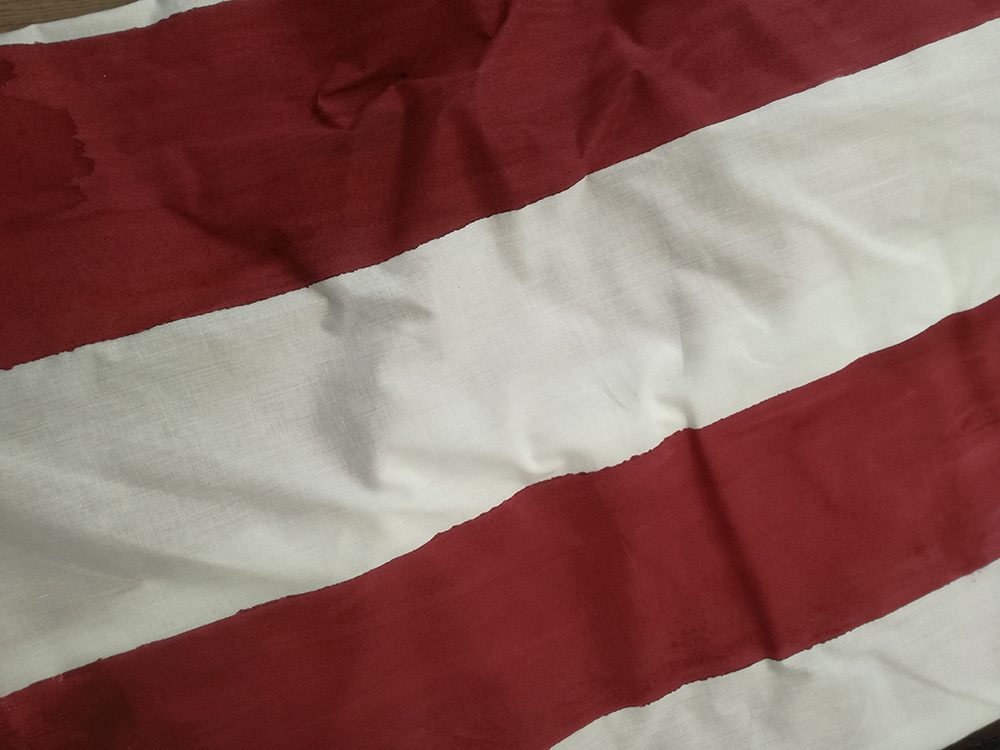
The background was just a huge length of white fabric that I masked off in stripes and painted with red acrylic paint. It was a very messy job which I tackled outside. I made 4 long length because we ran a workshop and needed more than 1.

If you go to the trouble of making your own circus background, you might want to check out this video of another way of using it.

[youtube]https://www.youtube.com/watch?v=pUGcQsk7CrY[/youtube]

Best Position for your Softbox

It’s really easy to get stuck in a rut of setting up exactly the same lighting for every shoot. It’s a comfort, you know what result you get.

Check out Gavin’s video to show the difference a shift in the softbox can make to your images.

It’s good to try something new!

[youtube]https://www.youtube.com/watch?v=IiDcuKhnao0[/youtube]

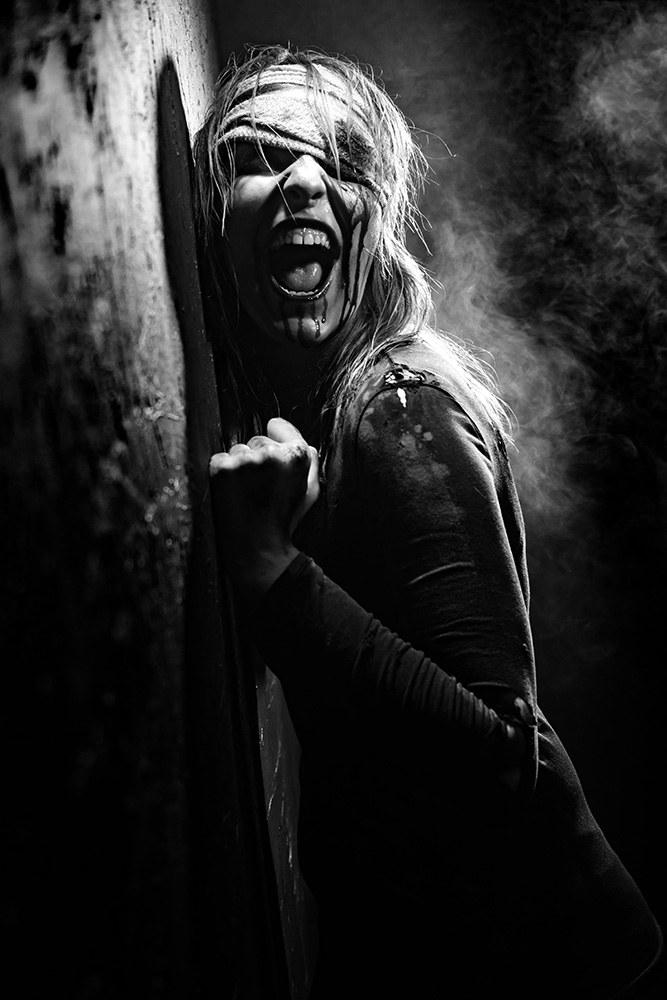
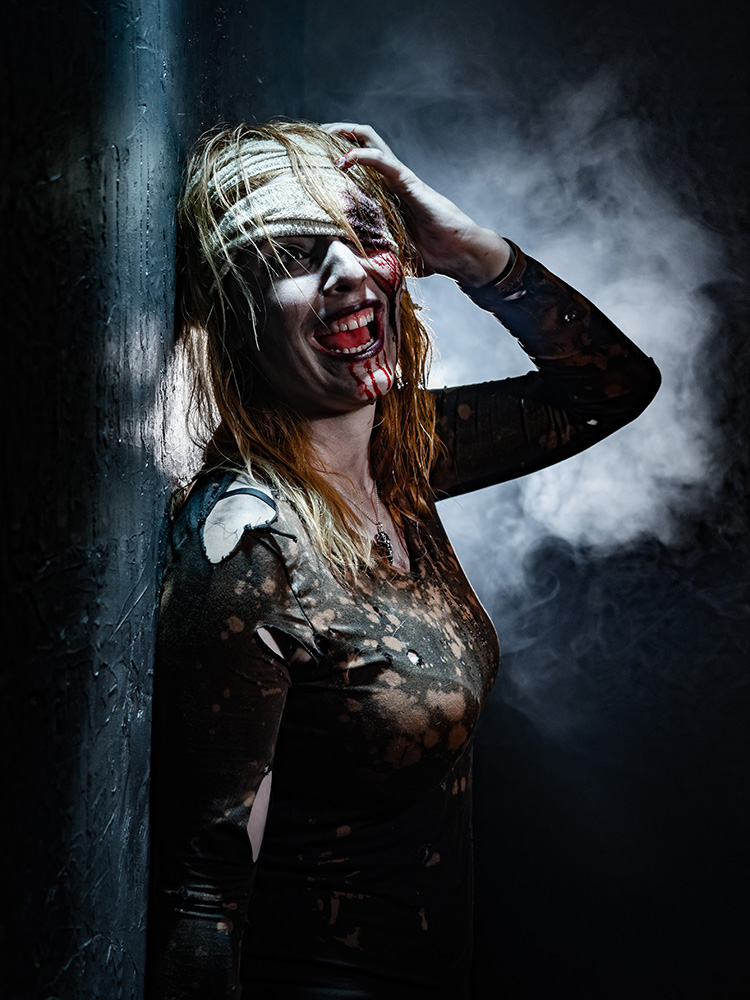
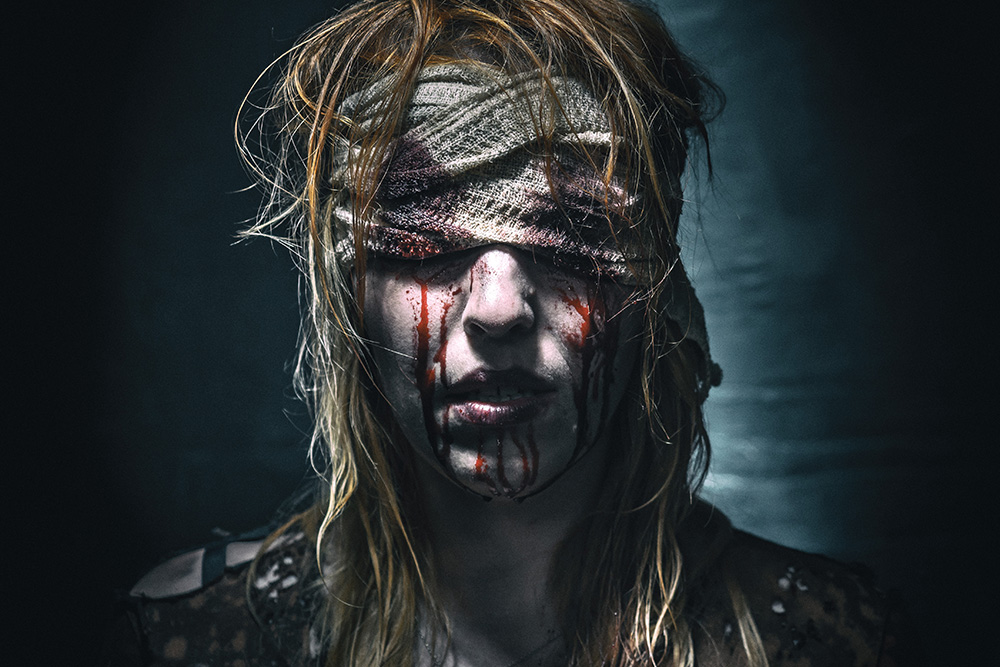
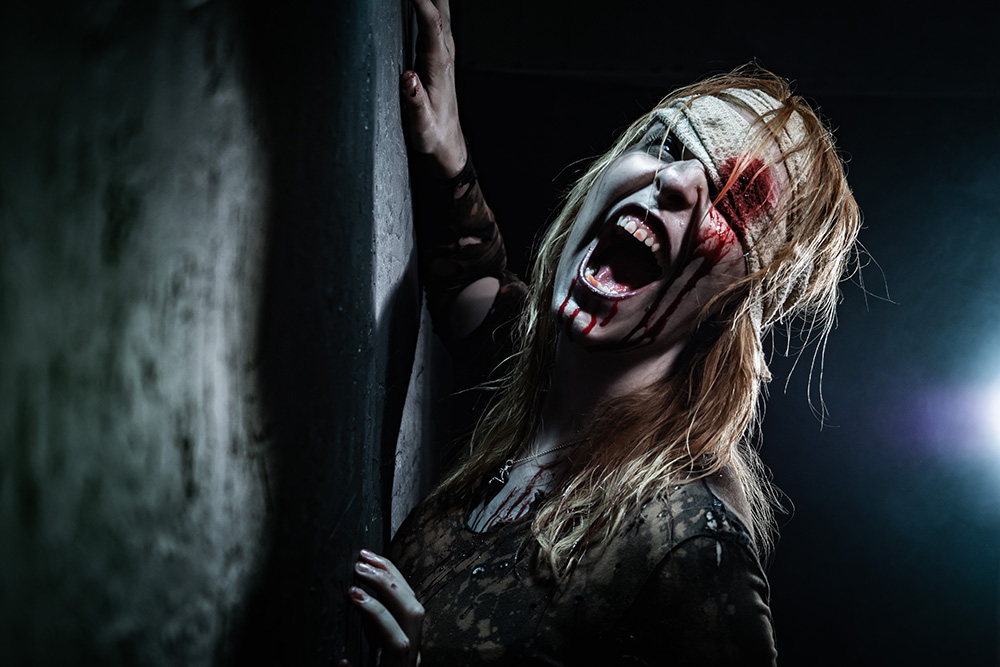
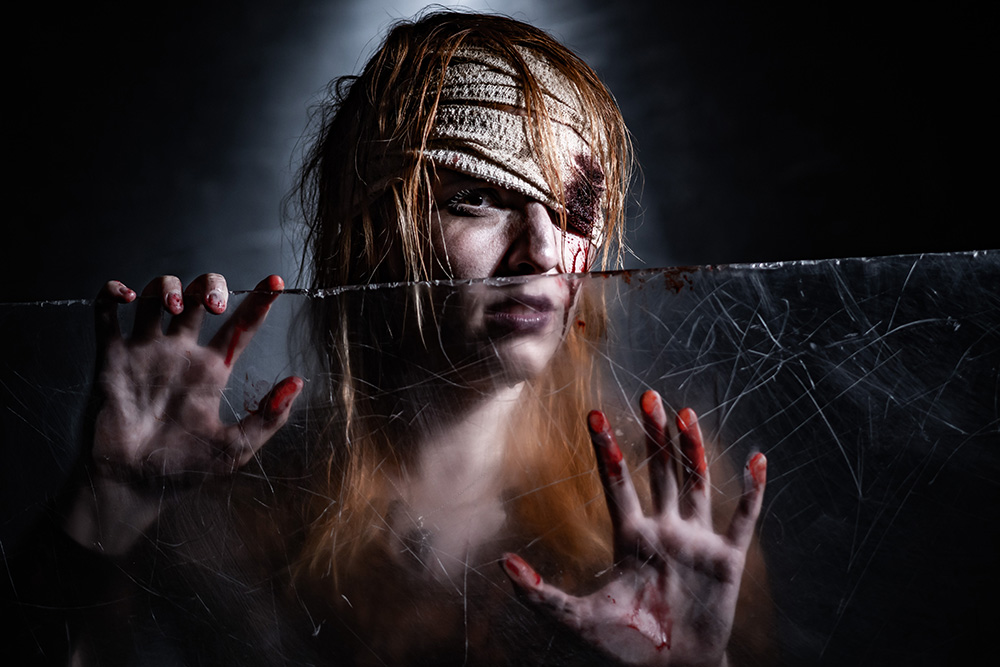
Scary Halloween Basement Shoot

When Kerry said she was available for a shoot, even though it was only August, we knew it should be a Halloween shoot. Not sure why but most of the models, make up artists and quite a lot of photographers love this theme!

Despite the scary look, this was such a fun shoot. Also the first time I’ve had to clear up blood drops and splatters from the studio walls and floor, thank goodness all fake!!

[youtube]https://youtu.be/ScVEJfBzOJ4[/youtube]

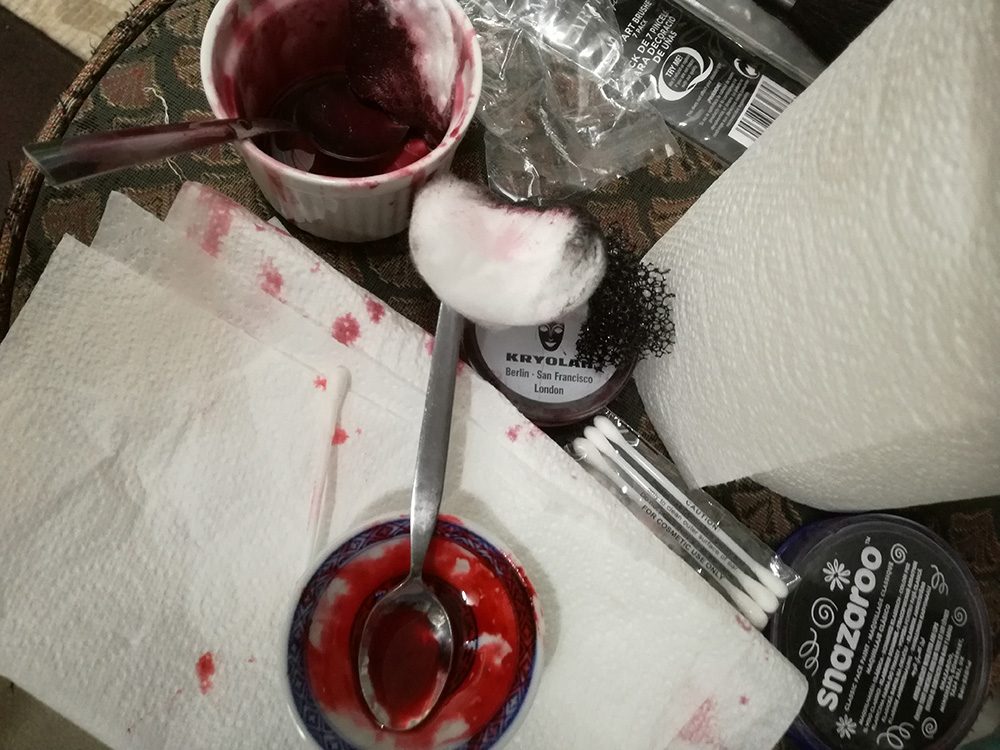
As you’ll see in the video, the blood used was tried out first. The one used for the closest skin contact, especially on the bandages close to Kerry’s eye, was homemade. I used a mix of runny honey, a little cornflour and some red food colour gel. As it was edible and Kerry likes honey!


Make Up, Quick vs Quality

We started working with make up artists several years ago for our portrait shoots. It really opened our eyes to how much make up can change the look of your shots.

Some themes and styled shoots can benefit dramatically from the services of a good make up artist. In this video Gavin takes shots firstly with a quick make up coverage and then repeats the shoot after a more stylised make up look has been applied.

Our model, Beth Smith and make up artist, Sophie Daly help to show the difference achieved. Gavin gives hints and tips on how to get the most from working with a great make up artist.

[youtube]https://youtu.be/kVFcQ5mGgdY[/youtube]

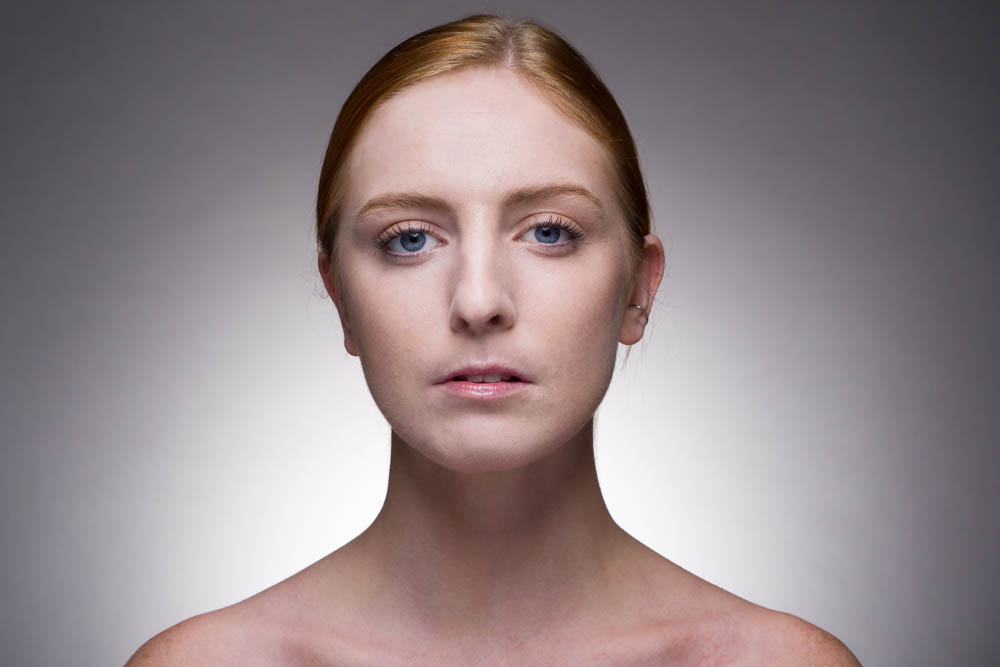
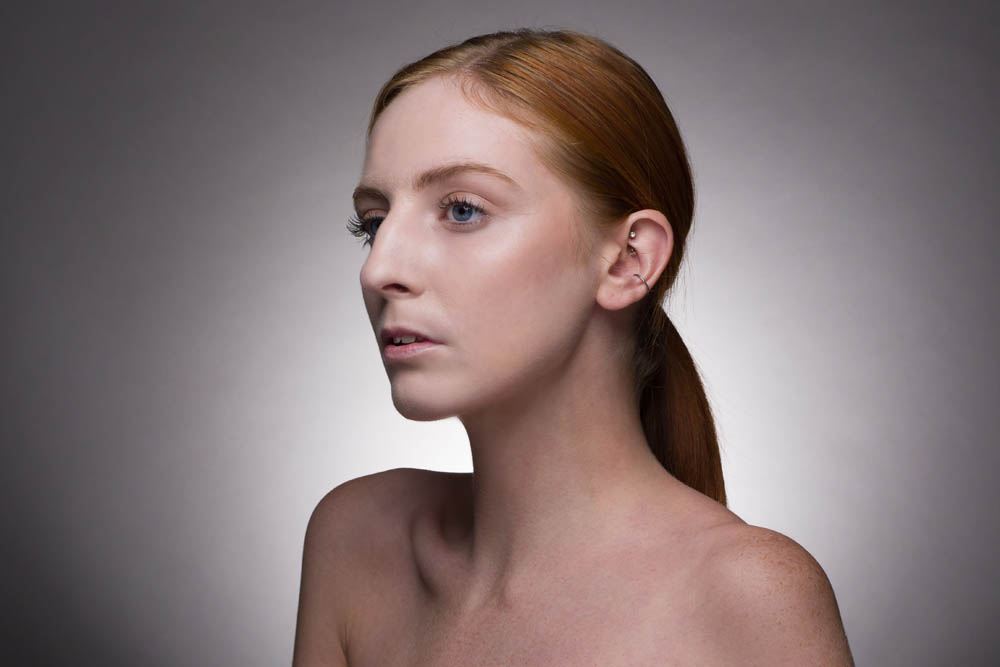
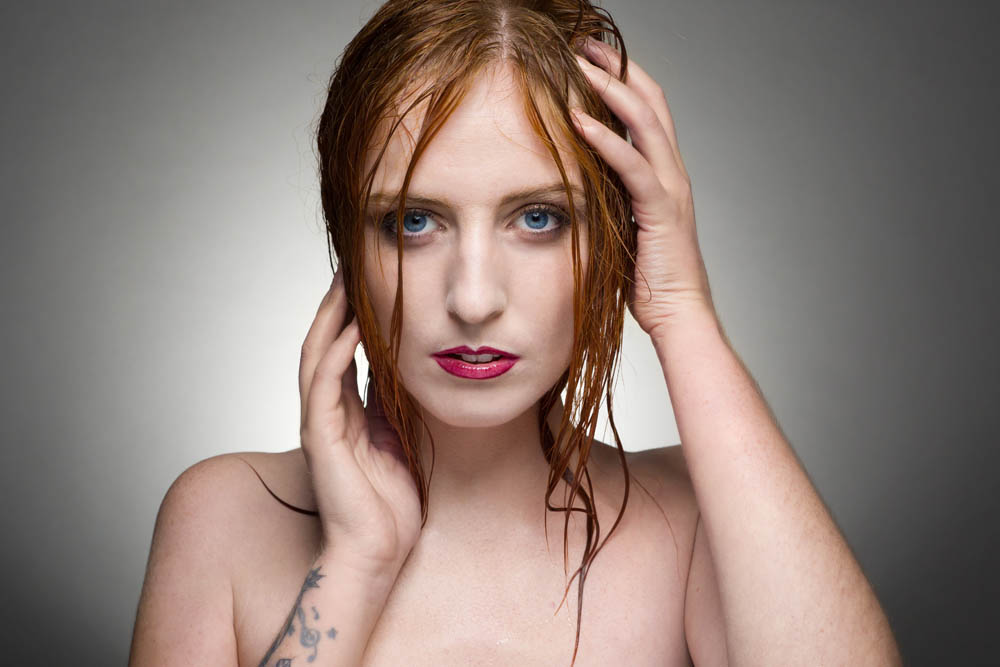
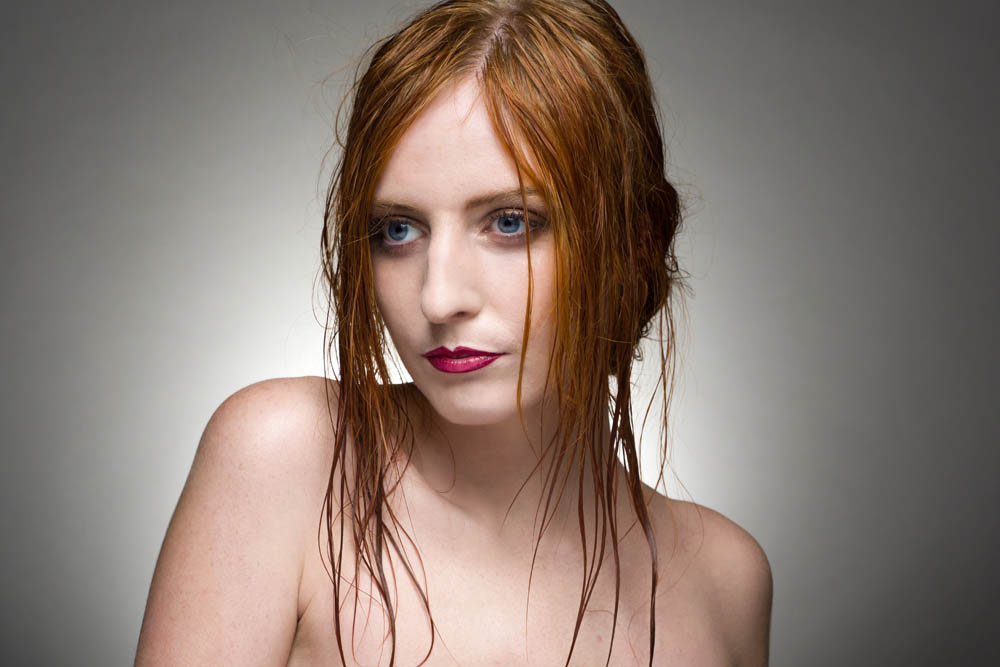
Here’s some of the basic coverage make up shots.

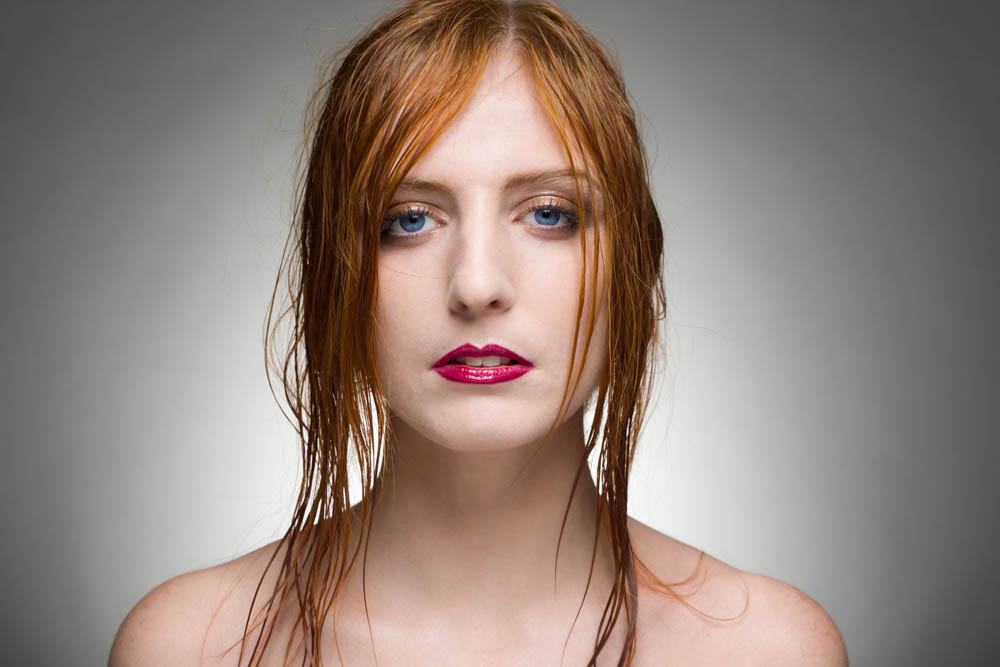
A few of the shots after the more dramatic make up was applied.


Home Studio to Mini Music Venue

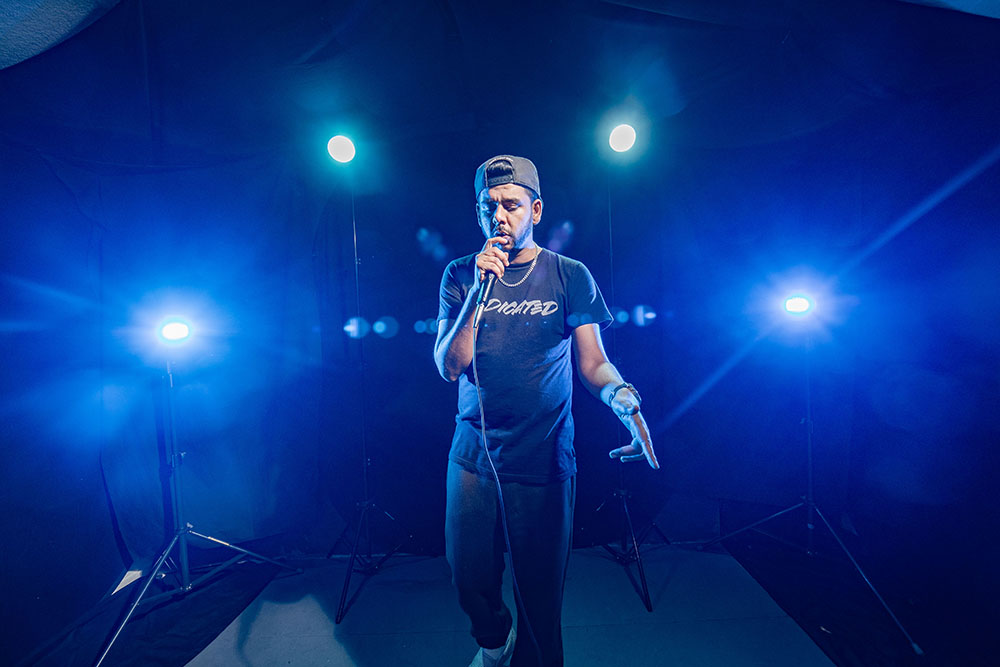
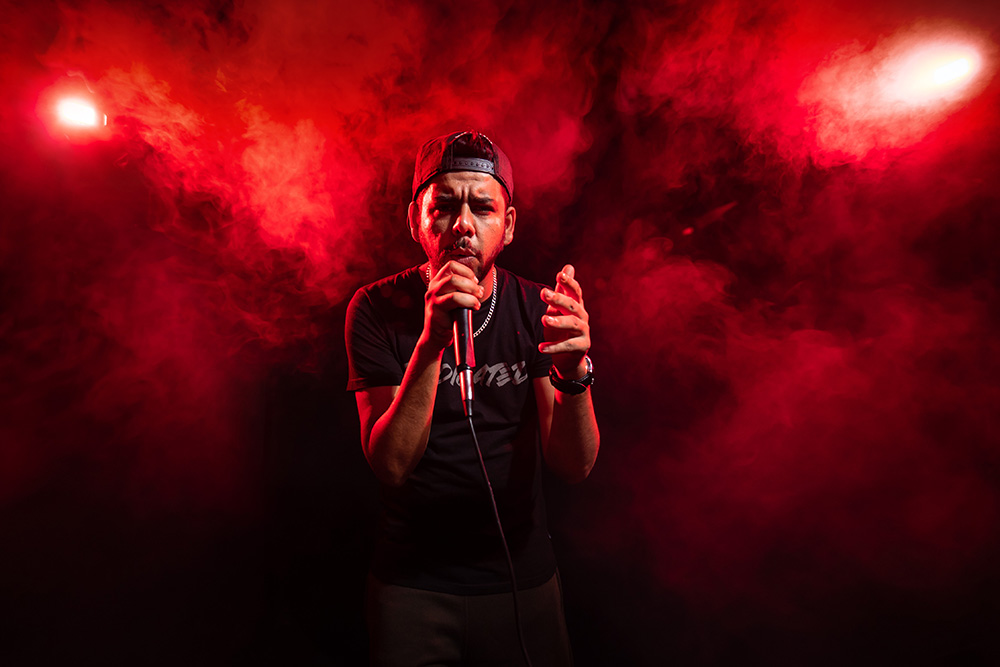
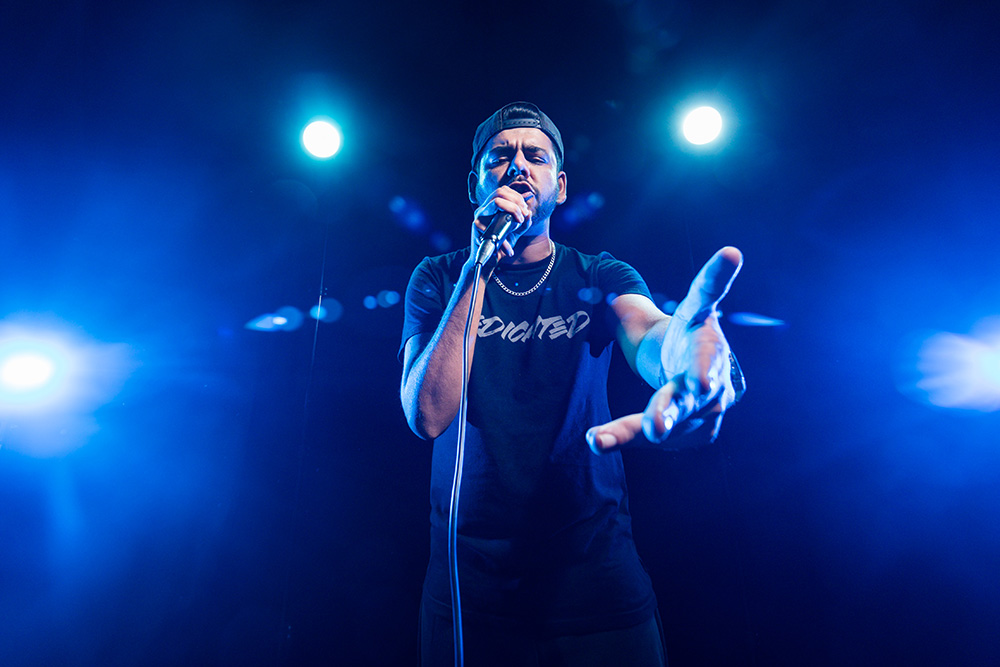
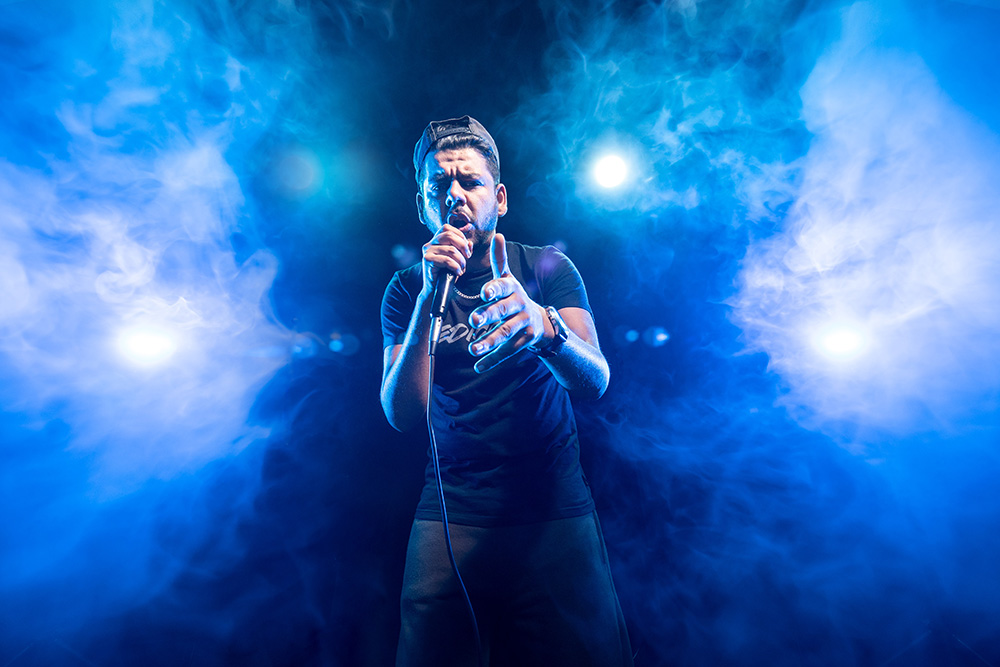
It’s always fun when we get IF-E in the studio and this video was no exception. Gavin likes to push the boundaries and overcome the limitations of working in the same small space and this was another cracking example.

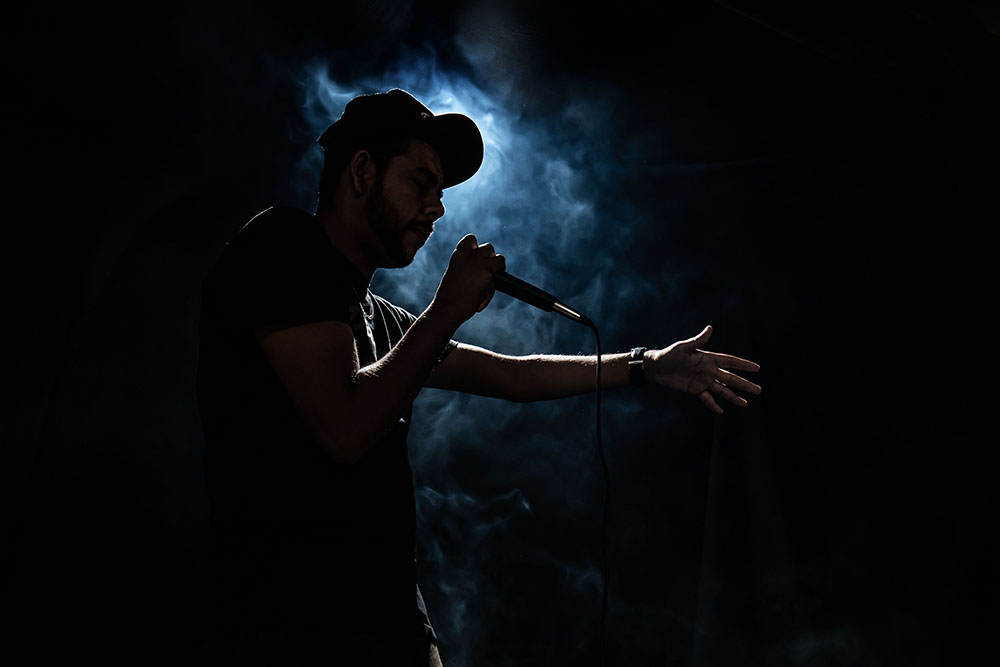
Some great lighting and obviously the smoke machine provide the right vibe for IF-E to bang out some lyrics and attitude (he’s great at that!).

The set up started with just one light progressing through to adding further lights for a variety of looks. The addition of smoke gives a different mood to the shots, as the smoke moves and dissipates the look changes.

Check out the video to see the entire shoot.

[youtube]https://youtu.be/yTnaLcGhZhg[/youtube]


Here’s a Behind The Scenes of the final set up.

Here’s a few of my favourites from the set.