Textured Backgrounds For Flower Portraits

Backgrounds can make or break any photo. But if flowers and plants are your subject matter you’re somewhat stuck with the background that you find. That’s where these textures and patterns come in.

They’re pre-blurred for an instant depth of field effect. Simply print them out (they’re already sized for A4) on matte photo paper and pop one in behind your flower for an instant new background. I’ve sized these from small, single blooms, so that’s two backgrounds per A4 sheet, but you can crop and upscale as needed.

Download instructions
       1. Click on the download link below
https://drive.google.com/drive/folders/1_1ZwEvFMmWpc7ZY3voSEaqXHfrlKwEbS?usp=sharing

  1. Click the Download button download_icon (top right of screen)
  2. The download should start automatically
  3. No support is provided. If you need help Google or YouTube the question and you’ll almost certainly find the answer

Water Reversal Backgrounds

If you’re looking for a simple stay at home photo project then this is for you. All you need is a glass filled with water and one of my free backgrounds.

The water filled glass acts as a simple lens and reverses the image seen through it. The upshot of which is, if you place the glass in front of a bold but simple background it becomes something photographically fascinating.

I’ve made three types of background, two tone, diagonal stripes and fine lines. Each has two variations and all are sized at A4, ready to be printed at home.

Usage rules
The images are copyright Gavin Hoey 2020. Use is limited to any personal but non-commercial purposes. Only share by linking back to this page. Do not redistribute the original image without my permission.

Download instructions
       1. Click on the download link below
https://drive.google.com/drive/folders/1aUvI6y8m-kor4WdoEB2aOyT8Zq-6E8uj?usp=sharing

  1. Click the Download button download_icon (top right of screen)
  2. The download should start automatically
  3. No support is provided. If you need help Google or YouTube the question and you’ll almost certainly find the answer

Neon Background Shapes

Neon backgrounds are not normally something you’d find in a studio but with a bit of planning, my free neon backgrounds and a little time in Photoshop, you can.

There are four free neon shapes in this set. I’ve made them all red but you can adjust the hue to make them any colour you like.

Usage rules
The images are copyright Gavin Hoey 2020. Use is limited to any personal but non-commercial purposes. Only share by linking back to this page. Do not redistribute the original image without my permission.

Download instructions
       1. Click on the download link below
https://drive.google.com/drive/folders/1I4zGWjBMAx2Y5i_pP9f009pp8zKDg4MF

  1. Click the Download button download_icon (top right of screen)
  2. The download should start automatically
  3. No support is provided. If you need help Google or YouTube the question and you’ll almost certainly find the answer

Making A Rustic High Key Background

When Gavin decided he wanted to shoot high key portraits in a very small space he wanted to a background that was a little different for the usual pure white seamless look. So I was tasked with creating a more rustic looking light background and I do love a challenge!

To keep cost down the plan was to re-use Gavin’s favourite grey paper background that had seen better days. I took a sample of the long roll of grey paper and tried out a few methods. Originally I was convinced a chalk coating would be perfect. Well, it looked pretty good but took quite a bit of elbow grease and loads of chalk. But the huge downside was that it smudged and dusted everything in a layer of chalk dust! Not ideal, so back to the drawing board (literally).

I have loads of white paint (most walls are white in the house) so thought a rough coating of paint would be worth a try out. Now, paper and wet paint would not be a great combination, the paper would change shape and be difficult to work with, so I used a dry brushing technique. This is where you dip the paint brush in the paint and then wipe off the excess on kitchen paper towels and then paint what’s left onto the background. This means that it goes on practically dry and doesn’t cause the paper to buckle. Perfecto!

We shot a time lapse, I think it makes me look like I work really quickly and efficiently!! The camera never lies…………
[youtube] https://www.youtube.com/watch?v=v9OBWOy_Eng [/youtube]

The shoot day was brilliant. We worked with Gracie for the first time, she totally got the idea and it all worked like a charm with the background.

Festive Stars Template

With the festive holidays fast approaching I thought I’d share my festive stars template. My planned use for this is that it will become a background for a fine art portrait but I’m pretty sure there’s plenty of other uses too.

To use this template, download it (see the link below) then open it in Photoshop. The template is made up of a bunch of layers, you need to paste your image into the one called “YOUR PHOTO HERE”. Make sure your photo stretches to the edges of the template and use a layer mask to hide or reveal whatever is under the stars.

You can see how I use it in this video https://www.youtube.com/watch?v=VNVOAJI7Q4w

You can download my festive stars template here
https://adobe.ly/2AY2nvZ

If you create a photo using the Friday Freebie then let me (and everyone else) know by leaving the link in the comments below.

Usage rules
The festive stars template is copyright Gavin Hoey 2018. Use is strictly limited to any personal but non-commercial purposes.
Please share the Friday Freebie by linking back to this page. Do not redistribute the original action without my permission.

Download instructions
     1. Click on the correct download link below (no sign up is needed)
https://adobe.ly/2AY2nvZ

  1. You may see a message saying “There was a problem with the network” Just ignore it
  2. Click the Download icon download_icon The download should start automatically
  3. Open the .PSD file in Photoshop
  4. Paste your photo into the layer “YOUR PHOTO HERE”
  5. No support is provided with the Friday Freebies. If you need help Google or YouTube the question and you’ll almost certainly find the answer

Scary Halloween Basement Shoot

When Kerry said she was available for a shoot, even though it was only August, we knew it should be a Halloween shoot. Not sure why but most of the models, make up artists and quite a lot of photographers love this theme!

Despite the scary look, this was such a fun shoot. Also the first time I’ve had to clear up blood drops and splatters from the studio walls and floor, thank goodness all fake!!

[youtube]https://youtu.be/ScVEJfBzOJ4[/youtube]

As you’ll see in the video, the blood used was tried out first. The one used for the closest skin contact, especially on the bandages close to Kerry’s eye, was homemade. I used a mix of runny honey, a little cornflour and some red food colour gel. As it was edible and Kerry likes honey!


Make Up, Quick vs Quality

We started working with make up artists several years ago for our portrait shoots. It really opened our eyes to how much make up can change the look of your shots.

Some themes and styled shoots can benefit dramatically from the services of a good make up artist. In this video Gavin takes shots firstly with a quick make up coverage and then repeats the shoot after a more stylised make up look has been applied.

Our model, Beth Smith and make up artist, Sophie Daly help to show the difference achieved. Gavin gives hints and tips on how to get the most from working with a great make up artist.

[youtube]https://youtu.be/kVFcQ5mGgdY[/youtube]

Here’s some of the basic coverage make up shots.

A few of the shots after the more dramatic make up was applied.


Home Studio to Mini Music Venue

It’s always fun when we get IF-E in the studio and this video was no exception. Gavin likes to push the boundaries and overcome the limitations of working in the same small space and this was another cracking example.

Some great lighting and obviously the smoke machine provide the right vibe for IF-E to bang out some lyrics and attitude (he’s great at that!).

The set up started with just one light progressing through to adding further lights for a variety of looks. The addition of smoke gives a different mood to the shots, as the smoke moves and dissipates the look changes.

Check out the video to see the entire shoot.

[youtube]https://youtu.be/yTnaLcGhZhg[/youtube]


Here’s a Behind The Scenes of the final set up.

Here’s a few of my favourites from the set.


Bed Sheets As Backgrounds

When I first started shooting portraits, I made do with some very basic gear. My studio was my garage, my second light was a reflector and my backgrounds were sheets of fabric.

Fortunately I’ve added one or two more lights to my gear over the years and I have my own, permanent small home studio. My backgrounds have evolved a bit too but one of the most challenging parts of being in a studio is the limited choice of backgrounds. So in the video below I revisited my early days by buying three cheap bed sheets for use as backgrounds.

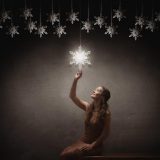
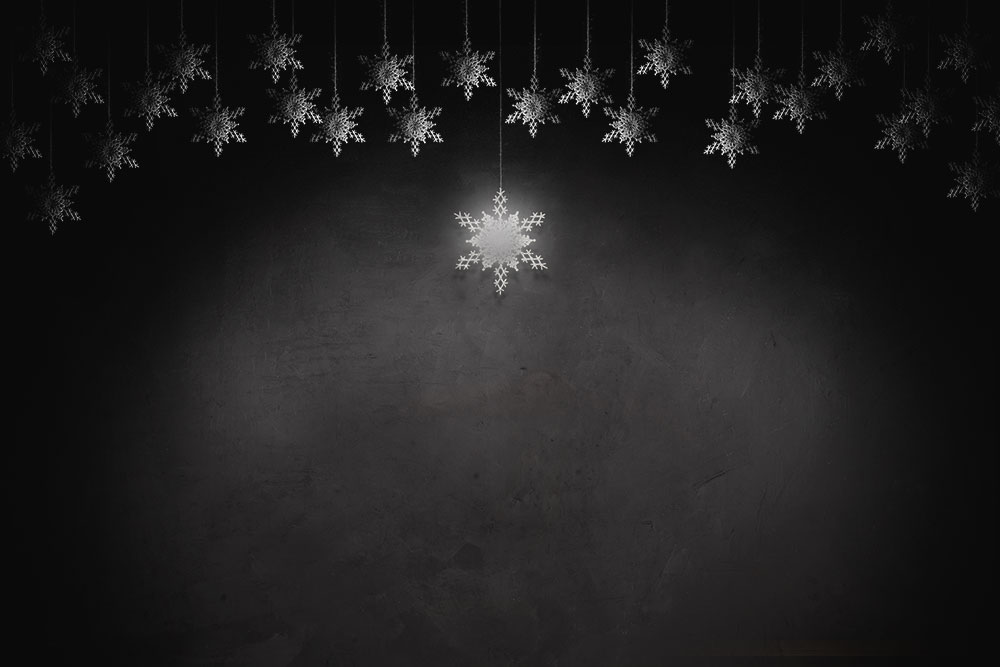
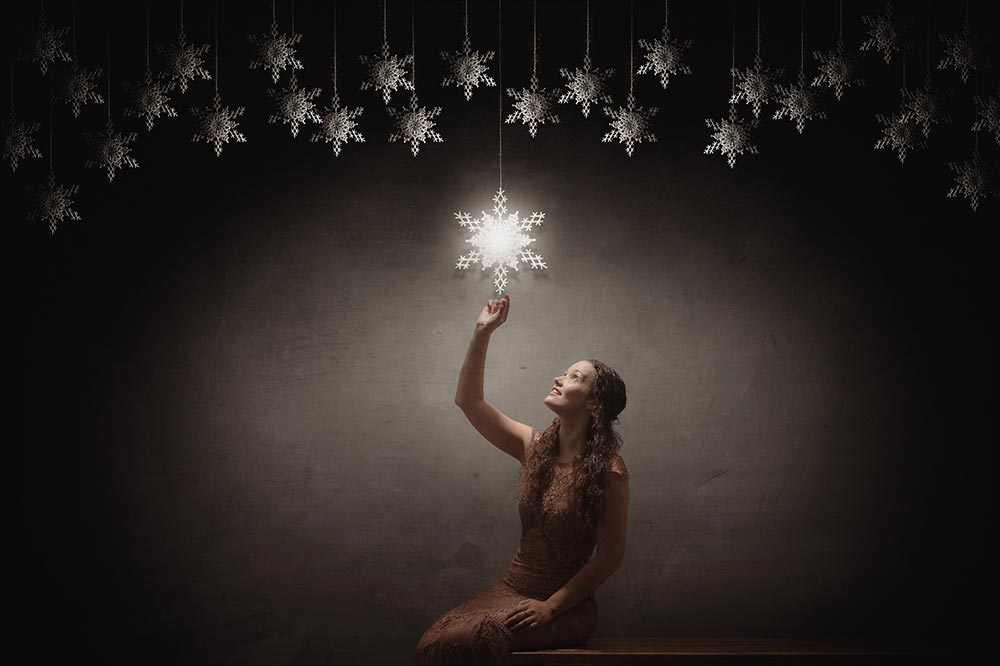
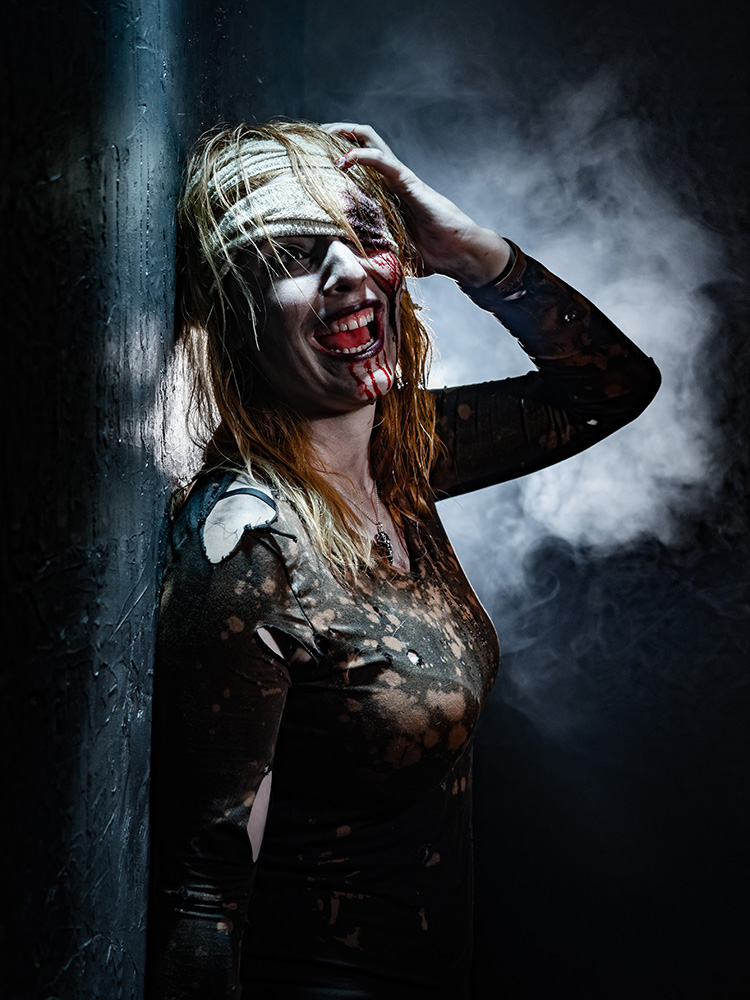
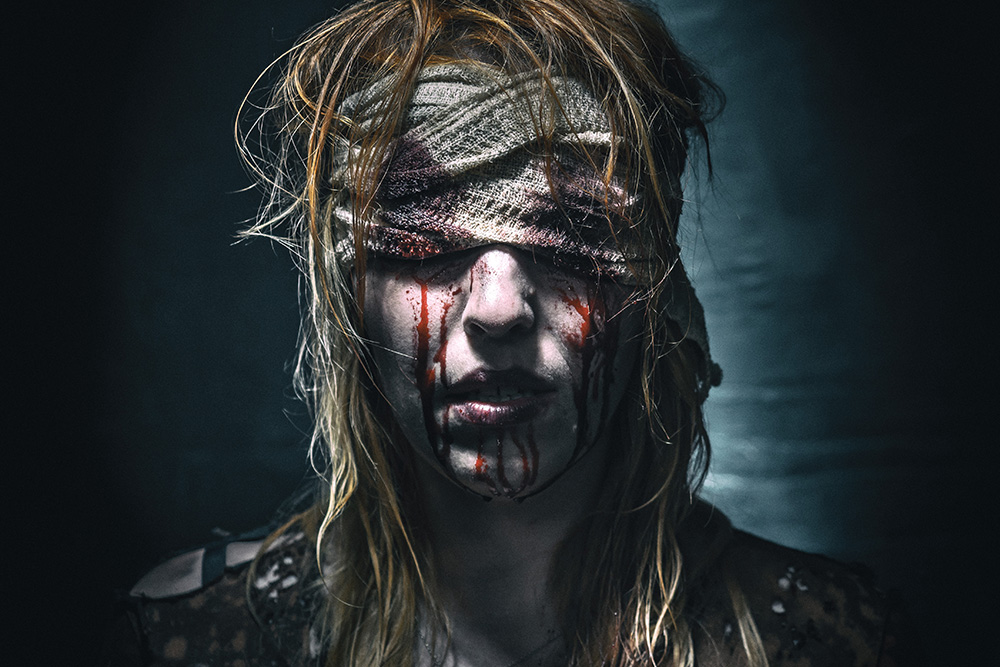
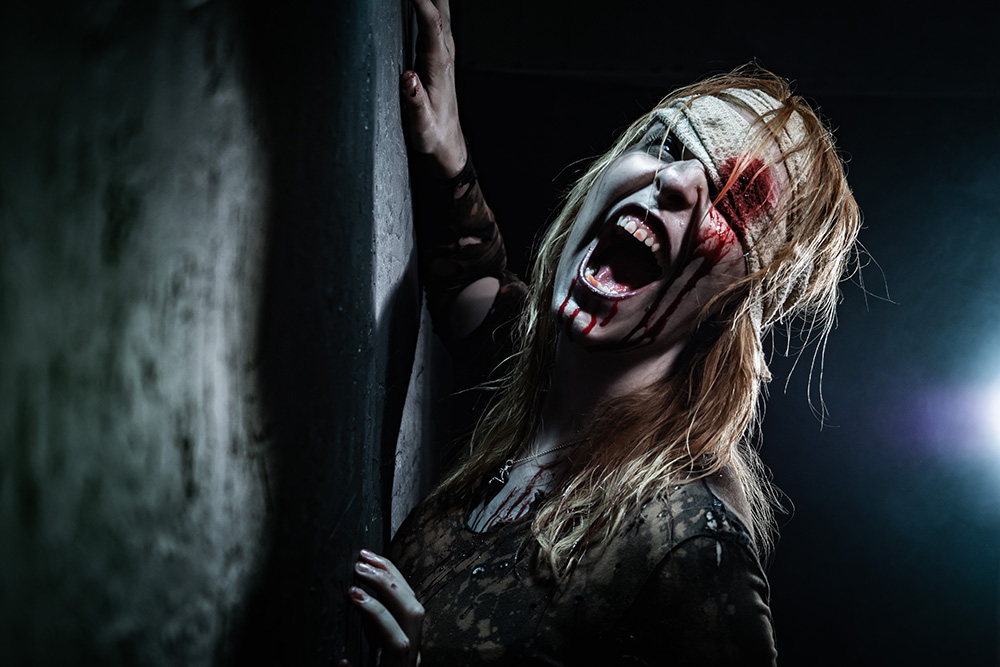
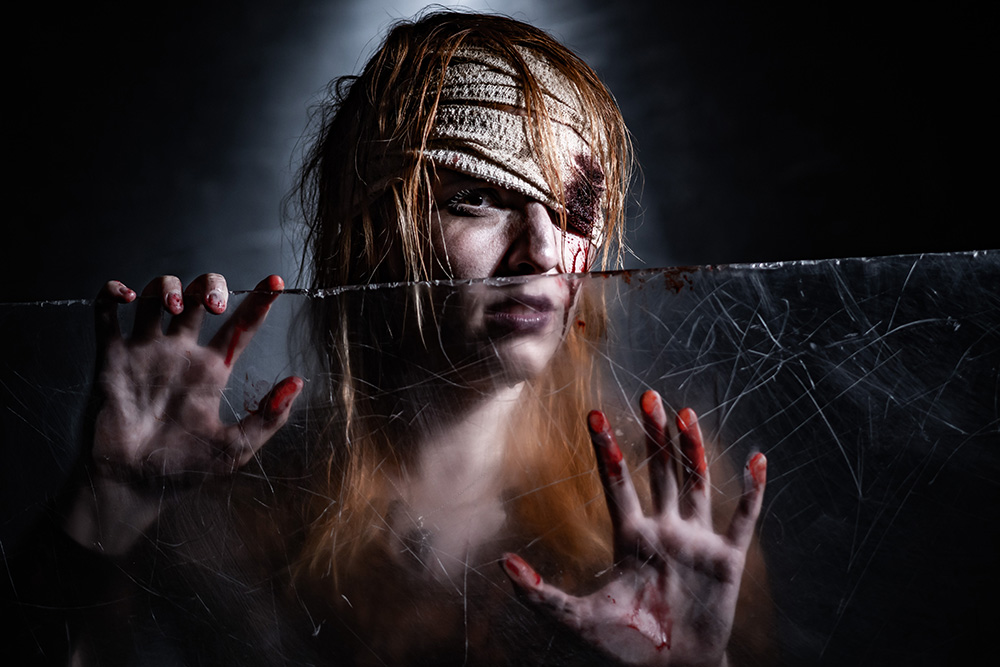
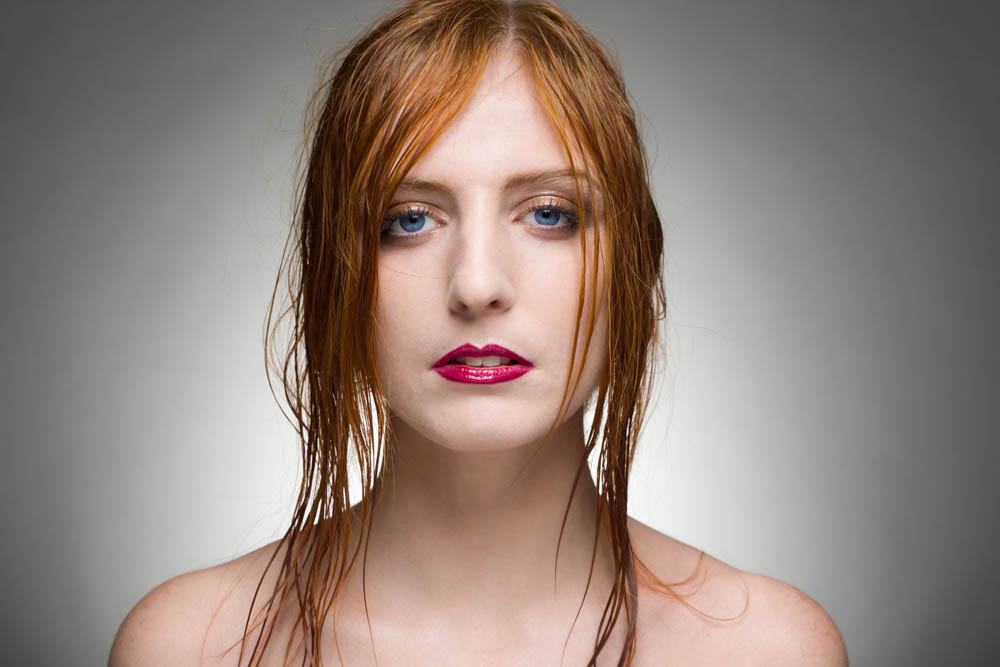
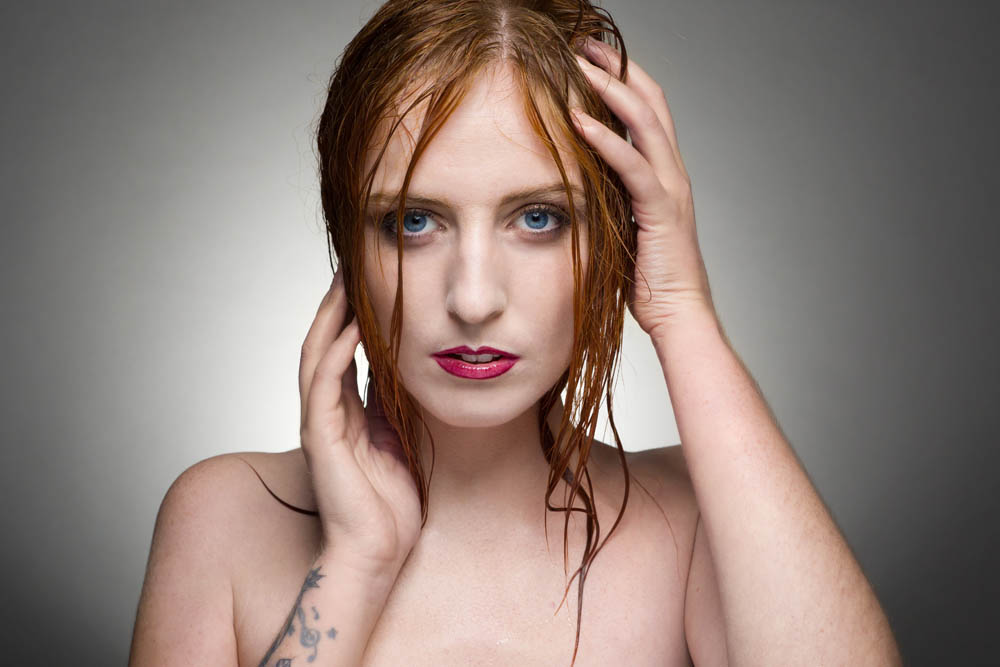
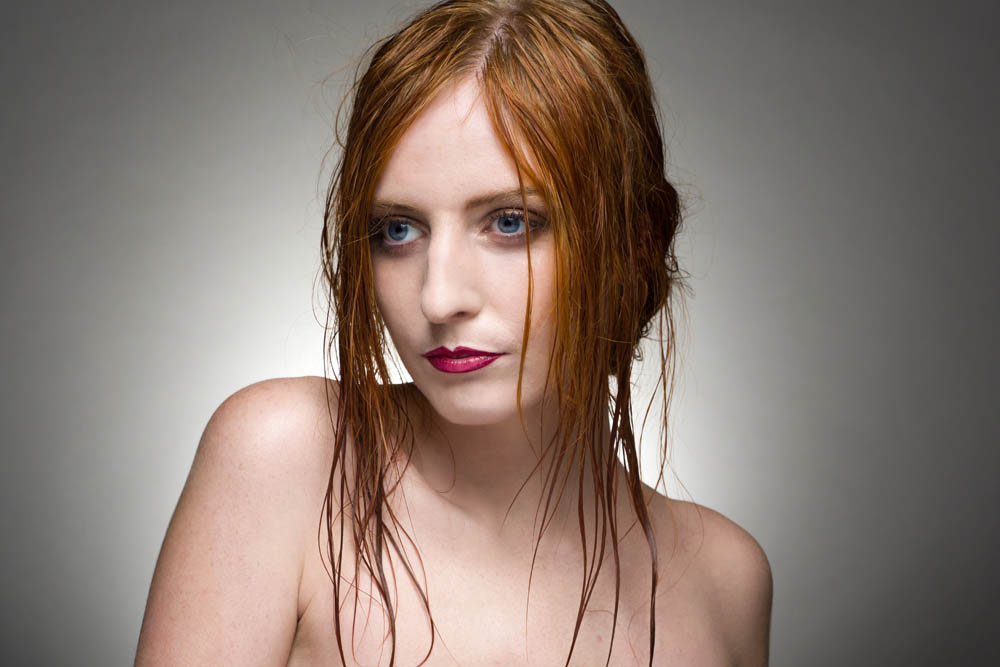
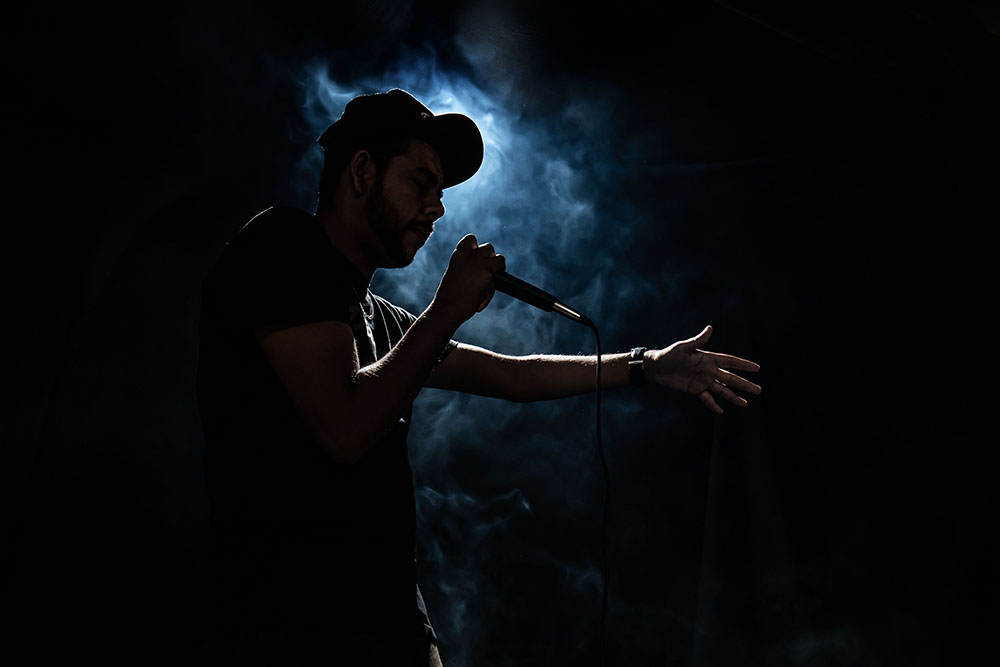
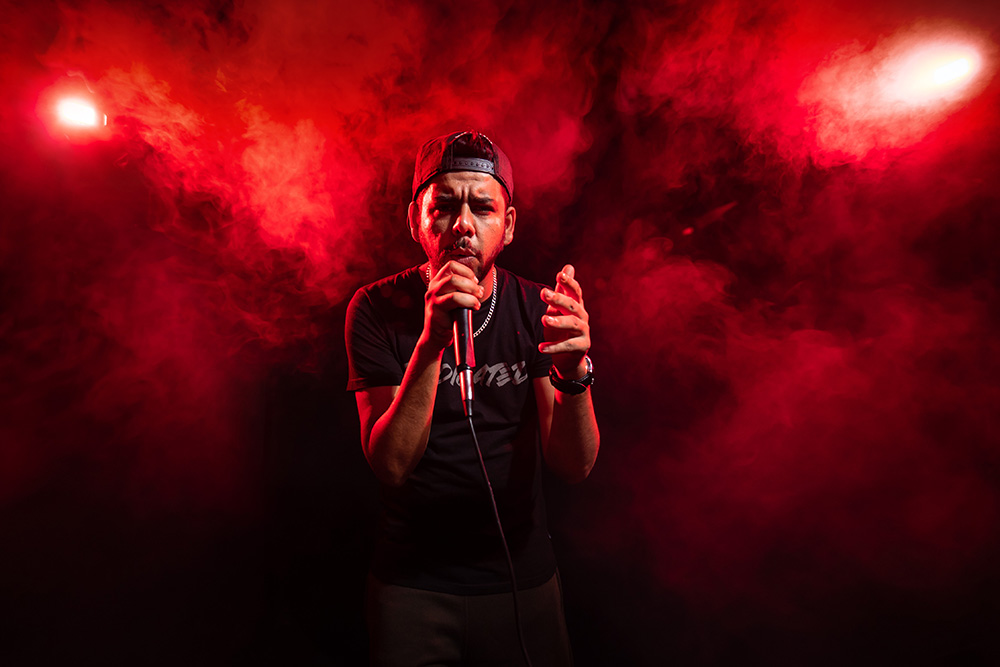
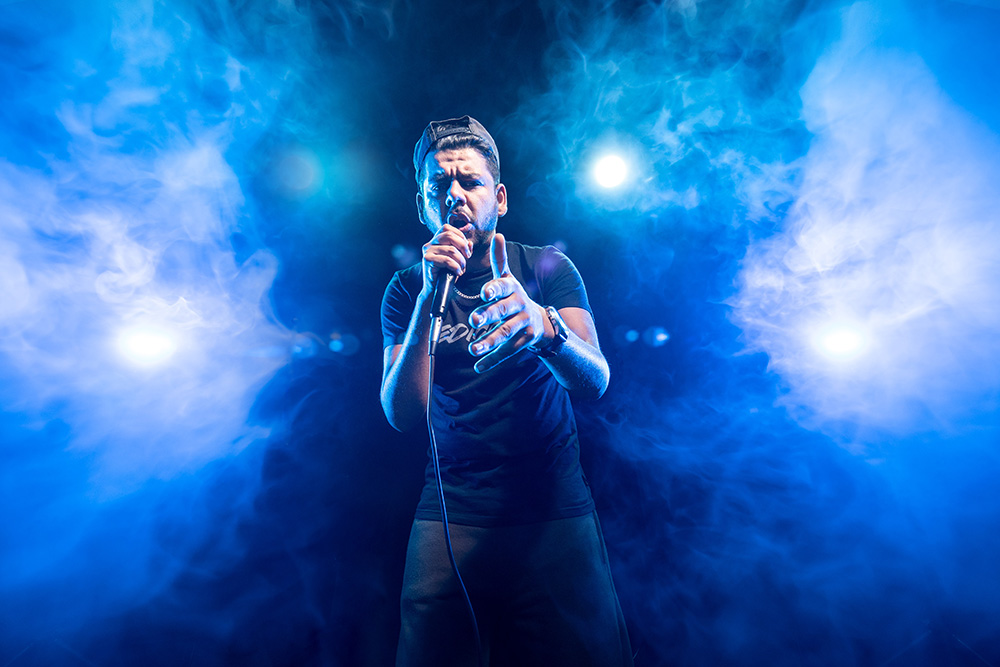
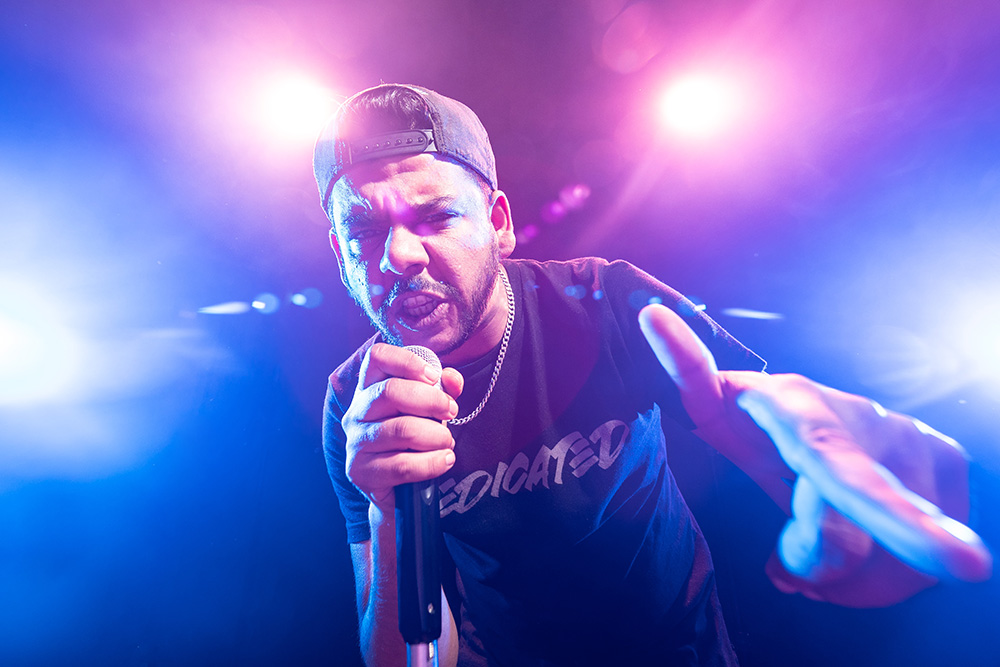
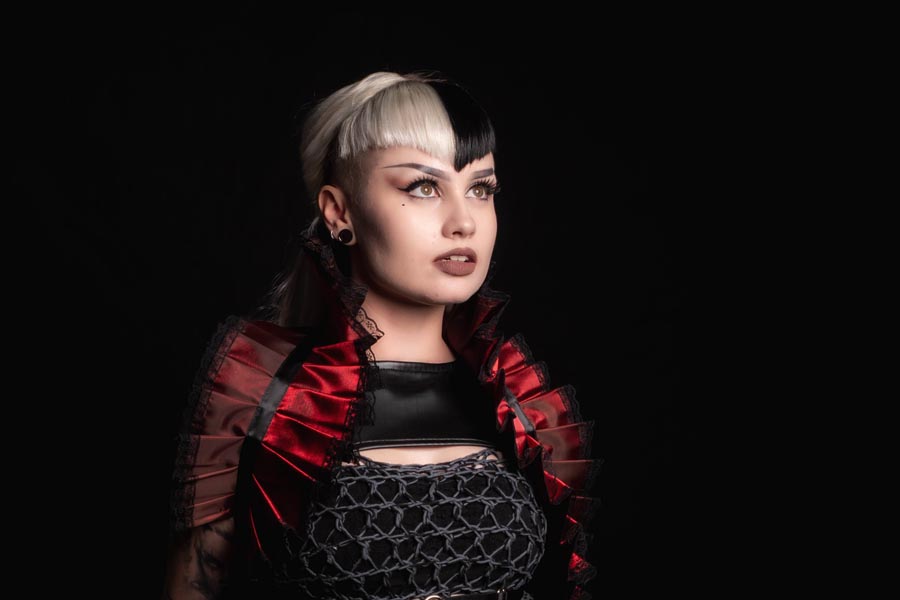
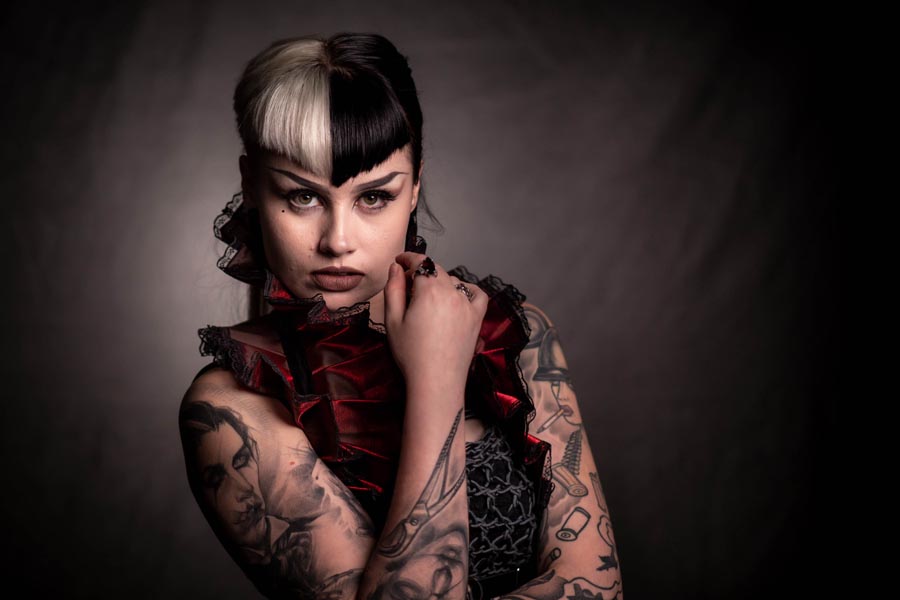
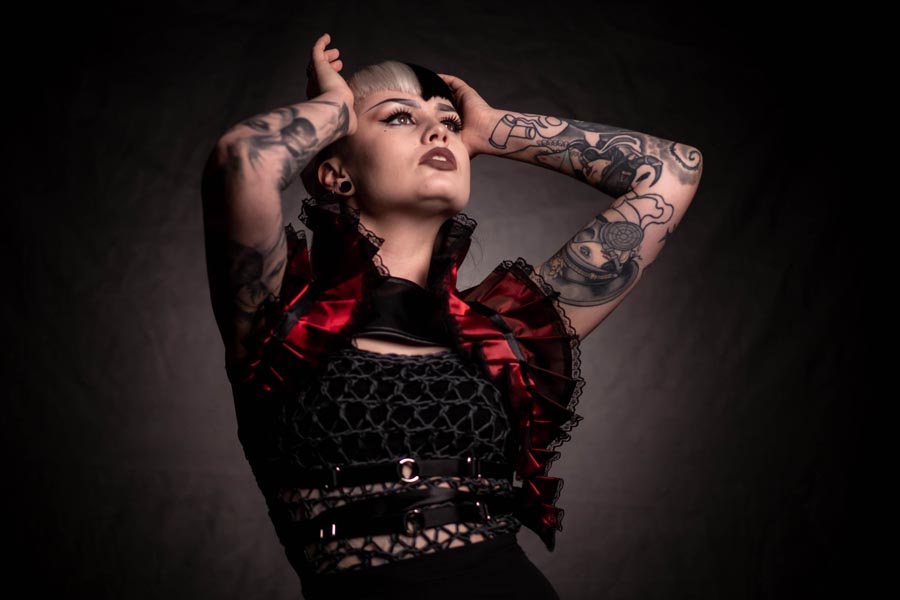
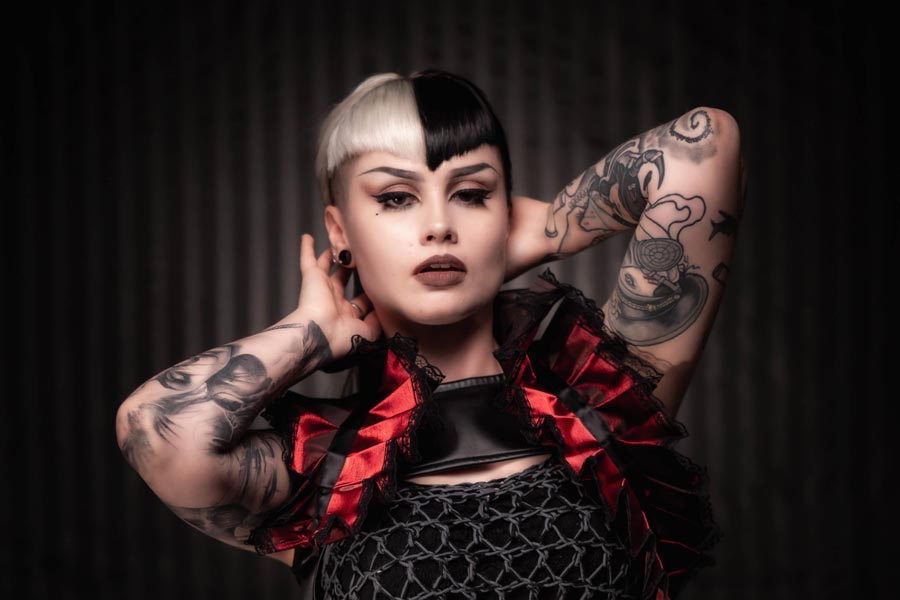
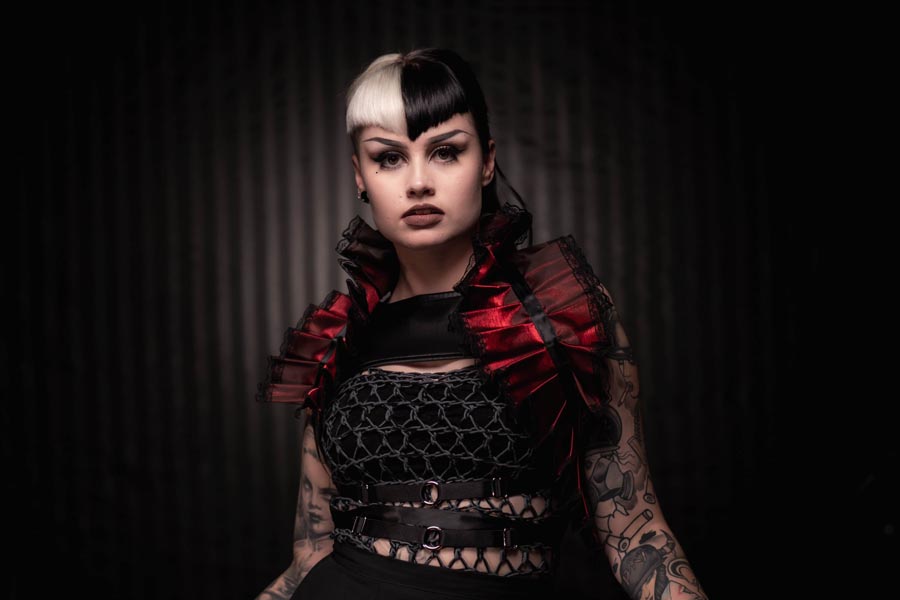
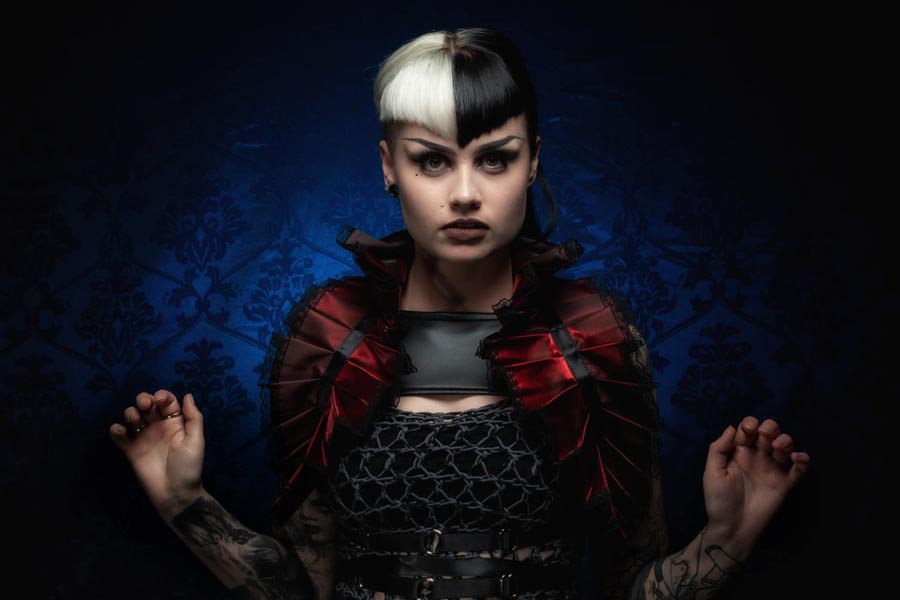
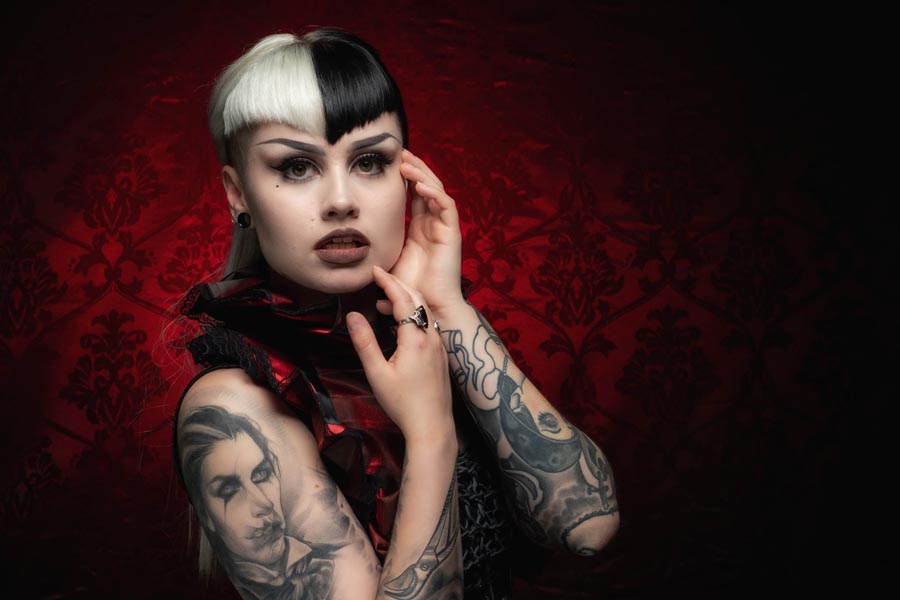
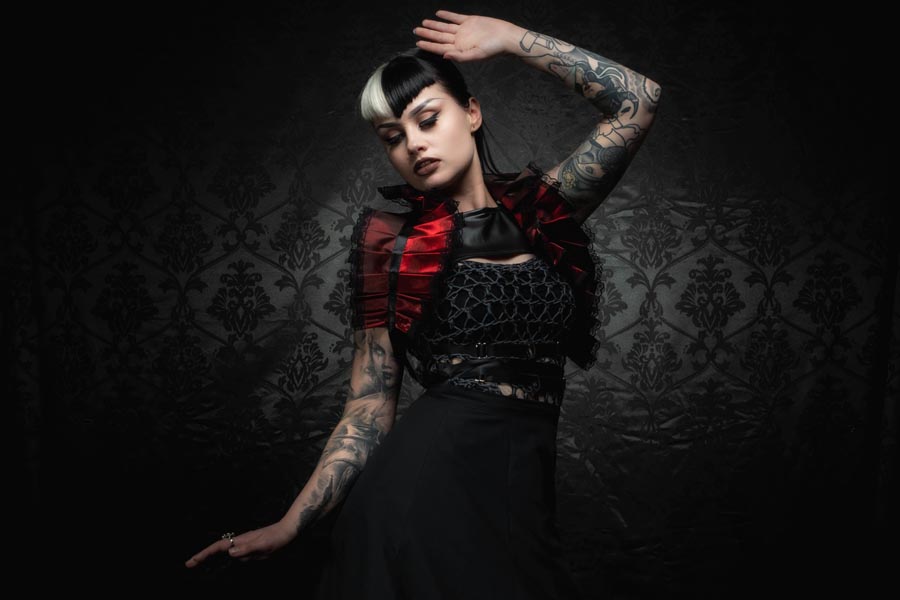
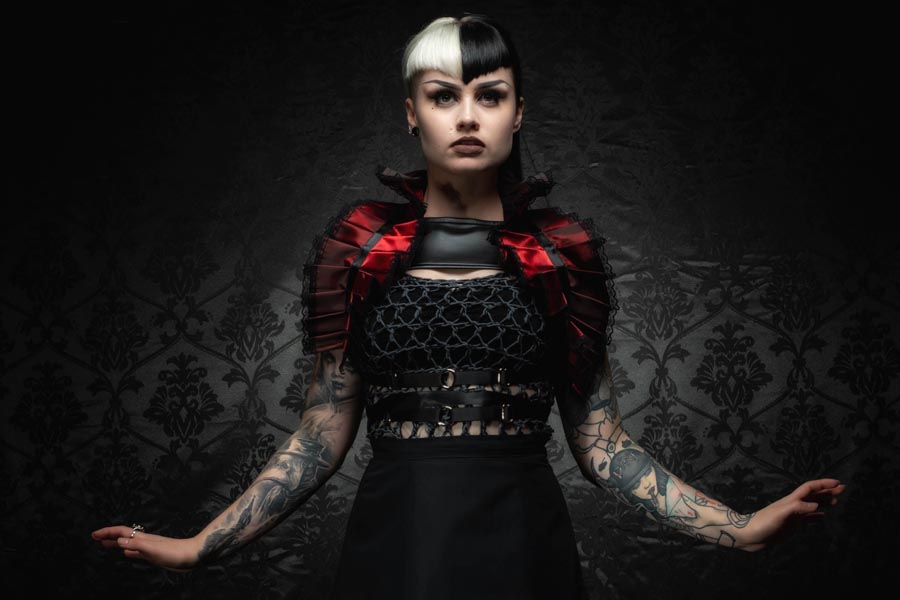
I love dark and moody studio shots, so my three bed sheets (technically they’re duvet covers) were a basic black, stripy black and damask patterned black. Each gave a very different result, as you’ll see in the video below.

[youtube]https://www.youtube.com/watch?v=9pv_LX319uU[/youtube]

So what did I discover? First off, king sized duvet’s are amazing value (I limited myself to £20 max per sheet) and because they open up, adding some timber inside helps them hang well. However the creases were a real pain and took an age to steam out.

If all you want is a basic black background, a bed sheet is cheap and works perfectly. If you want a pattern, look for sheets that are advertised as crease resistant or ironing free but be aware that those terms aren’t really accurate from a photographic point of view.

As a bonus each duvet set comes with two pillow cases. So what should I do with those? Ideas below please.

Limited Color Palette Portraits

Colour can really make an image pop and catch the eye and that’s something I wanted to experiment with in my small home studio. Using some colour themed props can help give the photo’s a high fashion feel and also gives your model something to use in poses. Make up can play an important part in creating the atmosphere, especially for close shots.

In this video we look at how punchy using one strong colour can be. Don’t think that you’ll need awhole rainbow of backdrops either!

[youtube]https://www.youtube.com/watch?v=ilnJCCmprLs[/youtube]