Colourful Background Projection Image

Back projecting an image through smoke is a classic technique that looks amazing with the right image.

So here’s one to start your collection off. It’s colourful and it’s hi-res which makes it zoomable. You’ll need a data projector to make the image above and lots and lots of haze!

Download instructions
       1. Click on the download link below
https://drive.google.com/file/d/142uTIw1ObSo60wcPVunSdrSfDLc50_jc

  1. Click the Download button download_icon (top right of the screen)
  2. The download should start automatically
  3. Download the image
  4. No support is provided. If you need help Google or YouTube the question and you’ll almost certainly find the answer


Instant Light Rays – Photoshop Action

If you need a selection of rays of light for next Photoshop project and you need them in just one click, then this set of 10 Photoshop actions is for you… and yes, they’re 100% free!

The action does a few things you need to be aware of. First, your original image is always untouched. The action creates a duplicate of your image and flattens any layers on the new (duplicate) image before creating the light rays. Your original image is ALWAYS untouched!

Need more rays? Run the action again. The rays can be altered in position, size, opacity and colour

Download instructions
       1. Click on the download link below
https://drive.google.com/file/d/199eklVMe6OZVo4IzATrzkG0Hm_g5-yIo

  1. Click the Download button download_icon (top right of the screen)
  2. The download should start automatically
  3. Unzip the download and install the Photoshop Action
  4. No support is provided. If you need help Google or YouTube the question and you’ll almost certainly find the answer

Instant Cinder Photoshop Action

Hot embers floating through the air look beautiful and when you get the chance you should grab a photo. But if you want the look of hot embers without the need to rummage through you old photos, my Instant Cinder Fluffy action  (which I created for an Adorama TV Halloween themed video) does a great job. 

Instant-Cinders-Example

Image 1 of 1

The action does a few things you need to be aware of. First, your original image is always untouched. The effect is random, so running it a few times will give different patterns of embers. You’ll need to copy, paste and re-size the embers to fit your original image. Set the layer blending mode to “Screen” and adjust the layer opacity to taste.

Download instructions
       1. Click on the download link below
https://drive.google.com/file/d/1YX4F-4k8bT4nVEoifLbUG6HqUSt3Z2jZ

  1. Click the Download button download_icon (top right of the screen)
  2. The download should start automatically
  3. Unzip the download and install the Photoshop Action
  4. No support is provided. If you need help Google or YouTube the question and you’ll almost certainly find the answer

Frosty Frames

It takes a brave photographer to ask someone to model for them on a cold and frosty day. Luckily I have a solution that’s a lot warmer! For this Friday Freebie I’m giving away two hi-res images of frosty frames which I created for an Adorama TV video.

To use them in Photoshop simply copy and paste them onto your image. Use Edit – Transform – Free Transform to resize and rotate as needed and then change the Layer Blending Mode from Normal to Screen.

Download instructions
       1. Click on the download link below
https://drive.google.com/drive/folders/1_1ZwEvFMmWpc7ZY3voSEaqXHfrlKwEbS?usp=sharing

  1. Click the Download button download_icon (top left on thumbnail)
  2. The download should start automatically
  3. No support is provided. If you need help Google or YouTube the question and you’ll almost certainly find the answer

Textured Backgrounds For Flower Portraits

Backgrounds can make or break any photo. But if flowers and plants are your subject matter you’re somewhat stuck with the background that you find. That’s where these textures and patterns come in.

They’re pre-blurred for an instant depth of field effect. Simply print them out (they’re already sized for A4) on matte photo paper and pop one in behind your flower for an instant new background. I’ve sized these from small, single blooms, so that’s two backgrounds per A4 sheet, but you can crop and upscale as needed.

Download instructions
       1. Click on the download link below
https://drive.google.com/drive/folders/1_1ZwEvFMmWpc7ZY3voSEaqXHfrlKwEbS?usp=sharing

  1. Click the Download button download_icon (top right of screen)
  2. The download should start automatically
  3. No support is provided. If you need help Google or YouTube the question and you’ll almost certainly find the answer

Light Textured Background

Not everyone is lucky enough to have a permanent studio and even fewer have the space for a textured wall. So being able to add texture to your portraits is a handy skill to have.

Of course for this to work you’ll need some great textures. So to start you off here’s one of mine. It’s a combination of multiple blank pages from old books and textures found mouldy surfaces… glamorous  work, it’s not!

The end result is a subtle texture with fine grain which makes it the perfect choice for portraits.

Usage rules
The image is copyright Gavin Hoey 2020. Use is limited to any personal but non-commercial purposes. Only share by linking back to this page. Do not redistribute the original image without my permission.

Download instructions
       1. Click on the download link below https://drive.google.com/file/d/1MmTbLar1DDb6dfssloUxq8koGSNYlDsP/view?usp=sharing

  1. Click the Download button download_icon (top right of screen)
  2. The download should start automatically
  3. No support is provided. If you need help Google or YouTube the question and you’ll almost certainly find the answer

Festive Stars Template

With the festive holidays fast approaching I thought I’d share my festive stars template. My planned use for this is that it will become a background for a fine art portrait but I’m pretty sure there’s plenty of other uses too.

To use this template, download it (see the link below) then open it in Photoshop. The template is made up of a bunch of layers, you need to paste your image into the one called “YOUR PHOTO HERE”. Make sure your photo stretches to the edges of the template and use a layer mask to hide or reveal whatever is under the stars.

You can see how I use it in this video https://www.youtube.com/watch?v=VNVOAJI7Q4w

You can download my festive stars template here
https://adobe.ly/2AY2nvZ

If you create a photo using the Friday Freebie then let me (and everyone else) know by leaving the link in the comments below.

Usage rules
The festive stars template is copyright Gavin Hoey 2018. Use is strictly limited to any personal but non-commercial purposes.
Please share the Friday Freebie by linking back to this page. Do not redistribute the original action without my permission.

Download instructions
     1. Click on the correct download link below (no sign up is needed)
https://adobe.ly/2AY2nvZ

  1. You may see a message saying “There was a problem with the network” Just ignore it
  2. Click the Download icon download_icon The download should start automatically
  3. Open the .PSD file in Photoshop
  4. Paste your photo into the layer “YOUR PHOTO HERE”
  5. No support is provided with the Friday Freebies. If you need help Google or YouTube the question and you’ll almost certainly find the answer

Instant Snow V2

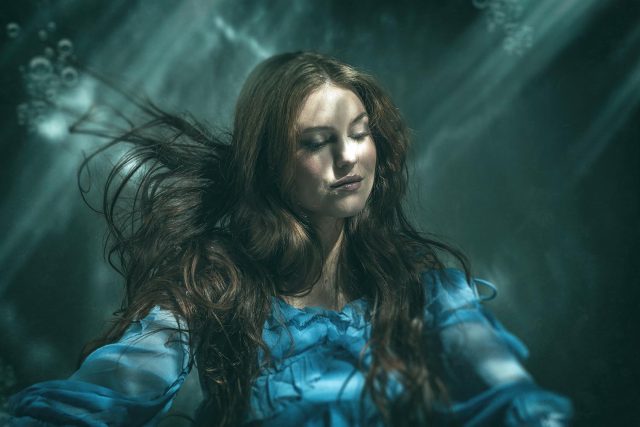
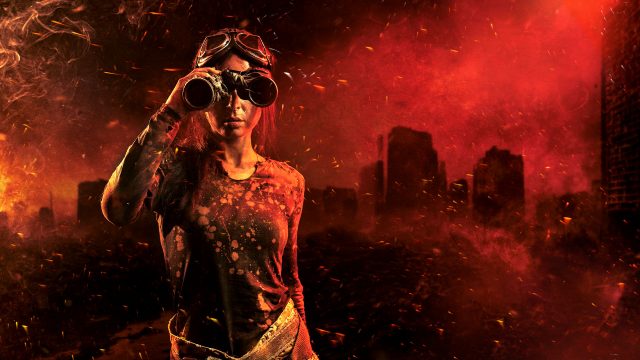
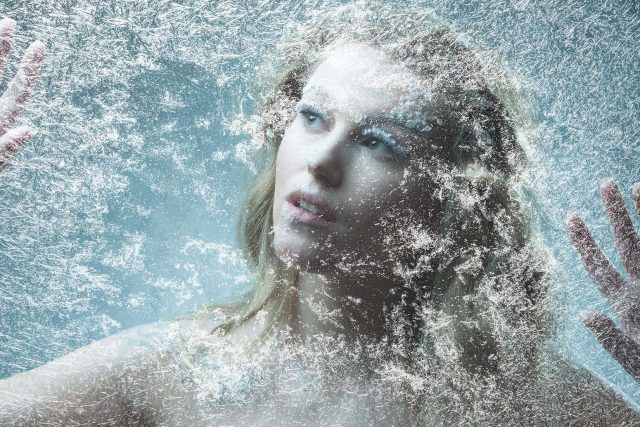
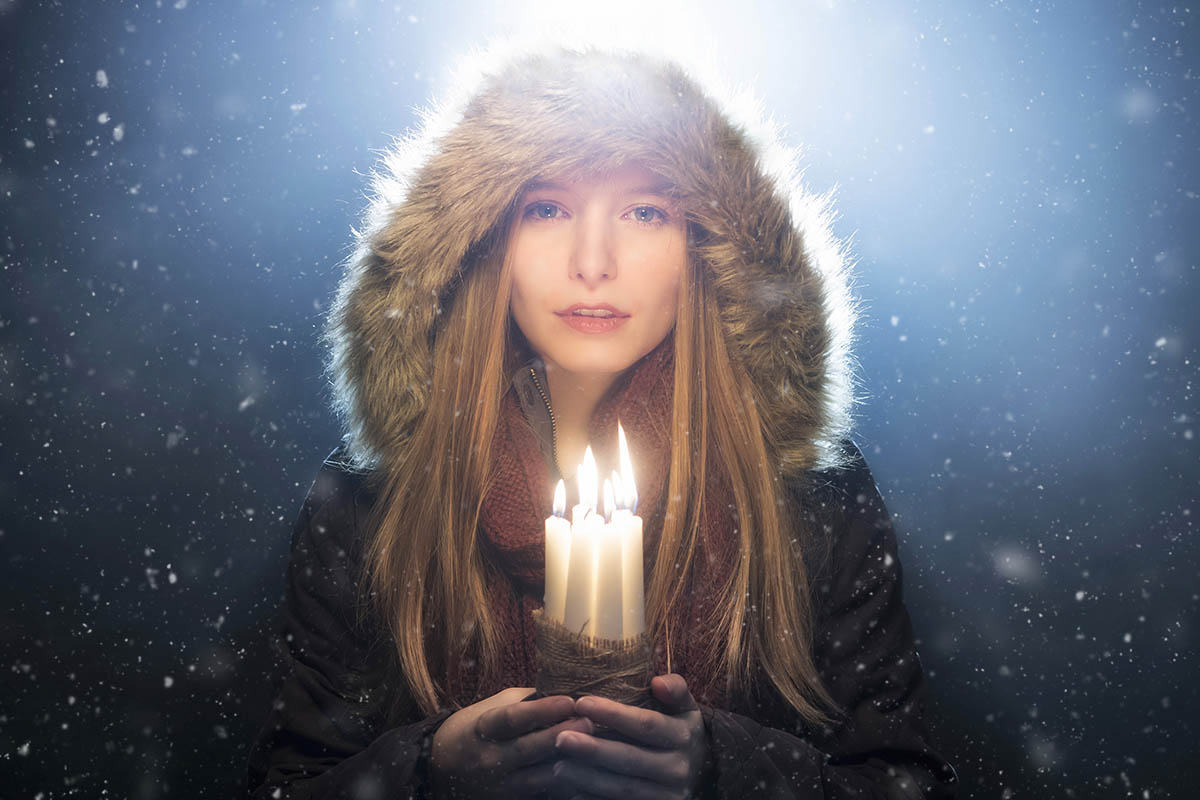
Way back in 2013 I made a simple Photoshop action that made snow. As it turns out it makes REALLY good looking snow and even today it’s regularly in the top three most visited pages of my blog.

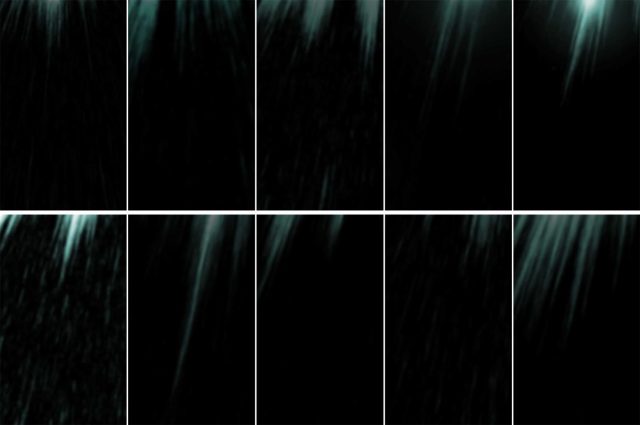
The secret to it’s success is down to it’s one click simplicity which runs the action, makes three layers of snow and still keeps your original image intact. The snow it makes can then be tweaked, copied and saved for future use.

Five years on an I felt it was time for a refresh, so here it is. You can download Instant Snow V2 here:
https://drive.google.com/open?id=1s6EUBs5jFwPN-ZnszTTMB11W1ZT9_kuu

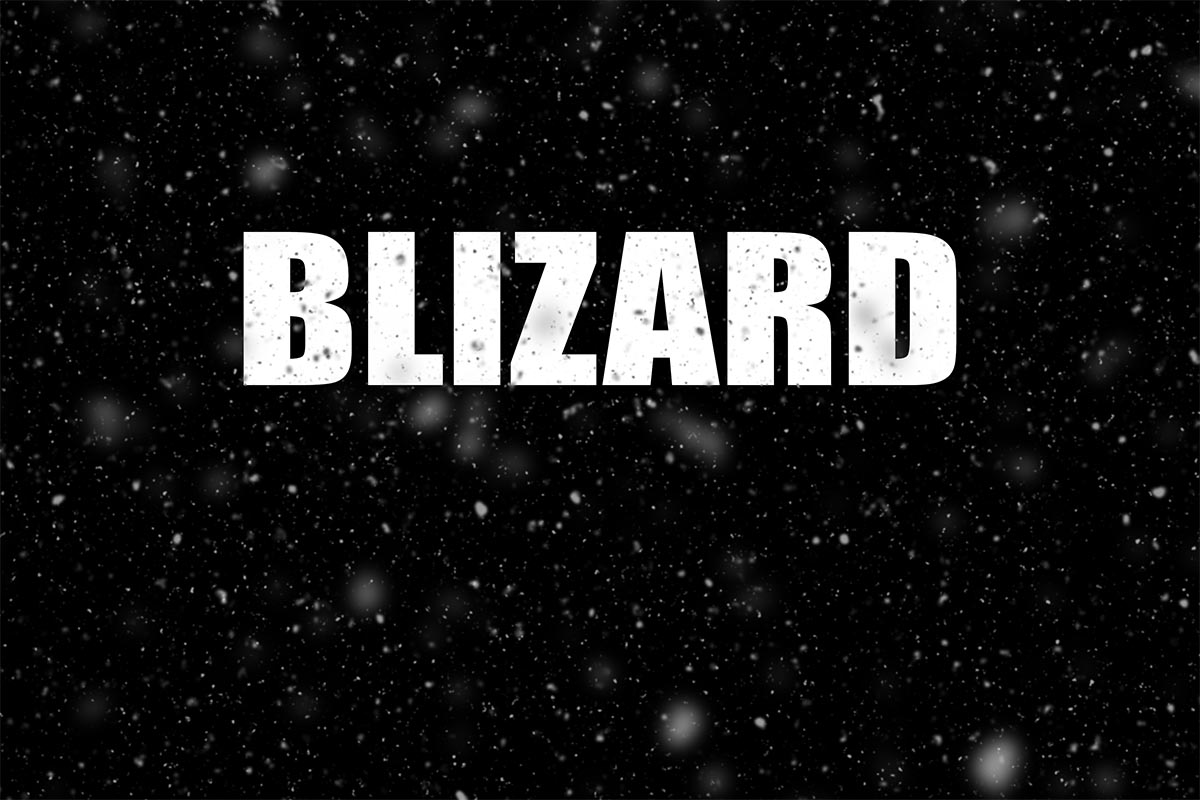
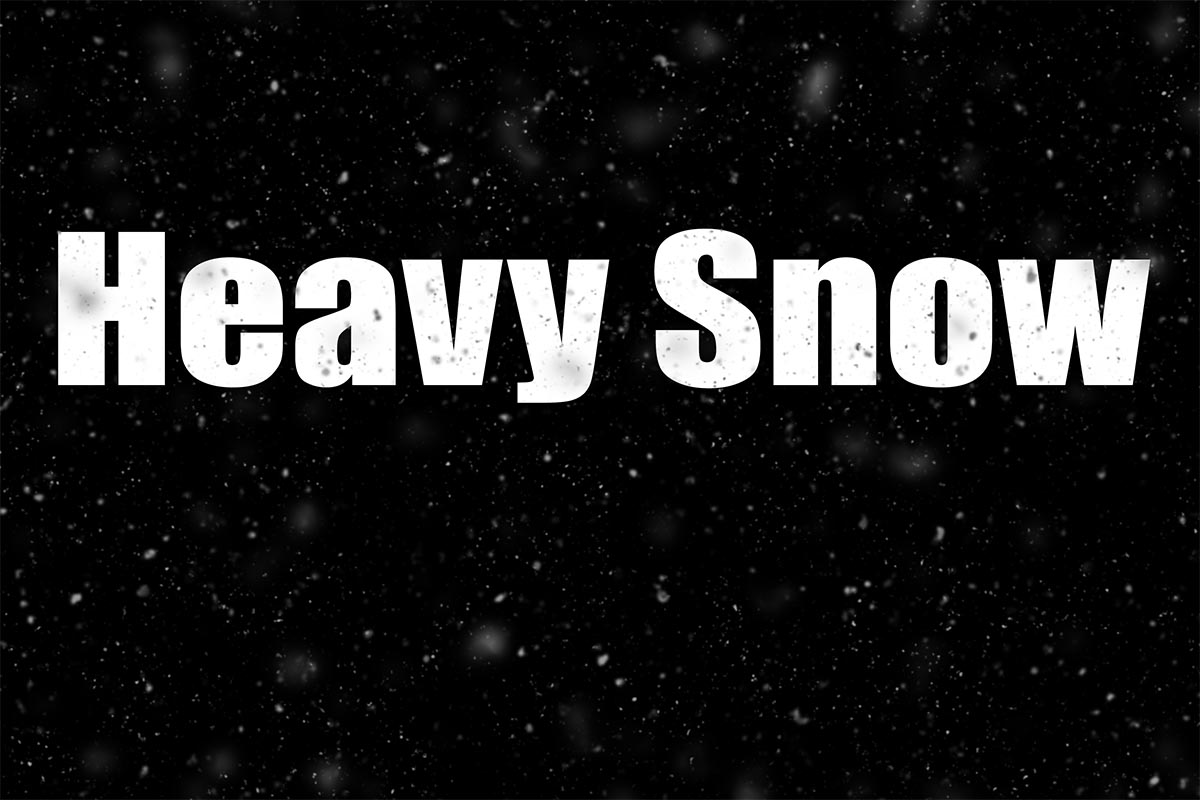
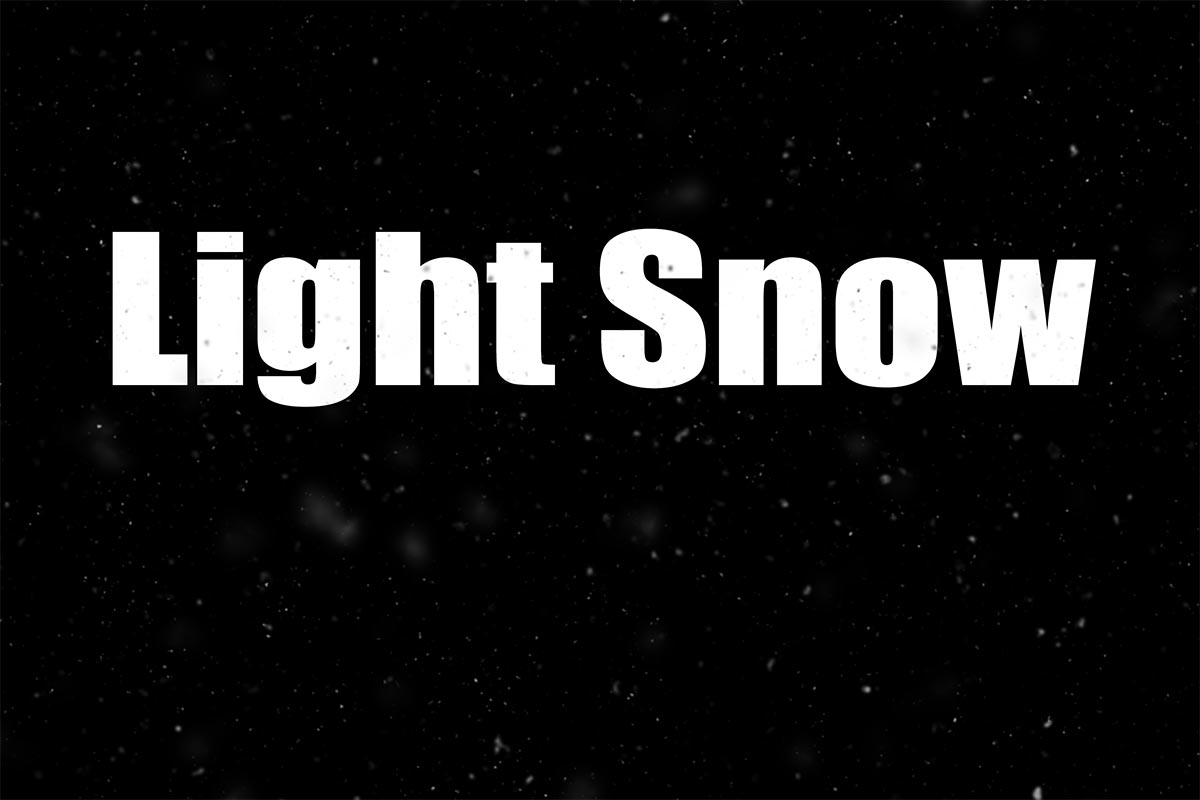
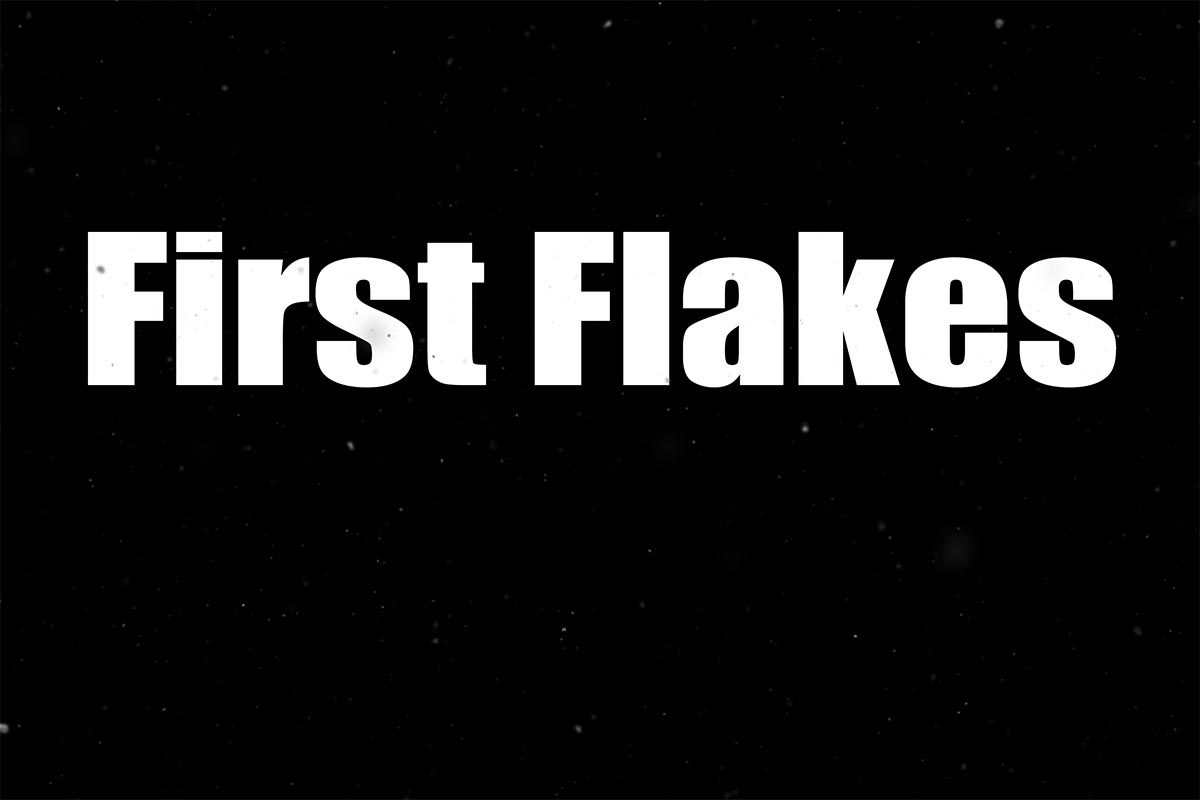
Instant Snow v2 now has four levels of snow effect. Blizzard, Heavy Snow, Light Snow and  First Flakes.

If you create a photo using the Friday Freebie then let me (and everyone else) know by leaving the link in the comments below.

Usage rules
The Photoshop Action is copyright Gavin Hoey 2018. Use is strictly limited to any personal but non-commercial purposes. A commercial license is available.
Please share the Friday Freebie by linking back to this page. Do not redistribute the original action without my permission.

Download instructions
     1. Click on the correct download link below (no sign up is needed)
https://drive.google.com/open?id=1s6EUBs5jFwPN-ZnszTTMB11W1ZT9_kuu

  1. You may see a message saying “There was a problem with the network” Just ignore it
  2. Click the Download icon download_icon
  3. The download should start automatically
  4. Unzip the download and install the Photoshop Action
  5. No support is provided with the Friday Freebies. If you need help Google or YouTube the question and you’ll almost certainly find the answer

Wall of sound background

Recently I needed a wall of speakers in my studio to make an amazing background for an upcoming music shoot. But after a bit of thought I realised there were three major problems with the idea. First, my studio space is a lot smaller then my imagination. Second, I don’t have easy access to the 25 – 30 speakers I would need for a person sized wall and third, what would I do with all those speakers after the shoot? However I do own one small PA amp (I use it during my camera club talks) and of course I have Photoshop.

So here it is, a wall of sound in my studio and all it took was a couple of photos plus an hour or two in Photoshop. The only thing missing is a musician but I’ll get to that in a later post. In the meantime, I’m sharing this background as a Friday Freebie.

If you create a photo using the Friday Freebie then let me (and everyone else) know by leaving the link in the comments below.

Usage rules
The images are copyright Gavin Hoey 2018. Use is limited to any personal but non-commercial purposes. Please share the Friday Freebie by linking back to this page. Do not redistribute the original images without my permission.

Download instructions
       1. Click on the correct download link below (no sign up is needed)
          https://adobe.ly/2AUg8td

  1. Click the Download button download_icon
  2. The download should start automatically
  3. No support is provided with the Friday Freebies. If you need help Google or YouTube the question and you’ll almost certainly find the answer

My 2017 UK Photography Show Schedule

There’s just one week to go until The Photography Show opens its doors at the N.E.C. in Birmingham and this year my free demos are back and better then ever. Running from the 18th – 21st March, it’s the UK’s biggest and busiest photography show around 30,000 amateur and professional photographers attending. It’s packed with a great mix of stands from the major photographic suppliers to the small independent retailers.

TPS2016

But this isn’t just another trade show, there’s also loads of things to see and do. There’s a constant stream of free demos and talks on various live stages and that’s on top of all the smaller demos on many of the booths dotted around the show.

I’ll be there for the whole four days giving various talks and demos on Photoshop, portrait lighting and photography. I’ll be dashing from demo to demo (see below) but if you’re coming along it would be great to meet you.

Saturday

10.30 am PiXAPRO E91 Creative portrait lighting (Demo)
12.30 pm Adobe Theatre Photoshop CC For Photographers (Demo)
1.30 pm Olympus D91 Action Stations (Talk)
2.30pm PiXAPRO E91 Creative portrait lighting (Demo)

Sunday

10.30 am PiXAPRO E91 Creative portrait lighting (Demo)
12.30 pm Adobe Theatre Photoshop CC For Photographers (Demo)
1.30 pm PiXAPRO E91 Creative portrait lighting (Demo)
3.00 pm Olympus D91 Action Stations (Talk)
4.00 pm TPS Live Stage Lighten Up (Demo)

 Monday

10.30 am PiXAPRO E91 Creative portrait lighting (Demo)
12.30 pm Adobe Theatre Photoshop CC For Photographers (Demo)
2.30 pm PiXAPRO E91 Creative portrait lighting (Demo)

 Tuesday

10.30 am PiXAPRO E91 Creative portrait lighting (Demo)
12.30 pm Adobe Theatre Photoshop CC For Photographers (Demo)
2.00 pm PiXAPRO E91 Creative portrait lighting (Demo)

All my demos are free and available on a first come first served basis. There’s no need to book but as the Adobe theatre in particular has limited seating I’d recommend getting there early!

Show tickets are free for professional photographers and the trade (if booked in advance) and £13.95 for enthusiasts (£18.00 on the door)