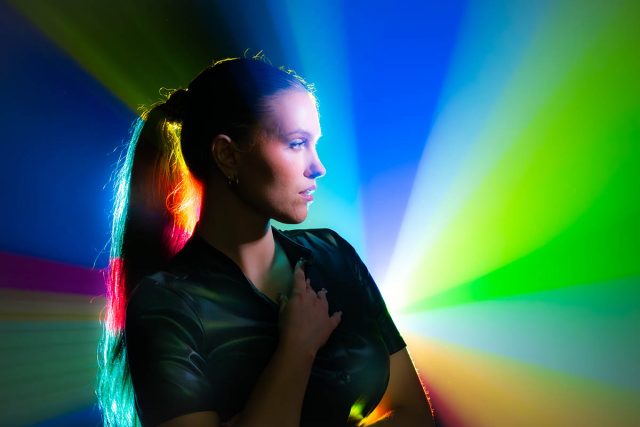
Colourful Background Projection Image

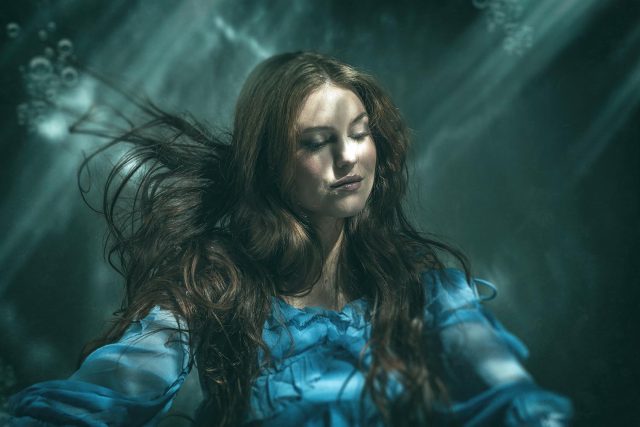
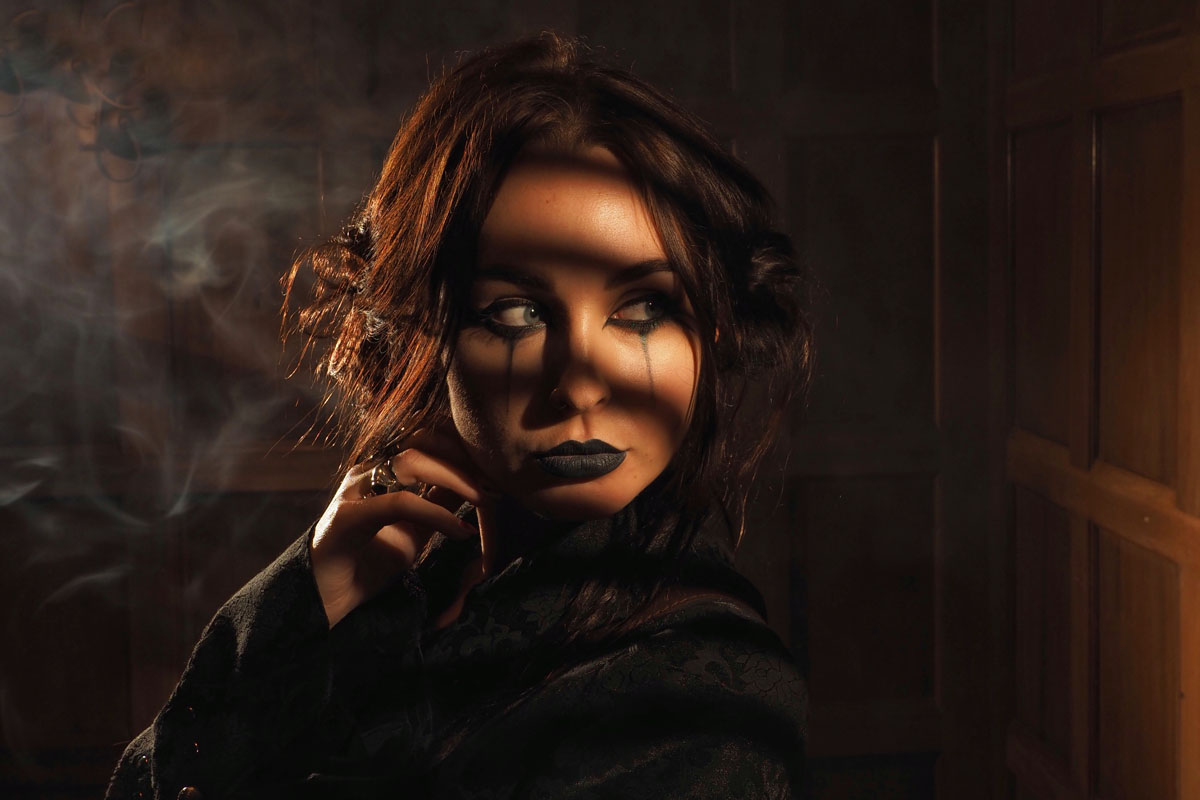
Back projecting an image through smoke is a classic technique that looks amazing with the right image.

So here’s one to start your collection off. It’s colourful and it’s hi-res which makes it zoomable. You’ll need a data projector to make the image above and lots and lots of haze!

Download instructions
       1. Click on the download link below
https://drive.google.com/file/d/142uTIw1ObSo60wcPVunSdrSfDLc50_jc

  1. Click the Download button download_icon (top right of the screen)
  2. The download should start automatically
  3. Download the image
  4. No support is provided. If you need help Google or YouTube the question and you’ll almost certainly find the answer


Instant Light Rays – Photoshop Action

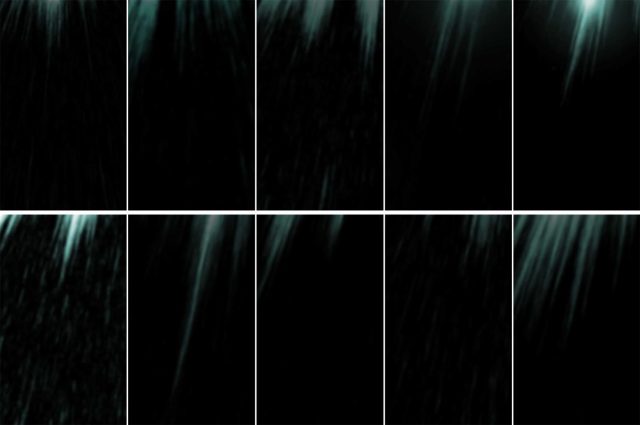
If you need a selection of rays of light for next Photoshop project and you need them in just one click, then this set of 10 Photoshop actions is for you… and yes, they’re 100% free!

The action does a few things you need to be aware of. First, your original image is always untouched. The action creates a duplicate of your image and flattens any layers on the new (duplicate) image before creating the light rays. Your original image is ALWAYS untouched!

Need more rays? Run the action again. The rays can be altered in position, size, opacity and colour

Download instructions
       1. Click on the download link below
https://drive.google.com/file/d/199eklVMe6OZVo4IzATrzkG0Hm_g5-yIo

  1. Click the Download button download_icon (top right of the screen)
  2. The download should start automatically
  3. Unzip the download and install the Photoshop Action
  4. No support is provided. If you need help Google or YouTube the question and you’ll almost certainly find the answer

Instant Cinder Photoshop Action

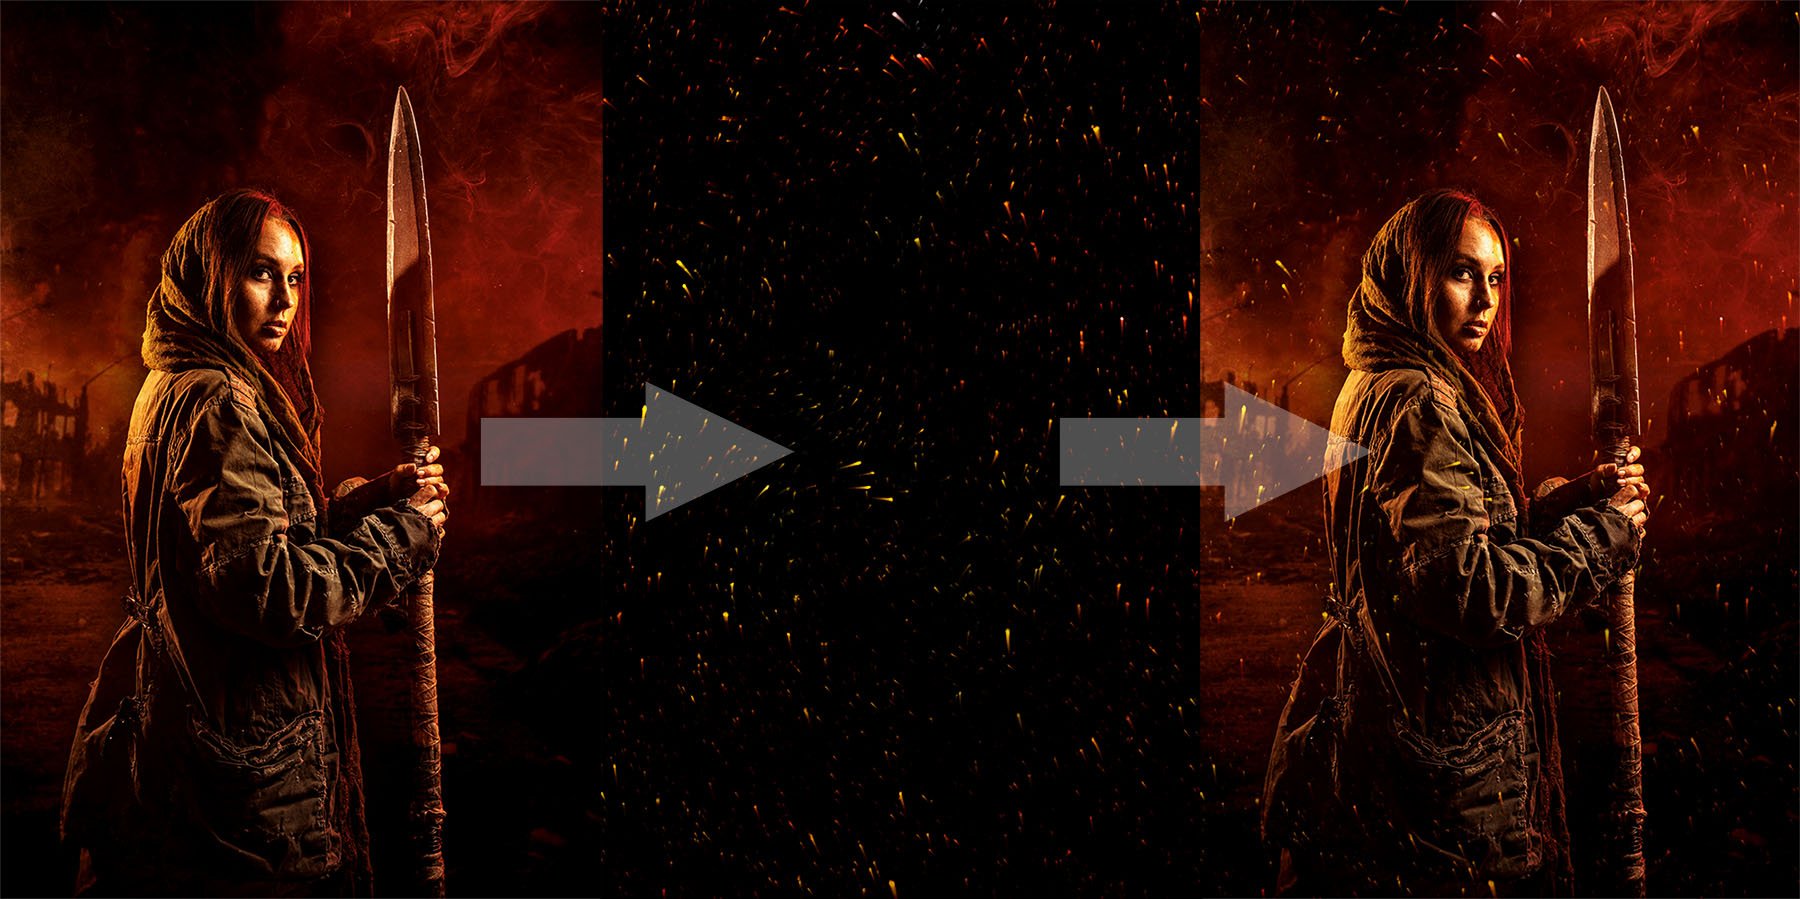
Hot embers floating through the air look beautiful and when you get the chance you should grab a photo. But if you want the look of hot embers without the need to rummage through you old photos, my Instant Cinder Fluffy action  (which I created for an Adorama TV Halloween themed video) does a great job. 

Instant-Cinders-Example

Image 1 of 1

The action does a few things you need to be aware of. First, your original image is always untouched. The effect is random, so running it a few times will give different patterns of embers. You’ll need to copy, paste and re-size the embers to fit your original image. Set the layer blending mode to “Screen” and adjust the layer opacity to taste.

Download instructions
       1. Click on the download link below
https://drive.google.com/file/d/1YX4F-4k8bT4nVEoifLbUG6HqUSt3Z2jZ

  1. Click the Download button download_icon (top right of the screen)
  2. The download should start automatically
  3. Unzip the download and install the Photoshop Action
  4. No support is provided. If you need help Google or YouTube the question and you’ll almost certainly find the answer

Frosty Frames

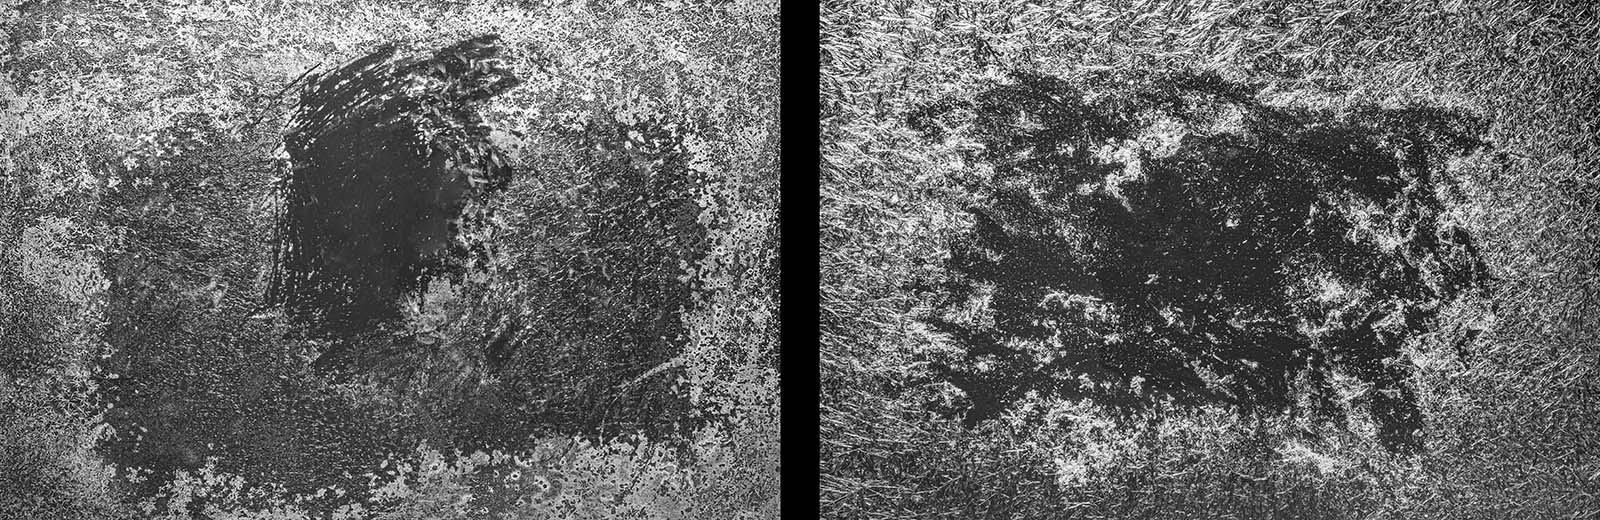
It takes a brave photographer to ask someone to model for them on a cold and frosty day. Luckily I have a solution that’s a lot warmer! For this Friday Freebie I’m giving away two hi-res images of frosty frames which I created for an Adorama TV video.

To use them in Photoshop simply copy and paste them onto your image. Use Edit – Transform – Free Transform to resize and rotate as needed and then change the Layer Blending Mode from Normal to Screen.

Download instructions
       1. Click on the download link below
https://drive.google.com/drive/folders/1_1ZwEvFMmWpc7ZY3voSEaqXHfrlKwEbS?usp=sharing

  1. Click the Download button download_icon (top left on thumbnail)
  2. The download should start automatically
  3. No support is provided. If you need help Google or YouTube the question and you’ll almost certainly find the answer

Textured Backgrounds For Flower Portraits

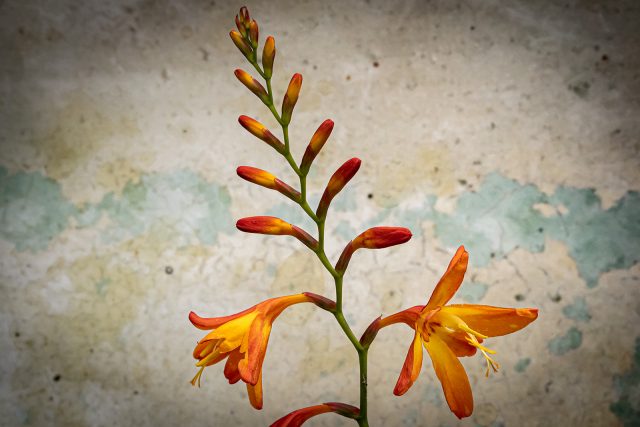
Backgrounds can make or break any photo. But if flowers and plants are your subject matter you’re somewhat stuck with the background that you find. That’s where these textures and patterns come in.

They’re pre-blurred for an instant depth of field effect. Simply print them out (they’re already sized for A4) on matte photo paper and pop one in behind your flower for an instant new background. I’ve sized these from small, single blooms, so that’s two backgrounds per A4 sheet, but you can crop and upscale as needed.

Download instructions
       1. Click on the download link below
https://drive.google.com/drive/folders/1_1ZwEvFMmWpc7ZY3voSEaqXHfrlKwEbS?usp=sharing

  1. Click the Download button download_icon (top right of screen)
  2. The download should start automatically
  3. No support is provided. If you need help Google or YouTube the question and you’ll almost certainly find the answer

Creative Glassware | Live Highlights

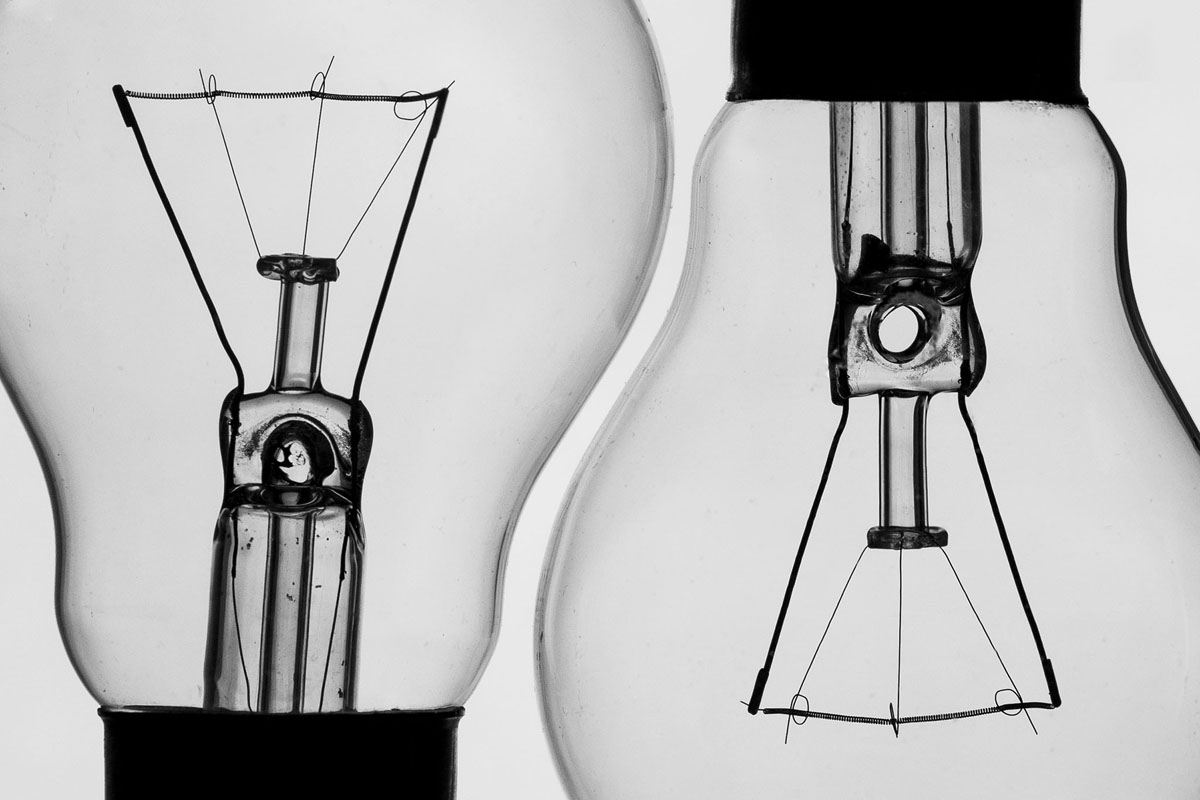
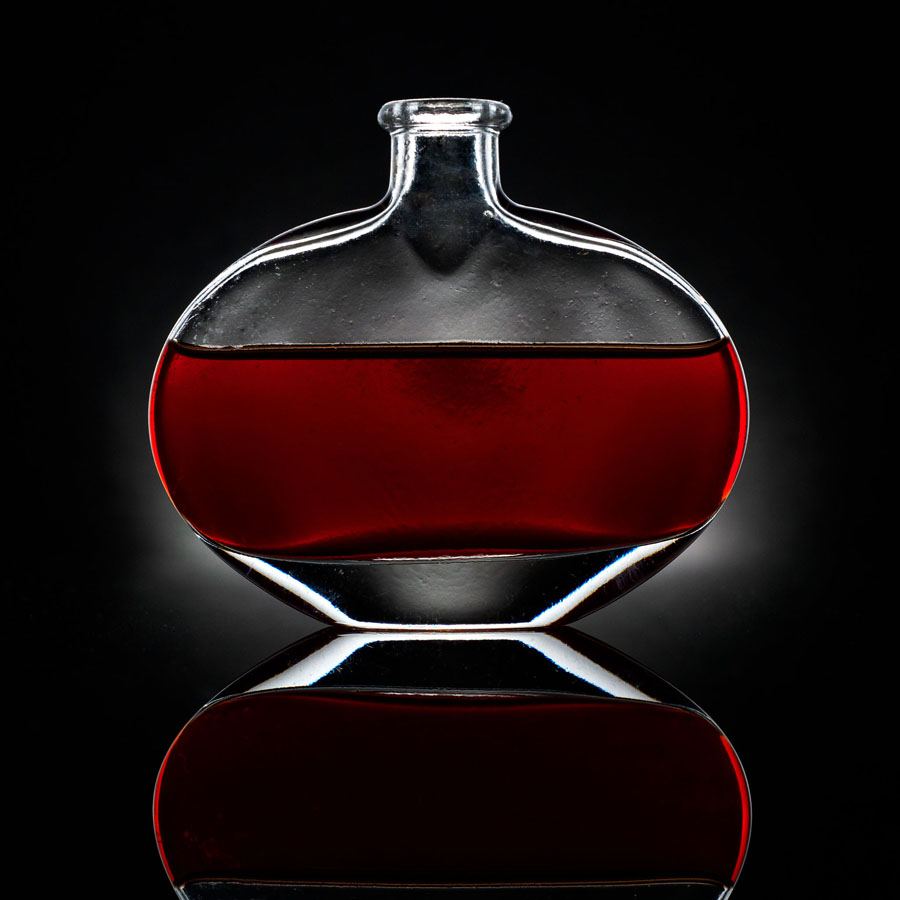
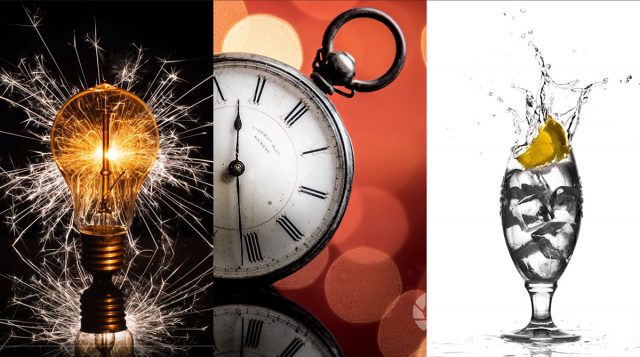
When it comes to tricky objects to photograph, glass is one of the most challenging. From black backgrounds and reflections to white backgrounds and wine bottles, glass objects make a great stay at home photo project and with a little help you’ll soon master the technique.

This session was streamed live on the Olympus UK Facebook page. The edited highlights are below or you can catch the full session here View the full Facebook Live Session https://fb.watch/1WlI5x-tYU

Gear used in this video
Interfit Badger Beam https://amzn.to/35YqgUV
Spiffy Gear KYU-6 RGB https://amzn.to/35TB9XS
PIXAPRO 100x150cm 5in1 Reflector https://amzn.to/3nMA8qB
Olympus E-M1 Markiii https://amzn.to/3nNPWtf
Olympus 40 – 150mm https://amzn.to/3fpafKC
Olympus 12 – 40mm https://amzn.to/3flVzM8

Bottle Shadows – LIVE!

With lock down in full swing here in the UK (and around much of the rest of the world) I’ve finally had the time to explore the possibilities of live streaming some shoots from my small home studio.

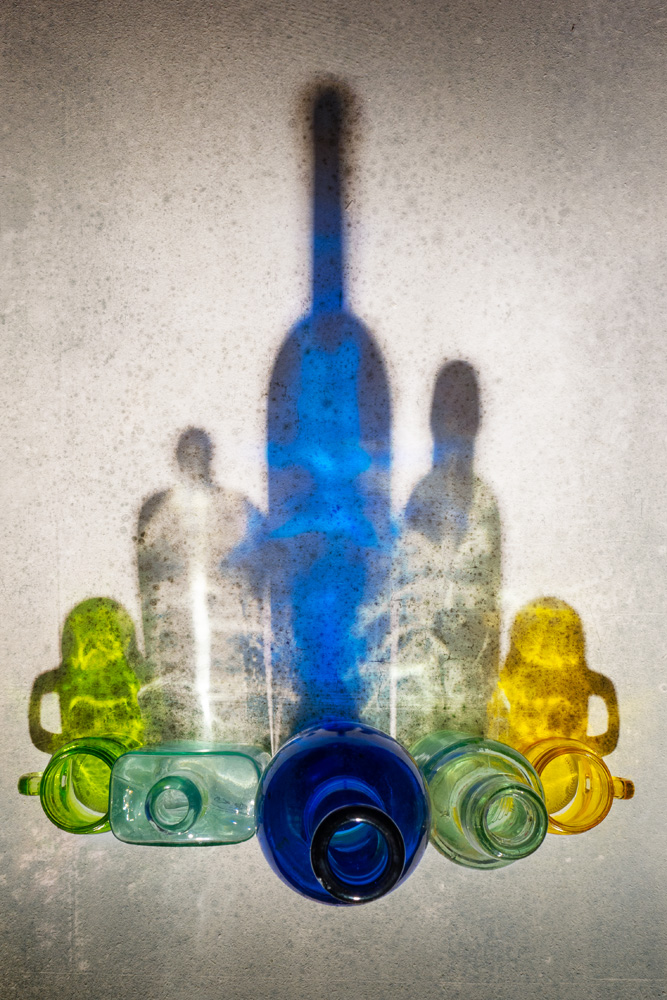
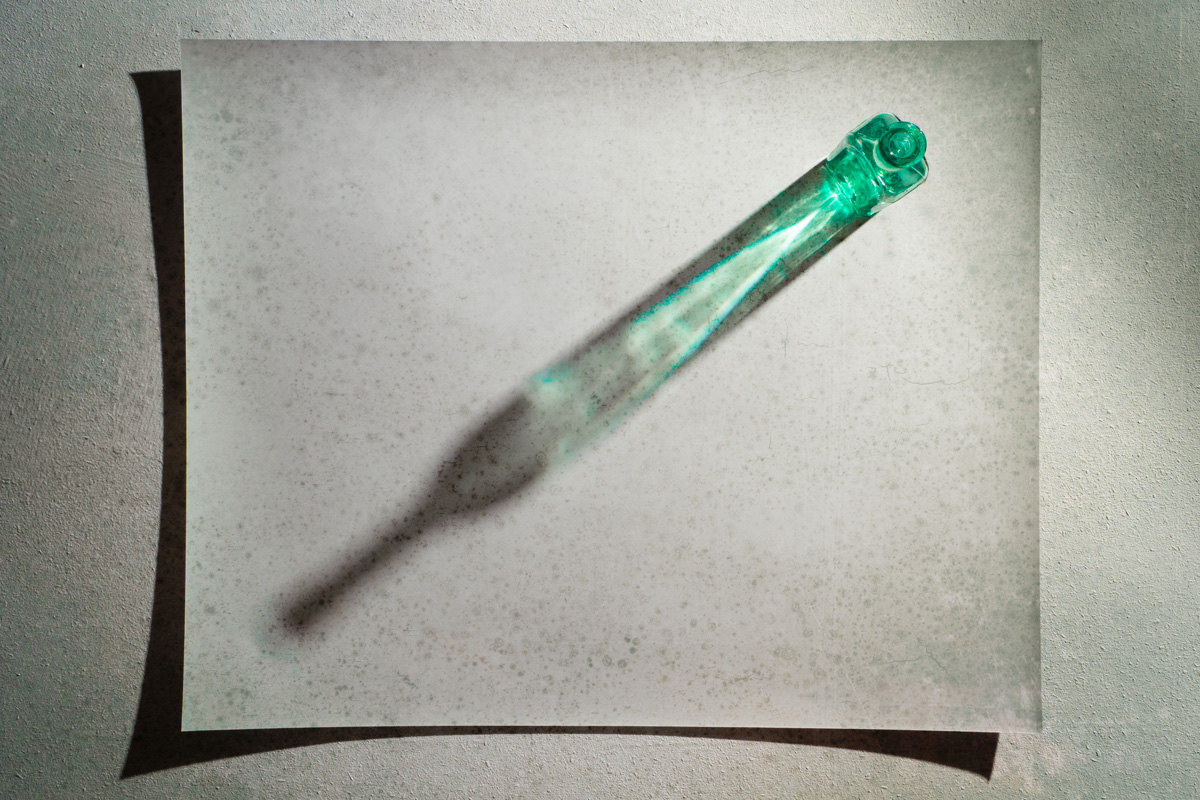
So here’s the first of (hopefully) many live sessions. This one was hosted last week by Olympus UK on their Facebook page. It’s a simple “stay at home” photography project using nothing more then some empty jars or bottles, a flash and a the back of an old print.

There’s more of these to come, keep an eye on my Instagram Stories for link to them and hopefully I’ll see you (virtually) at a live event soon.

You can download the texture I used in this video here
https://drive.google.com/file/d/1vld-rdsFAXkDEmLIGyMBG58E52o6zoJj/view?usp=sharing
Usage rules
The images are copyright Gavin Hoey 2020. Use is limited to any personal but non-commercial purposes. Only share by linking back to this page. Do not redistribute the original image without my permission.
No support is provided. If you need help Google or YouTube the question and you’ll almost certainly find the answer.

Creative ideas at home

With the current restrictions on getting out and about, I reckon it was a good time to share some of Gavin’s creative video’s. Some of the items you may have at home, some things may make you think outside the box to create! Hopefully there’s will give you some hints and a prod to get up and try something new!

If you use any of the tips and ideas, we’d love to see the results! Tag Gavin in on any of his social media pages. Most importantly stay home, stay safe 🙂

[youtube]https://www.youtube.com/watch?v=9GxRwBxc8-8[/youtube]

[youtube]https://www.youtube.com/watch?v=1AkeFMzn_u8[/youtube]

[youtube]https://www.youtube.com/watch?v=3mXg7-Juvrc[/youtube]

Dark Potions Workshop – Wrap Up

Our Halloween workshop has been in the planning for the past few months. During that time Sam has been busy working hard to create spooky props and dark outfits.

We were joined by 12 photographers for each date and two amazing models, Sophie Daly and Charlotte Croucher. In order to keep the groups small and the shooting time high, I once again roped in the help of Tommy Reynolds as a group leader who did a brilliant job passing on his ideas and passion.

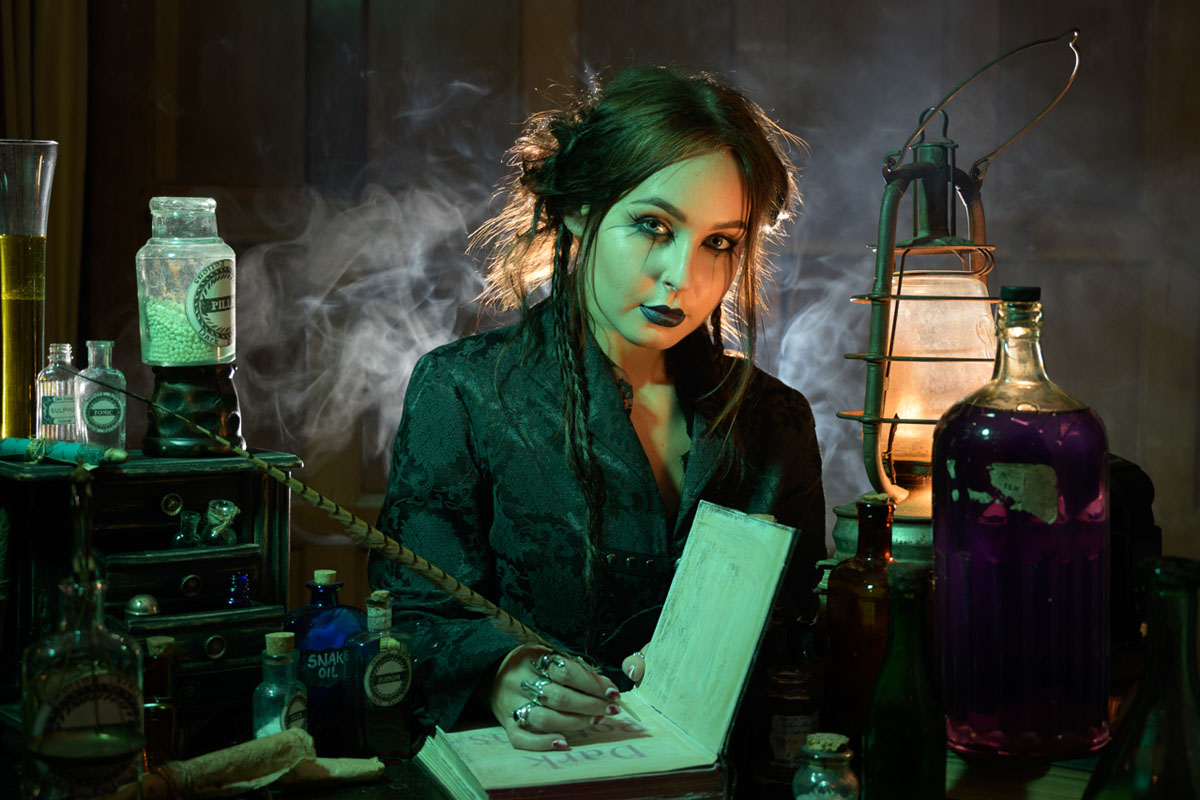
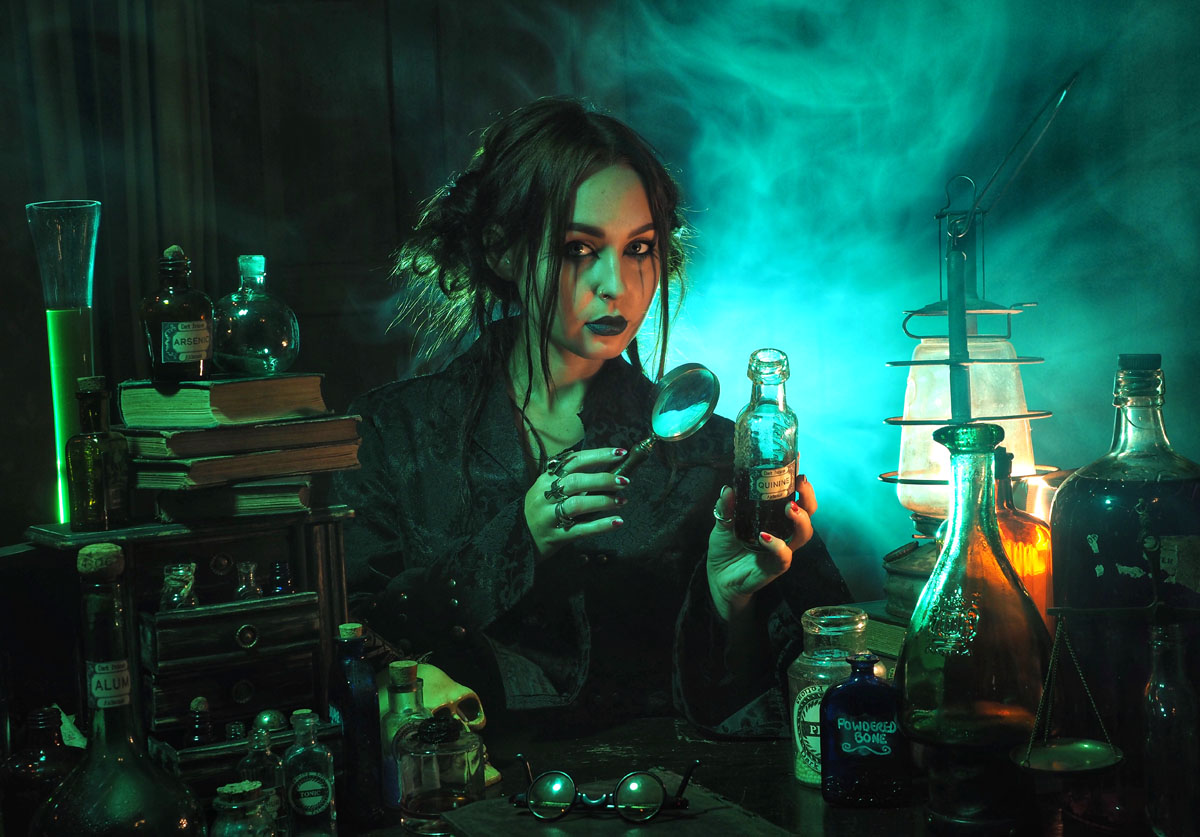
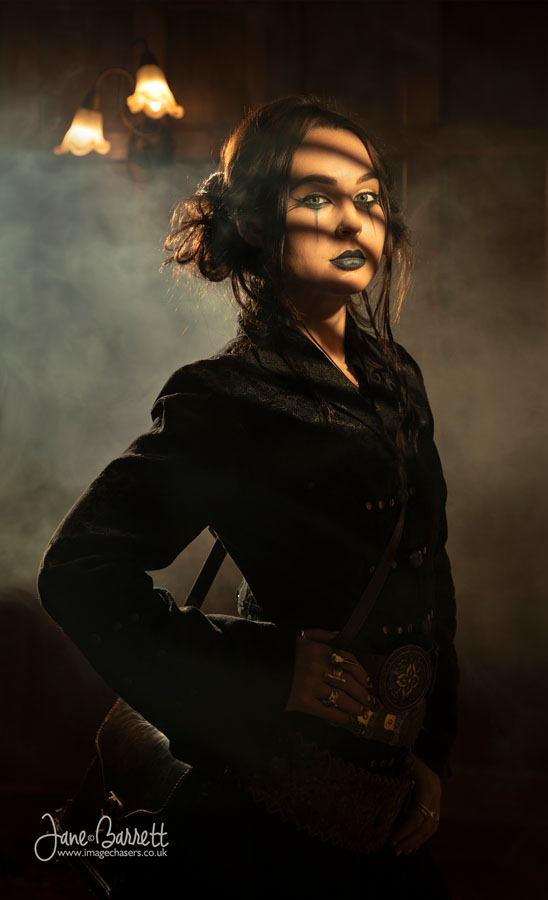
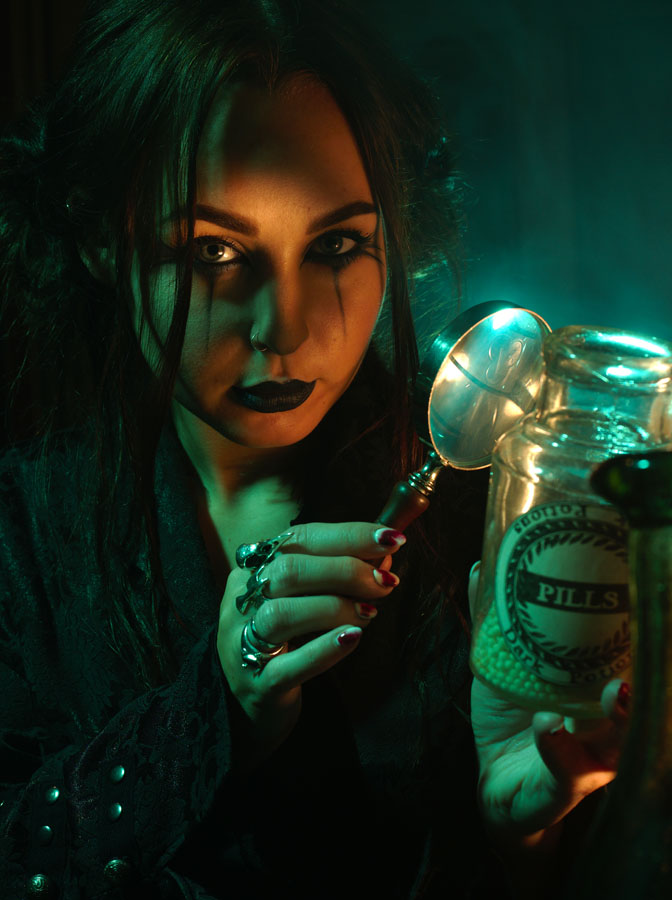
For the morning sessions Sophie took on the roll of a Alchemist. Sam created a table piled high with old bottles, books and other props she’d mostly found at boot sales. A bit of careful lighting, some coloured gels and plenty of smoke gave the final touch.

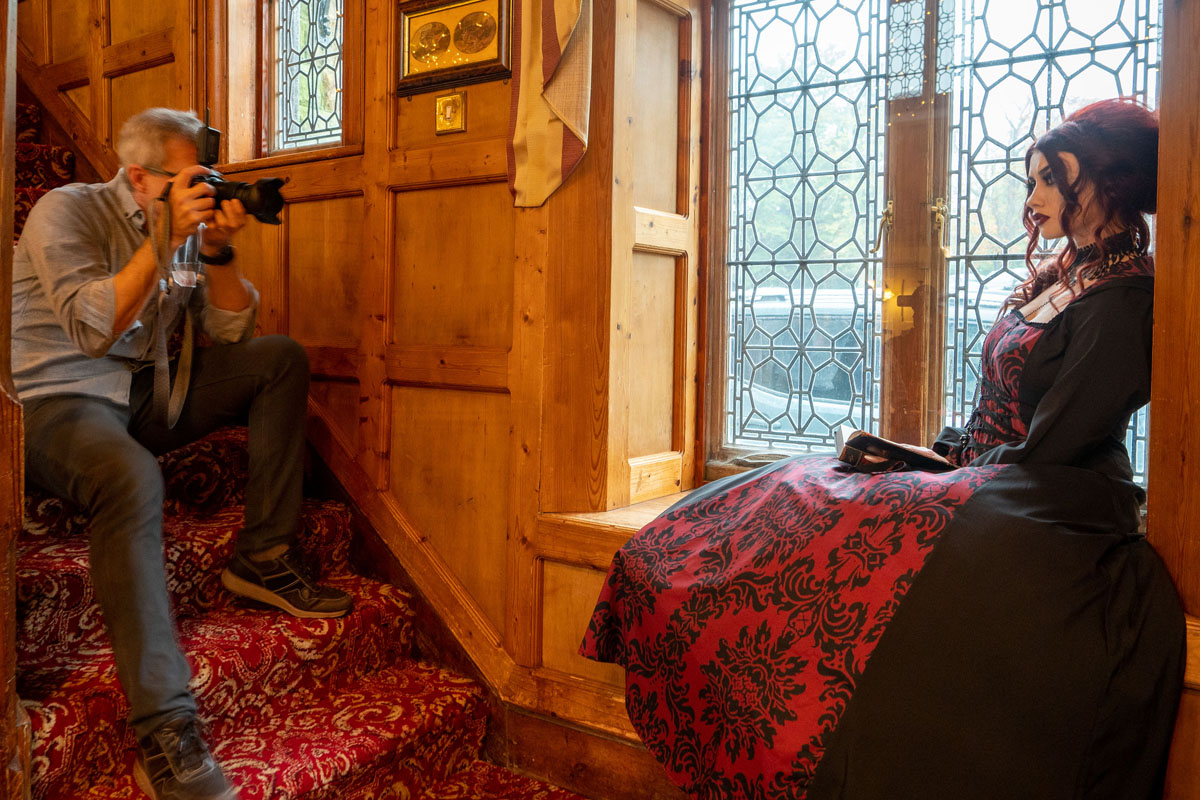
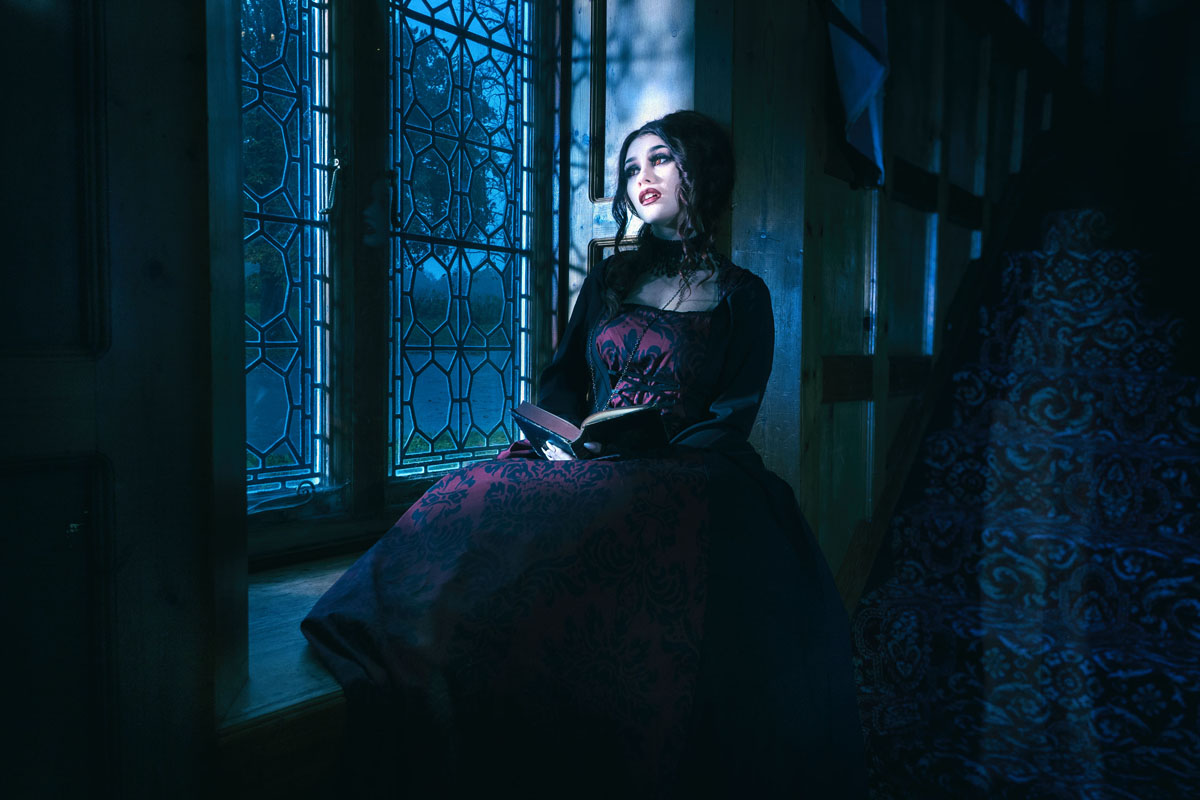
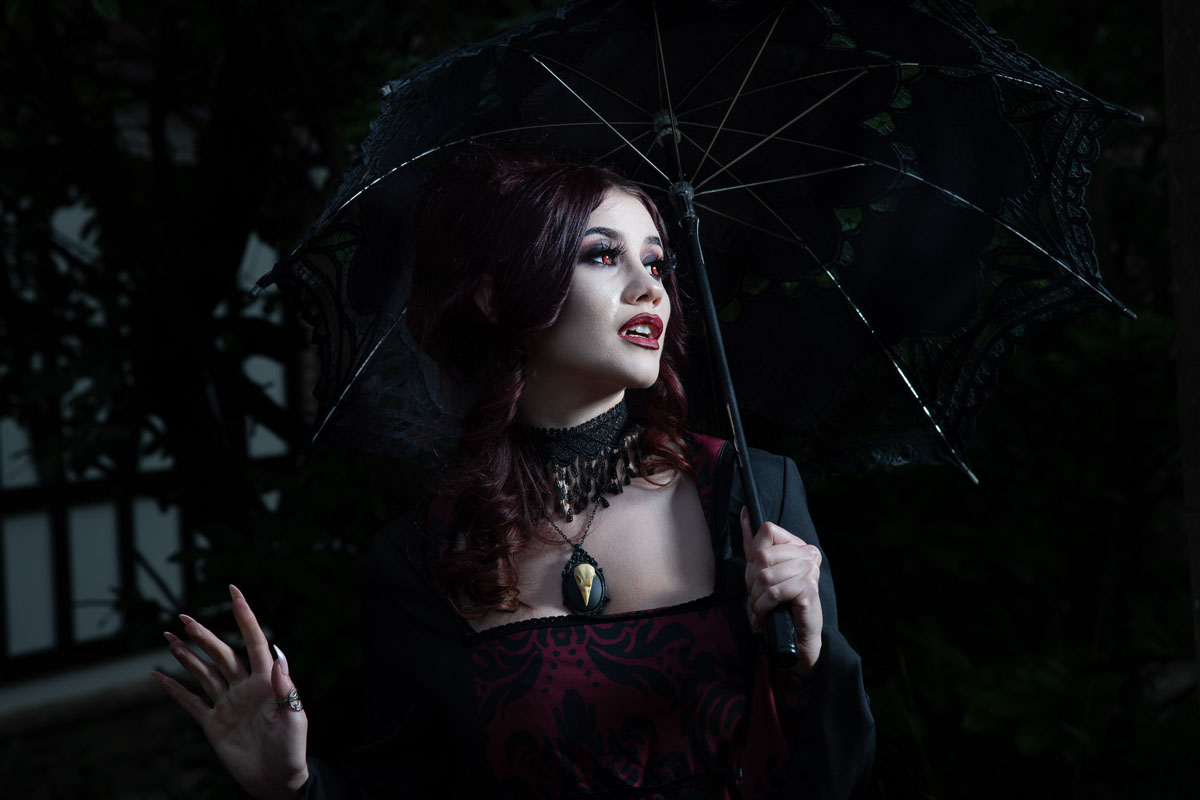
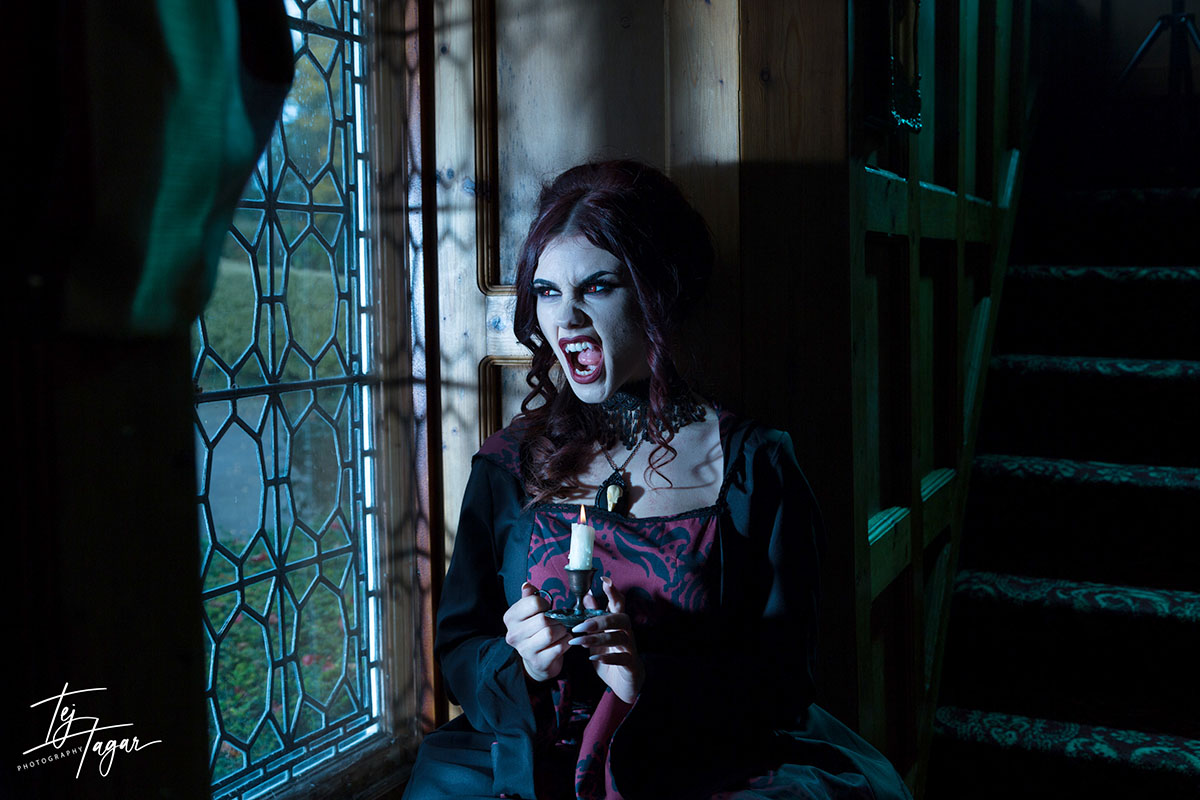
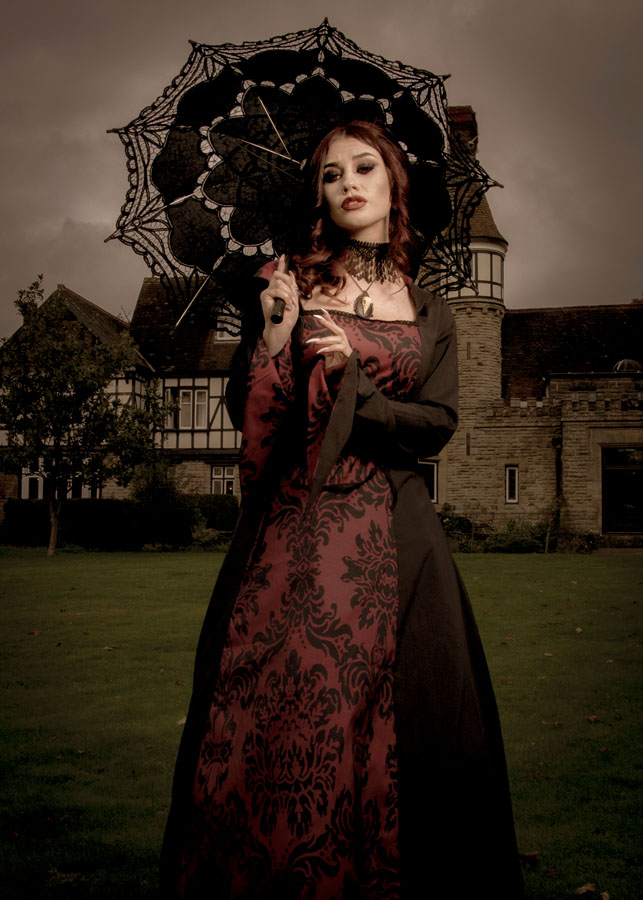
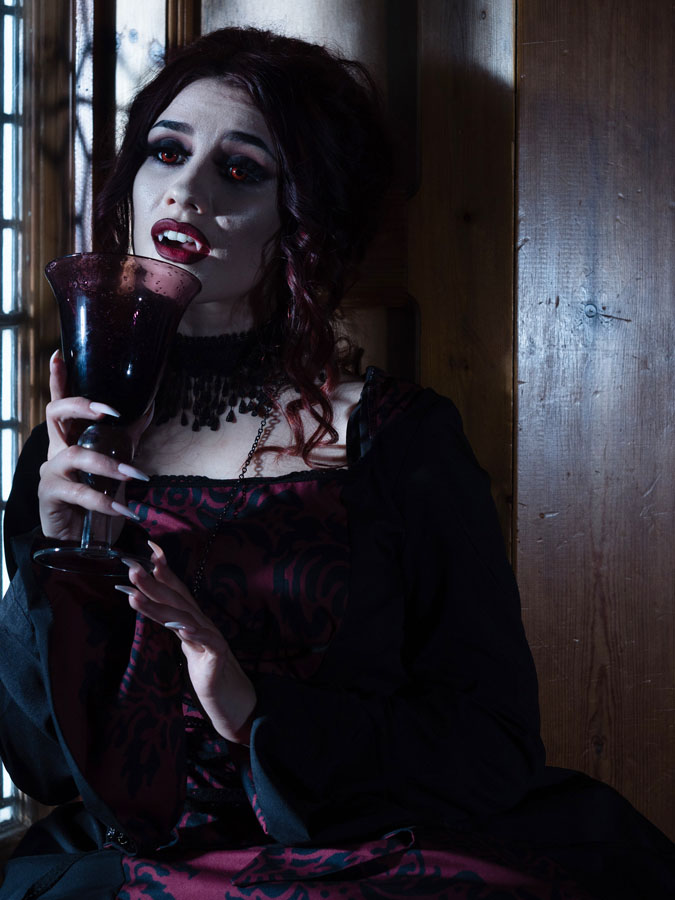
Charlotte took on the role of a Victorian vampire, complete with blood red contact lenses and her fangs she made herself. (Both Charlotte and Sophie are professional make-up artists as well as models)

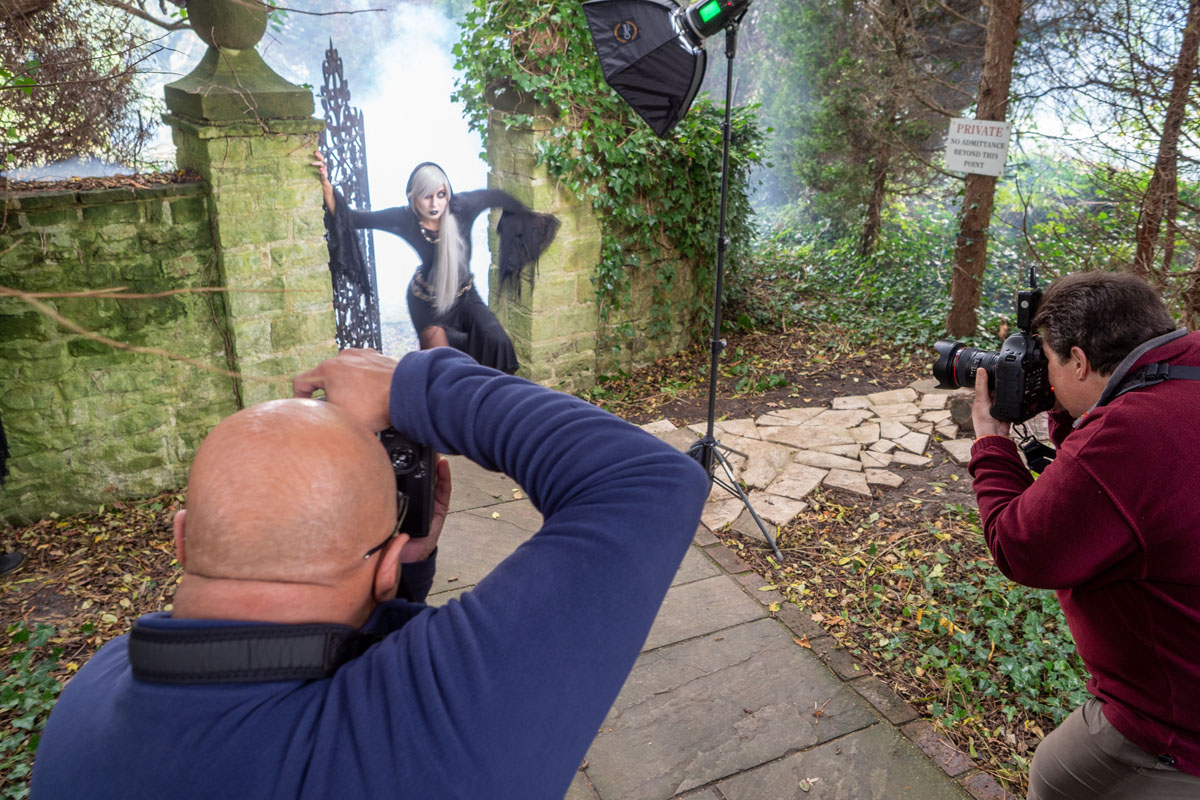
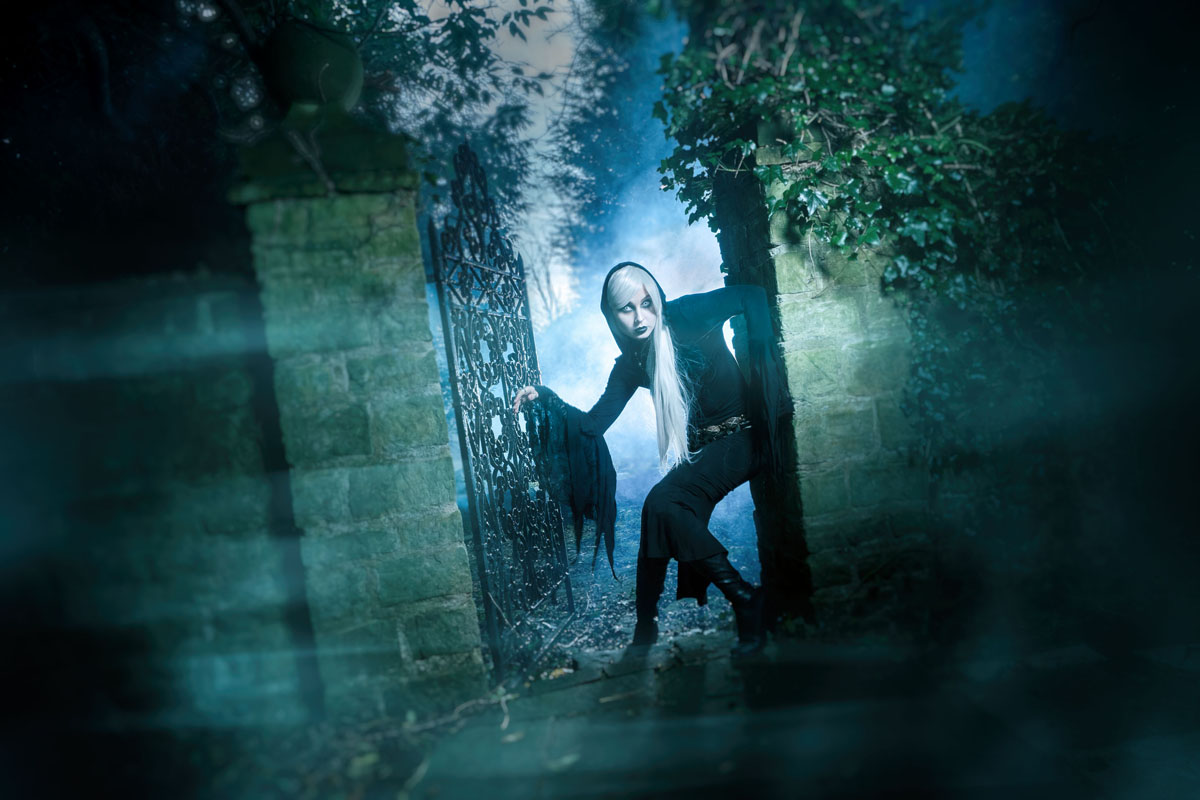
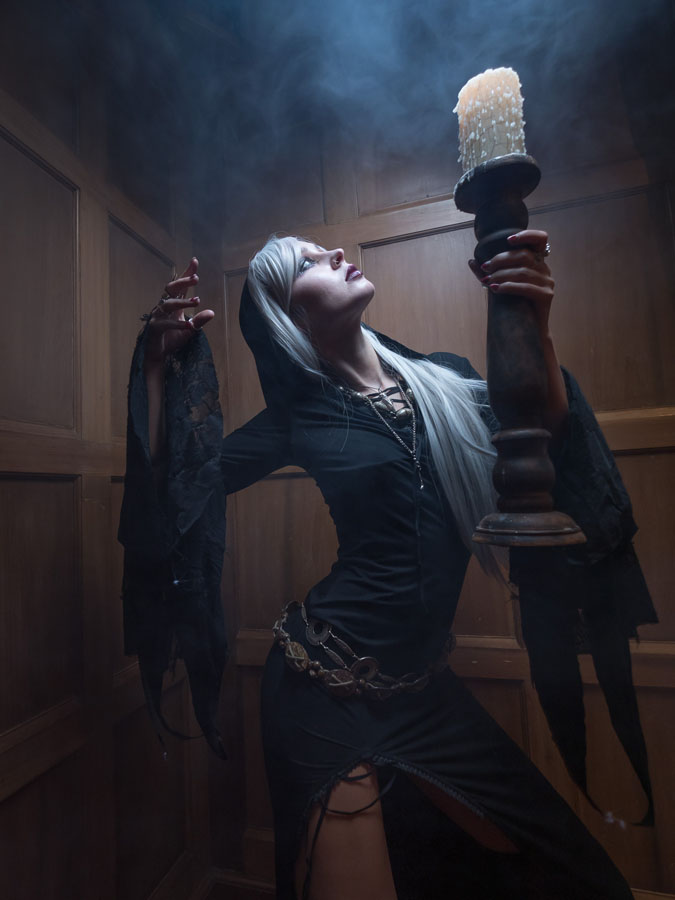
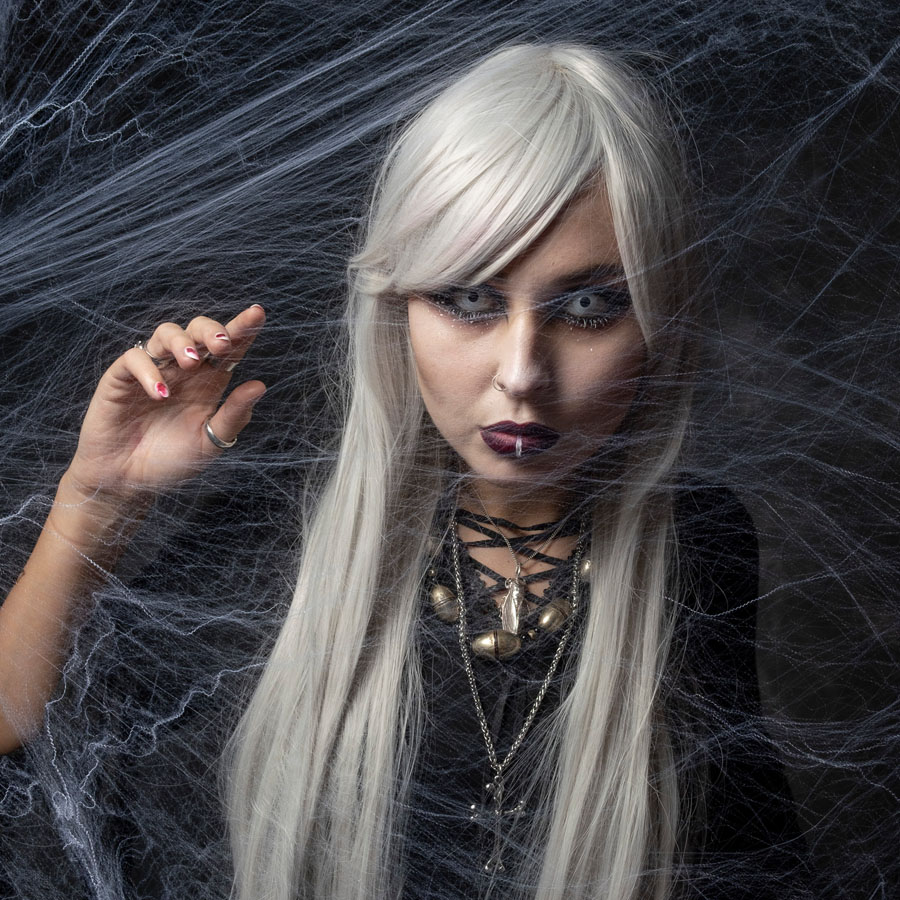
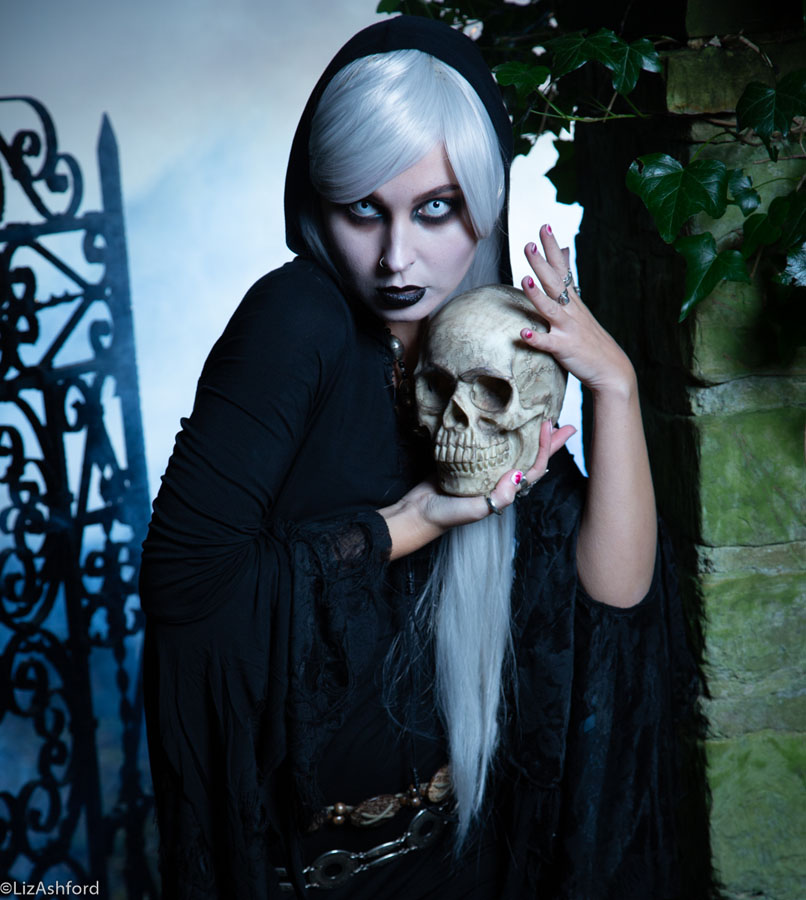
After lunch it was all change as Sophie became a woodland witch. the weather varied across the two days so we made use of the inside locations when it was wet and used the grounds of Ravenswood when it was dry.

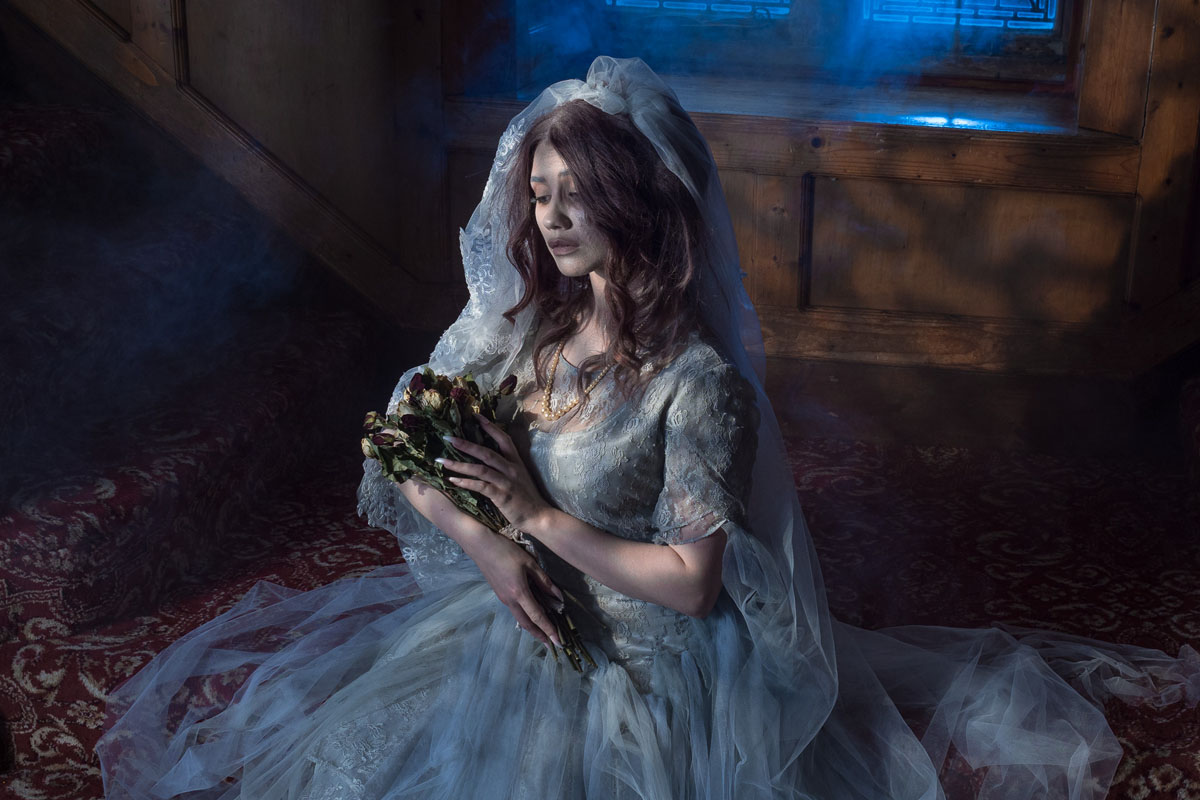
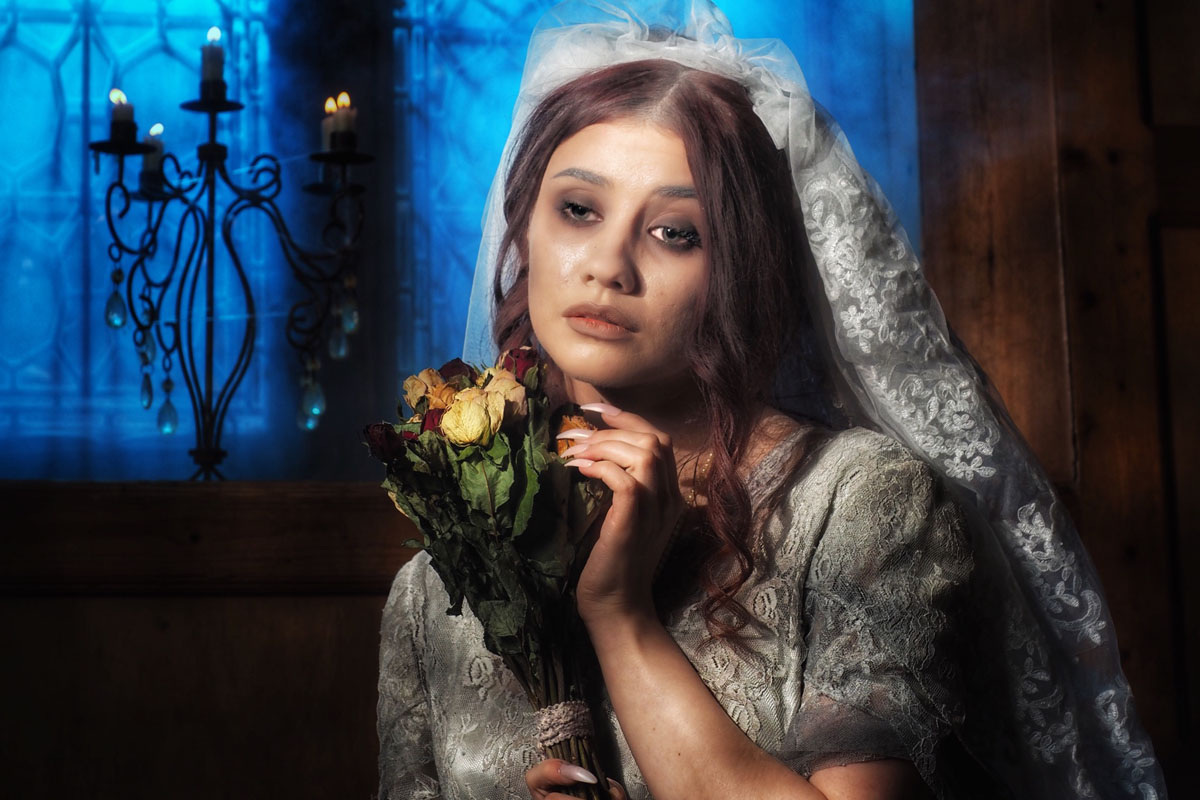
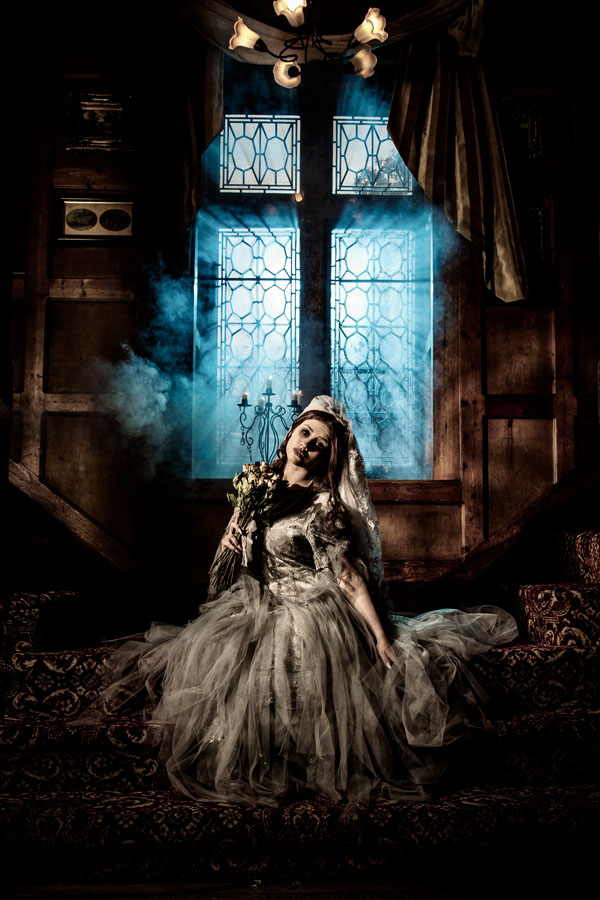
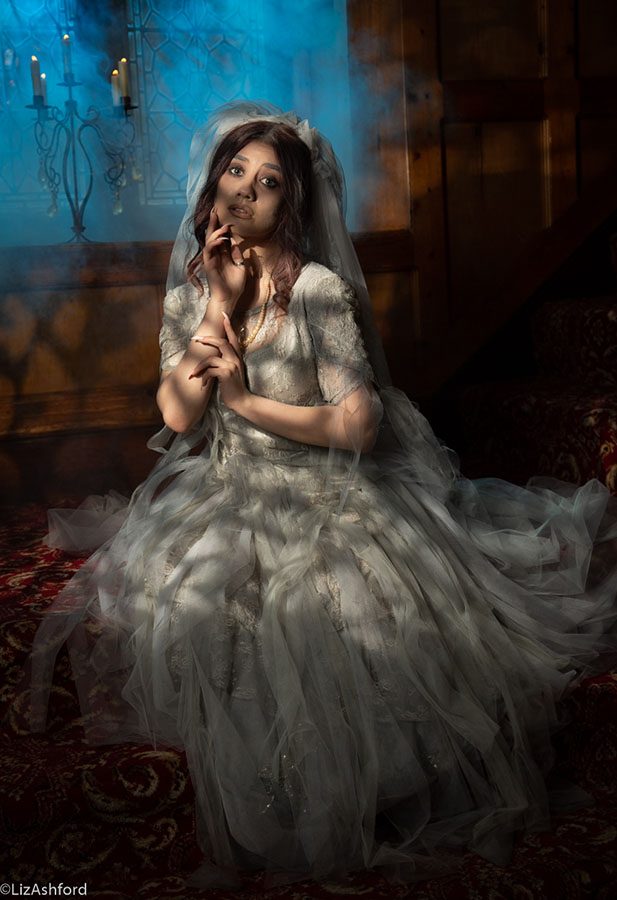
Charlottes second look was a “Miss Havisham” bride for which Tommy created a stunning lit scene on the stairs of the Baronial Hall at Ravenswood. He combined back light, smoke and an amazing optical snoot from Pixapro to create what was probably the best look of the workshop.

There’s nothing more frustrating to me than seeing a workshop organiser shooting photos for themselves at the expense of the attendees. As a result I took relatively few shots. Fortunately, the photographers who joined us took thousands of photos and below are just a few that I’ve been sent so far.
Making A Rustic High Key Background

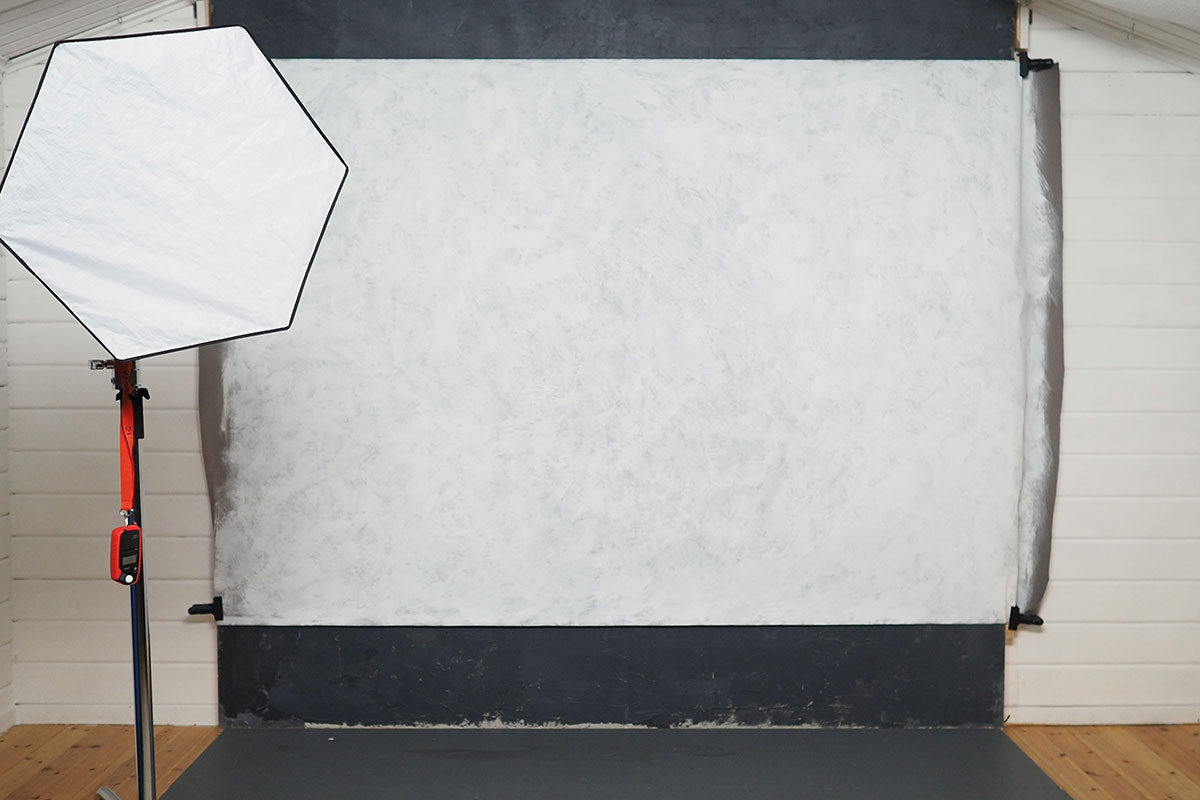
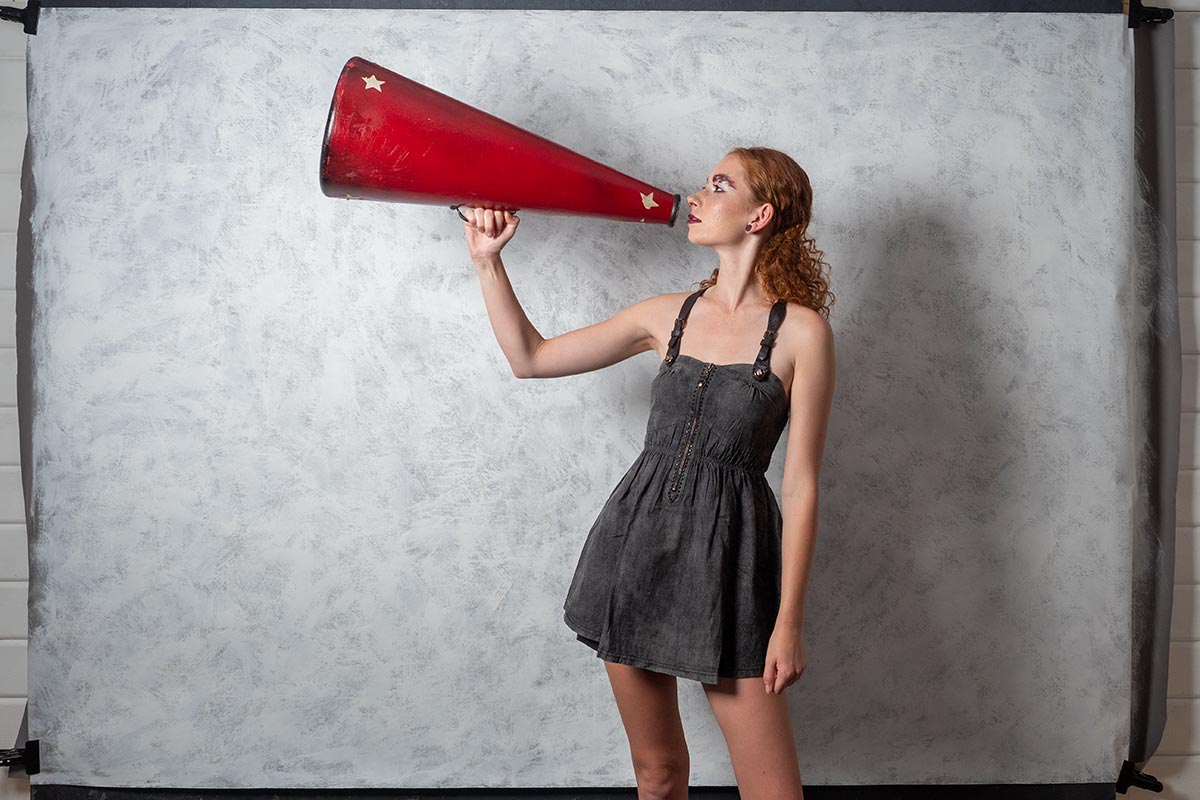
When Gavin decided he wanted to shoot high key portraits in a very small space he wanted to a background that was a little different for the usual pure white seamless look. So I was tasked with creating a more rustic looking light background and I do love a challenge!

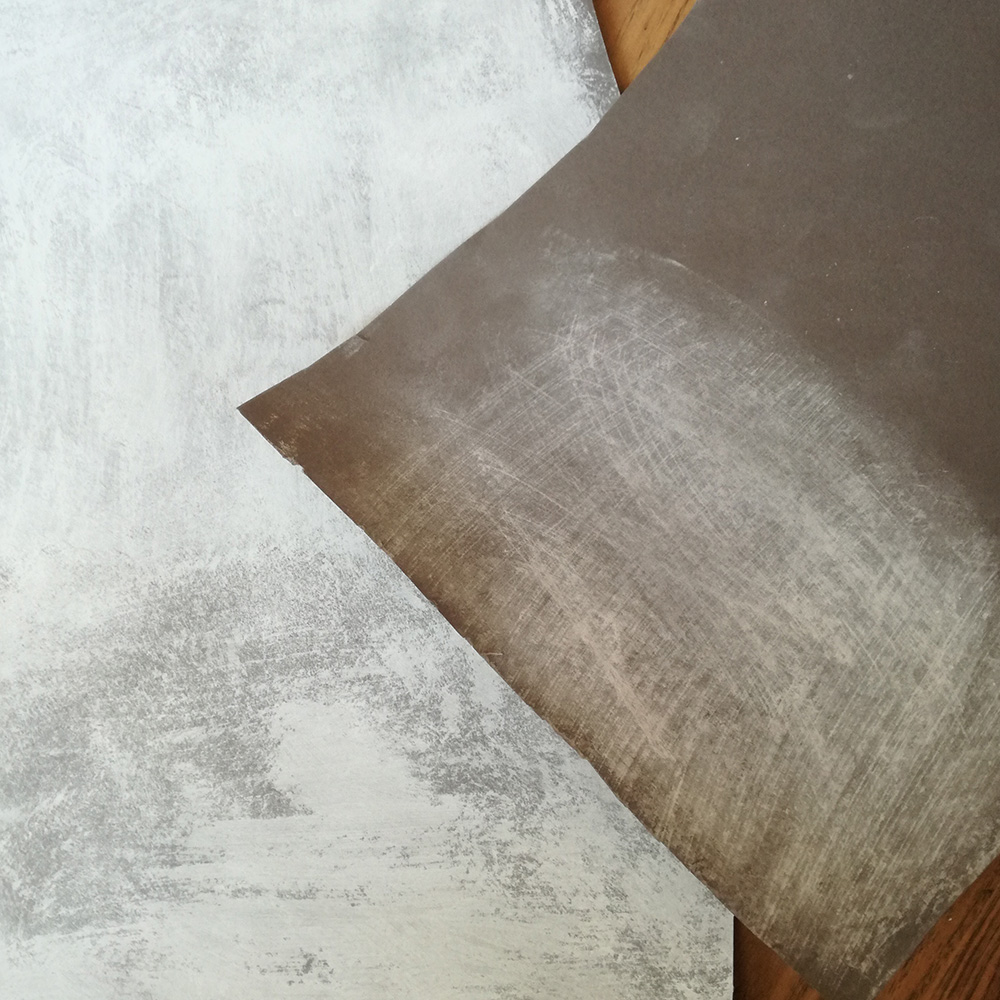
To keep cost down the plan was to re-use Gavin’s favourite grey paper background that had seen better days. I took a sample of the long roll of grey paper and tried out a few methods. Originally I was convinced a chalk coating would be perfect. Well, it looked pretty good but took quite a bit of elbow grease and loads of chalk. But the huge downside was that it smudged and dusted everything in a layer of chalk dust! Not ideal, so back to the drawing board (literally).

I have loads of white paint (most walls are white in the house) so thought a rough coating of paint would be worth a try out. Now, paper and wet paint would not be a great combination, the paper would change shape and be difficult to work with, so I used a dry brushing technique. This is where you dip the paint brush in the paint and then wipe off the excess on kitchen paper towels and then paint what’s left onto the background. This means that it goes on practically dry and doesn’t cause the paper to buckle. Perfecto!
We shot a time lapse, I think it makes me look like I work really quickly and efficiently!! The camera never lies…………
[youtube] https://www.youtube.com/watch?v=v9OBWOy_Eng [/youtube]

The shoot day was brilliant. We worked with Gracie for the first time, she totally got the idea and it all worked like a charm with the background.