Colourful Background Projection Image

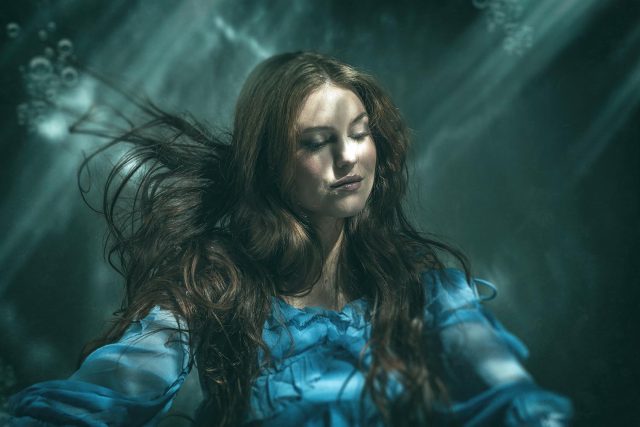
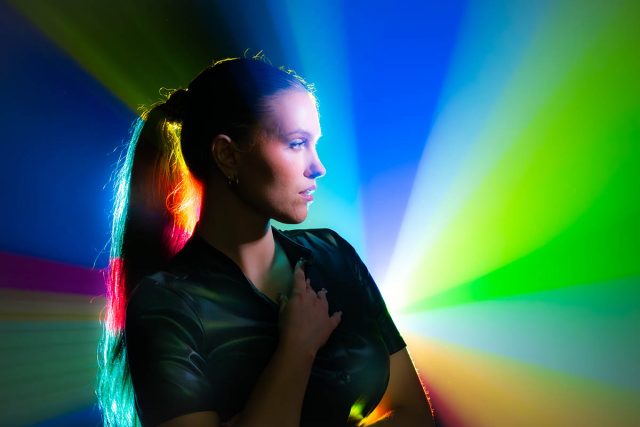
Back projecting an image through smoke is a classic technique that looks amazing with the right image.

So here’s one to start your collection off. It’s colourful and it’s hi-res which makes it zoomable. You’ll need a data projector to make the image above and lots and lots of haze!

Download instructions
       1. Click on the download link below
https://drive.google.com/file/d/142uTIw1ObSo60wcPVunSdrSfDLc50_jc

  1. Click the Download button download_icon (top right of the screen)
  2. The download should start automatically
  3. Download the image
  4. No support is provided. If you need help Google or YouTube the question and you’ll almost certainly find the answer


Instant Light Rays – Photoshop Action

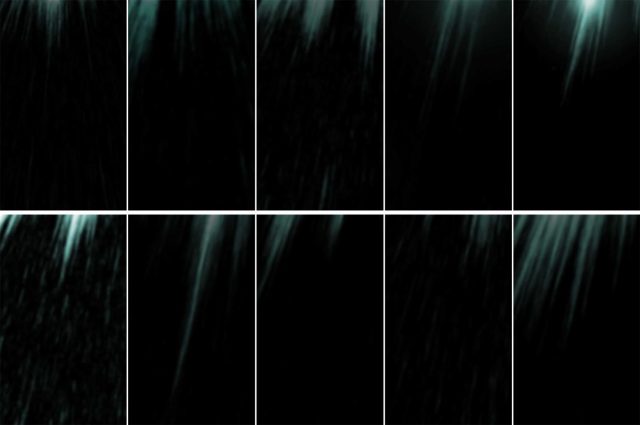
If you need a selection of rays of light for next Photoshop project and you need them in just one click, then this set of 10 Photoshop actions is for you… and yes, they’re 100% free!

The action does a few things you need to be aware of. First, your original image is always untouched. The action creates a duplicate of your image and flattens any layers on the new (duplicate) image before creating the light rays. Your original image is ALWAYS untouched!

Need more rays? Run the action again. The rays can be altered in position, size, opacity and colour

Download instructions
       1. Click on the download link below
https://drive.google.com/file/d/199eklVMe6OZVo4IzATrzkG0Hm_g5-yIo

  1. Click the Download button download_icon (top right of the screen)
  2. The download should start automatically
  3. Unzip the download and install the Photoshop Action
  4. No support is provided. If you need help Google or YouTube the question and you’ll almost certainly find the answer

Instant Cinder Photoshop Action

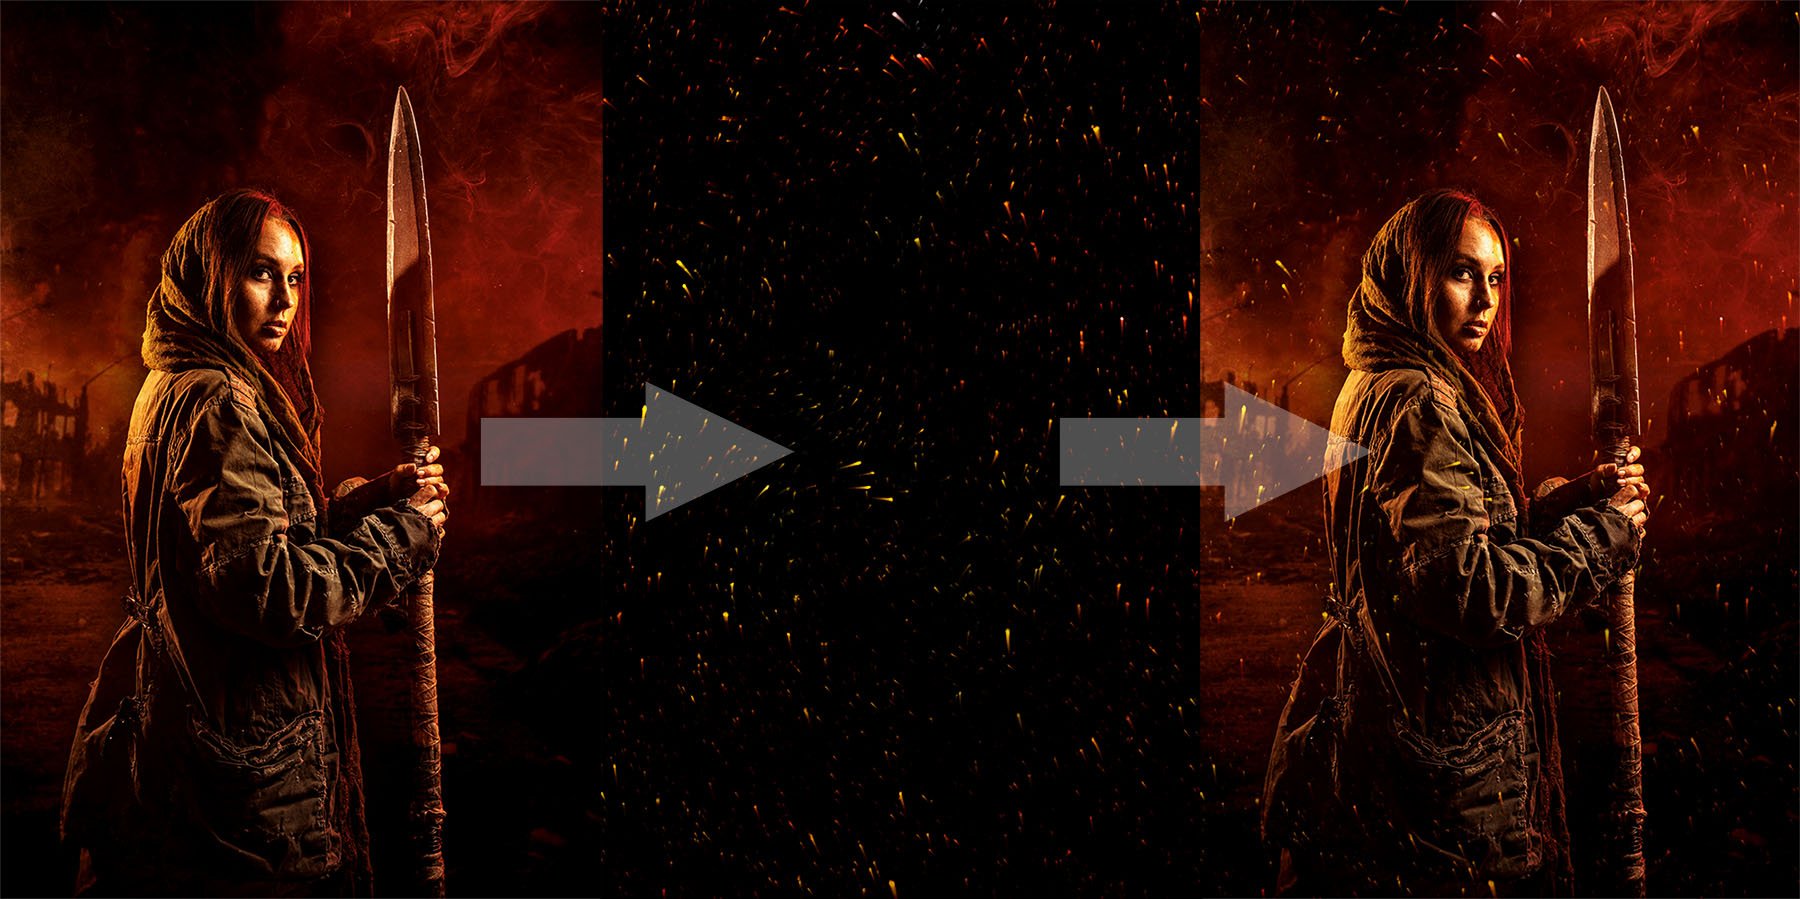
Hot embers floating through the air look beautiful and when you get the chance you should grab a photo. But if you want the look of hot embers without the need to rummage through you old photos, my Instant Cinder Fluffy action  (which I created for an Adorama TV Halloween themed video) does a great job. 

Instant-Cinders-Example

Image 1 of 1

The action does a few things you need to be aware of. First, your original image is always untouched. The effect is random, so running it a few times will give different patterns of embers. You’ll need to copy, paste and re-size the embers to fit your original image. Set the layer blending mode to “Screen” and adjust the layer opacity to taste.

Download instructions
       1. Click on the download link below
https://drive.google.com/file/d/1YX4F-4k8bT4nVEoifLbUG6HqUSt3Z2jZ

  1. Click the Download button download_icon (top right of the screen)
  2. The download should start automatically
  3. Unzip the download and install the Photoshop Action
  4. No support is provided. If you need help Google or YouTube the question and you’ll almost certainly find the answer

Frosty Frames

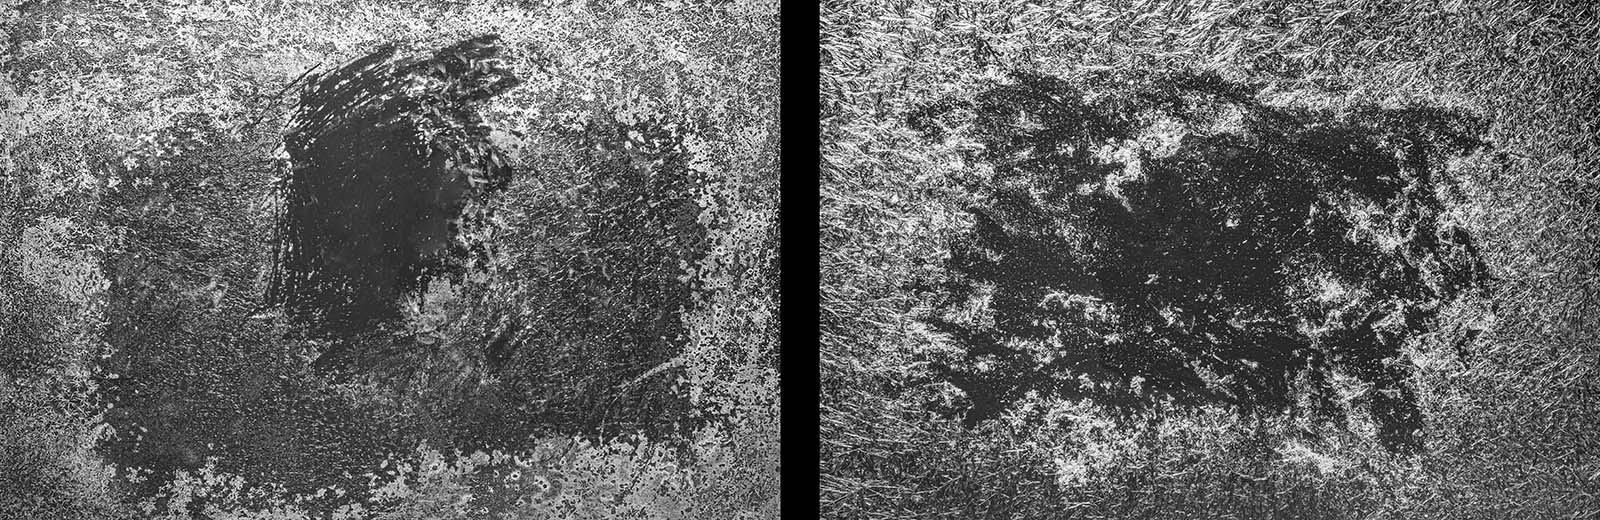
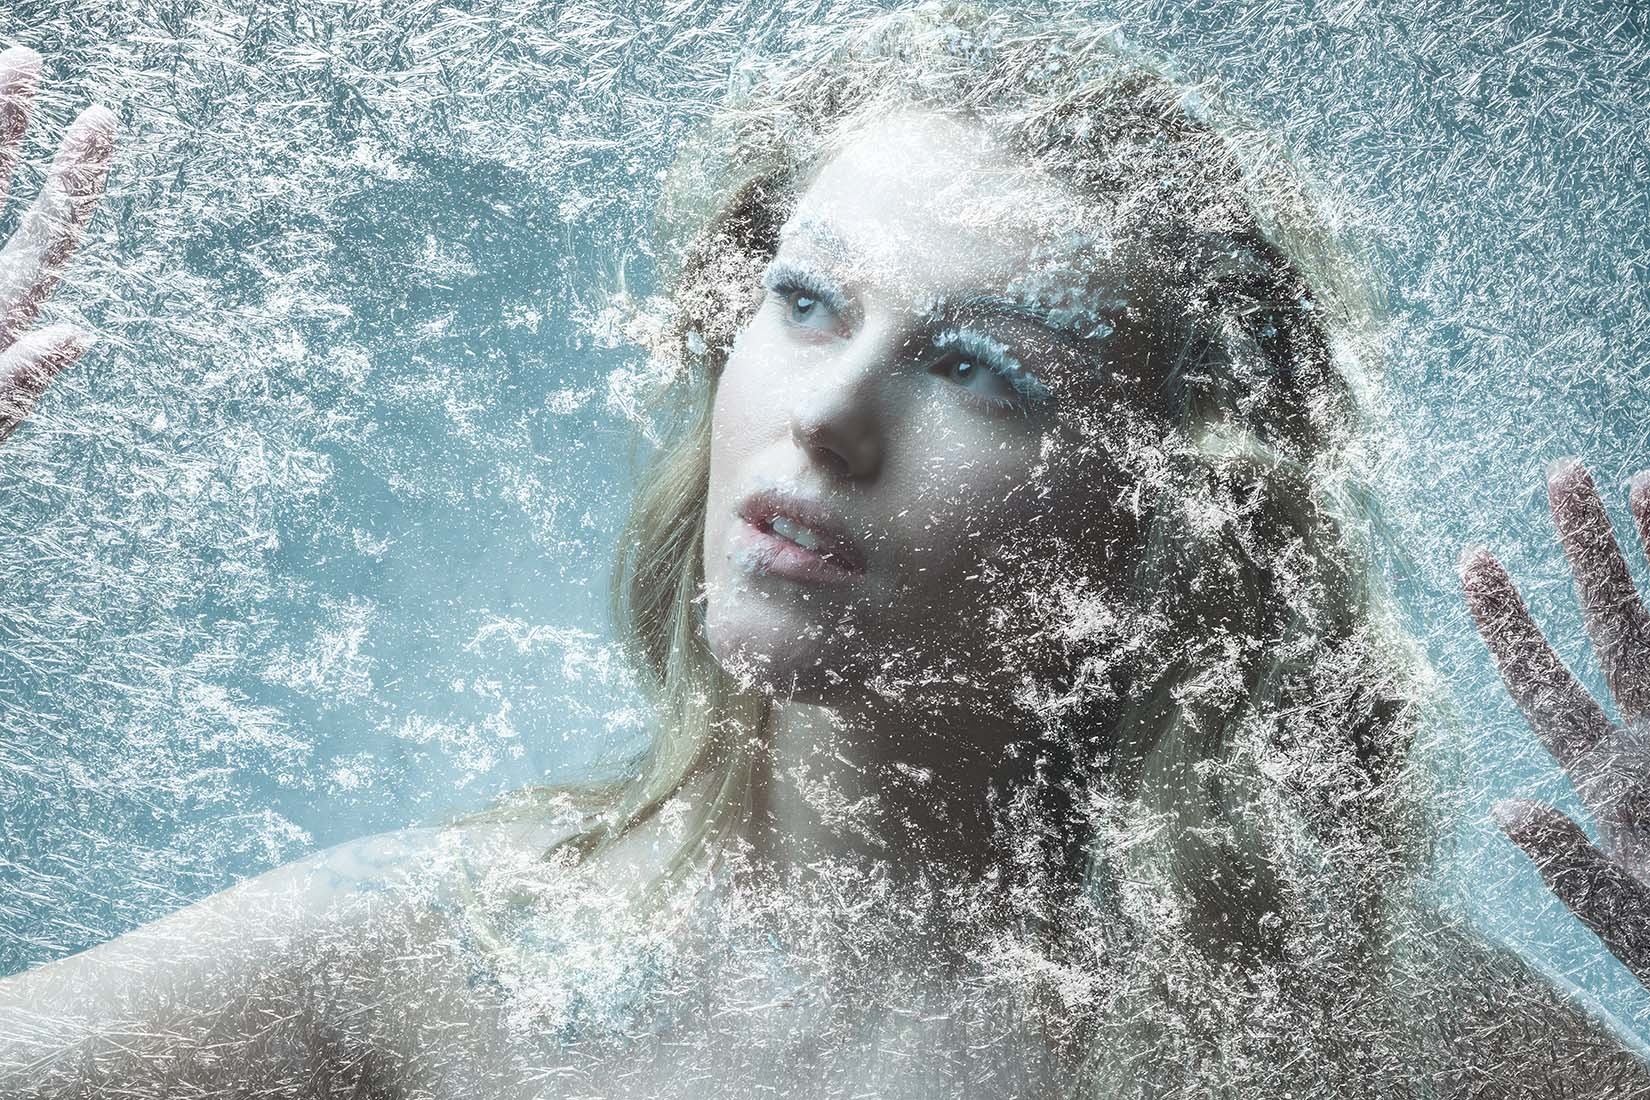
It takes a brave photographer to ask someone to model for them on a cold and frosty day. Luckily I have a solution that’s a lot warmer! For this Friday Freebie I’m giving away two hi-res images of frosty frames which I created for an Adorama TV video.

To use them in Photoshop simply copy and paste them onto your image. Use Edit – Transform – Free Transform to resize and rotate as needed and then change the Layer Blending Mode from Normal to Screen.

Download instructions
       1. Click on the download link below
https://drive.google.com/drive/folders/1_1ZwEvFMmWpc7ZY3voSEaqXHfrlKwEbS?usp=sharing

  1. Click the Download button download_icon (top left on thumbnail)
  2. The download should start automatically
  3. No support is provided. If you need help Google or YouTube the question and you’ll almost certainly find the answer

Water Reversal Backgrounds

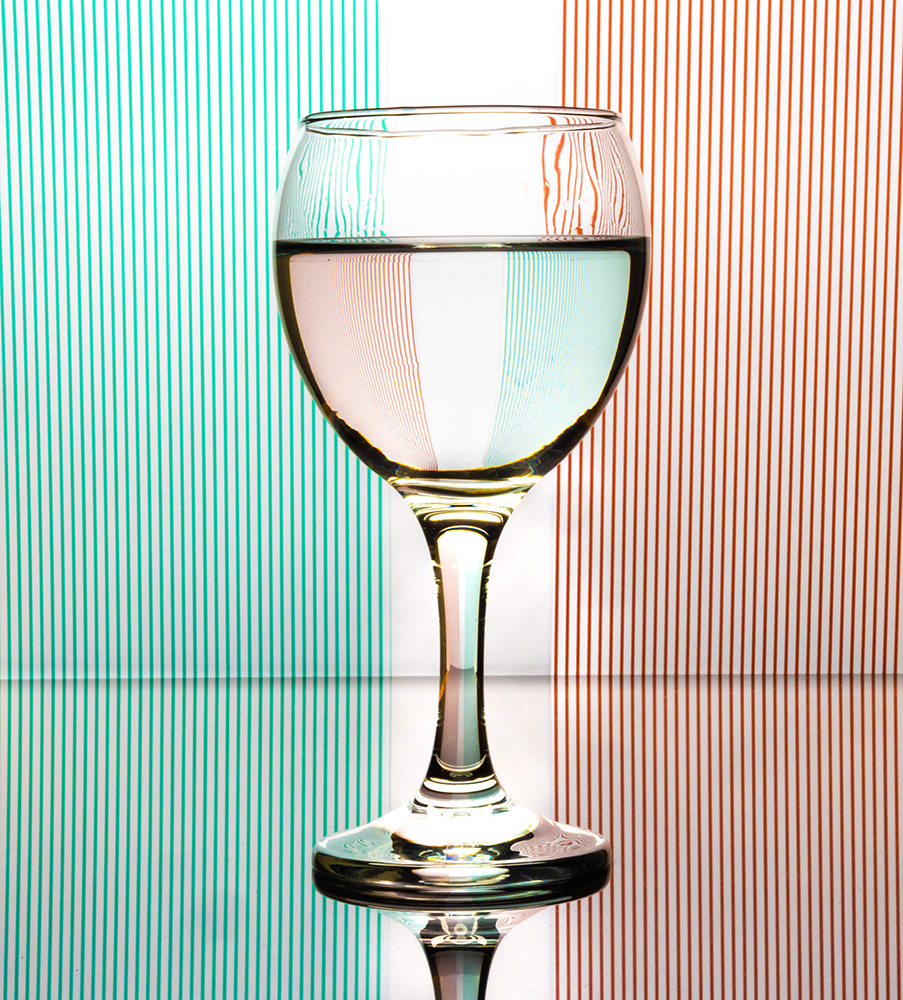
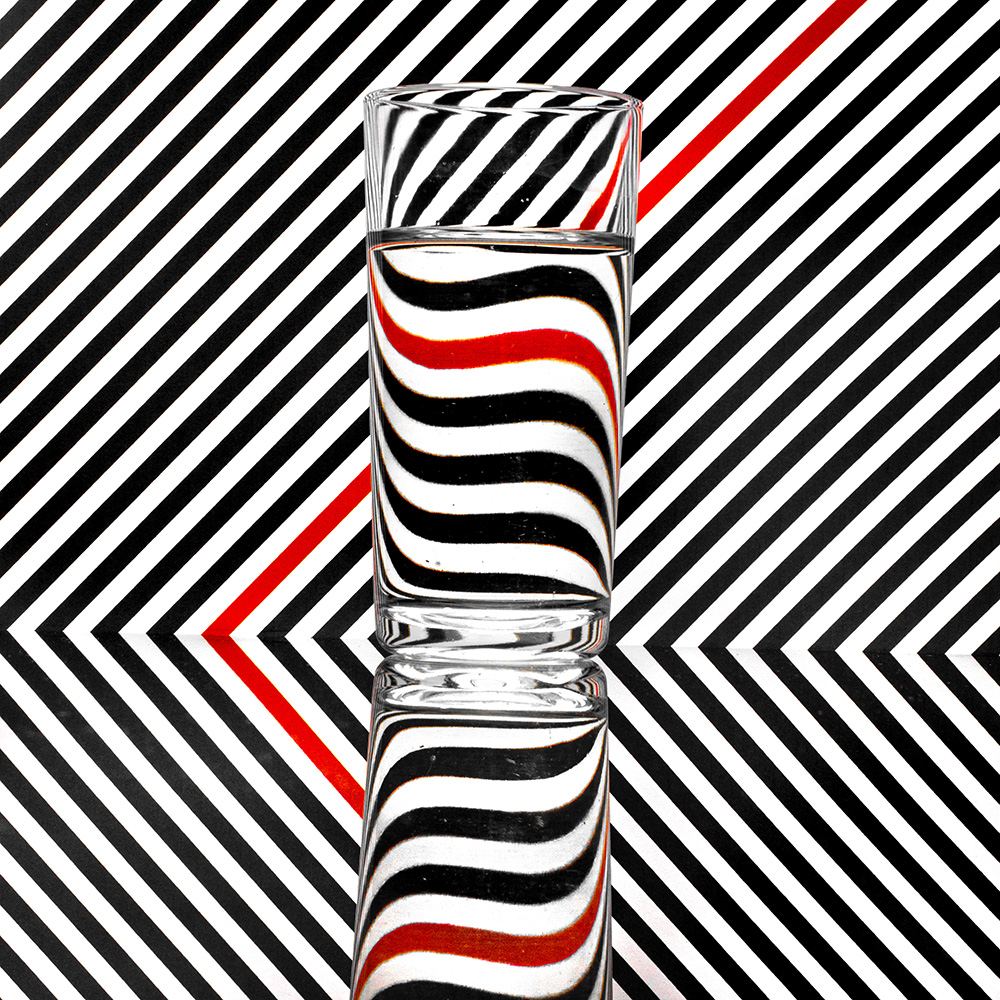
If you’re looking for a simple stay at home photo project then this is for you. All you need is a glass filled with water and one of my free backgrounds.

The water filled glass acts as a simple lens and reverses the image seen through it. The upshot of which is, if you place the glass in front of a bold but simple background it becomes something photographically fascinating.

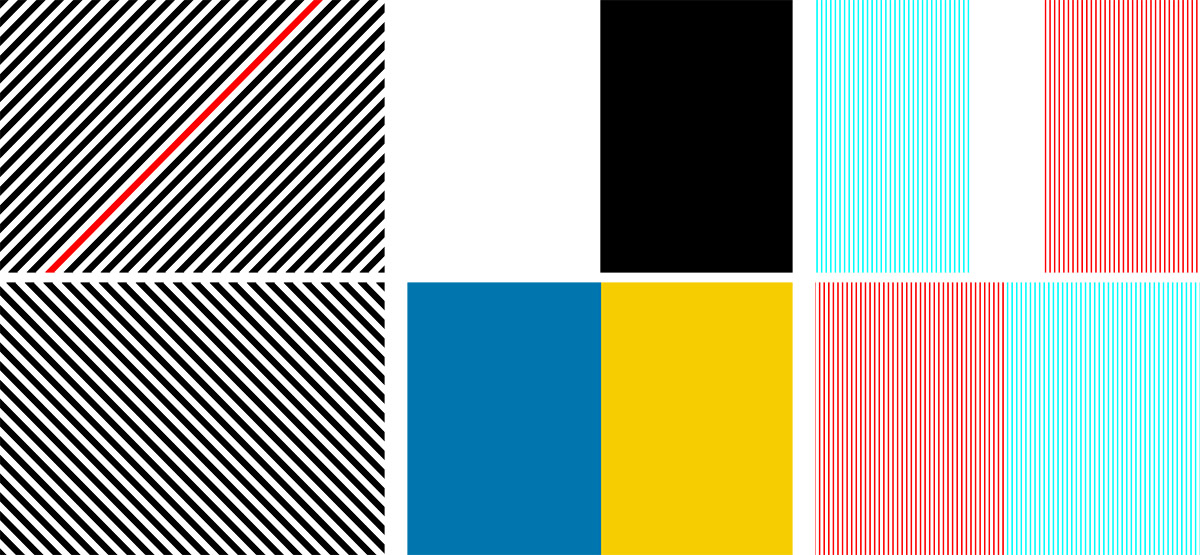
I’ve made three types of background, two tone, diagonal stripes and fine lines. Each has two variations and all are sized at A4, ready to be printed at home.

Usage rules
The images are copyright Gavin Hoey 2020. Use is limited to any personal but non-commercial purposes. Only share by linking back to this page. Do not redistribute the original image without my permission.

Download instructions
       1. Click on the download link below
https://drive.google.com/drive/folders/1aUvI6y8m-kor4WdoEB2aOyT8Zq-6E8uj?usp=sharing

  1. Click the Download button download_icon (top right of screen)
  2. The download should start automatically
  3. No support is provided. If you need help Google or YouTube the question and you’ll almost certainly find the answer

Creative ideas at home

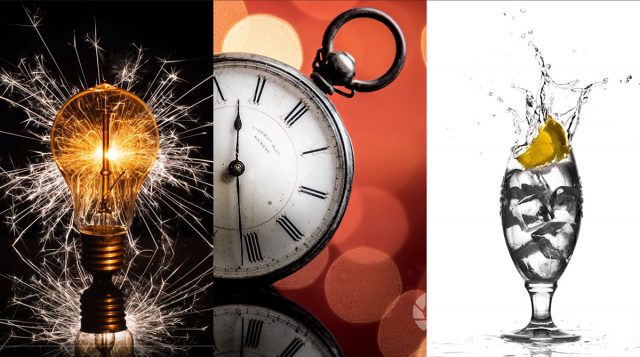
With the current restrictions on getting out and about, I reckon it was a good time to share some of Gavin’s creative video’s. Some of the items you may have at home, some things may make you think outside the box to create! Hopefully there’s will give you some hints and a prod to get up and try something new!

If you use any of the tips and ideas, we’d love to see the results! Tag Gavin in on any of his social media pages. Most importantly stay home, stay safe 🙂

[youtube]https://www.youtube.com/watch?v=9GxRwBxc8-8[/youtube]

[youtube]https://www.youtube.com/watch?v=1AkeFMzn_u8[/youtube]

[youtube]https://www.youtube.com/watch?v=3mXg7-Juvrc[/youtube]

BTS Dressing Room Shoot

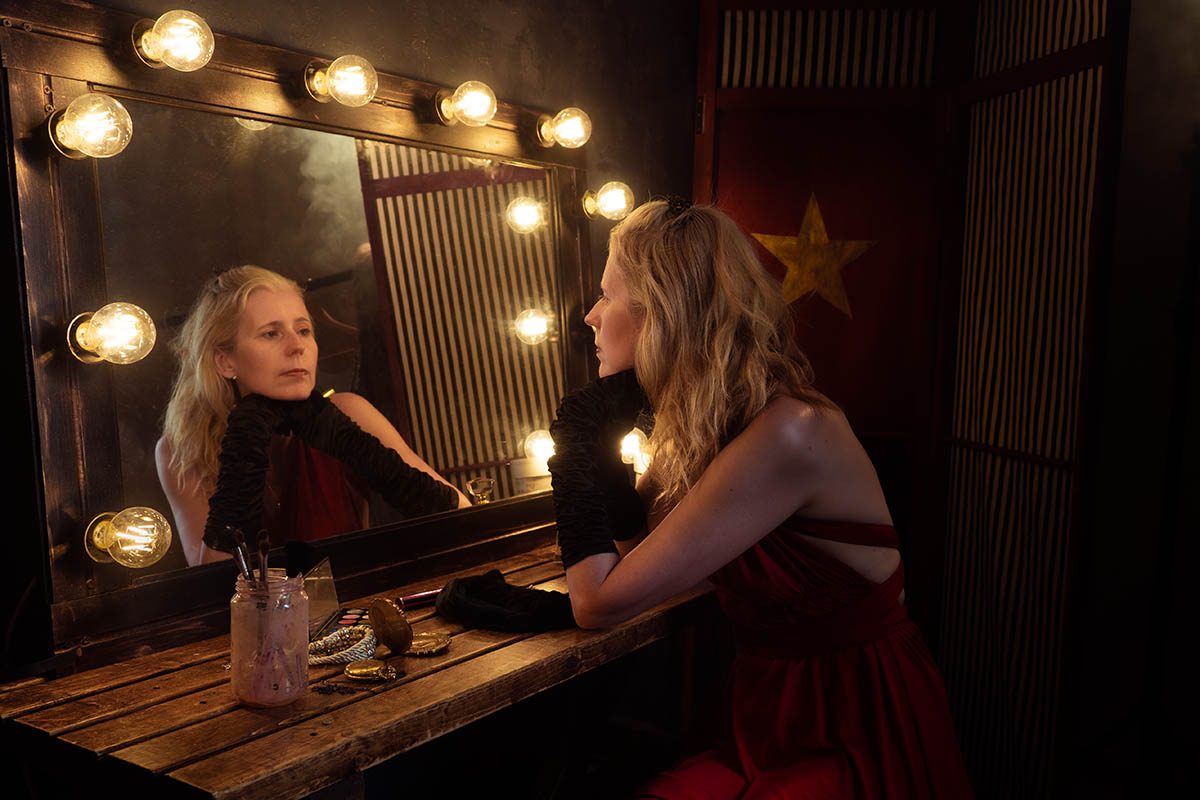
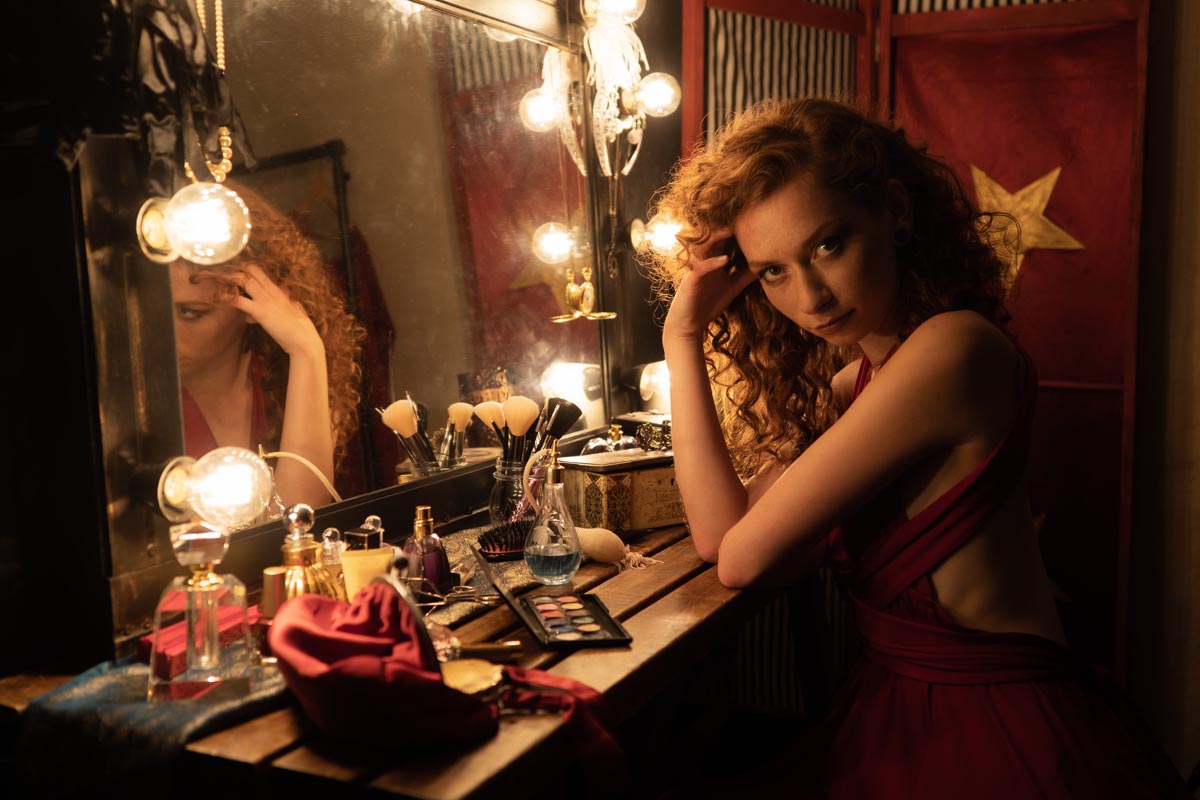
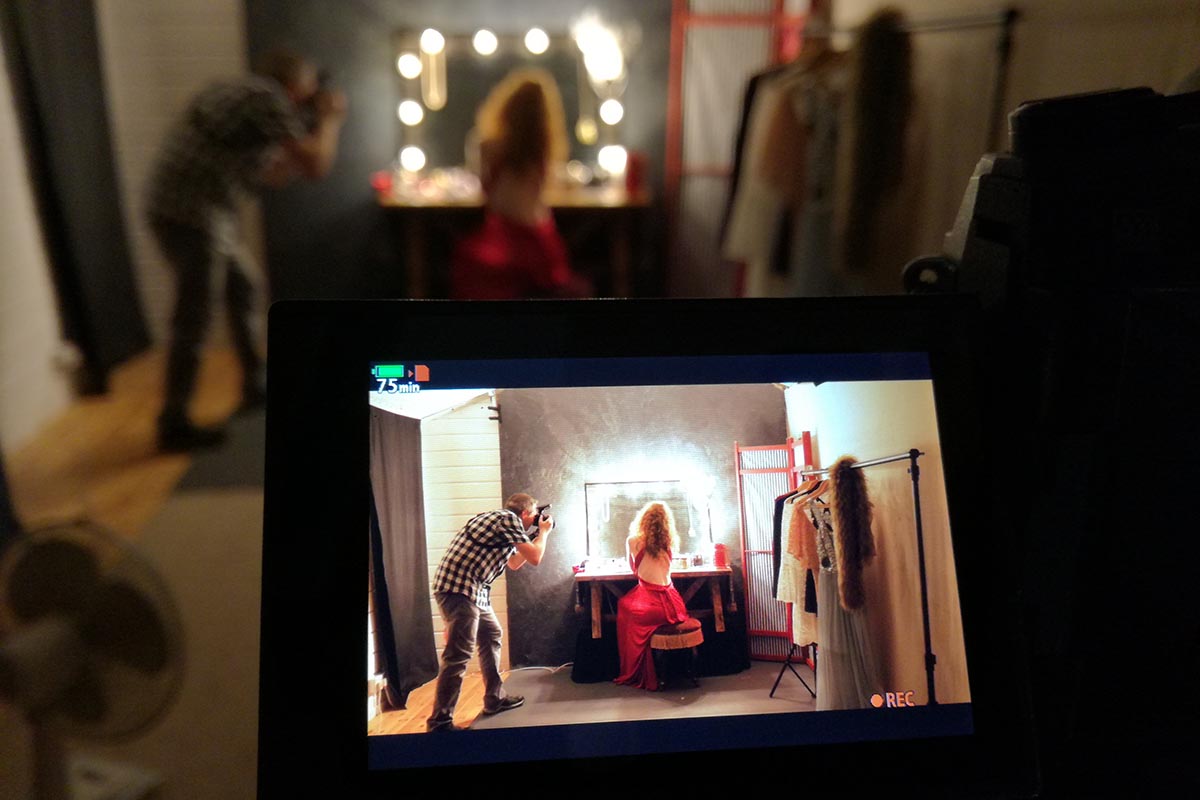
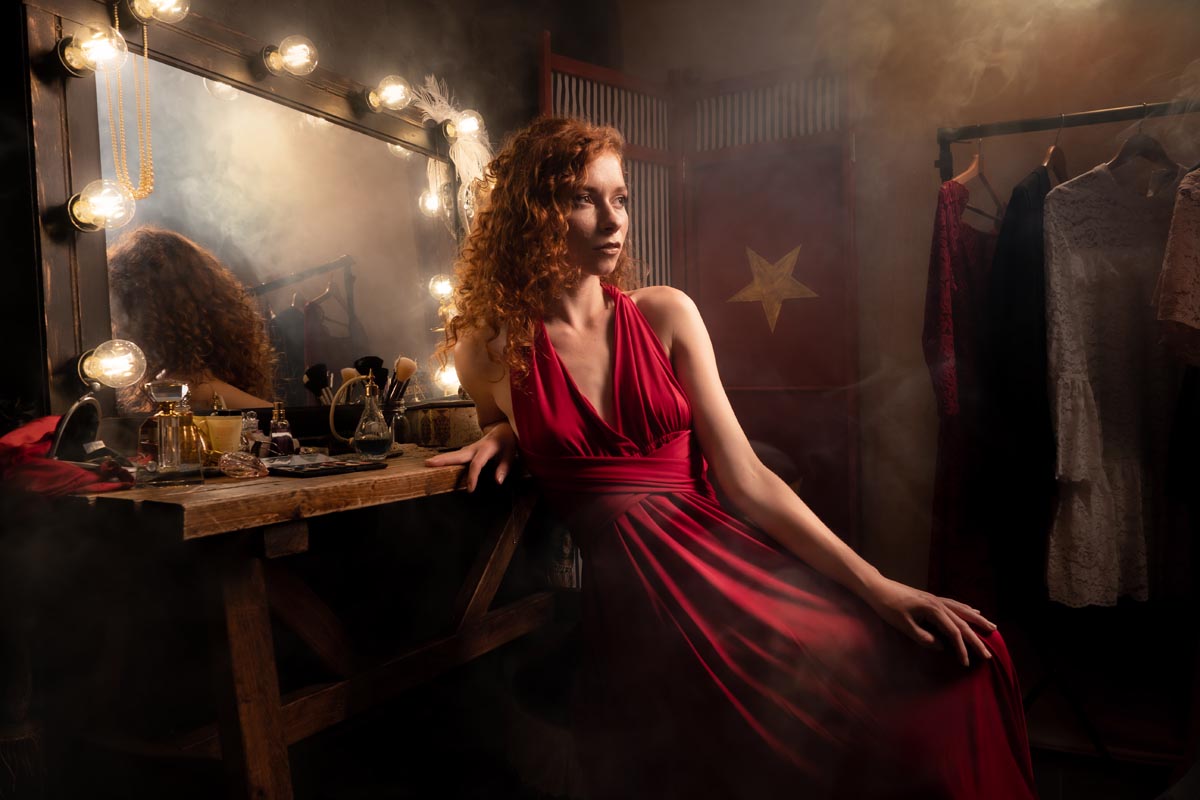
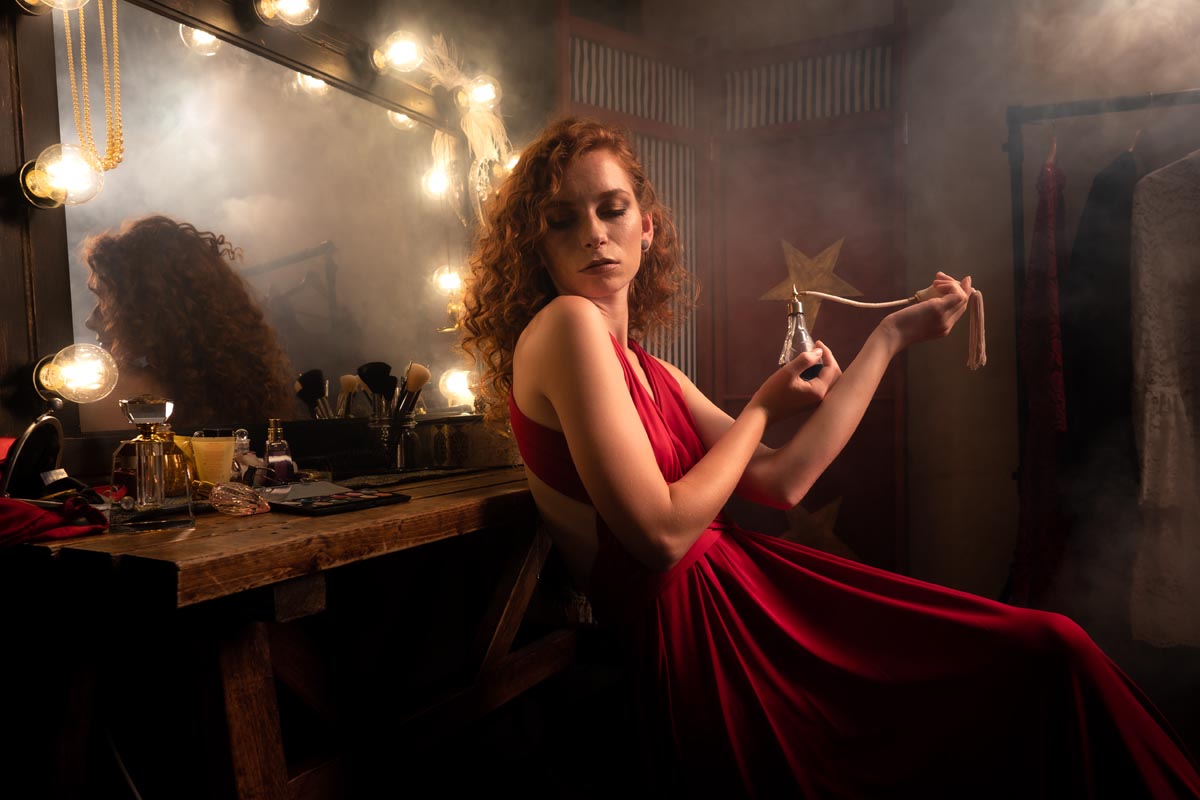
Gavin had an idea of creating a dressing room look, a behind the scenes glimpse at a theatre style. A real challenge in his small home studio, but he reckoned he was up to the challenge!

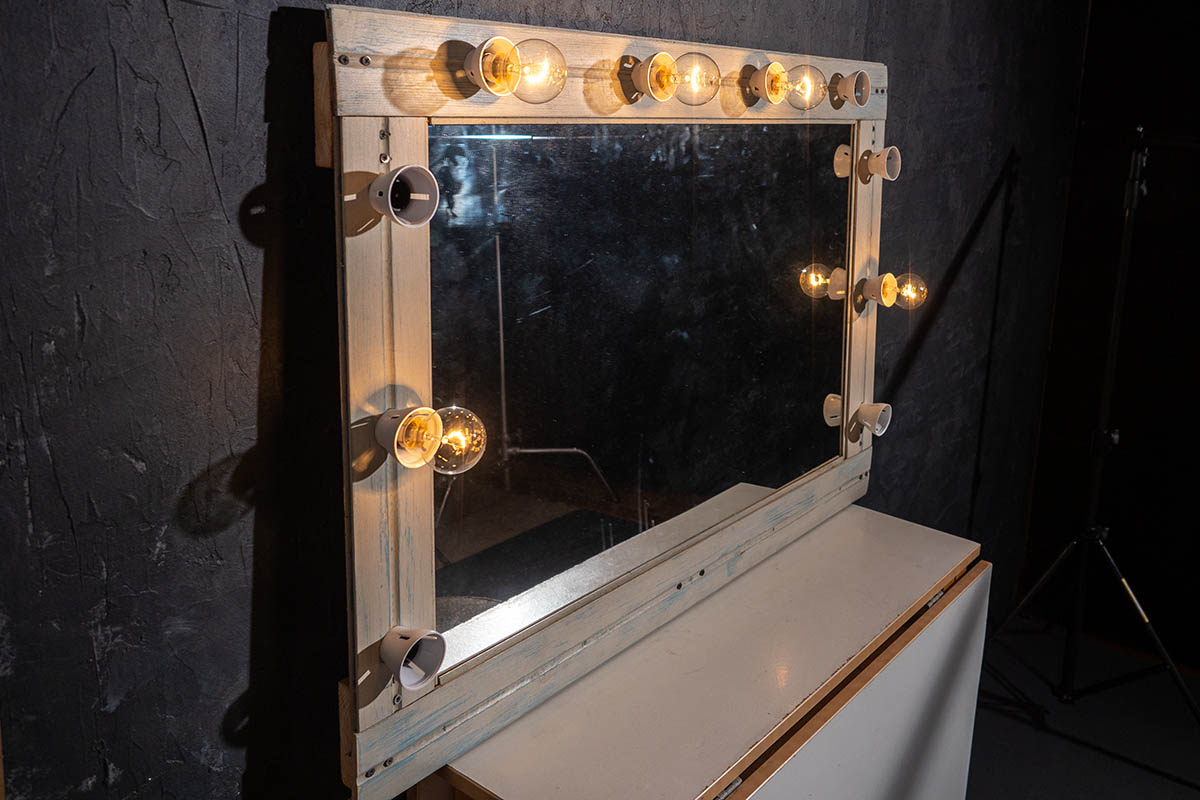
The main thing we felt we needed was the classic and slightly cliche mirror with lights. Surely we’d be able to get our hands on one of those without breaking the budget…..not an easy task as it turns out. Not one to be put off, Gavin decided “I can make one” (a familiar sentence uttered in our house, with varying degrees of success!).

We recycled the mirror from a previous shoot and Gavin made a surround using some of my old tongue and groove planks. I gave it a paint and gilded effect. Although a bit labour intensive, it came out really well and worked like a charm when we did a test shoot. Ten bulbs would generate a lot of heat and as we were filming on an already hot day, Gavins choice of LED bulbs proved to be a good one.

To compete the look we purchased some props and recycled others from previous shoots to give our ‘dressing room’ a vintage and slightly eclectic look.

[youtube]https://www.youtube.com/watch?v=jBYPlTfE4ck[/youtube]

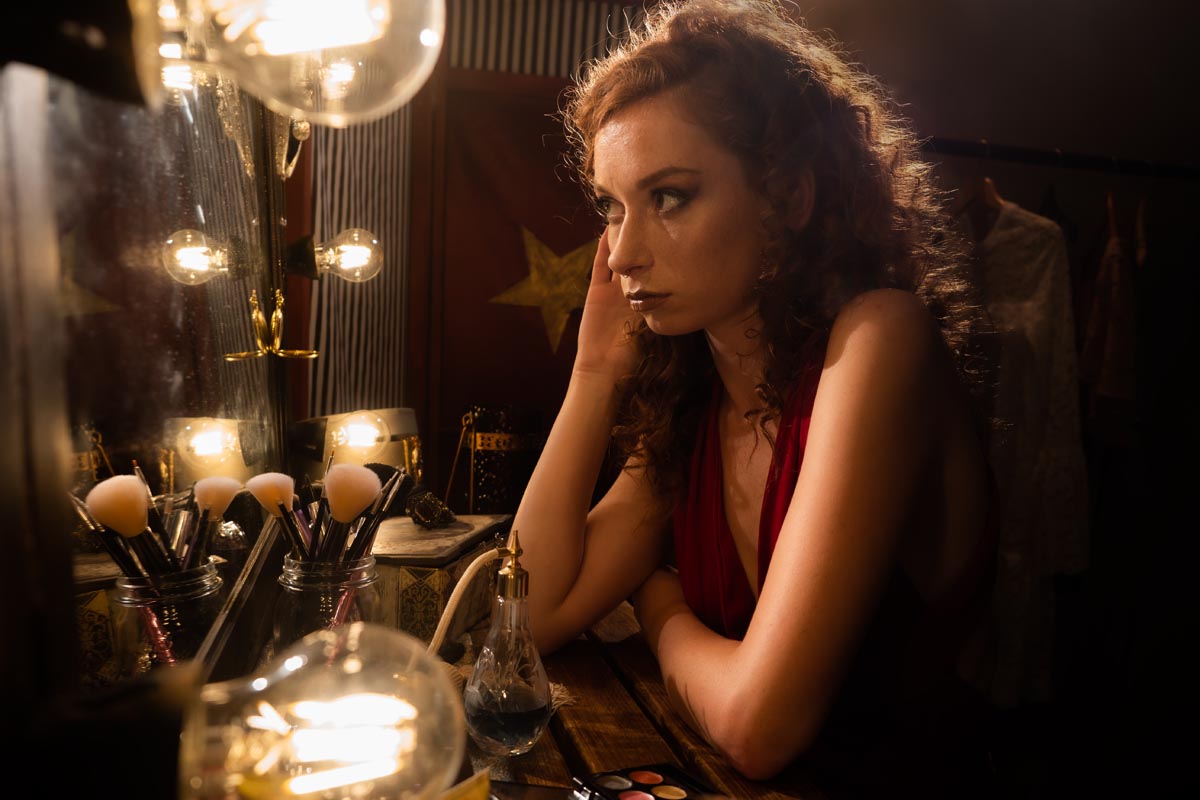
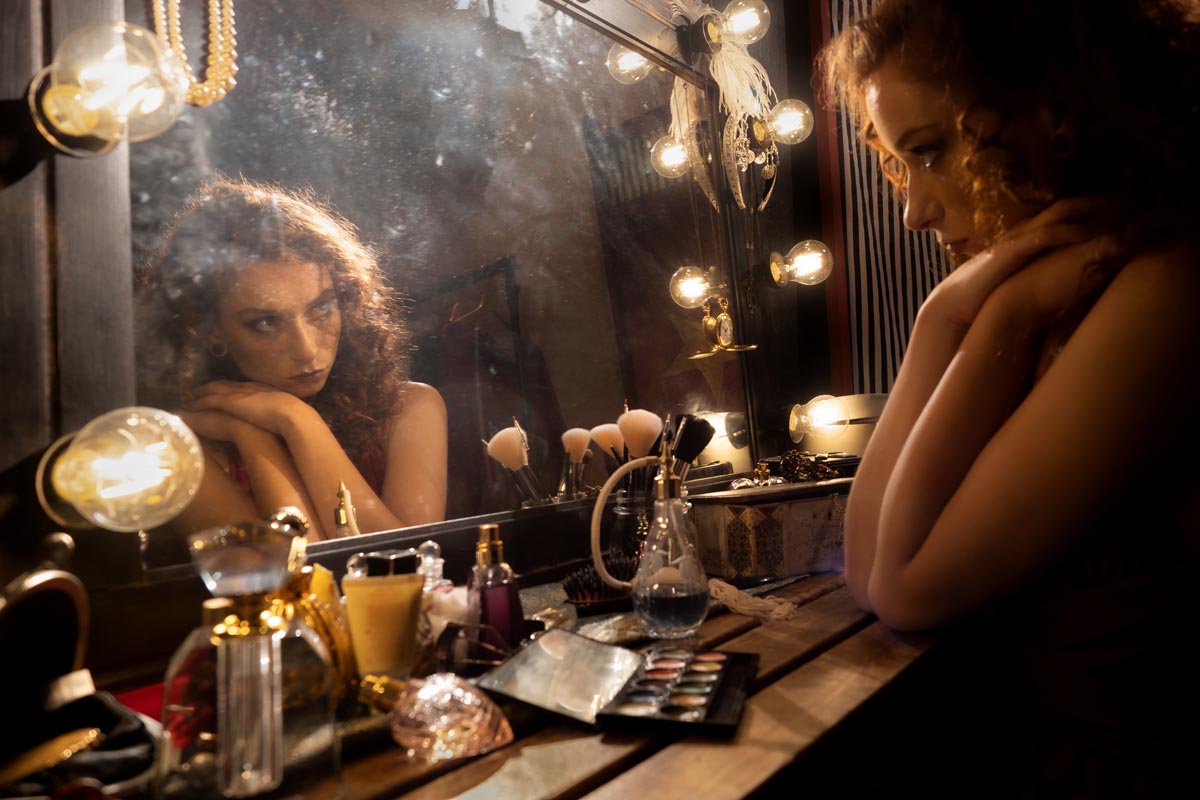
Sporting the outfit and accessories on the video shoot day was the fabulous Gracie Here’s some of the final photos and a behind the scenes shot of the behind the scenes shoot!

Making A Rustic High Key Background

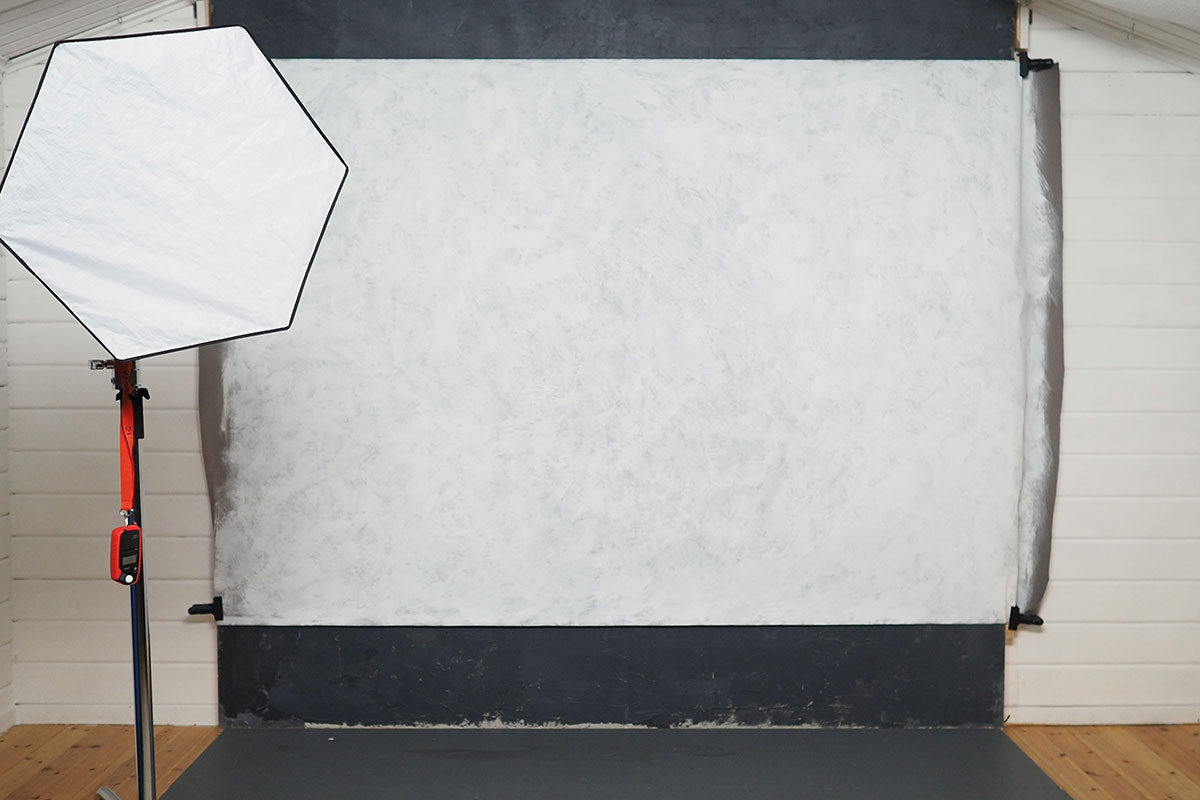
When Gavin decided he wanted to shoot high key portraits in a very small space he wanted to a background that was a little different for the usual pure white seamless look. So I was tasked with creating a more rustic looking light background and I do love a challenge!

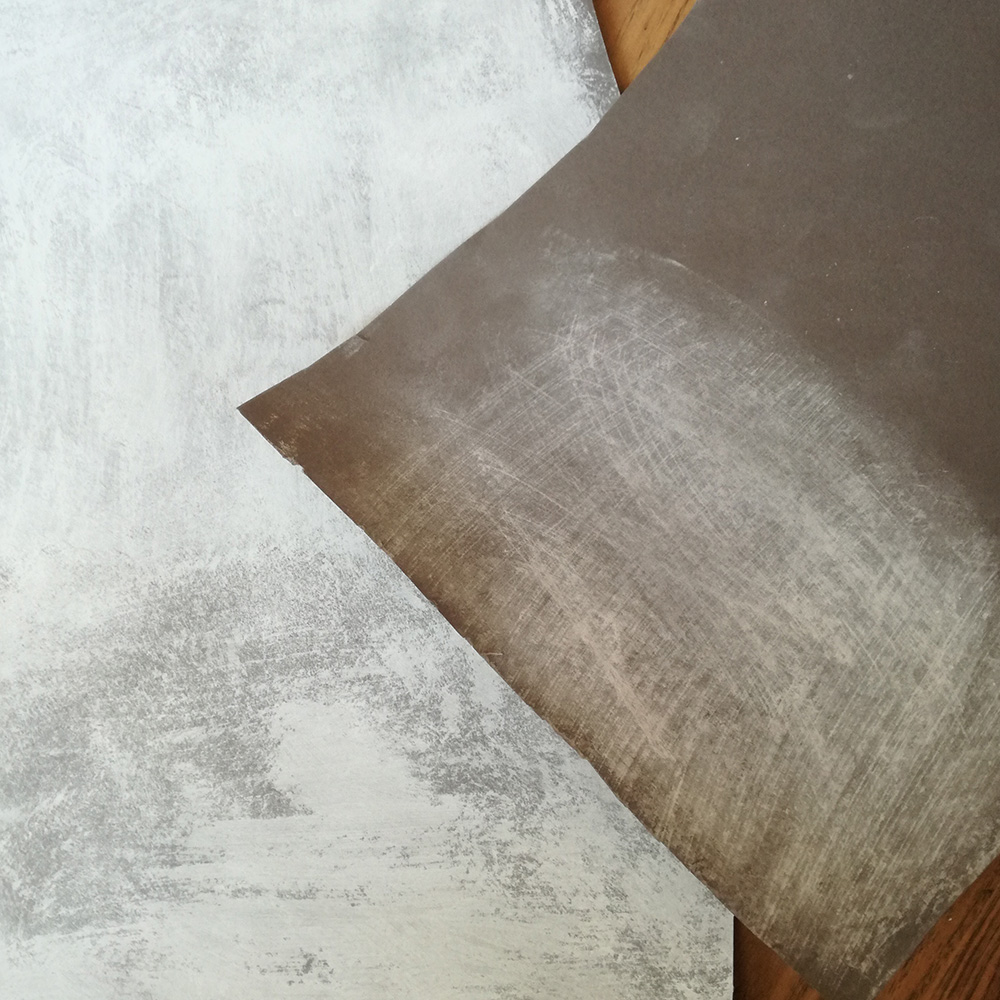
To keep cost down the plan was to re-use Gavin’s favourite grey paper background that had seen better days. I took a sample of the long roll of grey paper and tried out a few methods. Originally I was convinced a chalk coating would be perfect. Well, it looked pretty good but took quite a bit of elbow grease and loads of chalk. But the huge downside was that it smudged and dusted everything in a layer of chalk dust! Not ideal, so back to the drawing board (literally).

I have loads of white paint (most walls are white in the house) so thought a rough coating of paint would be worth a try out. Now, paper and wet paint would not be a great combination, the paper would change shape and be difficult to work with, so I used a dry brushing technique. This is where you dip the paint brush in the paint and then wipe off the excess on kitchen paper towels and then paint what’s left onto the background. This means that it goes on practically dry and doesn’t cause the paper to buckle. Perfecto!

We shot a time lapse, I think it makes me look like I work really quickly and efficiently!! The camera never lies…………
[youtube] https://www.youtube.com/watch?v=v9OBWOy_Eng [/youtube]

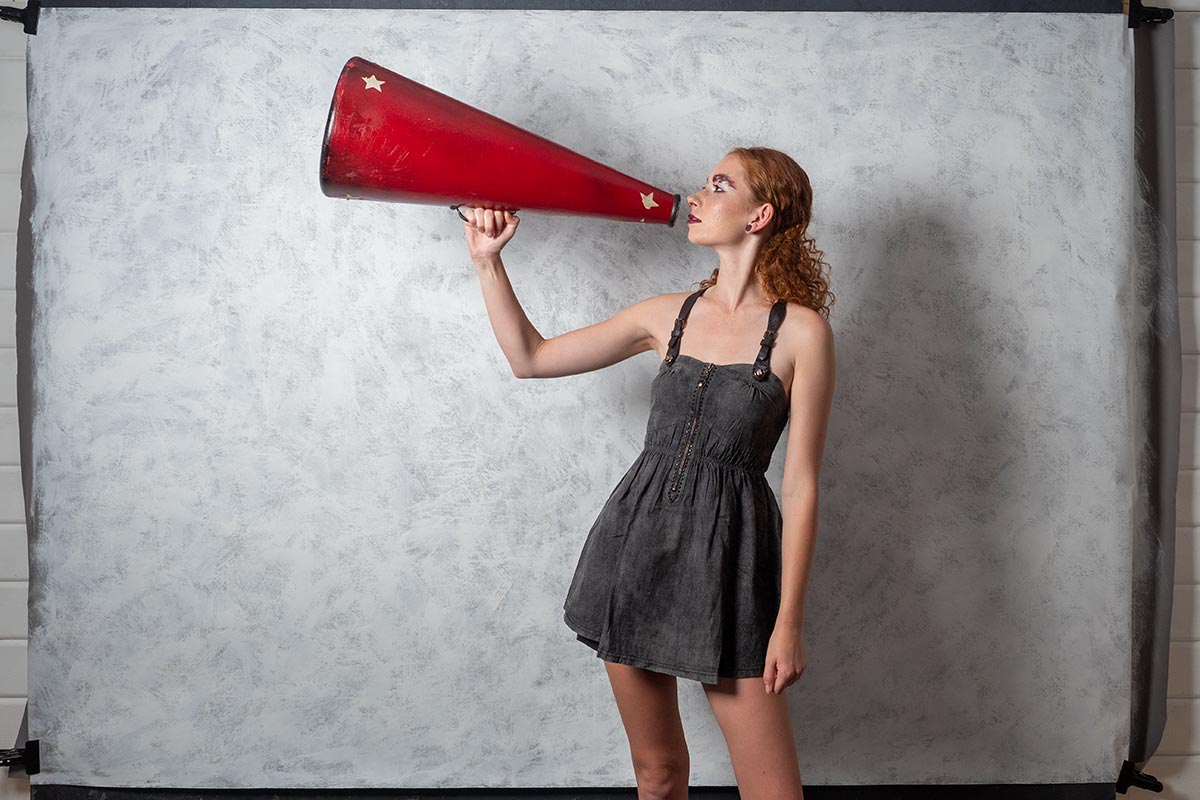
The shoot day was brilliant. We worked with Gracie for the first time, she totally got the idea and it all worked like a charm with the background.

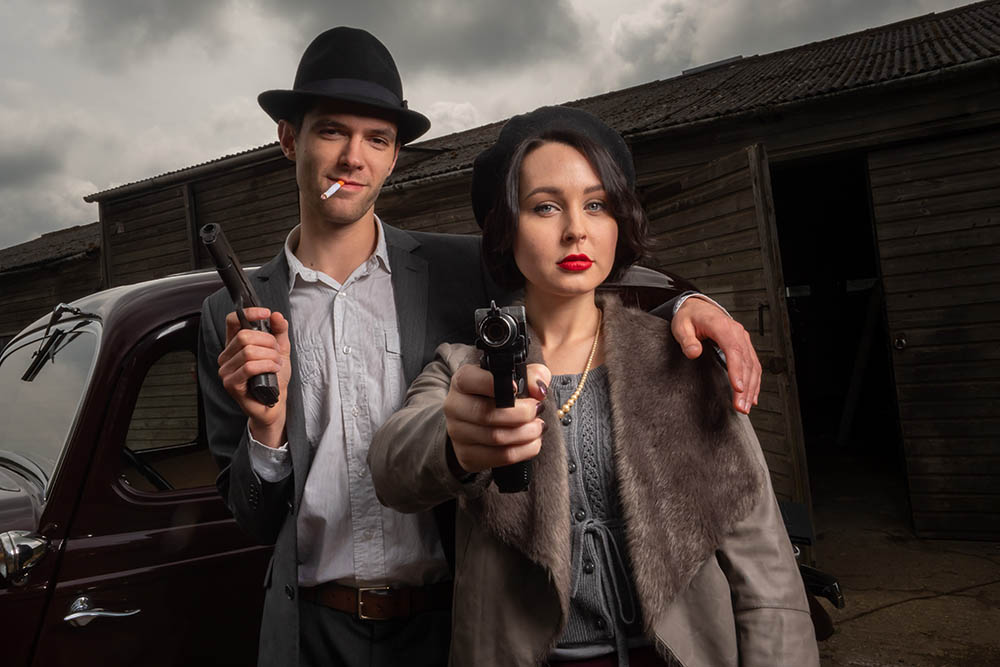
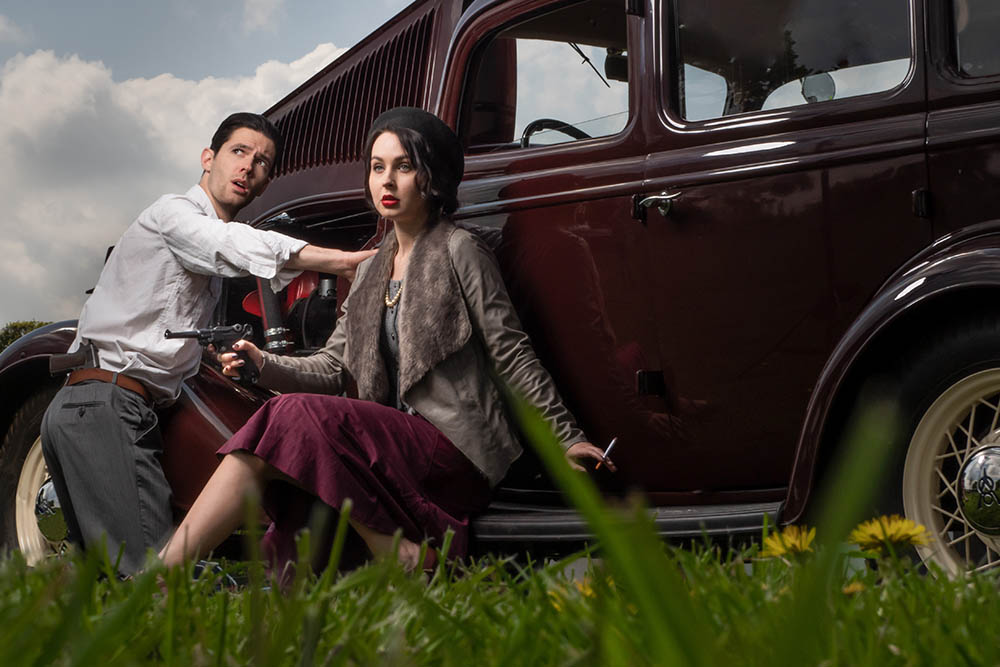
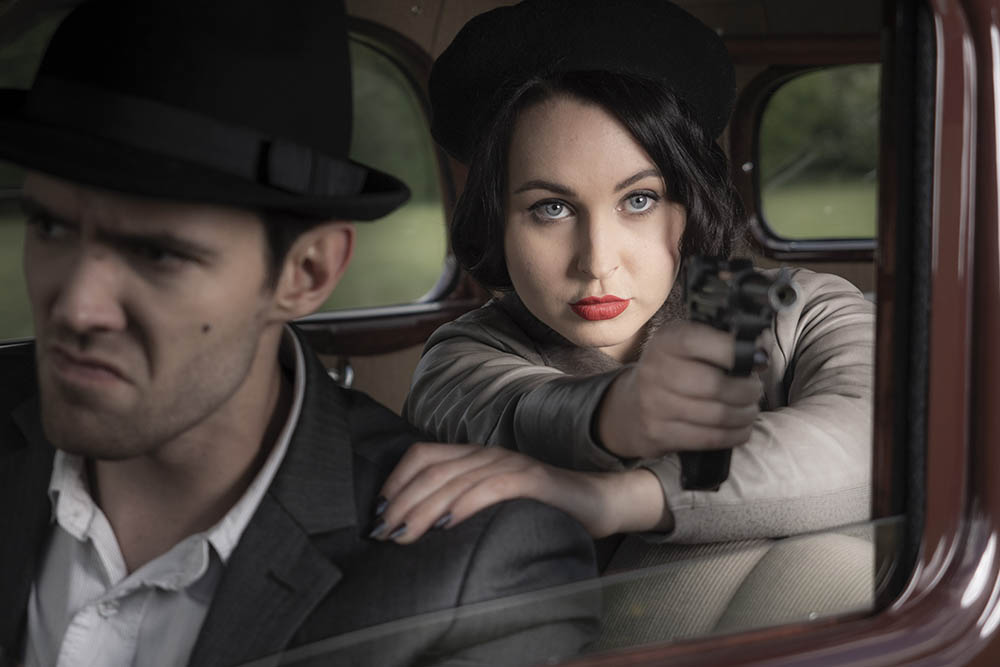
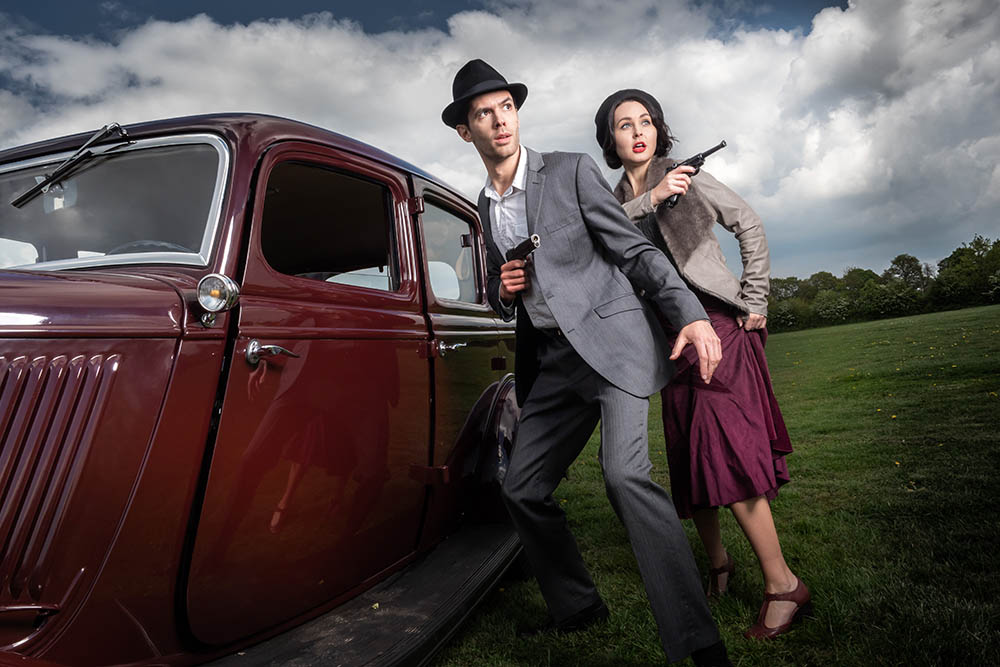
Bonnie & Clyde Styled Secret Shoot

This has to be one of my favourite shoots to date!

I arranged this as a secret portrait shoot, so Gavin was only told the date in advance.

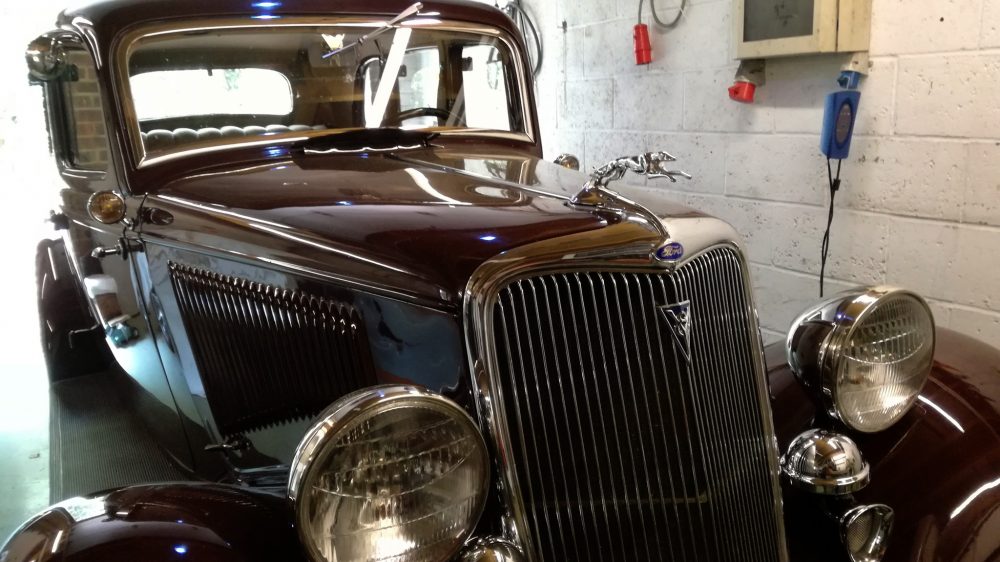
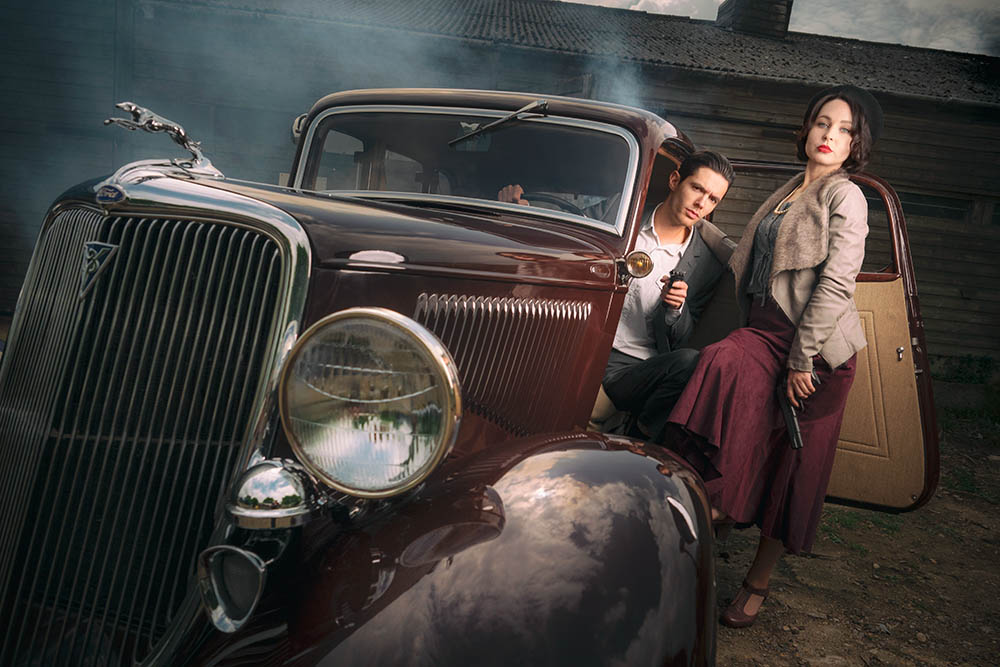
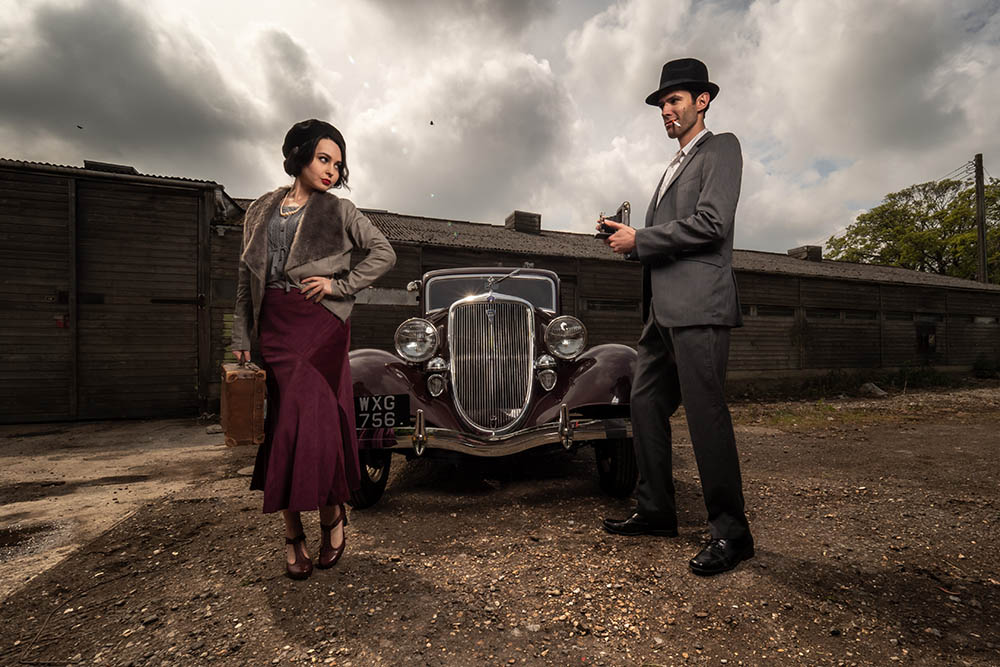
It started when Mike, the fantastic car owner, mentioned he had a Ford V8, the same model as Bonnie and Clyde stole and used frequently. 

The models were my next priority. Brian is always amazing, he gets totally in character when we do themed shoots, so he had to be booked for this! I thought Sophie had the right look but wasn’t sure whether character modelling was her thing. Luckily she totally went for it as soon as I asked. The two know each other from previous workshops, so the chemistry was spot on and they both got totally absorbed in their characters!

[youtube]https://www.youtube.com/watch?v=Jny93xzVOIQ[/youtube]

Although I didn’t want to make guns a big part of this shoot, I felt they needed to be present to add the mood. We were very lucky to be able to use replica guns on loan by Ash, who collects all sorts of amazing military props and costumes. He stayed on hand to ensure we stayed safe at all times.

The location was a source of head scratching for me. I felt we needed a choice of backdrops and plenty of space. We’ve  used The Gatwick Aviation Museum for many shoots and workshops over the years, they were more than happy to accommodate us for this, tick location booked!

I styled this on a budget, boot sale bargains and charity shop buys for the most part. I splurged on a new hat for Brian and a vintage Kodak No. 2 folding Brownie camera (it’s beautiful).

Luckily the day stayed dry, despite the threatened rain in the forecast. In fact it got very sunny and warm. Gavin was thoroughly surprised and recovered enough to capture some awesome photo’s!

Watch out for some extra footage and BTS to come……

GEAR LIST

Olympus E-M1 Mark ii 
Olympus 12-40mm f/2.8 Pro 
Glow ParaPop 28″ Softbox
Flashpoint Xplor600 Flash 
CHAUVET Hurricane 1200 Fog Machine 
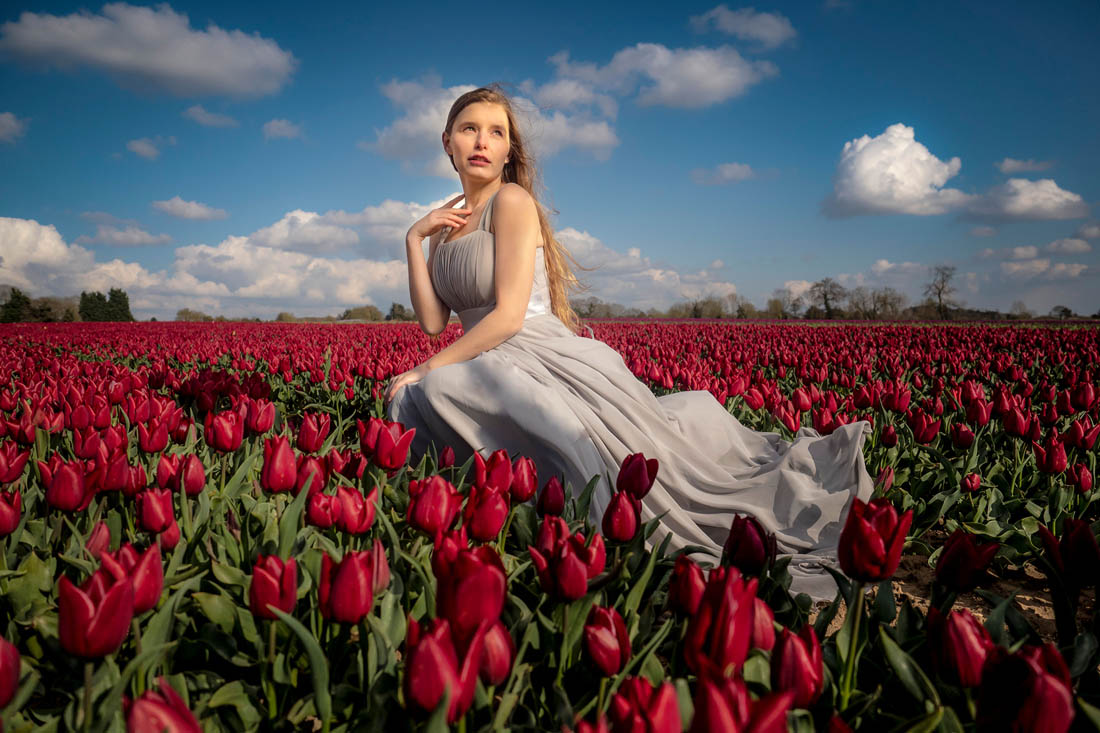
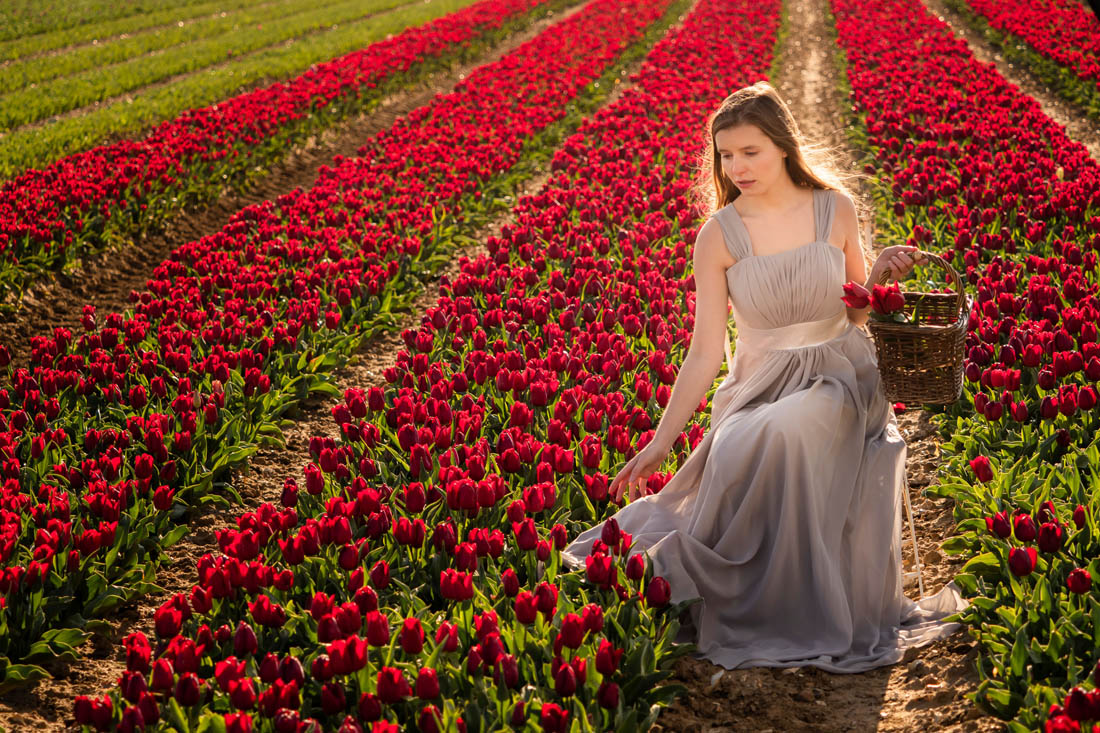
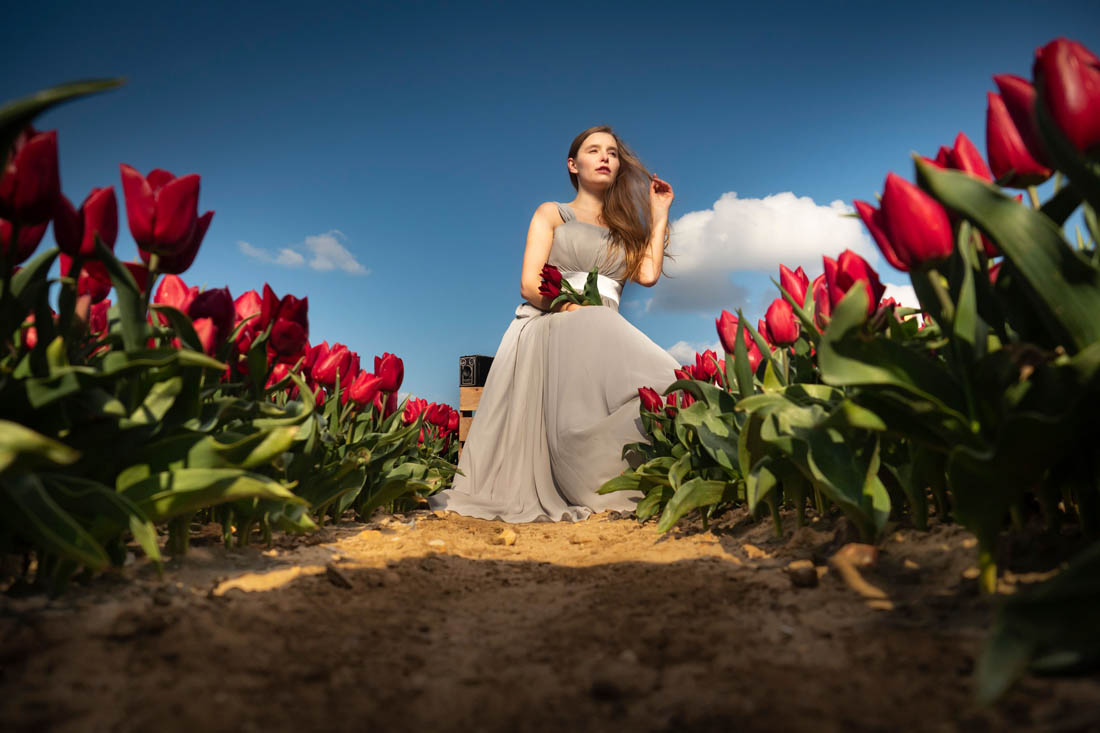
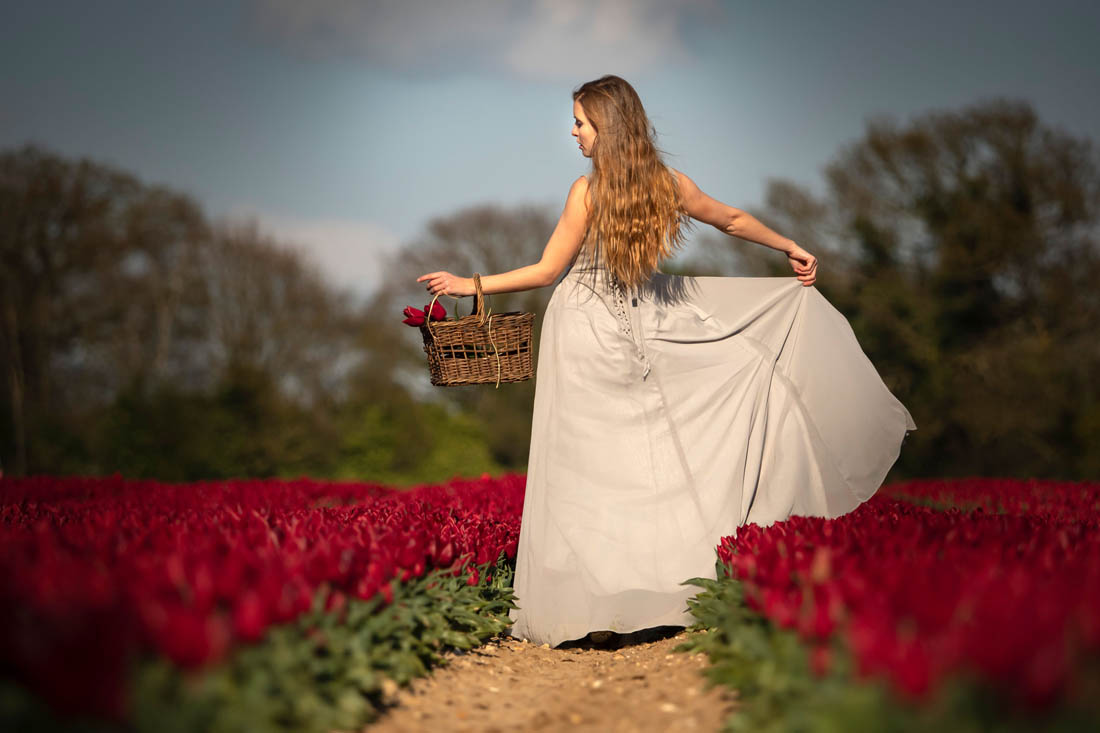
Tulip Field Portrait Shoot

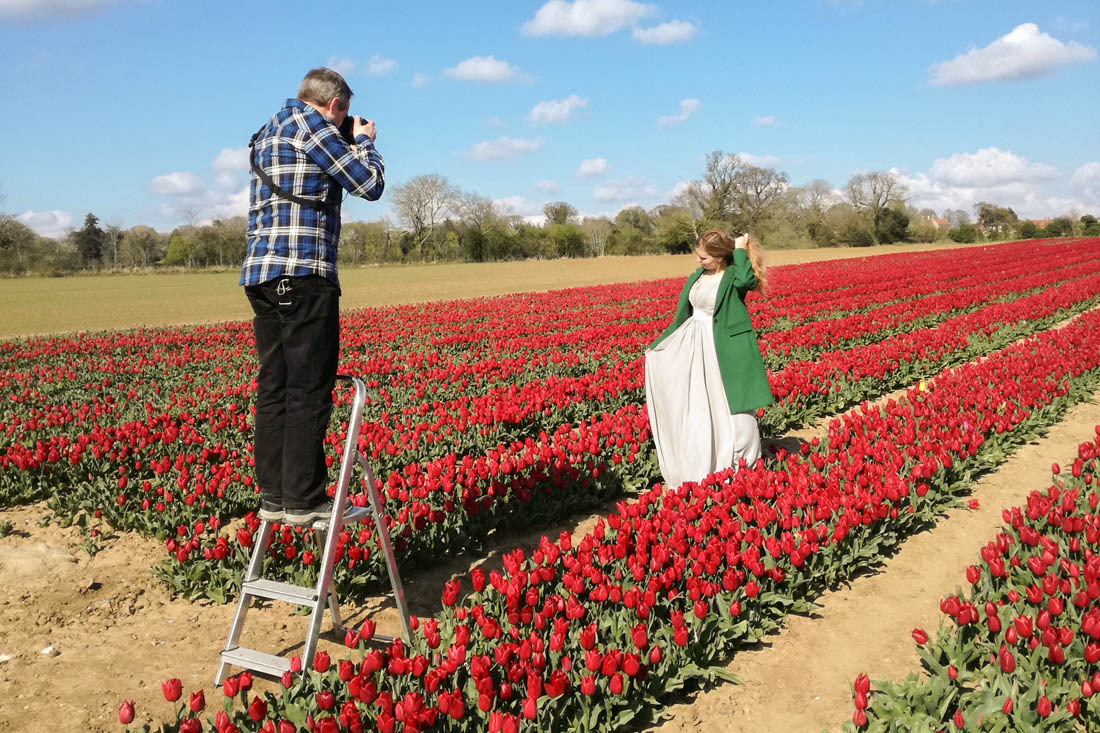
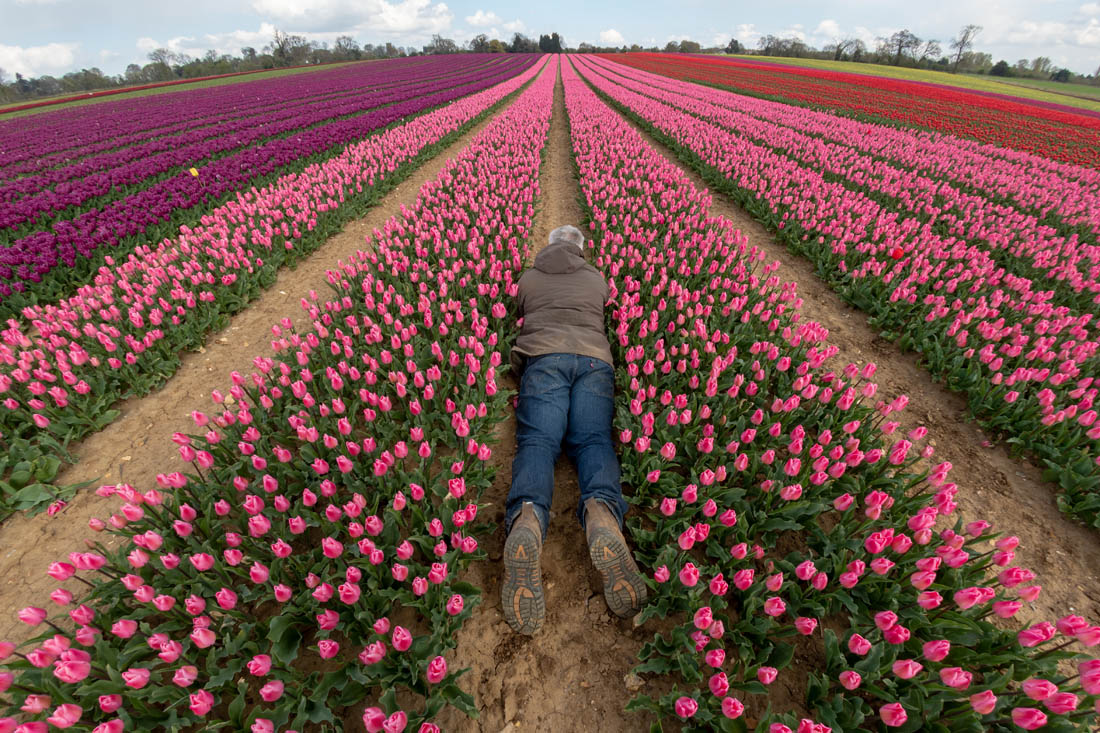
We were incredibly lucky to be allowed to do a portrait shoot in the amazing tulip fields of Mark & Susanne in Norfolk recently. Something usually prohibited as it compromises the crop and many other factors.

We had a couple of hours of shooting with Mark, the tulip farmer, with Gavin giving some tips before meeting with Jade Lyon to do a portrait tutorial. Mark also shot some drone footage for us which you can see in the final edit.

The weather was rather changeable (typical UK). We dodged a few showers and had to deal with very breezy conditions (to the detriment of a softbox as we forgot the sandbag!) with harsh sunlight too! Quite a challenging shoot all round, but very much worth it.
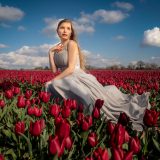
Check out the video here
[youtube]https://www.youtube.com/watch?v=1mgfQ2dhFCE[/youtube]