Colourful Background Projection Image

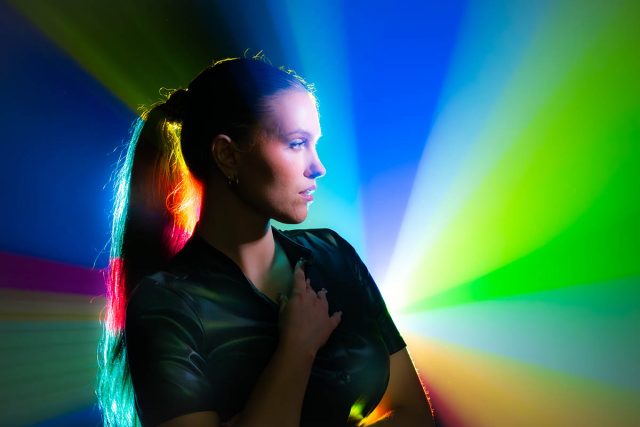
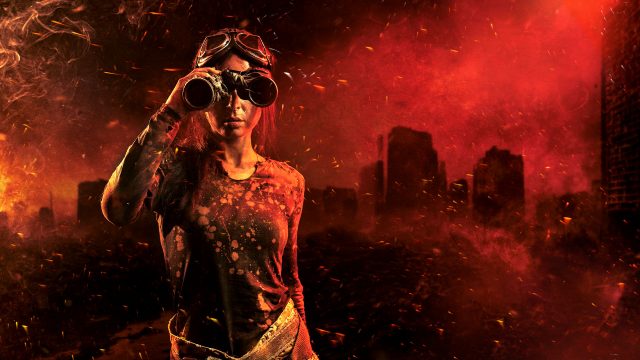
Back projecting an image through smoke is a classic technique that looks amazing with the right image.

So here’s one to start your collection off. It’s colourful and it’s hi-res which makes it zoomable. You’ll need a data projector to make the image above and lots and lots of haze!

Download instructions
       1. Click on the download link below
https://drive.google.com/file/d/142uTIw1ObSo60wcPVunSdrSfDLc50_jc

  1. Click the Download button download_icon (top right of the screen)
  2. The download should start automatically
  3. Download the image
  4. No support is provided. If you need help Google or YouTube the question and you’ll almost certainly find the answer


Instant Light Rays – Photoshop Action

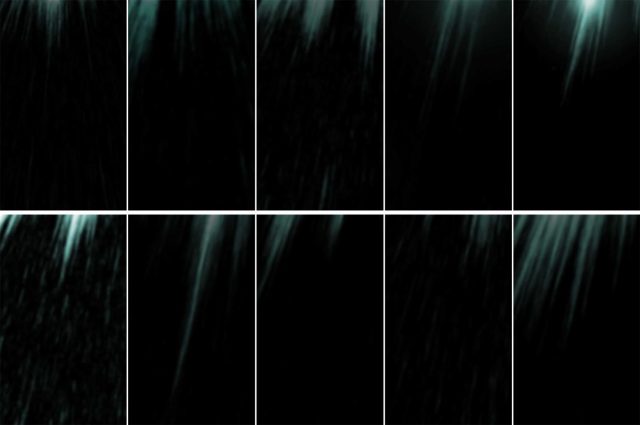
If you need a selection of rays of light for next Photoshop project and you need them in just one click, then this set of 10 Photoshop actions is for you… and yes, they’re 100% free!

The action does a few things you need to be aware of. First, your original image is always untouched. The action creates a duplicate of your image and flattens any layers on the new (duplicate) image before creating the light rays. Your original image is ALWAYS untouched!

Need more rays? Run the action again. The rays can be altered in position, size, opacity and colour

Download instructions
       1. Click on the download link below
https://drive.google.com/file/d/199eklVMe6OZVo4IzATrzkG0Hm_g5-yIo

  1. Click the Download button download_icon (top right of the screen)
  2. The download should start automatically
  3. Unzip the download and install the Photoshop Action
  4. No support is provided. If you need help Google or YouTube the question and you’ll almost certainly find the answer

Instant Cinder Photoshop Action

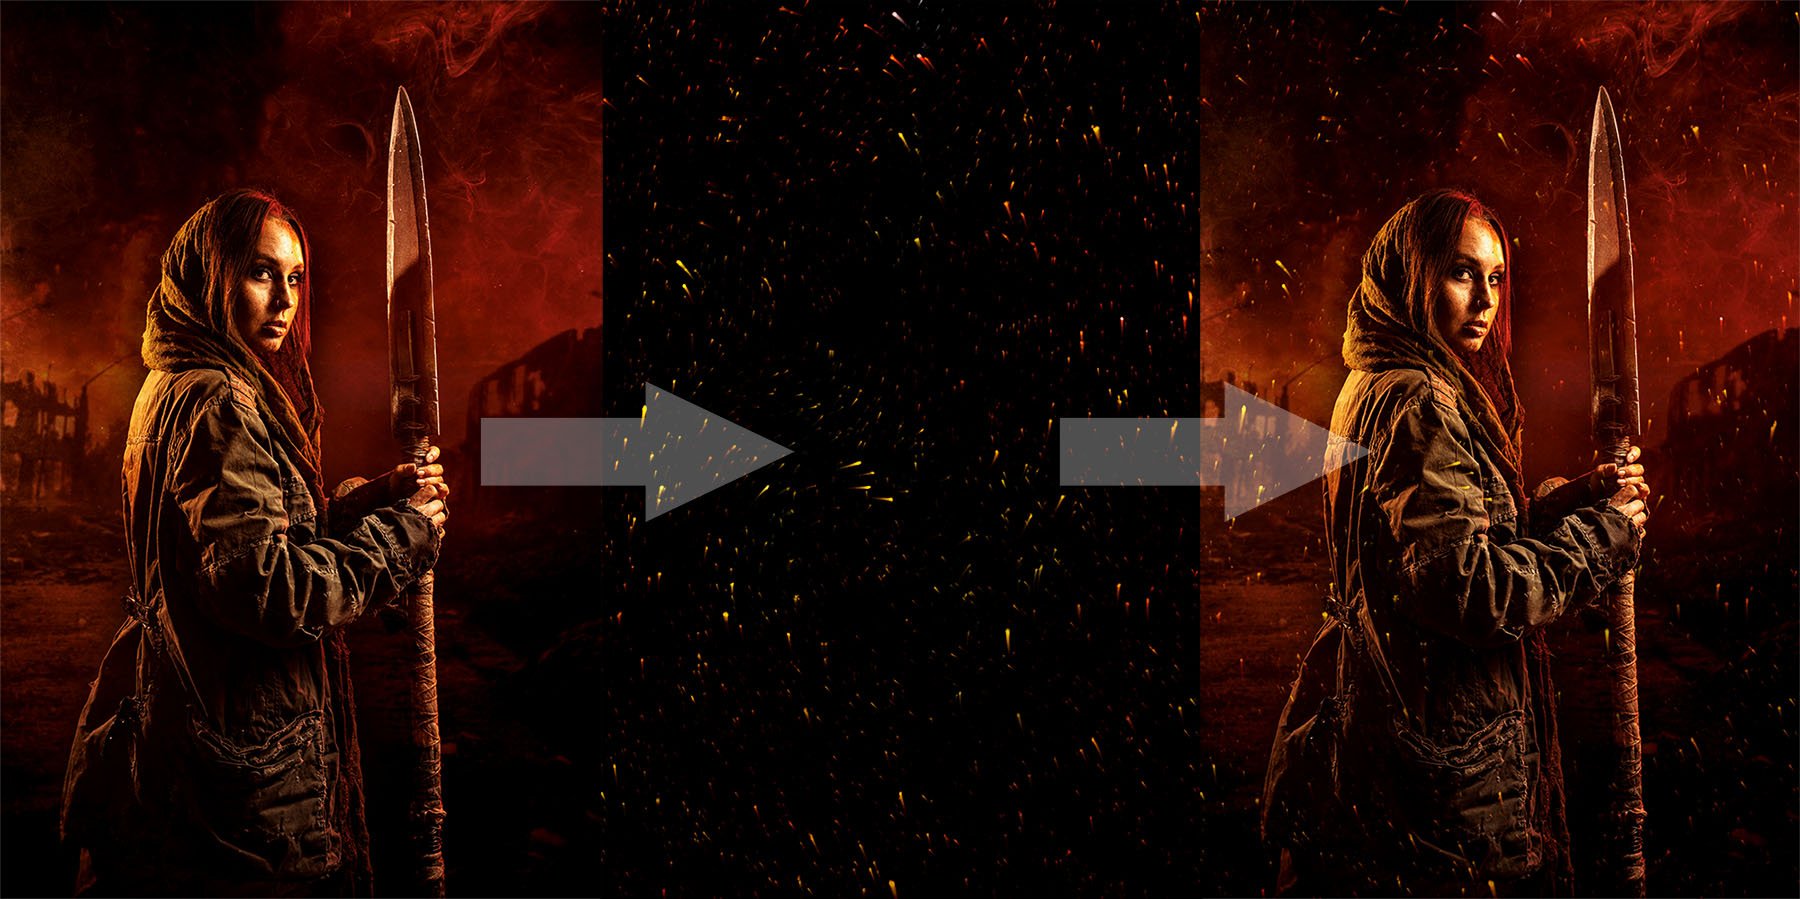
Hot embers floating through the air look beautiful and when you get the chance you should grab a photo. But if you want the look of hot embers without the need to rummage through you old photos, my Instant Cinder Fluffy action  (which I created for an Adorama TV Halloween themed video) does a great job. 

Instant-Cinders-Example

Image 1 of 1

The action does a few things you need to be aware of. First, your original image is always untouched. The effect is random, so running it a few times will give different patterns of embers. You’ll need to copy, paste and re-size the embers to fit your original image. Set the layer blending mode to “Screen” and adjust the layer opacity to taste.

Download instructions
       1. Click on the download link below
https://drive.google.com/file/d/1YX4F-4k8bT4nVEoifLbUG6HqUSt3Z2jZ

  1. Click the Download button download_icon (top right of the screen)
  2. The download should start automatically
  3. Unzip the download and install the Photoshop Action
  4. No support is provided. If you need help Google or YouTube the question and you’ll almost certainly find the answer

Frosty Frames

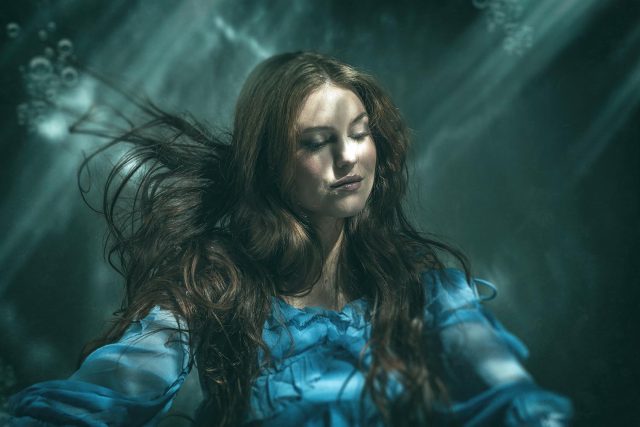
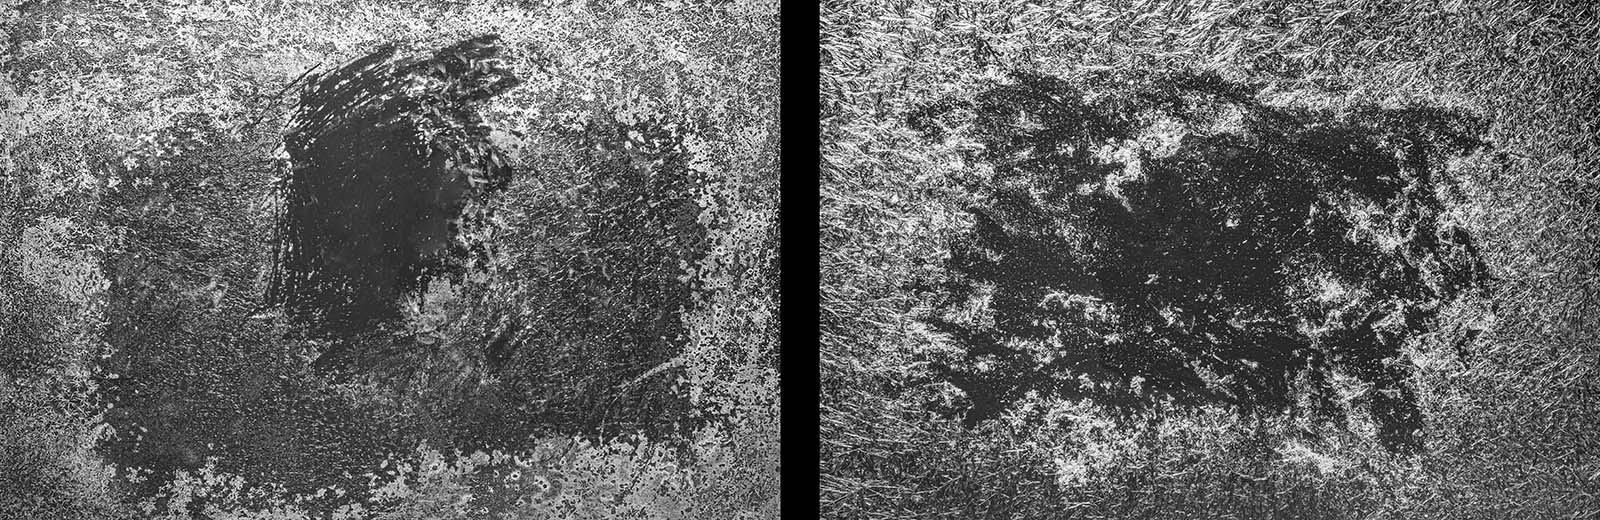
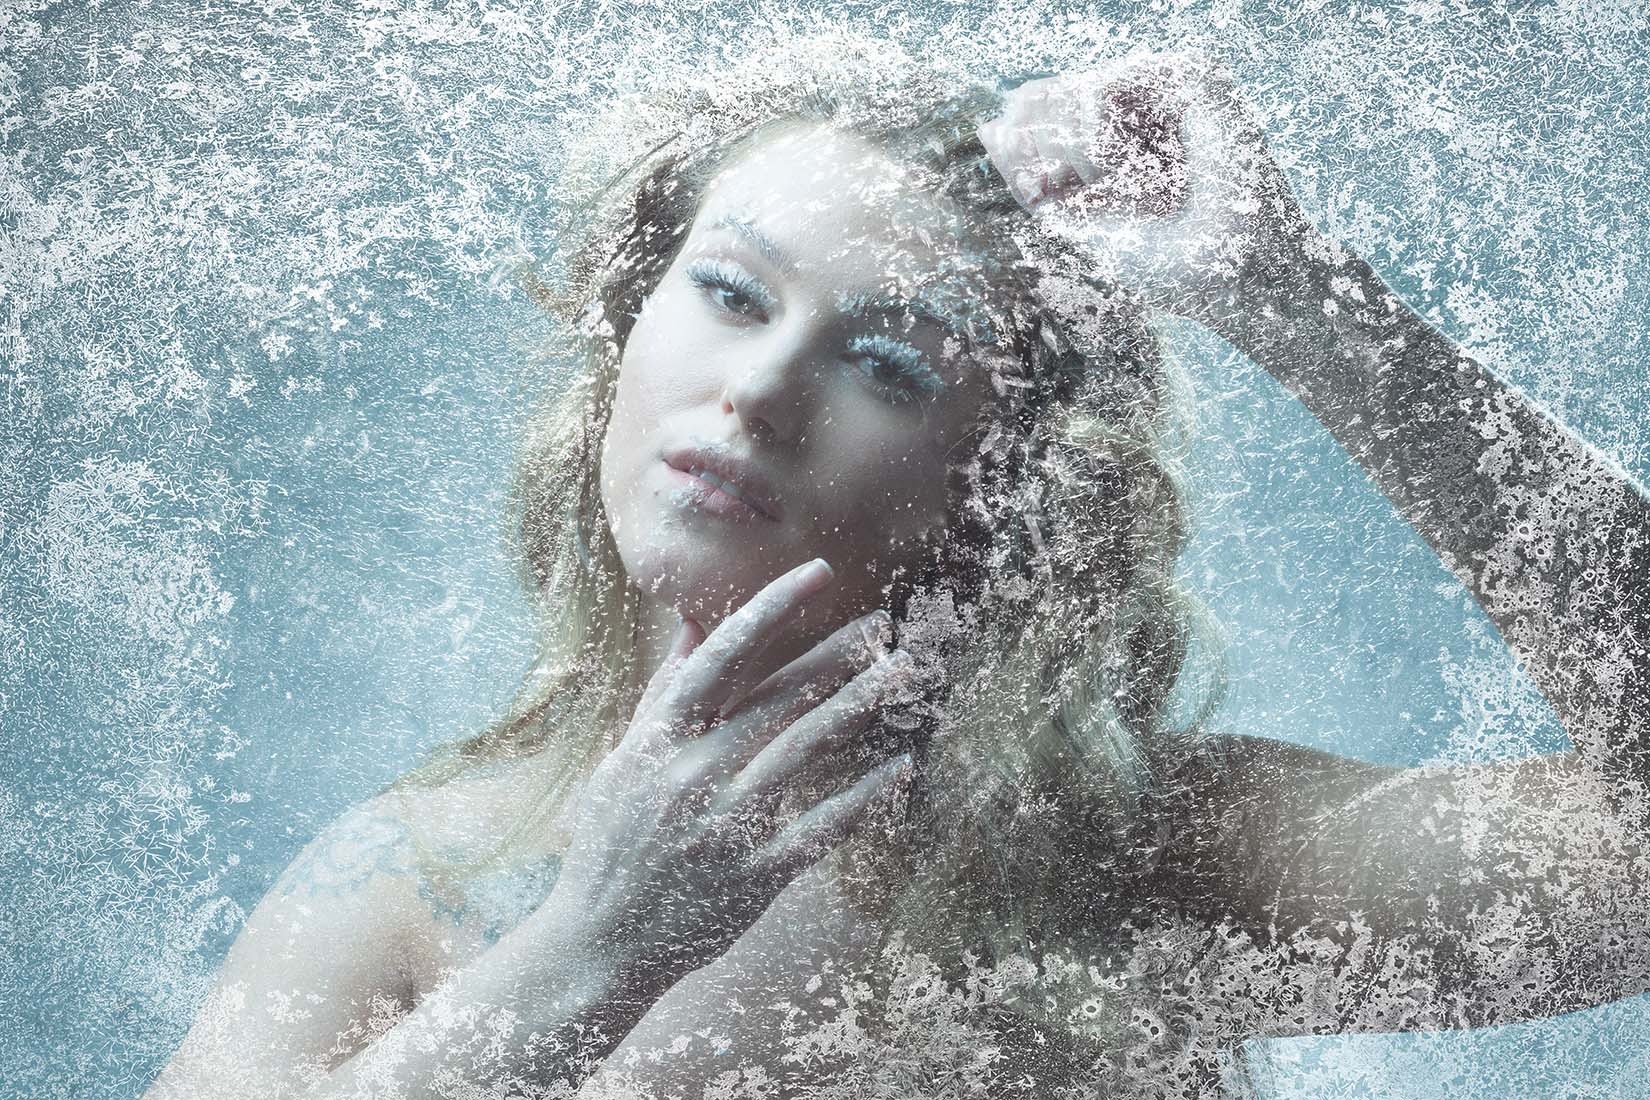
It takes a brave photographer to ask someone to model for them on a cold and frosty day. Luckily I have a solution that’s a lot warmer! For this Friday Freebie I’m giving away two hi-res images of frosty frames which I created for an Adorama TV video.

To use them in Photoshop simply copy and paste them onto your image. Use Edit – Transform – Free Transform to resize and rotate as needed and then change the Layer Blending Mode from Normal to Screen.

Download instructions
       1. Click on the download link below
https://drive.google.com/drive/folders/1_1ZwEvFMmWpc7ZY3voSEaqXHfrlKwEbS?usp=sharing

  1. Click the Download button download_icon (top left on thumbnail)
  2. The download should start automatically
  3. No support is provided. If you need help Google or YouTube the question and you’ll almost certainly find the answer

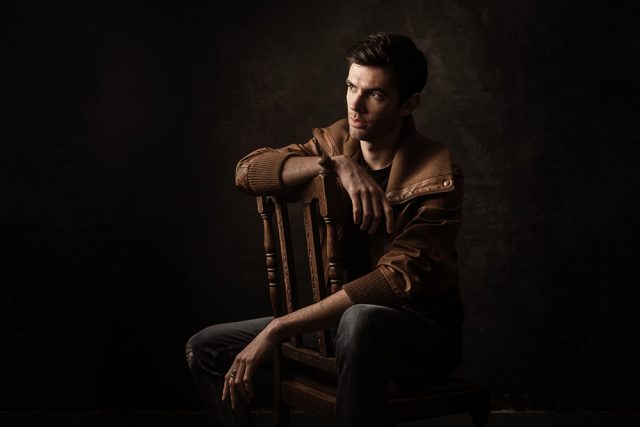
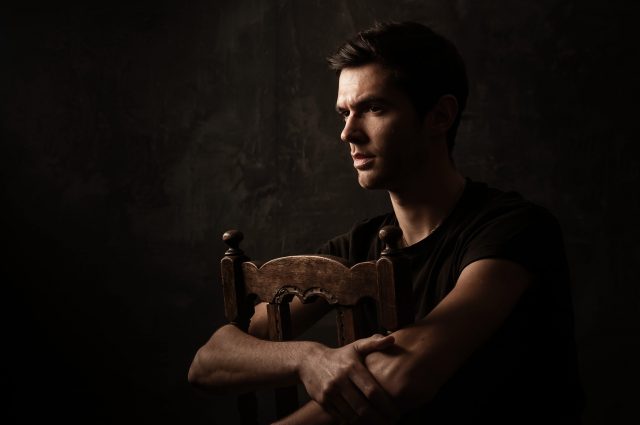
Light Textured Background

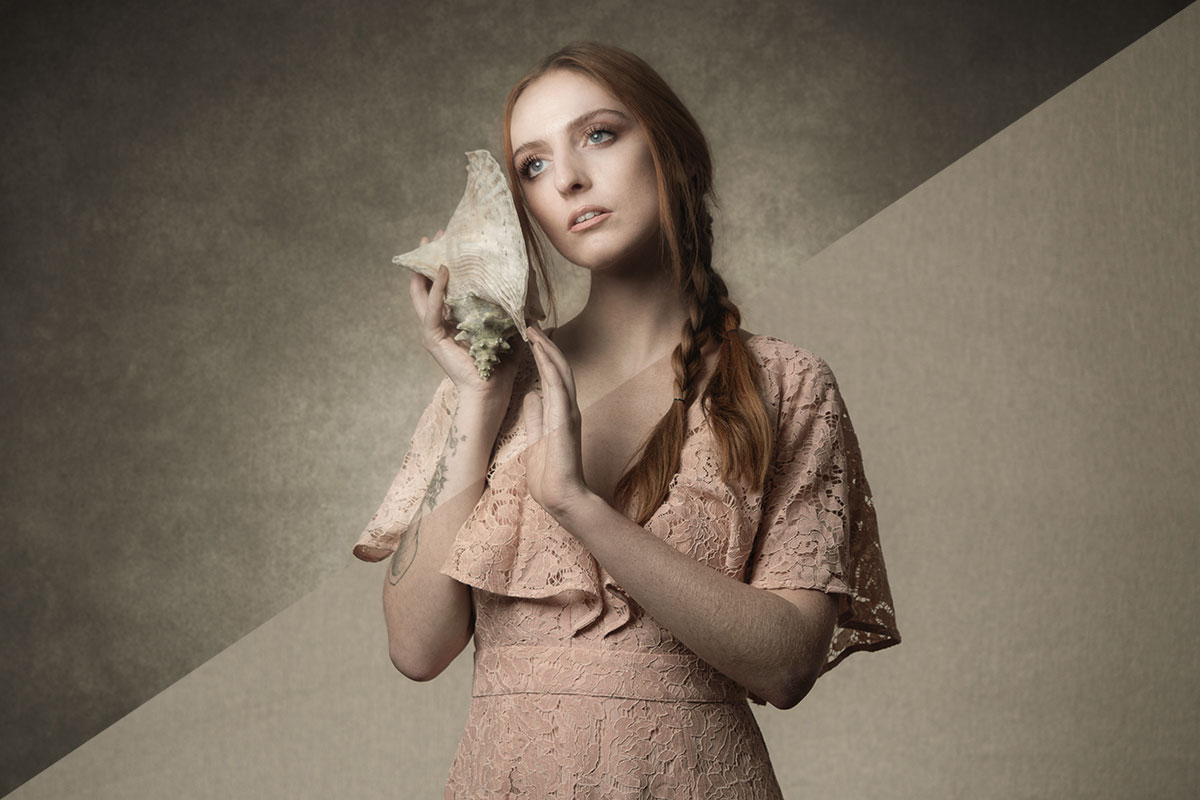
Not everyone is lucky enough to have a permanent studio and even fewer have the space for a textured wall. So being able to add texture to your portraits is a handy skill to have.

Of course for this to work you’ll need some great textures. So to start you off here’s one of mine. It’s a combination of multiple blank pages from old books and textures found mouldy surfaces… glamorous  work, it’s not!

The end result is a subtle texture with fine grain which makes it the perfect choice for portraits.

Usage rules
The image is copyright Gavin Hoey 2020. Use is limited to any personal but non-commercial purposes. Only share by linking back to this page. Do not redistribute the original image without my permission.

Download instructions
       1. Click on the download link below https://drive.google.com/file/d/1MmTbLar1DDb6dfssloUxq8koGSNYlDsP/view?usp=sharing

  1. Click the Download button download_icon (top right of screen)
  2. The download should start automatically
  3. No support is provided. If you need help Google or YouTube the question and you’ll almost certainly find the answer

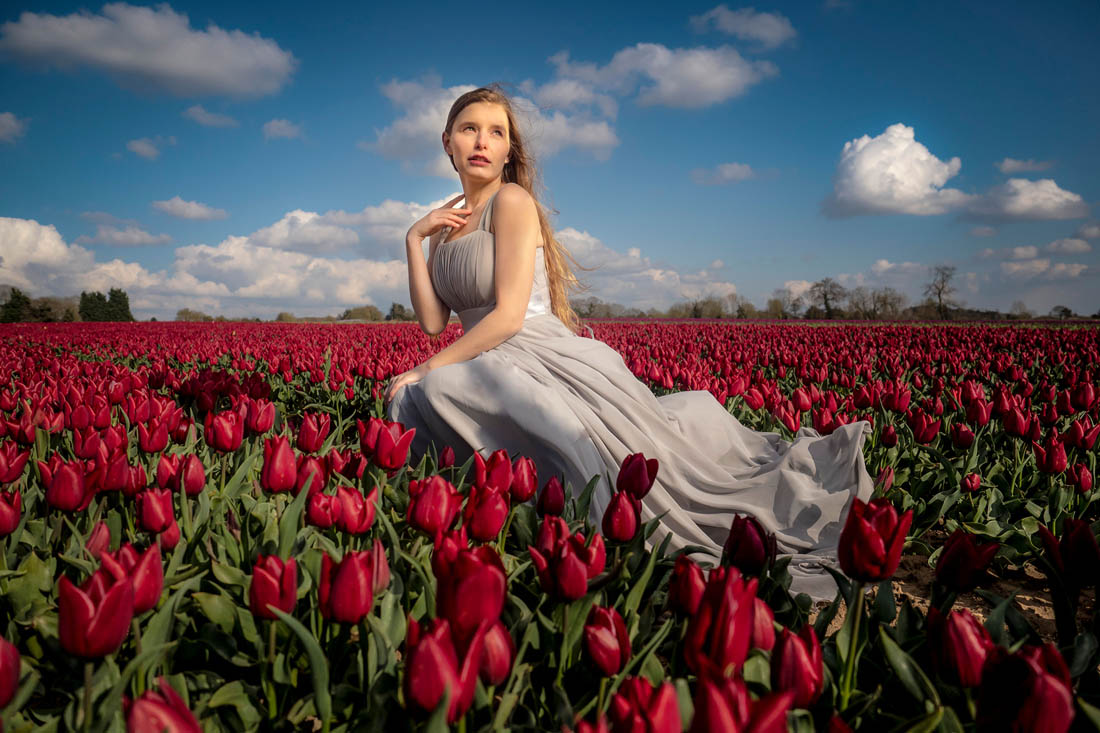
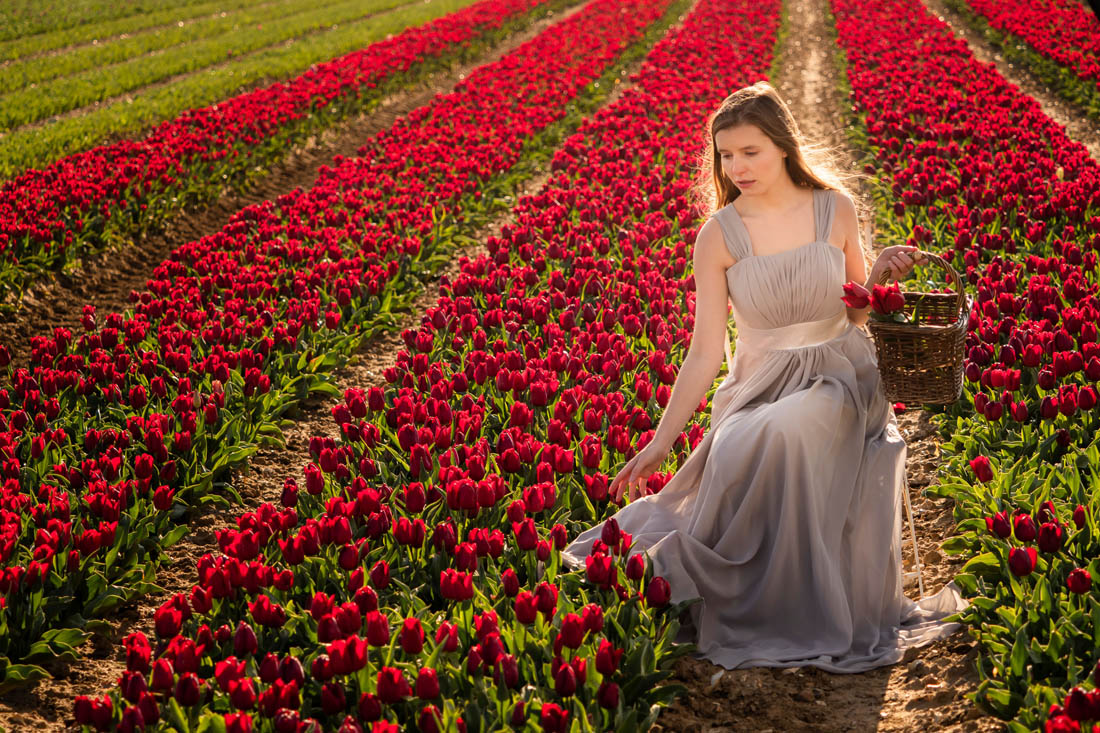
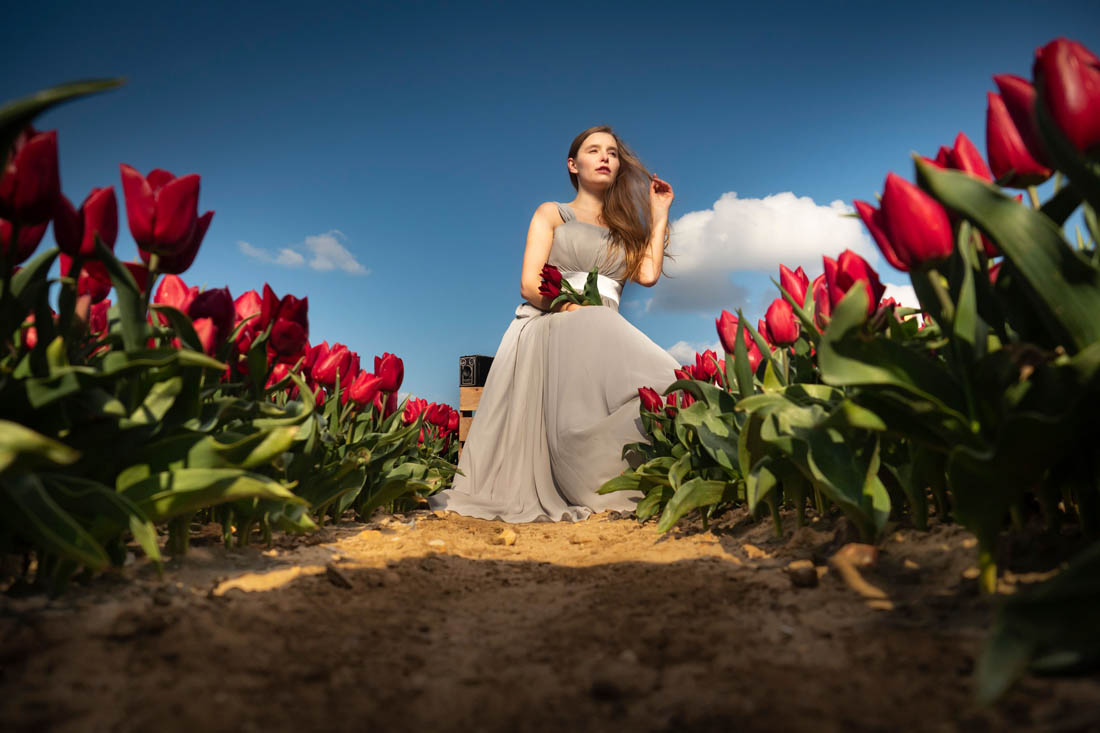
Tulip Field Portrait Shoot

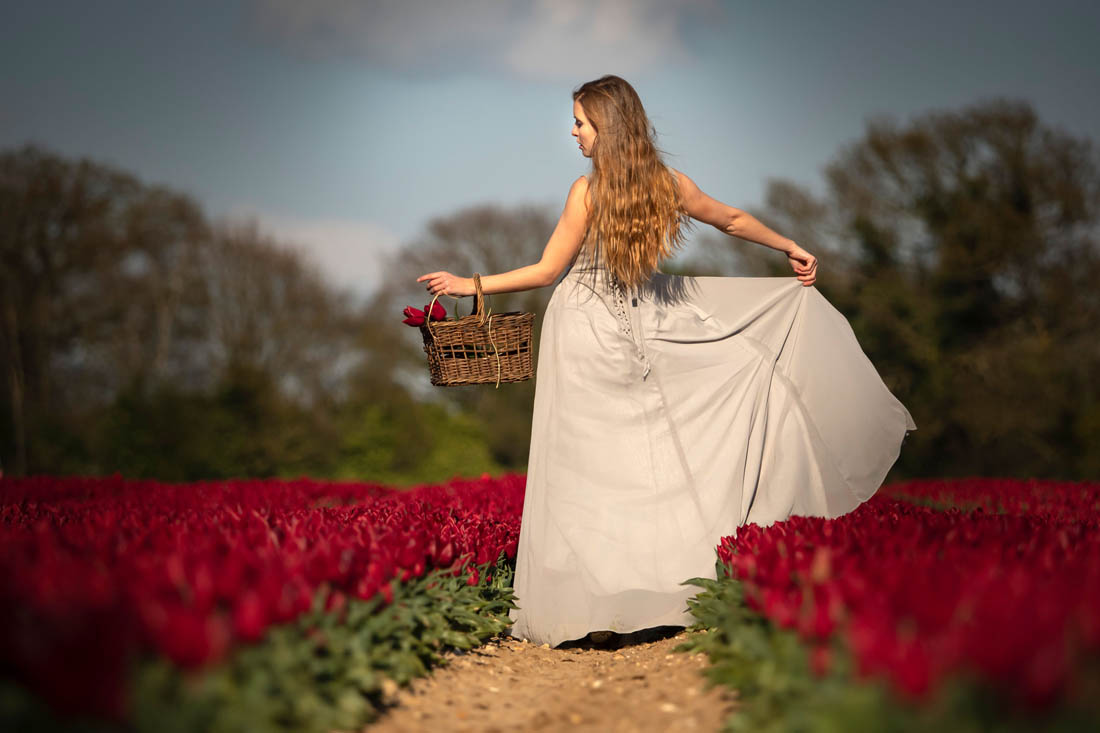
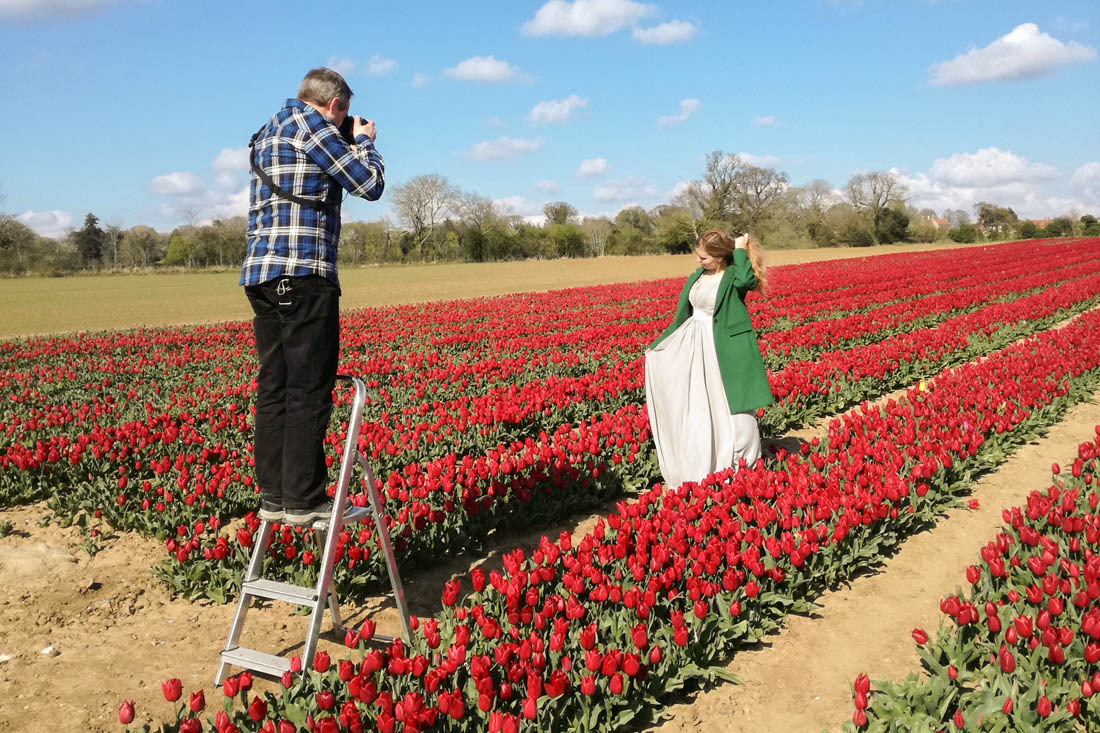
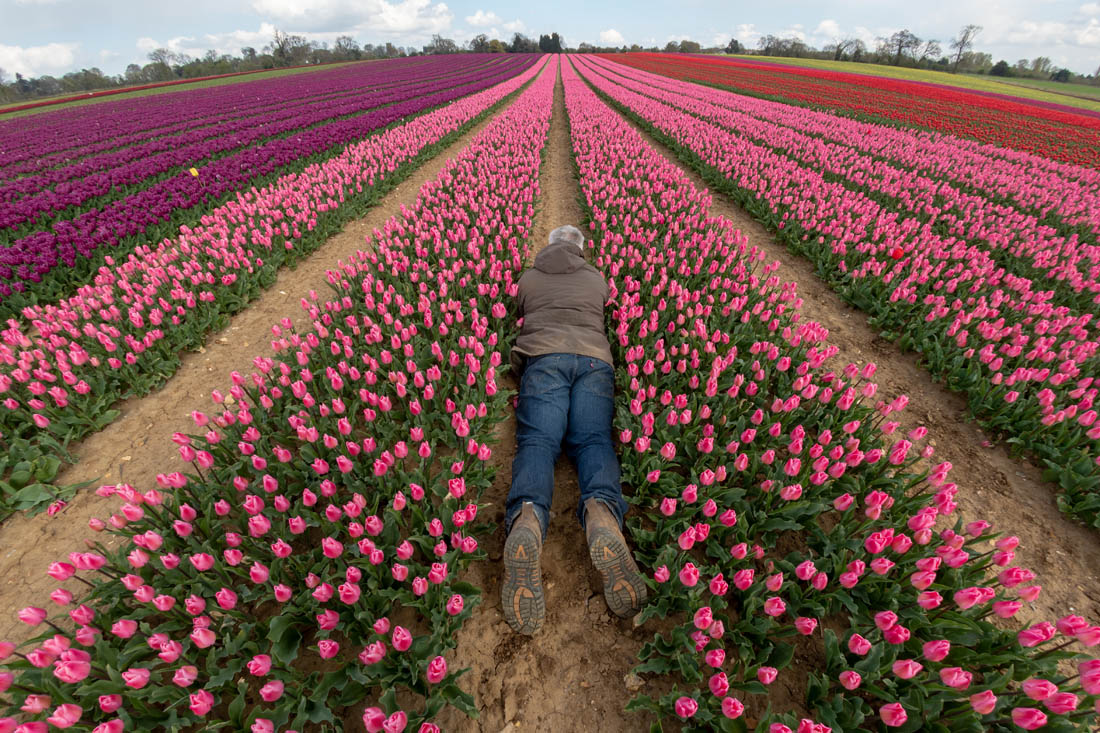
We were incredibly lucky to be allowed to do a portrait shoot in the amazing tulip fields of Mark & Susanne in Norfolk recently. Something usually prohibited as it compromises the crop and many other factors.

We had a couple of hours of shooting with Mark, the tulip farmer, with Gavin giving some tips before meeting with Jade Lyon to do a portrait tutorial. Mark also shot some drone footage for us which you can see in the final edit.

The weather was rather changeable (typical UK). We dodged a few showers and had to deal with very breezy conditions (to the detriment of a softbox as we forgot the sandbag!) with harsh sunlight too! Quite a challenging shoot all round, but very much worth it.

Check out the video here
[youtube]https://www.youtube.com/watch?v=1mgfQ2dhFCE[/youtube]

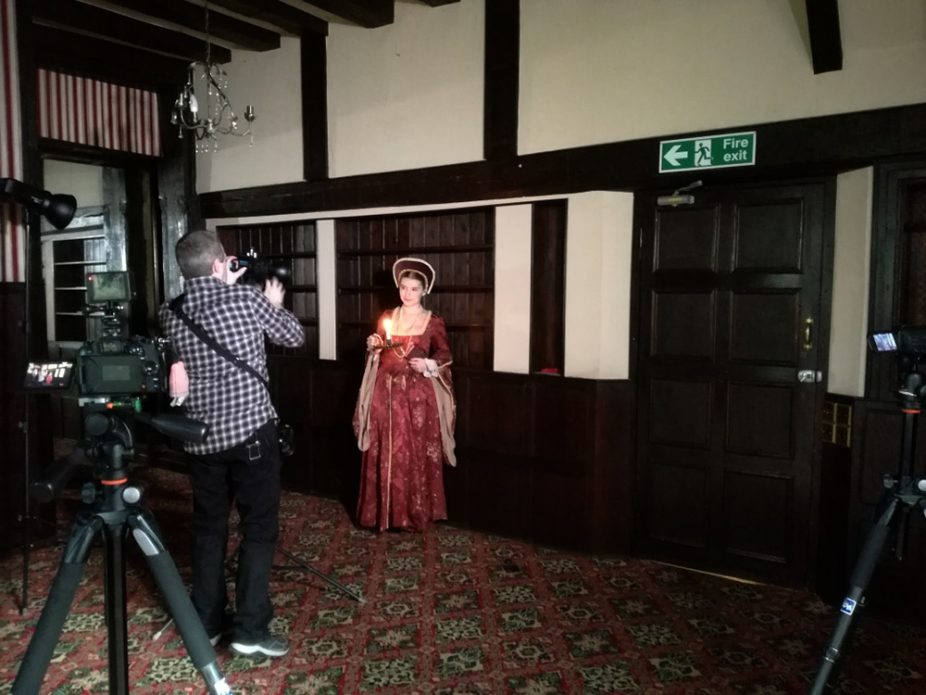
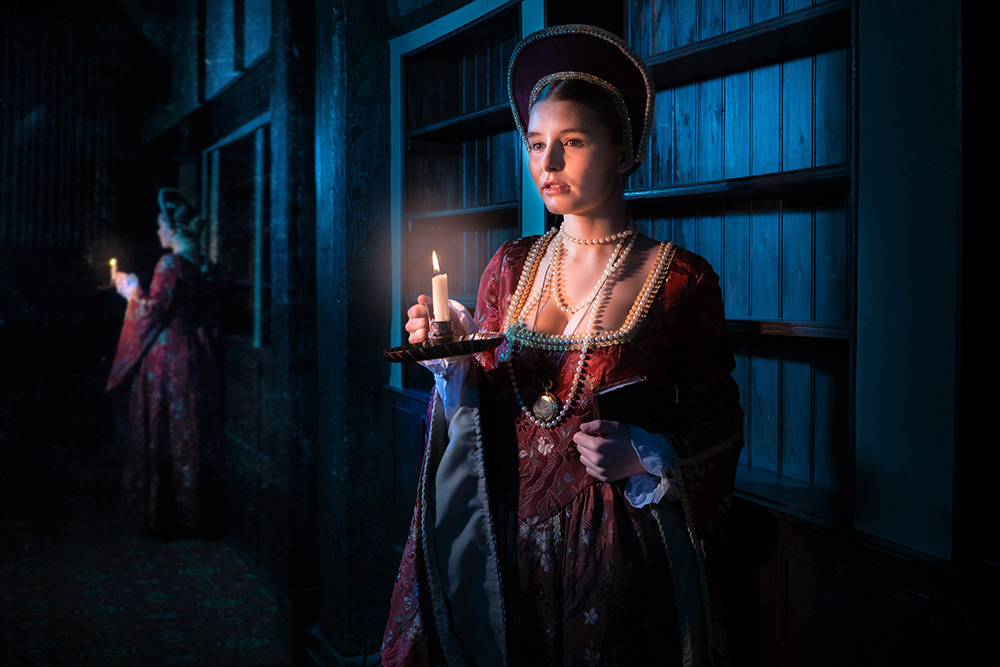
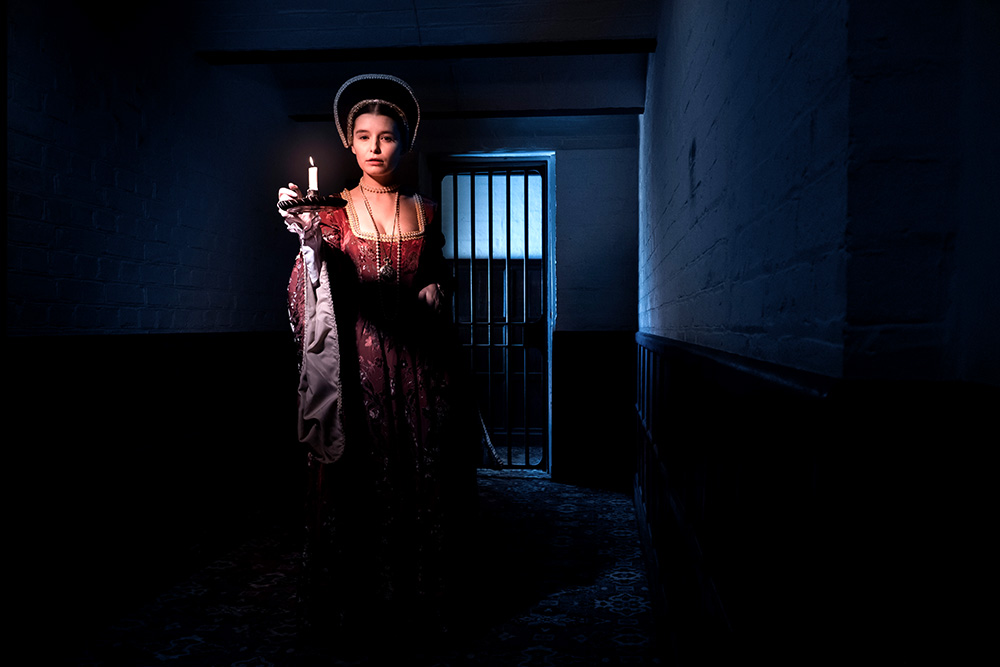
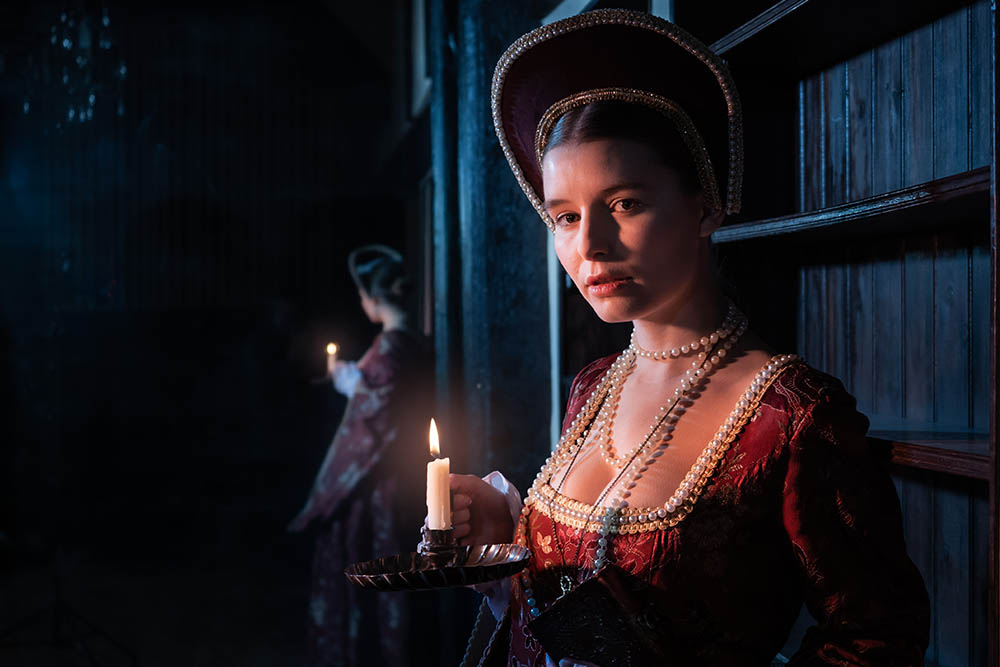
Tudor Style Flash to Candle Light

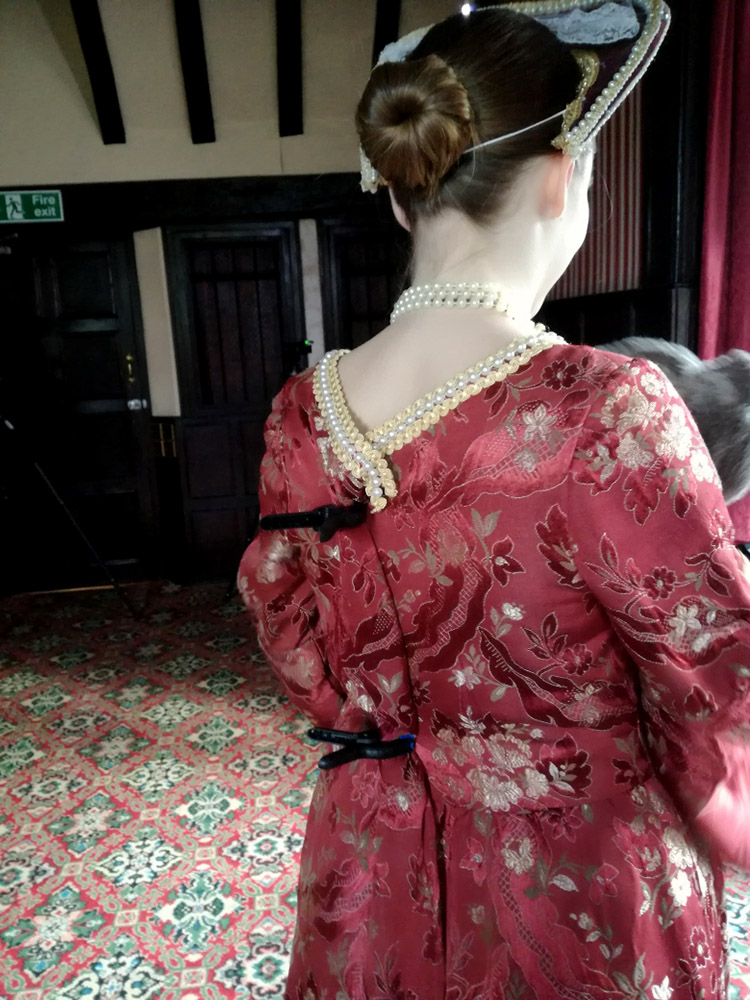
After having a recce at the amazing Rowfant House we knew that a Tudor style theme would work really well.

It also gave me a great excuse to hire a costume from a nearby theatre costume hire place based in the grounds at The Chequer Mead Theatre. The ladies running the place were super helpful and loved the prints I gave them when I returned the outfit.

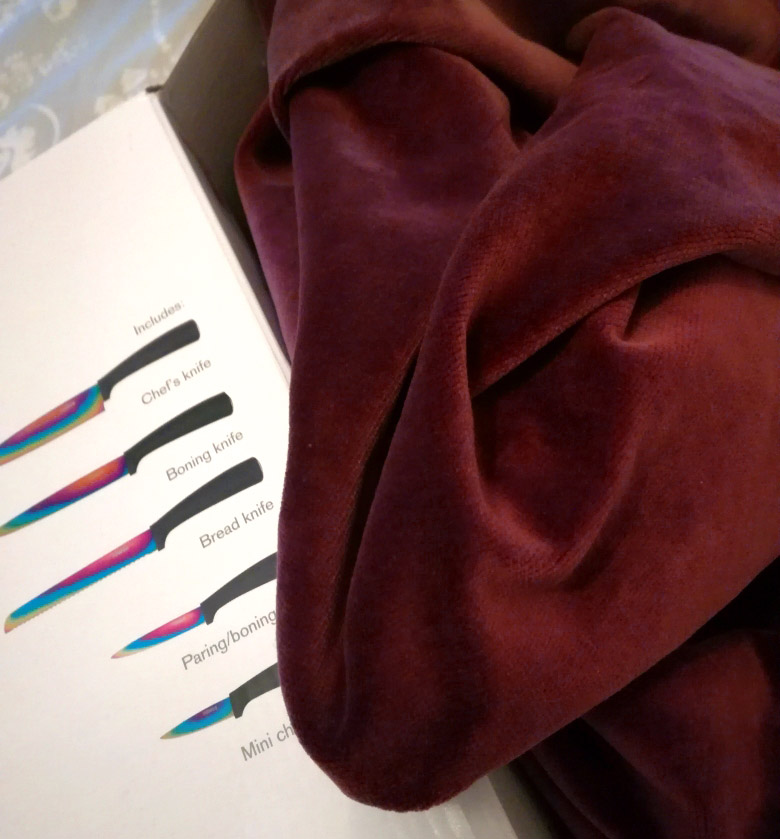
To make the headpiece I used an off cut of velvet fabric and the cardboard box my kitchen knives came in! Adding the lace and pearls really made it look the part, thank goodness for the glue gun! I also added a length of elastic which helped keep a good shape once it was in place.

As you can see it’s not always glamorous to be a model! The dress was far too large so we adjusted the fit using clamps (a studio must have). Our fabulous model Jade is also carrying a hot water bottle (the gray thing she’s holding) as it was very cold inside the manor house. Jade was a trooper and never complained about the cold, bless her.

[youtube]https://www.youtube.com/watch?v=M1MFgB6D2aQ[/youtube]

Best Position for your Softbox

It’s really easy to get stuck in a rut of setting up exactly the same lighting for every shoot. It’s a comfort, you know what result you get.

Check out Gavin’s video to show the difference a shift in the softbox can make to your images.

It’s good to try something new!

[youtube]https://www.youtube.com/watch?v=IiDcuKhnao0[/youtube]

Festive Stars Template

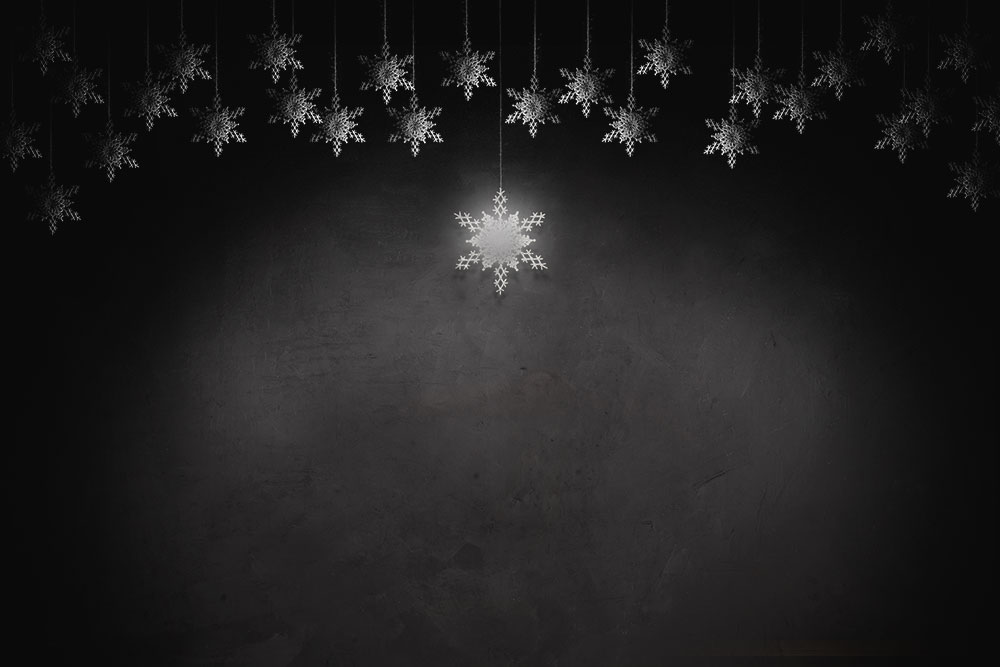
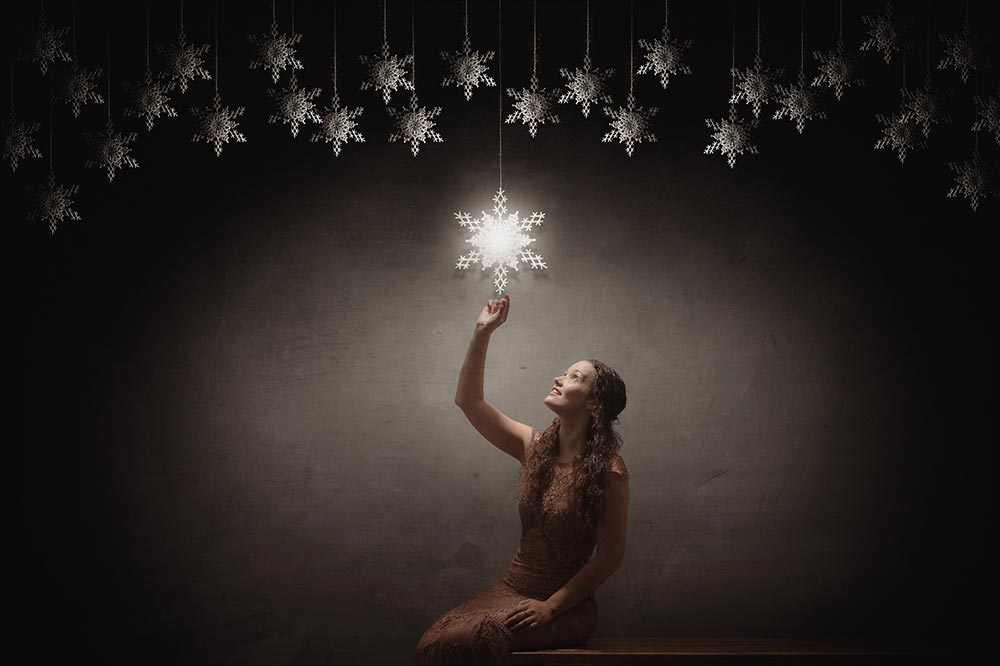
With the festive holidays fast approaching I thought I’d share my festive stars template. My planned use for this is that it will become a background for a fine art portrait but I’m pretty sure there’s plenty of other uses too.

To use this template, download it (see the link below) then open it in Photoshop. The template is made up of a bunch of layers, you need to paste your image into the one called “YOUR PHOTO HERE”. Make sure your photo stretches to the edges of the template and use a layer mask to hide or reveal whatever is under the stars.

You can see how I use it in this video https://www.youtube.com/watch?v=VNVOAJI7Q4w

You can download my festive stars template here
https://adobe.ly/2AY2nvZ

If you create a photo using the Friday Freebie then let me (and everyone else) know by leaving the link in the comments below.

Usage rules
The festive stars template is copyright Gavin Hoey 2018. Use is strictly limited to any personal but non-commercial purposes.
Please share the Friday Freebie by linking back to this page. Do not redistribute the original action without my permission.

Download instructions
     1. Click on the correct download link below (no sign up is needed)
https://adobe.ly/2AY2nvZ

  1. You may see a message saying “There was a problem with the network” Just ignore it
  2. Click the Download icon download_icon The download should start automatically
  3. Open the .PSD file in Photoshop
  4. Paste your photo into the layer “YOUR PHOTO HERE”
  5. No support is provided with the Friday Freebies. If you need help Google or YouTube the question and you’ll almost certainly find the answer
Colour Management video teaser
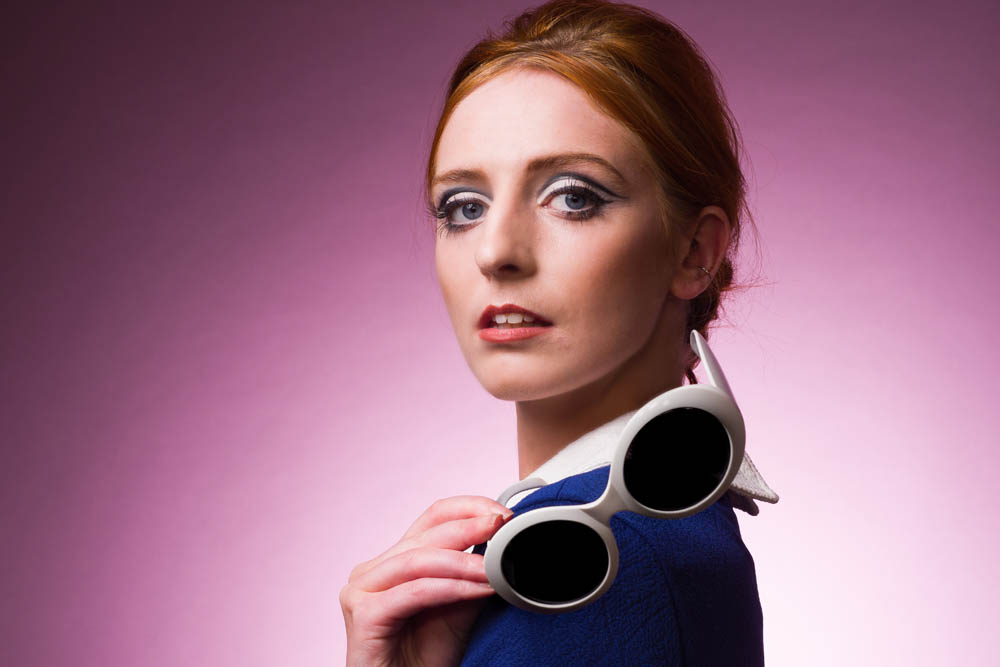
There are a few questions we get asked about regularly and colour management is one of those topics.

We had great fun in the studio making this video, we knew we wanted an awesome model to showcase some colours and killer moves, Beth Smith always delivers! Teamed with the fabulous make up and hair skills of Sophie Daly and some 60’s inspired bits of clobber it’s colourful and fun (and hopefully educational too).

Here’s a teaser to whet your appetite! The full video is due out on the 22nd of November.

[youtube]https://www.youtube.com/watch?v=TsjdtqTytDg[/youtube]