Instant Snow Flurry – Photoshop Action

Over the years I’ve made several free instant snow Photoshop actions and they’re still some off the most popular downloads on the site. But they all had one thing in common… they were very static!

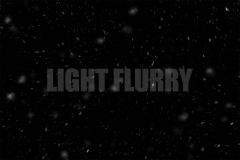
So now I’ve updated my Instant Snow V2 Photoshop action to include a little bit of movement and motion blur. Instant Snow flurry uses my tried and trusted random snow generator, so the position of the flakes will always be different and there’s a choice of four different amounts of snow to choose from.

The Photoshop action always makes a copy of your original image and leaves the snow layers intact for you to adjust, colour or copy, paste and re-size over your original image. Of course you don’t have to keep them as snow. With a little bit of re-working it could be snow, dust, embers or any particles you can imagine!

If you create a photo using the Friday Freebie then let me (and everyone else) know by leaving the link in the comments below.

Usage rules
The Photoshop Action is copyright Gavin Hoey 2021. Use is strictly limited to any personal but non-commercial purposes. 
Please share the Friday Freebie by linking back to this page. Do not redistribute the original action without my permission.

Download instructions
     1. Click on the correct download link below (no sign up is needed)
https://drive.google.com/file/d/1YFXWzmX3C-eJiNKd6hvZx9f7GnM5dtr0/view?usp=sharing

  1. Click the Download icon download_icon
  2. The download should start automatically
  3. Unzip the download and install the Photoshop Action
  4. When downloading, you may see a message saying “There was a problem with the network” Just ignore it
  5. No support is provided with the Friday Freebies. If you need help Google or YouTube the question and you’ll almost certainly find the answer

BTS Dressing Room Shoot

Gavin had an idea of creating a dressing room look, a behind the scenes glimpse at a theatre style. A real challenge in his small home studio, but he reckoned he was up to the challenge!

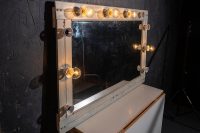
The main thing we felt we needed was the classic and slightly cliche mirror with lights. Surely we’d be able to get our hands on one of those without breaking the budget…..not an easy task as it turns out. Not one to be put off, Gavin decided “I can make one” (a familiar sentence uttered in our house, with varying degrees of success!).

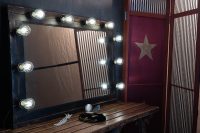
We recycled the mirror from a previous shoot and Gavin made a surround using some of my old tongue and groove planks. I gave it a paint and gilded effect. Although a bit labour intensive, it came out really well and worked like a charm when we did a test shoot. Ten bulbs would generate a lot of heat and as we were filming on an already hot day, Gavins choice of LED bulbs proved to be a good one.

To compete the look we purchased some props and recycled others from previous shoots to give our ‘dressing room’ a vintage and slightly eclectic look.

[youtube]https://www.youtube.com/watch?v=jBYPlTfE4ck[/youtube]

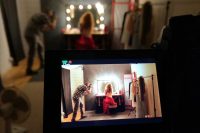
Sporting the outfit and accessories on the video shoot day was the fabulous Gracie Here’s some of the final photos and a behind the scenes shot of the behind the scenes shoot!

8 bit, 16 bit or 32 bit?

When it comes to the technology that surrounds digital photography I’m really not interested in how things work. All I want to know what things work and which is best for me. So if you’re looking for an article about how 8 bit is technically different to 16 bit then this isn’t it. However it you want to know how much better looking 16 bit images can be compared to 8 bit then read on.

UneditiedWhy does bit depth matter?
In a nutshell the bigger the bit depth the more data is in the image and the more adjustment you can make to that images shadows and highlights. Not only that, the adjustments will be less damaging to the image too.

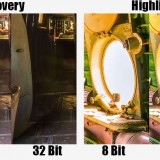
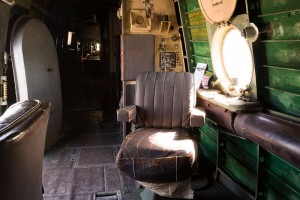
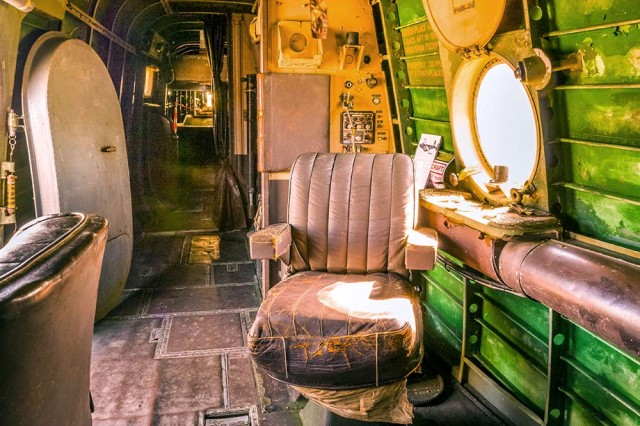
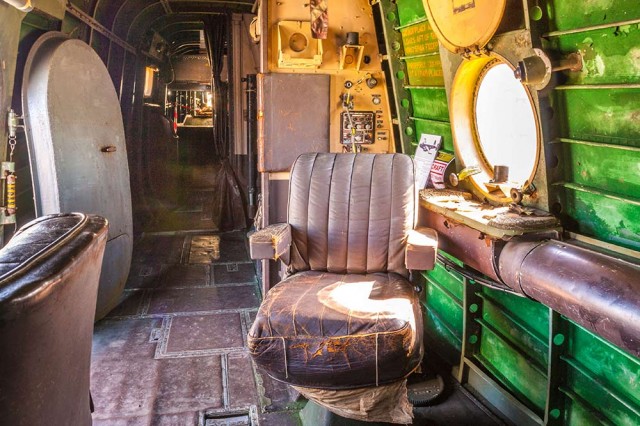
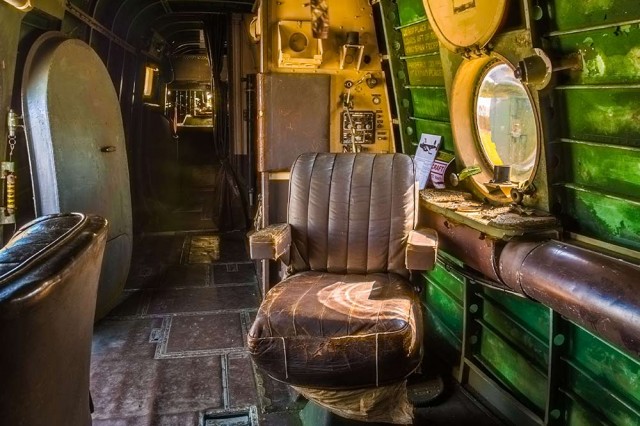
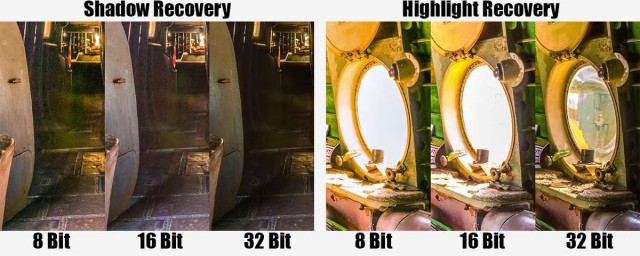
In order to see how bit depth affects the image I’ve taken this test photo which I have in both 8, 16 and 32 bit and pushed them to the max in Adobe Camera RAW. That means I’ve pulled out all the highlight and shadow detail that I can, way beyond what would be considered acceptable. Click the small image to see the unprocessed original.

8 Bit
Do you shoot jpg images? Are your images destined only for the internet? Is the size of the file important to you? If the answer to any of the questions is yes 8 bit images are for you. 8-bit8 bit has enough information to show colour images with smooth tones and even has a little bit of wiggle room to tweak exposure a little bit. It’s possible to pull detail out of a photos shadows but the results become noisy very quickly. Highlight recover is much less effective and as a result many people who shoot JPG choose to slightly under expose or darken the image.

8 bit images are great if the image you shoot needs little or no exposure adjustment in post processing.

16 Bit
Although technically not a true 16 bit image I’m basically talking about the RAW files from your digital camera. 16 bit files are packed with a lot more information then your standard 8 bit JPG and that means a lot more space to make adjustments to the exposure.16-bit

Shadow areas of an image can be made slightly lighter without adding noise to the image but heavy adjustment (as seen in the sample image) will still look terrible. As with the 8 bit image recovering highlight detail is less effective then shadow but once again the extra data can yield more detail.

Saving your 16 bit images as JPG’s isn’t possible, so TIFF or PSD are your top options to save as. It’s also worth noting that not all of Photoshop is compatible with 16 bit images, for example some of the older filters will be greyed out.

32 Bit
The new kid on the block is 32 bit. To date no consumer cameras can capture 32 bit images, at least not in one click. However by blending 3 or more differing exposure inside of Photoshop you can create a 32 bit image that contains a vast amount of image data.
32-BitAdobe Camera RAW in Photoshop CS6 and Lightroom 4 (or newer) can open and edit 32 bit files. Best of all you can choose to have the highlight detail from the dark exposure and shadow detail from the light exposure. Now if that sounds a little bit like HDR (HighDynamicRange) you’re not wrong.

Because 32 bit is so new don’t expect much to work with it. Photoshop can open the files but almost everything will be greyed out. It’s also worth noting that your 32 bit TIFF files will be enormous, they can easily be 10 times bigger in memory size then RAW files but they’re worth it!

shadow-highlight-recovery