Textured Backgrounds For Flower Portraits

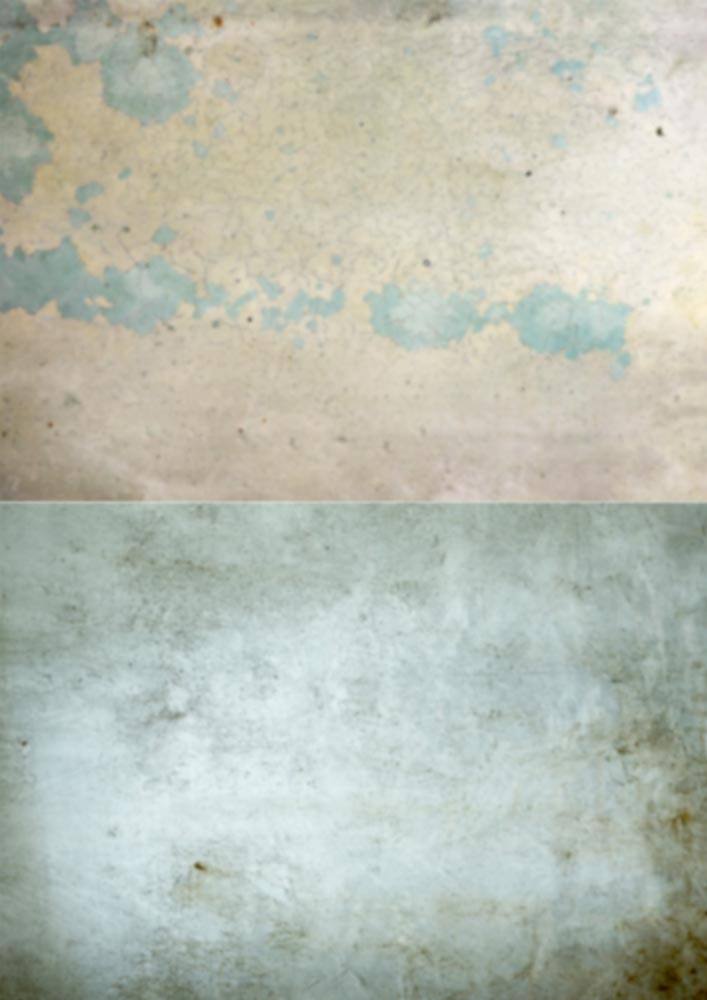
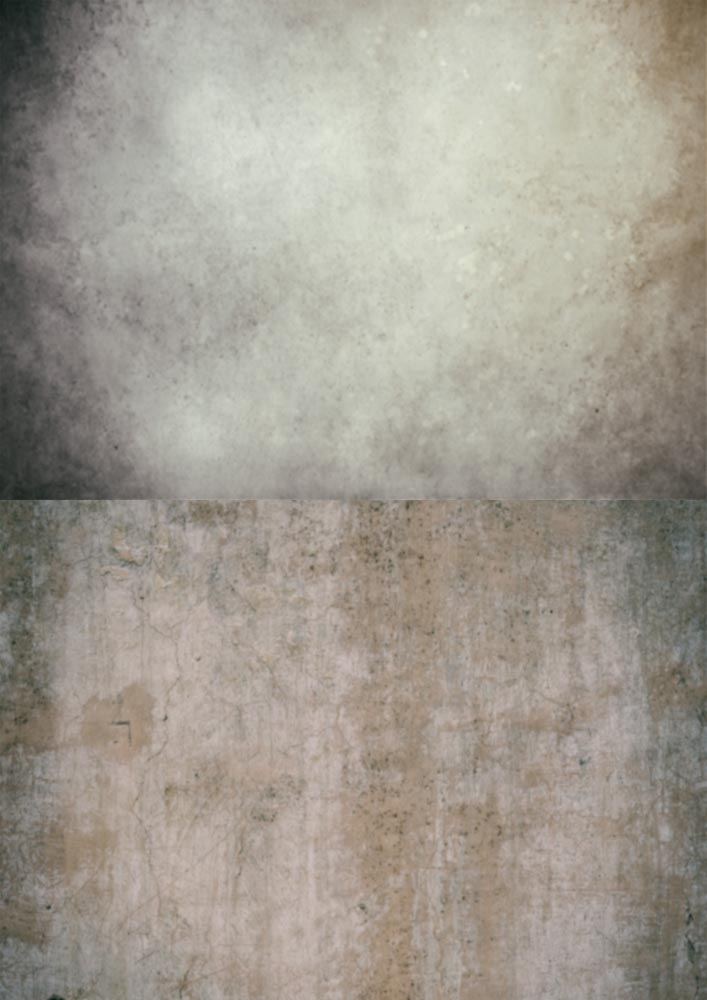
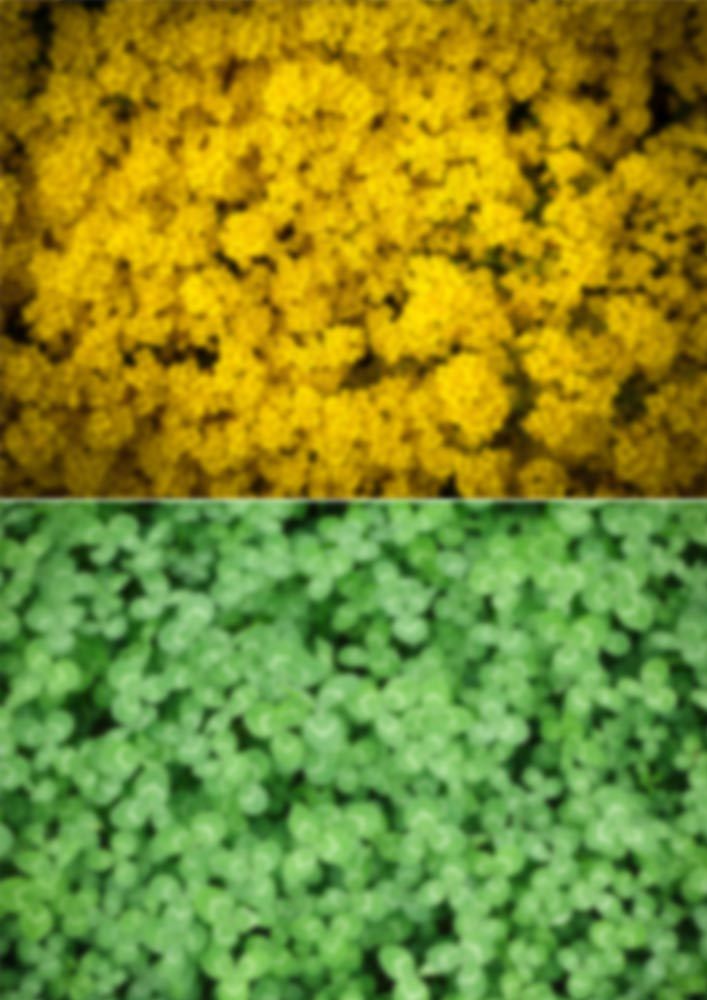
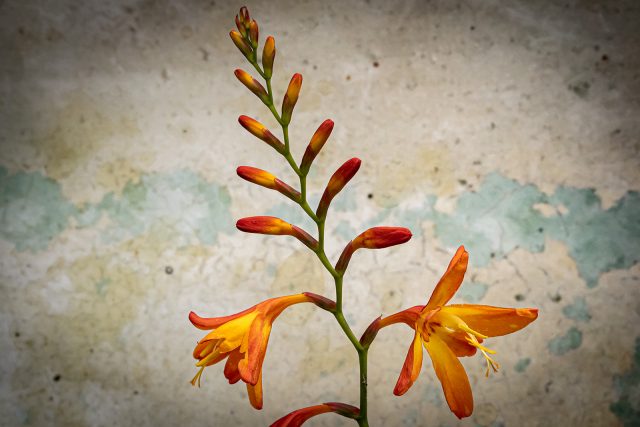
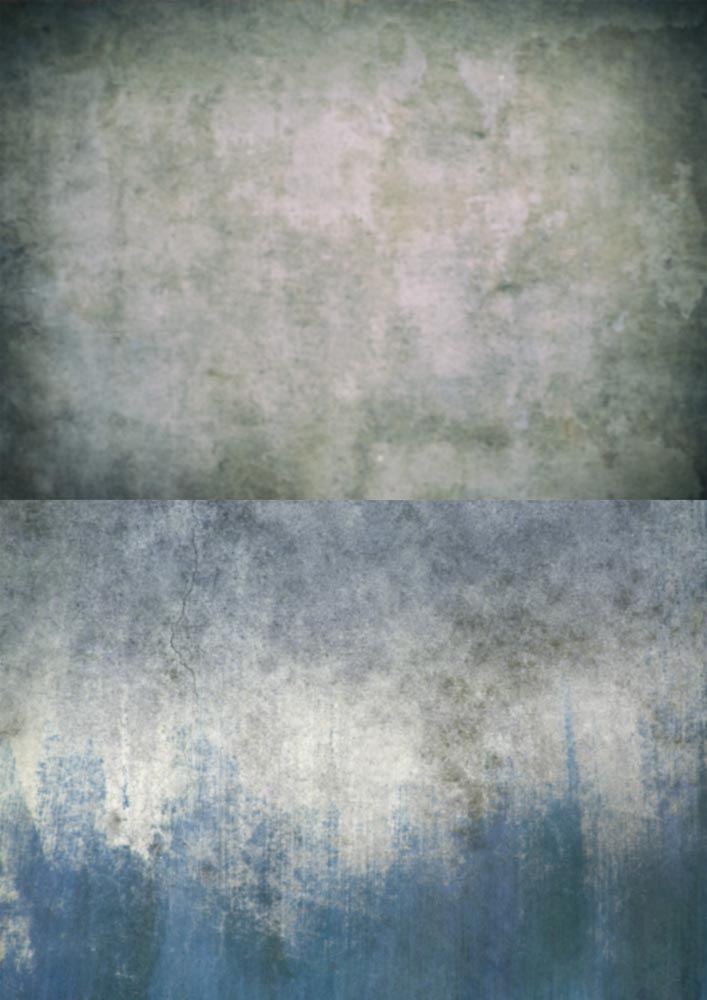
Backgrounds can make or break any photo. But if flowers and plants are your subject matter you’re somewhat stuck with the background that you find. That’s where these textures and patterns come in.

They’re pre-blurred for an instant depth of field effect. Simply print them out (they’re already sized for A4) on matte photo paper and pop one in behind your flower for an instant new background. I’ve sized these from small, single blooms, so that’s two backgrounds per A4 sheet, but you can crop and upscale as needed.

Download instructions
       1. Click on the download link below
https://drive.google.com/drive/folders/1_1ZwEvFMmWpc7ZY3voSEaqXHfrlKwEbS?usp=sharing

  1. Click the Download button download_icon (top right of screen)
  2. The download should start automatically
  3. No support is provided. If you need help Google or YouTube the question and you’ll almost certainly find the answer

Bottle Shadows – LIVE!

With lock down in full swing here in the UK (and around much of the rest of the world) I’ve finally had the time to explore the possibilities of live streaming some shoots from my small home studio.

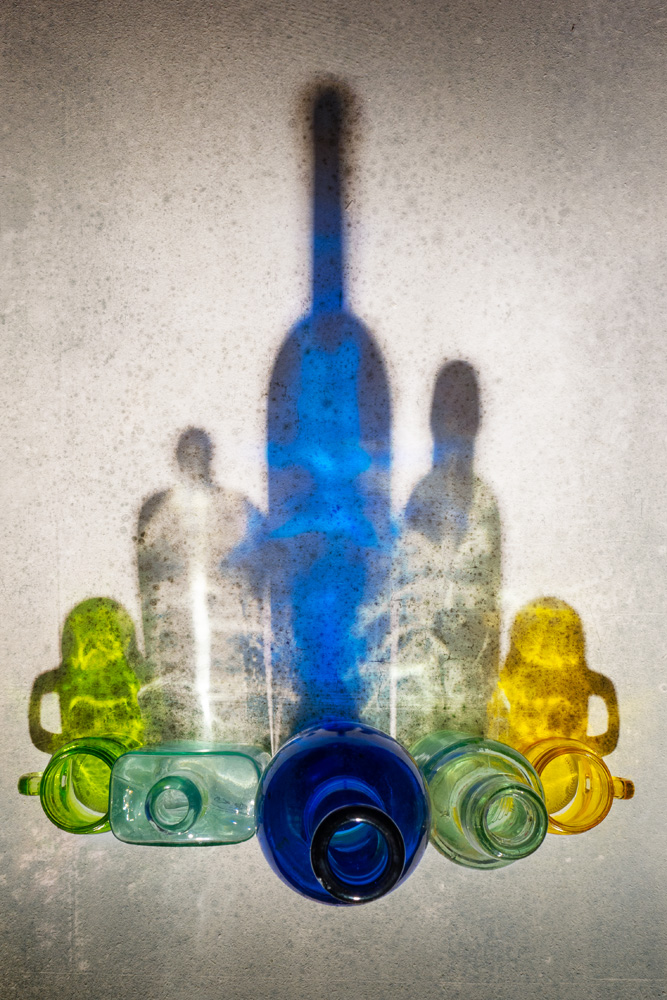
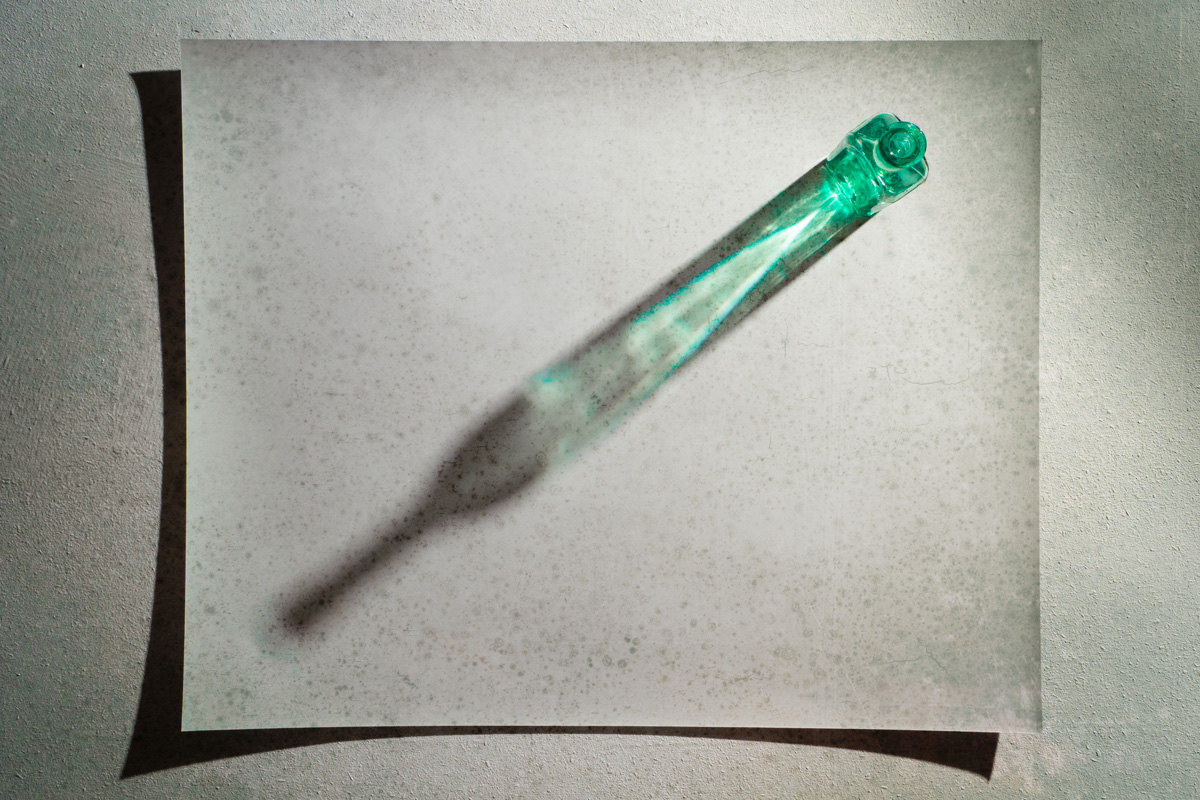
So here’s the first of (hopefully) many live sessions. This one was hosted last week by Olympus UK on their Facebook page. It’s a simple “stay at home” photography project using nothing more then some empty jars or bottles, a flash and a the back of an old print.

There’s more of these to come, keep an eye on my Instagram Stories for link to them and hopefully I’ll see you (virtually) at a live event soon.

You can download the texture I used in this video here
https://drive.google.com/file/d/1vld-rdsFAXkDEmLIGyMBG58E52o6zoJj/view?usp=sharing
Usage rules
The images are copyright Gavin Hoey 2020. Use is limited to any personal but non-commercial purposes. Only share by linking back to this page. Do not redistribute the original image without my permission.
No support is provided. If you need help Google or YouTube the question and you’ll almost certainly find the answer.

Light Textured Background

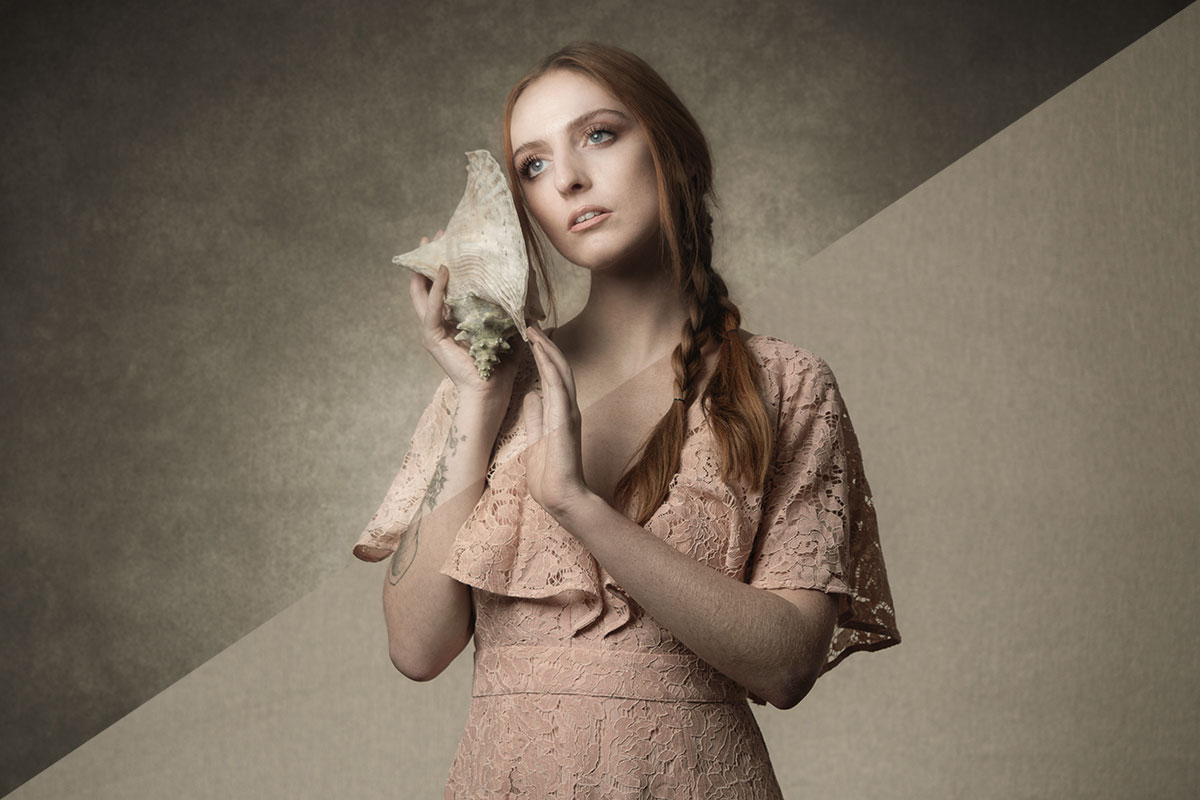
Not everyone is lucky enough to have a permanent studio and even fewer have the space for a textured wall. So being able to add texture to your portraits is a handy skill to have.

Of course for this to work you’ll need some great textures. So to start you off here’s one of mine. It’s a combination of multiple blank pages from old books and textures found mouldy surfaces… glamorous  work, it’s not!

The end result is a subtle texture with fine grain which makes it the perfect choice for portraits.

Usage rules
The image is copyright Gavin Hoey 2020. Use is limited to any personal but non-commercial purposes. Only share by linking back to this page. Do not redistribute the original image without my permission.

Download instructions
       1. Click on the download link below https://drive.google.com/file/d/1MmTbLar1DDb6dfssloUxq8koGSNYlDsP/view?usp=sharing

  1. Click the Download button download_icon (top right of screen)
  2. The download should start automatically
  3. No support is provided. If you need help Google or YouTube the question and you’ll almost certainly find the answer

Festive Stars Template

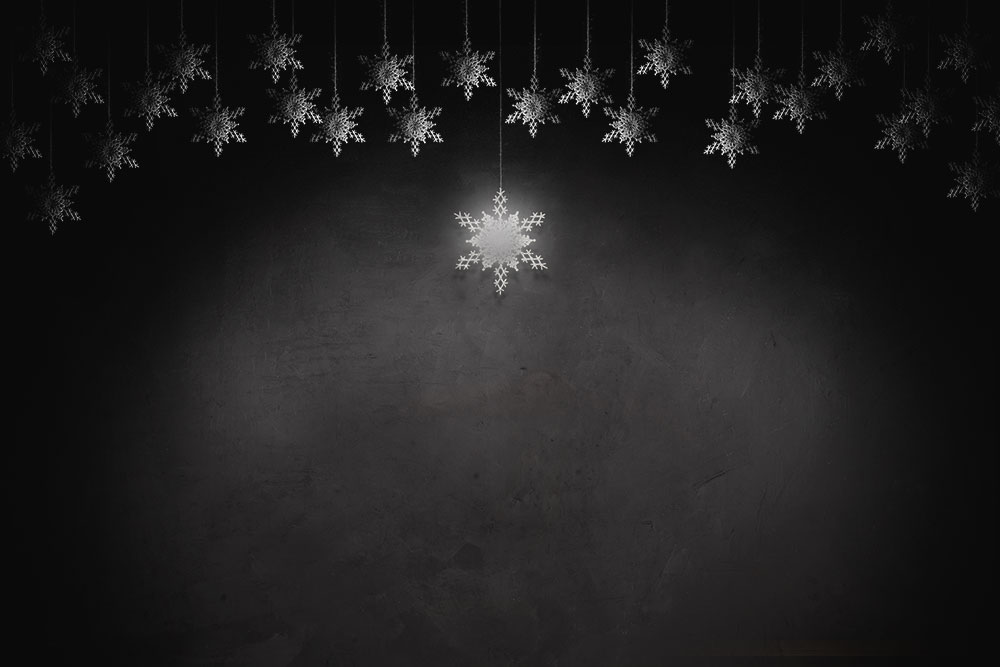
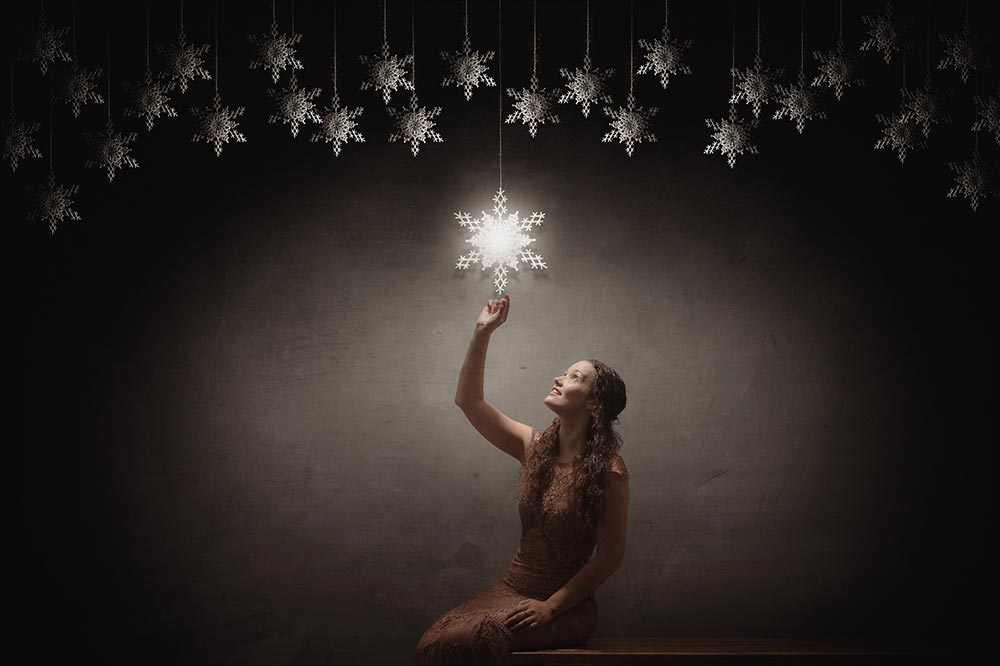
With the festive holidays fast approaching I thought I’d share my festive stars template. My planned use for this is that it will become a background for a fine art portrait but I’m pretty sure there’s plenty of other uses too.

To use this template, download it (see the link below) then open it in Photoshop. The template is made up of a bunch of layers, you need to paste your image into the one called “YOUR PHOTO HERE”. Make sure your photo stretches to the edges of the template and use a layer mask to hide or reveal whatever is under the stars.

You can see how I use it in this video https://www.youtube.com/watch?v=VNVOAJI7Q4w

You can download my festive stars template here
https://adobe.ly/2AY2nvZ

If you create a photo using the Friday Freebie then let me (and everyone else) know by leaving the link in the comments below.

Usage rules
The festive stars template is copyright Gavin Hoey 2018. Use is strictly limited to any personal but non-commercial purposes.
Please share the Friday Freebie by linking back to this page. Do not redistribute the original action without my permission.

Download instructions
     1. Click on the correct download link below (no sign up is needed)
https://adobe.ly/2AY2nvZ

  1. You may see a message saying “There was a problem with the network” Just ignore it
  2. Click the Download icon download_icon The download should start automatically
  3. Open the .PSD file in Photoshop
  4. Paste your photo into the layer “YOUR PHOTO HERE”
  5. No support is provided with the Friday Freebies. If you need help Google or YouTube the question and you’ll almost certainly find the answer

Instant Snow V2

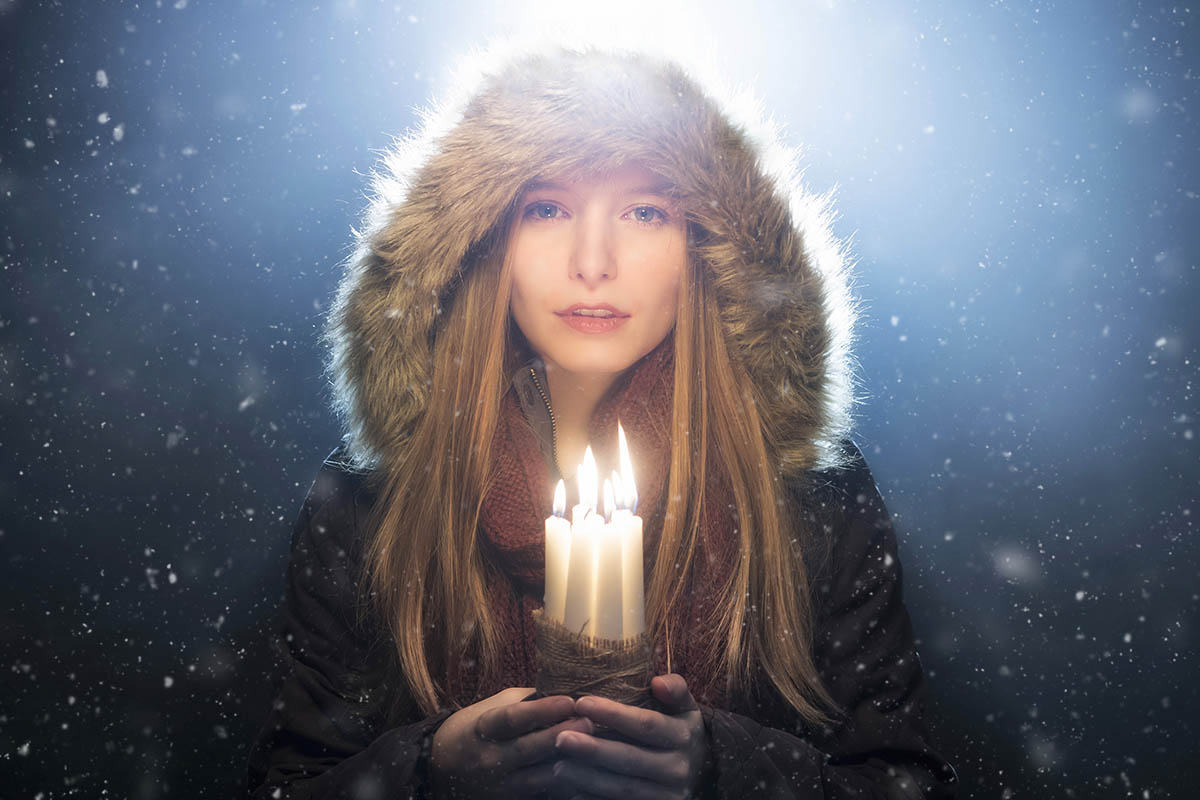
Way back in 2013 I made a simple Photoshop action that made snow. As it turns out it makes REALLY good looking snow and even today it’s regularly in the top three most visited pages of my blog.

The secret to it’s success is down to it’s one click simplicity which runs the action, makes three layers of snow and still keeps your original image intact. The snow it makes can then be tweaked, copied and saved for future use.

Five years on an I felt it was time for a refresh, so here it is. You can download Instant Snow V2 here:
https://drive.google.com/open?id=1s6EUBs5jFwPN-ZnszTTMB11W1ZT9_kuu

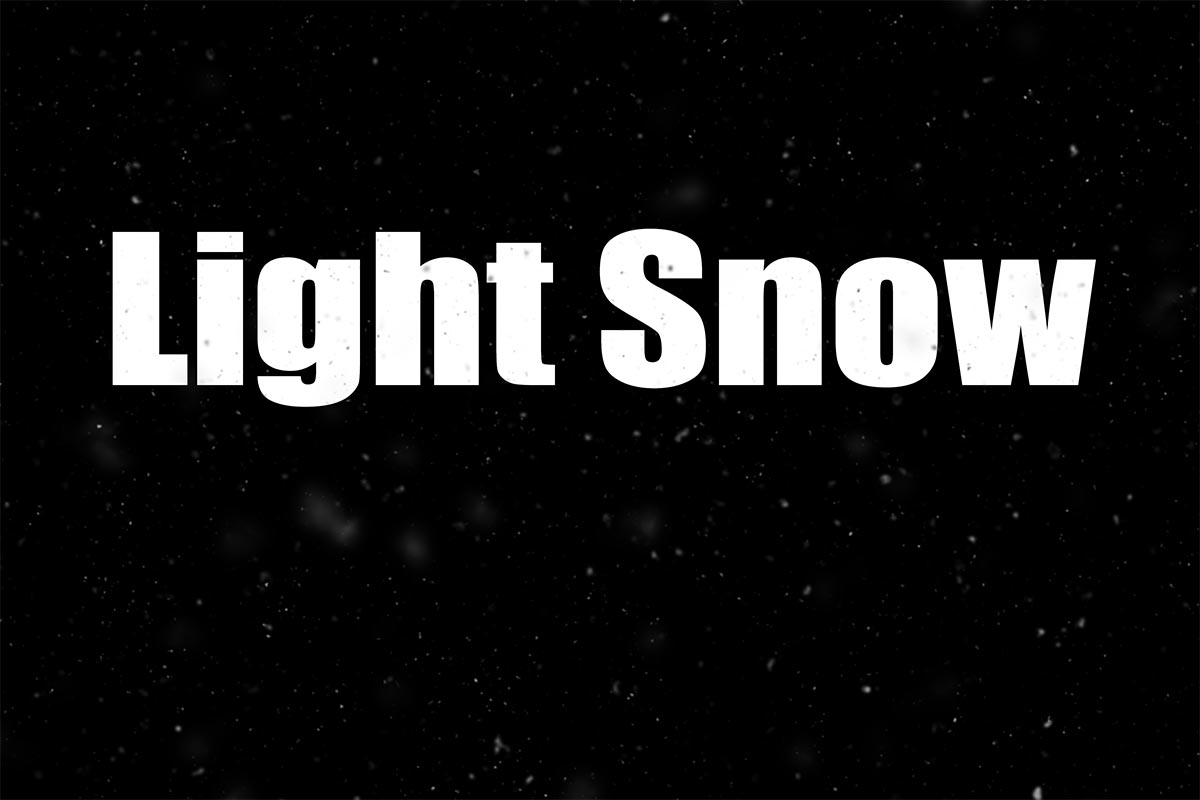
Instant Snow v2 now has four levels of snow effect. Blizzard, Heavy Snow, Light Snow and  First Flakes.

If you create a photo using the Friday Freebie then let me (and everyone else) know by leaving the link in the comments below.

Usage rules
The Photoshop Action is copyright Gavin Hoey 2018. Use is strictly limited to any personal but non-commercial purposes. A commercial license is available.
Please share the Friday Freebie by linking back to this page. Do not redistribute the original action without my permission.

Download instructions
     1. Click on the correct download link below (no sign up is needed)
https://drive.google.com/open?id=1s6EUBs5jFwPN-ZnszTTMB11W1ZT9_kuu

  1. You may see a message saying “There was a problem with the network” Just ignore it
  2. Click the Download icon download_icon
  3. The download should start automatically
  4. Unzip the download and install the Photoshop Action
  5. No support is provided with the Friday Freebies. If you need help Google or YouTube the question and you’ll almost certainly find the answer

Free Smoke Textures

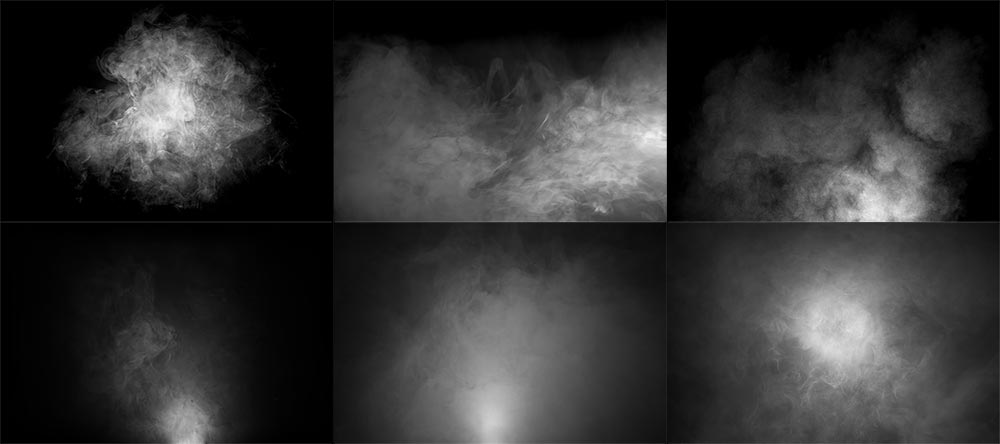
Recently I’ve run a couple of workshops that used smoke effects, the Music and Magic workshop was a great example. During the workshops I’ve mentioned that the volume of smoke can easily be enhanced with a little help from Photoshop. All you need is a shot of smoke against a black background and you’re good to go. Of course there’s smoke and then there’s smoke, so what you actually need is a library of various smoke patterns in order to match it to your scene.

To kick off your smoke collection I’m sharing 6 of my smoke shots as a Friday Freebie. You can download them from here:
https://drive.google.com/open?id=0B_Mmmm3K1utNam9wUk9yUFpVdEk
Please read the usage rules below.

How To Add Smoke
There’s a several ways to use my smoke textures but first you need to download and unzip them. In Photoshop simply open a smoke image and select it (CTRL+A). Then copy it (CTRL+C) and go to the image that needs smoke and paste it in (CTRL+V). To blend the smoke into the photo go to the Layers Panel and change the Layer Blending mode from Normal to Screen. Of course it’s unlikely that the smoke will be in the right place or even the right size, so press CTRL+T and use the Free Transform handles to resize the smoke and then drag it around as you need.

How you use the smoke in your photography is up to you but you. It can be used as realistic smoke by following the advice above or it can be more mist like by lowering the opacity and applying some Gaussian Blur. Alternatively you could add it to the whole image and use it as a texture, may be add some colour with CTRL+U (Hue/Saturation) or try different blending modes for interesting and unexpected results.

If you create a photo using the Friday Freebie then let me (and everyone else) know by leaving the link in the comments below.

Usage rules
The images are copyright Gavin Hoey 2017. Use is limited to any personal but non-commercial purposes. Please share the Friday Freebie by linking back to this page. Do not redistribute the original images without my permission.

Download instructions
       1. Click on the correct download link below (no sign up is needed)
https://drive.google.com/open?id=0B_Mmmm3K1utNam9wUk9yUFpVdEk

  1. Click the Download button download_icon
  2. The download should start automatically
  3. Once downloaded you’ll need to Extract or Unzip the file to access the images
  4. No support is provided with the Friday Freebies. If you need help Google or YouTube the question and you’ll almost certainly find the answer

Bokeh – Friday Freebie

Recently I visited the historic city of Winchester which was decked out with wonderful Christmas lights. Not surprisingly I couldn’t resist grabbing a few shots, especially around the pretty little Christmas market.

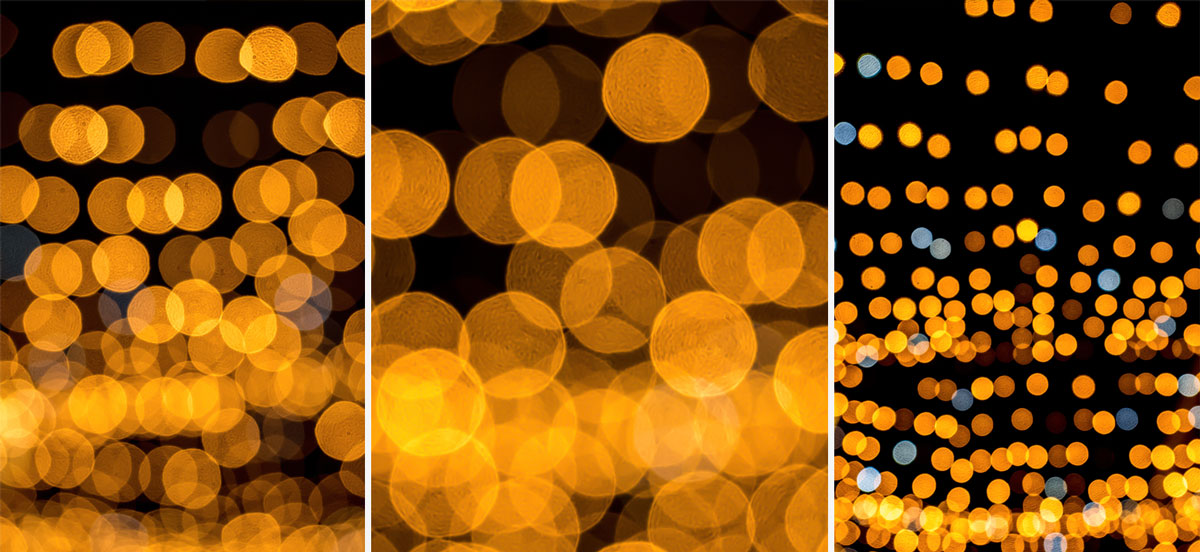
But I didn’t just stick to the usual type of photos, I also shot some bokeh images that might come in handy as backgrounds or textures for other photos. You can download them here:
https://drive.google.com/file/d/0B_Mmmm3K1utNMkRIWHhUUnFlMW8/view?usp=sharing

BOKEH-FF

The shooting technique is simple enough. I used a wide open f/2.8 aperture and manually focused to 20cm. I then pointed my camera at the Christmas lights and zoomed in or out to adjust the size of the bokeh circles.

I’ve shared three of my favourite bokeh patterns in this Friday Freebie, I hope you find them useful.

If you create a photo using the Friday Freebie then let me (and everyone else) know by leaving the link in the comments below.

Usage rules
The image is copyright Gavin Hoey 2015. Use is limited to any personal but non-commercial purposes. Please share the Friday Freebie by linking back to this page. Do not redistribute the original image without my permission.

Download instructions
1. Click on the correct download link below (no sign up is needed)
https://drive.google.com/file/d/0B_Mmmm3K1utNMkRIWHhUUnFlMW8/view?usp=sharing

  1. Click the Download button download_icon
  2. The download should start automatically
  3. No support is provided with the Friday Freebies. If you need helpGoogle or YouTube the question and you’ll almost certainly find the answer

Smoke Machine Background

One of the draw backs of working in any studio is the finite nature of the backgrounds you can work with during a shoot. Of course if you’re handy at a bit of DIY you can build your own sets and create some amazing backgrounds but that takes time and besides, carpentry isn’t one of my strongest skills as you’ll see when I made my current studio background.

So what can you do to quickly change the background? Well I have a bunch of different fabrics which work really well but as you’ll see in this video, nothing beats the smoke machine for effect and downright fun!

[youtube]https://www.youtube.com/watch?v=LvLjiahVBrs[/youtube]

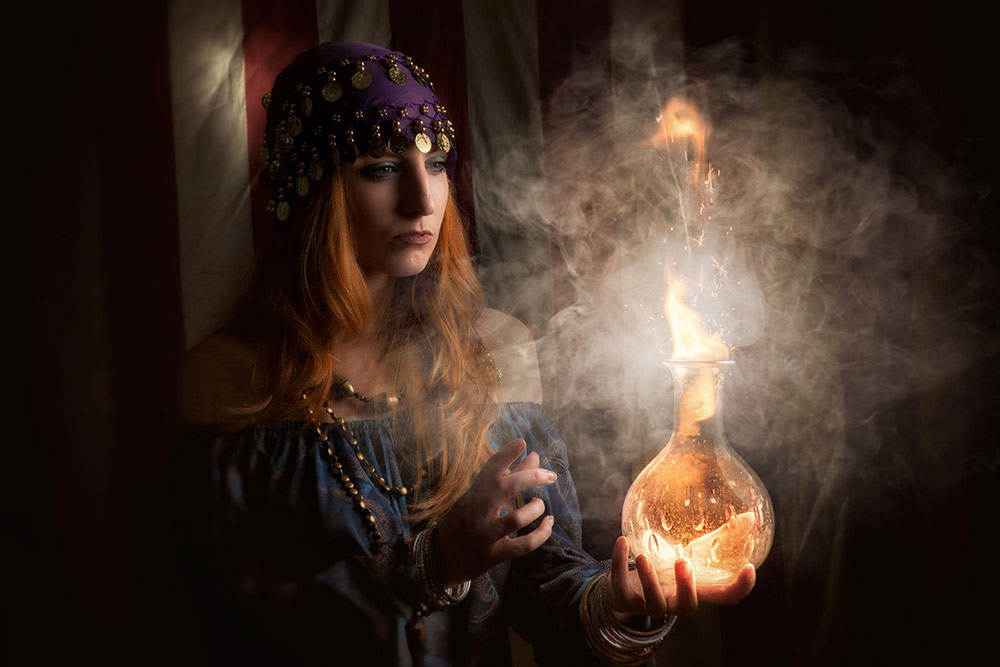
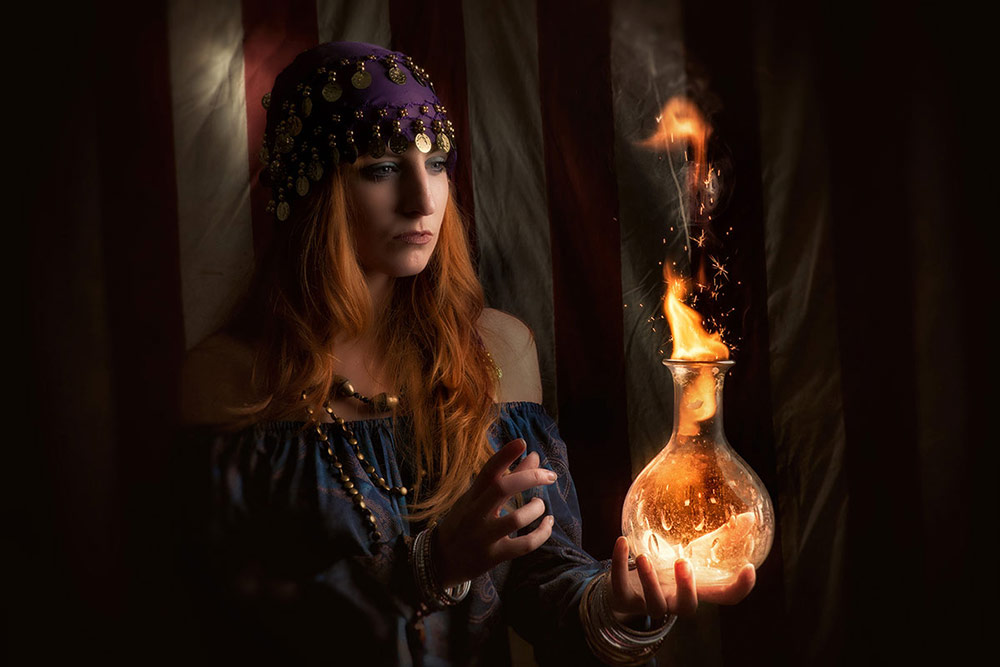
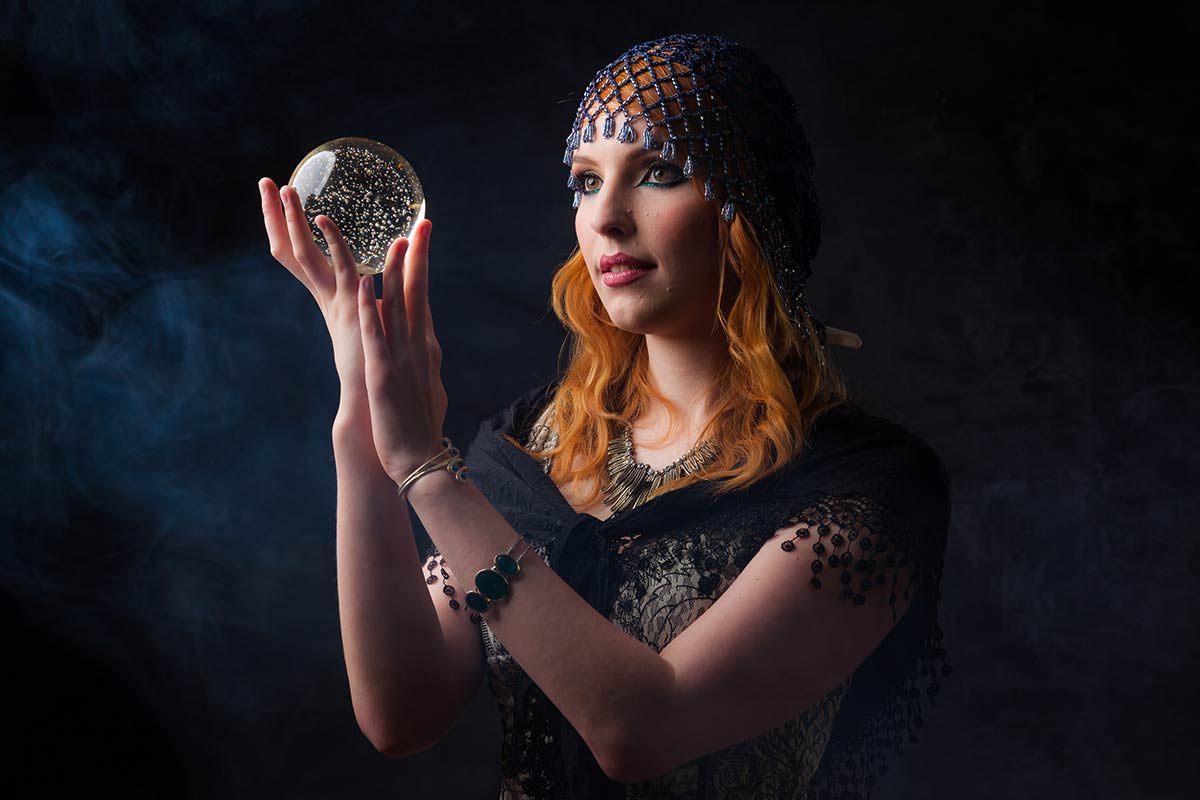
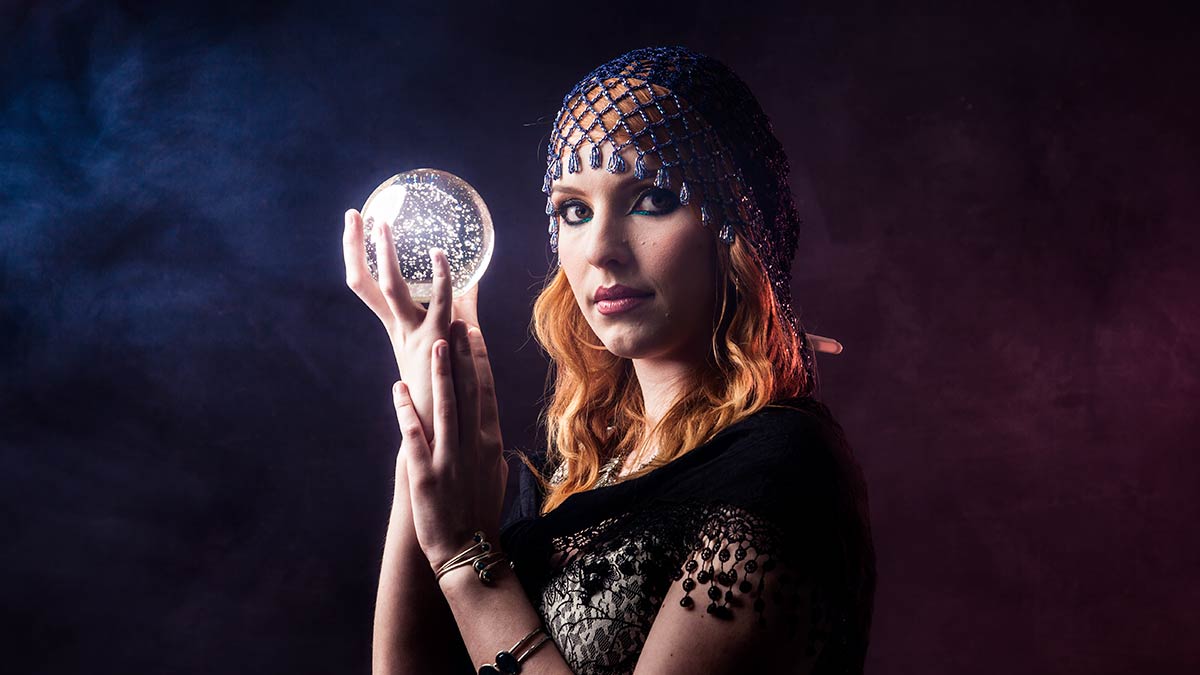
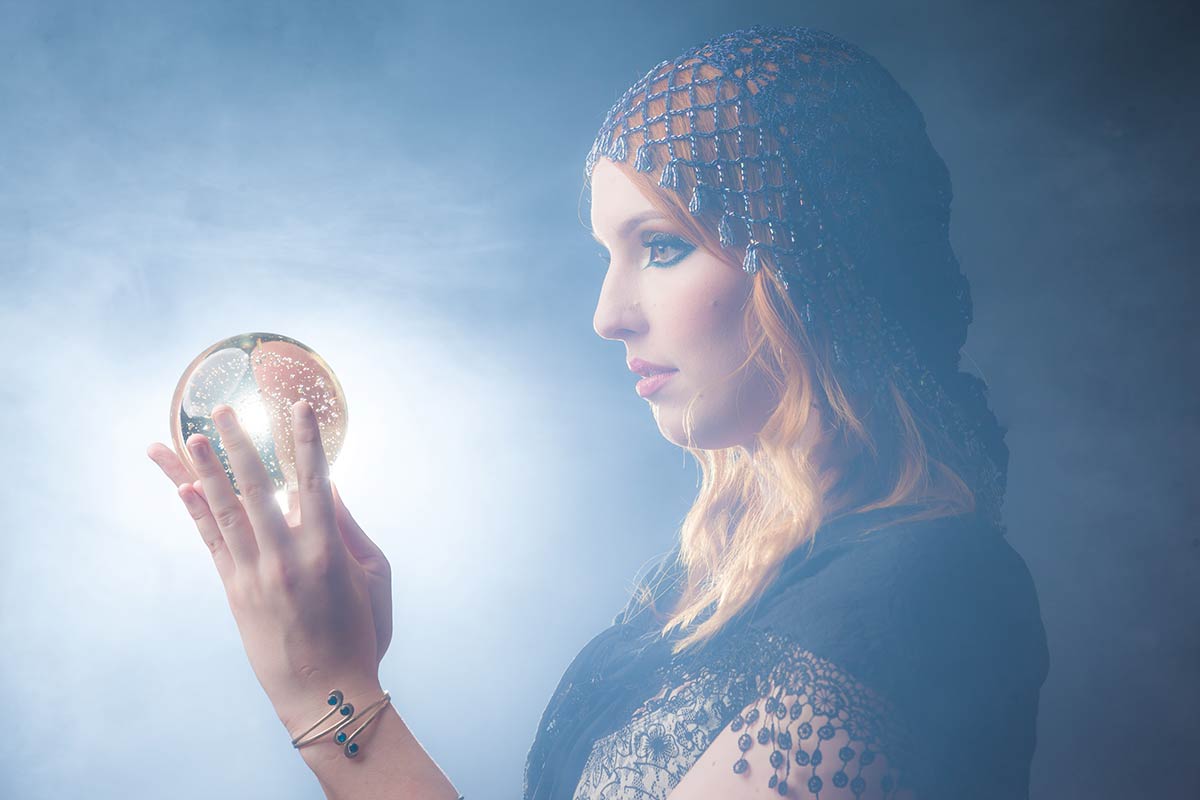
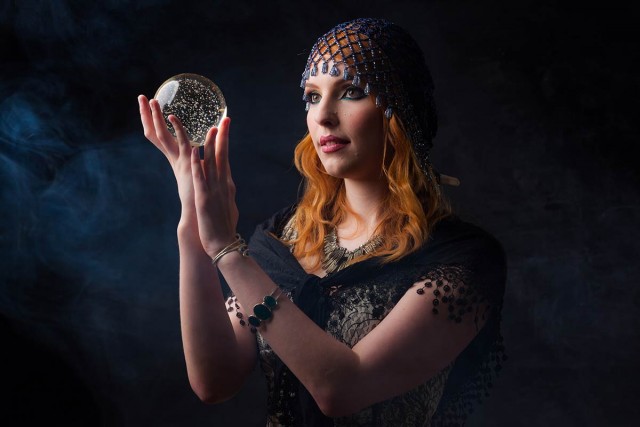
That shoot was part of a series I shot with a Fortune Teller theme and the smoke machine was perfect for the background, as the smoke builds up, the effect changes from a slight haze to thick fog.
Kerry-Smoke-1

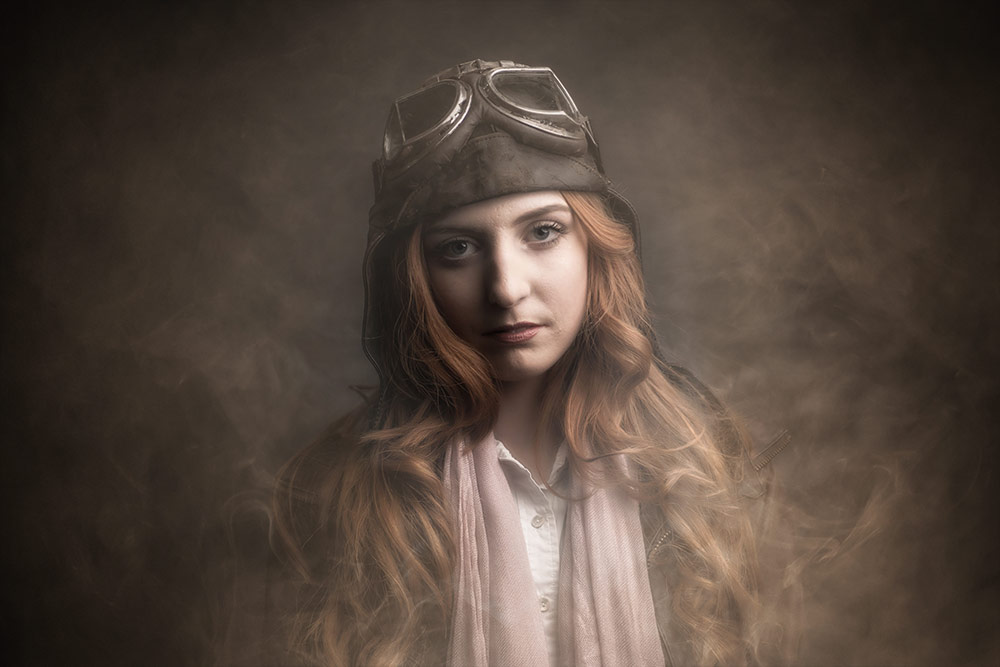
The smoke is a whitish/blueish colour so to get the full effect of the smoke you’ll need a dark background and ideally a light to illuminate the smoke from either the side or back.
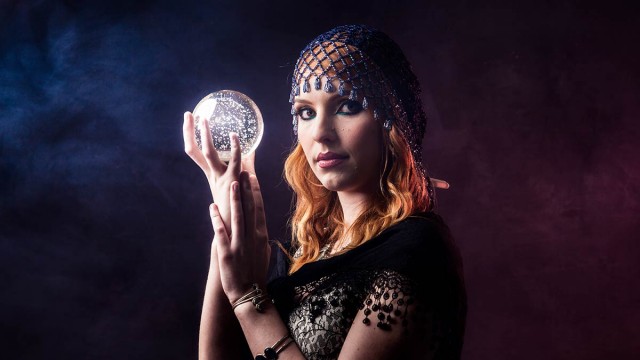
Kerry-Smoke-2

Adding a splash of colour to the fog is as easy as popping a coloured gel on the flash that illuminating the fog. In this case I added a red gel to the flash on the right and increased the saturation of the natural blue colour of the fog in Photoshop.

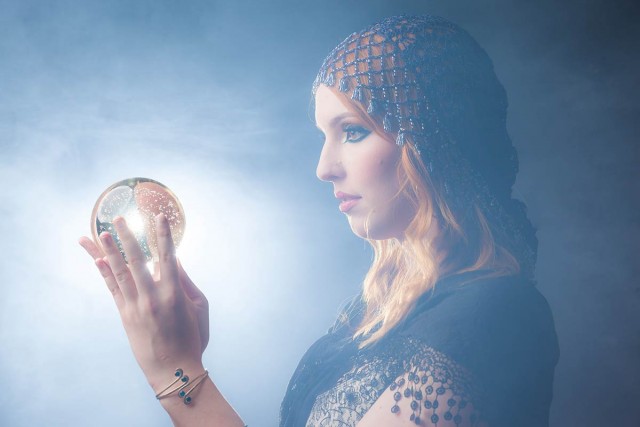
Too much smoke can ruin the shot by reducing contrast, especially if you light it from the front. For that reason I keep any smoke shots until the end of the shoot.
Kerry-Smoke-3

Finally it’s worth checking that the smoke “juice” is water based to avoid leaving a residue all over your studio and is non toxic… pretty obviously. The smoke builds up pretty quickly so also keep a check on the model and anyone else in the studio. At the first sign of problems get some fresh air.

Model: Kerry Allingham
Make-Up: Anna Matos

Gear used in this video

Canon 5D Mark III www.adorama.com/ICA5DM3.html?KBID=67338

Canon 50mm f/1.8 II www.adorama.com/CA5018AFU.html?KBID=67338

Flashpoint Light Stand www.adorama.com/FPLS9.html?KBID=67338

Black Rapid RS-7 Strap www.adorama.com/BRRS7.html?KBID=67338

Flashpoint StreakLight 360 Ws Creative Collection www.adorama.com/FPLFSL360K2.html?KBID=67338

Sekonic L-308S Flashmate www.adorama.com/SKL308S.html?KBID=67338
 

Bokeh Background – Friday Freebie

At this time of year there’s the potential for bokeh shots all over the place. With the right lens, twinkling Christmas lights can make great bokeh photos and that’s exactly what I used to create this Friday Freebie background / texture.

Bokeh-SNOWQUEEN-SAMPLE

Full download instructions are below but you can also
Download the Bokeh Background Here

Once downloaded just open the bokeh image and your photo. Copy and paste the bokeh onto your photo and use Free Transform (CTRL+T) to make the bokeh fill the image. Next you’ll need to blend the two images together. For this shot I changed the Layer Blending Mode from Normal to Screen but as all the blending modes create a different look try them all.

The bokeh will most likely need masking or erasing away to reveal your main subject. Another thing to try is duplicating the bokeh layer to deepen the effect.


Bokeh-SNOWQUEEN-B4

If you create a photo using the Friday Freebie then let me (and everyone else) know by leaving the link in the comments below.

Usage rules
The image is copyright Gavin Hoey 2014. Use is limited to any personal but non-commercial purposes. Please share the Friday Freebie by linking back to this page. Do not redistribute the original image without my permission.

Download instructions
1. Click on the correct download link below (no sign up is needed)
https://drive.google.com/open?id=0B_Mmmm3K1utNZHVCSldJS2REMzQ&authuser=0

2. Click the Download button download_icon

3. The download should start automatically

4. No support is provided with the Friday Freebies. If you need help Google or YouTube the question and you’ll almost certainly find the answer :-)

Drama With Grids – Home Studio Essentials – PT 6

For almost all of my studio works, soft light is what I want but every now and then it’s great to break that mold and do something with a bit more edge with grids or snoots. Fortunately my Adorama Streaklights have  purpose designed tools to do the job.

In the studio grids are an essential tool, they help me light small areas with maximum precision and control. Usually I use grids in combination with a softbox as the key light but occasionally I’ll just use the grids for some dramatic effects.

[youtube]https://www.youtube.com/watch?v=K-C9xgTCLfM&list=PL821B7D720DEA39FA[/youtube]

One of the downsides of a small studio is just how easy it is to accidentally bounce light off a wall or ceiling, ruining the effect you hope to achieve. With their tighter beam of light, grids and snoots might just be the answer you’re looking for if you want to get moody lighting in your small home studio space. HSE-EP6-Final
Gear used in this video (Links back to Adorama)
Flashpoint StreakLight 360 Ws Flash (Includes flash and battery)
Flashpoint Streaklight 180 WS Streaklight
Grid/Gel Set
Streaklight Beauty Dish/Grid Set
Canon 5D Mark 2 
Canon 24-105L