How Focal Length Affects Your Background

There are many reasons for choosing one lens over another and which one you shoot with can have a massive impact on the final photo. Like many photographers I love the flexibility of zoom lenses and often have to make the choice of shooting with a wide angle and short telephoto lens. At first glance the choice of lens is pretty obvious… if I want to go close I shoot with a telephoto focal length and if I want to see more I zoom out with a wide angle focal length.

Look around on the internet or ask your photography peers and you’ll find that the general consensus is that wide angle lenses increase perspective distortion and telephoto lenses compress background. It’s common knowledge but sadly, it’s also not true… although I completely understand why so many photographer think it is.

[youtube]https://www.youtube.com/watch?v=GbESqYkodmQ[/youtube]

In the video above I explain and show how changing focal length alone doesn’t affect compression or distortion but moving your feet does

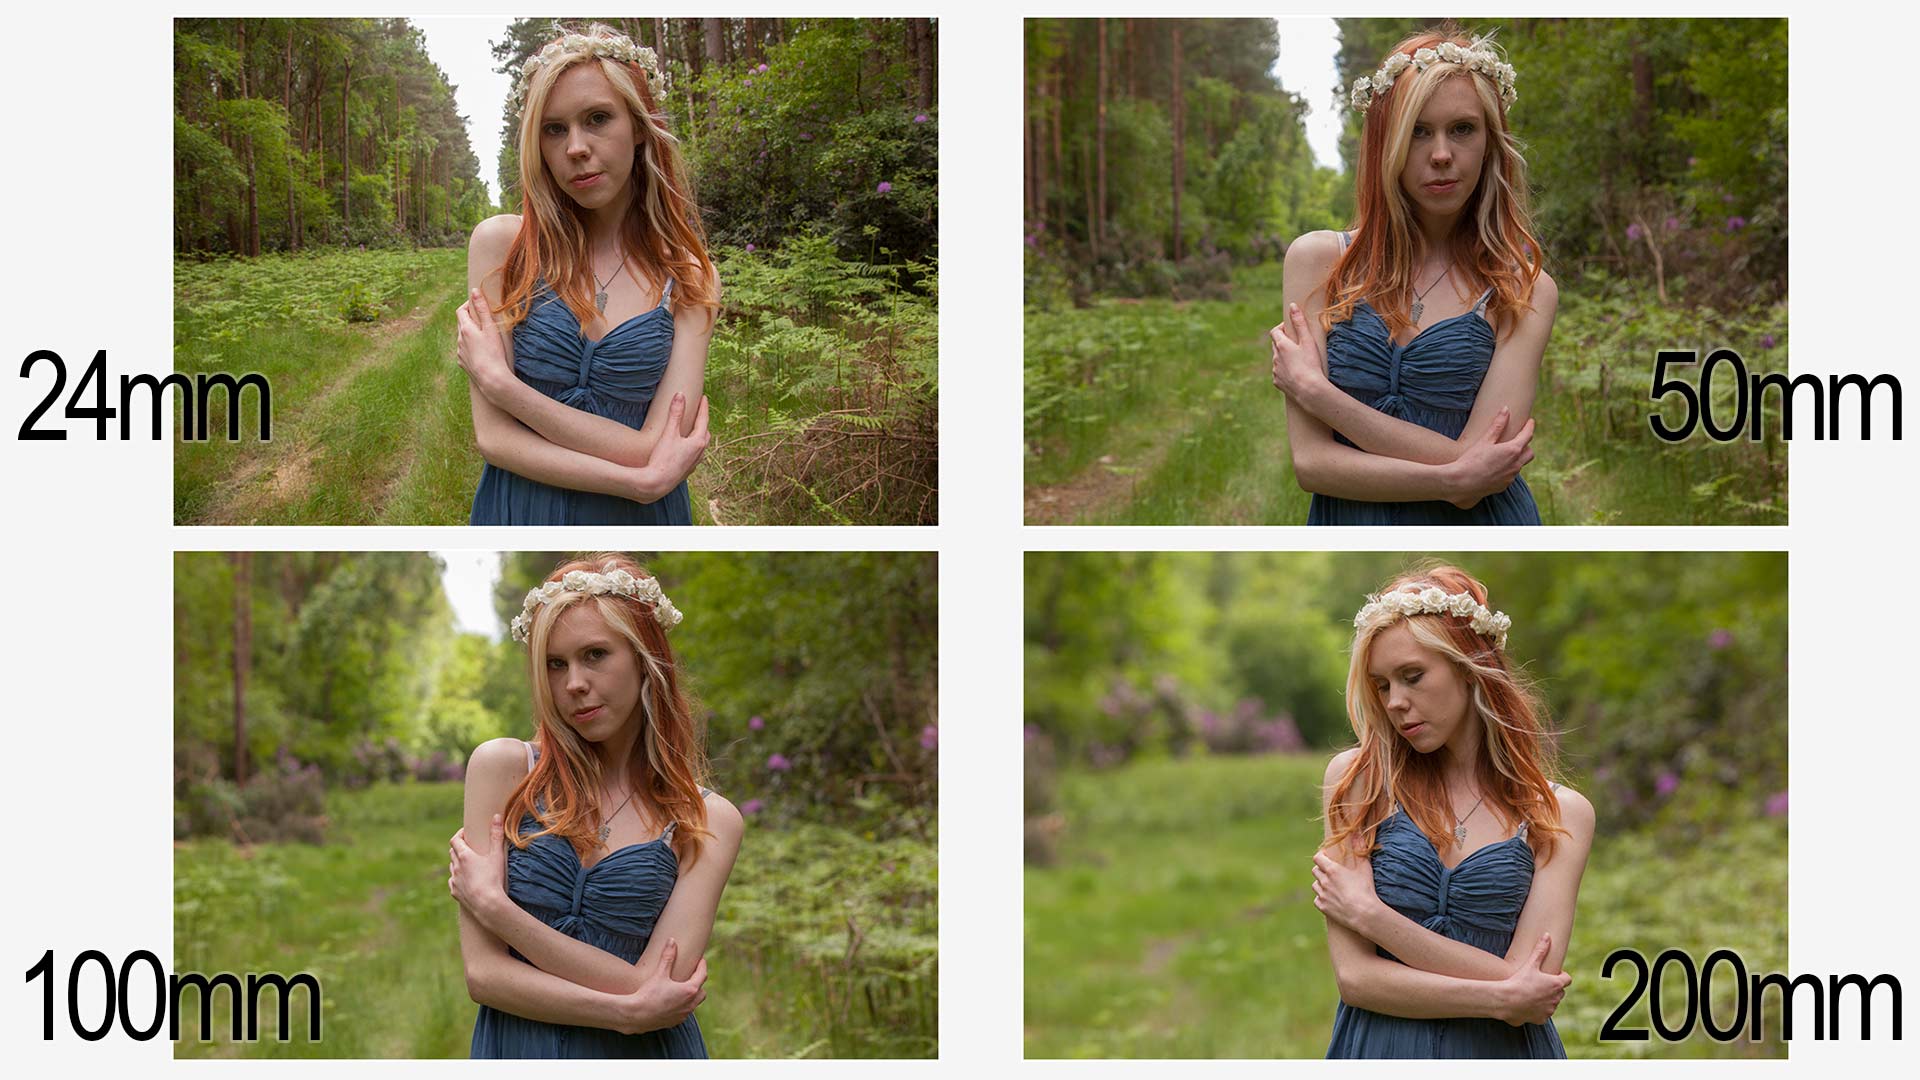
Google focal length compression and you’ll see photos like the one below and as you can clearly see the more I zoom in the more the background appears to grow in relation to the model. We call it background compression and it’s a really handy trick to learn.
Compression-ALL

But in order to keep my model (The amazing model Fern Meave ) the same size I had to increase my shooting distance as I zoomed in and it’s that increase in distance that causes the background to compress. Let me say that again…
Increasing your focal length does NOT compress your shot, increasing your distance from the subject does. Unless you want your subject to be small, once backed up you have to zoom in to maintain the composition and that’s why so many photographers will tell you telephone lenses compress your shot.

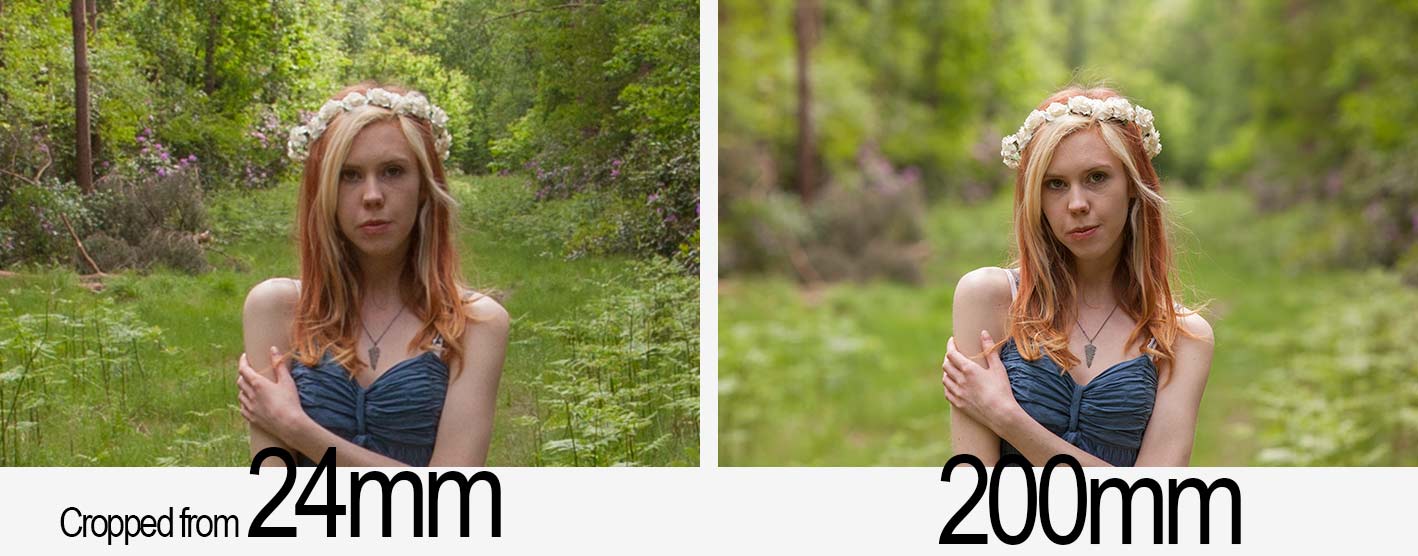
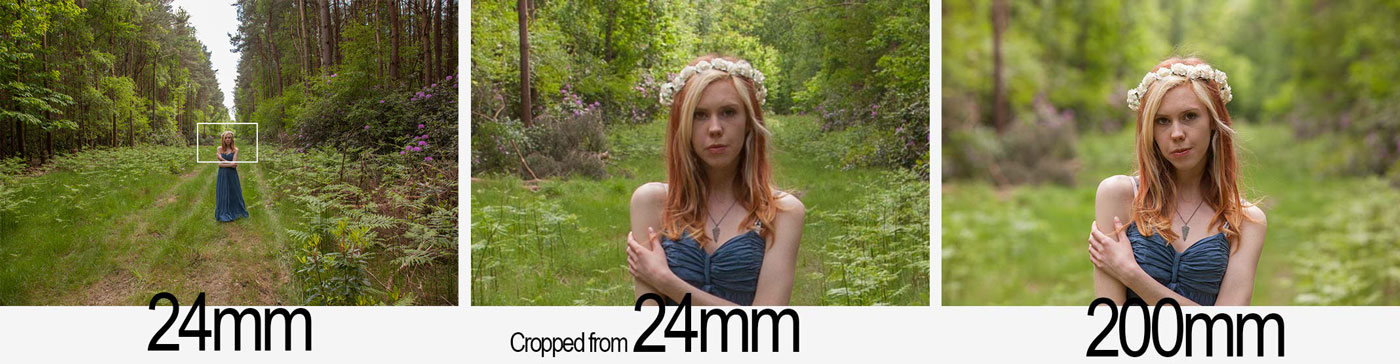
To prove the point. Take a look at the photos below. For the one on the right I used a 200mm lens, the one on the left is a from a shot taken with my 24mm lens and the middle image is a tight crop from the centre.
lens-compress-debunk

The distance from myself and the model was the same in each shot, only the focal length changed. Spot the difference?  Ignore the the depth of field difference between the two shots, that’s a side effect of the different focal lengths and I’ll save that for a future blog post. There really is no difference in compression and perspective distortion when you change lens focal length.

So if background compression isn’t caused simply by zooming in, do wide angle lenses increase perspective distortion? No they don’t (excluding exotic lenses such as fisheye’s). With a wide angle lens you often go close to fill the frame and that increases the distortion. In theory you could take a wide angle shot using a 200mm lens, you’d just need to take lots and lots of images and join them together like a jigsaw puzzle. Search Google for Gigapans to see this in action.

Still not convinced? Here’s a simple test to try, no camera required… next time you’re in front of the bathroom mirror, get your head really, REALLY close. Close one eye and look around at your refection. Your nose will look huge, your ears will look small and all because you’re close to the mirror. Step back and your face will appear as normal as it was before.
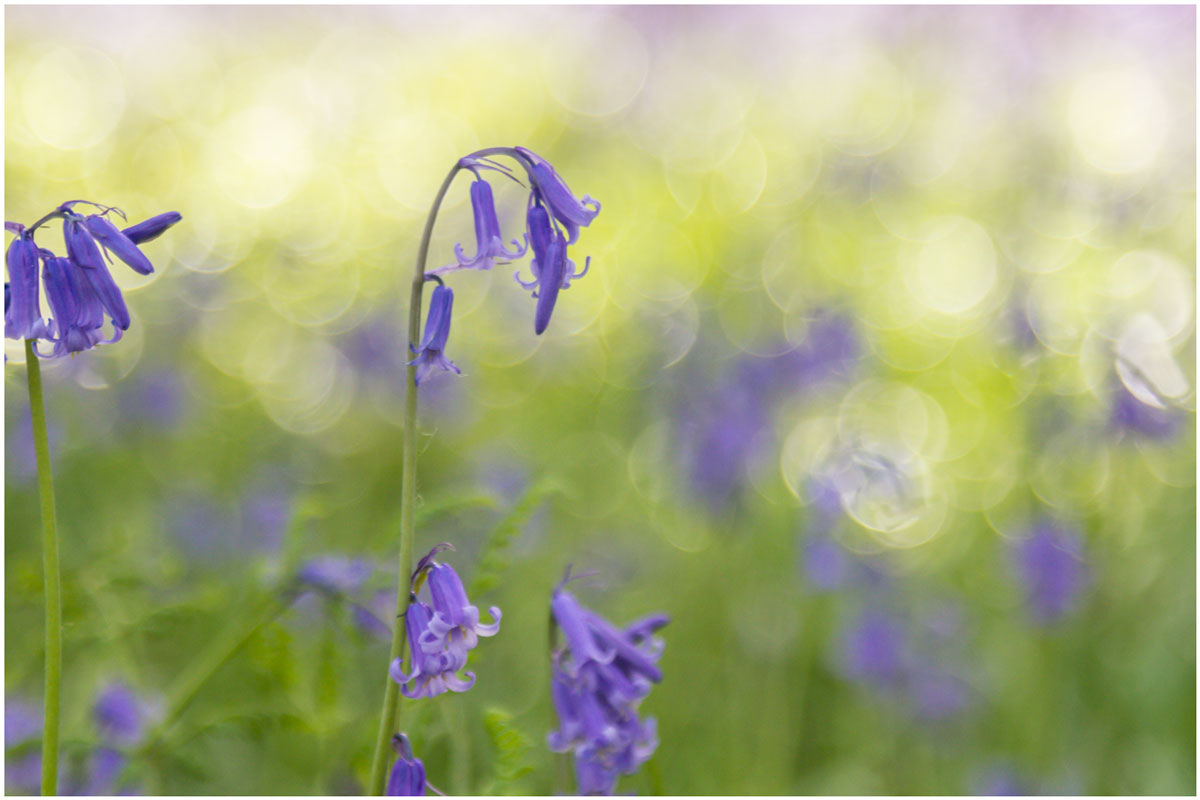
Bluebell 15 Minute Photo Challenge

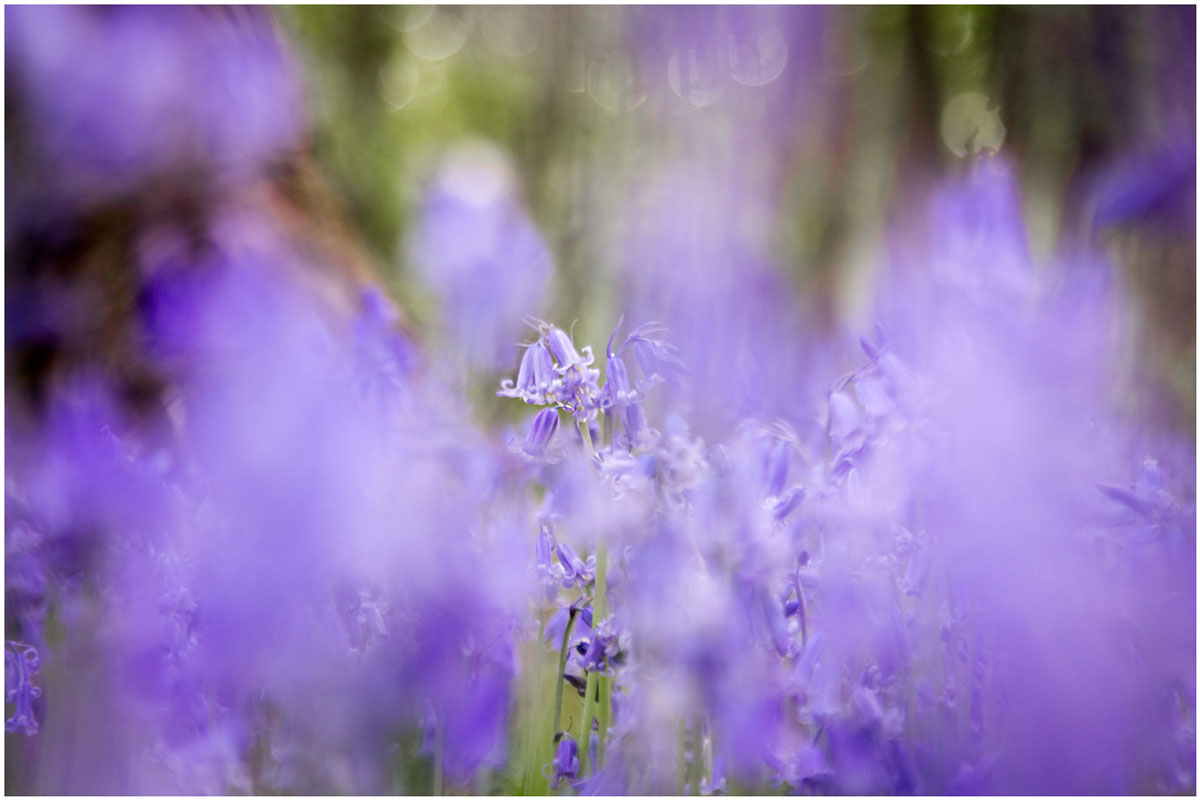
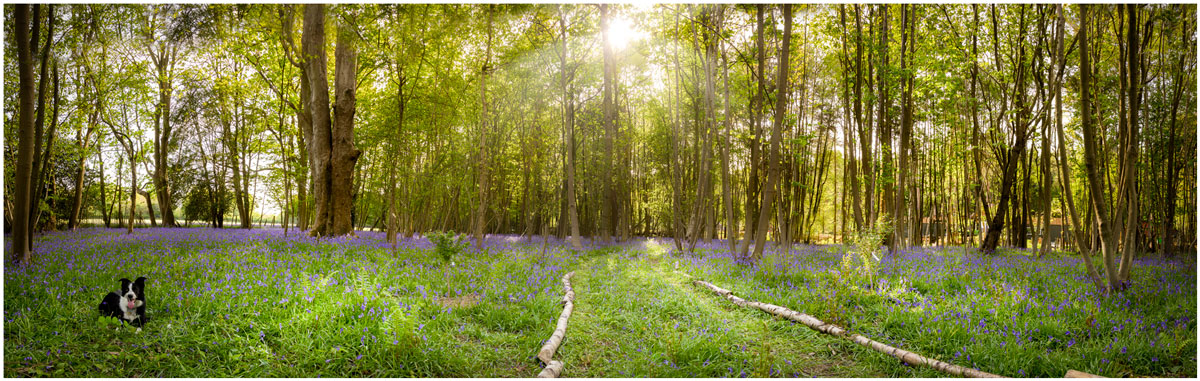
I’m a sucker for bluebells, so when I got the chance to shoot some at a local wood I grabbed it. The bluebell season can be very short but there’s still something to be said for waiting for the right light and shooting at the right time of day. For me that meant late afternoon when the sun was low but not so low that it would make the woods very dark.

Bluebells, like many flowers, are a bit top heavy so as well as picking the right light I wanted to avoid shooting on a windy day. Luckily everything came together so I packed my camera and by 24-105mm lens and set off to do another 15 minute photo challenge.

[youtube]https://www.youtube.com/watch?v=2b0trjfaRok[/youtube]

Bluebell-1jpgBluebell-2Bluebell-Pano

Drama With Grids – Home Studio Essentials – PT 6

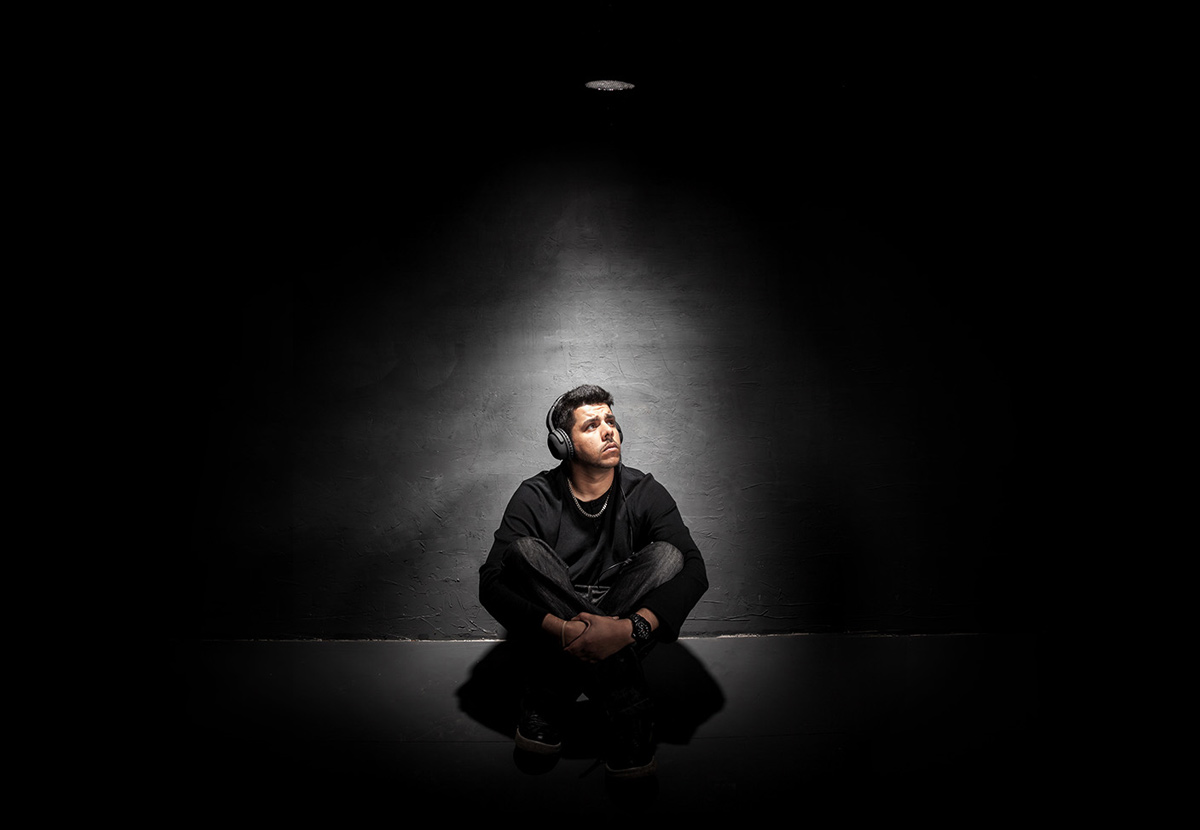
For almost all of my studio works, soft light is what I want but every now and then it’s great to break that mold and do something with a bit more edge with grids or snoots. Fortunately my Adorama Streaklights have  purpose designed tools to do the job.

In the studio grids are an essential tool, they help me light small areas with maximum precision and control. Usually I use grids in combination with a softbox as the key light but occasionally I’ll just use the grids for some dramatic effects.

[youtube]https://www.youtube.com/watch?v=K-C9xgTCLfM&list=PL821B7D720DEA39FA[/youtube]

One of the downsides of a small studio is just how easy it is to accidentally bounce light off a wall or ceiling, ruining the effect you hope to achieve. With their tighter beam of light, grids and snoots might just be the answer you’re looking for if you want to get moody lighting in your small home studio space. HSE-EP6-Final
Gear used in this video (Links back to Adorama)
Flashpoint StreakLight 360 Ws Flash (Includes flash and battery)
Flashpoint Streaklight 180 WS Streaklight
Grid/Gel Set
Streaklight Beauty Dish/Grid Set
Canon 5D Mark 2 
Canon 24-105L 

Using two lights – Home Studio Essentials – Part 5

There are many ways you can use a single flash to take great portraits but sooner or later the limitations of a single flash will be reached. Adding a second flash can be a great way to open up new and creative photo opportunities.

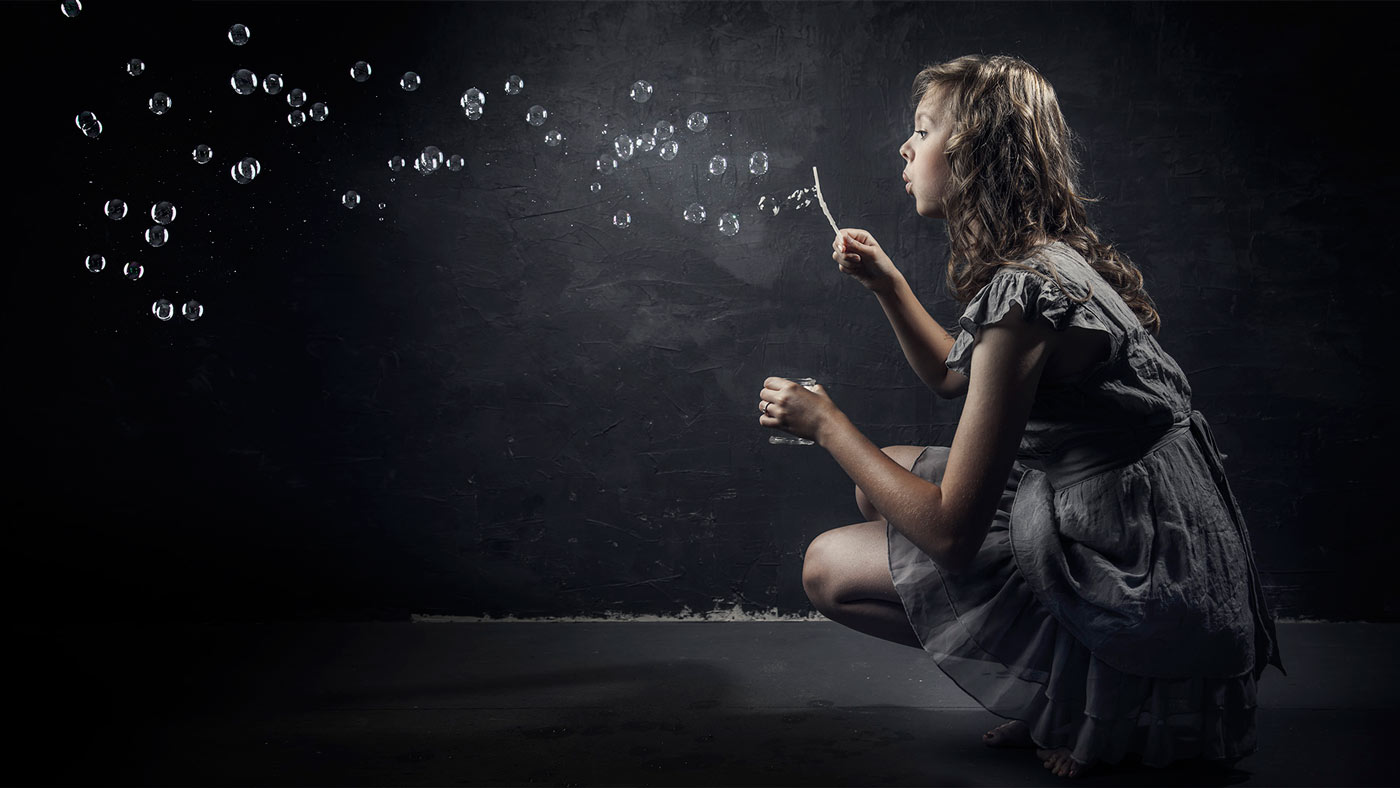
In this video I fire up a second light to act as a hair light and separate the model from a dark background. Then in the final shoot I add a few bubbles to create something a bit special.

[youtube]https://www.youtube.com/watch?v=FcQg0cBncHs&list=UU8Pksdbj37CdE00kmE7Z1dw[/youtube]

More lights means more complexity but my advice is to treat each light separately and meter accordingly. Turning them both on and trying to balance them at the same time sounds easier but trust me it’s not!

Bubbles-Studio

Gear used in this video (Links back to Adorama)

Flashpoint StreakLight 360 Ws Creative Collection (Includes flash, battery, trigger, boom etc)

Flashpoint Streaklight 180 WS

Westcott Apollo Orb Softbox

Canon 5D Mark 2 

Canon 24-105L 

5 in 1 Reflector – Home Studio Essentials – Episode 4

HSE-EP4-FinalThere’s 1000’s of photographic gadgets, gizmos and accessories that you can spend your hard earned money on and whilst many are utterly useless, there are a few that are indispensable. Towards the top of my list of “must have” accessories is the 5 in 1 reflector.

A five in one reflector is so called because it has five surfaces. There’s the white and silver surfaces for bouncing light, a gold side for adding adding warm light (and usually best avoided), a black surface to block light and a translucent surface to diffuse light. Best of all it’s one of the least expensive bits of kit you can buy.

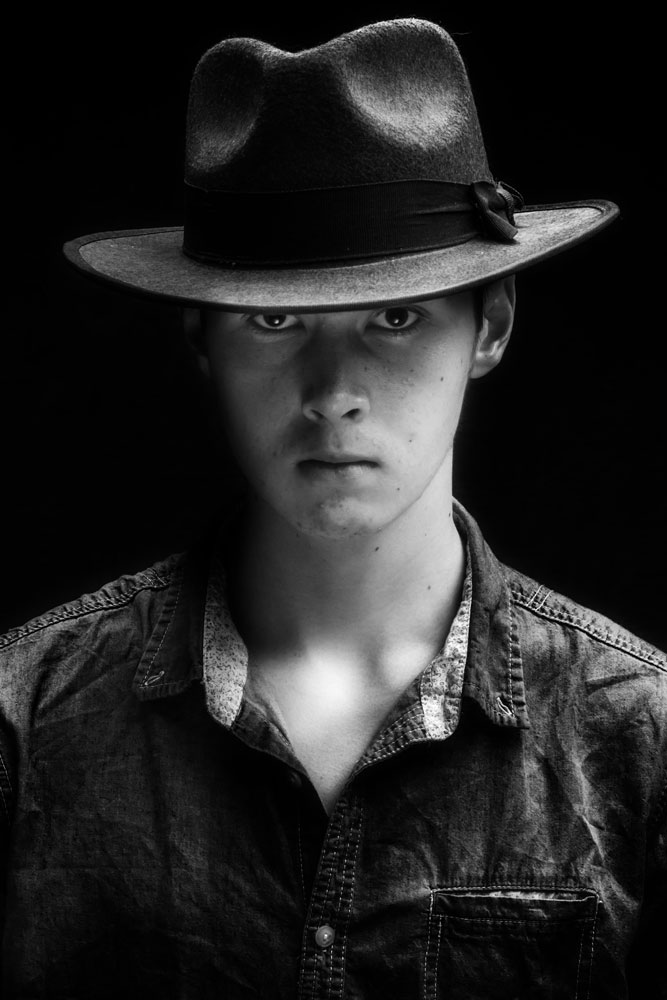
In this video I use the silver surface to bounce light and fill in troublesome shadows. In this case the shadows are caused by a wide brimmed hat. One way would be to add a second light but if that’s not available a reflector can fill in very nicely… and yes, that pun was intended!

[youtube]https://www.youtube.com/watch?v=TYQh9MNC3Is&list=PL821B7D720DEA39FA[/youtube]

Gear used in this video (Links back to Adorama)

Flashpoint StreakLight 360 Ws Creative Collection (Includes flash, battery, trigger, boom etc)

Westcott Apollo Orb Softbox

Westcott Basics 5 in 1 reflector

Canon 5D Mark 2 

Canon 24-105L 

If like me you like to keep a visual record of you’re lighting set ups then this image should come in very handy.

Reflector-Lighting-Diagram

Manhattan 15 Minute Photo Challenge

So here it is, the last video from a my short visit to New York. Actually this was the first video I made whilst out there but for reasons that are a bit of a mystery to me, this has only just been uploaded to Adorama TV.

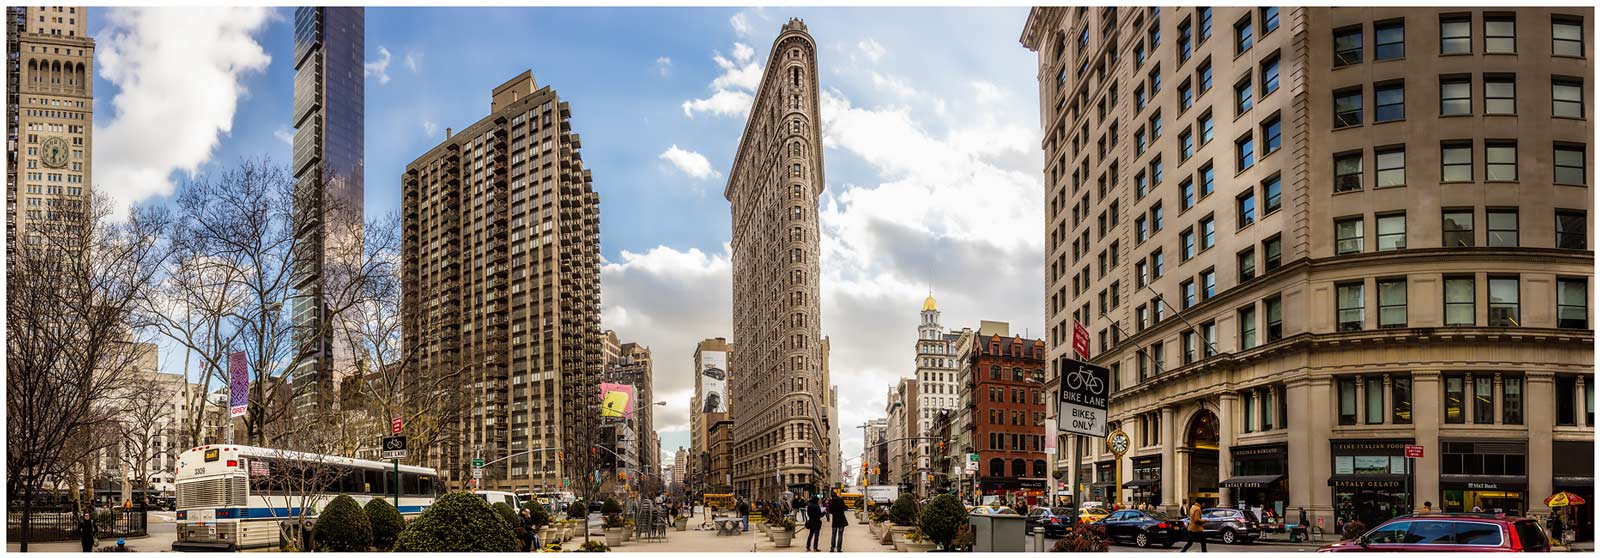
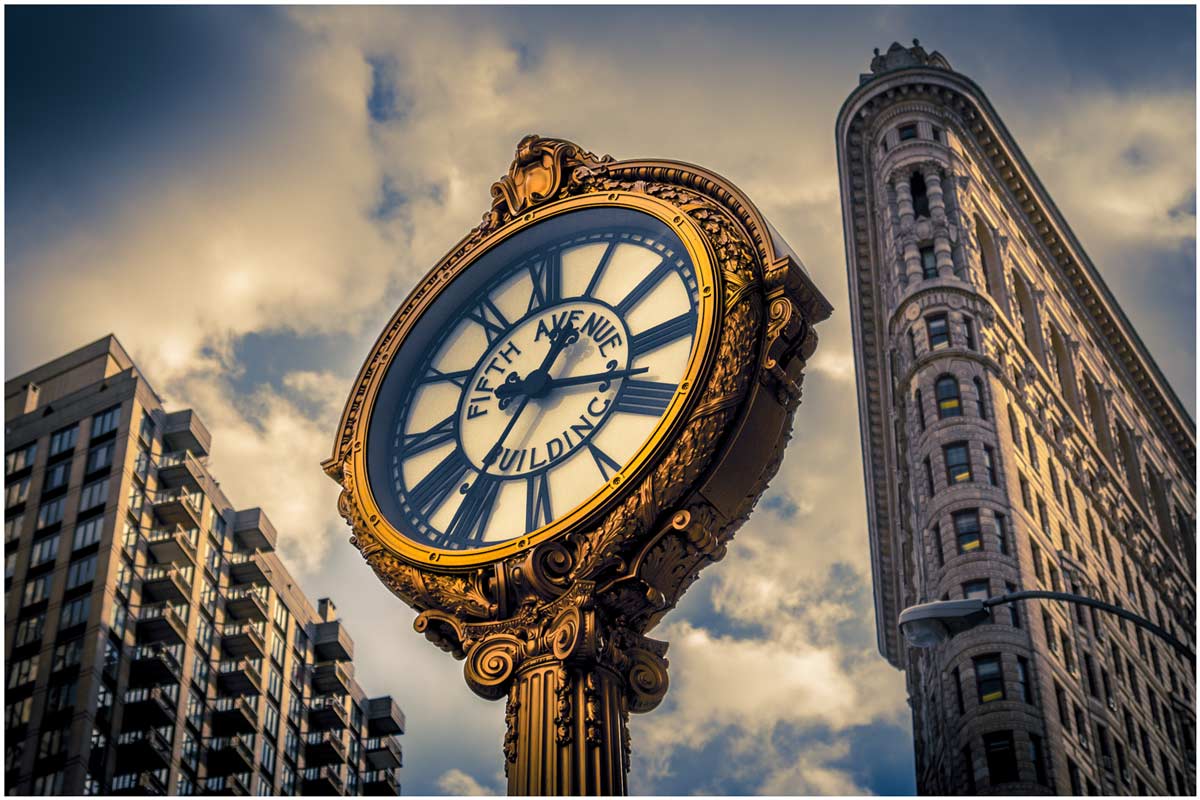
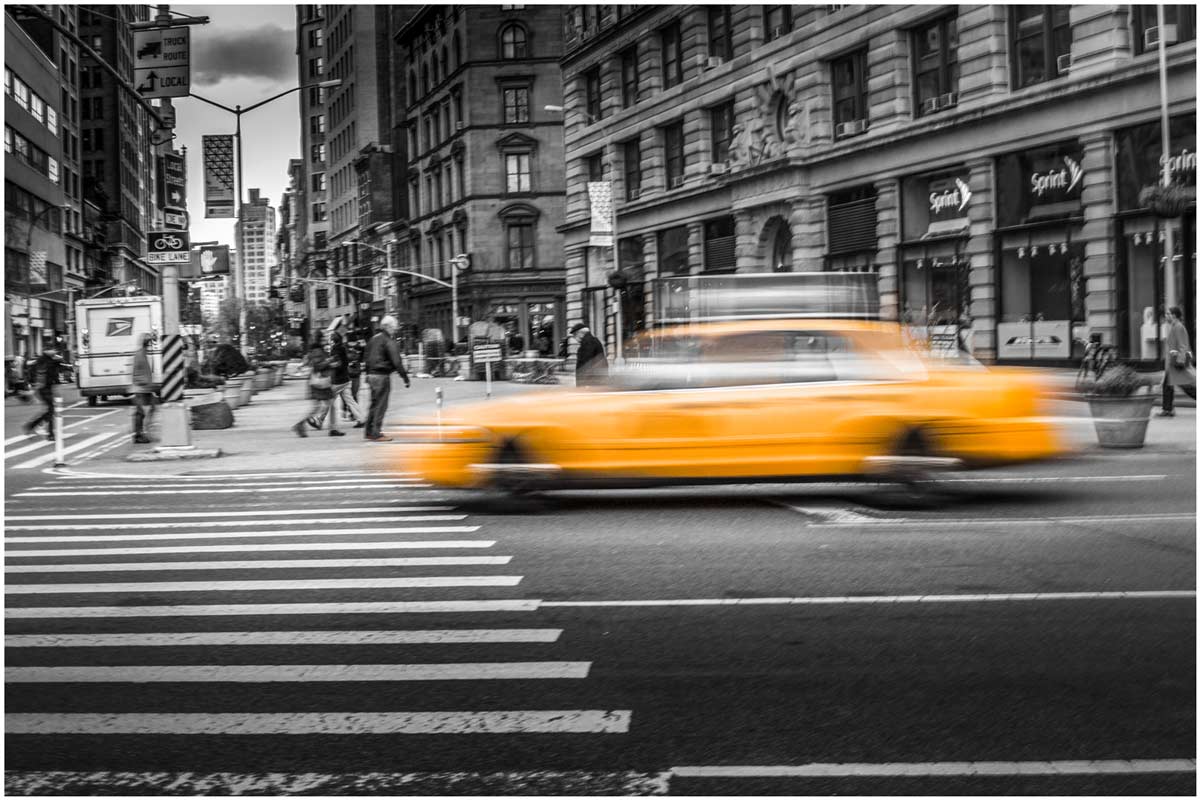
NYC-4The location for this 15 minute photo challenge was Madison Square Park (23rd and 5th) which has the iconic Flatiron building at one end. It’s just a few blocks away from the Adorama store, so when myself and Claude (Adorama’s brilliant video guy) found ourselves surplus to requirements during the set up for my Adorama TV Live workshop, we took the opportunity to shoot a 15 minute challenge video.

[youtube]http://www.youtube.com/watch?v=xEuDnBH7jQI&list=UU8Pksdbj37CdE00kmE7Z1dw[/youtube]
Can’t see the video? Click here http://youtu.be/xEuDnBH7jQI

Equipment used in this video (Links to Adorama)

Canon 60D 

Canon 24-105L

Black Rapid Curve (RS-7) Strap

NYC-3NYC-2NYC-1

How to make a DSLR time-laspe

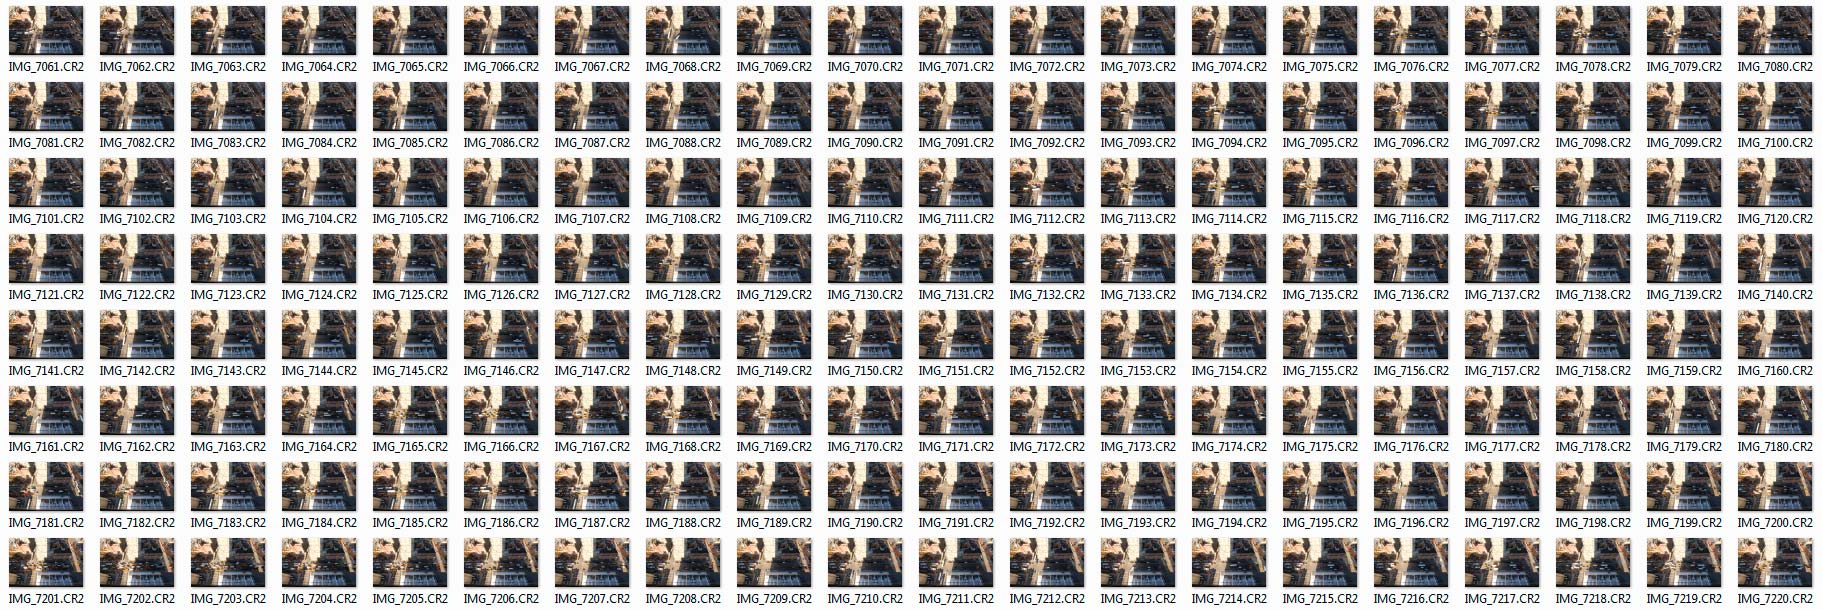
A few years ago I made a video about shooting a time-lapse sequence with a DSLR and then making a video from the images. Most of the information is still as valid today as it was in 2011 but it’s amazing haw fast technology changes the way we shoot and edit. Back then very few cameras had a built in intervalometer and you needed a custom made slideshow preset for Lightroom if you wanted to create the time-lapse video in your photo editing software.

Timelapse-NYC-THUMBS

Skip forward 3 years and although my Canon DSLR’s still don’t have timelaspse out of the box I can use my smart phone to control my camera and take the photos. Plus Photoshop CS6 and CC can both create video from stills in just a few clicks of the mouse.

[youtube]https://www.youtube.com/watch?v=J5Bwpm8_5XM[/youtube]
Can’t see the video? Click here http://youtu.be/J5Bwpm8_5XM

Equipment used in this video (Links to Adorama)

Canon 60D 

Sigma 10mm-20mm

ioShutter release cable 

Vanguard 284 CB100 Tripod  

Walking Brooklyn Bridge

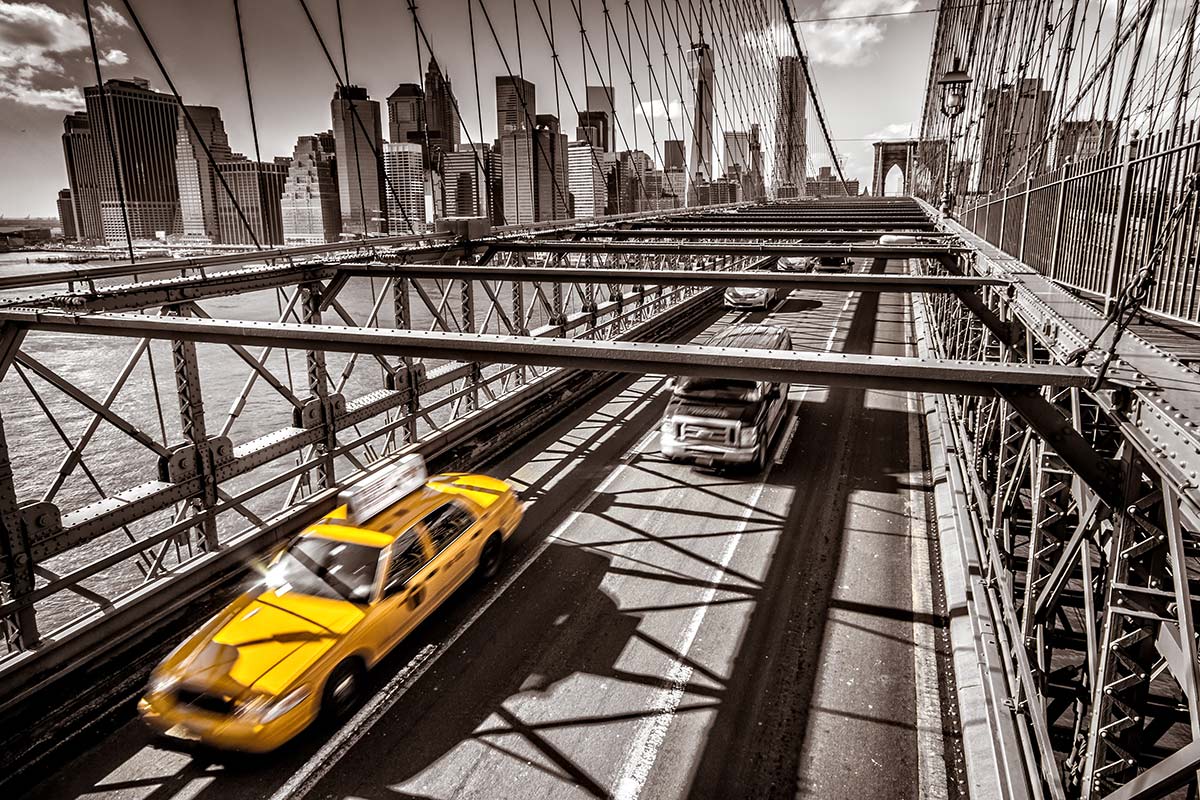
It’s been just over two months since I made a flying visit to New York and the third of my four videos from the visit has recently been released by Adorama. This time I take a walk around and part way across the iconic Brooklyn Bridge to see what photographs I can find.

Brooklyn-Bridge

To say the weather was cold is an understatement, in fact just a few hours earlier it had been snowing. Fortunately the weather cleared, the sun came out and the opportunity to visit the bridge was one I couldn’t resist.

[youtube]https://www.youtube.com/watch?v=PLsKdJIsHT8&list=UU8Pksdbj37CdE00kmE7Z1dw[/youtube]
Can’t see the video? Click here http://youtu.be/PLsKdJIsHT8

I have to say a huge thank you to Claude, Adorama’s video guy. It was thanks to his local knowledge and ability to work in sub zero temperatures that made this video possible.

Equipment used in this video (Links to Adorama)

Canon 60D http://www.adorama.com/ICA60D.html?KBID=67338

Sigma 10mm-20mm http://www.adorama.com/SG1020EOS.html?KBID=67338

How to shoot through windows without reflections

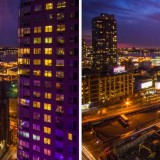
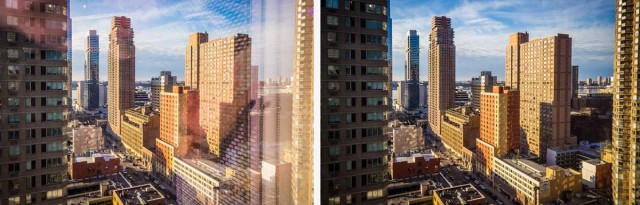
Earlier this year I made my first ever visit to New York and one of the things I put on my “to do” list was capture some great shots of the New York skyline. Wih that in mind I spent a long time researching hotels that had great views. Now there’s no shortage of hotels in New York and some of them have unbelievable views which come at a sky high price but eventually I settled on the Yotel Times Square. I paid a few dollars extra for a room towards the top of the hotel and sure enough the view from the 22nd floor was stunning.

Reflection-daylight

Like all modern hotels the Yotel came with lovely big windows which gave a great view but horrible reflections. Fortunately reducing the reflections and even getting rid of them completely isn’t too difficult, especially if you follow my simple steps in the video below.
[youtube]https://www.youtube.com/watch?v=b3q6aIBc_cc&list=PLwm6LvGc5xq3_BqxMpqpGyxYdJJMQE1mM[/youtube]
Can’t see the video? Click here http://youtu.be/b3q6aIBc_cc

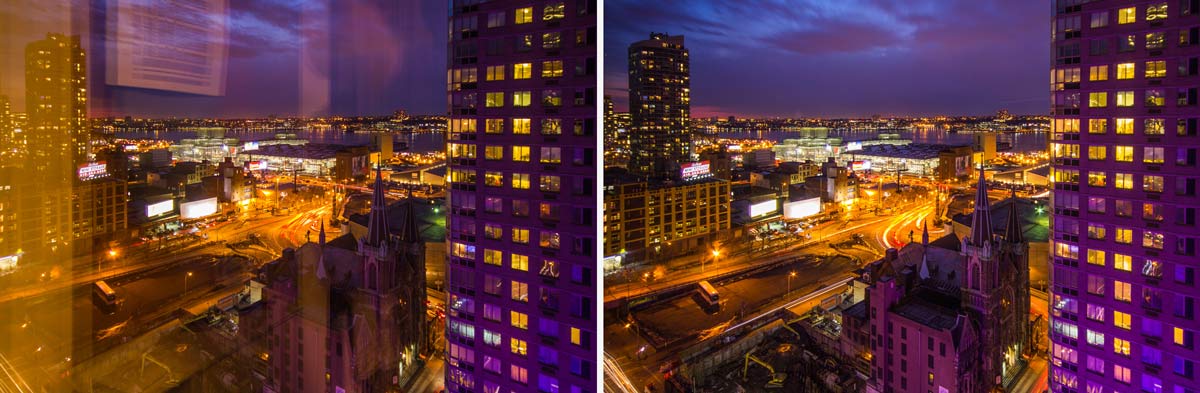
The daytime view was always beautiful but just after the sunset it became amazing, especially with the huge purple neon “Yotel” sign which reflected off the surrounding buildings. The only regret I have is that the view from the rooms on the other side of the Yotel were potentially even better… and that sounds like a good reason to return to me.

Reflection-Night

Equipment used in this video (Links to Adorama)

Canon 60D http://www.adorama.com/ICA60D.html?KBID=67338

Sigma 10mm-20mm http://www.adorama.com/SG1020EOS.html?KBID=67338

Vanguard 284CB100 Tripod http://www.adorama.com/VGALTA284CB.html?KBID=67338

Do you under or overexpose?

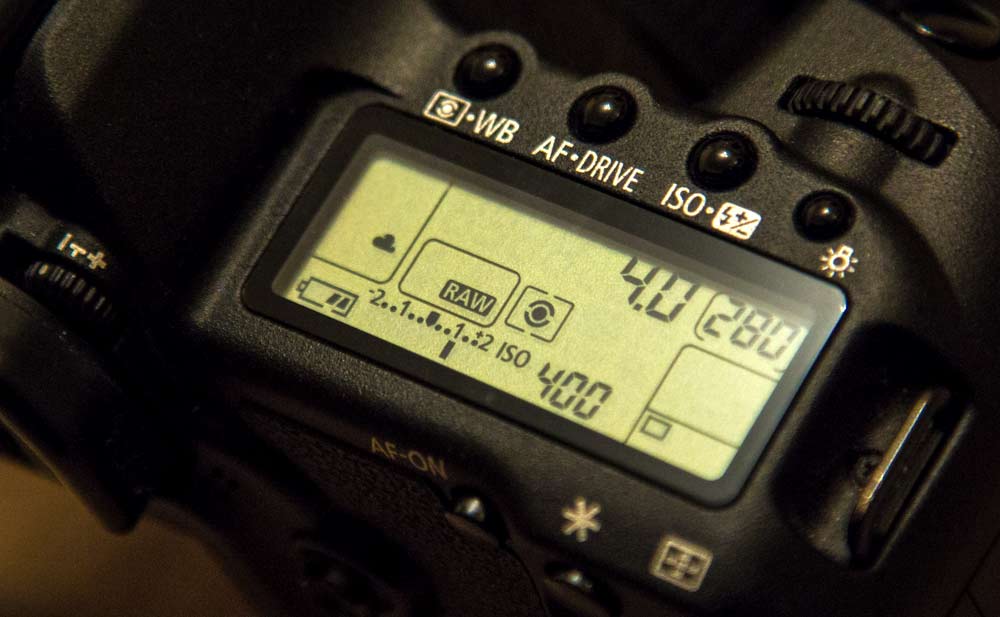
exposure compensation CanonIt’s a question I haven’t thought much about since the days when I shot JPG images only. Now that’s a long time ago. Back then if you lost the highlights in your image you’d basically lost the image, so it was general practice to underexpose the JPG by 2/3rds of a stop from the cameras meter reading. Yes every photo was a little dark but that could be fixed in Photoshop and you still had highlight detail.

With RAW there’s a lot more exposure latitude and worries about clipped highlights in day to day photography are almost a thing of the past. In fact there’s so much hidden image information in the highlights of a RAW file I know plenty of photographers who will deliberately over expose their images knowing they can recover it in post-production.

Why overexpose?
In a word, noise, and the theory goes something like this. Noise is very evident in the dark, shadowy areas of a photo that are made lighter when processing. But as RAW files have all this hidden highlight detail, if you start off with RAW files that are a bit too bright and make them darker, you won’t add any more noise.

Sounds crazy right? Well, believe it or not it really works… but keep reading because there’s a catch.

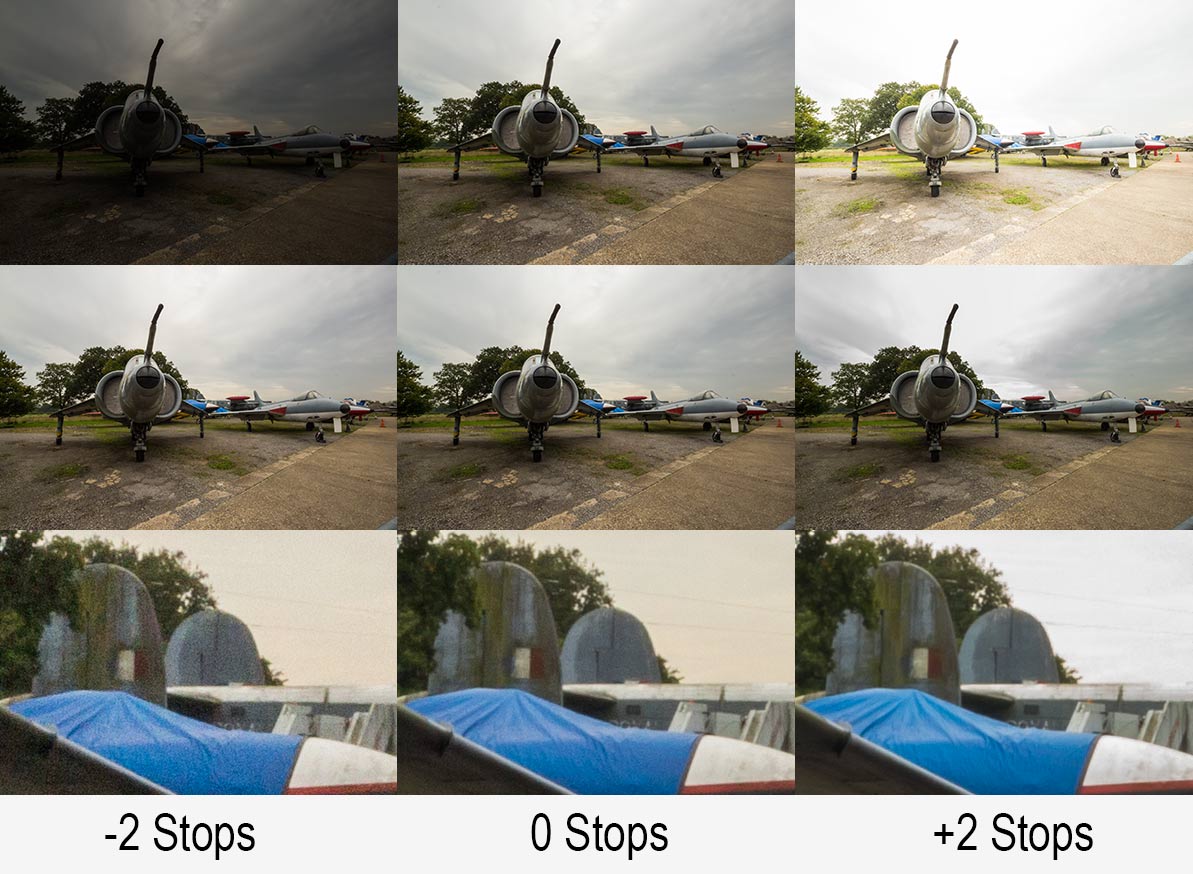
over-under-1

Take a close look at the image above, you’ll need to click it to really see what’s going on.

I shot the same scene at three different exposure (Top Row) I then brought all three RAW files into Adobe Camera RAW and edited them so they looked more or less the same (Middle Row). From a distance the three images in the middle row all look the same but a close up says otherwise (Bottom Row).

The bottom row confirms the theory. Brighten an under exposed image and they’ll be more noise evident but darken an over exposed RAW image and the noise is about the same as the correctly exposed image and may be even slightly less!

The catch
So you may be think that I’m going to say from now no you should over expose your images by a stop… well I’m not.

You see, although the lower noise is brilliant there are other things to think about.

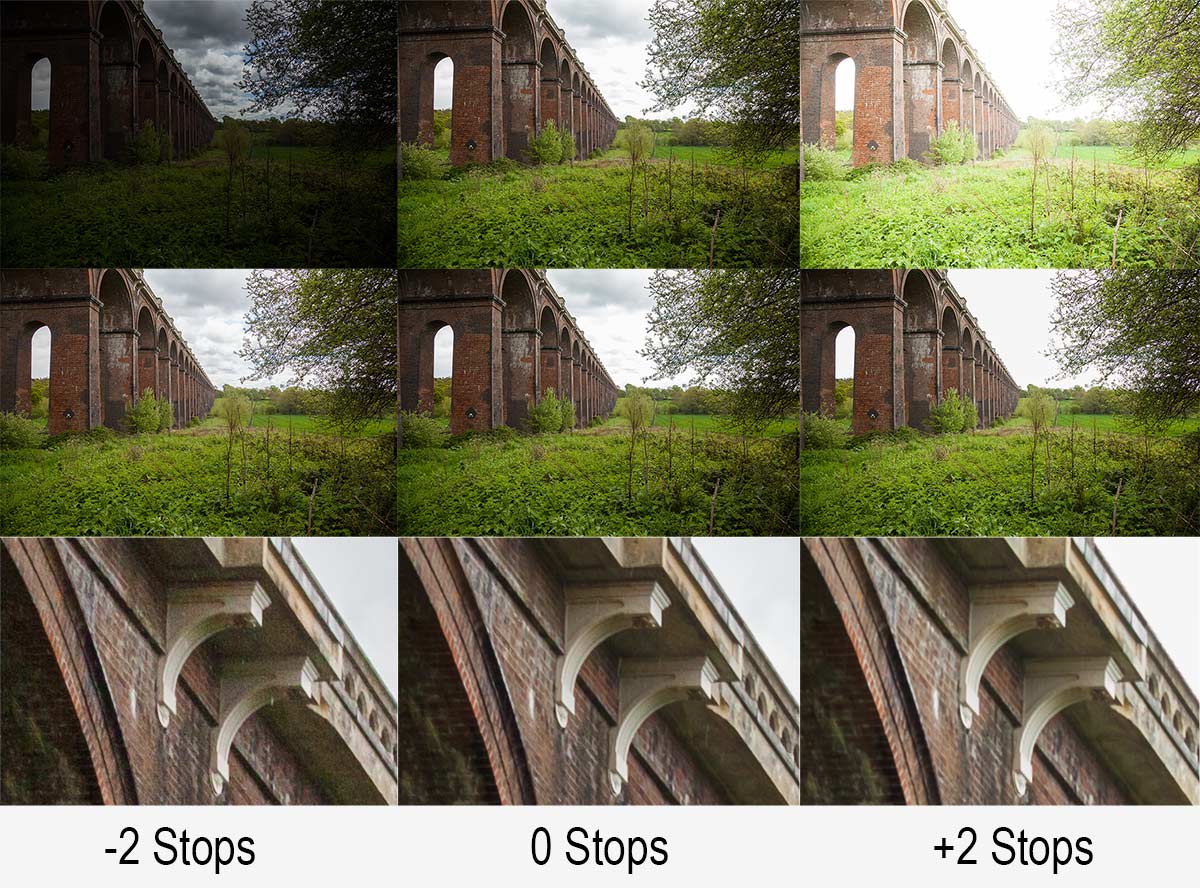
over-under-2

First there’s the question of just how much highlight detail you can recover. Take a look at the photo above and you’ll see the problem. Where’s the sky gone on the right hand (overexposed) image? The correctly exposed image (middle row) struggled to keep highlight detail so over exposing is asking just a bit too much, even in RAW.

That’s not all. One stop over exposure means your shutter speed is twice as long and that could be the difference between a sharp shot and a blurred shot. You might be able to counter that by opening up the aperture if the lens / depth of field allows it and of course you could double your ISO but that rather defeats the purpose doesn’t it.

Over, under or as metered?
As is so often the case there’s no rights or wrongs that will apply to every situation and camera meters are prone to errors by design. However for me, I’m sticking to the as metered reason unless there’s a valid reason to do otherwise and I’d recommend you to do the same.