Secret Portrait Shoot Picture Palace

Sam here and we’re back with another Secret shoot!!! If you don’t know what that is let me explain. I  arrange a shoot that Gavin knows nothing about, he will just turn up to shoot. No planning, no research, a real challenge, as he is someone who is organised and likes to plan as much as possible beforehand.

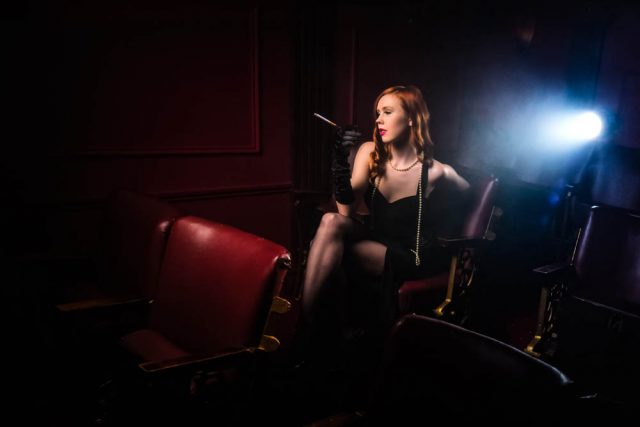
I booked a unique cinema in a shepherds hut in Chichester called The Picture Palace

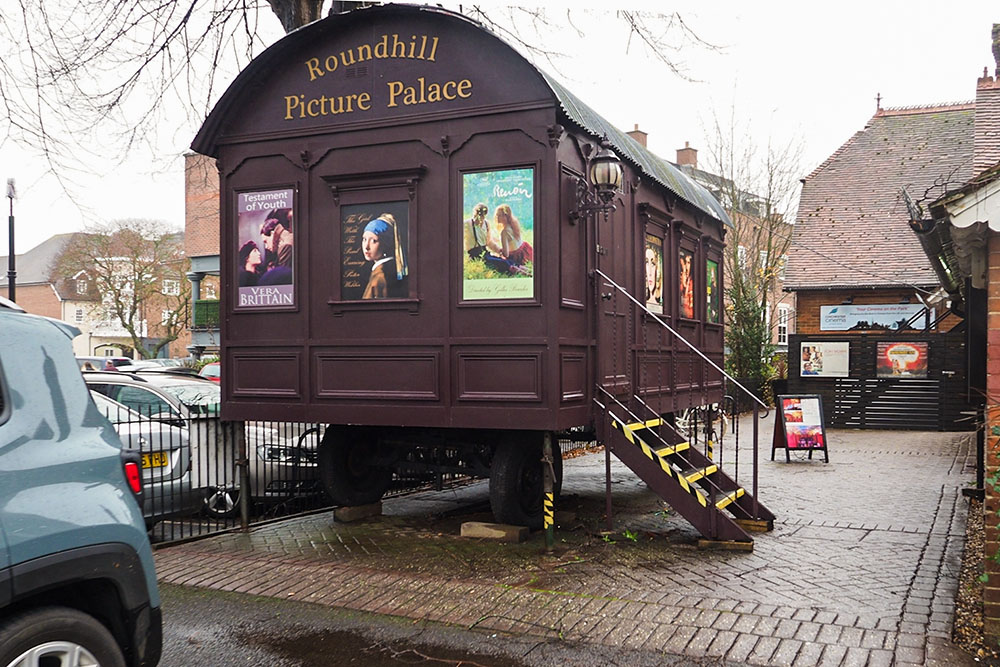
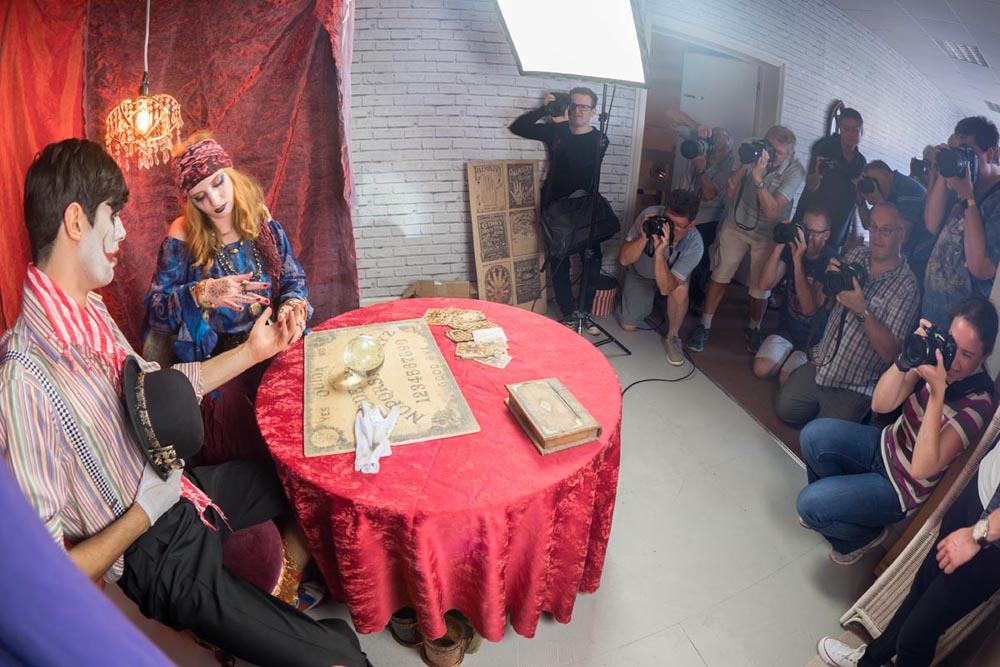
The venue had been recommended to me by one of our photographer workshop attendees Andrew. In fact he helped out on the day, just so happens we both managed to stay mostly out of shot!

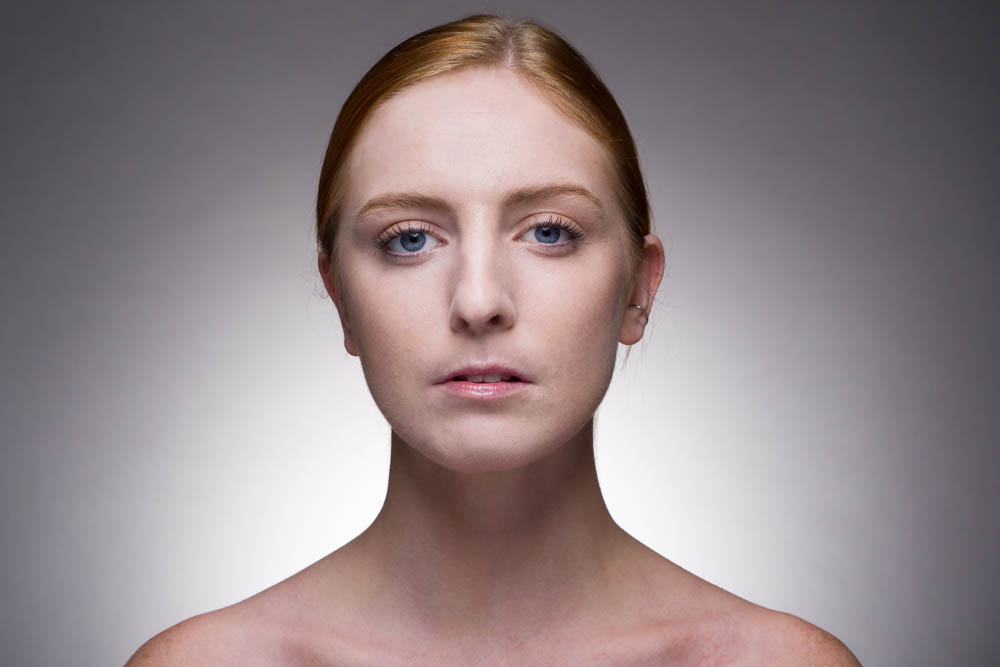
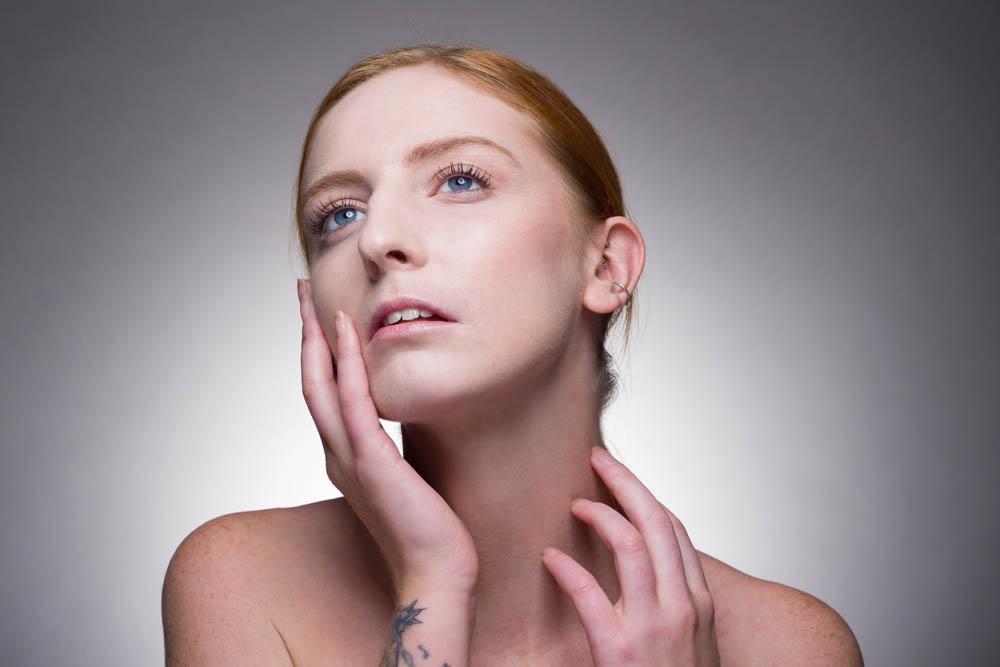
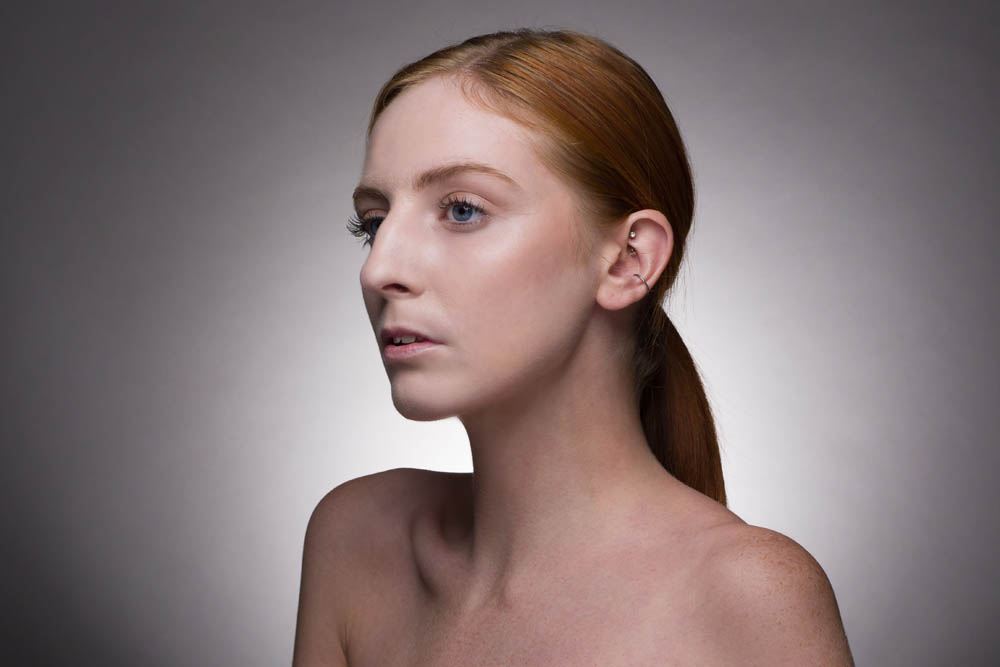
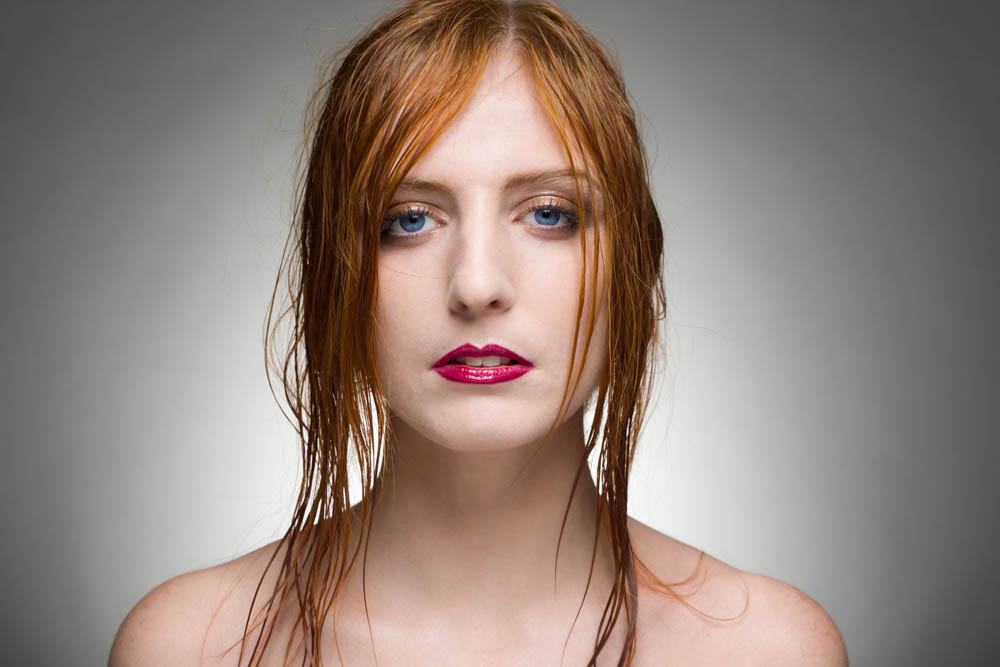
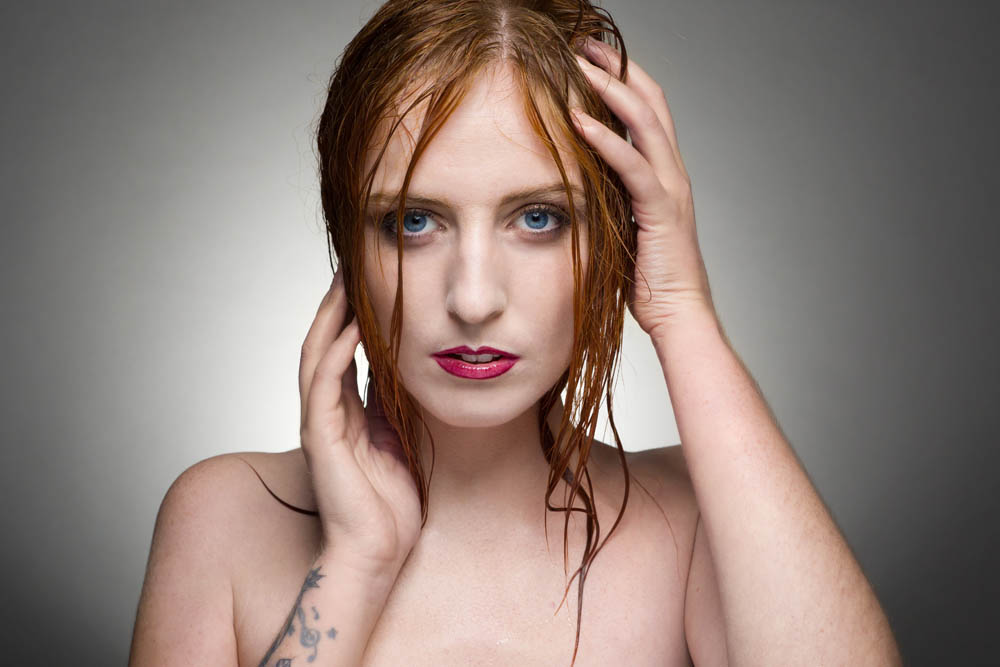
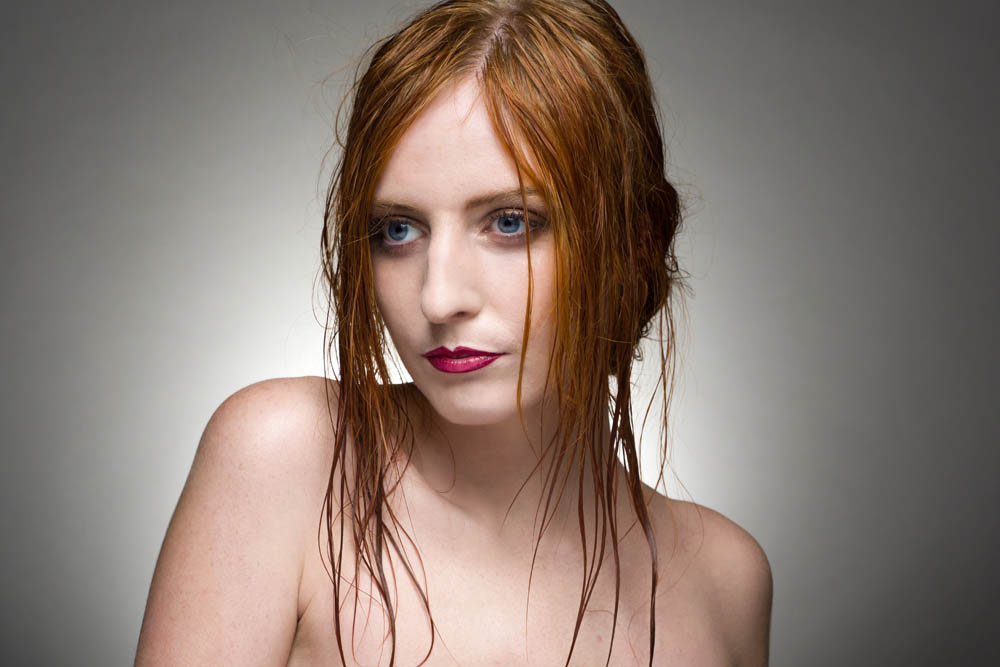
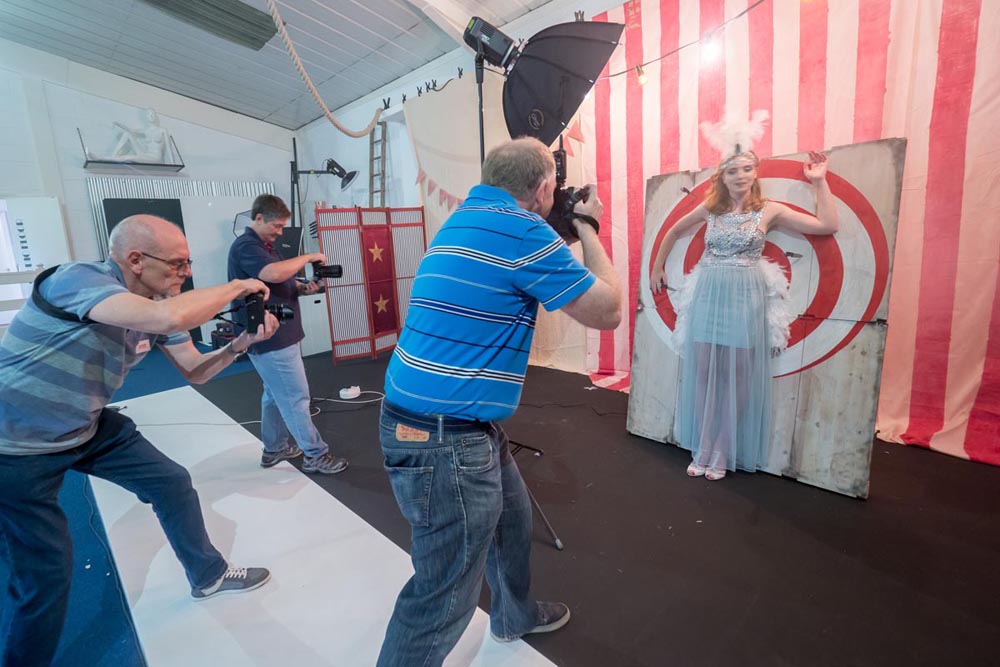
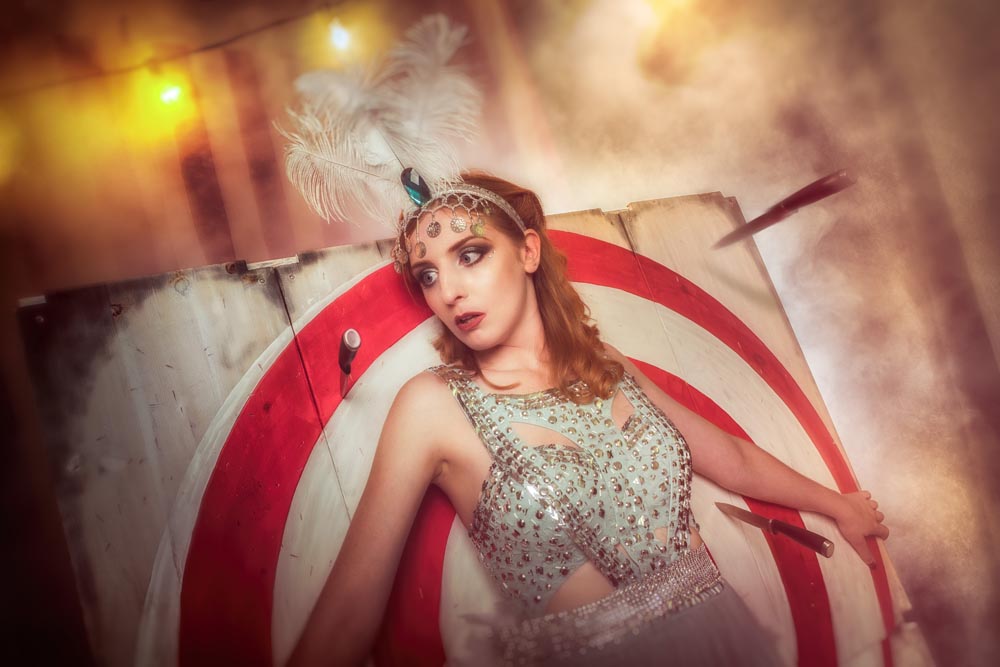
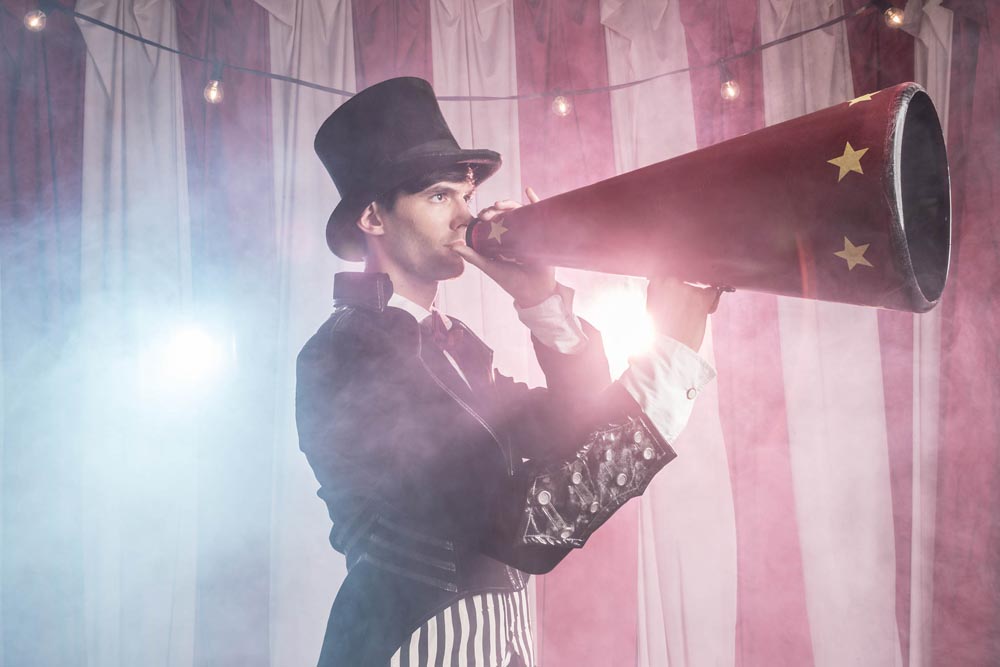
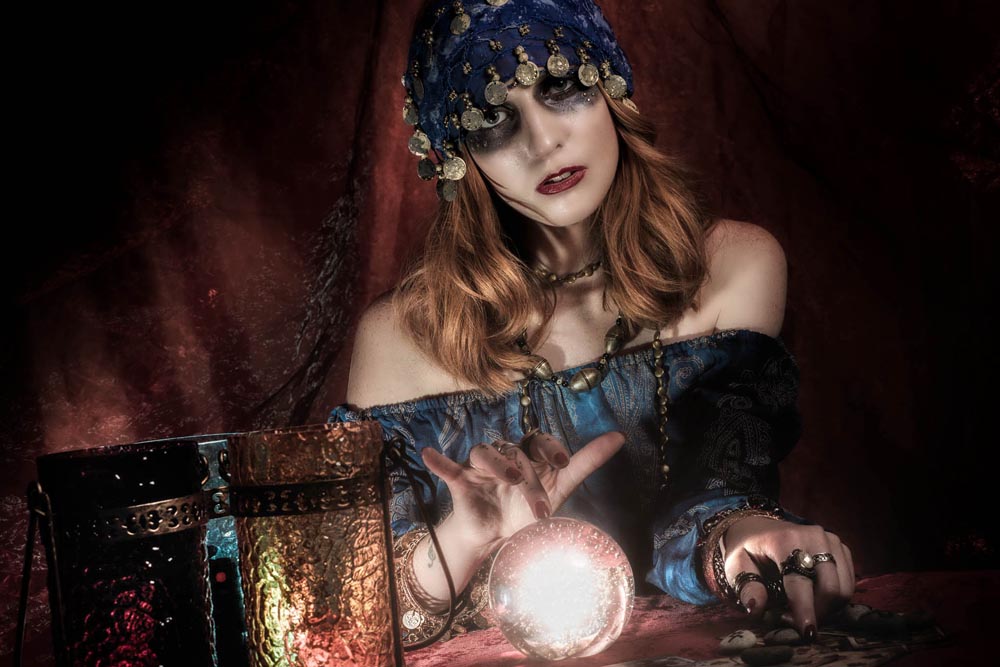
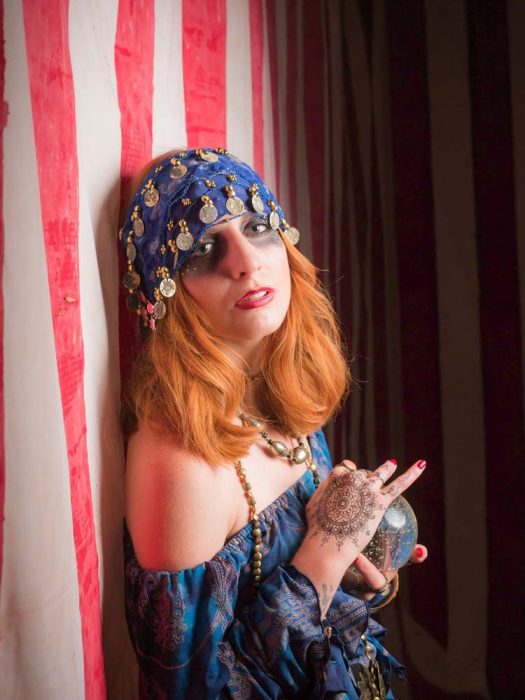
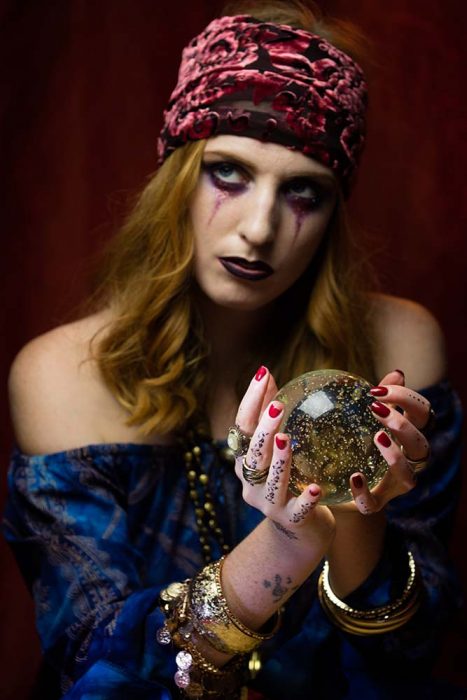
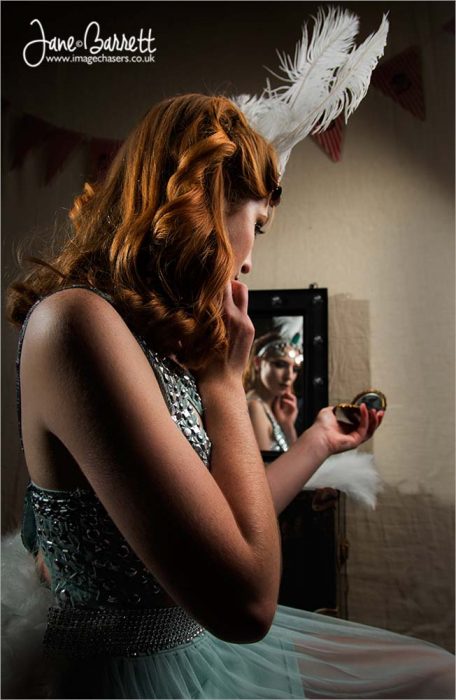
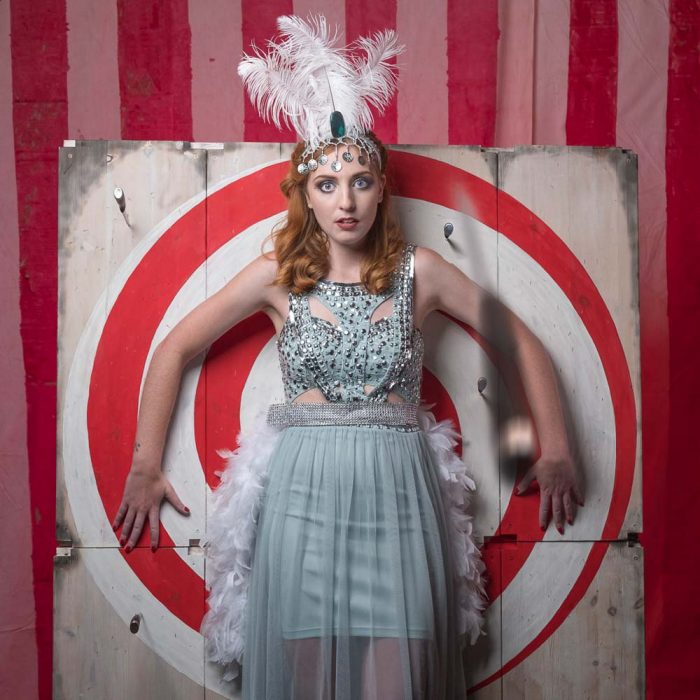
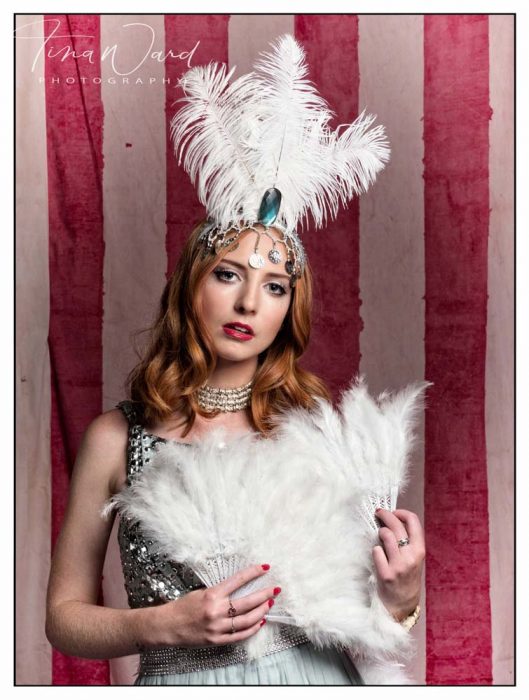
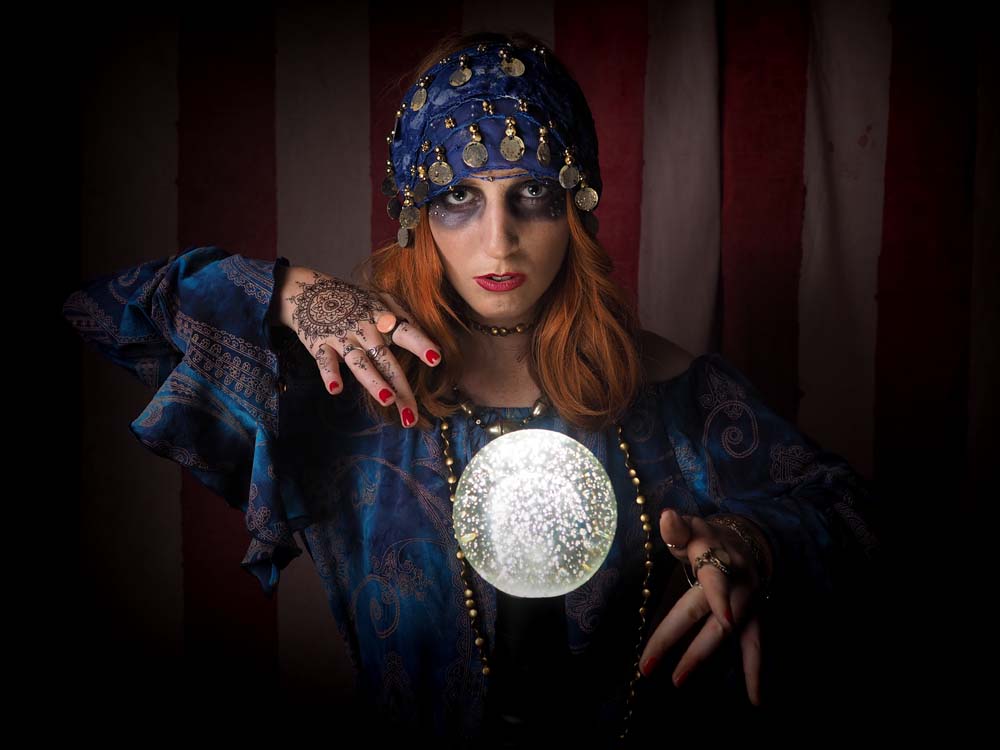
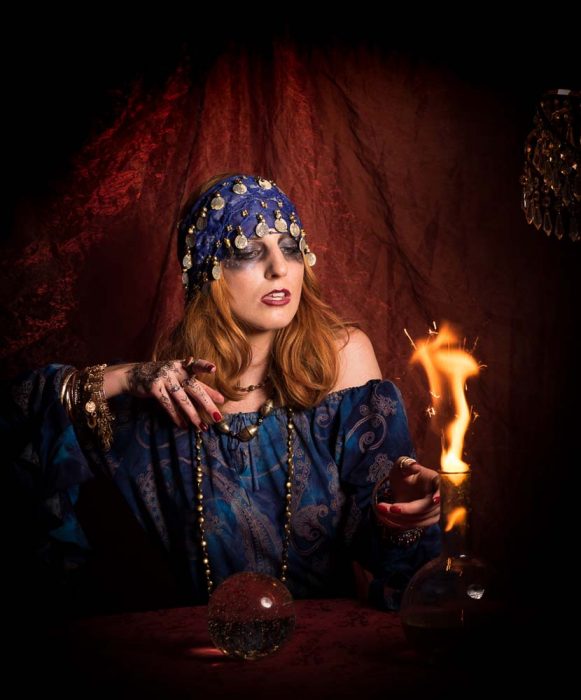
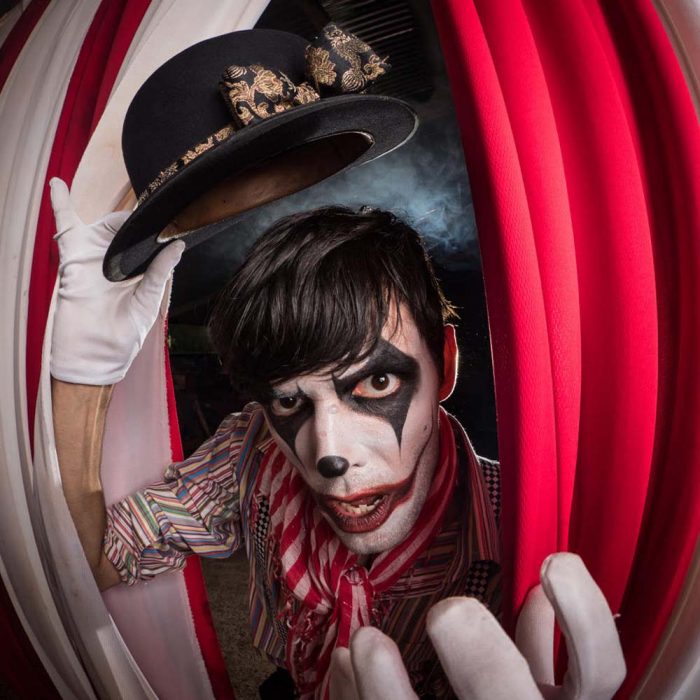
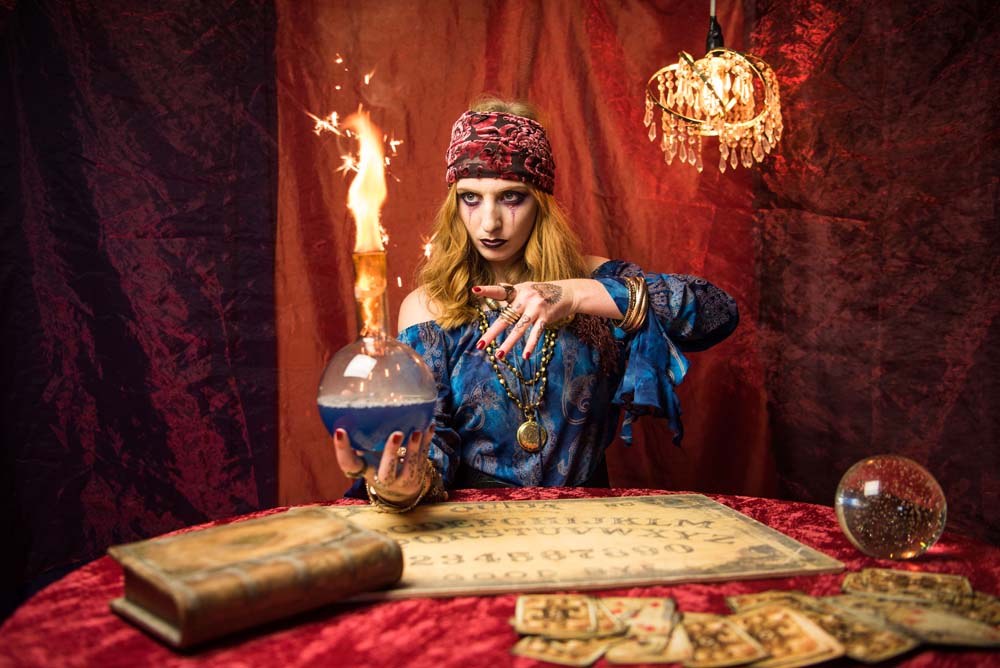
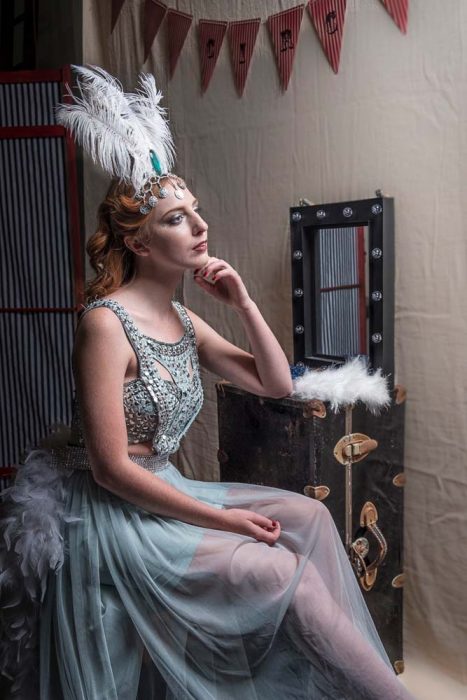
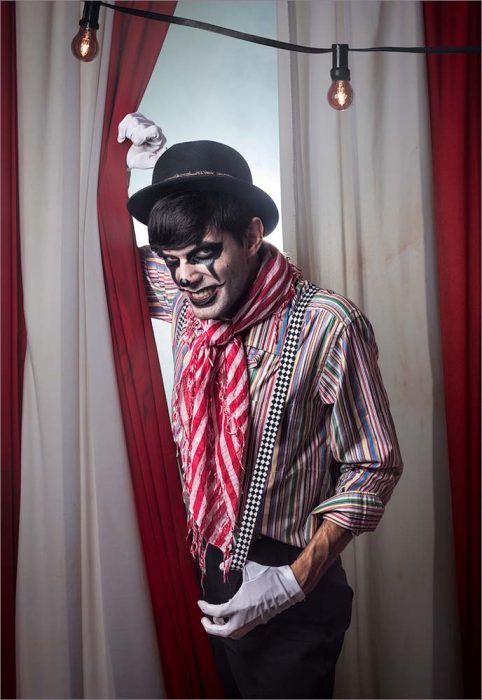
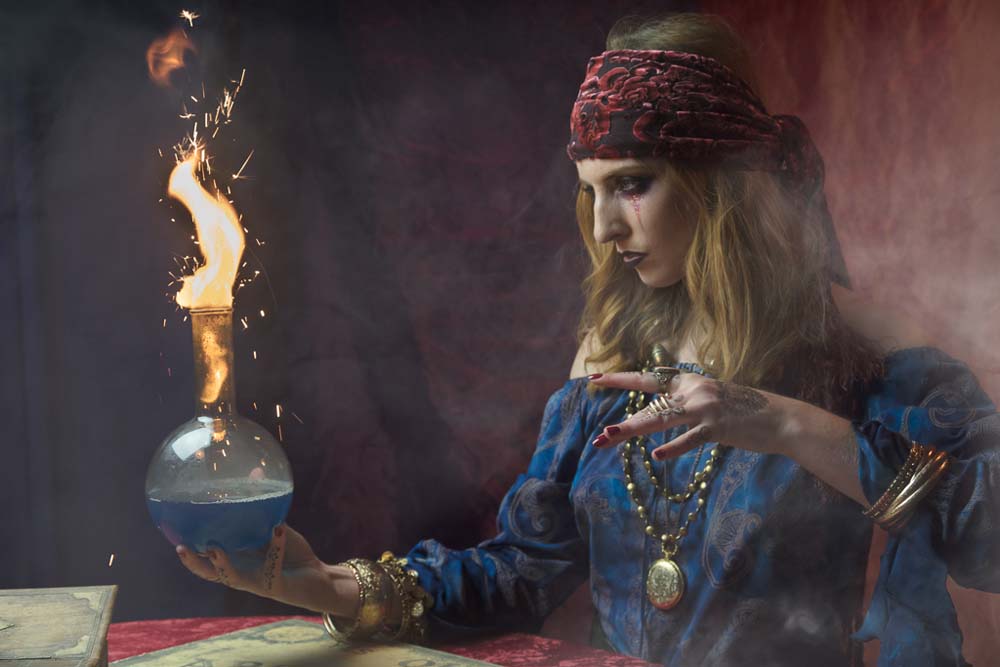
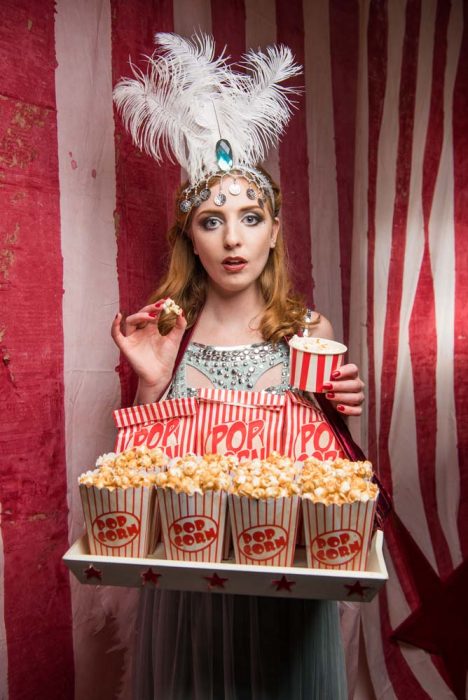
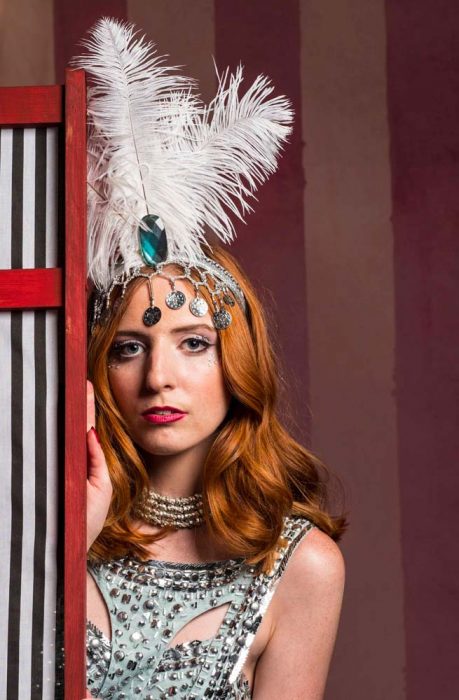
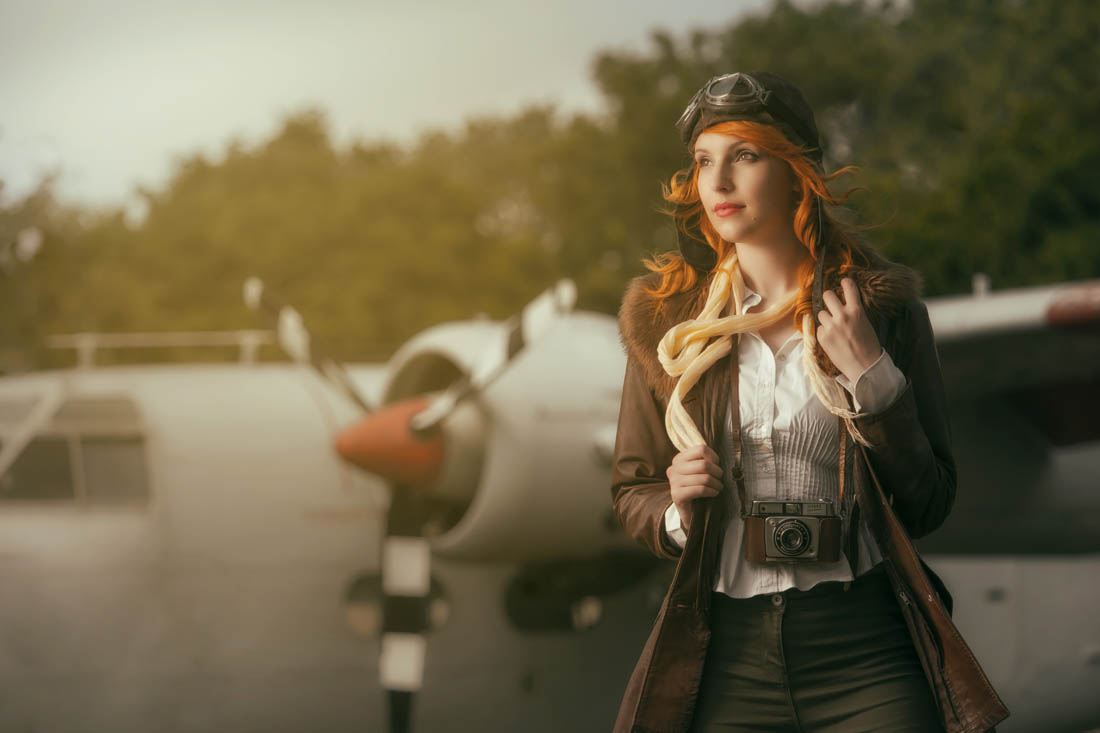
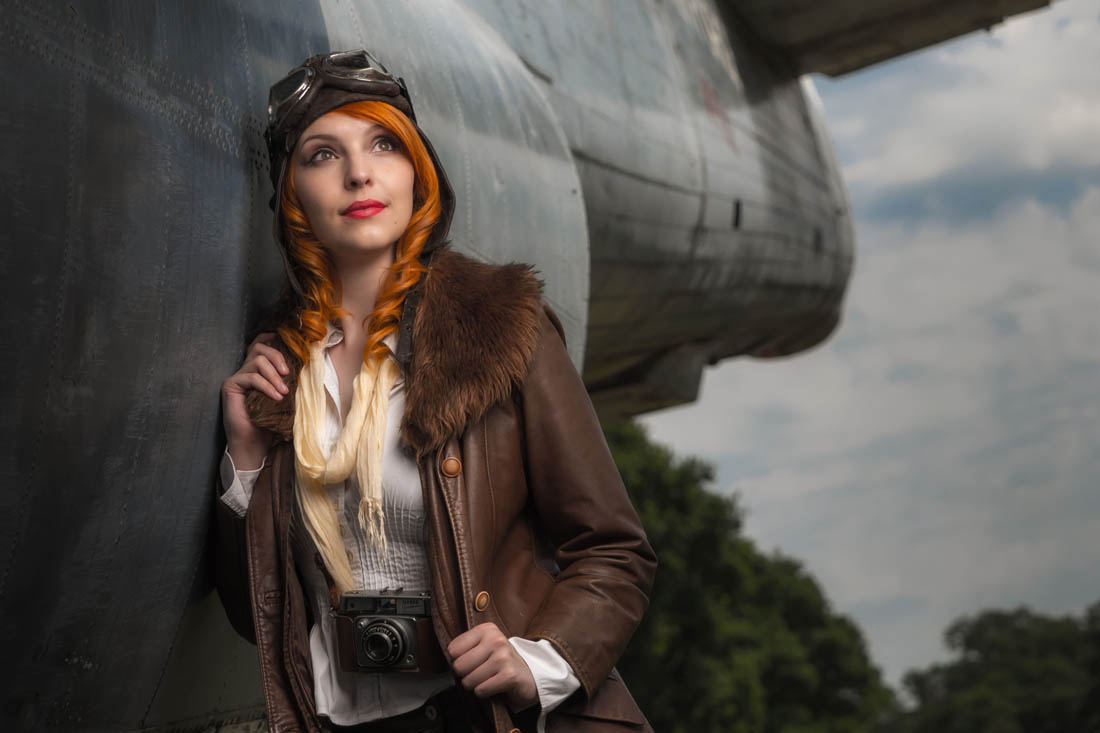
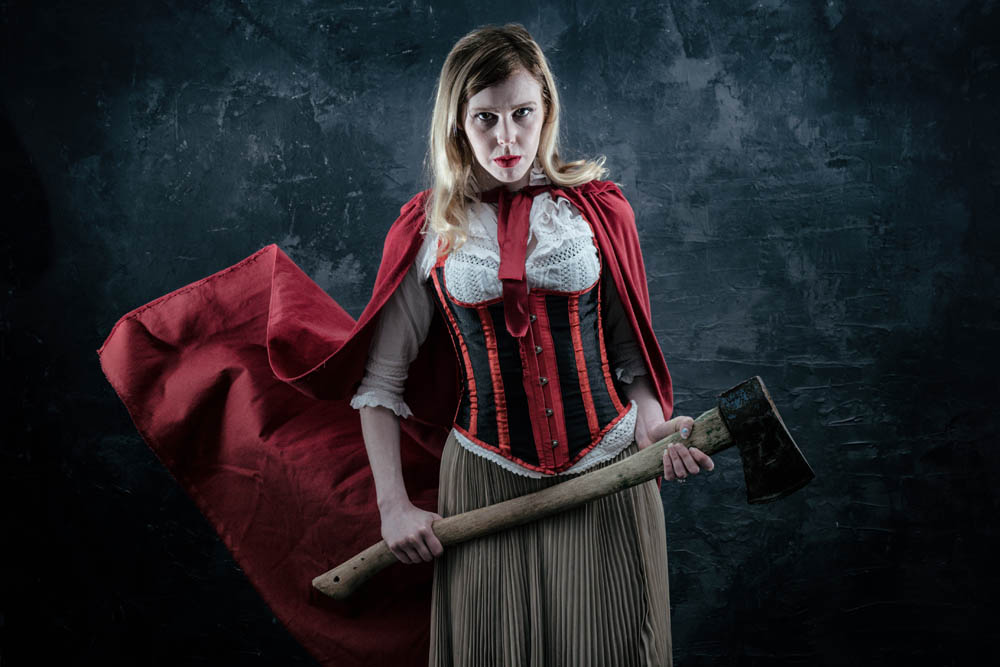
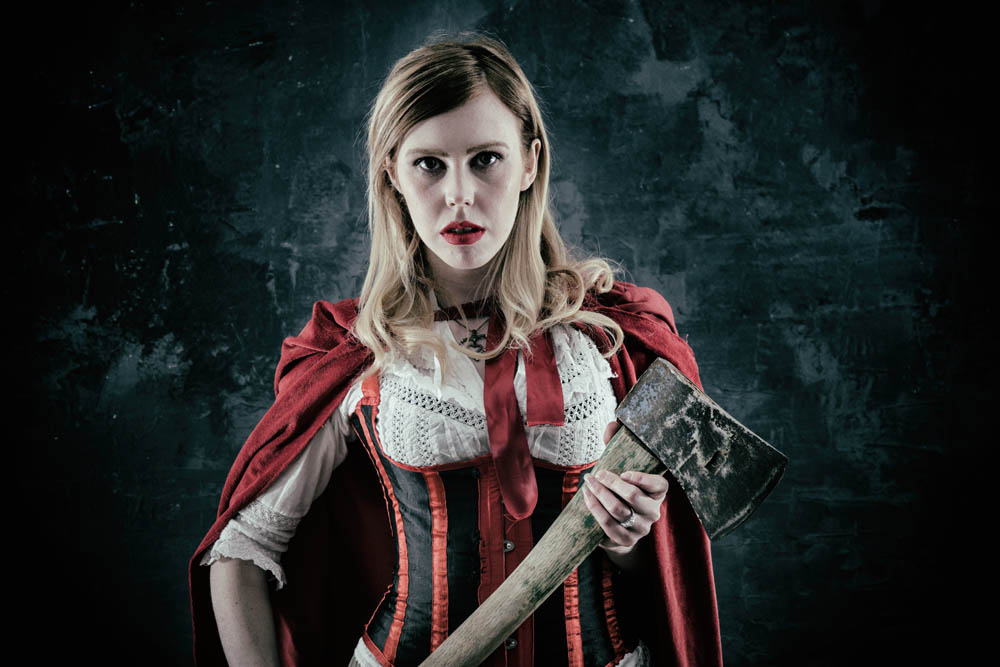
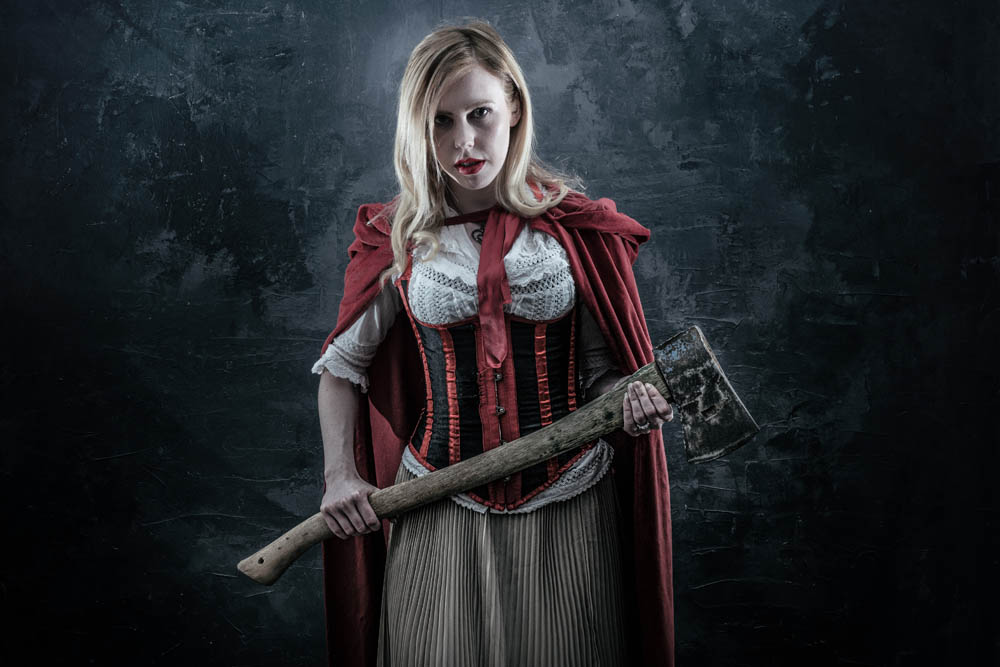
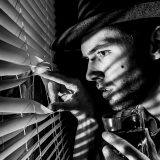
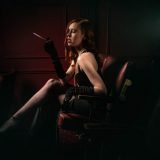
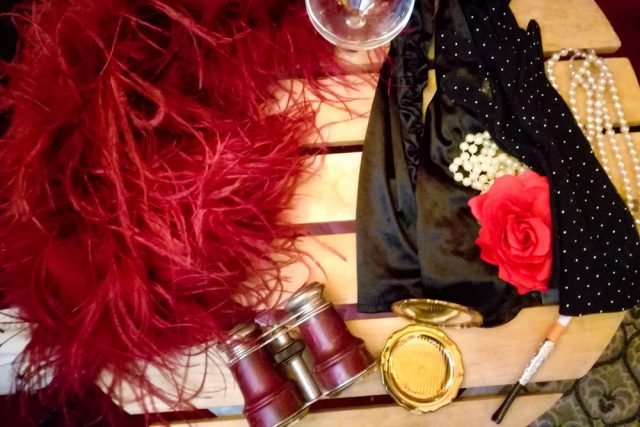
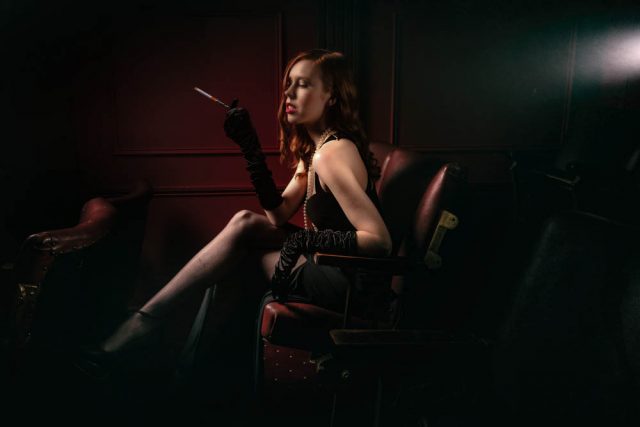
I booked Fern as our model, I knew she would be perfect for a sassy vintage screen goddess look. She totally got it straight away. I thoroughly enjoyed getting the outfit together, it’s the little touches that can really matter. By the way that dress is amazing, perks of the job as I wore it Christmas day! (didn’t look quite the same with a pinny on too….)

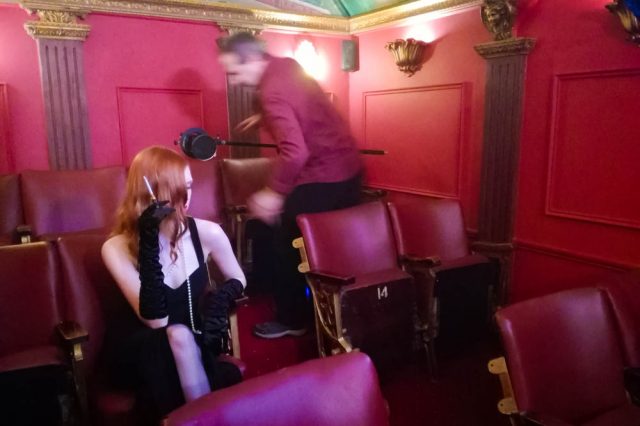
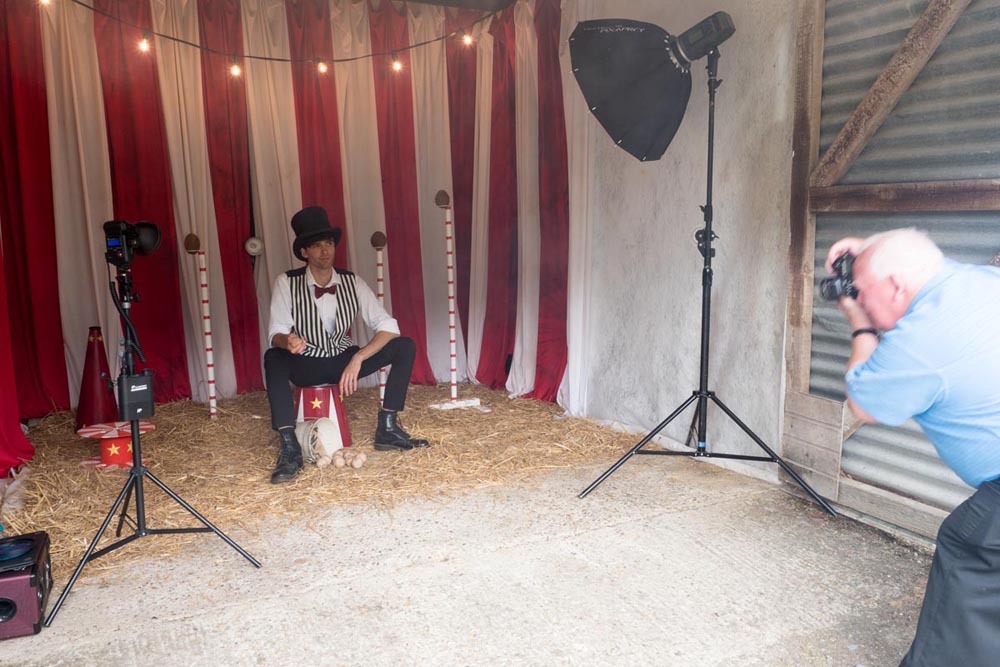
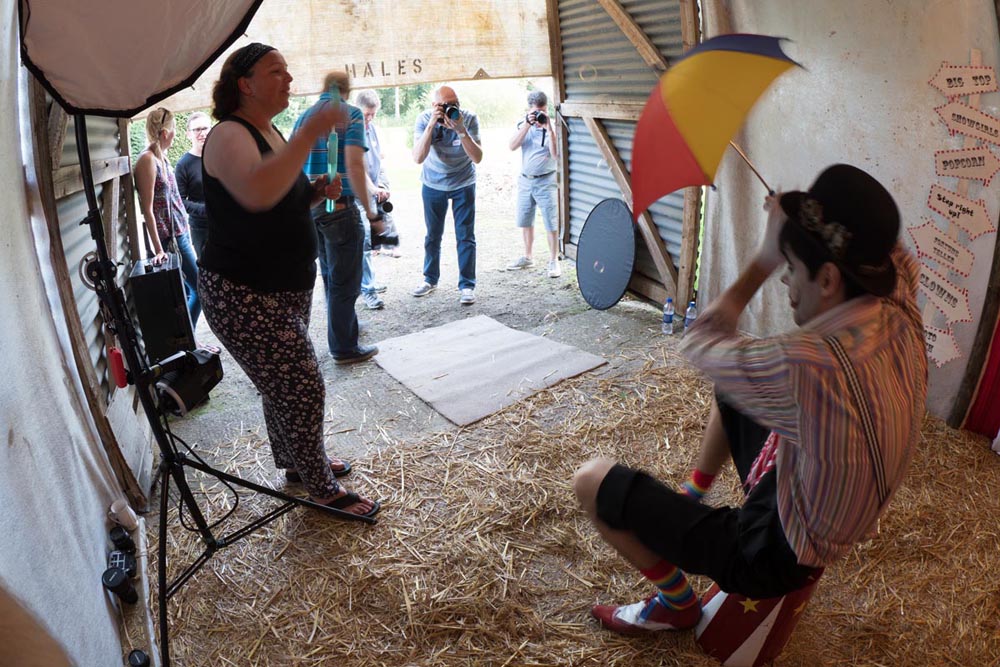
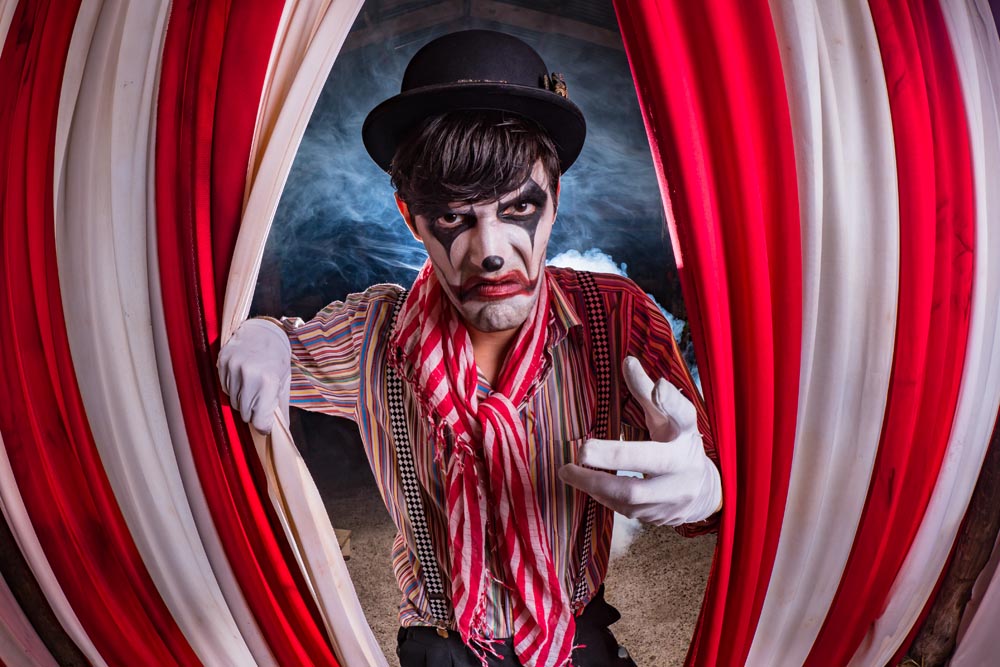
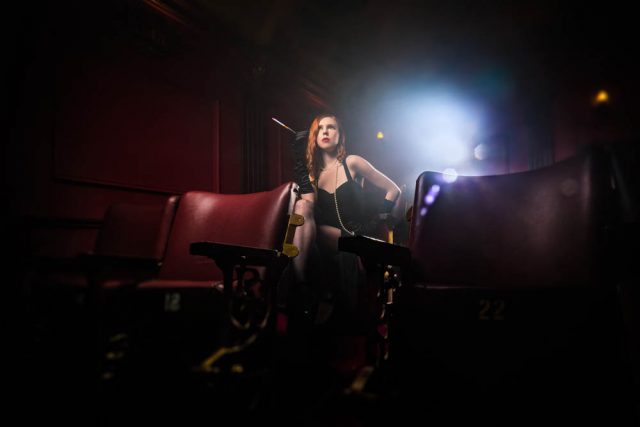
Gavin had to get his creative mind working fast to bag some awesome shots before our booked time slot was up. The space was very limited and with gear (remember we also have all the video gear too) and the seats in place the challenge was very real. I loved the shots, they were what I had imagined and more.

Check out the video here.
[youtube]https://www.youtube.com/watch?v=OUJvQ54v2z4[/youtube]

A 2018 Photo Shoot Round Up

As well as a load of video tutorial photo shoots we’ve also had some great location workshops this year. I have everything crossed that we have some more amazing places to see next year as well as working with the most fantastic bunch of people both sides of the camera!

Here’s just a few highlights of 2018.

Shooting in Gloucester prison was cold but fascinating. Thanks to Olympus UK we got to spend a few hours there with some very willing inmates!

Check out the blog here. https://www.gavtrain.com/?p=6085

We packed up the Faded Circus workshop for the last time in September. It’s been great fun working with our brilliant team on this the last 2 years. I’m sure the props and costumes with be repurposed and upcycled for future shoots as we have rather a lot now!

Take a look at a few images taken on the day by the attendees. https://www.gavtrain.com/?p=5956

Gods Own Junkyard in Walthamstow was a eclectic neon palace! We had a great time here with Olympus and a select bunch of people who were quick enough to bag a place. Working for the first time with the most awesome Meg Biffin who brought her unique look and wicked sense of style to this shoot.

Farewell 2018. Roll on 2019!

Scary Halloween Basement Shoot

When Kerry said she was available for a shoot, even though it was only August, we knew it should be a Halloween shoot. Not sure why but most of the models, make up artists and quite a lot of photographers love this theme!

Despite the scary look, this was such a fun shoot. Also the first time I’ve had to clear up blood drops and splatters from the studio walls and floor, thank goodness all fake!!

[youtube]https://youtu.be/ScVEJfBzOJ4[/youtube]

As you’ll see in the video, the blood used was tried out first. The one used for the closest skin contact, especially on the bandages close to Kerry’s eye, was homemade. I used a mix of runny honey, a little cornflour and some red food colour gel. As it was edible and Kerry likes honey!


Make Up, Quick vs Quality

We started working with make up artists several years ago for our portrait shoots. It really opened our eyes to how much make up can change the look of your shots.

Some themes and styled shoots can benefit dramatically from the services of a good make up artist. In this video Gavin takes shots firstly with a quick make up coverage and then repeats the shoot after a more stylised make up look has been applied.

Our model, Beth Smith and make up artist, Sophie Daly help to show the difference achieved. Gavin gives hints and tips on how to get the most from working with a great make up artist.

[youtube]https://youtu.be/kVFcQ5mGgdY[/youtube]

Here’s some of the basic coverage make up shots.

A few of the shots after the more dramatic make up was applied.


Home Studio to Mini Music Venue

It’s always fun when we get IF-E in the studio and this video was no exception. Gavin likes to push the boundaries and overcome the limitations of working in the same small space and this was another cracking example.

Some great lighting and obviously the smoke machine provide the right vibe for IF-E to bang out some lyrics and attitude (he’s great at that!).

The set up started with just one light progressing through to adding further lights for a variety of looks. The addition of smoke gives a different mood to the shots, as the smoke moves and dissipates the look changes.

Check out the video to see the entire shoot.

[youtube]https://youtu.be/yTnaLcGhZhg[/youtube]


Here’s a Behind The Scenes of the final set up.

Here’s a few of my favourites from the set.


Faded Circus 2017 Workshop – Wrap Up

Our big summer workshop is becoming something of an annual event. This years theme was “The Faded Circus” which we held at Square One Studio in Surrey on two dates in July and August. Steve, the studio owner, allowed us to take over both his studio areas and even gave us rare access to his barn for that authentic circus feel.

We were joined by 12 photographers for each date and two amazing models, Beth Smith and Brian Mansi. In order to keep the groups small and the shooting time high, I once again roped in the help of Tommy Reynolds as a group leader who did a brilliant job passing on his ideas and passion.

We’ll be running this workshop again in April 2018 (exact date TBA). Register your interest here 

For the morning sessions Beth took on the roll of a show girl. We had the whole of the main studio to play with and set up various areas for Beth to sell popcorn, brave the knife throwing board and even had a little back stage area.

Brian became the circus ring master and carnival carnie. Being outside in the barn meant we could put straw on the floor and had room behind for some creative back lighting and LOTS of smoke.

After lunch it was all change. Beth was in the second studio which we’d set up as a fortune-teller’s tent. Ouija boards, crystal ball and even a little bit of fire added to the shoot. For the second shoot, we made time at the end to bring Beth and Brian together. It was a bit of a bun fight for the photographers but brilliant fun.

Who doesn’t love a clown? Well lots of us don’t and Brian played that hand to perfection. Miserable, angry and at times a little bit scary, it’s exactly what the faded circus theme was all about.

There’s nothing more frustrating to me than seeing a workshop organiser shooting photos for themselves at the expense of the attendees. As a result I only took a few shots. Fortunately, the photographers who joined us took thousands of photos and below are a few that I’ve been sent so far.

High Speed Sync Flash

High speed sync is the one flash feature I’ve been missing since swapping to Olympus from Canon a few years back. Yes I could work around it with ND filters or shooting at either end of the day but neither worked as conveniently as high speed sync.

Also known as FP flash or just HSS, flash manufacturers have been slowly catching up and now there are a couple of brands supporting Olympus, Panasonic and Fuji. The first I came across was Profoto but sadly they’re way beyond my budget. Then Godox introduced the TT350o which works like a charm.

[youtube]www.youtube.com/watch?v=jywWCwvf7ps[/youtube]

As you can see in the video above, HSS allows the camera to shoot at shutter speeds far beyond the tradition flash sync speed of around 1/250th sec. The upshot of reducing the exposure time is that you either reduce the ambient light contamination (perfect when shooting inside with large apertures) or if you want to record the ambient and flash together, you can shoot with wider apertures for less depth of field.

The Godox TT350o flash/trigger that I used here is branded as the Adorama Zoom Mini o (O for Olympus… and Panasonic) there’s also a f version as well as a C, N and S version.

Since then Godox have launched the X1T-o also known as the Adorama Flashpoint R2-o in the USA or the Pixapro ST-iii T in the UK

Dramatic lighting with just two speedlights

So you only have two bare speedlights and you want to shoot some creative portraits. That’s the challenge I faced recently after discussing how a fellow photographer could get started in portrait photography without spending too much on new equipment.

Don’t get me wrong, bare speedlights will obviously limit how you can light your subject and won’t beat better strobes and a choice of light modifiers but I figured that if I can generate the initial excitement for shooting portraits with basic kit, the rest will grow in time.

So with a bit of help from model Fern we dusted down the Red Riding Hood cape and set to work.

I started by putting the two lights either side of Fern, at 90 degrees to the camera and in line with her shoulders. I carefully made sure they were evenly spaced and that Fern was evenly lit. The end result was a bit too much contrast but very dramatic.


Next I spun the lights around and pointed them at the white walls of my studio. The light was bouncing off the walls which simulated the look of light coming from a source much bigger then a small speedlight. Bigger means softer when it comes to light but it also means more spread and sure enough the photo looked much flatter.


I turned the light back around. If you want a sinister look, put the lights low. It’s not a lighting position I regularly use but in this case it felt right. However the direct light from the bare flashes still looked a bit too harsh for my taste.


To soften the light a little on Ferns face I kept the lights low but angled them up to the ceiling. The result was a mixture of hard light and soft light that worked perfectly for the look we were going for.

For more information on the shoot and the post processing, check out the video below
[youtube]www.youtube.com/watch?v=LKNSqE8sdrc[/youtube]

Film Noir in a small studio

How do you sum up the film noir style? For me words like dark, moody and sinister would be fitting but there’s a lot more to it then that. There’s the style both in lighting and subject matter to consider too.

I always think of Film Noir as being high contrast, black and white scenes lit with hard light resulting in strong shadows. Rightly or not I also think 50’s style crime drama and that’s what I set out to produce in my small home studio.
[youtube]www.youtube.com/watch?v=-9o1Pc6uDRU[/youtube]

The trick here was to set my main light low and hard (No softboxes or umbrellas) That gave great shadows from the Venetian blinds and the up light gave a sense of menace, as well as the subtle feeling our hero was on a higher floor looking down.

The rest was down to Styling. So asking Brian (the model) to have a bit of stubble, giving him a bottle of whiskey (or cold tea in this case) and of course, having him hold a vintage kids cap gun all helped set the scene and tell the story.

Rainy Portraits in the Studio

Rainy days aren’t always the easiest days to get great photos for a whole bunch of reasons but with a bit of effort and a lot of luck, you can get amazing photos.

However if getting wet isn’t your thing, it’s surprisingly simple to bring the rainy weather inside and under your control.

In the video below I’ll show you how you can create a rainy day window portrait using a couple of flashes and some simple props.

[youtube]https://www.youtube.com/watch?v=L4USUxcL49A[/youtube]

The main thing you’ll need is a “window” and although you could use a real one I opted for a sheet of clear Perspex (also called Plexiglas or clear Acrylic). I’ve had my sheet for many years and it’s very scratched but still serviceable. www.wickes.co.uk/Wickes-Durable-Acrylic-Sheet-90cmx1-8m/p/210002

The video has two ways of using the “window”, shooting looking from the outside in and shooting from the inside, out. Both have their own unique feel and if you’re set for one, doing the other is quick and easy.

If you tried the technique yourself, do leave me a comment below and share your photo if it’s online somewhere.

It’s always a pleasure to have Beth Smith model for me. Check out her portfolio at https://purpleport.com/portfolio/bethsmithmodel/