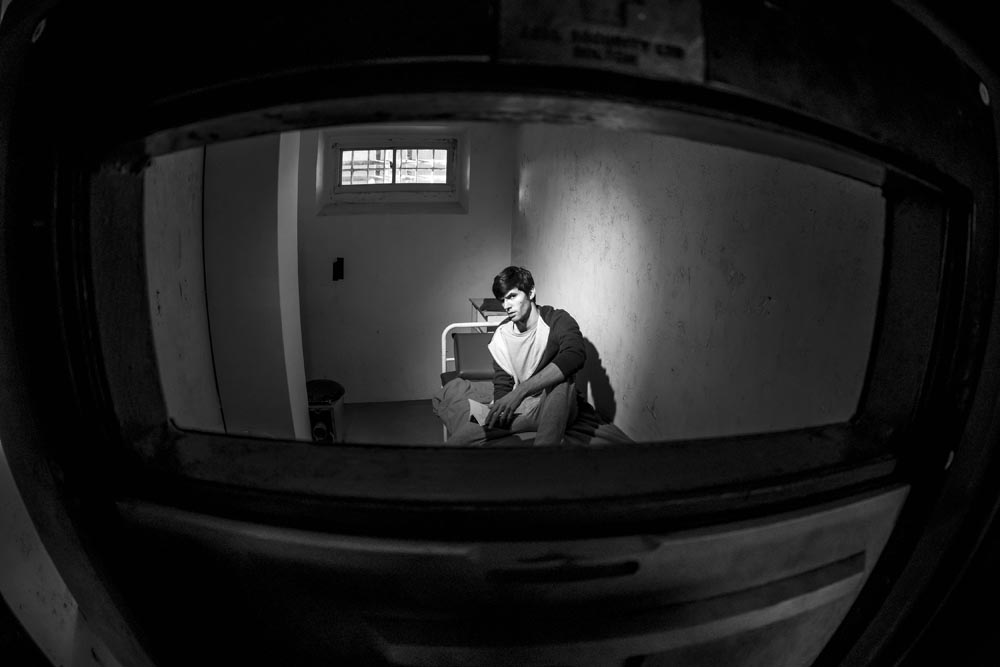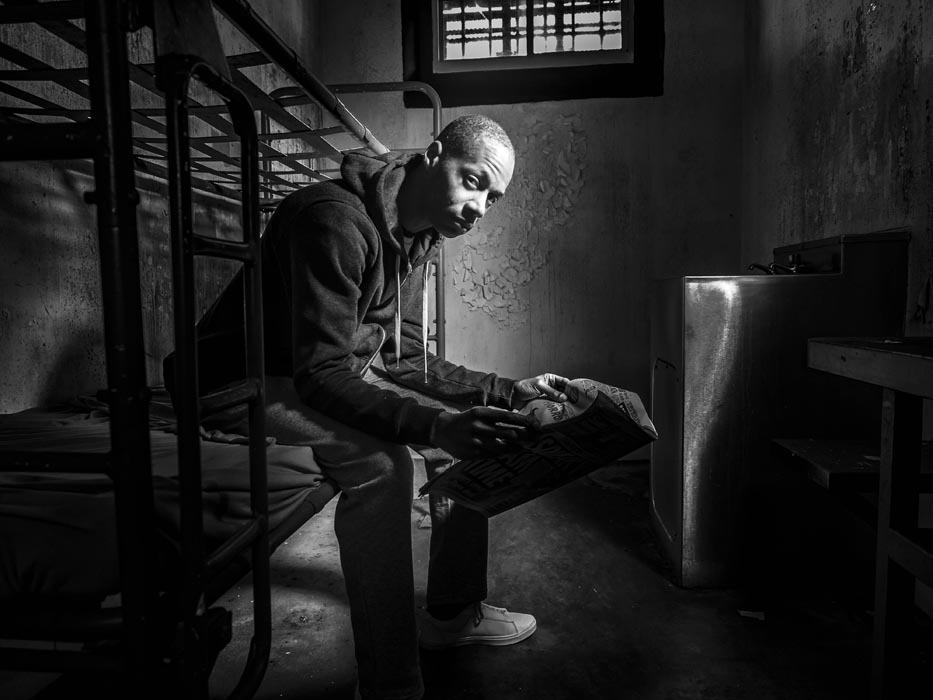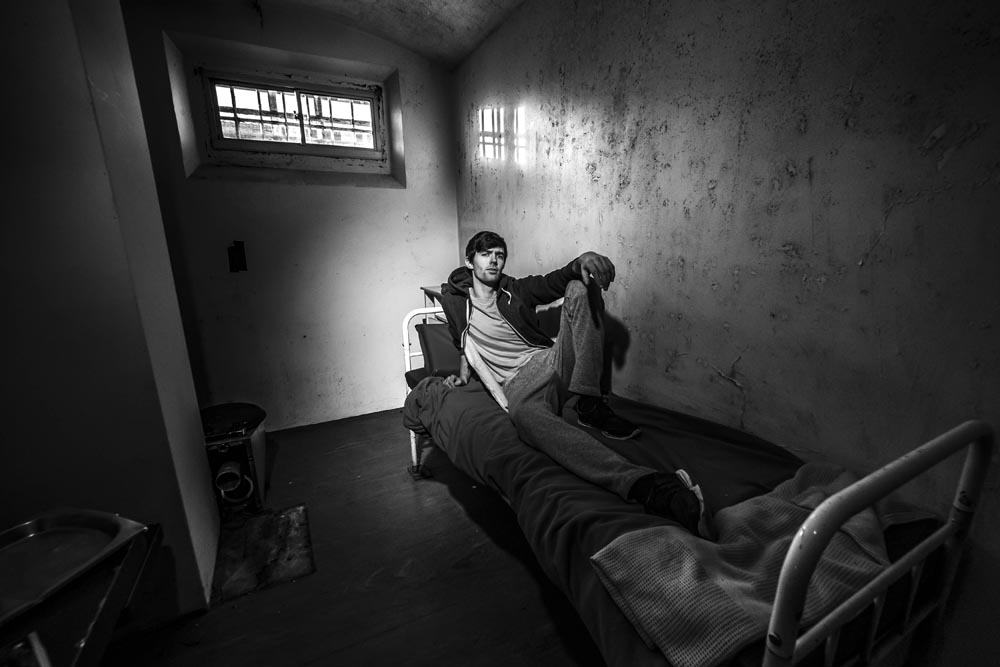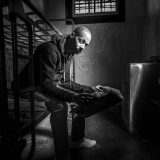
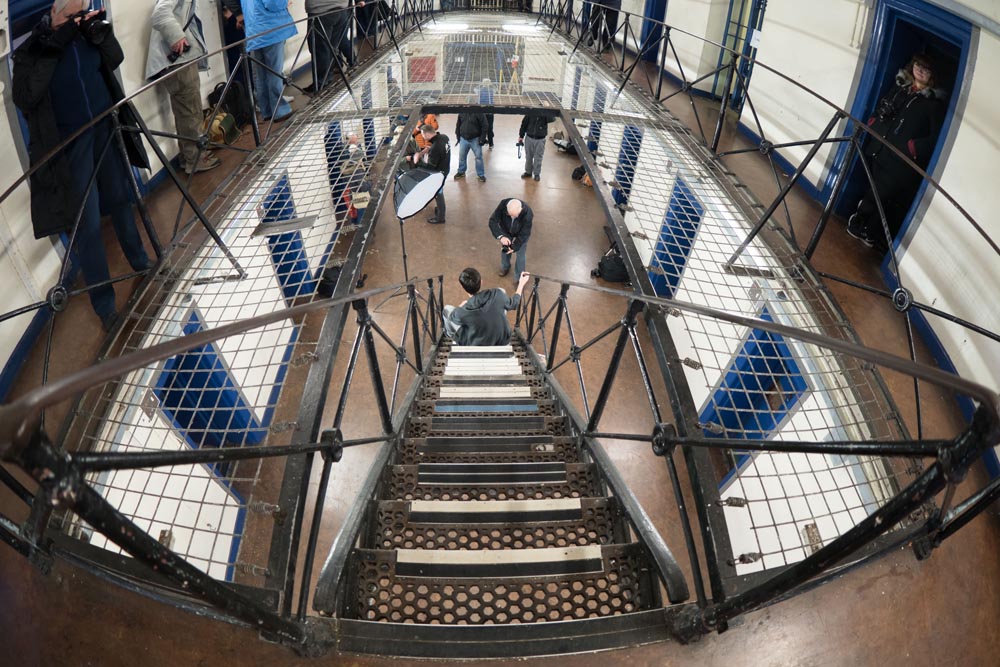
Gloucester prison group shoot

Going to prison isn’t something I’d ever want to do. But going to a decommissioned prison and having exclusive access to all areas is my sort of event.

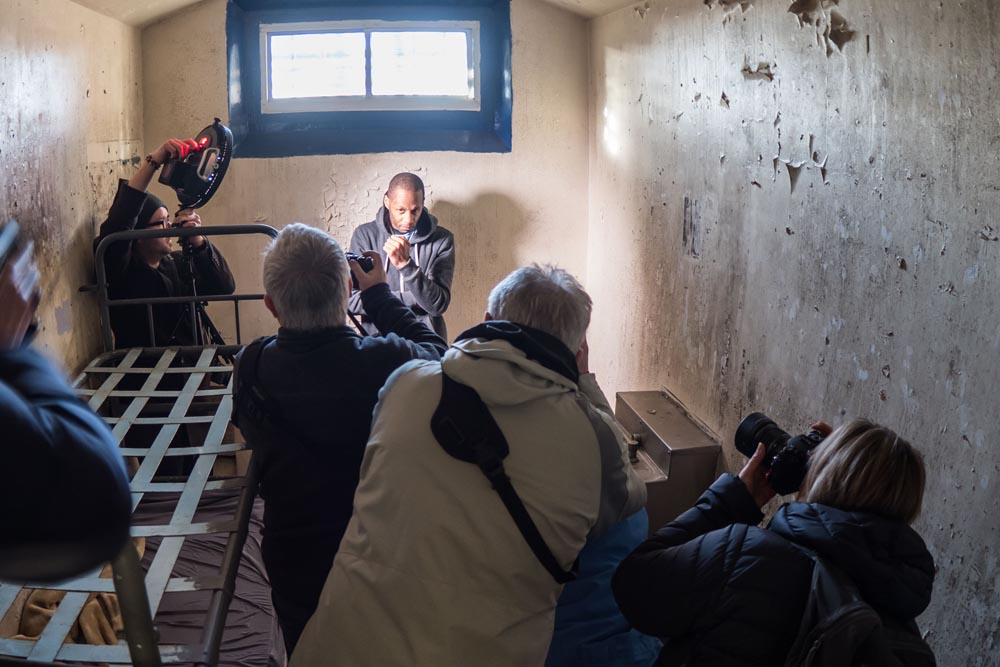
Gloucester prison is an incredible location to visit. Its last residents left 5 years ago but luckily Brian and P-J came along to play the part of prison inmates for the day. The cold, small cells with peeling paint may have looked grim but photographically they were perfect and both models really got into character.
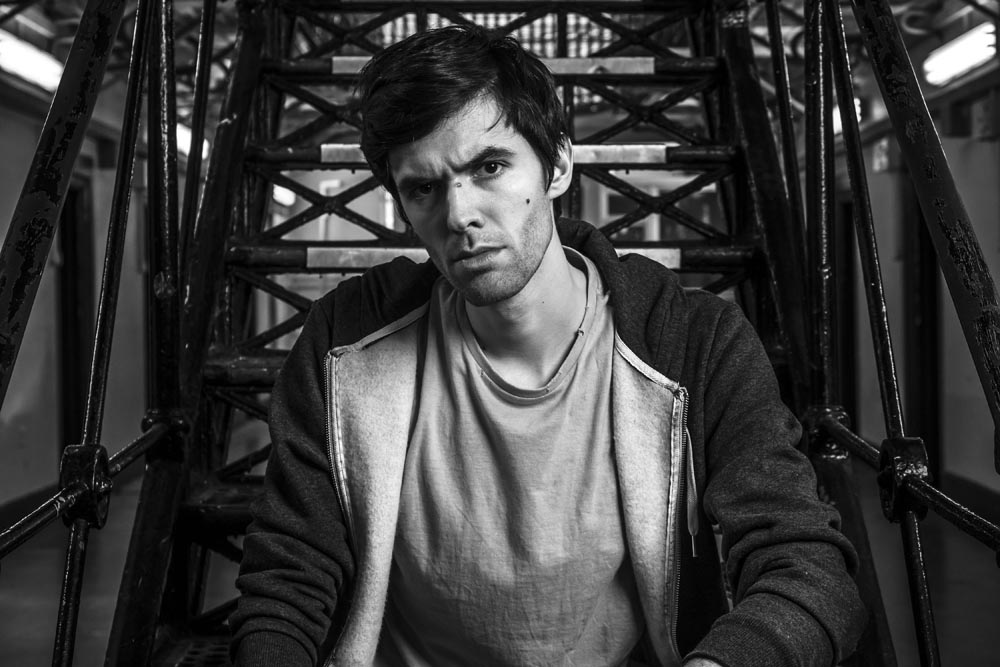
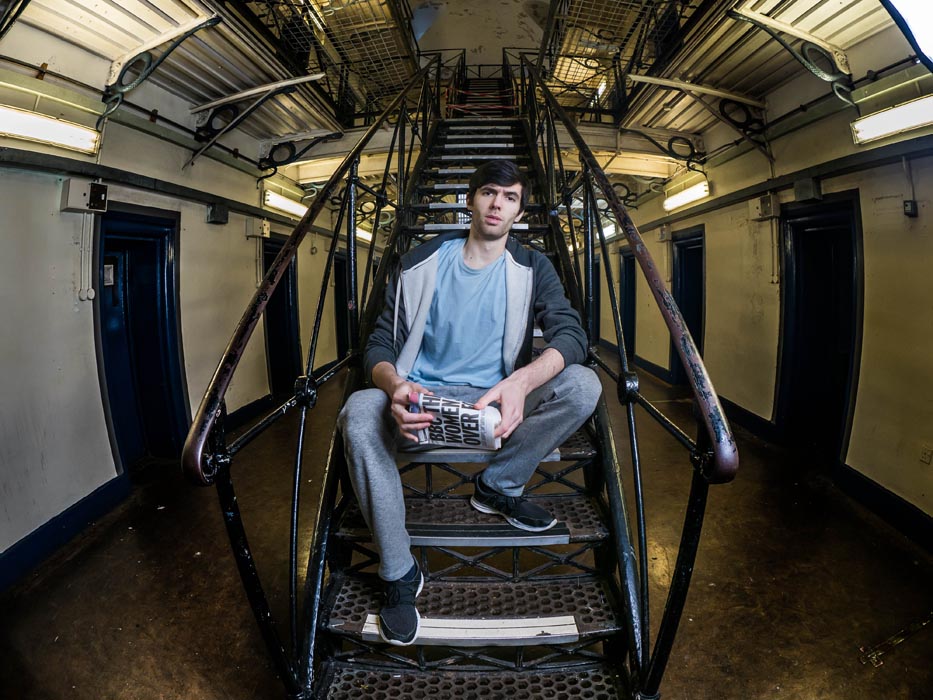
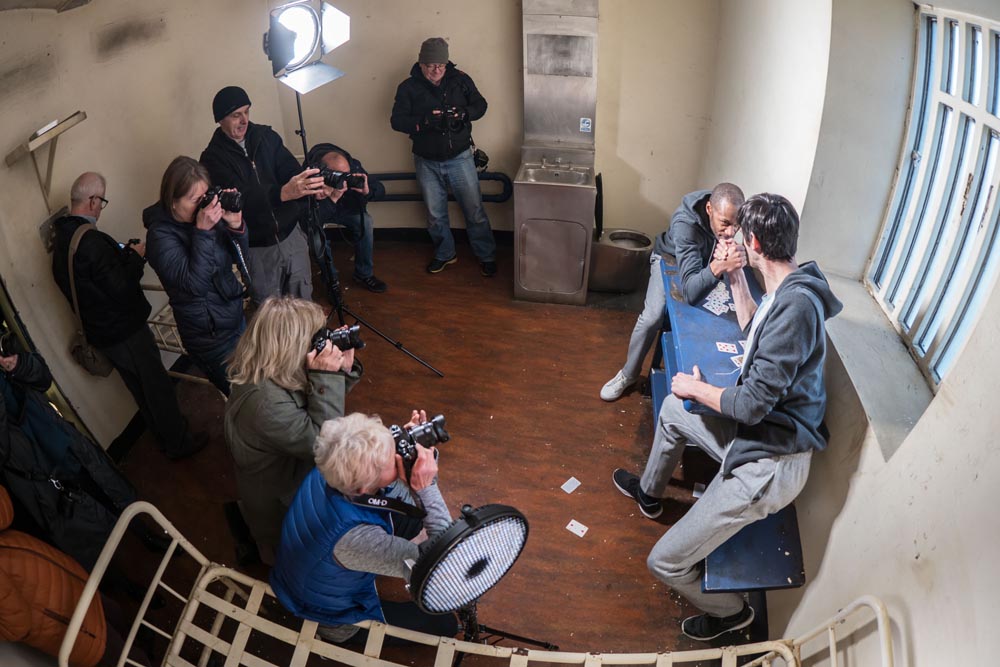
Being a winter workshop and with small windows in the cells, we needed extra light to create mood and atmosphere in the photos. The photographers on the workshop got to work with some excellent continuous light courtesy of Rotolight Aeos LED panels and the small but powerful Pixapro Pika200 flashes.
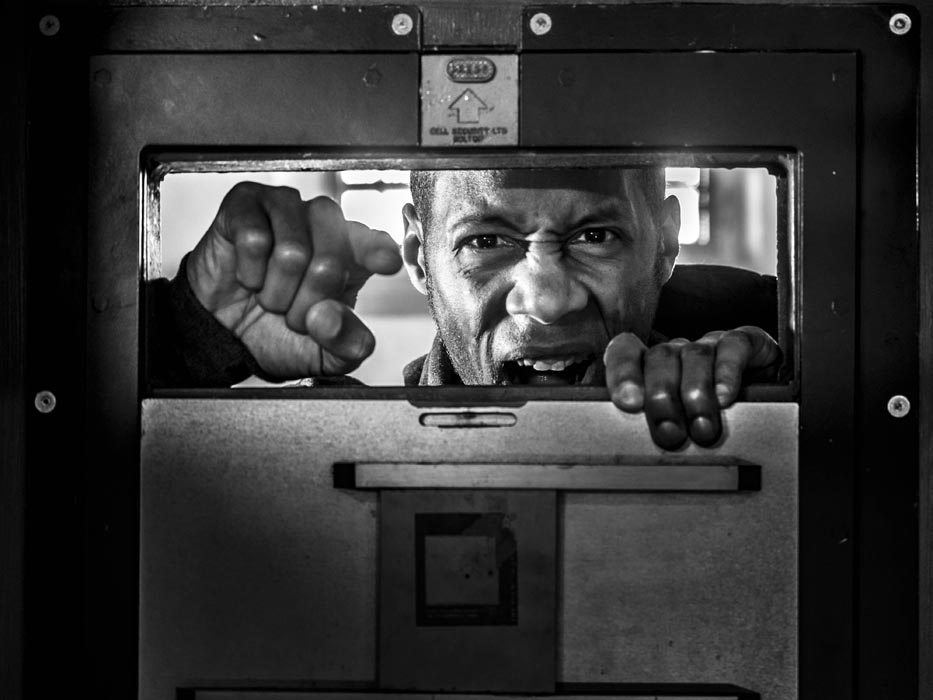
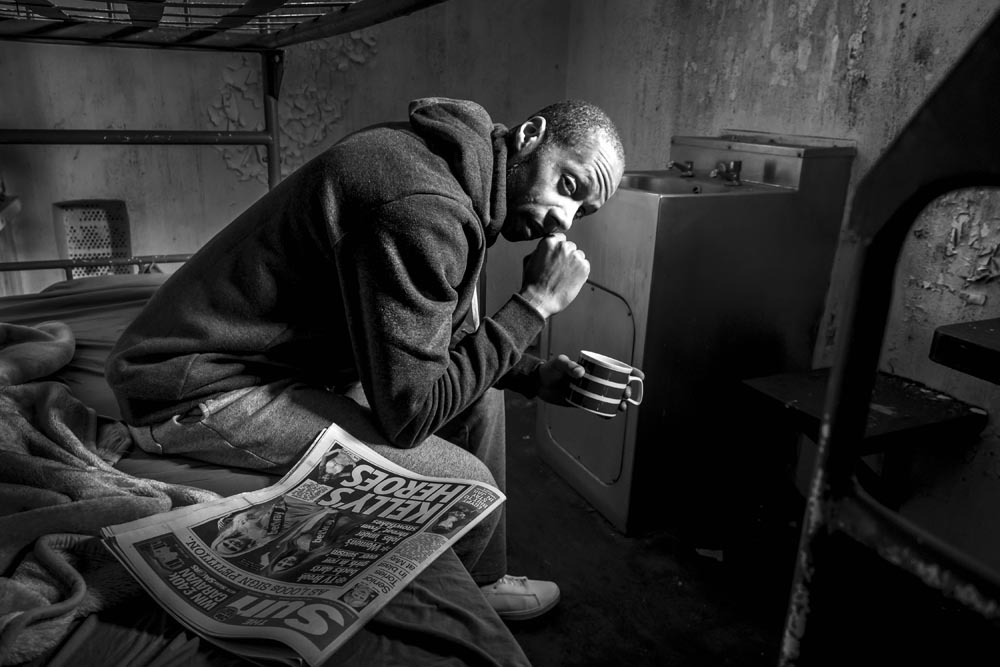
Of course you need more then a great location, great models and great light to take great photos and luckily we also had a great group of photographers. I loved watching them take my original idea and turn it into something unique. It’s not often you get to take part in a shoot like this, so it was wonderful to see so many photographers making the most of the opportunity.
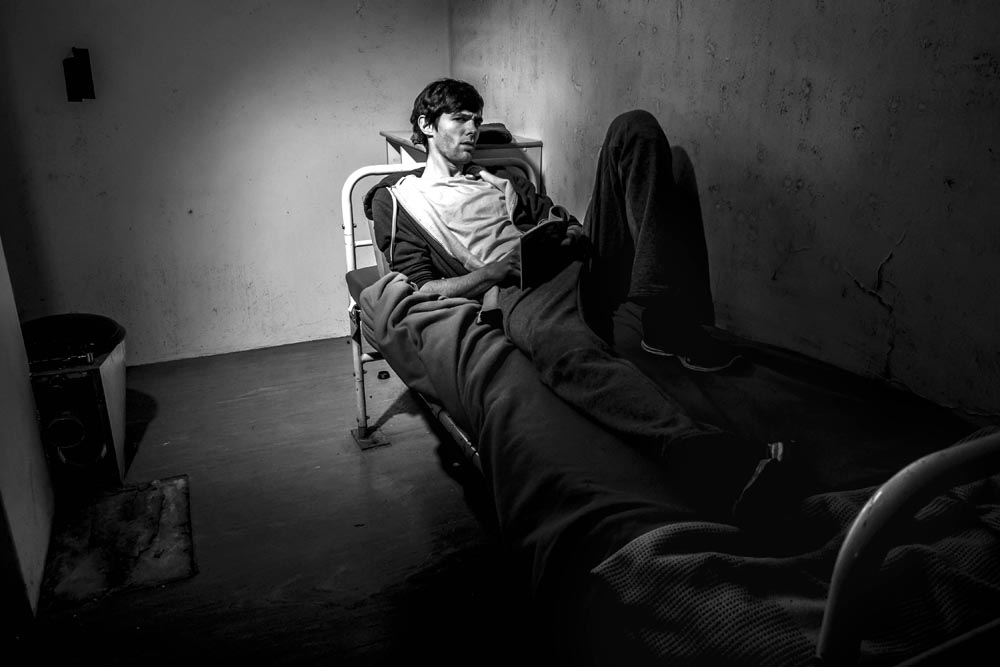
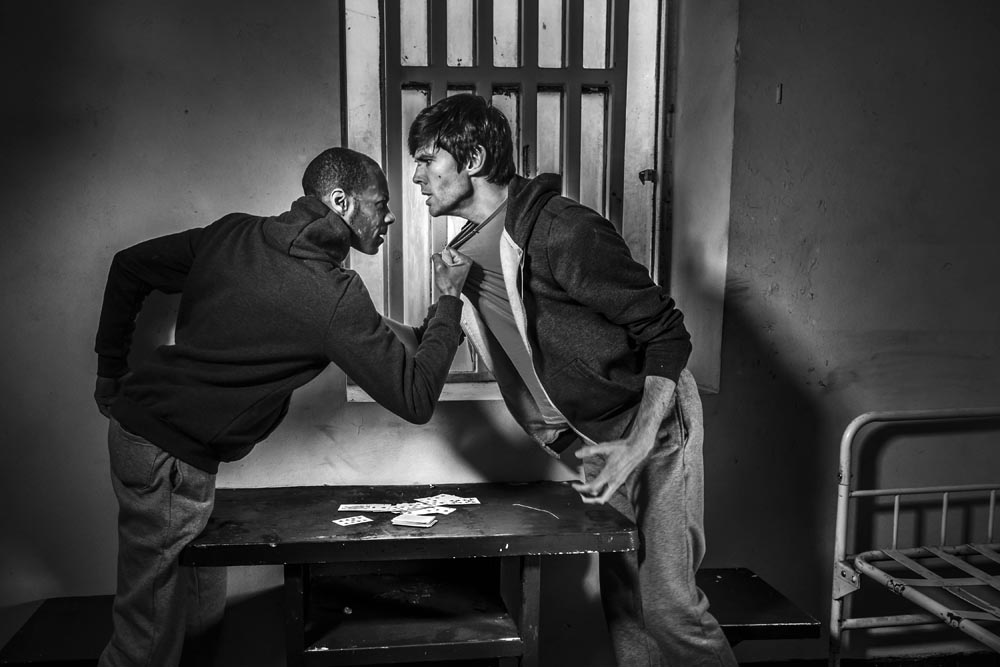
The whole thing was organised by Olympus UK and was open to users of any camera, not just Olympus users. For details of their upcoming workshops check out the Olympus Image Space events page.
 

Film Noir in a small studio

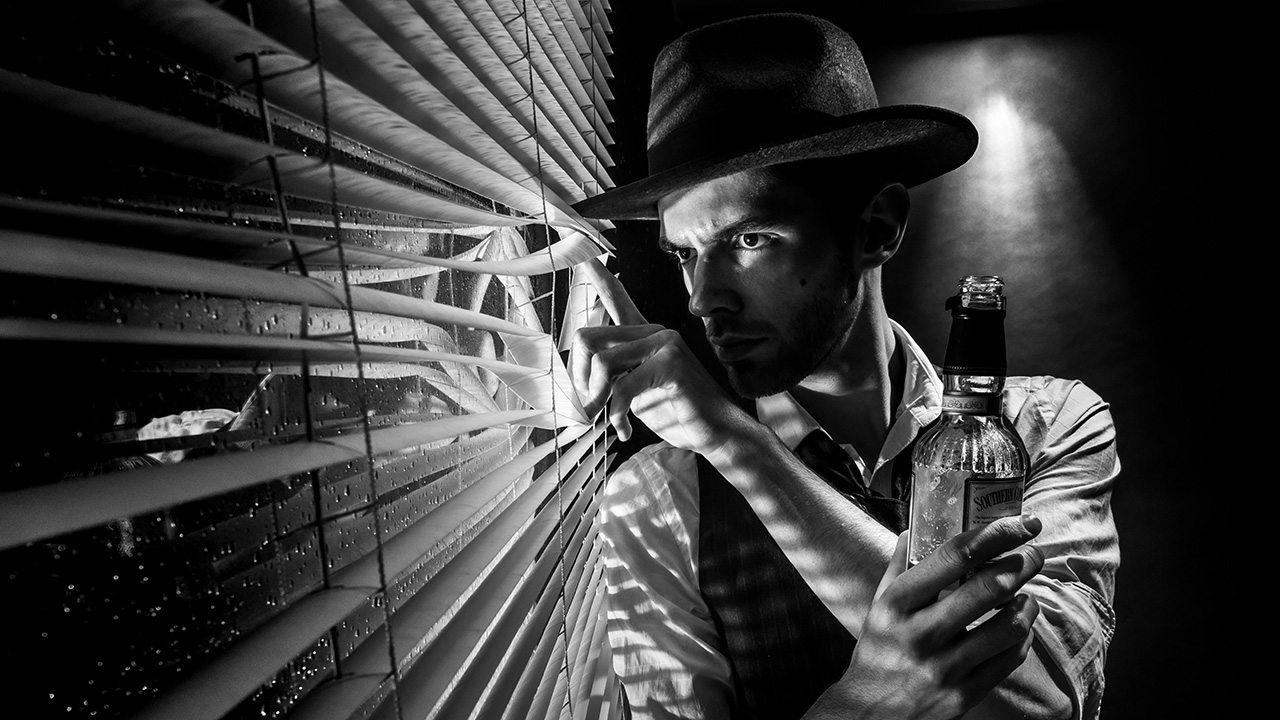
How do you sum up the film noir style? For me words like dark, moody and sinister would be fitting but there’s a lot more to it then that. There’s the style both in lighting and subject matter to consider too.

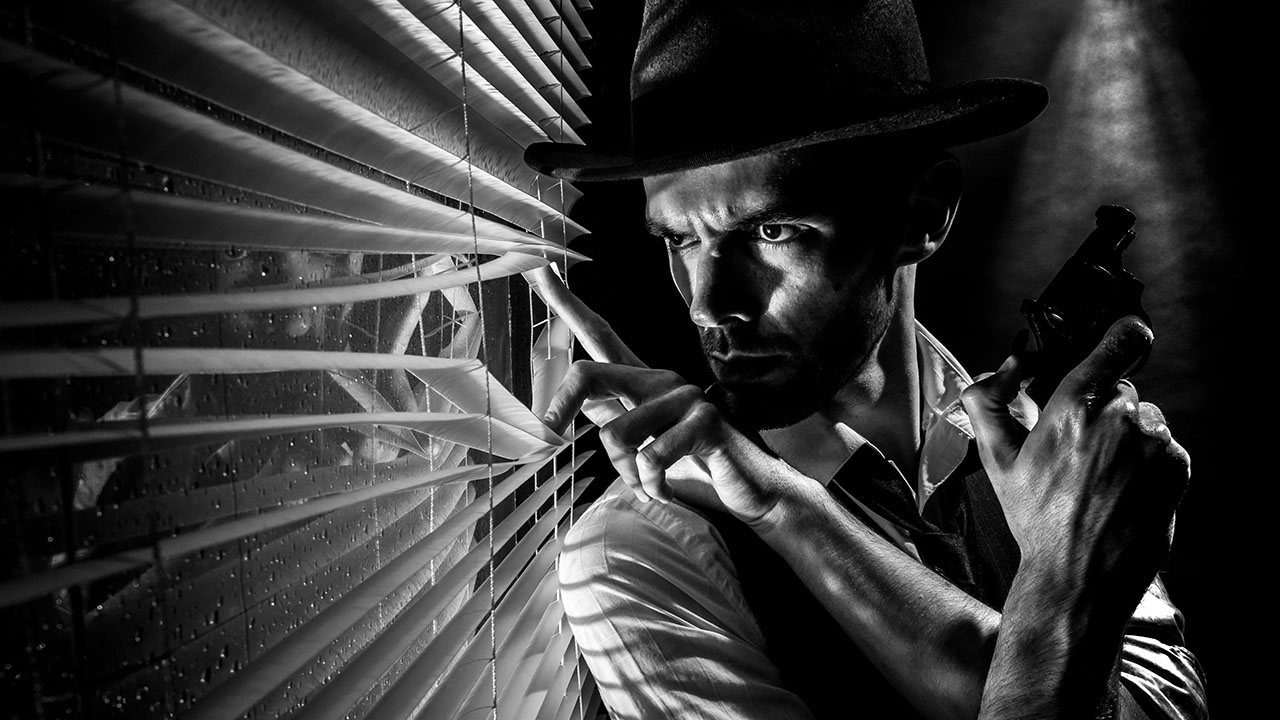
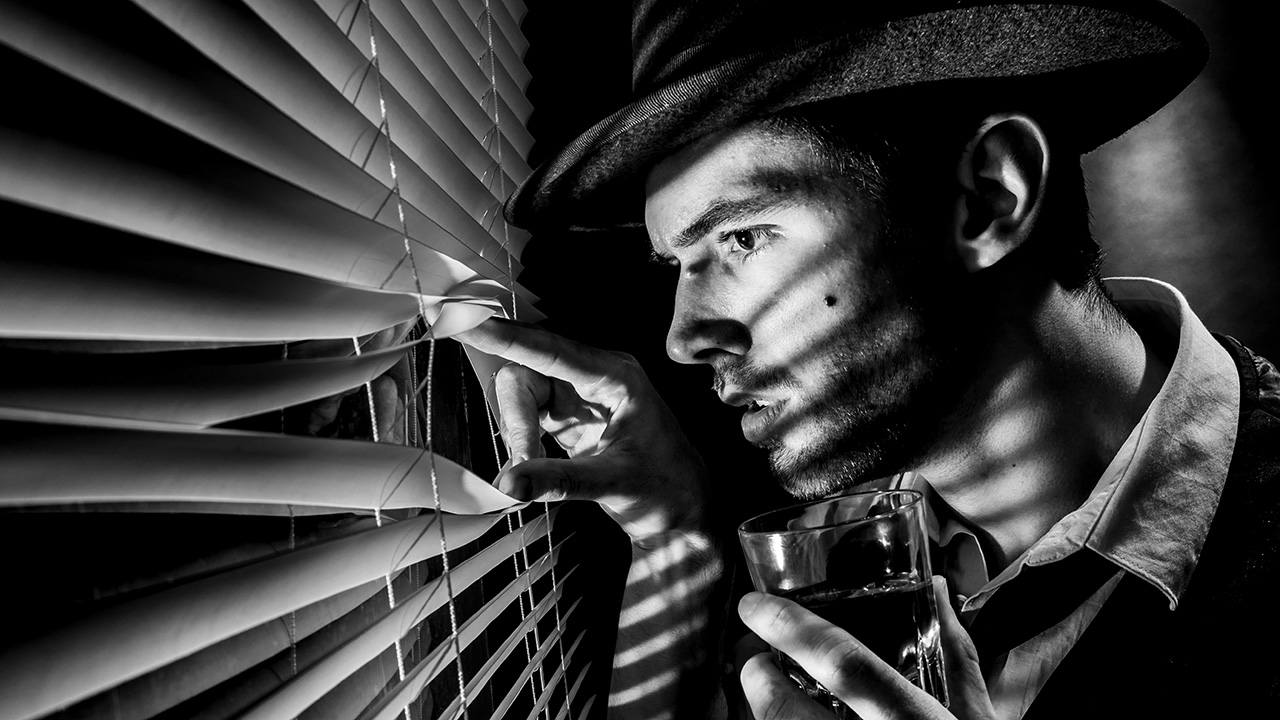
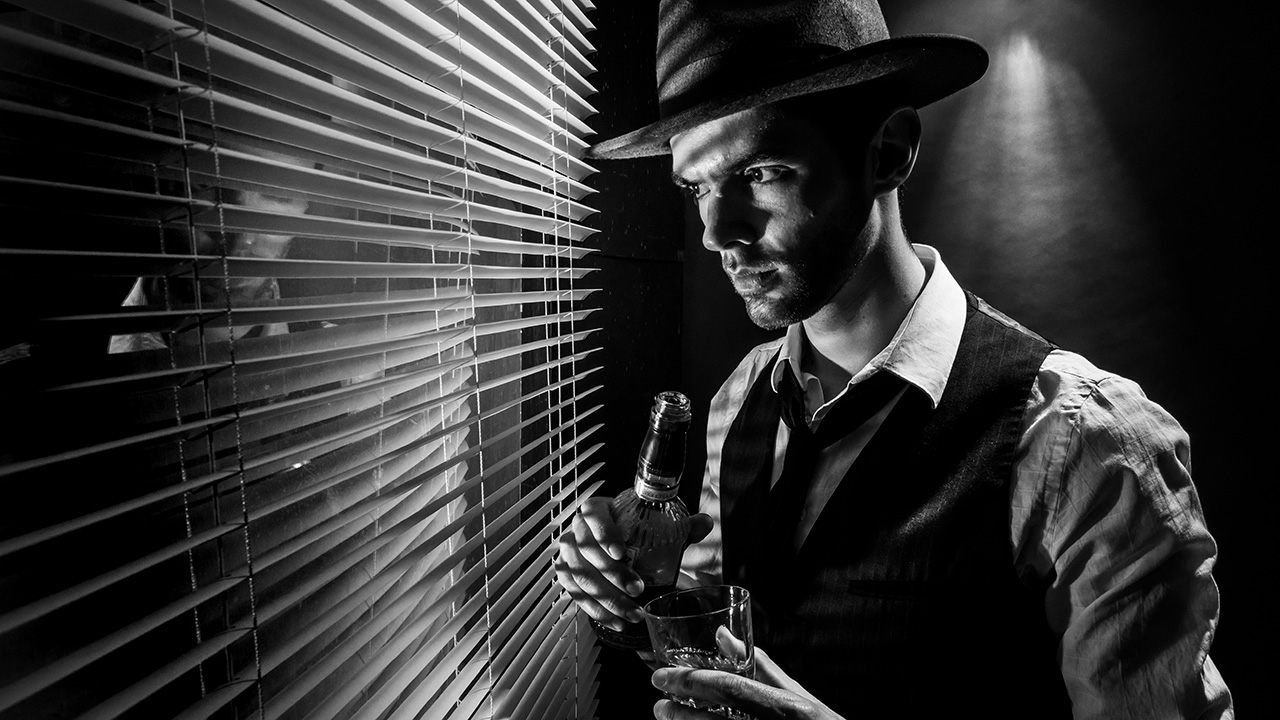
I always think of Film Noir as being high contrast, black and white scenes lit with hard light resulting in strong shadows. Rightly or not I also think 50’s style crime drama and that’s what I set out to produce in my small home studio.
[youtube]www.youtube.com/watch?v=-9o1Pc6uDRU[/youtube]

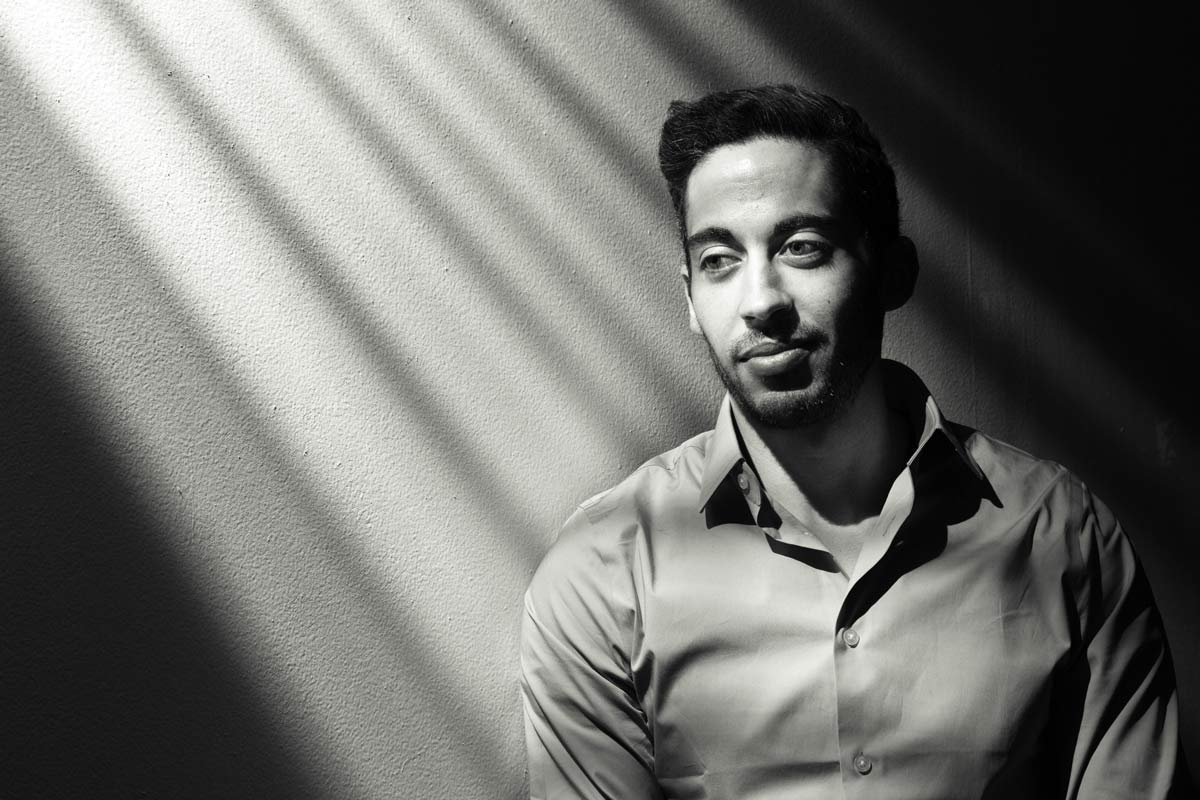
The trick here was to set my main light low and hard (No softboxes or umbrellas) That gave great shadows from the Venetian blinds and the up light gave a sense of menace, as well as the subtle feeling our hero was on a higher floor looking down.

The rest was down to Styling. So asking Brian (the model) to have a bit of stubble, giving him a bottle of whiskey (or cold tea in this case) and of course, having him hold a vintage kids cap gun all helped set the scene and tell the story.

Adorama TV LIVE!

It’s been a busy few weeks for me with trade shows and travel filling my diary. Top of the list was a flying visit to the Adorama store in New York, a city like no other!

I’ve never been to New York before but of course I’ve seen it many times before. I’ve seen it in Hollywood movies, I’ve seen it in music videos and I’ve seen photos taken by other photographers but nothing compares to actually being there… I absolutely loved it!

The main reason for the visit was both to meet the amazing people who work at Adorama and to talk to the brave group of photographers who endured the freezing New York weather to spend a few hours with me. If you were there I’d like to thank you for making me feel so welcome.

The Adorama team wanted to share the event with those that couldn’t attend in person and so they organised a live stream.

[youtube]http://www.youtube.com/watch?v=0HVBEk2fI5E&feature=share&t=7m11s[/youtube]
The video above is about 90 minutes long and is a recording of my lighting demo on how to get the best from just one light. You can skip the first 7 minutes as they are blank!

Not having done live streaming before there were a few technical glitches, particularly with the audio but that aside the video contains 90 minutes of amazing tips.

Adorama-TV-LIVE-1

My model is an Adorama employee called Damian who excelled himself by being amazingly patient and a total pleasure to work with. All the photos you can see in the post are the actual shots taken during the Live Stream.

Adorama-TV-LIVE-2

I’d like to say a huge thank you to Adorama for making the event happen, particularly to the team who worked tirelessly before, during and after the live event. I won’t embarrass them by naming them directly but they know who they are and I’m hugely grateful for all that they did.

Adorama-TV-LIVE-3

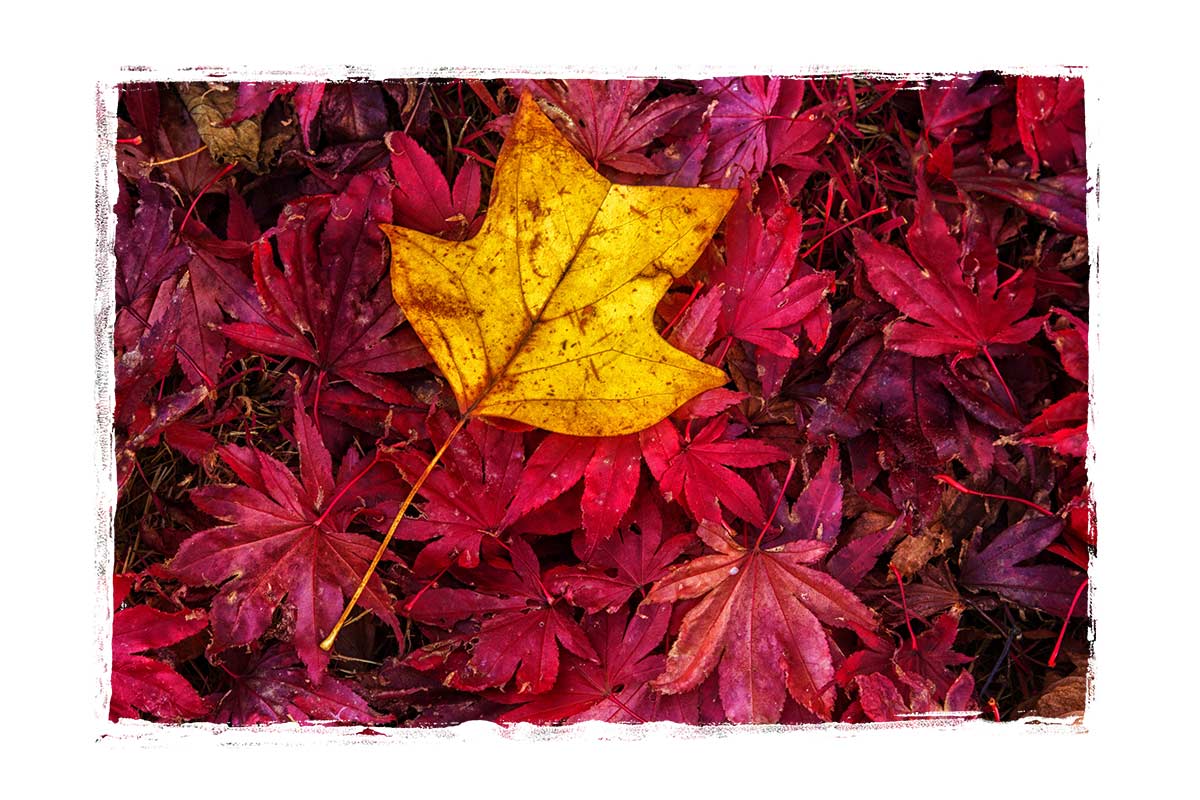
Heavy Painted Border

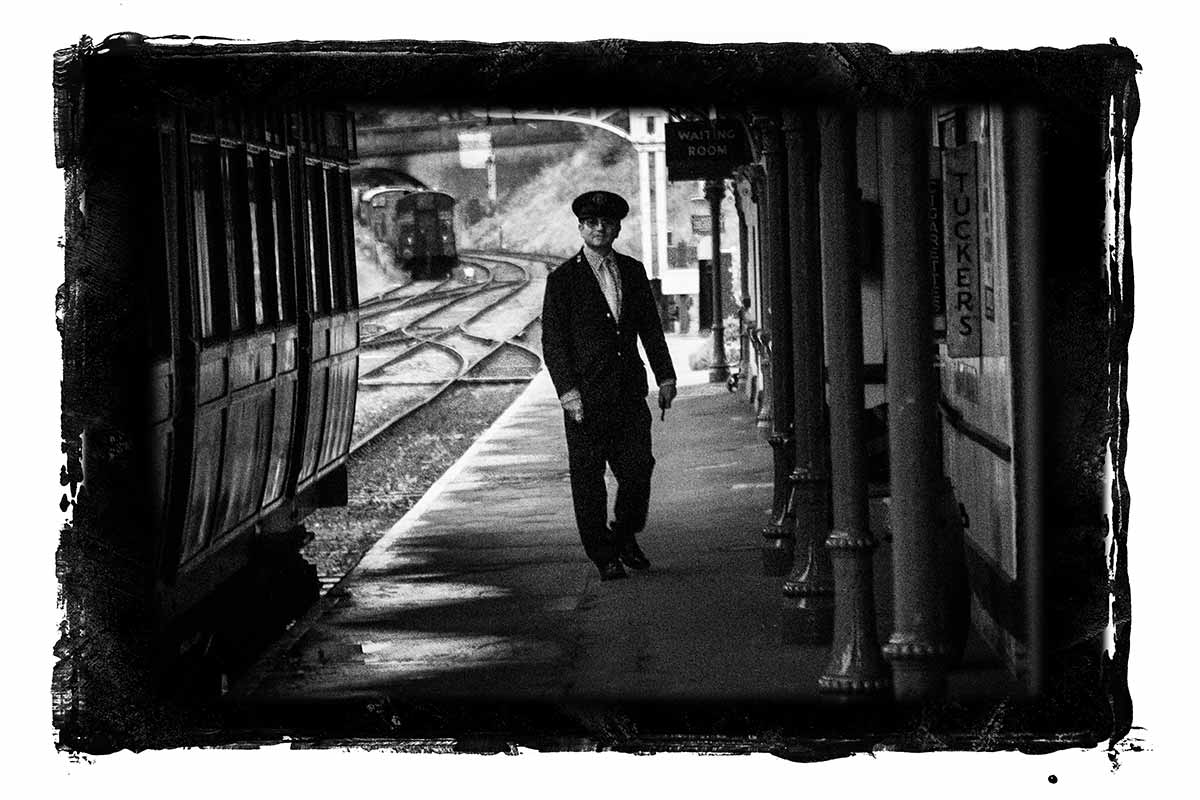
Steam-Train-Border-FFHere’s another amazing border from my recent painting session. This time I’ve gone for a border that surrounds your photo with a wide painted edge.

Full download instructions are below but you can also
Click Here To Download the Heavy Painted Border

I’ve designed this border so it can be used in two ways and it all depends on if you add your photo above or below the border.

Once you’ve downloaded it you’ll find I’ve removed the centre of the border image but left it transparent. S0 to make the image / border combo you see here all you do is drag your photo below the border layer in Photoshop. The centre area has a short fade so it blends in nicely with the photo.

The second option is to place your photo above the border layer. Doing that will give you a hard edge and you can decide how much of the border is seen.

You’ll need to resize your image or the border with Free Transform (CTRL+T). Use the corner handles to drag the image to the size you want and when done press Enter. The border will work with any photo although it’s especially good with black and white images.

If you create a photo using the Friday Freebie then let me (and everyone else) know by leaving the link in the comments below.

Usage rules
The image is copyright Gavin Hoey 2013. Use is limited to any personal but non-commercial purposes. Please share the Friday Freebie by linking back to this page. Do not redistribute the original image without my permission.

Download instructions

Click the link https://drive.google.com/file/d/0B_Mmmm3K1utNa19JQmtESDNVZjQ/view?usp=sharing
1. Click the Download button download_icon

2. The download should start automatically


White Painted Border

Painted-edge---finalThis was fun to make and not just because things got a bit too messy! This Friday Freebie was lovingly hand crafted from nothing but the finest kids paints, most of which seemed to end up on my desk and not the paper. There is a reason that happened and it’s not just because I’m rubbish at painting.

Over the years I’ve made many borders with paint but not always with paint brushes and this is a perfect example. To get the distressed edge effect I “painted” with the rubber edge of an old ice scraper that had been rolling around in the boot of my car for a few winters. I then photographed the edge and straightened in up in Photoshop.

Full download instructions are below but you can also
Click Here To Download the white painted border

Using the border is as simple as changing the layer blending mode to Screen. For the less advanced users that’s done like this…

Download the Friday Freebie and open it in Photoshop or Photoshop Elements, then open the photo you wish to add to the frame. Flatten any layers (Layer – Flatten Layers) and then press CTRL+A to select it all, followed by CTRL+C to copy. Jump over to the frame and press CTRL+V to paste the image on to the frame.

You’ll need to resize the image with Free Transform (CTRL+T). Use the corner handles to drag the image into the photo area and when done press Enter. Finally change the layer blending mode from Normal to Screen to blend the photo with the template.

If you create a photo using the Friday Freebie then let me (and everyone else) know by leaving the link in the comments below.

Usage rules
The image is copyright Gavin Hoey 2013. Use is limited to any personal but non-commercial purposes. Please share the Friday Freebie by linking back to this page. Do not redistribute the original image without my permission.

Download instructions
Click the link https://drive.google.com/file/d/0B_Mmmm3K1utNZnZxWnQxUGc0dHc/view?usp=sharing
1. Click the Download button download_icon

2. The download should start automatically


Perfect Photo Suite 8 First Look

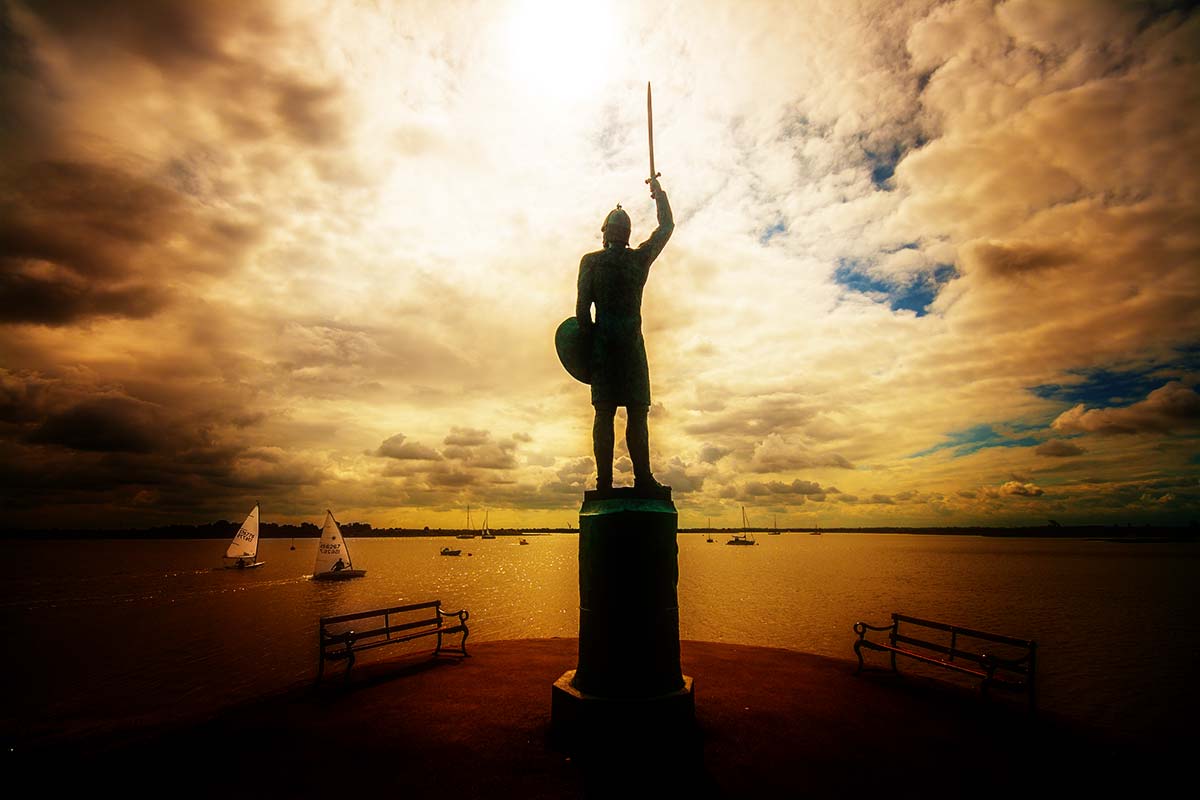
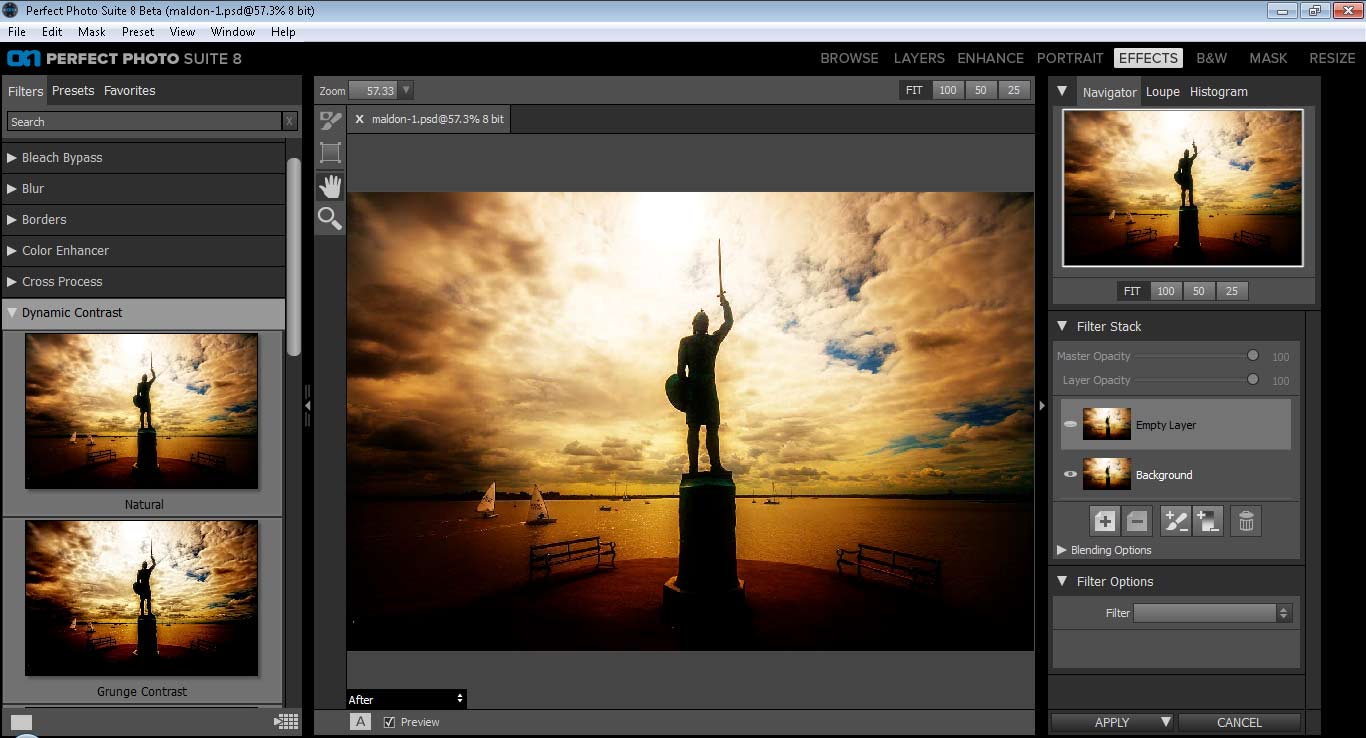
maldon-1There’s no shortage of plugins for Photoshop, Lightroom and Elements and many of them can really help get the most from your photos. For years I’ve been really happy with Nik Software and Color Efex Pro 4 has become a standard part of my workflow, I even did some webinars for them. The problem is, since Nik was sold to Google in late 2012 there’s been little news of upgrades, improvements or even minor tweeks and that’s a shame. At the moment it feels like Nik Software is just going to be left to fade away gracefully.

So I’ve been on the hunt for an alternative. Something that does the things I can’t do in Photoshop and makes it quick and easy too. Enter Perfect Photo Suite 8 from onOne software. You can download the free public beta here.

Alternatively if just want to dive in you can Pre-Order Perfect Photo Suite 8 here

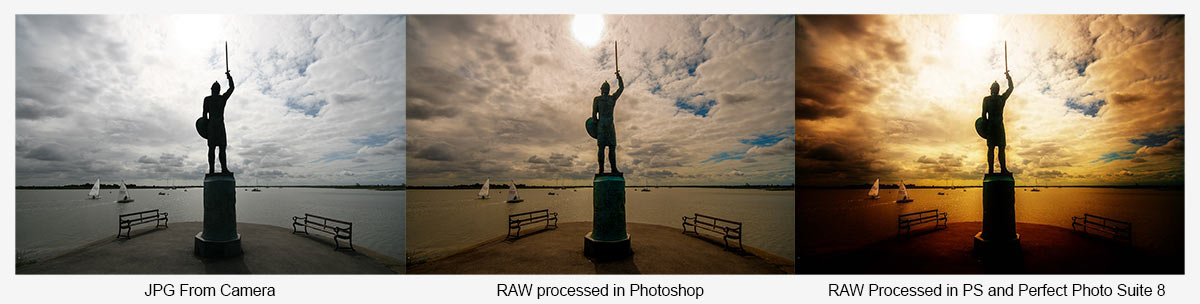
I’ve been using the public beta version of Perfect Photo Suite 8 for the past few weeks and my inital reaction has been really positive. It does the things I do with Nik such as enhance detail in a way not possible with Photoshop and it has an excellent black and white conversion section. In fact because it’s a complete suite you could use it as a standalone photo editor or do as I do and use it as an extra add on to my Photoshop work. That does mean I don’t use modules that replicate what I would do in Photoshop but the Perfect Effects and Perfect B&W are getting plenty of use.

maldon-1-JPG-RAW

OnOne Software have just launched a free to try version of Perfect Photo Suite 8 Beta 2 so my advice is to download a copy and give it a spin. Do keep in mind that it is a Beta and that means they’ll be some bugs, not everything will be 100% working and the final version will be better.

I’d recommend jumping in and trying the Effects module first (File – Automate – Perfect Effects). The example above made use of the sunshine effect to add a warm glow to the image but the thing that caught my eye are the clarity style adjustments. Things Like HDR, Dark Contrasts and Dynamic Contrast are already shaping up to me some of my favourite features. There’s even an effect called Grunge… How can I resist that! All the effects come with a bunch of presets which are previewed on adjustable sized thumbnails. You can also take control with the sliders to create your own style and save it for future use.

If you do give it a go I’d be interested in hearing what you thought, especially if like me you’re a user of Nik.

PPS8-1


Faking into a sweat

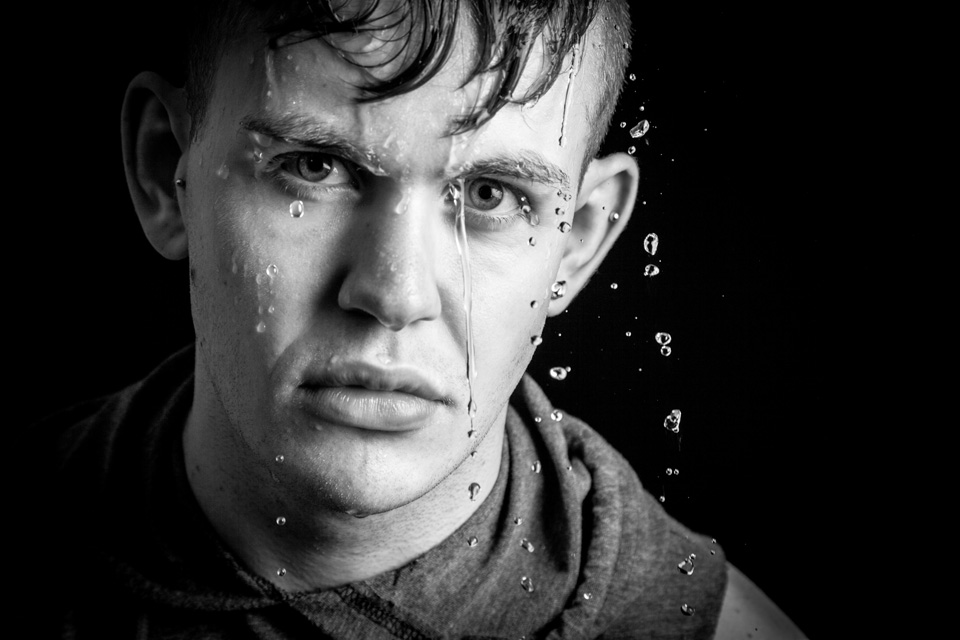
So you want your model to look they’ve done a workout but you don’t have a gym in your studio. What do you do? Well you could send them out for a run or turn the heating up to max, both would work but neither is ideal.

In this video I’ll show you how to apply fake perspiration to a models face.

Now if you’re thinking that you can just spray water in their face, you’re wrong. Water alone doesn’t give beads of sweat, for that you need something more. A little olive oil applied to the forehead, cheeks and noise will make the world of difference and very convincing perspiration. For obvious reasons, don’t put oil close to the eyes.

The video doesn’t stop there. I also have some great lighting tips and I run through the Photoshop processing too.

[youtube]https://www.youtube.com/watch?v=_lyRzp8YEUc[/youtube]

Can’t see the video? Click Here http://youtu.be/_lyRzp8YEUc

Harry-2

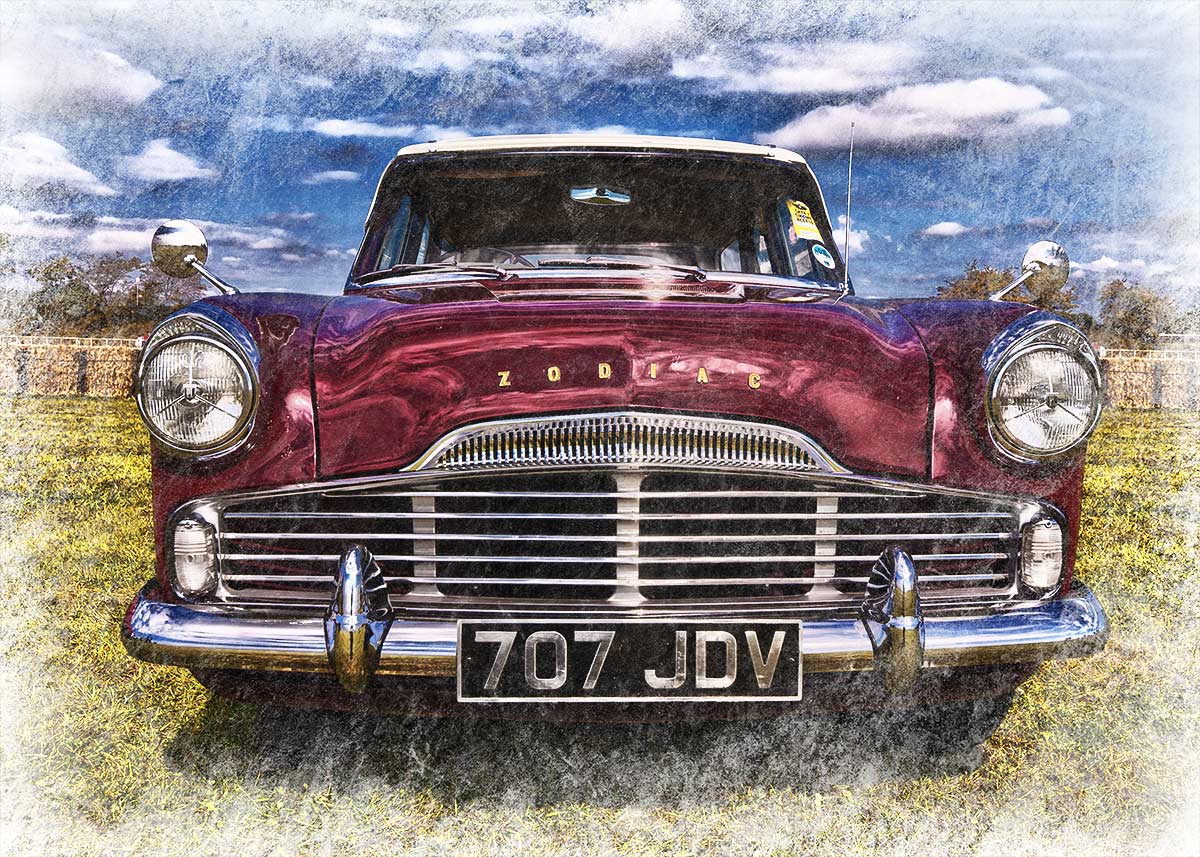
Eroded Edge Texture

Erode-textureThis weeks Friday Freebie is an eroded texture which is simple to use and gives amazing results. It’s a black and white texture that has a dark mottled centre, fading to a lighter edge.

Full download instructions are below but you can also
Click Here To Download the Eroded Edge Texture

Unlike most textures, the eroded edge effect works best with photos that have large areas of darker tones. All you need to do is paste the texture over your photo and set the layer blending mode. There are loads of different layer blending modes to choose from and they’ll all give a different look, with this texture Screen blending mode worked well as did Overlay and Soft Light.

If you create a photo using the Friday Freebie then let me (and everyone else) know by leaving the link in the comments below.

Usage rules
The texture image is copyright Gavin Hoey 2013. Use is limited to any personal, non-commercial purposes. Please share the Friday Freebie by linking back to this page. Do not redistribute the original texture without my permission.

Download instructions
Click the link https://drive.google.com/file/d/0B_Mmmm3K1utNc2tESjJKYTNIUUk/view?usp=sharing
1. Click the Download button download_icon

2. The download should start automatically


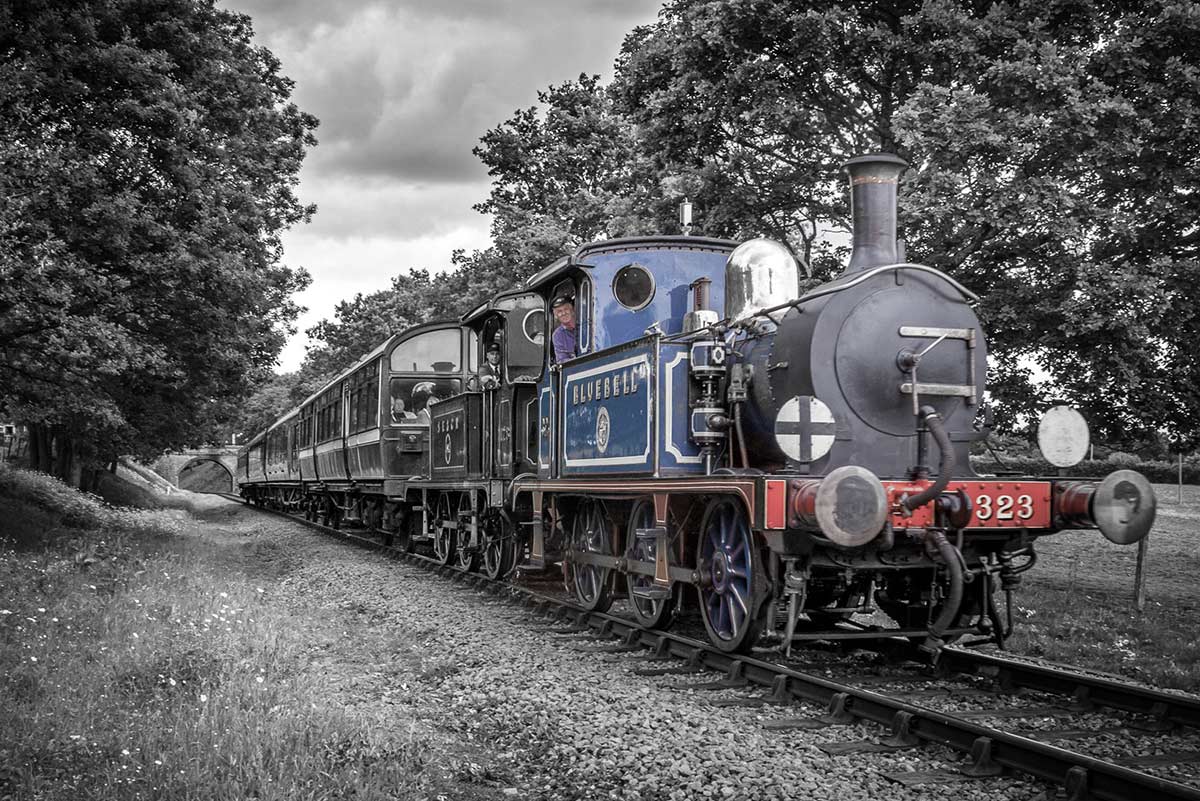
Colour Popping with Style – Creative Lightroom 8

CL-final-8This weeks episode of Creative Lightroom is all about selective colour, also known as colour popping. Now before you say this is a repeat of Creative Lightroom Episode 3 then let’s be clear how this is different. In episode 3 we used selective saturation to leave just one tone of colour (just the reds for example). Colour popping is more about keeping one area in colour even if the area has a mixed bunch of tones.

Where most photographers fail in this technique is by leaving the colours over saturated. That may be OK with a single colour but with mixed colours the end result can be very jarring on the eye.

So in this video I’ll show both how to colour pop and then how to control the popped colours,

As always it’s worth mentioning that if you’re a Photoshop user rather then Lightroom user, EVERYTHING I show in the video is the same as Adobe Camera RAW in Photoshop CC, CS6, CS5 and CS4.

[youtube]http://www.youtube.com/watch?v=ODidMT5Lm6g[/youtube]

Can’t see the video? Click here: http://youtu.be/ODidMT5Lm6g

Split Tone Mono – Creative Lightroom Episode 7

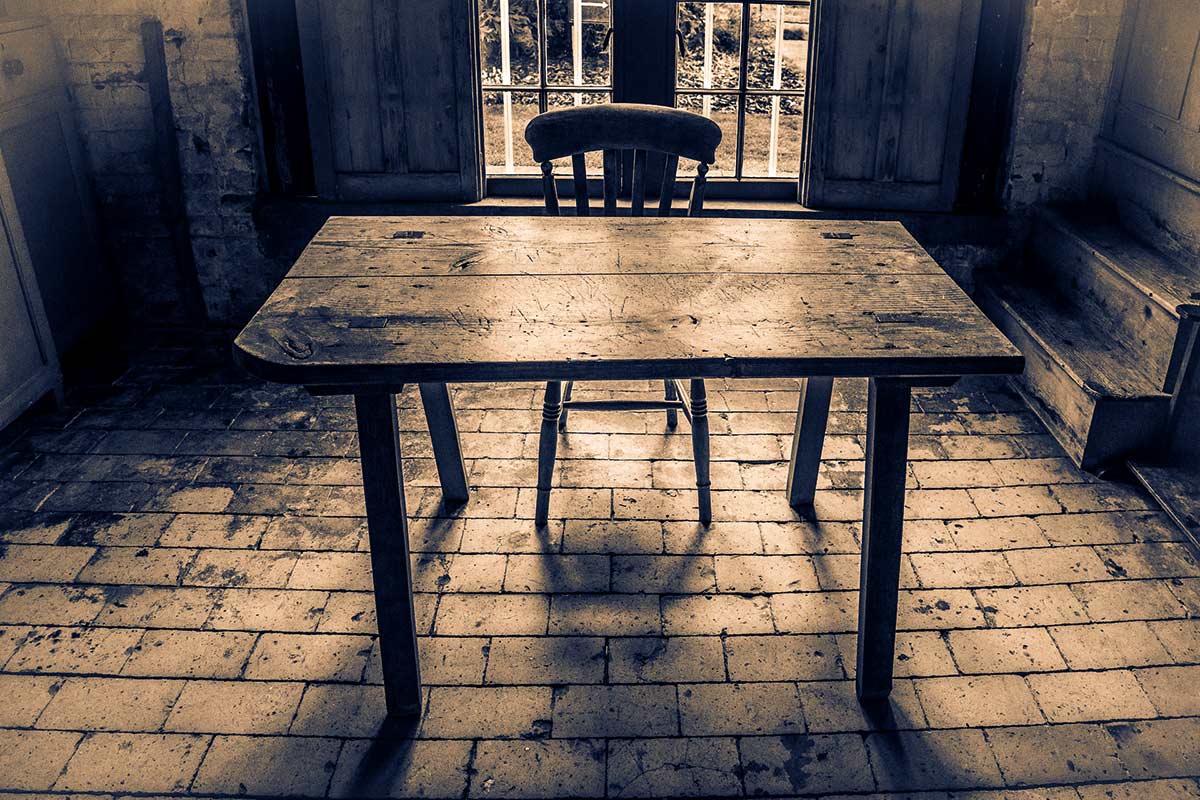
CL-final-6-SplittoneThis weeks episode of Creative Lightroom is all about going mono with a twist.

Black and white is great but sometimes you want to add a bit of general colour and toning the image. Sepia and blue tone are popular choices. Split toning takes the traditinal toning effect a step further by adding a different tones to the shadows and highlights.

In the video I show you how to use Lightroom split tone sliders to create the perfect colour balance.

This tutorial is compatible with all versions of Lightroom.

As always it’s worth mentioning that if you’re a Photoshop user rather then Lightroom user, EVERYTHING I show in the video is the same as Adobe Camera RAW in Photoshop CC, CS6, CS5, CS4  and Photoshop CS3.

[youtube]http://www.youtube.com/watch?v=8c8DUjquXPQ&feature=youtu.be[/youtube]

Can’t see the video? Click here: http://youtu.be/8c8DUjquXPQ