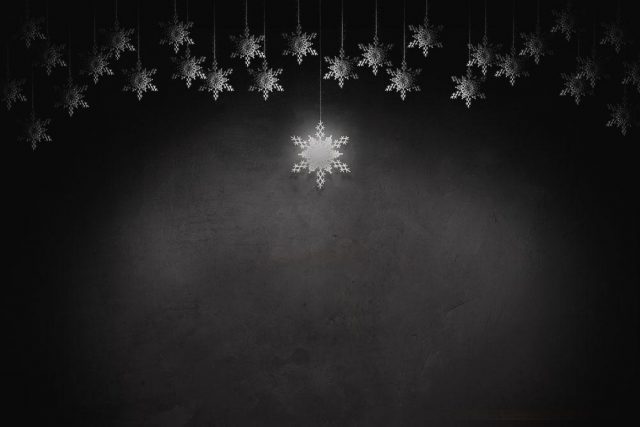
The Making Of My Festive, Fine Art Background

Check out the video below where Gavin shares how he made this festive background. If you’re short on time use the one he already created here

We hope you enjoy the video and get the chance to try out the technique with your own spin on it!

If you missed it, here’s the video of the shoot we created this template for.

Wall of sound background

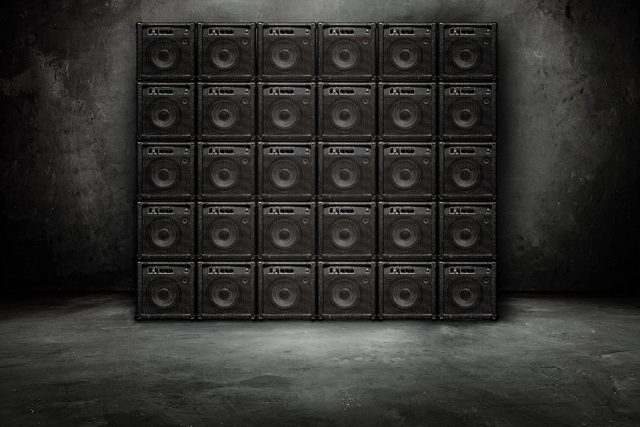
Recently I needed a wall of speakers in my studio to make an amazing background for an upcoming music shoot. But after a bit of thought I realised there were three major problems with the idea. First, my studio space is a lot smaller then my imagination. Second, I don’t have easy access to the 25 – 30 speakers I would need for a person sized wall and third, what would I do with all those speakers after the shoot? However I do own one small PA amp (I use it during my camera club talks) and of course I have Photoshop.

So here it is, a wall of sound in my studio and all it took was a couple of photos plus an hour or two in Photoshop. The only thing missing is a musician but I’ll get to that in a later post. In the meantime, I’m sharing this background as a Friday Freebie.

If you create a photo using the Friday Freebie then let me (and everyone else) know by leaving the link in the comments below.

Usage rules
The images are copyright Gavin Hoey 2018. Use is limited to any personal but non-commercial purposes. Please share the Friday Freebie by linking back to this page. Do not redistribute the original images without my permission.

Download instructions
       1. Click on the correct download link below (no sign up is needed)
          https://adobe.ly/2AUg8td

  1. Click the Download button download_icon
  2. The download should start automatically
  3. No support is provided with the Friday Freebies. If you need help Google or YouTube the question and you’ll almost certainly find the answer

Creased and Folded Action – Friday Freebie

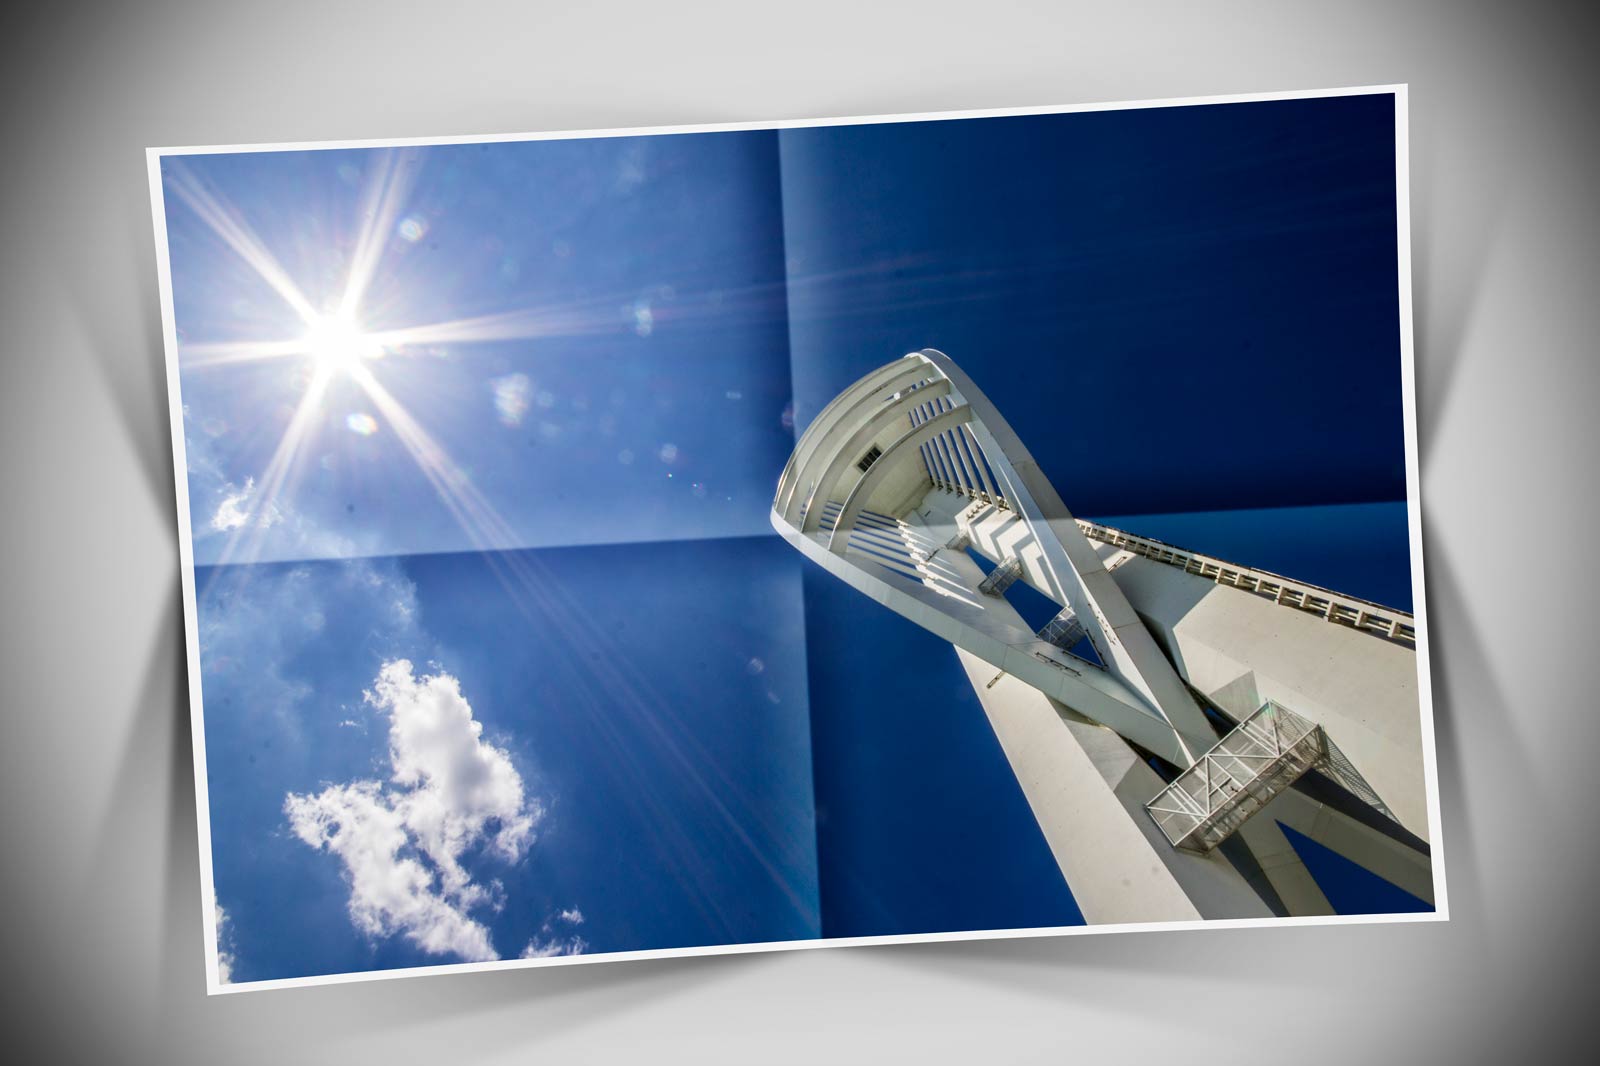
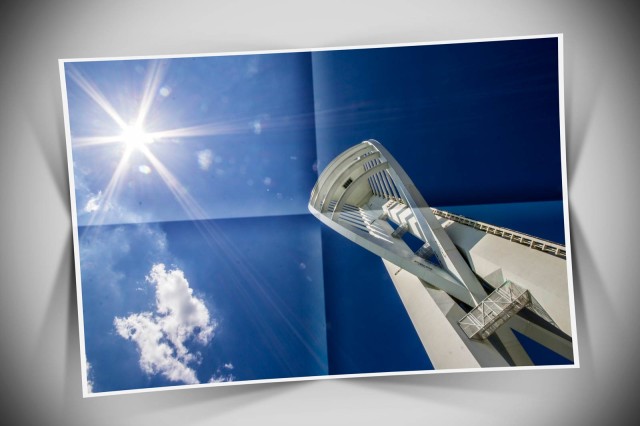
In the real world folding a photo isn’t a smart move unless it’s heading for the bin. However in the mad cap world of Photoshop you can virtually fold a photo any time you like.

With this Friday Freebie Photoshop action folding and creasing a photo is a simple one click affair. Not only that but you’ll also get a border and some fancy shadow effects to enhance the 3D feel. The action is one of the longer ones I’ve made for a Friday Freebie and may take a minute or two to run but the wait and the effort to make it is worthwhile.

You can download the action here: Creased and folded
Folded-Corner-action

To use the action, start with the photo you wish to use already open in Photoshop and then play the action. The first thing it does is make a copy of your photo so the original will be untouched and safe. There’s a lot of things for Photoshop to do with this action so it may take a minute or two to run through. DO NOT switch to another image whilst running the action.

There are no options or controls for this action but at the end you will be left with several layers, so if you need to make any adjustments to the final effect you can.

As with most actions, the size of your image will effect the final effect. Smaller images with less the 2000 pixels on the longest edge are best avoided. Personally I’d also steer clear of portrait format images, this action works best with wide but not too wide shots.

The action will work with Photoshop CC, CS6, CS4, CS4, CS3 and should work with Photoshop Elements 11 and beyond too.

Usage rules
The action is copyright Gavin Hoey 2014. Use is limited to any personal, non-commercial purposes. Please share the Friday Freebie by linking back to this page. Do not redistribute the original action without my permission.

Download instructions
The direct link to download the actions is https://www.gavtrain.com/wp-content/uploads/2014/08/Creased-and-folded.zip

You must UNZIP the action before installing it in Photoshop / PS Elements

No support is provided with the Friday Freebies. If you need help Google or YouTube the question and you’ll almost certainly find the answer 🙂
Instant Photo Collage Action – Friday Freebie

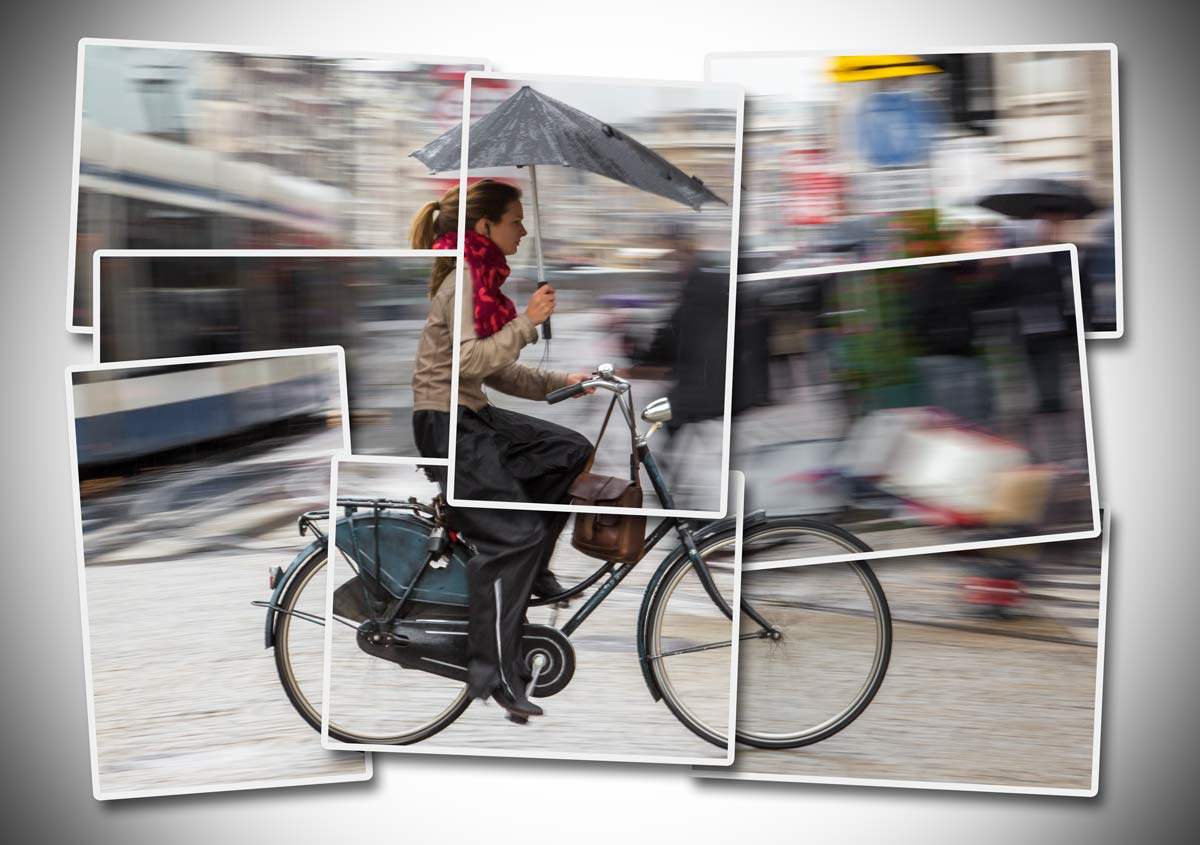
It’s a case of two for the price of one with this Friday freebie Photoshop action as I’ve recorded a version for portrait (upright) and landscape (wide) format images. This action is an extension of the four part split action I made a few weeks back and generates a collage of small scattered prints from one single photo. There’s also the option at slightly alter the exposure of each print which really adds to the effect.

You can download the action here: photo-collage-gavtrain
FF-Photo-Collage-Final

To use the action, start with the photo you wish to use already open in Photoshop and then play the landscape or portrait version of the action as appropriate. The first thing it does is make a copy of your photo so the original will be untouched and safe. There’s a lot of things for Photoshop to do with this action so it may take a minute or two to run through. DO NOT switch to another image whilst running the action.

Towards the end of the action you’ll be given the option to automatically adjust the exposure of each print, it’s a subtle effect but well worth doing. After the action is run you’ll notice plenty of layers which I’ve left so you can move, alter and tweak to vary the effect to your taste.

As with most actions, the size of your image will effect the final effect small images (less pixels) will get a bigger border and wider shadow although these settings can always be adjusted after the action has completed.

The action will work with Photoshop CC, CS6, CS4, CS4, CS3 and should work with Photoshop Elements 11 and beyond too.

Usage rules
The action is copyright Gavin Hoey 2014. Use is limited to any personal, non-commercial purposes. Please share the Friday Freebie by linking back to this page. Do not redistribute the original action without my permission.

Download instructions
The direct link to download the actions is https://www.gavtrain.com/wp-content/uploads/2014/06/photo-collage-gavtrain.zip

You must UNZIP the action before installing it in Photoshop / PS Elements

No support is provided with the Friday Freebies. If you need help Google or YouTube the question and you’ll almost certainly find the answer 🙂
Pile of Prints Action – Friday Freebie

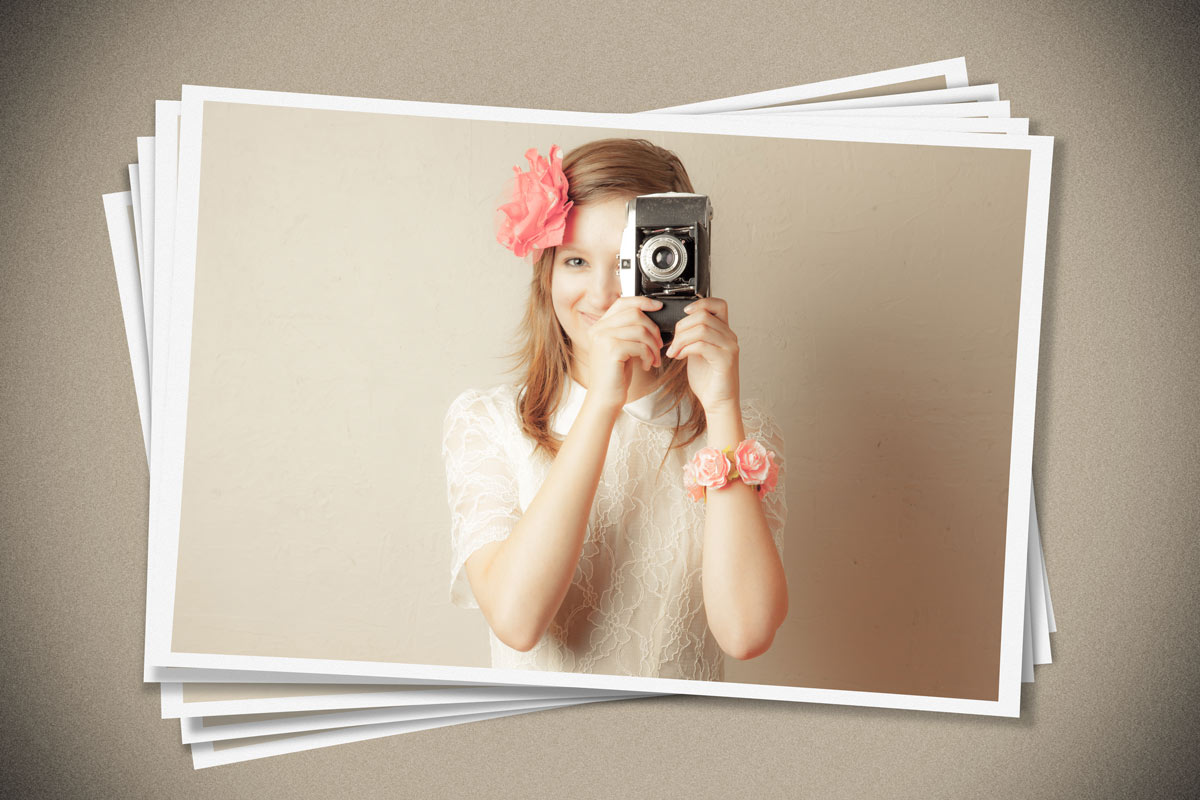
Here’s a lovely little Photoshop action which produces a very pleasing effect, all with one click of the mouse. Back in the day I recall the joy and frustration of getting a pile of prints back from the developers and sorting them into a pile of keepers and a big pile of photos fit only for the bin.

You can download the action here: Pile of prints – gavtrain
Pile-Of-Prints-EXAMPLE

To use the action, start with the photo you wish to use already open in Photoshop and then play the action. The first thing it does is make a copy of your photo so the original will be untouched and safe. There’s a lot of things for Photoshop to do with this action so it may take a minute or two to run through. DO NOT switch to another image whilst running the action.

This action works best on landscape format images but will work on upright format photos too. As with most actions, the size of your image will effect the final effect and I’d suggest starting with a photo 3000 pixels (longest edge) or bigger.

The action will work with Photoshop CC, CS6, CS4, CS4, CS3 and should work with Photoshop Elements but I have yet to test that.

Usage rules
The action is copyright Gavin Hoey 2014. Use is limited to any personal, non-commercial purposes. Please share the Friday Freebie by linking back to this page. Do not redistribute the original action without my permission.

Download instructions
The direct link to download the actions is https://www.gavtrain.com/wp-content/uploads/2014/05/Pile-of-prints-gavtrain.zip

No support is provided with the Friday Freebies. If you need help Google or YouTube the question and you’ll almost certainly find the answer 🙂
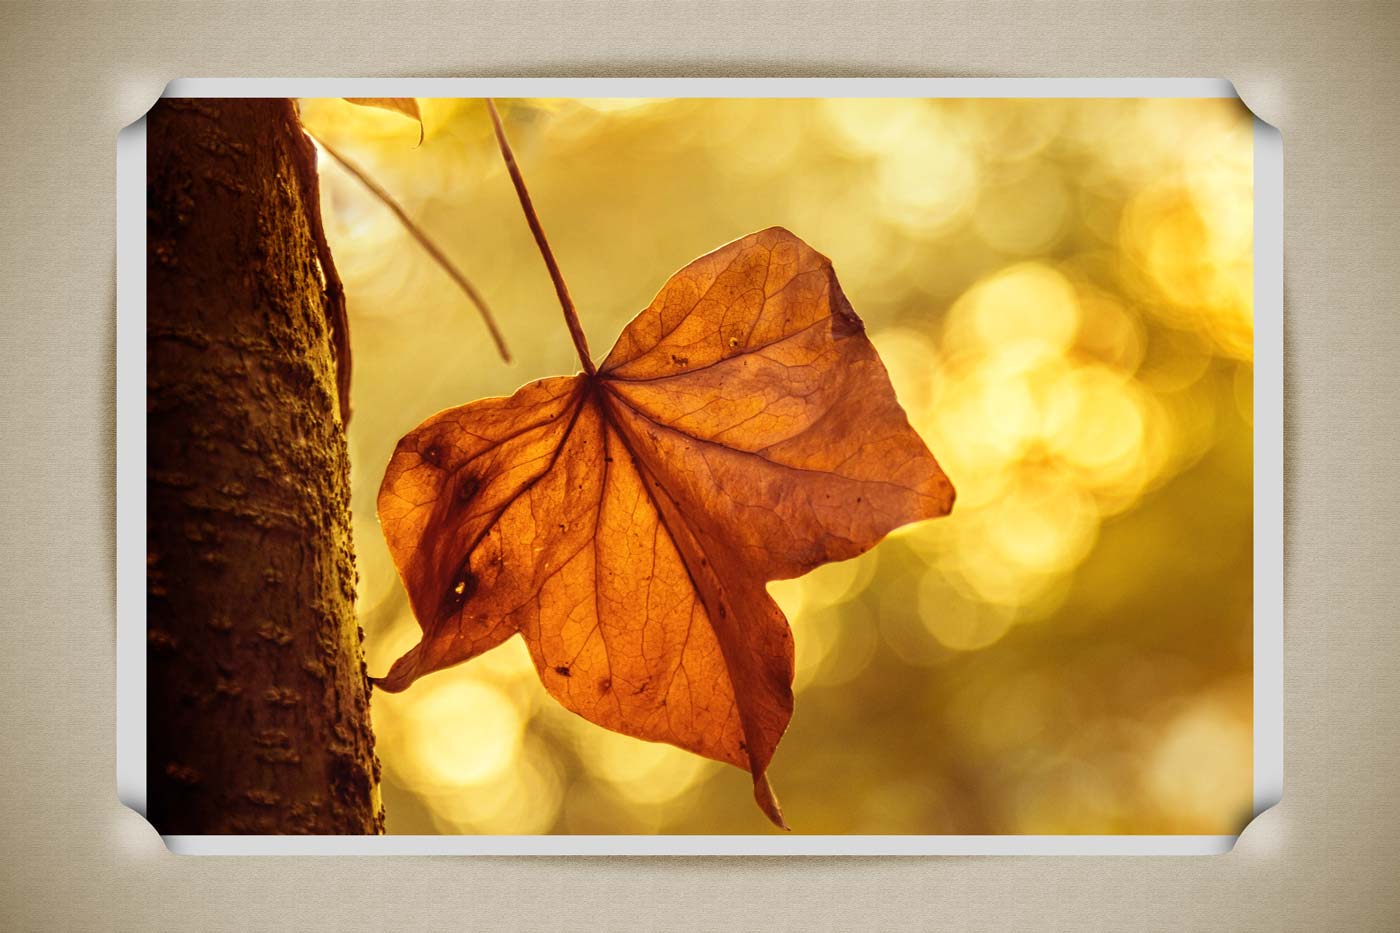
Cut Corners Action

You know how some ideas sound easy until you try and make them happen, well this Friday Freebie Photoshop action really ticks that box. All I wanted to do was make a photo look like it was slotted into the corners of a vintage photo album page. My first test worked really well but recreating a similar result within the confines of a Photoshop action took a lot of working out and many, many hours of trial and error (mostly error). However I think you’ll agree that the end result was worth the effort!

You can download the action here: Cut Corners – Gavtrain
Cut-Corner-Border

To use the action, start with the photo you wish to use already open in Photoshop and then play the action. The first thing it does is make a copy of your photo so the original will be untouched and safe. There’s a lot of things for Photoshop to do with this action so it may take a minute or two to run through. As with most actions, the size of your image will effect the final effect and I’d suggest starting with a photo 3000 pixels (longest edge) or bigger.

The action will work with Photoshop CC, CS6, CS4, CS4 and CS3 but because it uses “Warp Transform” it WILL NOT work  with any version of Elements, sorry.

Usage rules
The action is copyright Gavin Hoey 2014. Use is limited to any personal, non-commercial purposes. Please share the Friday Freebie by linking back to this page. Do not redistribute the original action without my permission.

Download instructions
The direct link to download the actions is https://www.gavtrain.com/wp-content/uploads/2014/05/Cut-Corners-Gavtrain.zip

No support is provided with the Friday Freebies. If you need help Google or YouTube the question and you’ll almost certainly find the answer 🙂

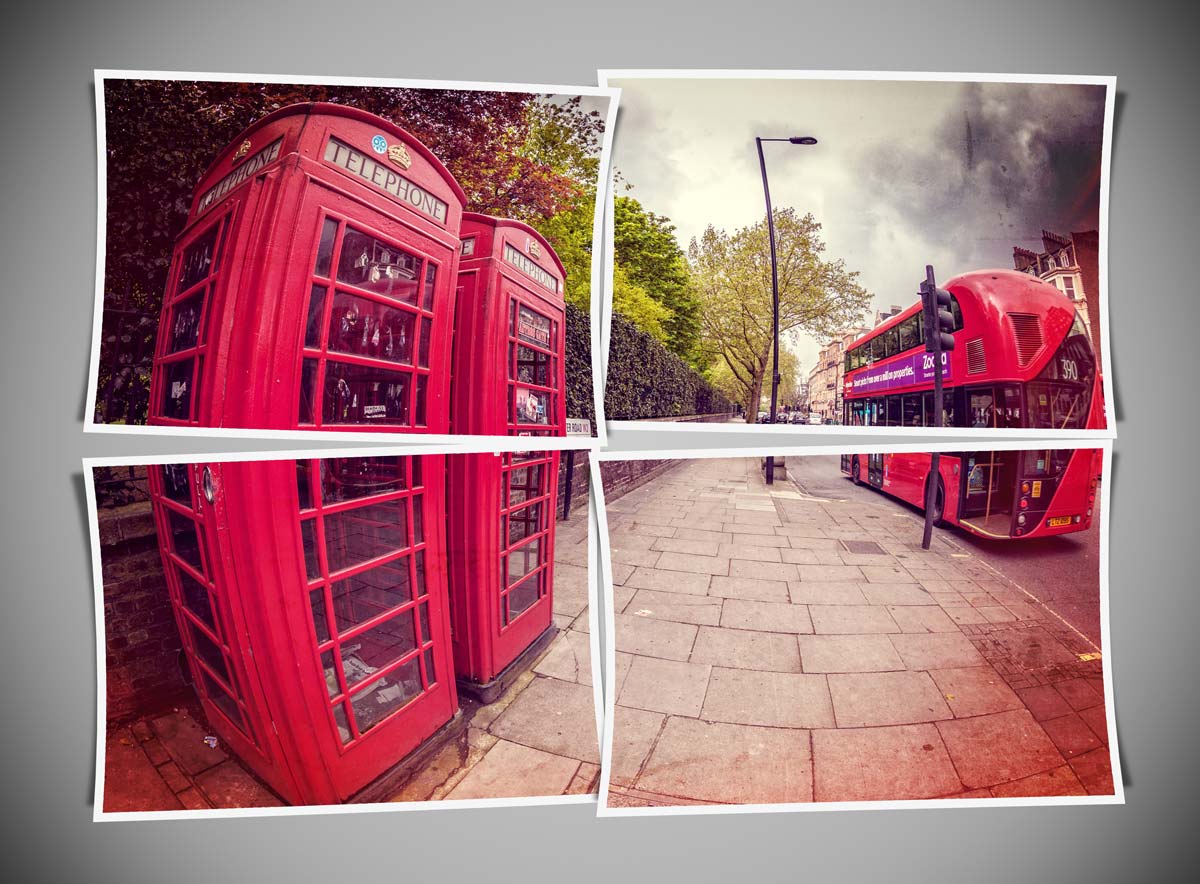
Four Parts Action

The idea with this Friday Freebie is really simple, take one photo, cut it into four equal parts and give each bit a twist or two. Well that was my plan when I started making this action but I just had to go one step further. So not only do the four parts get a twist but I also added a slight bow and simple shadow to create a feeling of depth. The best part is, all this happens with just one click of the mouse.

You can download the action here: four-parts-gavtrain.zip
Four-Parts---Gavtrain

To use the action, start with the photo you wish to chop up already open in Photoshop and then play the action. The first thing it does is make a copy of your photo so the original will be untouched and safe. There’s a lot of things for Photoshop to do with this action so it may take a minute or two to run through. As with most actions, the size of your image will effect the final effect. The photo above was 3000 pixels on the long edge but you can go bigger or smaller if you wish. The main difference will be the border size, so I’ve left the layer styles open and you can alter the border (Stroke) thickness at the end if you wish.

The action will work with Photoshop CC, CS6, CS4, CS4 and CS3 but WILL NOT work  with any version of Elements, sorry.

Usage rules
The action is copyright Gavin Hoey 2014. Use is limited to any personal, non-commercial purposes. Please share the Friday Freebie by linking back to this page. Do not redistribute the original action without my permission.

Download instructions
The direct link to download the actions is https://www.gavtrain.com/wp-content/uploads/2014/04/four-parts-gavtrain.zip

No support is provided with the Friday Freebies. If you need help Google or YouTube the question and you’ll almost certainly find the answer 🙂
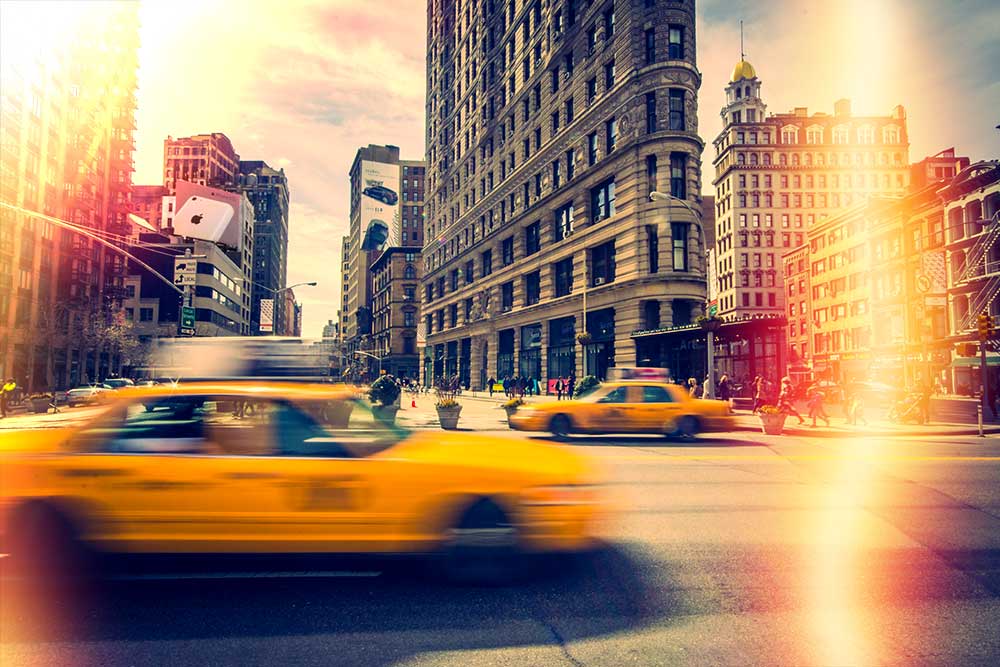
Three Light Leaks

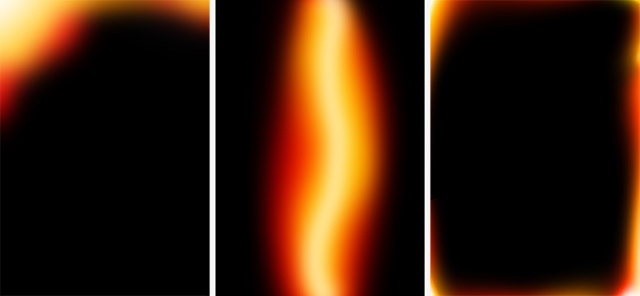
Light-Leak-Samples-NYCHere’s a Friday Freebie for those that love the vintage style photos. Light leaks were always a potential hazard for me back in the days of film photography, especially with my very first Praktica camera. Fortunately it rarely happened but now it’s very in.

Click Here To Download three light leaks

This Friday Freebie is not one, not two but three light leak images that are all ready to be pasted to your images. They’ll work with pretty much any photo but they really look good on vintage style images with a retro or timeless feel. In this case it’s a photo I snapped on a recent trip to New York

To use the light leaks first download them and unzip the file. Open the light leaks into Photoshop or Photoshop Elements and simply copy and paste them on to your image. Use Free Transform to rotate and resize them as much as you need. To blend them in simply change the Layer Blending Mode from Normal to Screen. If you want more light leaks, just paste them in!

Light-Leak-Samples

If you create a photo using the Friday Freebie then let me (and everyone else) know by leaving the link in the comments below.

Usage rules
The template is copyright Gavin Hoey 2014. Use is limited to any personal, non-commercial purposes. Please share the Friday Freebie by linking back to this page. Do not redistribute the original image without my permission

Wet Paint Border

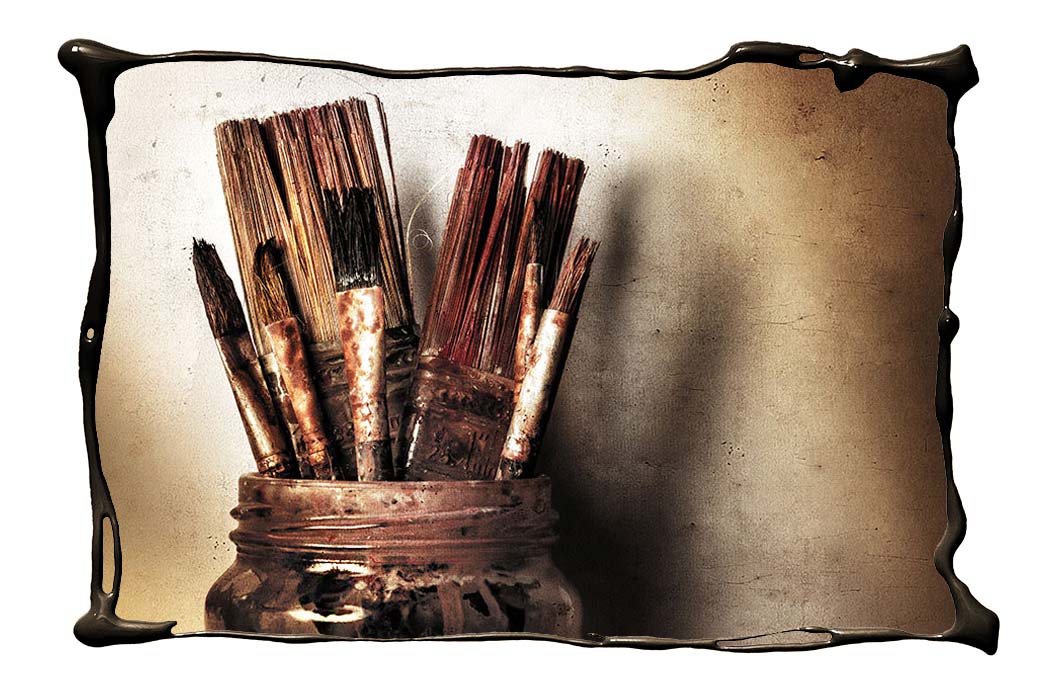
Wet-Paint-Border-finalThe Friday Freebies have had a bit of a break but by popular request, they’re back! So to kick things off here’s a free border that I made by pouring paint to form a photo frame.

Full download instructions are below but you can also
Click Here To Wet Paint Border

I do like getting in a mess with my creations but this one was particularly bad. I created it by dribbling paint from a pot onto white paper in a rough rectangular shape.

To make life for you a little easier I’ve already made the cut out hole, so all you need to do is drop your photo on a layer below the border and resize it to fit.

Wet-Paint-Border-examples

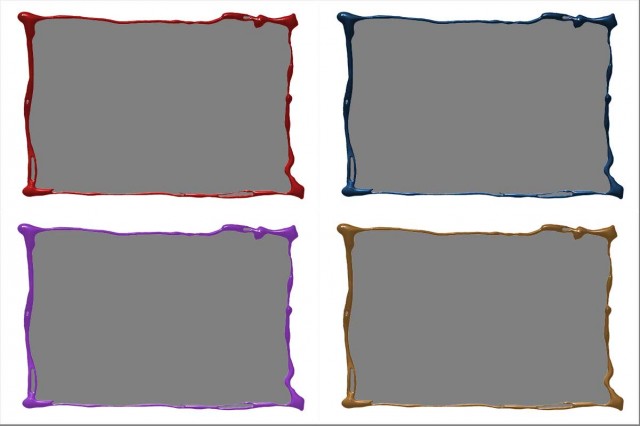
Don’t like the colour of the border? No problem. I’ve added a Hue/Saturation adjustment layer that only effects the border. Double click it and alter the Hue and Saturation values to create all these and  lots more too. You can also adjust the Lightness value but it will have to be in the plus range only.

As always, if you create a photo using the Friday Freebie then let me (and everyone else) know by leaving the link in the comments below.

Usage rules
The image is copyright Gavin Hoey 2014. Use is limited to any personal but non-commercial purposes. Please share the Friday Freebie by linking back to this page. Do not redistribute the original image without my permission.

Download instructions

Click the link https://drive.google.com/file/d/0B_Mmmm3K1utNdjB1YjRidjZocE0/view?usp=sharing
1. Click the Download button download_icon

2. The download should start automatically

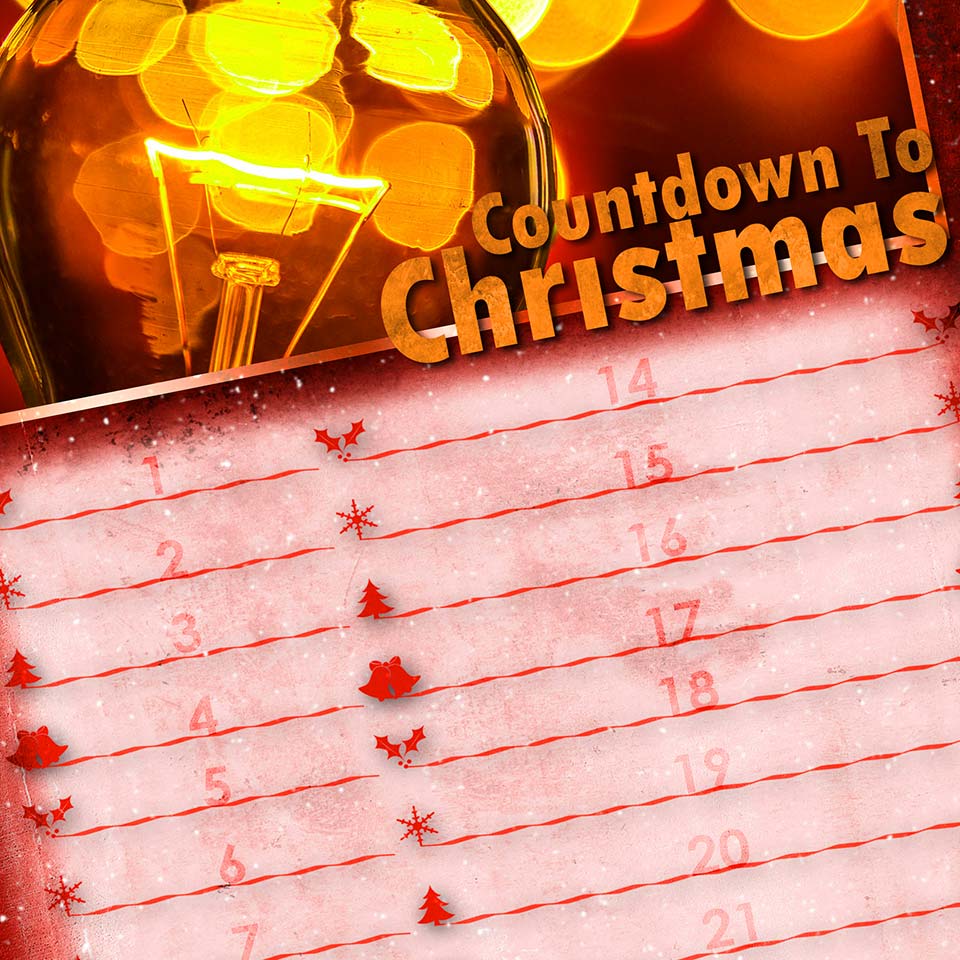
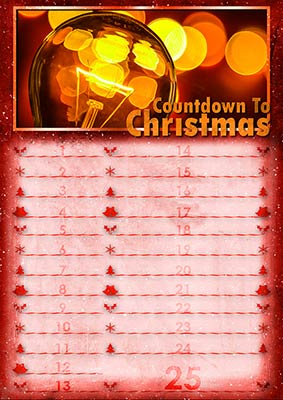
Countdown To Christmas Freebie

christmas-countdown-sampleHere’s a little bonus freebie for you which could well be the perfect tool to help plan your time in the run up to Christmas.

At this time of year it can be very easy to lose track of what needs to be done and when, that’s where this little planner could be really handy.

As well as filling in your important events you can add vital dates such as the last posting dates for your orders and christmas cards. I’ve designed the countdown planner so there’s more room for you to fill in the important reminders as the big day approaches and of course, the biggest space is reserved for Christmas day itself.

You can download it from www.gavtrain.com/free/christmas-countdown.zip

The planner is A4 in size, so it’s perfect for home printing. Happy planning 🙂

christmas-countdown-sample2