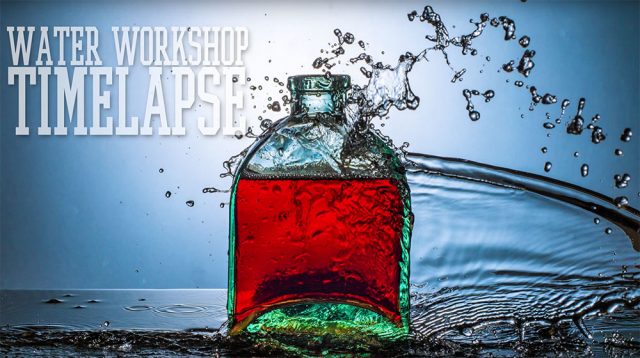
Water Workshop Timelapse

A few weeks ago I ran a slimmed down version of my water workshop at the Jessops store in London’s Oxford Street. This was an Olympus UK sponsored event but was open to any photographer whatever make of camera they owned. It was also free for the 20 photographers who were lucky enough to get a space in one of the two sessions

I love this workshop for many reasons but mostly because it’s a real “hands on” event and as you’ll see in the time-lapse below, everyone gets involved.

[youtube]https://www.youtube.com/watch?v=y9YrutvJN0s[/youtube]

Here’s a little info about the time-lapse. It was recorded on an Olympus TG Tracker action cam by Clare Harvey-May from Olympus UK. The TG Tracker has time-lapse recording built in and Clare recorded the two sessions (morning and afternoon) from two different angles, both in 4K.

I used Adobe Premiere Pro CC2015 to edit the two videos and add some of my stills from the workshop. As the final video was to be at 1080p HD, I was able to pan and zoom around the much larger 4K footage to create the motion you see in the final video.

I have to thank to Jessops and Olympus for hosting me and not complaining about the wet floor. Sam, for dragging crazy heavy bags of gear all over London. But mostly I can’t thank enough all the photographers who came along to both days and get so involved and slightly wet… you were warned!Water workshop cover

Make a simple LED Background

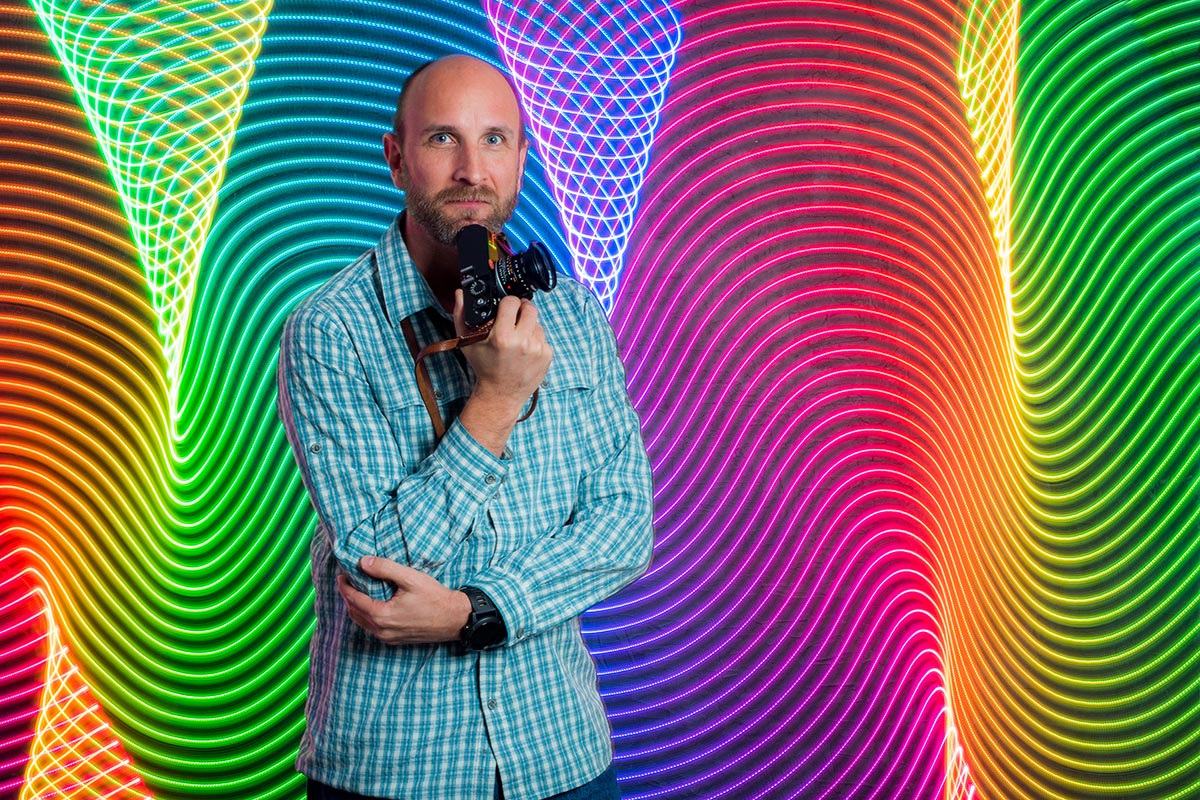
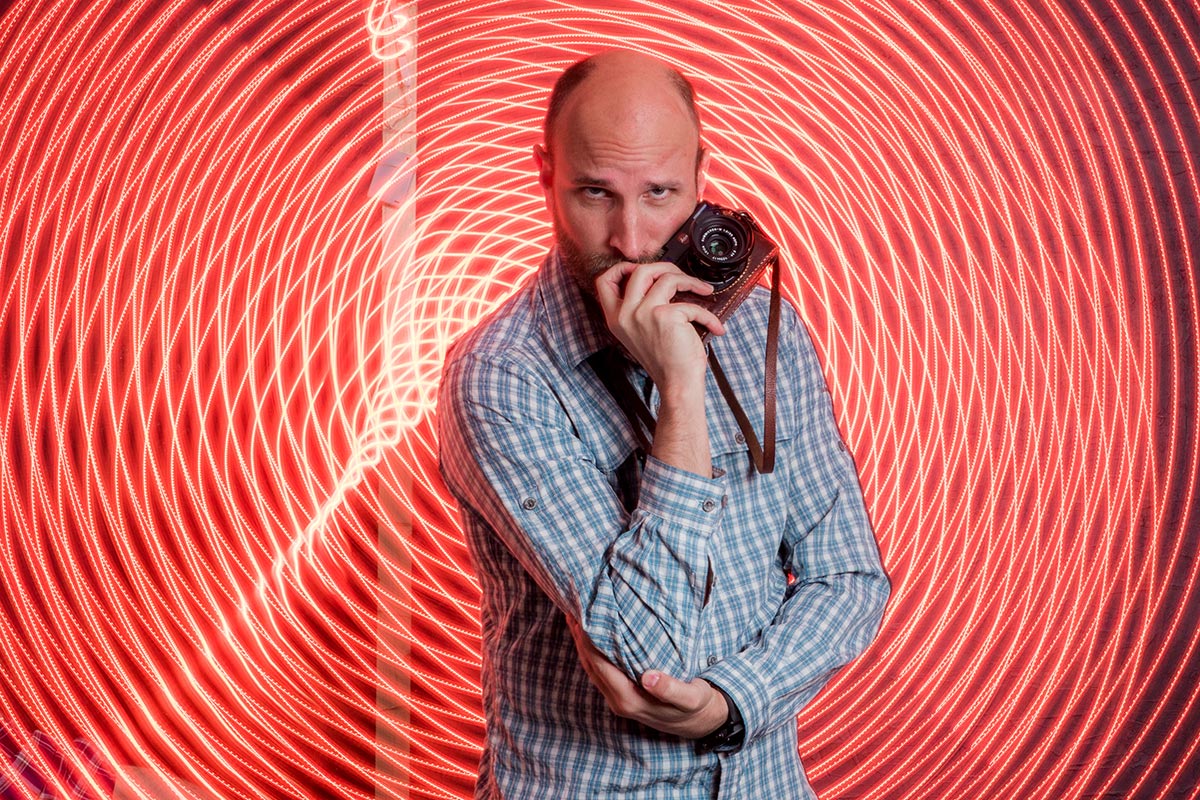
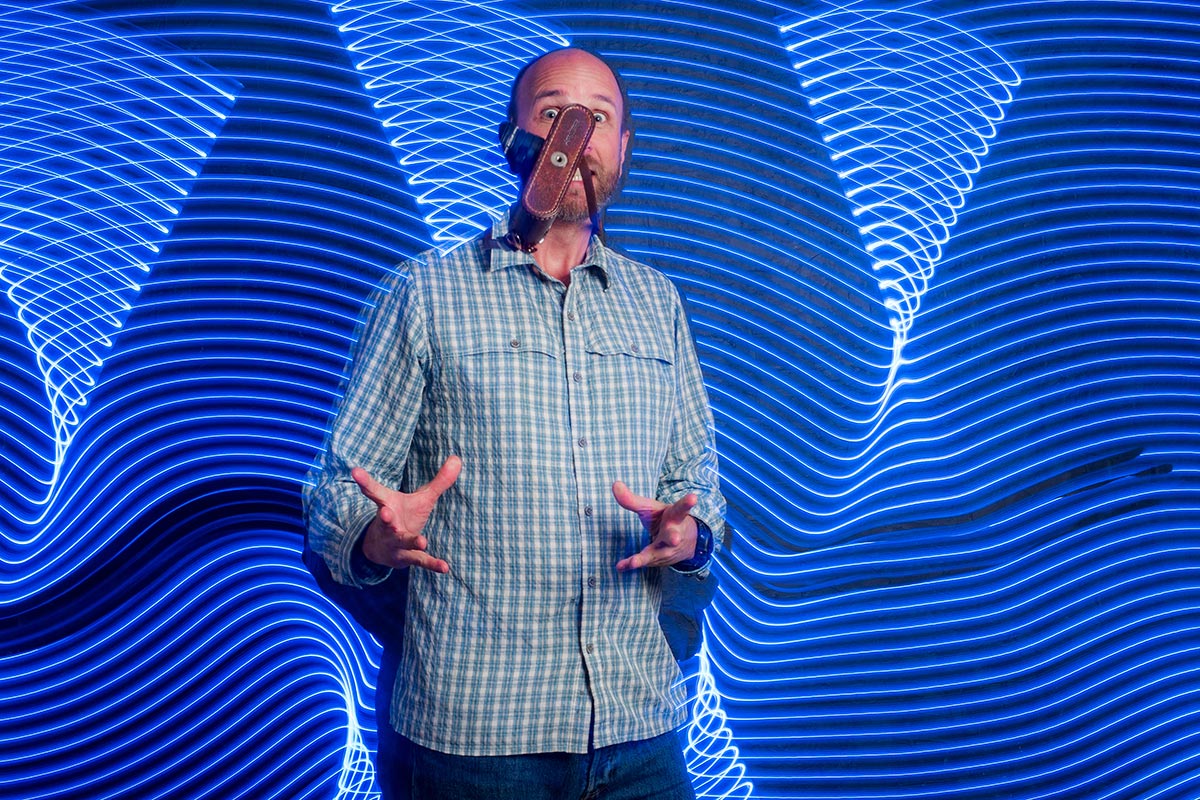
All sorts of random things can be turned into an amazing  portrait background but last year I was shown something called the Pixel Stick which looked amazing. It was a Kickstarter backed project that combined LED’s and long exposures in a way I’ve never seen before. Although the pixelstick was out of my budget the basic idea wasn’t.

My low tech LED stick took just a few minutes to make and worked amazingly. Take a look at the Adorama TV video I made with the spectacular Mark Wallace to see for yourself.

I’ve had loads questions all asking the same thing… How do you make my LED stick?

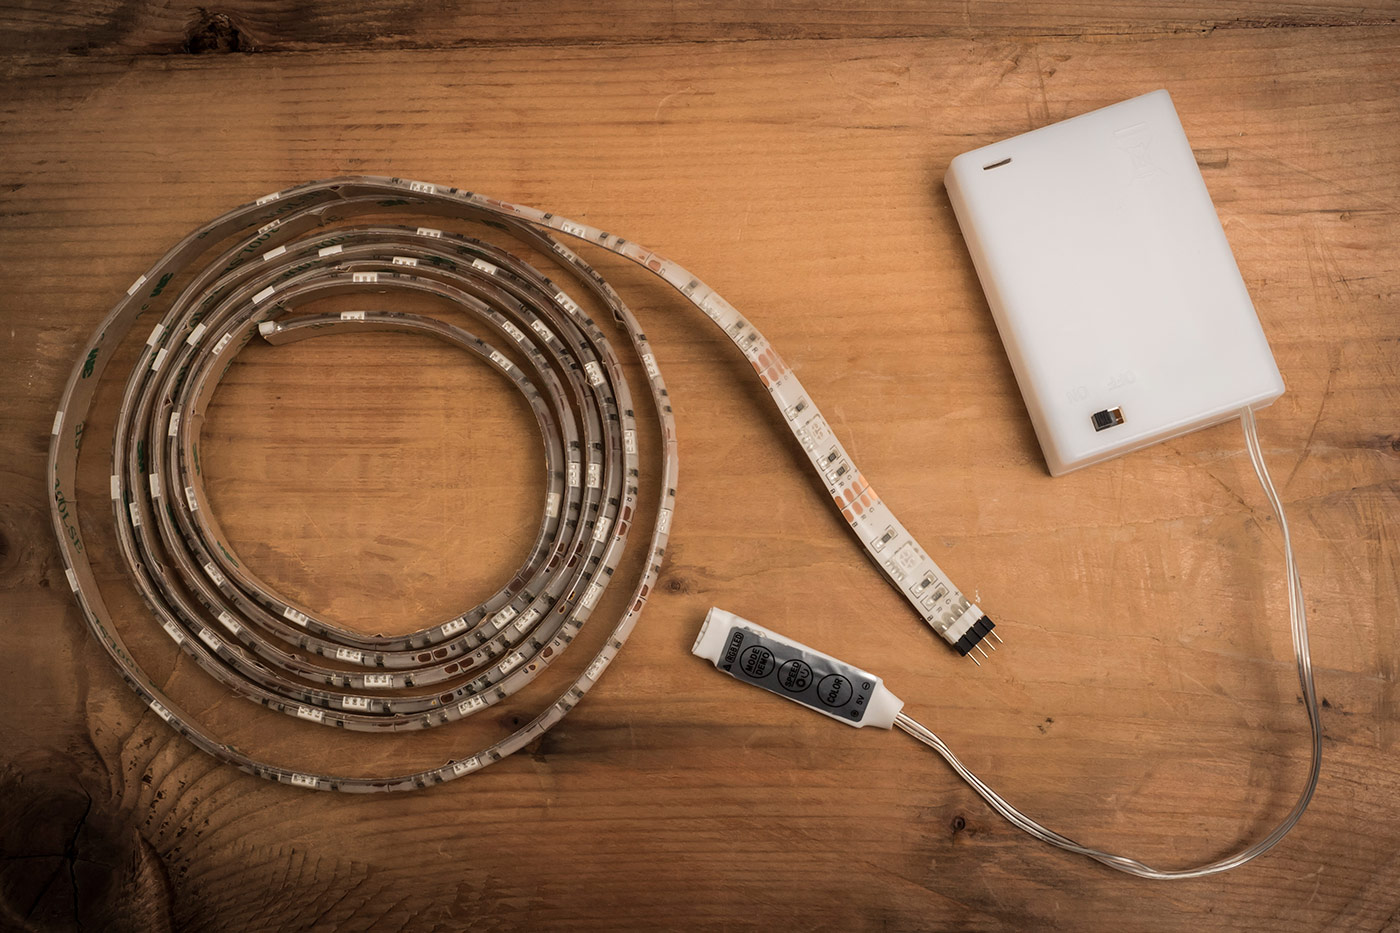
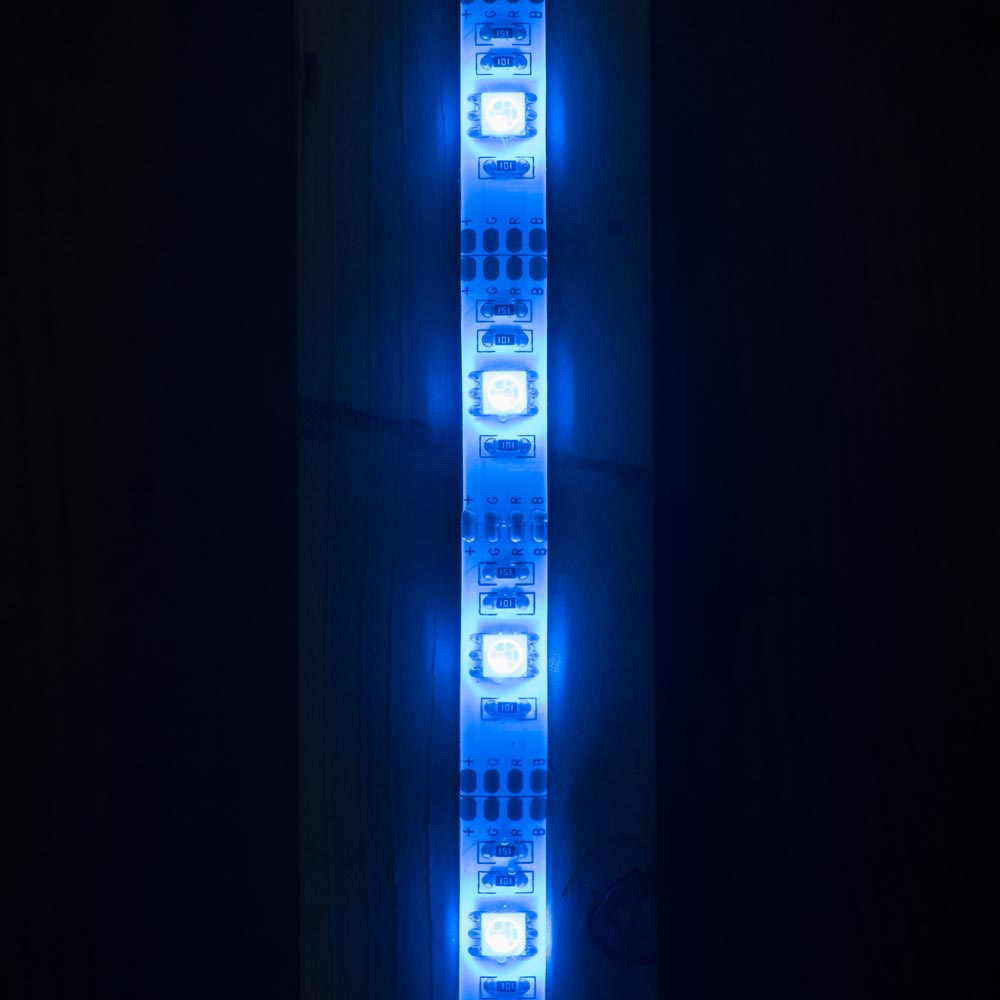
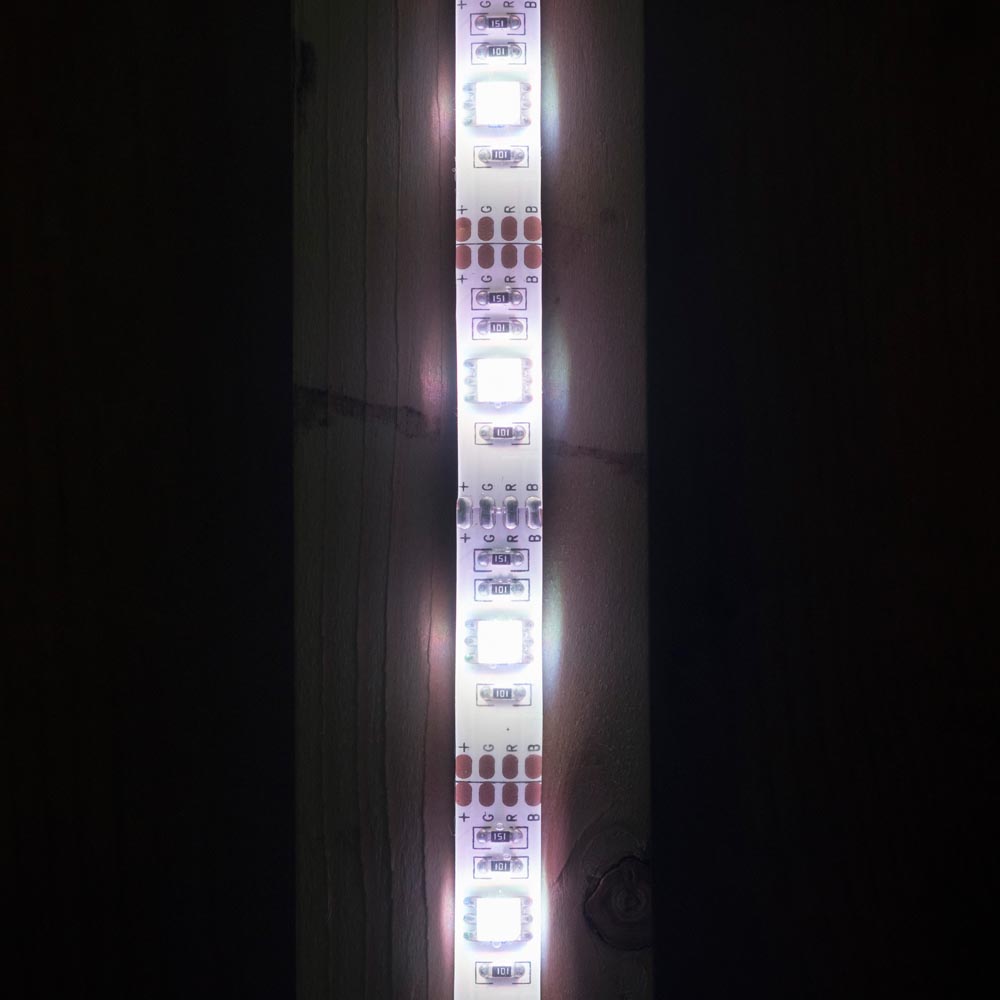
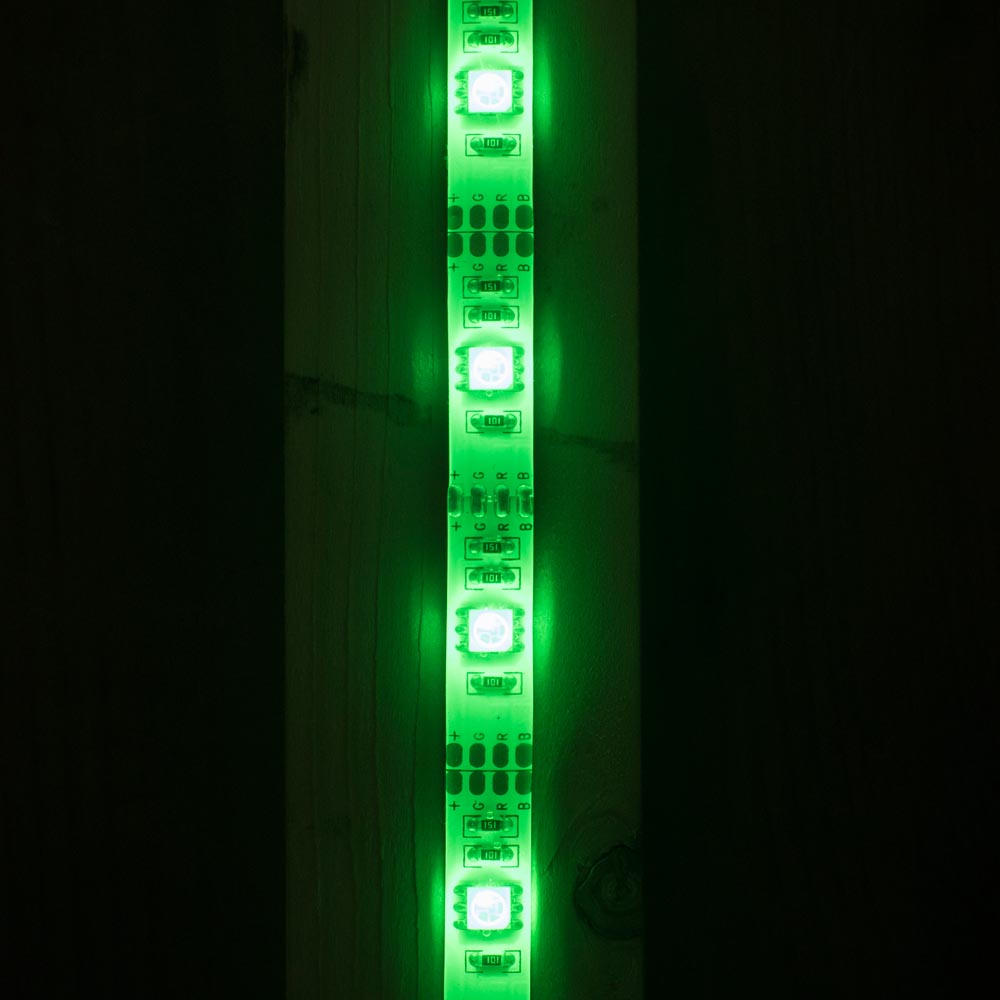
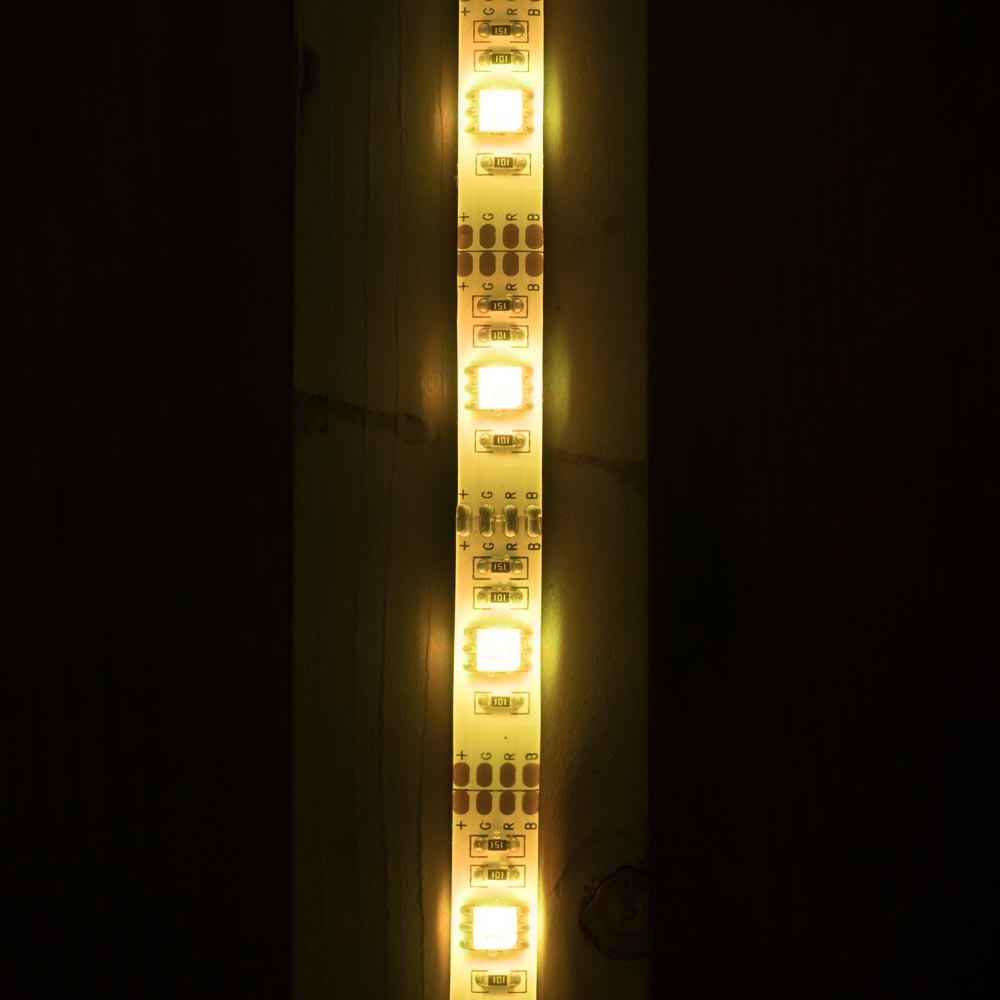
eBay proved to be the perfect place to start my search. There are loads of low cost LED’s on the market and I found a 2 meter roll of multi-coloured LED’s complete with battery box and controller for about £17.00.LED-Setup

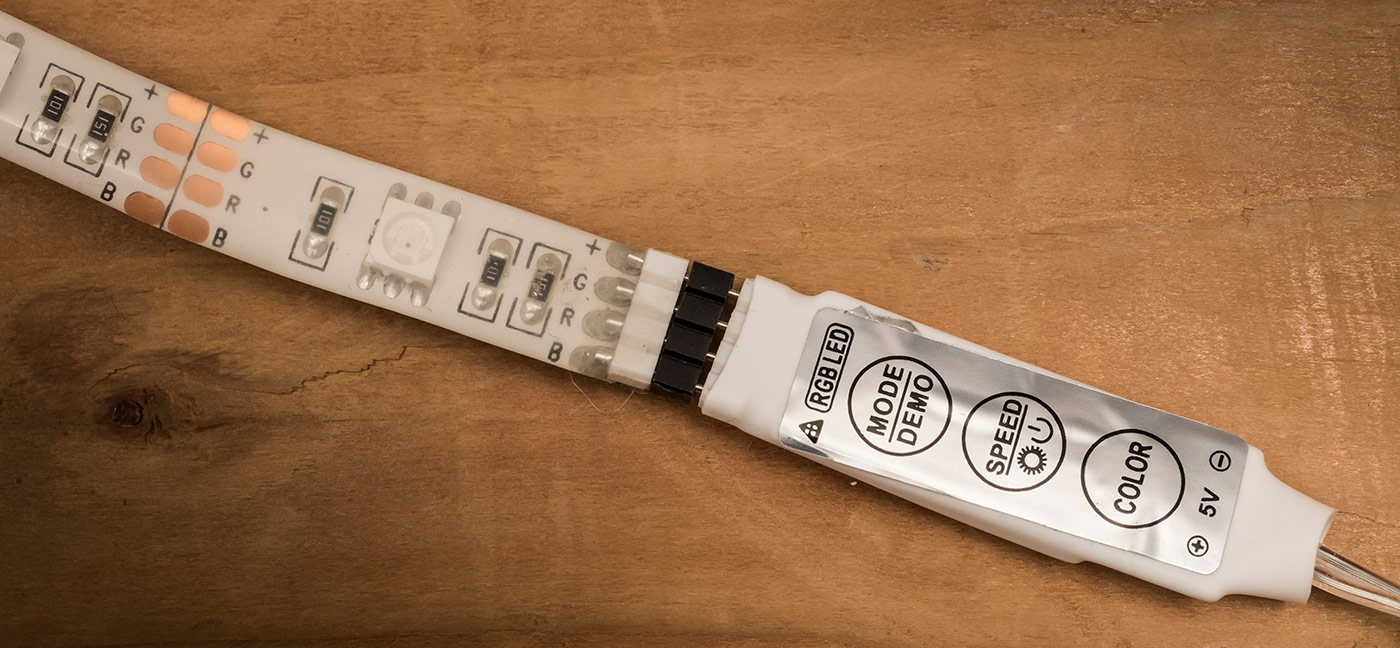
Each LED is actually several coloured LED’s clustered together which turn on or adjust their brightness to change the colour. The controller is very basic but allows you to set the colour, brightness and any effects such as flashing or fading through the spectrum.

LED-Setup-2

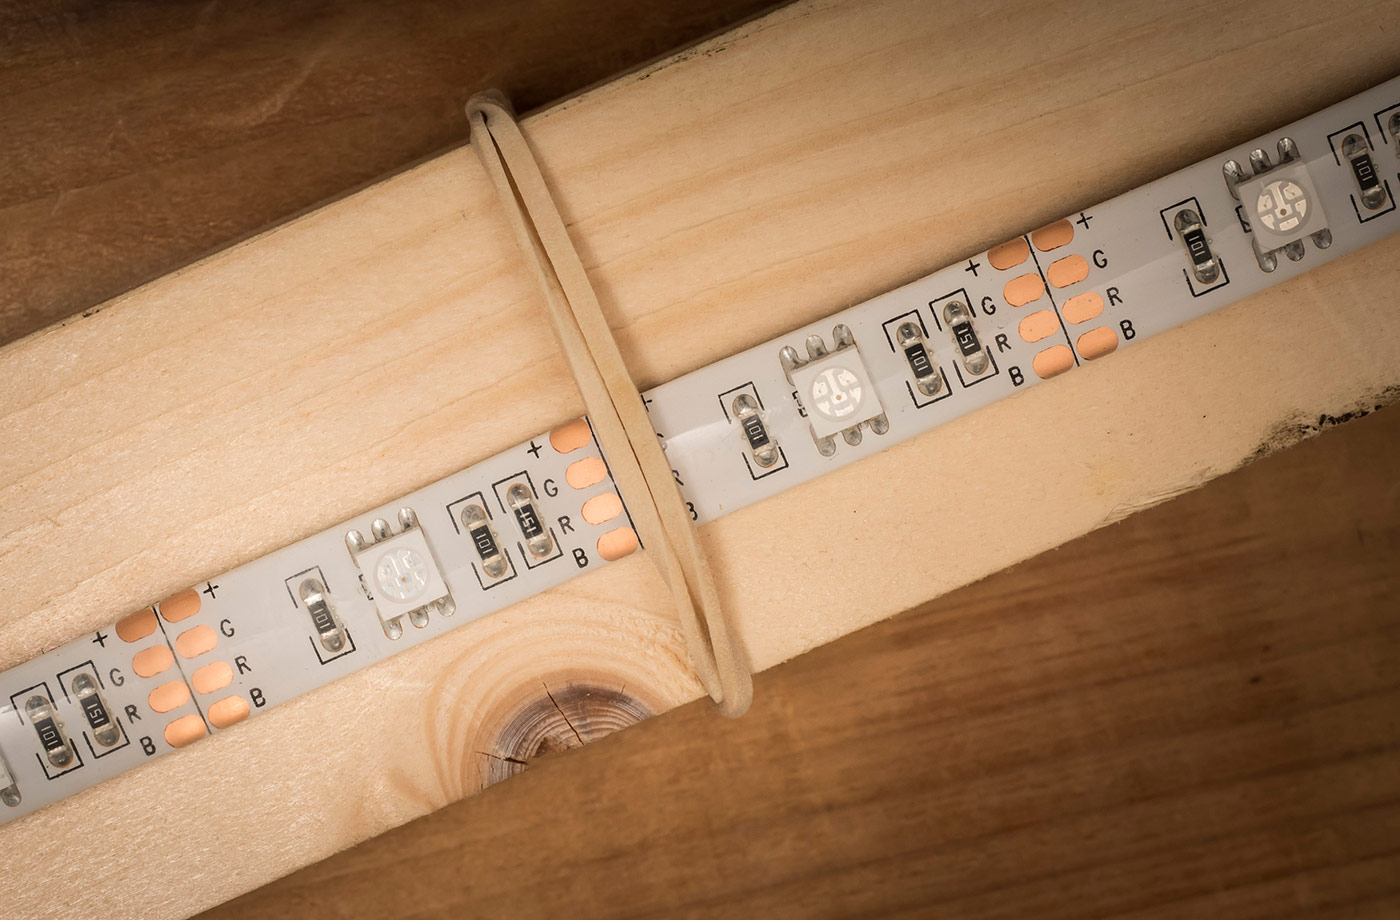
The LED strip is very flexible and sealed inside clear silicone (or something like it), so I found a spare bit of 1.8m timber and attached the LED strip to that. There’s adhesive on the back of the strip but I just used a few rubber bands to hold it place. Just make sure the bands don’t cover the LED’s!

LED-Setup-3

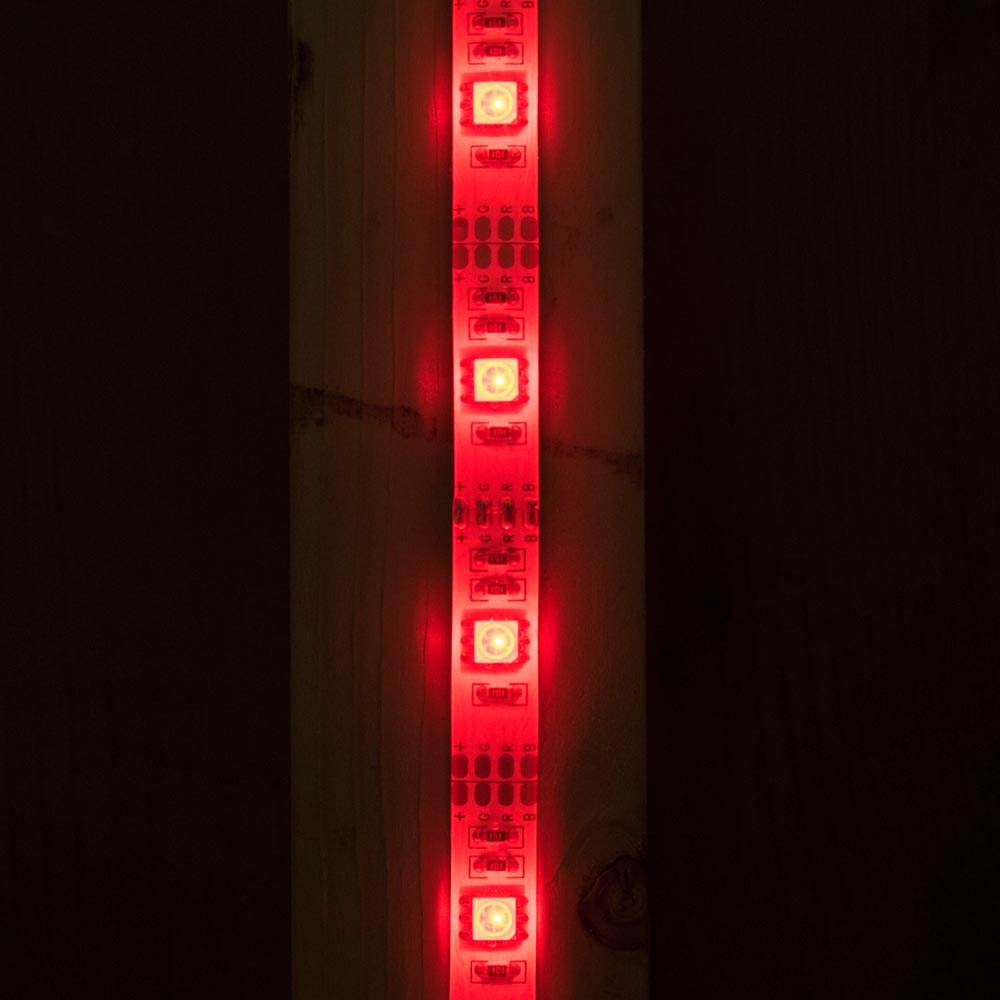
Then it’s just a matter of attaching the batteries and choosing a mode. Some colours worked better then others as did some modes. The key as always is to experiment and have some fun!

Tips for Better Bokeh

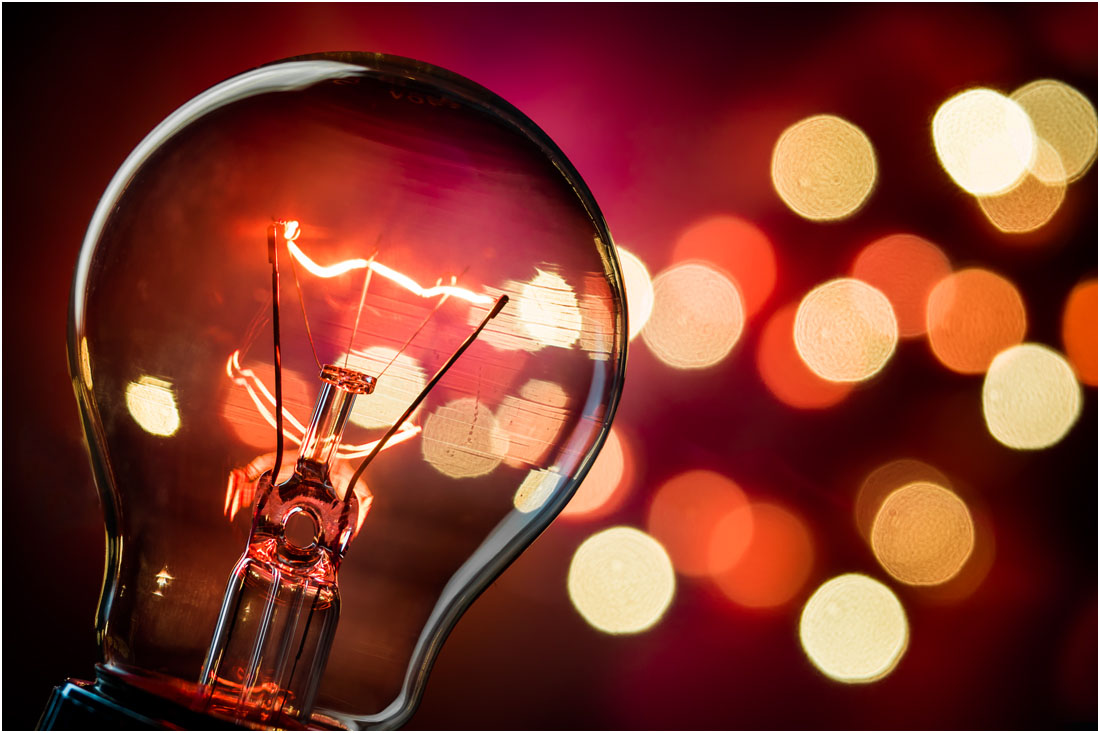
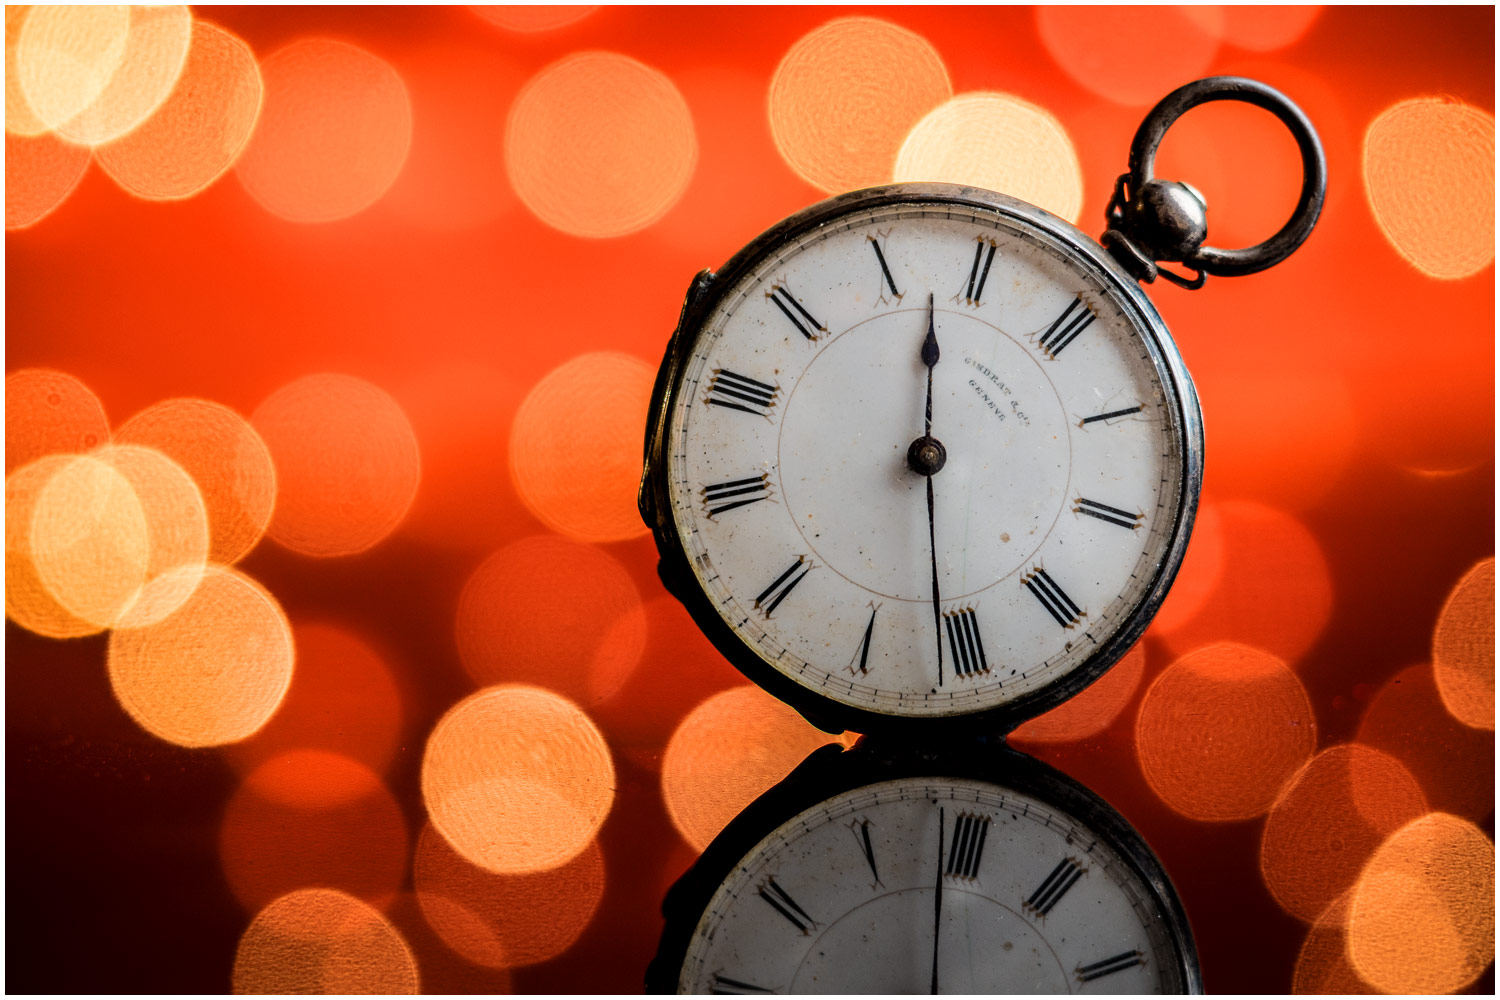
Recently I shared a few of my bokeh shots as a Friday Freebie. Nice as they are, nothing beats shooting your own stock shots and luckily bokeh is easy to do. This time of year is also perfect for bokeh shots with many places covered in festive lights which makes brilliant bokeh.

In the video below I cover the basics of bokeh, what it is, how you can control it and some simple tips for getting some great photos with it.

[youtube]https://www.youtube.com/watch?v=4zBfBDNyGpA[/youtube]

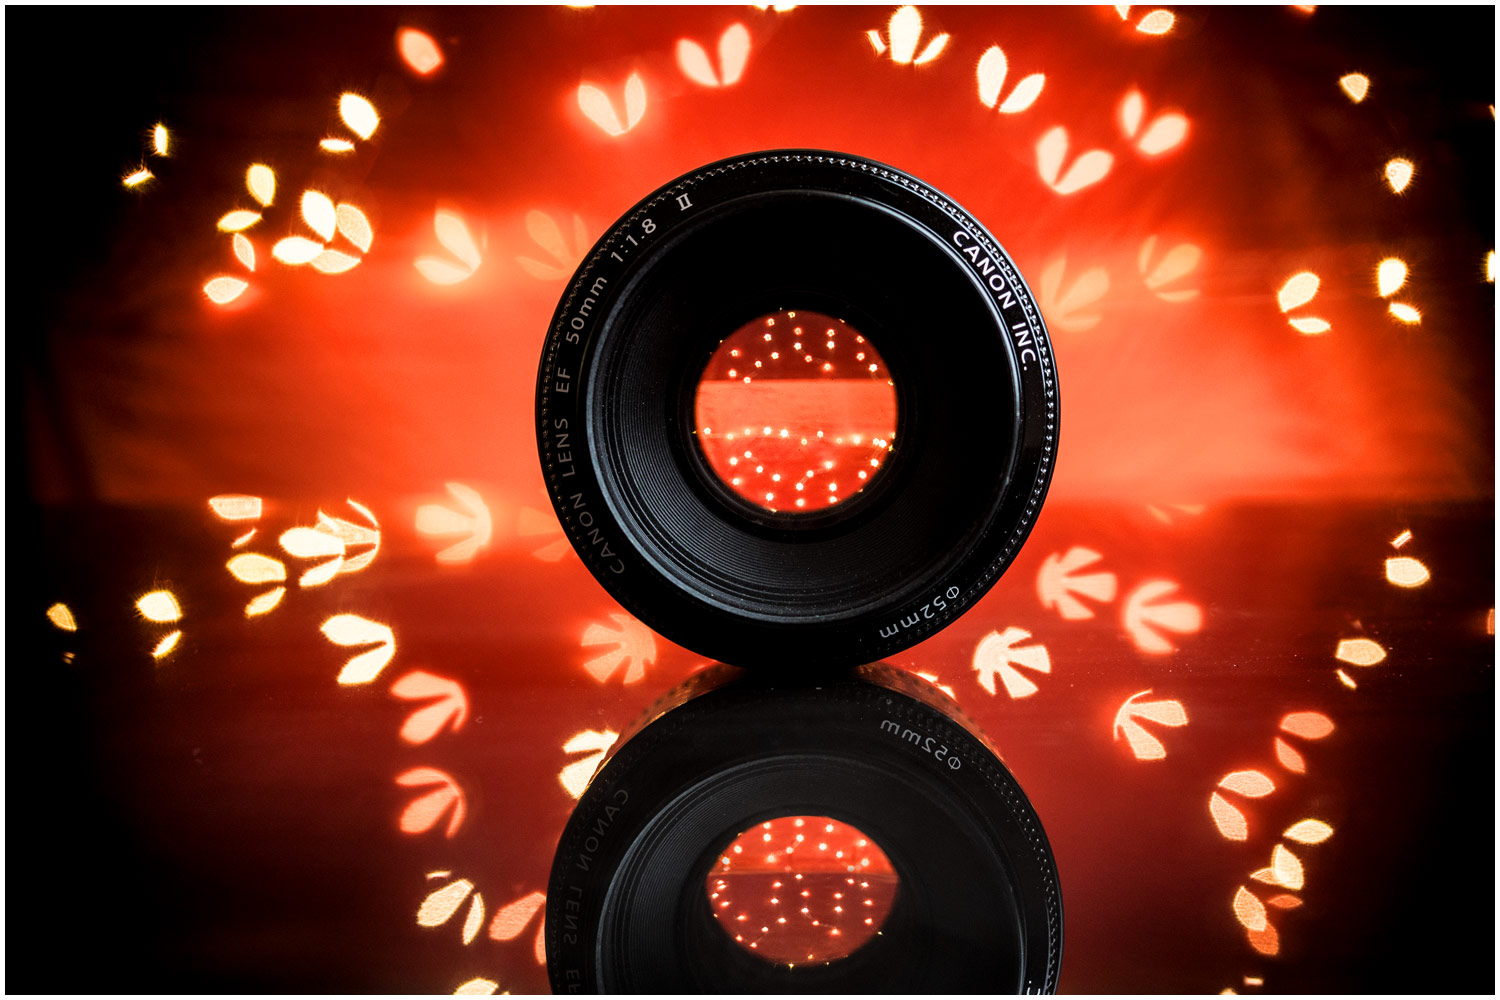
OK, so you’ve mastered bokeh and it’s time to go beyond basic bokeh. In part 2 of this mini series I dive a bit deeper by adding flash, doubling my bokeh count and changing the bokeh shape.

[youtube]https://www.youtube.com/watch?v=3mXg7-Juvrc&feature=youtu.be&a=[/youtube]

Bokeh is brilliant fun to play with but remember it’s not just for Christmas, the basic principles can be applied year round on any shot that has small points of light in the background.

Bluebell 15 Minute Photo Challenge

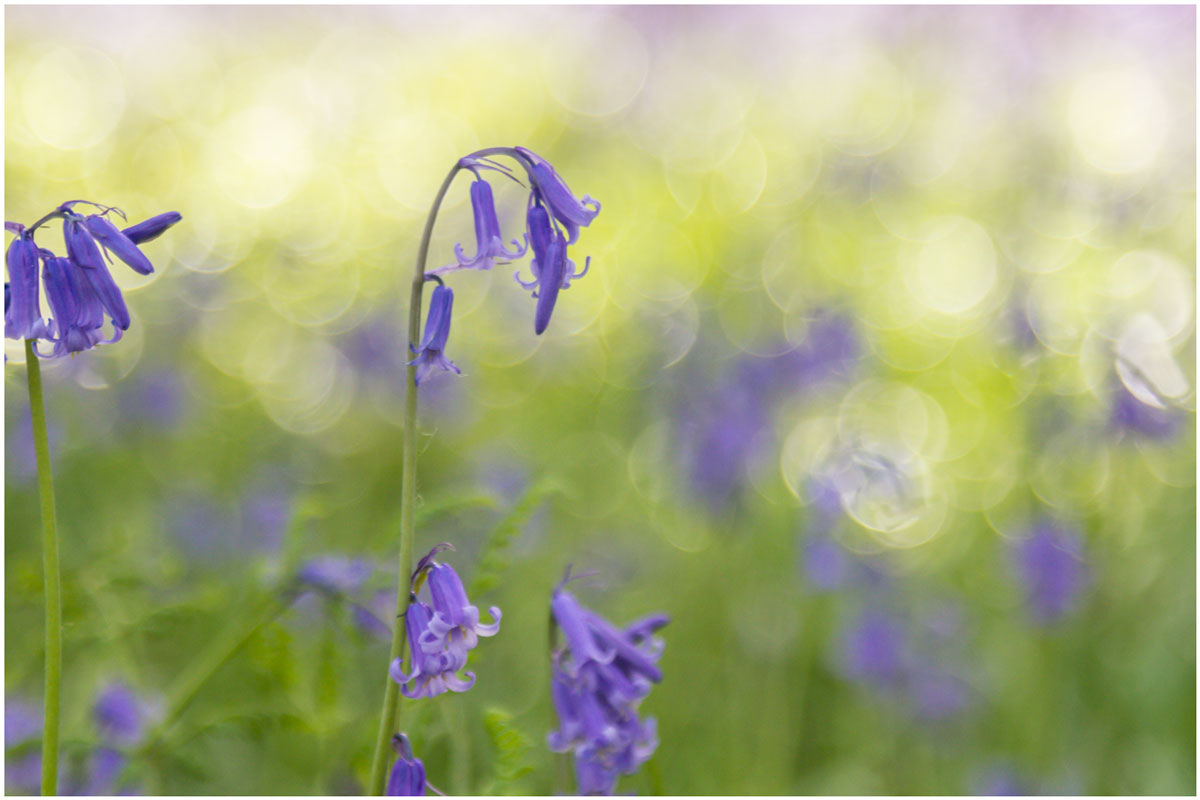
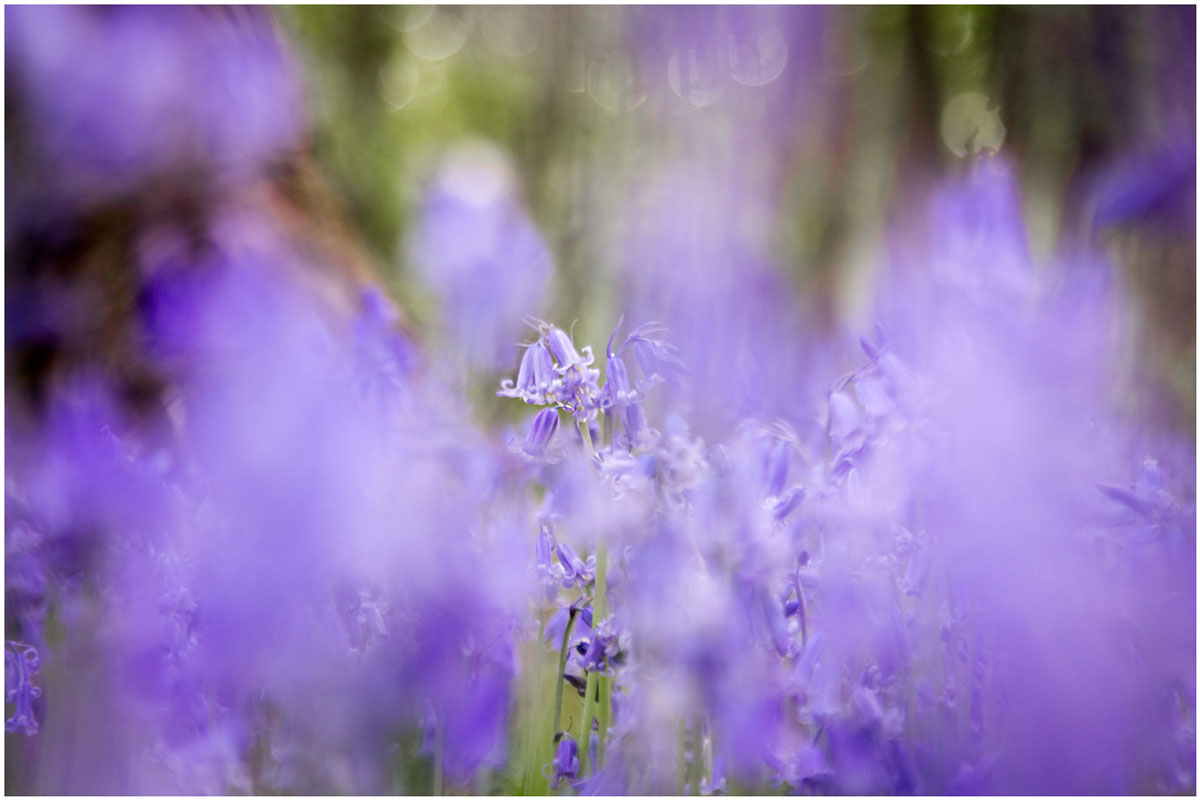
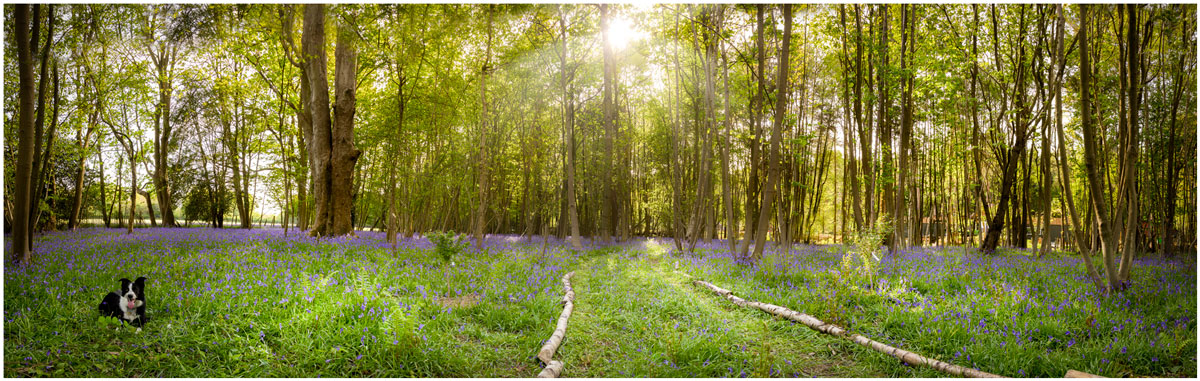
I’m a sucker for bluebells, so when I got the chance to shoot some at a local wood I grabbed it. The bluebell season can be very short but there’s still something to be said for waiting for the right light and shooting at the right time of day. For me that meant late afternoon when the sun was low but not so low that it would make the woods very dark.

Bluebells, like many flowers, are a bit top heavy so as well as picking the right light I wanted to avoid shooting on a windy day. Luckily everything came together so I packed my camera and by 24-105mm lens and set off to do another 15 minute photo challenge.

[youtube]https://www.youtube.com/watch?v=2b0trjfaRok[/youtube]

Bluebell-1jpgBluebell-2Bluebell-Pano

Retro Cross Polarisation Effect

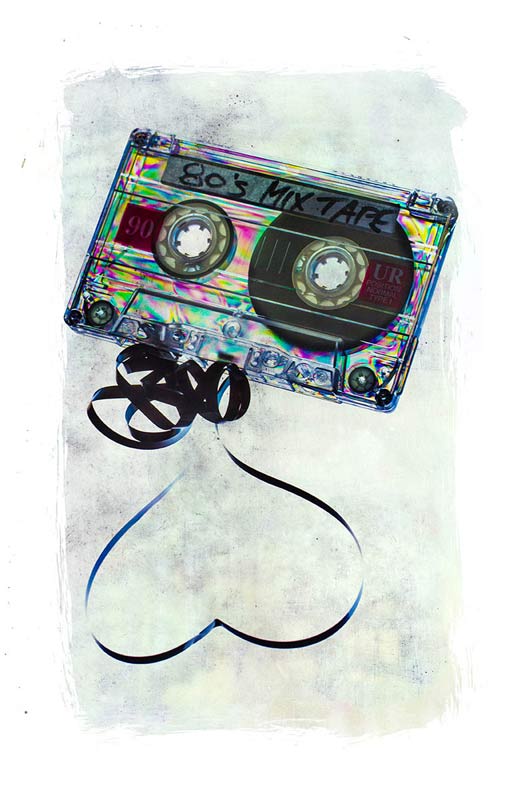
80s-Mix2Here in the UK we’re in the full grip of Autumn and all the wonderful photo opportunities that this time of year brings. Sadly the amazing colours of autumn are usually a fleeting thing with wind and rain making the chances of capturing them even more challenging.

So here’s a brilliant idea that you can do any time of year and whatever the weather.

The techique makes use of cross polarisation. It’s one of the very first tricks I learnt way back in the mid 80’s when I first became serious about photography. All you need is an LCD screen as your light source, something made of clear plastic and a polarising filter for your camera. I’d also recommend a tripod to minimise camera shake or high ISO noise.

To finish off I added a texture and as I mention in the video I’m sharing it. To download it just follow this link http://adobe.ly/1ac4x7M click the Actions button and choose to download the JPG image.

[youtube]http://www.youtube.com/watch?v=AG3F4gG3tuw&feature=c4-overview&list=UU8Pksdbj37CdE00kmE7Z1dw[/youtube]

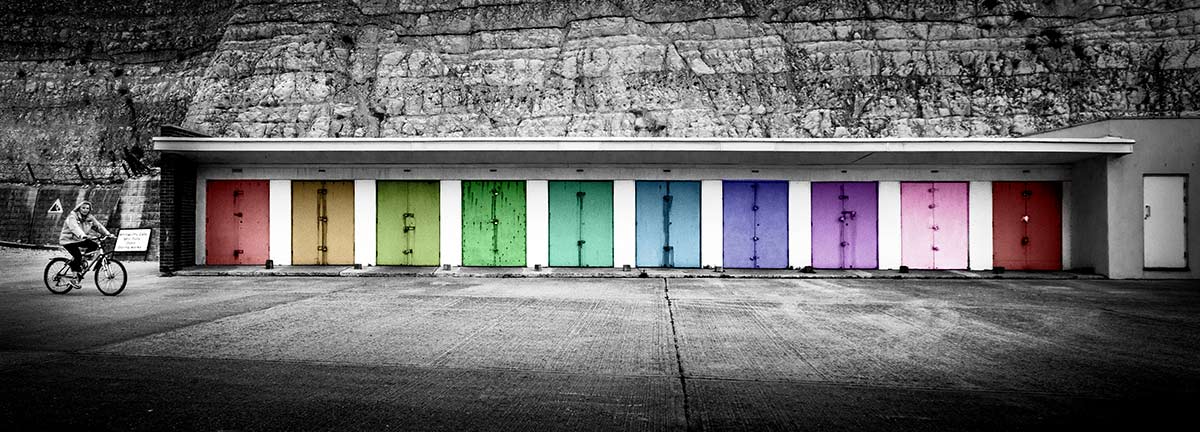
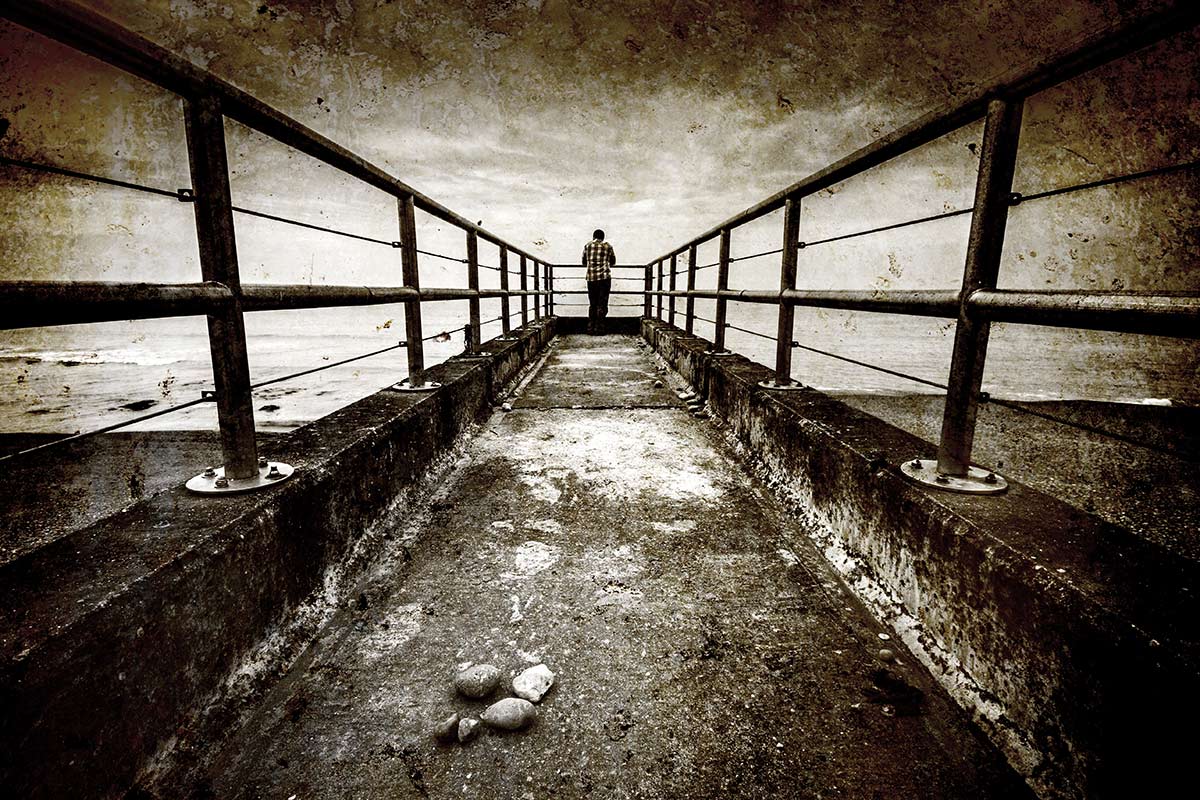
Coastal 15 minute photo challenge

I know there are a lot of photographers out there who enjoy my 15 minute photo challenge videos, including me. Although I don’t get the chance to make as many as I once did they’re certainly not consigned to the history book… far from it.

If you’re new to my blog then you may be wondering what a fifteen minute photo challenge is. Basically its my way of sharpening my camera skills and training my photographers eye but limiting myself to a fixed amount of shooting time. Not only that but I’m also restricting the geographic area in which I can look for photos which can be a blessing and a curse. The end result is often unpredictable and always challenging, it often takes me out of my comfort zone which is always a good thing to do every once in a while.

Keep scrolling down to see a few of the final photos.

[youtube]http://www.youtube.com/watch?v=gFU4SSEjYVs[/youtube]
Can’t see the video? Click Here http://www.youtube.com/watch?v=gFU4SSEjYVs

Saltdean-1

Saltdean-2

Saltdean-3

Equipment used in the video:

Adobe Photoshop CC
http://www.adorama.com/ABPSCS6W.html?KBID=67338

Canon 60D
http://www.adorama.com/ICA60D.html?KBID=67338

Sigma 10mm-20mm
http://www.adorama.com/SG1020EOS.html?KBID=67338

Sigma 10mm-20mm
http://www.adorama.com/BRRS7.html?KBID=67338

Vanguard ABEO Plus 283CT Tripod
http://www.adorama.com/VGABEO283CT.html?KBID=67338

Vanguard GH-200 head
http://www.adorama.com/VGGH200.html?KBID=67338


Planning for Black & White

Adorama-MonoWay back  when I started learning photography the only real option for serious photographers was to make black and white prints and we were darn good at it too. Skip forward 25 years and now everyone takes colour photos but thanks to post processing everyone can also make black and white images too.

There’s an art to making top quality colour photos but making quality mono photos is an extra challenge. One of the reasons many photographers find shooting for black and white a challenge is because we don’t see the world monchrome, we see colour. However there a few tips you can apply at both the camera and Photoshop stages which will quickly step your black and white photography up a gear.

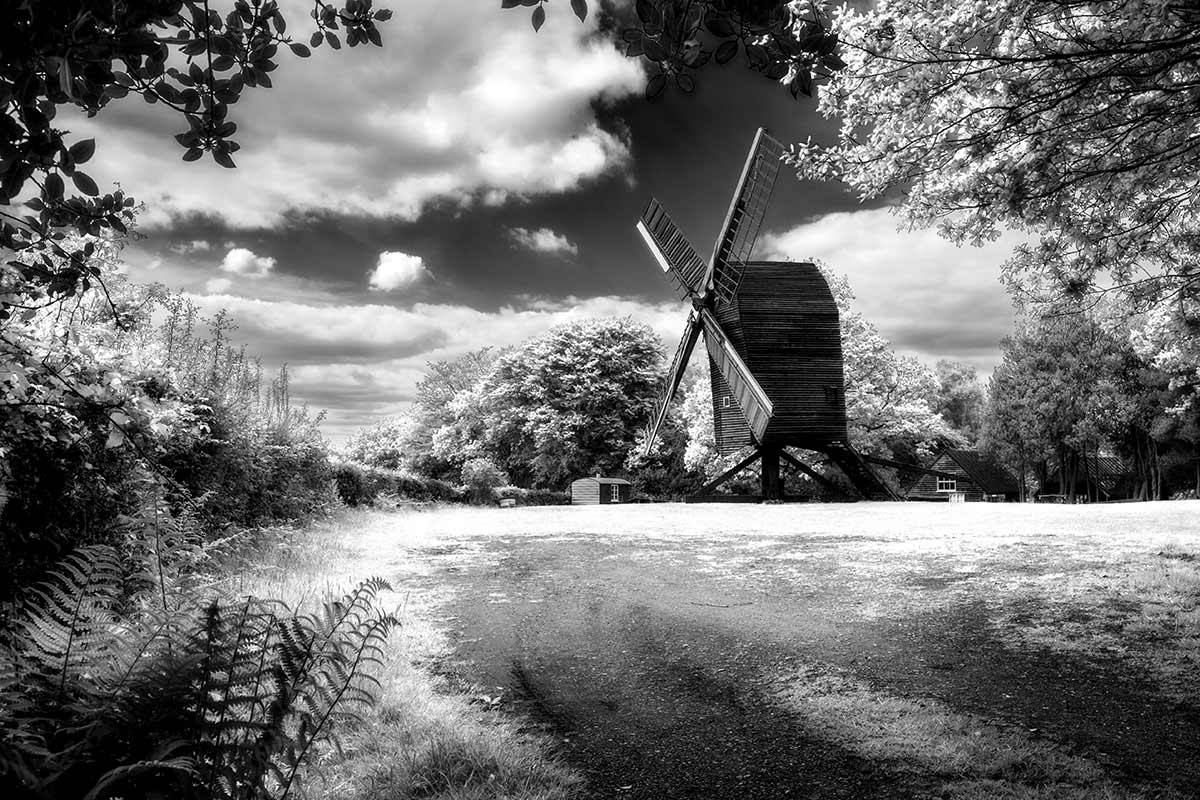
In this video for Adorama TV I visit Nutley Windmill on the Ashdown Forest with the plan of shooting for black and white. Then it’s into Photoshop to make the magic happen.

[youtube]http://www.youtube.com/watch?v=GZhk-S9Y-vs[/youtube]

Equipment used in the video:

Adobe Photoshop CS6
http://www.adorama.com/ABPSCS6W.html?KBID=67338

Canon 5D Mark II
http://www.adorama.com/ICA5DM2.html?KBID=67338

Canon 24-105L f/4 IS
http://www.adorama.com/CA24105AFU.html?KBID=67338

Vanguard ABEO Plus 283CT Tripod
http://www.adorama.com/VGABEO283CT.html?KBID=67338

Vanguard GH-200 head
http://www.adorama.com/VGGH200.html?KBID=67338


Five myths about Image Stabilisation

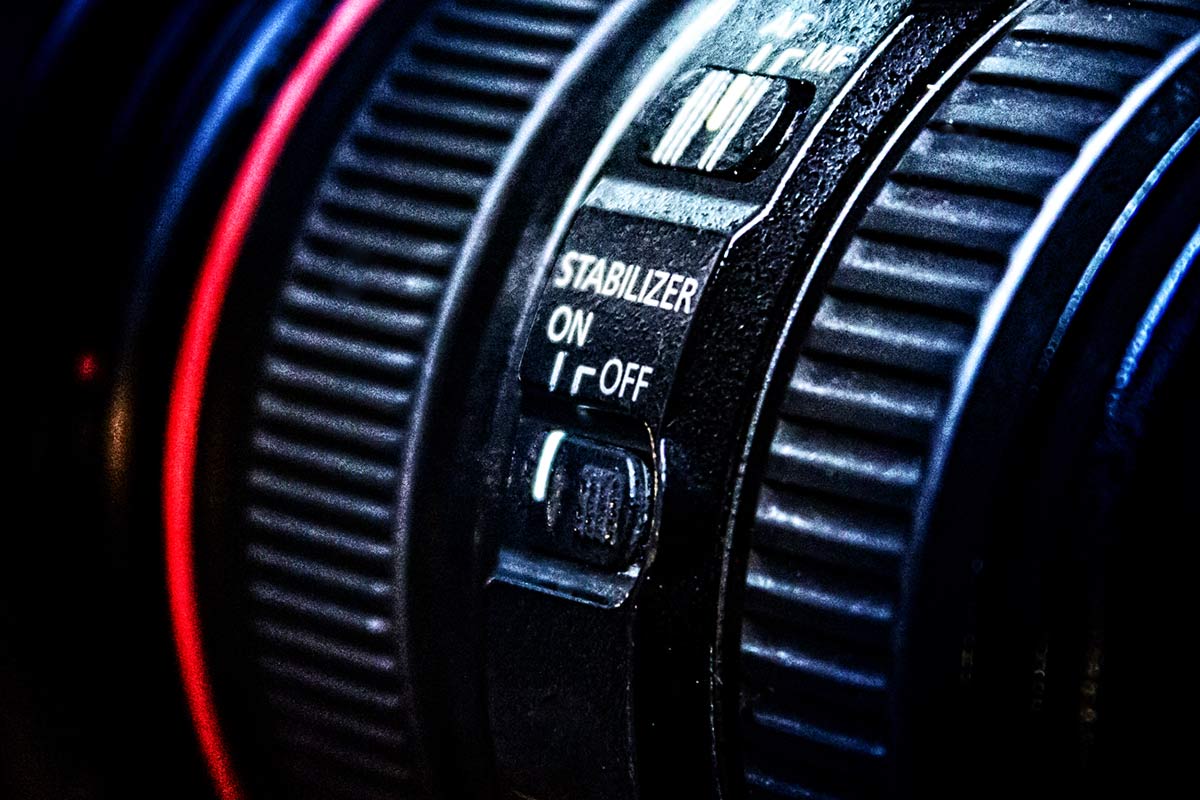
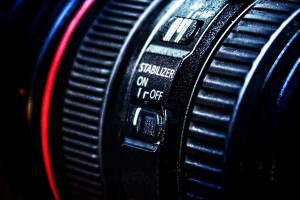
IS-VR-OSCanon calls it image stabilisation, Nikon uses vibration reduction and Sigma has Optical Stabilizer. The name may be different but the aim is the same. IS, VR and OS all promise the chance to shoot sharper shots at slower shutter speeds.

I love Image stabablised lenses but they can’t work miracles, so lets dispel a few myths.

IS lenses will stop blurred images
Image stabilisation will certainly reduce camera shake and often by a considerable amount, but let your shutter speed drop to low and your photo will still blur because of camera shake. Although image stabilisation will lower the shutter speed at which camera shake blur will happen, it can’t completely remove it.

Of course IS can do nothing to stop motion blur which is when your subject moves during the exposure.

My advice… I love IS lenses but beware of their limitations 

IS must be switched off when using a tripod
Generally speaking this is a good idea. Many IS system get a little confused by tripods which can lead to soft or blurred images, but as you can see in this video I leave my IS turned on when using a tripod.

So am I risking my photos being blurred? Well I’ve lost count of how many times people have pulled me up on it. The thing is many image stabablised lenses, including my Canon 24-105L, are what’s known as tripod aware which means the IS switches itself off when it’s not needed.

Whilst it’s fine to switch IS off on tripod aware lenses, you do run the risk of forgetting to switch it back on.

My advice… If you’re not sure if your IS lens is tripod aware then switch it off.

IS can replace a tripod
No image stabilisation system can completely replace a tripod but if I’m honest it can reduce the need for a tripod.

Tripods allow super long exposure, slow you down (which is good for composition) and give unrivaled sharpness to a photo.

My advice… You can’t beat a tripod but you don’t always need one. 

IS lenses are always sharper 
Well no, not always. As a general rule to avoid camera shake you want your shutter speed to be equal, or better still, double the lens focal length for a sharp shot. So when I’m hand holding a 200mm lens, I like my shutter speed to be 1/400th second or more.

If it  suddenly drops to 1/100th sec, an IS lens will give a sharper shot every time. However what if you’re using the same 200mm  lens and your shutter speed is 1/2000th second? In that case the advantage of IS lenses is the square root of nothing.

My advice… Non IS lenses are just as good as IS lenses at fast shutter speeds.

IS, VR, OS… they’re all the same
Well nearly. Some IS systems are better at stabilising then others. You’ll often see then rated as the number of stops improvement you’ll get. The best IS lenses offer around 4 stops but there’s more to it then that.

Many lenses will have more then one mode of stabilisation. For example you may get a general IS and a panning IS settings. The panning setting will reduce vertical shake only, which can be very handy for sports photographers.

My advice… More stops of IS means more money but buy the best you can afford.
2 Self-Portraits with 1 light

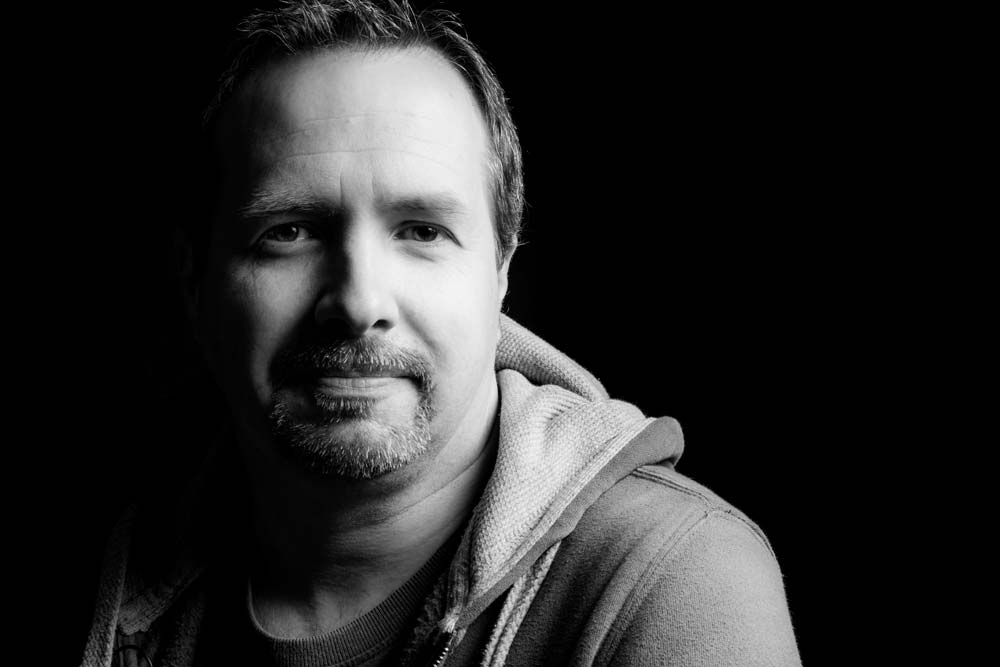
Self-portrait-1When I first started to learn about lighting I focused all attention on the complexities of flashes first and foremost. Of course whilst lighting is the cornerstone of great portraits, so is an ability to get the best from your model and trust me on this, that can be a lot harder to master.

One way to practice portraiture is shooting a self-portrait project. It’s a great way to practice and perfect various lighting arrangements without the need of a model, subject or assistant. 

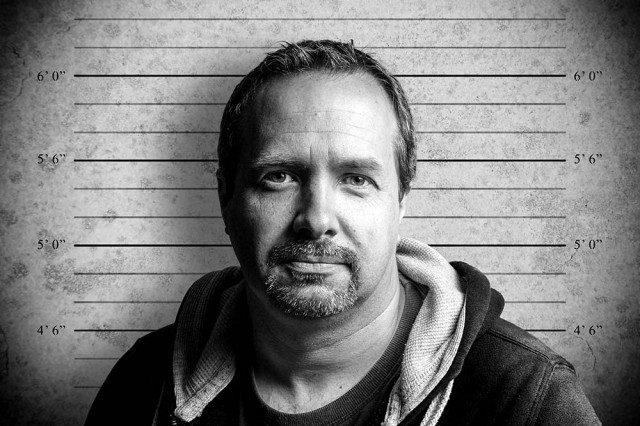
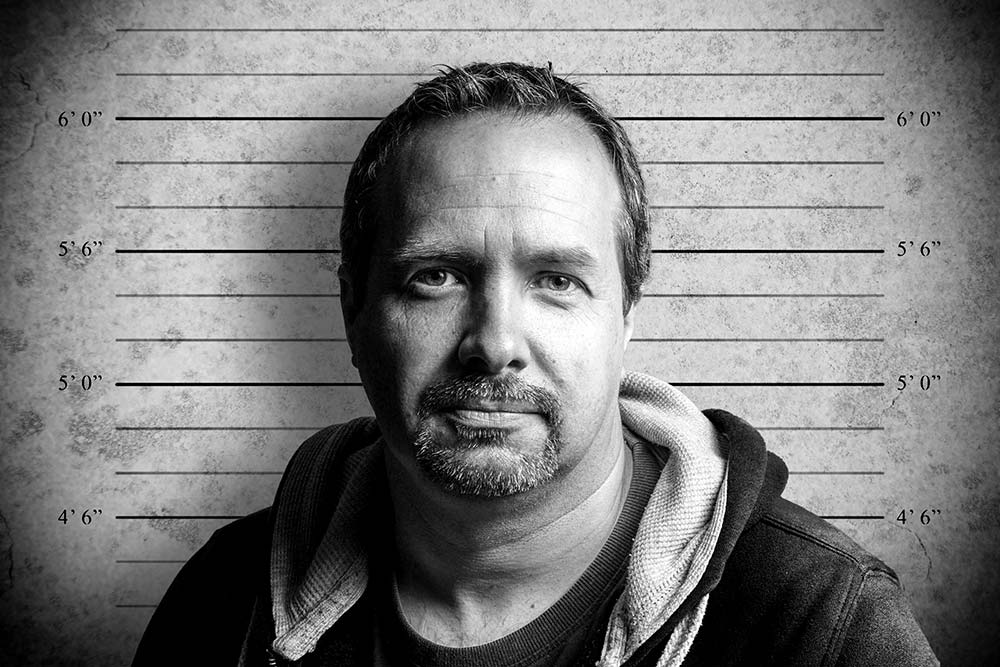
In this video I’ll show you how to shoot two very different self portraits but remarkably, the lighting will be identical for both. The only thing that will change is the background. 

Why change the background, you may ask. Well, the first shot has a black, low key background and the second set of photos has a grey background, which is much simpler to remove and replace with a new background in Photoshop, as you’ll see in the video.
[youtube]http://youtu.be/C2b61bZ-J44[/youtube]
If you can’t see the video Click Here

Self-portrait-2

Gear used in this video 

Interfit Collapsible Double Sided Background, Black / White

 Canon 60D

Canon 24-105mm L f/4 IS

Vanguard Alta Pro 263AT Tripod

Vanguard GH-100 Grip Head

Adobe Photoshop CS6

Canon 580 EX II Flash

Flash bracket

Interfit air cushioned light stand

Silver reflective umbrella

(All links go to Adorama, who sponsor all my videos)