
 In the third episode of Creative Lightroom, I have a very quick trick for reducing the number of colour tone ranges in your image to just one.
This is a really quick and simple technique that works with all versions of Lightroom including the latest and greatest version, Lightroom 5.
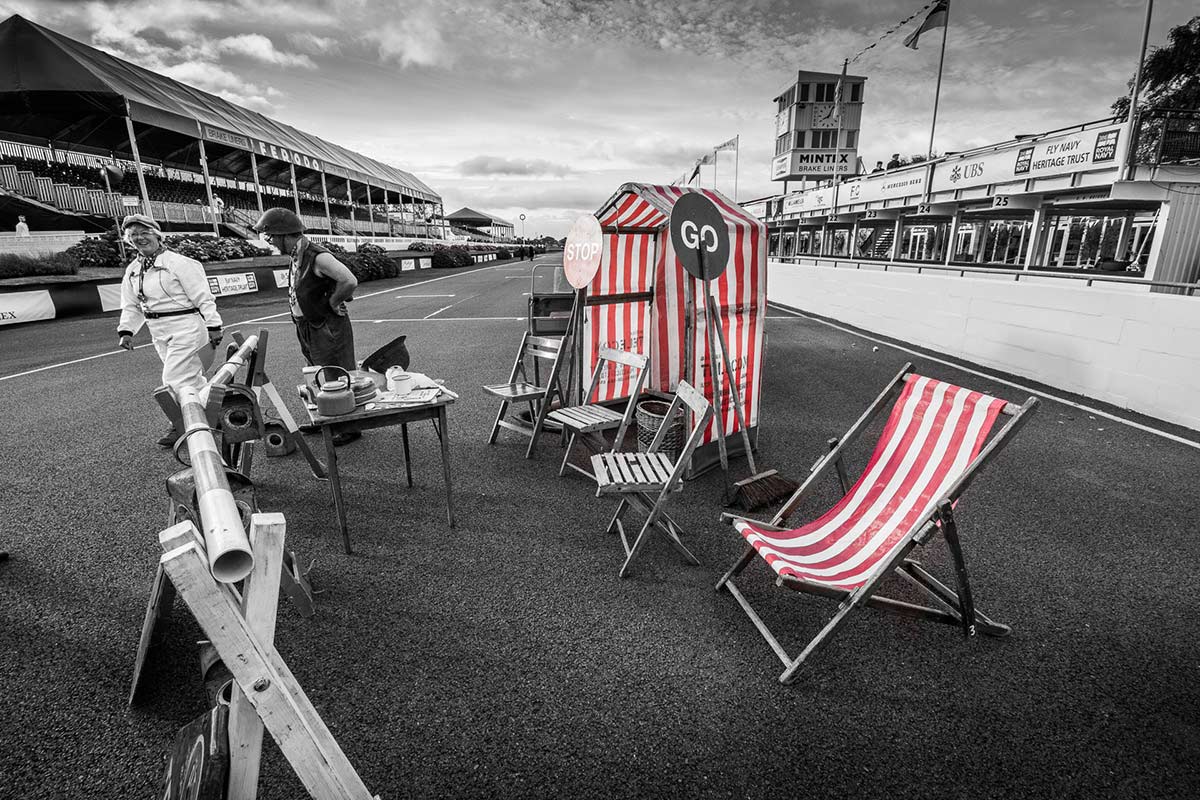
In the video I show you how to remove almost all the colour and leave just the reds in an image but you can just as easily leave blues, yellows or greens. I then go on to show you how to quickly tidy up any stray colour areas with the adjustment brush.
It’s worth mentioning that if you’re a Photoshop user rather then Lightroom user then remember EVERYTHING I show in the video is the same as Adobe Camera RAW in Photoshop CS3, CS4, Cs5, CS6 and Photoshop CC.
[youtube]http://www.youtube.com/watch?v=wr6fSZY57R0&feature=youtu.be[/youtube]
Can’t see the video? Click here: http://youtu.be/wr6fSZY57R0