Just one colour – Creative Lightroom Episode 3

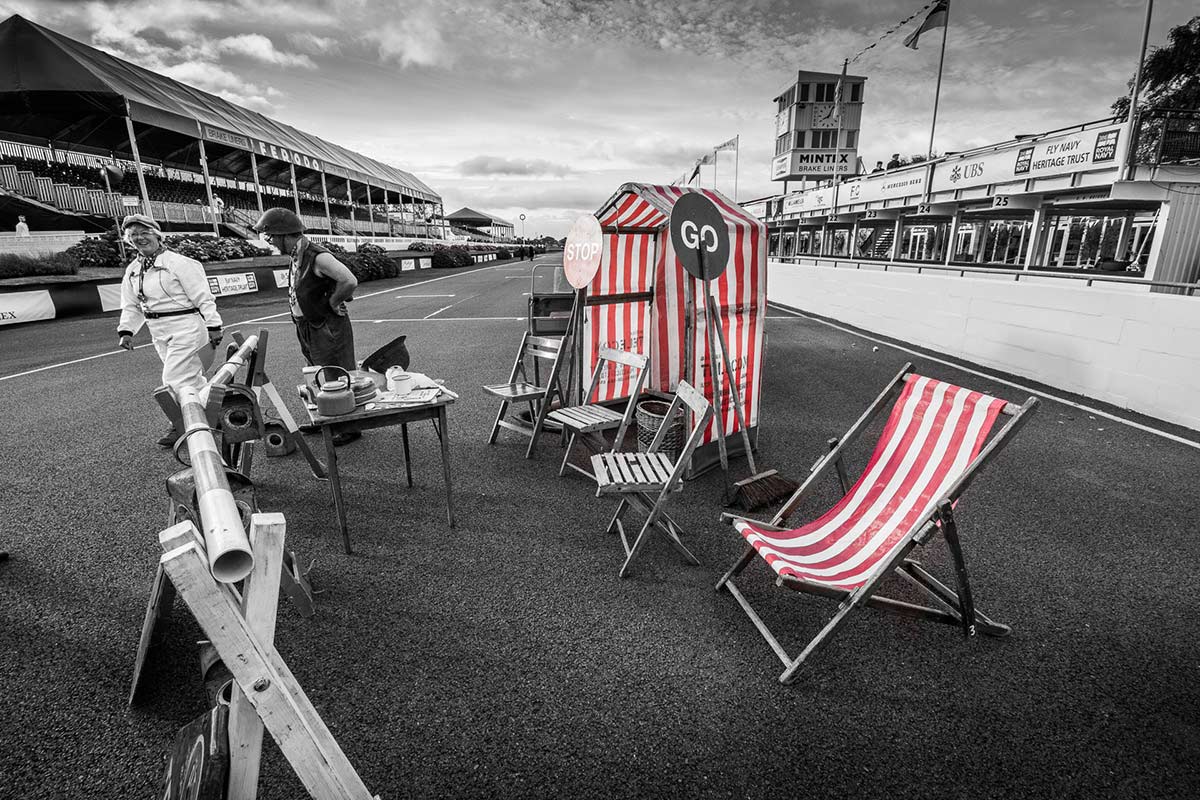
CL-final-3-1200pxIn the third episode of Creative Lightroom, I have a very quick trick for reducing the number of colour tone ranges in your image to just one.

This is a really quick and simple technique that works with all versions of Lightroom including the latest and greatest version, Lightroom 5.

In the video I show you how to remove almost all the colour and leave just the reds in an image but you can just as easily leave blues, yellows or greens. I then go on to show you how to quickly tidy up any stray colour areas with the adjustment brush.

It’s worth mentioning that if you’re a Photoshop user rather then Lightroom user then remember EVERYTHING I show in the video is the same as Adobe Camera RAW in Photoshop CS3, CS4, Cs5, CS6 and Photoshop CC.

[youtube]http://www.youtube.com/watch?v=wr6fSZY57R0&feature=youtu.be[/youtube]

Can’t see the video? Click here: http://youtu.be/wr6fSZY57R0

Industrial Template

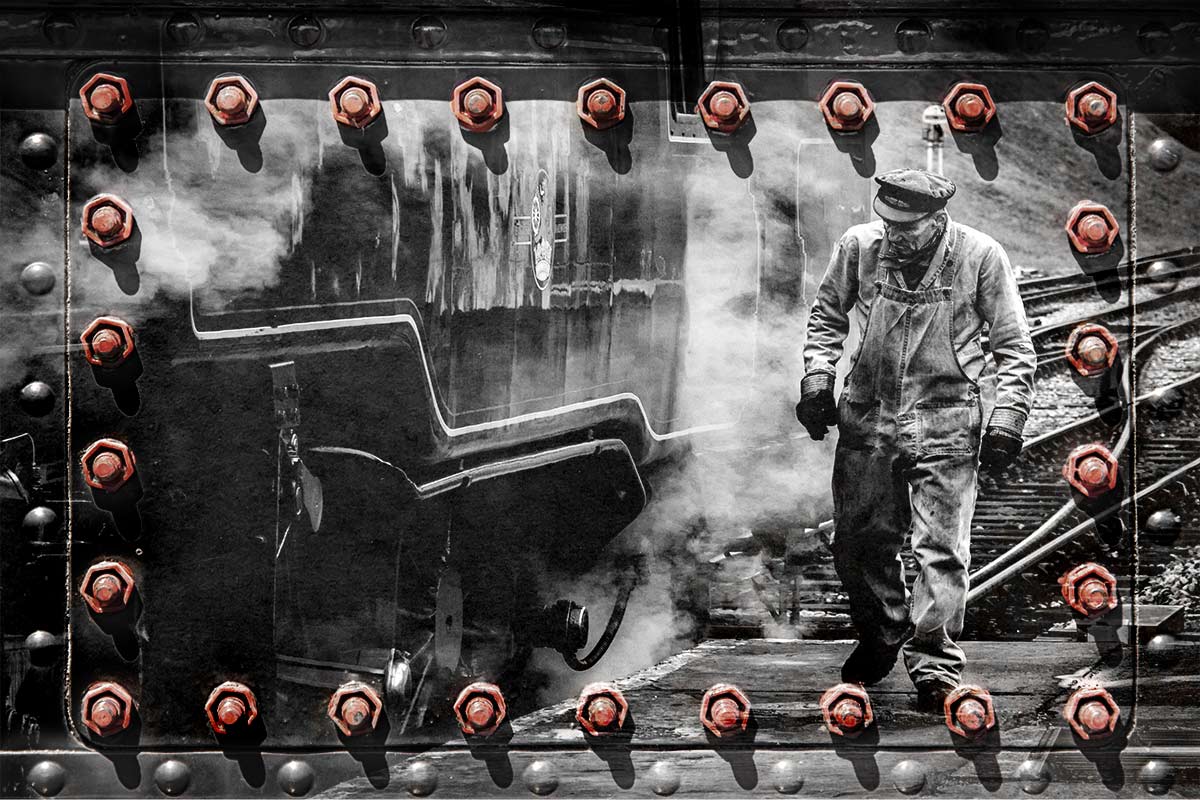
Red-Bolts-FF-FinalThis weeks Friday Freebie is an industrial style border and texture which has a wonderful 3D feel. The standout feature must be the rectangle of red bolts. There’s no Photoshop here’s that’s exactly as I found them.

Click Here To Download the industrial template

With those bright red bolts and the metal texture the sort of photo that’s likely to work best is something with an industrial feel. I found mono images worked well but don’t let that limit your imagination. If the red bolts are a bit too bright then reduce the templates saturation value to suit your taste.

The sample image here was simply placed above the template, resized to fit and the layer blending mode was changed to Overlay. Other blending modes will also work so experiment away.

If you create a photo using the Friday Freebie then let me (and everyone else) know by leaving the link in the comments below.

Usage rules
The template is copyright Gavin Hoey 2013. Use is limited to any personal, non-commercial purposes. Please share the Friday Freebie by linking back to this page. Do not redistribute the original image without my permission

Bringing back Photoshop’s missing filters

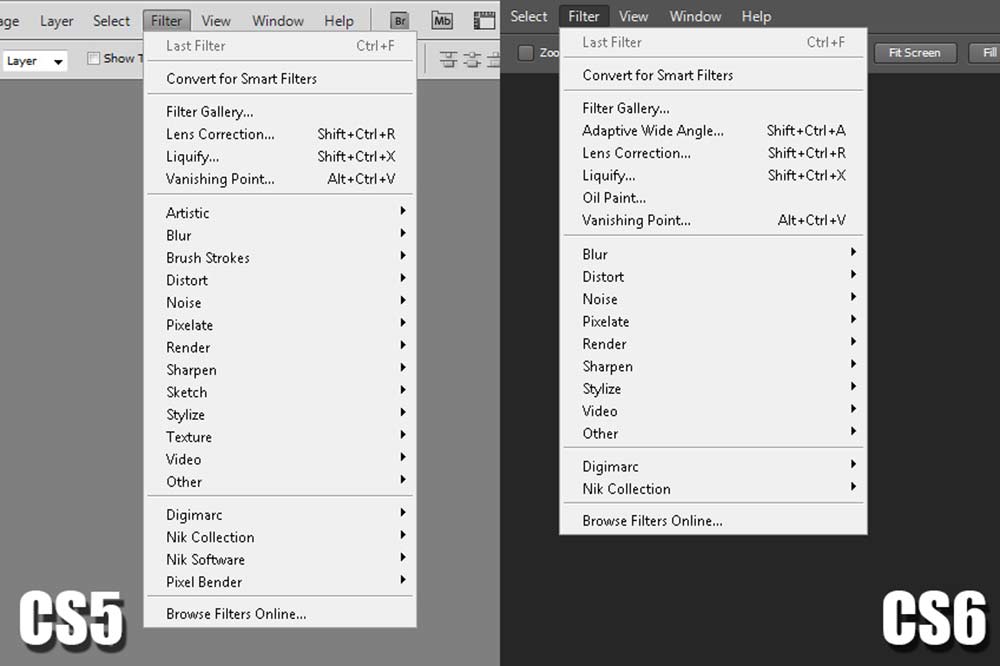
Missing-Filters-1When Adobe moved from Photoshop CS5 to Photoshop CS6 they gave the interface a long overdue facelift. The most obvious change is the new default dark interface but to make that happen the Photoshop engineers had to remake 1000’s of buttons, icons and panels from scratch.

As if that wasn’t enough Adobe decided that now was also good time to do a spot of Photoshop spring cleaning and one place where that’s most obvious is in the filter menu. In fact at first glance you might well think that half the filters have been removed.

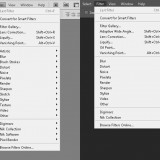
Take a quick glance down the filter list of Photoshop CS6 and Photoshop CC and you won’t find the Artistic, Brush Strokes, Sketch, Stylize or Texture filters listed. They’re still in the Filter Gallery, just not on the filer group list.

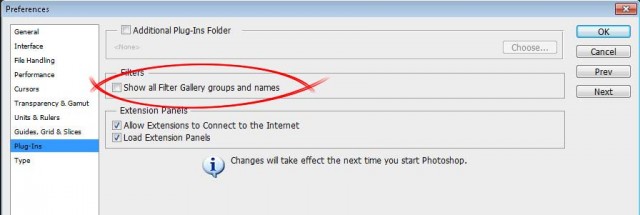
So how do you get the full list back? The answer is hidden away in the preferences.

The option to switch on the full filter list is under:
PC Users  Edit – Preferences – Plug-Ins
Mac Users  Photoshop – Preferences – Plug-Ins 

Tick the box marked Show all Filter Gallery groups and names, then restart Photoshop. Your complete list of filters will now be back.Missing-Filters-2

Instant Extra Confetti

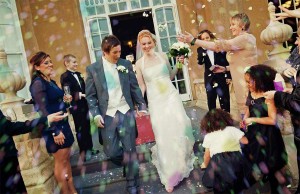
Instant-ConfettiThis weeks Friday Freebie is perfect for wedding photographers who are looking to enhance thier conffeti photos with a burst of extra confetti.

You can download the action here: Instant Confetti

The confetti shot at a wedding is a one off event, get it right and it can be a fanstatic photo but the combination of over eager wedding guests and restrictions on confetti throwing some venues impose can make it a challenging photo too.

The action makes three layers of coloured confetti with just one click. You can then dive in to the layers and change the colour saturation, the size of the confetti and erase any stay flakes that are in the wrong place for your photo.

The action will work with Photoshop CC, CS6, CS4, CS4, CS3.

If you create a great photo with my action then feel free to link to it by leaving a comment below.

Usage rules
The action is copyright Gavin Hoey 2013. Use is limited to any personal, non-commercial purposes. Please share the Friday Freebie by linking back to this page. Do not redistribute the original action without my permission.

Download instructions
The direct link to download the actions is https://www.gavtrain.com/free/instant-confetti-gavtrain.zip

No support is provided with the Friday Freebies. If you need help Google or YouTube the question and you’ll almost certainly find the answer 🙂

Coastal 15 minute photo challenge

I know there are a lot of photographers out there who enjoy my 15 minute photo challenge videos, including me. Although I don’t get the chance to make as many as I once did they’re certainly not consigned to the history book… far from it.

If you’re new to my blog then you may be wondering what a fifteen minute photo challenge is. Basically its my way of sharpening my camera skills and training my photographers eye but limiting myself to a fixed amount of shooting time. Not only that but I’m also restricting the geographic area in which I can look for photos which can be a blessing and a curse. The end result is often unpredictable and always challenging, it often takes me out of my comfort zone which is always a good thing to do every once in a while.

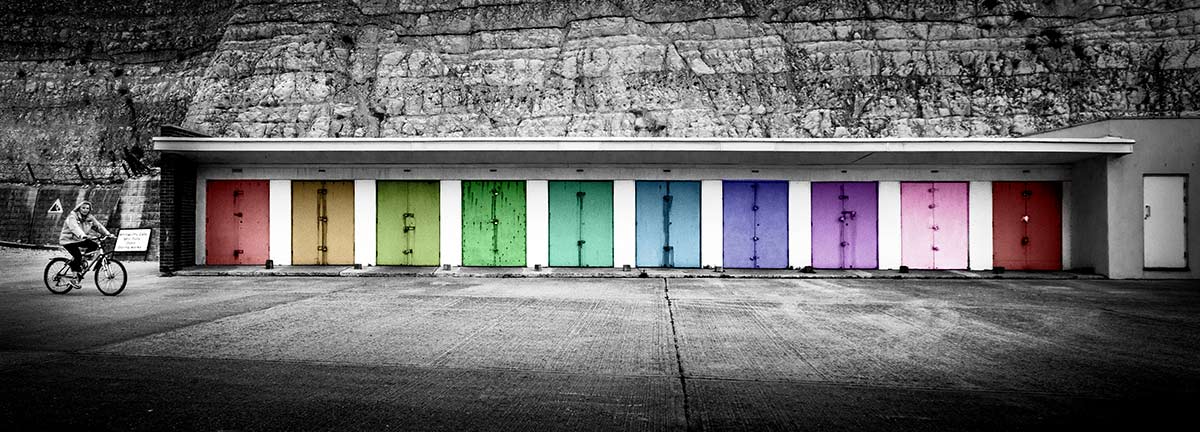
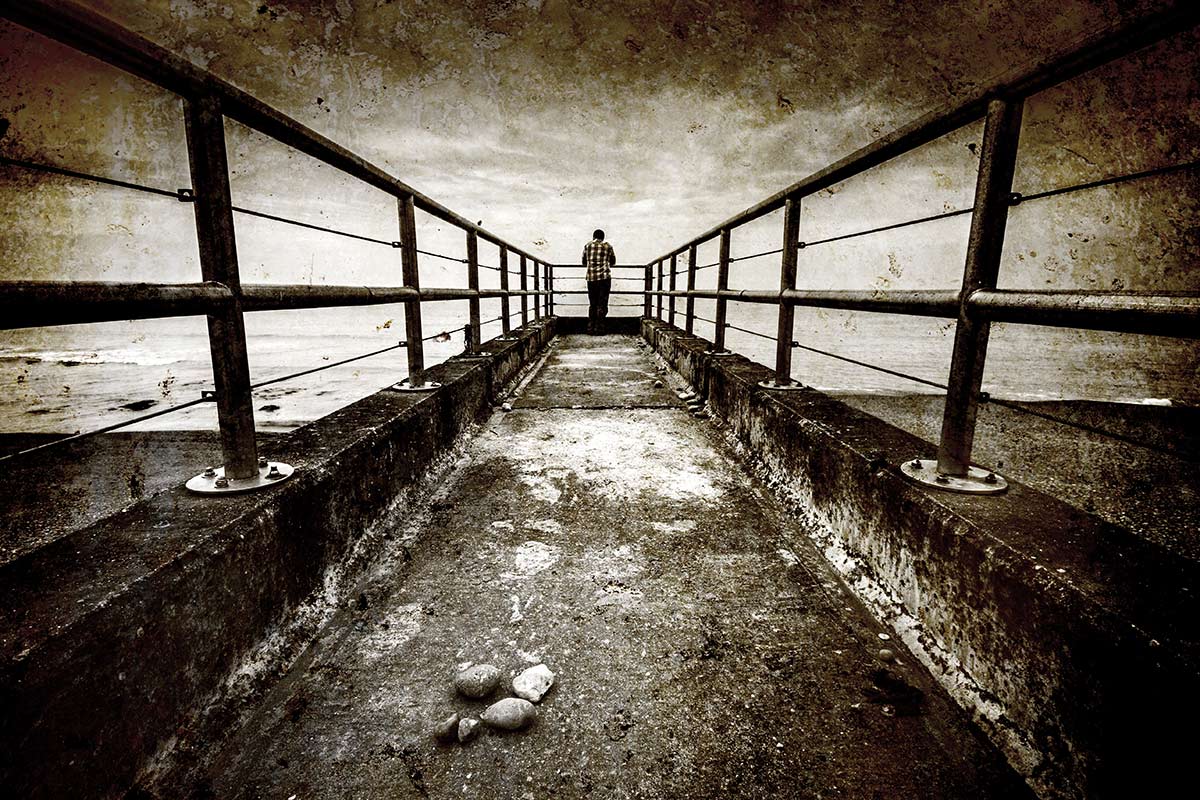
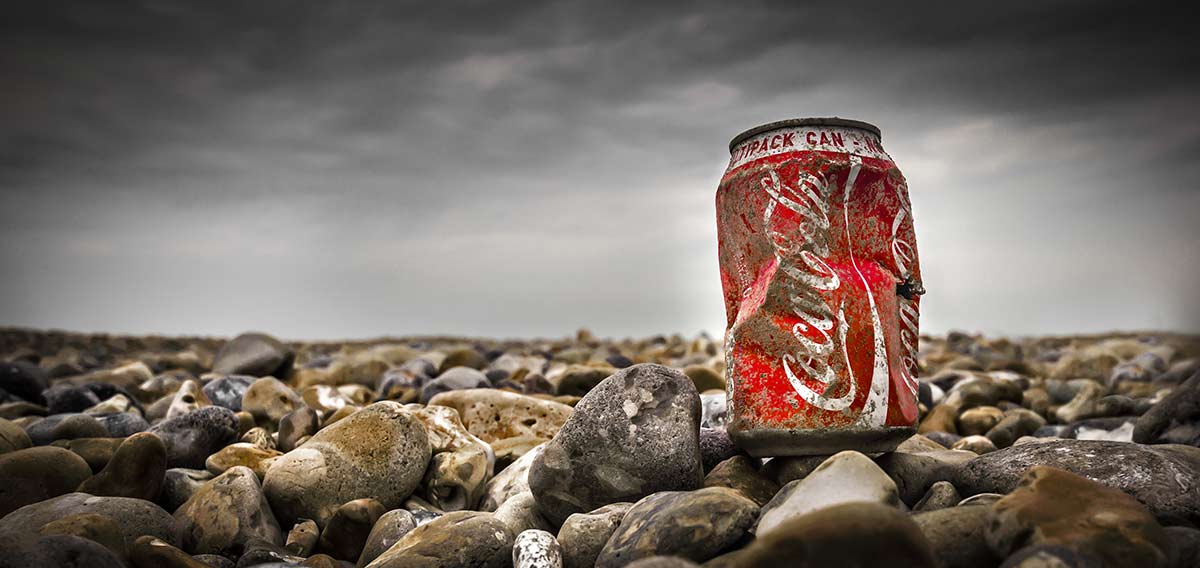
Keep scrolling down to see a few of the final photos.

[youtube]http://www.youtube.com/watch?v=gFU4SSEjYVs[/youtube]
Can’t see the video? Click Here http://www.youtube.com/watch?v=gFU4SSEjYVs

Saltdean-1

Saltdean-2

Saltdean-3

Equipment used in the video:

Adobe Photoshop CC
http://www.adorama.com/ABPSCS6W.html?KBID=67338

Canon 60D
http://www.adorama.com/ICA60D.html?KBID=67338

Sigma 10mm-20mm
http://www.adorama.com/SG1020EOS.html?KBID=67338

Sigma 10mm-20mm
http://www.adorama.com/BRRS7.html?KBID=67338

Vanguard ABEO Plus 283CT Tripod
http://www.adorama.com/VGABEO283CT.html?KBID=67338

Vanguard GH-200 head
http://www.adorama.com/VGGH200.html?KBID=67338


Vintage Texture

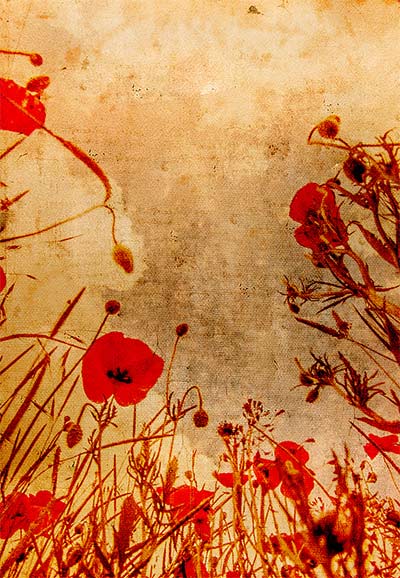
FF-vintagesThis weeks Friday Freebie is a vintage texture which is simple to use and gives amazing results. It’s a warm tone texture that combines patchy tones, a light weave texture and a hint of writing.

Full download instructions are below but you can also
Click Here To Download the vintage texture

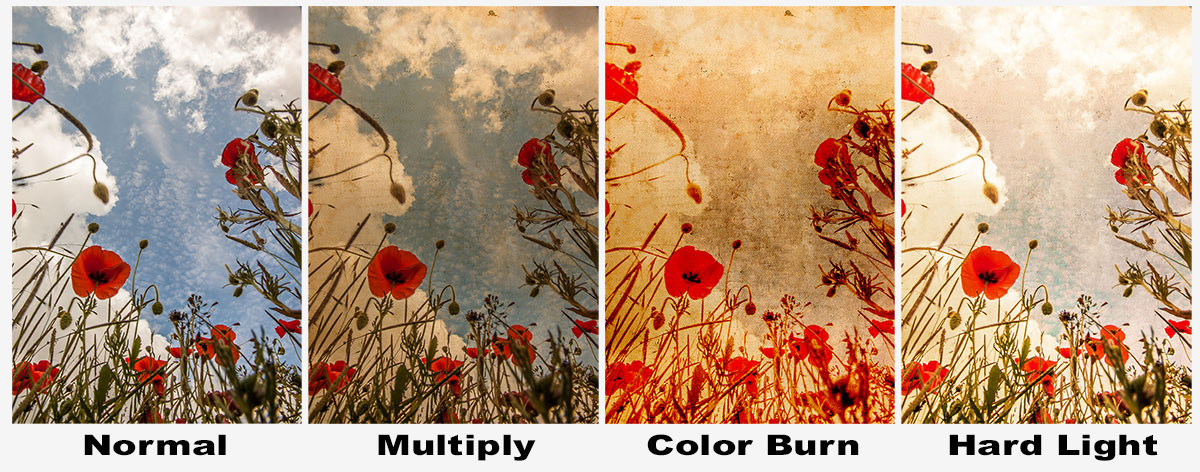
As with all textures it works best with photos that have large areas of bright tones such as this one which has loads of bright sky. All you need to do is paste your photo above the texture and set the blending mode. There are loads of different layer blending modes and they’ll all give a different look, some you’ll like and others less so but experimentation is the key to success.

Jump down to the end of this post to see three different looks for the same image.

If you create a photo using the Friday Freebie then let me (and everyone else) know by leaving the link in the comments below.

Usage rules
The image is copyright Gavin Hoey 2013. Use is limited to any personal, non-commercial purposes. Please share the Friday Freebie by linking back to this page. Do not redistribute the original image without my permission.

Download instructions
Click the link https://drive.google.com/file/d/0B_Mmmm3K1utNRHZqZzdYMmFrODg/view?usp=sharing

1. Click the Download button download_icon

2. The download should start automatically


FF-vintage-modes


Planning for Black & White

Adorama-MonoWay back  when I started learning photography the only real option for serious photographers was to make black and white prints and we were darn good at it too. Skip forward 25 years and now everyone takes colour photos but thanks to post processing everyone can also make black and white images too.

There’s an art to making top quality colour photos but making quality mono photos is an extra challenge. One of the reasons many photographers find shooting for black and white a challenge is because we don’t see the world monchrome, we see colour. However there a few tips you can apply at both the camera and Photoshop stages which will quickly step your black and white photography up a gear.

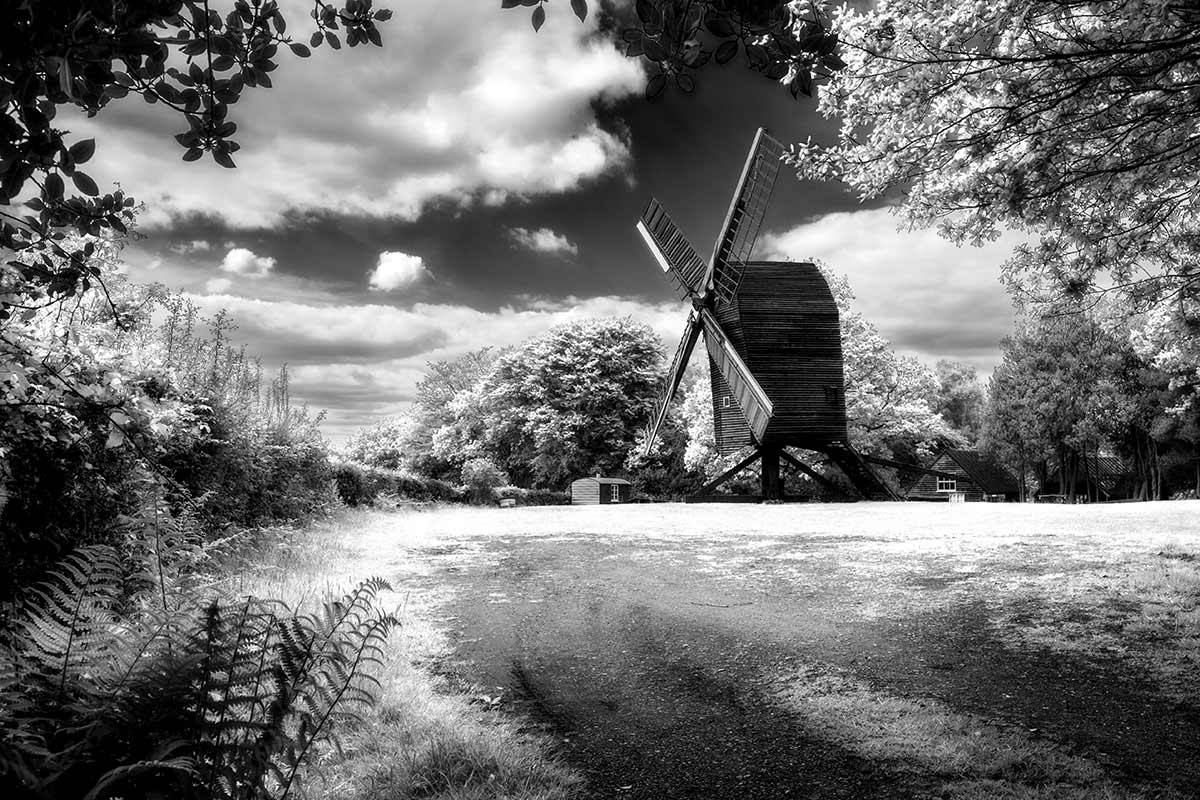
In this video for Adorama TV I visit Nutley Windmill on the Ashdown Forest with the plan of shooting for black and white. Then it’s into Photoshop to make the magic happen.

[youtube]http://www.youtube.com/watch?v=GZhk-S9Y-vs[/youtube]

Equipment used in the video:

Adobe Photoshop CS6
http://www.adorama.com/ABPSCS6W.html?KBID=67338

Canon 5D Mark II
http://www.adorama.com/ICA5DM2.html?KBID=67338

Canon 24-105L f/4 IS
http://www.adorama.com/CA24105AFU.html?KBID=67338

Vanguard ABEO Plus 283CT Tripod
http://www.adorama.com/VGABEO283CT.html?KBID=67338

Vanguard GH-200 head
http://www.adorama.com/VGGH200.html?KBID=67338


Instant Triptych Action

Basic - Landscape

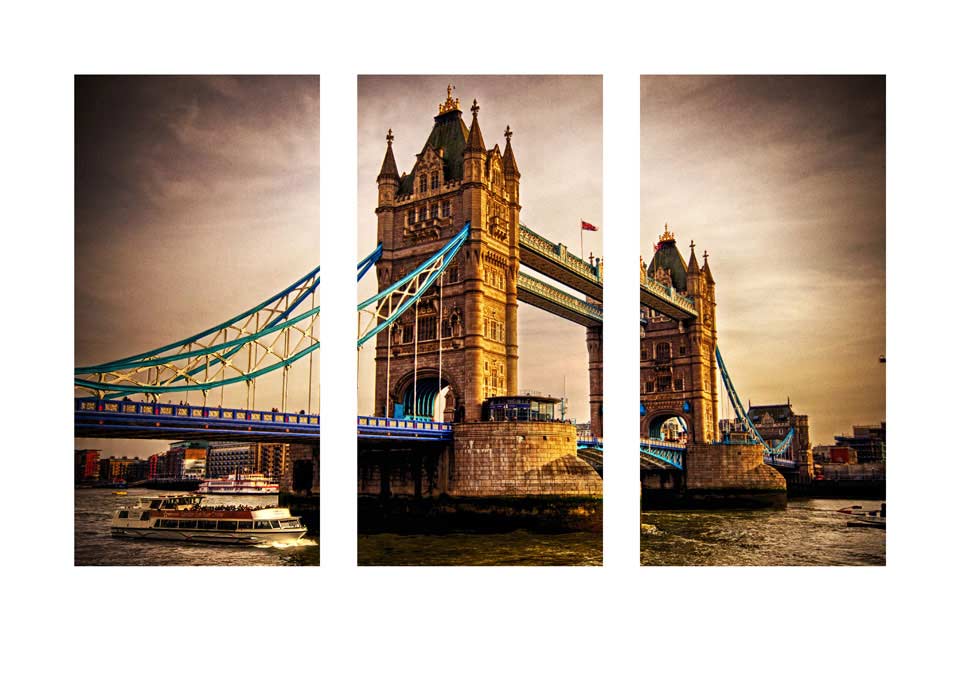
This weeks Friday Freebie is a Triptych Photoshop action.  If you’re new to the art of the triptych, it’s simply three images in one picture and this action will make one with a single click.

You can download the action here: Triptych Sample

The action I’m sharing today takes an open photo in Photoshop and makes the basic triptych effect.

The action will split your photo into three panels and add a wide border. You’ll need a landscape format (wide) image to get the best from the action. I’ve left all three panels as layers at the end of the action, which means you’re free to alter, adjust and tweak the effect to your hearts content.

The action will work with Photoshop CC, CS6, CS4, CS4, CS3 but sadly not with Elements.

If you create a great photo with my action then feel free to link to it by leaving a comment below.

Usage rules
The action is copyright Gavin Hoey 2013. Use is limited to any personal, non-commercial purposes. Please share the Friday Freebie by linking back to this page. Do not redistribute the original action without my permission.

Download instructions
The direct link to download the actions is www.gavtrain.com/free/triptych-sample-gavtrain.zip

No support is provided with the Friday Freebies. If you need help Google or YouTube the question and you’ll almost certainly find the answer 🙂

Bonus composite videos

Mark+Gav-2Last week I uploaded the two part video with Mark Wallace and myself. If you missed it the click here to go back and see both videos.

Mark was kind enough to share all the photos he shot with me and it seemed like a terrible waste not make use of at lease one more. So in the video below I’ll show you how I created this photo composite. Going mono was all part of the plan and makes compositing two images together a whole lot easier as you no longer have the issue of matching colours to get in the way.
[youtube]http://youtu.be/vbFlTkkOglU[/youtube]
Can’t see the video? Click here http://youtu.be/vbFlTkkOglU

In this video I do a deep dive tutorial on how to use Photoshop to composite the original photos. I start with how to use Adobe Camera RAW to create an HDR background and then add some light rays with my recent Friday Freebie Light Ray Brushes.
[youtube]http://youtu.be/szQ0kj1xuZc[/youtube]
Can’t see the video? Click here http://youtu.be/szQ0kj1xuZc

Watercolour PSD template

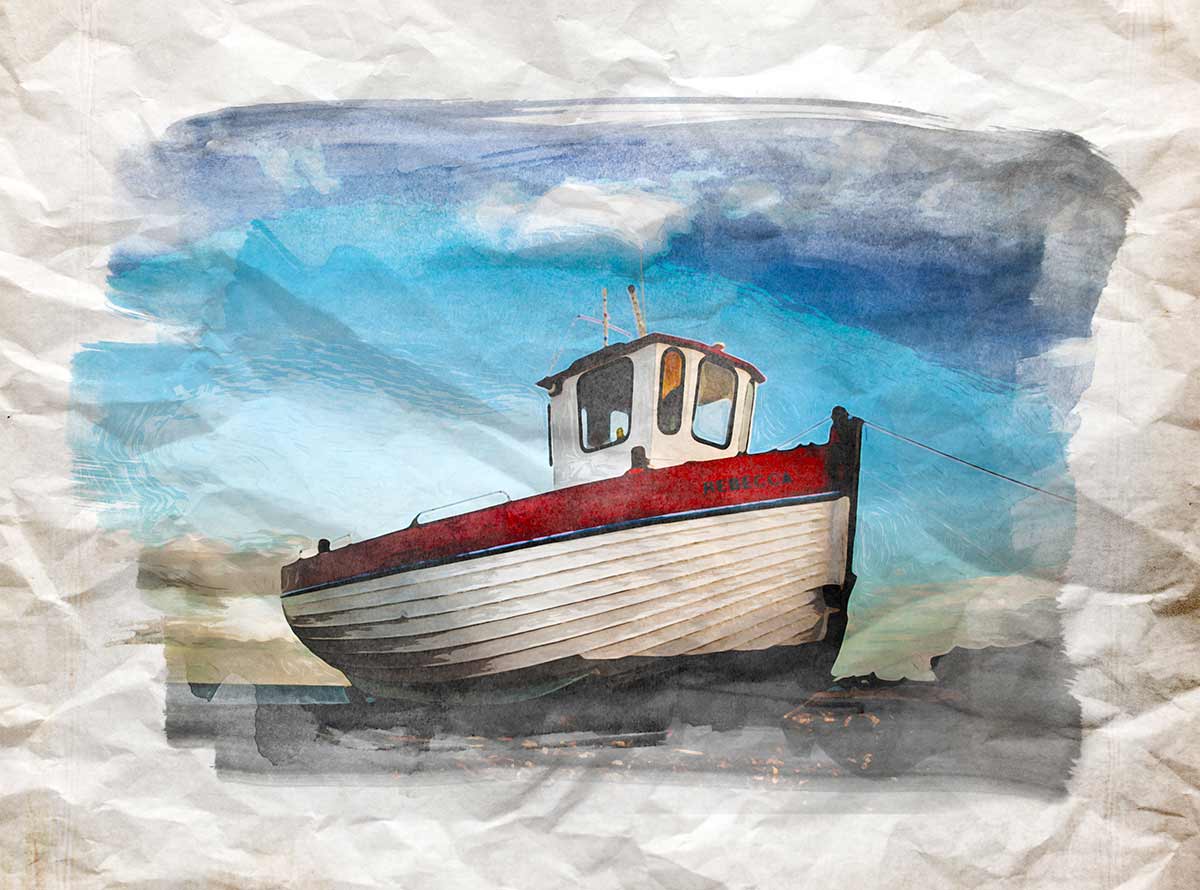
Watercolour-Friday-FreebieThis weeks Friday Freebie is a spin off from an article I wrote for Digital Photo Magazine a while back in which I created a bunch of images which, when combined together, create a great watercolour effect. Well I’ve made things easy by creating one of my templates in PSD format and sharing it with everyone for free.

Full download instructions are below but you can also
Click Here To Watercolour PSD template

If you’re wondering what a Photoshop PSD template is, then the answer is simple. It’s a Photoshop file with all the layers intact allowing you to tweak the end result as you see fit. There’s even a layer called “Your photo here” which is where your photo needs to be added.

With several layers and lots of fine textured detail, this weeks Friday Freebie PSD template comes in at around 81mb. If you’re not on a fast internet connection if might take a few minutes to download.

As always, if you create a photo using the Friday Freebie then let me (and everyone else) know by leaving the link in the comments below.

Usage rules
The template is copyright Gavin Hoey 2013. Use is limited to any personal, non-commercial purposes. Please share the Friday Freebie by linking back to this page. Do not redistribute the original image/template without my permission.

Download instructions
Click the link https://drive.google.com/file/d/0B_Mmmm3K1utNMnJoVEtKeUxMVDA/view?usp=sharing

1. Click the Download button download_icon

2. The download should start automatically

3. Save the template to your hard drive

4. Open in Photoshop or Photoshop Elements

5. Paste your photo BELOW the “Your Photo Here” layer

6. Hide or delete the the “Your Photo Here” layer

7. Use Free Transform (CTRL+T) to adjust the size of your photo

8. Adjust the Levels (CTRL+L)of the “paint” layer to change the look.