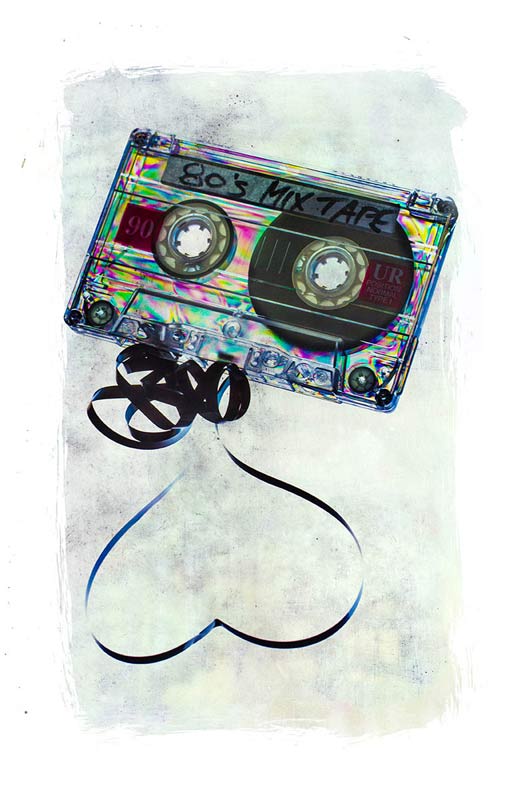
Retro Cross Polarisation Effect

80s-Mix2Here in the UK we’re in the full grip of Autumn and all the wonderful photo opportunities that this time of year brings. Sadly the amazing colours of autumn are usually a fleeting thing with wind and rain making the chances of capturing them even more challenging.

So here’s a brilliant idea that you can do any time of year and whatever the weather.

The techique makes use of cross polarisation. It’s one of the very first tricks I learnt way back in the mid 80’s when I first became serious about photography. All you need is an LCD screen as your light source, something made of clear plastic and a polarising filter for your camera. I’d also recommend a tripod to minimise camera shake or high ISO noise.

To finish off I added a texture and as I mention in the video I’m sharing it. To download it just follow this link http://adobe.ly/1ac4x7M click the Actions button and choose to download the JPG image.

[youtube]http://www.youtube.com/watch?v=AG3F4gG3tuw&feature=c4-overview&list=UU8Pksdbj37CdE00kmE7Z1dw[/youtube]

Who’s stealing your photos?

Image-TheftWarning! This blog post might cause annoyance and paranoia… but don’t let that stop you reading it!

Thanks to the internet, image theft is on the rise and the harsh reality is there’s not much us photographers can do to stop it.

Don’t think for a second that it will only be your best work that’s at risk. Take a look at how many times my snap shot of a pile of memory cards has been used by others (all without my permission). It’s hardly a photo I’m ever going to print out but it’s probably my most stolen!

It’s not just photographers. In the past week I know of someone who found one of her photos published in a magazine without her knowledge. To be fair to the magazine, they were sent it by a reader who claimed it was there’s. Neither the owner of the photo nor the magazine is connected to photography.

Minimise the risk
Short of not uploading anything to the internet, what can you do to stop image theft?

Well, first off you could stop worrying about it. Everyday Facebook users add 300 million photos, so the chances of anyone stealing yours are mathematically very small. You might want to add a watermark to your images or add copyright metadata. Yes they can be easily removed but they can also act as a deterrent to the casual image thief.

There’s also the option for making you photos available with a Creative Commons licence allowing your images to be used in certain ways and not in others.

Image-Theft-2Finding your Images
So who’s using your images without permission? Well probably no one but there are ways to check with the help of a couple of websites. Here are two I’d recommend.

Google Reverse Image Search is like a backwards version of Google’s usual image search. Instead of find images that match words it finds images that match images and then tells you where they are. It’s quick, free and very accurate.

To find it go to Google’s Image search, click the camera icon and paste a link to an image you want to match. Alternatively you can upload a sample image.

The results are displayed just like any other Google search.

Image-Theft-3TinEye has been around longer then Google but doesn’t have the reach of Google’s reverse image search. Just like Google you can search using an image that’s already online or upload your own.

One nice feature is the option to look at a whole webpage for images and you can choose which of those you want to search for.

TinEye doesn’t have the reach of Google but don’t rule it out. Sometimes if finds results Google misses.

What to do next
Hopefully the only pages using your photos are yours or pages you work with. However if you do find your images in use elsewhere there are a number of things you can do. Some of them involve legal action, not something I do lightly and beyond the scope of this post. However if the transgressor isn’t worth the time and stress legal recourse may require and all you want is the image taken down or credit given, then a polite but firm email often works wonders.

Shooting a slide show

RBpro1What do you do with all the 1000’s or may be 10,000’s of photos you take every year? There’s only so many pictures you can put on Facebook and tweeting to many photos, to often, is a sure fire way to loose followers.

Of course there’s no shortage of photo sharing sites like Flickr and the excellent 500px and uploading the best of your photos to these sites is a great idea.

In this video I have another way to show off lots of your photos in an amazing way, by making a slide show. It’s a great way to show off the photos you’ve already taken but you can also take photos specifically for use in a slide show. That’s exactly what I do in this video and I get to pass on some shooting tips along the way.

Once you’ve chosen which photos you’d like to use in your slide show, you’re ready to start putting the show together. I used Photoshop Elements to do the job but there are plenty of alternatives out there (such as Lightroom) which is good news if you’re on a Mac as frustratingly the slide show part of Elements is a Windows only feature.

[youtube]http://www.youtube.com/watch?v=vmXh9poFRhI&feature=c4-overview&list=UU8Pksdbj37CdE00kmE7Z1dw[/youtube]

Need royalty free music? YouTube has you covered with thier brand new audio library, which is where I downloaded the mp3 file used in this video.

Here’s the final slide show
[youtube]http://www.youtube.com/watch?v=onUsQsKHALw[/youtube]

Vintage Border and Texture

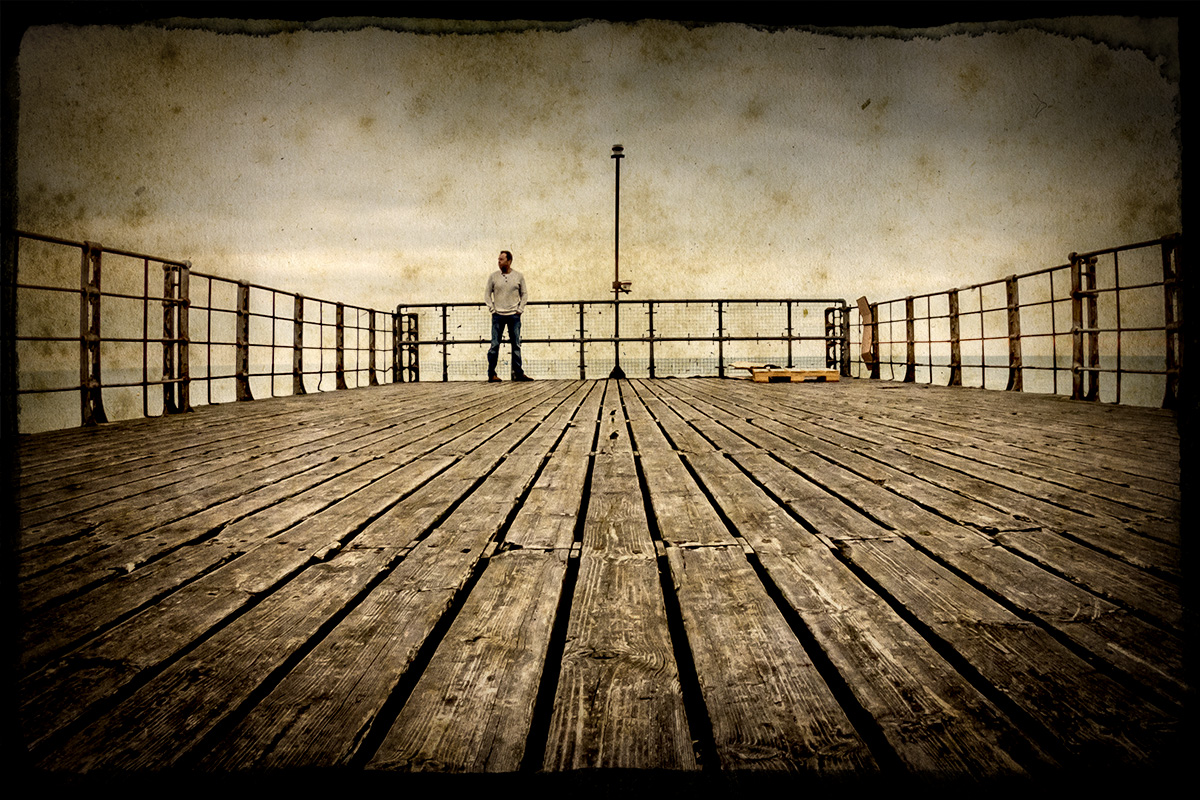
FILM-EDGE+FINALThis week’s Friday Freebie is a vintage border and texture combined into one. It’s a warm tone texture that combines staining and aging with a custom made distressed black edged border. The texture is actually the inside leaf of a very old and rather battered book that Sam picked up at a boot sale. All the blank pages have this amazing textured appearance and I’ll be sharing more of them as Friday freebies soon.

Full download instructions are below but you can also
Click Here To Download the vintage border & texture

As with all textures it works best with photos that have large areas of bright tones such as this one which has loads of bright sky. All you need to do is paste the texture above your photo and set the blending mode. There are loads of different layer blending modes and they’ll all give a different look but I’d suggest Multiply as the best mode to try first.

This is a fairly dark texture and the Multiply blending mode will also make the image less bright. Once you’ve added the texture I’d suggest adding a Levels adjustment layer to either your photo or at the top of the layer stack and moving the middle levels slider to adjust the overall brightness… if required.

If you create a photo using the Friday Freebie then let me (and everyone else) know by leaving the link in the comments below.

Usage rules
The image is copyright Gavin Hoey 2013. Use is limited to any personal, non-commercial purposes. Please share the Friday Freebie by linking back to this page. Do not redistribute the original image without my permission.

Download instructions
Click the link https://drive.google.com/file/d/0B_Mmmm3K1utNaTlfSUdvSjB1b0U/view?usp=sharing

1. Click the Download button download_icon

2. The download should start automatically


Faking into a sweat

So you want your model to look they’ve done a workout but you don’t have a gym in your studio. What do you do? Well you could send them out for a run or turn the heating up to max, both would work but neither is ideal.

In this video I’ll show you how to apply fake perspiration to a models face.

Now if you’re thinking that you can just spray water in their face, you’re wrong. Water alone doesn’t give beads of sweat, for that you need something more. A little olive oil applied to the forehead, cheeks and noise will make the world of difference and very convincing perspiration. For obvious reasons, don’t put oil close to the eyes.

The video doesn’t stop there. I also have some great lighting tips and I run through the Photoshop processing too.

[youtube]https://www.youtube.com/watch?v=_lyRzp8YEUc[/youtube]

Can’t see the video? Click Here http://youtu.be/_lyRzp8YEUc

Harry-2

Vintage Camera Effect – Creative Lightroom Episode 10

CL-final-10In this weeks episode of Creative Lightroom I take at one of my favourite ways to give my images a retro look in Lightroom. Now I could probably do another 10 videos on all the different styles of vintage style post processing you can do in Lightroom ranging from the very subtle to the over the top effects. This one falls towards the middle of that list.

For me there are a few essential things that make a vintage camera style image. First it need a cross processed colour scheme, in other words the colour need to be just the right side of wrong. Next it needs to lack contrast and finally a spot of vignetting is a nice touch. This technique has all that and more.

As always it’s worth mentioning that if you’re a Photoshop user rather then Lightroom user, EVERYTHING I show in the video is the same as Adobe Camera RAW in Photoshop CC, CS6, CS5 and CS4.

[youtube]http://www.youtube.com/watch?v=oGAOqby364k[/youtube]

Can’t see the video? Click here: http://youtu.be/oGAOqby364k

Infrared Mono – Creative Lightroom Episode 9

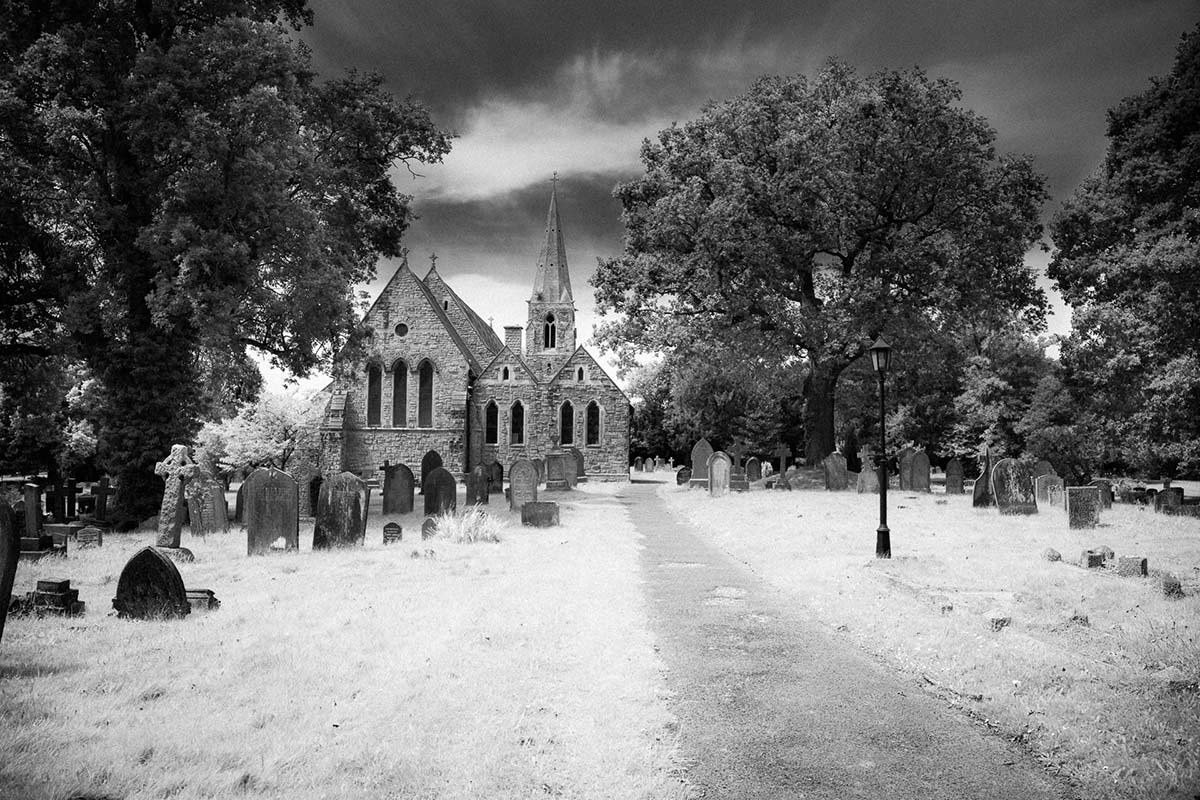
CL-final-9In this weeks episode of Creative Lightroom I take a deep dive into creating stylish infrared style images in Lightroom. I first made mono infrared images way back in my film days, back then it was a tricky business requiring the film to be loaded in complete darkness. Today things are a lot easier, espeically if you’ve had your camera converted to capture near IR.

This technique forms the basis of my favourite way to process ordinary colour photos into stylish mono. It also adds a touch of the classic IR film feel with a slight glow and a touch of grain.

As always it’s worth mentioning that if you’re a Photoshop user rather then Lightroom user, EVERYTHING I show in the video is the same as Adobe Camera RAW in Photoshop CC, CS6, CS5 and CS4.

[youtube]http://www.youtube.com/watch?v=c6_8AQaNhzs&feature=youtu.be[/youtube]

Can’t see the video? Click here: http://youtu.be/c6_8AQaNhzs

Colour Popping with Style – Creative Lightroom 8

CL-final-8This weeks episode of Creative Lightroom is all about selective colour, also known as colour popping. Now before you say this is a repeat of Creative Lightroom Episode 3 then let’s be clear how this is different. In episode 3 we used selective saturation to leave just one tone of colour (just the reds for example). Colour popping is more about keeping one area in colour even if the area has a mixed bunch of tones.

Where most photographers fail in this technique is by leaving the colours over saturated. That may be OK with a single colour but with mixed colours the end result can be very jarring on the eye.

So in this video I’ll show both how to colour pop and then how to control the popped colours,

As always it’s worth mentioning that if you’re a Photoshop user rather then Lightroom user, EVERYTHING I show in the video is the same as Adobe Camera RAW in Photoshop CC, CS6, CS5 and CS4.

[youtube]http://www.youtube.com/watch?v=ODidMT5Lm6g[/youtube]

Can’t see the video? Click here: http://youtu.be/ODidMT5Lm6g

Split Tone Mono – Creative Lightroom Episode 7

CL-final-6-SplittoneThis weeks episode of Creative Lightroom is all about going mono with a twist.

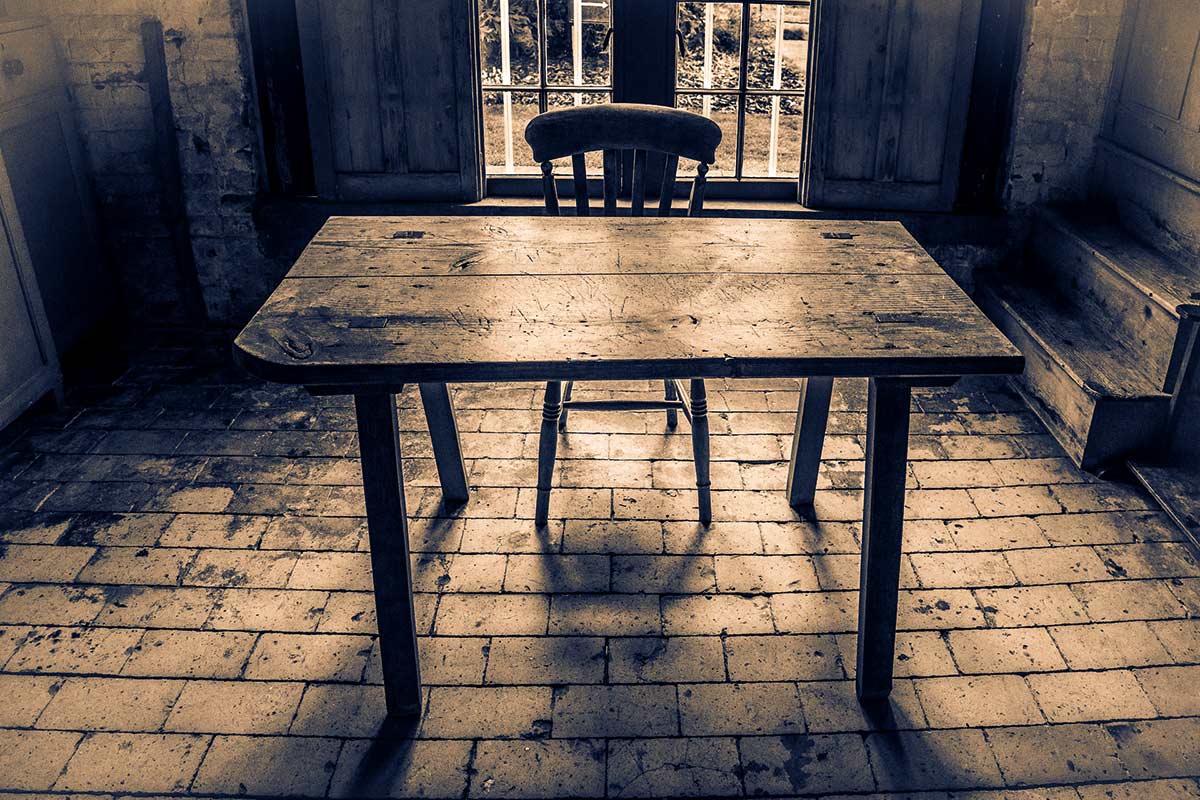
Black and white is great but sometimes you want to add a bit of general colour and toning the image. Sepia and blue tone are popular choices. Split toning takes the traditinal toning effect a step further by adding a different tones to the shadows and highlights.

In the video I show you how to use Lightroom split tone sliders to create the perfect colour balance.

This tutorial is compatible with all versions of Lightroom.

As always it’s worth mentioning that if you’re a Photoshop user rather then Lightroom user, EVERYTHING I show in the video is the same as Adobe Camera RAW in Photoshop CC, CS6, CS5, CS4  and Photoshop CS3.

[youtube]http://www.youtube.com/watch?v=8c8DUjquXPQ&feature=youtu.be[/youtube]

Can’t see the video? Click here: http://youtu.be/8c8DUjquXPQ

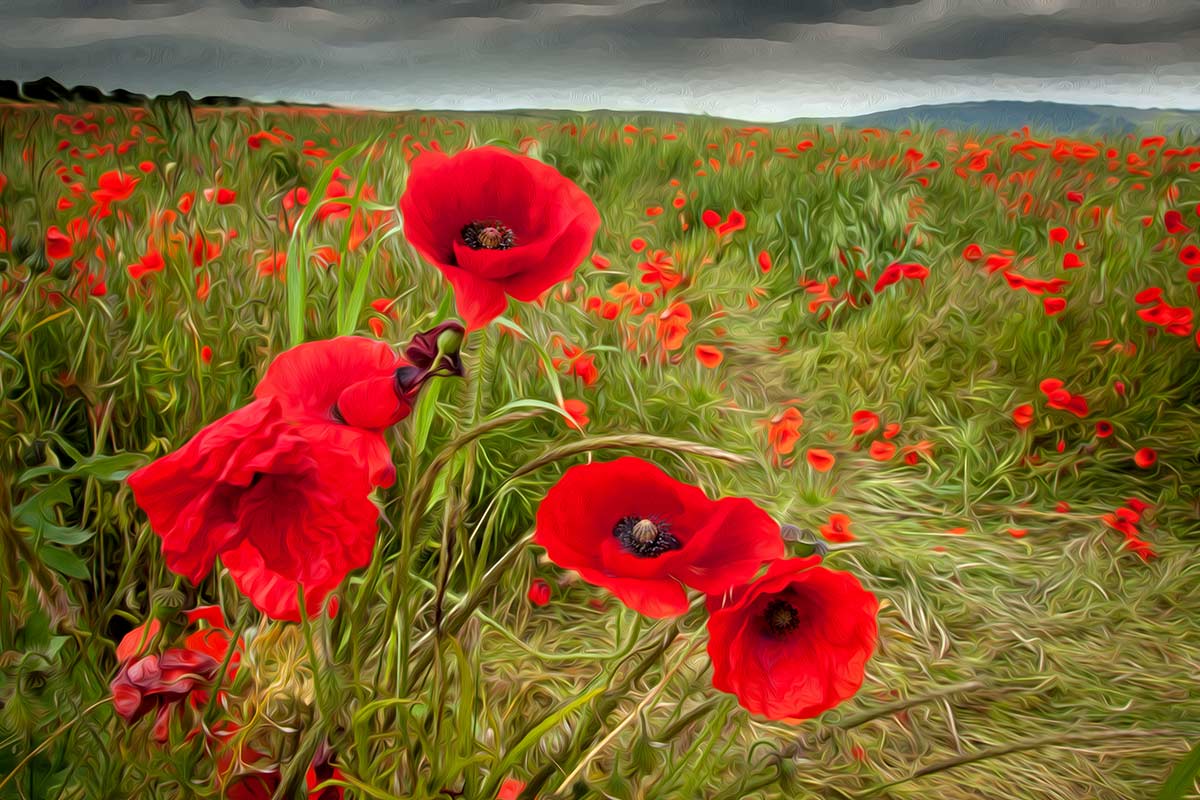
Poppy field – 15 Minute Photo Challenge

Not so long ago I added a new 15 minute photo challenge to Adorama TV, if you can see the video below in case you missed it.

This time I visited a field of poppies growing on the south downs just outside of Brighton, Sussex.

I’m a sucker for poppies, may be it’s the bright red colour, which always looks great in photos. May be it’s the beauty of the poppies themselves. Either way I can’t resist photographing them and I wasn’t alone. In the sort time I was at the field I bumped in to several other photographers who couldn’t resist the lure of a field full of poppies either.

[youtube]http://www.youtube.com/watch?v=Xmz2ZVy1Ykw&feature=c4-overview&list=UU8Pksdbj37CdE00kmE7Z1dw[/youtube]

Can’t see the video? Click Here http://youtu.be/Xmz2ZVy1Ykw

15-Min-Poppy-Oil-PaintEquipment used in this video:
Adobe Photoshop CS6 http://www.adorama.com/searchsite/default.aspx?searchinfo=photoshop+cs6&category=4294967278+11&KBID=67338

Canon 60D http://www.adorama.com/ICA60D.html?KBID=67338

Canon 24-105L f/4 IS http://www.adorama.com/CA24105AFU.html?KBID=67338