Colour Popping with Style – Creative Lightroom 8

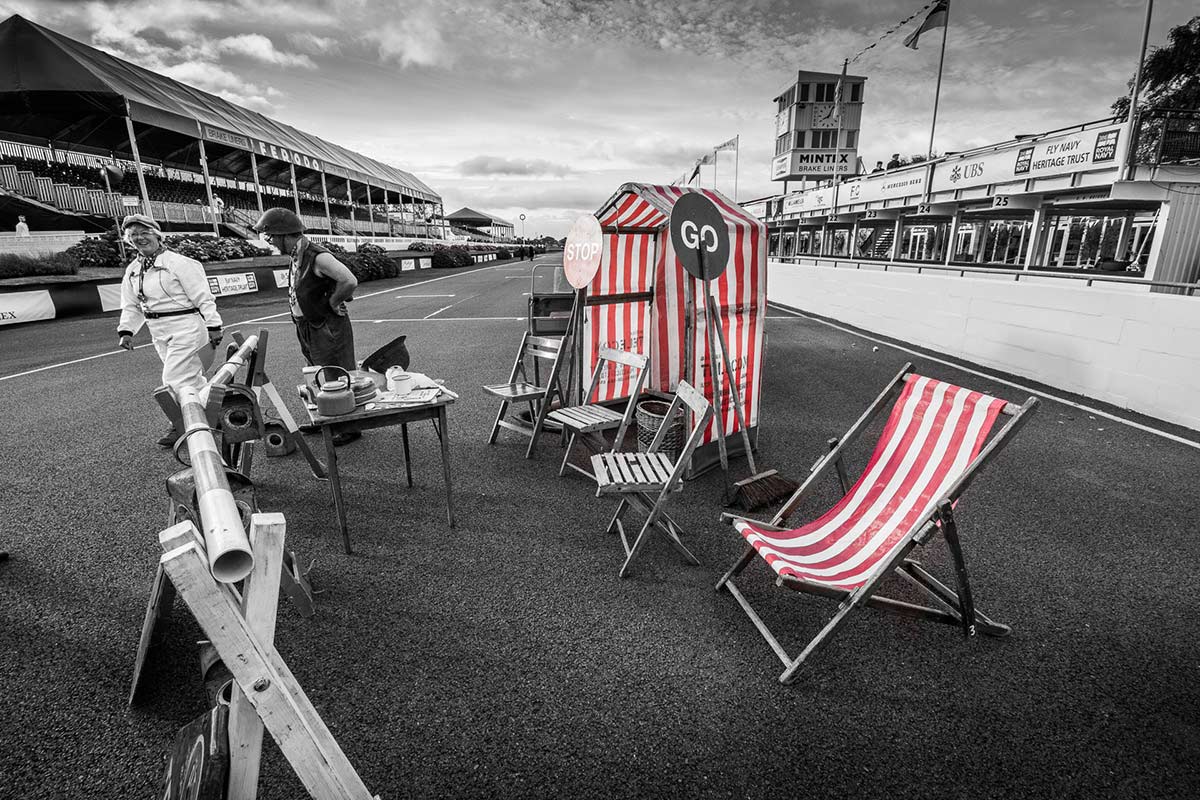
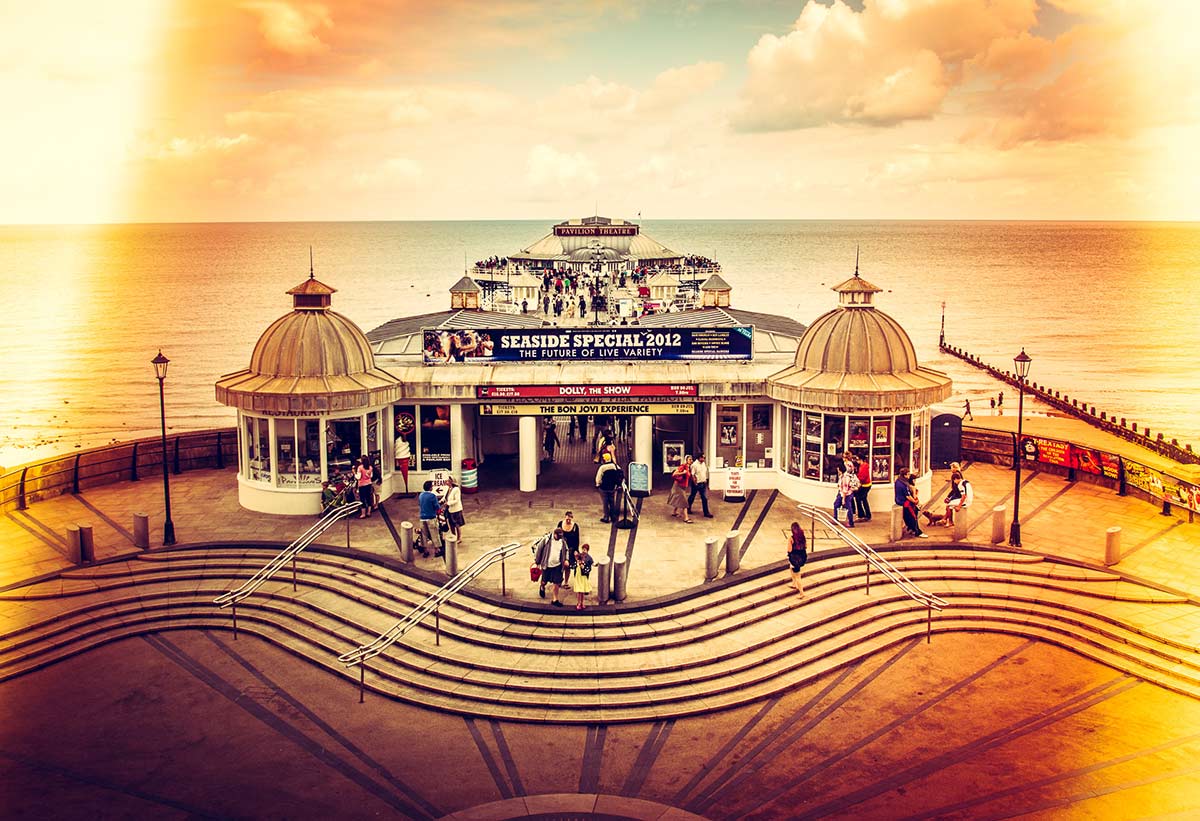
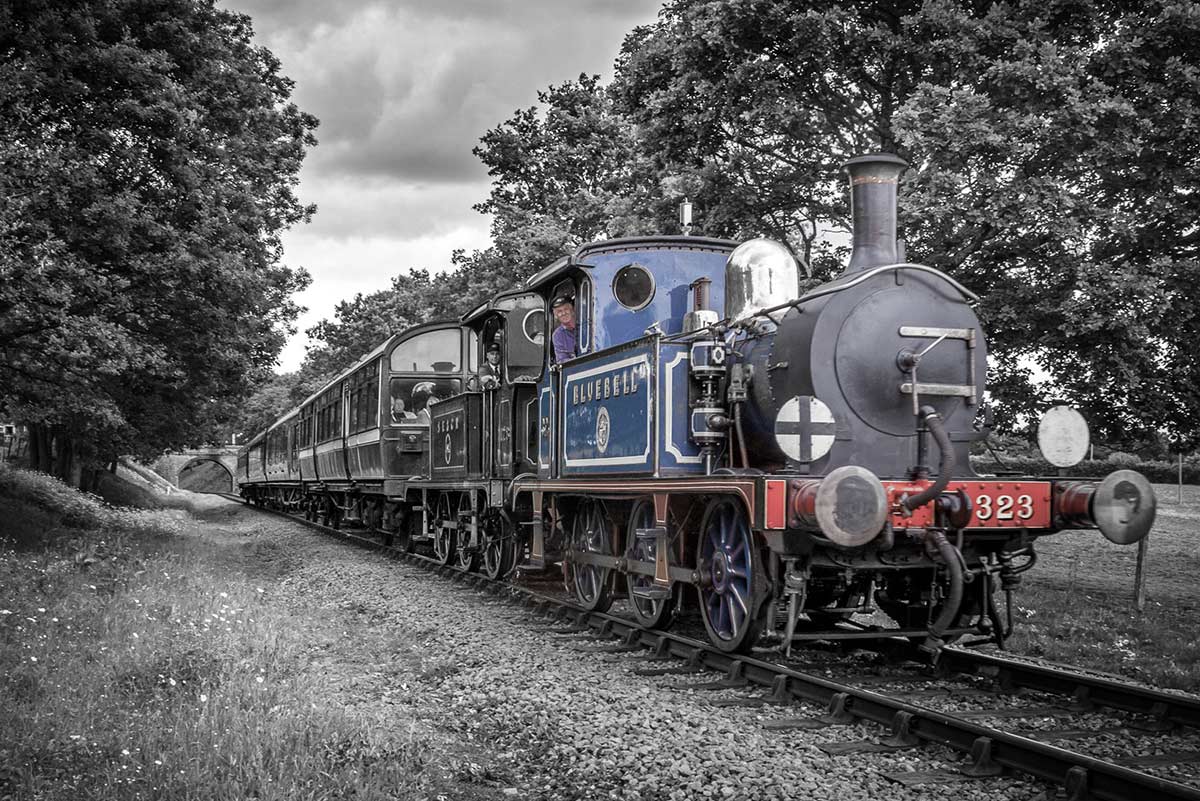
CL-final-8This weeks episode of Creative Lightroom is all about selective colour, also known as colour popping. Now before you say this is a repeat of Creative Lightroom Episode 3 then let’s be clear how this is different. In episode 3 we used selective saturation to leave just one tone of colour (just the reds for example). Colour popping is more about keeping one area in colour even if the area has a mixed bunch of tones.

Where most photographers fail in this technique is by leaving the colours over saturated. That may be OK with a single colour but with mixed colours the end result can be very jarring on the eye.

So in this video I’ll show both how to colour pop and then how to control the popped colours,

As always it’s worth mentioning that if you’re a Photoshop user rather then Lightroom user, EVERYTHING I show in the video is the same as Adobe Camera RAW in Photoshop CC, CS6, CS5 and CS4.

[youtube]http://www.youtube.com/watch?v=ODidMT5Lm6g[/youtube]

Can’t see the video? Click here: http://youtu.be/ODidMT5Lm6g
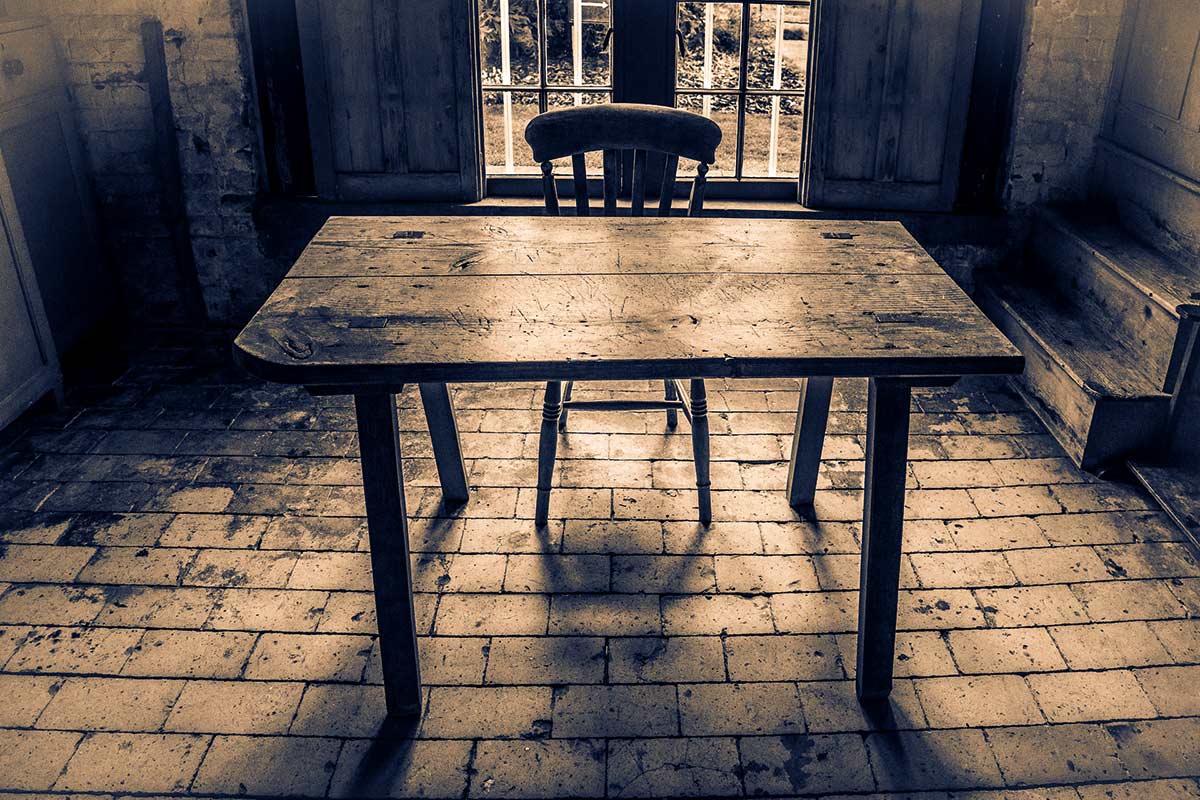
Split Tone Mono – Creative Lightroom Episode 7

CL-final-6-SplittoneThis weeks episode of Creative Lightroom is all about going mono with a twist.

Black and white is great but sometimes you want to add a bit of general colour and toning the image. Sepia and blue tone are popular choices. Split toning takes the traditinal toning effect a step further by adding a different tones to the shadows and highlights.

In the video I show you how to use Lightroom split tone sliders to create the perfect colour balance.

This tutorial is compatible with all versions of Lightroom.

As always it’s worth mentioning that if you’re a Photoshop user rather then Lightroom user, EVERYTHING I show in the video is the same as Adobe Camera RAW in Photoshop CC, CS6, CS5, CS4  and Photoshop CS3.

[youtube]http://www.youtube.com/watch?v=8c8DUjquXPQ&feature=youtu.be[/youtube]

Can’t see the video? Click here: http://youtu.be/8c8DUjquXPQ

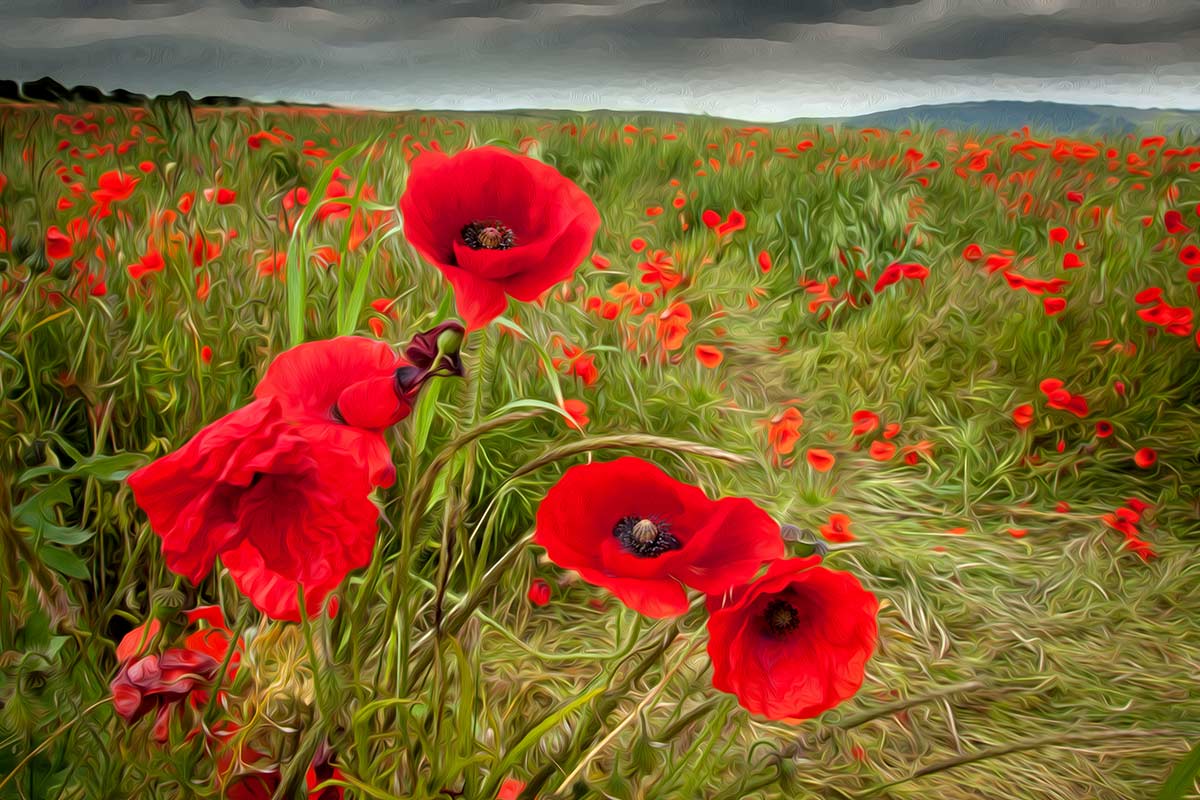
Poppy field – 15 Minute Photo Challenge

Not so long ago I added a new 15 minute photo challenge to Adorama TV, if you can see the video below in case you missed it.

This time I visited a field of poppies growing on the south downs just outside of Brighton, Sussex.

I’m a sucker for poppies, may be it’s the bright red colour, which always looks great in photos. May be it’s the beauty of the poppies themselves. Either way I can’t resist photographing them and I wasn’t alone. In the sort time I was at the field I bumped in to several other photographers who couldn’t resist the lure of a field full of poppies either.

[youtube]http://www.youtube.com/watch?v=Xmz2ZVy1Ykw&feature=c4-overview&list=UU8Pksdbj37CdE00kmE7Z1dw[/youtube]

Can’t see the video? Click Here http://youtu.be/Xmz2ZVy1Ykw

15-Min-Poppy-Oil-PaintEquipment used in this video:
Adobe Photoshop CS6 http://www.adorama.com/searchsite/default.aspx?searchinfo=photoshop+cs6&category=4294967278+11&KBID=67338

Canon 60D http://www.adorama.com/ICA60D.html?KBID=67338

Canon 24-105L f/4 IS http://www.adorama.com/CA24105AFU.html?KBID=67338

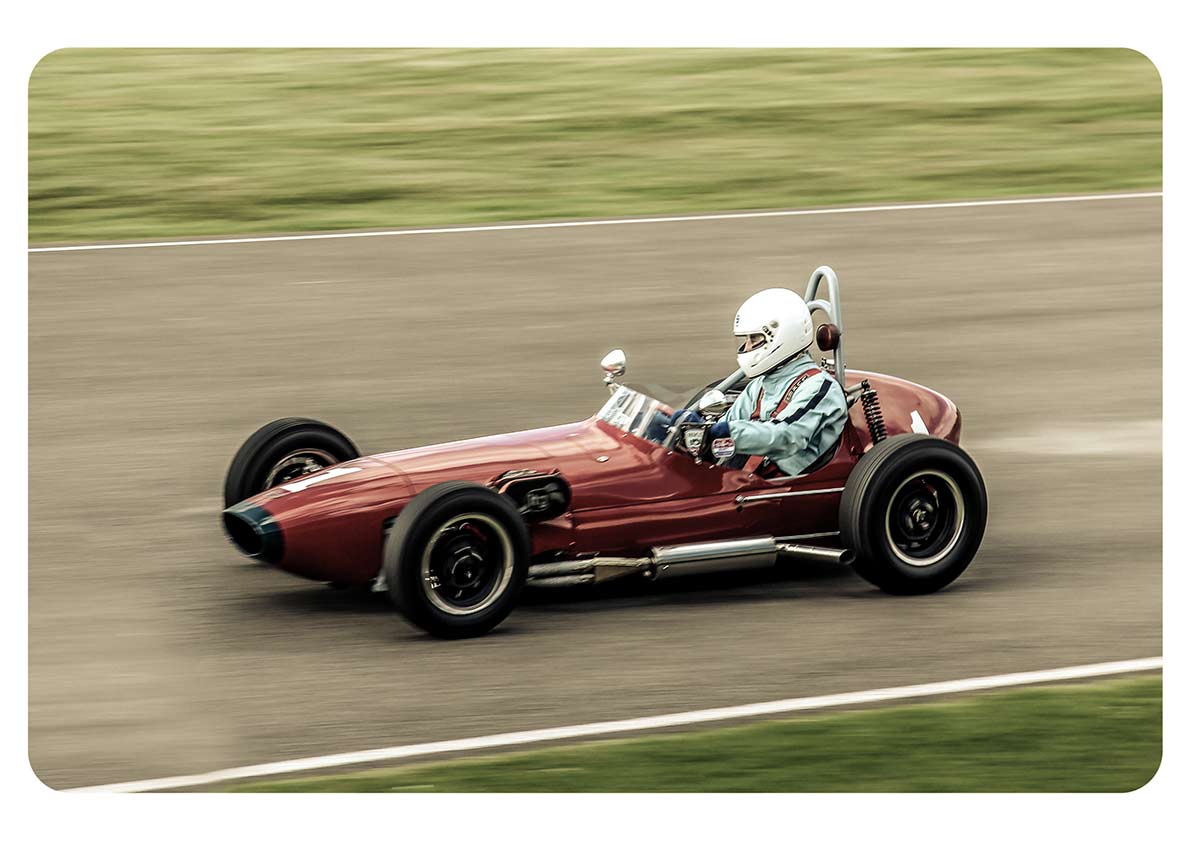
Rounded Corner Border – Creative Lightroom Episode 6

cl-7-FINALThis weeks episode of Creative Lightroom has a super quick but very smart looking border effect.

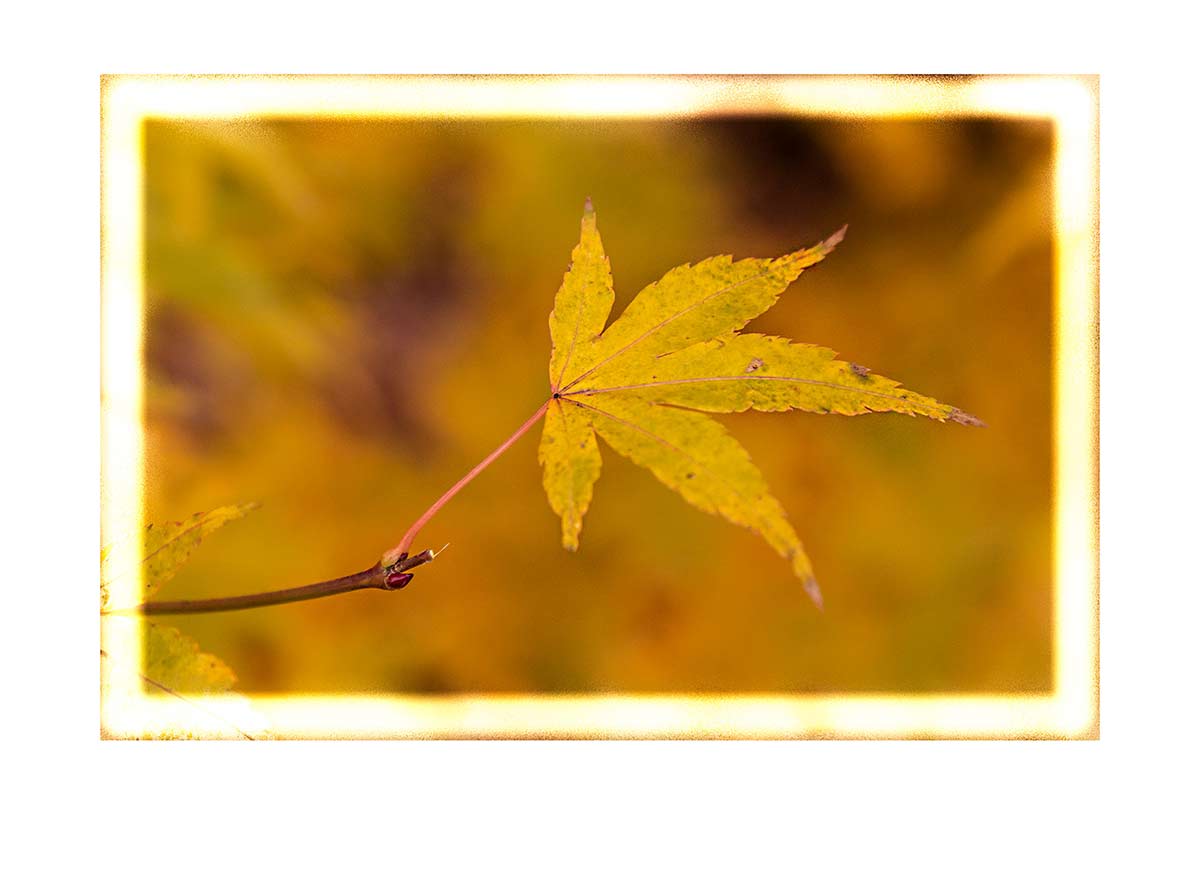
Rounded rectangle borders like this look amazing not only on vintage and retro photos but are just great with any photo. Back when I started taking photos as a VERY young child all the prints would have rounded corners just like this.

In the video I show you just how quick this effect can be made, plus some variations on the look. OK I say variations but in reality you can have a black or white border that’s either soft or heard edged. You can also choose the roundness of the corners too.

To create this effect you’ll need either Lightroom 5, Lightroom 4 or Lightroom 3

In the video I mention my hand painted border effect from episode 2, which you can see here www.gavtrain.com/?p=3162

As always it’s worth mentioning that if you’re a Photoshop user rather then Lightroom user, EVERYTHING I show in the video is the same as Adobe Camera RAW in Photoshop CS6 and Photoshop CC. It’s also possible to pull off the same trick with older version of Photoshop from CS4 onwards.

[youtube]https://www.youtube.com/watch?v=8F_xj4NSb7Y[/youtube]

Can’t see the video? Click here: http://youtu.be/8F_xj4NSb7Y

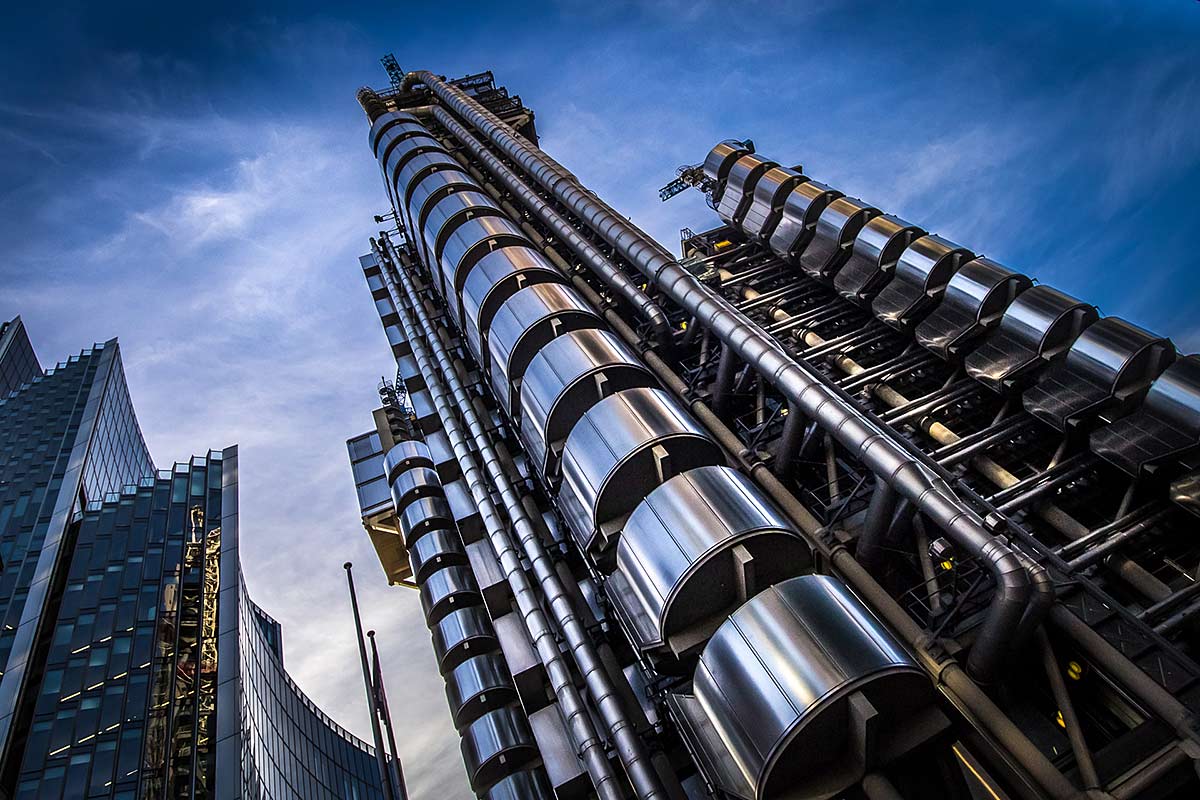
Pseudo HDR – Creative Lightroom Episode 5

CL-final-5Creative Lightroom has new reached episode 5, the half way point. In this weeks episode I’ve got a quick Lightroom trick which gives your photos a little bit of HDR magic.

When I say HDR don’t think for a second that this is a replacement to the traditional HDR technique of taking multiple images and merging the exposure together in Photoshop, Photomatix or Nik HDR Pro. No what it does is to pull the maximum detail from the shadows and highlights from a single image.

By far the best photos to play with are RAW files that are correctly exposed or a bit underexposed.

To fully pull off this effect you’ll need Lightroom 5 or Lightroom 4.

As always it’s worth mentioning that if you’re a Photoshop user rather then Lightroom user, EVERYTHING I show in the video is the same as Adobe Camera RAW in Photoshop CS6 and Photoshop CC. It’s also possible to pull off the same trick with Elements 11 (but not the vignette in RAW)

[youtube]http://www.youtube.com/watch?v=NJvQWenordQ[/youtube]

Can’t see the video? Click here: http://youtu.be/NJvQWenordQ

Water shaped heart

I love photographing water. Technically it’s not hard to do and even with basic equipment the results can be amazing but water is a challenging subject if you want consistency. Every drip, splash or droplet of water will be a little different to the last and that element of slight unpredictability is what makes every water photo unique.

In this tutorial I make use of the uniqueness of a water splash by throwing some in the air and freezing it with a burst of flash. Repeating the action produces more splashes of a similar, yet different shape and then it’s into Photoshop to make this amazingly beautiful water heart.

[youtube]http://www.youtube.com/watch?v=LrY78qEw68s&feature=c4-overview&list=UU8Pksdbj37CdE00kmE7Z1dw[/youtube]

Can’t see the video? Click Here http://youtu.be/LrY78qEw68sWater-Heart-Final1024

Equipment used in this video:
Adobe Photoshop CS6 http://www.adorama.com/searchsite/default.aspx?searchinfo=photoshop+cs6&category=4294967278+11&KBID=67338

Canon 60D http://www.adorama.com/ICA60D.html?KBID=67338

Canon 24-105L f/4 IS http://www.adorama.com/CA24105AFU.html?KBID=67338

Vanguard ABEO Plus 283CT Tripod http://www.adorama.com/VGABEO283CT.html?KBID=67338

Vanguard GH-300 head http://www.adorama.com/VGGH300T.html?KBID=67338

Two Curves Tricks – Creative Lightroom Episode 4

CL-final-4-1000In the fourth episode of Creative Lightroom, I have not one but two creative techniques and both of them involve using Curves.

You can still catch the first three episodes here
episode 1, Light leak effect
episode 2, Painted border
episode 3, Selective colour

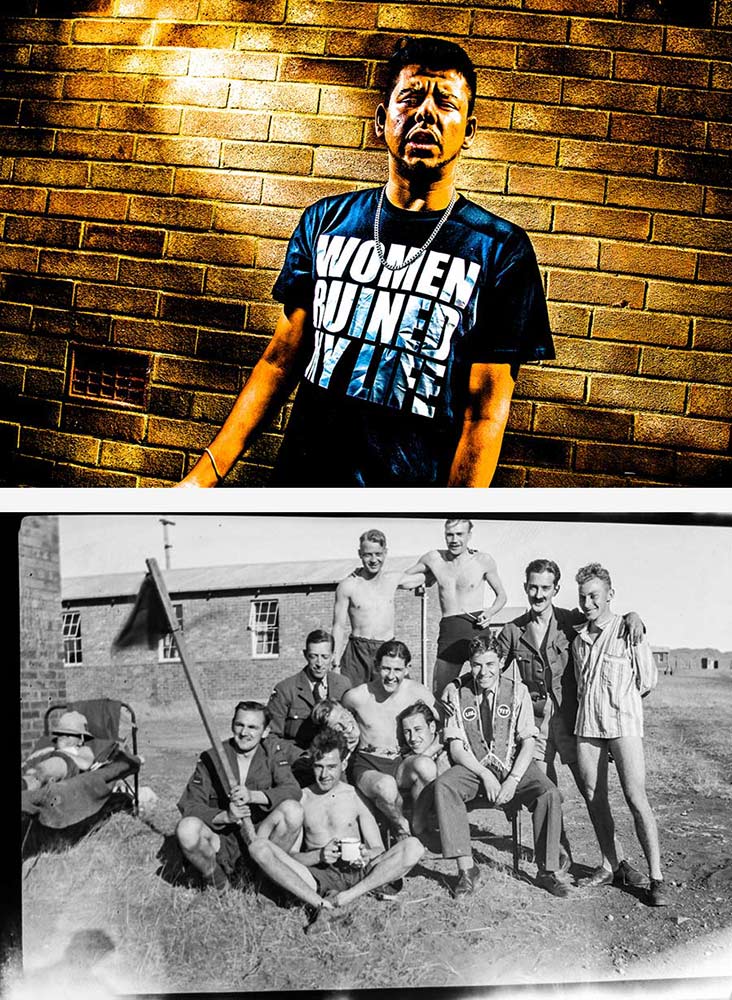
The two effects couldn’t be more different even though the same tool is used to make them. The first technique is a very gritty posterization effect which looks amazing on the right image. The second effect is perfect for anyone who scans or copies old negatives and wants to make them back into a positive.

As always it’s worth mentioning that if you’re a Photoshop user rather then Lightroom user then remember EVERYTHING I show in the video is the same as Adobe Camera RAW in Photoshop CS3, CS4, Cs5, CS6 and Photoshop CC.

[youtube]http://www.youtube.com/watch?v=IsDg8EV-Byw[/youtube]

Can’t see the video? Click here: http://youtu.be/IsDg8EV-Byw

UPDATE
Lots of you have been guessing which of the men in the old photo is my Grandad. The answer is he’s the tallest one, in the middle holding his trademark pipe. As for the question of why the guy on thr right is without trousers, I’m not 100% sure. It’s probably a combination of the heat (they were in South Africa) and being taken in 1943, there was a war on!

Just one colour – Creative Lightroom Episode 3

CL-final-3-1200pxIn the third episode of Creative Lightroom, I have a very quick trick for reducing the number of colour tone ranges in your image to just one.

This is a really quick and simple technique that works with all versions of Lightroom including the latest and greatest version, Lightroom 5.

In the video I show you how to remove almost all the colour and leave just the reds in an image but you can just as easily leave blues, yellows or greens. I then go on to show you how to quickly tidy up any stray colour areas with the adjustment brush.

It’s worth mentioning that if you’re a Photoshop user rather then Lightroom user then remember EVERYTHING I show in the video is the same as Adobe Camera RAW in Photoshop CS3, CS4, Cs5, CS6 and Photoshop CC.

[youtube]http://www.youtube.com/watch?v=wr6fSZY57R0&feature=youtu.be[/youtube]

Can’t see the video? Click here: http://youtu.be/wr6fSZY57R0

Painted Border – Creative Lightroom Episode 2

2-Painted-BorderIn the second episode of Creative Lightroom, I have a great border technique which looks amazing especially on pictures with smooth tones at the edges. That means it’s perfect on pictures with blue skies or defocused backgrounds… just like this one.

This is a really quick and simple technique that works with all versions of Lightroom including the latest and greatest version, Lightroom 5.

At the end of the video where I show a quick way to increse the white space around the outside in the Print module but watch carefully, blink and you’ll miss it.

It’s worth mentioning that if you’re a Photoshop user rather then Lightroom user then remember EVERYTHING I show in the video is the same as Adobe Camera RAW in Photoshop CS4, Cs5, CS6 and Photoshop CC.

[youtube]http://www.youtube.com/watch?v=CcfYL-sUDFI[/youtube]

Can’t see the video? Click here: http://www.youtube.com/watch?v=CcfYL-sUDFI

Light Leak Effect – Creative Lightroom Episode 1

CL-final001In the first episode of Creative Lightroom, my new 10 week series, I have a great light leak technique which looks amazing on vintage and retro styled images.

Light leaks were origianlly a problem that affected film cameras and often resulted in a ruined photo. On the rare occasion a light leak would occur which actually enhanced the photo. Using Lightroom it’s very easy to choose which photos would benefit from a light leak and how big it needs to be. On the right photo light leaks will look amazing.

It’s worth mentioning that if you’re a Photoshop user rather then Lightroom user then remember EVERYTHING I show in the video is the same as Adobe Camera RAW in Photoshop CS6 and Photoshop CC.

[youtube]http://www.youtube.com/watch?v=YQzIgb9G6Bs[/youtube]