How to make a DSLR time-laspe

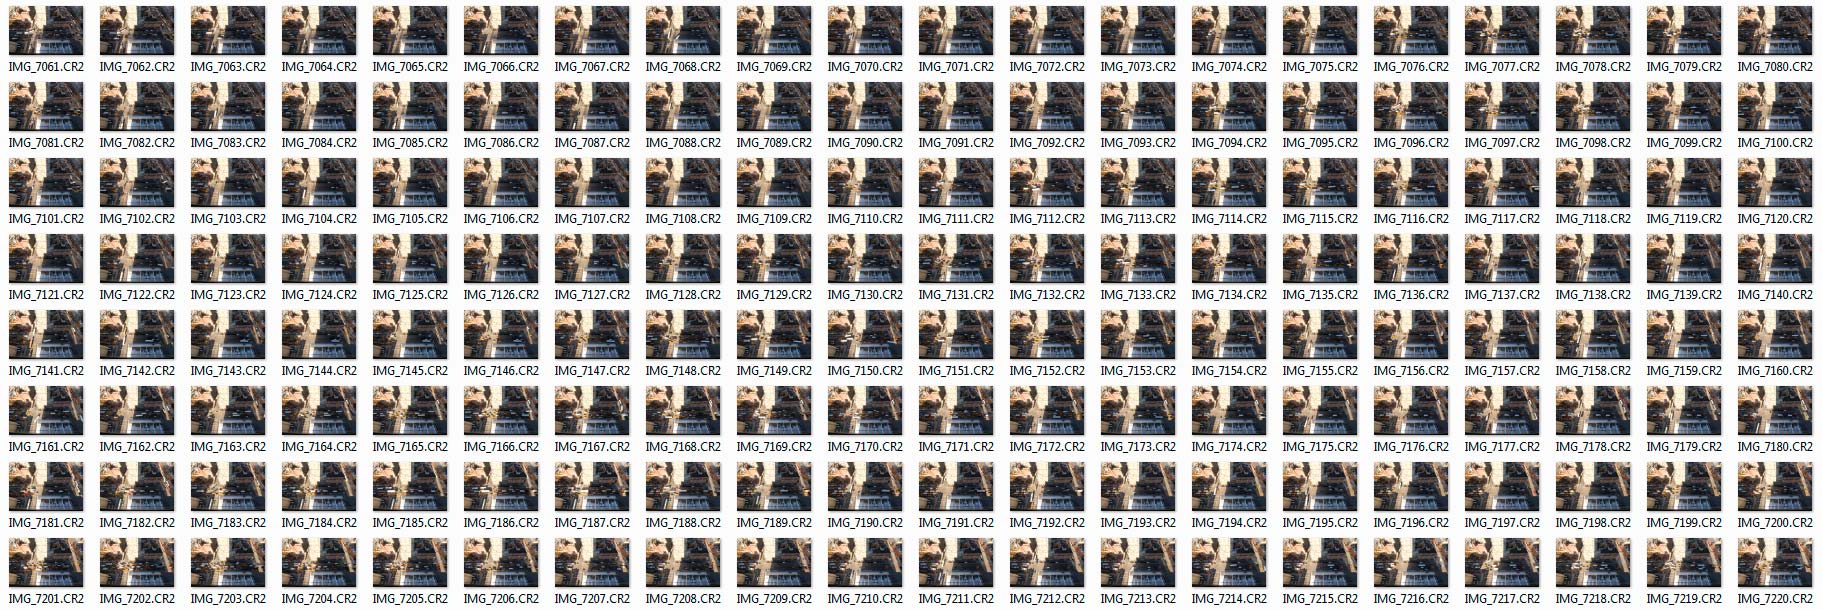
A few years ago I made a video about shooting a time-lapse sequence with a DSLR and then making a video from the images. Most of the information is still as valid today as it was in 2011 but it’s amazing haw fast technology changes the way we shoot and edit. Back then very few cameras had a built in intervalometer and you needed a custom made slideshow preset for Lightroom if you wanted to create the time-lapse video in your photo editing software.
Timelapse-NYC-THUMBS

Skip forward 3 years and although my Canon DSLR’s still don’t have timelaspse out of the box I can use my smart phone to control my camera and take the photos. Plus Photoshop CS6 and CC can both create video from stills in just a few clicks of the mouse.

[youtube]https://www.youtube.com/watch?v=J5Bwpm8_5XM[/youtube]
Can’t see the video? Click here http://youtu.be/J5Bwpm8_5XM

Equipment used in this video (Links to Adorama)
Canon 60D 

Sigma 10mm-20mm

ioShutter release cable 

Vanguard 284 CB100 Tripod  

Walking Brooklyn Bridge

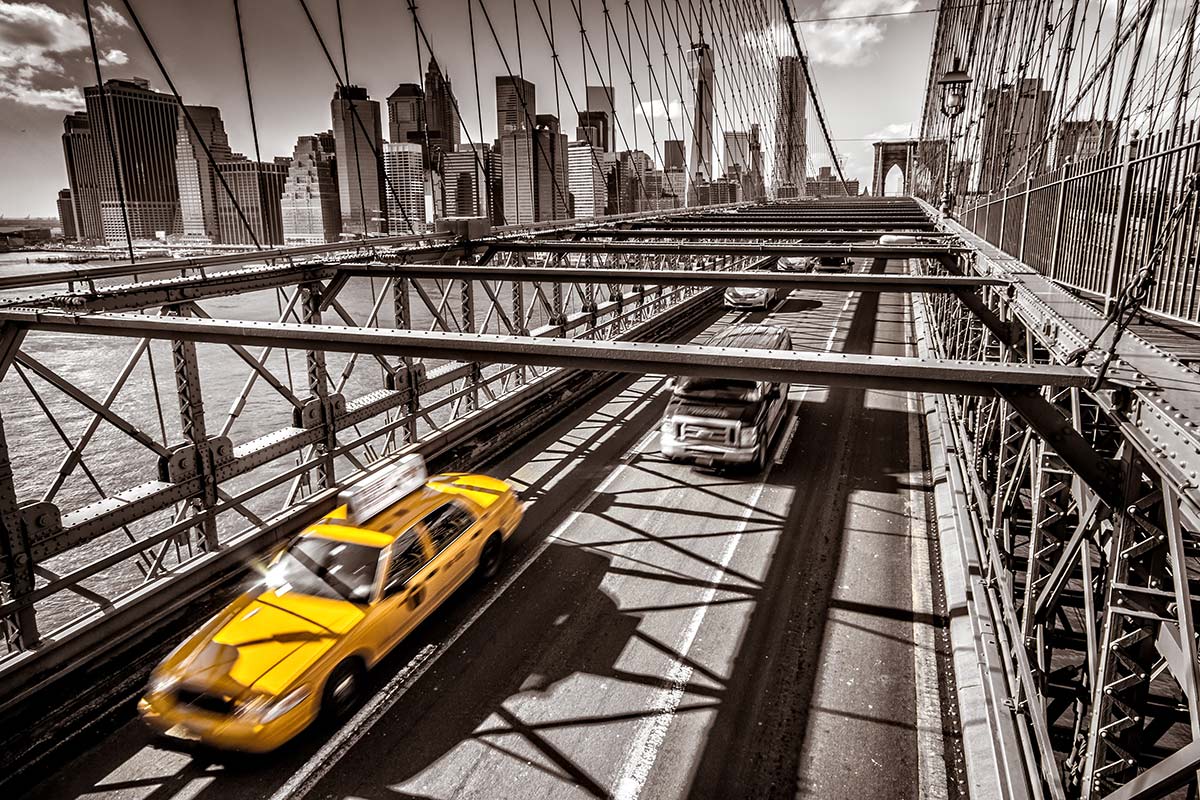
It’s been just over two months since I made a flying visit to New York and the third of my four videos from the visit has recently been released by Adorama. This time I take a walk around and part way across the iconic Brooklyn Bridge to see what photographs I can find.

Brooklyn-Bridge

To say the weather was cold is an understatement, in fact just a few hours earlier it had been snowing. Fortunately the weather cleared, the sun came out and the opportunity to visit the bridge was one I couldn’t resist.

[youtube]https://www.youtube.com/watch?v=PLsKdJIsHT8&list=UU8Pksdbj37CdE00kmE7Z1dw[/youtube]
Can’t see the video? Click here http://youtu.be/PLsKdJIsHT8

I have to say a huge thank you to Claude, Adorama’s video guy. It was thanks to his local knowledge and ability to work in sub zero temperatures that made this video possible.

Equipment used in this video (Links to Adorama)
Canon 60D http://www.adorama.com/ICA60D.html?KBID=67338

Sigma 10mm-20mm http://www.adorama.com/SG1020EOS.html?KBID=67338

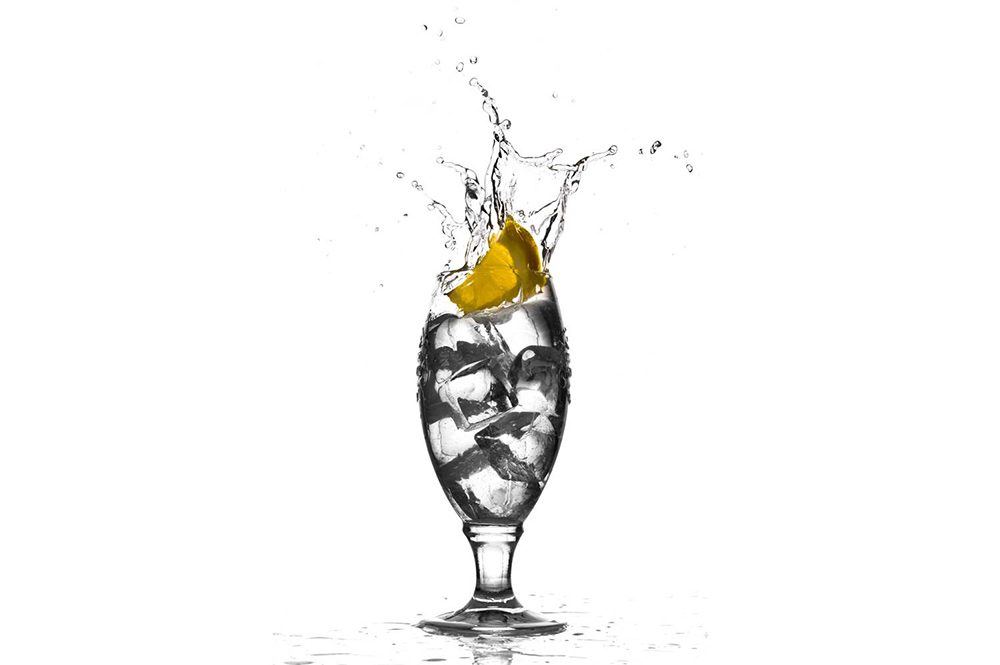
A Splash of Lemon

Winter round these parts usually means short days, long nights and inclement weather which makes for a tough time for us photographers. So here’s a photo project that you can take at any time and whatever the weather.

Lemon-Splash

The technique makes use of a single flash to freeze the moment a slice of lemon splashes into a glass of water. No flash? Well you might be able to do this with a super bright light but to hit the really fast shutter speeds needed to freeze the action you’ll need to bump up your ISO and open up the aperture. Flash really is the way to go as you’ll get sharper shots with a bigger depth of field and be able to use a nice low ISO.

I’m using glass “ice cubes” real ones are fine but they will float. So either pack them in tight or use a bigger, heavier piece of lemon (other fruit slices can be used too). Alternatively lose the ice and use fizzy water, the idea is simply to put some texture in the glass and how you do that is up to you.
[youtube]http://youtu.be/9GxRwBxc8-8[/youtube]

Equipment used in this video (Links to Adorama)

Adobe Photoshop Lightroom V5 Software, Windows and Mac OS

Canon EOS 60D Digital SLR Camera

Canon EF 24-105mm f/4L IS USM AutoFocus Wide Angle Telephoto Zoom Lens

Enlight photo Frio Universal Locking Cold Shoe V2

Canon RS-60 E3 Remote Switch (2′) for Canon Sub-Mini (E3)

Flashpoint Universal Swivel Holder -Umbrella holder

Vanguard Alta Pro 284 Carbon Tripod with SBH-100 Ball Head

Flashpoint 6.5′ Black Lightstand, 5/8″ Top Stud

Flashpoint 40×60″ Collapsible Disc Background

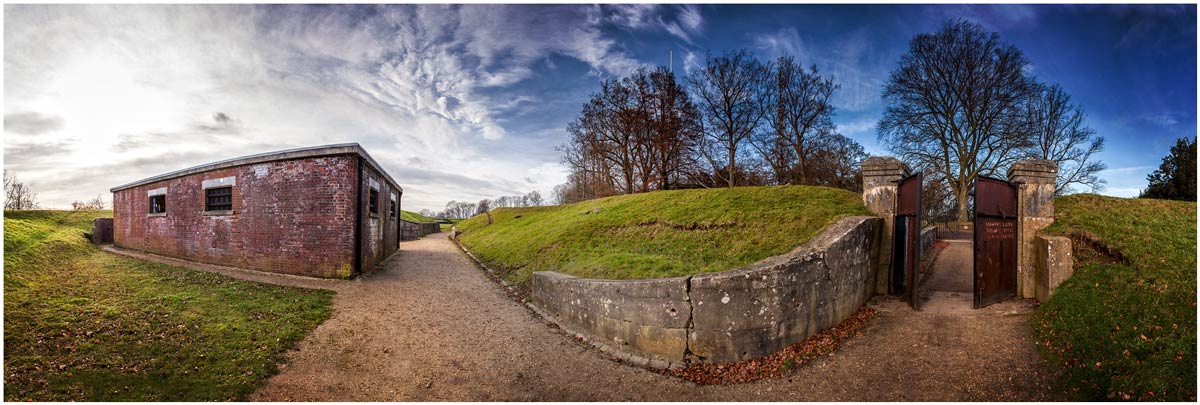
Reigate Fort 15 Minute Photo Challenge

Reigate-1It’s time for another 15 minute photo challenge and this time I visit a fort in Surrey. Unfortunately for me this particular fort is mostly buried below ground and isn’t accessible to casual visitors such as myself.

But I wasn’t going to let a little thing like that stop me taking photos, nor did the particularly poor weather slow me down.

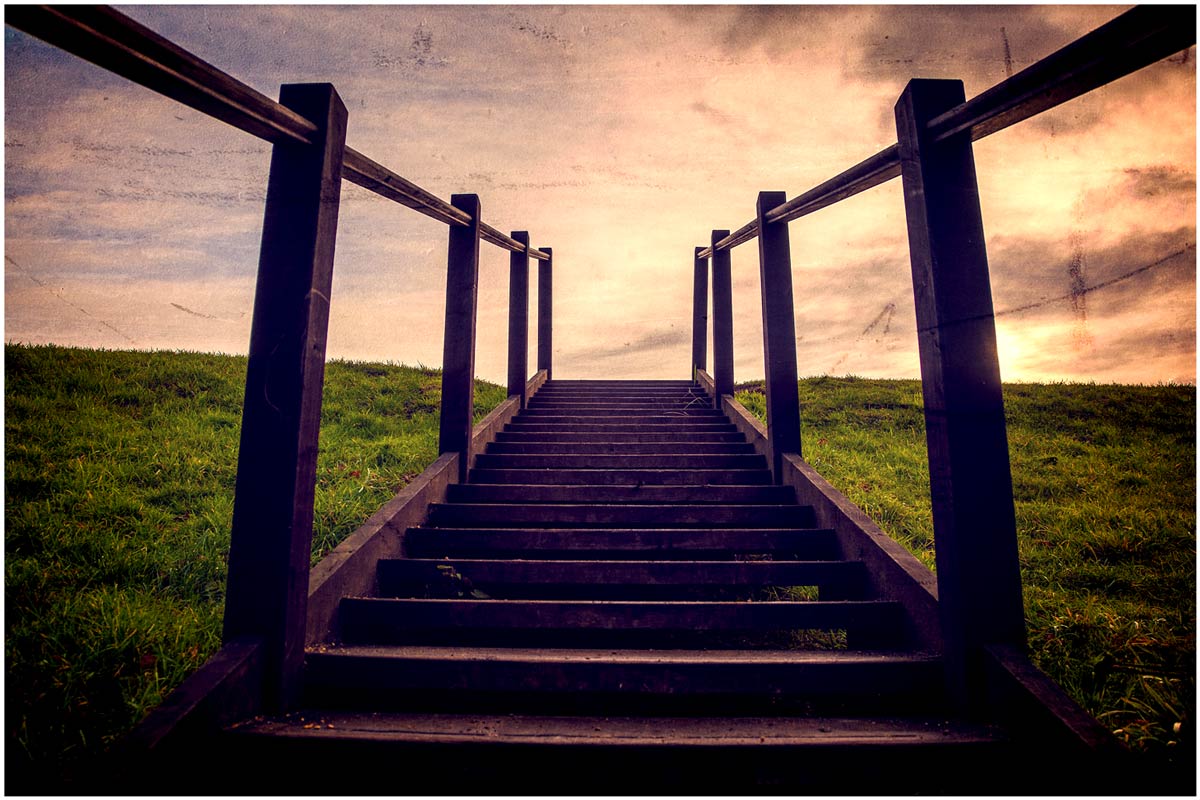
As always at the end of the challenge I’ll take you through the Photoshop edit of one photo. You can see the end result here. Keep scrolling down to see a few more final photos in higher resoloution

So let the 15 Minute Photo Challenge begin!
[youtube]http://youtu.be/niciZgOWBfA[/youtube]

If you enjoy the 15 minute photo challenge and you’re coming to my FREE New York workshop day then you’ll get to see an exclusive 15 minute challenge that’s never been seen online before!

Reigate-3

Reigate-2
Reigate-Pano

Three photo ideas for Christmas

Christmas-Lights--CarIt’s Christmas day and if you were lucky enough to get some new camera gear today you’ll probably be itching to try it out, at least that’s what I always want to do. So here are three of my festive themed video tutorials to give you some photo inspirtation.

There’s a mix of inside and outside tips and tricks for bothe beginner and the more advanced photographer, so grab your camera and shart shooting!

Balance Flash and Christmas Lights
In this video I take on a challenge of balancing low powered Christmas fairy lights with flash. Dragging the shutter, as the technique is also known, is one of those camera skills that every photographer with a speedlite should master and this is a great way to hone your skills. Scale up the technique just a little and the exact same skill will worth with portraits too.
[youtube]http://www.youtube.com/watch?v=TuCeNQrCmVE&feature=youtu.be[/youtube]

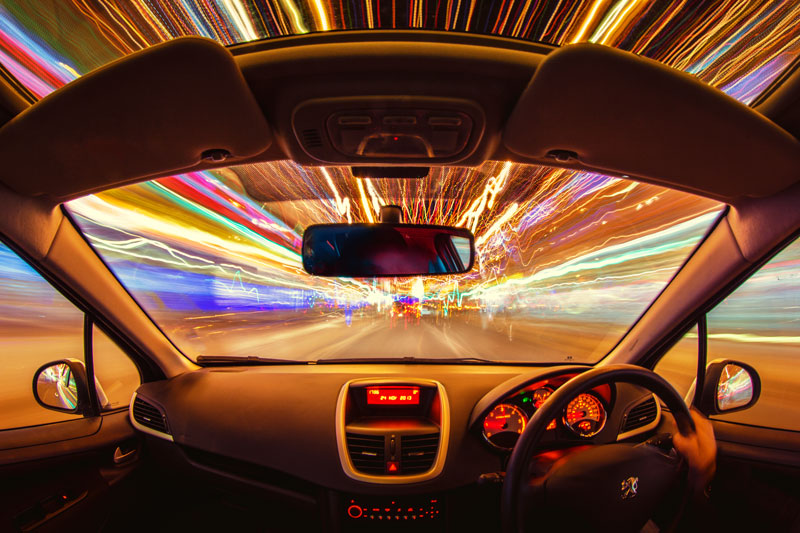
Shoot Christmas lights from your car
Got a new tripod for Christmas? Then this is the perfect photo challenge for you! Grab your widest angle lens or if you have one, a fish eye lens is just perfect. Part II is come soon.
[youtube]http://www.youtube.com/watch?v=bie4zQVoN-0[/youtube]

Shoot great bokeh
Bokeh is an optical effect that can create stunningly beautiful photos, it’s also really easy to do once you know the basics and that’s exactly what I show in this video.
[youtube]http://www.youtube.com/watch?v=iKqd7R-v2qo[/youtube]

7 Questions About Soft Light

softlight-portrait-2In the studio there’s two types of light that photographers use to define their subject, hard light and soft light. Both have their place but usually in the studio I use soft light when shooting portraits. Getting the light from your studio flash or speedlite can be done in several ways. You can use one light or multiple lights, a softbox or umbrella and in this video I look at them all.

In total I cover seven questions you should know about soft light and how it’s different to hard light.

The final images you see here have had a little bit of Photoshop applied. How much Photoshop? Surprisingly little and I show you exactly how it’s done towards the end of the video too.

[youtube]http://www.youtube.com/watch?v=MfBmNfMb7WA&feature=c4-overview&list=UU8Pksdbj37CdE00kmE7Z1dw[/youtube]
Can’t see the video? Click here http://youtu.be/MfBmNfMb7WA

Gear used in the video (links to the Adorama store)
Canon EOS 60D Digital SLR Camera
Canon EF 24-105mm f/4L IS USM
Lastolite Collapsible Background (Washington/Dakota) 
Lastolite Hot Shoe Ezy-box Softbox 24×24″ 
Flashpoint Triple Shoe Mount Bracket 
Adorama 33″ Translucent Umbrella

softlight-portrait-1

Shooting a slide show

RBpro1What do you do with all the 1000’s or may be 10,000’s of photos you take every year? There’s only so many pictures you can put on Facebook and tweeting to many photos, to often, is a sure fire way to loose followers.

Of course there’s no shortage of photo sharing sites like Flickr and the excellent 500px and uploading the best of your photos to these sites is a great idea.

In this video I have another way to show off lots of your photos in an amazing way, by making a slide show. It’s a great way to show off the photos you’ve already taken but you can also take photos specifically for use in a slide show. That’s exactly what I do in this video and I get to pass on some shooting tips along the way.

Once you’ve chosen which photos you’d like to use in your slide show, you’re ready to start putting the show together. I used Photoshop Elements to do the job but there are plenty of alternatives out there (such as Lightroom) which is good news if you’re on a Mac as frustratingly the slide show part of Elements is a Windows only feature.

[youtube]http://www.youtube.com/watch?v=vmXh9poFRhI&feature=c4-overview&list=UU8Pksdbj37CdE00kmE7Z1dw[/youtube]

Need royalty free music? YouTube has you covered with thier brand new audio library, which is where I downloaded the mp3 file used in this video.

Here’s the final slide show
[youtube]http://www.youtube.com/watch?v=onUsQsKHALw[/youtube]

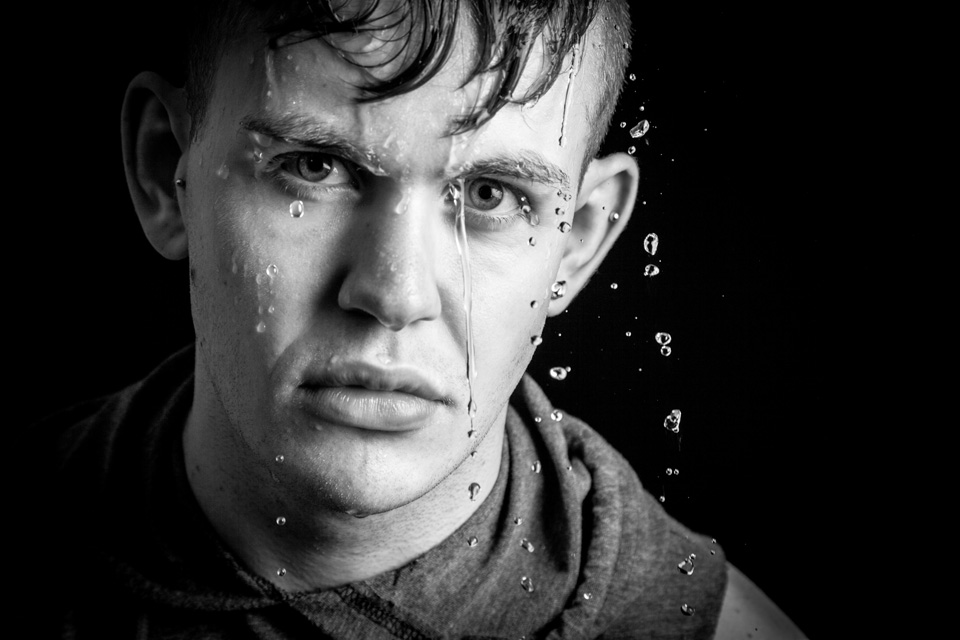
Faking into a sweat

So you want your model to look they’ve done a workout but you don’t have a gym in your studio. What do you do? Well you could send them out for a run or turn the heating up to max, both would work but neither is ideal.

In this video I’ll show you how to apply fake perspiration to a models face.

Now if you’re thinking that you can just spray water in their face, you’re wrong. Water alone doesn’t give beads of sweat, for that you need something more. A little olive oil applied to the forehead, cheeks and noise will make the world of difference and very convincing perspiration. For obvious reasons, don’t put oil close to the eyes.

The video doesn’t stop there. I also have some great lighting tips and I run through the Photoshop processing too.

[youtube]https://www.youtube.com/watch?v=_lyRzp8YEUc[/youtube]

Can’t see the video? Click Here http://youtu.be/_lyRzp8YEUc

Harry-2

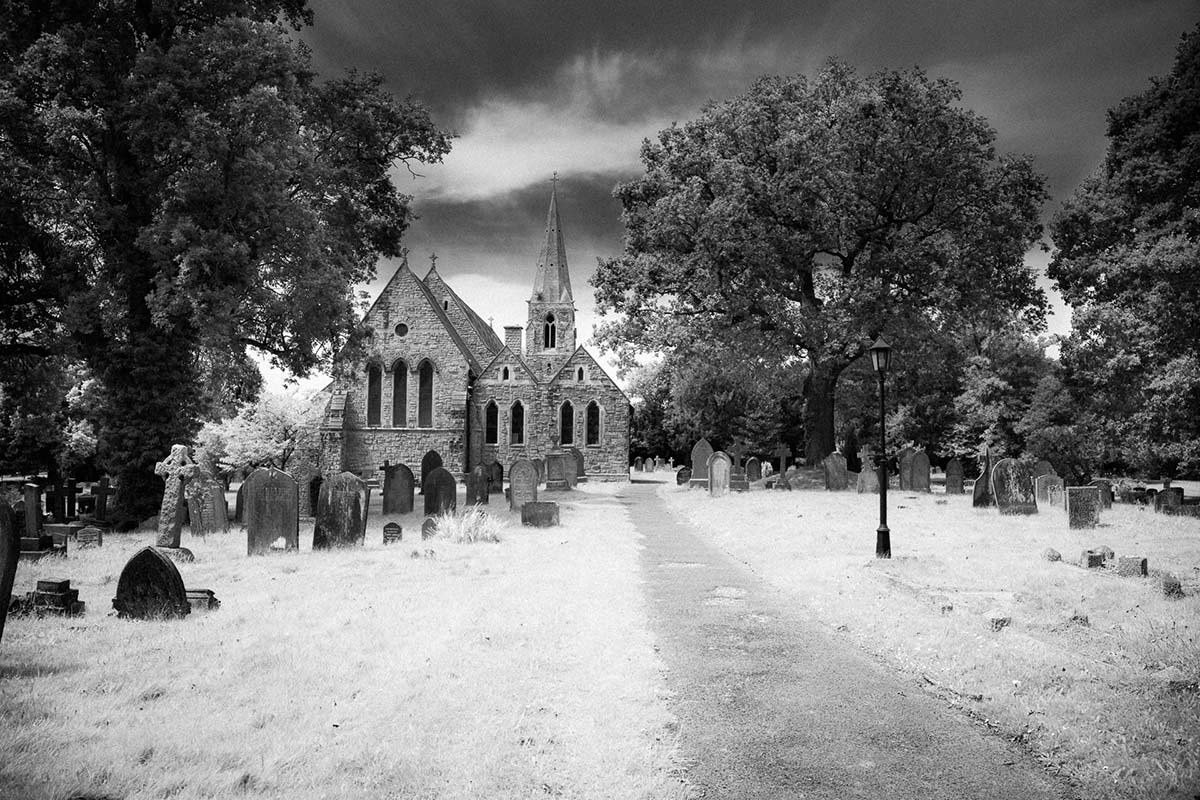
Infrared Mono – Creative Lightroom Episode 9

CL-final-9In this weeks episode of Creative Lightroom I take a deep dive into creating stylish infrared style images in Lightroom. I first made mono infrared images way back in my film days, back then it was a tricky business requiring the film to be loaded in complete darkness. Today things are a lot easier, espeically if you’ve had your camera converted to capture near IR.

This technique forms the basis of my favourite way to process ordinary colour photos into stylish mono. It also adds a touch of the classic IR film feel with a slight glow and a touch of grain.

As always it’s worth mentioning that if you’re a Photoshop user rather then Lightroom user, EVERYTHING I show in the video is the same as Adobe Camera RAW in Photoshop CC, CS6, CS5 and CS4.

[youtube]http://www.youtube.com/watch?v=c6_8AQaNhzs&feature=youtu.be[/youtube]

Can’t see the video? Click here: http://youtu.be/c6_8AQaNhzs

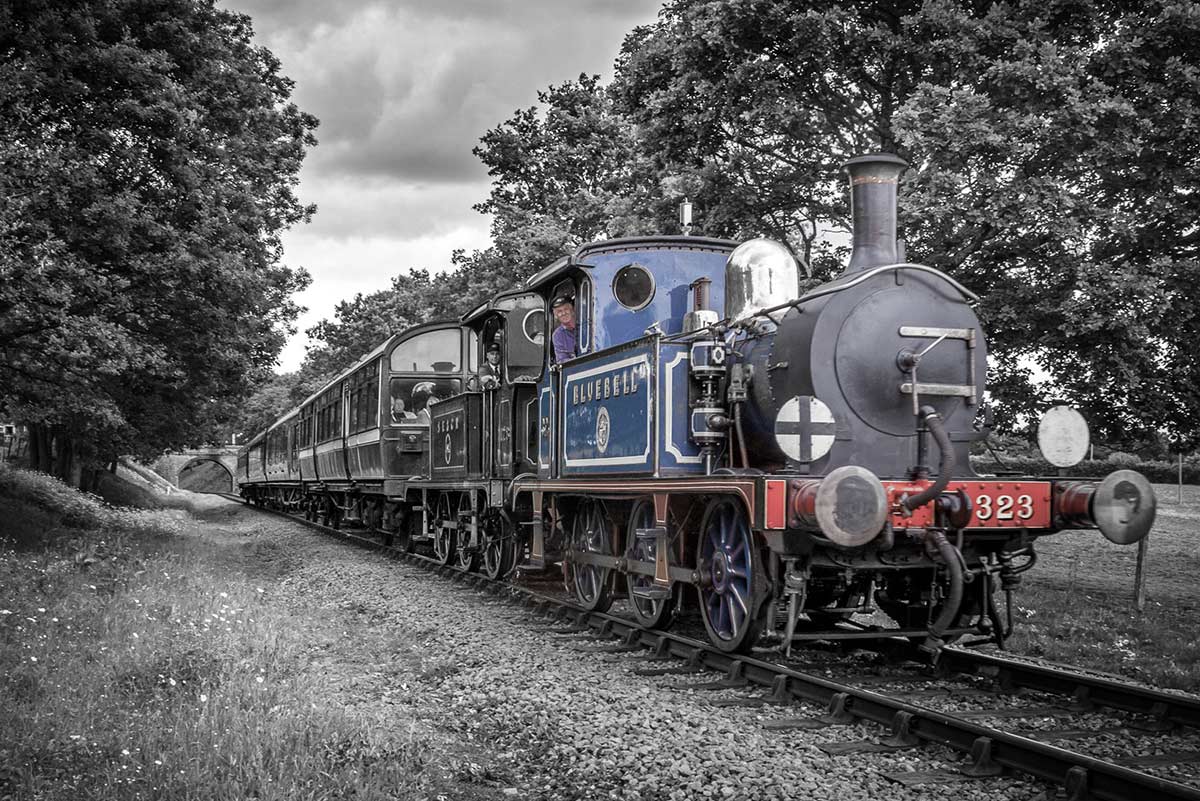
Colour Popping with Style – Creative Lightroom 8

CL-final-8This weeks episode of Creative Lightroom is all about selective colour, also known as colour popping. Now before you say this is a repeat of Creative Lightroom Episode 3 then let’s be clear how this is different. In episode 3 we used selective saturation to leave just one tone of colour (just the reds for example). Colour popping is more about keeping one area in colour even if the area has a mixed bunch of tones.

Where most photographers fail in this technique is by leaving the colours over saturated. That may be OK with a single colour but with mixed colours the end result can be very jarring on the eye.

So in this video I’ll show both how to colour pop and then how to control the popped colours,

As always it’s worth mentioning that if you’re a Photoshop user rather then Lightroom user, EVERYTHING I show in the video is the same as Adobe Camera RAW in Photoshop CC, CS6, CS5 and CS4.

[youtube]http://www.youtube.com/watch?v=ODidMT5Lm6g[/youtube]

Can’t see the video? Click here: http://youtu.be/ODidMT5Lm6g