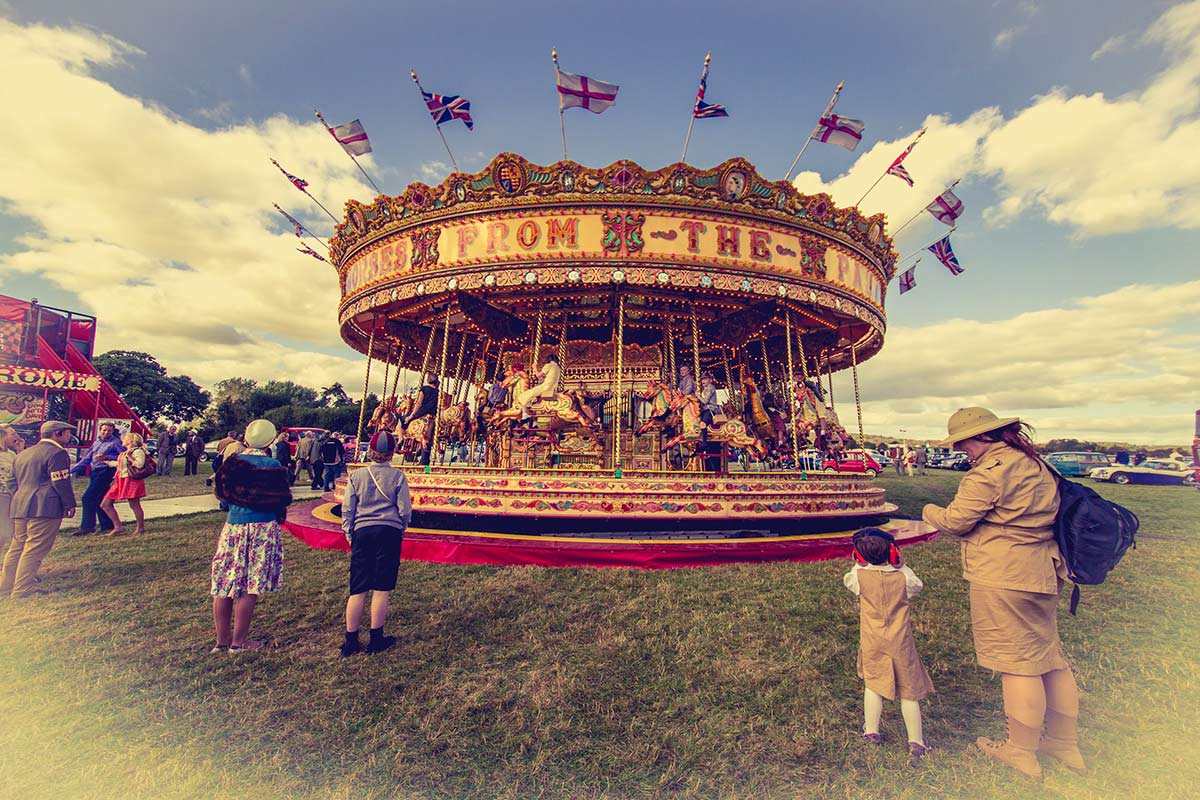
Vintage Camera Effect – Creative Lightroom Episode 10

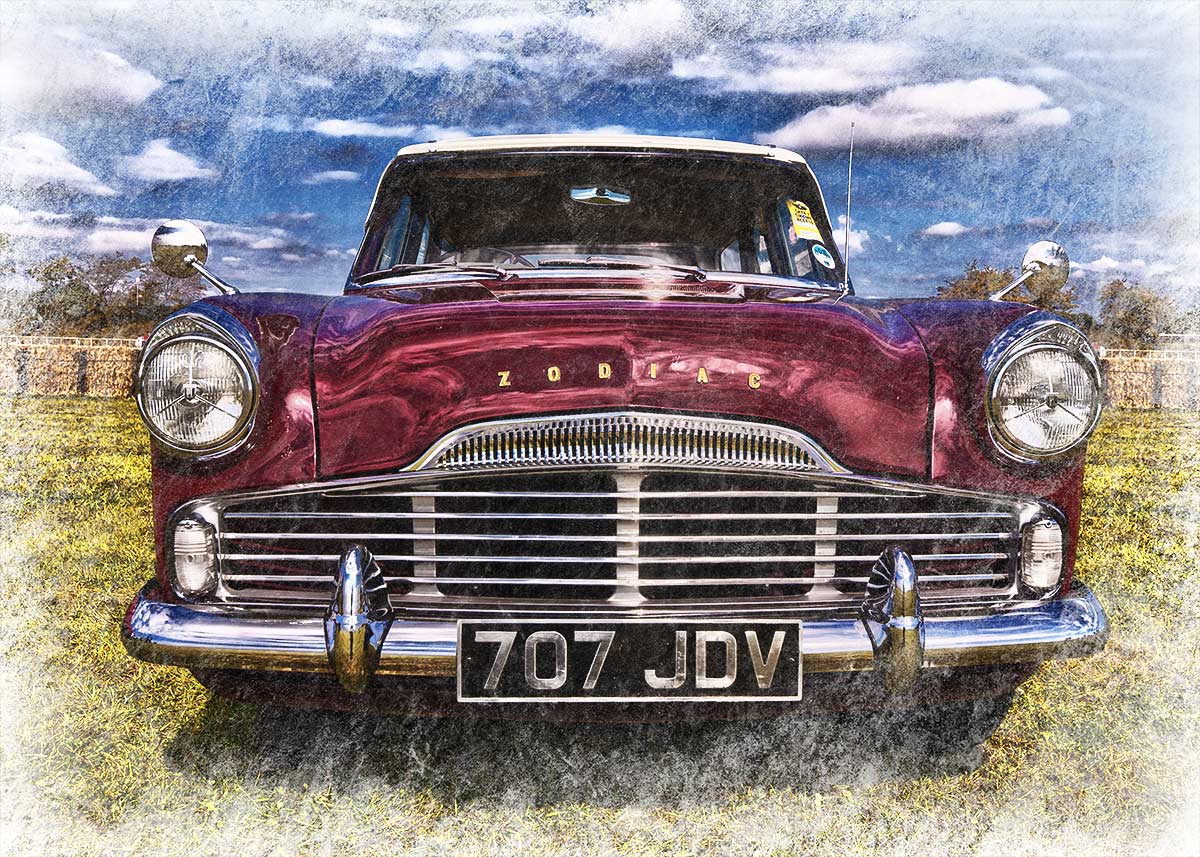
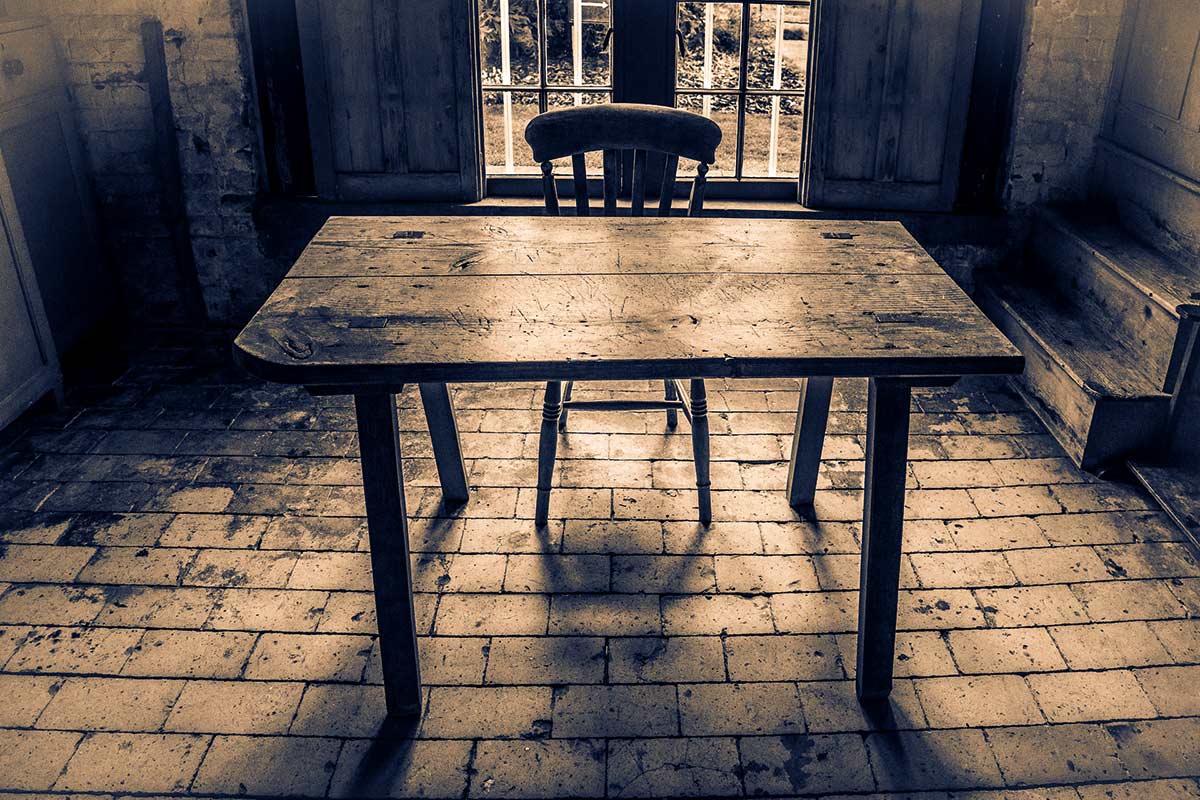
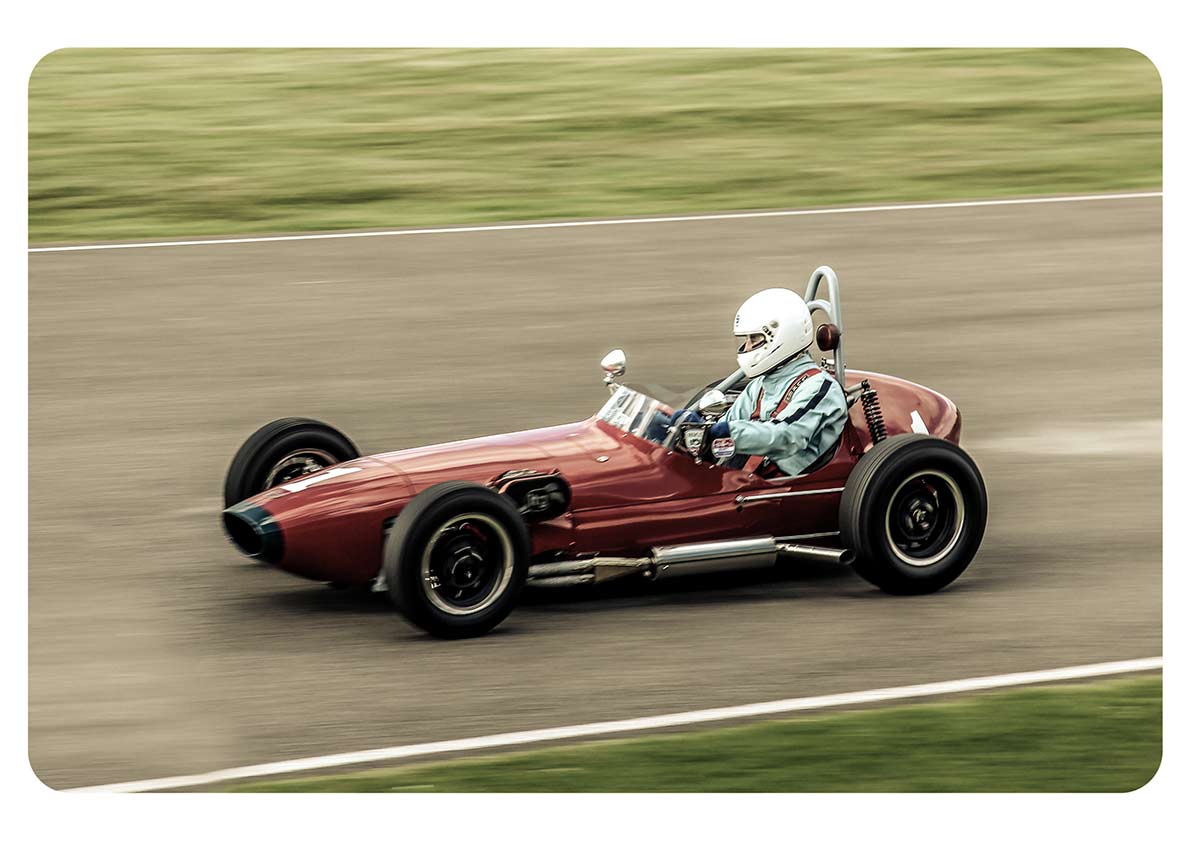
CL-final-10In this weeks episode of Creative Lightroom I take at one of my favourite ways to give my images a retro look in Lightroom. Now I could probably do another 10 videos on all the different styles of vintage style post processing you can do in Lightroom ranging from the very subtle to the over the top effects. This one falls towards the middle of that list.

For me there are a few essential things that make a vintage camera style image. First it need a cross processed colour scheme, in other words the colour need to be just the right side of wrong. Next it needs to lack contrast and finally a spot of vignetting is a nice touch. This technique has all that and more.

As always it’s worth mentioning that if you’re a Photoshop user rather then Lightroom user, EVERYTHING I show in the video is the same as Adobe Camera RAW in Photoshop CC, CS6, CS5 and CS4.

[youtube]http://www.youtube.com/watch?v=oGAOqby364k[/youtube]

Can’t see the video? Click here: http://youtu.be/oGAOqby364k
Infrared Mono – Creative Lightroom Episode 9

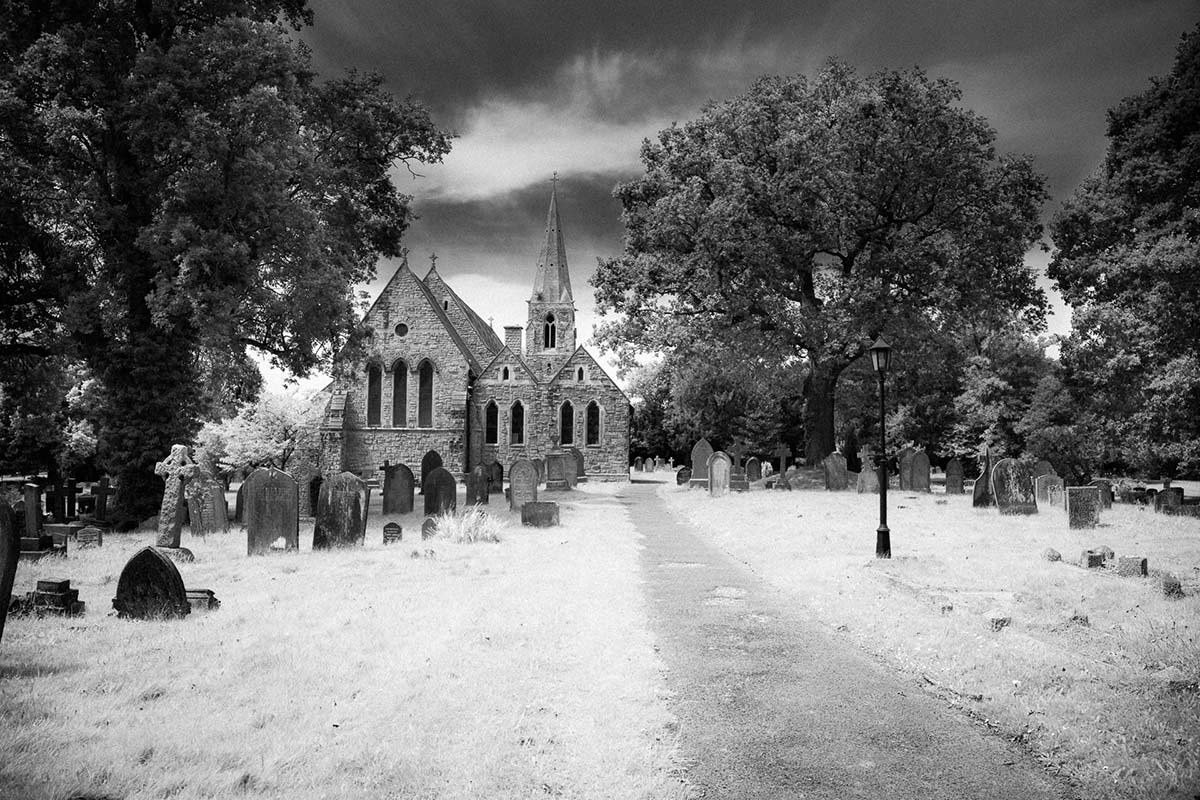
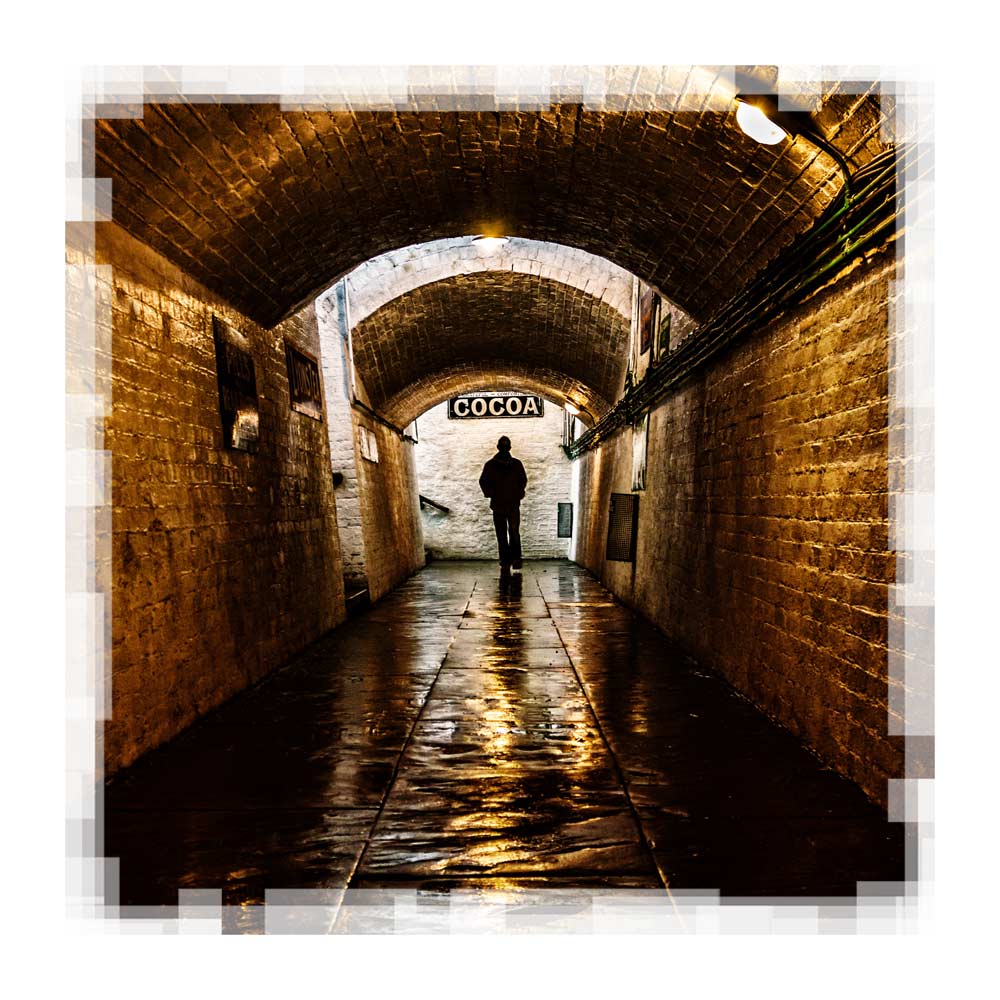
CL-final-9In this weeks episode of Creative Lightroom I take a deep dive into creating stylish infrared style images in Lightroom. I first made mono infrared images way back in my film days, back then it was a tricky business requiring the film to be loaded in complete darkness. Today things are a lot easier, espeically if you’ve had your camera converted to capture near IR.

This technique forms the basis of my favourite way to process ordinary colour photos into stylish mono. It also adds a touch of the classic IR film feel with a slight glow and a touch of grain.

As always it’s worth mentioning that if you’re a Photoshop user rather then Lightroom user, EVERYTHING I show in the video is the same as Adobe Camera RAW in Photoshop CC, CS6, CS5 and CS4.

[youtube]http://www.youtube.com/watch?v=c6_8AQaNhzs&feature=youtu.be[/youtube]

Can’t see the video? Click here: http://youtu.be/c6_8AQaNhzs

Eroded Edge Texture

Erode-textureThis weeks Friday Freebie is an eroded texture which is simple to use and gives amazing results. It’s a black and white texture that has a dark mottled centre, fading to a lighter edge.

Full download instructions are below but you can also
Click Here To Download the Eroded Edge Texture

Unlike most textures, the eroded edge effect works best with photos that have large areas of darker tones. All you need to do is paste the texture over your photo and set the layer blending mode. There are loads of different layer blending modes to choose from and they’ll all give a different look, with this texture Screen blending mode worked well as did Overlay and Soft Light.

If you create a photo using the Friday Freebie then let me (and everyone else) know by leaving the link in the comments below.

Usage rules
The texture image is copyright Gavin Hoey 2013. Use is limited to any personal, non-commercial purposes. Please share the Friday Freebie by linking back to this page. Do not redistribute the original texture without my permission.

Download instructions
Click the link https://drive.google.com/file/d/0B_Mmmm3K1utNc2tESjJKYTNIUUk/view?usp=sharing
1. Click the Download button download_icon

2. The download should start automatically


Colour Popping with Style – Creative Lightroom 8

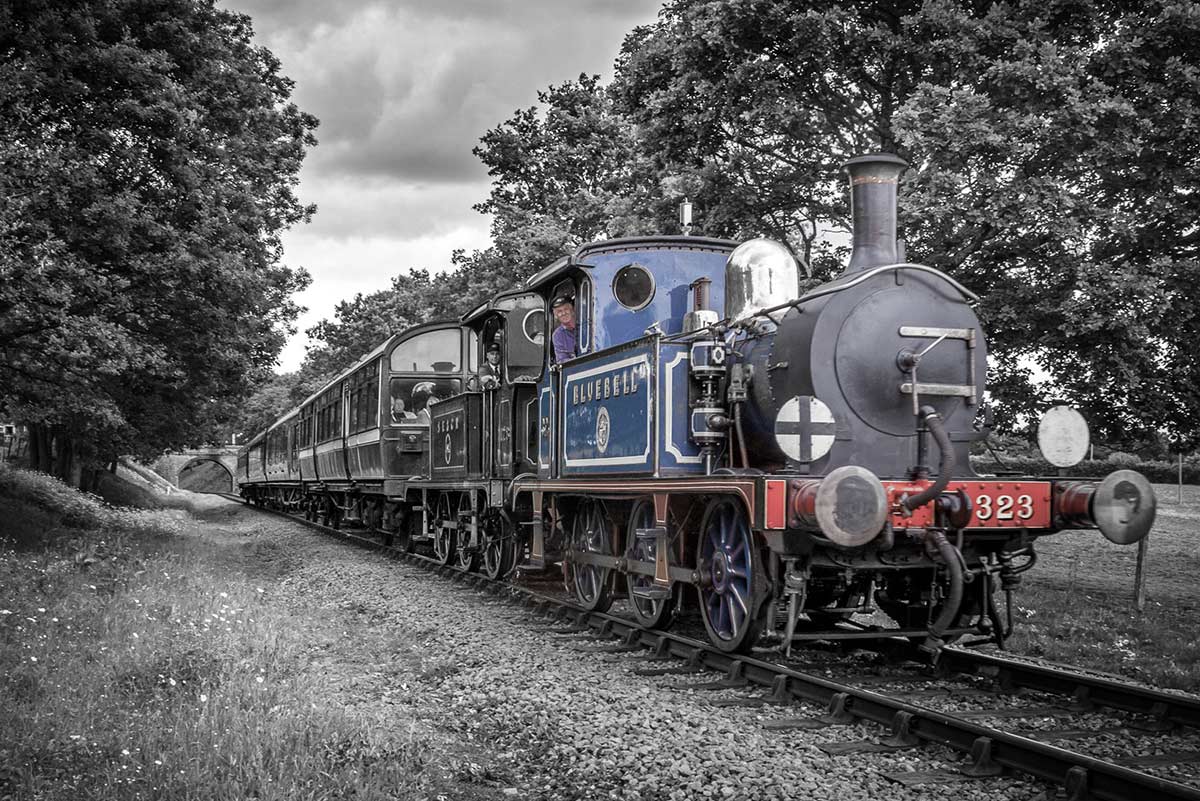
CL-final-8This weeks episode of Creative Lightroom is all about selective colour, also known as colour popping. Now before you say this is a repeat of Creative Lightroom Episode 3 then let’s be clear how this is different. In episode 3 we used selective saturation to leave just one tone of colour (just the reds for example). Colour popping is more about keeping one area in colour even if the area has a mixed bunch of tones.

Where most photographers fail in this technique is by leaving the colours over saturated. That may be OK with a single colour but with mixed colours the end result can be very jarring on the eye.

So in this video I’ll show both how to colour pop and then how to control the popped colours,

As always it’s worth mentioning that if you’re a Photoshop user rather then Lightroom user, EVERYTHING I show in the video is the same as Adobe Camera RAW in Photoshop CC, CS6, CS5 and CS4.

[youtube]http://www.youtube.com/watch?v=ODidMT5Lm6g[/youtube]

Can’t see the video? Click here: http://youtu.be/ODidMT5Lm6g

Split Tone Mono – Creative Lightroom Episode 7

CL-final-6-SplittoneThis weeks episode of Creative Lightroom is all about going mono with a twist.

Black and white is great but sometimes you want to add a bit of general colour and toning the image. Sepia and blue tone are popular choices. Split toning takes the traditinal toning effect a step further by adding a different tones to the shadows and highlights.

In the video I show you how to use Lightroom split tone sliders to create the perfect colour balance.

This tutorial is compatible with all versions of Lightroom.

As always it’s worth mentioning that if you’re a Photoshop user rather then Lightroom user, EVERYTHING I show in the video is the same as Adobe Camera RAW in Photoshop CC, CS6, CS5, CS4  and Photoshop CS3.

[youtube]http://www.youtube.com/watch?v=8c8DUjquXPQ&feature=youtu.be[/youtube]

Can’t see the video? Click here: http://youtu.be/8c8DUjquXPQ

Paint Drip Brushes

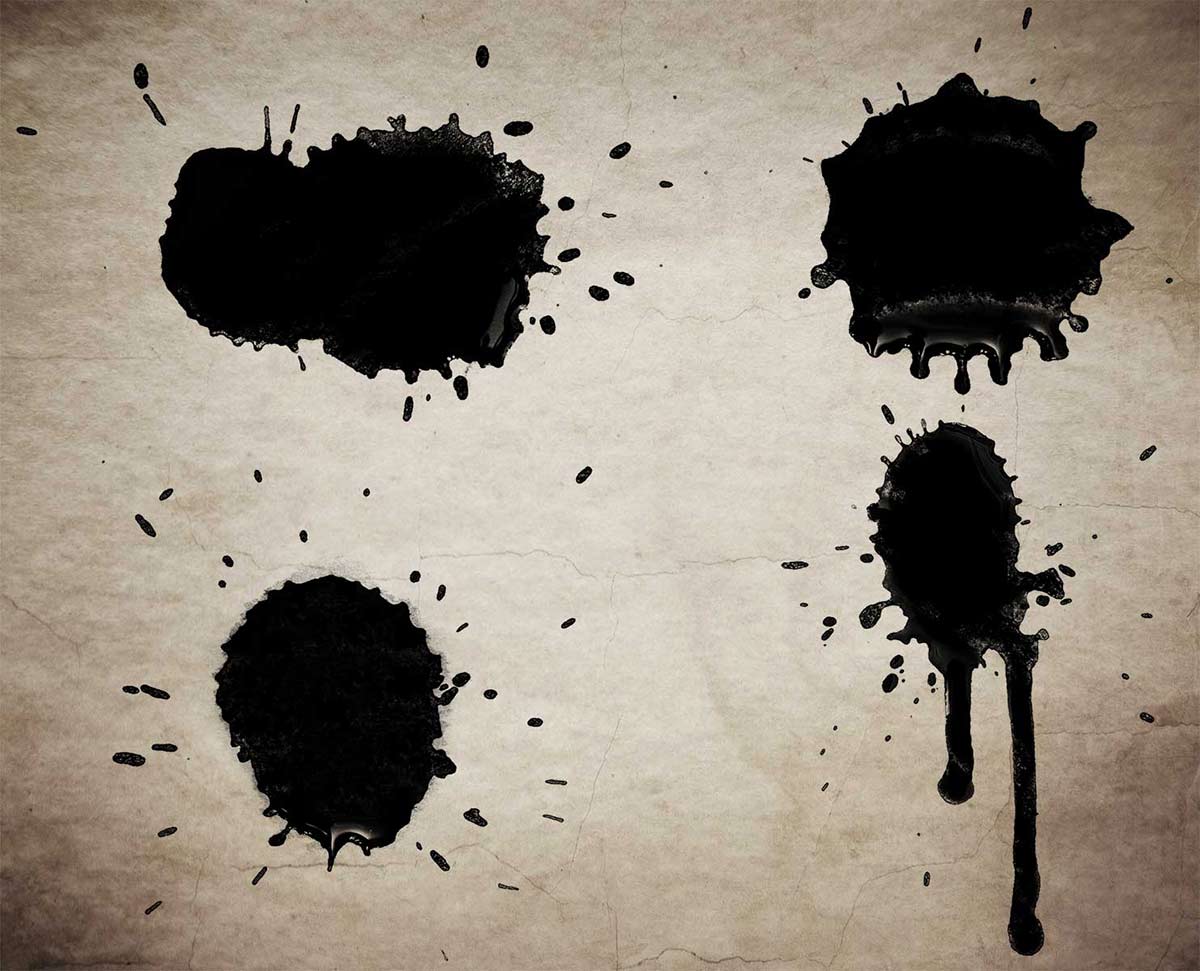
Paint-brushes-ffThis weeks Friday Freebie is a set of four high resolution Photoshop brushes. Following on from the coffee ring brushes I shared a few weeks back, these brushes can be made to look like drips and drops of liquid such as paint or in my case, tea.

Click Here To Download the Drip Brushes

These brushes were hand crafted in my studio by dropping splats of paint onto white paper. Once I had a few good ones I photographed the results and then defined them as a brush. It’s a great wet weather project that you can try yourself.

Once downloaded, the brushes will need to be unzipped before they are installed. The brush set is compatible with all versions of Photoshop and Photoshop Elements. If you need help installing them then remember to search on Google and YouTube for the answers.

If you create a photo using the Friday Freebie then let me (and everyone else) know by leaving the link in the comments below.

Usage rules
The brushes are copyright Gavin Hoey 2013. Use is limited to any personal, non-commercial purposes. Please share the Friday Freebie by linking back to this page. Do not redistribute the original image without my permission

Poppy field – 15 Minute Photo Challenge

Not so long ago I added a new 15 minute photo challenge to Adorama TV, if you can see the video below in case you missed it.

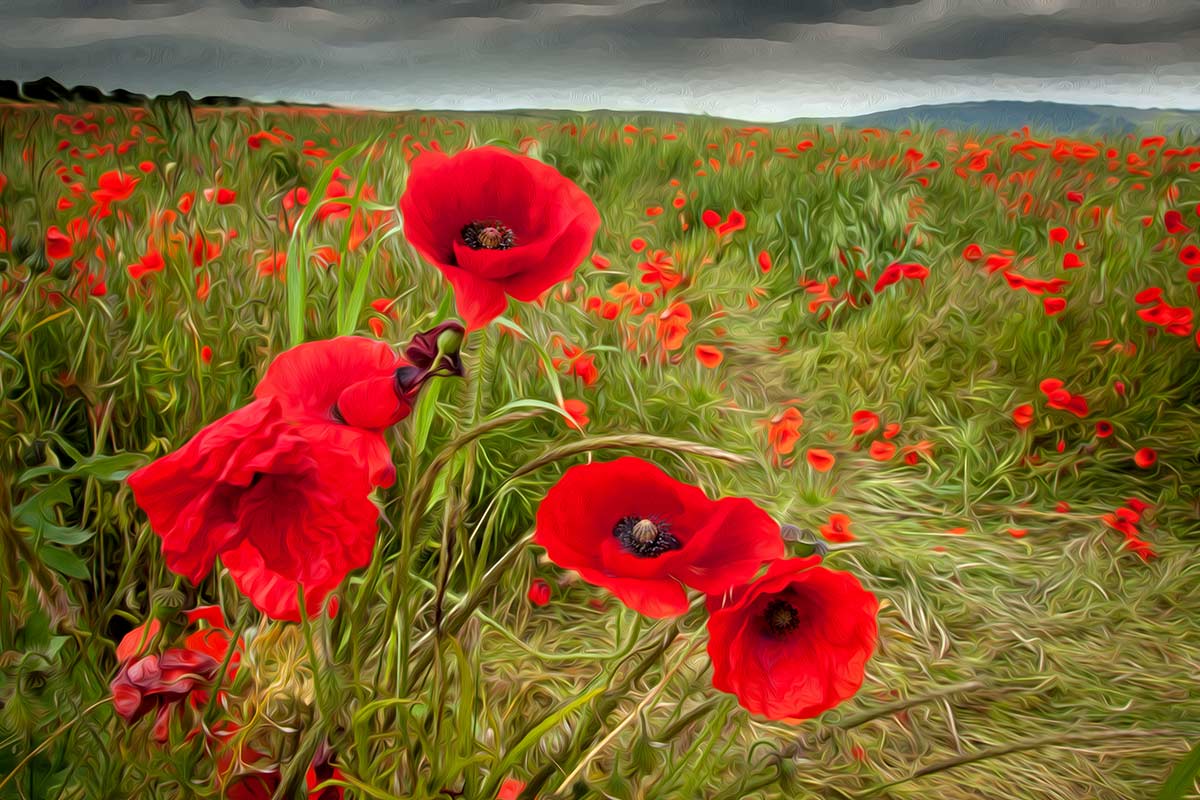
This time I visited a field of poppies growing on the south downs just outside of Brighton, Sussex.

I’m a sucker for poppies, may be it’s the bright red colour, which always looks great in photos. May be it’s the beauty of the poppies themselves. Either way I can’t resist photographing them and I wasn’t alone. In the sort time I was at the field I bumped in to several other photographers who couldn’t resist the lure of a field full of poppies either.

[youtube]http://www.youtube.com/watch?v=Xmz2ZVy1Ykw&feature=c4-overview&list=UU8Pksdbj37CdE00kmE7Z1dw[/youtube]

Can’t see the video? Click Here http://youtu.be/Xmz2ZVy1Ykw

15-Min-Poppy-Oil-PaintEquipment used in this video:
Adobe Photoshop CS6 http://www.adorama.com/searchsite/default.aspx?searchinfo=photoshop+cs6&category=4294967278+11&KBID=67338

Canon 60D http://www.adorama.com/ICA60D.html?KBID=67338

Canon 24-105L f/4 IS http://www.adorama.com/CA24105AFU.html?KBID=67338

Rounded Corner Border – Creative Lightroom Episode 6

cl-7-FINALThis weeks episode of Creative Lightroom has a super quick but very smart looking border effect.

Rounded rectangle borders like this look amazing not only on vintage and retro photos but are just great with any photo. Back when I started taking photos as a VERY young child all the prints would have rounded corners just like this.

In the video I show you just how quick this effect can be made, plus some variations on the look. OK I say variations but in reality you can have a black or white border that’s either soft or heard edged. You can also choose the roundness of the corners too.

To create this effect you’ll need either Lightroom 5, Lightroom 4 or Lightroom 3

In the video I mention my hand painted border effect from episode 2, which you can see here www.gavtrain.com/?p=3162

As always it’s worth mentioning that if you’re a Photoshop user rather then Lightroom user, EVERYTHING I show in the video is the same as Adobe Camera RAW in Photoshop CS6 and Photoshop CC. It’s also possible to pull off the same trick with older version of Photoshop from CS4 onwards.

[youtube]https://www.youtube.com/watch?v=8F_xj4NSb7Y[/youtube]

Can’t see the video? Click here: http://youtu.be/8F_xj4NSb7Y

Squared edged border action

Square-Edge-LargeThis weeks Friday Freebie is a work in progress from my next action set. The new set won’t be ready just yet but once completed it will be the successor to my hugely popular Amazing Borders Set 1.  A good border can really set off a photo but making an action that adds a reasonably border to pretty much any photo you can find is tougher then you might image!

You can download the action here:
Squared edged border action

This action makes a eroded edge border that has a blocky, square edge feel. Personally I blame Minecraft for making blocks fashionable once again 😉 The Action makes a copy of your photo so the original will be untouched. It also flattens the photo at the end, so if you wish to modify the border press CTRL+Z to undo that step.

The action will work with Photoshop CC, CS6, CS4, CS4, CS3, CS2 etc and will work with Elements11 and older versions, if you can jump through the hoops that older Elements put in place to add actions.

If you create a great photo with my action then feel free to link to it by leaving a comment below.

Usage rules
The action is copyright Gavin Hoey 2013. Use is limited to any personal, non-commercial purposes. Please share the Friday Freebie by linking back to this page. Do not redistribute the original action without my permission.

Download instructions
The direct link to download the actions is https://www.gavtrain.com/free/square-border-gavtrain.zip

No support is provided with the Friday Freebies. If you need help Google or YouTube the question and you’ll almost certainly find the answer 🙂

Pseudo HDR – Creative Lightroom Episode 5

CL-final-5Creative Lightroom has new reached episode 5, the half way point. In this weeks episode I’ve got a quick Lightroom trick which gives your photos a little bit of HDR magic.

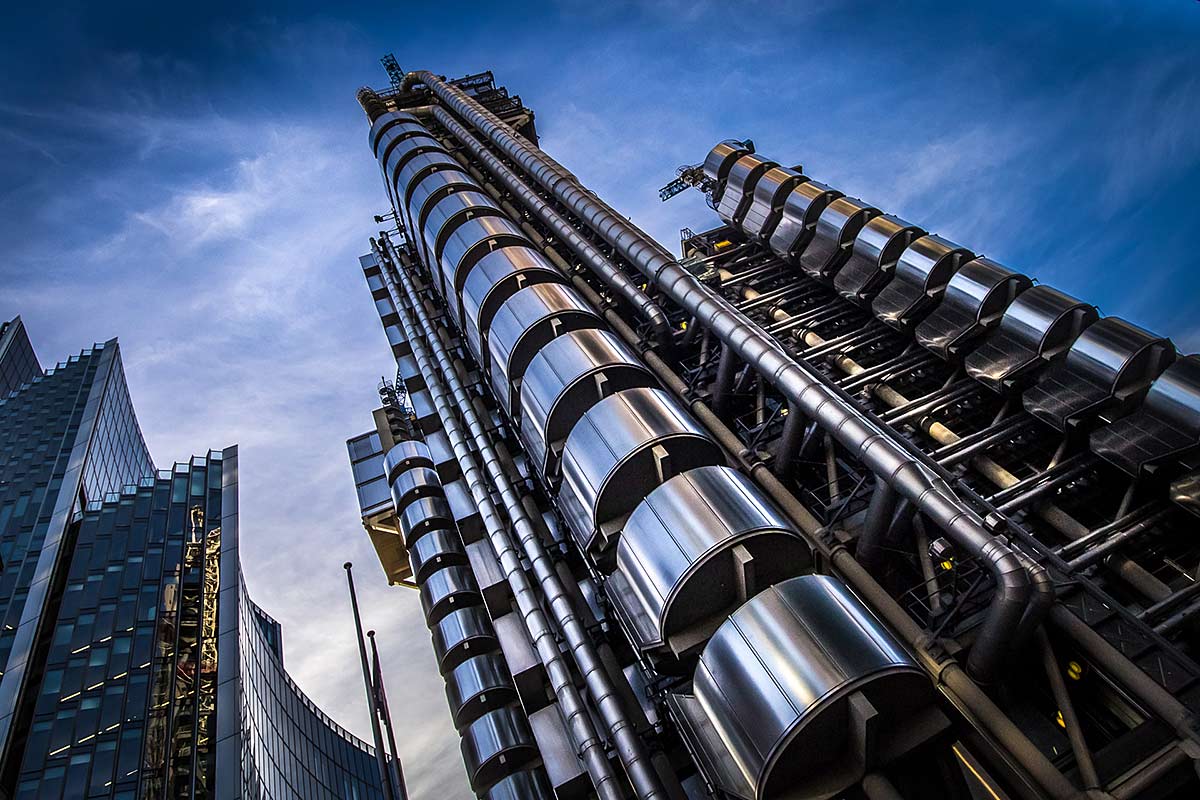
When I say HDR don’t think for a second that this is a replacement to the traditional HDR technique of taking multiple images and merging the exposure together in Photoshop, Photomatix or Nik HDR Pro. No what it does is to pull the maximum detail from the shadows and highlights from a single image.

By far the best photos to play with are RAW files that are correctly exposed or a bit underexposed.

To fully pull off this effect you’ll need Lightroom 5 or Lightroom 4.

As always it’s worth mentioning that if you’re a Photoshop user rather then Lightroom user, EVERYTHING I show in the video is the same as Adobe Camera RAW in Photoshop CS6 and Photoshop CC. It’s also possible to pull off the same trick with Elements 11 (but not the vignette in RAW)

[youtube]http://www.youtube.com/watch?v=NJvQWenordQ[/youtube]

Can’t see the video? Click here: http://youtu.be/NJvQWenordQ