Do you under or overexpose?

exposure compensation CanonIt’s a question I haven’t thought much about since the days when I shot JPG images only. Now that’s a long time ago. Back then if you lost the highlights in your image you’d basically lost the image, so it was general practice to underexpose the JPG by 2/3rds of a stop from the cameras meter reading. Yes every photo was a little dark but that could be fixed in Photoshop and you still had highlight detail.

With RAW there’s a lot more exposure latitude and worries about clipped highlights in day to day photography are almost a thing of the past. In fact there’s so much hidden image information in the highlights of a RAW file I know plenty of photographers who will deliberately over expose their images knowing they can recover it in post-production.

Why overexpose?
In a word, noise, and the theory goes something like this. Noise is very evident in the dark, shadowy areas of a photo that are made lighter when processing. But as RAW files have all this hidden highlight detail, if you start off with RAW files that are a bit too bright and make them darker, you won’t add any more noise.

Sounds crazy right? Well, believe it or not it really works… but keep reading because there’s a catch.
over-under-1

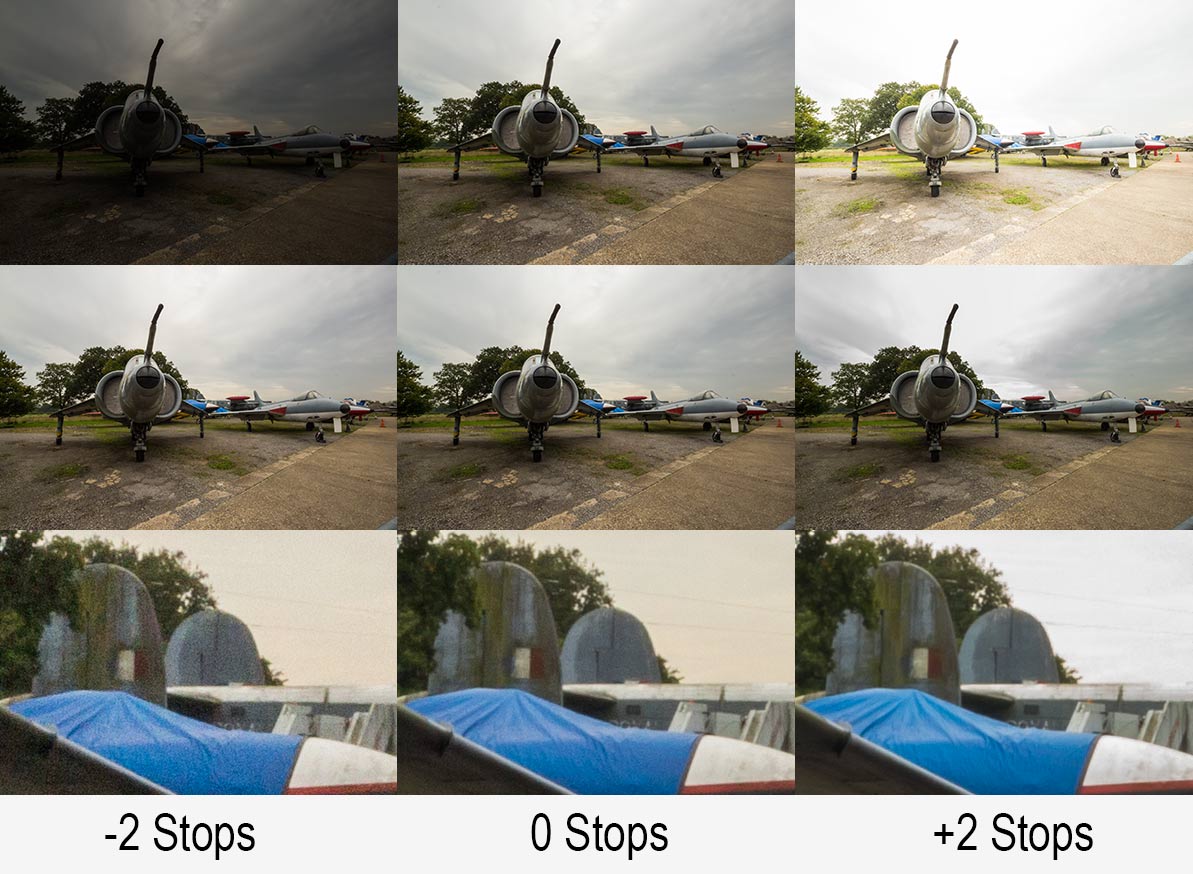
Take a close look at the image above, you’ll need to click it to really see what’s going on.

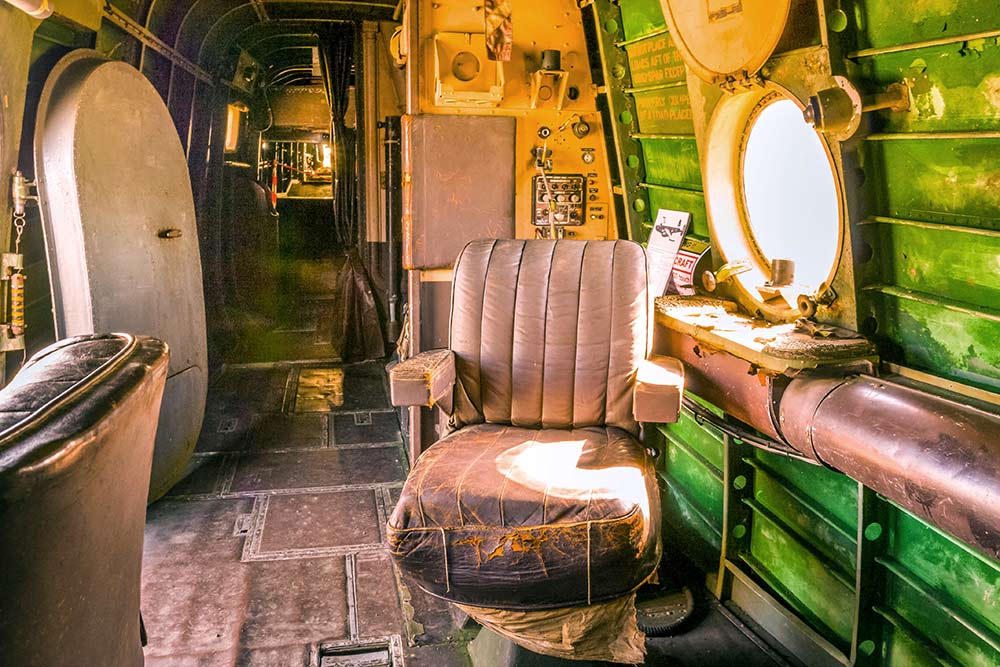
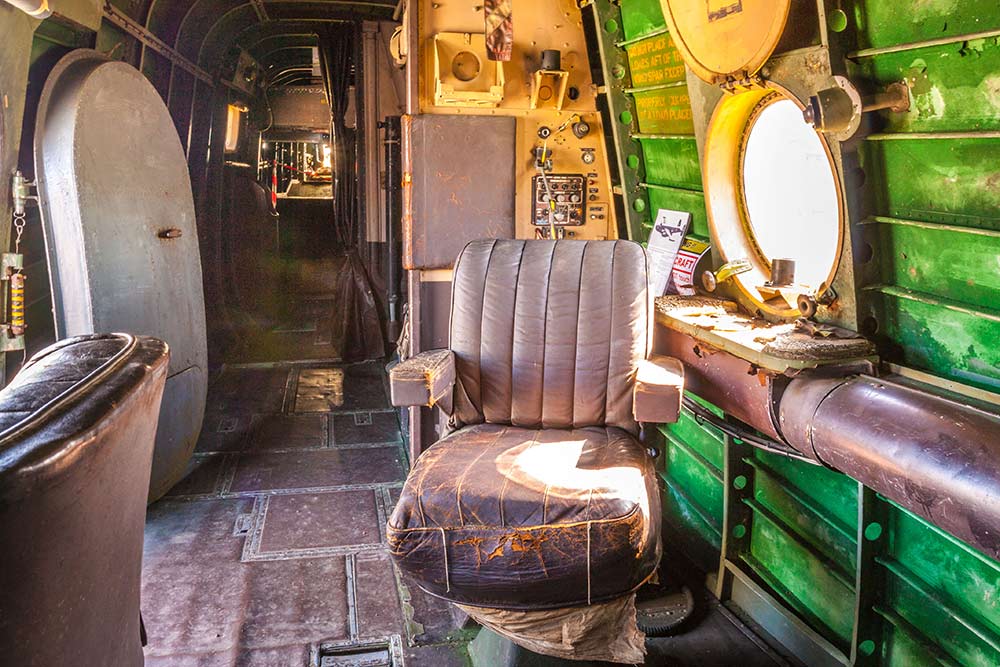
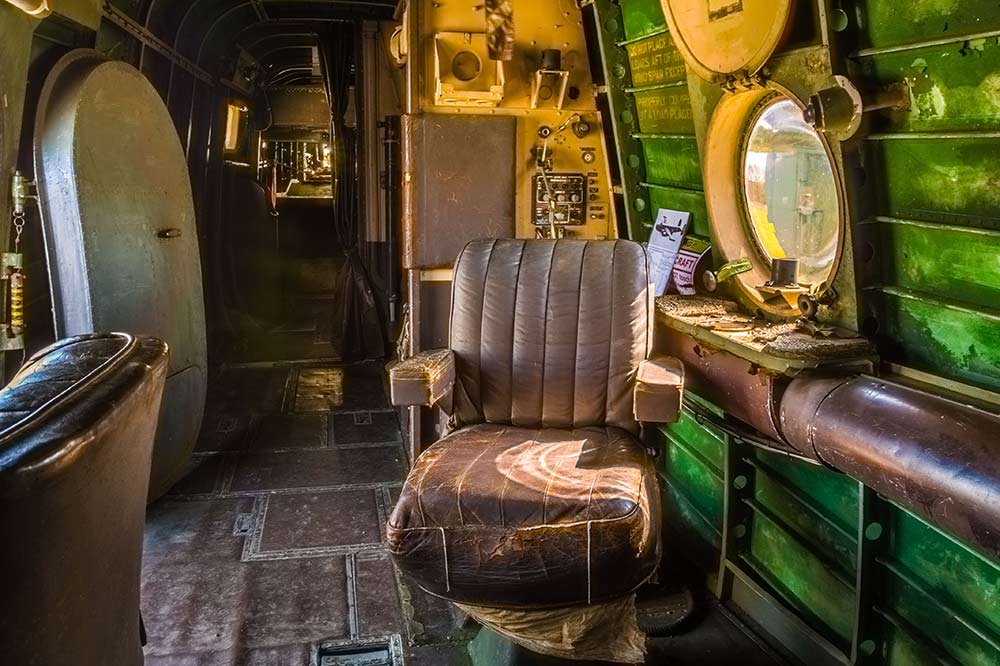
I shot the same scene at three different exposure (Top Row) I then brought all three RAW files into Adobe Camera RAW and edited them so they looked more or less the same (Middle Row). From a distance the three images in the middle row all look the same but a close up says otherwise (Bottom Row).

The bottom row confirms the theory. Brighten an under exposed image and they’ll be more noise evident but darken an over exposed RAW image and the noise is about the same as the correctly exposed image and may be even slightly less!

The catch
So you may be think that I’m going to say from now no you should over expose your images by a stop… well I’m not.

You see, although the lower noise is brilliant there are other things to think about.
over-under-2

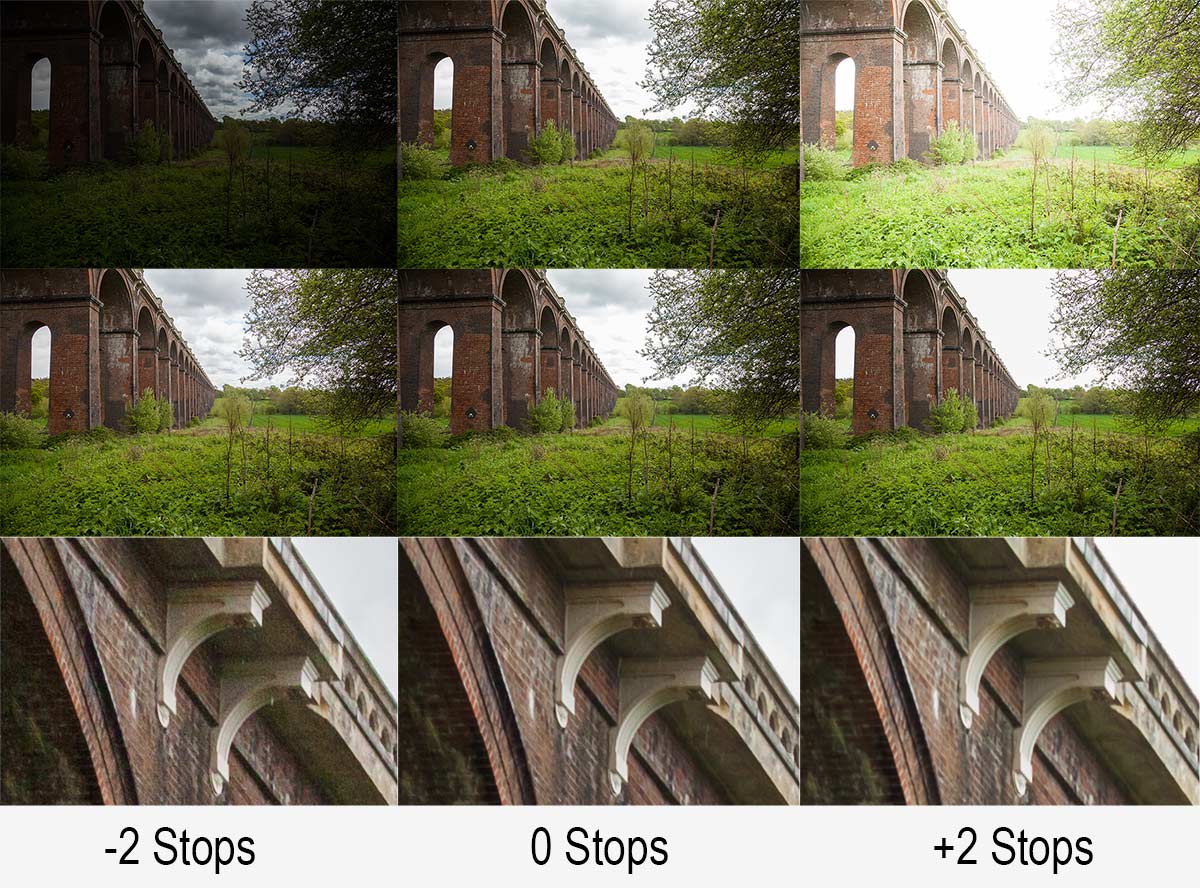
First there’s the question of just how much highlight detail you can recover. Take a look at the photo above and you’ll see the problem. Where’s the sky gone on the right hand (overexposed) image? The correctly exposed image (middle row) struggled to keep highlight detail so over exposing is asking just a bit too much, even in RAW.

That’s not all. One stop over exposure means your shutter speed is twice as long and that could be the difference between a sharp shot and a blurred shot. You might be able to counter that by opening up the aperture if the lens / depth of field allows it and of course you could double your ISO but that rather defeats the purpose doesn’t it.

Over, under or as metered?
As is so often the case there’s no rights or wrongs that will apply to every situation and camera meters are prone to errors by design. However for me, I’m sticking to the as metered reason unless there’s a valid reason to do otherwise and I’d recommend you to do the same.


2014 Exciting Times Ahead

With the new year upon us it’s time to say goodbye to 2013 and hello to 2014 and all the exciting opportunities that it brings. Whatever your plans for the coming year, I hope 2014 proves to be a year to remember for all the right reasons.

2014-Poster-Wine

I’ve got some great plans for 2014. A workshop in New York City, live streaming videos from my studio and a bunch of new and exciting workshops here in the UK are all on the cards. Details will be here on my blog and also on my Facebook page and you can be sure I’ll be tweeting about it too.

By the way the 2014 image above is a montage of six splash photos taken in my studio specifically for the shot. You can find out how it’s done by watching my video for Adorama TV.

Three photo ideas for Christmas

Christmas-Lights--CarIt’s Christmas day and if you were lucky enough to get some new camera gear today you’ll probably be itching to try it out, at least that’s what I always want to do. So here are three of my festive themed video tutorials to give you some photo inspirtation.

There’s a mix of inside and outside tips and tricks for bothe beginner and the more advanced photographer, so grab your camera and shart shooting!

Balance Flash and Christmas Lights
In this video I take on a challenge of balancing low powered Christmas fairy lights with flash. Dragging the shutter, as the technique is also known, is one of those camera skills that every photographer with a speedlite should master and this is a great way to hone your skills. Scale up the technique just a little and the exact same skill will worth with portraits too.
[youtube]http://www.youtube.com/watch?v=TuCeNQrCmVE&feature=youtu.be[/youtube]

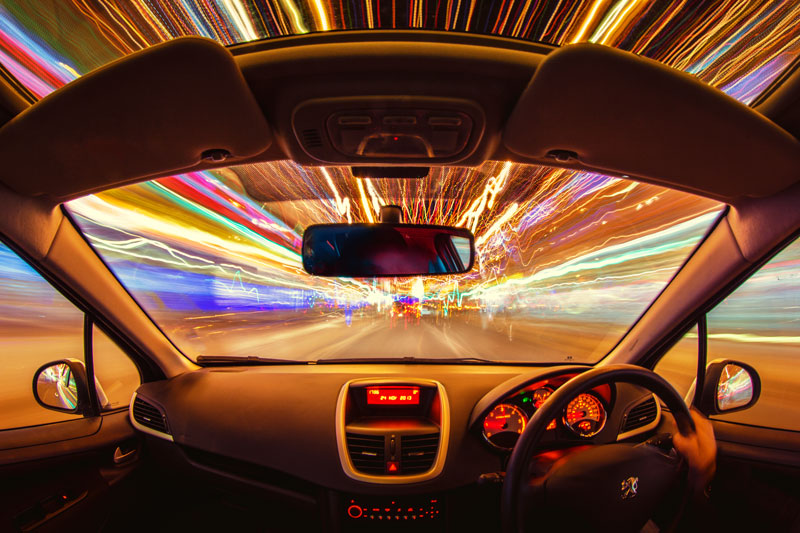
Shoot Christmas lights from your car
Got a new tripod for Christmas? Then this is the perfect photo challenge for you! Grab your widest angle lens or if you have one, a fish eye lens is just perfect. Part II is come soon.
[youtube]http://www.youtube.com/watch?v=bie4zQVoN-0[/youtube]

Shoot great bokeh
Bokeh is an optical effect that can create stunningly beautiful photos, it’s also really easy to do once you know the basics and that’s exactly what I show in this video.
[youtube]http://www.youtube.com/watch?v=iKqd7R-v2qo[/youtube]

Christmas PSD Template

Christmas-Template-GavtrainWith Christmas rapidly approaching this weeks Friday Freebie couldn’t come at a better time. It’s perfect if you need to make a last minute Christmas card or simply want to show off one of your festive photos.

Full download instructions are below but you can also
Click Here To Christmas PSD template

If you were one of the lucky few who were in the right place at the right time, then you will recognise this template as the one I photographed whilst testing the new live broadcast facilities in my studio. If you missed it never fear, details of my live streaming events in 2014 are coming soon.

I finished the template using the new Perfect Photo Suite 8 from Onone. The colour and texture were added in one click using the “Nicely Toasted” preset.

With several layers and lots of fine textured detail, this weeks Friday Freebie PSD template comes in at around 76mb. If you’re not on a fast internet connection if might take a few minutes to download.

As always, if you create a photo using the Friday Freebie then let me (and everyone else) know by leaving the link in the comments below.

Usage rules
The image is copyright Gavin Hoey 2013. Use is limited to any personal but non-commercial purposes. Please share the Friday Freebie by linking back to this page. Do not redistribute the original image without my permission.

Download instructions
Click the link http://adobe.ly/1koSnxj

1. Click the Download button download_icon

2. The download should start automatically

3. Save the template to your hard drive

4. Open in Photoshop or Photoshop Elements

5. Paste your photo above the “Your Photo Here” layer

6. Use Free Transform (CTRL+T) to adjust the size of your photo

8 bit, 16 bit or 32 bit?

When it comes to the technology that surrounds digital photography I’m really not interested in how things work. All I want to know what things work and which is best for me. So if you’re looking for an article about how 8 bit is technically different to 16 bit then this isn’t it. However it you want to know how much better looking 16 bit images can be compared to 8 bit then read on.

UneditiedWhy does bit depth matter?
In a nutshell the bigger the bit depth the more data is in the image and the more adjustment you can make to that images shadows and highlights. Not only that, the adjustments will be less damaging to the image too.

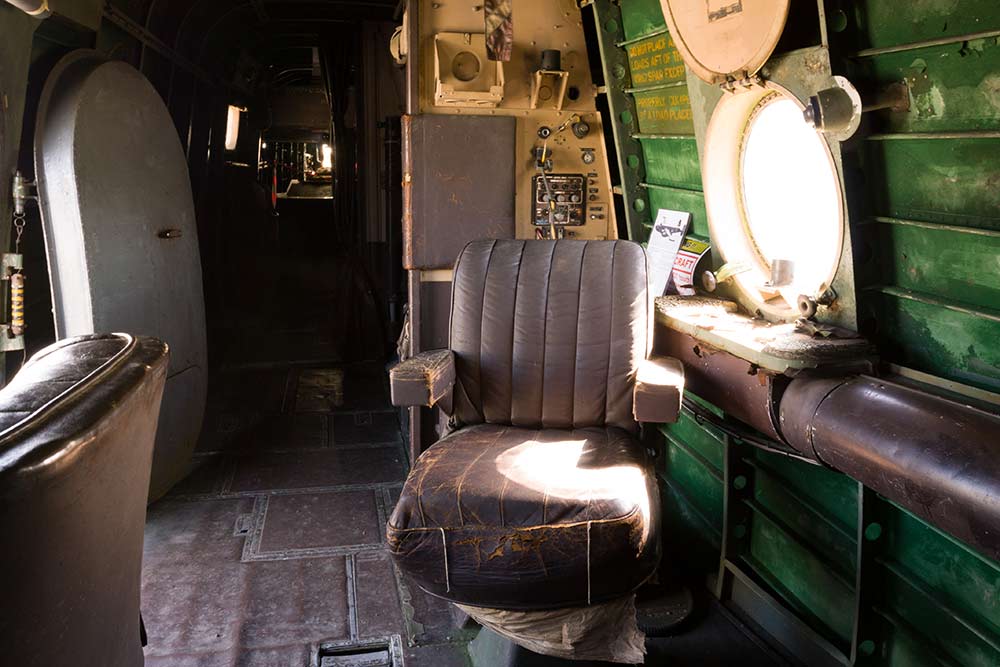
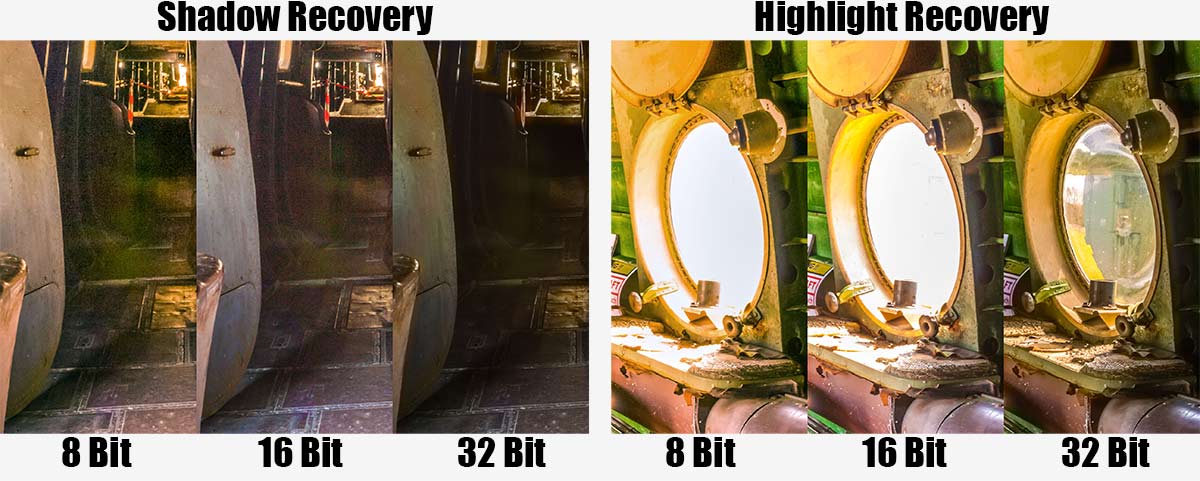
In order to see how bit depth affects the image I’ve taken this test photo which I have in both 8, 16 and 32 bit and pushed them to the max in Adobe Camera RAW. That means I’ve pulled out all the highlight and shadow detail that I can, way beyond what would be considered acceptable. Click the small image to see the unprocessed original.

8 Bit
Do you shoot jpg images? Are your images destined only for the internet? Is the size of the file important to you? If the answer to any of the questions is yes 8 bit images are for you. 8-bit8 bit has enough information to show colour images with smooth tones and even has a little bit of wiggle room to tweak exposure a little bit. It’s possible to pull detail out of a photos shadows but the results become noisy very quickly. Highlight recover is much less effective and as a result many people who shoot JPG choose to slightly under expose or darken the image.

8 bit images are great if the image you shoot needs little or no exposure adjustment in post processing.

16 Bit
Although technically not a true 16 bit image I’m basically talking about the RAW files from your digital camera. 16 bit files are packed with a lot more information then your standard 8 bit JPG and that means a lot more space to make adjustments to the exposure.16-bit

Shadow areas of an image can be made slightly lighter without adding noise to the image but heavy adjustment (as seen in the sample image) will still look terrible. As with the 8 bit image recovering highlight detail is less effective then shadow but once again the extra data can yield more detail.

Saving your 16 bit images as JPG’s isn’t possible, so TIFF or PSD are your top options to save as. It’s also worth noting that not all of Photoshop is compatible with 16 bit images, for example some of the older filters will be greyed out.

32 Bit
The new kid on the block is 32 bit. To date no consumer cameras can capture 32 bit images, at least not in one click. However by blending 3 or more differing exposure inside of Photoshop you can create a 32 bit image that contains a vast amount of image data.
32-BitAdobe Camera RAW in Photoshop CS6 and Lightroom 4 (or newer) can open and edit 32 bit files. Best of all you can choose to have the highlight detail from the dark exposure and shadow detail from the light exposure. Now if that sounds a little bit like HDR (HighDynamicRange) you’re not wrong.

Because 32 bit is so new don’t expect much to work with it. Photoshop can open the files but almost everything will be greyed out. It’s also worth noting that your 32 bit TIFF files will be enormous, they can easily be 10 times bigger in memory size then RAW files but they’re worth it!

shadow-highlight-recovery

How To Photograph Through Fences

british-wildlife-centre-2Shooting through fences and bars is never the ideal way to take photos but there’s plenty of times when it’s the only choice if you want to keep taking photos. It’s a problem that’s going to be familiar to anyone who’s been to a motor sport shoot or ever tried taking photos at a zoo.

The good news is, with a little bit of camera knowhow, it’s perfectly possible to shoot through fences as if they were never there. You don’t need any fancy equipment, all you need to do is follow the step by step plan I set out in the video.

Once again I’d like to thank the British Wildlife Centre in Surrey for allowing me to film in their amazing venue. I enjoyed it so much I’ve taken out an annual membership so I can explore what it has to offer at my leisure.

[youtube]http://youtu.be/-rlPEl2Yy84[/youtube]

Products used in this video (linked to Adorama)

HOYA 58mm HMC NXT UV Filter

Pro Optic 58mm Rubber Lens Hood

Canon EOS 60D Digital SLR Camera

Canon EF 70-300mm f/4-5.6 IS USM Autofocus Telephoto Zoom Lens

Adobe Photoshop CS6

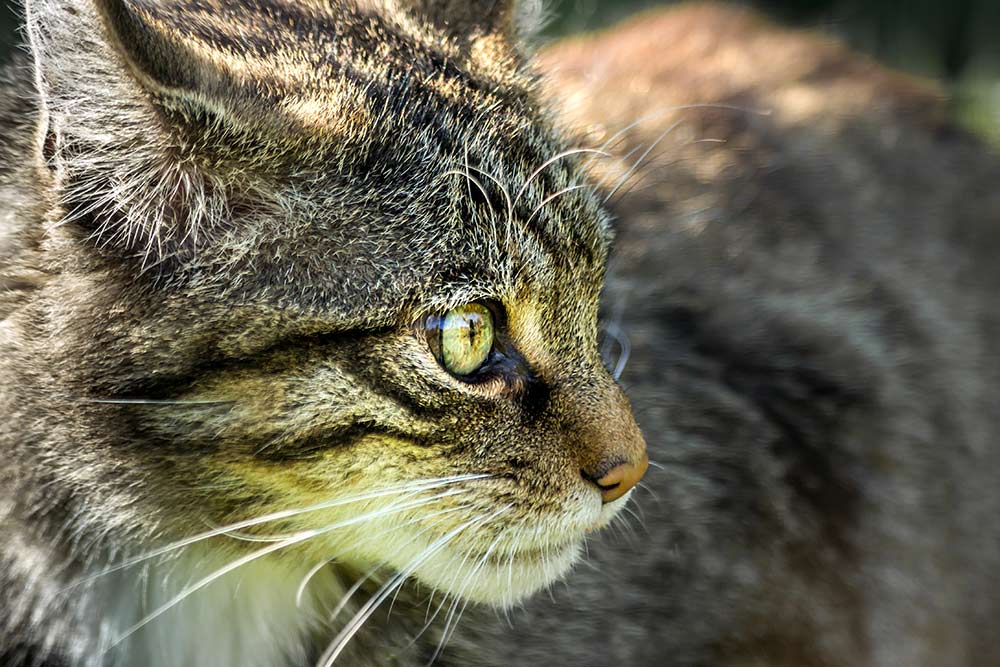
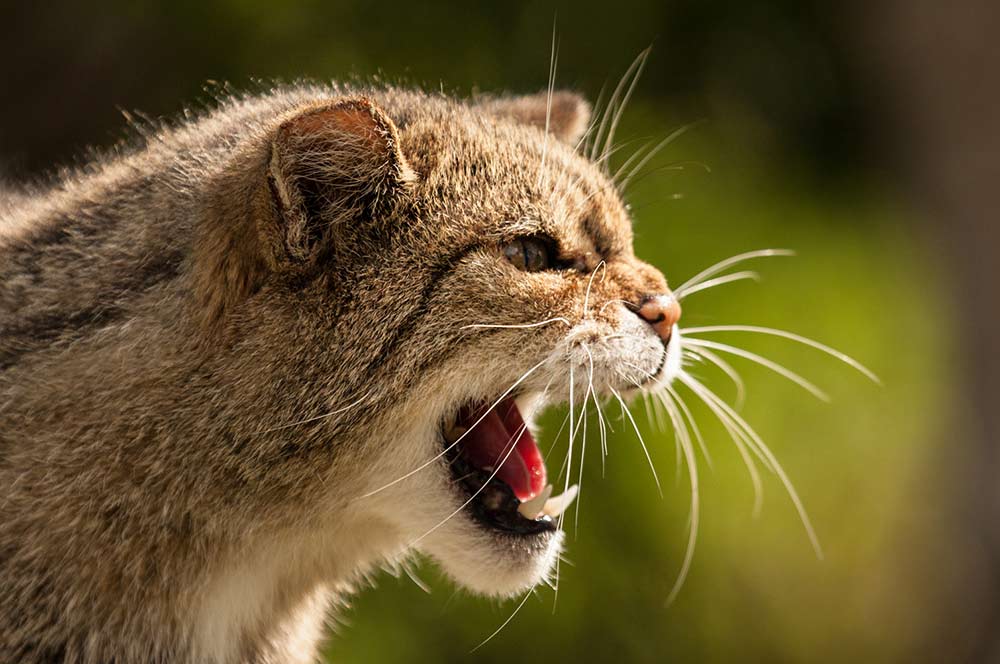
To give you an idea of just how much looks can be deceiving, here’s a photo of one of the Scottish Wildcats taken at an earlier visit.

british-wildlife-centre-1

Spiral bound template

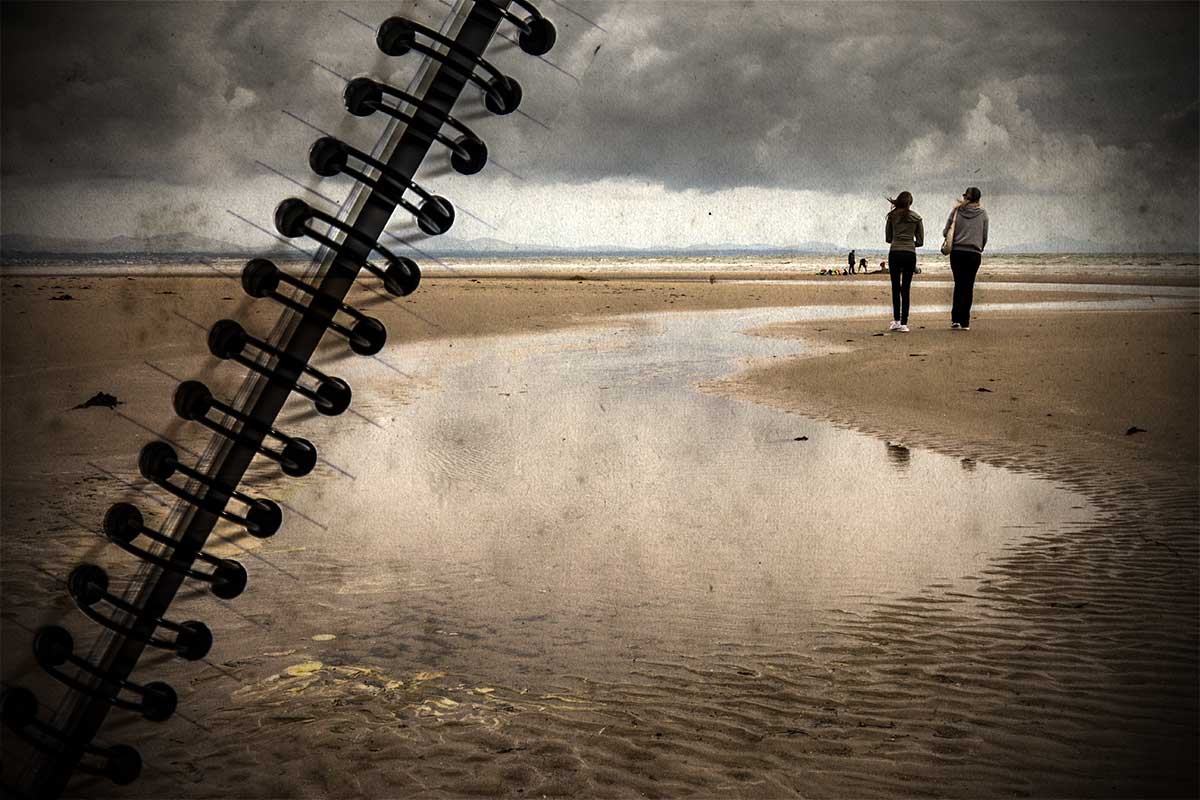
Spiral-Final-BeachWhy is it that the photos that look easy to shoot actually take the most time? This Friday freebie image is a perfect example. It looks like it should have been a quick thing to do but in reality it took the best part of half a day to shoot, and edit… You see, the things I do for you 🙂

I’m really happy with the end result, which of course makes all the effort worthwhile.

Full download instructions are below but you can also
Click Here To Download the Spiral Bound Template

Using the template is as simple as pasting your own photo over the template and changing the layer blending mode to Multiply. Other layer blending modes may well work too so it’s well worth experimenting. You can also try lowering the layer opacity for the photo layer and skipping through some blending mode, you’ll get a different set of results that way.

One thing to note. The Multiply blending mode will always makes your image darker, so I’d suggest adding a Levels adjustment layer above the photo (top of the layers stack) and tweaking the brightness accordingly, if you want to get an final image that matches the original photo.

Usage rules
The image is copyright Gavin Hoey 2013. Use is limited to any personal but non-commercial purposes. Please share the Friday Freebie by linking back to this page. Do not redistribute the original image without my permission.

Download instructions

Download instructions
Click the link https://drive.google.com/file/d/0B_Mmmm3K1utNLTNKNGhEWXhFTm8/view?usp=sharing
1. Click the Download button download_icon

2. The download should start automatically


7 Questions About Soft Light

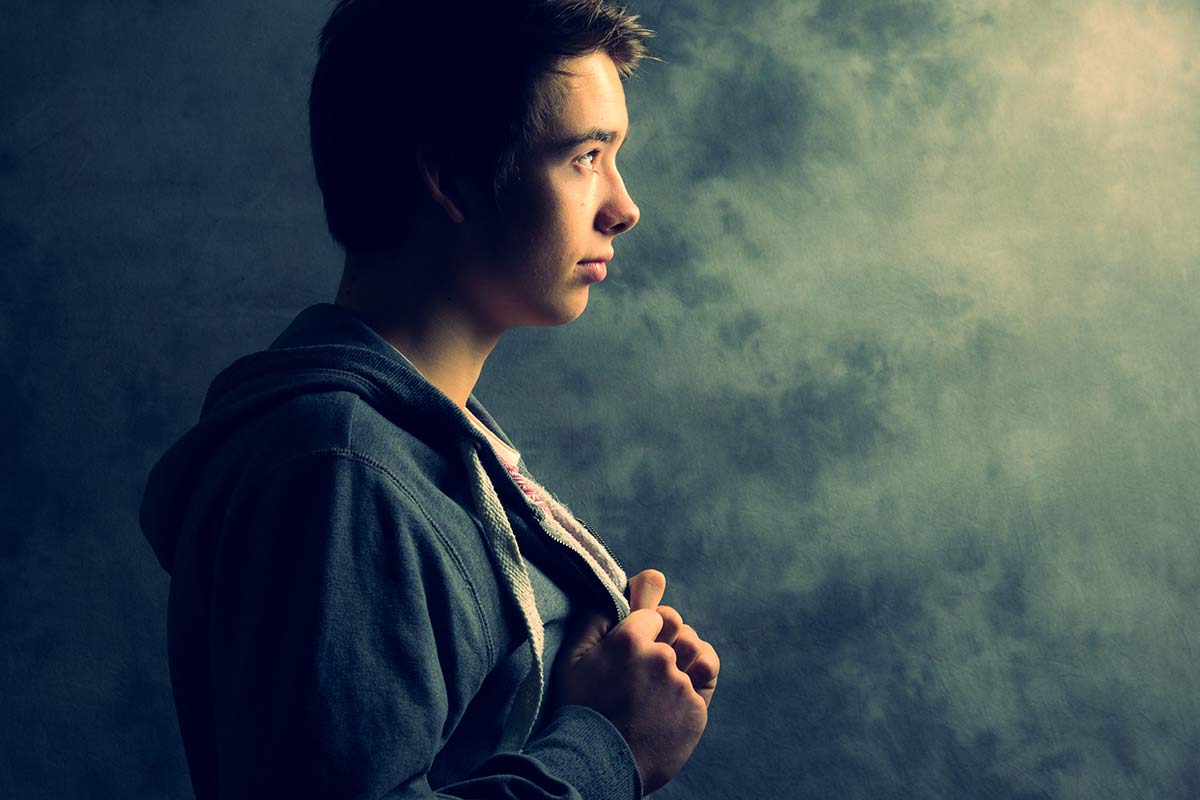
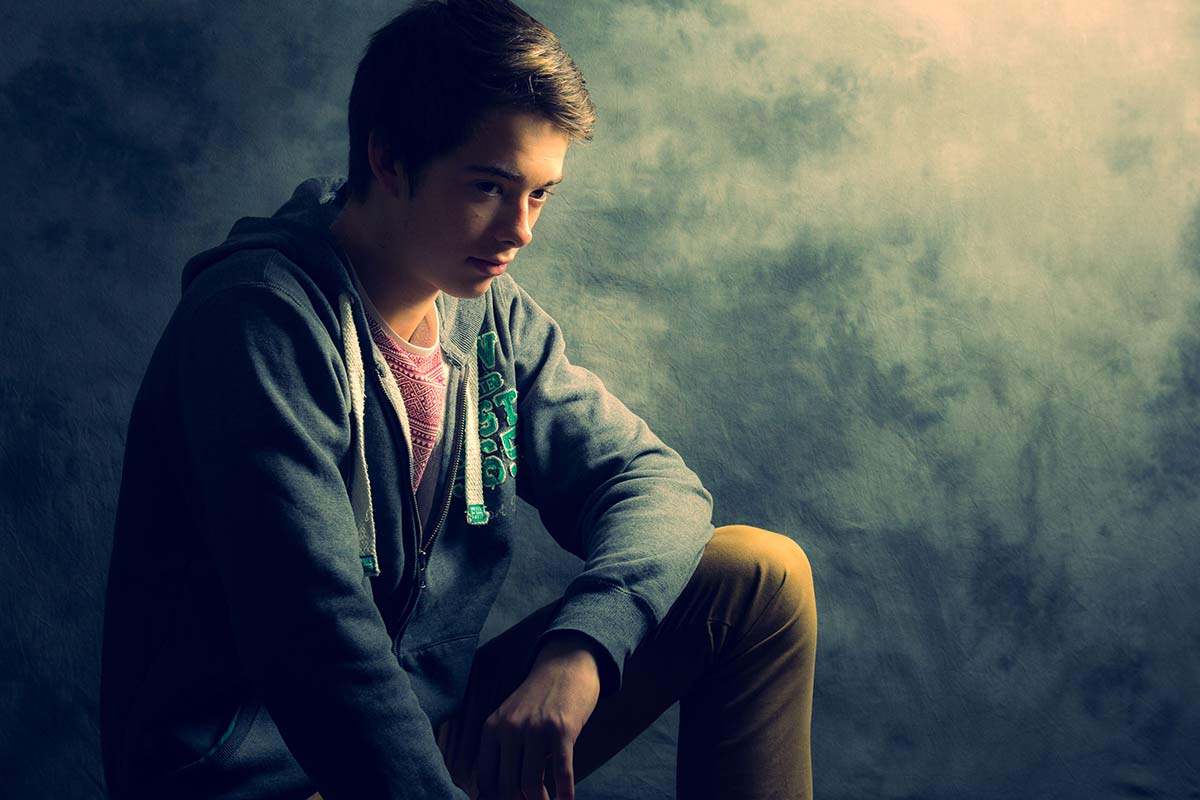
softlight-portrait-2In the studio there’s two types of light that photographers use to define their subject, hard light and soft light. Both have their place but usually in the studio I use soft light when shooting portraits. Getting the light from your studio flash or speedlite can be done in several ways. You can use one light or multiple lights, a softbox or umbrella and in this video I look at them all.

In total I cover seven questions you should know about soft light and how it’s different to hard light.

The final images you see here have had a little bit of Photoshop applied. How much Photoshop? Surprisingly little and I show you exactly how it’s done towards the end of the video too.

[youtube]http://www.youtube.com/watch?v=MfBmNfMb7WA&feature=c4-overview&list=UU8Pksdbj37CdE00kmE7Z1dw[/youtube]
Can’t see the video? Click here http://youtu.be/MfBmNfMb7WA

Gear used in the video (links to the Adorama store)
Canon EOS 60D Digital SLR Camera
Canon EF 24-105mm f/4L IS USM
Lastolite Collapsible Background (Washington/Dakota) 
Lastolite Hot Shoe Ezy-box Softbox 24×24″ 
Flashpoint Triple Shoe Mount Bracket 
Adorama 33″ Translucent Umbrella

softlight-portrait-1

Heavy Painted Border

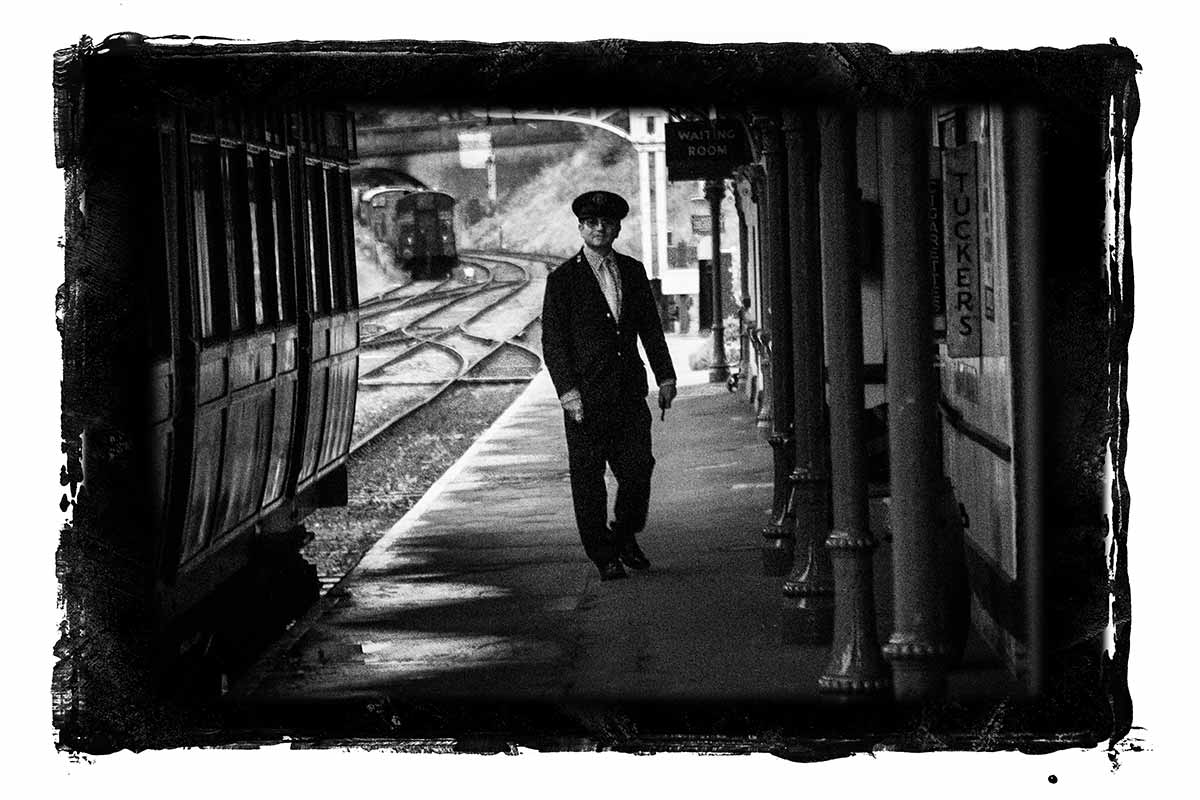
Steam-Train-Border-FFHere’s another amazing border from my recent painting session. This time I’ve gone for a border that surrounds your photo with a wide painted edge.

Full download instructions are below but you can also
Click Here To Download the Heavy Painted Border

I’ve designed this border so it can be used in two ways and it all depends on if you add your photo above or below the border.

Once you’ve downloaded it you’ll find I’ve removed the centre of the border image but left it transparent. S0 to make the image / border combo you see here all you do is drag your photo below the border layer in Photoshop. The centre area has a short fade so it blends in nicely with the photo.

The second option is to place your photo above the border layer. Doing that will give you a hard edge and you can decide how much of the border is seen.

You’ll need to resize your image or the border with Free Transform (CTRL+T). Use the corner handles to drag the image to the size you want and when done press Enter. The border will work with any photo although it’s especially good with black and white images.

If you create a photo using the Friday Freebie then let me (and everyone else) know by leaving the link in the comments below.

Usage rules
The image is copyright Gavin Hoey 2013. Use is limited to any personal but non-commercial purposes. Please share the Friday Freebie by linking back to this page. Do not redistribute the original image without my permission.

Download instructions

Click the link https://drive.google.com/file/d/0B_Mmmm3K1utNa19JQmtESDNVZjQ/view?usp=sharing
1. Click the Download button download_icon

2. The download should start automatically


Questions to Canon

canon_logoOn Sunday I mentioned on my Facebook page that I was visiting Canon this week and asked for any questions I should put to them.

There were a few questions about bagging some freebies but most of the questions raised were about future Canon cameras, lenses and features. Understandably Canon were very tight lipped about that kind of thing so I can’t tell you when the 7D2 will be announced.

However there were lots of questions Canon were happy to help with. Please note this shouldn’t be read as official Canon policy but my interpretation of our conversations.

Will Magic Lantern firmware invalidate my warranty?
Possibly yes, possibly no. Magic Lantern is 3rd party firmware for Canon cameras and adds some very useful video / photography features. I got the feeling that Magic Lantern firmware was a grey area with no official company line but there was a firm feeling of “use it at your own risk”.

The impression I got was if the firmware runs just off the Memory Card you should be OK but if the Canon firmware is replaced, modified or added to in anyway whatsoever don’t expect Canon to be willing to help if you run in to trouble. For the record I run Magic Lantern on my 60D and have no plans to stop using it anytime soon.

Can Canon fix rolling shutter issues on DLSR’s
As far as I could tell the answer is no. Rolling shutter is a phenomenon seen in videos. When the camera pans suddenly to the side, upright things will bend or go diagonal. If it’s a problem that you can’t live with then Canon’s Cinema bodies is the way to go.

Is it true that DSLRs are on their way out?
Again Canon aren’t going to tell me about their future plans but similarly they didn’t show any signs of ditching DLSR’s anytime soon.

Why don’t they incorporate a time-lapse function in their cameras.
No reason given but no comment if it will be ever added. To me it seems like an easy add to the firmware and I for one would like to see it.

Time-lapse is part of Magic Lantern firmware (see above regarding warranty issues) but bare in mind if you take 1000 images in your time-lapse that might be 1% or more of the life expectancy of the shutter. 100 timelapses and your shutters is dead… which is why I rarely do time-lapse with my DSLR.

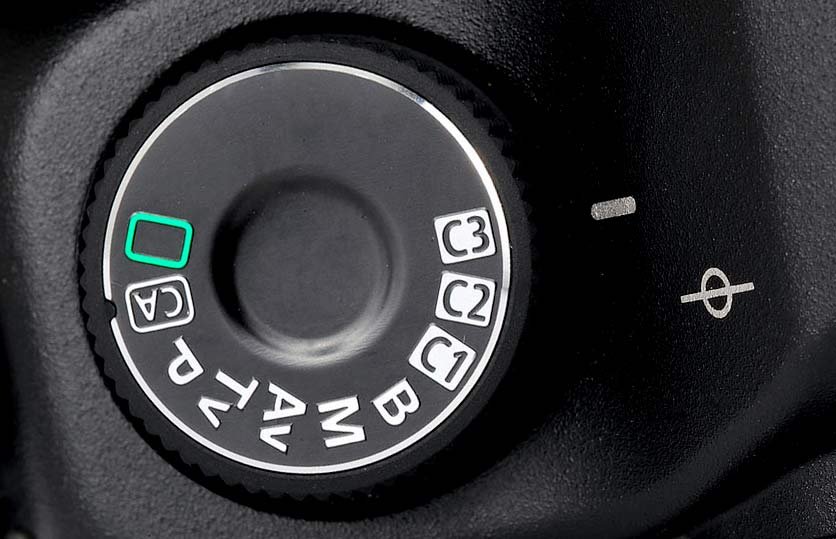
5D-Mode-DialIs there a Spot Meter button on the 5D Mark3?
There’s no single button but it’s all part of the meter mode button. If you need a fast way of switching between spot metering and standard metering then consider setting up a custom profile of the mode dial. EG set C3 as spot and C2 as standard.