Reigate Fort 15 Minute Photo Challenge

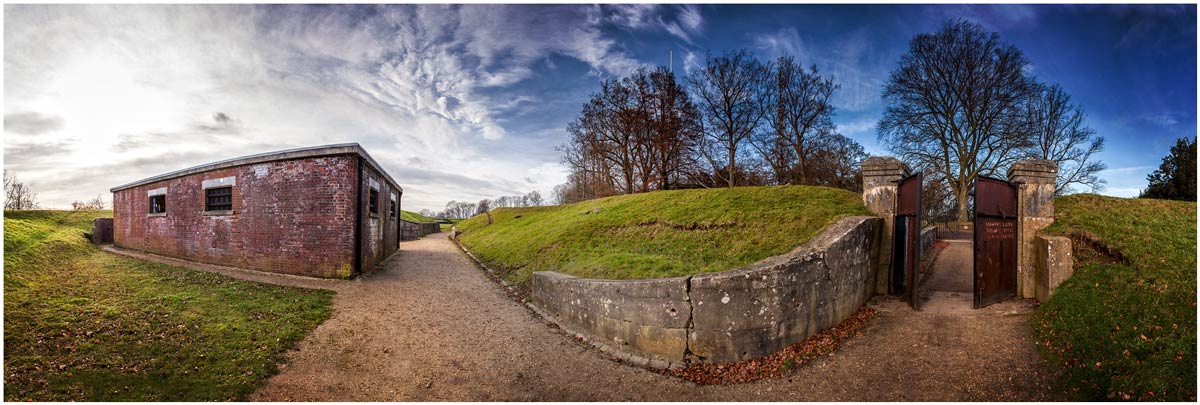
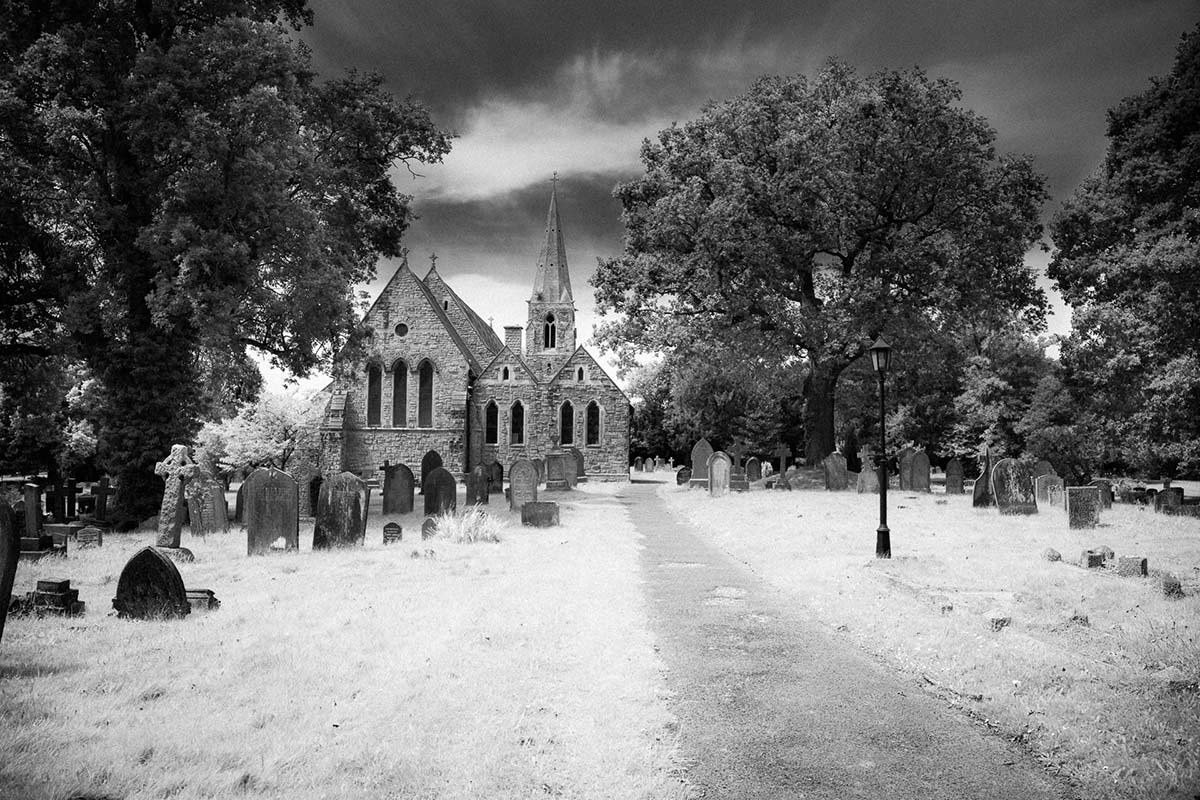
Reigate-1It’s time for another 15 minute photo challenge and this time I visit a fort in Surrey. Unfortunately for me this particular fort is mostly buried below ground and isn’t accessible to casual visitors such as myself.

But I wasn’t going to let a little thing like that stop me taking photos, nor did the particularly poor weather slow me down.

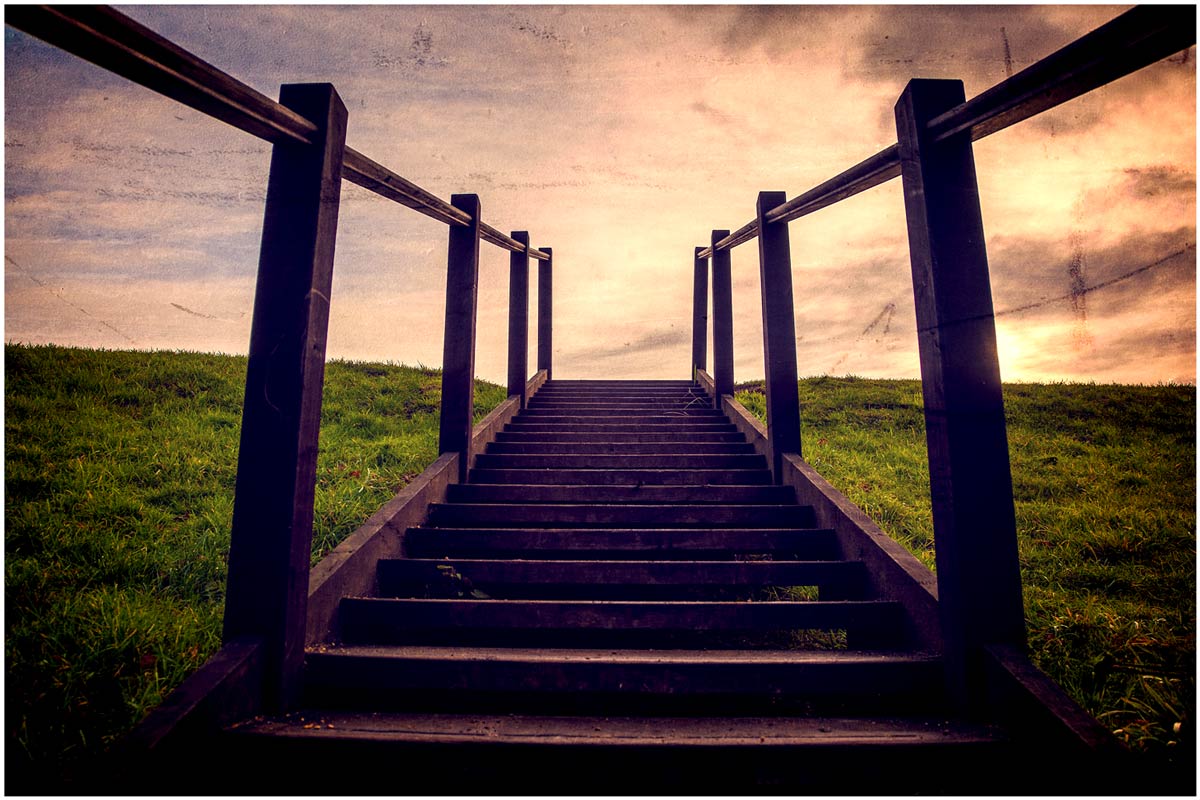
As always at the end of the challenge I’ll take you through the Photoshop edit of one photo. You can see the end result here. Keep scrolling down to see a few more final photos in higher resoloution

So let the 15 Minute Photo Challenge begin!
[youtube]http://youtu.be/niciZgOWBfA[/youtube]

If you enjoy the 15 minute photo challenge and you’re coming to my FREE New York workshop day then you’ll get to see an exclusive 15 minute challenge that’s never been seen online before!


Reigate-3

Reigate-2
Reigate-Pano

Panorama Post Processing Tips

It feels like I’ve been planning to live stream forever but today it finally happened for real. In this live video I run through some of my post processing tips and tricks to go from a bunch of pretty average RAW files to the pano you see here. Being a streamed video there was a chance for me to answer questions from the live chat, obviously that’s not possible now but if you do have any question feel free to add them to the comments below.

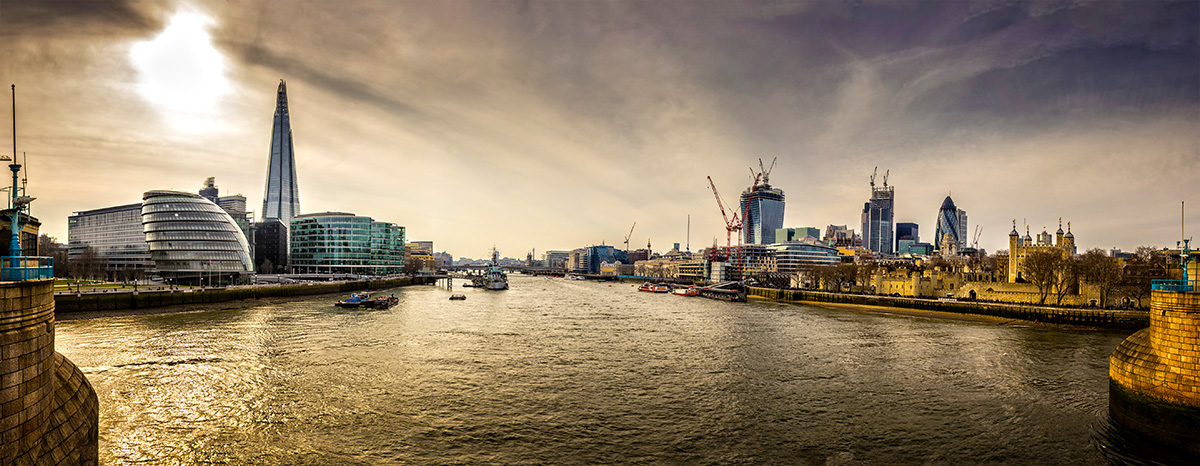
Tower Bridge ViewOne the great things, and frustrating things, about making pano’s is not knowing how the final image will look. We’re all so used to instantly reviewing our photos that the sense of mystery and excitement about our photos has almost been lost. This photo is a perfect example. Taken in 2013 it sat, over looked, on my hard drive for months before I finally got around to stitching it and revealing the image in it’s full glory.

Top Tip: You can skip the first 45 seconds of the video;-)
[youtube]http://www.youtube.com/watch?v=sAu7N7uaAp4&feature=share&t=21s[/youtube]
If you can’t see the video click here http://www.youtube.com/watch?v=sAu7N7uaAp4&feature=share&t=41s

Once I remembered the correct sequence of buttons to press, I was live streaming for 30 minutes and it was amazing to get instant feedback and comments. A huge thanks goes to Sam who was kind enough to keep the questions flowing along to me from the chat room and an even bigger thanks to those that were able to join me live.

I’ll be doing more live streaming, including some live shoots in the future. Details will most likely appear on my twitter feed and on Facebook.

Three photo ideas for Christmas

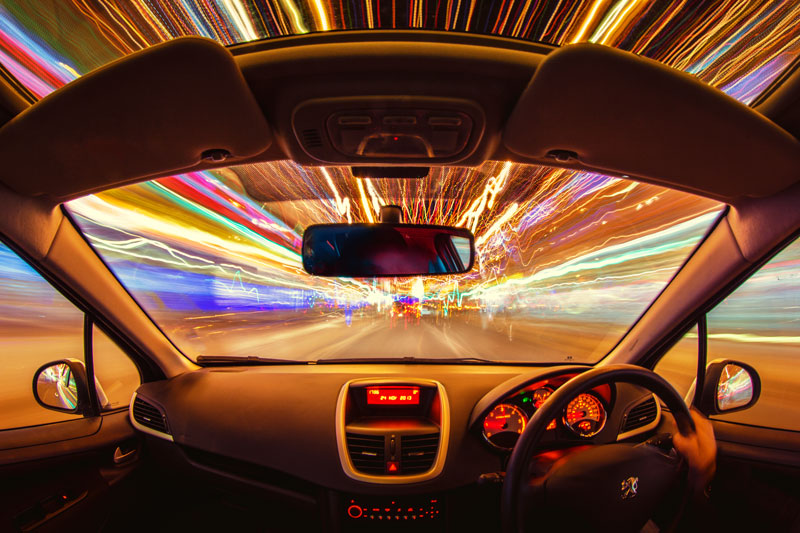
Christmas-Lights--CarIt’s Christmas day and if you were lucky enough to get some new camera gear today you’ll probably be itching to try it out, at least that’s what I always want to do. So here are three of my festive themed video tutorials to give you some photo inspirtation.

There’s a mix of inside and outside tips and tricks for bothe beginner and the more advanced photographer, so grab your camera and shart shooting!

Balance Flash and Christmas Lights
In this video I take on a challenge of balancing low powered Christmas fairy lights with flash. Dragging the shutter, as the technique is also known, is one of those camera skills that every photographer with a speedlite should master and this is a great way to hone your skills. Scale up the technique just a little and the exact same skill will worth with portraits too.
[youtube]http://www.youtube.com/watch?v=TuCeNQrCmVE&feature=youtu.be[/youtube]

Shoot Christmas lights from your car
Got a new tripod for Christmas? Then this is the perfect photo challenge for you! Grab your widest angle lens or if you have one, a fish eye lens is just perfect. Part II is come soon.
[youtube]http://www.youtube.com/watch?v=bie4zQVoN-0[/youtube]

Shoot great bokeh
Bokeh is an optical effect that can create stunningly beautiful photos, it’s also really easy to do once you know the basics and that’s exactly what I show in this video.
[youtube]http://www.youtube.com/watch?v=iKqd7R-v2qo[/youtube]

How To Photograph Through Fences

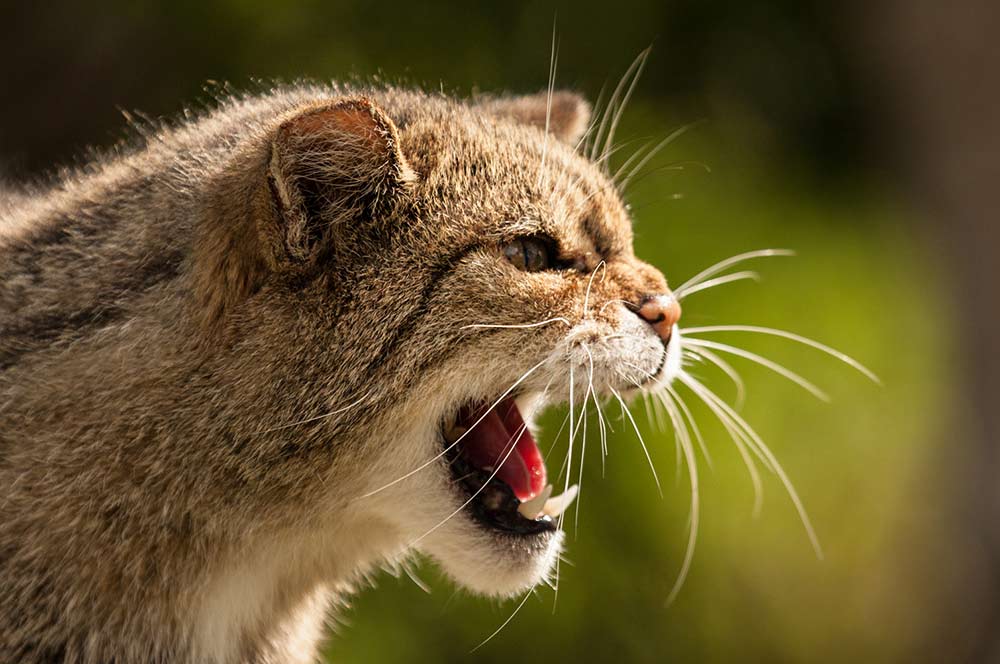
british-wildlife-centre-2Shooting through fences and bars is never the ideal way to take photos but there’s plenty of times when it’s the only choice if you want to keep taking photos. It’s a problem that’s going to be familiar to anyone who’s been to a motor sport shoot or ever tried taking photos at a zoo.

The good news is, with a little bit of camera knowhow, it’s perfectly possible to shoot through fences as if they were never there. You don’t need any fancy equipment, all you need to do is follow the step by step plan I set out in the video.

Once again I’d like to thank the British Wildlife Centre in Surrey for allowing me to film in their amazing venue. I enjoyed it so much I’ve taken out an annual membership so I can explore what it has to offer at my leisure.

[youtube]http://youtu.be/-rlPEl2Yy84[/youtube]

Products used in this video (linked to Adorama)

HOYA 58mm HMC NXT UV Filter

Pro Optic 58mm Rubber Lens Hood

Canon EOS 60D Digital SLR Camera

Canon EF 70-300mm f/4-5.6 IS USM Autofocus Telephoto Zoom Lens

Adobe Photoshop CS6

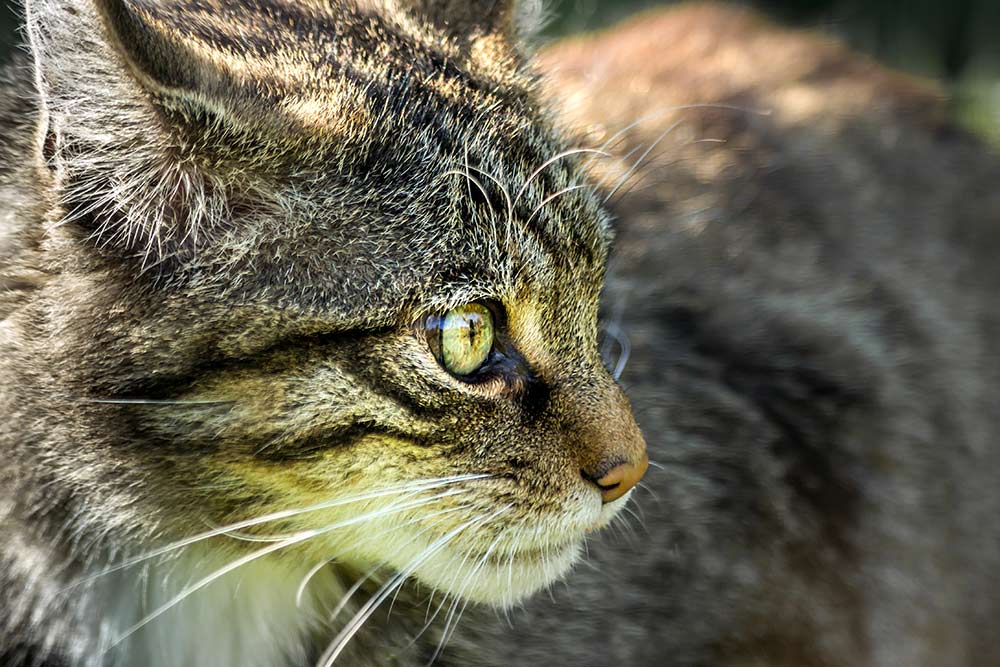
To give you an idea of just how much looks can be deceiving, here’s a photo of one of the Scottish Wildcats taken at an earlier visit.

british-wildlife-centre-1

7 Questions About Soft Light

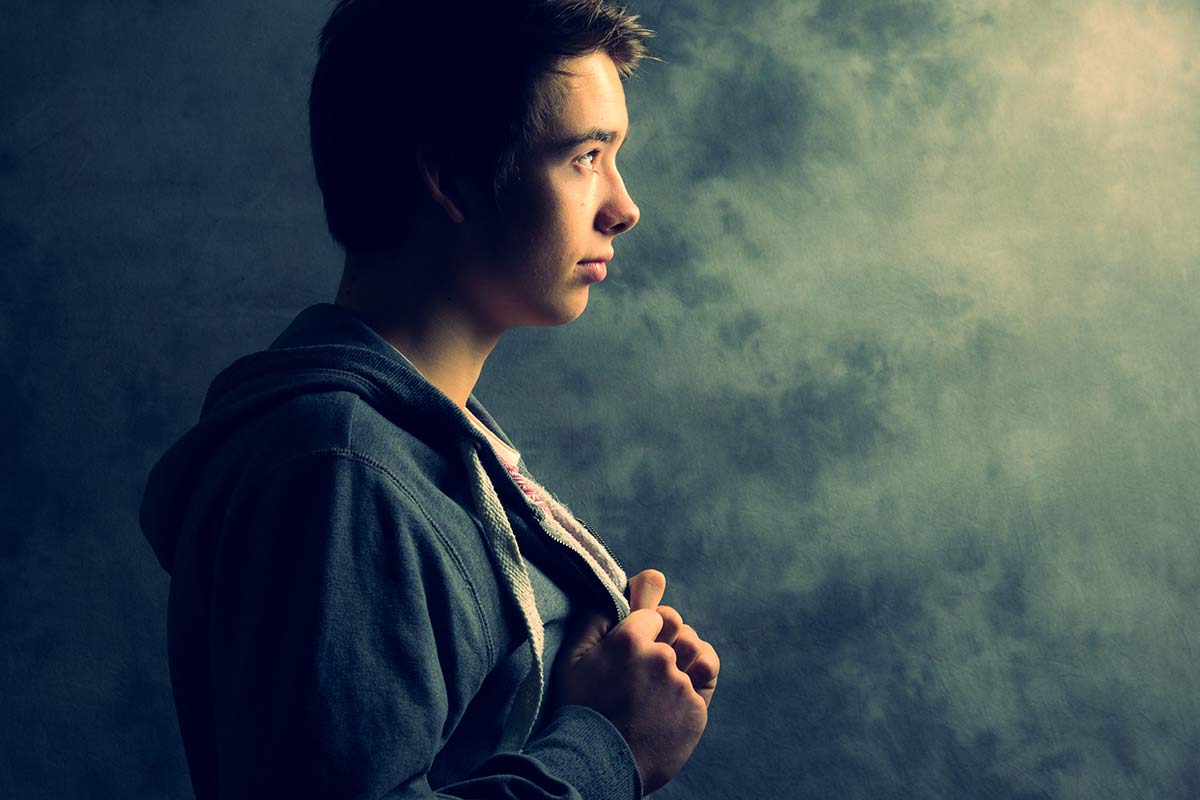
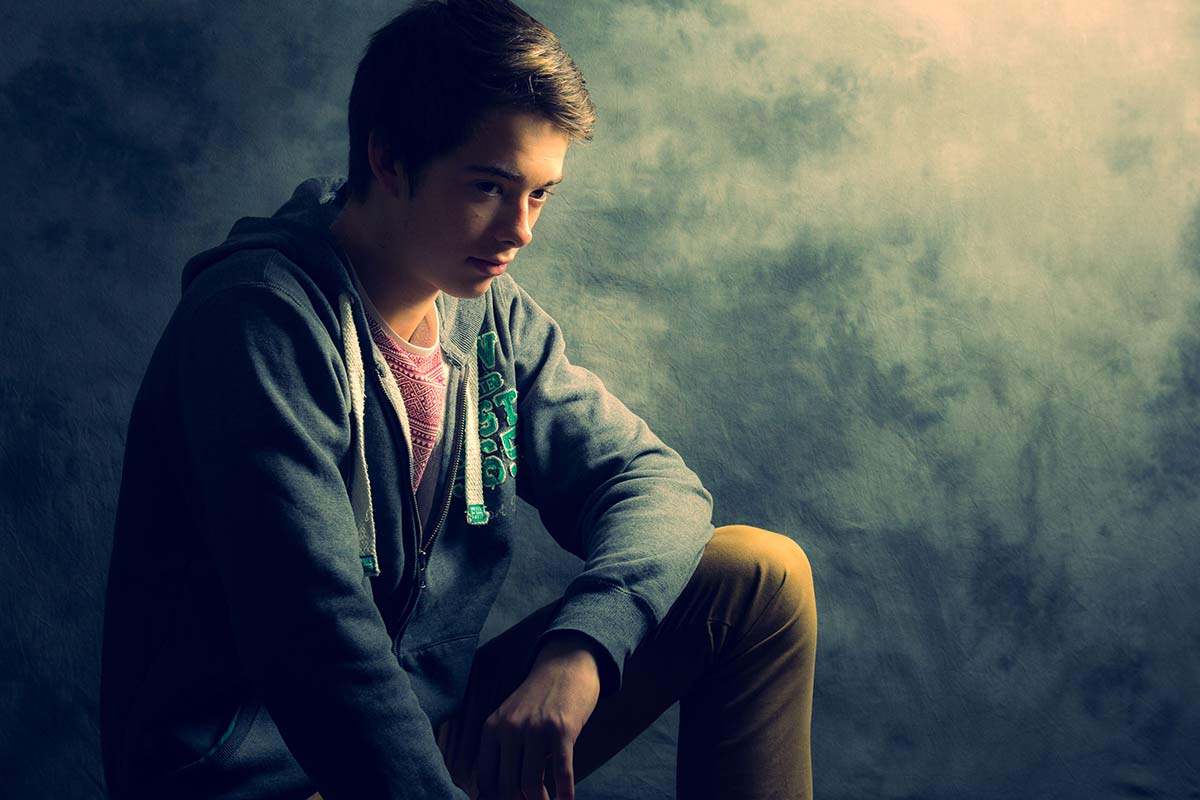
softlight-portrait-2In the studio there’s two types of light that photographers use to define their subject, hard light and soft light. Both have their place but usually in the studio I use soft light when shooting portraits. Getting the light from your studio flash or speedlite can be done in several ways. You can use one light or multiple lights, a softbox or umbrella and in this video I look at them all.

In total I cover seven questions you should know about soft light and how it’s different to hard light.

The final images you see here have had a little bit of Photoshop applied. How much Photoshop? Surprisingly little and I show you exactly how it’s done towards the end of the video too.

[youtube]http://www.youtube.com/watch?v=MfBmNfMb7WA&feature=c4-overview&list=UU8Pksdbj37CdE00kmE7Z1dw[/youtube]
Can’t see the video? Click here http://youtu.be/MfBmNfMb7WA

Gear used in the video (links to the Adorama store)
Canon EOS 60D Digital SLR Camera
Canon EF 24-105mm f/4L IS USM
Lastolite Collapsible Background (Washington/Dakota) 
Lastolite Hot Shoe Ezy-box Softbox 24×24″ 
Flashpoint Triple Shoe Mount Bracket 
Adorama 33″ Translucent Umbrella

softlight-portrait-1

Retro Cross Polarisation Effect

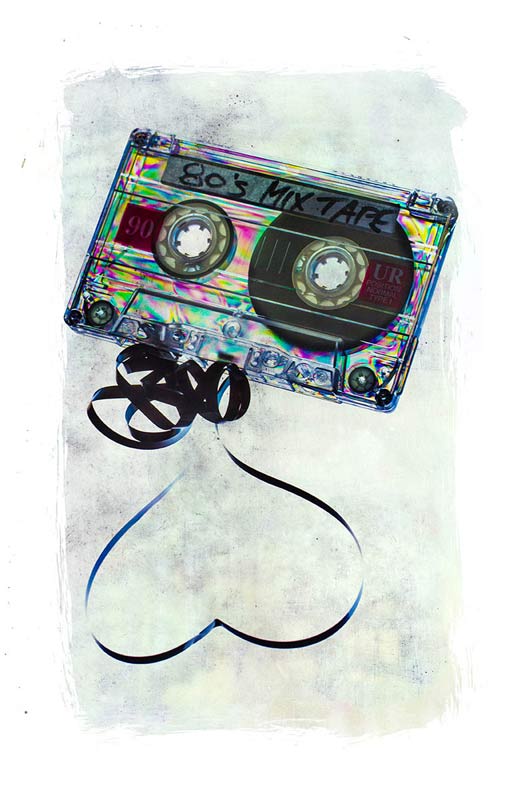
80s-Mix2Here in the UK we’re in the full grip of Autumn and all the wonderful photo opportunities that this time of year brings. Sadly the amazing colours of autumn are usually a fleeting thing with wind and rain making the chances of capturing them even more challenging.

So here’s a brilliant idea that you can do any time of year and whatever the weather.

The techique makes use of cross polarisation. It’s one of the very first tricks I learnt way back in the mid 80’s when I first became serious about photography. All you need is an LCD screen as your light source, something made of clear plastic and a polarising filter for your camera. I’d also recommend a tripod to minimise camera shake or high ISO noise.

To finish off I added a texture and as I mention in the video I’m sharing it. To download it just follow this link http://adobe.ly/1ac4x7M click the Actions button and choose to download the JPG image.

[youtube]http://www.youtube.com/watch?v=AG3F4gG3tuw&feature=c4-overview&list=UU8Pksdbj37CdE00kmE7Z1dw[/youtube]

Shooting a slide show

RBpro1What do you do with all the 1000’s or may be 10,000’s of photos you take every year? There’s only so many pictures you can put on Facebook and tweeting to many photos, to often, is a sure fire way to loose followers.

Of course there’s no shortage of photo sharing sites like Flickr and the excellent 500px and uploading the best of your photos to these sites is a great idea.

In this video I have another way to show off lots of your photos in an amazing way, by making a slide show. It’s a great way to show off the photos you’ve already taken but you can also take photos specifically for use in a slide show. That’s exactly what I do in this video and I get to pass on some shooting tips along the way.

Once you’ve chosen which photos you’d like to use in your slide show, you’re ready to start putting the show together. I used Photoshop Elements to do the job but there are plenty of alternatives out there (such as Lightroom) which is good news if you’re on a Mac as frustratingly the slide show part of Elements is a Windows only feature.

[youtube]http://www.youtube.com/watch?v=vmXh9poFRhI&feature=c4-overview&list=UU8Pksdbj37CdE00kmE7Z1dw[/youtube]

Need royalty free music? YouTube has you covered with thier brand new audio library, which is where I downloaded the mp3 file used in this video.

Here’s the final slide show
[youtube]http://www.youtube.com/watch?v=onUsQsKHALw[/youtube]

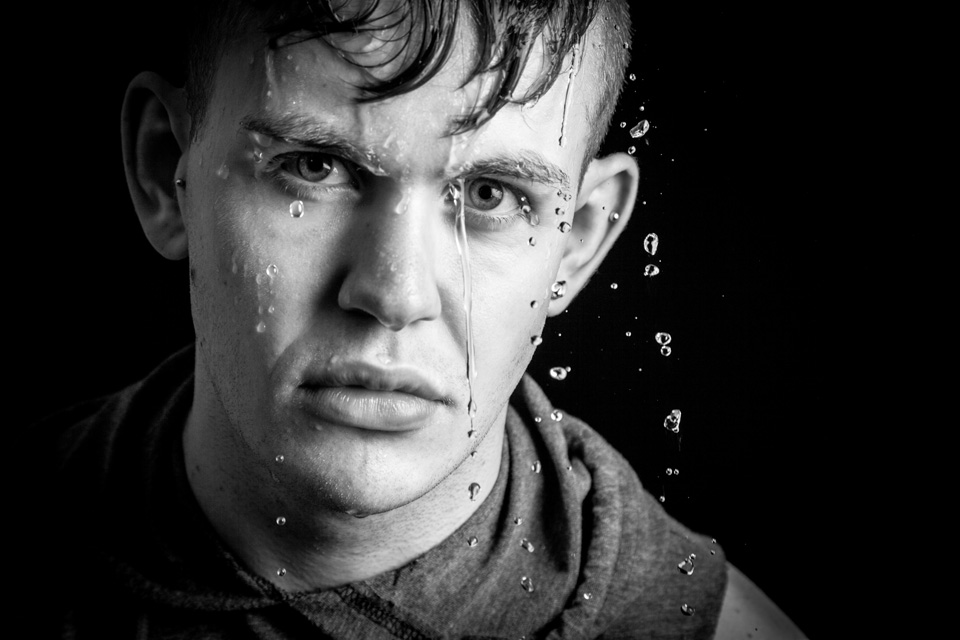
Faking into a sweat

So you want your model to look they’ve done a workout but you don’t have a gym in your studio. What do you do? Well you could send them out for a run or turn the heating up to max, both would work but neither is ideal.

In this video I’ll show you how to apply fake perspiration to a models face.

Now if you’re thinking that you can just spray water in their face, you’re wrong. Water alone doesn’t give beads of sweat, for that you need something more. A little olive oil applied to the forehead, cheeks and noise will make the world of difference and very convincing perspiration. For obvious reasons, don’t put oil close to the eyes.

The video doesn’t stop there. I also have some great lighting tips and I run through the Photoshop processing too.

[youtube]https://www.youtube.com/watch?v=_lyRzp8YEUc[/youtube]

Can’t see the video? Click Here http://youtu.be/_lyRzp8YEUc

Harry-2

Vintage Camera Effect – Creative Lightroom Episode 10

CL-final-10In this weeks episode of Creative Lightroom I take at one of my favourite ways to give my images a retro look in Lightroom. Now I could probably do another 10 videos on all the different styles of vintage style post processing you can do in Lightroom ranging from the very subtle to the over the top effects. This one falls towards the middle of that list.

For me there are a few essential things that make a vintage camera style image. First it need a cross processed colour scheme, in other words the colour need to be just the right side of wrong. Next it needs to lack contrast and finally a spot of vignetting is a nice touch. This technique has all that and more.

As always it’s worth mentioning that if you’re a Photoshop user rather then Lightroom user, EVERYTHING I show in the video is the same as Adobe Camera RAW in Photoshop CC, CS6, CS5 and CS4.

[youtube]http://www.youtube.com/watch?v=oGAOqby364k[/youtube]

Can’t see the video? Click here: http://youtu.be/oGAOqby364k

Infrared Mono – Creative Lightroom Episode 9

CL-final-9In this weeks episode of Creative Lightroom I take a deep dive into creating stylish infrared style images in Lightroom. I first made mono infrared images way back in my film days, back then it was a tricky business requiring the film to be loaded in complete darkness. Today things are a lot easier, espeically if you’ve had your camera converted to capture near IR.

This technique forms the basis of my favourite way to process ordinary colour photos into stylish mono. It also adds a touch of the classic IR film feel with a slight glow and a touch of grain.

As always it’s worth mentioning that if you’re a Photoshop user rather then Lightroom user, EVERYTHING I show in the video is the same as Adobe Camera RAW in Photoshop CC, CS6, CS5 and CS4.

[youtube]http://www.youtube.com/watch?v=c6_8AQaNhzs&feature=youtu.be[/youtube]

Can’t see the video? Click here: http://youtu.be/c6_8AQaNhzs