Split Tone Mono – Creative Lightroom Episode 7

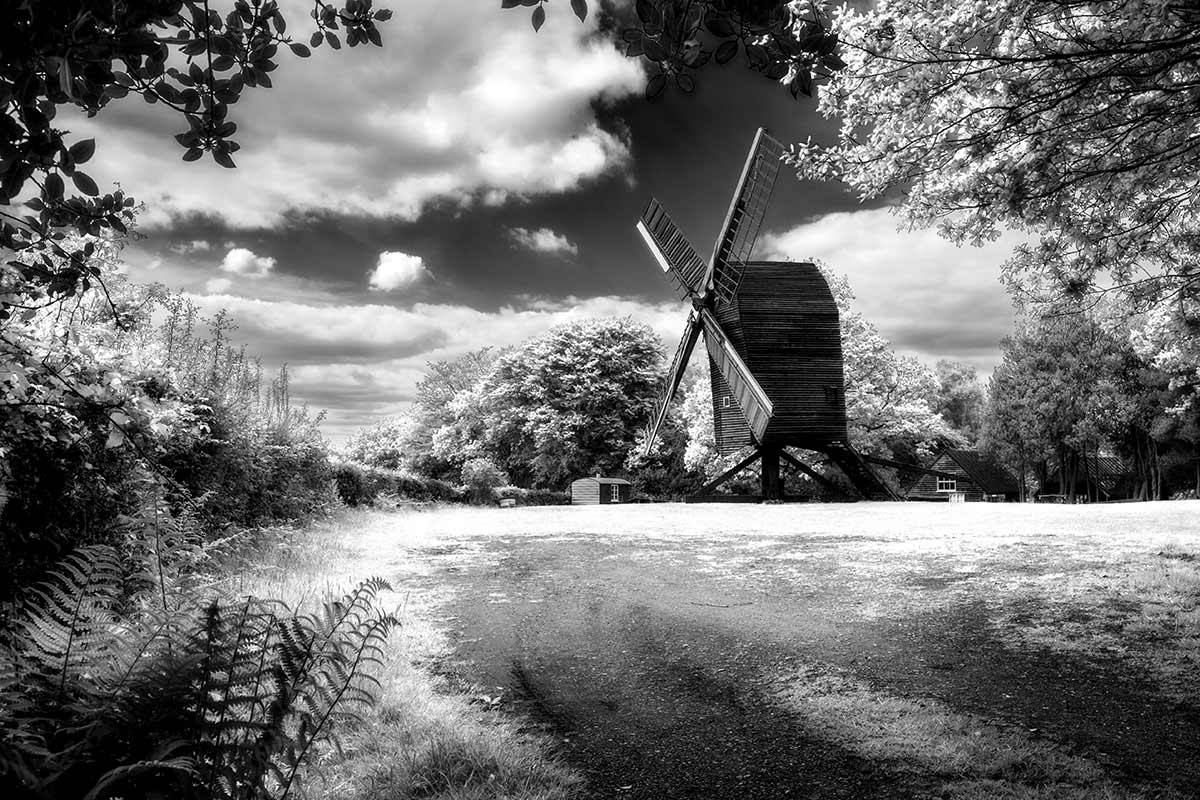
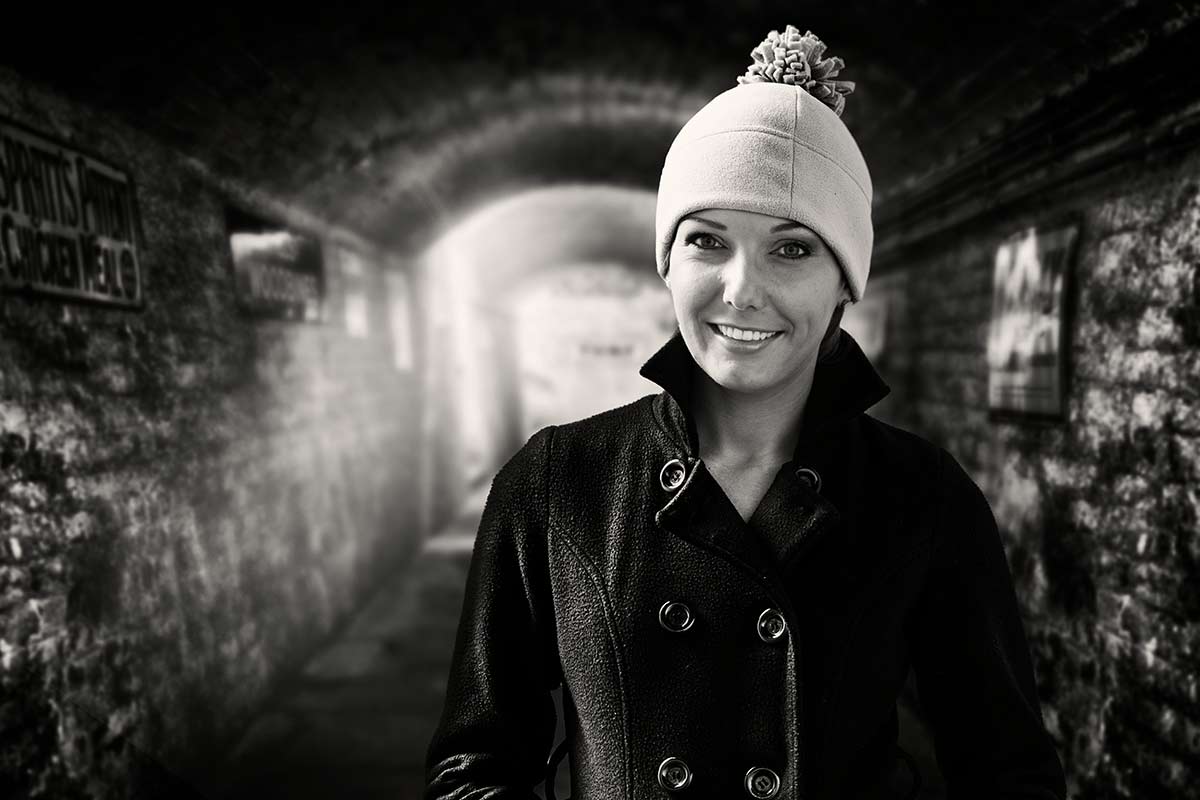
CL-final-6-SplittoneThis weeks episode of Creative Lightroom is all about going mono with a twist.

Black and white is great but sometimes you want to add a bit of general colour and toning the image. Sepia and blue tone are popular choices. Split toning takes the traditinal toning effect a step further by adding a different tones to the shadows and highlights.

In the video I show you how to use Lightroom split tone sliders to create the perfect colour balance.

This tutorial is compatible with all versions of Lightroom.

As always it’s worth mentioning that if you’re a Photoshop user rather then Lightroom user, EVERYTHING I show in the video is the same as Adobe Camera RAW in Photoshop CC, CS6, CS5, CS4  and Photoshop CS3.

[youtube]http://www.youtube.com/watch?v=8c8DUjquXPQ&feature=youtu.be[/youtube]

Can’t see the video? Click here: http://youtu.be/8c8DUjquXPQ

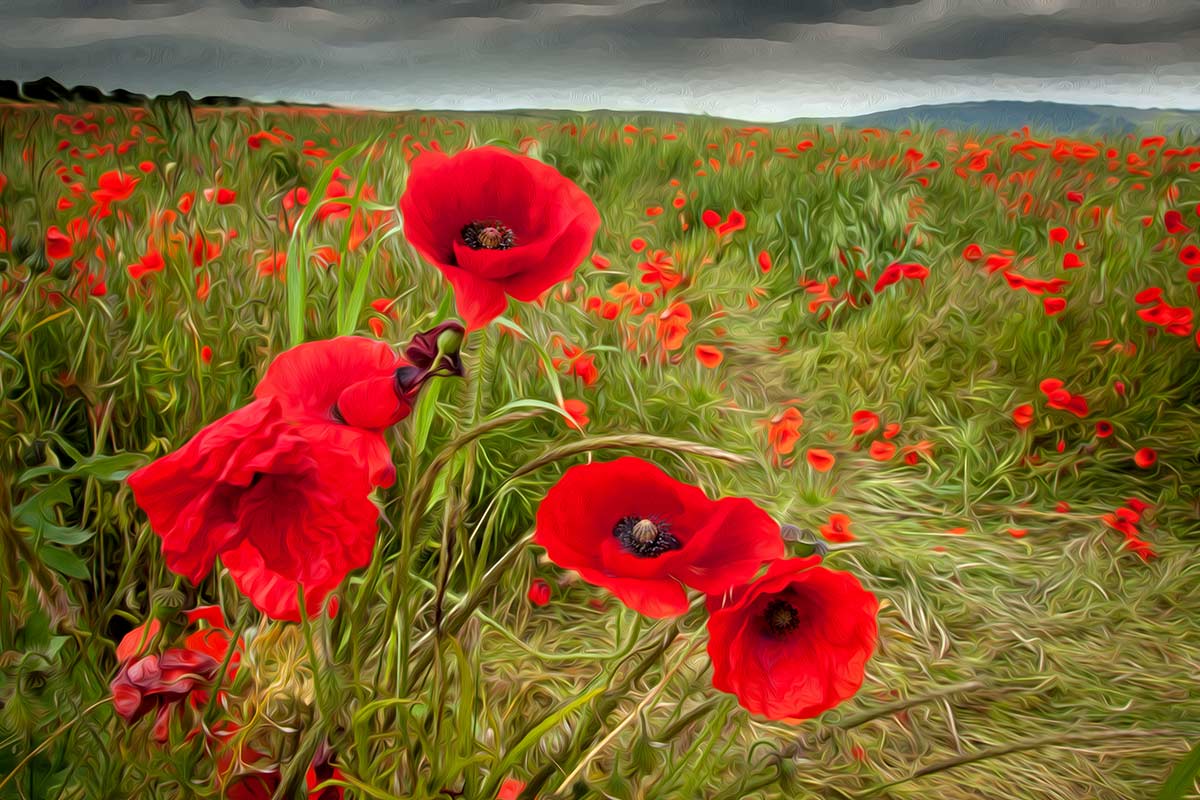
Poppy field – 15 Minute Photo Challenge

Not so long ago I added a new 15 minute photo challenge to Adorama TV, if you can see the video below in case you missed it.

This time I visited a field of poppies growing on the south downs just outside of Brighton, Sussex.

I’m a sucker for poppies, may be it’s the bright red colour, which always looks great in photos. May be it’s the beauty of the poppies themselves. Either way I can’t resist photographing them and I wasn’t alone. In the sort time I was at the field I bumped in to several other photographers who couldn’t resist the lure of a field full of poppies either.

[youtube]http://www.youtube.com/watch?v=Xmz2ZVy1Ykw&feature=c4-overview&list=UU8Pksdbj37CdE00kmE7Z1dw[/youtube]

Can’t see the video? Click Here http://youtu.be/Xmz2ZVy1Ykw

15-Min-Poppy-Oil-PaintEquipment used in this video:
Adobe Photoshop CS6 http://www.adorama.com/searchsite/default.aspx?searchinfo=photoshop+cs6&category=4294967278+11&KBID=67338

Canon 60D http://www.adorama.com/ICA60D.html?KBID=67338

Canon 24-105L f/4 IS http://www.adorama.com/CA24105AFU.html?KBID=67338

Rounded Corner Border – Creative Lightroom Episode 6

cl-7-FINALThis weeks episode of Creative Lightroom has a super quick but very smart looking border effect.

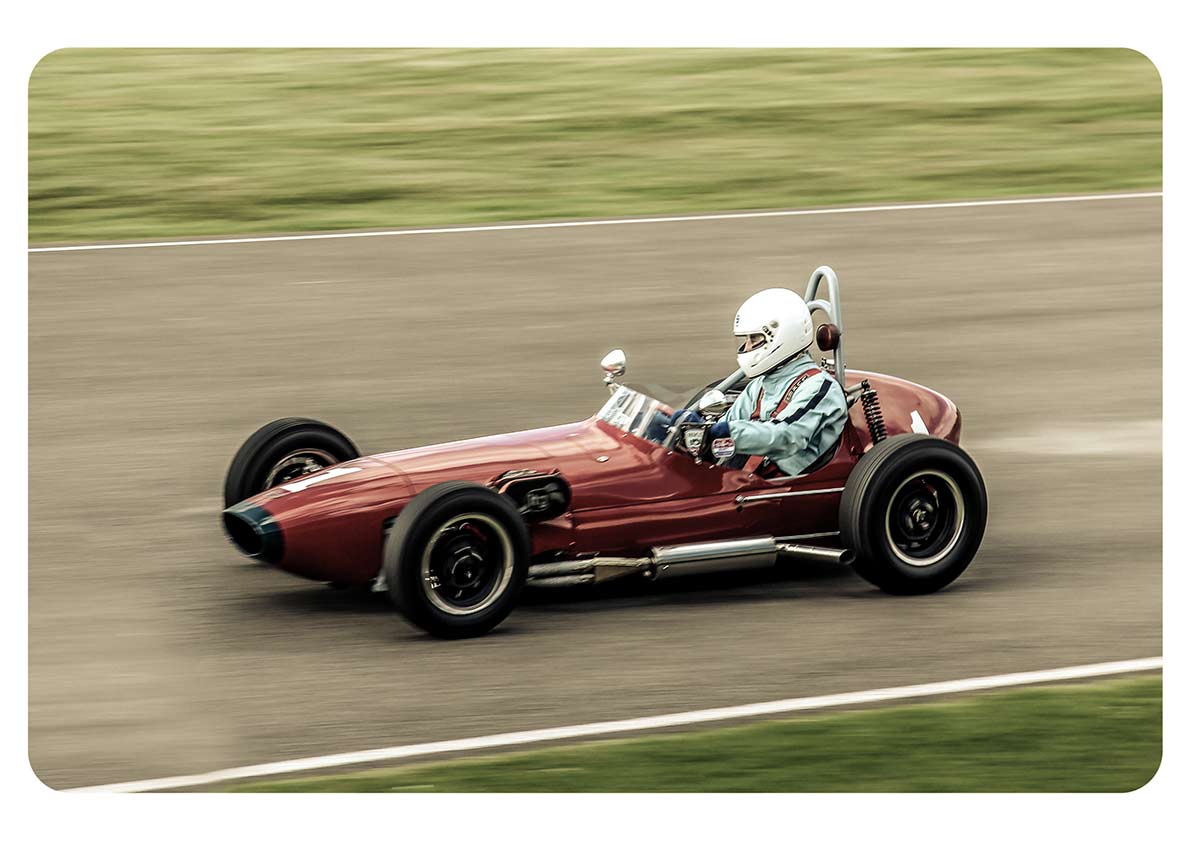
Rounded rectangle borders like this look amazing not only on vintage and retro photos but are just great with any photo. Back when I started taking photos as a VERY young child all the prints would have rounded corners just like this.

In the video I show you just how quick this effect can be made, plus some variations on the look. OK I say variations but in reality you can have a black or white border that’s either soft or heard edged. You can also choose the roundness of the corners too.

To create this effect you’ll need either Lightroom 5, Lightroom 4 or Lightroom 3

In the video I mention my hand painted border effect from episode 2, which you can see here www.gavtrain.com/?p=3162

As always it’s worth mentioning that if you’re a Photoshop user rather then Lightroom user, EVERYTHING I show in the video is the same as Adobe Camera RAW in Photoshop CS6 and Photoshop CC. It’s also possible to pull off the same trick with older version of Photoshop from CS4 onwards.

[youtube]https://www.youtube.com/watch?v=8F_xj4NSb7Y[/youtube]

Can’t see the video? Click here: http://youtu.be/8F_xj4NSb7Y

Water shaped heart

I love photographing water. Technically it’s not hard to do and even with basic equipment the results can be amazing but water is a challenging subject if you want consistency. Every drip, splash or droplet of water will be a little different to the last and that element of slight unpredictability is what makes every water photo unique.

In this tutorial I make use of the uniqueness of a water splash by throwing some in the air and freezing it with a burst of flash. Repeating the action produces more splashes of a similar, yet different shape and then it’s into Photoshop to make this amazingly beautiful water heart.

[youtube]http://www.youtube.com/watch?v=LrY78qEw68s&feature=c4-overview&list=UU8Pksdbj37CdE00kmE7Z1dw[/youtube]

Can’t see the video? Click Here http://youtu.be/LrY78qEw68sWater-Heart-Final1024

Equipment used in this video:
Adobe Photoshop CS6 http://www.adorama.com/searchsite/default.aspx?searchinfo=photoshop+cs6&category=4294967278+11&KBID=67338

Canon 60D http://www.adorama.com/ICA60D.html?KBID=67338

Canon 24-105L f/4 IS http://www.adorama.com/CA24105AFU.html?KBID=67338

Vanguard ABEO Plus 283CT Tripod http://www.adorama.com/VGABEO283CT.html?KBID=67338

Vanguard GH-300 head http://www.adorama.com/VGGH300T.html?KBID=67338

Planning for Black & White

Adorama-MonoWay back  when I started learning photography the only real option for serious photographers was to make black and white prints and we were darn good at it too. Skip forward 25 years and now everyone takes colour photos but thanks to post processing everyone can also make black and white images too.

There’s an art to making top quality colour photos but making quality mono photos is an extra challenge. One of the reasons many photographers find shooting for black and white a challenge is because we don’t see the world monchrome, we see colour. However there a few tips you can apply at both the camera and Photoshop stages which will quickly step your black and white photography up a gear.

In this video for Adorama TV I visit Nutley Windmill on the Ashdown Forest with the plan of shooting for black and white. Then it’s into Photoshop to make the magic happen.

[youtube]http://www.youtube.com/watch?v=GZhk-S9Y-vs[/youtube]

Equipment used in the video:

Adobe Photoshop CS6
http://www.adorama.com/ABPSCS6W.html?KBID=67338

Canon 5D Mark II
http://www.adorama.com/ICA5DM2.html?KBID=67338

Canon 24-105L f/4 IS
http://www.adorama.com/CA24105AFU.html?KBID=67338

Vanguard ABEO Plus 283CT Tripod
http://www.adorama.com/VGABEO283CT.html?KBID=67338

Vanguard GH-200 head
http://www.adorama.com/VGGH200.html?KBID=67338


Bonus composite videos

Mark+Gav-2Last week I uploaded the two part video with Mark Wallace and myself. If you missed it the click here to go back and see both videos.

Mark was kind enough to share all the photos he shot with me and it seemed like a terrible waste not make use of at lease one more. So in the video below I’ll show you how I created this photo composite. Going mono was all part of the plan and makes compositing two images together a whole lot easier as you no longer have the issue of matching colours to get in the way.
[youtube]http://youtu.be/vbFlTkkOglU[/youtube]
Can’t see the video? Click here http://youtu.be/vbFlTkkOglU

In this video I do a deep dive tutorial on how to use Photoshop to composite the original photos. I start with how to use Adobe Camera RAW to create an HDR background and then add some light rays with my recent Friday Freebie Light Ray Brushes.
[youtube]http://youtu.be/szQ0kj1xuZc[/youtube]
Can’t see the video? Click here http://youtu.be/szQ0kj1xuZc

Candlelight From A Speedlite

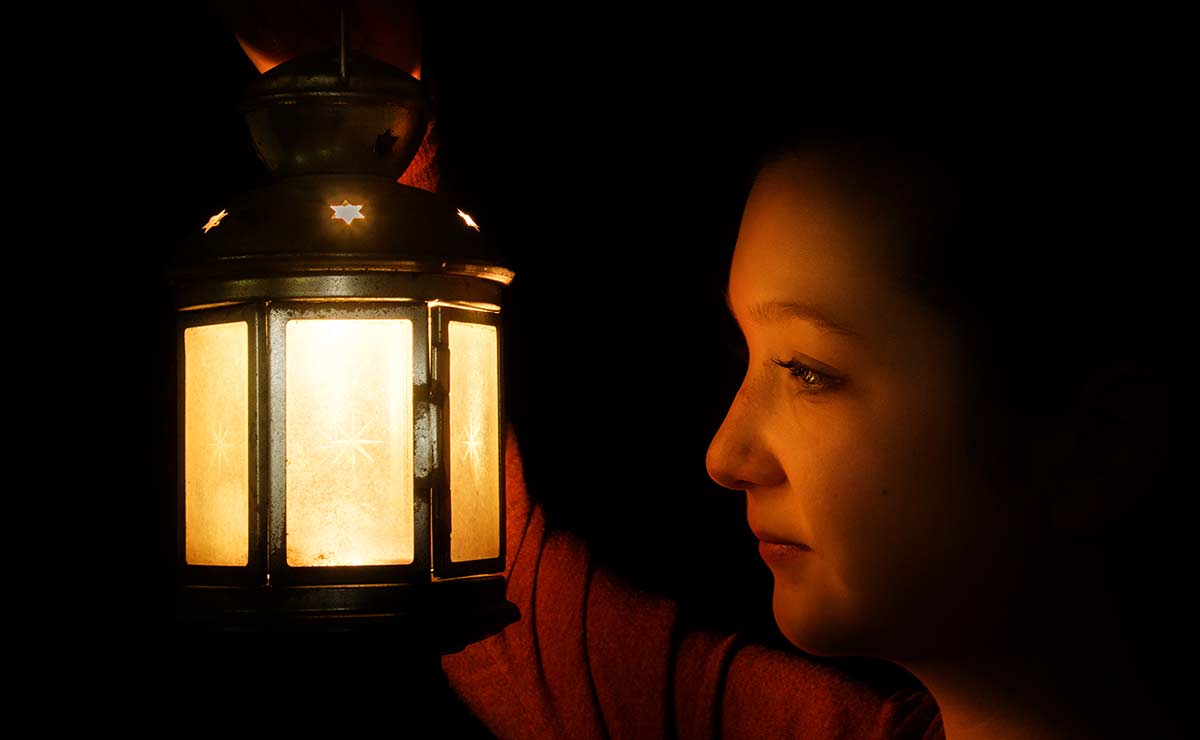
Sophie-FinalCandle light is one of the toughest types of light to work with for several reasons. There’s the obvious health and safety issues with naked flames and when your studios ‘made of wood (like mine is) that’s a big concern. That aside, candle light is also incredibly dim which is why film and TV directors fake candle light… and so do I.

In this video tutorial I’ll show you how to turn a speedlight in to realistic candle light which is safe, predictable and bright enough to keep your ISO at sensible levels.

I’m using a modified lantern as my virtual light source. If you want to get the same lamp then pop along to your nearest Ikea where you can pick one of the Rotera Lanterns up for around £2.00 (see link below) all you need to is leave it exposed to the elements for a few years and it’ll look just like mine 🙂

[youtube]http://youtu.be/Z_7kQorCwkU[/youtube]
Can’t view the video? Try this link http://youtu.be/Z_7kQorCwkU

Equipment used in the video:

Adobe Photoshop CS6
http://www.adorama.com/searchsite/default.aspx?searchinfo=photoshop+cs6&category=4294967278+11&KBID=67338

Canon 60D
http://www.adorama.com/ICA60D.html?KBID=67338

Canon 24-105L f/4 IS
http://www.adorama.com/CA24105AFU.html?KBID=67338

Ikea Lantern
http://www.ikea.com/gb/en/catalog/products/26472200/

Smoke video clip

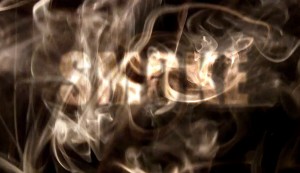
Smoke-SG1This weeks Friday Freebie is in two parts as I’m giving away a 30 second video clip of smoke and a tutorial on how to use the clip to create a simple animated text effect in Photoshop CS6

Full download instructions are below but you can also
Click Here To Download the smoke video clip

You can preview the video clip by clicking here

One of the headline new features of Photoshop CS6 is its ability to edit video clips with exactly the same skills you’d need to edit photos. Unlike Photoshop CS5 the video editing is available to all version of Photoshop CS6 not just the extended version.

Now I know most photographers are yet to embrace video and it’s certainly a very different discipline to learn but if you fancy trying your hand at video then this weeks Friday Freebie is for you.

Usage rules
The video clip is copyright Gavin Hoey 2013. Use is limited to any personal, non-commercial purposes. Please share the Friday Freebie by linking back to this page. Do not redistribute the original video clip without my permission.

Download instructions
Click the link https://drive.google.com/file/d/0B_Mmmm3K1utNbzNDc0E3ZWhNc28/view?usp=sharing

1. Click the Download button download_icon

2. The download should start automatically

Once you’ve got the video you’ll need something to do with it. There’s plenty of ways you can use the clip but to get you started here’s a quick and simple text animation effect.

[youtube]http://youtu.be/sfQfPoTs64U[/youtube]

Shooting Ice Hockey for Adorama TV

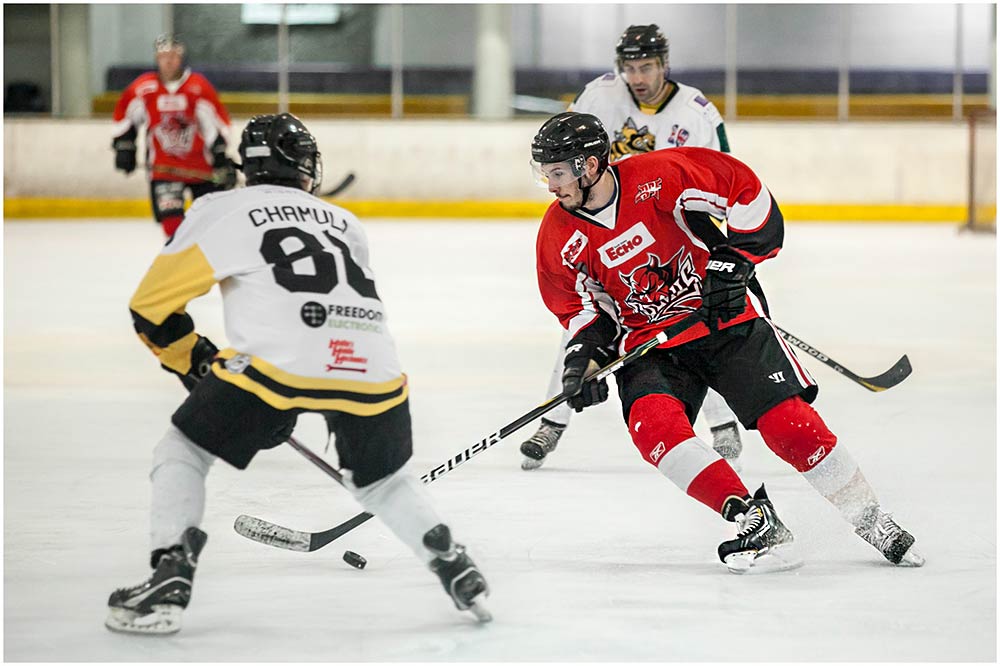
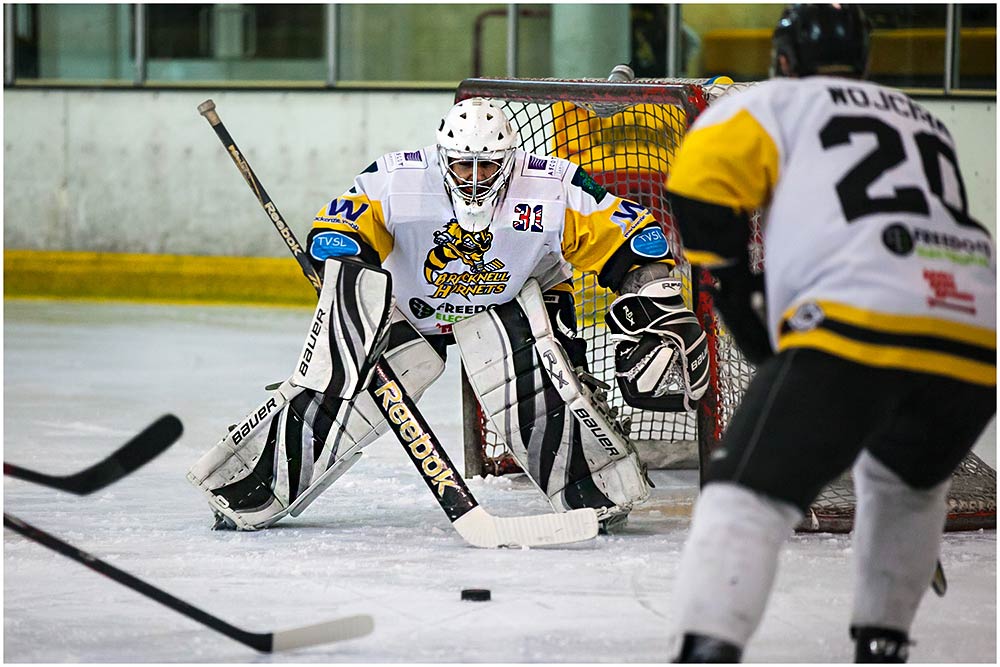
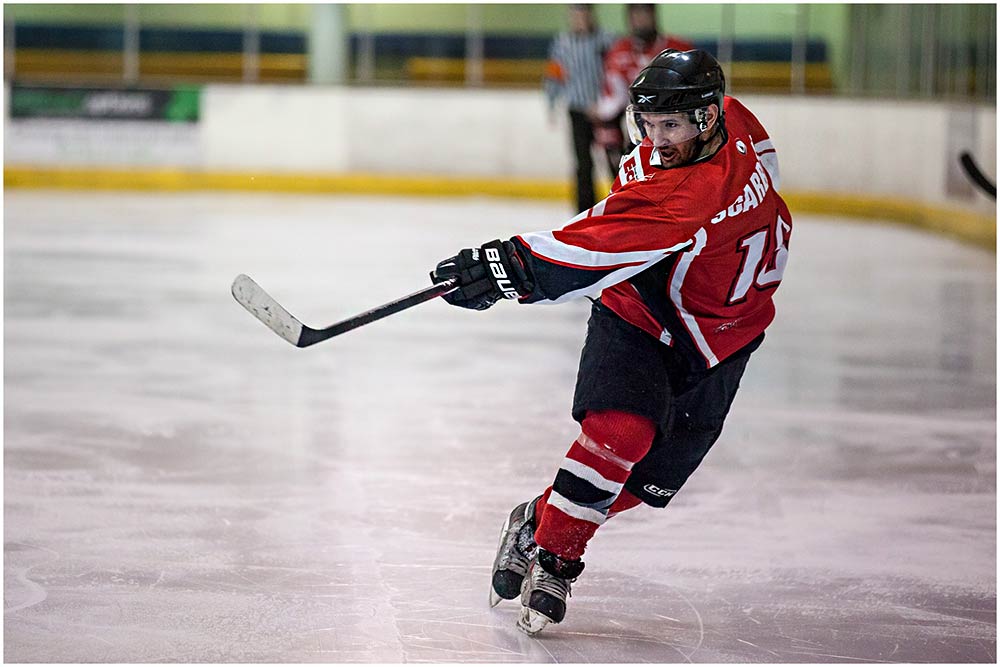
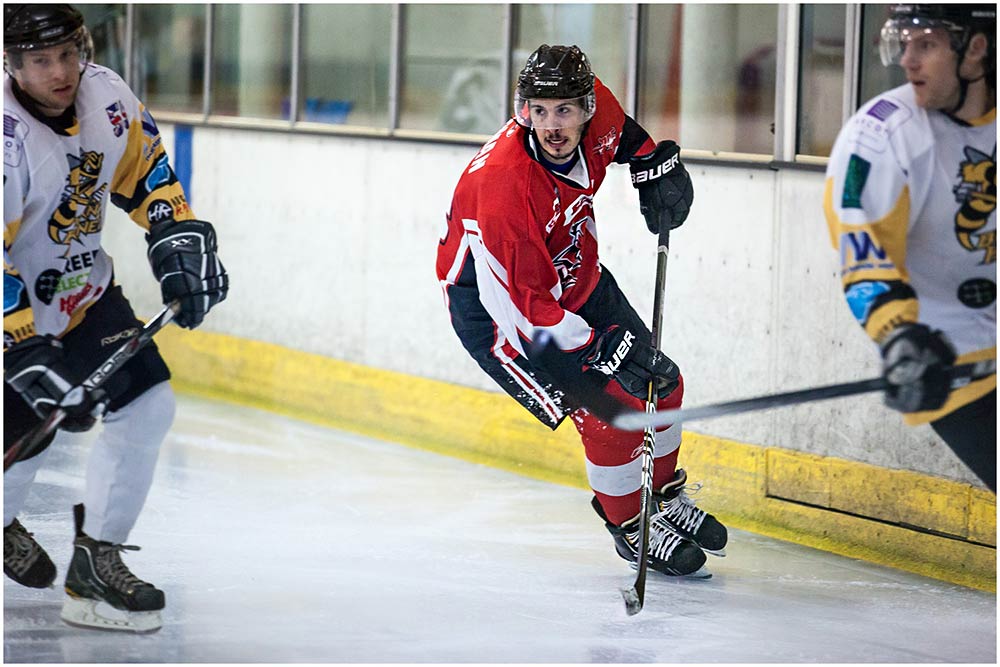
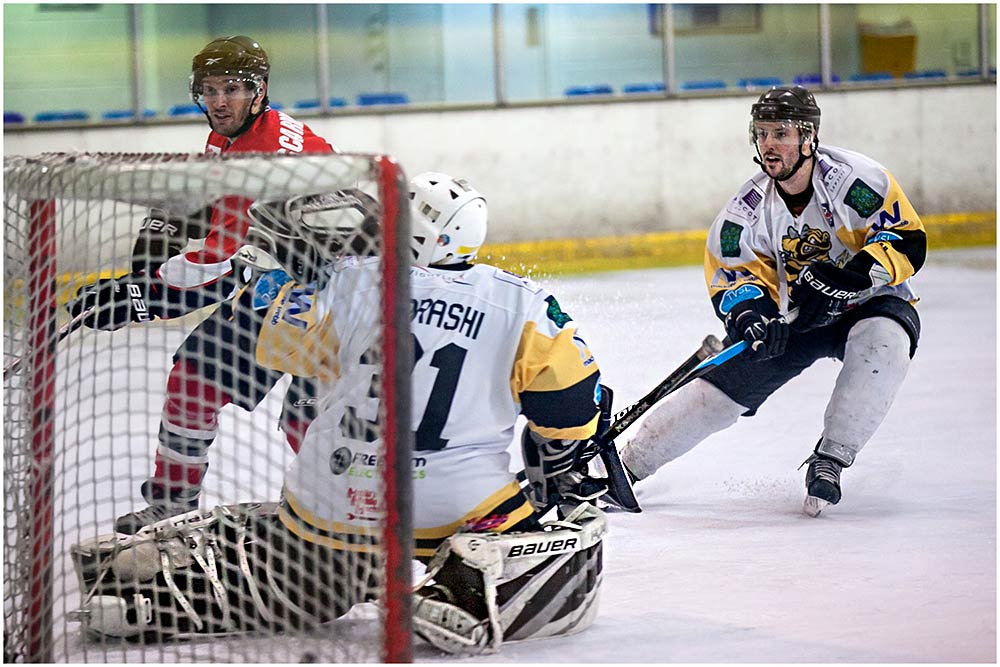
A few weeks back I got the chance to shoot an ice hockey match at the rink in Bracknell. I had a blast, so much so that when I was invited back to shoot the Bracknell Hornets vs The Cardiff Devils I knew I had to shoot a video for the event.

[youtube]http://www.youtube.com/watch?v=che7EgvJbDc&feature=share&list=UU8Pksdbj37CdE00kmE7Z1dw[/youtube]

If you enjoyed the video and fancy having a go yourself then contact your local rink. Offer to shoot a minor league game (like the one I shot) which often has smaller crowds. If you fancy shooting a Bracknell Hornets game not only will you’ll have to wait until next season but I’d recommend sweet talking to their official photographer Kevin Slyfield who was kind enough to arrange for me to shoot the video at the John Nike ice rink in Bracknell

Gear used in this video:
Canon 5D Mark II
Canon 70-200mm L f/2.8 IS
Giottos MML3270B Monopod

Hornets-5Hornets-1 Hornets-2 Hornets-3 Hornets-4

2 Self-Portraits with 1 light

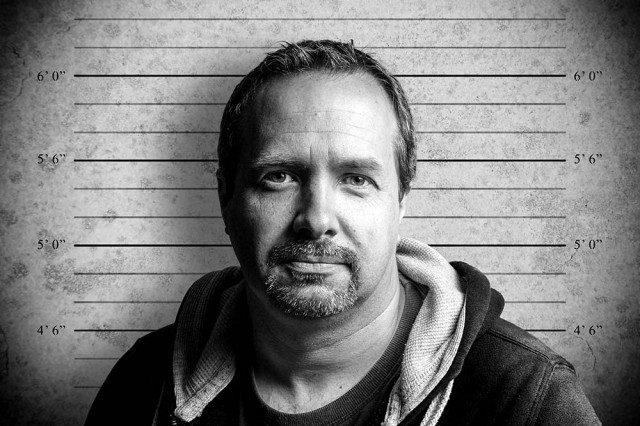
Self-portrait-1When I first started to learn about lighting I focused all attention on the complexities of flashes first and foremost. Of course whilst lighting is the cornerstone of great portraits, so is an ability to get the best from your model and trust me on this, that can be a lot harder to master.

One way to practice portraiture is shooting a self-portrait project. It’s a great way to practice and perfect various lighting arrangements without the need of a model, subject or assistant. 

In this video I’ll show you how to shoot two very different self portraits but remarkably, the lighting will be identical for both. The only thing that will change is the background. 

Why change the background, you may ask. Well, the first shot has a black, low key background and the second set of photos has a grey background, which is much simpler to remove and replace with a new background in Photoshop, as you’ll see in the video.
[youtube]http://youtu.be/C2b61bZ-J44[/youtube]
If you can’t see the video Click Here

Self-portrait-2

Gear used in this video 

Interfit Collapsible Double Sided Background, Black / White

 Canon 60D

Canon 24-105mm L f/4 IS

Vanguard Alta Pro 263AT Tripod

Vanguard GH-100 Grip Head

Adobe Photoshop CS6

Canon 580 EX II Flash

Flash bracket

Interfit air cushioned light stand

Silver reflective umbrella

(All links go to Adorama, who sponsor all my videos)