Home Studio Essentials – Episode 1

Very few photographers have access to a professional studio but lots of us enjoy shooting portraits and so all over the world spare bedrooms, garages and front rooms are regularly converted from their intended use into makeshift small studios.

These small spaces can produce stunning photos but they come with their own unique set of problems and challenges. More often then not the home studio photographer may also feel restricted by owning a small range of lighting gear and using friends or family as models but truth be told that’s not the handicap it might at first appear.

[youtube]https://www.youtube.com/watch?v=hR4DW7dXOsk&list=UU8Pksdbj37CdE00kmE7Z1dw[/youtube]

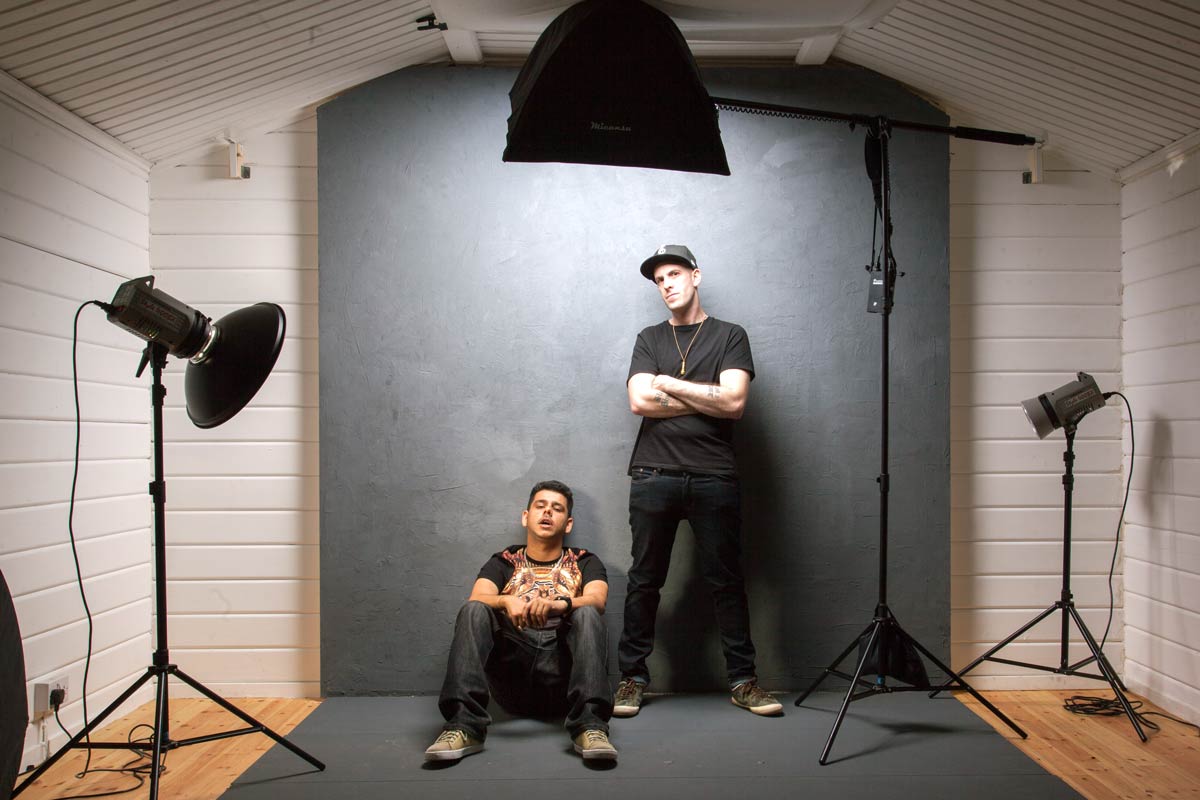
This is the first of a mini series of videos I’ve made for Adorama TV in which I work within the limitations of a small home studio. Over the coming weeks I’ll be dealing with the challenge of controlling light in a small space, working with amateur models and in this video, shooting without light modifiers.

For this series of videos I want you to do more then just watch it, I’m hoping you’ll get your camera and take a photo based on the ideas you see in the video. That might be the lighting set up, the models pose or the Photoshop post processing. If you do (and you’re on Facebook) then please add them to Adorama’s Facebook page. I’ll be checking it regularly and giving constructive feedback on as many as possible
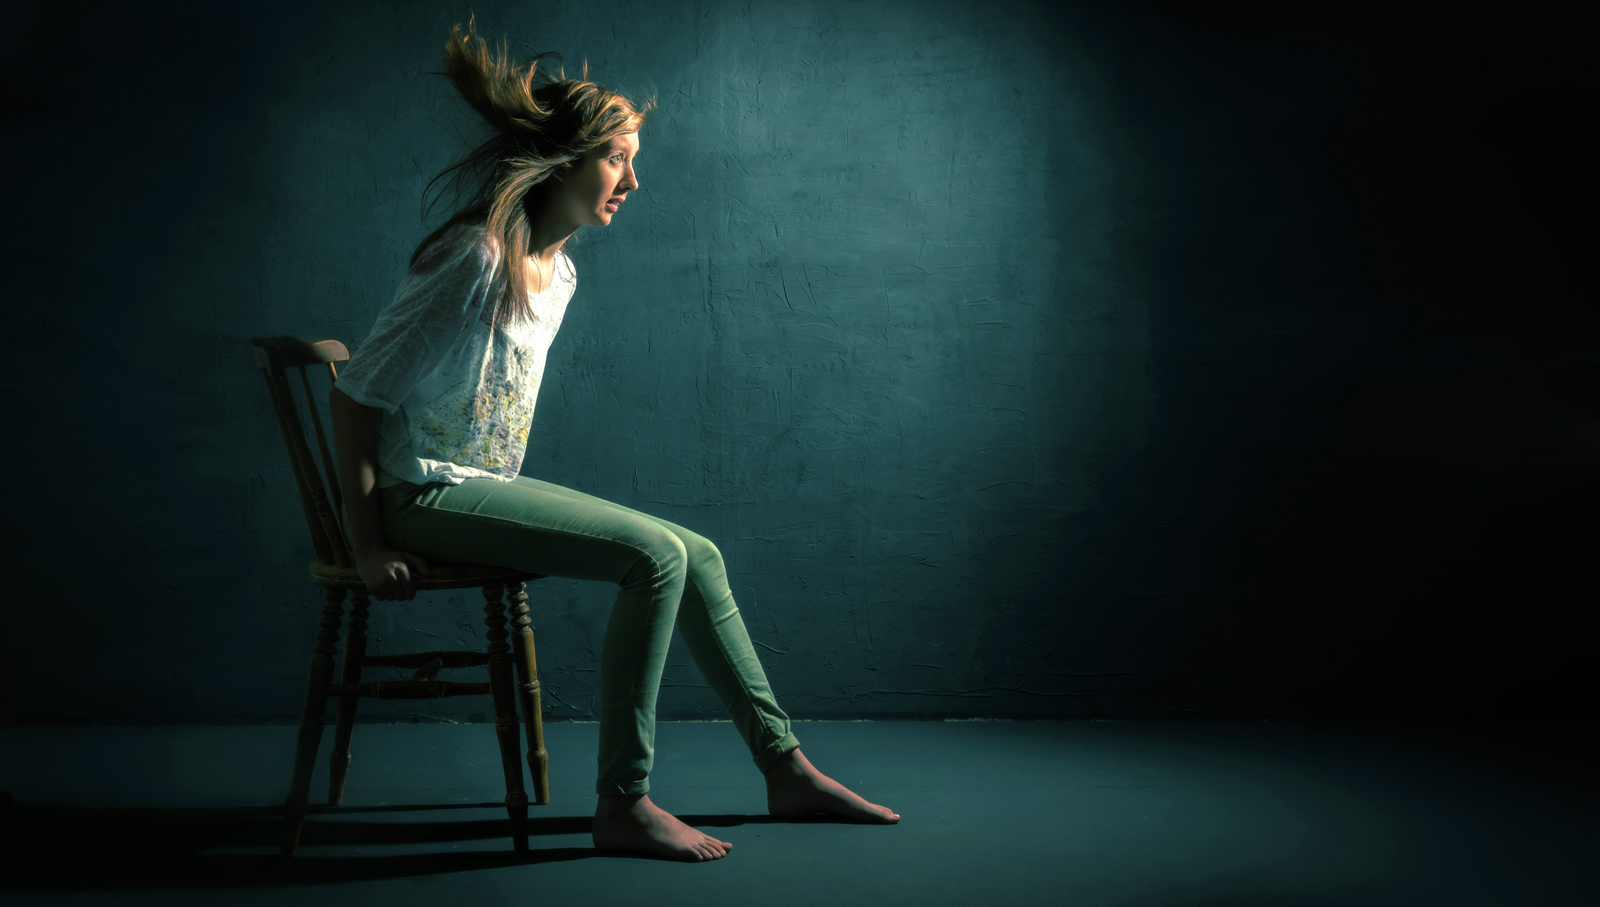
Adorama-HSE-1

Gear used in this video (Links back to Adorama)

Flashpoint StreakLight 360 Ws Creative Collection (Includes flash, battery, trigger, boom etc)

Canon 5D Mark 2 

Canon 24-105L 

Frio Cold Shoe  

Black rapid RS-7 Strap 

If like me you like to keep a visual record of you’re lighting set ups then this image should come in very handy.
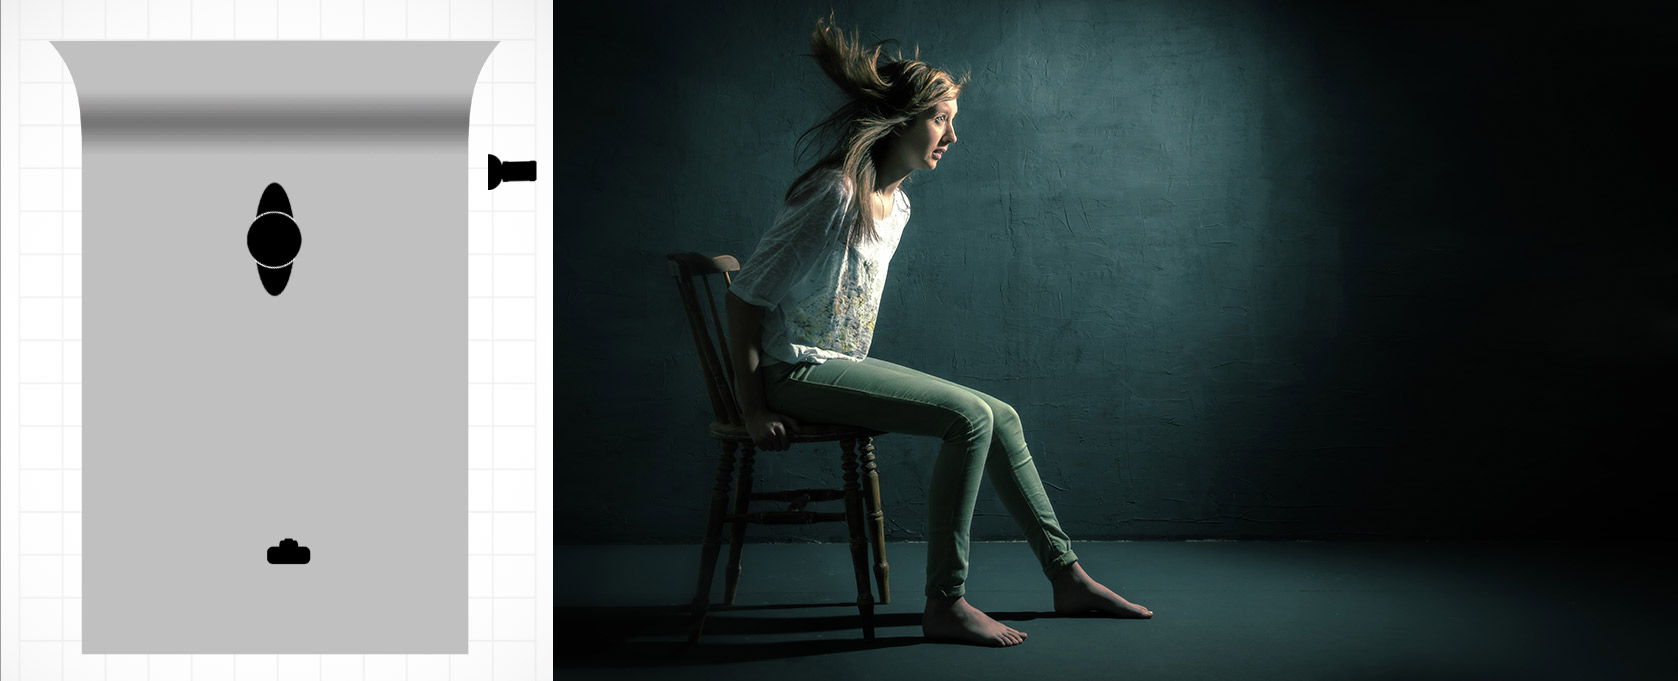
Lighting-Diagram---Bare-Flash

Summer Workshops

Summer-2014With summer just a round the corner I’m really looking forward to getting out and shooting some photos but I’m also excited about teaching photography and meeting photographers at some of the workshops I have around the UK. These all day events are on top of my usual evening camera club talks and are either practical workshops or all day demos, either way if you’re coming along do bring a camera, a note book and a willingness to get involved!

DATRPS-LOGOE: 15th June 2014
LOCATION: Foxton, Nr. Cambridge
DESCRIPTION: A day photography and Photoshop tips, techniques and demonstrations.
ORGANISED BY: The Royal Photographic Society
WEBSITE: http://www.rps.org/events/2014/june/15/taking-and-making-creative-photographs


WELSHOT-LOGODATE: 28th June 2014
LOCATION: Chester
DESCRIPTION: Create amazing photos by pouring, splashing and adding things to water
ORGANISED BY: Welshot Imaging
WEBSITE: http://www.welshotimaging.co.uk/event/make-create-water-workshop-gavin-hoey


WELSHOT-LOGODATE: 29th June 2014
LOCATION: Chester
DESCRIPTION: A day of photo challenges, fun and learning around the city of Chester.
ORGANISED BY: Welshot Imaging
WEBSITE: http://www.welshotimaging.co.uk/event/gavin-hoey-chester-challenge-photography-post-processing-day


Gavtrain-Logo-160x160DATE:
 20th July 2014
LOCATION: Gatwick
DESCRIPTION: Get up close and inside some classic aircraft at the Gatwick Aviation Museum,
ORGANISED BY: Gavtrain
WEBSITE: https://www.gavtrain.com


Manhattan 15 Minute Photo Challenge

So here it is, the last video from a my short visit to New York. Actually this was the first video I made whilst out there but for reasons that are a bit of a mystery to me, this has only just been uploaded to Adorama TV.

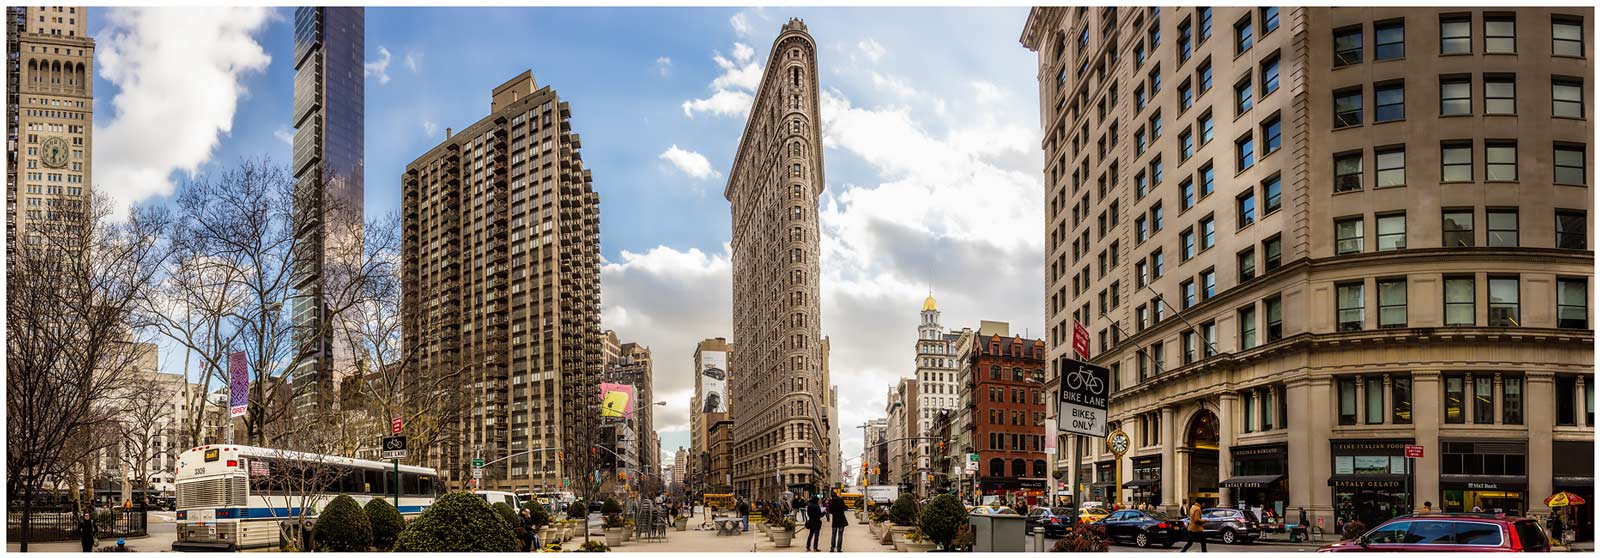
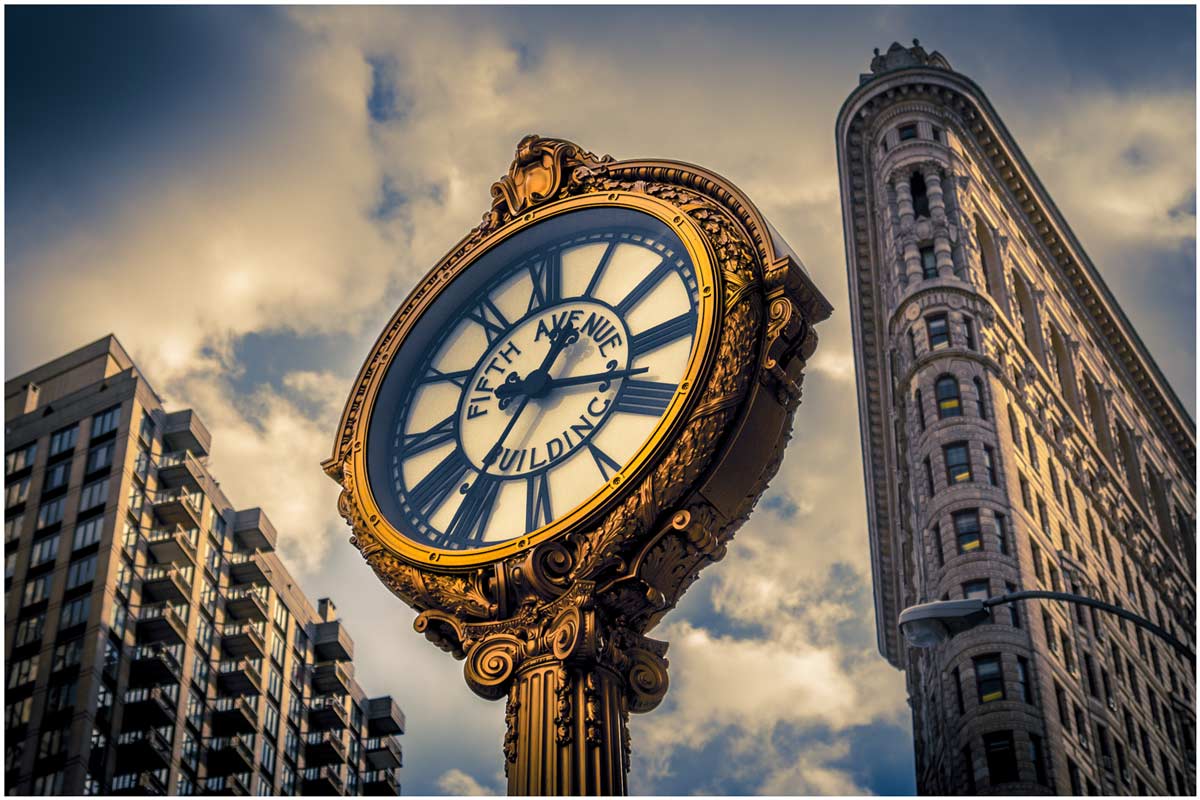
NYC-4The location for this 15 minute photo challenge was Madison Square Park (23rd and 5th) which has the iconic Flatiron building at one end. It’s just a few blocks away from the Adorama store, so when myself and Claude (Adorama’s brilliant video guy) found ourselves surplus to requirements during the set up for my Adorama TV Live workshop, we took the opportunity to shoot a 15 minute challenge video.

[youtube]http://www.youtube.com/watch?v=xEuDnBH7jQI&list=UU8Pksdbj37CdE00kmE7Z1dw[/youtube]
Can’t see the video? Click here http://youtu.be/xEuDnBH7jQI

Equipment used in this video (Links to Adorama)

Canon 60D 

Canon 24-105L

Black Rapid Curve (RS-7) Strap

NYC-3NYC-2NYC-1

Cut Corners Action

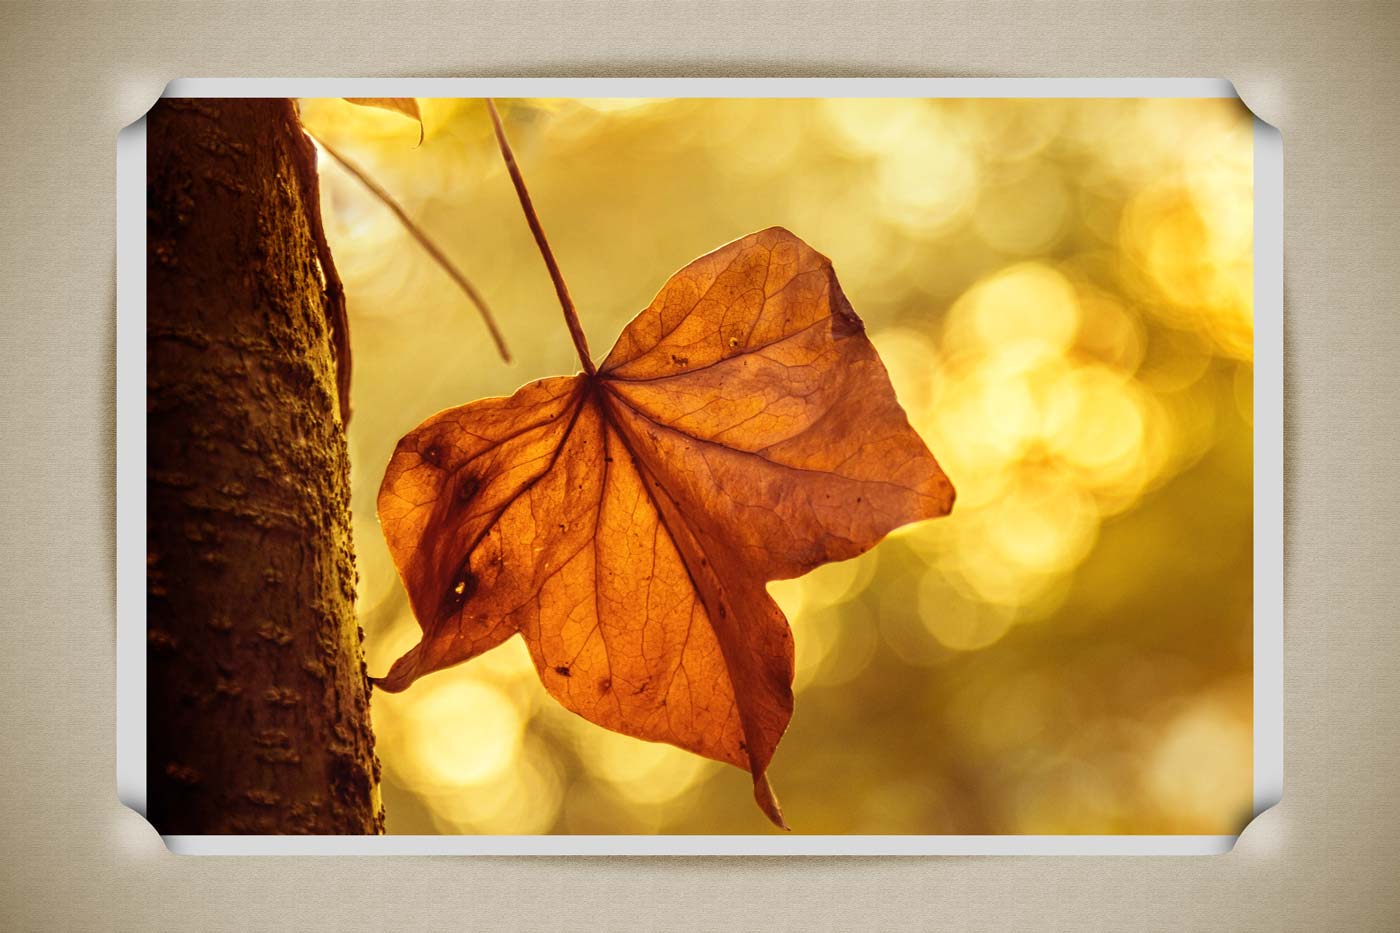
You know how some ideas sound easy until you try and make them happen, well this Friday Freebie Photoshop action really ticks that box. All I wanted to do was make a photo look like it was slotted into the corners of a vintage photo album page. My first test worked really well but recreating a similar result within the confines of a Photoshop action took a lot of working out and many, many hours of trial and error (mostly error). However I think you’ll agree that the end result was worth the effort!

You can download the action here: Cut Corners – Gavtrain
Cut-Corner-Border

To use the action, start with the photo you wish to use already open in Photoshop and then play the action. The first thing it does is make a copy of your photo so the original will be untouched and safe. There’s a lot of things for Photoshop to do with this action so it may take a minute or two to run through. As with most actions, the size of your image will effect the final effect and I’d suggest starting with a photo 3000 pixels (longest edge) or bigger.

The action will work with Photoshop CC, CS6, CS4, CS4 and CS3 but because it uses “Warp Transform” it WILL NOT work  with any version of Elements, sorry.

Usage rules
The action is copyright Gavin Hoey 2014. Use is limited to any personal, non-commercial purposes. Please share the Friday Freebie by linking back to this page. Do not redistribute the original action without my permission.

Download instructions
The direct link to download the actions is https://www.gavtrain.com/wp-content/uploads/2014/05/Cut-Corners-Gavtrain.zip

No support is provided with the Friday Freebies. If you need help Google or YouTube the question and you’ll almost certainly find the answer 🙂

How to make a DSLR time-laspe

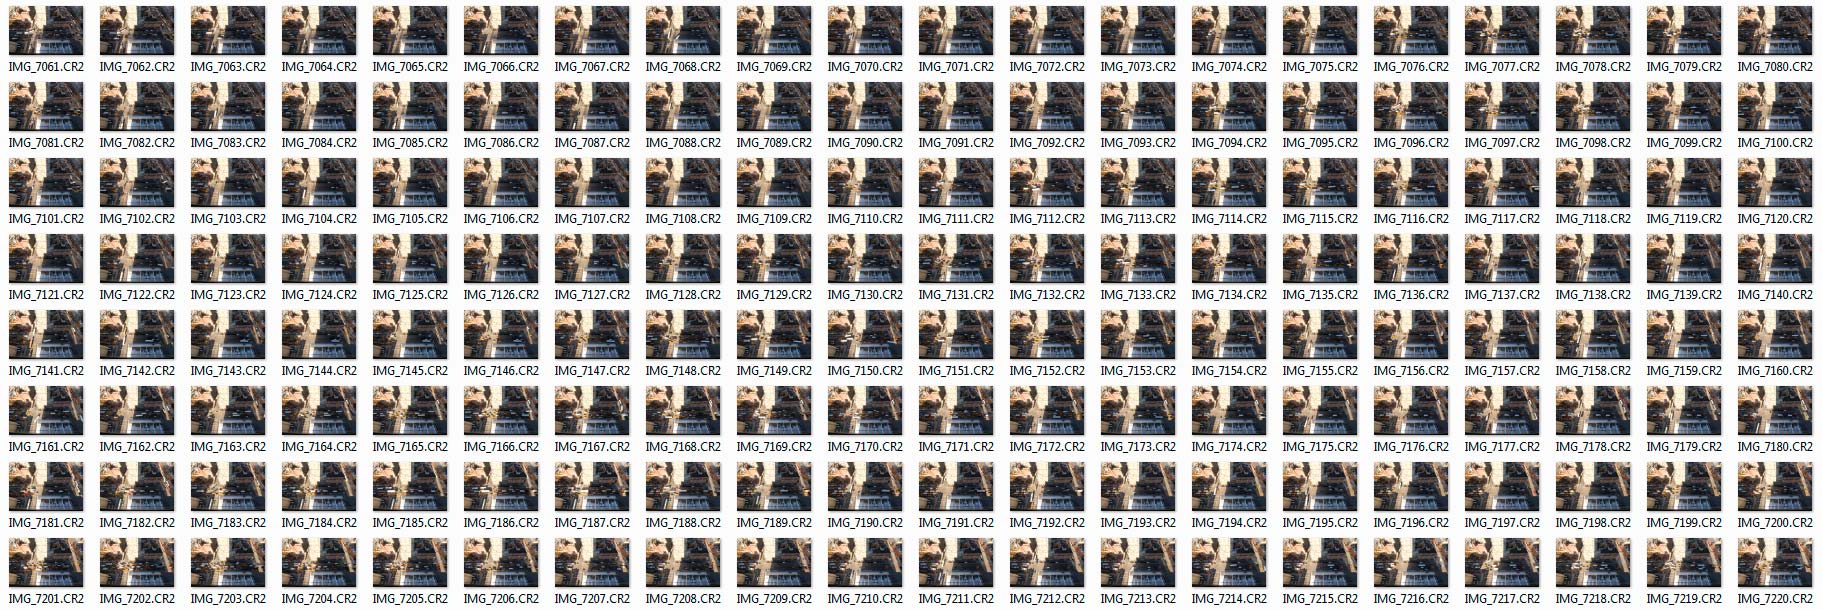
A few years ago I made a video about shooting a time-lapse sequence with a DSLR and then making a video from the images. Most of the information is still as valid today as it was in 2011 but it’s amazing haw fast technology changes the way we shoot and edit. Back then very few cameras had a built in intervalometer and you needed a custom made slideshow preset for Lightroom if you wanted to create the time-lapse video in your photo editing software.

Timelapse-NYC-THUMBS

Skip forward 3 years and although my Canon DSLR’s still don’t have timelaspse out of the box I can use my smart phone to control my camera and take the photos. Plus Photoshop CS6 and CC can both create video from stills in just a few clicks of the mouse.

[youtube]https://www.youtube.com/watch?v=J5Bwpm8_5XM[/youtube]
Can’t see the video? Click here http://youtu.be/J5Bwpm8_5XM

Equipment used in this video (Links to Adorama)

Canon 60D 

Sigma 10mm-20mm

ioShutter release cable 

Vanguard 284 CB100 Tripod  

My Studio Texture

If you caught my post yesterday then you’ll know that I recently built a textured background in my studio. Well it seems there are quite a few people out there that would love to do the same but don’t have the space, time or need for a similar permanent structure. So for today’s Friday freebie I’m giving away my studio background… OK so I’m not giving away the real thing but I am sharing a photo of it

Full download instructions are below but you can also
Click Here To download my studio background.
FF-Studio-BG1
There are a couple of ways you could use it. You could do exactly what it’s designed for and use it as a background for your studio shots. All you’d need to do is shoot on a clean background (light grey works best) and then simply extract the model and paste them in. I made an in depth video tutorial with Mark Wallace on how that’s done last year. If you missed it take a look here.

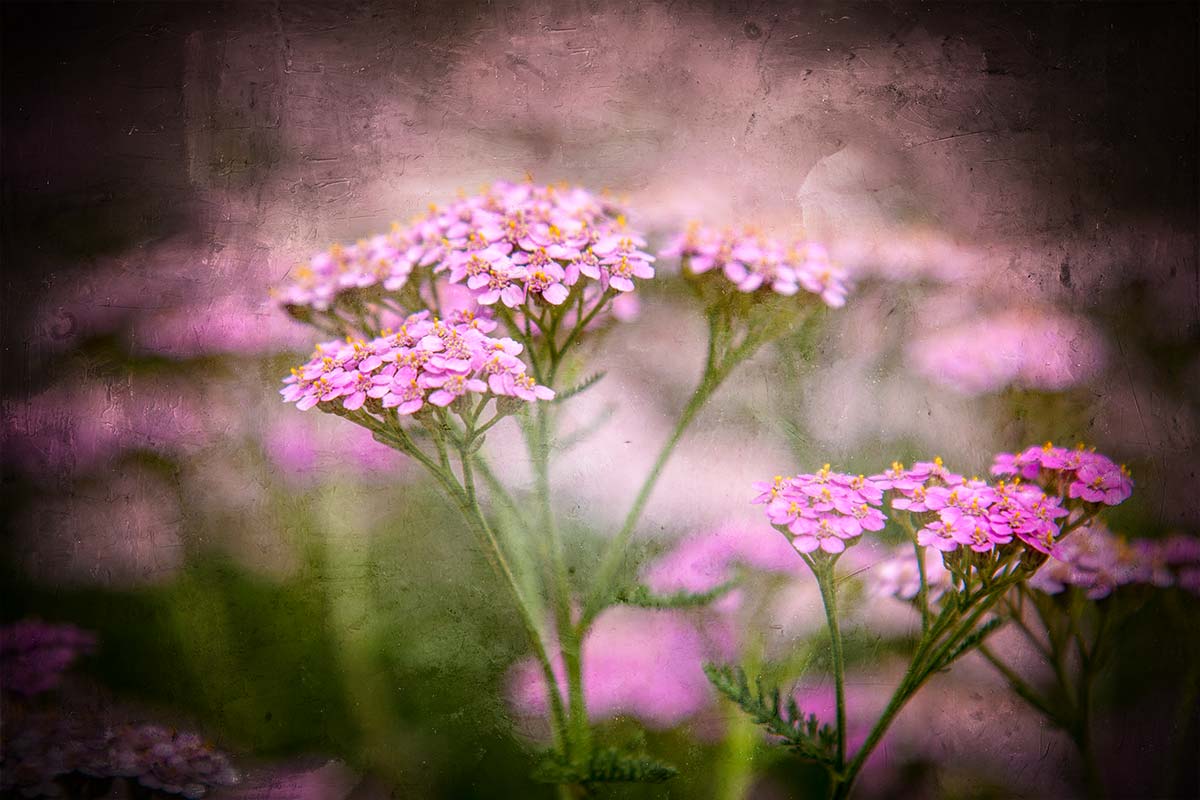
FF-Studio-BG2-Hard-LightOf course you can also use the texture as… well, a texture! Simply paste it over your photo, use a spot of Free Transofrm to make it fit and change the layer blending mode. Multiply, Overlay and Hard Light (as used here) are three to try but don’t stop there.

As always, if you create a photo using the Friday Freebie then let me (and everyone else) know by leaving the link in the comments below.

Usage rules
The image is copyright Gavin Hoey 2014. Use is limited to any personal but non-commercial purposes. Please share the Friday Freebie by linking back to this page. Do not redistribute the original image without my permission.

Download instructions
Click the link https://drive.google.com/file/d/0B_Mmmm3K1utNYW53T3RUbDk0LVE/view?usp=sharing
1. Click the Download button download_icon

2. The download should start automatically

Building a DIY studio background

For a long time I’ve fancied the idea of adding a grungy textured background to my studio but due to the limited space available I’ve stuck to using a white vinyl and black fabric backdrops. Now these have worked really well for me over the years but there comes a time when you want to break free and recently I got a great excuse to do just that.

I’m currently in the middle of filming a mini-series of videos for Adorama TV all about shooting portraits in a small studio, something I know a lot about. You’ve probably seen my log cabin studio in various videos before so in order for this series to look and feel different I bit the bullet and built my dream textured backgroundKings-of-Sussex-5

The Plan
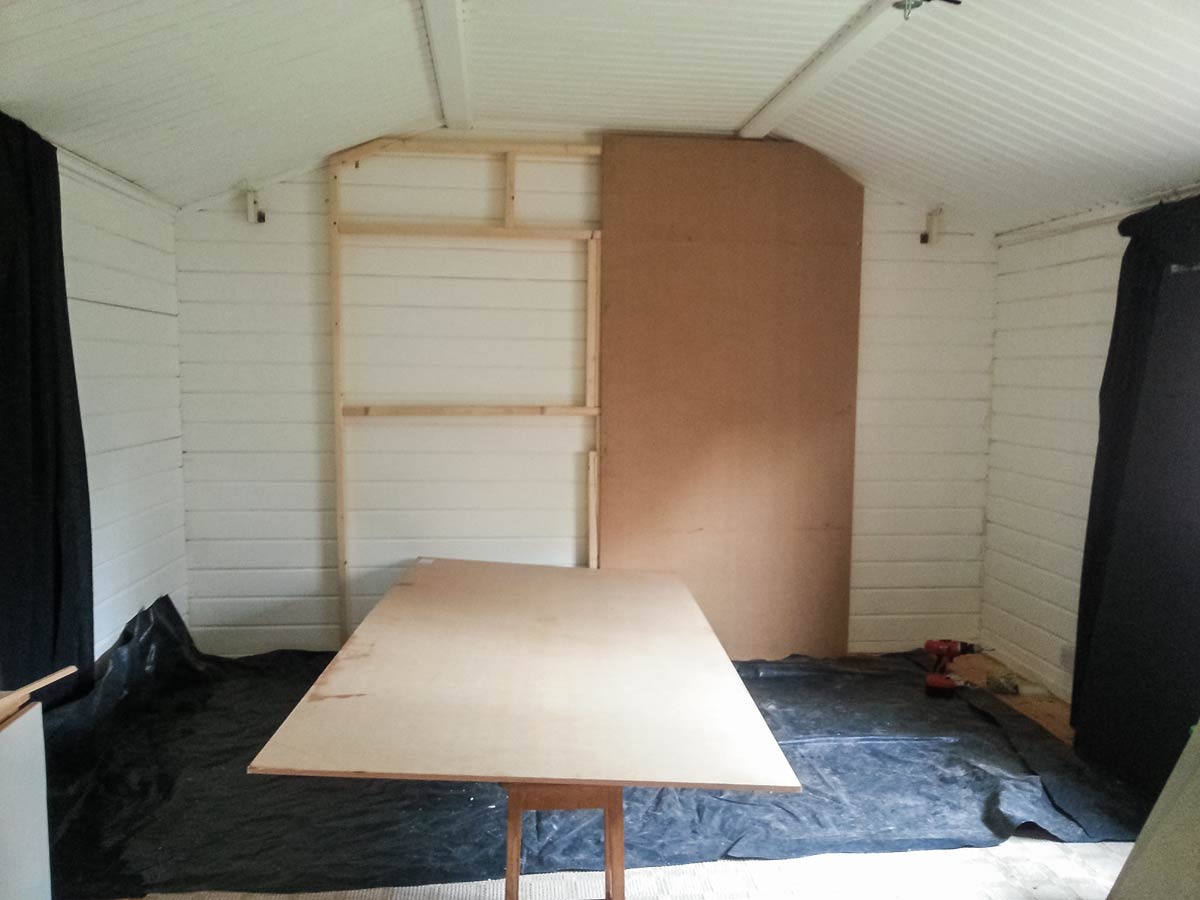
I’m a reluctant DIY guy, so if you’re looking for plans, specifications and a fool proof guide to building a background this ISN’T it. After clearing out my old background and removing anything breakable from the area I went online and ordered a bunch of stud work timber, two 2400mmx1200mmx12mm sheets of MDF and three 2400mmx800mmx18mm T&G chipboard sheets for the floor. I ordered them from a well known DIY store chain, paid a whopping £25 for next day delivery and got them four days later… but that’s another story.

DIY-Background-2

The Build
The idea was to make the background 8 feet (2.4 meters) square but my studio roof height made that impossible, so the frame work “evolved” to fit my needs. One thing I know all too well is log cabins move, even heavy duty ones like mine. So my background is almost free floating rather than permanently attached to the wall.

The MDF panels needed the corners cut too (wearing a mask to avoid inhaling the dust) and screwed to the frame.  I then primed the MDF with a coat of PVA glue and water mixed together and left it to dry overnight.

The Texture
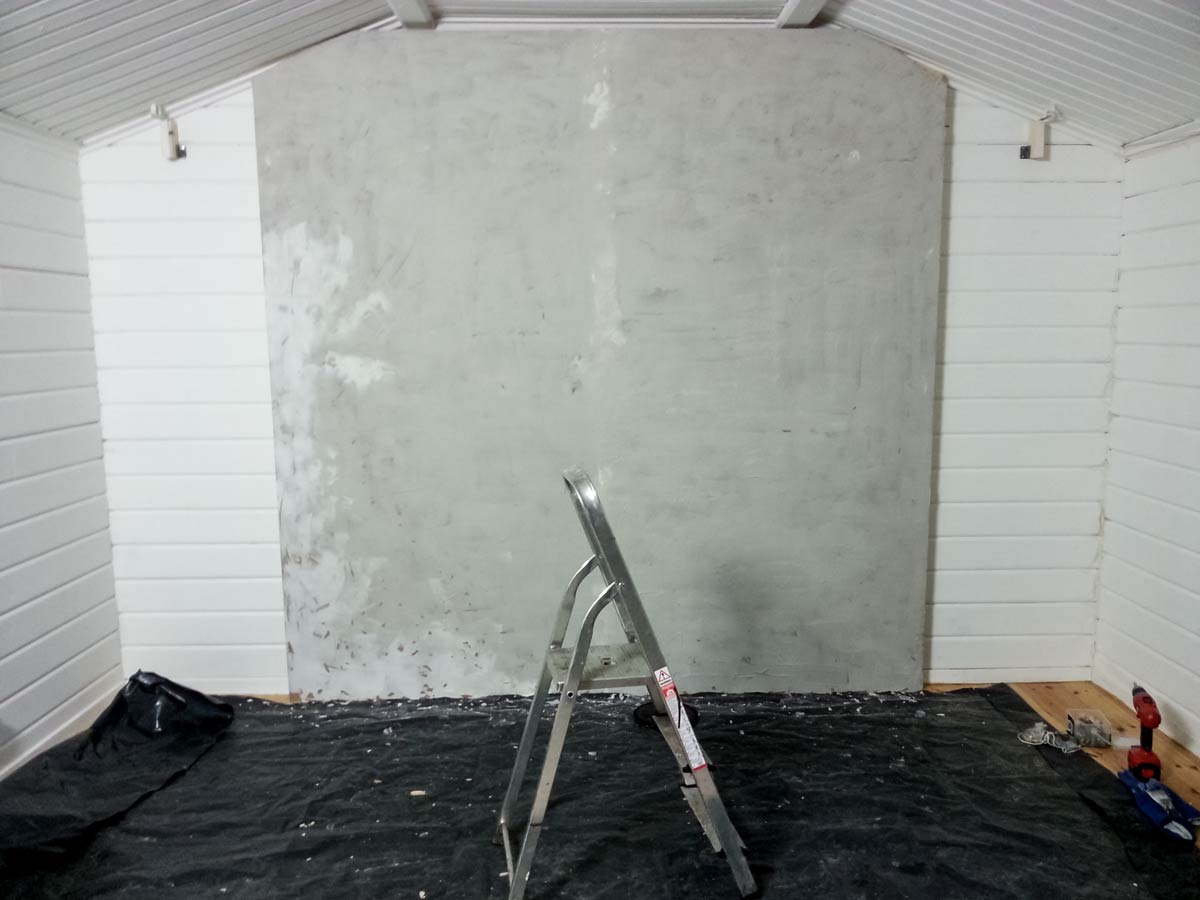
The texture I was going for was a grainy concrete feel. Choosing what material to use was tough. I had no idea of what might work best but I knew it would need to stick to vertical surfaces and be flexible enough to withstand a few knocks without cracking too much or bits falling off.

I settled on a flexible tile adhesive from Dunlop. It did everything I needed and best of all it was pretty cheap.  All I had to do was slap it on the MDF and try not to get it too smooth or too rough, not as easy as you might think. Too smooth and the effect would be lost, too rough and it could do some damage to a model or their clothes.

DIY-Background-3

Finishing Touches
Once dry the last job was to give it a coat or two of Matt Grey paint which was randomly added to with a lighter colour for a mottled effect. The mid grey colour is perfect in a small studio as I can add or restrict light to make it appear black or white. I can even add gels to my lights for a splash of funky colour if required.

All in the cost was around £100 for materials and about three days’ work.

In Use
The end results is perfect for my needs. With hindsight I’m not sure MDF was a great choice of wood but it’s working for me.

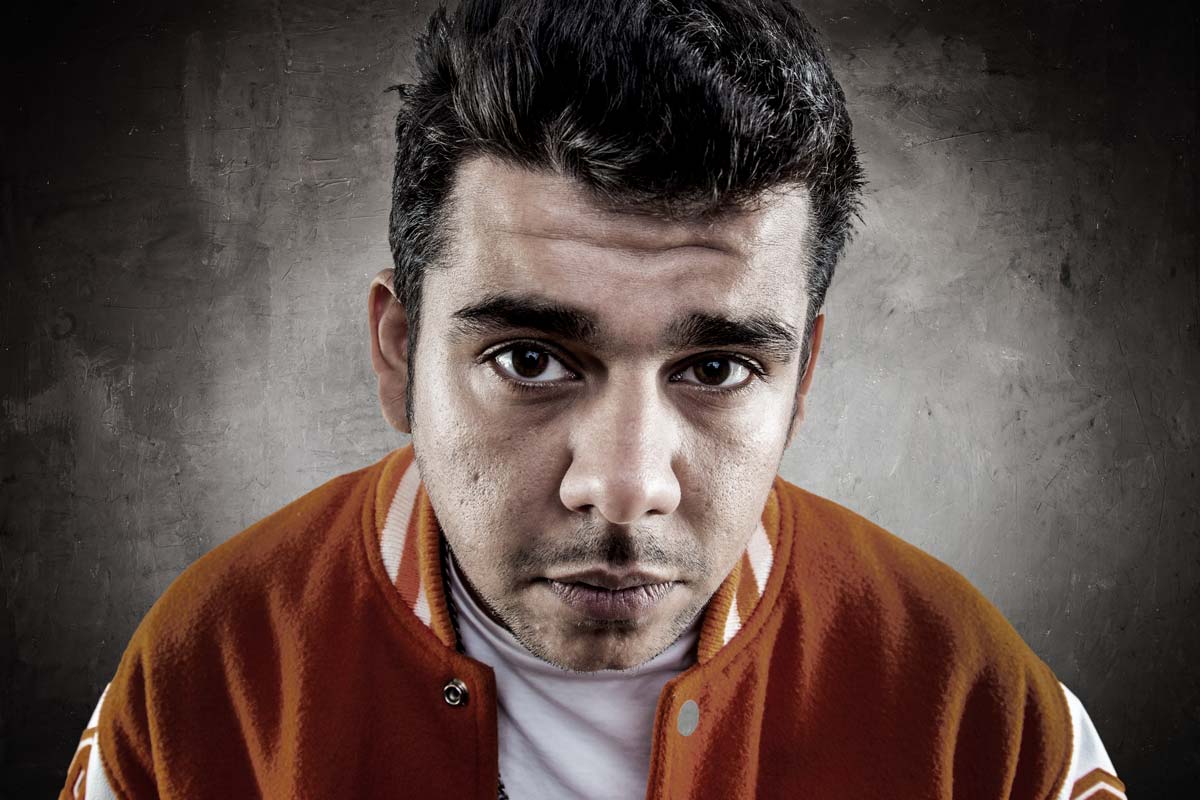
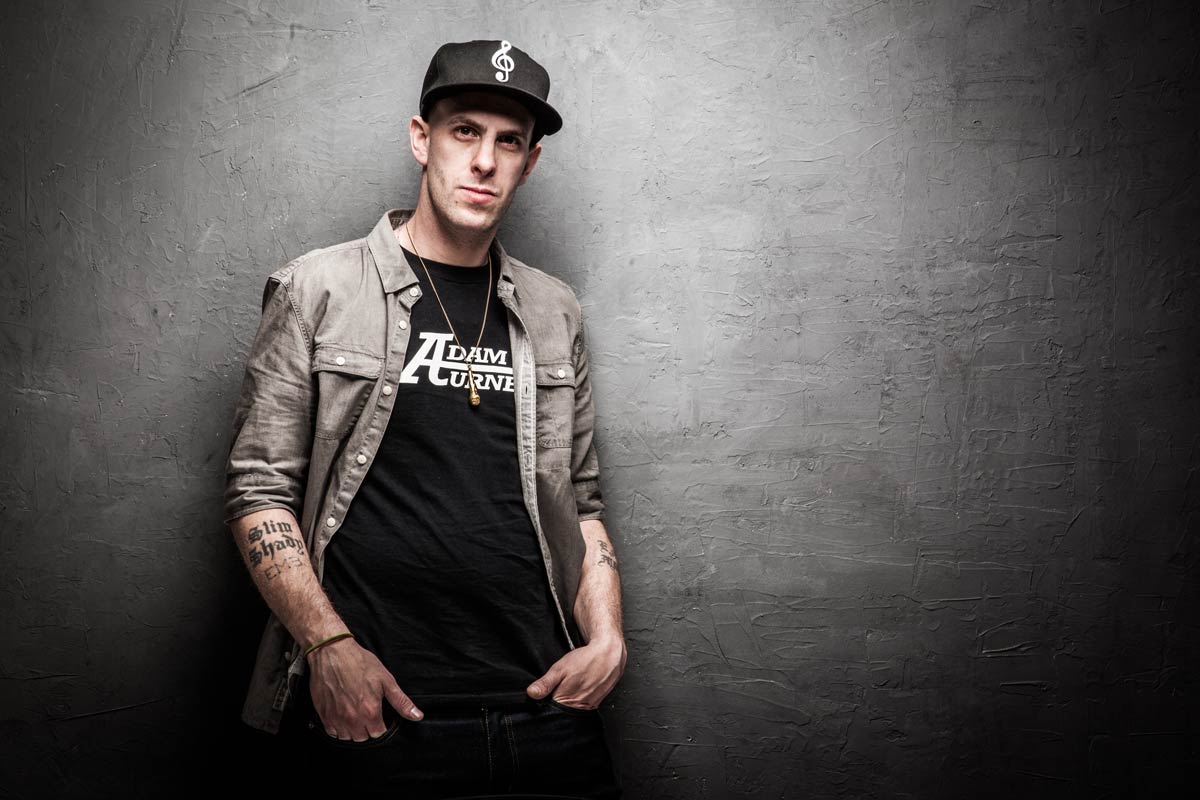
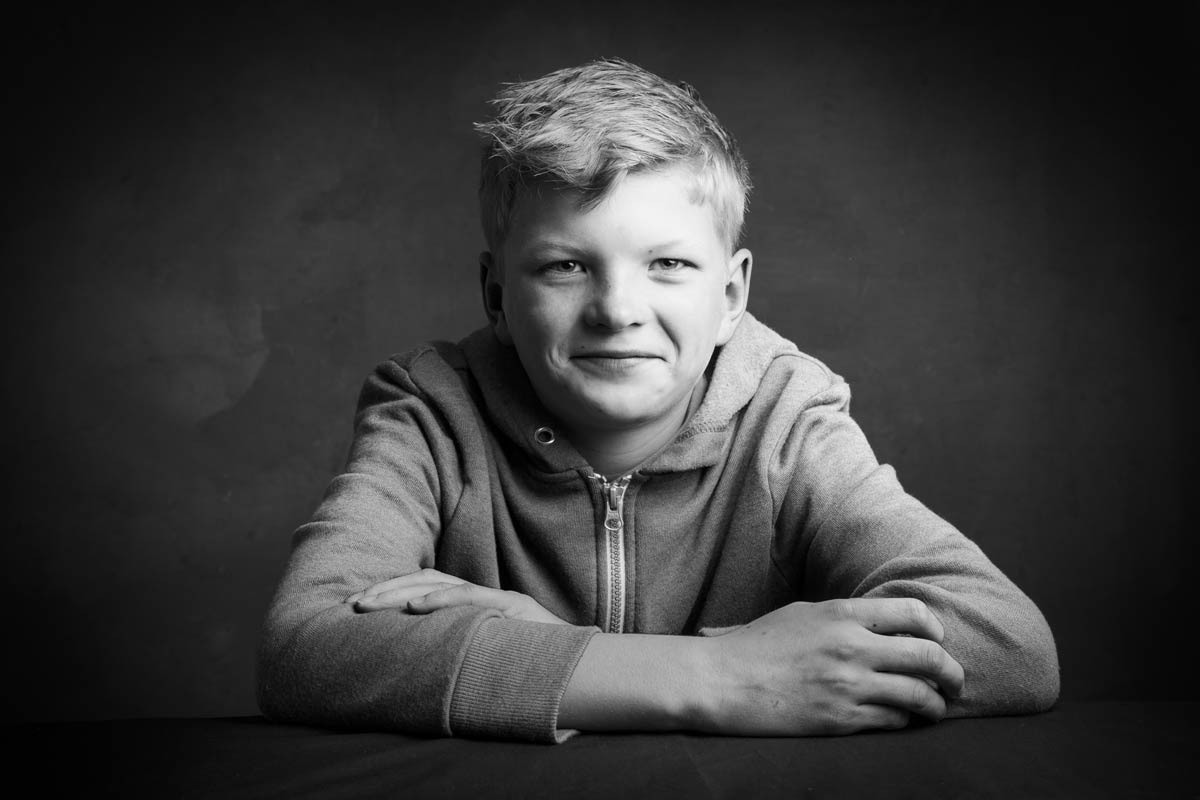
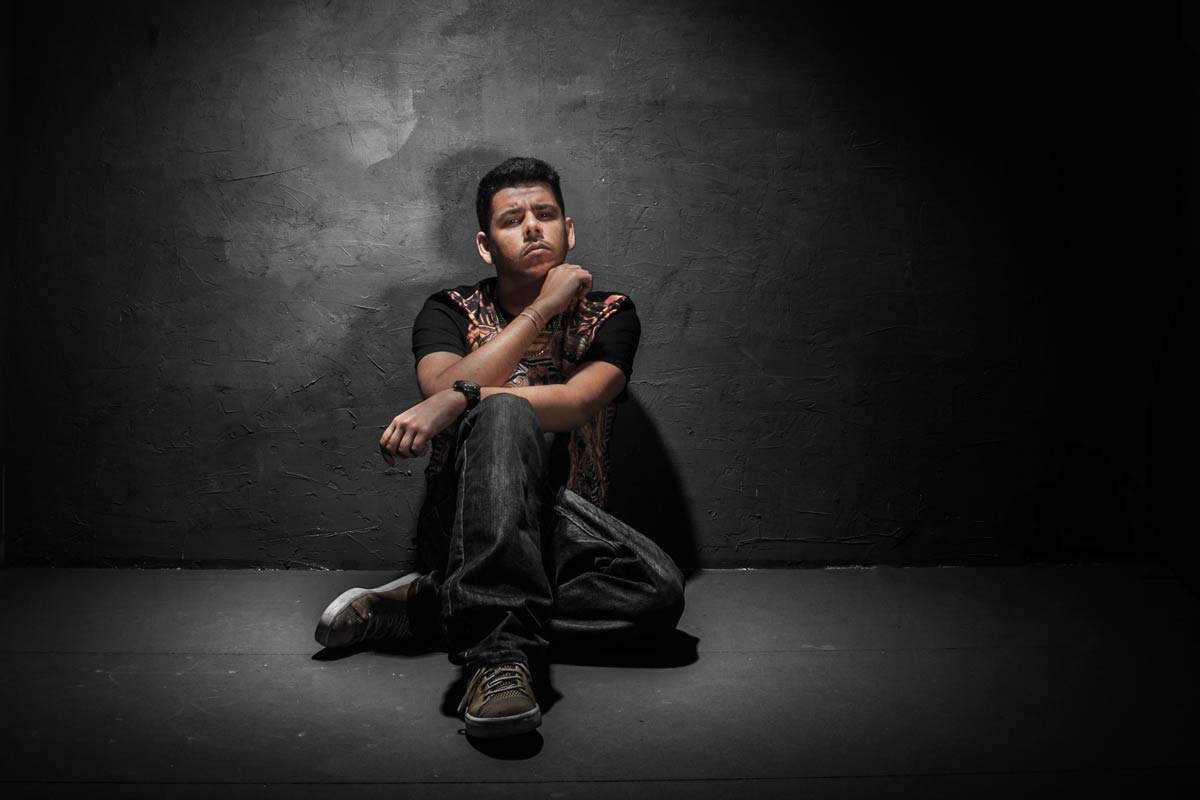
Here’s a few photos of the background in use!

Kings-of-Sussex-3
Joel-1


IF-E-1

Walking Brooklyn Bridge

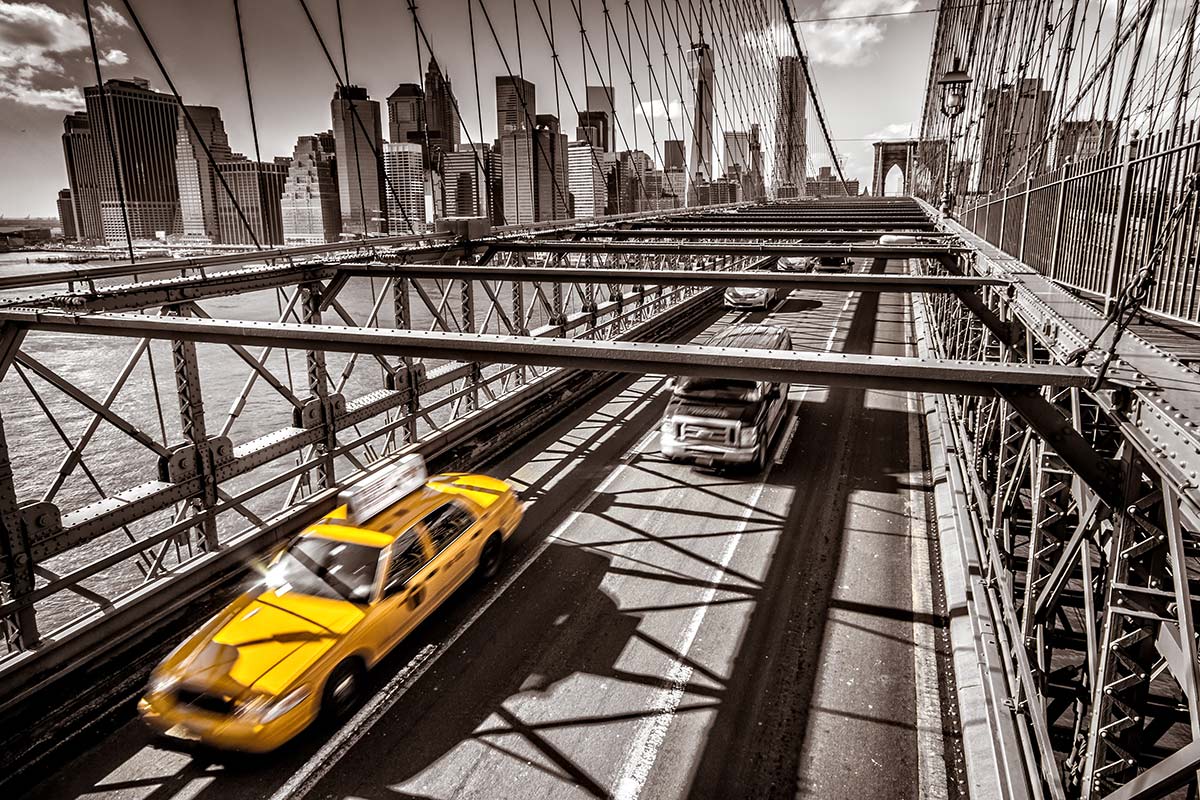
It’s been just over two months since I made a flying visit to New York and the third of my four videos from the visit has recently been released by Adorama. This time I take a walk around and part way across the iconic Brooklyn Bridge to see what photographs I can find.

Brooklyn-Bridge

To say the weather was cold is an understatement, in fact just a few hours earlier it had been snowing. Fortunately the weather cleared, the sun came out and the opportunity to visit the bridge was one I couldn’t resist.

[youtube]https://www.youtube.com/watch?v=PLsKdJIsHT8&list=UU8Pksdbj37CdE00kmE7Z1dw[/youtube]
Can’t see the video? Click here http://youtu.be/PLsKdJIsHT8

I have to say a huge thank you to Claude, Adorama’s video guy. It was thanks to his local knowledge and ability to work in sub zero temperatures that made this video possible.

Equipment used in this video (Links to Adorama)

Canon 60D http://www.adorama.com/ICA60D.html?KBID=67338

Sigma 10mm-20mm http://www.adorama.com/SG1020EOS.html?KBID=67338

Four Parts Action

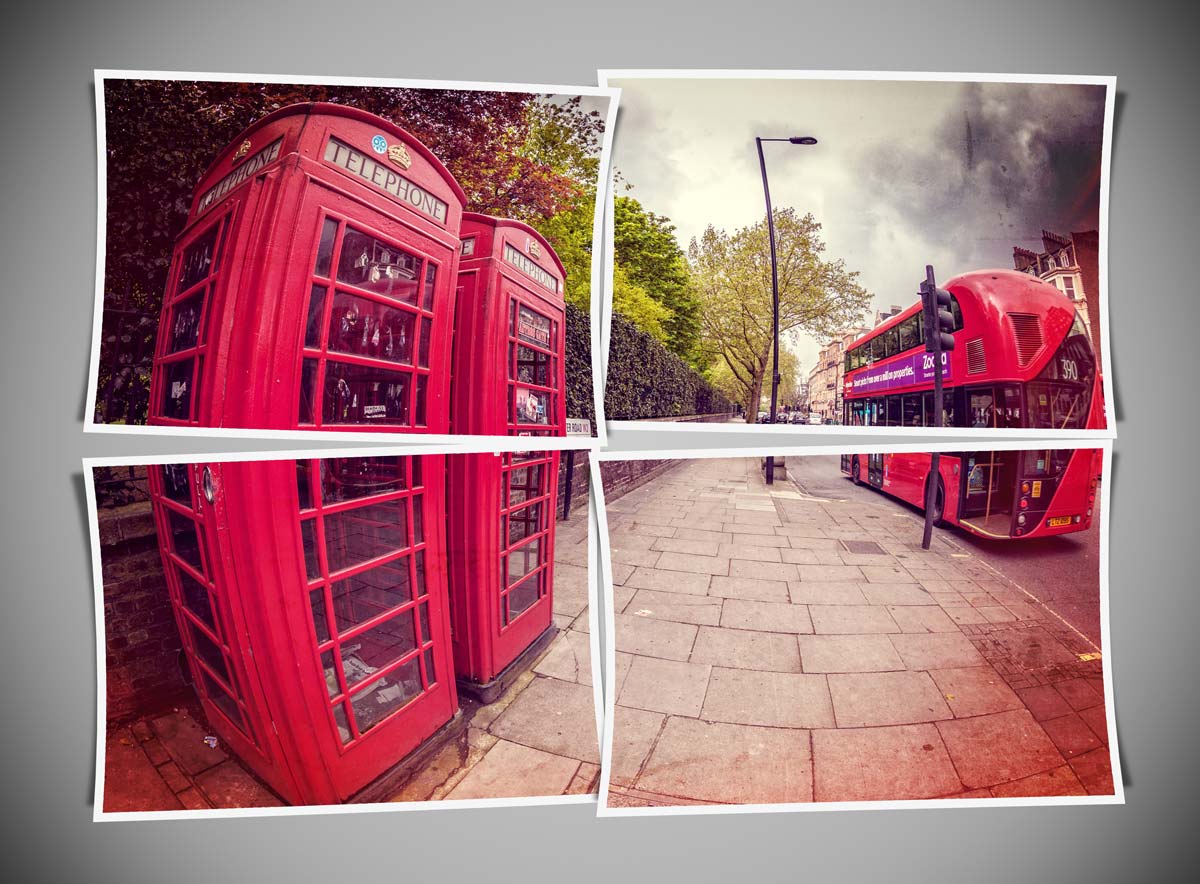
The idea with this Friday Freebie is really simple, take one photo, cut it into four equal parts and give each bit a twist or two. Well that was my plan when I started making this action but I just had to go one step further. So not only do the four parts get a twist but I also added a slight bow and simple shadow to create a feeling of depth. The best part is, all this happens with just one click of the mouse.

You can download the action here: four-parts-gavtrain.zip
Four-Parts---Gavtrain

To use the action, start with the photo you wish to chop up already open in Photoshop and then play the action. The first thing it does is make a copy of your photo so the original will be untouched and safe. There’s a lot of things for Photoshop to do with this action so it may take a minute or two to run through. As with most actions, the size of your image will effect the final effect. The photo above was 3000 pixels on the long edge but you can go bigger or smaller if you wish. The main difference will be the border size, so I’ve left the layer styles open and you can alter the border (Stroke) thickness at the end if you wish.

The action will work with Photoshop CC, CS6, CS4, CS4 and CS3 but WILL NOT work  with any version of Elements, sorry.

Usage rules
The action is copyright Gavin Hoey 2014. Use is limited to any personal, non-commercial purposes. Please share the Friday Freebie by linking back to this page. Do not redistribute the original action without my permission.

Download instructions
The direct link to download the actions is https://www.gavtrain.com/wp-content/uploads/2014/04/four-parts-gavtrain.zip

No support is provided with the Friday Freebies. If you need help Google or YouTube the question and you’ll almost certainly find the answer 🙂

Speedlights, brollies and zooming flashes

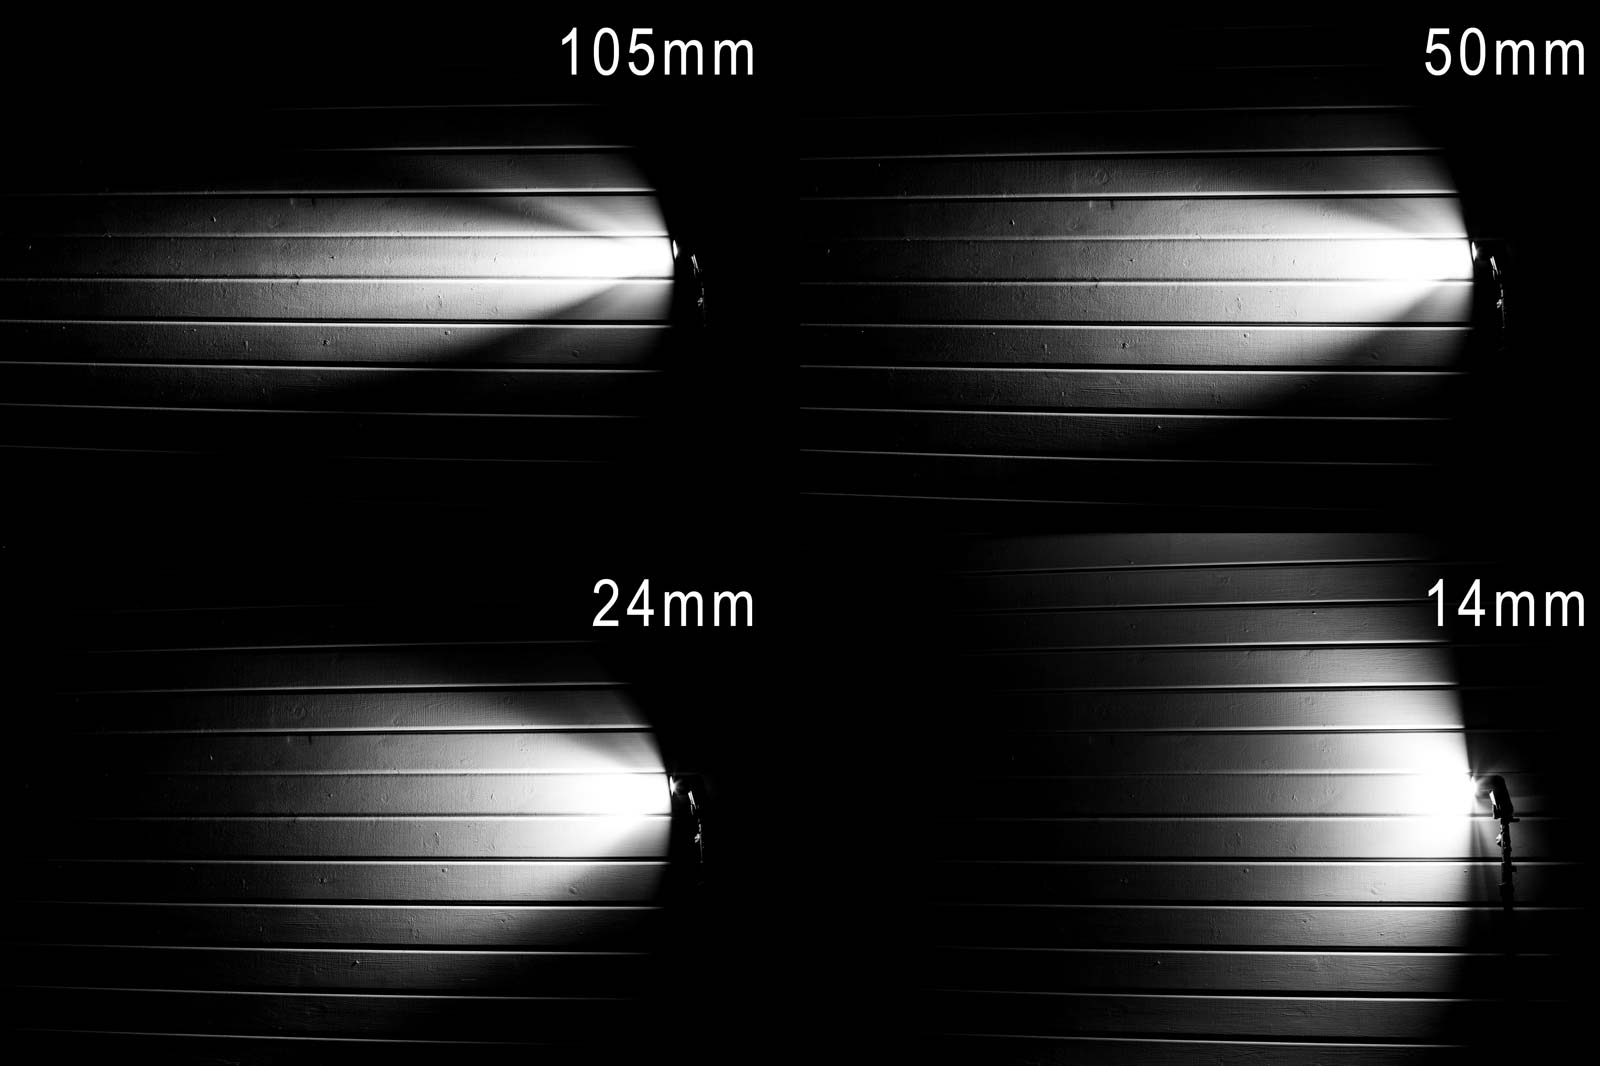
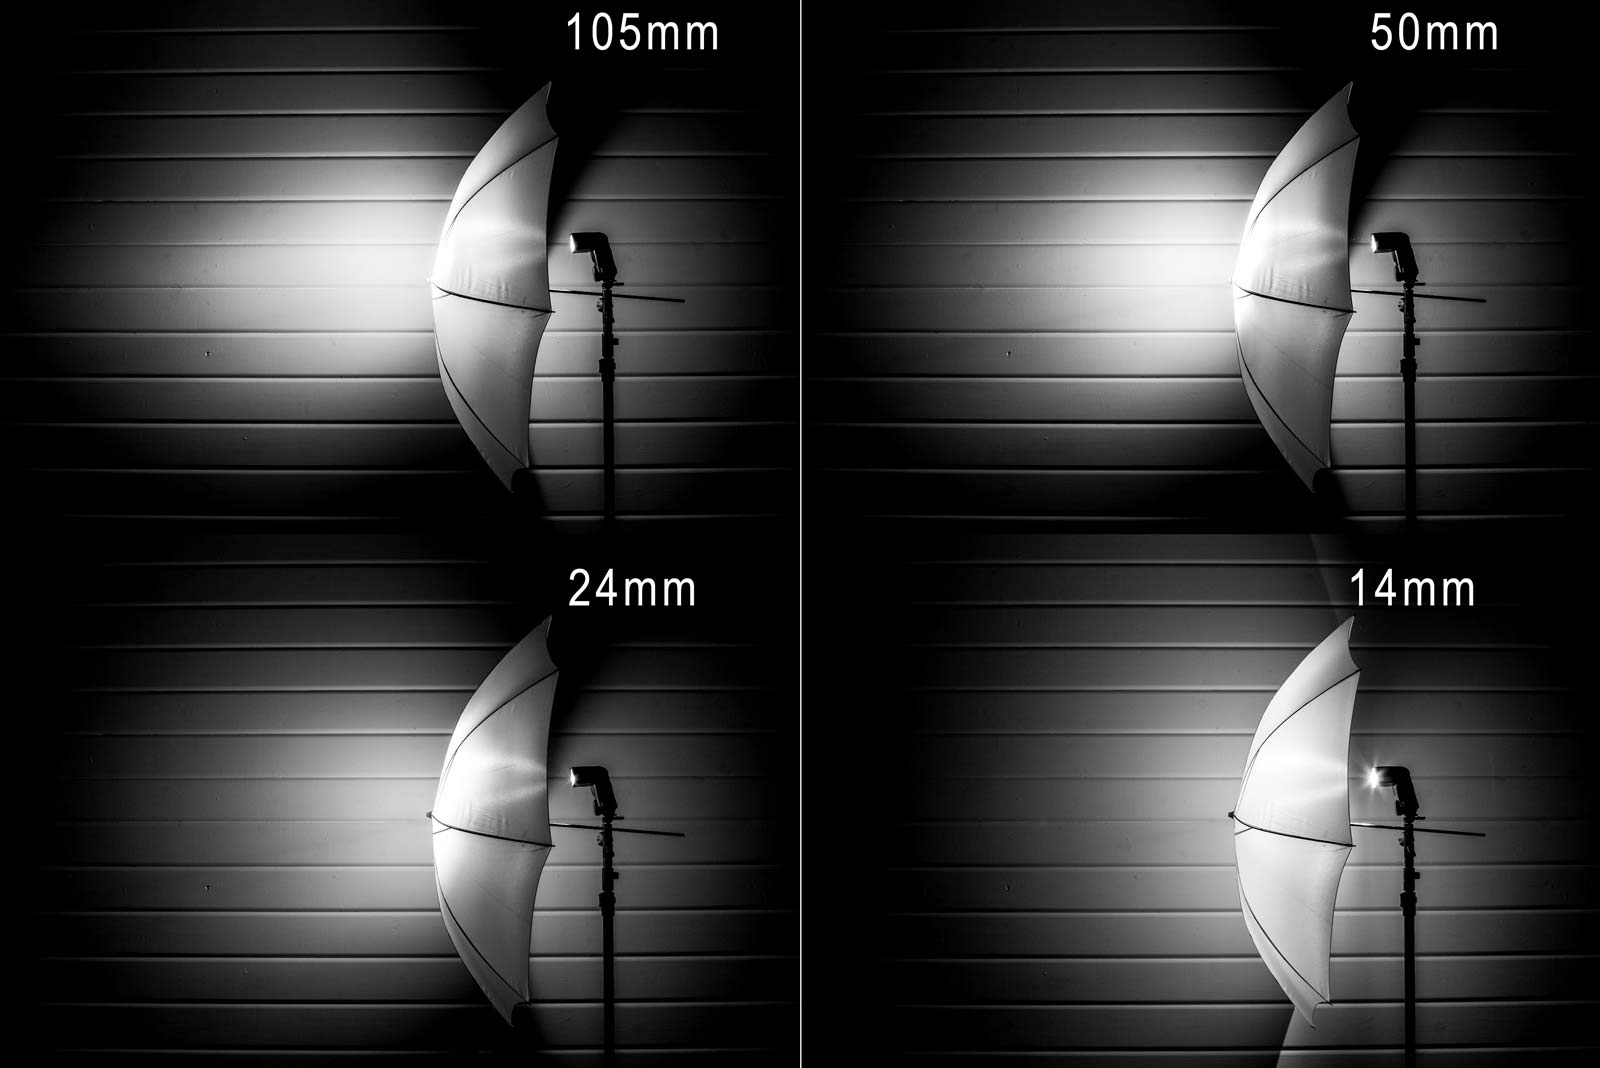
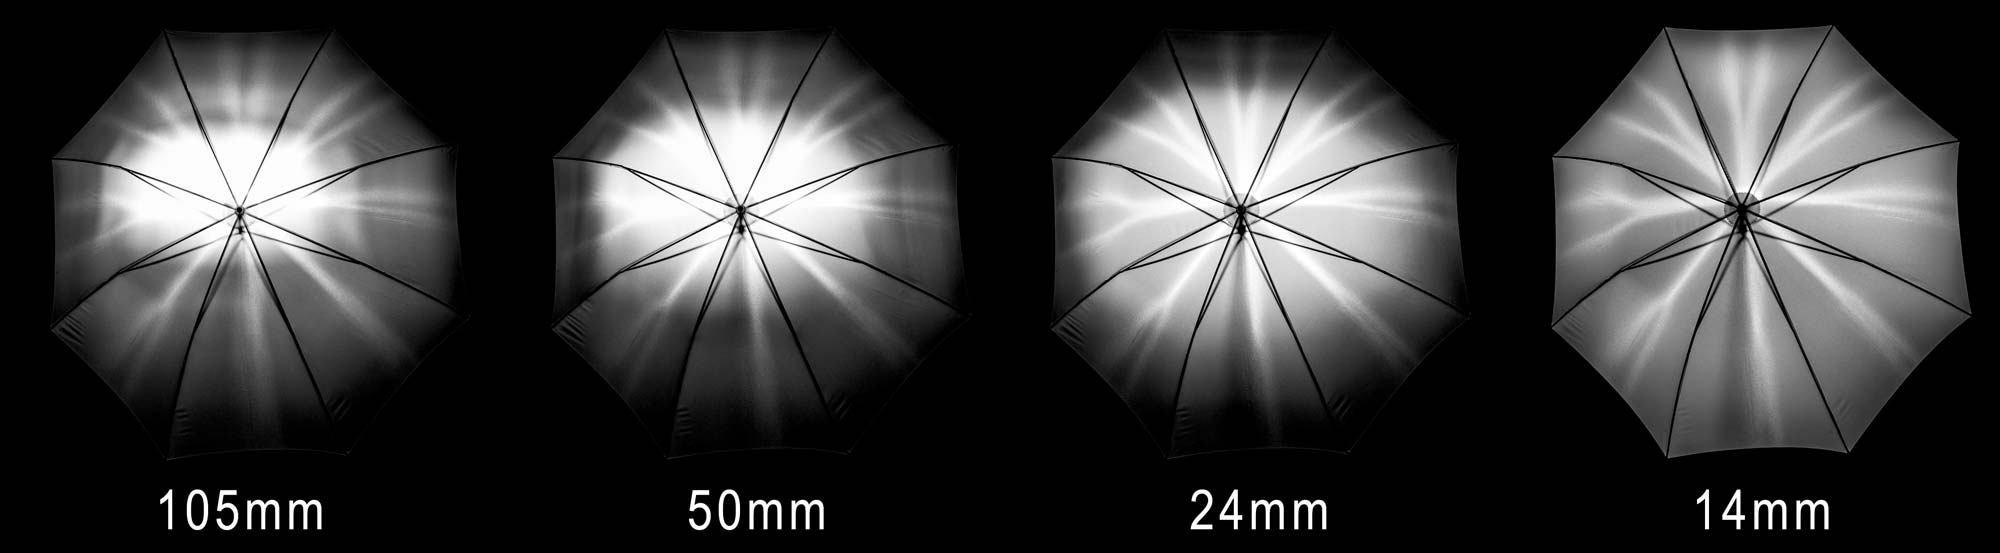
If you’ve used a Speedlight then you’ll have spotted the zoom setting which can be used to make the spread of light from the flash match the angle of view from your lens. When it comes to on camera flash that’s great news as it helps to maximise tFlash-Bare-1he efficiency of the flash but go off camera and it’s something that can easily get over looked. Setting the zoom for off camera speedlite work is one of the handy tools in a photographer’s bag of tricks. It can be used to shape the light into a tight rectangle or spread it wider and rounder. Most speedlight’s even have a pull out diffuser for a crazy wide spread of light. So what should you do with the zoom setting when you’re shooting your flash into an umbrella or softbox? In a nutshell I tend to zoom out to the wider end of the flashes zoom range but I wanted to see how things changed at different zoom settings so I did a little experiment. Flash-Brolly-1 Let’s start with the side view. At my Canon 580EXII’s maximum zoom of 105mm the flash is diffused fairly well but it’s noticeably bright in the centre with a lot of fall off at the edges. Things don’t change much even at 50mm zoom but by 24mm zoom the light spread from the umbrella is a lot more even. Flip out the wide angle diffuser and zoom reads 14mm, now that’s wide! The resulting light is amazingly soft and diffused but it’s so wide it actually passes the edges of the umbrella completely! Flash-Softbox-1 It’s the front view which probably make things clearest. The hot spot at 105mm to 50mm is clear to see. At 24mm the flash coverage is better but at 14mm it’s very VERY even. So what conclusions can I draw from this? Well the obvious one is don’t zoom the flash when using an umbrella or softbox. 14mm looks very tempting but one thing to note is the flash power was roughly a stop less than at 24mm. So I’ll be sticking to 24mm for my brollies but I might consider going for 14mm in softboxes when I can accept shallower depth of fields or higher ISO in my photo.