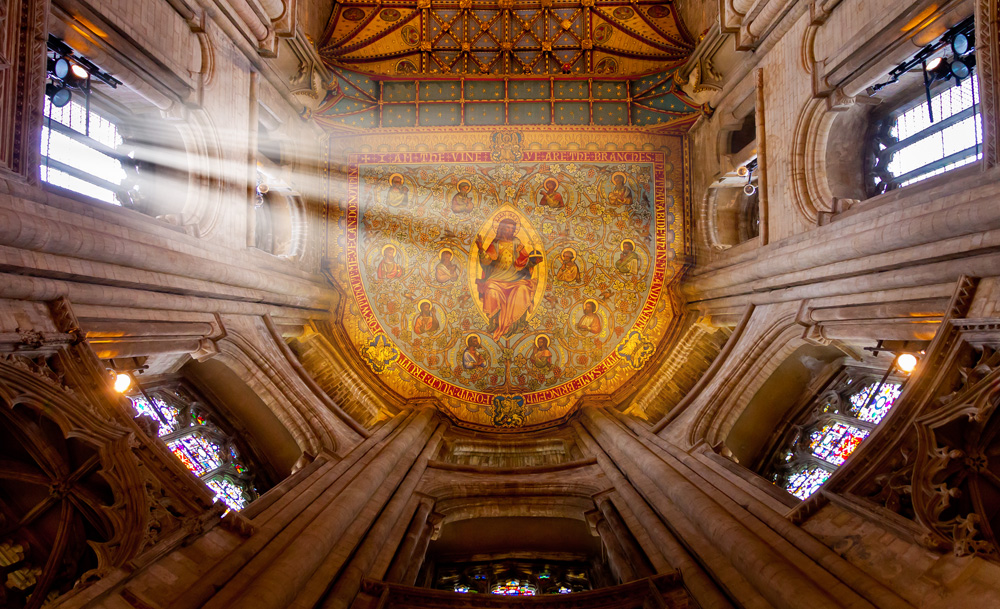
35mm Film Template

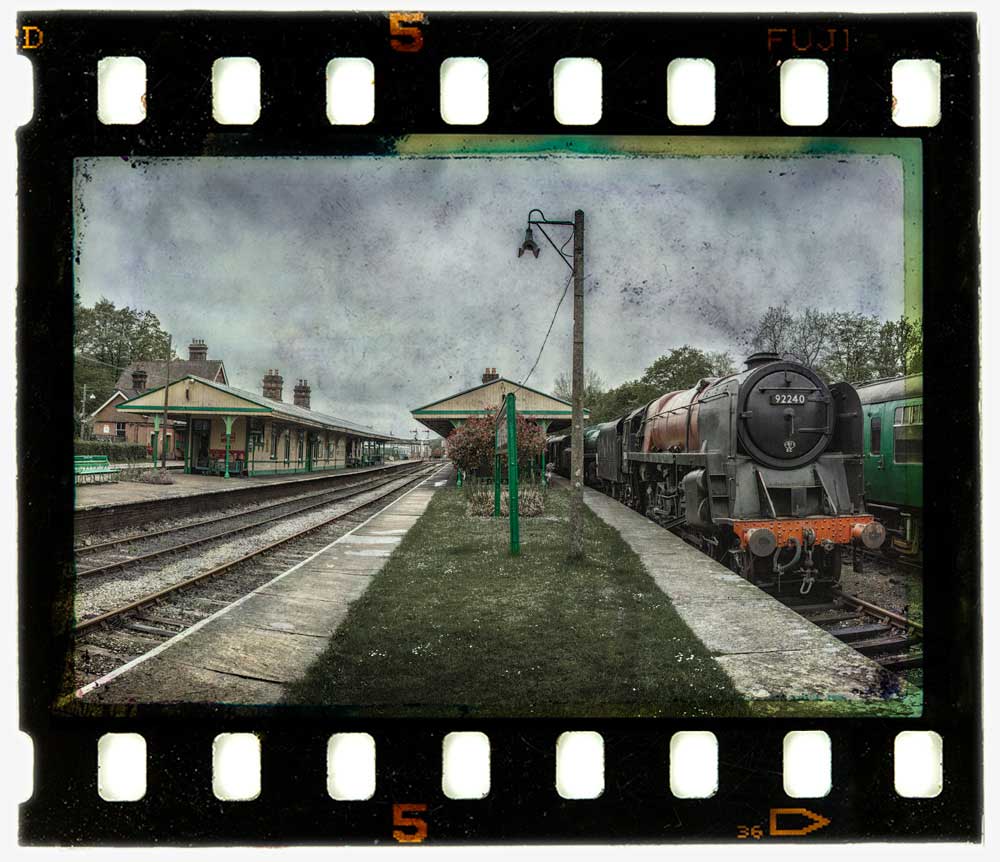
35mm-film-finalI found this weeks Friday Freebie whilst sorting through a pile of old slides I had gathering dust in my office. I’d used this one during the ’90’s in what was known at the time as a “slide sandwich” and was simply two slides pressed together to create a new third image when projected.

Full download instructions are below but you can also
Click Here To Download the 35mm film template

Although the days of the slide sandwich are far behind me, the technique of combining two (or more) images together is alive and well in Photoshop in the form of layers. To make life a little easier I’ve created a template from the 35mm film complete with a note of where your own photo should be added, a blending mode that should work with most photos and a grungy layer mask for if you need to reduce the texture from the centre of the film. Of course you can also change everything if you want.

At 5000 pixels on the longest edge and with lots of fine textured detail, this weeks Friday Freebie PSD template comes in at around 70mb. If you’re not on a fast internet connection if might take a few minutes to download.

As always, if you create a photo using the Friday Freebie then let me (and everyone else) know by leaving the link in the comments below.

Usage rules
The image/template is copyright Gavin Hoey 2013. Use is limited to any personal, non-commercial purposes. Please share the Friday Freebie by linking back to this page. Do not redistribute the original image/template without my permission.

Download instructions
Click the link https://drive.google.com/file/d/0B_Mmmm3K1utNNXpONGJGTk9WUkU/view?usp=sharing

1. Click the Download button download_icon

2. The download should start automatically

3. Save the template to your hard drive

4. Open in Photoshop or Photoshop Elements

5. Paste your photo BELOW the 35mm layer
Light Ray Brushes

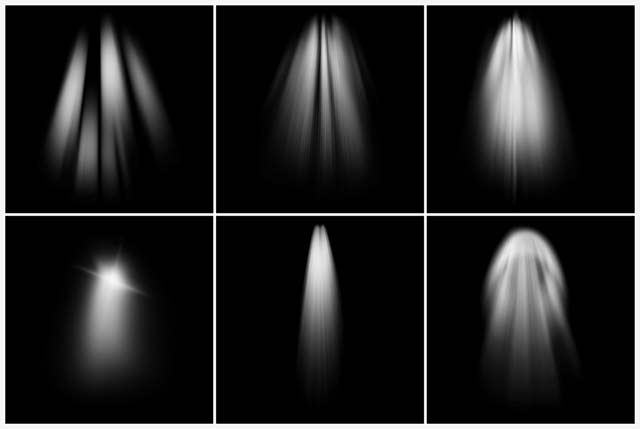
FF-Light-FinalThis weeks Friday Freebie is a set of Photoshop Brushes that create amazing beams of light at the click of a mouse.

Full download instructions are below but you can also
Download the brushes for
Photoshop CS6 and Photoshop CC

Download the brushes for
Photoshop CS5 and earlier 
(Also works with Elements)

If you’re wondering why there are two versions, maximum brush sizes in Photoshop CS6 (and in Photoshop CC) are twice as big as CS5 and earlier. To take advantage of this I’ve created two sizes of brush… be sure and download the correct one.

Once you’ve downloaded and unzipped the brushes they’ll need to be installed. The easiest way to do that is by opening the Brush panel and clicking the flyout menu in the top right corner. Click Load Brushes… and navigate to the light ray brushes that you downloaded and unzipped. Click here see a copy of the menu and information on where to click

FF-Light-Thumbs

If you create a photo using the Friday Freebie then let me (and everyone else) know by leaving the link in the comments below.

Usage rules
The brushes are copyright Gavin Hoey 2013. Use is limited to any personal, non-commercial purposes. Please share the Friday Freebie by linking back to this page. Do not redistribute the original image without my permission.

Download instructions
Click on the correct download link below to take you to the download page (no sign up is needed)
Download the brushes for
Photoshop CS6 and Photoshop CC

Download the brushes for
Photoshop CS5 and earlier

1. Click the link above

NOTE: You may see a message saying “There was a problem with the Network” Just ignore it

2. Click the Download button

3. Save the zip file to your hard drive

Weave Template

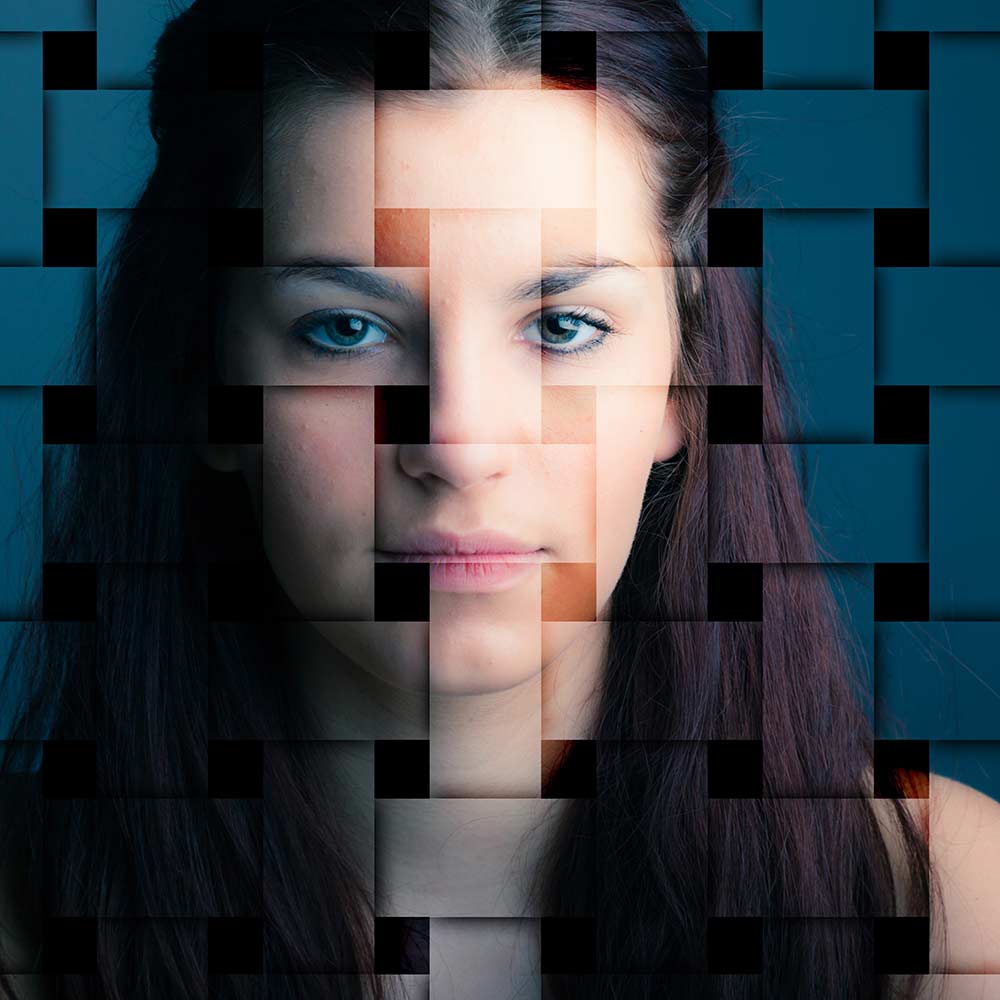
weave-KeylineThis weeks Friday Freebie is a weave effect image that adds a amazing 3D pattern to your photos, as you can see here.

Full download instructions are below but you can also
Click Here To Download the weave template

The weave template is a simple JPG image. I’ve made it in a square shape but it’s also very large at 5000 pixels on each side, so it’s easily adapted to both portrait and ladscape format images… as well as square ones of course 🙂

Once you’ve downloaded the template all you need to do is paste it over your image and resize it with Free Transform (CTRL+T) if required. Change the layer blending mode from Normal to Overlay and you’ll achieve a result like this. Howver this template works with loads of blending modes and I urge you to experiment, you’ll be amazed just how many variations there are!

If you create a photo using the Friday Freebie then let me (and everyone else) know by leaving the link in the comments below.

Usage rules
The image is copyright Gavin Hoey 2013. Use is limited to any personal, non-commercial purposes. Please share the Friday Freebie by linking back to this page. Do not redistribute the original image without my permission.

Download instructions
Click the link https://drive.google.com/file/d/0B_Mmmm3K1utNVDNhZWlNWmw3dlU/view?usp=sharing

1. Click the Download button download_icon

2. The download should start automatically

Smoke video clip

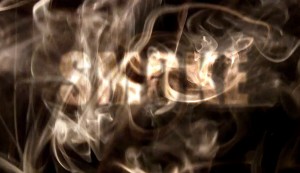
Smoke-SG1This weeks Friday Freebie is in two parts as I’m giving away a 30 second video clip of smoke and a tutorial on how to use the clip to create a simple animated text effect in Photoshop CS6

Full download instructions are below but you can also
Click Here To Download the smoke video clip

You can preview the video clip by clicking here

One of the headline new features of Photoshop CS6 is its ability to edit video clips with exactly the same skills you’d need to edit photos. Unlike Photoshop CS5 the video editing is available to all version of Photoshop CS6 not just the extended version.

Now I know most photographers are yet to embrace video and it’s certainly a very different discipline to learn but if you fancy trying your hand at video then this weeks Friday Freebie is for you.

Usage rules
The video clip is copyright Gavin Hoey 2013. Use is limited to any personal, non-commercial purposes. Please share the Friday Freebie by linking back to this page. Do not redistribute the original video clip without my permission.

Download instructions
Click the link https://drive.google.com/file/d/0B_Mmmm3K1utNbzNDc0E3ZWhNc28/view?usp=sharing

1. Click the Download button download_icon

2. The download should start automatically

Once you’ve got the video you’ll need something to do with it. There’s plenty of ways you can use the clip but to get you started here’s a quick and simple text animation effect.

[youtube]http://youtu.be/sfQfPoTs64U[/youtube]

Slate Board Template

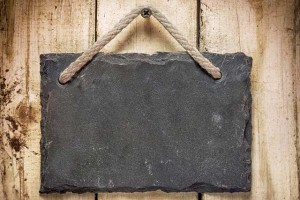
FF-SlateThis weeks Friday Freebie is this slate board template. I found it in a cupboard whilst I was rummaging around looking for something completely different but as soon as I spotted this I knew it would make a great vintage template for all your retro styled photos.

Full download instructions are below but you can also
Click Here To Download the slate board template

I can imagine this template being used in lots of ways. You could paste on your own photo, resize it to fit over the slate and blend it in with a layer blending mode such as Overlay. Any photo should work but it probably lends itself best to a timeless, vintage style image.

Alternatively you could keep the template exactly how it is now and just add some text in Photoshop. Think of it as a chalkboard where you can write something witty or poignant… perfect for Facebook!

If you create a photo using the Friday Freebie then let me (and everyone else) know by leaving the link in the comments below.

Usage rules
The image is copyright Gavin Hoey 2013. Use is limited to any personal, non-commercial purposes. Please share the Friday Freebie by linking back to this page. Do not redistribute the original image without my permission.

Download instructions
Click the link https://drive.google.com/file/d/0B_Mmmm3K1utNZ2lrRjczNV9QbW8/view?usp=sharing

1. Click the Download button download_icon

2. The download should start automatically

Free Chalk Texture

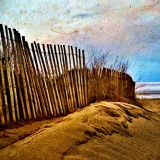
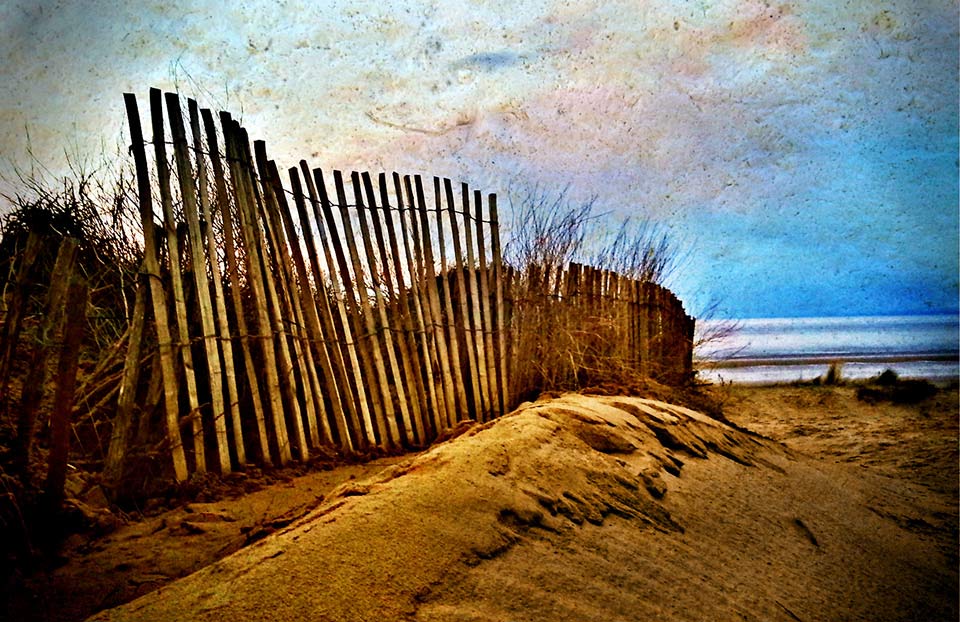
St-Marys-BayFor this Friday Freebie I’m going to share a brilliant texture that I photographed just a few days back. Despite it being a very recent image it’s already made it in to several of my images for one reason… It’s an image I shot with my phone!

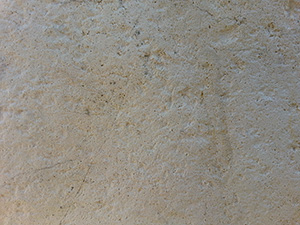
The texture is a close up photo of chalk that I found on a beach just outside Brighton in Sussex and it makes wonderful texture shots.

Full download instructions are below but you can also
Click Here To Download the Free Chalk Texture

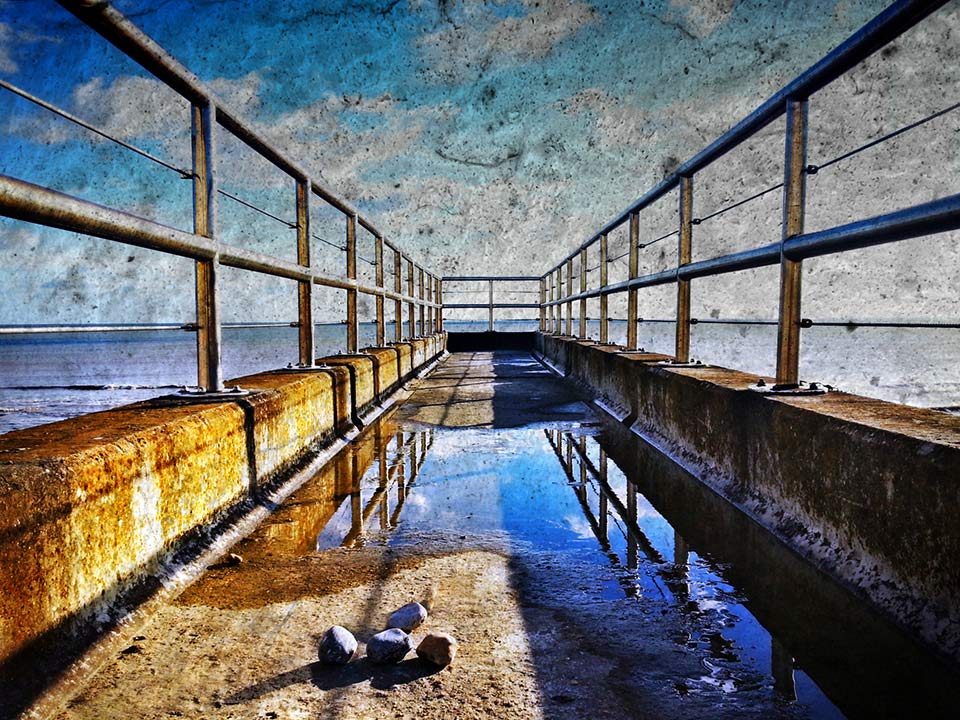
As with most textures, it works best with any photo that has large areas of light colour. I’ve found it particularly effective in landscape photos which feature plenty of sky. To apply the texture simply paste it over your photo and use Free Transform (CTRL+T) to resize it to your photo. Then change the layer blending mode to either Multiply or Overlay. Other blending modes will also work but those two are a good start. I’ve left the orgianal colour in the texture but you may wish to remove the colour or alter the colour to create a different look.

Chalk-Texture-LinkIf you create a photo using the Friday Freebie texture then let me (and everyone else) know by leaving the link in the comments below.

Usage rules
The image is copyright Gavin Hoey 2013. Use is limited to any personal, non-commercial purposes. Please share the Friday Freebie by linking back to this page. Do not redistribute the original image without my permission.

Download instructions
Click the link https://drive.google.com/file/d/0B_Mmmm3K1utNeGtRdlBDbm1jZ2s/view?usp=sharing

1. Click the Download button download_icon

2. The download should start automatically

PS-Touch-12-3-13The photos in this post were made in Photoshop Touch for Phone and I’m seriously impressed by what it can do. I’ll do a more in depth write up soon but for now let’s just say that at £2.99, it’ the cheapsest and most portable version of Photoshop you can buy.

It’s unlikely to replace full photoshop for me but I’m really impressed by just how good an image you can make whilst sitting in the car, which is where both these photos were editied. Photoshop Touch for Phone is avaiable in both iPhone and Android version but you’ll need a really up to date handset such as the Samsung Galaxy Note 2 that I use.

Painted Frame Template

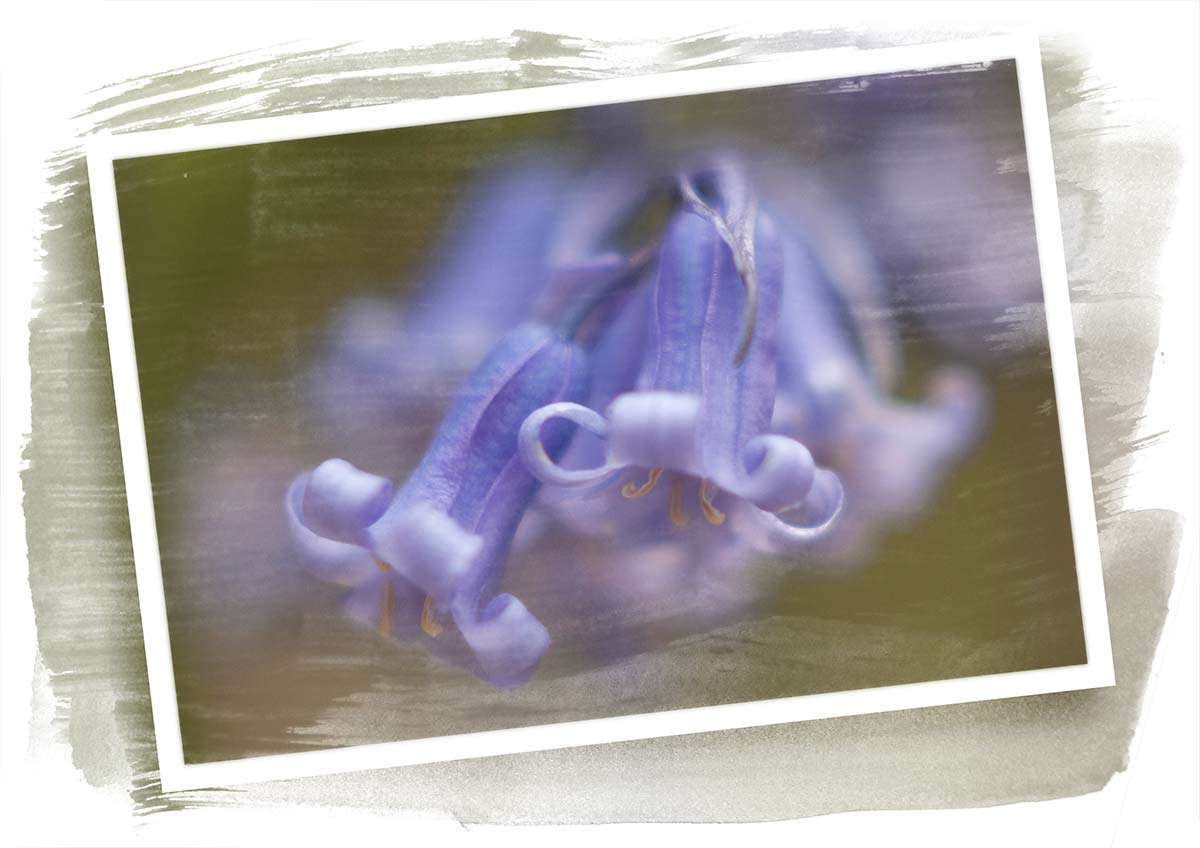
Painted-Frame-FinalHere’s a great Friday freebie for anyone who loves creating painterly effects.

The template is a simple JPG file which you can adjust to your own needs. For example you may wish to adjust the brightness using Levels or add a splash of colour with the Colorize option in Hue/Saturation. All you need to do is add your own photo over the whole image or just the framed area, then change the layer blending mode from Normal to Screen. Although the Screen blending mode will usually give you the best results, experimenting with other blending modes can yield some unexpected results which may be even better.

If you’ve had success with the template and you’d like to share your image with others, please pop a link in the comments section.

Download the Painted Frame Template

Usage rules
The image is copyright Gavin Hoey 2013. Use is limited to any personal, non-commercial purposes. Please share the Friday Freebie by linking back to this page. Do not redistribute the original image without my permission.

Download instructions
Click the link https://drive.google.com/file/d/0B_Mmmm3K1utNVnd4a2twTmNacW8/view?usp=sharing

1. Click the Download button download_icon

2. The download should start automatically

Mug Shot Background

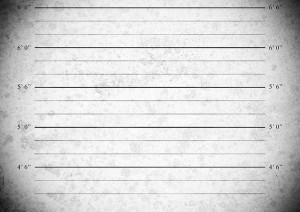
Mug-Shot-1Last week I released a video called two portraits, one light and ever since I’ve been getting a constant stream of requests to share the mug shot background I used in the final photo. The background was one I made a while back for a photography workshop using a combination of grungy textures and a bit of Photoshop know how.

The background is just a simple JPG file which you can adjust to your own needs. For example you may wish to adjust the brightness using Levels or add a splash of colour with the Colorize option in Hue/Saturation.

Download instructions are below and once again I’m sharing the JPG file through my Adobe Creative Cloud page. No sign up is required to get a copy of the template so you’re free to jump in and make your own triptych images.

Download the Mug Shot background by clicking here

Usage rules
The image is copyright Gavin Hoey 2013. Use is limited to any personal, non-commercial purposes. Please share the Friday freebie by linking back to this page. Do not redistribute the original image without permission.

Download instructions
Click the link https://drive.google.com/file/d/0B_Mmmm3K1utNb0duUlQ4eVZQMkk/view?usp=sharing

1. Click the Download button download_icon

2. The download should start automatically

Grungy triptych template

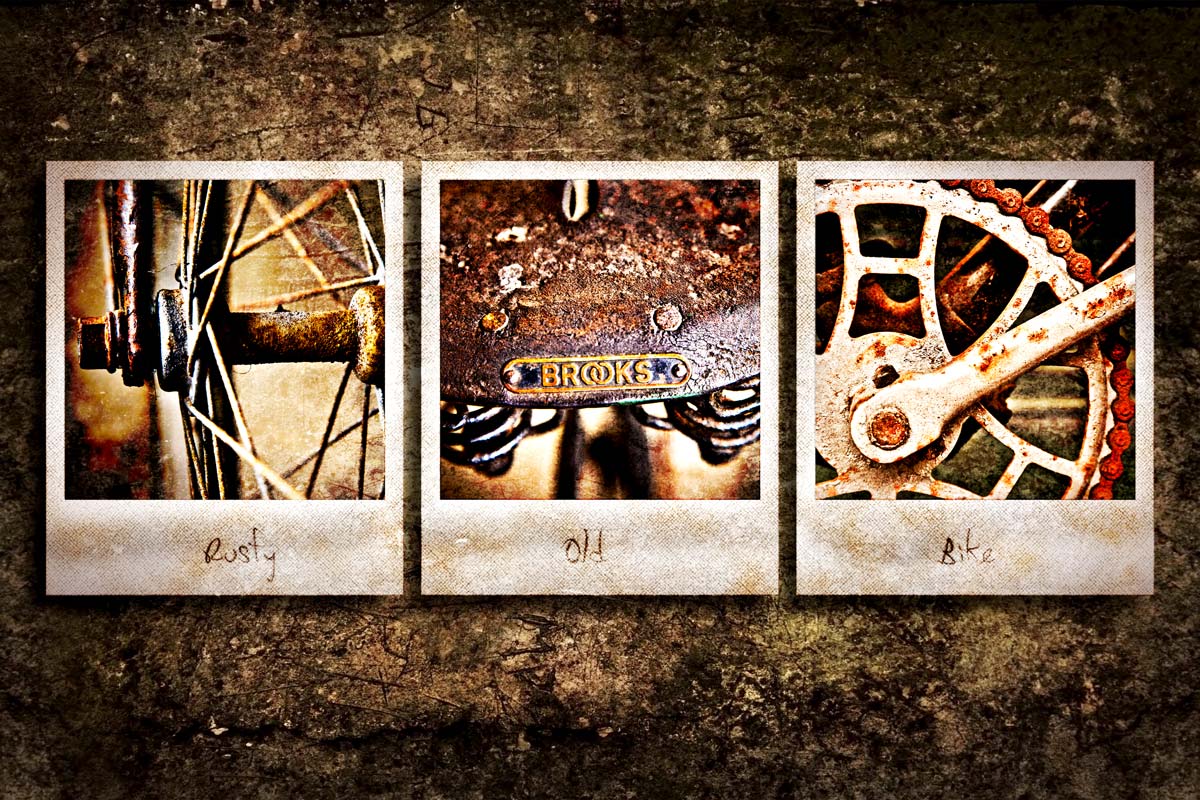
Rusty-Old-Bike-FFAs you take more photos, you’ll need to find more ways to display them. So todays Friday Freebie is a triptych template that uses up three of your photos in one go,

As you can see from the example here, the template has three spaces into which you’ll need to add your own images. An alternative would be to use one image but break it into three pieces. Download instructions are below and once again I’m sharing the JPG file through my Adobe Creative Cloud page. No sign up is required to get a copy of the template so you’re free to jump in and make your own triptych images.

Download the Grungy triptych template by clicking here

Download instructions
Click the link https://drive.google.com/file/d/0B_Mmmm3K1utNNzZPMHNQX0VVUG8/view?usp=sharing

1. Click the Download button download_icon

2. The download should start automatically

How to use the template
To add your own photo, first select and copy the photo you want to add. Then jump over to the template, Click inside one of the black squares with the magic wand tool and choose Edit – Paste Into (Edit – Paste Special – Paste Into in Photoshop CS5 & CS6)

You can then resize the photo before pressing enter to committing to the change.

Usage rules
Usual rules apply. The action is copyright Gavin Hoey 2013. You may use it for personal, non-commercial purposes only and please do not redistribute without permission. Thank you and enjoy Smile


Instant Snow Action

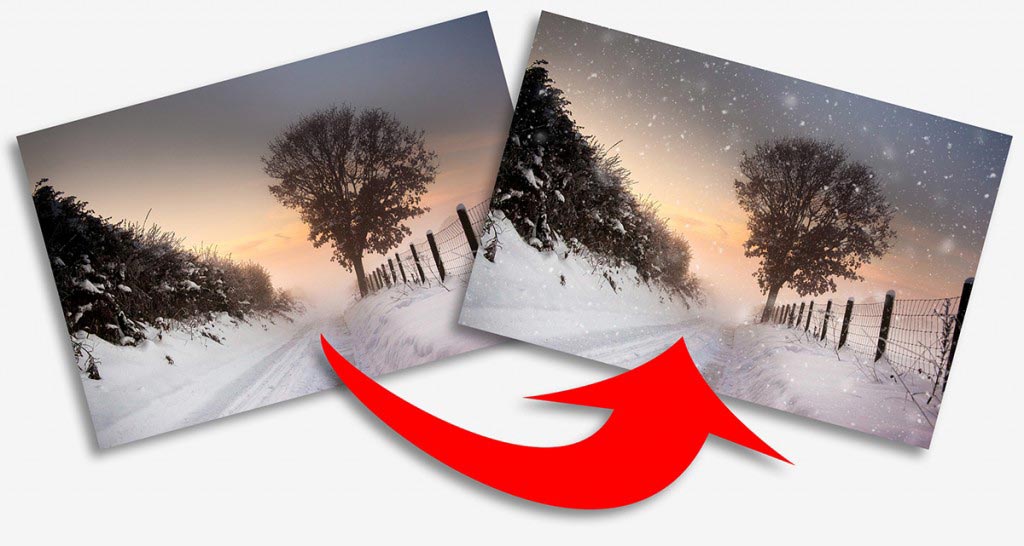
Here in the UK snow is something we get once or twice a year, which makes it a fairly rare event round these parts. So whenever snow arrives, everyone rushes out to build snowmen, go sledging and record the event with their cameras.

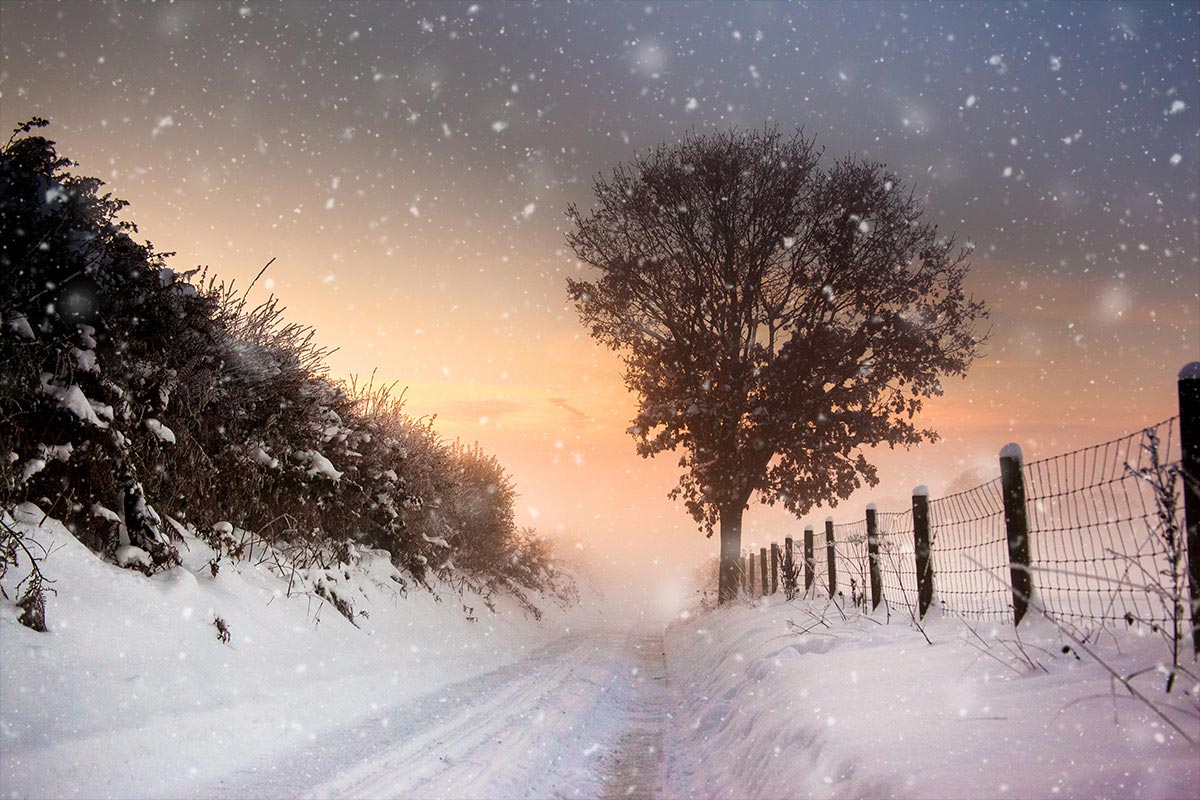
Instant Snow-1Now I realise some of you get snow all the time and some of you never see snow from one year to the next, but don’t let that stop you enjoying this weeks Friday Freebie.

You can download the action here: instant-snow

This is a one click action, so once you’ve unzipped it and installed it, you only need to hit the play button. The first thing the action will do is to make a copy of your photo and it’s the copy that gets the effect, leaving your original photo untouched.

The action will make three layers of snow and I’ve left all three layers active at the end of the action. That means you’re free to alter, adjust and tweak the snow in numerous different ways. Another nice feature of the action is the random nature of the snow. Put simply if you don’t like the snow the first time you run the action, just close the image down and run the action again and the snow will be different.

Usual rules apply:
The action is copyright Gavin Hoey 2013. You may use it for personal, non-commercial purposes only and please do not redistribute without permission. There is no support offered with this action and you use it at your own risk. Thank you and enjoy.

Instant Snow-2