Retro Cross Polarisation Effect

80s-Mix2Here in the UK we’re in the full grip of Autumn and all the wonderful photo opportunities that this time of year brings. Sadly the amazing colours of autumn are usually a fleeting thing with wind and rain making the chances of capturing them even more challenging.

So here’s a brilliant idea that you can do any time of year and whatever the weather.

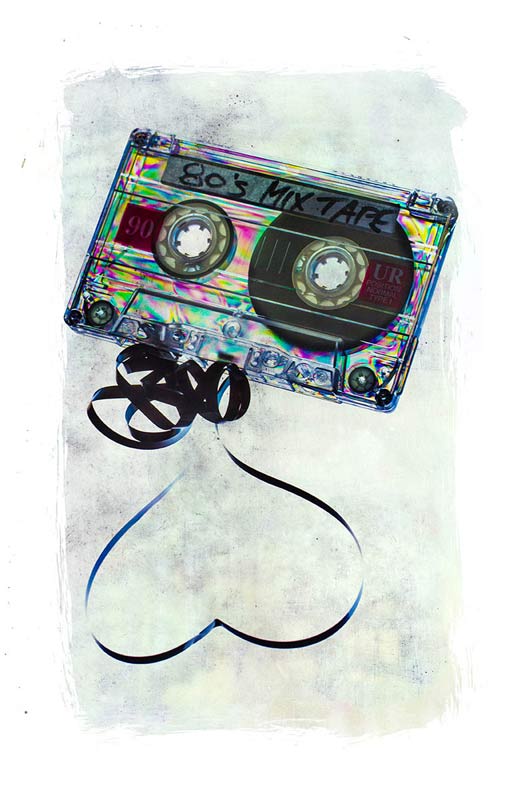
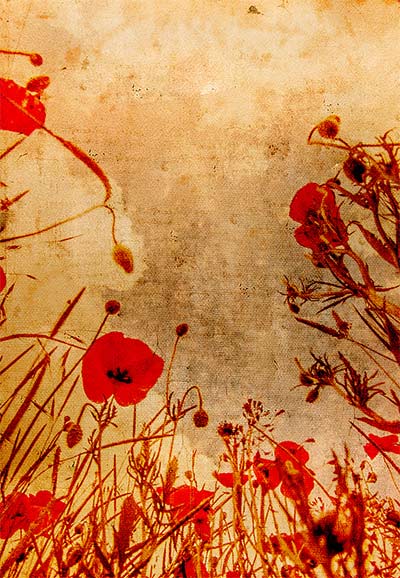
The techique makes use of cross polarisation. It’s one of the very first tricks I learnt way back in the mid 80’s when I first became serious about photography. All you need is an LCD screen as your light source, something made of clear plastic and a polarising filter for your camera. I’d also recommend a tripod to minimise camera shake or high ISO noise.

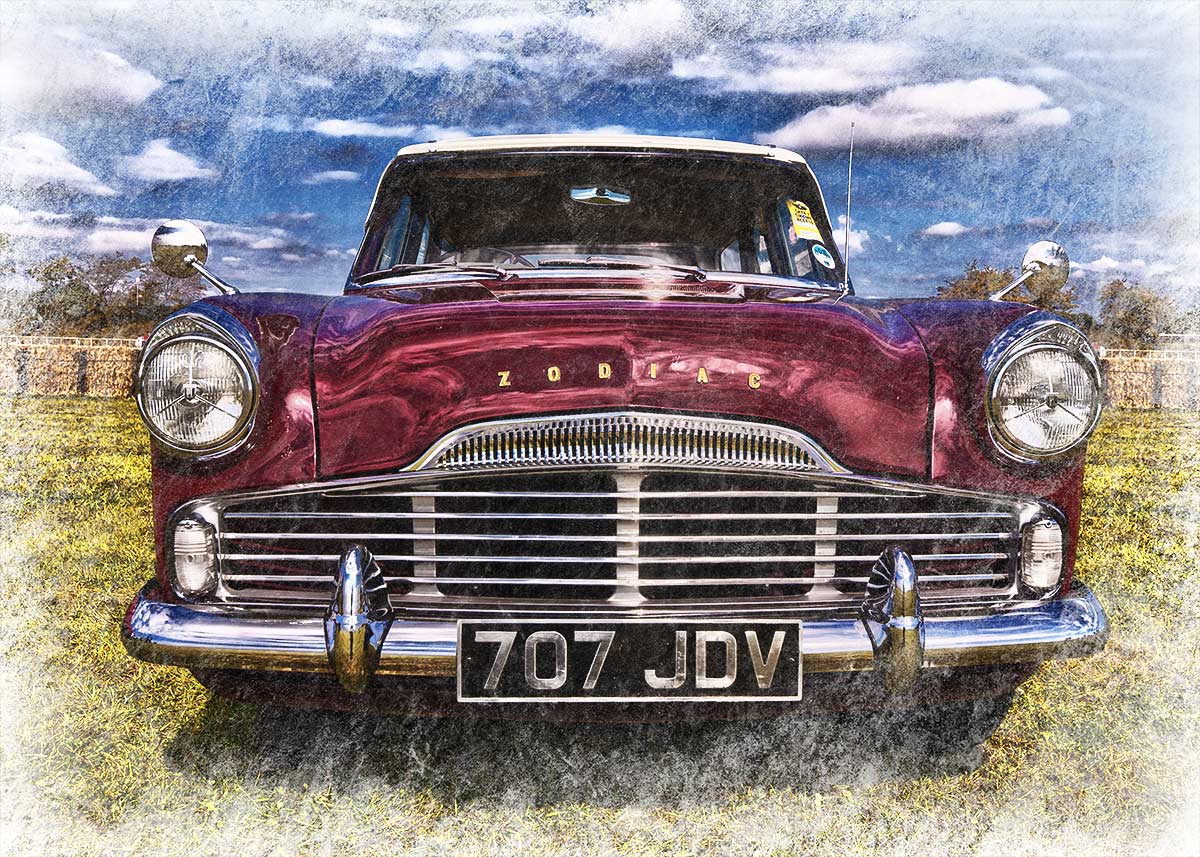
To finish off I added a texture and as I mention in the video I’m sharing it. To download it just follow this link http://adobe.ly/1ac4x7M click the Actions button and choose to download the JPG image.

[youtube]http://www.youtube.com/watch?v=AG3F4gG3tuw&feature=c4-overview&list=UU8Pksdbj37CdE00kmE7Z1dw[/youtube]

Distressed Wood Frame

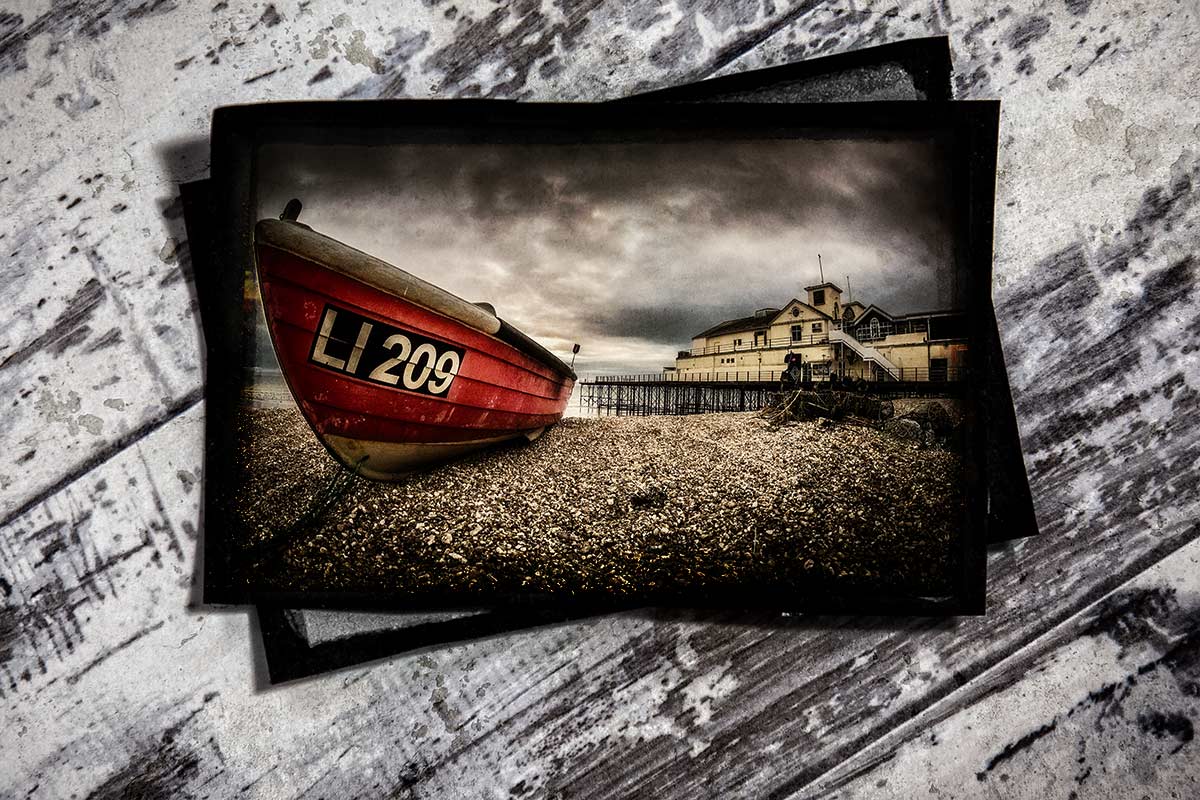
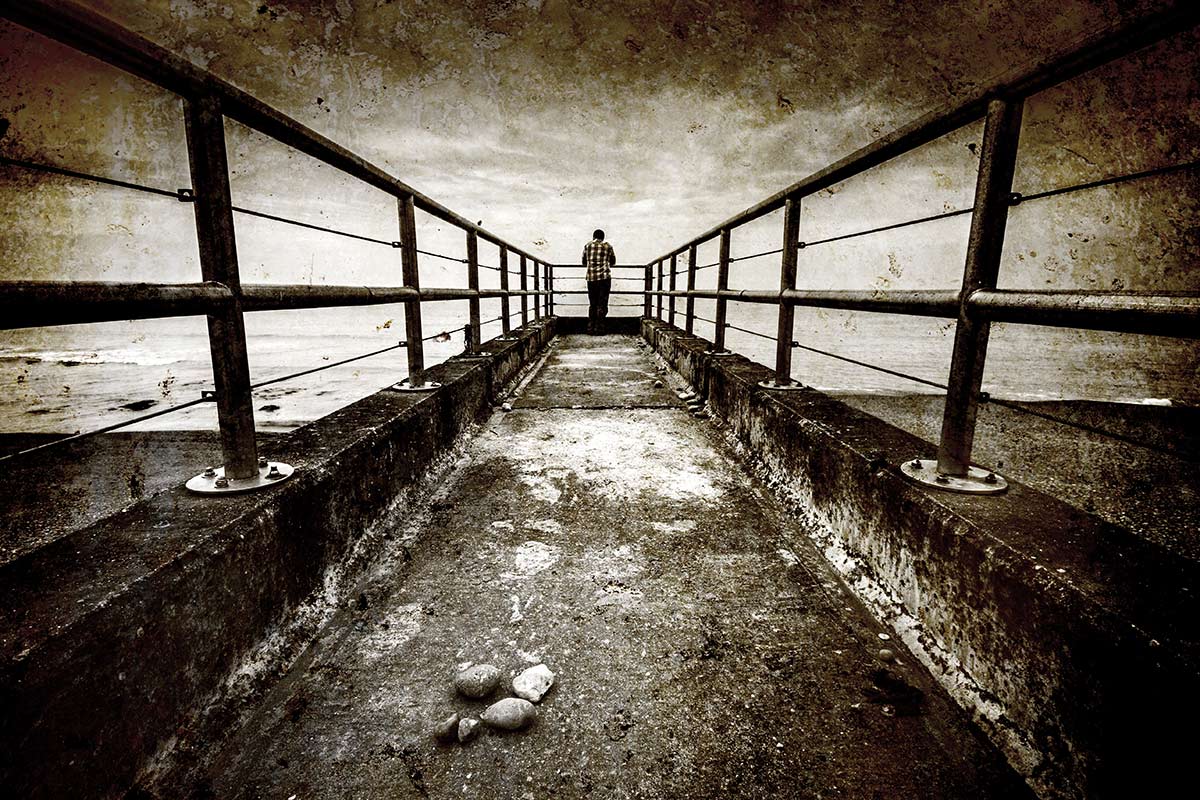
Distressed-Wood-Template-EGThis week’s Friday Freebie is a frame template that has a slightly dark, moody feel. The background is a sample of flooring bought from a DIY store. It has a wonderfully distressed and weathered look to it, making it the perfect compliment to everything from coastal scenes to urban decay. Once photographed and edited in RAW, I gave the final image a light texture effect using OnOne’s Perfect Photo Suite 8 beta, perfect for adding a touch of grunge!

Full download instructions are below but you can also
Click Here To Download the distressed wood frame

To use the Friday freebie download it and open it in Photoshop or Photoshop Elements, then open the photo you wish to add to the frame. Flatten any layers (Layer – Flatten Layers) and then press CTRL+A to select it all, followed by CTRL+C to copy. Jump over to the frame and press CTRL+V to paste the image on to the frame.

You’ll need to resize the image with Free Transform (CTRL+T). Use the corner handles to drag the image into the photo area and when done press Enter. Finally change the layer blending mode from Normal to Hard Light to blend the photo with the template.

If you create a photo using the Friday Freebie then let me (and everyone else) know by leaving the link in the comments below.

Usage rules
The image is copyright Gavin Hoey 2013. Use is limited to any personal, non-commercial purposes. Please share the Friday Freebie by linking back to this page. Do not redistribute the original image without my permission.

Download instructions
Click the link https://drive.google.com/file/d/0B_Mmmm3K1utNSnFEM1UwRjkxa3M/view?usp=sharing
1. Click the Download button download_icon

2. The download should start automatically


Vintage Border and Texture

FILM-EDGE+FINALThis week’s Friday Freebie is a vintage border and texture combined into one. It’s a warm tone texture that combines staining and aging with a custom made distressed black edged border. The texture is actually the inside leaf of a very old and rather battered book that Sam picked up at a boot sale. All the blank pages have this amazing textured appearance and I’ll be sharing more of them as Friday freebies soon.

Full download instructions are below but you can also
Click Here To Download the vintage border & texture

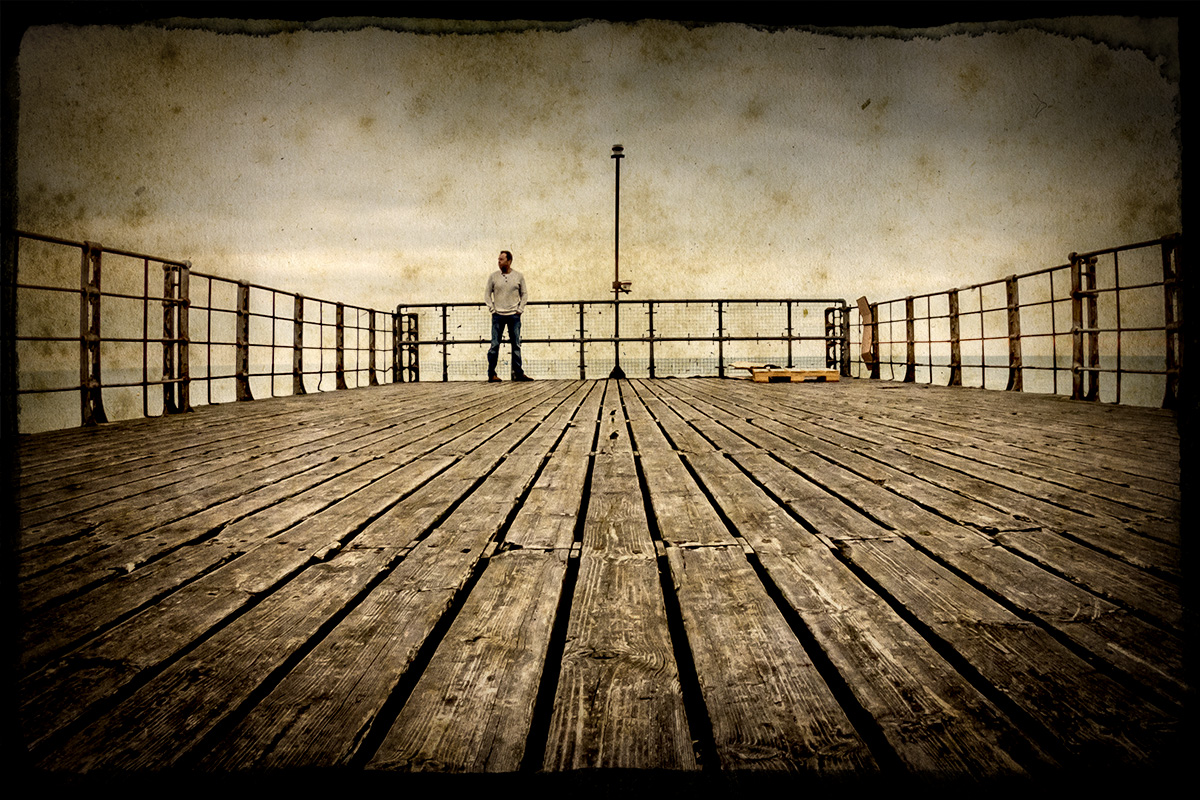
As with all textures it works best with photos that have large areas of bright tones such as this one which has loads of bright sky. All you need to do is paste the texture above your photo and set the blending mode. There are loads of different layer blending modes and they’ll all give a different look but I’d suggest Multiply as the best mode to try first.

This is a fairly dark texture and the Multiply blending mode will also make the image less bright. Once you’ve added the texture I’d suggest adding a Levels adjustment layer to either your photo or at the top of the layer stack and moving the middle levels slider to adjust the overall brightness… if required.

If you create a photo using the Friday Freebie then let me (and everyone else) know by leaving the link in the comments below.

Usage rules
The image is copyright Gavin Hoey 2013. Use is limited to any personal, non-commercial purposes. Please share the Friday Freebie by linking back to this page. Do not redistribute the original image without my permission.

Download instructions
Click the link https://drive.google.com/file/d/0B_Mmmm3K1utNaTlfSUdvSjB1b0U/view?usp=sharing

1. Click the Download button download_icon

2. The download should start automatically


Eroded Edge Texture

Erode-textureThis weeks Friday Freebie is an eroded texture which is simple to use and gives amazing results. It’s a black and white texture that has a dark mottled centre, fading to a lighter edge.

Full download instructions are below but you can also
Click Here To Download the Eroded Edge Texture

Unlike most textures, the eroded edge effect works best with photos that have large areas of darker tones. All you need to do is paste the texture over your photo and set the layer blending mode. There are loads of different layer blending modes to choose from and they’ll all give a different look, with this texture Screen blending mode worked well as did Overlay and Soft Light.

If you create a photo using the Friday Freebie then let me (and everyone else) know by leaving the link in the comments below.

Usage rules
The texture image is copyright Gavin Hoey 2013. Use is limited to any personal, non-commercial purposes. Please share the Friday Freebie by linking back to this page. Do not redistribute the original texture without my permission.

Download instructions
Click the link https://drive.google.com/file/d/0B_Mmmm3K1utNc2tESjJKYTNIUUk/view?usp=sharing
1. Click the Download button download_icon

2. The download should start automatically


Industrial Template

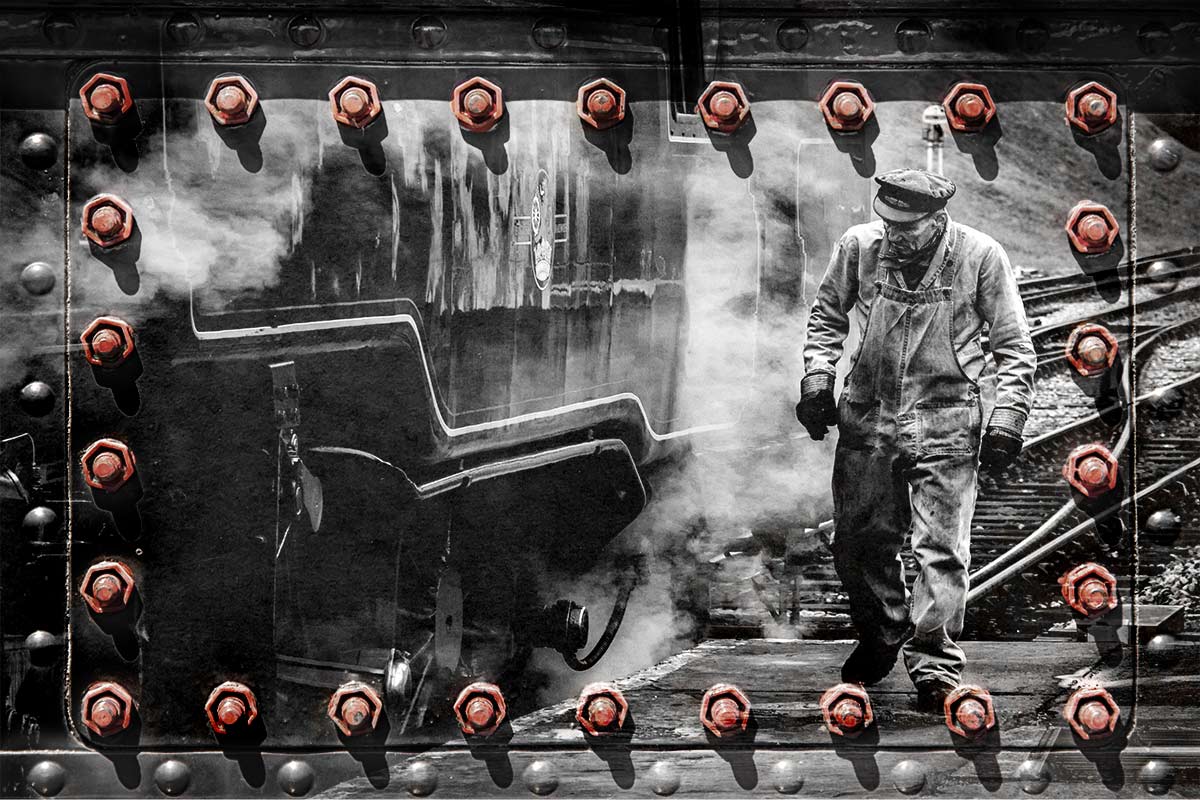
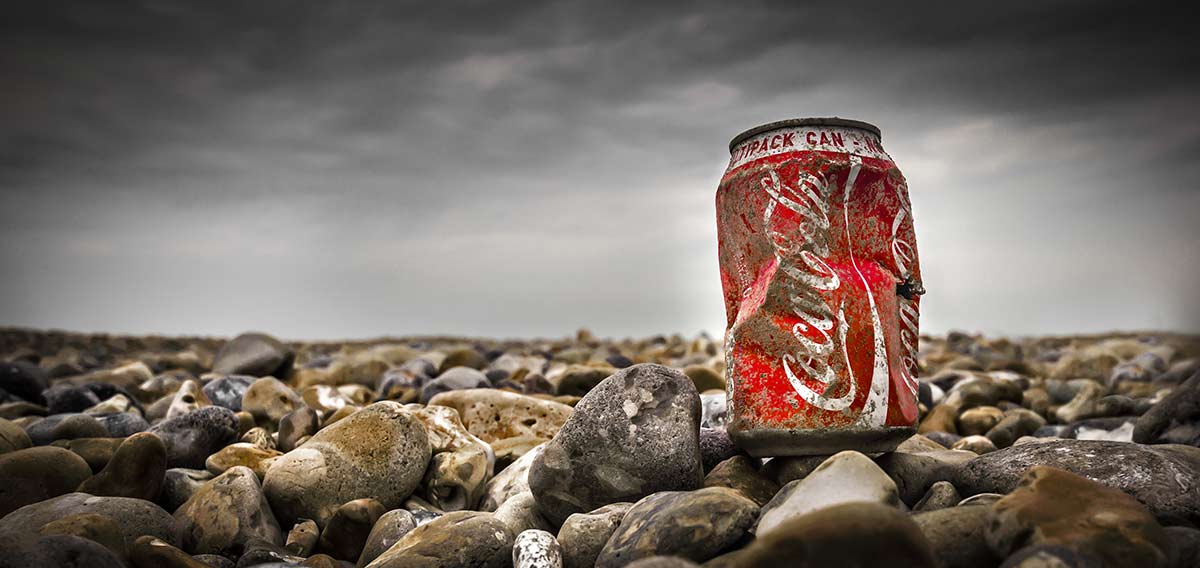
Red-Bolts-FF-FinalThis weeks Friday Freebie is an industrial style border and texture which has a wonderful 3D feel. The standout feature must be the rectangle of red bolts. There’s no Photoshop here’s that’s exactly as I found them.

Click Here To Download the industrial template

With those bright red bolts and the metal texture the sort of photo that’s likely to work best is something with an industrial feel. I found mono images worked well but don’t let that limit your imagination. If the red bolts are a bit too bright then reduce the templates saturation value to suit your taste.

The sample image here was simply placed above the template, resized to fit and the layer blending mode was changed to Overlay. Other blending modes will also work so experiment away.

If you create a photo using the Friday Freebie then let me (and everyone else) know by leaving the link in the comments below.

Usage rules
The template is copyright Gavin Hoey 2013. Use is limited to any personal, non-commercial purposes. Please share the Friday Freebie by linking back to this page. Do not redistribute the original image without my permission

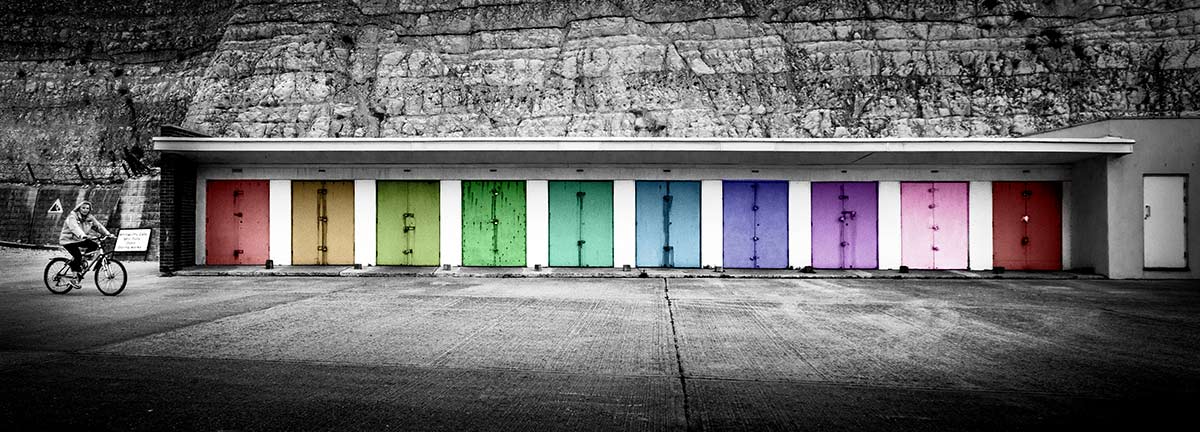
Coastal 15 minute photo challenge

I know there are a lot of photographers out there who enjoy my 15 minute photo challenge videos, including me. Although I don’t get the chance to make as many as I once did they’re certainly not consigned to the history book… far from it.

If you’re new to my blog then you may be wondering what a fifteen minute photo challenge is. Basically its my way of sharpening my camera skills and training my photographers eye but limiting myself to a fixed amount of shooting time. Not only that but I’m also restricting the geographic area in which I can look for photos which can be a blessing and a curse. The end result is often unpredictable and always challenging, it often takes me out of my comfort zone which is always a good thing to do every once in a while.

Keep scrolling down to see a few of the final photos.

[youtube]http://www.youtube.com/watch?v=gFU4SSEjYVs[/youtube]
Can’t see the video? Click Here http://www.youtube.com/watch?v=gFU4SSEjYVs

Saltdean-1

Saltdean-2

Saltdean-3

Equipment used in the video:

Adobe Photoshop CC
http://www.adorama.com/ABPSCS6W.html?KBID=67338

Canon 60D
http://www.adorama.com/ICA60D.html?KBID=67338

Sigma 10mm-20mm
http://www.adorama.com/SG1020EOS.html?KBID=67338

Sigma 10mm-20mm
http://www.adorama.com/BRRS7.html?KBID=67338

Vanguard ABEO Plus 283CT Tripod
http://www.adorama.com/VGABEO283CT.html?KBID=67338

Vanguard GH-200 head
http://www.adorama.com/VGGH200.html?KBID=67338


Vintage Texture

FF-vintagesThis weeks Friday Freebie is a vintage texture which is simple to use and gives amazing results. It’s a warm tone texture that combines patchy tones, a light weave texture and a hint of writing.

Full download instructions are below but you can also
Click Here To Download the vintage texture

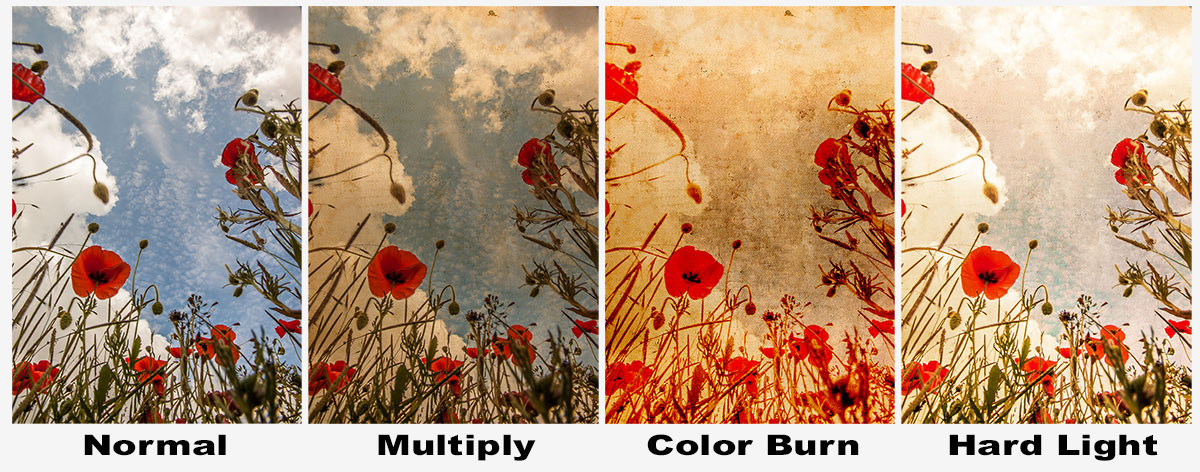
As with all textures it works best with photos that have large areas of bright tones such as this one which has loads of bright sky. All you need to do is paste your photo above the texture and set the blending mode. There are loads of different layer blending modes and they’ll all give a different look, some you’ll like and others less so but experimentation is the key to success.

Jump down to the end of this post to see three different looks for the same image.

If you create a photo using the Friday Freebie then let me (and everyone else) know by leaving the link in the comments below.

Usage rules
The image is copyright Gavin Hoey 2013. Use is limited to any personal, non-commercial purposes. Please share the Friday Freebie by linking back to this page. Do not redistribute the original image without my permission.

Download instructions
Click the link https://drive.google.com/file/d/0B_Mmmm3K1utNRHZqZzdYMmFrODg/view?usp=sharing

1. Click the Download button download_icon

2. The download should start automatically


FF-vintage-modes


35mm Film Template

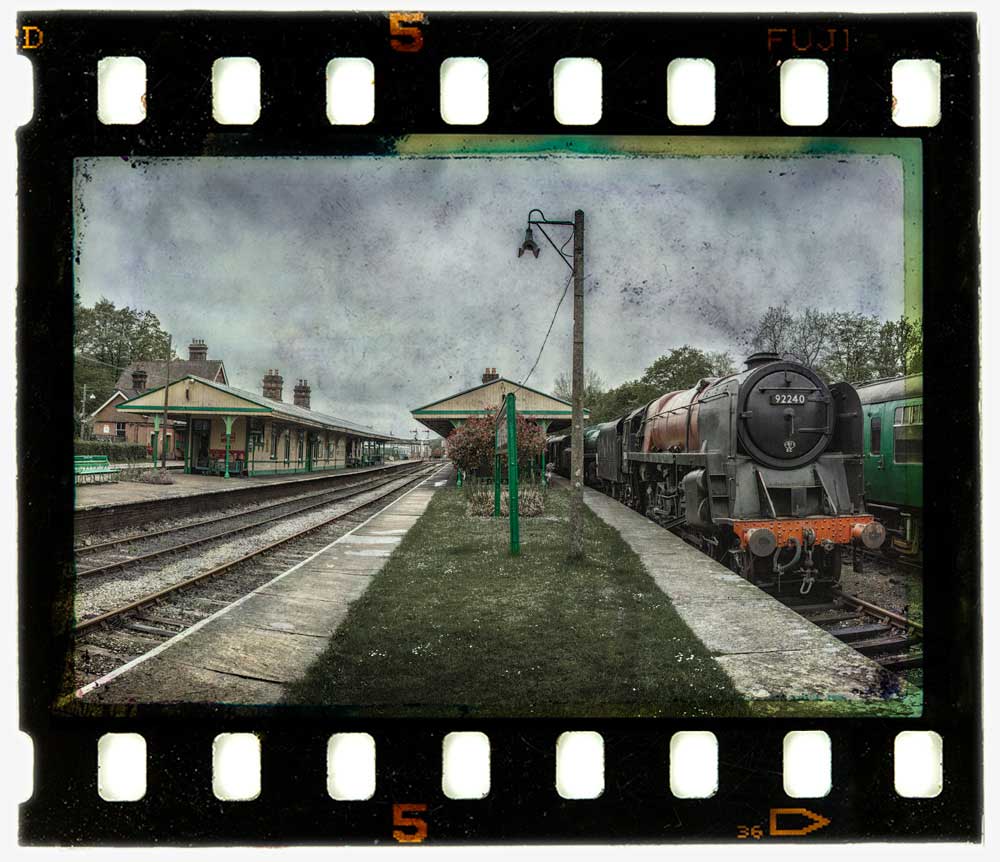
35mm-film-finalI found this weeks Friday Freebie whilst sorting through a pile of old slides I had gathering dust in my office. I’d used this one during the ’90’s in what was known at the time as a “slide sandwich” and was simply two slides pressed together to create a new third image when projected.

Full download instructions are below but you can also
Click Here To Download the 35mm film template

Although the days of the slide sandwich are far behind me, the technique of combining two (or more) images together is alive and well in Photoshop in the form of layers. To make life a little easier I’ve created a template from the 35mm film complete with a note of where your own photo should be added, a blending mode that should work with most photos and a grungy layer mask for if you need to reduce the texture from the centre of the film. Of course you can also change everything if you want.

At 5000 pixels on the longest edge and with lots of fine textured detail, this weeks Friday Freebie PSD template comes in at around 70mb. If you’re not on a fast internet connection if might take a few minutes to download.

As always, if you create a photo using the Friday Freebie then let me (and everyone else) know by leaving the link in the comments below.

Usage rules
The image/template is copyright Gavin Hoey 2013. Use is limited to any personal, non-commercial purposes. Please share the Friday Freebie by linking back to this page. Do not redistribute the original image/template without my permission.

Download instructions
Click the link https://drive.google.com/file/d/0B_Mmmm3K1utNNXpONGJGTk9WUkU/view?usp=sharing

1. Click the Download button download_icon

2. The download should start automatically

3. Save the template to your hard drive

4. Open in Photoshop or Photoshop Elements

5. Paste your photo BELOW the 35mm layer

Weave Template

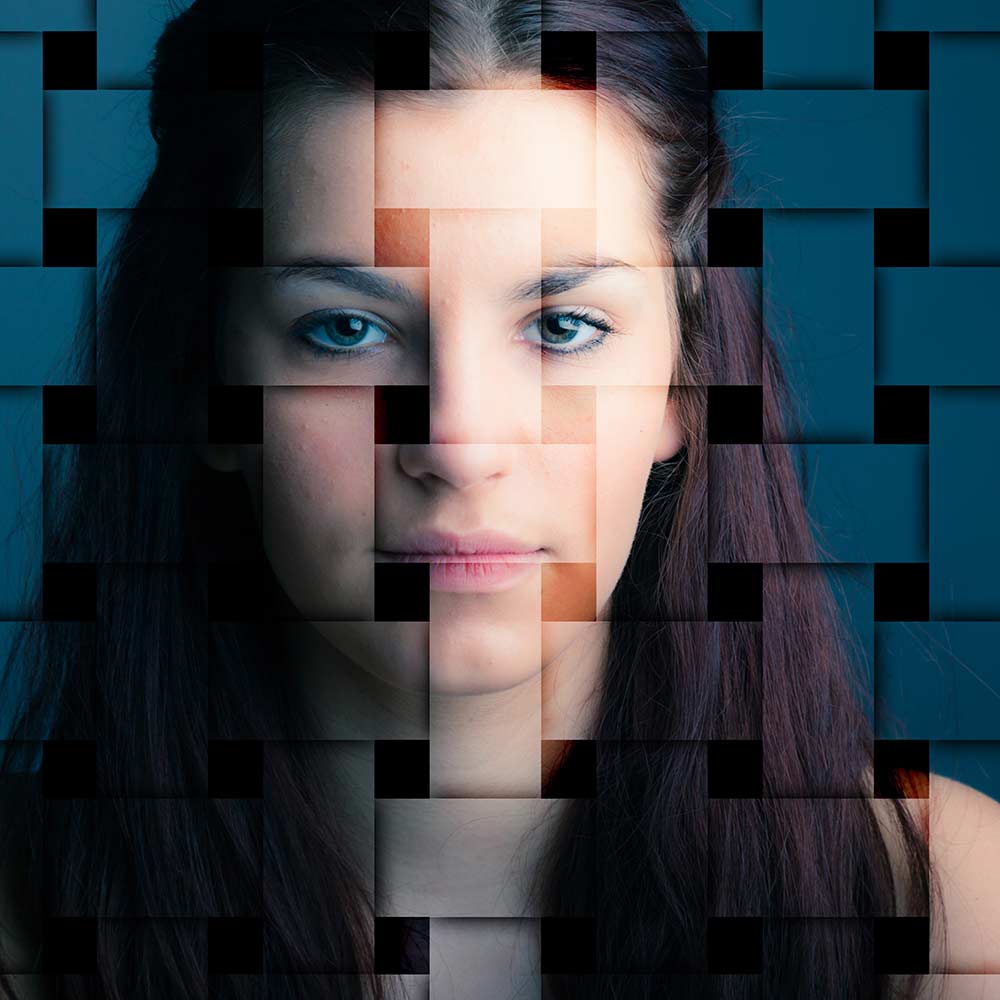
weave-KeylineThis weeks Friday Freebie is a weave effect image that adds a amazing 3D pattern to your photos, as you can see here.

Full download instructions are below but you can also
Click Here To Download the weave template

The weave template is a simple JPG image. I’ve made it in a square shape but it’s also very large at 5000 pixels on each side, so it’s easily adapted to both portrait and ladscape format images… as well as square ones of course 🙂

Once you’ve downloaded the template all you need to do is paste it over your image and resize it with Free Transform (CTRL+T) if required. Change the layer blending mode from Normal to Overlay and you’ll achieve a result like this. Howver this template works with loads of blending modes and I urge you to experiment, you’ll be amazed just how many variations there are!

If you create a photo using the Friday Freebie then let me (and everyone else) know by leaving the link in the comments below.

Usage rules
The image is copyright Gavin Hoey 2013. Use is limited to any personal, non-commercial purposes. Please share the Friday Freebie by linking back to this page. Do not redistribute the original image without my permission.

Download instructions
Click the link https://drive.google.com/file/d/0B_Mmmm3K1utNVDNhZWlNWmw3dlU/view?usp=sharing

1. Click the Download button download_icon

2. The download should start automatically

Free Chalk Texture

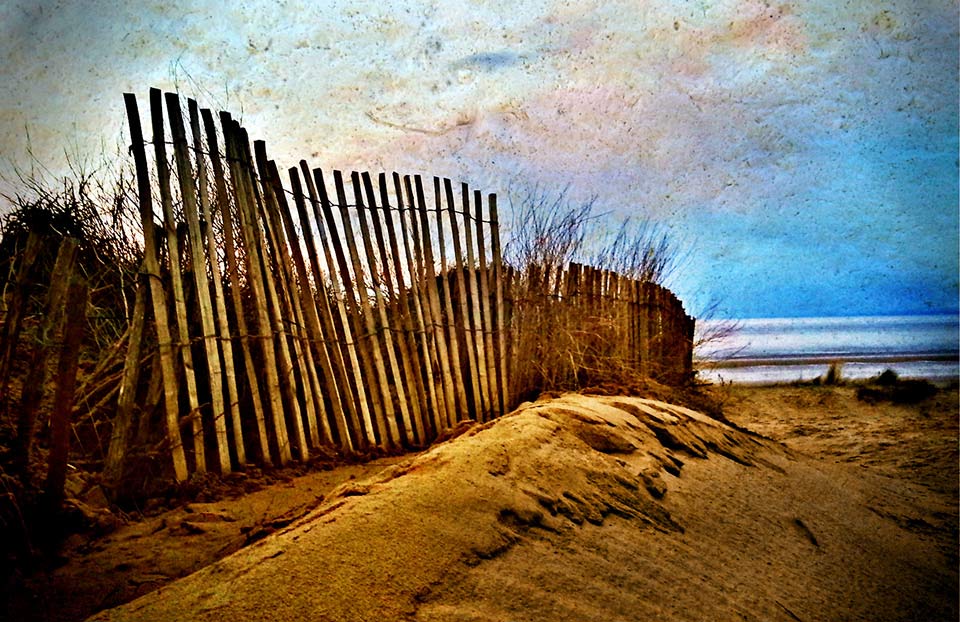
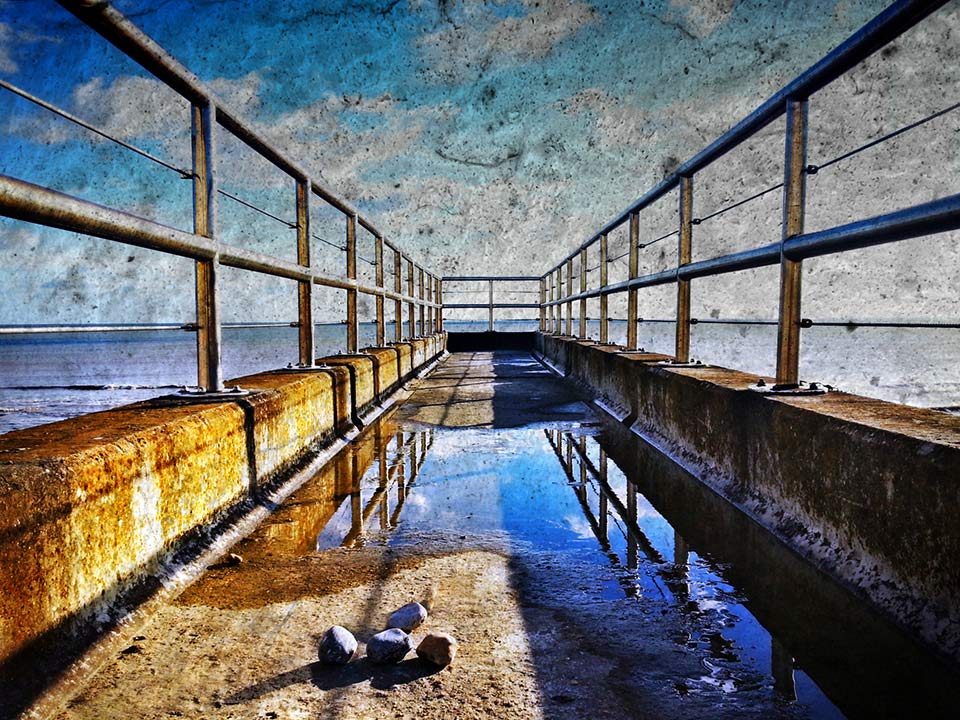
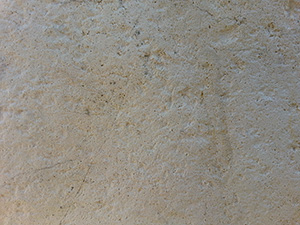
St-Marys-BayFor this Friday Freebie I’m going to share a brilliant texture that I photographed just a few days back. Despite it being a very recent image it’s already made it in to several of my images for one reason… It’s an image I shot with my phone!

The texture is a close up photo of chalk that I found on a beach just outside Brighton in Sussex and it makes wonderful texture shots.

Full download instructions are below but you can also
Click Here To Download the Free Chalk Texture

As with most textures, it works best with any photo that has large areas of light colour. I’ve found it particularly effective in landscape photos which feature plenty of sky. To apply the texture simply paste it over your photo and use Free Transform (CTRL+T) to resize it to your photo. Then change the layer blending mode to either Multiply or Overlay. Other blending modes will also work but those two are a good start. I’ve left the orgianal colour in the texture but you may wish to remove the colour or alter the colour to create a different look.
Chalk-Texture-LinkIf you create a photo using the Friday Freebie texture then let me (and everyone else) know by leaving the link in the comments below.

Usage rules
The image is copyright Gavin Hoey 2013. Use is limited to any personal, non-commercial purposes. Please share the Friday Freebie by linking back to this page. Do not redistribute the original image without my permission.

Download instructions
Click the link https://drive.google.com/file/d/0B_Mmmm3K1utNeGtRdlBDbm1jZ2s/view?usp=sharing

1. Click the Download button download_icon

2. The download should start automatically
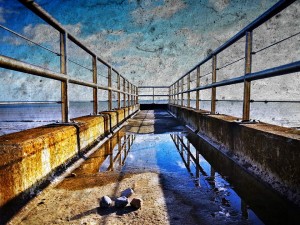
PS-Touch-12-3-13The photos in this post were made in Photoshop Touch for Phone and I’m seriously impressed by what it can do. I’ll do a more in depth write up soon but for now let’s just say that at £2.99, it’ the cheapsest and most portable version of Photoshop you can buy.

It’s unlikely to replace full photoshop for me but I’m really impressed by just how good an image you can make whilst sitting in the car, which is where both these photos were editied. Photoshop Touch for Phone is avaiable in both iPhone and Android version but you’ll need a really up to date handset such as the Samsung Galaxy Note 2 that I use.