Red Riding Hood Photo Shoots

You probably already know the story of Red Riding Hood, it’s a timeless fairy tale about a girl and a big bad wolf. It’s also a popular subject for photography and something I wanted to take on too.

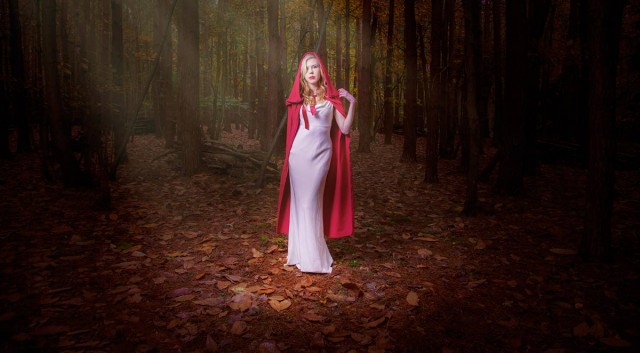
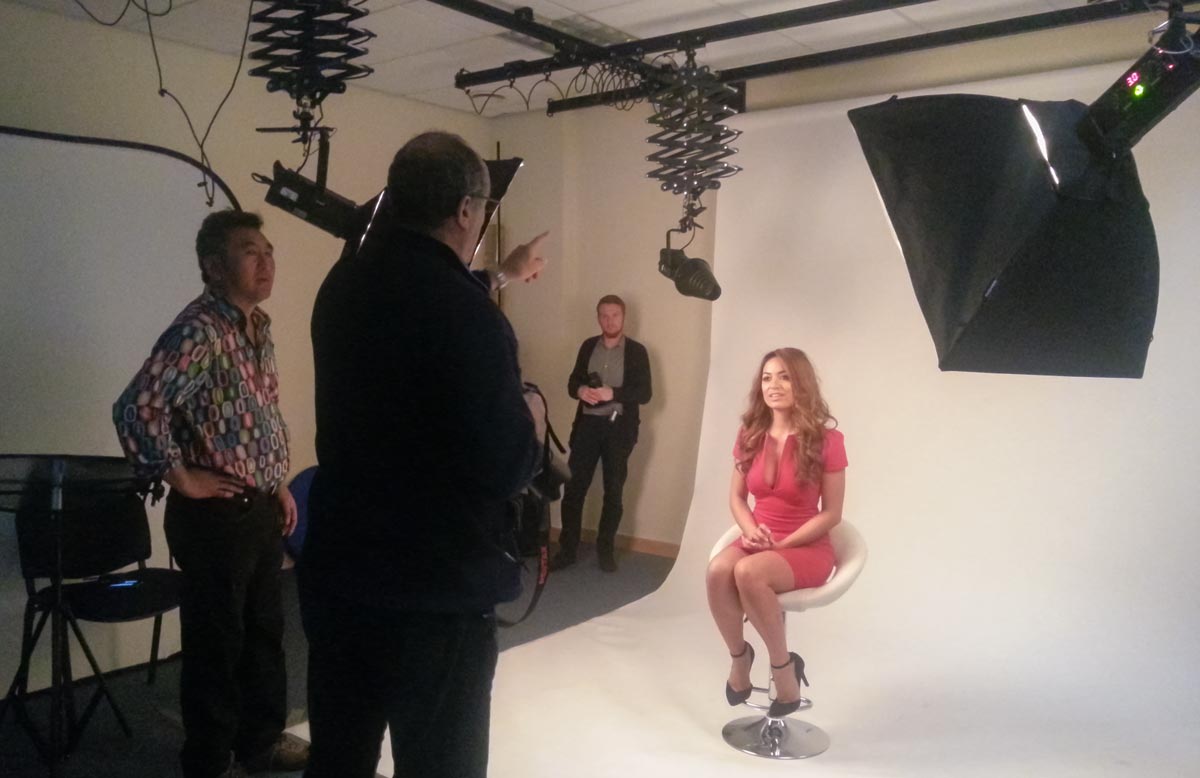
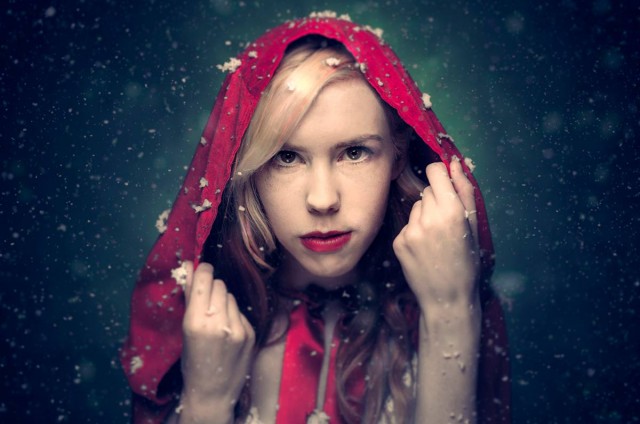
Traditionally the Red Riding Hood story takes place in the woods but I’m lucky enough to have access to my own studio space and that’s where I started. I also had a can of fake falling snow, which is actually foam and a home made red velvet cape.

For my Red Riding Hood I called upon the services of local model Fern Meave who was amazingly talented and suited the role perfectly. For the lighting I went with my two Streaklights, a small beauty dish and some coloured gels.

[youtube]https://www.youtube.com/watch?v=8t29AbUGJJg&list=PL821B7D720DEA39FA[/youtube]

Fun as the studio shoot is it’s never going to be the same as shooting on location in the woods. So for the second video that’s exactly what we did.

Weeks of planning went into the shoot but the weather was out of our control and sure enough on the day of the shoot the sky was grey and it was freezing cold. None the less we pressed on with the shoot and in the video I also pass on plenty of tips for balancing flash with low levels of ambient light.

Fern was my model once again but this time I swapped my Streaklights for a more powerful Rovelight which I reviewed a few weeks back. As it turned out I didn’t need the extra power of the Rovelight but that’s the weather for you

[youtube]https://www.youtube.com/watch?v=ywShIOcqLBU[/youtube]

Below a few photos from the shoots which you can see in more detail by clicking.

Adorama-Red_final

RRH-PT2-Sample

Home Studio Essentials Episodes 1-10

If you’ve been watching my recent videos over on Adorama TV you’ll have noticed a pattern forming. Over the past months the majority of the videos have focused on shooting with flash in a small, home studio and judging by the feedback it seems to have gone down very well indeed. I think part of the reason for their popularity is the way each video builds on the previous skills learned, at least that was the idea I had when I originally planned them.

HSE-MontageGear is always a big part of photography but none of the videos need a specific brand of equipment to complete. I used my trusty Canon 5D2 and 24-105mm lens. My flash gear is supplied by Adorama and is their amazing Streaklight flashes. If you want to know more then you can read my review.

To save you digging through my blog / YouTube to find them all I’ve added them all here.

Episode1: One bare flash
[youtube]http://youtu.be/hR4DW7dXOsk[/youtube]

Episode 2: One flash with an umbrella
[youtube]https://www.youtube.com/watch?v=ur58XNQwMXA&list=PL821B7D720DEA39FA&index=11[/youtube]
Episode 3:One flash and a softbox
[youtube]https://www.youtube.com/watch?v=z0MTQFYnvQA&list=PL821B7D720DEA39FA&index=10[/youtube] 
Episode 4: One flash and a reflector
[youtube]https://www.youtube.com/watch?v=TYQh9MNC3Is&list=PL821B7D720DEA39FA&index=9[/youtube] 
Episode 5: Adding a second light
[youtube]https://www.youtube.com/watch?v=FcQg0cBncHs&list=PL821B7D720DEA39FA&index=7[/youtube] 
Episode 6: Using honeycomb grids
[youtube]https://www.youtube.com/watch?v=K-C9xgTCLfM&list=PL821B7D720DEA39FA&index=6[/youtube] 
Episode 7: Using coloured gels
[youtube]https://www.youtube.com/watch?v=sR0wu9Sy6GM&list=PL821B7D720DEA39FA&index=5[/youtube] 
Episode 8: Getting a white background
[youtube]https://www.youtube.com/watch?v=RP4IixDOP5M&list=PL821B7D720DEA39FA&index=4[/youtube] 
Episode 9: Softbox as a white background
[youtube]https://www.youtube.com/watch?v=wy0VZEhwtSU&list=PL821B7D720DEA39FA&index=3[/youtube] 
Episode 10: Hair / seperation light
[youtube]https://www.youtube.com/watch?v=PaDUIqdQpPM&list=PL821B7D720DEA39FA&index=2[/youtube] 

Using light to your advantage

Recently I recorded a series of short videos as part of the “Lovers of light” photography competition. In this clip I have a few words to say about the different types of light.

[youtube]https://www.youtube.com/watch?v=z4uhpvMzN6g&list=PLtSaDsQ1Szx1KSX5cJ7b1BdAnK8fiZsca[/youtube]

There are three types of light in photography. Good light, bad light and no light. Being able to tell the first from the second isn’t as simple as you might think.

Good light:
What is classed as good light will vary depending on what you’re photographing. Great landscapes often come from strong directional light which casts long shadows. Portraits are best taken in soft, overcast light where shadows are few and far between.

Bad light:
Just like good light, what one photographer considers bad light might be perfect for another. Knowing what you shoot and when to shoot it is a skill that can be learned just like any other.

No Light:
Without light we don’t have any photos but with today’s digital cameras able to shot in extreme low light, it’s very rare to be left with no light at all. It’s all too easy to confuse the quantity of light with the quality of light, night time shots can be just as magical as day time photos.

goodvsbad-light

Direction of light:
Where the sun is in relation to your camera can have a dramatic impact on the scene. The lower it is in the sky, the longer the shadows it casts.
Keeping the sun over your shoulder will make colours richer and shadows more pronounced.

Closing the lens aperture down to a big number (e.g. f/22) will give the sun a natural star burst effect.

Looking directly into the sun is dangerous for your eyes but with very careful use of your camera it can yield amazing results.NOTE: DSLR users should avoid looking at the sun through their viewfinders as it can damage your sight. Using “live view” is the way to go

Into-the-light-1

Halloween Shoot

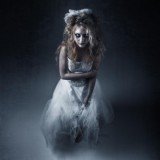
Last Friday was Halloween and I spent the evening taking some suitably spooky portraits. The location for the shoot was the recently opened Square 1 Studio near Dorking, an amazing place and one of the best studios I’ve used.

The evening was a free form event rather than a workshop with photographers popping in and out, sharing ideas and learning from each other. To that end I have to say a huge thank you to Andrew Dobell from Creative Edge who arranged for three models, a make-up artist and hairdresser to be on hand as well as a raft of props, all we had to do was supply the ideas

With around ten photographers moving between two shooting areas, there was lots of sharing of thoughts, tips and creative ideas. I also shared my Adorama Streaklights which once again proved their worth doing the whole three hour shoot and still having 2/3rd battery power left.

Below are a small selection of the photos. Click to enlarge… if you dare!

Halloween (5) Halloween (4) Halloween (3) Halloween (2) Halloween (1)


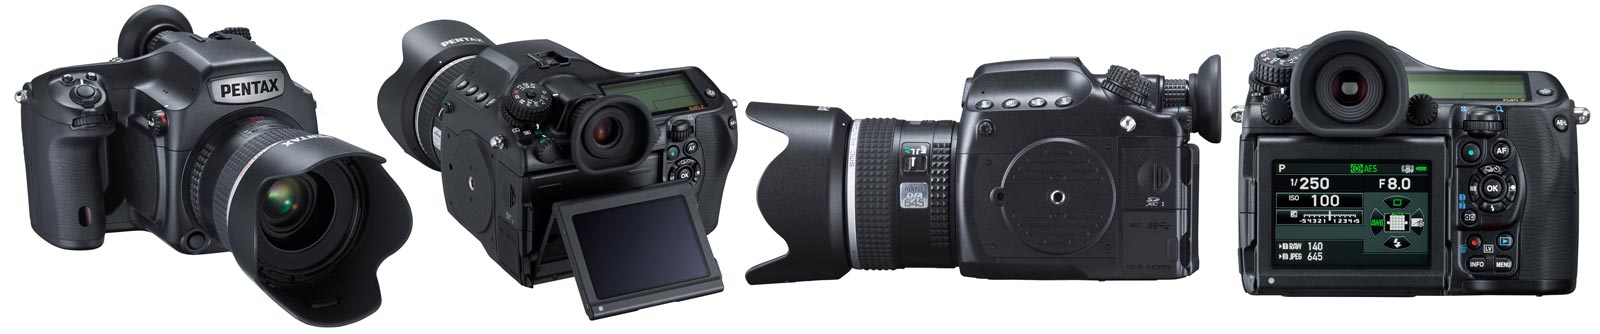
Pentax 645Z Hands On Experience

The last time I got to play with a medium format camera was a few years back at Hasselblad. Back then I loved the quality of the photos but found the experience of using the camera cumbersome compared to a DSLR.

Jump forward to late 2014, switch brands to Pentax and things have really changed for the better.

I got some hands on time with the Pentax 645Z thanks to a Park Cameras and Pentax/Ricoh offering a two hour group try-out session. Shooting time was limited and the style was a studio shoot run by my good friend Will Cheung. With that in mind please remember this isn’t a full on camera review.
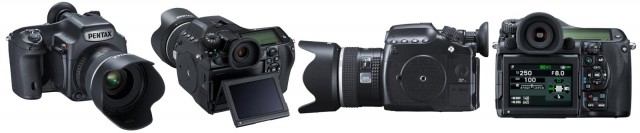
Untitled-2

First impressions
Coming from a Canon 5D2, the Pentax 645Z feels big and heavy but I’d expect nothing less.  Once you get past the size it’s a great camera to hold and feels very DSLR in design.

The viewfinder was big, bright and brilliant to use and same could be said for the LCD screen on the back. In fact I swear some of the buttons and controls have been lifted from the Pentax DSLR range, they looked so familiar.

The first big surprise came when I popped my 32GB SD card into one of the two slots. Even though the card was empty I had just 219 available (RAW+JPG) photos before it was full. The Pentax packs a whopping 51.4 million pixel sensor with RAW files averaging out at around 65MB and JPG’s at 18MB each.
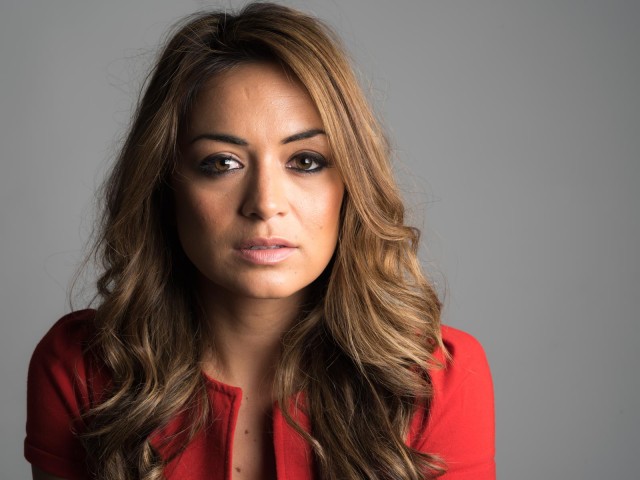
IMGP9994

In Use
Using the Pentax 645Z was real pleasure, the shutter fired with a satisfying clunk and the photos appeared almost instantly on the LCD. Pentax made a big thing about the focusing system, with its 27 AF points 25 of which are cross type and so on. However in practice I found the focus slightly sluggish. Not sloooow but certainly not as fast as I’m used to. To be honest I can’t say if that’s just how it is with this camera or if it’s down to the 90mm lens I was using.

Those big files take time to write to the card. Fortunately I packed one of my fast SD cards that I use for capturing video but I noticed a couple of the other photographers were using standard SD cards. At the end of their session they needed to wait some time before the files had been written to the card and they could safely remove it.

Features
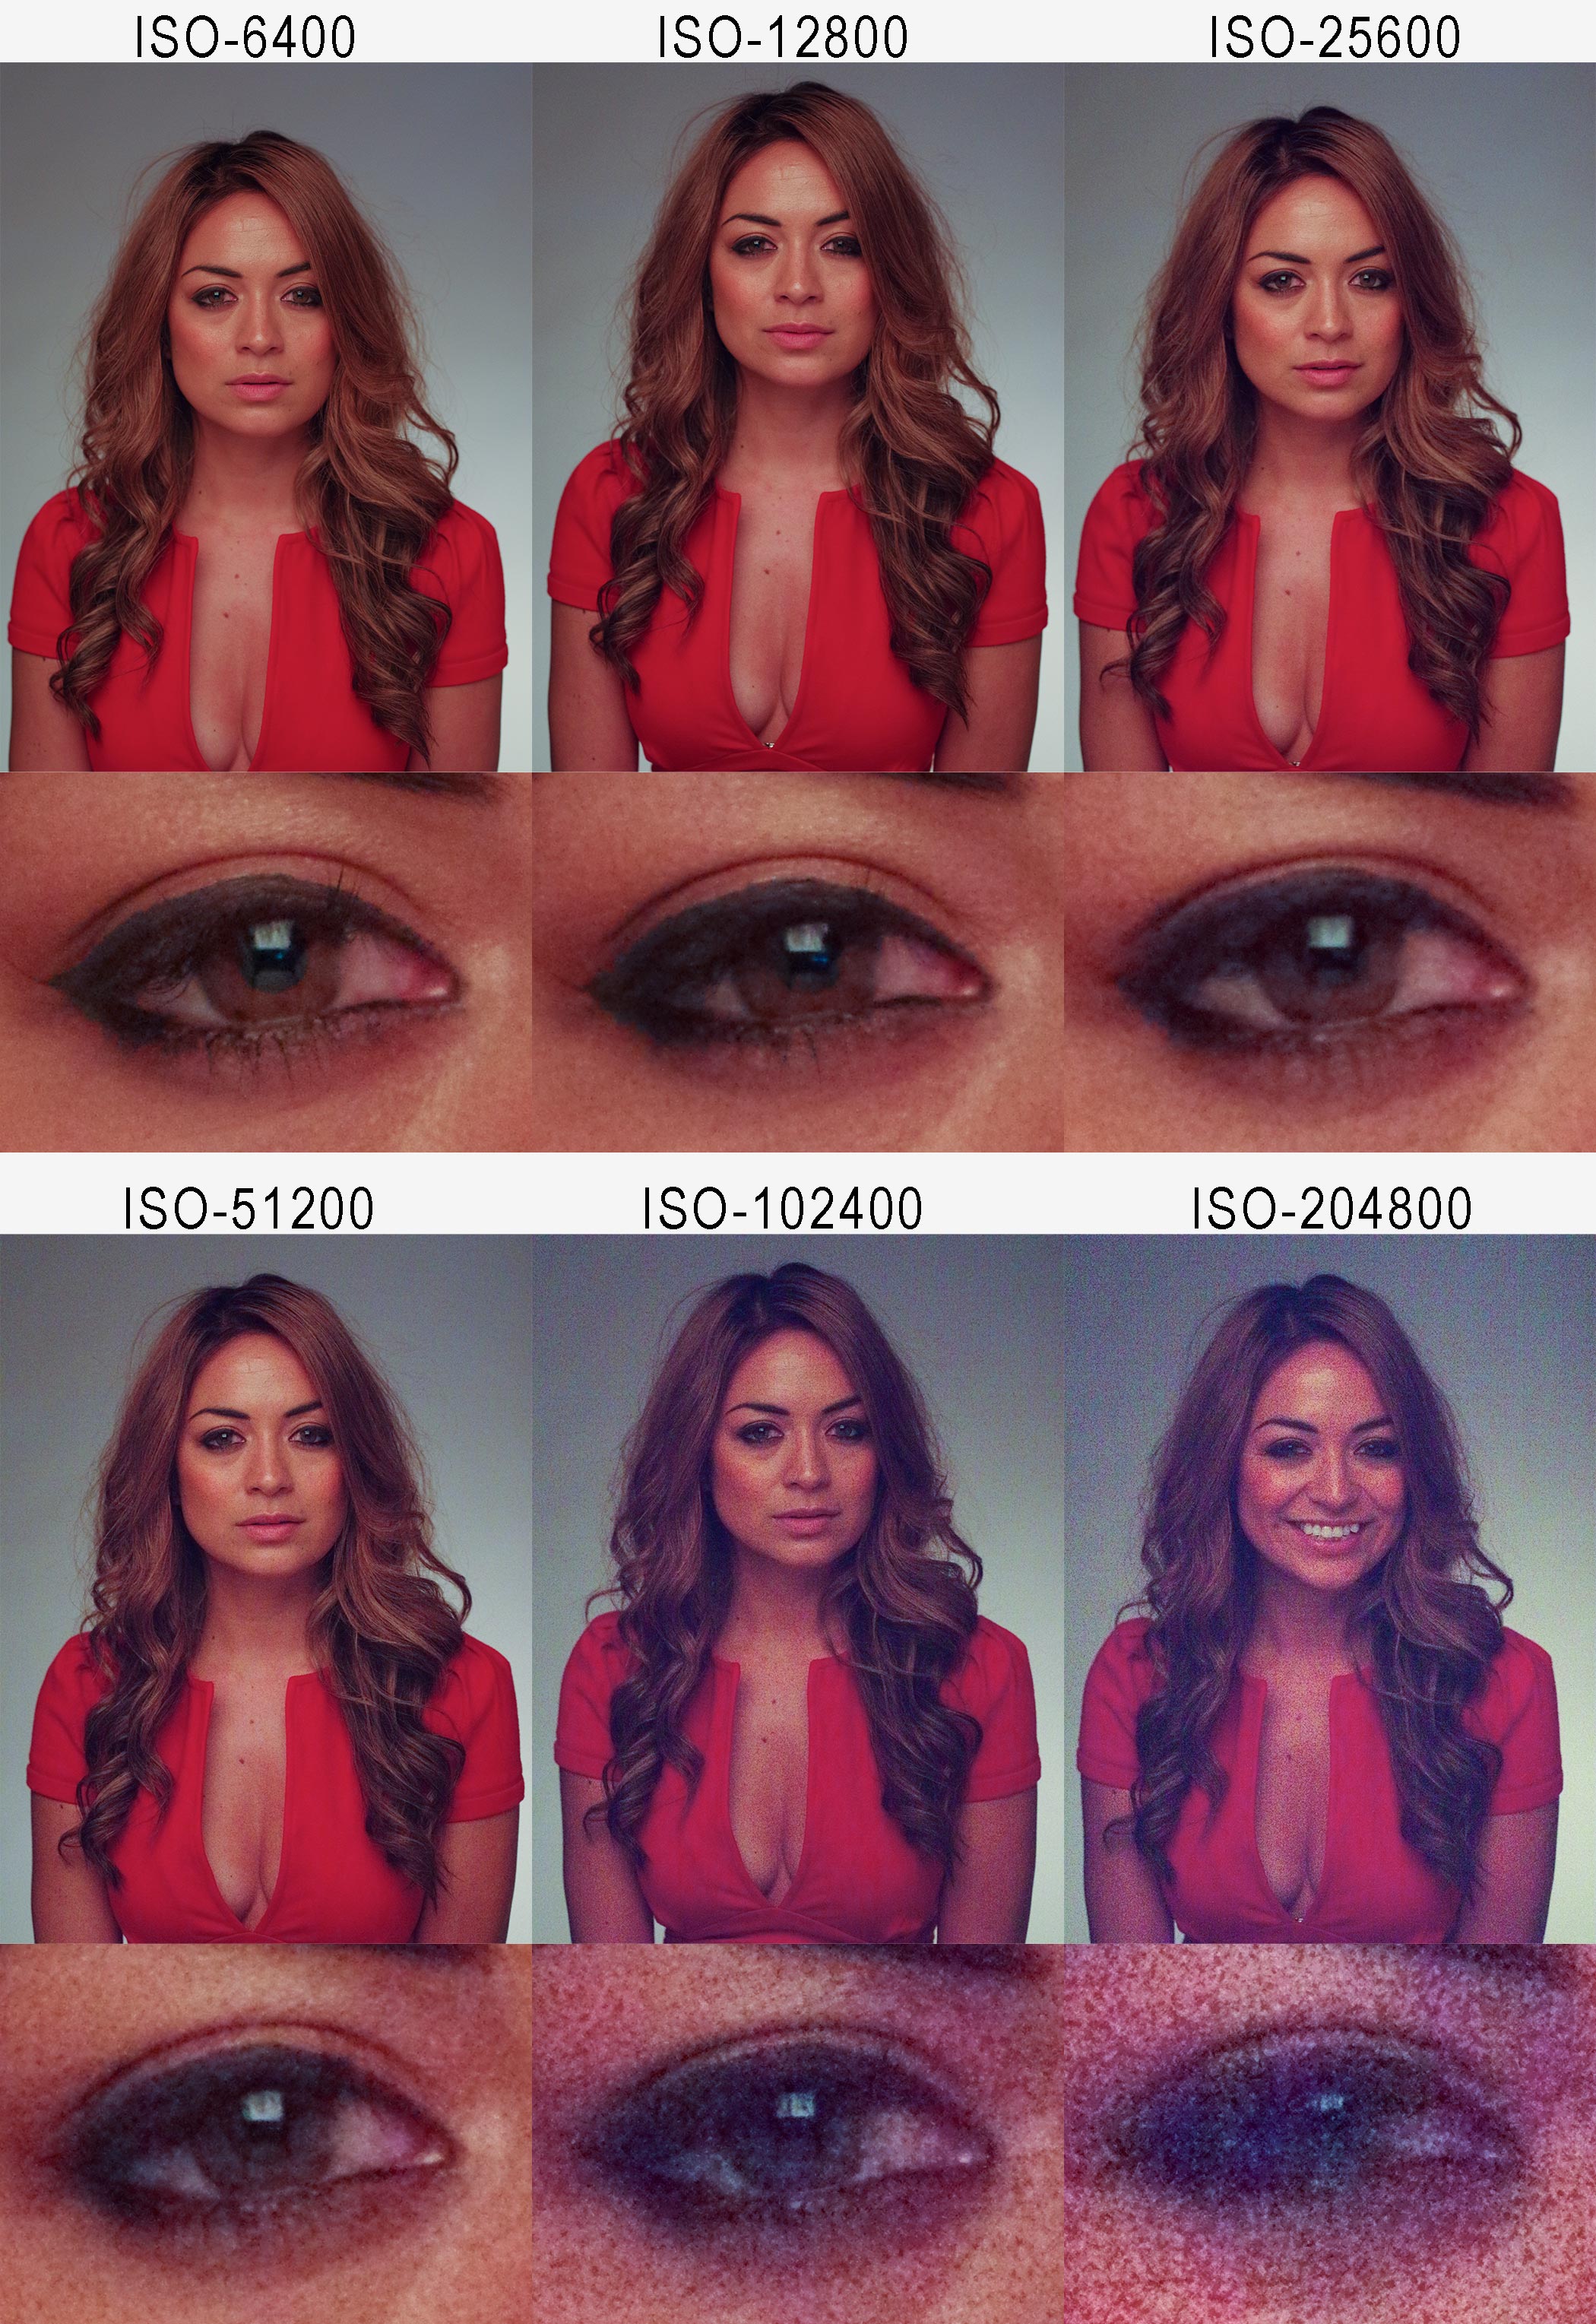
Pentax were really keen to talk up a few of the features that make the 645Z different from other medium format cameras. For example it can shoot at 3 frames per second, it’s weather sealed, it shoots video and it shoots at high ISO. I really wanted to test the last one so here’s a series of (JPG) photos starting at ISO6400 (Where my Canon 5D2 stops) right up to a jaw dropping and utterly useless ISO204800
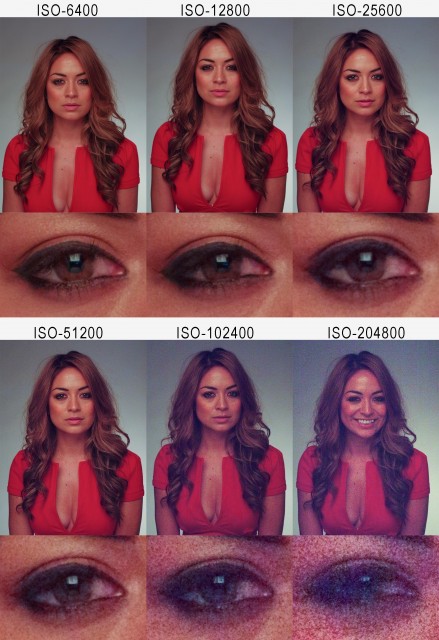
Pentax645-HiRes

It’s hardly a definitive test but from what I can see that’s probably one of the best high ISO performances I’ve ever seen.

Reviewing the photos
So the big question is how did the photos look? In a word they were… detailed!

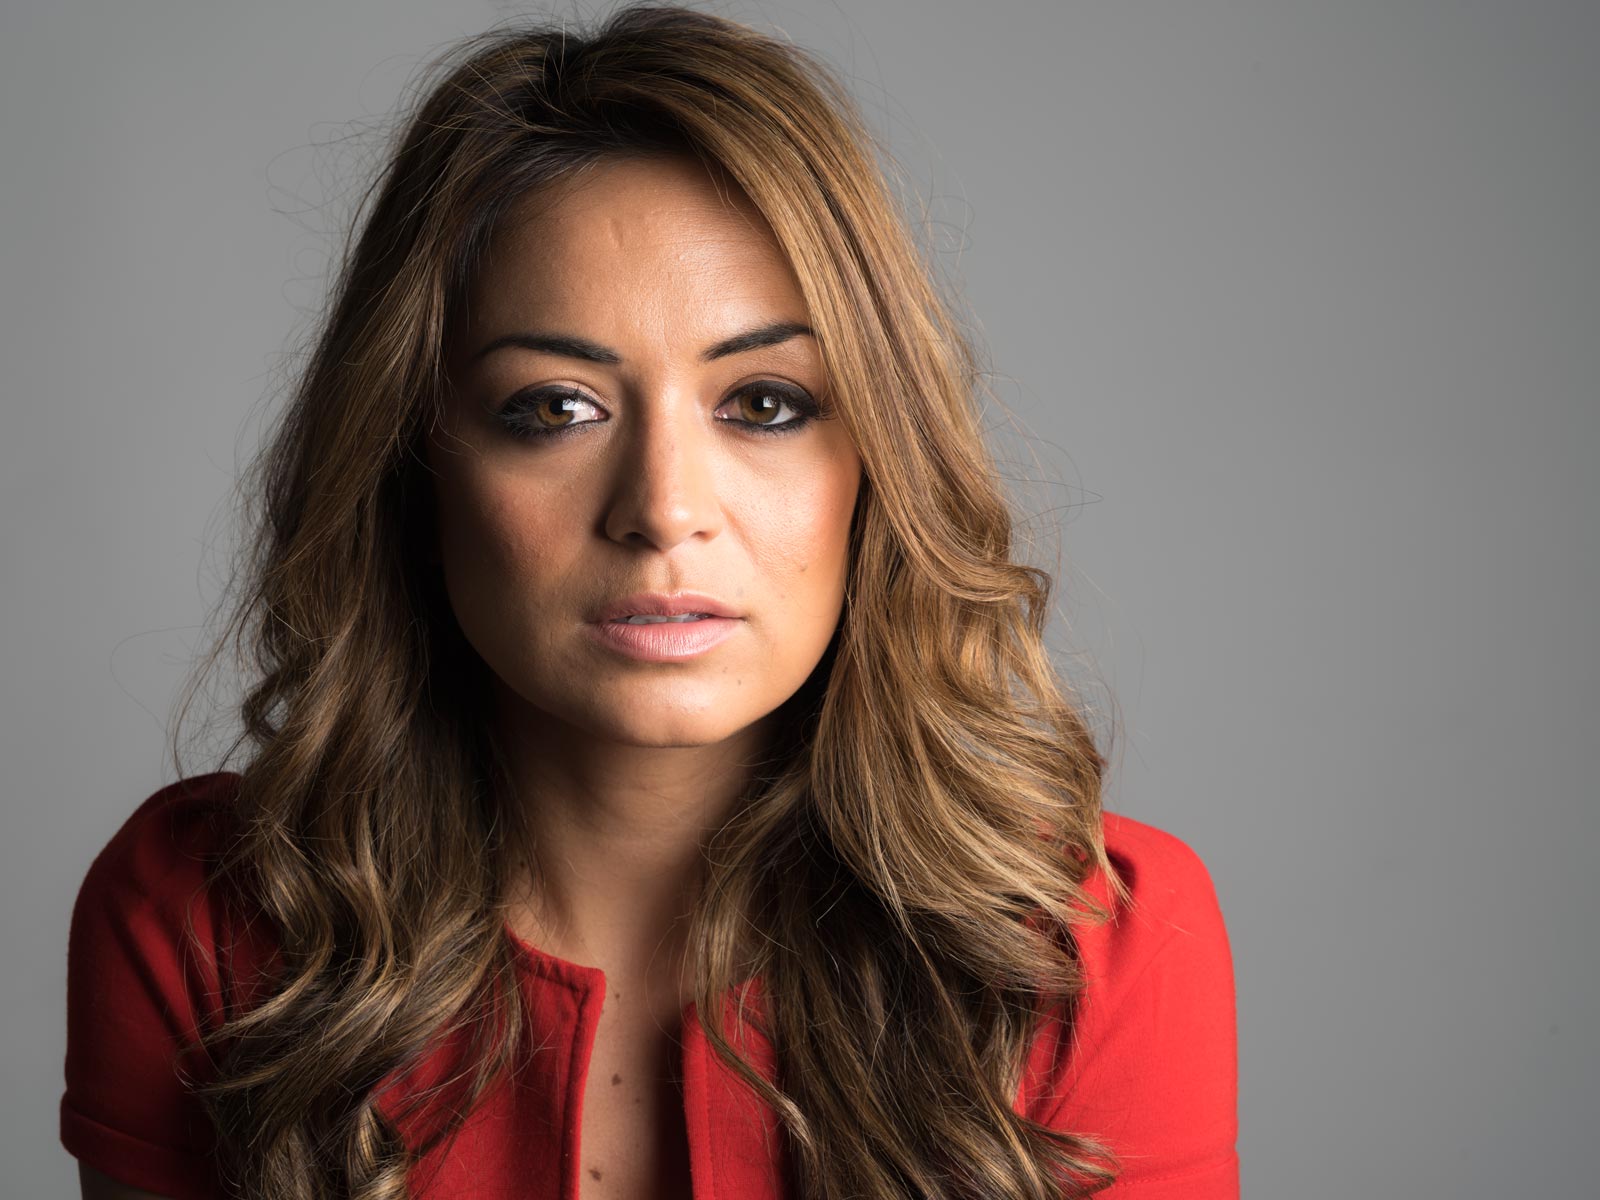
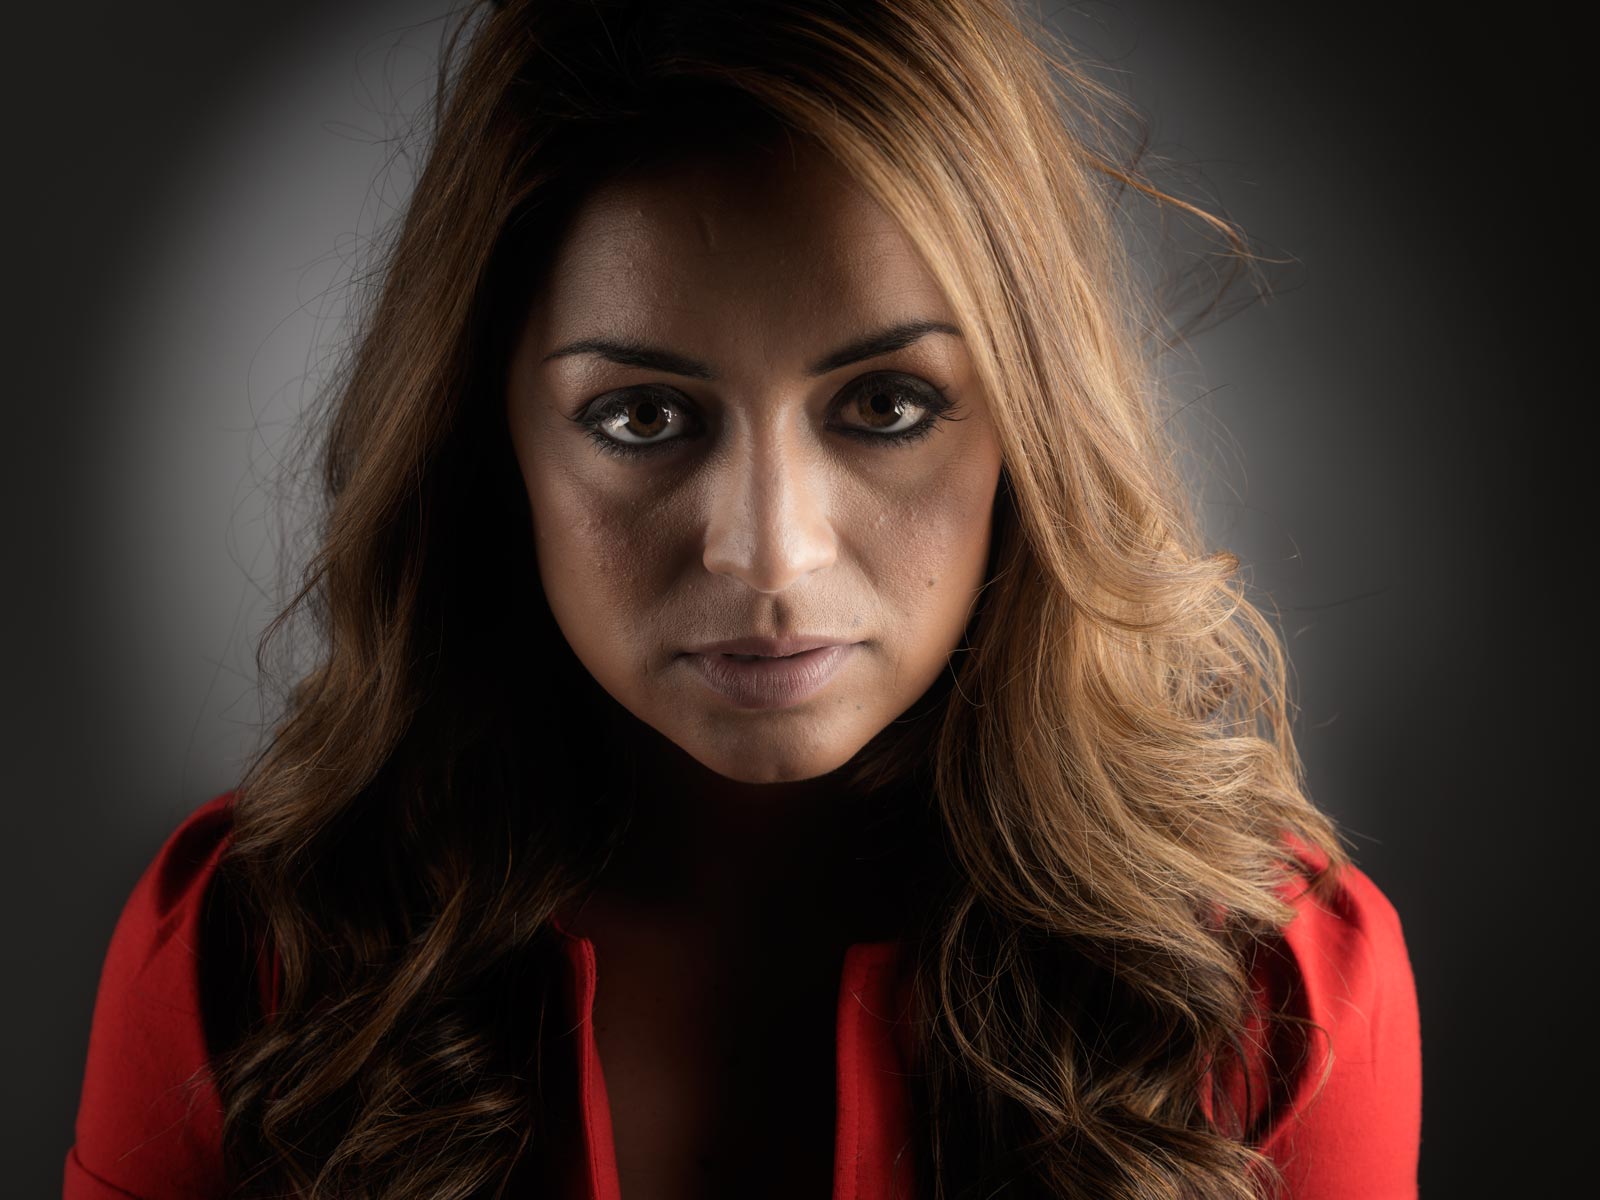
We only got the chance to shoot portraits but when I viewed at 1 to 1 in Lightroom every little blemish, imperfection and detail could be seen. That level of detail is perfect for many photographers needs but for my portraits it would mean a little more retouching might be required!

Yes the sensor has lots of pixels but it’s also big in size at 43.8mmx32.8mm. The bigger the physical size of the sensor the shallower the depth of field and when reviewing my photos I could see that my usual f/8 was giving me a noticeable reduction in depth of field.
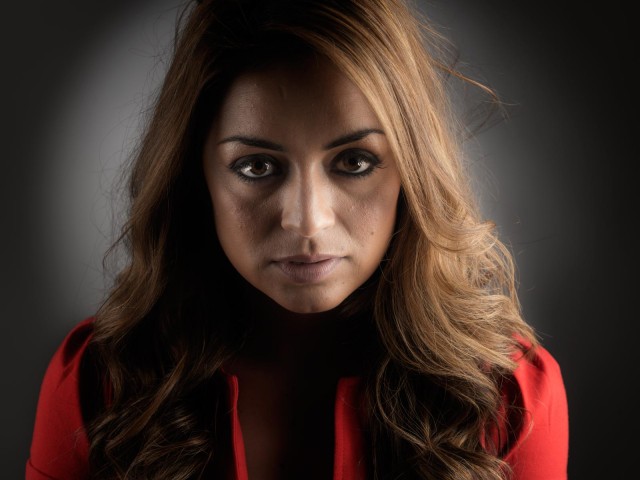
IMGP0097

Final thoughts
With a price point of £6800 body only and limited selection of lens to choose from, the Pentax 645Z isn’t on my real world shopping list but part of me wishes it was.

The price may seem high but compared to its competitors at Hasselblad and PhaseOne it a bargain. And when you consider the Pentax uses exactly the same sensor as it’s medium format competitors, it’s not surprising that the Pentax 645Z is constantly on back order at retailers.
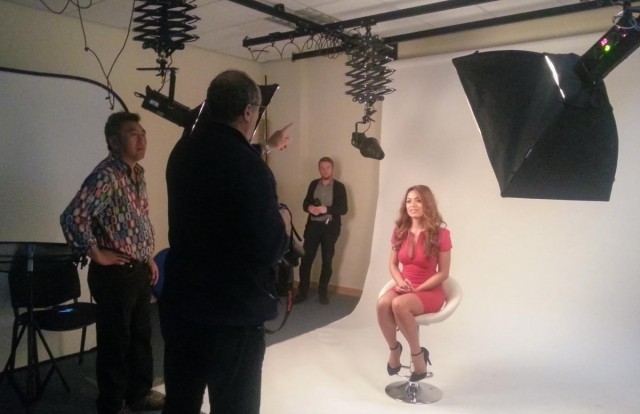
20141022_150908

I’d like to thank Mark and Luke from Pentax/Ricoh for letting me get my hands on the camera, Park cameras for providing the venue and Will Cheung for being a brilliant teacher/assistant and for continuing his tradition of wearing truly terrible shirts 😉

My Adorama Streaklight Bundles

After a bit of arm twisting Adorama has just released the “Gavin Hoey Recommends…” Streaklight Essentials Bundle and the Streaklight Twin Kit Bundle.

If you’ve been watching any of my recent videos you’ll have seen me shooting with one or two Streaklight flashes.You can checkout my review of the Streaklight 360ws here but if you just want the headline reasons I use the streaklights it’s the amazing power (equivalent to six speedlights), battery powered and incredibly small. In fact I loved it so much I ordered a second Streaklight, the lower powered 180ws. It’s a bit less powerful but also a bit cheaper, perfect for someone like me who’s outside the US and has to factor in shipping & tax.

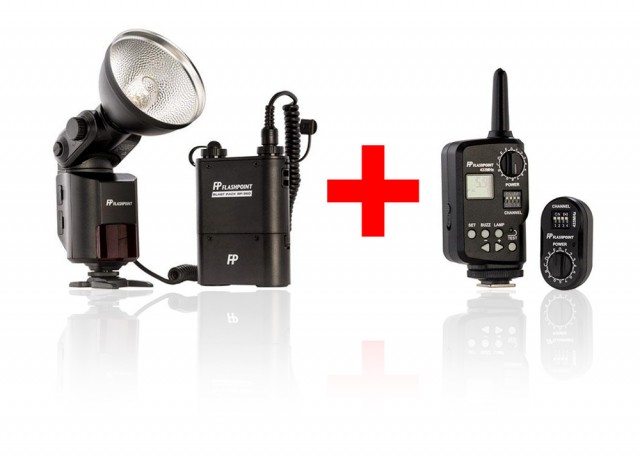
Streaklight-1My essentials bundle contains the Streaklight 360ws, blastpack battery and a remote trigger that doubles up as a full remote control and you’ll save $20 USD along the way.

Streaklight-2

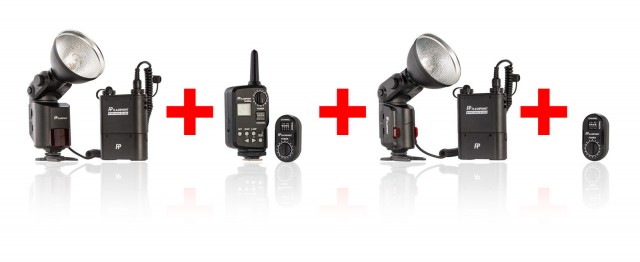
My twin light kit consists of a Streaklight 360ws, Streaklight 180ws, two blastpack batteries, a Remote control and a second remote receiver. It’s everything I use day to day in my small home studio and bags you a saving of $100USD off the list price.

If you’re looking for the power of a studio light but with the wireless convenience of a speedlight the Streaklights are hard to beat in my book.

Free Webinar This Thursday

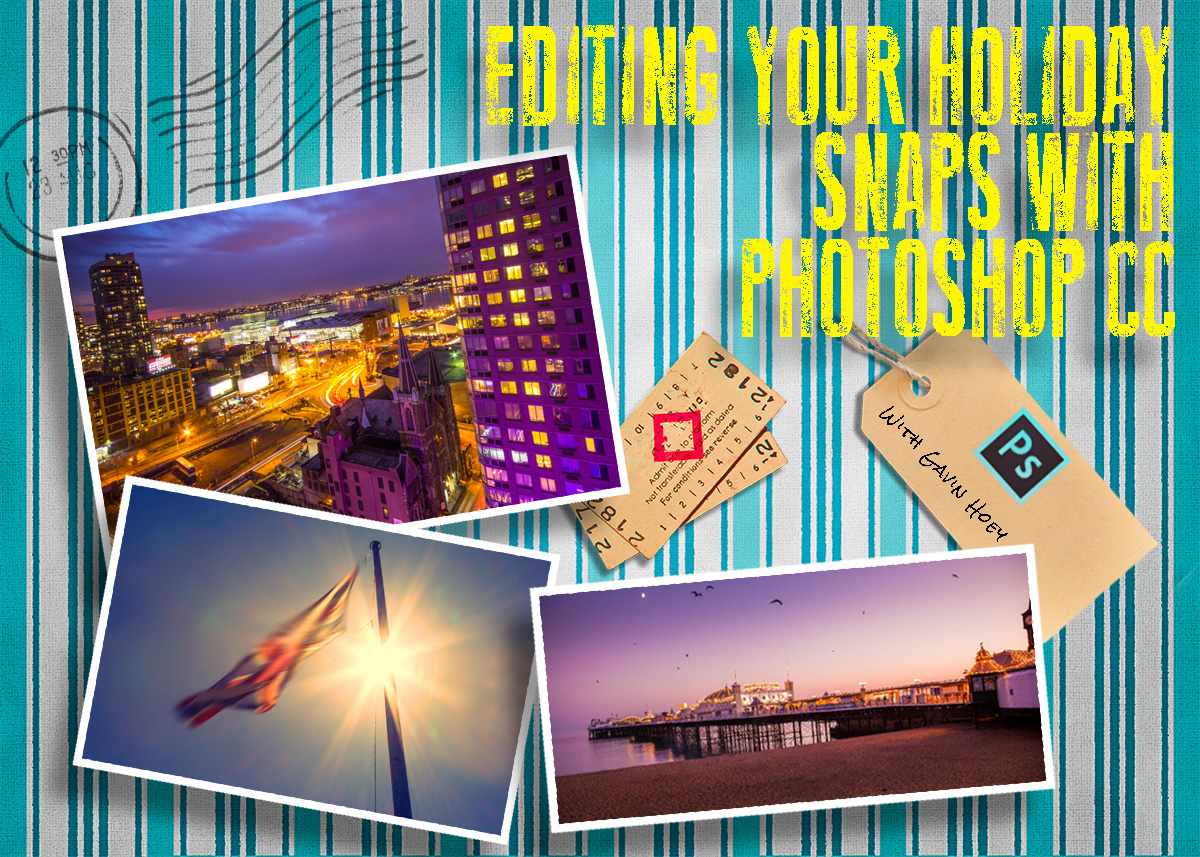
If you’re around this Thursday 16th October 2014 at 7pm UK time, then I’d love it if you could join me for a one off exclusive webinar in association with Adobe UK.

The webinar is free but places are limited. All you need to do is register with this link:
https://ccppuk1.creativecloud.adobeevents.com

The title of my talk is “Editing your holiday snaps with Photoshop CC” and the title says it all. I’ll be going through some of the photos I’ve taken during 2014 and editing them in Photoshop CC. Along the way I’ll be passing on some tips and tricks as well as showing off a few of Photoshop’s smart new features.

I hope to see you there.

Adobe-Postcard-template

Drama With Grids – Home Studio Essentials – PT 6

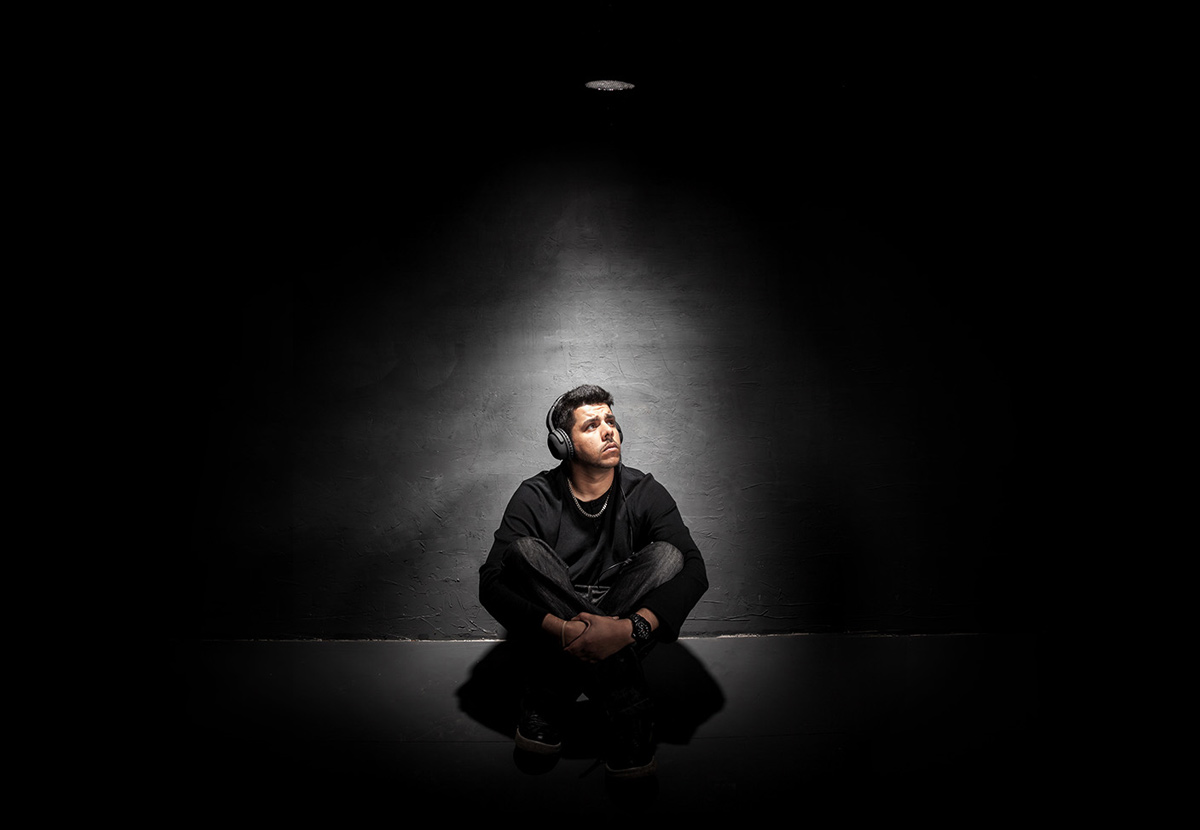
For almost all of my studio works, soft light is what I want but every now and then it’s great to break that mold and do something with a bit more edge with grids or snoots. Fortunately my Adorama Streaklights have  purpose designed tools to do the job.

In the studio grids are an essential tool, they help me light small areas with maximum precision and control. Usually I use grids in combination with a softbox as the key light but occasionally I’ll just use the grids for some dramatic effects.

[youtube]https://www.youtube.com/watch?v=K-C9xgTCLfM&list=PL821B7D720DEA39FA[/youtube]

One of the downsides of a small studio is just how easy it is to accidentally bounce light off a wall or ceiling, ruining the effect you hope to achieve. With their tighter beam of light, grids and snoots might just be the answer you’re looking for if you want to get moody lighting in your small home studio space. HSE-EP6-Final
Gear used in this video (Links back to Adorama)
Flashpoint StreakLight 360 Ws Flash (Includes flash and battery)
Flashpoint Streaklight 180 WS Streaklight
Grid/Gel Set
Streaklight Beauty Dish/Grid Set
Canon 5D Mark 2 
Canon 24-105L 

Using two lights – Home Studio Essentials – Part 5

There are many ways you can use a single flash to take great portraits but sooner or later the limitations of a single flash will be reached. Adding a second flash can be a great way to open up new and creative photo opportunities.

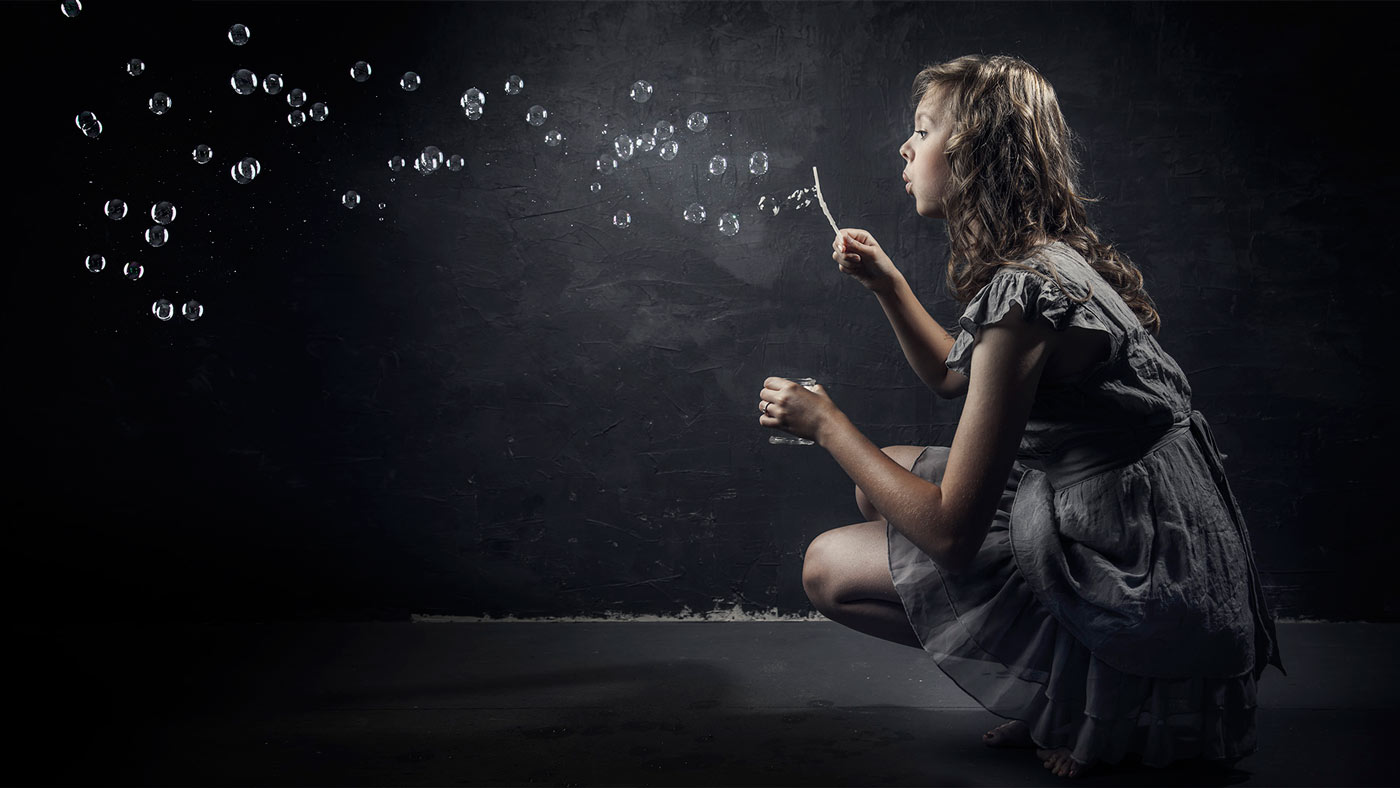
In this video I fire up a second light to act as a hair light and separate the model from a dark background. Then in the final shoot I add a few bubbles to create something a bit special.

[youtube]https://www.youtube.com/watch?v=FcQg0cBncHs&list=UU8Pksdbj37CdE00kmE7Z1dw[/youtube]

More lights means more complexity but my advice is to treat each light separately and meter accordingly. Turning them both on and trying to balance them at the same time sounds easier but trust me it’s not!

Bubbles-Studio

Gear used in this video (Links back to Adorama)

Flashpoint StreakLight 360 Ws Creative Collection (Includes flash, battery, trigger, boom etc)

Flashpoint Streaklight 180 WS

Westcott Apollo Orb Softbox

Canon 5D Mark 2 

Canon 24-105L 

Painted Corner Brushes – Friday Freebie

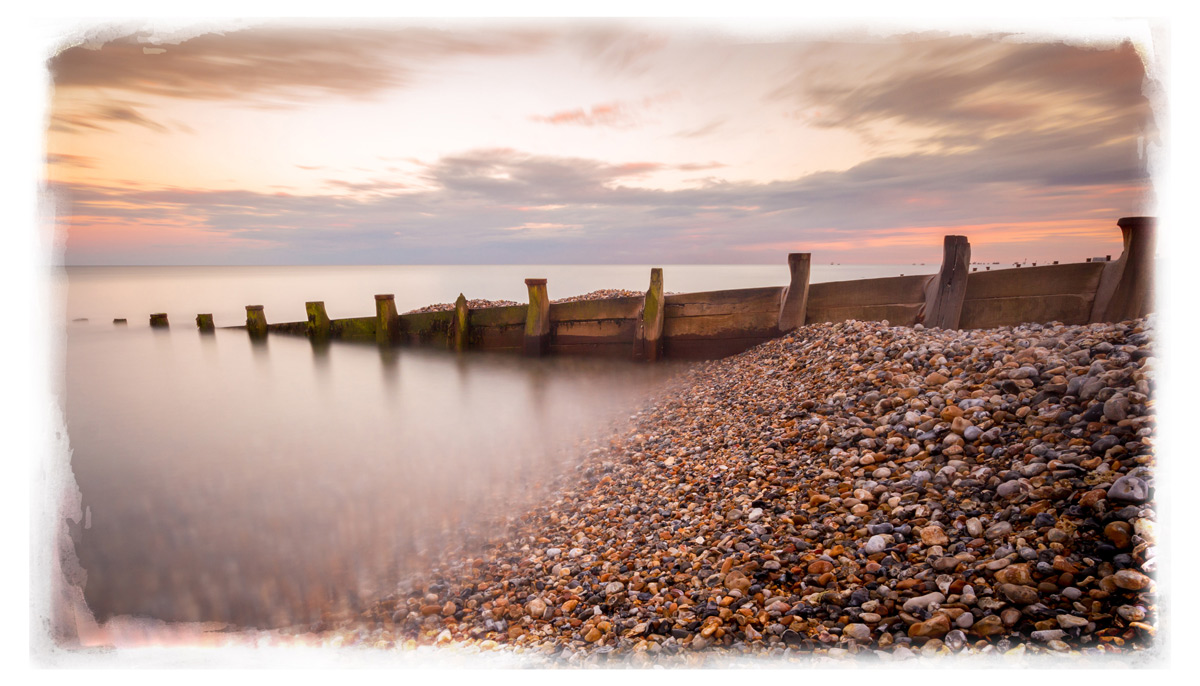
Here’s a painted border effect with a neat twist. First up these are paint brushes rather then a template and that means you can change the colour, opacity and use them with the Brush or Eraser tools. There’s four brushes in this set so you get one for each corners or mix and match to vary the effect.

You can download the brushes here: Painted Corners – GAVTRAIN

Painted-CornersThe brushes will work with all versions of Photoshop and Photoshop Elements however users of Photoshop CS6, CC and beyond will have the advantage of being able to increase the brush size to a maximum of 5000 pixels and getting bigger borders.

I’ve made a short video as a guide to installing the brushes and a few tips on how to use them. I hope it helps.

[youtube]https://www.youtube.com/watch?v=dkr4rmZef9E&feature=youtu.be[/youtube]

Usage rules
The brush set is copyright Gavin Hoey 2014. Use is limited to any personal, non-commercial purposes. Please share the Friday Freebie by linking back to this page. Do not redistribute the original action without my permission.

Download instructions
The direct link to download the actions is https://www.gavtrain.com/wp-content/uploads/2014/08/Painted-Corners-GAVTRAIN.zip

You must UNZIP the action before installing it in Photoshop / PS Elements

No support is provided with the Friday Freebies. If you need help Google or YouTube the question and you’ll almost certainly find the answer 🙂