Drama With Grids – Home Studio Essentials – PT 6

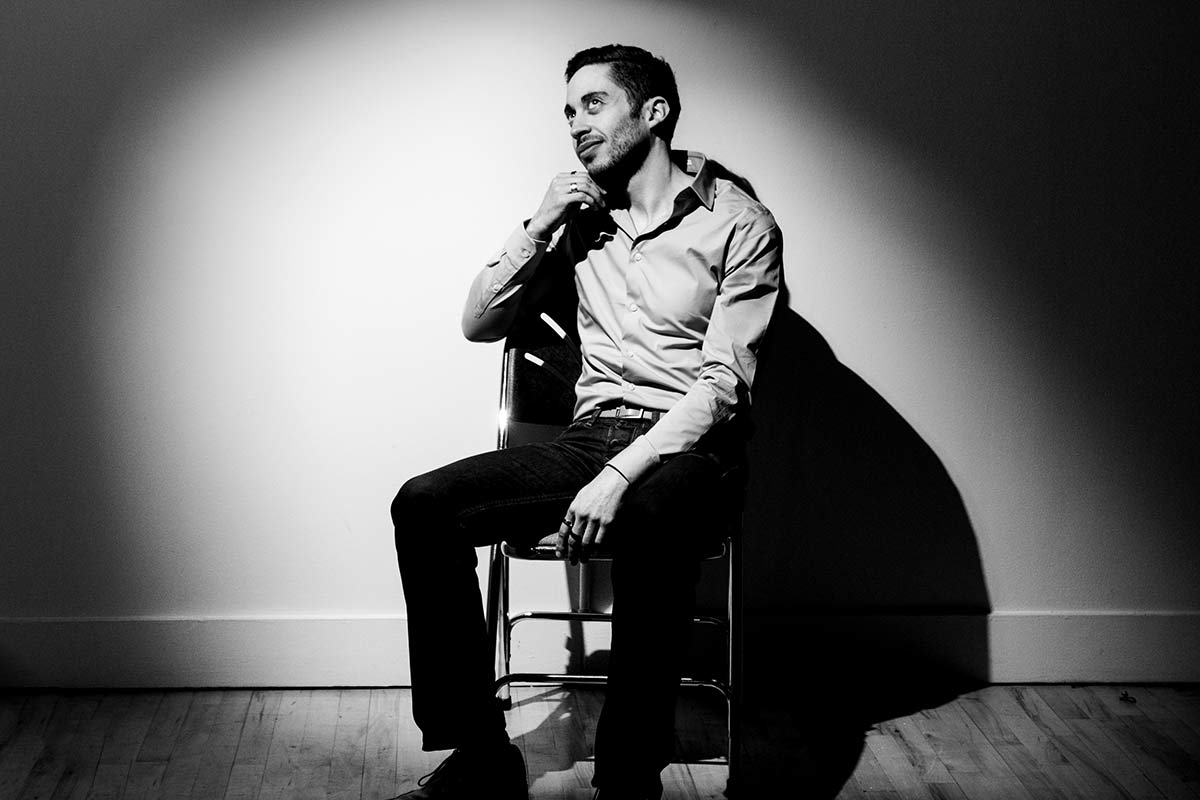
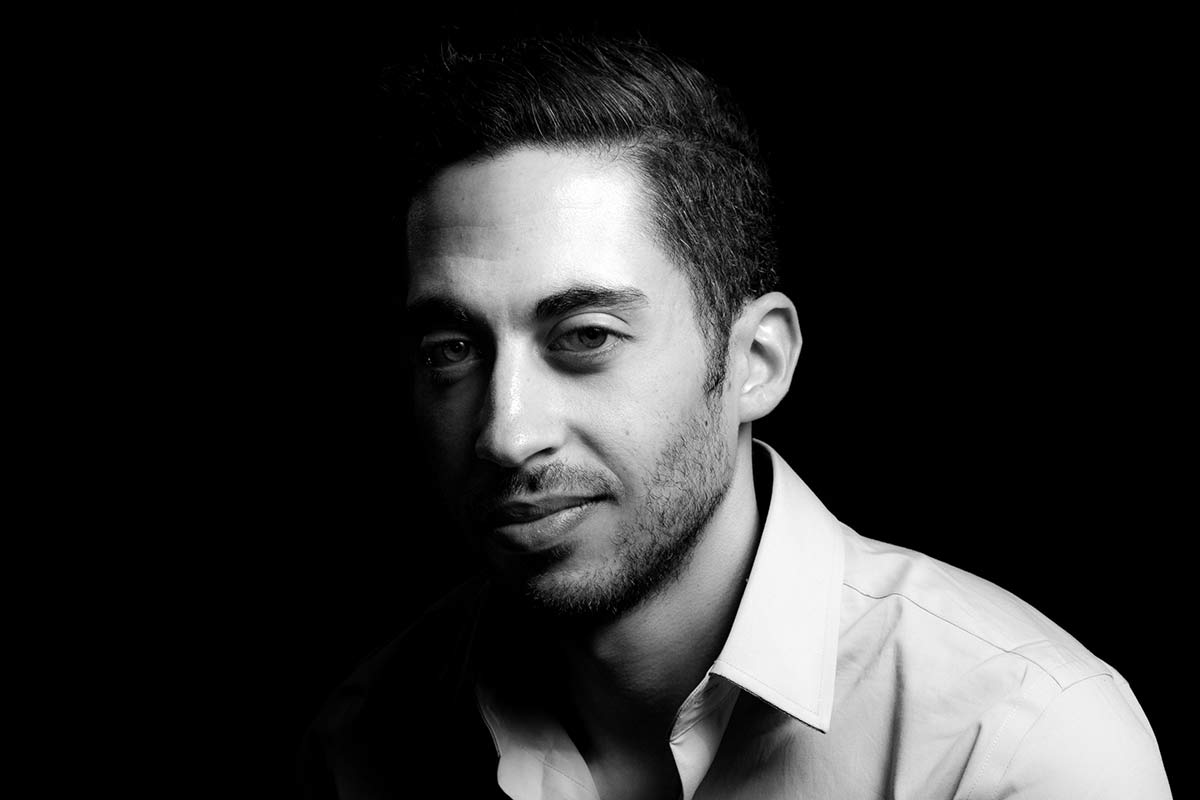
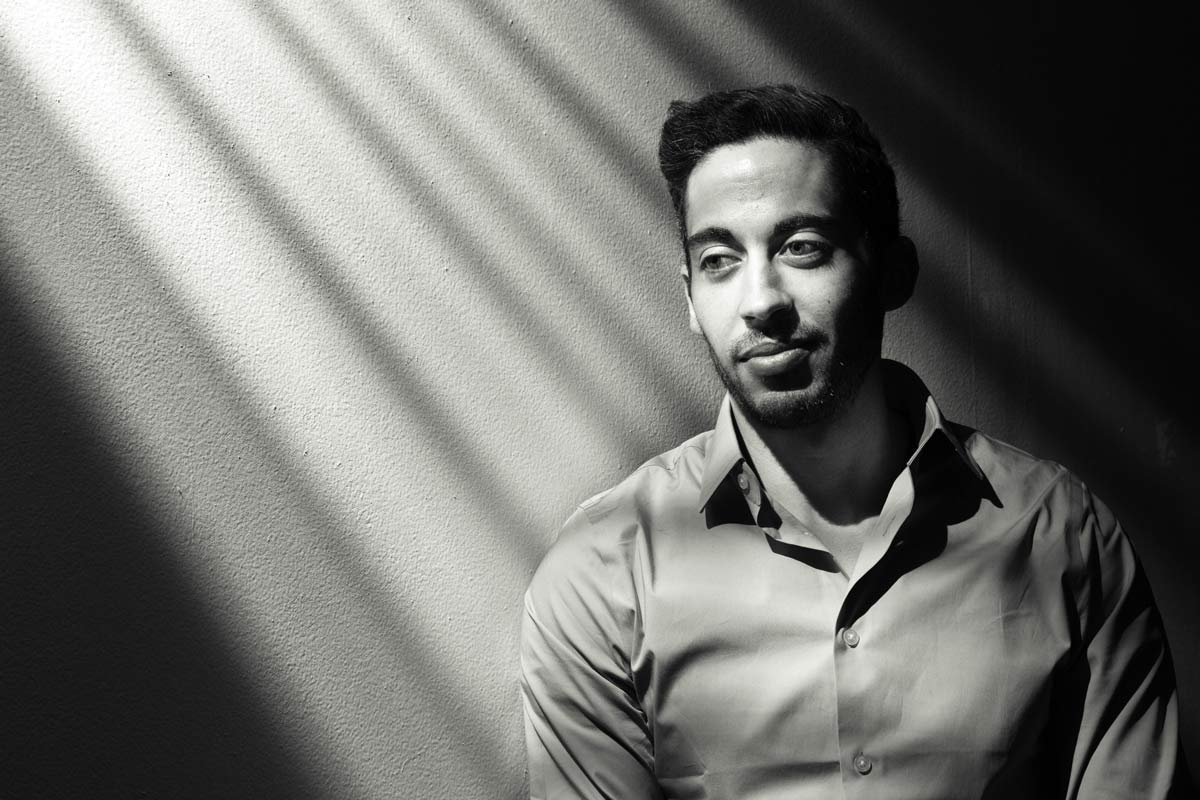
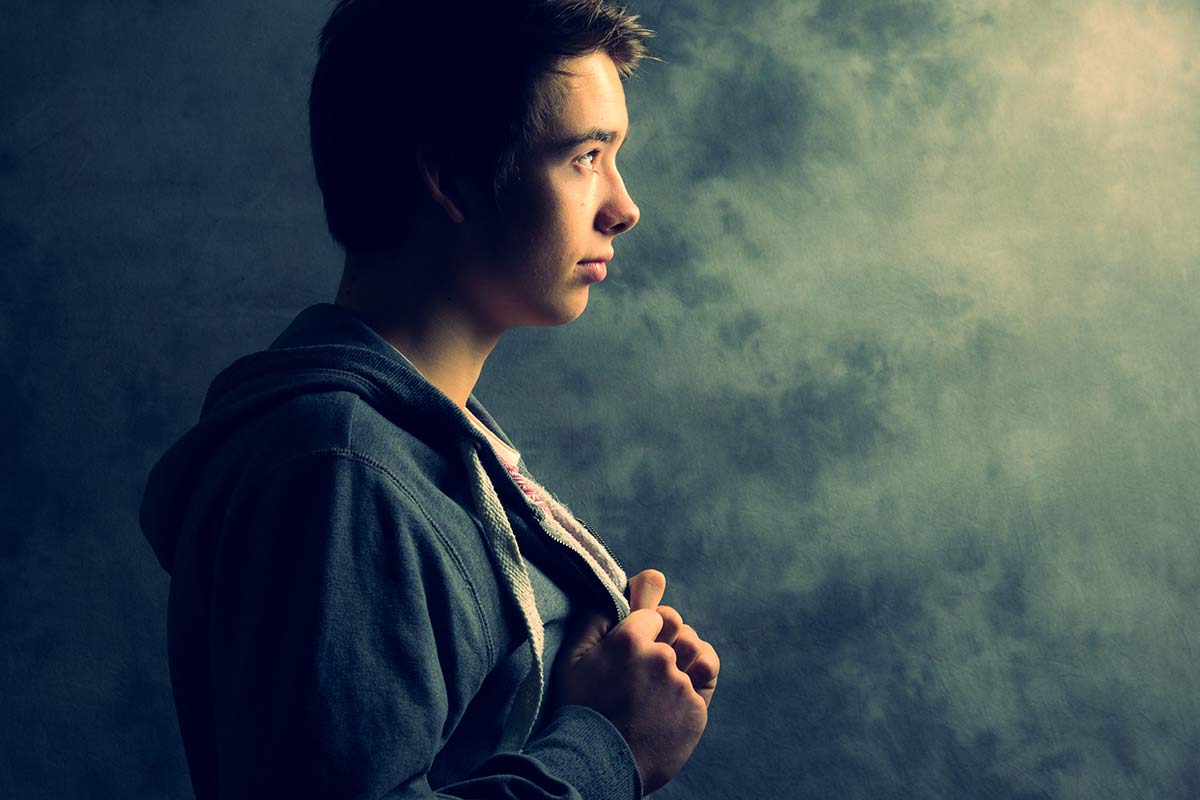
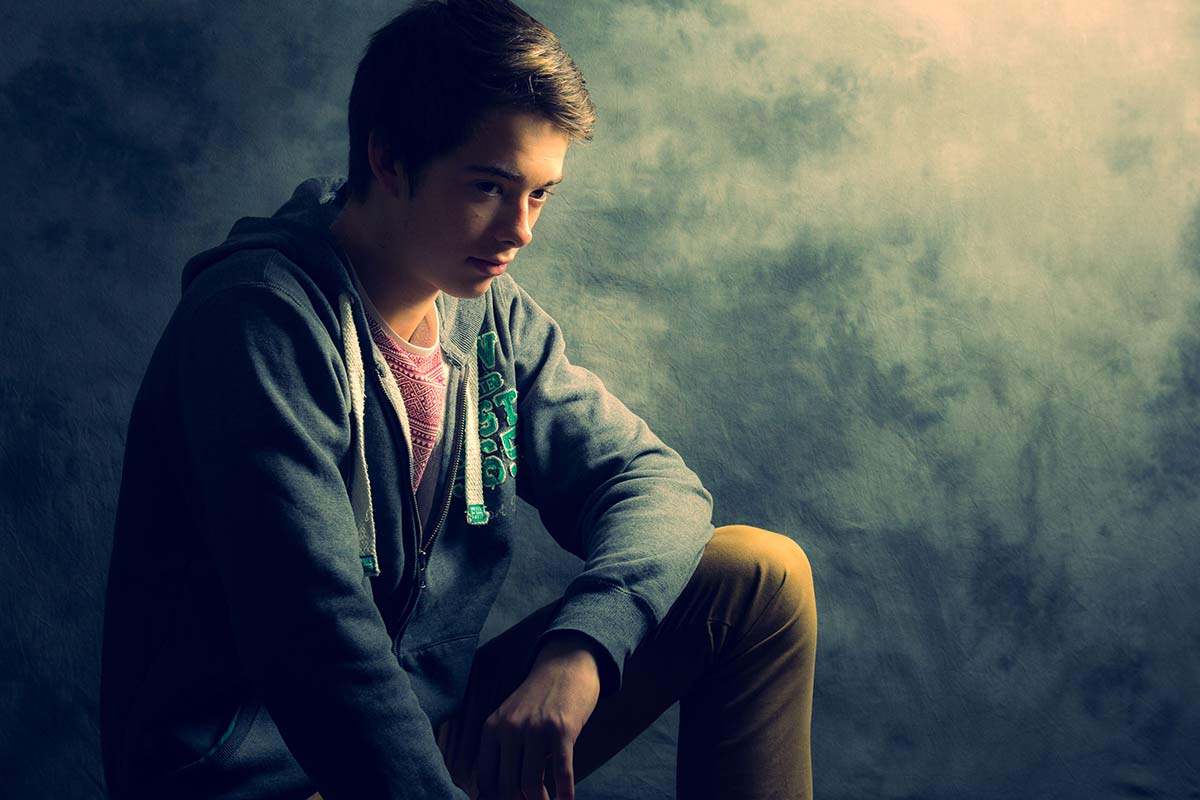
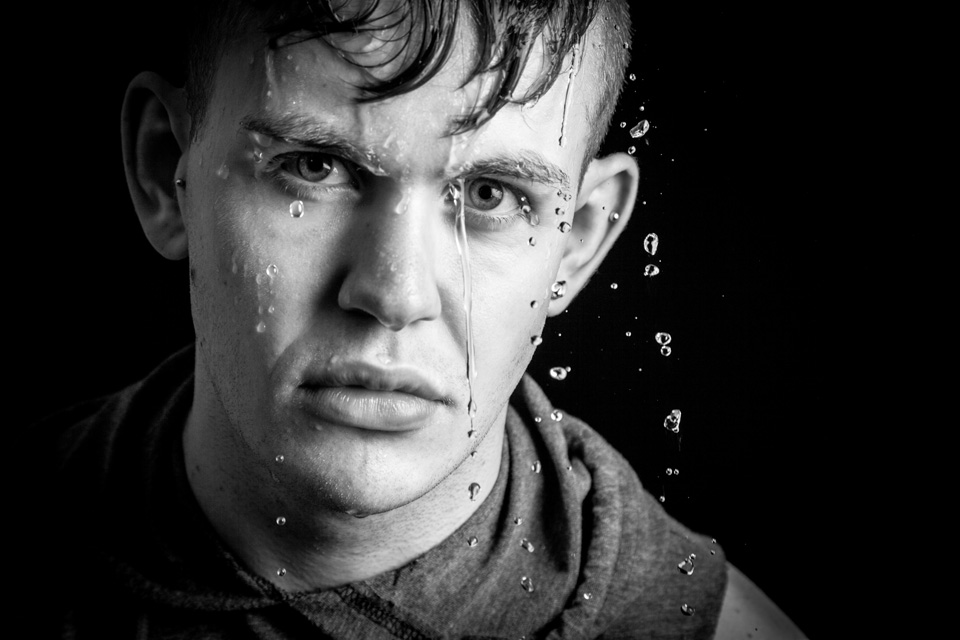
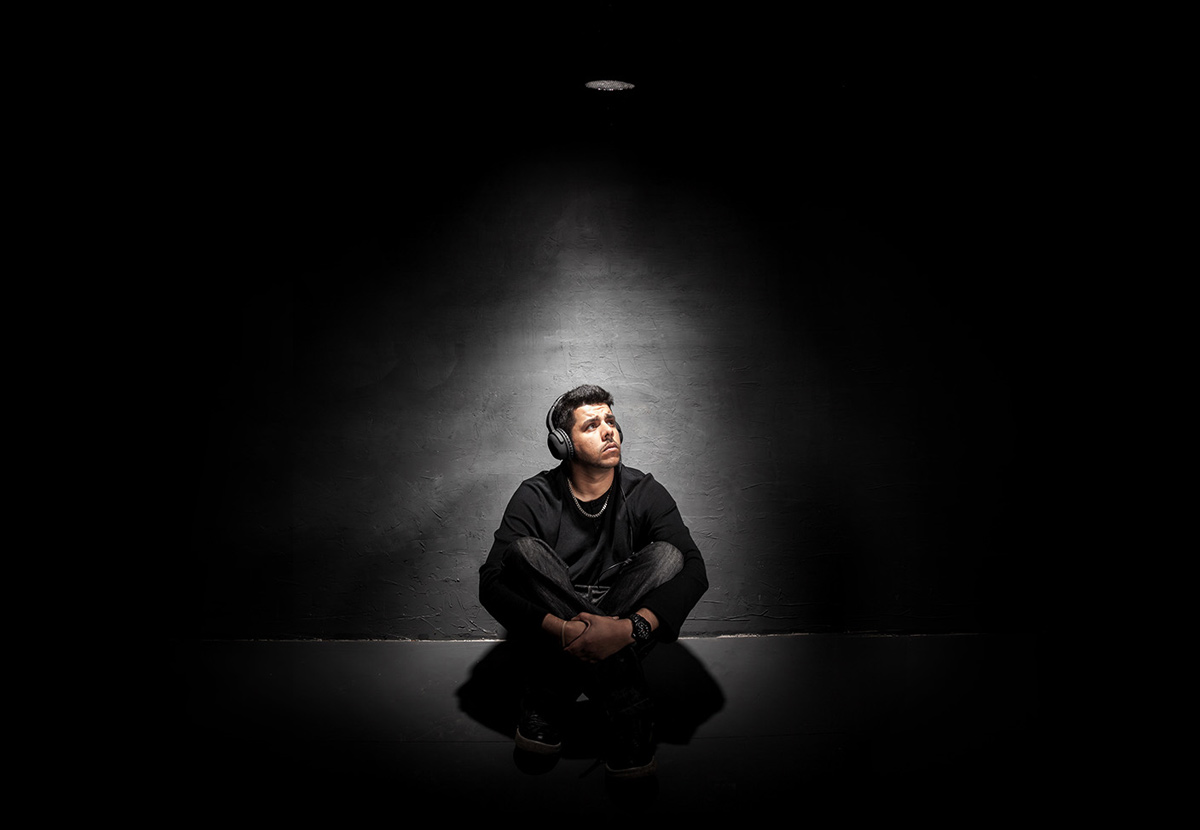
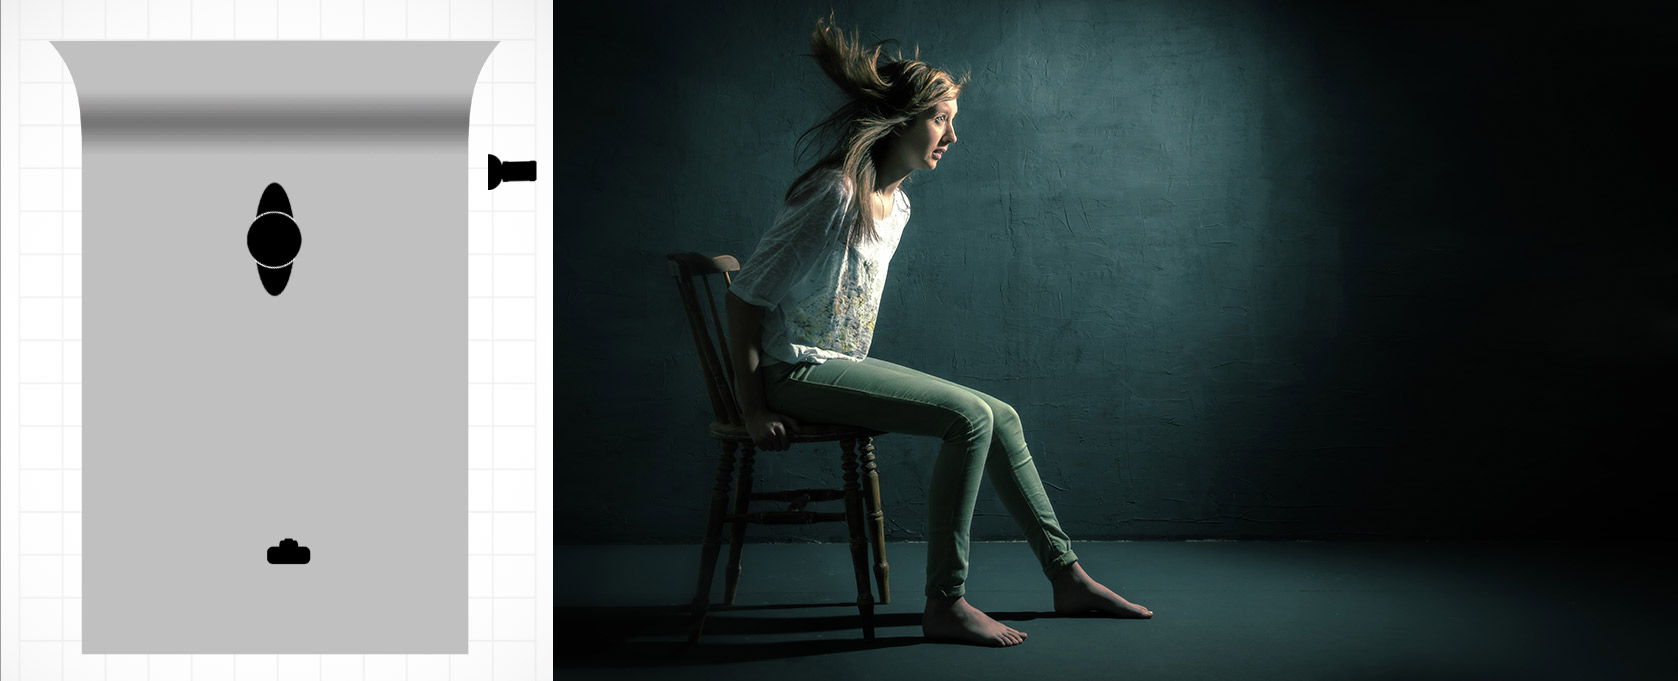
For almost all of my studio works, soft light is what I want but every now and then it’s great to break that mold and do something with a bit more edge with grids or snoots. Fortunately my Adorama Streaklights have  purpose designed tools to do the job.

In the studio grids are an essential tool, they help me light small areas with maximum precision and control. Usually I use grids in combination with a softbox as the key light but occasionally I’ll just use the grids for some dramatic effects.

[youtube]https://www.youtube.com/watch?v=K-C9xgTCLfM&list=PL821B7D720DEA39FA[/youtube]

One of the downsides of a small studio is just how easy it is to accidentally bounce light off a wall or ceiling, ruining the effect you hope to achieve. With their tighter beam of light, grids and snoots might just be the answer you’re looking for if you want to get moody lighting in your small home studio space. HSE-EP6-Final
Gear used in this video (Links back to Adorama)
Flashpoint StreakLight 360 Ws Flash (Includes flash and battery)
Flashpoint Streaklight 180 WS Streaklight
Grid/Gel Set
Streaklight Beauty Dish/Grid Set
Canon 5D Mark 2 
Canon 24-105L 
5 in 1 Reflector – Home Studio Essentials – Episode 4

HSE-EP4-FinalThere’s 1000’s of photographic gadgets, gizmos and accessories that you can spend your hard earned money on and whilst many are utterly useless, there are a few that are indispensable. Towards the top of my list of “must have” accessories is the 5 in 1 reflector.

A five in one reflector is so called because it has five surfaces. There’s the white and silver surfaces for bouncing light, a gold side for adding adding warm light (and usually best avoided), a black surface to block light and a translucent surface to diffuse light. Best of all it’s one of the least expensive bits of kit you can buy.

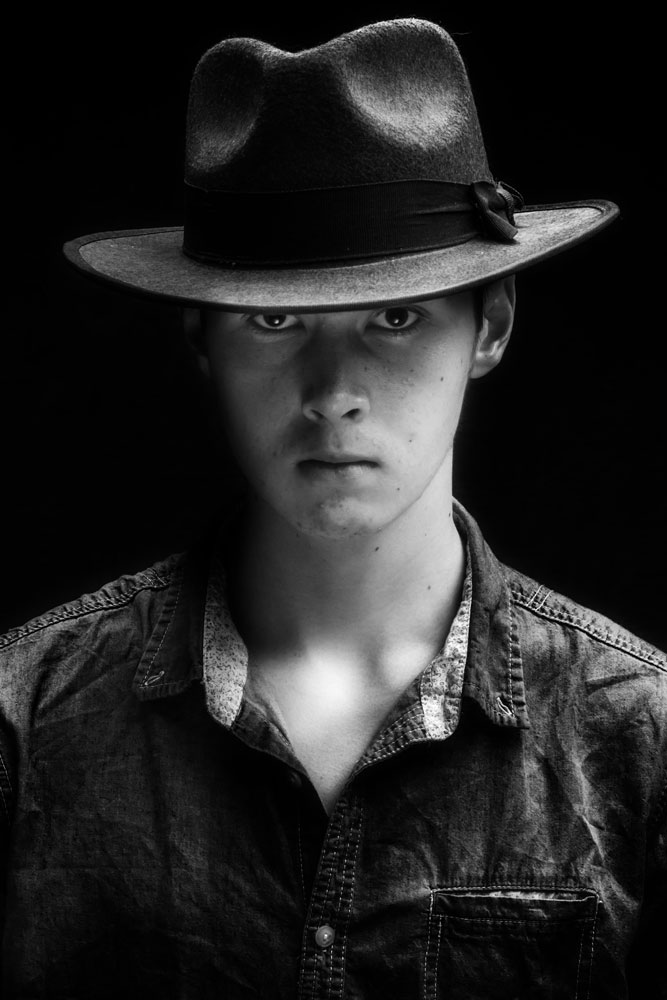
In this video I use the silver surface to bounce light and fill in troublesome shadows. In this case the shadows are caused by a wide brimmed hat. One way would be to add a second light but if that’s not available a reflector can fill in very nicely… and yes, that pun was intended!

[youtube]https://www.youtube.com/watch?v=TYQh9MNC3Is&list=PL821B7D720DEA39FA[/youtube]

Gear used in this video (Links back to Adorama)

Flashpoint StreakLight 360 Ws Creative Collection (Includes flash, battery, trigger, boom etc)

Westcott Apollo Orb Softbox

Westcott Basics 5 in 1 reflector

Canon 5D Mark 2 

Canon 24-105L 
If like me you like to keep a visual record of you’re lighting set ups then this image should come in very handy.

Reflector-Lighting-Diagram

The Softbox – Home Studio Essentials – Episode 3

There’s a reason why the softbox is my “go to” light modifier in my small home studio and it’s all to do with one of the biggest challenges photographers face when shooting in small spaces. With lots of wall close to the light source small studios can become one big reflector with light bouncing all over the place. Whilst that can be great for evenly lit shots it’s a disaster if you want moody lighting or even just basic control of the light direction. Softboxes like the Westcott Apollo Orb I’m using for this shoot, focus the light forward and cut out light spilling behind and to the sides. The upshot is beautiful soft light that has direction even in a small studio.

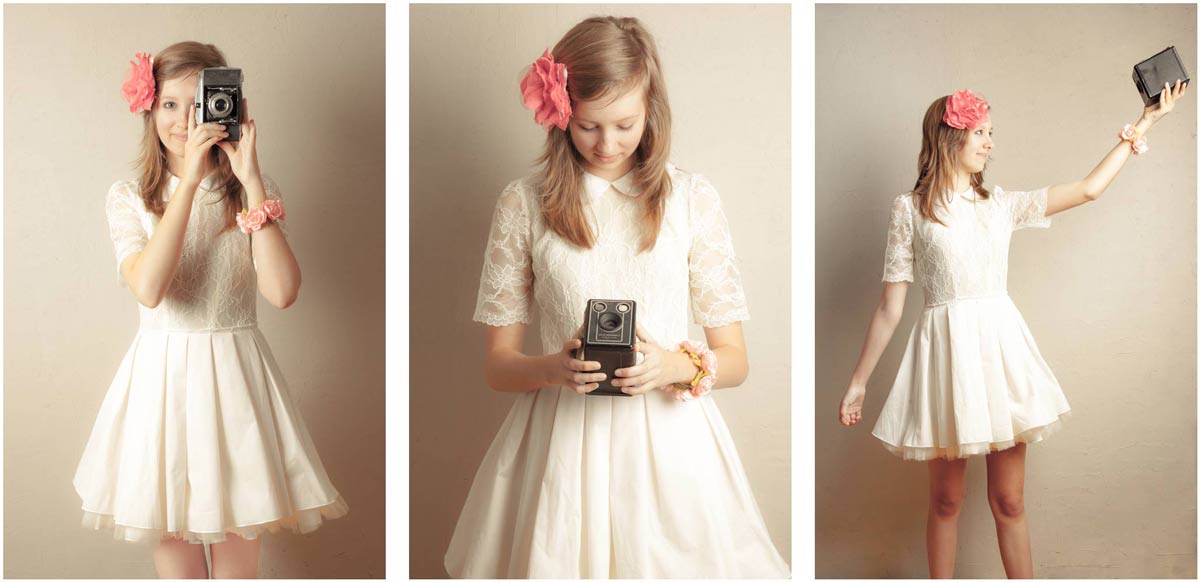
In this video I use 1 meter wide round softbox to give just the right amount of light on the model to achieve the effect I want. Of course in the real world of studio portraits getting the light right never happens first time so run through a couple of different light positions to see what works as well as cover the Photoshop processing to enhance the vintage feel.

[youtube]http://www.youtube.com/watch?v=z0MTQFYnvQA&list=UU8Pksdbj37CdE00kmE7Z1dw[/youtube]

For this series of videos I want you to do more then just watch it, I’m hoping you’ll get your camera and take a photo based on the ideas you see in the video. That might be the lighting set up, the models pose or the Photoshop post processing. If you do (and you’re on Facebook) then please add them to Adorama’s Facebook page. I’ll be checking it regularly and giving constructive feedback on as many as possible

Softbox-demo-retro

Gear used in this video (Links back to Adorama)

Flashpoint StreakLight 360 Ws Creative Collection (Includes flash, battery, trigger, boom etc)

Westcott Apollo Orb Softbox

Canon 5D Mark 2 

Canon 24-105L 
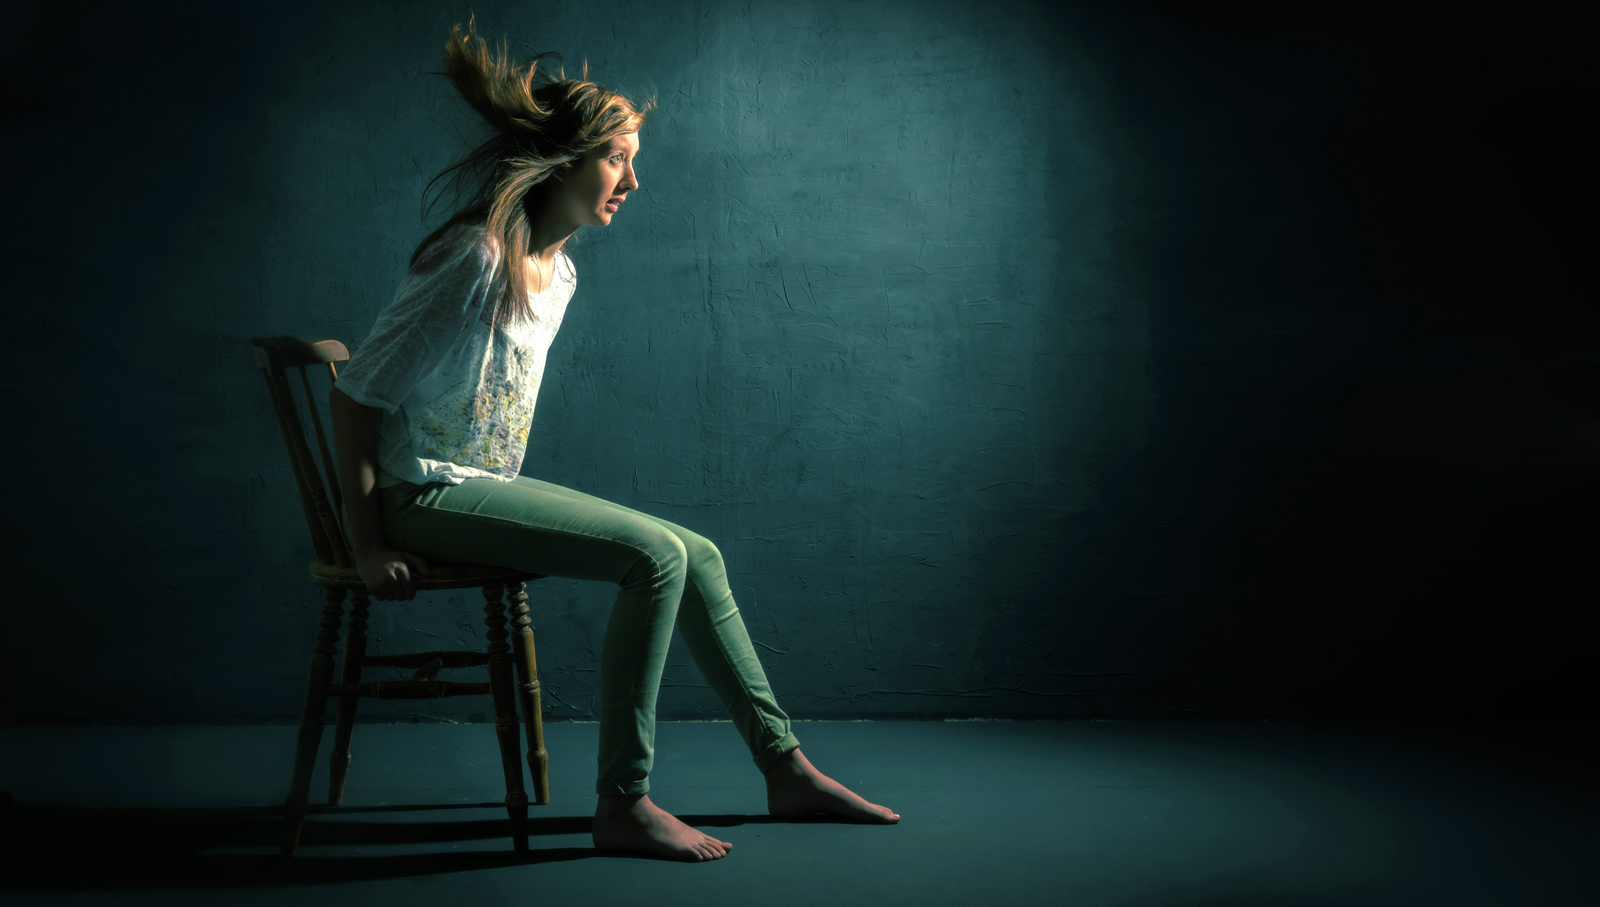
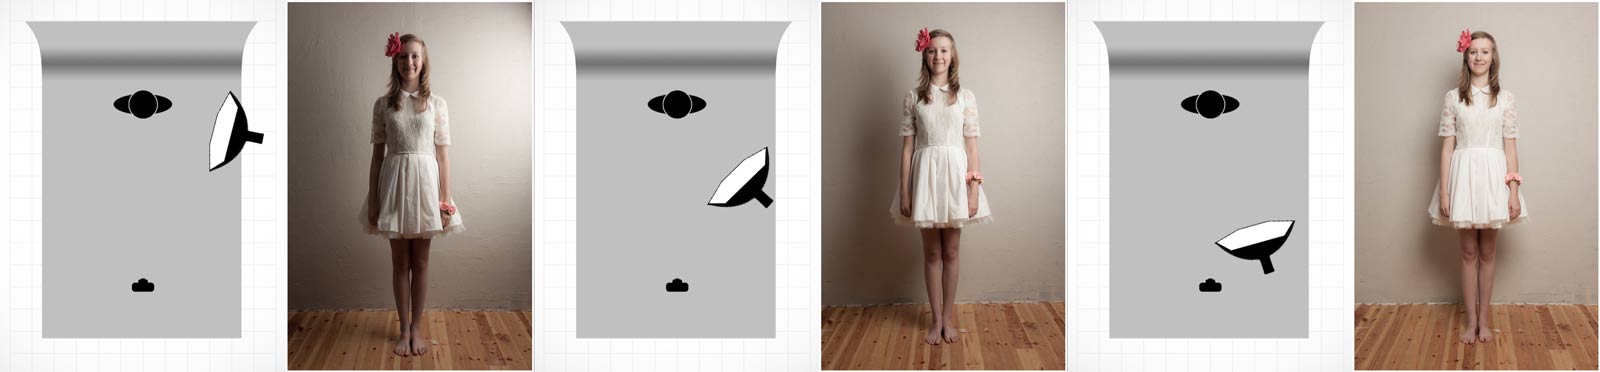
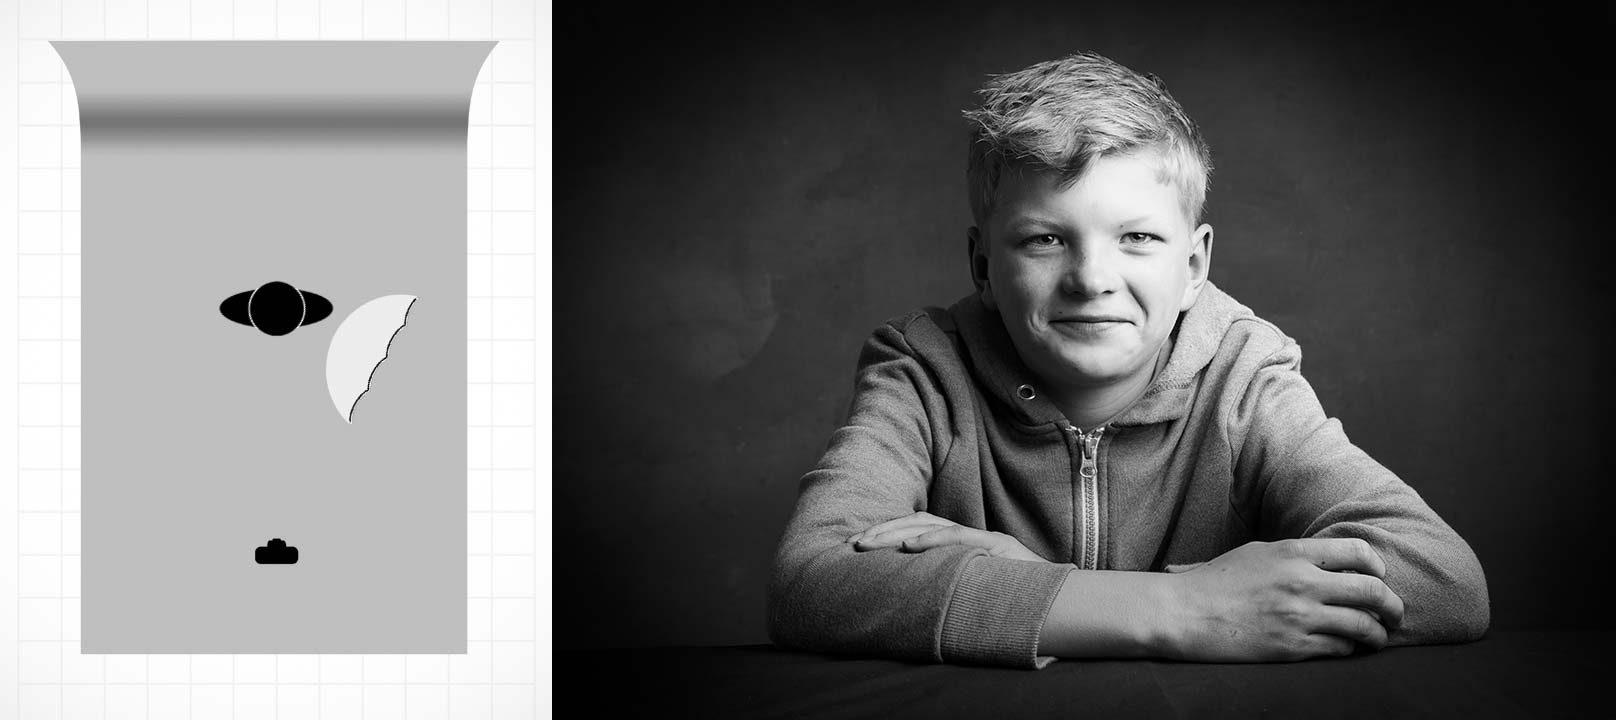
If like me you like to keep a visual record of you’re lighting set ups then this image should come in very handy.

Softbox-lighting-diagram-onelight

Home Studio Essentials – Episode 2

Speedlites and flash units are great but after a while the hard light they produce can become a bit limiting. In part 1 of my home studio essential skills I used a bare flash but now it’s time to add an umbrella. It’s almost certainly the first light modifier you’ll buy and for good reason.  They’re very versatile, quick to set up and fold down nice and small which makes them perfect for mobile and small home studio set ups.

Umbrellas come in two basic types, ones you bounce light into (reflective) and translucent umbrellas that you shoot light through. Whichever you use they soften the light by increasing the size of the light relative to the size of the subject. In other words, the bigger the umbrella the softer the light and the closer you get it to your subject the softer the light.

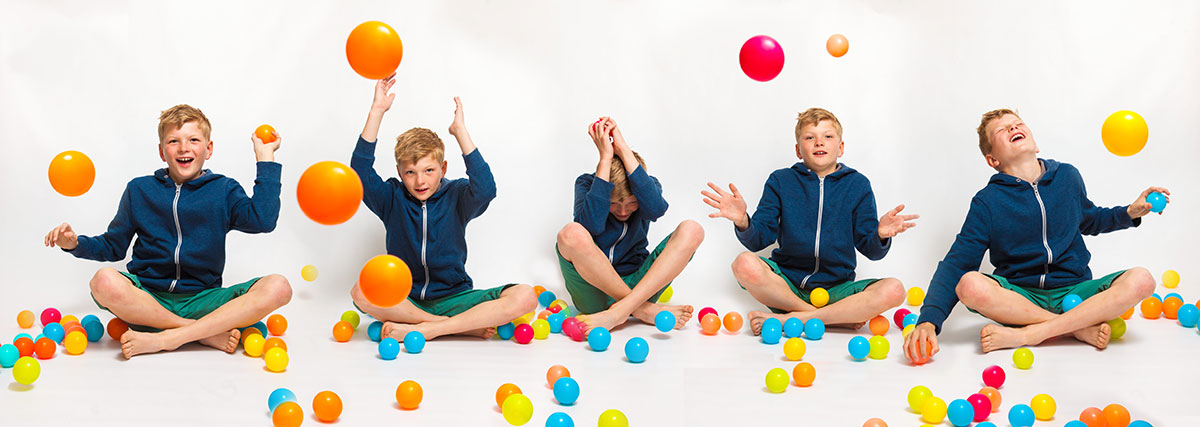
In this video I use a shoot through umbrella to create two very different looks. The first is a moody low key shot but it’s the second, more evenly lit shot that I love and it took lots of balls to make… about 50 colourful plastic balls to be precise!

[youtube]https://www.youtube.com/watch?v=ur58XNQwMXA&list=UU8Pksdbj37CdE00kmE7Z1dw[/youtube]

For this series of videos I want you to do more then just watch it, I’m hoping you’ll get your camera and take a photo based on the ideas you see in the video. That might be the lighting set up, the models pose or the Photoshop post processing. If you do (and you’re on Facebook) then please add them to Adorama’s Facebook page. I’ll be checking it regularly and giving constructive feedback on as many as possible

Joel-Joel-Joel-Joel-Joel

Gear used in this video (Links back to Adorama)

Flashpoint StreakLight 360 Ws Creative Collection (Includes flash, battery, trigger, boom etc)

Canon 5D Mark 2 

Canon 24-105L 
If like me you like to keep a visual record of you’re lighting set ups then this image should come in very handy.

Joel-Lighting-Diagram

Home Studio Essentials – Episode 1

Very few photographers have access to a professional studio but lots of us enjoy shooting portraits and so all over the world spare bedrooms, garages and front rooms are regularly converted from their intended use into makeshift small studios.

These small spaces can produce stunning photos but they come with their own unique set of problems and challenges. More often then not the home studio photographer may also feel restricted by owning a small range of lighting gear and using friends or family as models but truth be told that’s not the handicap it might at first appear.

[youtube]https://www.youtube.com/watch?v=hR4DW7dXOsk&list=UU8Pksdbj37CdE00kmE7Z1dw[/youtube]

This is the first of a mini series of videos I’ve made for Adorama TV in which I work within the limitations of a small home studio. Over the coming weeks I’ll be dealing with the challenge of controlling light in a small space, working with amateur models and in this video, shooting without light modifiers.

For this series of videos I want you to do more then just watch it, I’m hoping you’ll get your camera and take a photo based on the ideas you see in the video. That might be the lighting set up, the models pose or the Photoshop post processing. If you do (and you’re on Facebook) then please add them to Adorama’s Facebook page. I’ll be checking it regularly and giving constructive feedback on as many as possible

Adorama-HSE-1

Gear used in this video (Links back to Adorama)

Flashpoint StreakLight 360 Ws Creative Collection (Includes flash, battery, trigger, boom etc)

Canon 5D Mark 2 

Canon 24-105L 
Frio Cold Shoe  

Black rapid RS-7 Strap 

If like me you like to keep a visual record of you’re lighting set ups then this image should come in very handy.

Lighting-Diagram---Bare-Flash

Speedlights, brollies and zooming flashes

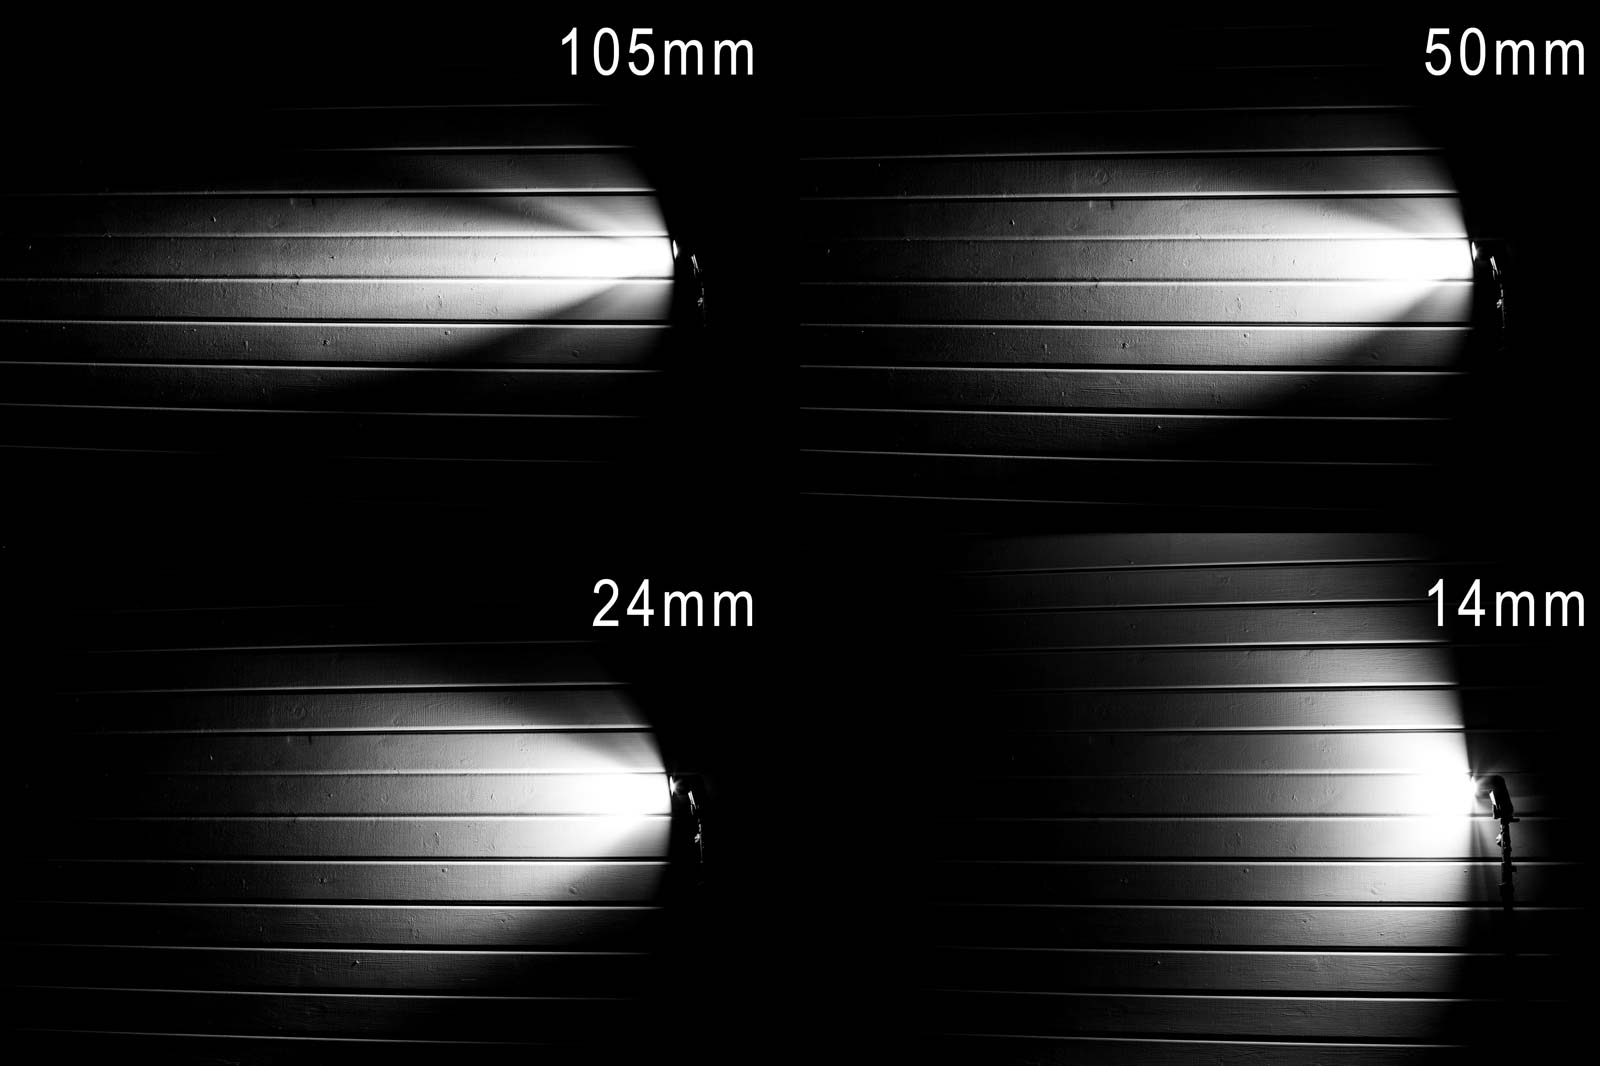
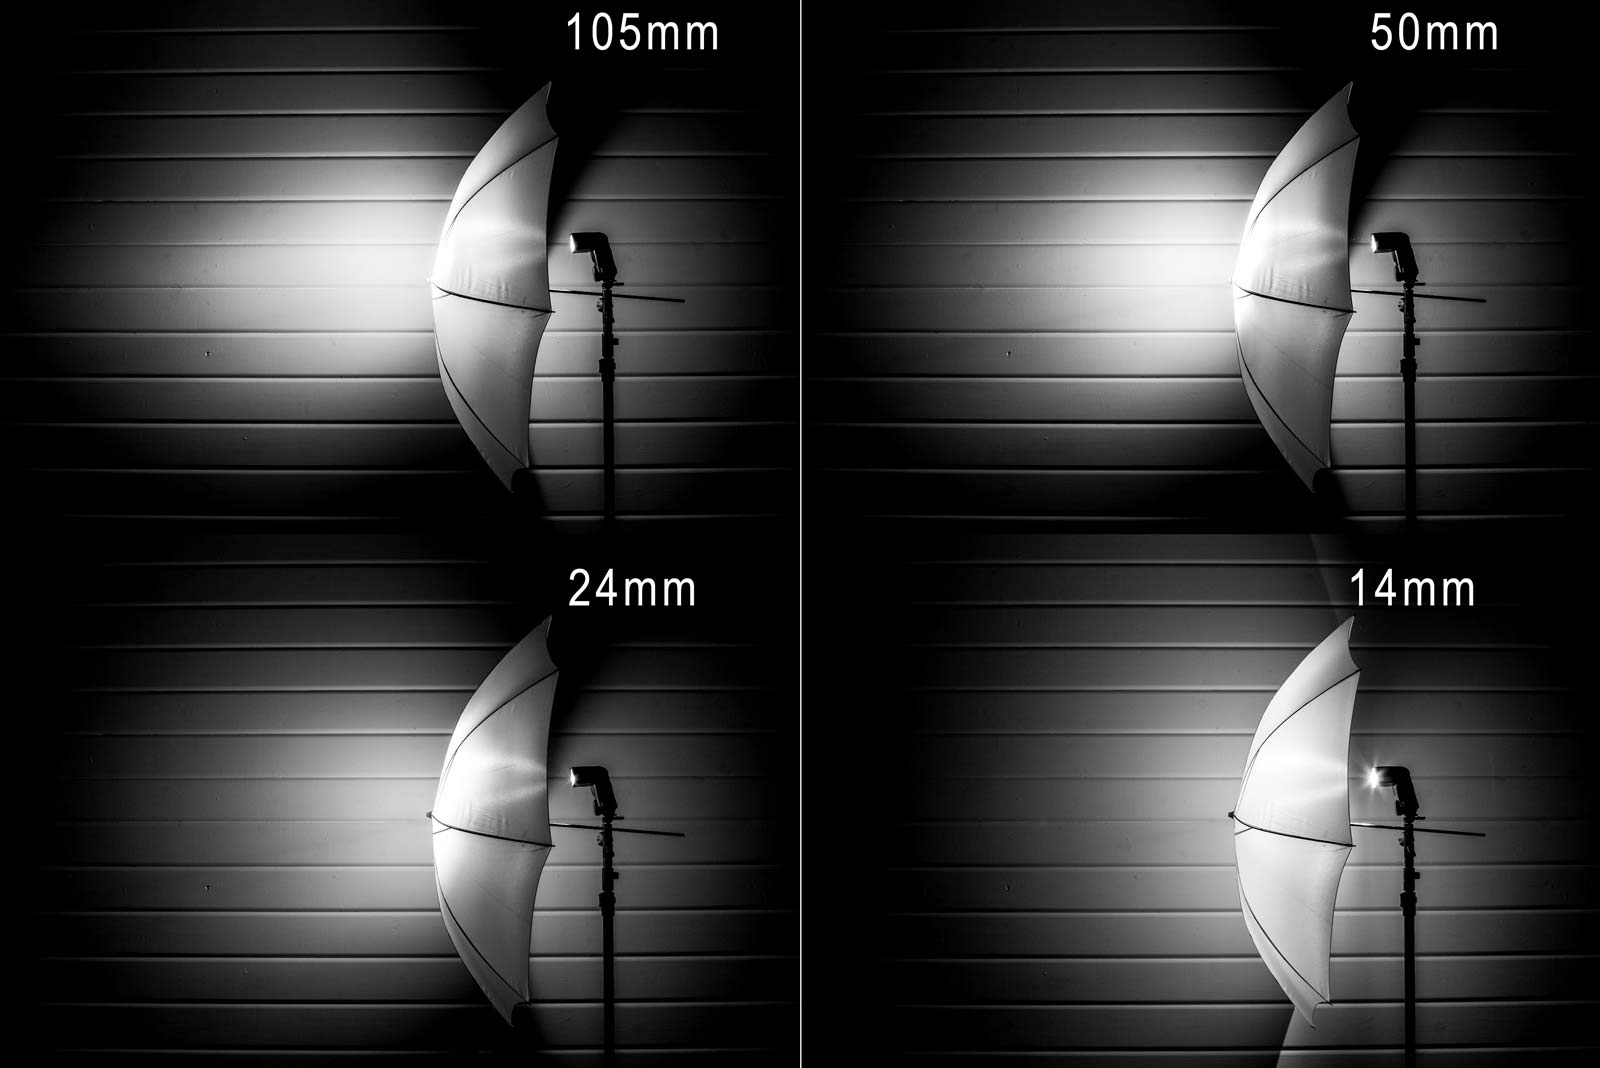
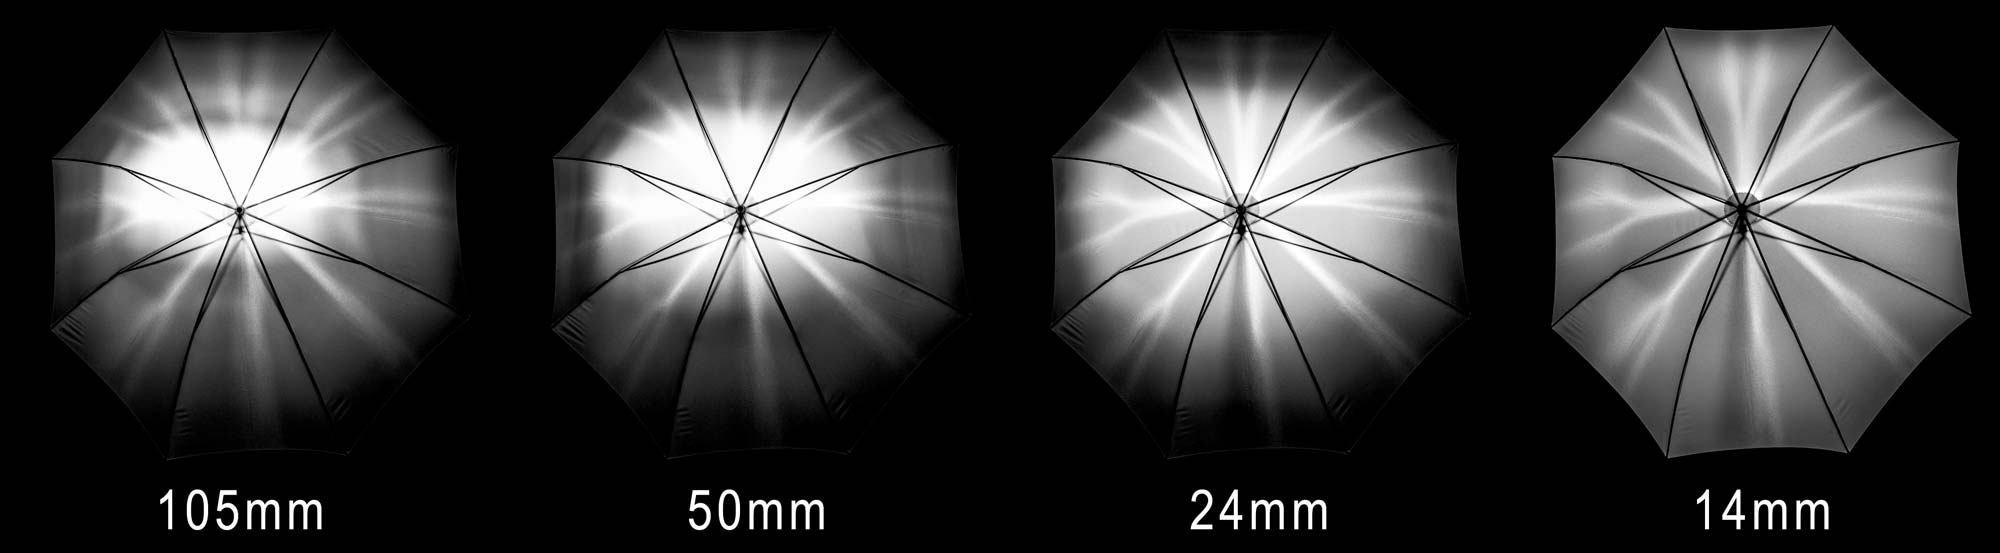
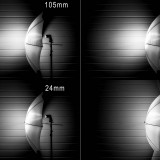
If you’ve used a Speedlight then you’ll have spotted the zoom setting which can be used to make the spread of light from the flash match the angle of view from your lens. When it comes to on camera flash that’s great news as it helps to maximise tFlash-Bare-1he efficiency of the flash but go off camera and it’s something that can easily get over looked. Setting the zoom for off camera speedlite work is one of the handy tools in a photographer’s bag of tricks. It can be used to shape the light into a tight rectangle or spread it wider and rounder. Most speedlight’s even have a pull out diffuser for a crazy wide spread of light. So what should you do with the zoom setting when you’re shooting your flash into an umbrella or softbox? In a nutshell I tend to zoom out to the wider end of the flashes zoom range but I wanted to see how things changed at different zoom settings so I did a little experiment. Flash-Brolly-1 Let’s start with the side view. At my Canon 580EXII’s maximum zoom of 105mm the flash is diffused fairly well but it’s noticeably bright in the centre with a lot of fall off at the edges. Things don’t change much even at 50mm zoom but by 24mm zoom the light spread from the umbrella is a lot more even. Flip out the wide angle diffuser and zoom reads 14mm, now that’s wide! The resulting light is amazingly soft and diffused but it’s so wide it actually passes the edges of the umbrella completely! Flash-Softbox-1 It’s the front view which probably make things clearest. The hot spot at 105mm to 50mm is clear to see. At 24mm the flash coverage is better but at 14mm it’s very VERY even. So what conclusions can I draw from this? Well the obvious one is don’t zoom the flash when using an umbrella or softbox. 14mm looks very tempting but one thing to note is the flash power was roughly a stop less than at 24mm. So I’ll be sticking to 24mm for my brollies but I might consider going for 14mm in softboxes when I can accept shallower depth of fields or higher ISO in my photo.

Adorama TV LIVE!

It’s been a busy few weeks for me with trade shows and travel filling my diary. Top of the list was a flying visit to the Adorama store in New York, a city like no other!

I’ve never been to New York before but of course I’ve seen it many times before. I’ve seen it in Hollywood movies, I’ve seen it in music videos and I’ve seen photos taken by other photographers but nothing compares to actually being there… I absolutely loved it!

The main reason for the visit was both to meet the amazing people who work at Adorama and to talk to the brave group of photographers who endured the freezing New York weather to spend a few hours with me. If you were there I’d like to thank you for making me feel so welcome.

The Adorama team wanted to share the event with those that couldn’t attend in person and so they organised a live stream.

[youtube]http://www.youtube.com/watch?v=0HVBEk2fI5E&feature=share&t=7m11s[/youtube]
The video above is about 90 minutes long and is a recording of my lighting demo on how to get the best from just one light. You can skip the first 7 minutes as they are blank!

Not having done live streaming before there were a few technical glitches, particularly with the audio but that aside the video contains 90 minutes of amazing tips.

Adorama-TV-LIVE-1

My model is an Adorama employee called Damian who excelled himself by being amazingly patient and a total pleasure to work with. All the photos you can see in the post are the actual shots taken during the Live Stream.

Adorama-TV-LIVE-2

I’d like to say a huge thank you to Adorama for making the event happen, particularly to the team who worked tirelessly before, during and after the live event. I won’t embarrass them by naming them directly but they know who they are and I’m hugely grateful for all that they did.

Adorama-TV-LIVE-3

A Splash of Lemon

Winter round these parts usually means short days, long nights and inclement weather which makes for a tough time for us photographers. So here’s a photo project that you can take at any time and whatever the weather.

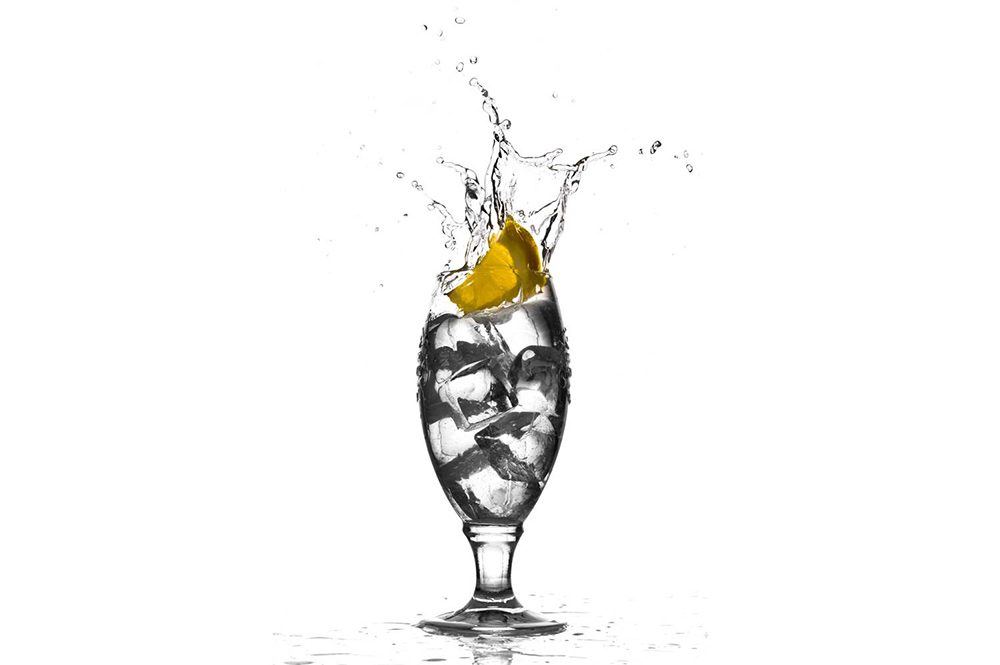
Lemon-Splash

The technique makes use of a single flash to freeze the moment a slice of lemon splashes into a glass of water. No flash? Well you might be able to do this with a super bright light but to hit the really fast shutter speeds needed to freeze the action you’ll need to bump up your ISO and open up the aperture. Flash really is the way to go as you’ll get sharper shots with a bigger depth of field and be able to use a nice low ISO.

I’m using glass “ice cubes” real ones are fine but they will float. So either pack them in tight or use a bigger, heavier piece of lemon (other fruit slices can be used too). Alternatively lose the ice and use fizzy water, the idea is simply to put some texture in the glass and how you do that is up to you.
[youtube]http://youtu.be/9GxRwBxc8-8[/youtube]

Equipment used in this video (Links to Adorama)

Adobe Photoshop Lightroom V5 Software, Windows and Mac OS

Canon EOS 60D Digital SLR Camera

Canon EF 24-105mm f/4L IS USM AutoFocus Wide Angle Telephoto Zoom Lens

Enlight photo Frio Universal Locking Cold Shoe V2

Canon RS-60 E3 Remote Switch (2′) for Canon Sub-Mini (E3)

Flashpoint Universal Swivel Holder -Umbrella holder

Vanguard Alta Pro 284 Carbon Tripod with SBH-100 Ball Head

Flashpoint 6.5′ Black Lightstand, 5/8″ Top Stud

Flashpoint 40×60″ Collapsible Disc Background

7 Questions About Soft Light

softlight-portrait-2In the studio there’s two types of light that photographers use to define their subject, hard light and soft light. Both have their place but usually in the studio I use soft light when shooting portraits. Getting the light from your studio flash or speedlite can be done in several ways. You can use one light or multiple lights, a softbox or umbrella and in this video I look at them all.

In total I cover seven questions you should know about soft light and how it’s different to hard light.

The final images you see here have had a little bit of Photoshop applied. How much Photoshop? Surprisingly little and I show you exactly how it’s done towards the end of the video too.

[youtube]http://www.youtube.com/watch?v=MfBmNfMb7WA&feature=c4-overview&list=UU8Pksdbj37CdE00kmE7Z1dw[/youtube]
Can’t see the video? Click here http://youtu.be/MfBmNfMb7WA

Gear used in the video (links to the Adorama store)
Canon EOS 60D Digital SLR Camera
Canon EF 24-105mm f/4L IS USM
Lastolite Collapsible Background (Washington/Dakota) 
Lastolite Hot Shoe Ezy-box Softbox 24×24″ 
Flashpoint Triple Shoe Mount Bracket 
Adorama 33″ Translucent Umbrella

softlight-portrait-1

Faking into a sweat

So you want your model to look they’ve done a workout but you don’t have a gym in your studio. What do you do? Well you could send them out for a run or turn the heating up to max, both would work but neither is ideal.

In this video I’ll show you how to apply fake perspiration to a models face.

Now if you’re thinking that you can just spray water in their face, you’re wrong. Water alone doesn’t give beads of sweat, for that you need something more. A little olive oil applied to the forehead, cheeks and noise will make the world of difference and very convincing perspiration. For obvious reasons, don’t put oil close to the eyes.

The video doesn’t stop there. I also have some great lighting tips and I run through the Photoshop processing too.

[youtube]https://www.youtube.com/watch?v=_lyRzp8YEUc[/youtube]

Can’t see the video? Click Here http://youtu.be/_lyRzp8YEUc

Harry-2