Halloween Shoot

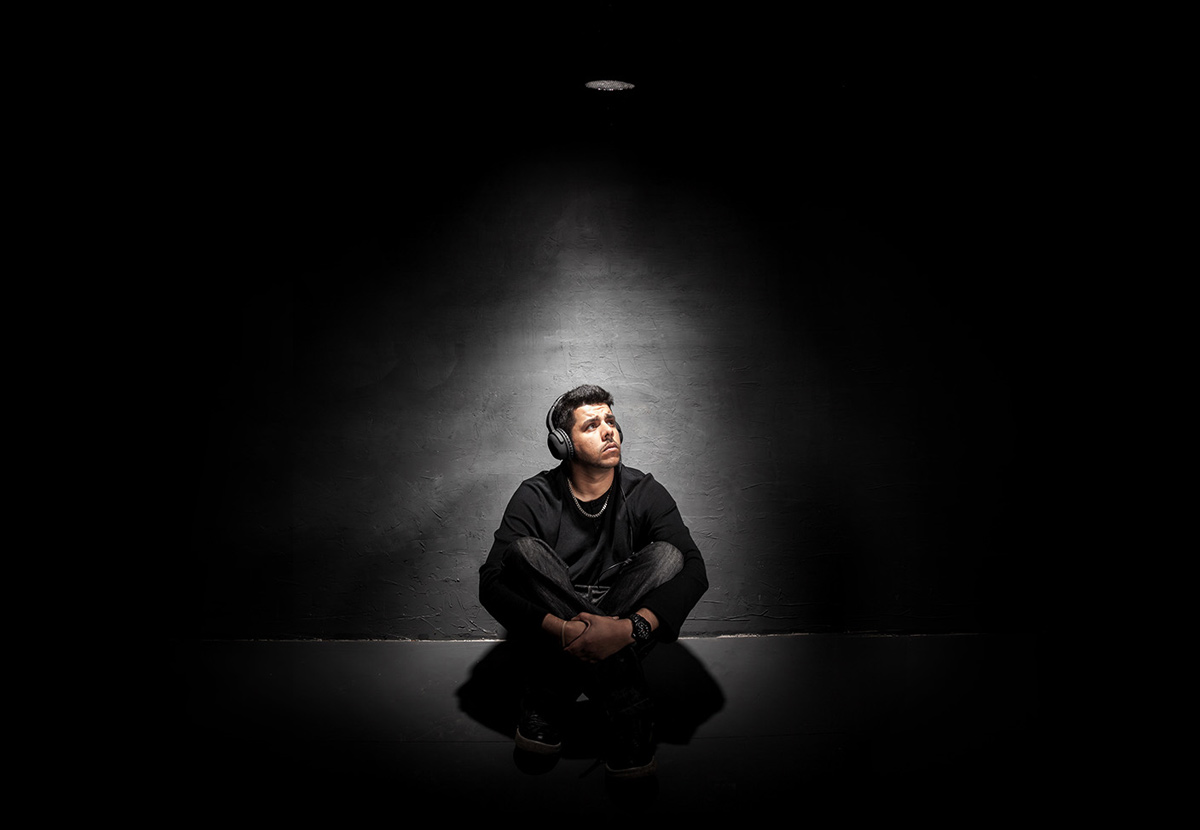
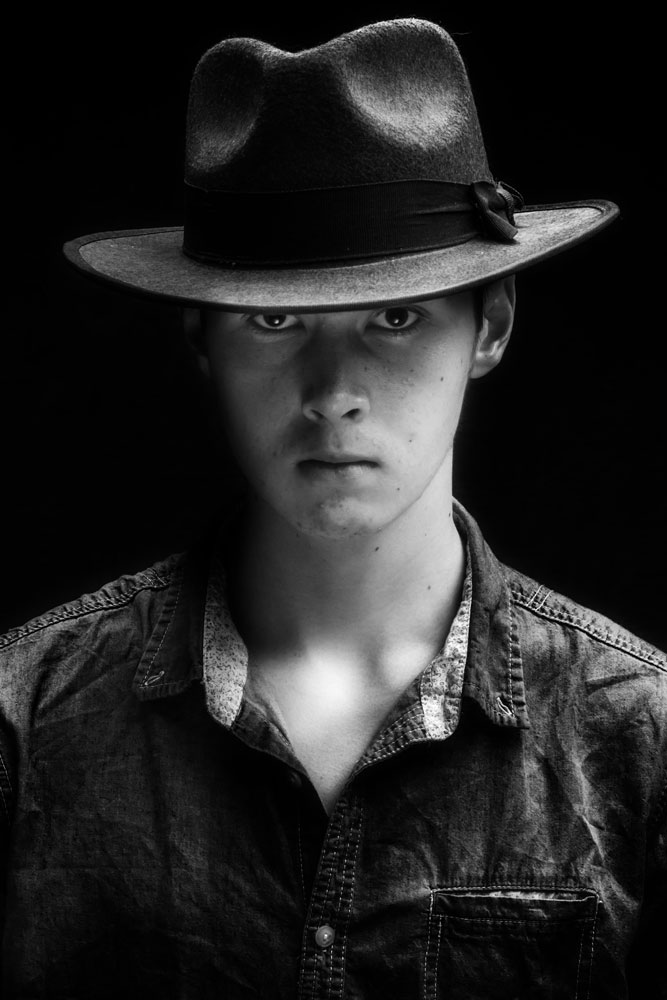
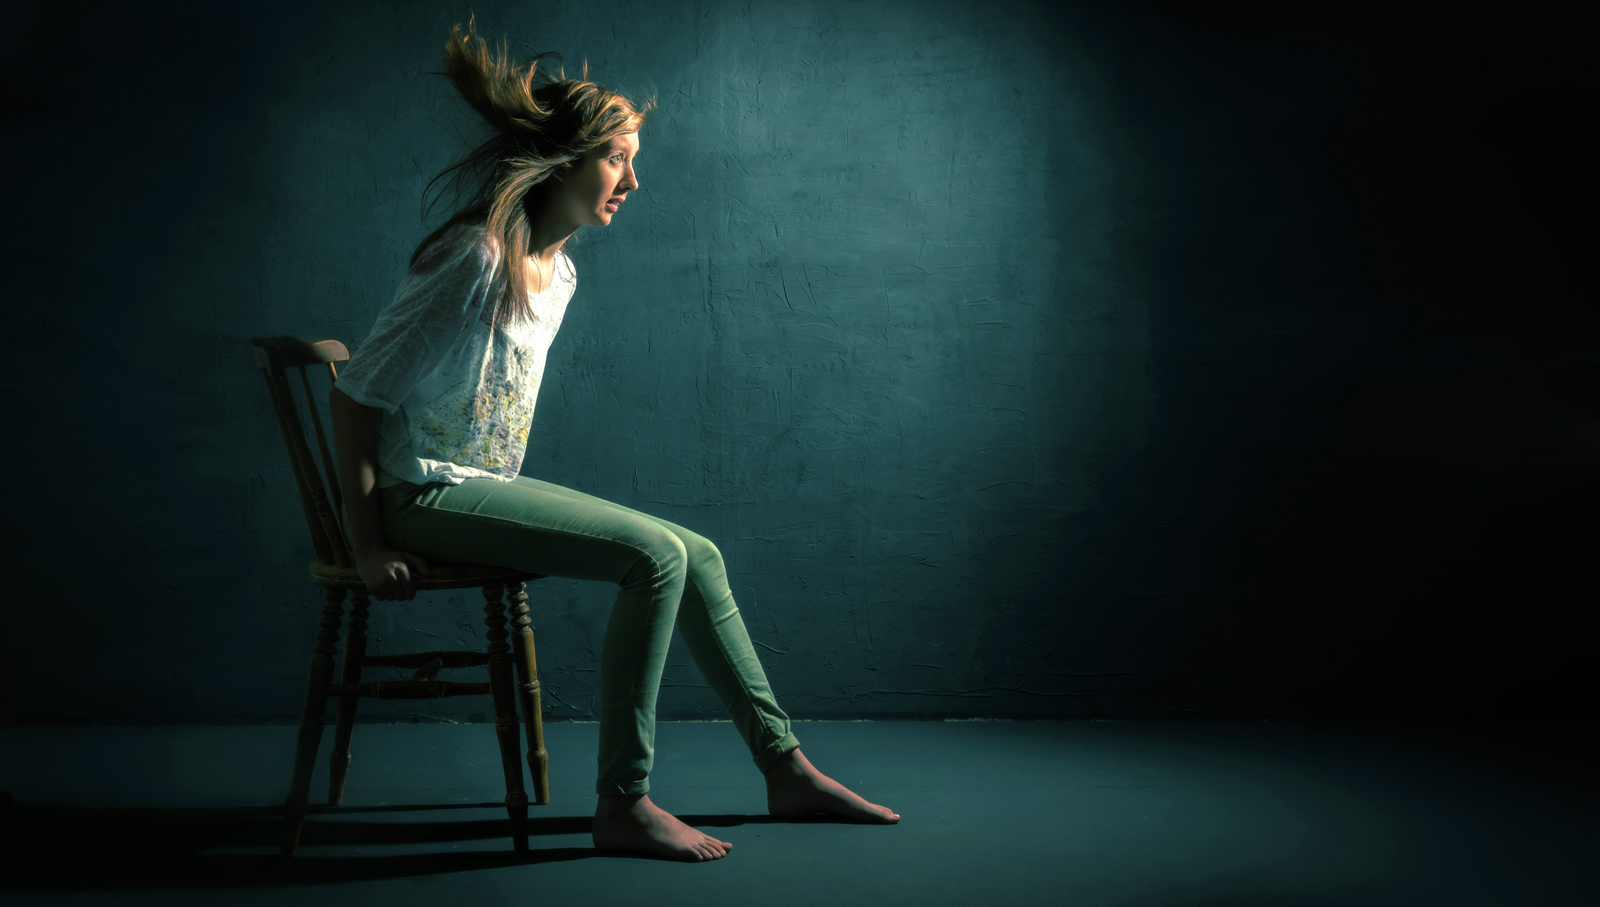
Last Friday was Halloween and I spent the evening taking some suitably spooky portraits. The location for the shoot was the recently opened Square 1 Studio near Dorking, an amazing place and one of the best studios I’ve used.

The evening was a free form event rather than a workshop with photographers popping in and out, sharing ideas and learning from each other. To that end I have to say a huge thank you to Andrew Dobell from Creative Edge who arranged for three models, a make-up artist and hairdresser to be on hand as well as a raft of props, all we had to do was supply the ideas

With around ten photographers moving between two shooting areas, there was lots of sharing of thoughts, tips and creative ideas. I also shared my Adorama Streaklights which once again proved their worth doing the whole three hour shoot and still having 2/3rd battery power left.

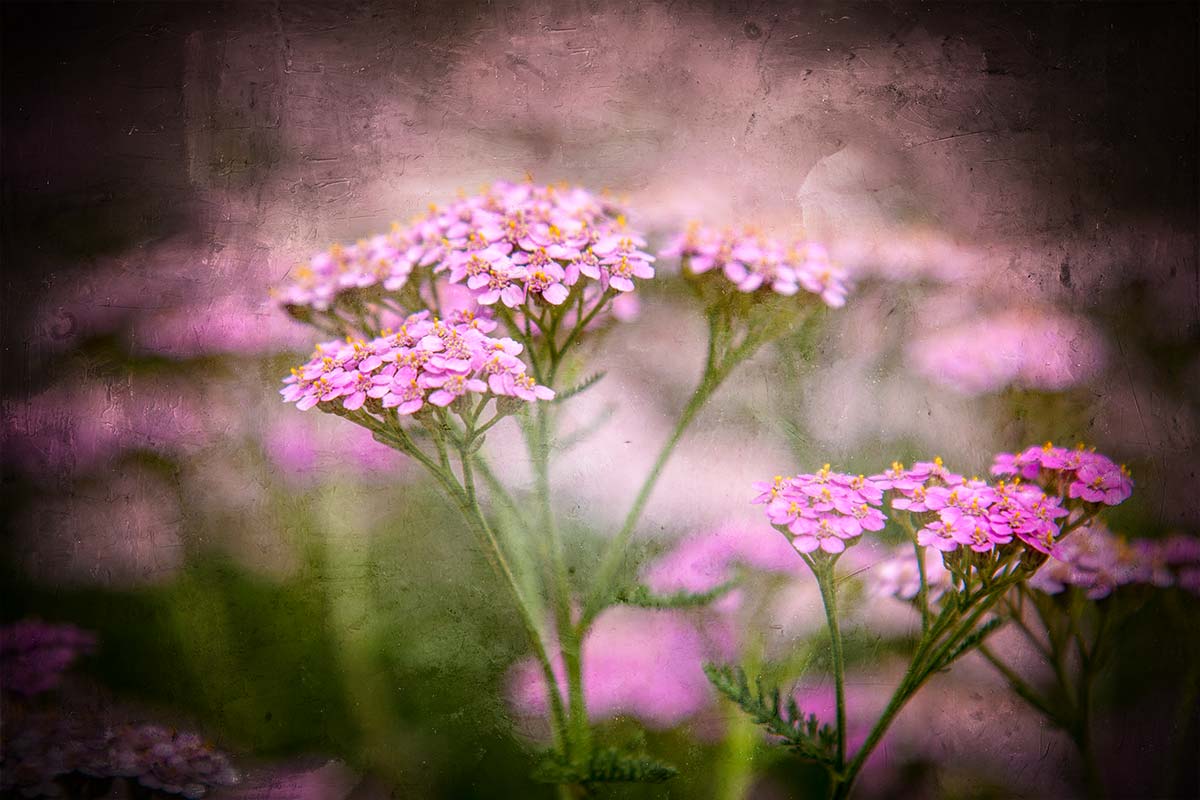
Below are a small selection of the photos. Click to enlarge… if you dare!

Halloween (5) Halloween (4) Halloween (3) Halloween (2) Halloween (1)


My Adorama Streaklight Bundles

After a bit of arm twisting Adorama has just released the “Gavin Hoey Recommends…” Streaklight Essentials Bundle and the Streaklight Twin Kit Bundle.

If you’ve been watching any of my recent videos you’ll have seen me shooting with one or two Streaklight flashes.You can checkout my review of the Streaklight 360ws here but if you just want the headline reasons I use the streaklights it’s the amazing power (equivalent to six speedlights), battery powered and incredibly small. In fact I loved it so much I ordered a second Streaklight, the lower powered 180ws. It’s a bit less powerful but also a bit cheaper, perfect for someone like me who’s outside the US and has to factor in shipping & tax.

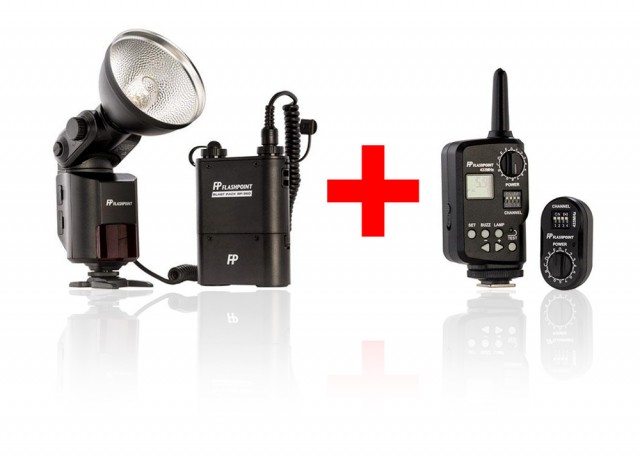
Streaklight-1My essentials bundle contains the Streaklight 360ws, blastpack battery and a remote trigger that doubles up as a full remote control and you’ll save $20 USD along the way.

Streaklight-2

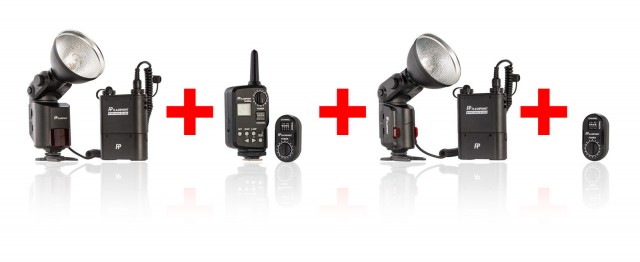
My twin light kit consists of a Streaklight 360ws, Streaklight 180ws, two blastpack batteries, a Remote control and a second remote receiver. It’s everything I use day to day in my small home studio and bags you a saving of $100USD off the list price.

If you’re looking for the power of a studio light but with the wireless convenience of a speedlight the Streaklights are hard to beat in my book.

Drama With Grids – Home Studio Essentials – PT 6

For almost all of my studio works, soft light is what I want but every now and then it’s great to break that mold and do something with a bit more edge with grids or snoots. Fortunately my Adorama Streaklights have  purpose designed tools to do the job.

In the studio grids are an essential tool, they help me light small areas with maximum precision and control. Usually I use grids in combination with a softbox as the key light but occasionally I’ll just use the grids for some dramatic effects.

[youtube]https://www.youtube.com/watch?v=K-C9xgTCLfM&list=PL821B7D720DEA39FA[/youtube]

One of the downsides of a small studio is just how easy it is to accidentally bounce light off a wall or ceiling, ruining the effect you hope to achieve. With their tighter beam of light, grids and snoots might just be the answer you’re looking for if you want to get moody lighting in your small home studio space. HSE-EP6-Final
Gear used in this video (Links back to Adorama)
Flashpoint StreakLight 360 Ws Flash (Includes flash and battery)
Flashpoint Streaklight 180 WS Streaklight
Grid/Gel Set
Streaklight Beauty Dish/Grid Set
Canon 5D Mark 2 
Canon 24-105L 

Using two lights – Home Studio Essentials – Part 5

There are many ways you can use a single flash to take great portraits but sooner or later the limitations of a single flash will be reached. Adding a second flash can be a great way to open up new and creative photo opportunities.

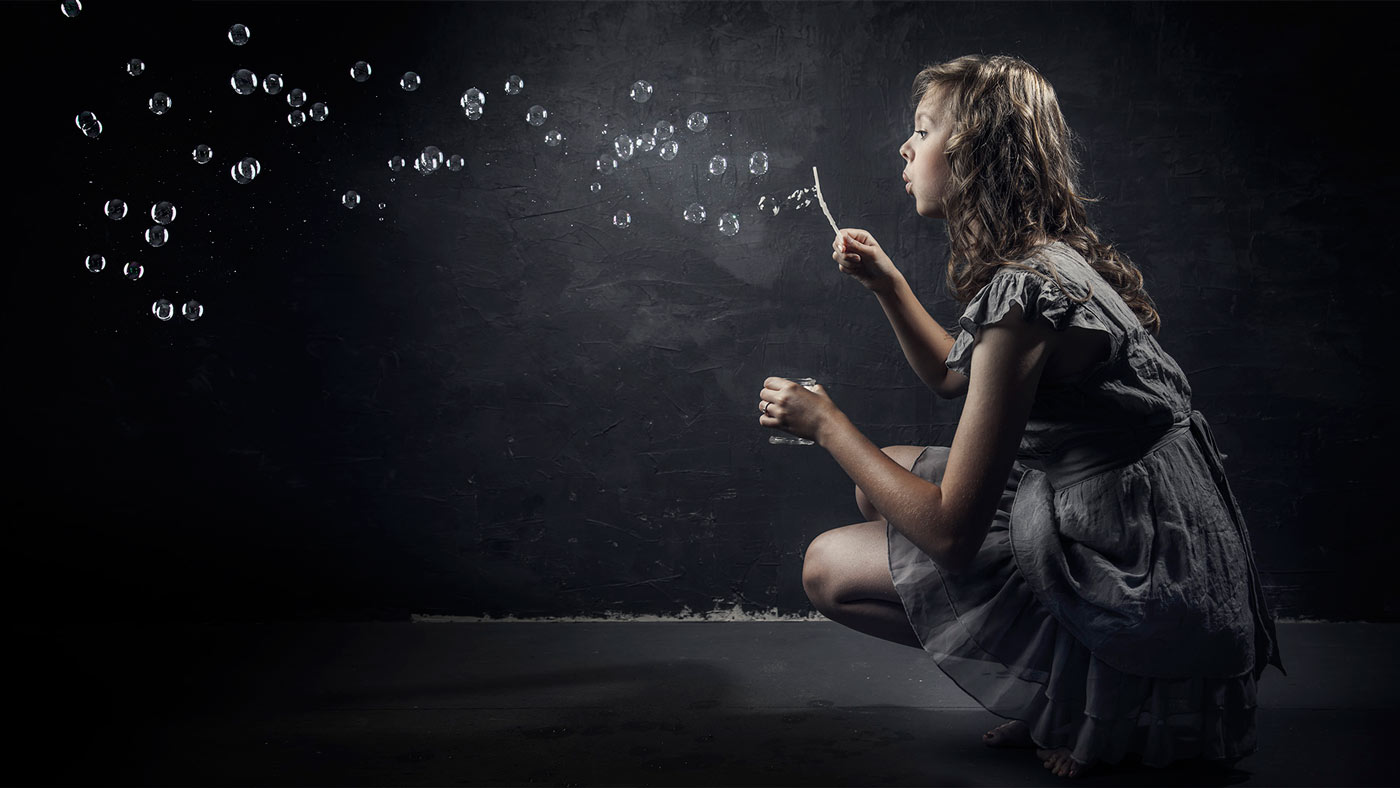
In this video I fire up a second light to act as a hair light and separate the model from a dark background. Then in the final shoot I add a few bubbles to create something a bit special.

[youtube]https://www.youtube.com/watch?v=FcQg0cBncHs&list=UU8Pksdbj37CdE00kmE7Z1dw[/youtube]

More lights means more complexity but my advice is to treat each light separately and meter accordingly. Turning them both on and trying to balance them at the same time sounds easier but trust me it’s not!

Bubbles-Studio

Gear used in this video (Links back to Adorama)

Flashpoint StreakLight 360 Ws Creative Collection (Includes flash, battery, trigger, boom etc)

Flashpoint Streaklight 180 WS

Westcott Apollo Orb Softbox

Canon 5D Mark 2 

Canon 24-105L 

5 in 1 Reflector – Home Studio Essentials – Episode 4

HSE-EP4-FinalThere’s 1000’s of photographic gadgets, gizmos and accessories that you can spend your hard earned money on and whilst many are utterly useless, there are a few that are indispensable. Towards the top of my list of “must have” accessories is the 5 in 1 reflector.

A five in one reflector is so called because it has five surfaces. There’s the white and silver surfaces for bouncing light, a gold side for adding adding warm light (and usually best avoided), a black surface to block light and a translucent surface to diffuse light. Best of all it’s one of the least expensive bits of kit you can buy.

In this video I use the silver surface to bounce light and fill in troublesome shadows. In this case the shadows are caused by a wide brimmed hat. One way would be to add a second light but if that’s not available a reflector can fill in very nicely… and yes, that pun was intended!

[youtube]https://www.youtube.com/watch?v=TYQh9MNC3Is&list=PL821B7D720DEA39FA[/youtube]

Gear used in this video (Links back to Adorama)

Flashpoint StreakLight 360 Ws Creative Collection (Includes flash, battery, trigger, boom etc)

Westcott Apollo Orb Softbox

Westcott Basics 5 in 1 reflector

Canon 5D Mark 2 

Canon 24-105L 

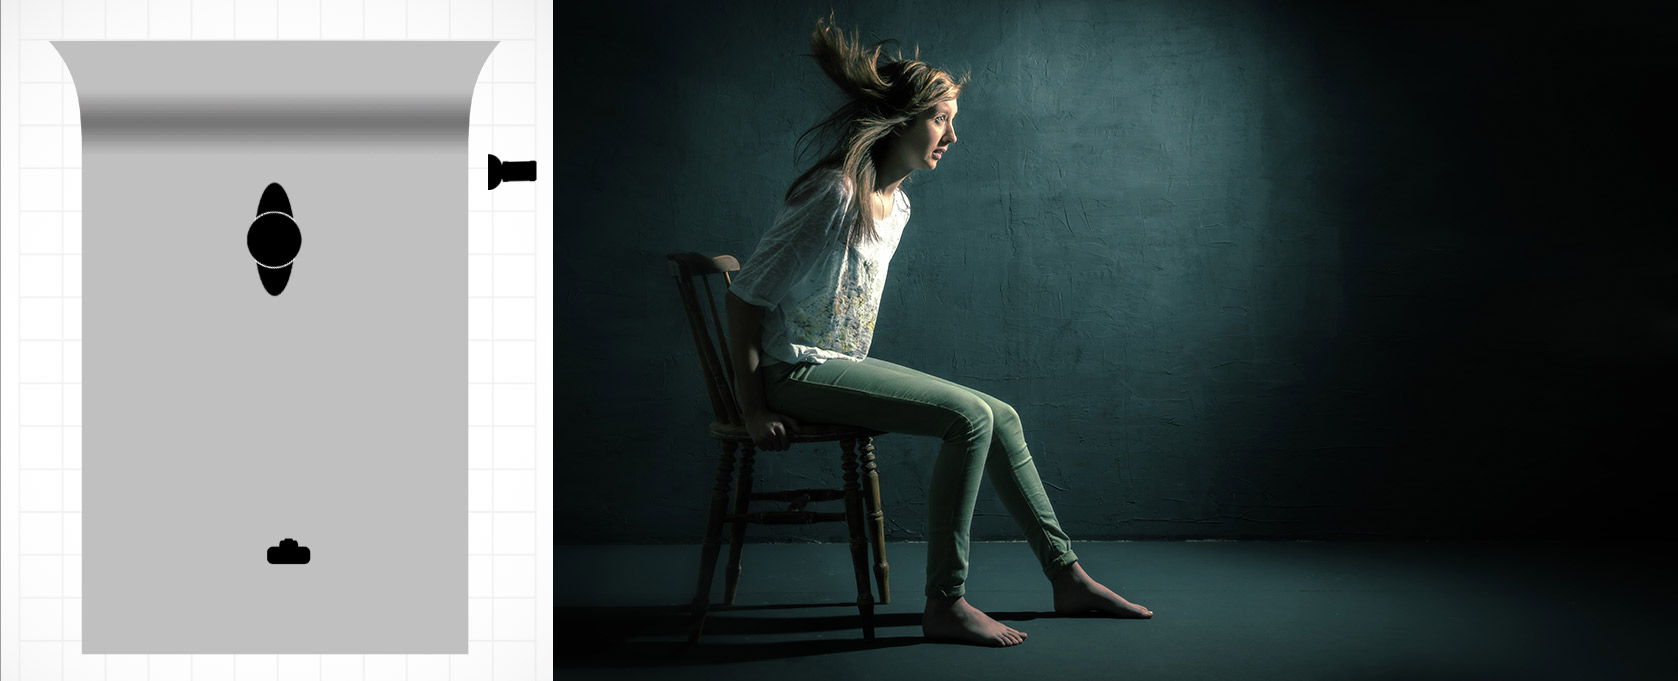
If like me you like to keep a visual record of you’re lighting set ups then this image should come in very handy.

Reflector-Lighting-Diagram

The Softbox – Home Studio Essentials – Episode 3

There’s a reason why the softbox is my “go to” light modifier in my small home studio and it’s all to do with one of the biggest challenges photographers face when shooting in small spaces. With lots of wall close to the light source small studios can become one big reflector with light bouncing all over the place. Whilst that can be great for evenly lit shots it’s a disaster if you want moody lighting or even just basic control of the light direction. Softboxes like the Westcott Apollo Orb I’m using for this shoot, focus the light forward and cut out light spilling behind and to the sides. The upshot is beautiful soft light that has direction even in a small studio.

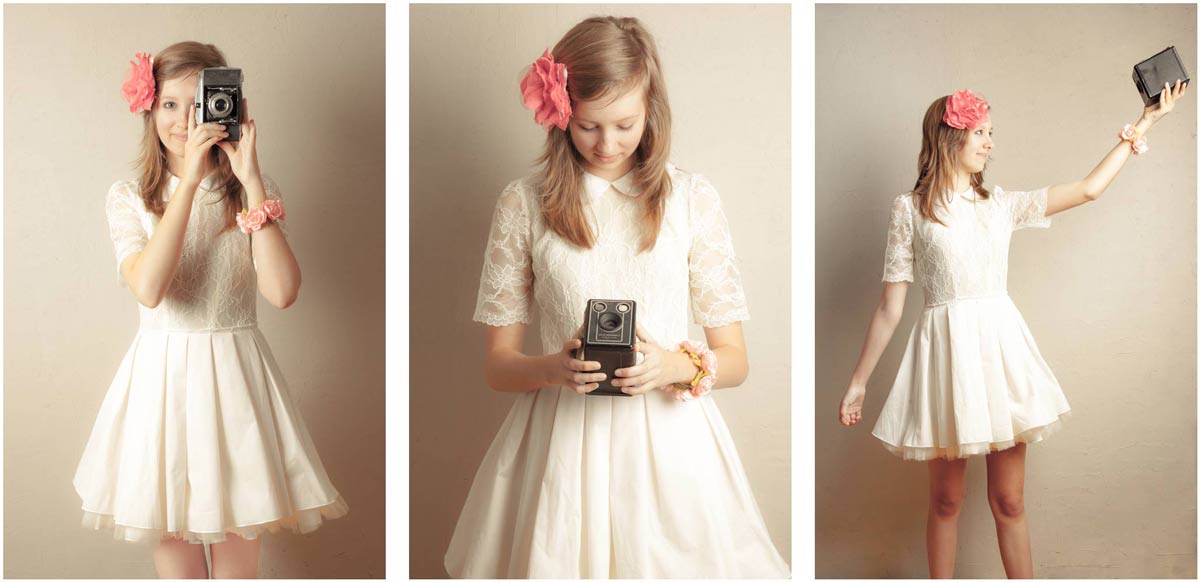
In this video I use 1 meter wide round softbox to give just the right amount of light on the model to achieve the effect I want. Of course in the real world of studio portraits getting the light right never happens first time so run through a couple of different light positions to see what works as well as cover the Photoshop processing to enhance the vintage feel.

[youtube]http://www.youtube.com/watch?v=z0MTQFYnvQA&list=UU8Pksdbj37CdE00kmE7Z1dw[/youtube]

For this series of videos I want you to do more then just watch it, I’m hoping you’ll get your camera and take a photo based on the ideas you see in the video. That might be the lighting set up, the models pose or the Photoshop post processing. If you do (and you’re on Facebook) then please add them to Adorama’s Facebook page. I’ll be checking it regularly and giving constructive feedback on as many as possible

Softbox-demo-retro

Gear used in this video (Links back to Adorama)

Flashpoint StreakLight 360 Ws Creative Collection (Includes flash, battery, trigger, boom etc)

Westcott Apollo Orb Softbox

Canon 5D Mark 2 

Canon 24-105L 

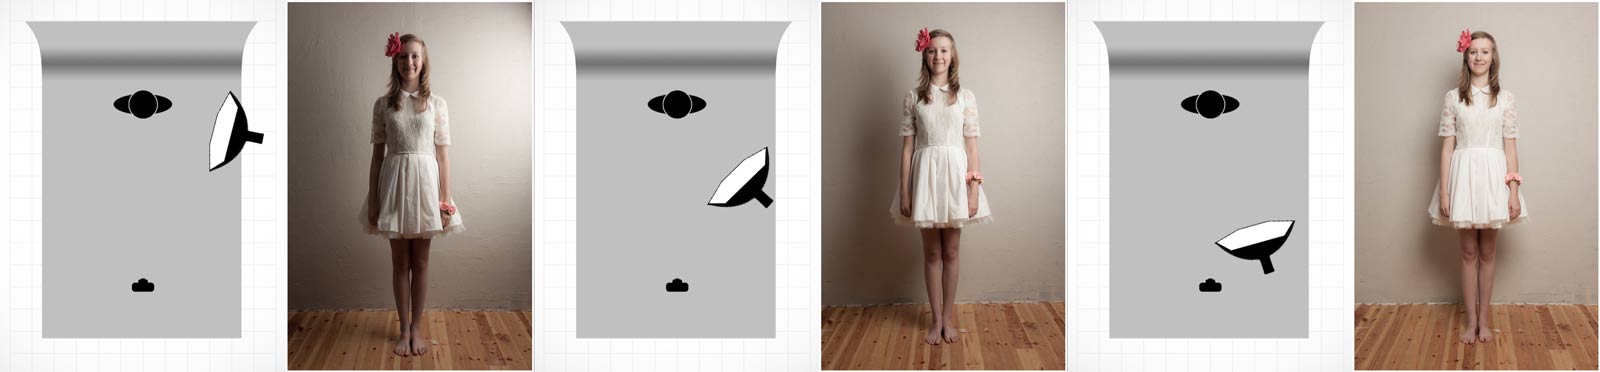
If like me you like to keep a visual record of you’re lighting set ups then this image should come in very handy.

Softbox-lighting-diagram-onelight

Home Studio Essentials – Episode 2

Speedlites and flash units are great but after a while the hard light they produce can become a bit limiting. In part 1 of my home studio essential skills I used a bare flash but now it’s time to add an umbrella. It’s almost certainly the first light modifier you’ll buy and for good reason.  They’re very versatile, quick to set up and fold down nice and small which makes them perfect for mobile and small home studio set ups.

Umbrellas come in two basic types, ones you bounce light into (reflective) and translucent umbrellas that you shoot light through. Whichever you use they soften the light by increasing the size of the light relative to the size of the subject. In other words, the bigger the umbrella the softer the light and the closer you get it to your subject the softer the light.

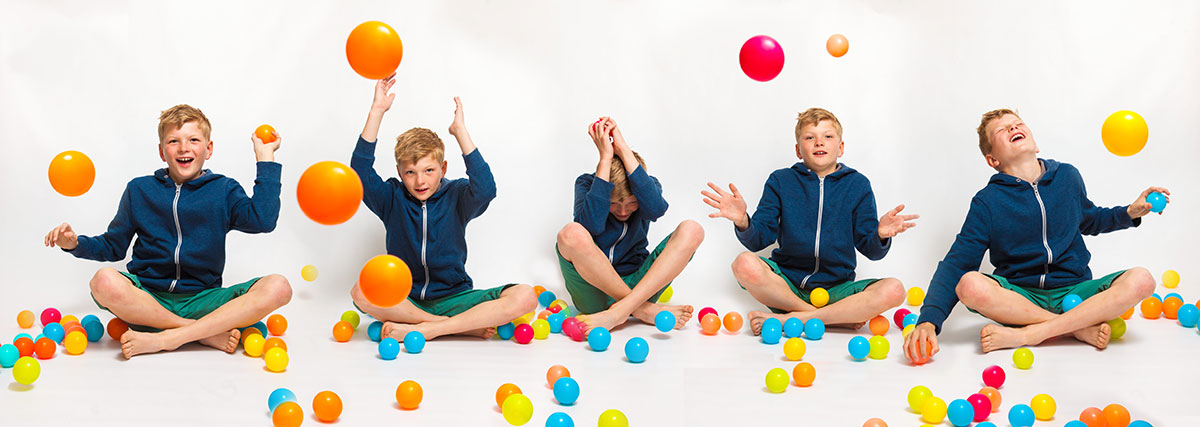
In this video I use a shoot through umbrella to create two very different looks. The first is a moody low key shot but it’s the second, more evenly lit shot that I love and it took lots of balls to make… about 50 colourful plastic balls to be precise!

[youtube]https://www.youtube.com/watch?v=ur58XNQwMXA&list=UU8Pksdbj37CdE00kmE7Z1dw[/youtube]

For this series of videos I want you to do more then just watch it, I’m hoping you’ll get your camera and take a photo based on the ideas you see in the video. That might be the lighting set up, the models pose or the Photoshop post processing. If you do (and you’re on Facebook) then please add them to Adorama’s Facebook page. I’ll be checking it regularly and giving constructive feedback on as many as possible

Joel-Joel-Joel-Joel-Joel

Gear used in this video (Links back to Adorama)

Flashpoint StreakLight 360 Ws Creative Collection (Includes flash, battery, trigger, boom etc)

Canon 5D Mark 2 

Canon 24-105L 

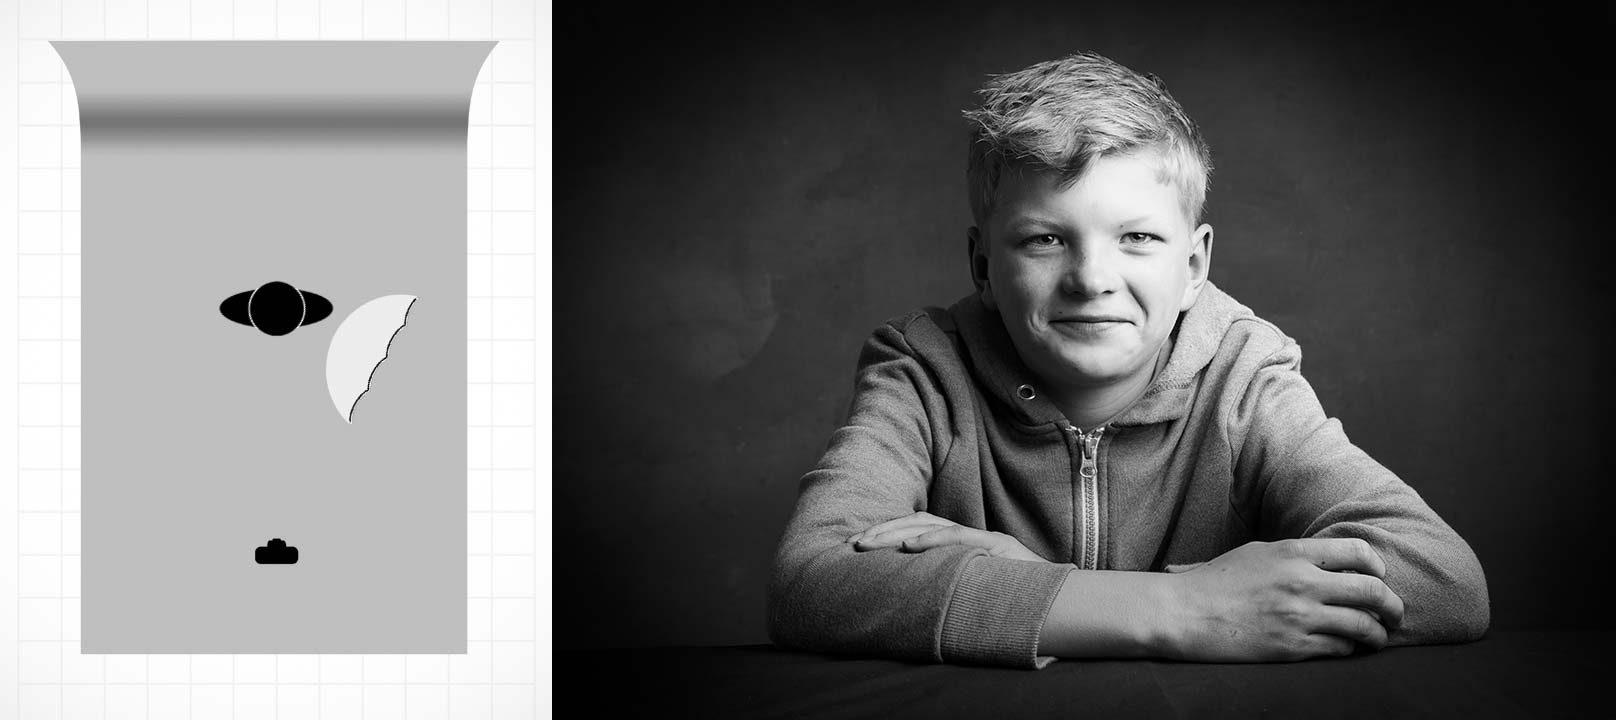
If like me you like to keep a visual record of you’re lighting set ups then this image should come in very handy.

Joel-Lighting-Diagram

Home Studio Essentials – Episode 1

Very few photographers have access to a professional studio but lots of us enjoy shooting portraits and so all over the world spare bedrooms, garages and front rooms are regularly converted from their intended use into makeshift small studios.

These small spaces can produce stunning photos but they come with their own unique set of problems and challenges. More often then not the home studio photographer may also feel restricted by owning a small range of lighting gear and using friends or family as models but truth be told that’s not the handicap it might at first appear.

[youtube]https://www.youtube.com/watch?v=hR4DW7dXOsk&list=UU8Pksdbj37CdE00kmE7Z1dw[/youtube]

This is the first of a mini series of videos I’ve made for Adorama TV in which I work within the limitations of a small home studio. Over the coming weeks I’ll be dealing with the challenge of controlling light in a small space, working with amateur models and in this video, shooting without light modifiers.

For this series of videos I want you to do more then just watch it, I’m hoping you’ll get your camera and take a photo based on the ideas you see in the video. That might be the lighting set up, the models pose or the Photoshop post processing. If you do (and you’re on Facebook) then please add them to Adorama’s Facebook page. I’ll be checking it regularly and giving constructive feedback on as many as possible

Adorama-HSE-1

Gear used in this video (Links back to Adorama)

Flashpoint StreakLight 360 Ws Creative Collection (Includes flash, battery, trigger, boom etc)

Canon 5D Mark 2 

Canon 24-105L 

Frio Cold Shoe  

Black rapid RS-7 Strap 

If like me you like to keep a visual record of you’re lighting set ups then this image should come in very handy.

Lighting-Diagram---Bare-Flash

My Studio Texture

If you caught my post yesterday then you’ll know that I recently built a textured background in my studio. Well it seems there are quite a few people out there that would love to do the same but don’t have the space, time or need for a similar permanent structure. So for today’s Friday freebie I’m giving away my studio background… OK so I’m not giving away the real thing but I am sharing a photo of it

Full download instructions are below but you can also
Click Here To download my studio background.
FF-Studio-BG1
There are a couple of ways you could use it. You could do exactly what it’s designed for and use it as a background for your studio shots. All you’d need to do is shoot on a clean background (light grey works best) and then simply extract the model and paste them in. I made an in depth video tutorial with Mark Wallace on how that’s done last year. If you missed it take a look here.

FF-Studio-BG2-Hard-LightOf course you can also use the texture as… well, a texture! Simply paste it over your photo, use a spot of Free Transofrm to make it fit and change the layer blending mode. Multiply, Overlay and Hard Light (as used here) are three to try but don’t stop there.

As always, if you create a photo using the Friday Freebie then let me (and everyone else) know by leaving the link in the comments below.

Usage rules
The image is copyright Gavin Hoey 2014. Use is limited to any personal but non-commercial purposes. Please share the Friday Freebie by linking back to this page. Do not redistribute the original image without my permission.

Download instructions
Click the link https://drive.google.com/file/d/0B_Mmmm3K1utNYW53T3RUbDk0LVE/view?usp=sharing
1. Click the Download button download_icon

2. The download should start automatically

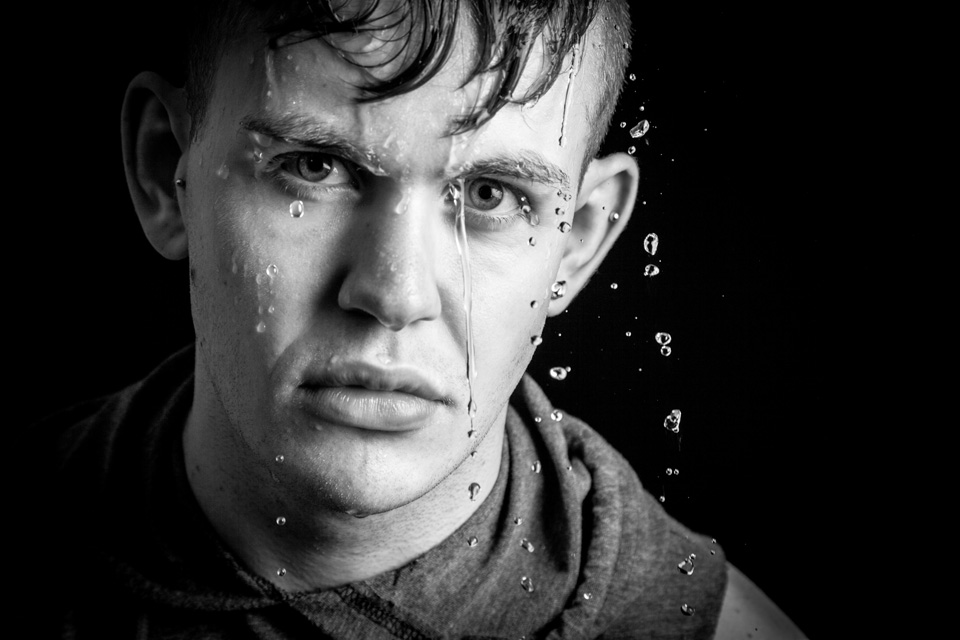
Faking into a sweat

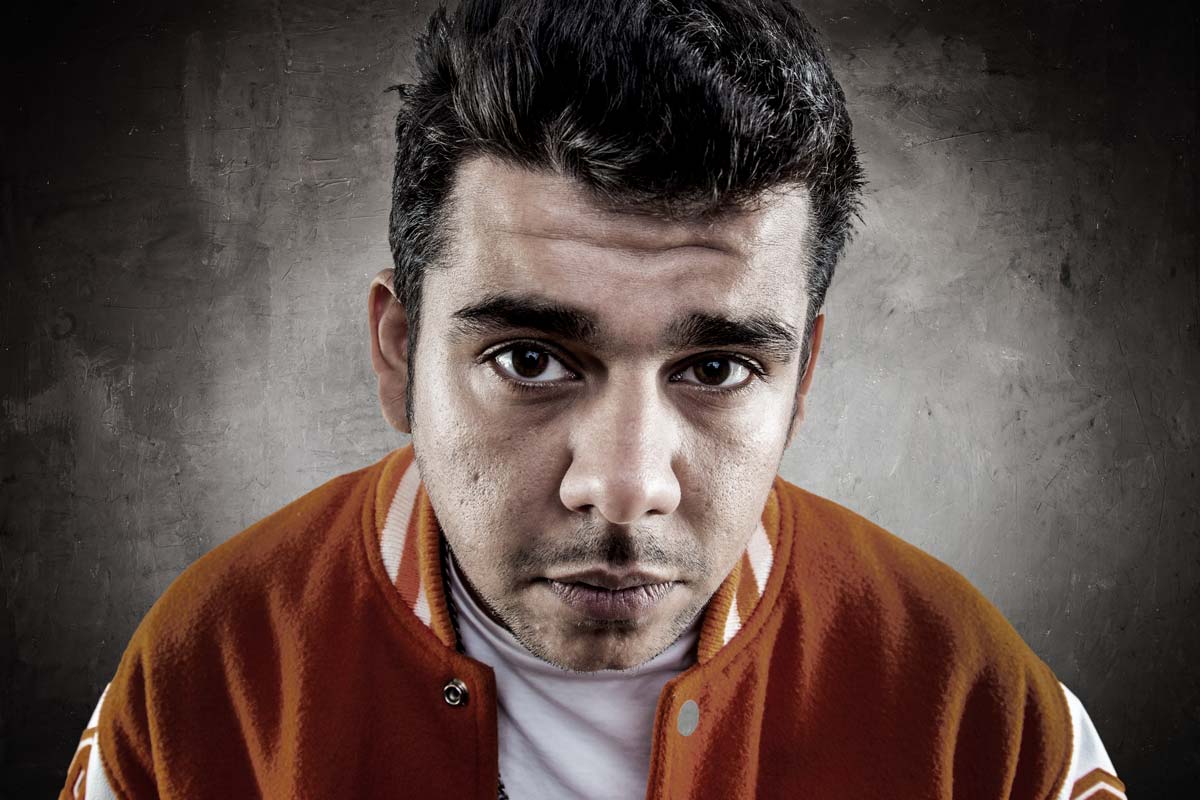
So you want your model to look they’ve done a workout but you don’t have a gym in your studio. What do you do? Well you could send them out for a run or turn the heating up to max, both would work but neither is ideal.

In this video I’ll show you how to apply fake perspiration to a models face.

Now if you’re thinking that you can just spray water in their face, you’re wrong. Water alone doesn’t give beads of sweat, for that you need something more. A little olive oil applied to the forehead, cheeks and noise will make the world of difference and very convincing perspiration. For obvious reasons, don’t put oil close to the eyes.

The video doesn’t stop there. I also have some great lighting tips and I run through the Photoshop processing too.

[youtube]https://www.youtube.com/watch?v=_lyRzp8YEUc[/youtube]

Can’t see the video? Click Here http://youtu.be/_lyRzp8YEUc

Harry-2