Free Chalk Texture

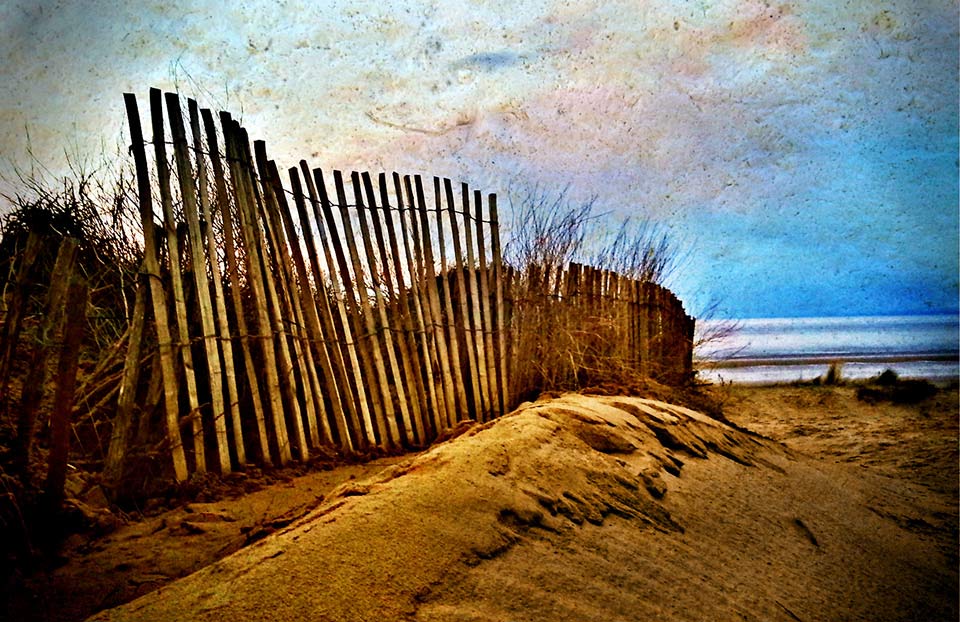
St-Marys-BayFor this Friday Freebie I’m going to share a brilliant texture that I photographed just a few days back. Despite it being a very recent image it’s already made it in to several of my images for one reason… It’s an image I shot with my phone!

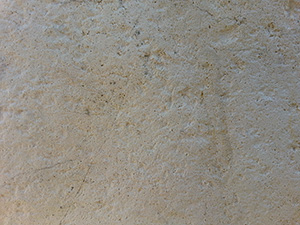
The texture is a close up photo of chalk that I found on a beach just outside Brighton in Sussex and it makes wonderful texture shots.

Full download instructions are below but you can also
Click Here To Download the Free Chalk Texture

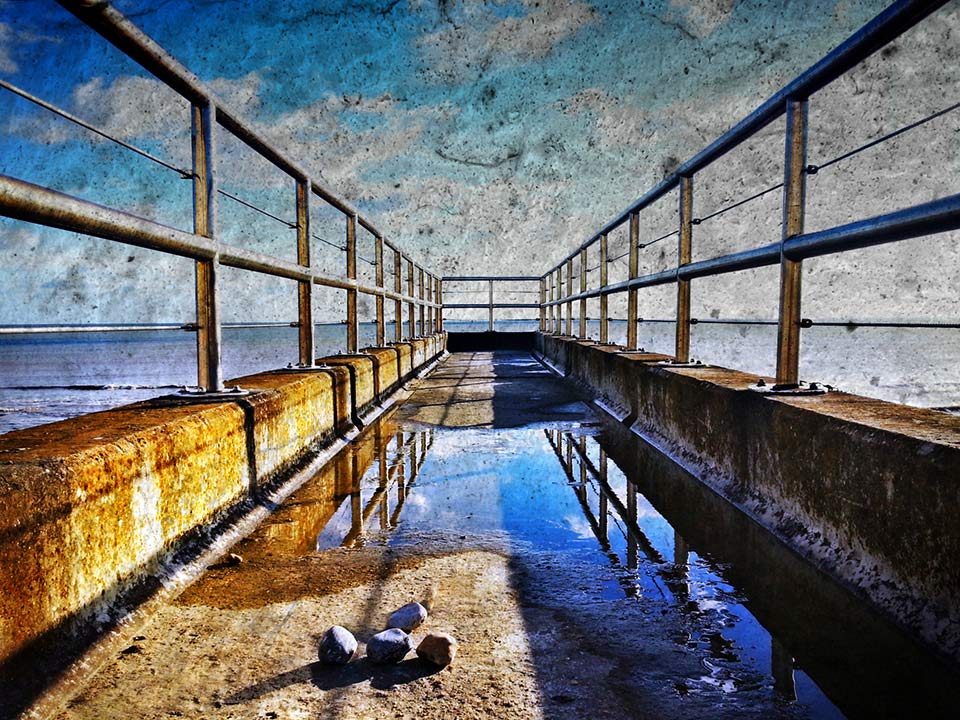
As with most textures, it works best with any photo that has large areas of light colour. I’ve found it particularly effective in landscape photos which feature plenty of sky. To apply the texture simply paste it over your photo and use Free Transform (CTRL+T) to resize it to your photo. Then change the layer blending mode to either Multiply or Overlay. Other blending modes will also work but those two are a good start. I’ve left the orgianal colour in the texture but you may wish to remove the colour or alter the colour to create a different look.

Chalk-Texture-LinkIf you create a photo using the Friday Freebie texture then let me (and everyone else) know by leaving the link in the comments below.

Usage rules
The image is copyright Gavin Hoey 2013. Use is limited to any personal, non-commercial purposes. Please share the Friday Freebie by linking back to this page. Do not redistribute the original image without my permission.

Download instructions
Click the link https://drive.google.com/file/d/0B_Mmmm3K1utNeGtRdlBDbm1jZ2s/view?usp=sharing

1. Click the Download button download_icon

2. The download should start automatically

PS-Touch-12-3-13The photos in this post were made in Photoshop Touch for Phone and I’m seriously impressed by what it can do. I’ll do a more in depth write up soon but for now let’s just say that at £2.99, it’ the cheapsest and most portable version of Photoshop you can buy.

It’s unlikely to replace full photoshop for me but I’m really impressed by just how good an image you can make whilst sitting in the car, which is where both these photos were editied. Photoshop Touch for Phone is avaiable in both iPhone and Android version but you’ll need a really up to date handset such as the Samsung Galaxy Note 2 that I use.

Lovingly Made Photo Challenge

Lovingly-Made-1It’s been a while since undertaking my last 15 minute photo challenge so for all of you who have been asking when they’ll return I’ve got some happy news.

My latest 15 minute challenge is now out and with any luck it won’t be the last. This challenge was recorded at Lovingly Made which is a vintage home and garden store located just outside East Grinstead in Sussex. They were kind enough to invite me along to photograph anything that took my eye and there was no shortage of great photos to be had.

[youtube]http://youtu.be/lA_5cVYdv74[/youtube]
Can’t see the video? Click here

As you can see from the video much of my time was spent in the store finding the smaller scenes to photograph. Fortunately I’d packed my flash and the Westcott Pocket Box which I’m in the process of reviewing. This proved to be invaluable for controlling the light.

Lovingly-Made-3Products used in the video: 

Canon 60D

Canon 24-105mm L f/4 IS

Westcott Pocket Box kit

Canon Speedlite 600EX-RT

Adobe Photoshop CS6


How to sharpen in Photoshop

Smart-SharpenSharpening your photos is one of the least exciting things you can do in Photoshop but also one of the most important things too. It’s also right at the top of the frequently asked questions I get whilst teaching photo post processing.

Let’s start by clearing up a few misconceptions. You don’t need to sharpen every photo and you don’t need to sharpen a whole photo the same amount. For example if you’ve taken a dreamy soft portrait you may want to sharpen just the eyes or you may want to sharpen nothing at all… It’s ultimately your choice.

When to sharpen
In this post I’m only looking at sharpening in Photoshop and I’m assuming you’re starting with a photo that’s basically in focus where it should be. Many people will make the fundamental mistake of sharpening just after they’ve applied their Photoshop effect, whatever that may be. WRONG!

For me sharpening is the very last thing you do moments before the image leaves your computer and goes to your printer, blog, Facebook page etc. In other words don’t sharpen your image and then resize it, always resize it first and then sharpen.

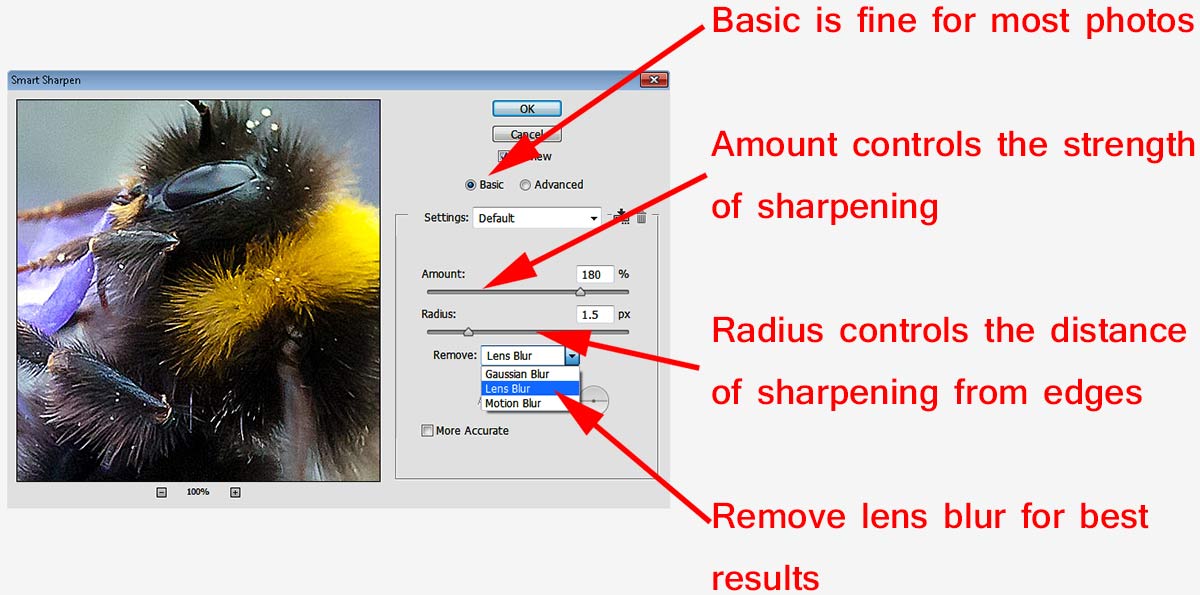
Smart-Sharpen-1

Unsharp Mask vs Smart Sharpen
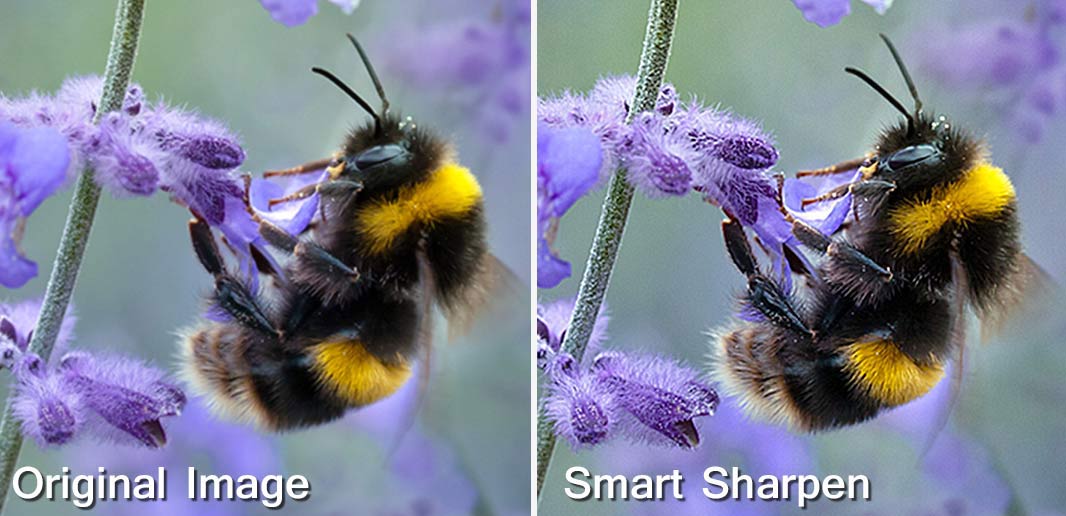
For years I’ve used Unsharp Mask as my “go to” sharpen tool but no more. Photoshop has a raft of sharpening options but the Smart Sharpen filter has a couple of features that make it the best sharpening filter in Photoshop.

The Smart Sharpen Filter has three type options. “Gaussian Blur”” is in effect the same sharpening as Unsharp Mask. “Lens Blur” is my usual setting and “Motion Blur” try’s (and usually fails) to reduce blur from moving subjects.Smart-Sharpen-2

To get the best from Smart Sharpen set the amount to 500% and the radius to around 20 and you’ll notice a bunch of halos around edges in the photo. Slowly reduce the radius until the halos are all but gone. That’s the radius set for that image. Finally, reduce the amount slider to get the sharpen effect you desire.

Obviously there’s no magic number that works for all images so be prepared to experiment a little.

Local Sharpening
Smart-Sharpen-3Good as Smart Sharpening is you do have to remember that it’s a global effect which effects all the pixels in the image and whilst that’s usually exactly what you want there are times when it’s not. For example perhaps you have a shallow depth of field image, you don’t always want to sharpen the out of focus areas.

One way to do this is to make a duplicate layer of the image, sharpen the duplicate layer and use a layer mask to limit the sharpened layer to just the bits you wanted to sharpen.

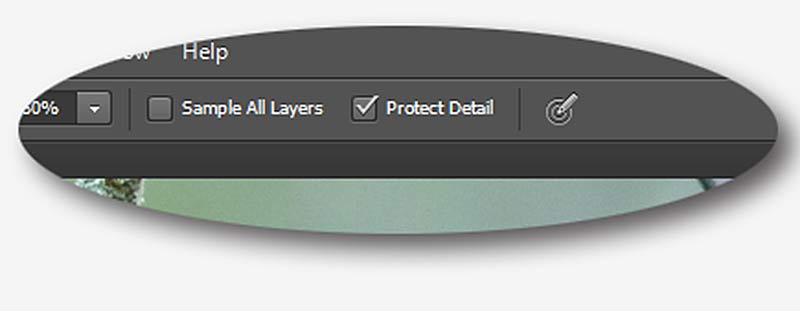
However for users of Photoshop CS5 and CS6 the best way to do this is with the Sharpen Brush which had a radical overhaul in CS5 onwards and is the best sharpening tool in any part of Photoshop as long as “Protect Detail” is turned on in the tool option bar. It’s as simple to use as any brush in Photoshop, all you do is paint where you want to sharpen and the more you paint the sharper thing become. Gone to far? CTRL+Z will undo the last click and CTRL+ALT+Z will keep going back one histrory step at at time.

So remember…

  • Only sharpen AFTER you resize your photo
  • Use Smart Sharpen for Global Sharpening
  • Paint with The Sharpen Brush for local sharpening

SD Memory Card Group Test

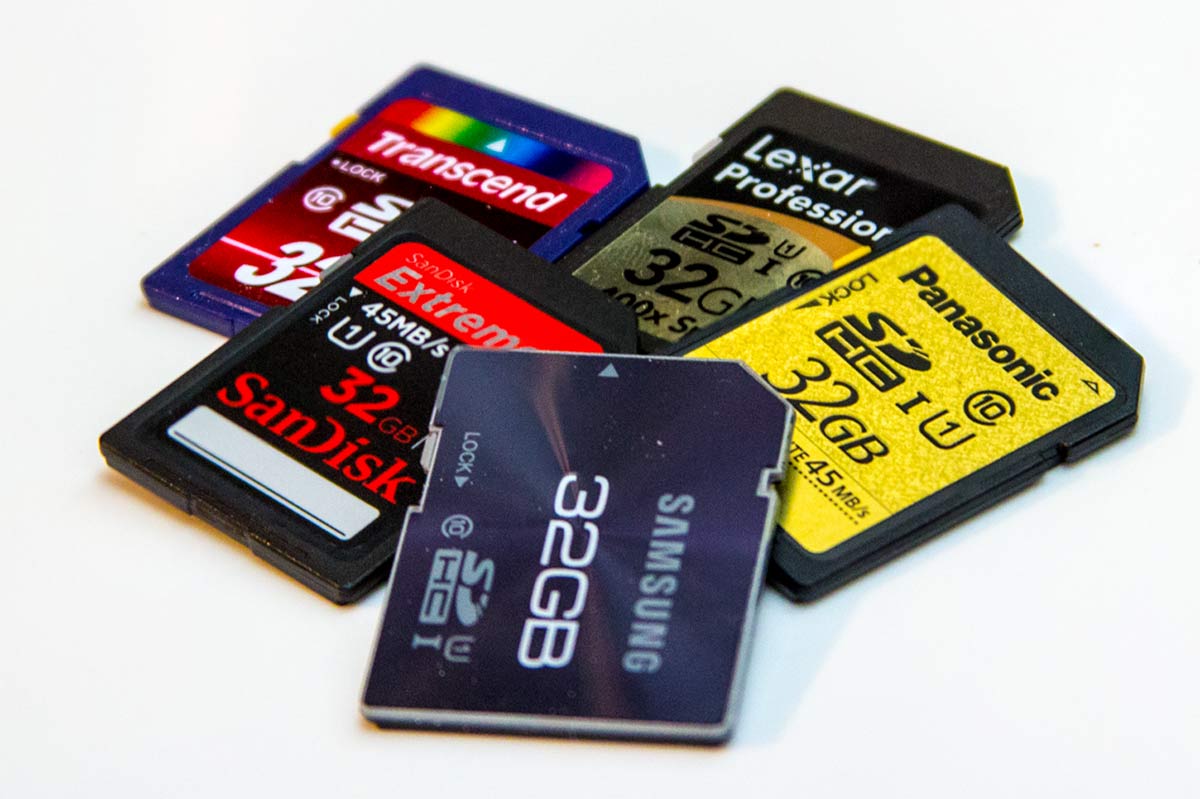
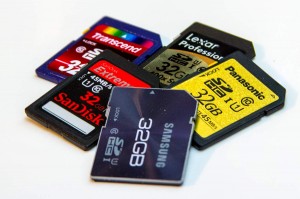
SDHC-Group-TestThere was a time when any old memory card would do but today there’s a huge range of SD memory cards to choose from and the price per gigabyte is ever falling. In this group review I’ll be looking at five 32GB SD cards which all claim to offer super fast speeds and all retail for less then £26.00.

At first glance all these class have very similar specifications. They all offer class 10 performance which in itself isn’t that impressive now a days. In fact they all claim to offer write speeds of around 45MB/s which makes them the perfect choice for DSLR video and shooting bursts of RAW still images.

All the cards also read speeds of at least 60MB/s and that’s good news for everyone (with a USB3 card reader) as it massively reduces the time spend downloading images and videos from the card.
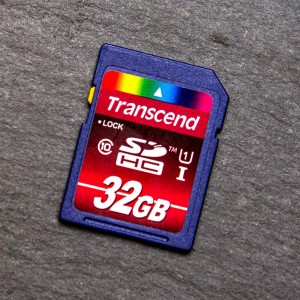
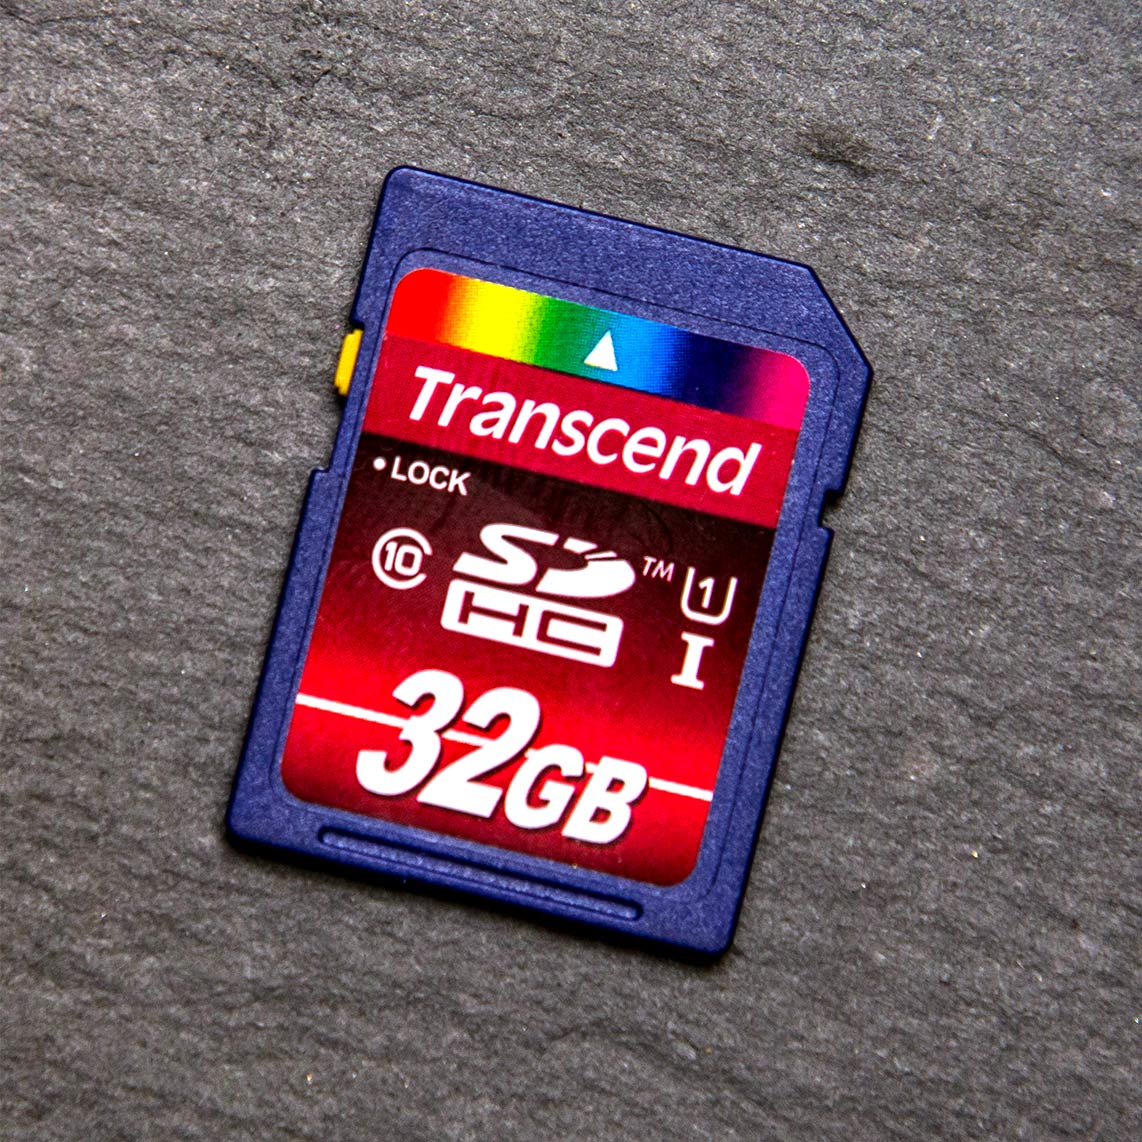
Transcend-SDTranscend 32GB – WINNER

Write Speed ~ Claimed 45MB/s ~ Actual 61MB/s
Read Speed ~ Claimed 85MB/s ~ Actual 84MB/s
Recovery Software ~ Yes (1 year licence)
Protective Case ~ No
Retail Price UK £21  (My Memory)
Retail Price US unkown

On paper this card looked every bit the winner and it doesn’t disappoint.

Transcend claim a respectable write speed of 45mb/s which is average for the group but the claimed read speed is nearly double at an eye watering 85mb/s. That’s a big claim which testing proved to be 100% correct. Not only that but my tests the write speed smashed Transcends claim and all the opposition by hitting a whopping 60mb/s

Transcend also add in a 12 month licence for RecoveRx recovery software extra piece of mind. The only blot on the Transcend’s copy book is a lack of protective case but with super fast speeds and a bargain price tag it’s an oversight that’s easily forgiven.
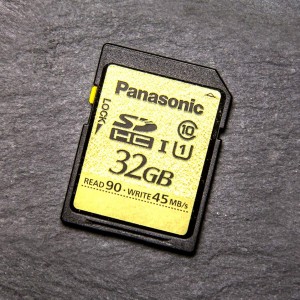
 

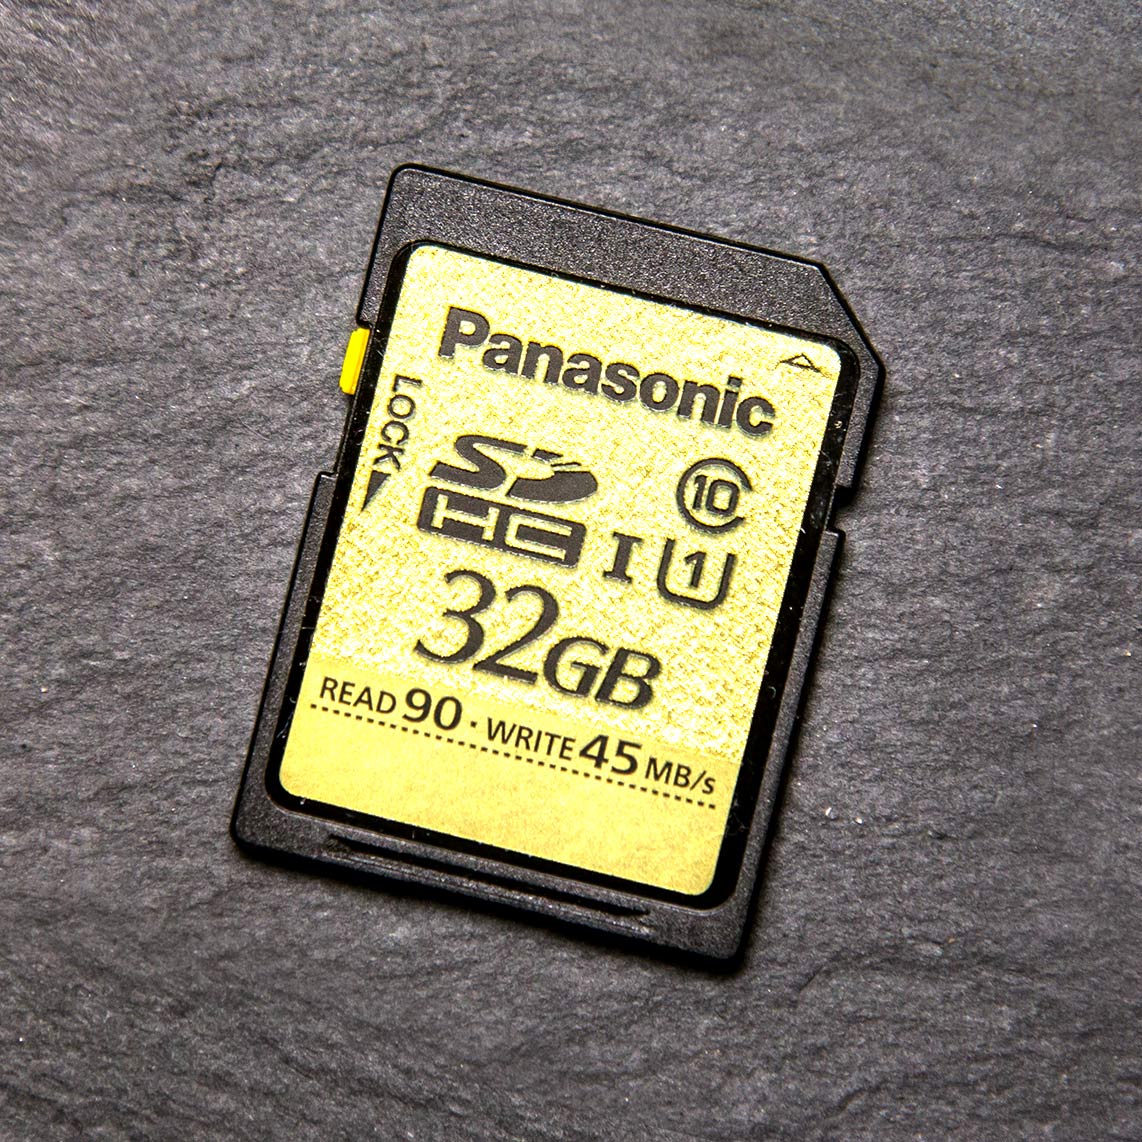
Panasonic-SDPanasonic Gold  32GB – Runner Up

Write Speed ~ Claimed 45MB/s ~ Actual 51MB/s
Read Speed ~ Claimed 90MB/s ~ Actual 84MB/s
Recovery Software ~ No
Protective Case ~ No
Retail Price UK £25  (My Memory)
Retail Price US $110   (Adorama)

Panasonic is not a name I previously associated with memory cards but it is a brand that’s well known. The memory card itself performed rather well with some excellent results. Sure the read speed missed the claimed 90MB/s but the write speed was better then claimed by the exact same amount.

Sadly there’s no recovery software or protective case here although if the claims on the packaging are to believed you’ll never need it. Panasonic say it’s resistant to water, shock, magnets, x-rays, electrostatic and temperature. I’ll let you test all those claims out but it certainly with stood the usual treatment I dish out to my cards… as did all the other cards in this test.
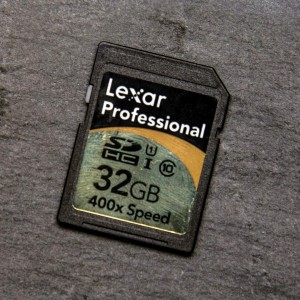
 

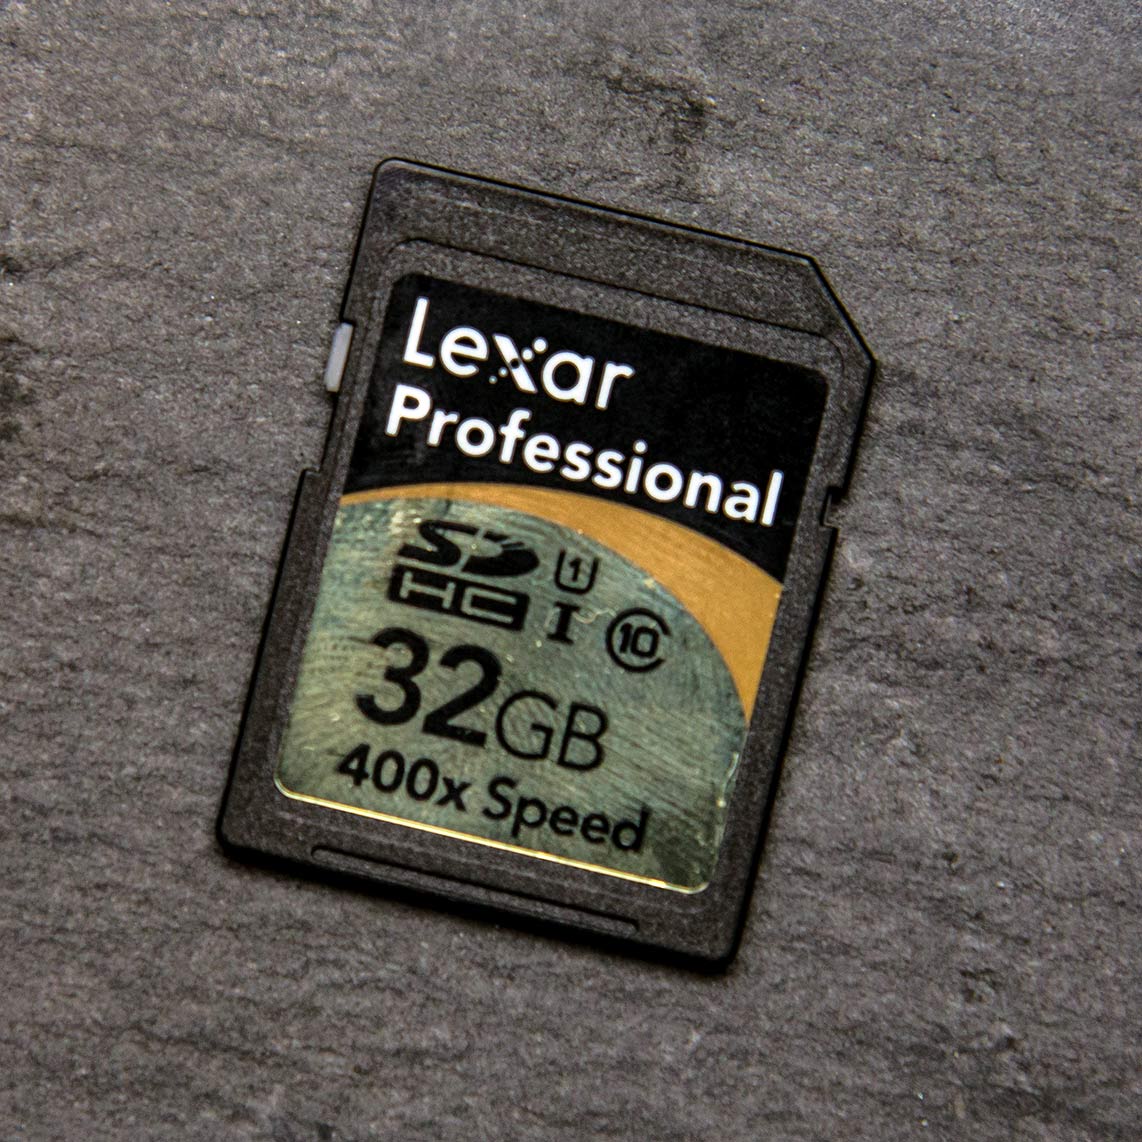
Lexar-SDLexar professional 400X 32GB – 3rd Place
Write Speed ~ Claimed 60MB/s ~ Actual 49MB/s
Read Speed ~ Claimed More then 60MB/s  ~ Actual 82MB/s
Recovery Software ~ Yes
Protective Case ~ Yes
Retail Price UK £25  (My Memory)
Retail Price US $33   (Adorama)

Lets start with the positive points. The Lexar card comes with both a protective case and downloadable data recovery software. There’s also a very fast read speed of over 80MB/s which puts it up with the best in the read department, which is odd as Lexar make no mention of read speeds on the box.

The box does promise a “guaranteed minimum write speed of 60MB/s” which sadly I wasn’t able to achieve. In fact the best I could get was a pretty average 49MB/s. To be fair Lexar does say, in the tiny small print on the back, that the minimum guaranteed speed depends on your equipment. That said it’s worth remembering, all my testing was done on the same machine with the same equipment.

Sandisk-SDSandisk Extreme Pro 32GB – 4th Place
Write Speed ~ Claimed 45MB/s ~ Actual 43MB/s
Read Speed ~ Claimed 45MB/s ~ Actual 45MB/s
Recovery Software ~ Yes (1 year licence)
Protective Case ~ Yes
Retail Price UK £26  (My Memory)
Retail Price US $32   (Adorama)

Sandisk has been the first choice of many professional photographers, me included for many years. However in this group review the Sandisk Extreme is looking a bit out of its depth.

The claimed write speed was very close the actual speed but unlike all the other cards in this review, the read speed is no faster then the write speed. To be fair to Sandisk it is exactly what they said it would be but it’s still almost half as fast as the best card in this review.

All in all the Sandisk Extreme is a safe bet but there are currently better options out there when it comes to read speeds.
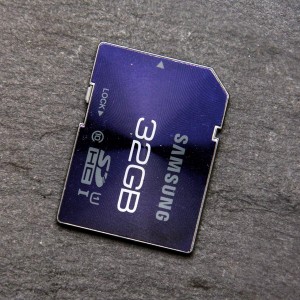
 

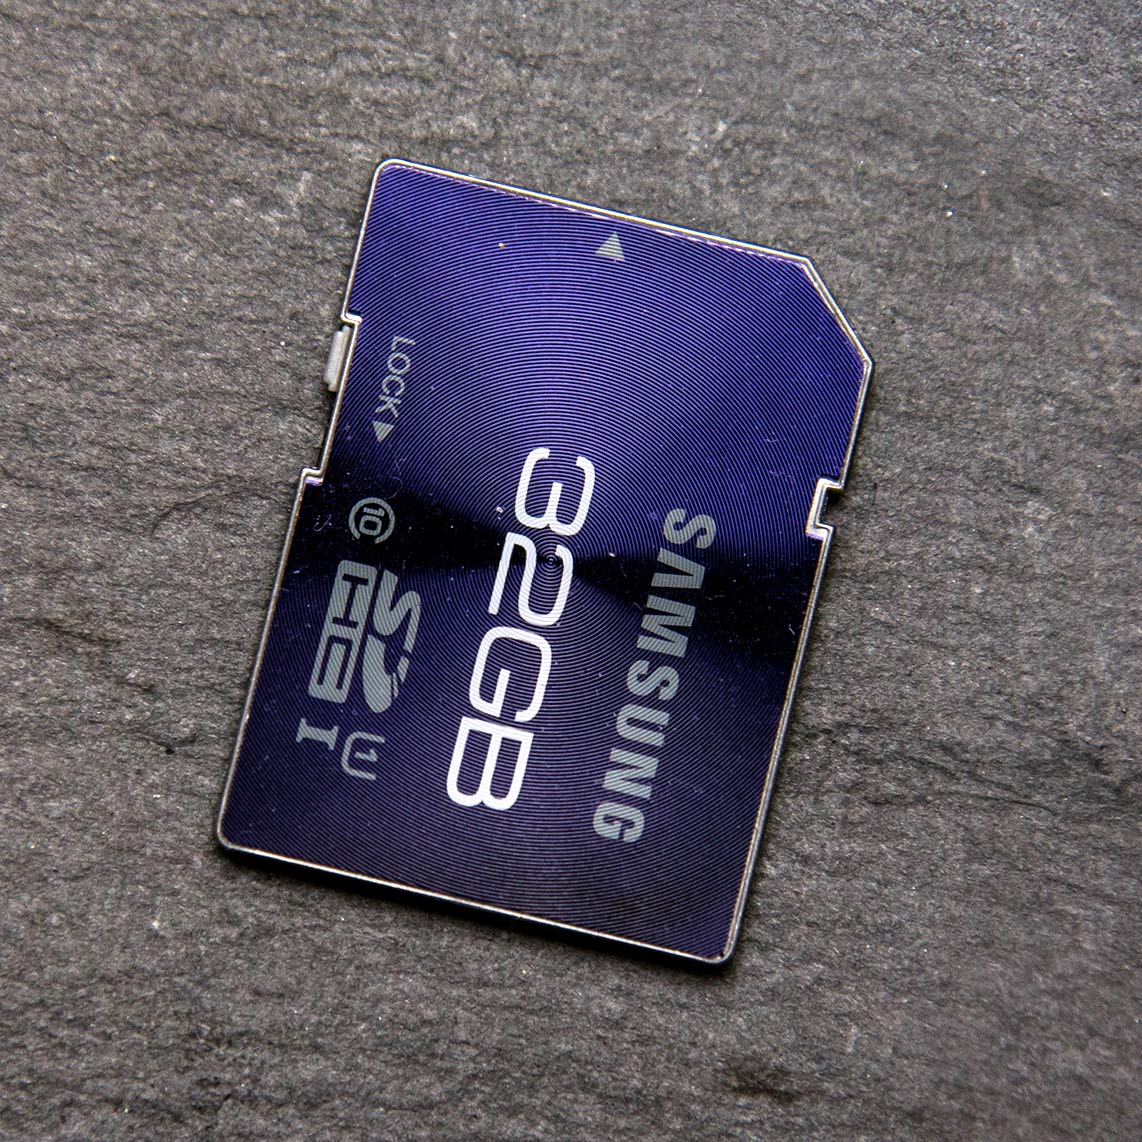
Samsung-SDSamsung Pro 32GB – 5th Place
Write Speed ~ Claimed 40MB/s ~ Actual 39MB/s
Read Speed ~ Claimed 80MB/s ~ Actual 77MB/s
Recovery Software ~ No
Protective Case ~ No
Retail Price UK £26  (My Memory)
Retail Price US $120   (Adorama)

Someone has to come last and sadly, in this test, it’s the Samsung Pro. Not so long ago its 40MB/s write speed would have been top class stuff but now it looks, at best, very average indeed. The read speed is also slightly off the mark too.

No recovery software and no protective case don’t help matters either and when you discover the price is at the higher end of the scale it’s game over for the Samsung Pro. It’s also worth noting the eyewateringly high price for US buyers!

There is however one area where the Samsung beats all the other cards in this review and that’s in looks. I love the engraved surface on this card.

Click the image below to see the benchmark results for all the cards. Benchmark-SD-Cards

Painted Frame Template

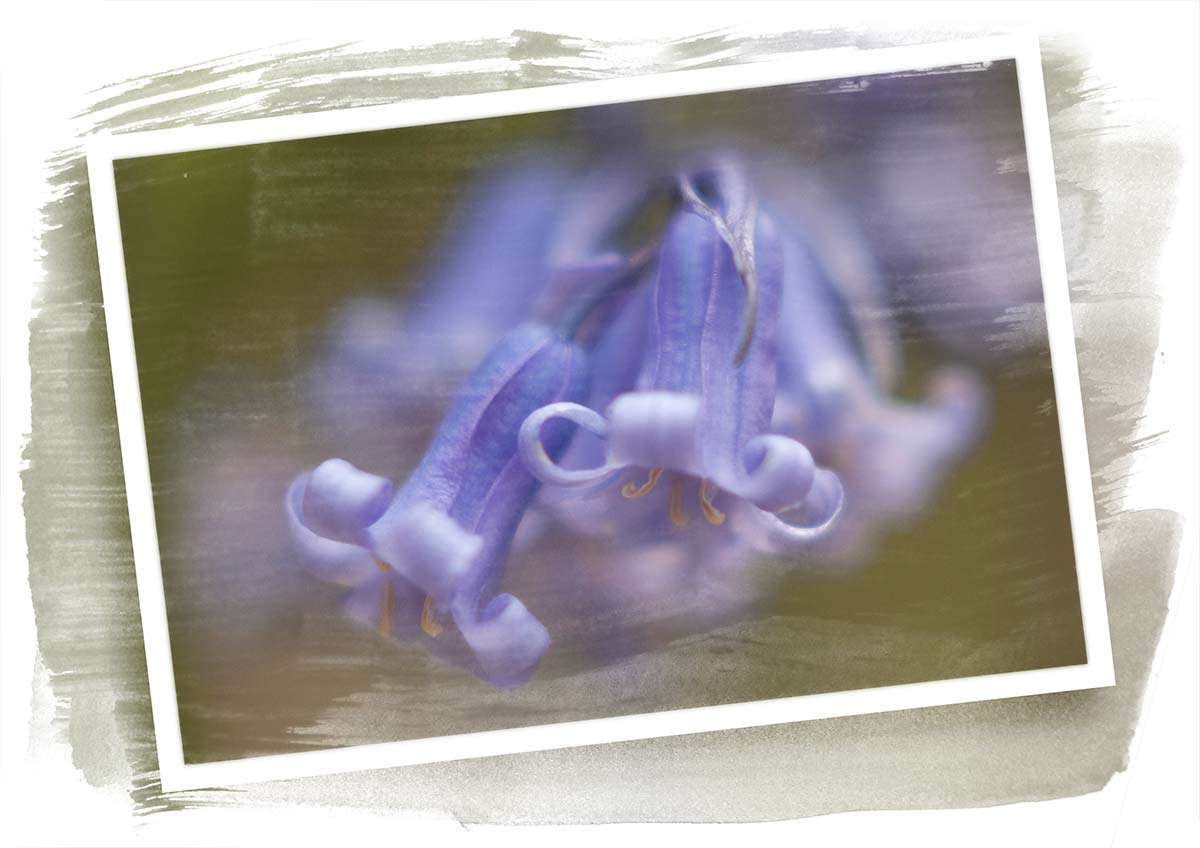
Painted-Frame-FinalHere’s a great Friday freebie for anyone who loves creating painterly effects.

The template is a simple JPG file which you can adjust to your own needs. For example you may wish to adjust the brightness using Levels or add a splash of colour with the Colorize option in Hue/Saturation. All you need to do is add your own photo over the whole image or just the framed area, then change the layer blending mode from Normal to Screen. Although the Screen blending mode will usually give you the best results, experimenting with other blending modes can yield some unexpected results which may be even better.

If you’ve had success with the template and you’d like to share your image with others, please pop a link in the comments section.

Download the Painted Frame Template

Usage rules
The image is copyright Gavin Hoey 2013. Use is limited to any personal, non-commercial purposes. Please share the Friday Freebie by linking back to this page. Do not redistribute the original image without my permission.

Download instructions
Click the link https://drive.google.com/file/d/0B_Mmmm3K1utNVnd4a2twTmNacW8/view?usp=sharing

1. Click the Download button download_icon

2. The download should start automatically

Five ways to crack high ISO

High-ISOWhat do you do when flash isn’t an option, you can’t use a tripod and your shutter speeds are in danger of dropping too low? The answer is, of course, you increase your ISO. But as we all know, there’s a direct connection between ISO and noisy images and as a general rule it makes sense to keep the ISO at the lower end of the scale. 

I’ve met a few photographers who have taken this advice a little too far and will doggedly stick to ISO 400 and below. I’ve also met photographers who have never, ever used ISO 800 and would faint at the thought of ISO 6400. 

If that sounds like you, read on. 

Try it for yourself
Don’t believe what you’ve been told by your mates, read on the internet or just assumed to be true. If you’ve not tried shooting at your camera’s highest ISO then make the effort to do just that and examine the results. Although the noise at top ISO setting is likely to be pretty ropey, taking the same shot one ISO stop less (half the ISO number) may well produce surprisingly good results. 

Shoot in RAW
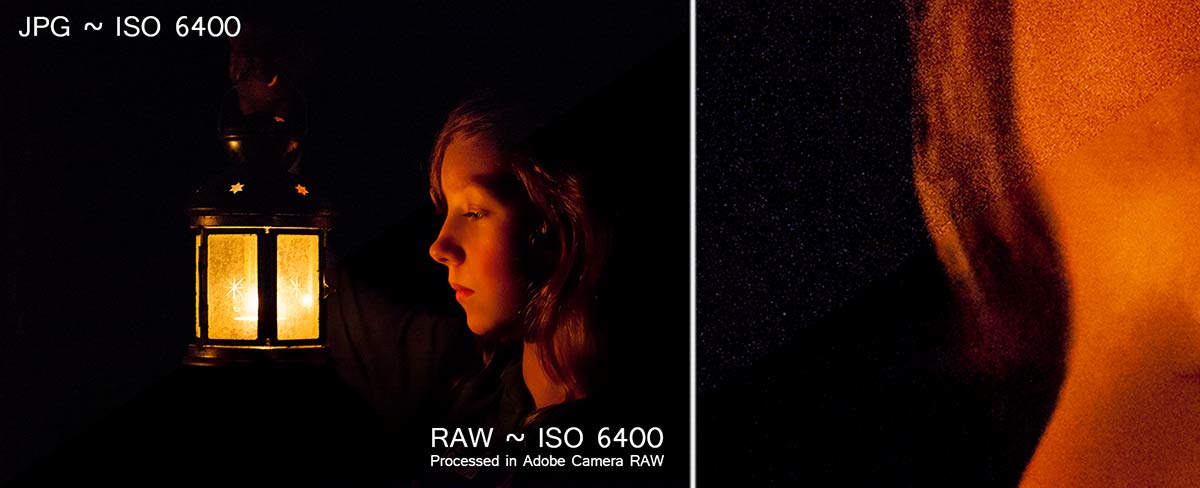
Whilst shooting in RAW and editing in Photoshop’s Adobe Camera RAW will ignore the in camera reduce noise feature, the RAW processor in Photoshop is superb at handling noise and keeping it under control. Take a look at the Detail tab and crank up the luminance noise reduction for best results… as seen here.
JPGvsRAW

Nail the exposure
There’s a train of thought that says you can use a lower ISO if you deliberately underexpose the image and pull it back in post processing. That’s great idea at lower ISO’s but it’s a bad idea at high ISO’s. Altering the exposure in Photoshop will always drag out noise from any photo and lightening shadows makes the problem even worse. The higher the ISO used, the more noise you’ll see. 

Bottom line: A perfectly exposed high ISO image will have less noise then a badly exposed, low ISO photo rescued in Photoshop

Go Mono
If all else fails and you have a shed load of noise in your photos then my secret tip is to dump the colour and switch to black and white. Back in the days of film, if you wanted high ISO you used mono film stock and despite all the leaps in technology we’ve made in the last 15 years mono images is still the best way to hide noise in plain sight.ISO1600-mono

Learn to love noise
It’s easy to get carried away with noise reduction to the point where you can loose sight of the bigger picture… quite literally.

Ask yourself the question. Would you prefer your photos to have noise or would you prefer them to be ruined buy either camera shake or over processing in Photoshop? Suddenly a bit of noise in your photos seems like a fair trade off.

Gatwick Aviation Museum News

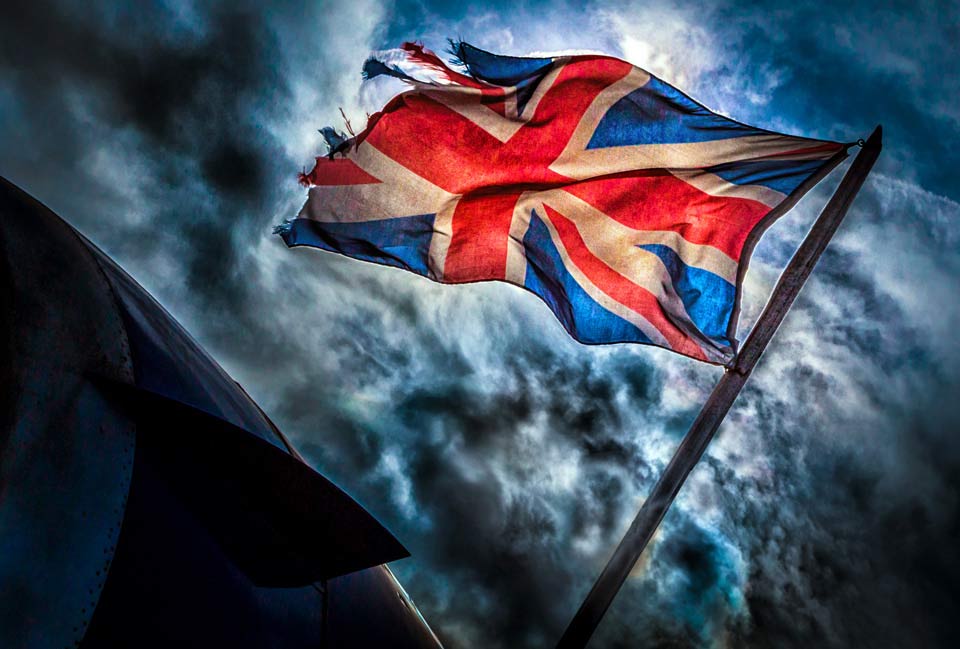
Union-Jack-GAMOver the past few years I’ve been a regular visitor to the Gatwick Aviation Museum, it’s easily my favourite place to teach photography. It would seem I’m not alone for my love of this unique location, as I know many photographers have made the effort to visit this amazing place.

Anyone who visits the museum will have almost certainly have met Peter Vallance, the owner and driving force behind Gatwick Aviation and it’s with immense sadness that I have to let you know that Peter passed away earlier this year. 

Those who met Peter, will remember him as one of life’s bigger characters. He was totally passionate about his aircraft but he was equally enthusiastic to share that passion with everyone else, including us photographers who have flocked to his museum over the past few years. 

Sadly the museum will be closed to the public for the time being but the trustees plan to reopen to the museum to public once again later this year. My one to one training sessions at Gatwick Aviation will continue as usual. 

Peter Vallance had become a good friend and will be sorely missed by all who’s lives he touched.

Peter Vallance

Mug Shot Background

Mug-Shot-1Last week I released a video called two portraits, one light and ever since I’ve been getting a constant stream of requests to share the mug shot background I used in the final photo. The background was one I made a while back for a photography workshop using a combination of grungy textures and a bit of Photoshop know how.

The background is just a simple JPG file which you can adjust to your own needs. For example you may wish to adjust the brightness using Levels or add a splash of colour with the Colorize option in Hue/Saturation.

Download instructions are below and once again I’m sharing the JPG file through my Adobe Creative Cloud page. No sign up is required to get a copy of the template so you’re free to jump in and make your own triptych images.

Download the Mug Shot background by clicking here

Usage rules
The image is copyright Gavin Hoey 2013. Use is limited to any personal, non-commercial purposes. Please share the Friday freebie by linking back to this page. Do not redistribute the original image without permission.

Download instructions
Click the link https://drive.google.com/file/d/0B_Mmmm3K1utNb0duUlQ4eVZQMkk/view?usp=sharing

1. Click the Download button download_icon

2. The download should start automatically

Five myths about Image Stabilisation

IS-VR-OSCanon calls it image stabilisation, Nikon uses vibration reduction and Sigma has Optical Stabilizer. The name may be different but the aim is the same. IS, VR and OS all promise the chance to shoot sharper shots at slower shutter speeds.

I love Image stabablised lenses but they can’t work miracles, so lets dispel a few myths.

IS lenses will stop blurred images
Image stabilisation will certainly reduce camera shake and often by a considerable amount, but let your shutter speed drop to low and your photo will still blur because of camera shake. Although image stabilisation will lower the shutter speed at which camera shake blur will happen, it can’t completely remove it.

Of course IS can do nothing to stop motion blur which is when your subject moves during the exposure.

My advice… I love IS lenses but beware of their limitations 

IS must be switched off when using a tripod
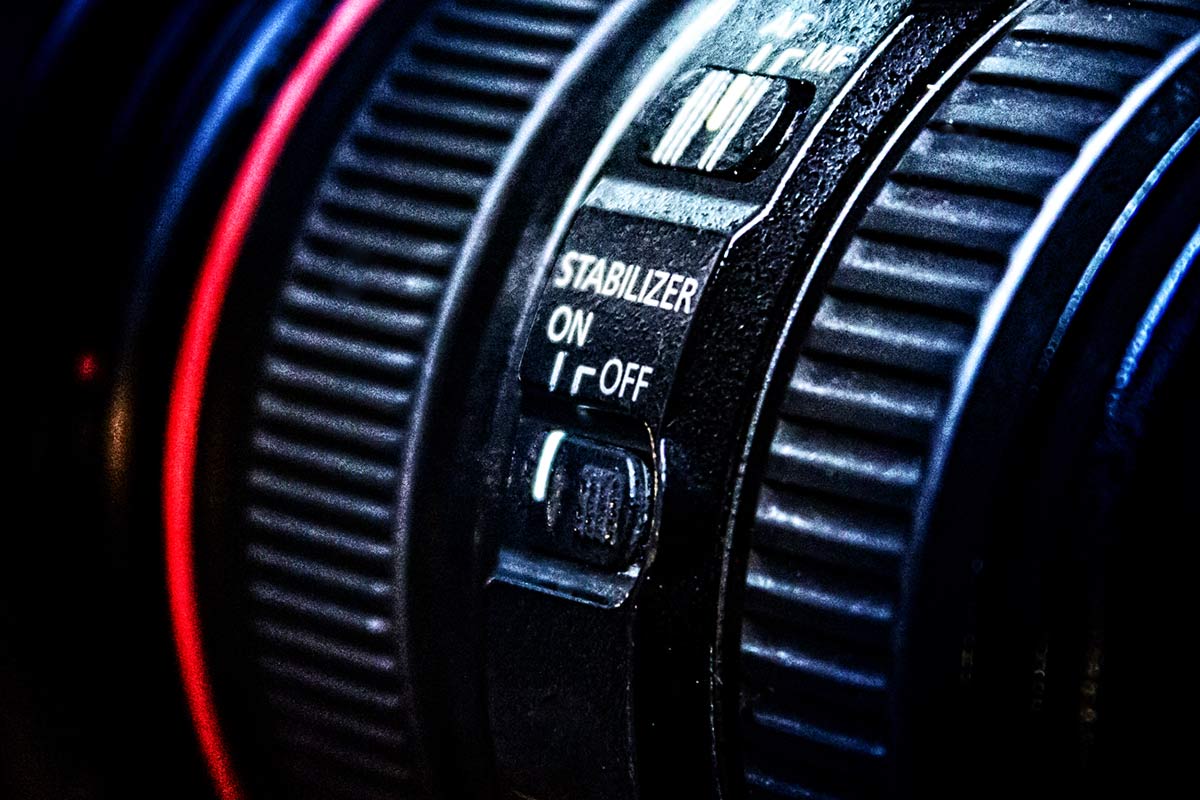
Generally speaking this is a good idea. Many IS system get a little confused by tripods which can lead to soft or blurred images, but as you can see in this video I leave my IS turned on when using a tripod.

So am I risking my photos being blurred? Well I’ve lost count of how many times people have pulled me up on it. The thing is many image stabablised lenses, including my Canon 24-105L, are what’s known as tripod aware which means the IS switches itself off when it’s not needed.

Whilst it’s fine to switch IS off on tripod aware lenses, you do run the risk of forgetting to switch it back on.

My advice… If you’re not sure if your IS lens is tripod aware then switch it off.

IS can replace a tripod
No image stabilisation system can completely replace a tripod but if I’m honest it can reduce the need for a tripod.

Tripods allow super long exposure, slow you down (which is good for composition) and give unrivaled sharpness to a photo.

My advice… You can’t beat a tripod but you don’t always need one. 

IS lenses are always sharper 
Well no, not always. As a general rule to avoid camera shake you want your shutter speed to be equal, or better still, double the lens focal length for a sharp shot. So when I’m hand holding a 200mm lens, I like my shutter speed to be 1/400th second or more.

If it  suddenly drops to 1/100th sec, an IS lens will give a sharper shot every time. However what if you’re using the same 200mm  lens and your shutter speed is 1/2000th second? In that case the advantage of IS lenses is the square root of nothing.

My advice… Non IS lenses are just as good as IS lenses at fast shutter speeds.

IS, VR, OS… they’re all the same
Well nearly. Some IS systems are better at stabilising then others. You’ll often see then rated as the number of stops improvement you’ll get. The best IS lenses offer around 4 stops but there’s more to it then that.

Many lenses will have more then one mode of stabilisation. For example you may get a general IS and a panning IS settings. The panning setting will reduce vertical shake only, which can be very handy for sports photographers.

My advice… More stops of IS means more money but buy the best you can afford.

Grungy triptych template

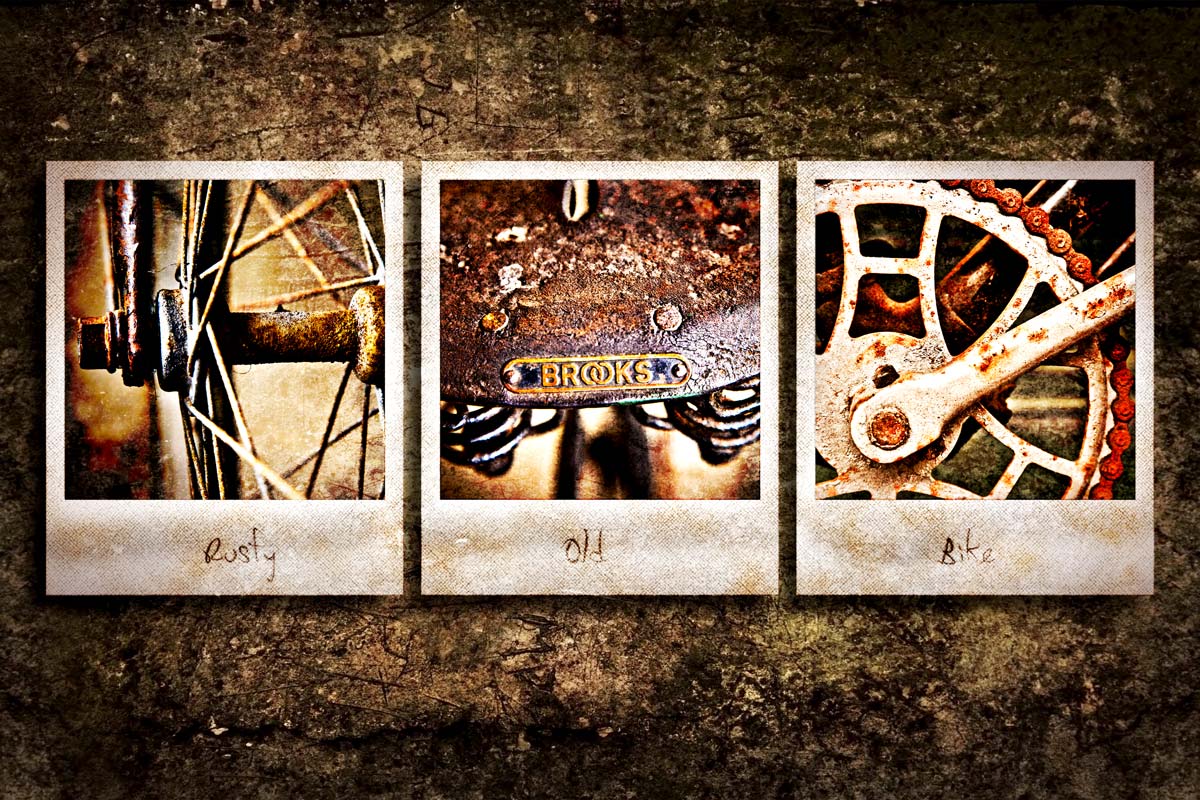
Rusty-Old-Bike-FFAs you take more photos, you’ll need to find more ways to display them. So todays Friday Freebie is a triptych template that uses up three of your photos in one go,

As you can see from the example here, the template has three spaces into which you’ll need to add your own images. An alternative would be to use one image but break it into three pieces. Download instructions are below and once again I’m sharing the JPG file through my Adobe Creative Cloud page. No sign up is required to get a copy of the template so you’re free to jump in and make your own triptych images.

Download the Grungy triptych template by clicking here

Download instructions
Click the link https://drive.google.com/file/d/0B_Mmmm3K1utNNzZPMHNQX0VVUG8/view?usp=sharing

1. Click the Download button download_icon

2. The download should start automatically

How to use the template
To add your own photo, first select and copy the photo you want to add. Then jump over to the template, Click inside one of the black squares with the magic wand tool and choose Edit – Paste Into (Edit – Paste Special – Paste Into in Photoshop CS5 & CS6)

You can then resize the photo before pressing enter to committing to the change.

Usage rules
Usual rules apply. The action is copyright Gavin Hoey 2013. You may use it for personal, non-commercial purposes only and please do not redistribute without permission. Thank you and enjoy Smile