Weave Template

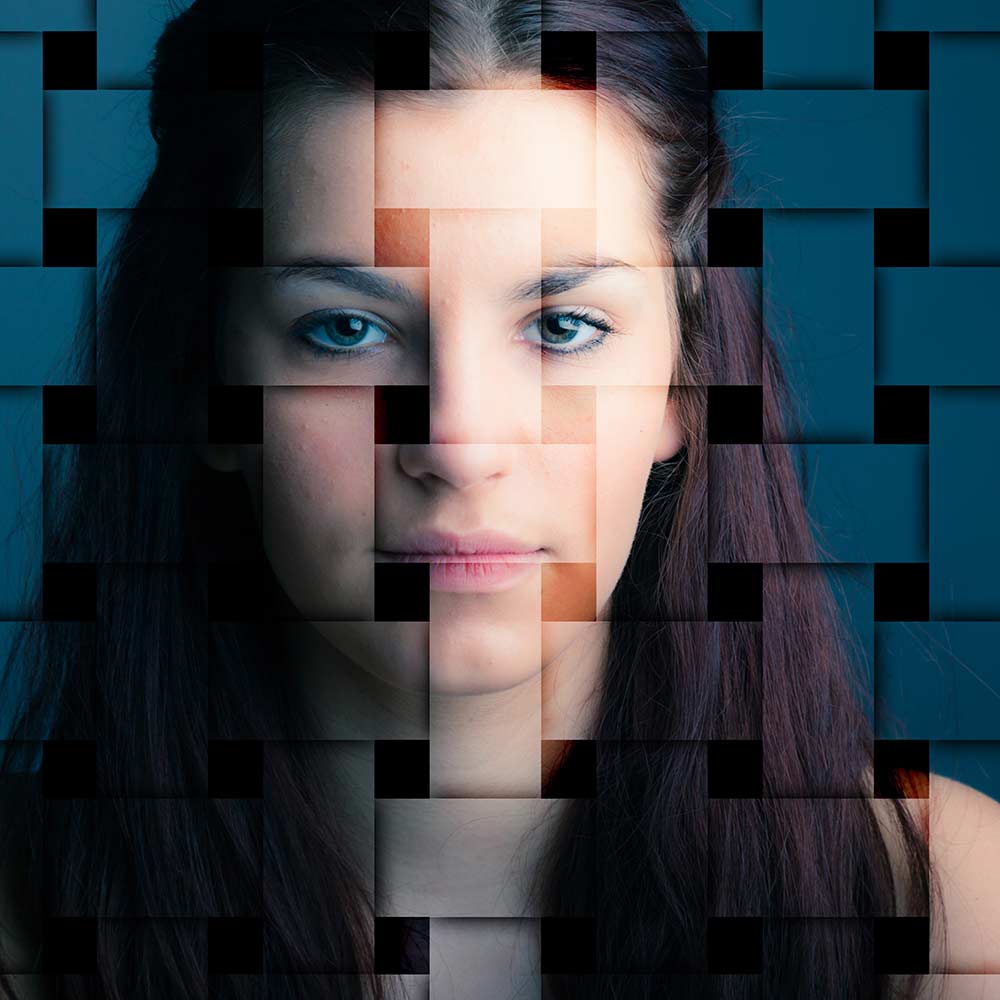
weave-KeylineThis weeks Friday Freebie is a weave effect image that adds a amazing 3D pattern to your photos, as you can see here.

Full download instructions are below but you can also
Click Here To Download the weave template

The weave template is a simple JPG image. I’ve made it in a square shape but it’s also very large at 5000 pixels on each side, so it’s easily adapted to both portrait and ladscape format images… as well as square ones of course 🙂

Once you’ve downloaded the template all you need to do is paste it over your image and resize it with Free Transform (CTRL+T) if required. Change the layer blending mode from Normal to Overlay and you’ll achieve a result like this. Howver this template works with loads of blending modes and I urge you to experiment, you’ll be amazed just how many variations there are!

If you create a photo using the Friday Freebie then let me (and everyone else) know by leaving the link in the comments below.

Usage rules
The image is copyright Gavin Hoey 2013. Use is limited to any personal, non-commercial purposes. Please share the Friday Freebie by linking back to this page. Do not redistribute the original image without my permission.

Download instructions
Click the link https://drive.google.com/file/d/0B_Mmmm3K1utNVDNhZWlNWmw3dlU/view?usp=sharing

1. Click the Download button download_icon

2. The download should start automatically

Smoke video clip

Smoke-SG1This weeks Friday Freebie is in two parts as I’m giving away a 30 second video clip of smoke and a tutorial on how to use the clip to create a simple animated text effect in Photoshop CS6

Full download instructions are below but you can also
Click Here To Download the smoke video clip

You can preview the video clip by clicking here

One of the headline new features of Photoshop CS6 is its ability to edit video clips with exactly the same skills you’d need to edit photos. Unlike Photoshop CS5 the video editing is available to all version of Photoshop CS6 not just the extended version.

Now I know most photographers are yet to embrace video and it’s certainly a very different discipline to learn but if you fancy trying your hand at video then this weeks Friday Freebie is for you.

Usage rules
The video clip is copyright Gavin Hoey 2013. Use is limited to any personal, non-commercial purposes. Please share the Friday Freebie by linking back to this page. Do not redistribute the original video clip without my permission.

Download instructions
Click the link https://drive.google.com/file/d/0B_Mmmm3K1utNbzNDc0E3ZWhNc28/view?usp=sharing

1. Click the Download button download_icon

2. The download should start automatically

Once you’ve got the video you’ll need something to do with it. There’s plenty of ways you can use the clip but to get you started here’s a quick and simple text animation effect.

[youtube]http://youtu.be/sfQfPoTs64U[/youtube]

Three reasons why you need a card reader

Lexar-25in1If you’re still plugging your camera into your computer every time you want to get at your photos, you’re not alone. I meet loads of photographers who don’t own a card reader and even some who have never removed the card from their camera.

Card readers are cheap, convenient and utterly essential in my book. Still not convinced? Here are three great reasons to use one.

Speed
If you want to access your photos fast then a modern USB3 card reader can’t be beaten as long as you have a spare USB3 socket to hand (it’s usually blue coloured, if it helps identify it).

Even the more pedestrian USB2 readers will often out perform download speeds from many camera when pluging them directly in to your computer.

Convenience
Do you know where you put the little cable to hook up your camera to the PC? If the answer is yes then well done you. Like most people I have a habit of loosing cables on a regular basis espeically if it’s a really, EALLY important one. Generally speaking a card reader remains attached to your computer or can even be built in, which makes it much tougher to loose!

Power
Using you camera as a card reader will mean turning it on, which is fine as long as your batteries are charged. Murphy’s Law dictates that the day when you absolutely must get those photos off your camera the batteries are going to be flat and the charger  is no where to be found. No such problems exist with card readers as they draw thier power through the USB cable.

There are 100’s of different USB readers on the market. I’ve used the Lexar brand for many years and can highly recomend them. A word to the wise, if your buying one for a modern SD card make sure it’s compatble with your SDHC or SDXC format if that’s what you have.

Backlit portrait with just one light

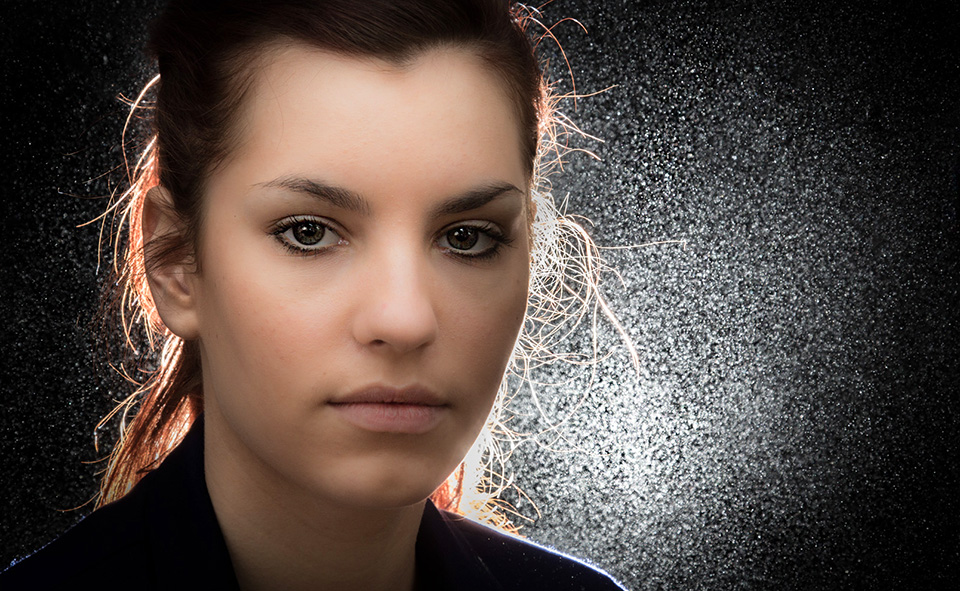
Final-ChristinaI’m a huge fan of using speedlights, or flash guns as I grew up calling them and I know a lot of photographers own at least one. For me the humble speedlight is a powerful tool capable of producing amazing portraits.

In this video I try to break the laws of physics by using one speedlight to light both the back and front of a model with just one light. The secret is reflecting the light off of a silver reflector which in effect makes one light become two.

As a final touch I’ll create a sparkling background by adding a little bit of flour into the air behind my model Kristina but in front of the flash.
[youtube]http://youtu.be/p3xCN7geBI0[/youtube]

Equipment used in the video: 

Adobe Photoshop CS6

http://www.adorama.com/searchsite/default.aspx?searchinfo=photoshop+cs6&category=4294967278+11&KBID=67338

Canon 60D

http://www.adorama.com/ICA60D.html?KBID=67338

Canon 24-105L f/4 IS
http://www.adorama.com/CA24105AFU.html?KBID=67338

5 in 1 reflector
http://www.adorama.com/WE5I1R20.html?KBID=67338

Shooting Ice Hockey for Adorama TV

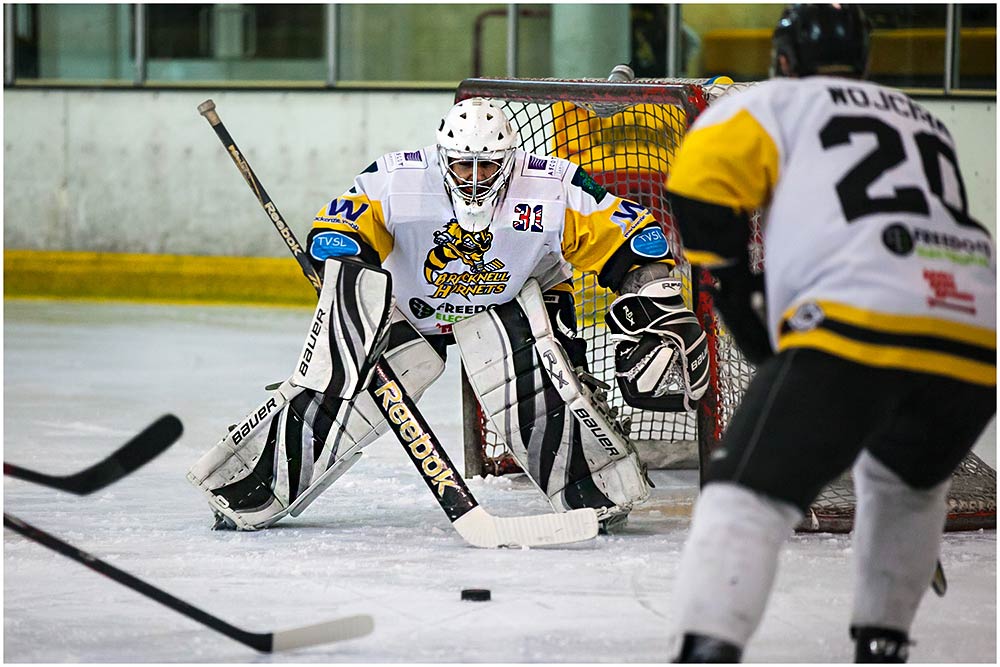
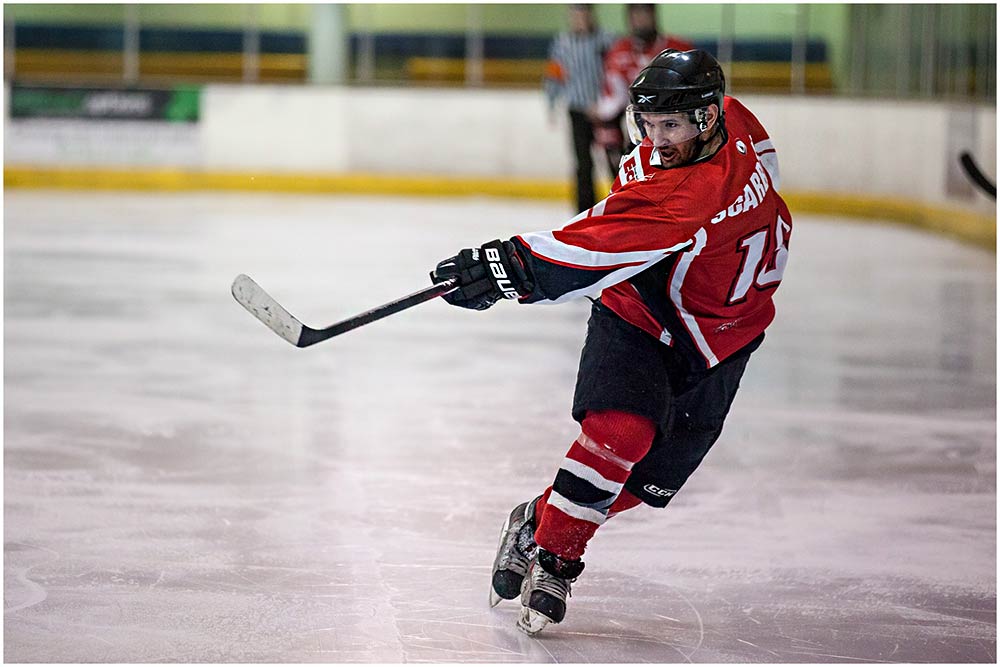
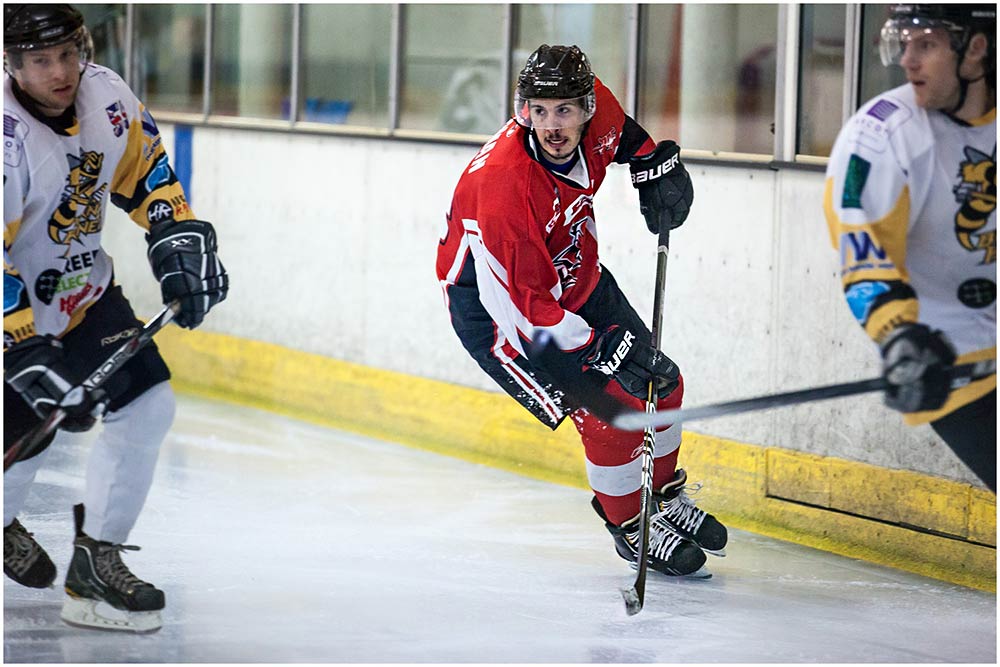
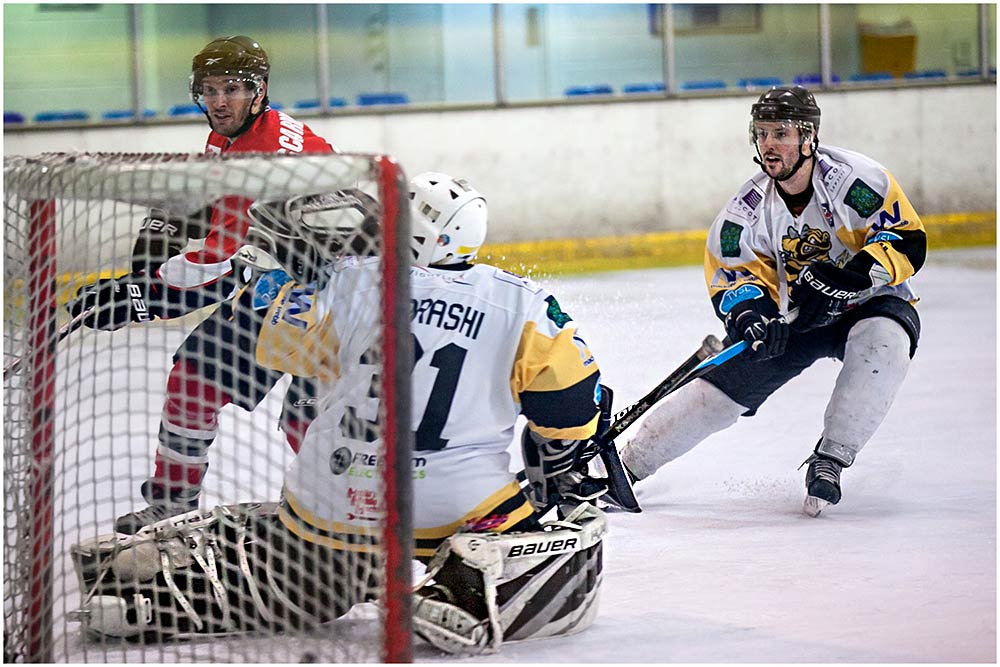
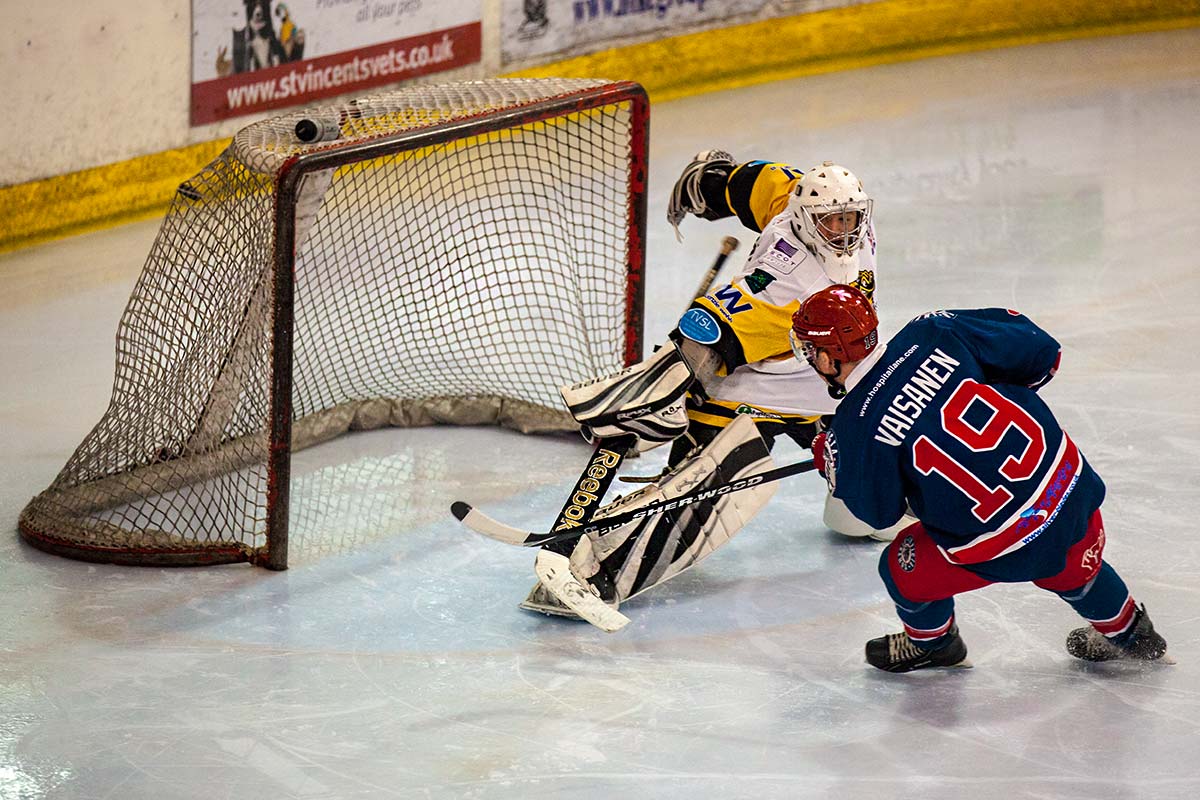
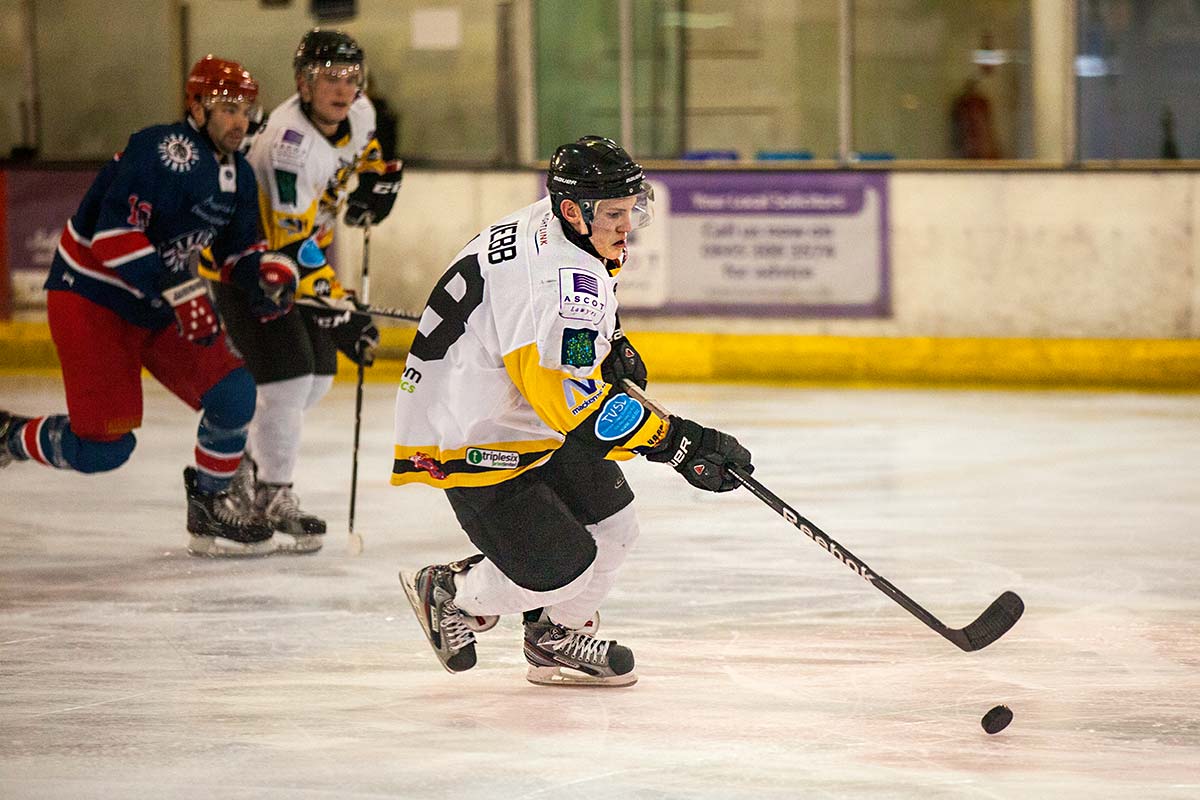
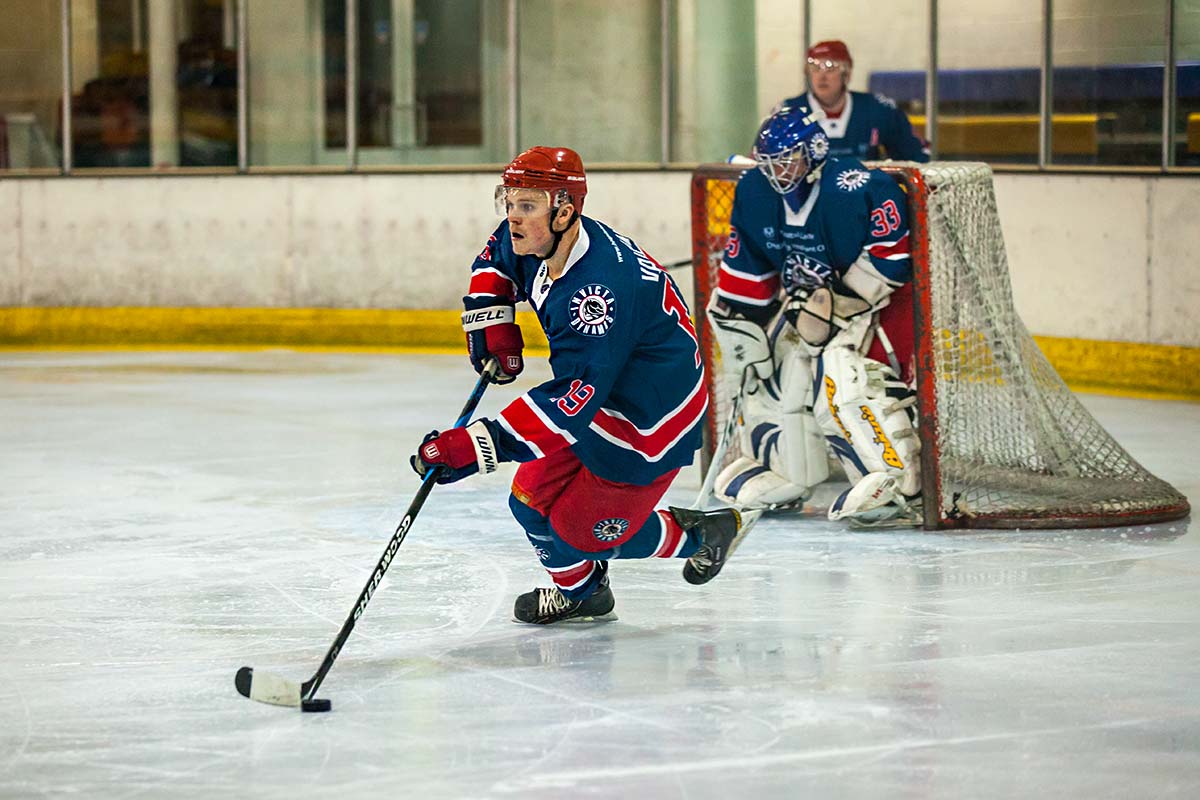
A few weeks back I got the chance to shoot an ice hockey match at the rink in Bracknell. I had a blast, so much so that when I was invited back to shoot the Bracknell Hornets vs The Cardiff Devils I knew I had to shoot a video for the event.

[youtube]http://www.youtube.com/watch?v=che7EgvJbDc&feature=share&list=UU8Pksdbj37CdE00kmE7Z1dw[/youtube]

If you enjoyed the video and fancy having a go yourself then contact your local rink. Offer to shoot a minor league game (like the one I shot) which often has smaller crowds. If you fancy shooting a Bracknell Hornets game not only will you’ll have to wait until next season but I’d recommend sweet talking to their official photographer Kevin Slyfield who was kind enough to arrange for me to shoot the video at the John Nike ice rink in Bracknell

Gear used in this video:
Canon 5D Mark II
Canon 70-200mm L f/2.8 IS
Giottos MML3270B Monopod

Hornets-5Hornets-1 Hornets-2 Hornets-3 Hornets-4

Slate Board Template

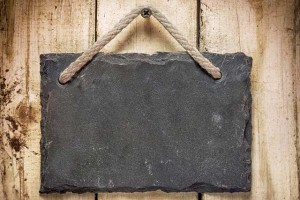
FF-SlateThis weeks Friday Freebie is this slate board template. I found it in a cupboard whilst I was rummaging around looking for something completely different but as soon as I spotted this I knew it would make a great vintage template for all your retro styled photos.

Full download instructions are below but you can also
Click Here To Download the slate board template

I can imagine this template being used in lots of ways. You could paste on your own photo, resize it to fit over the slate and blend it in with a layer blending mode such as Overlay. Any photo should work but it probably lends itself best to a timeless, vintage style image.

Alternatively you could keep the template exactly how it is now and just add some text in Photoshop. Think of it as a chalkboard where you can write something witty or poignant… perfect for Facebook!

If you create a photo using the Friday Freebie then let me (and everyone else) know by leaving the link in the comments below.

Usage rules
The image is copyright Gavin Hoey 2013. Use is limited to any personal, non-commercial purposes. Please share the Friday Freebie by linking back to this page. Do not redistribute the original image without my permission.

Download instructions
Click the link https://drive.google.com/file/d/0B_Mmmm3K1utNZ2lrRjczNV9QbW8/view?usp=sharing

1. Click the Download button download_icon

2. The download should start automatically

The Final Picture Workshop

I’ve lost count of the number of talks I’ve given in the UK and around the world but one place I’ve never visited is Manchester… until now.

Thanks to the awesome team at Welshot Imaging I’ll be in Manchester for one day only on Sunday 14 April 2013. More details about the day can be found here.

The day is going to be made extra special as I’ll be sharing the stage with Eric Renno, the founder of Tip Squirrel.com and John Arnold who’s a top photographer and a whizz at Photoshop too.

It’s going to be a full on day starting at 9am and running on to 6pm. With three Photoshop experts on hand you’re guaranteed to pick up a hatful of new tricks and tips to improve your photos in Photoshop, Lightroom and Elements. There’ll also be a chance to get involved in the day by undertaking a live photo challenge, so don’t forget to bring a camera.

I’m really excited about what we have planned for the day and if you want to come along you’ll need to act fast as places are limited. Full details can be found on the Welshot website.

Shooting Ice Hockey for the first time

I really do love shooting sport but it’s not something I get the chance to do very often, so when I got an invite from Kevin Slyfield to shoot an ice hockey match I jumped at the chance. Kevin is the official team photographer for the Bracknell Hornets and is an excellent sports shooter as you can see from his Flicker page. 
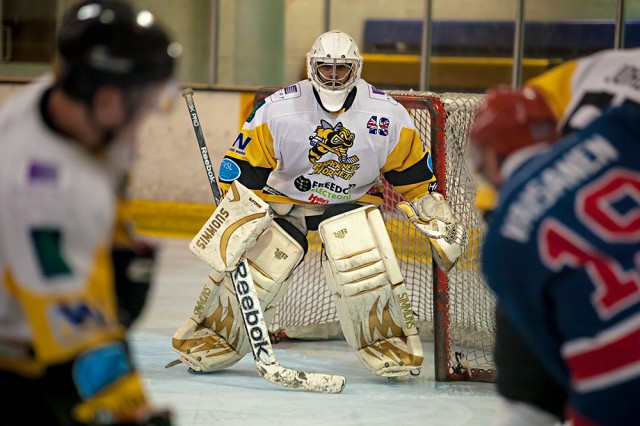
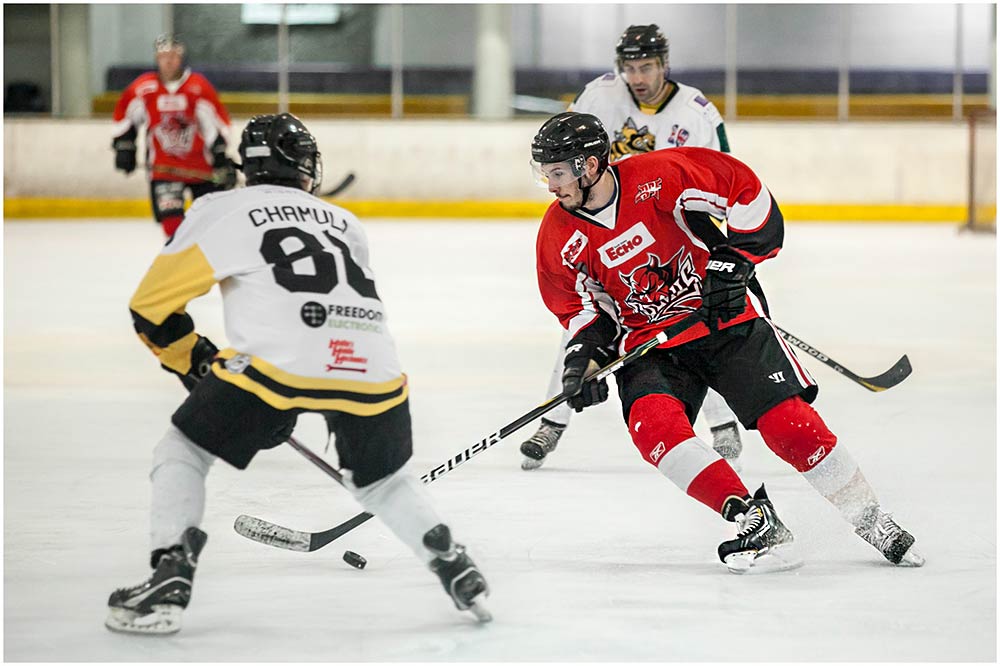
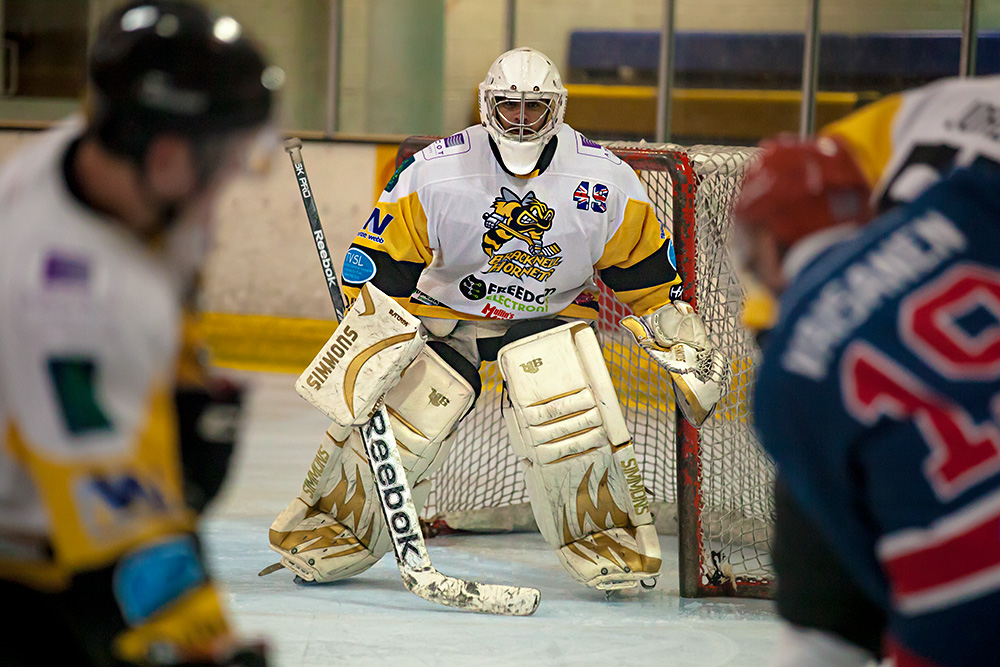
hornets-1Ice hockey is a sport I’ve never watched, let alone shot but in the past I’ve seen some amazing photos taken by my North American friends. I’ve also heard them say it’s one of the hardest sports to shoot due to its fast pace, low light and the need to shoot through Perspex.

I did a fair bit of research before the game which included getting a very basic idea of the rules of hockey. I concluded the rules were bendable but generally included a brawl at some point. More usefully I opted to shoot with my Canon 70-200 f/2.8 IS lens which proved to the perfect choice for the night.

When it came to camera bodies I had a choice of Canon 60D or Canon 5D Mark 2. The 60D offered faster burst shooting and longer reach with my zoom but the 5D2 has the best performance at high ISO’s. In the end I took both but used the 5D2.

In some parts of the world such as North America, ice hockey (or just hockey as it is often called) is a national past time. Huge purpose built rinks which seat 1000’s of spectators are packed to the roof with screaming fans. Sadly ice hockey in the UK doesn’t enjoy even a fraction of that support.

Even though I was shooting a minor league match I did expect a bigger crowd, which probably numbered less then 100 people. Fortunately both teams took things very seriously and it was clearly a competitive match. hornets-2
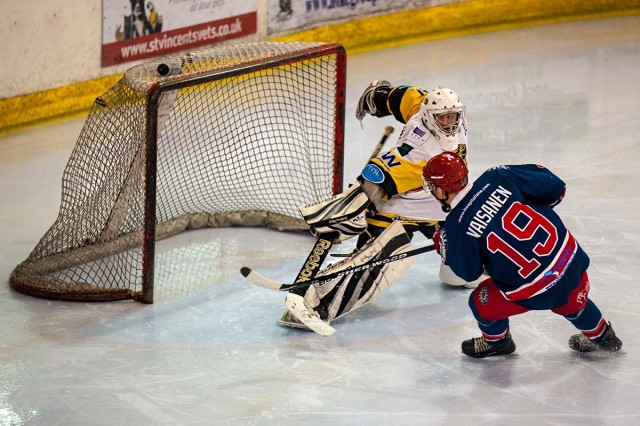
When it came to shooting at the rink I had two options. Shoot through the grubby, scuffed up Perspex or go up to the balcony level and shoot over it. For the first period I took Kevin’s advice and shot from the balcony. From there I was pretty much guaranteed good photos but for me they lacked a certain drama that I wanted to capture.
hornets-3

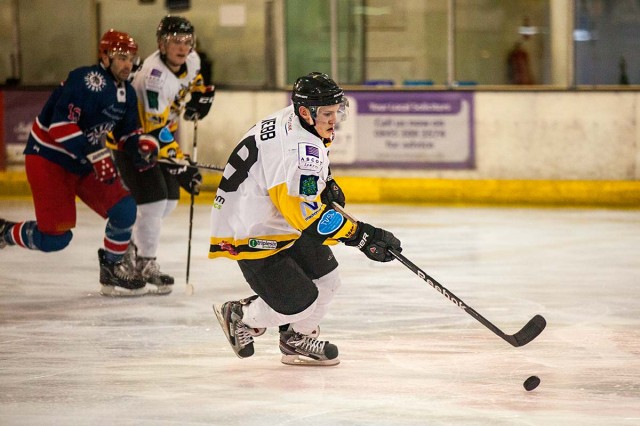
For the second and third periods I opted to shoot rink side through the Plexiglas but finding a clear spot was impossible and although I could clean my side of the glass the rink side was covered in scuffs and marks. Eventually I found a bit that was marginally less damaged then the rest and shot from there. Even so shooting at an angle through the Plexiglas was pointless so I waited for the action to come my way.

If, like Kevin, I needed to record the match I’d recommended shooting over the barrier but when the action came my way you can’t beat being at rink side.

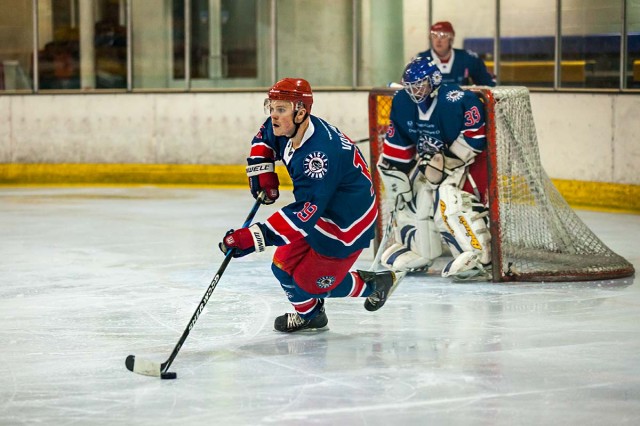
For settings I shot in manual mode as the lighting was constant and even, although there wasn’t much of it. After a bit of trial and error I settled on 1/640th sec, f/2.8 at ISO 4000.
hornets-4

The Canon 5D mark 2 isn’t well known as a speedy focusing camera but sticking to the centre only focusing and continuous focusing with AI Servo it seemed to do surprisingly well all things considered.

By the end of the game I’d really got into the swing of ice hockey and I can see why people love watching the sport and why everyone told me it’s one of the hardest to photograph well.

For the record the final score was Bracknell 2, Invicta 5

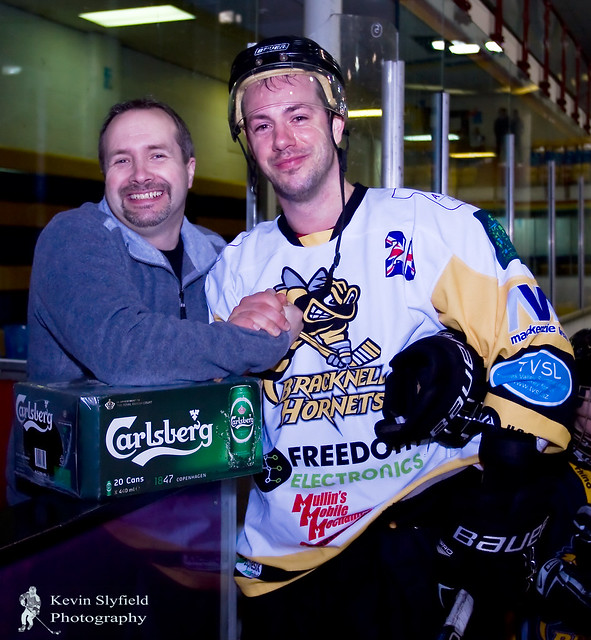
Kevin had one last surprise for me… I got to hand out the runners up prize (a box of beers) to the losing team.

Free Chalk Texture

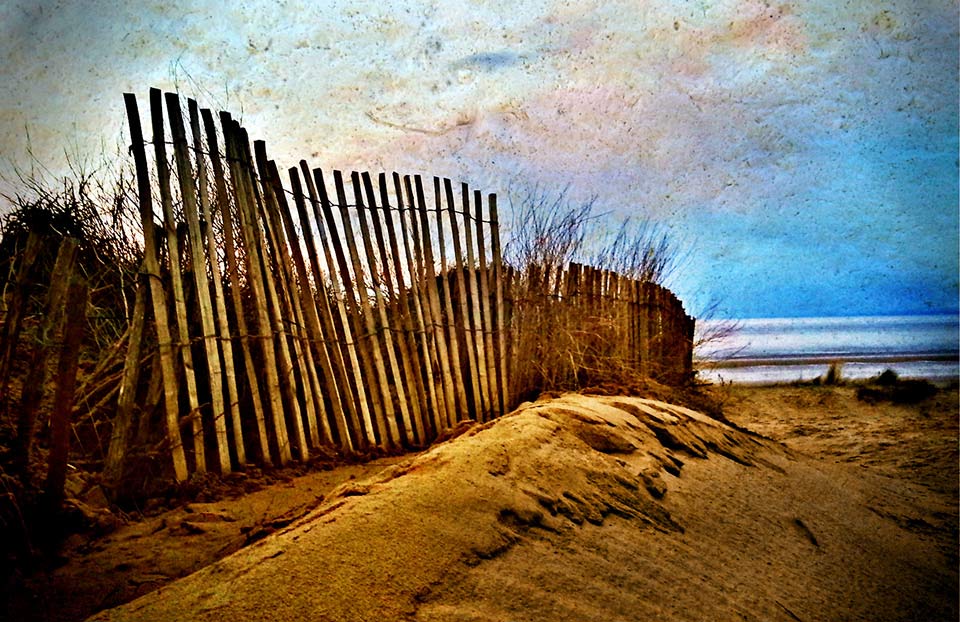
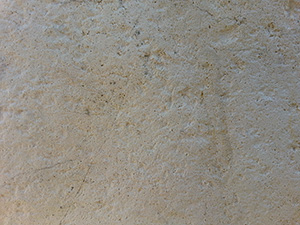
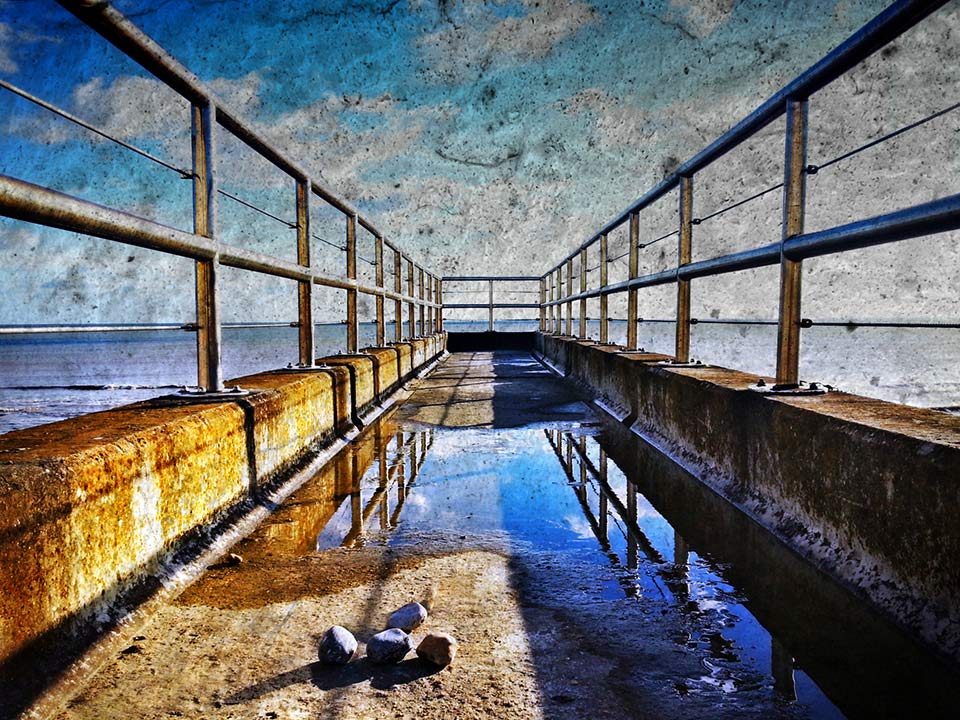
St-Marys-BayFor this Friday Freebie I’m going to share a brilliant texture that I photographed just a few days back. Despite it being a very recent image it’s already made it in to several of my images for one reason… It’s an image I shot with my phone!

The texture is a close up photo of chalk that I found on a beach just outside Brighton in Sussex and it makes wonderful texture shots.

Full download instructions are below but you can also
Click Here To Download the Free Chalk Texture

As with most textures, it works best with any photo that has large areas of light colour. I’ve found it particularly effective in landscape photos which feature plenty of sky. To apply the texture simply paste it over your photo and use Free Transform (CTRL+T) to resize it to your photo. Then change the layer blending mode to either Multiply or Overlay. Other blending modes will also work but those two are a good start. I’ve left the orgianal colour in the texture but you may wish to remove the colour or alter the colour to create a different look.

Chalk-Texture-LinkIf you create a photo using the Friday Freebie texture then let me (and everyone else) know by leaving the link in the comments below.

Usage rules
The image is copyright Gavin Hoey 2013. Use is limited to any personal, non-commercial purposes. Please share the Friday Freebie by linking back to this page. Do not redistribute the original image without my permission.

Download instructions
Click the link https://drive.google.com/file/d/0B_Mmmm3K1utNeGtRdlBDbm1jZ2s/view?usp=sharing

1. Click the Download button download_icon

2. The download should start automatically

PS-Touch-12-3-13The photos in this post were made in Photoshop Touch for Phone and I’m seriously impressed by what it can do. I’ll do a more in depth write up soon but for now let’s just say that at ÂŁ2.99, it’ the cheapsest and most portable version of Photoshop you can buy.

It’s unlikely to replace full photoshop for me but I’m really impressed by just how good an image you can make whilst sitting in the car, which is where both these photos were editied. Photoshop Touch for Phone is avaiable in both iPhone and Android version but you’ll need a really up to date handset such as the Samsung Galaxy Note 2 that I use.

How to sharpen in Photoshop

Smart-SharpenSharpening your photos is one of the least exciting things you can do in Photoshop but also one of the most important things too. It’s also right at the top of the frequently asked questions I get whilst teaching photo post processing.
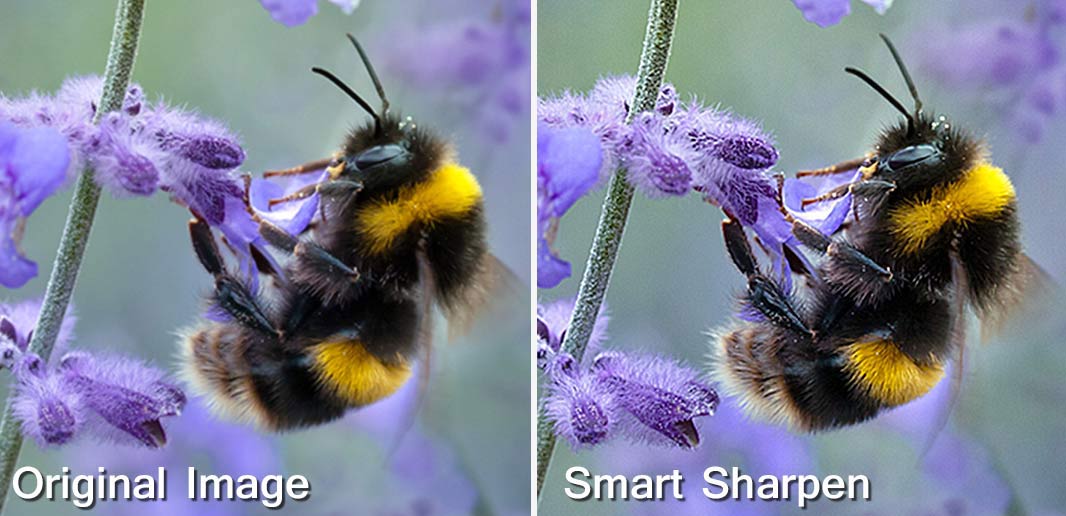
Let’s start by clearing up a few misconceptions. You don’t need to sharpen every photo and you don’t need to sharpen a whole photo the same amount. For example if you’ve taken a dreamy soft portrait you may want to sharpen just the eyes or you may want to sharpen nothing at all… It’s ultimately your choice.

When to sharpen
In this post I’m only looking at sharpening in Photoshop and I’m assuming you’re starting with a photo that’s basically in focus where it should be. Many people will make the fundamental mistake of sharpening just after they’ve applied their Photoshop effect, whatever that may be. WRONG!

For me sharpening is the very last thing you do moments before the image leaves your computer and goes to your printer, blog, Facebook page etc. In other words don’t sharpen your image and then resize it, always resize it first and then sharpen.

Smart-Sharpen-1

Unsharp Mask vs Smart Sharpen
For years I’ve used Unsharp Mask as my “go to” sharpen tool but no more. Photoshop has a raft of sharpening options but the Smart Sharpen filter has a couple of features that make it the best sharpening filter in Photoshop.

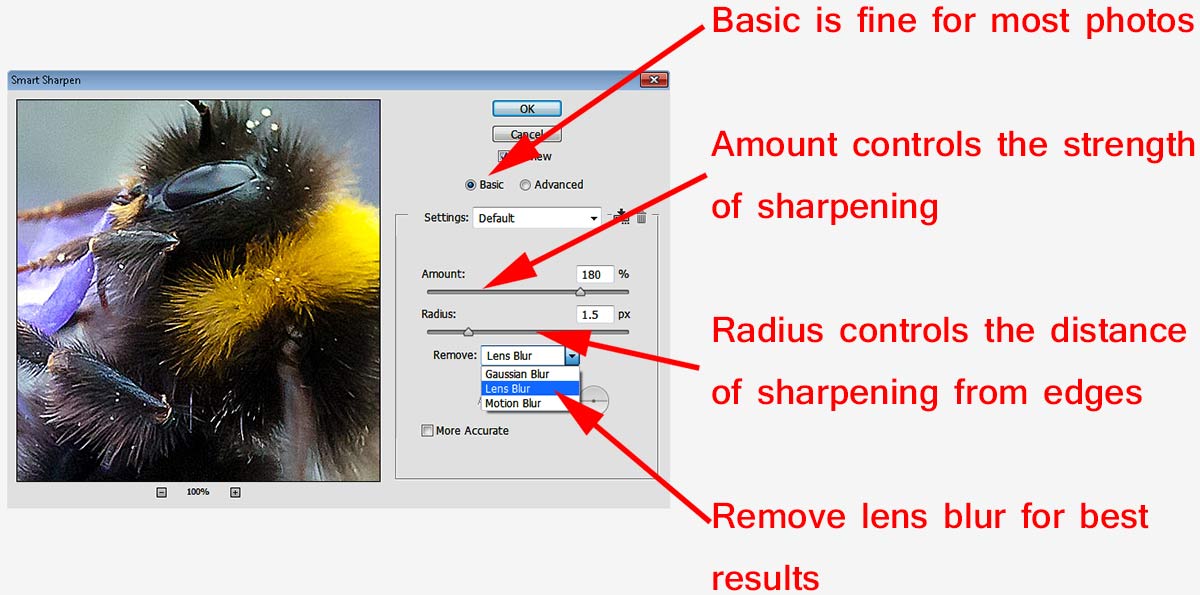
The Smart Sharpen Filter has three type options. “Gaussian Blur”” is in effect the same sharpening as Unsharp Mask. “Lens Blur” is my usual setting and “Motion Blur” try’s (and usually fails) to reduce blur from moving subjects.Smart-Sharpen-2

To get the best from Smart Sharpen set the amount to 500% and the radius to around 20 and you’ll notice a bunch of halos around edges in the photo. Slowly reduce the radius until the halos are all but gone. That’s the radius set for that image. Finally, reduce the amount slider to get the sharpen effect you desire.

Obviously there’s no magic number that works for all images so be prepared to experiment a little.

Local Sharpening
Smart-Sharpen-3Good as Smart Sharpening is you do have to remember that it’s a global effect which effects all the pixels in the image and whilst that’s usually exactly what you want there are times when it’s not. For example perhaps you have a shallow depth of field image, you don’t always want to sharpen the out of focus areas.

One way to do this is to make a duplicate layer of the image, sharpen the duplicate layer and use a layer mask to limit the sharpened layer to just the bits you wanted to sharpen.

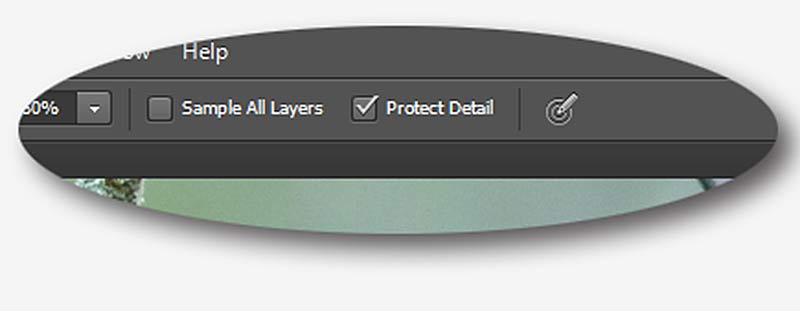
However for users of Photoshop CS5 and CS6 the best way to do this is with the Sharpen Brush which had a radical overhaul in CS5 onwards and is the best sharpening tool in any part of Photoshop as long as “Protect Detail” is turned on in the tool option bar. It’s as simple to use as any brush in Photoshop, all you do is paint where you want to sharpen and the more you paint the sharper thing become. Gone to far? CTRL+Z will undo the last click and CTRL+ALT+Z will keep going back one histrory step at at time.

So remember…

  • Only sharpen AFTER you resize your photo
  • Use Smart Sharpen for Global Sharpening
  • Paint with The Sharpen Brush for local sharpening