Just one colour – Creative Lightroom Episode 3

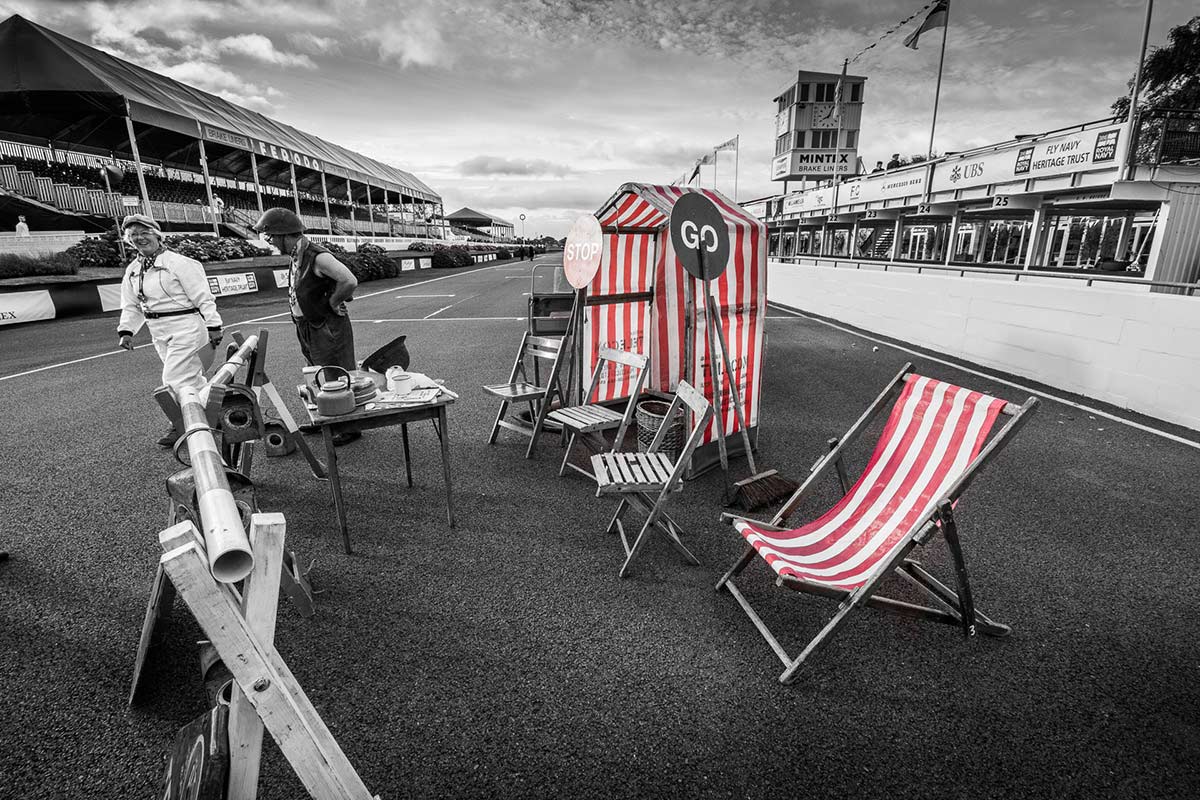
CL-final-3-1200pxIn the third episode of Creative Lightroom, I have a very quick trick for reducing the number of colour tone ranges in your image to just one.

This is a really quick and simple technique that works with all versions of Lightroom including the latest and greatest version, Lightroom 5.

In the video I show you how to remove almost all the colour and leave just the reds in an image but you can just as easily leave blues, yellows or greens. I then go on to show you how to quickly tidy up any stray colour areas with the adjustment brush.

It’s worth mentioning that if you’re a Photoshop user rather then Lightroom user then remember EVERYTHING I show in the video is the same as Adobe Camera RAW in Photoshop CS3, CS4, Cs5, CS6 and Photoshop CC.

[youtube]http://www.youtube.com/watch?v=wr6fSZY57R0&feature=youtu.be[/youtube]

Can’t see the video? Click here: http://youtu.be/wr6fSZY57R0
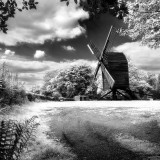
Planning for Black & White

Adorama-MonoWay back  when I started learning photography the only real option for serious photographers was to make black and white prints and we were darn good at it too. Skip forward 25 years and now everyone takes colour photos but thanks to post processing everyone can also make black and white images too.

There’s an art to making top quality colour photos but making quality mono photos is an extra challenge. One of the reasons many photographers find shooting for black and white a challenge is because we don’t see the world monchrome, we see colour. However there a few tips you can apply at both the camera and Photoshop stages which will quickly step your black and white photography up a gear.

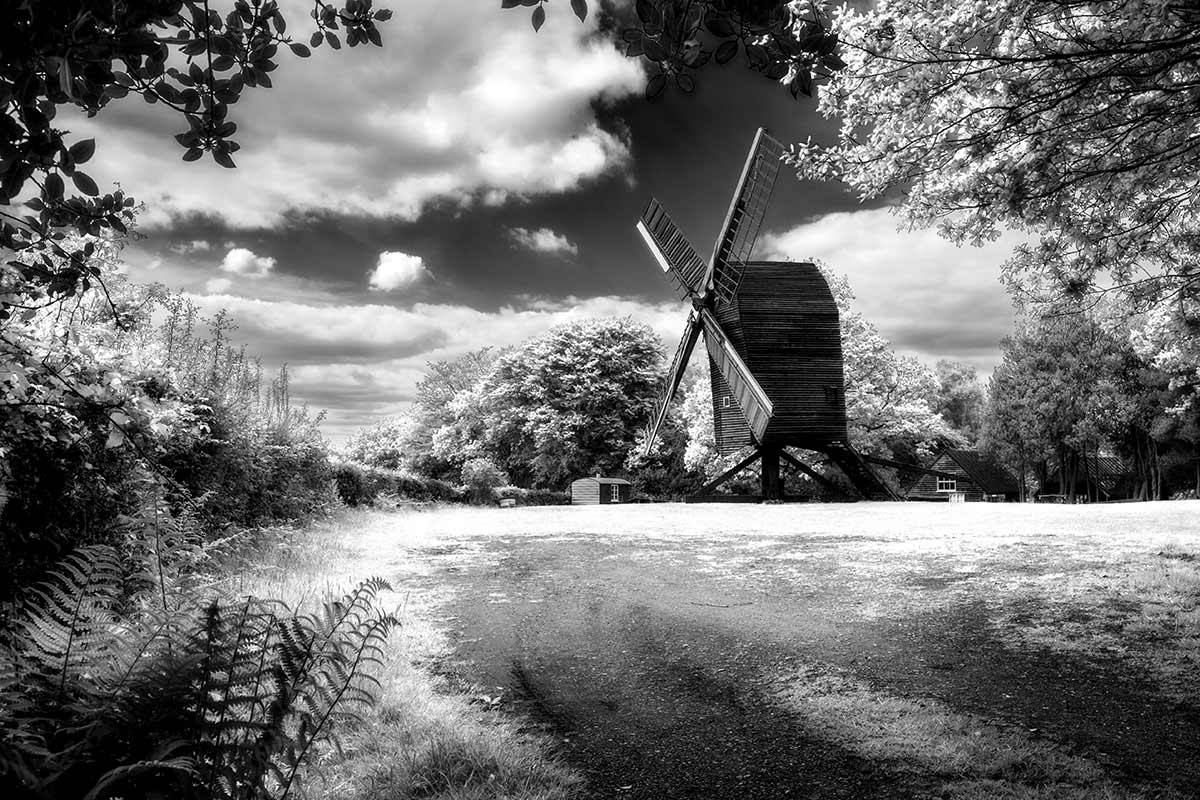
In this video for Adorama TV I visit Nutley Windmill on the Ashdown Forest with the plan of shooting for black and white. Then it’s into Photoshop to make the magic happen.

[youtube]http://www.youtube.com/watch?v=GZhk-S9Y-vs[/youtube]

Equipment used in the video:

Adobe Photoshop CS6
http://www.adorama.com/ABPSCS6W.html?KBID=67338

Canon 5D Mark II
http://www.adorama.com/ICA5DM2.html?KBID=67338

Canon 24-105L f/4 IS
http://www.adorama.com/CA24105AFU.html?KBID=67338

Vanguard ABEO Plus 283CT Tripod
http://www.adorama.com/VGABEO283CT.html?KBID=67338

Vanguard GH-200 head
http://www.adorama.com/VGGH200.html?KBID=67338


Bonus composite videos

Mark+Gav-2Last week I uploaded the two part video with Mark Wallace and myself. If you missed it the click here to go back and see both videos.

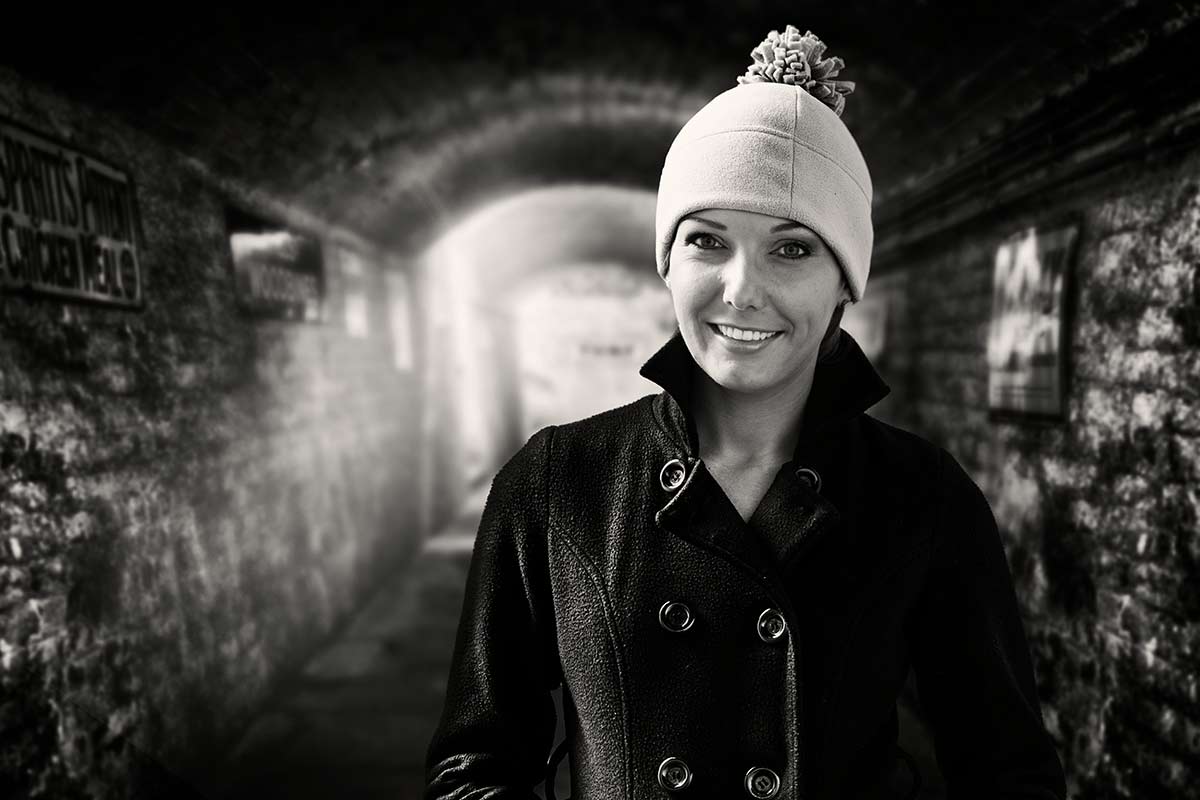
Mark was kind enough to share all the photos he shot with me and it seemed like a terrible waste not make use of at lease one more. So in the video below I’ll show you how I created this photo composite. Going mono was all part of the plan and makes compositing two images together a whole lot easier as you no longer have the issue of matching colours to get in the way.
[youtube]http://youtu.be/vbFlTkkOglU[/youtube]
Can’t see the video? Click here http://youtu.be/vbFlTkkOglU

In this video I do a deep dive tutorial on how to use Photoshop to composite the original photos. I start with how to use Adobe Camera RAW to create an HDR background and then add some light rays with my recent Friday Freebie Light Ray Brushes.
[youtube]http://youtu.be/szQ0kj1xuZc[/youtube]
Can’t see the video? Click here http://youtu.be/szQ0kj1xuZc

Mug Shot Background

Mug-Shot-1Last week I released a video called two portraits, one light and ever since I’ve been getting a constant stream of requests to share the mug shot background I used in the final photo. The background was one I made a while back for a photography workshop using a combination of grungy textures and a bit of Photoshop know how.

The background is just a simple JPG file which you can adjust to your own needs. For example you may wish to adjust the brightness using Levels or add a splash of colour with the Colorize option in Hue/Saturation.

Download instructions are below and once again I’m sharing the JPG file through my Adobe Creative Cloud page. No sign up is required to get a copy of the template so you’re free to jump in and make your own triptych images.

Download the Mug Shot background by clicking here

Usage rules
The image is copyright Gavin Hoey 2013. Use is limited to any personal, non-commercial purposes. Please share the Friday freebie by linking back to this page. Do not redistribute the original image without permission.

Download instructions
Click the link https://drive.google.com/file/d/0B_Mmmm3K1utNb0duUlQ4eVZQMkk/view?usp=sharing

1. Click the Download button download_icon

2. The download should start automatically