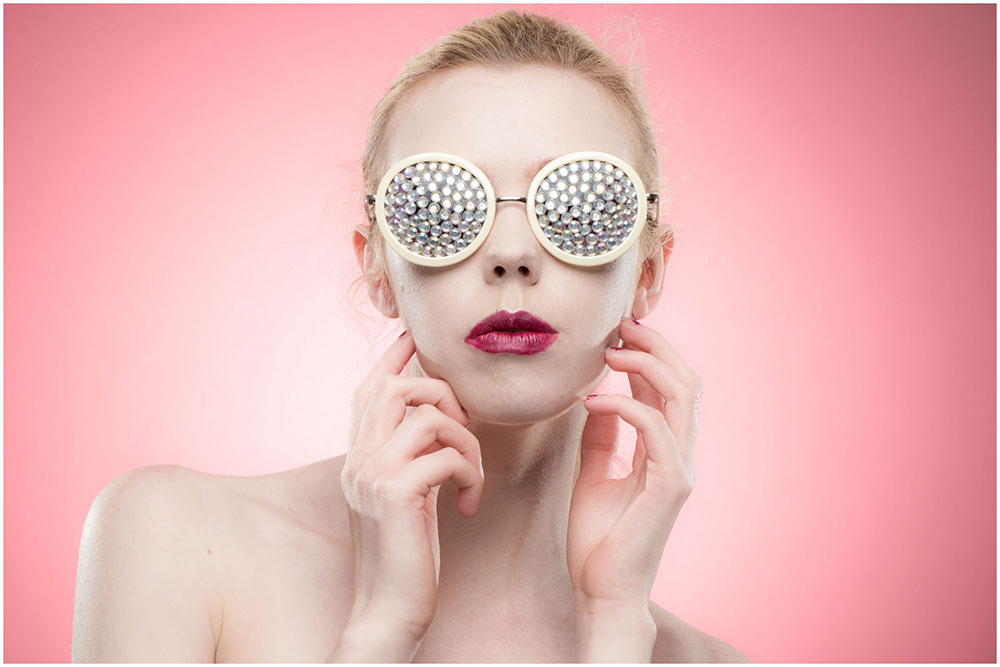
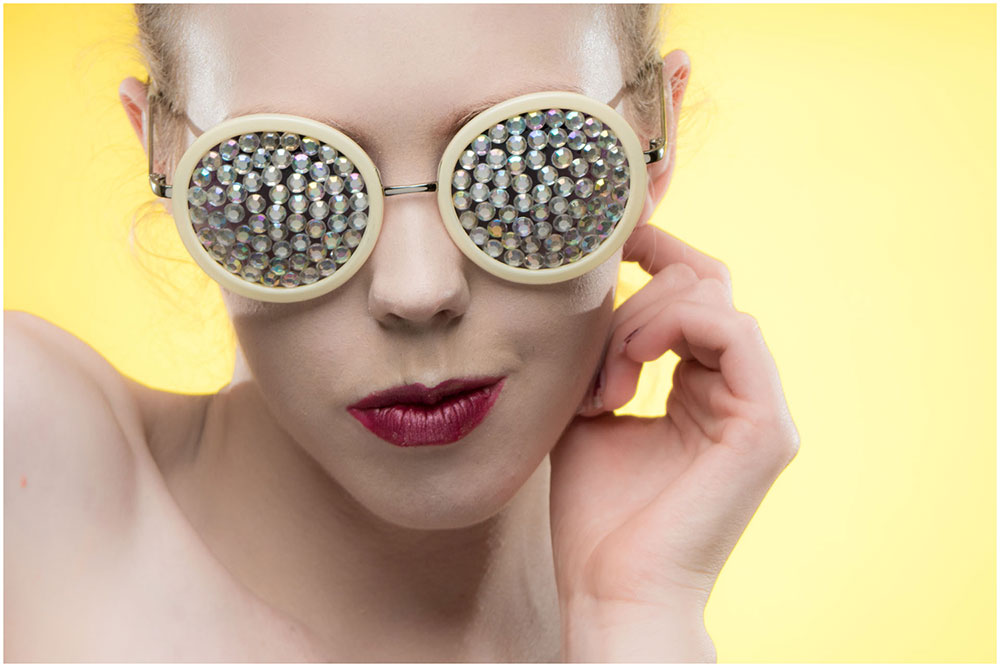
Pointless Photo Challenge, Episode 1

Photography can be a serious business sometimes, doubly so for me as it’s both my job and my hobby. But take things too seriously and run the risk of losing the fun factor and that’s often where the more creative side photography comes to the surface.

So when my good friend and fellow Adorama TV presenter Mark Wallace recently stopped by my house for a few days, we came up with a whole bunch of fun photo challenges to test our photography skills in a slightly pointless but hugely enjoyable way.

In this episode both Mark and I take part in a model shoot and background folding challenge. Sounds easy? Well there’s a twist.

[youtube]www.youtube.com/watch?v=ePI2jYcm1L4[/youtube]

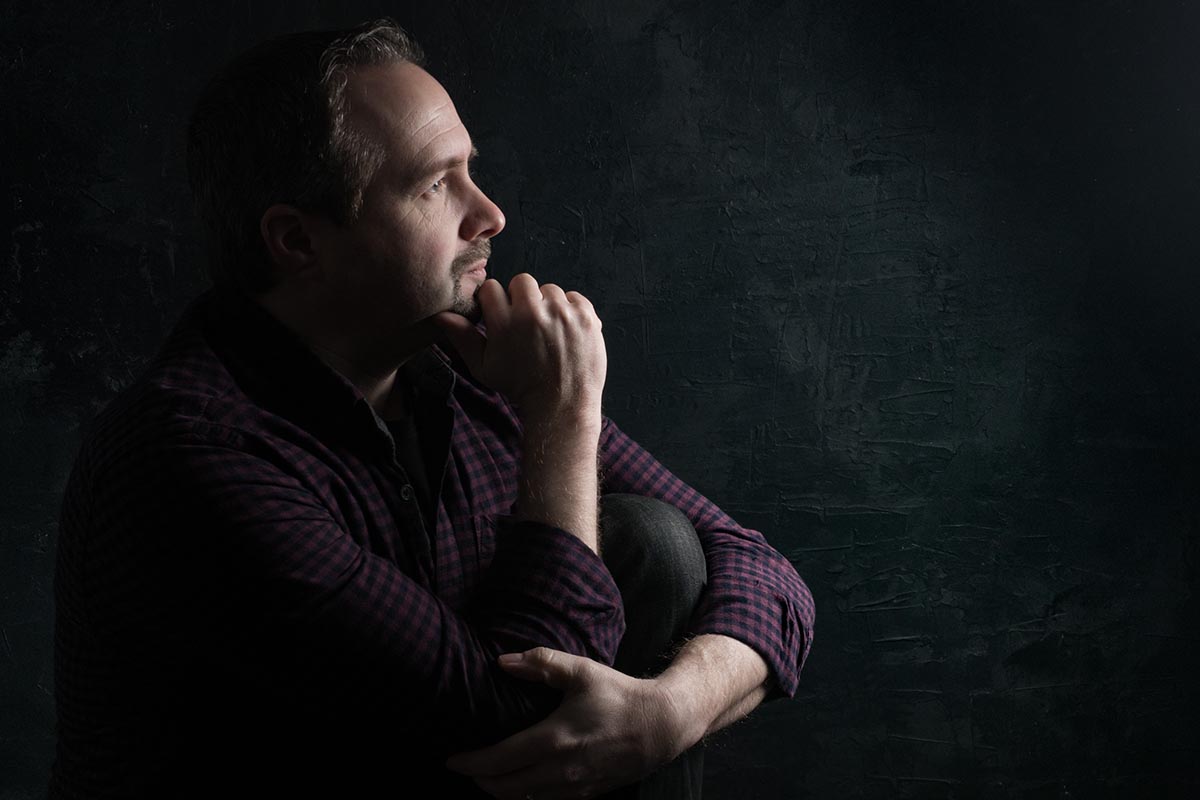
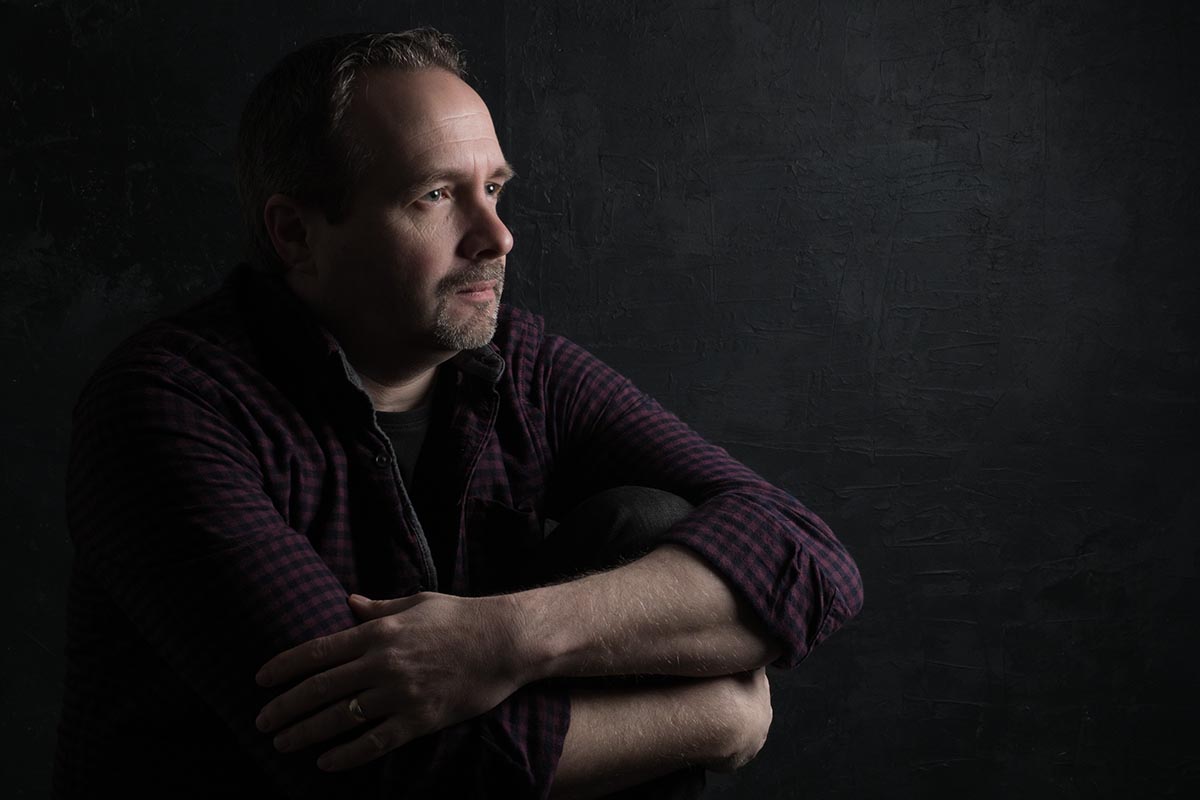
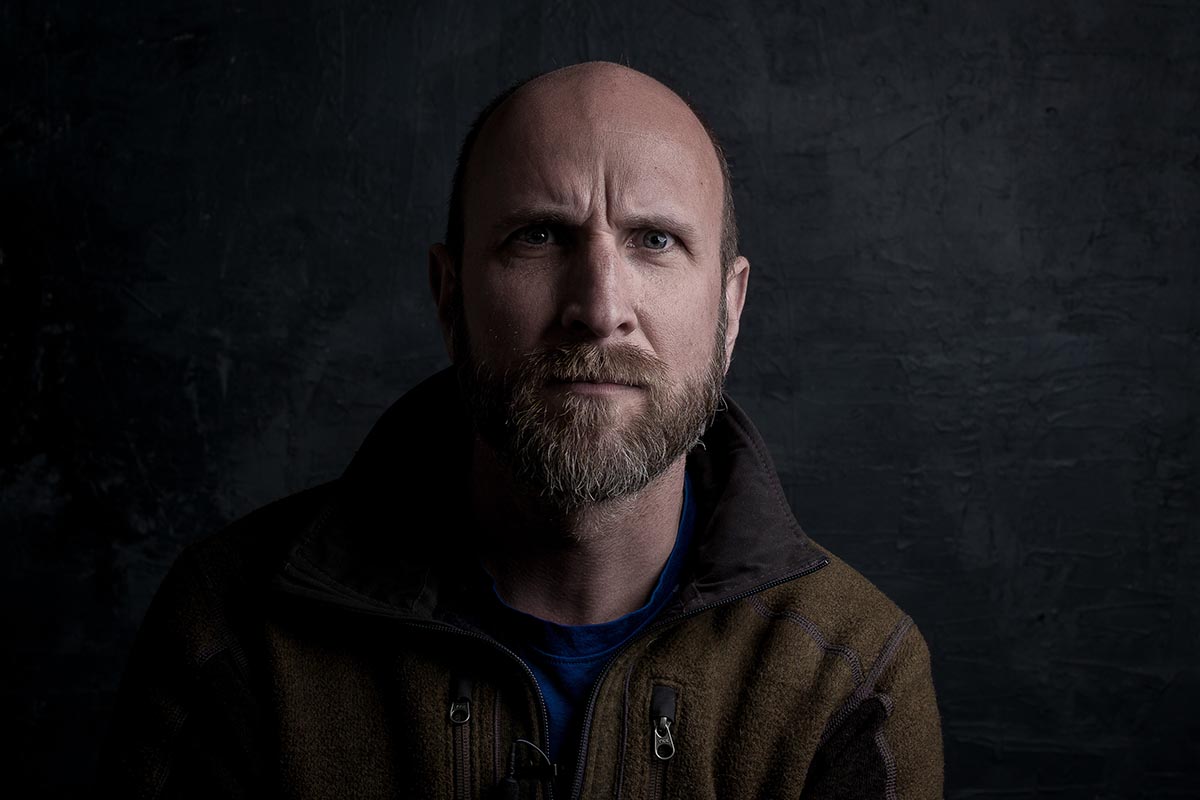
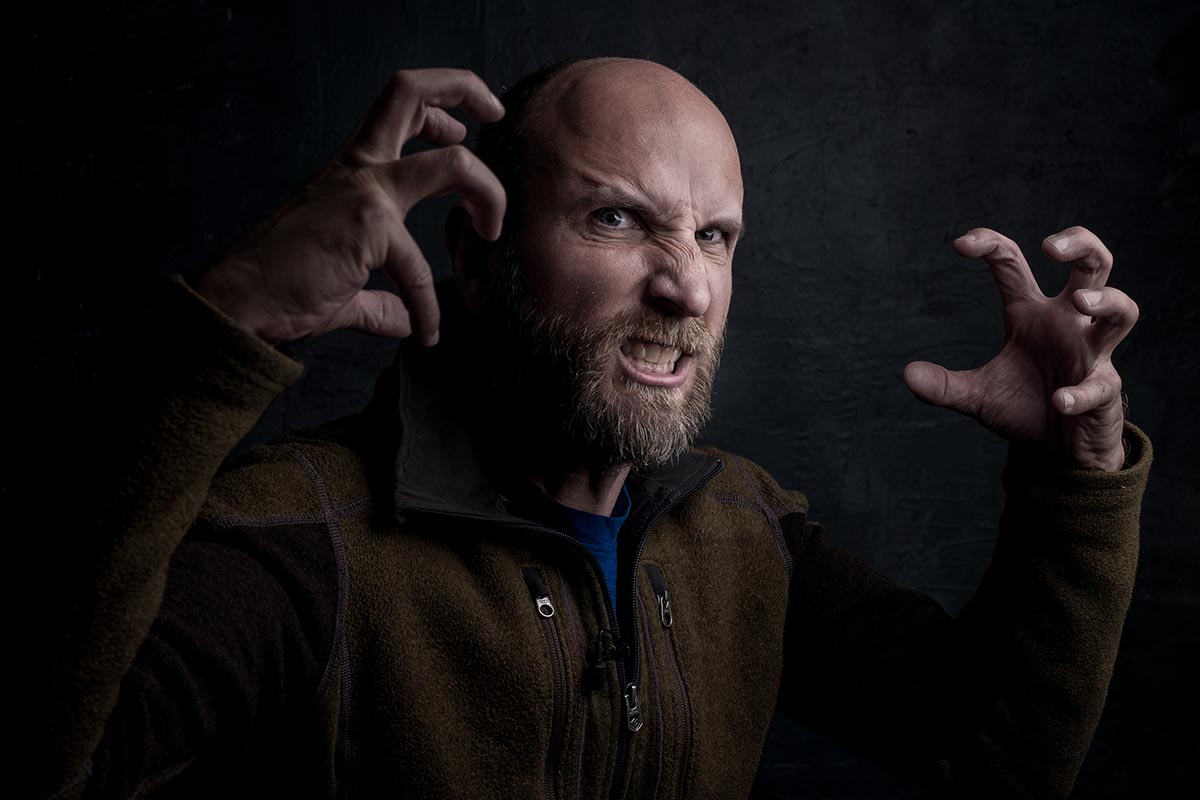
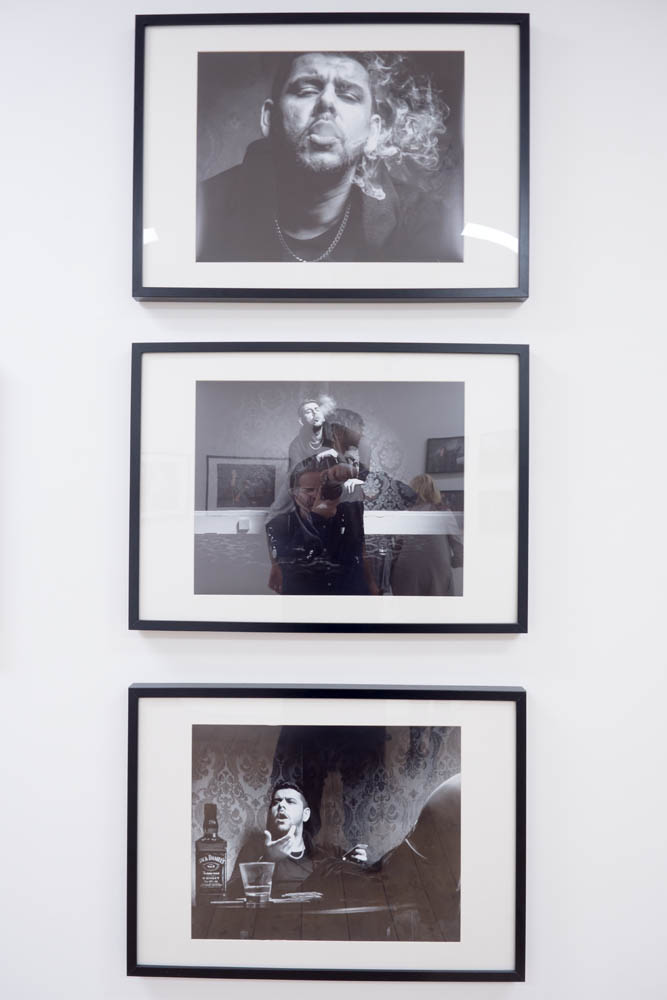
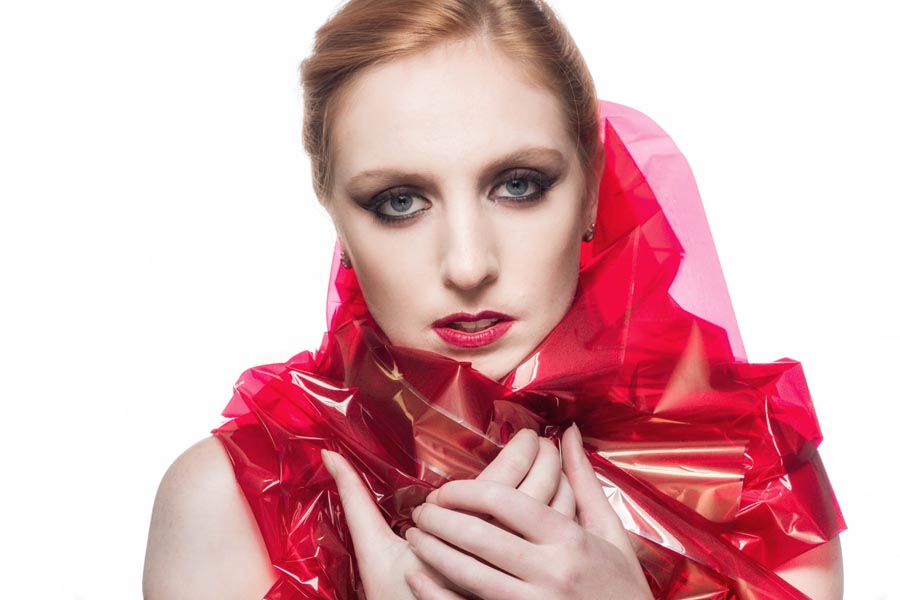
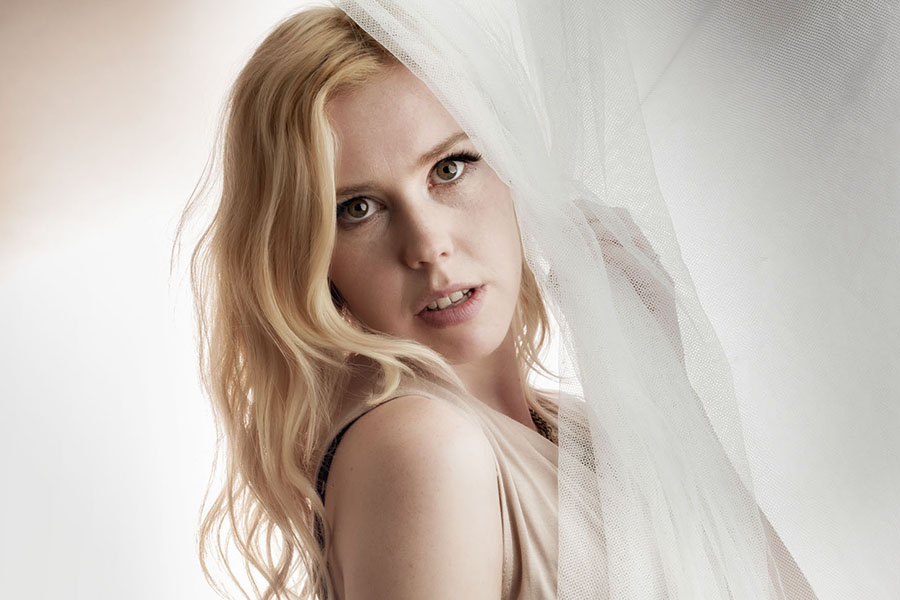
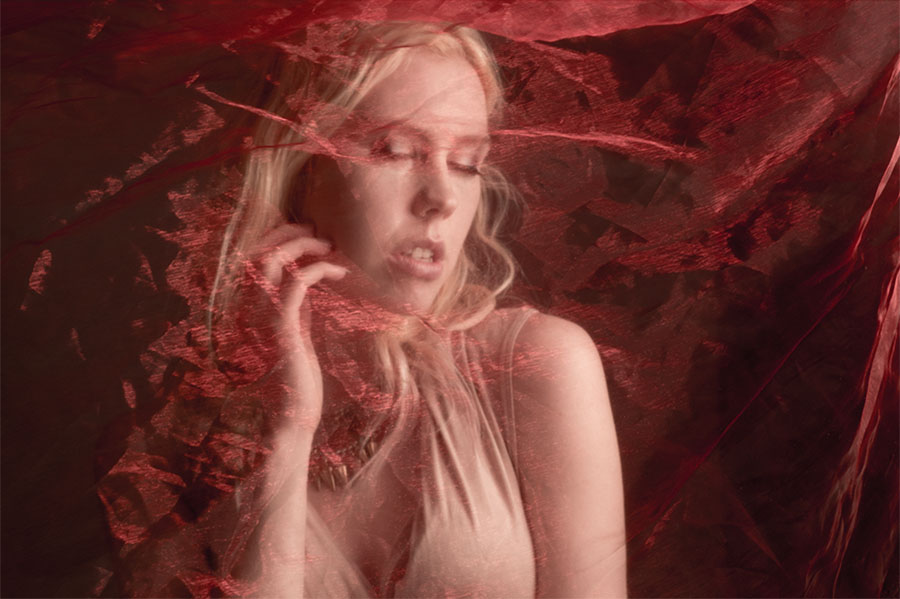
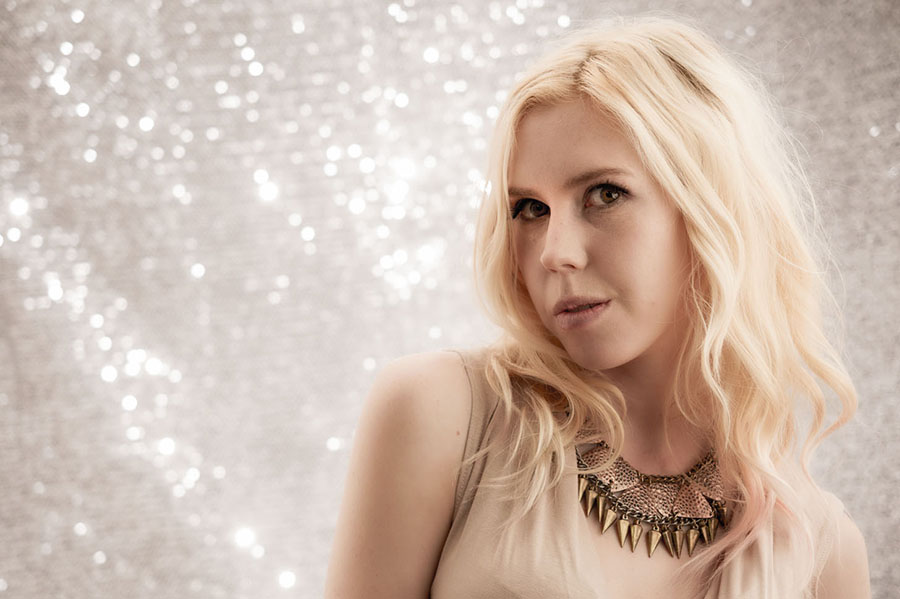
For the model shoot we both worked with Kerry Allingham but with the following instructions…
Reverse model shoot.
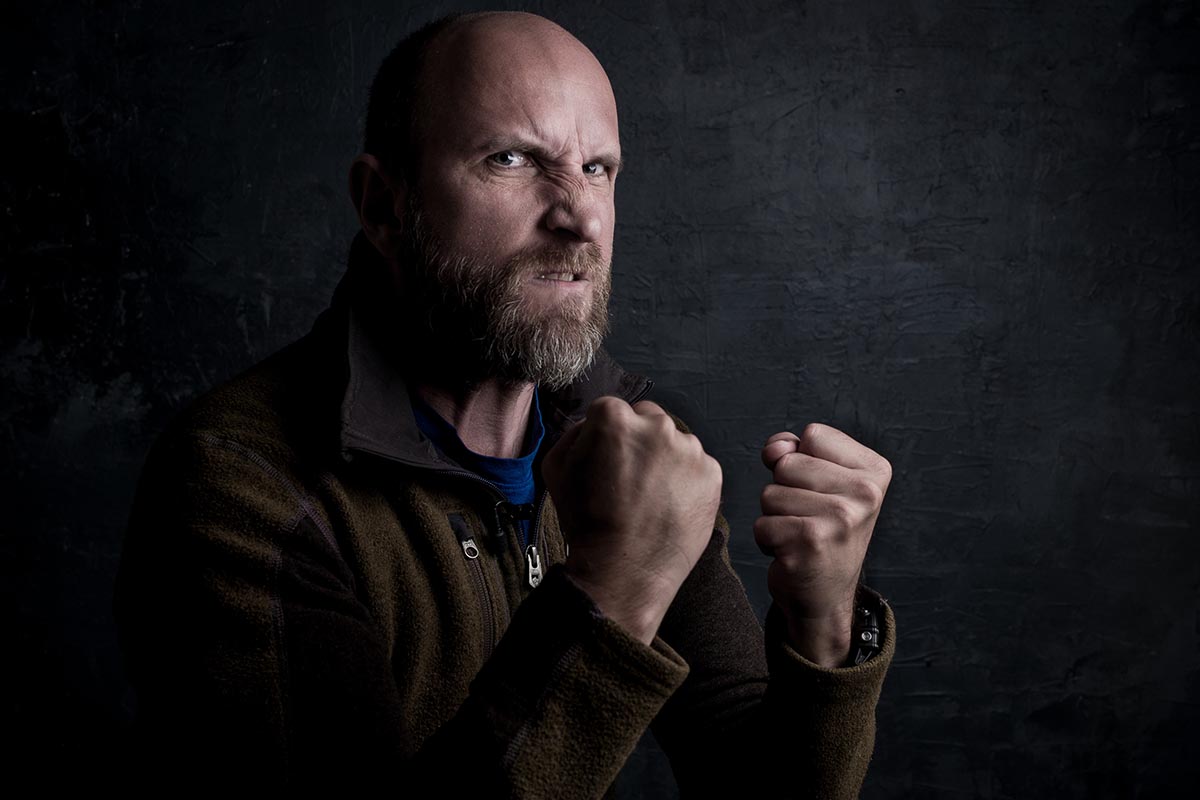
Swap places with Kerry and instruct her on how to take the best portrait of you. You can not touch any equipment including your camera or lights and you can’t see the photos until after the shoot. You have 20 minutes starting now

The next challenge was much more straight forward…
Folding challenge
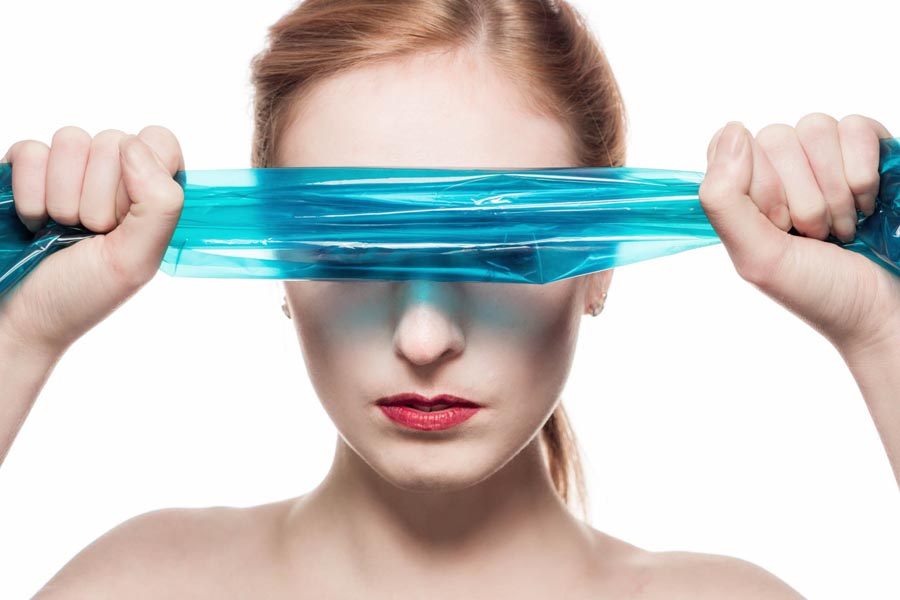
Fold these three reflectors whilst blind folded. Fastest wins.

While there’s no arguing I won the folding challenge, who won the reverse model shoot is open to debate. Let me know who you think won and why in the comments below.

The Photography Show 2017 Lighting Demos

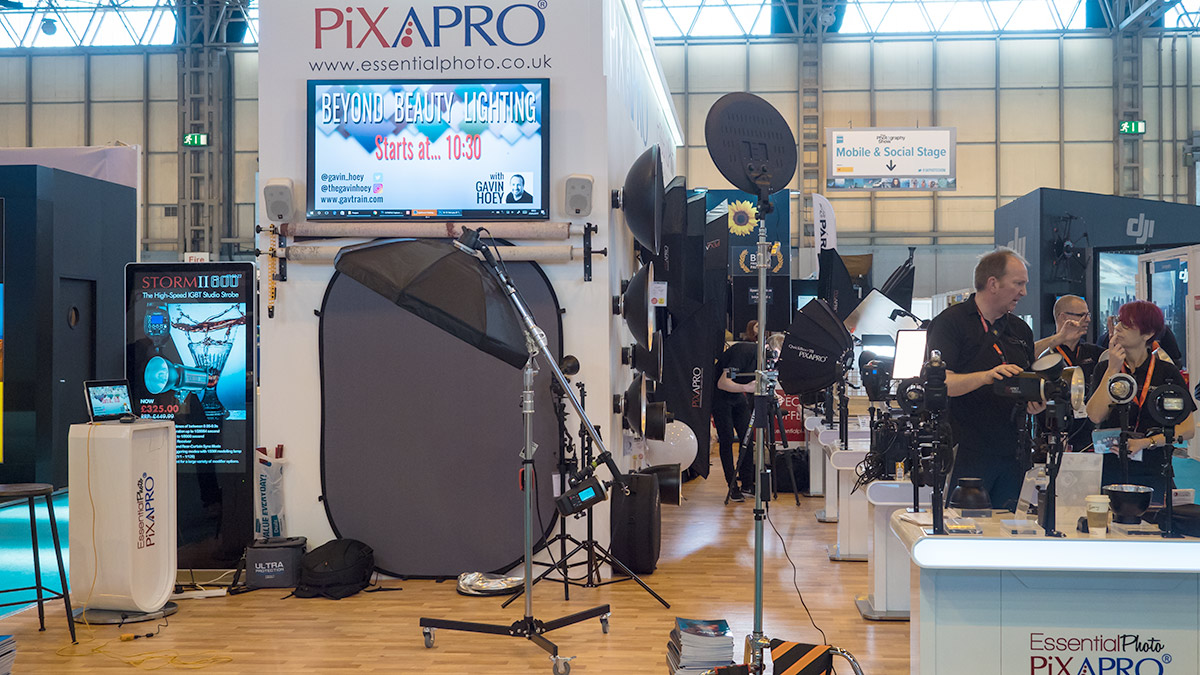
The Photography Show (TPS) is the UK’s biggest and busiest photo event and last week I was lucky enough to be there for all four days. But I wasn’t there to shop, network and learn. I was there to teach.

In all I did 17 talks, demos and live streams in four days, so TPS 2017 was a super busy event for me. Along the way I met with some wonderful photographers, so if you stopped and said hello then thank you.

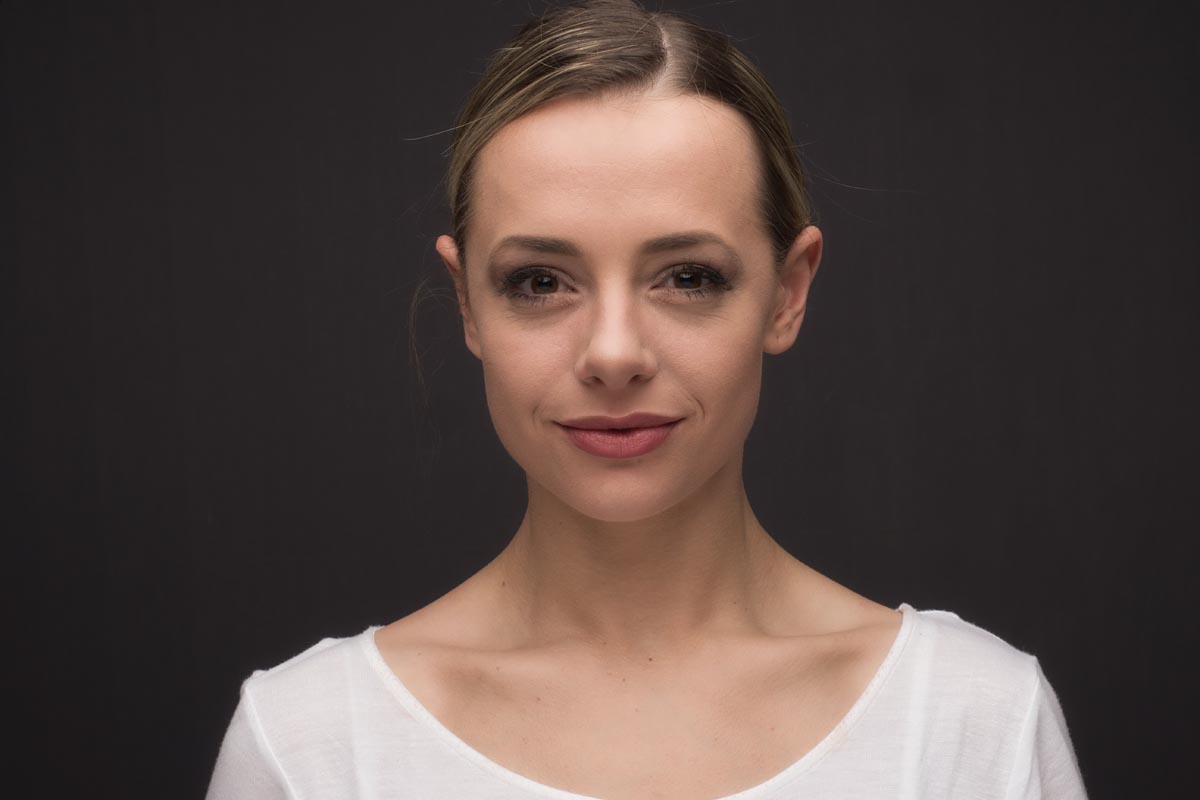
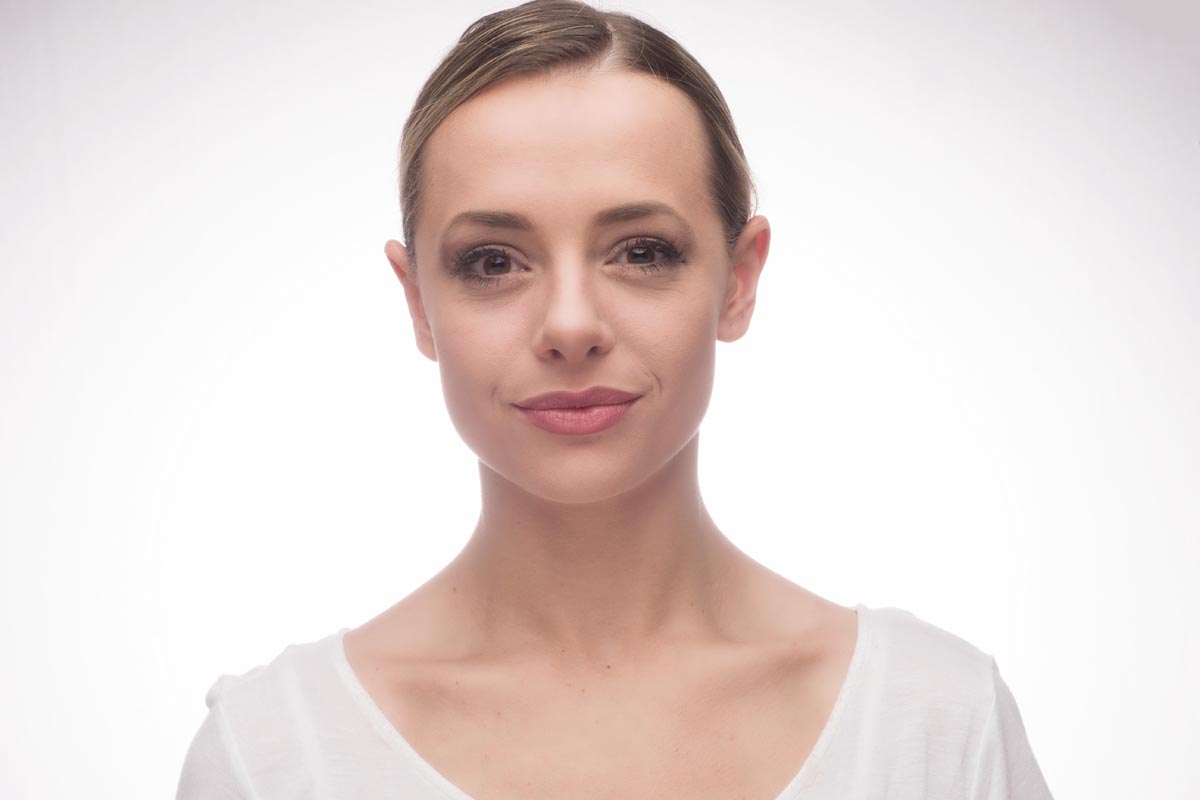
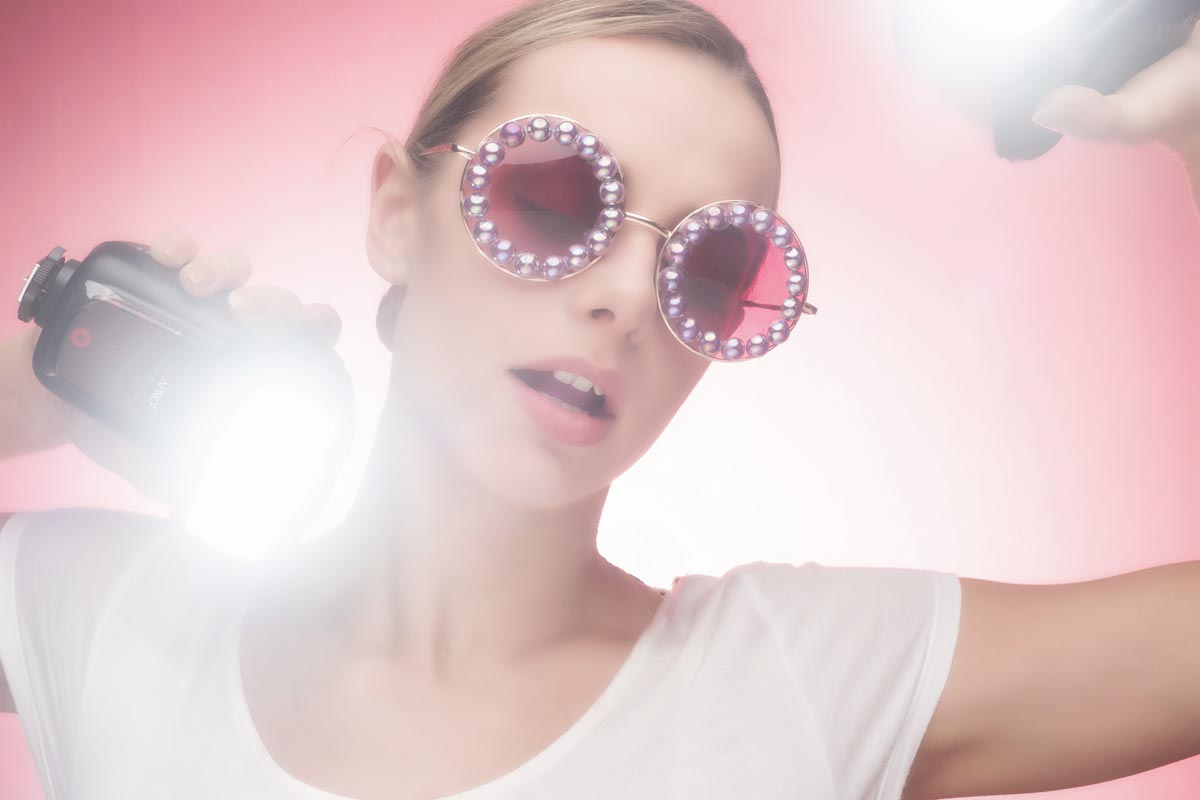
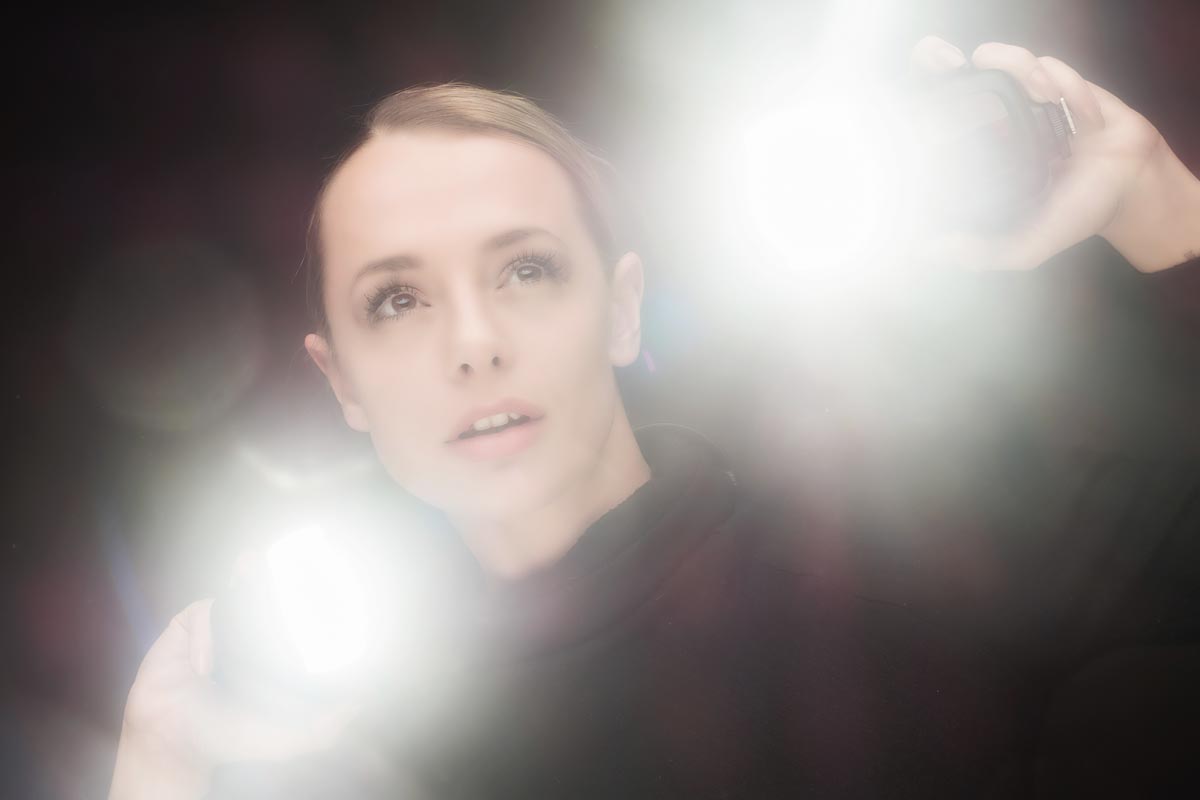
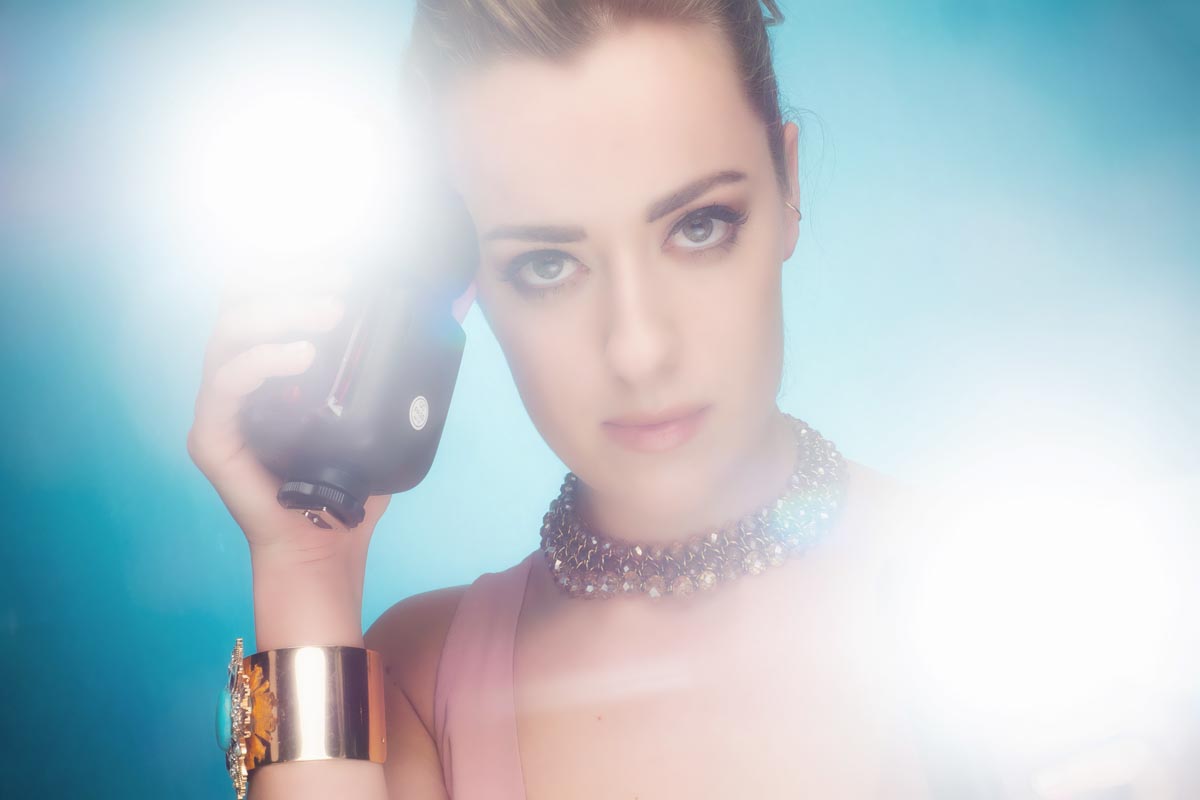
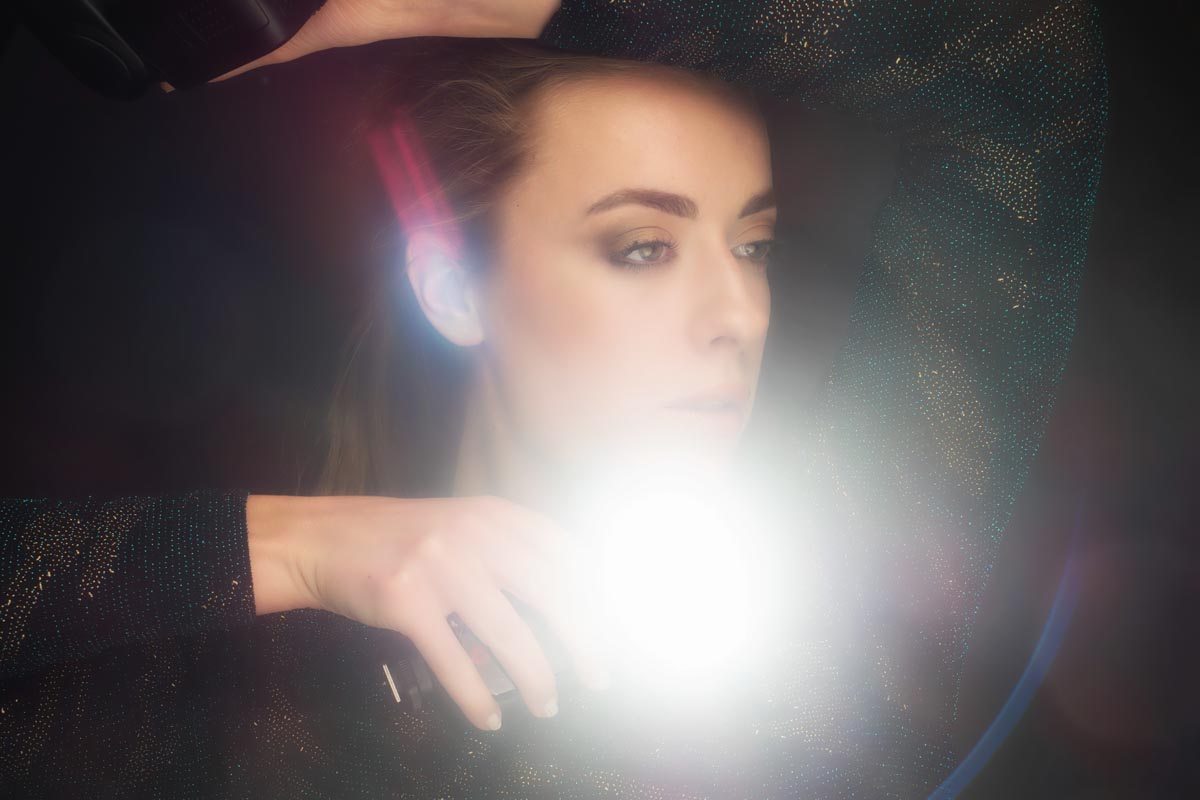
Most of my demos were with PiXAPRO lighting and below are some of the photos from my “Beyond Beauty Lighting” demo. The photos below are straight out of camera and give you a fair idea of what I was showing.

My idea was to set up the “classic” clamshell or beauty lighting with a softbox above and a white reflector below. Once done I then added a background light to take the mid grey background up to a light grey and then pure white. Once there I added a prop or two to style it out.

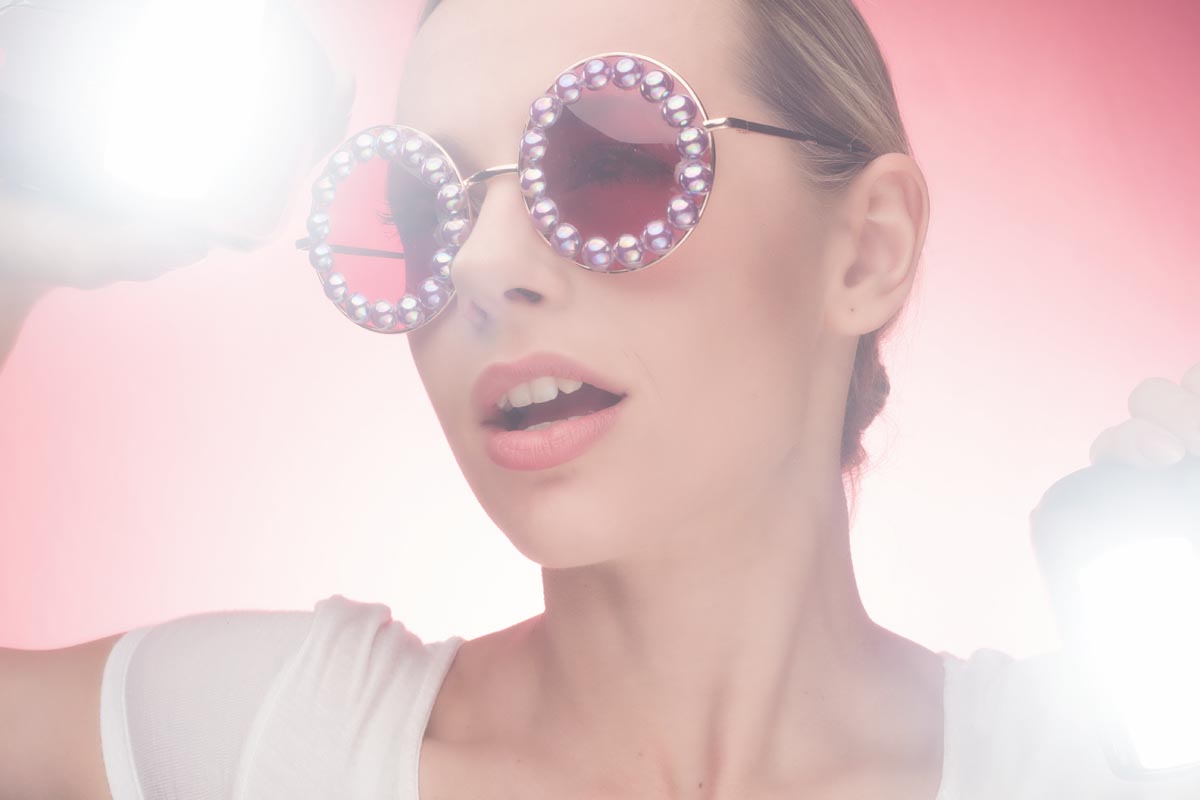
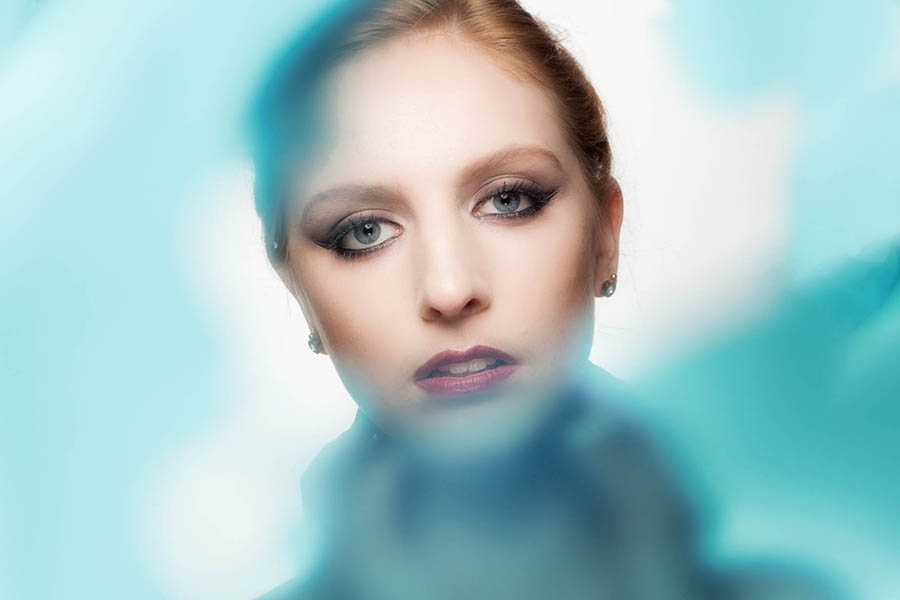
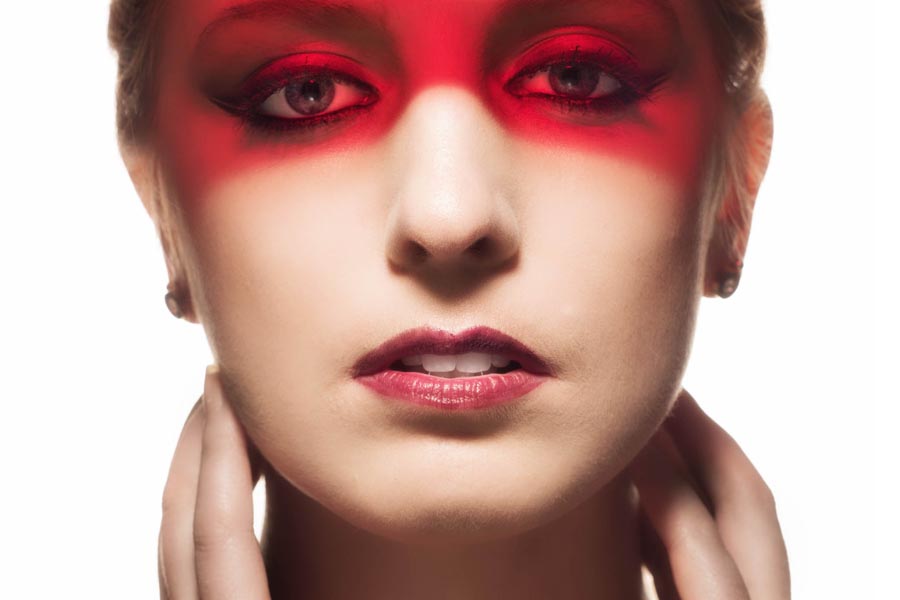
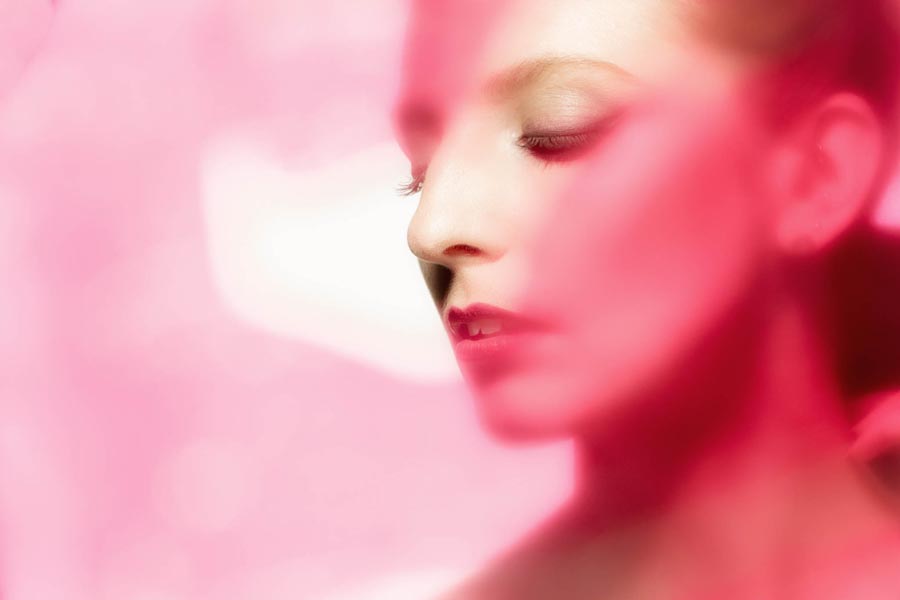
Next I added various coloured gels to the background, added two speedlights behind to “thin the face” finally broke the golden rule of photography by asking the model to hold the speedlights and point them at the camera. The result was unpredictable, random and fantastic fun! OK here’s a few more of both models with just a light touch of editing.

I worked with two models supplied by PiXAPRO over the four days. Ayla and Rosa both worked incredibly hard to make not only demos work but also the other PiXAPRO photographers who also worked the stand.

If you were one of the lucky few photographers who saw my demo AND got a chance to test out the lights with Ayla or Rosa I’d love to see what you shot… leave a link in the comments below.

My 2017 UK Photography Show Schedule

There’s just one week to go until The Photography Show opens its doors at the N.E.C. in Birmingham and this year my free demos are back and better then ever. Running from the 18th – 21st March, it’s the UK’s biggest and busiest photography show around 30,000 amateur and professional photographers attending. It’s packed with a great mix of stands from the major photographic suppliers to the small independent retailers.

TPS2016

But this isn’t just another trade show, there’s also loads of things to see and do. There’s a constant stream of free demos and talks on various live stages and that’s on top of all the smaller demos on many of the booths dotted around the show.

I’ll be there for the whole four days giving various talks and demos on Photoshop, portrait lighting and photography. I’ll be dashing from demo to demo (see below) but if you’re coming along it would be great to meet you.

Saturday

10.30 am PiXAPRO E91 Creative portrait lighting (Demo)
12.30 pm Adobe Theatre Photoshop CC For Photographers (Demo)
1.30 pm Olympus D91 Action Stations (Talk)
2.30pm PiXAPRO E91 Creative portrait lighting (Demo)

Sunday

10.30 am PiXAPRO E91 Creative portrait lighting (Demo)
12.30 pm Adobe Theatre Photoshop CC For Photographers (Demo)
1.30 pm PiXAPRO E91 Creative portrait lighting (Demo)
3.00 pm Olympus D91 Action Stations (Talk)
4.00 pm TPS Live Stage Lighten Up (Demo)

 Monday

10.30 am PiXAPRO E91 Creative portrait lighting (Demo)
12.30 pm Adobe Theatre Photoshop CC For Photographers (Demo)
2.30 pm PiXAPRO E91 Creative portrait lighting (Demo)

 Tuesday

10.30 am PiXAPRO E91 Creative portrait lighting (Demo)
12.30 pm Adobe Theatre Photoshop CC For Photographers (Demo)
2.00 pm PiXAPRO E91 Creative portrait lighting (Demo)

All my demos are free and available on a first come first served basis. There’s no need to book but as the Adobe theatre in particular has limited seating I’d recommend getting there early!

Show tickets are free for professional photographers and the trade (if booked in advance) and £13.95 for enthusiasts (£18.00 on the door)

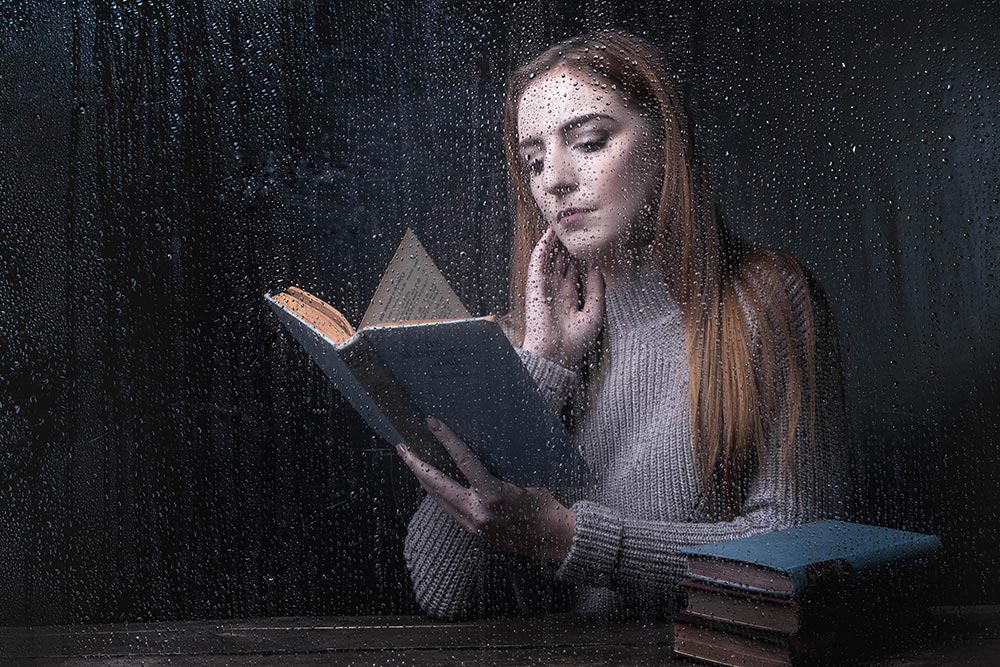
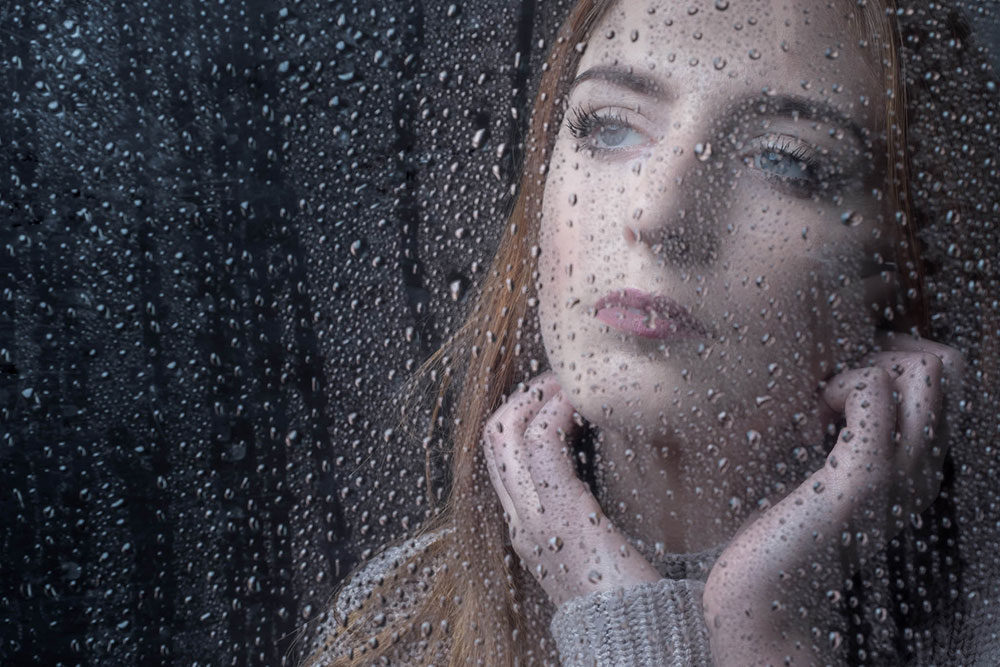
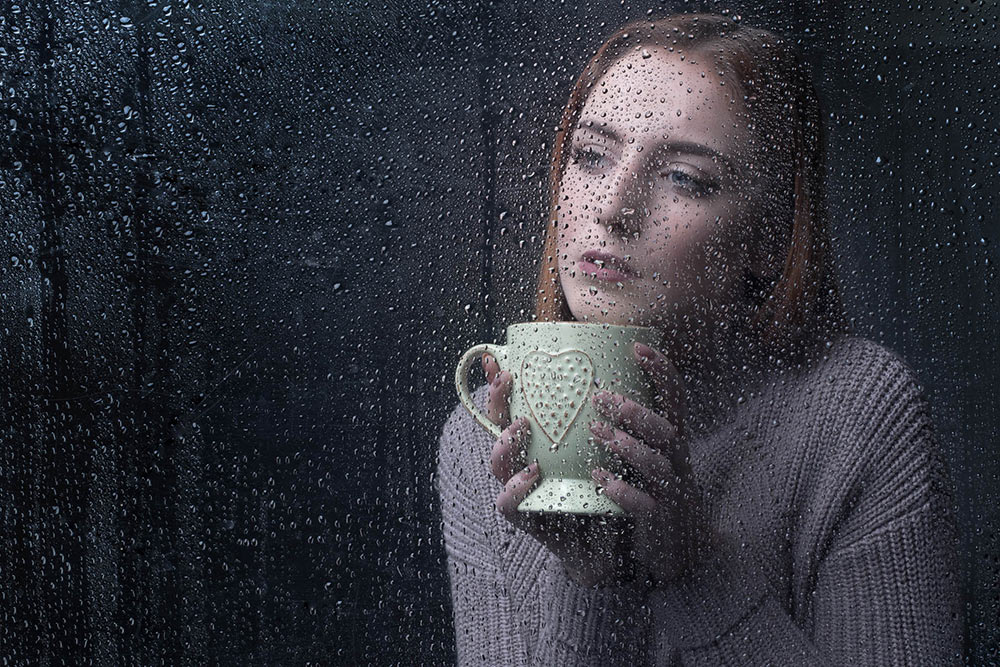
Rainy Portraits in the Studio

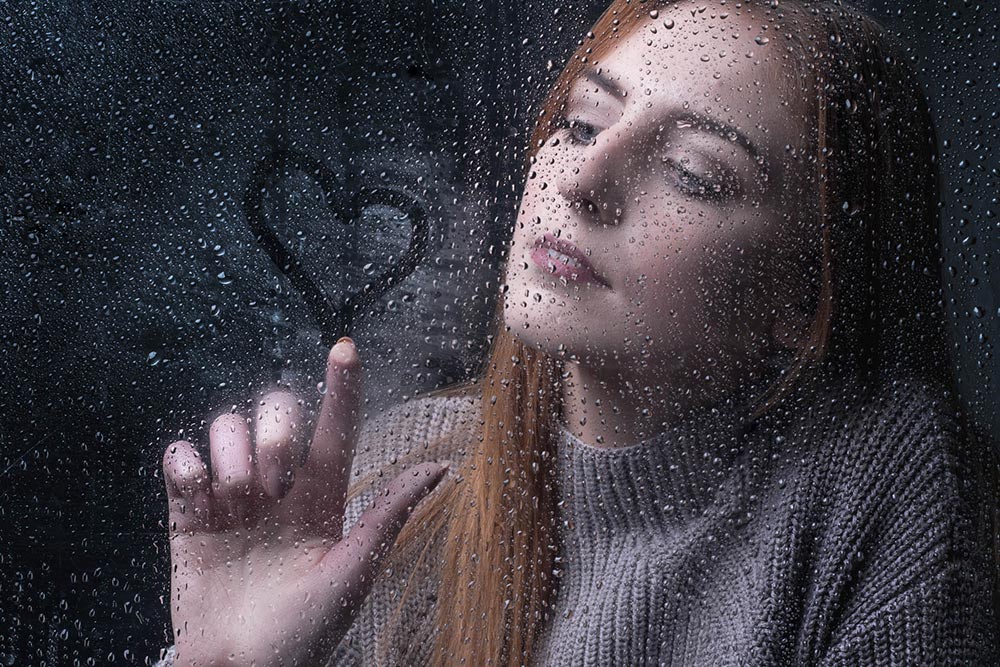
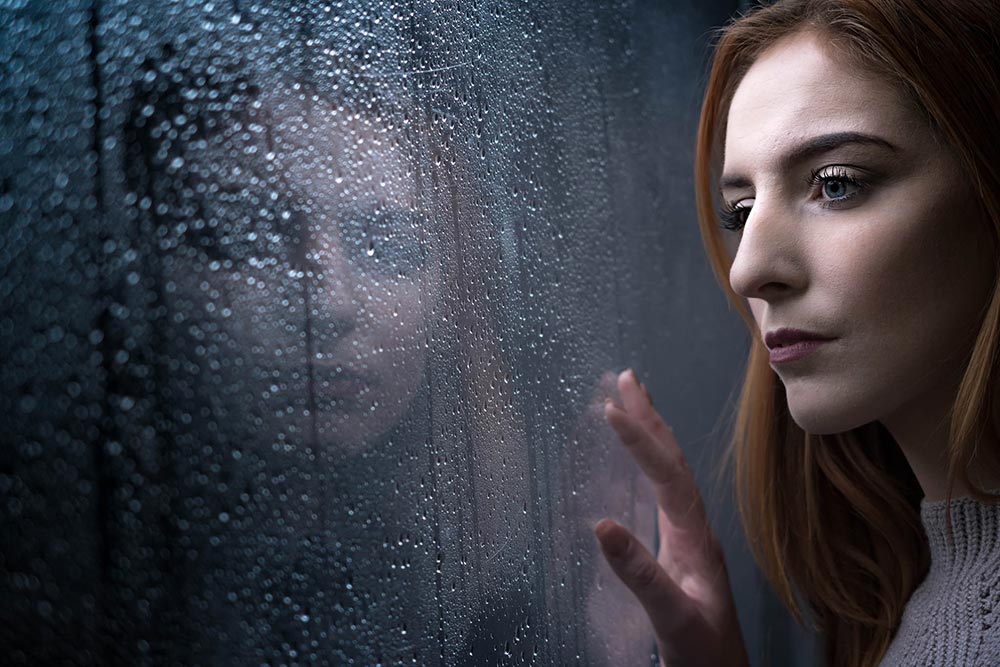
Rainy days aren’t always the easiest days to get great photos for a whole bunch of reasons but with a bit of effort and a lot of luck, you can get amazing photos.

However if getting wet isn’t your thing, it’s surprisingly simple to bring the rainy weather inside and under your control.

In the video below I’ll show you how you can create a rainy day window portrait using a couple of flashes and some simple props.

[youtube]https://www.youtube.com/watch?v=L4USUxcL49A[/youtube]

The main thing you’ll need is a “window” and although you could use a real one I opted for a sheet of clear Perspex (also called Plexiglas or clear Acrylic). I’ve had my sheet for many years and it’s very scratched but still serviceable. www.wickes.co.uk/Wickes-Durable-Acrylic-Sheet-90cmx1-8m/p/210002

The video has two ways of using the “window”, shooting looking from the outside in and shooting from the inside, out. Both have their own unique feel and if you’re set for one, doing the other is quick and easy.

If you tried the technique yourself, do leave me a comment below and share your photo if it’s online somewhere.

It’s always a pleasure to have Beth Smith model for me. Check out her portfolio at https://purpleport.com/portfolio/bethsmithmodel/

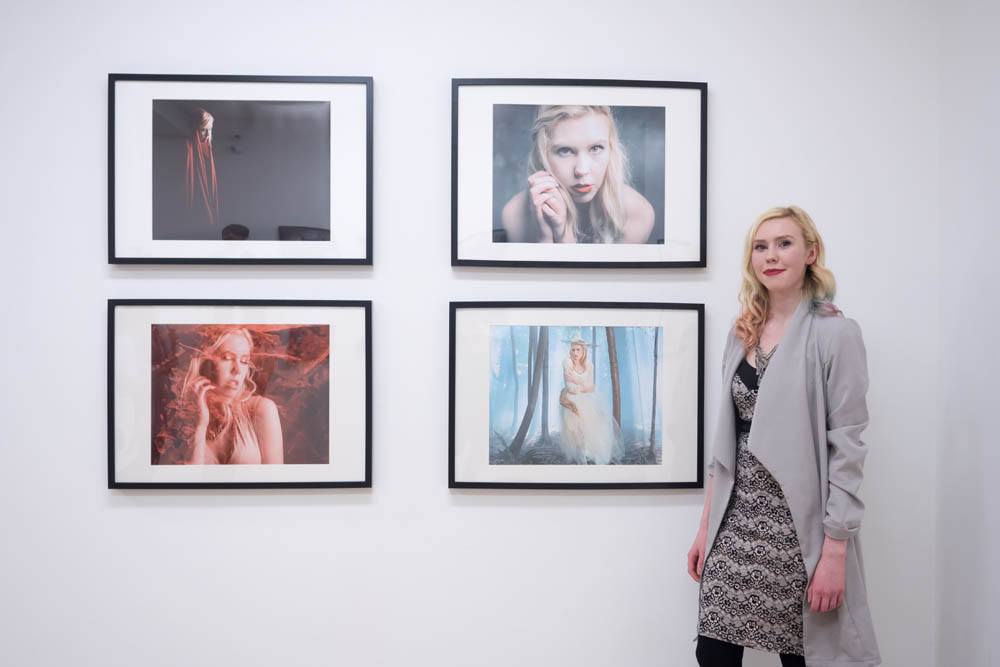
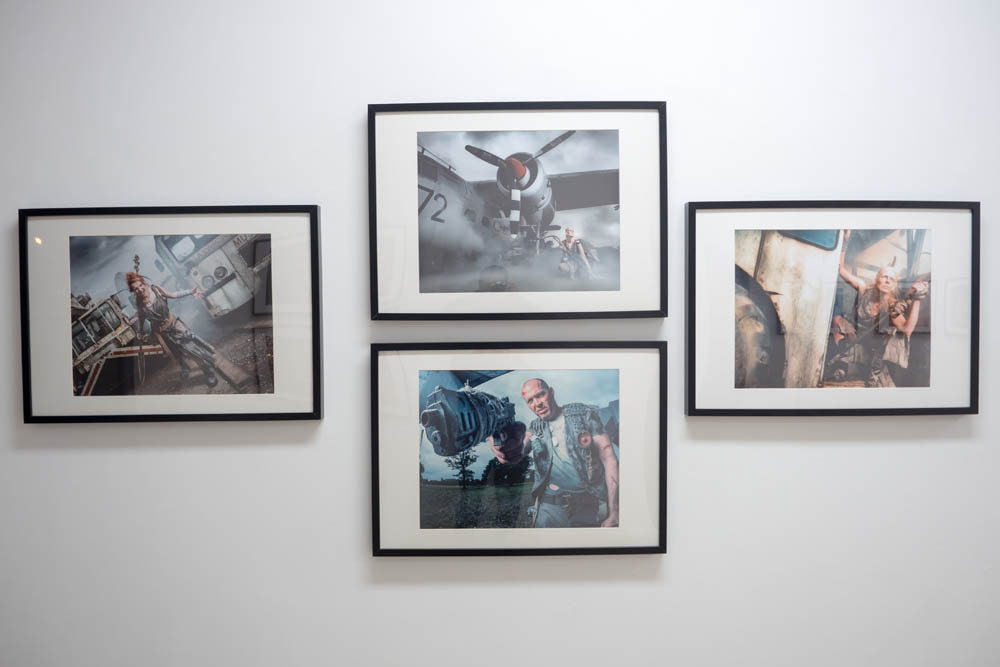
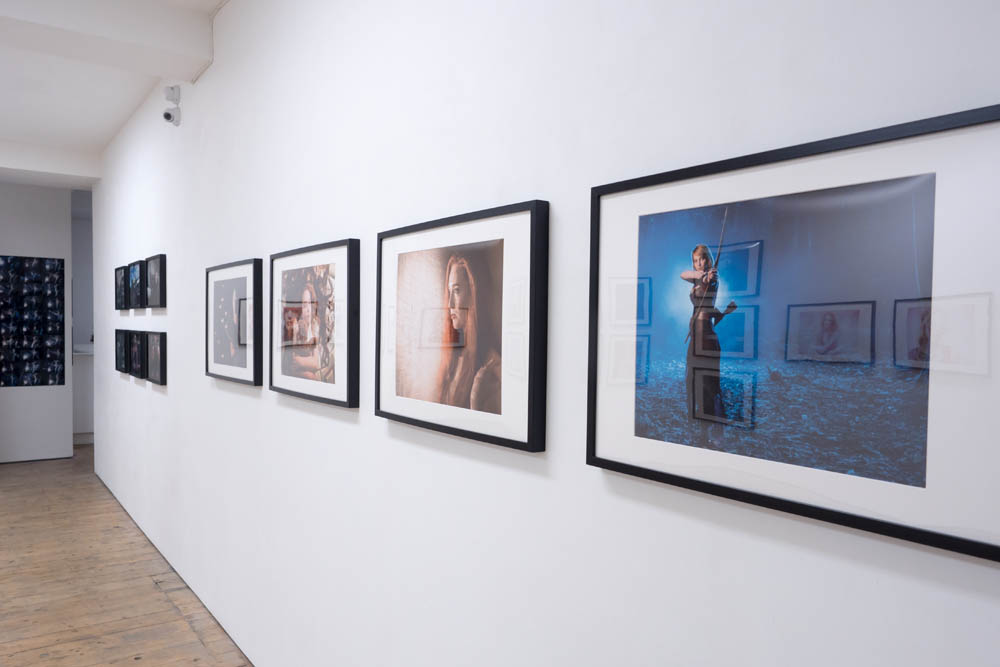
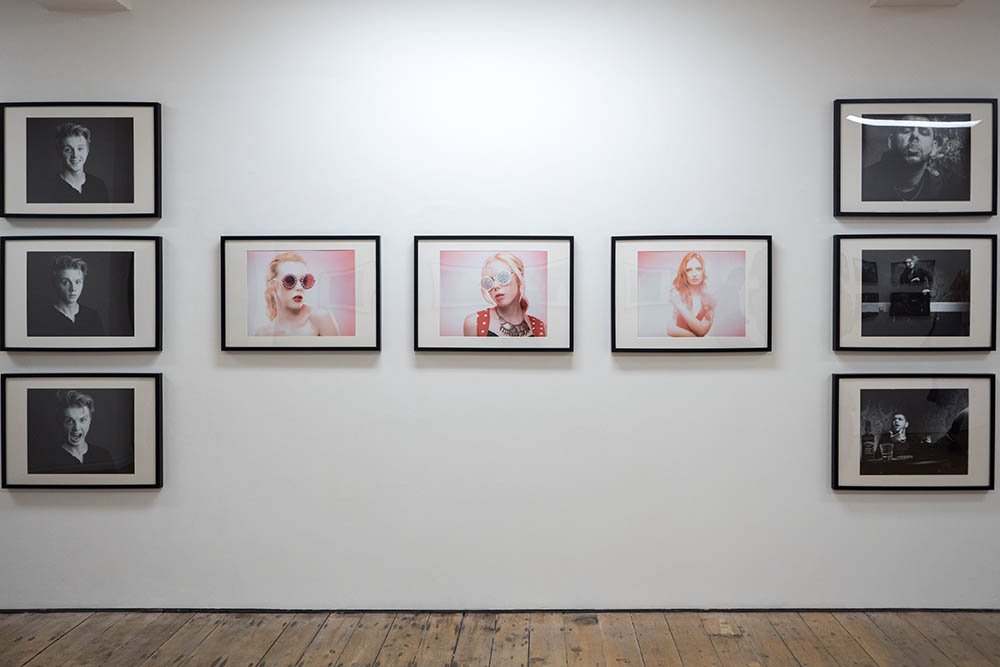
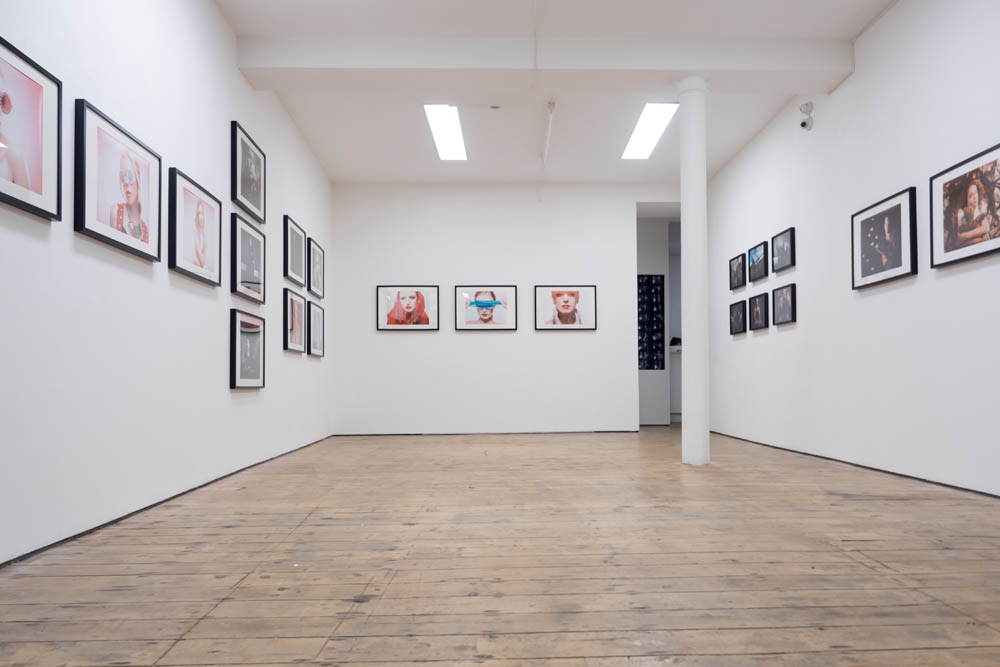
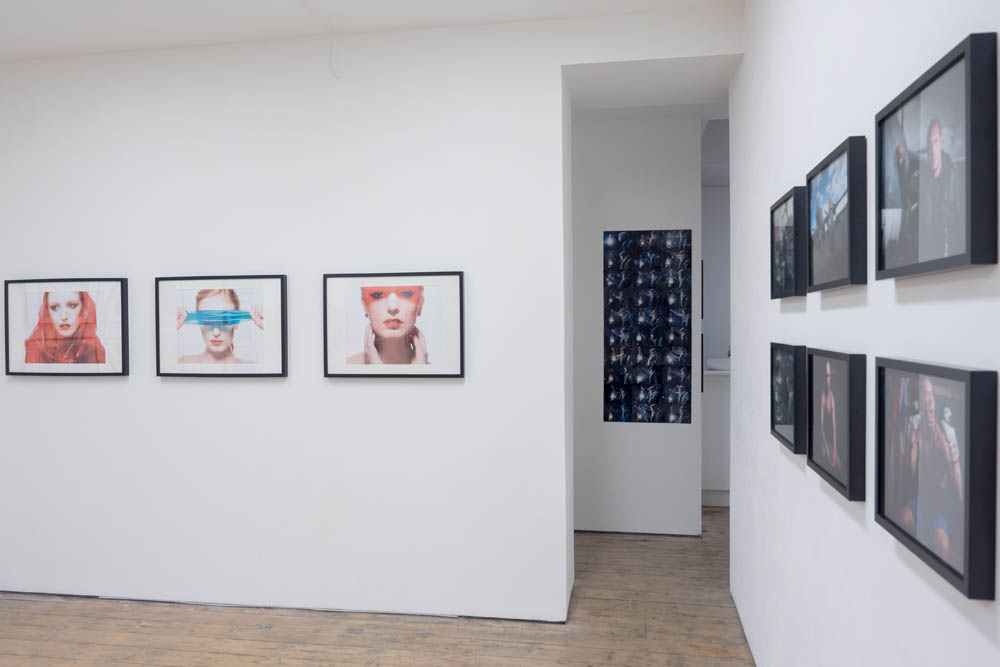
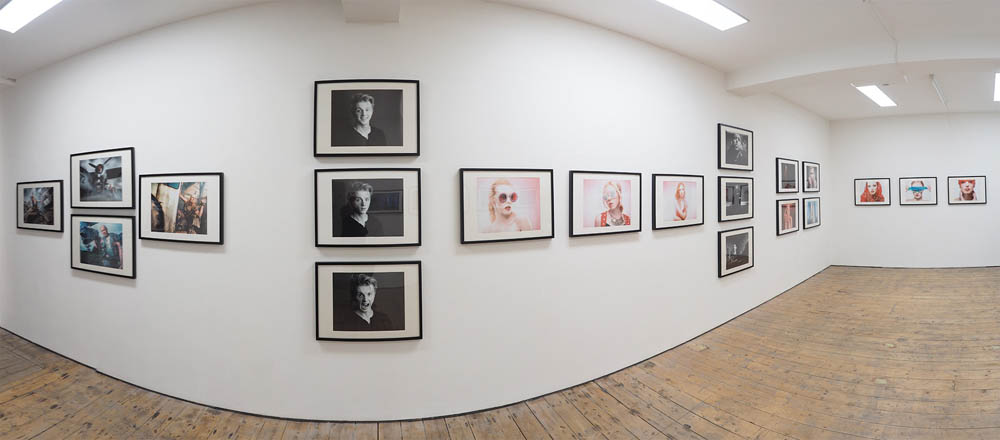
Making An Exhibition Of Myself

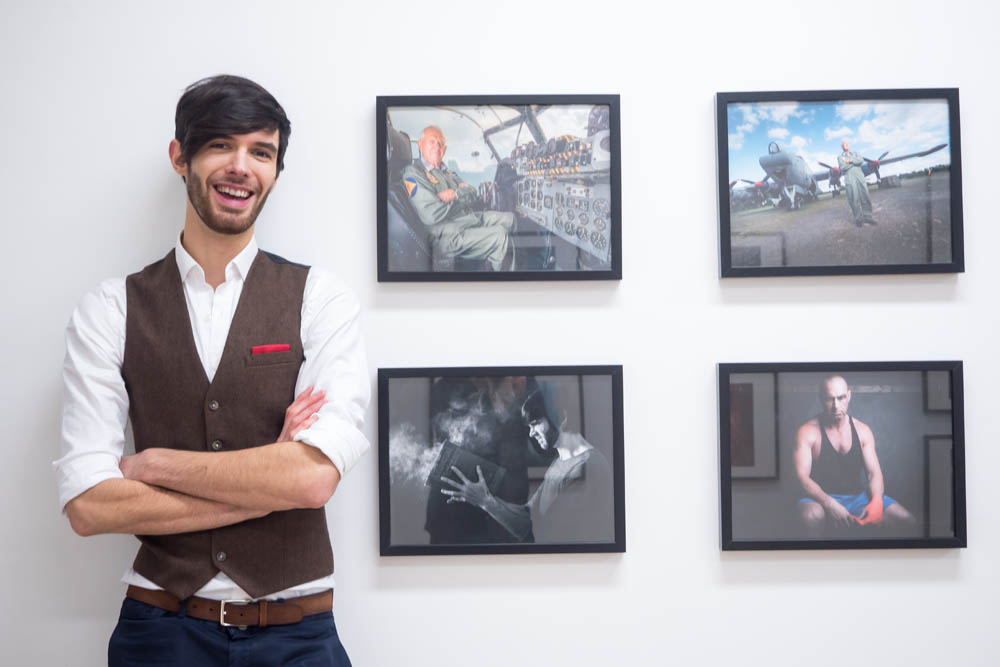
Earlier this year I got an email from Olympus asking if I’d like to hold an exhibition in their London “Project Space” gallery and to be honest my first thought was… thanks but no thanks. Now I know that will surprise a lot of people but I’ve always felt like my photos look OK but they’re not exactly “art” packed with deep hidden meaning. So I didn’t really commit either way to the offer and it sort of got lost over time.
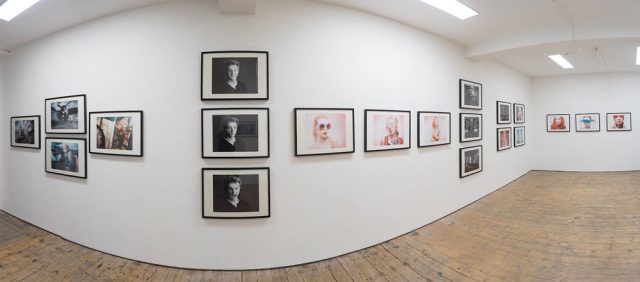
Jump forward a few months and I get another email from Olympus saying that if I want to do the exhibition they needed my final photos in just three days. The exhibition starts in just 7 days time!

As my wife pointed out, this is probably a once in a lifetime chance that I couldn’t refuse, so I spent a day sorting through my photos, coming up with a theme and selecting the best 30-40 images for printing. Luckily Olympus were happy to handle the printing side of things and the gallery had the frames, so by the next morning my first and probably last exhibition was ready.

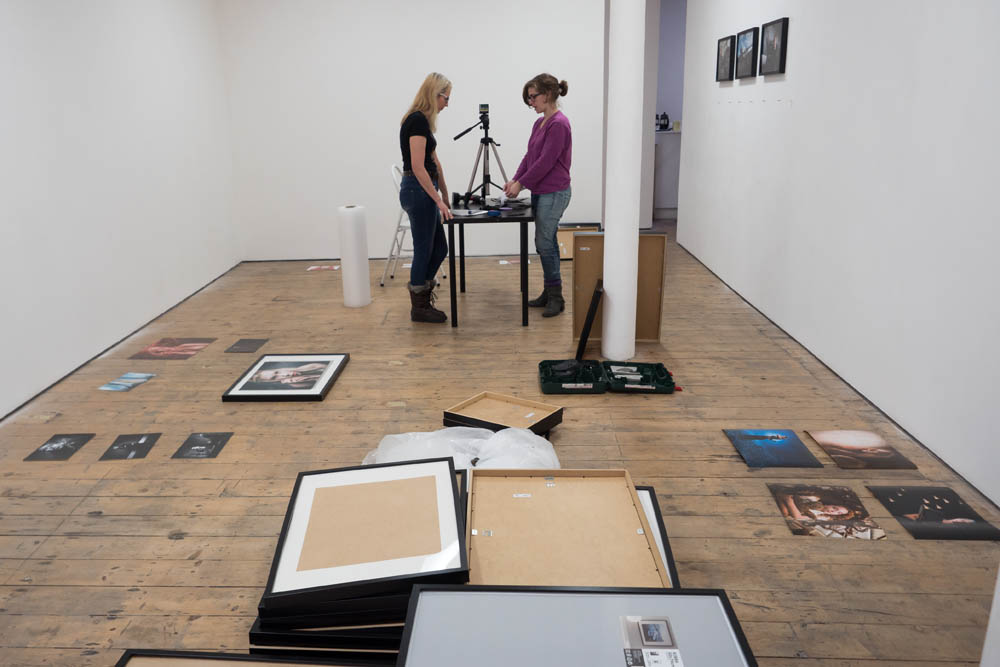
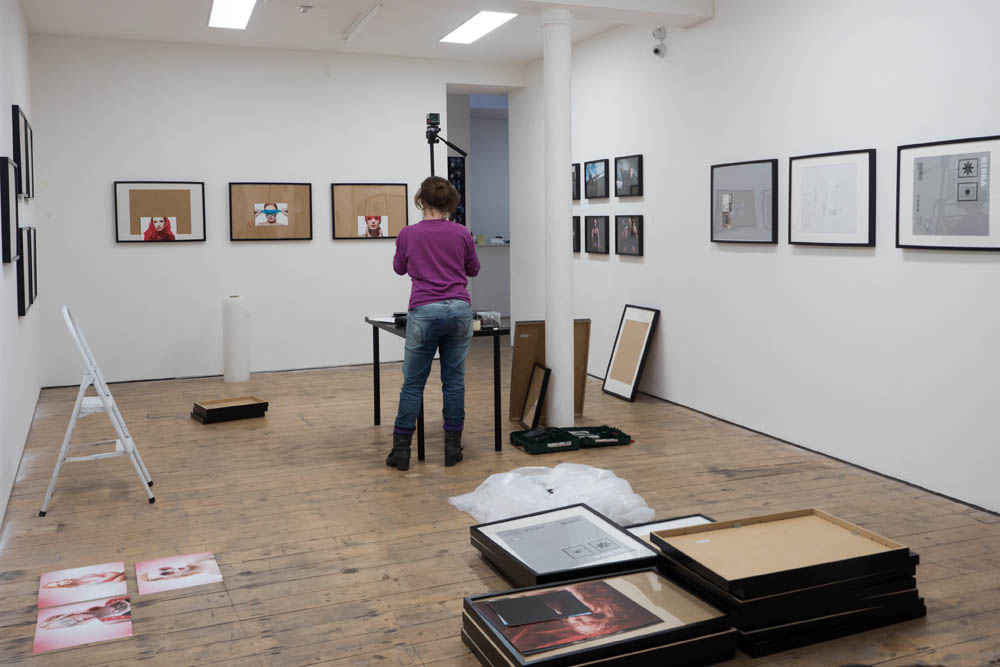
I’ve never hung an exhibition before but Serenella, the Art Bermondey Project Space  gallery manager, was amazingly helpful. We spent a few hours at the gallery looking at blank walls trying to figure out what to hang where but by the end of day the layout was done, all we needed were the big prints.

Letting someone else organise the printing was a major worry and sure enough things didn’t quite go to plan with the first set. But a massive thank you has to go to Claire Voyle from Olympus who personally took charge of the printing of the final photos and made sure they reached the gallery on time.

The theme for my exhibition was that all the photos were taken as part of training or education events and that none of the photos had ever been printed before (I know, I know) so to walk into the gallery and see nearly 40 large prints of my work all in one place was really overwhelming for me.

I’d like to thank the many people who came along to the exhibition and the VIP preview night. I hope you enjoyed the work as much as I did.

The whole exhibition was planned, printed and put together in a little over a week, which as anyone who’s done an exhibition will tell you, is an incredibly short time frame.

Would I do one again? Yes if I got the chance I would.

Would I do things differently? Without question. Putting the exhibition together was filled with huge highs and some lows but I learned so many things from it.

Would I recommend other photographers to hold an exhibition? I’ve learned exhibitions are not just for painters, sculptors and photographers who need to explain what you’re looking at before you can appreciate what you’re looking at. If you have a body of work that you love then why not share it.
Getting Creative With Colored Gels

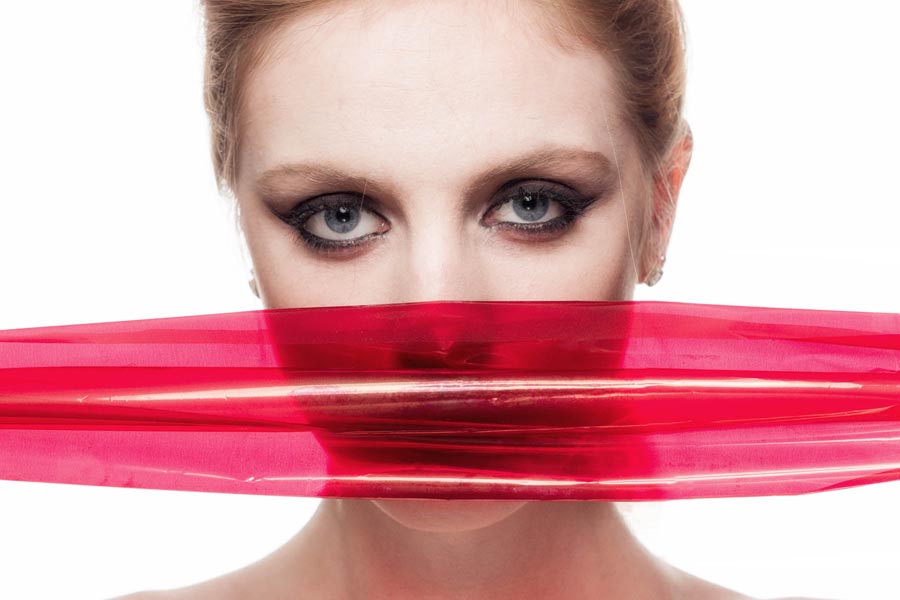
Coloured gels are one of the “must have” light modifiers in my studio. They don’t adjust the shape of the light but they modify it’s colour and with a bit of know how you can get some amazingly colourful effects.

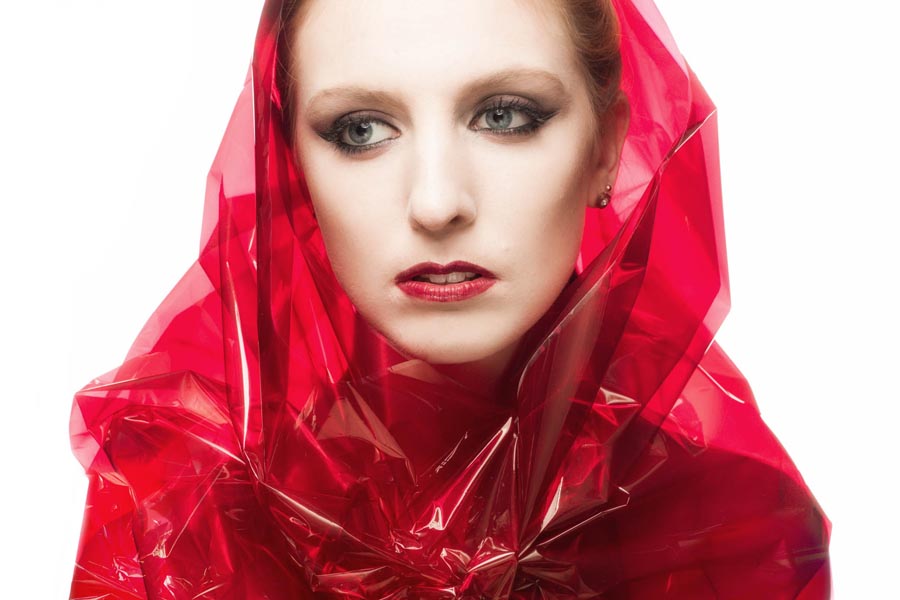
The gels I usually attach to my lights are always the heat resistant type, flashes produce loads of heat at higher powers. However if the gel is away from the light then I also have 70cm rolls of coloured cellophane which I get from my local florist and craft store.

Fun as gels are, why limit their use to altering the colour of light? In the video below I’ve got some creative alternatives uses for gels.

[youtube]https://www.youtube.com/watch?v=tkG62J2tSBc&[/youtube]

As always working with a great model makes the world of difference and Beth did a great job here https://purpleport.com/portfolio/bethsmithmodel/ Similarly close head shots need great make-up and I have to thank Kate for this https://purpleport.com/portfolio/katechalkleymakeup/

Shooting Winter and Snow Studio Portraits

I love shooting portraits outside on location but winter can pose problems. Changeable weather and short days don’t help but cold, wet weather are my nemesis. So perhaps it’s not surprising that I find myself spending more time in the studio at this time of year.

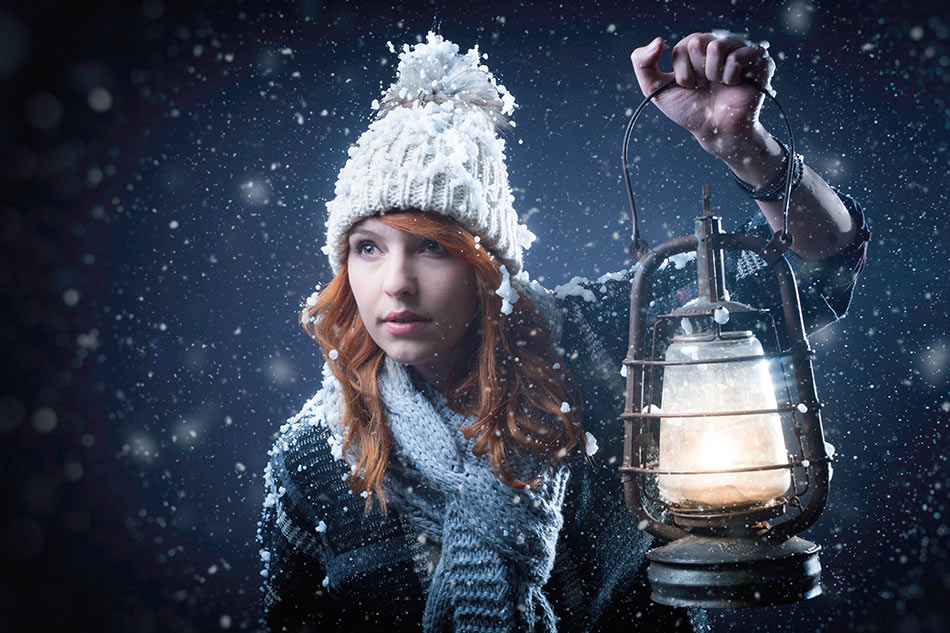
Being stuck in my studio doesn’t mean that I can’t also embrace winter and bring the outside inside. A great way to do that is to make it snow.

In the video below I walk you through both the lighting and Photoshop post processing.

[youtube]https://www.youtube.com/watch?v=g5QU9Jvc7v8[/youtube]

If you’d like to try my Photoshop Snow Action you can download it from https://www.gavtrain.com/?p=2490

If you’re after the falling snow in a can that I used for this shoot then check out the Snow Business store http://www.snowsupermarket.co.uk/falling-snow-c4/falling-snow-spray-in-a-can-p9

Three Must Have Portrait Props In My Studio

With the colder, darker weather very much with us here in the UK it’s not surprising that I’m finding the studio a much nicer place to work in then being on location. However the four walls of my small home studio can start to feel very limiting after a while so to avoid cabin fever setting in I have a selection of props to liven up my shoots.

The video below covers my three main types of prop and a few ideas on how I like to use them.

[youtube]https://www.youtube.com/watch?v=U4aPx8mbBAY[/youtube]

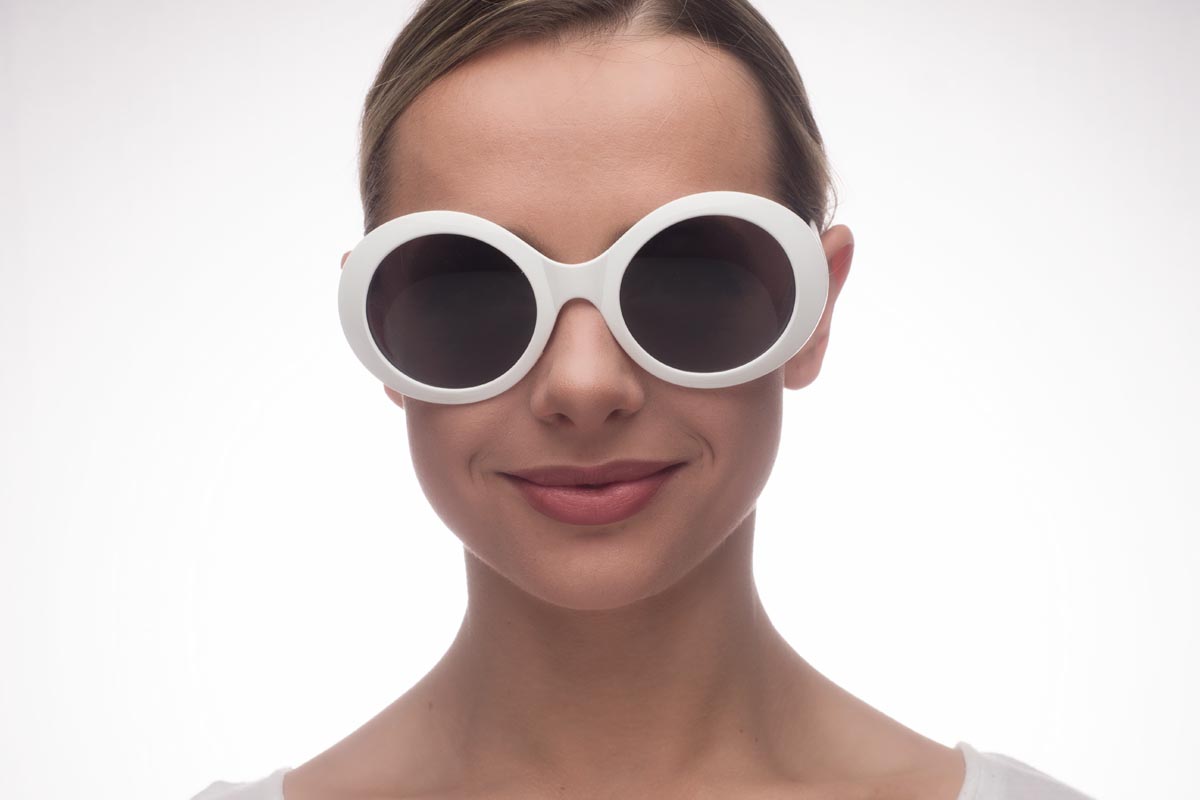
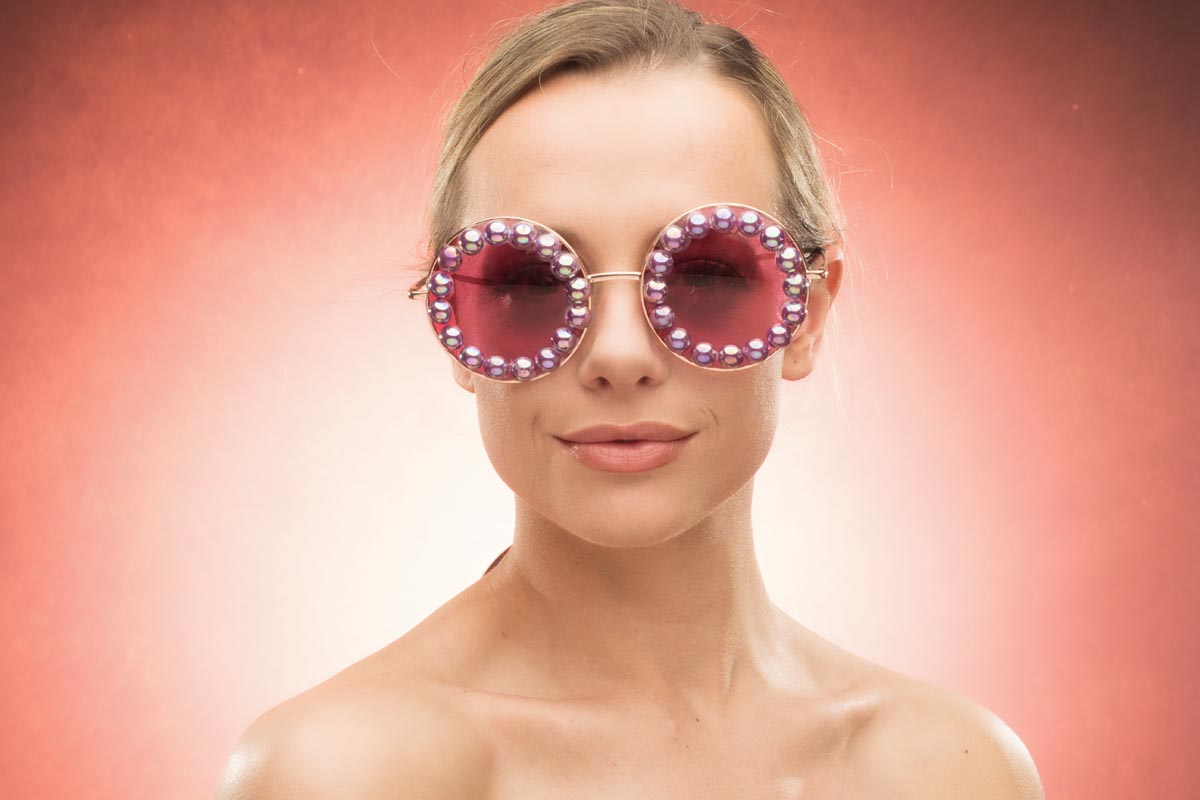
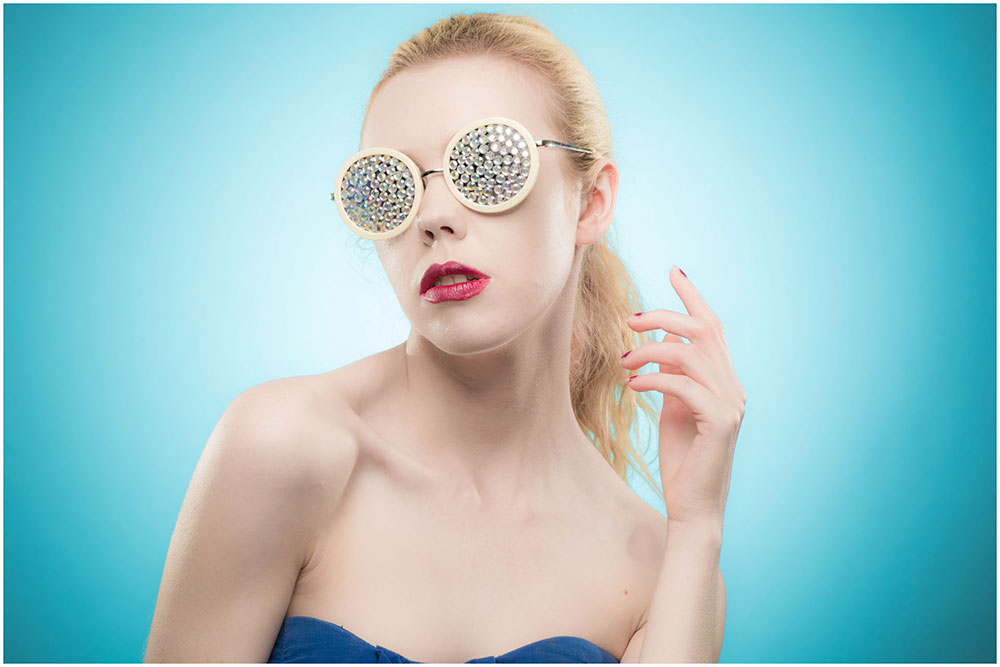
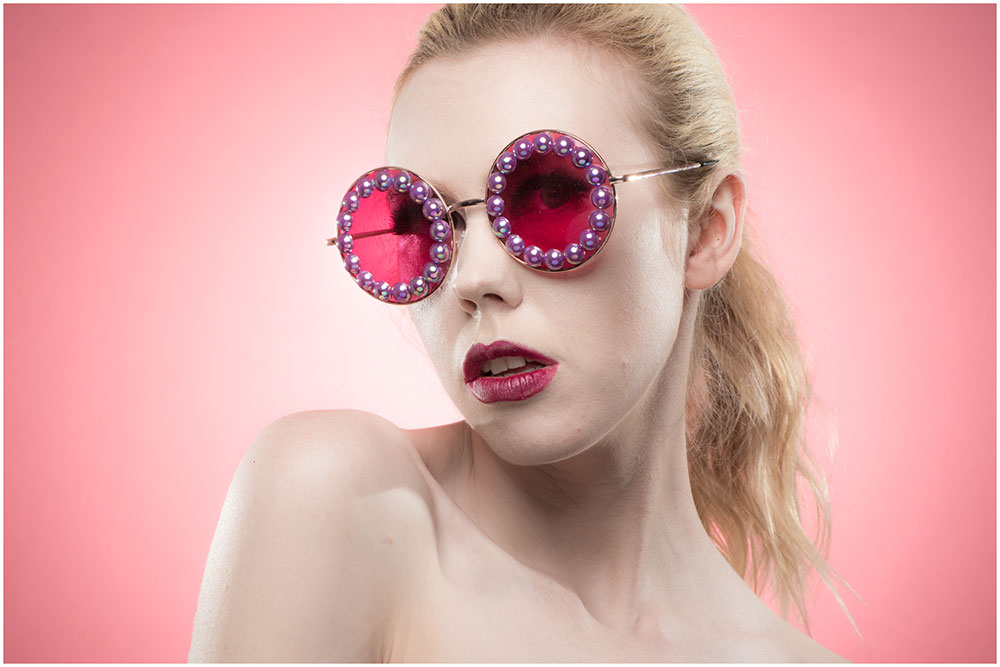
Sunglasses
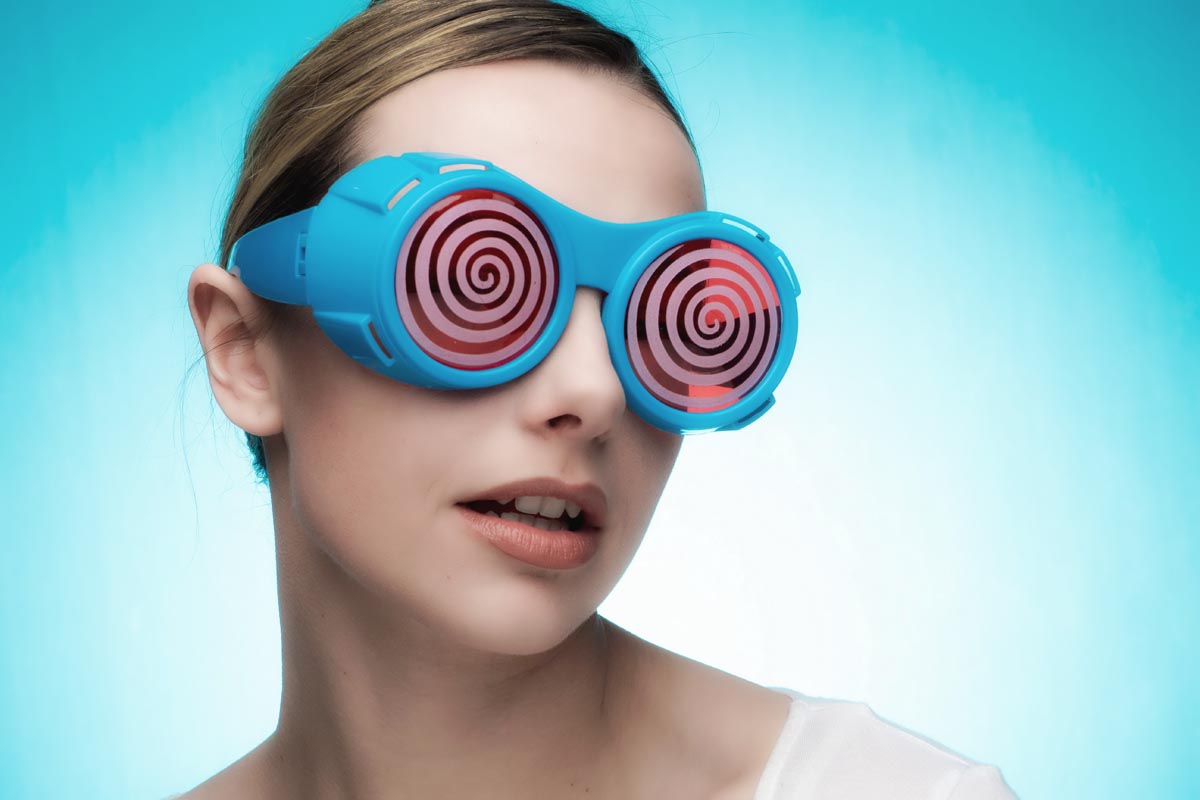
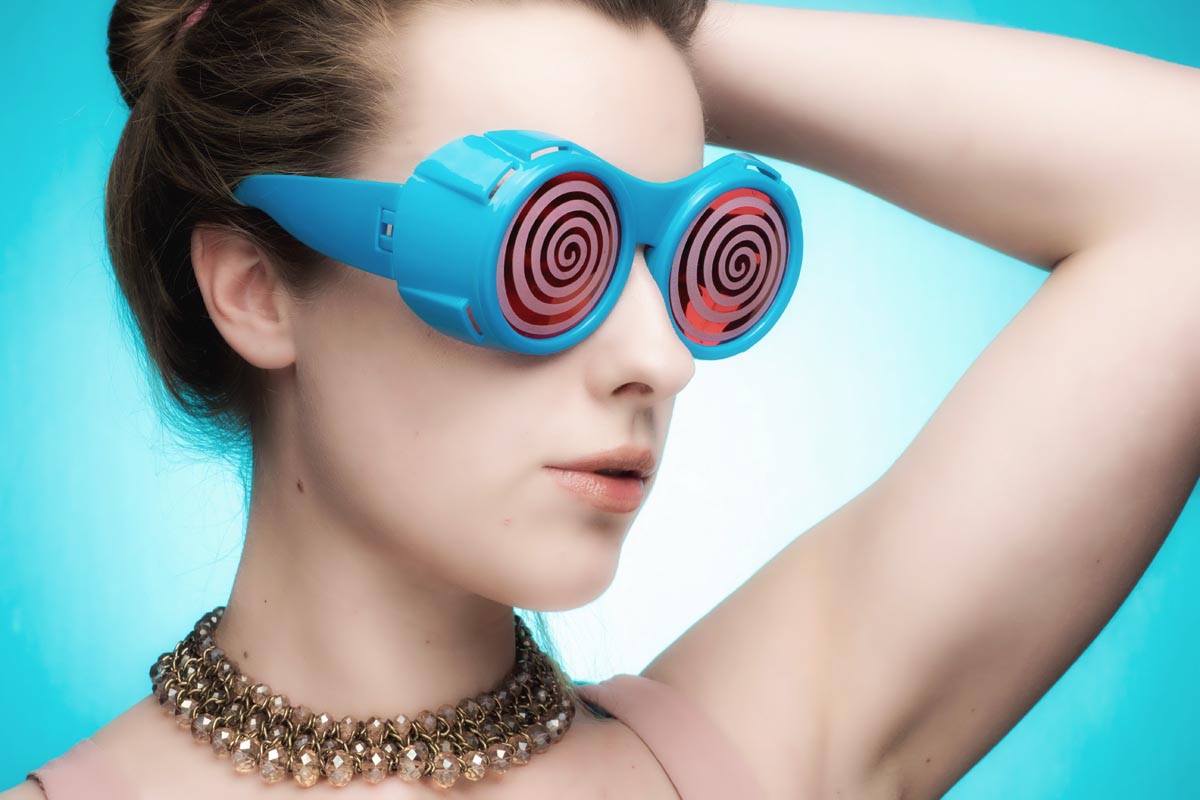
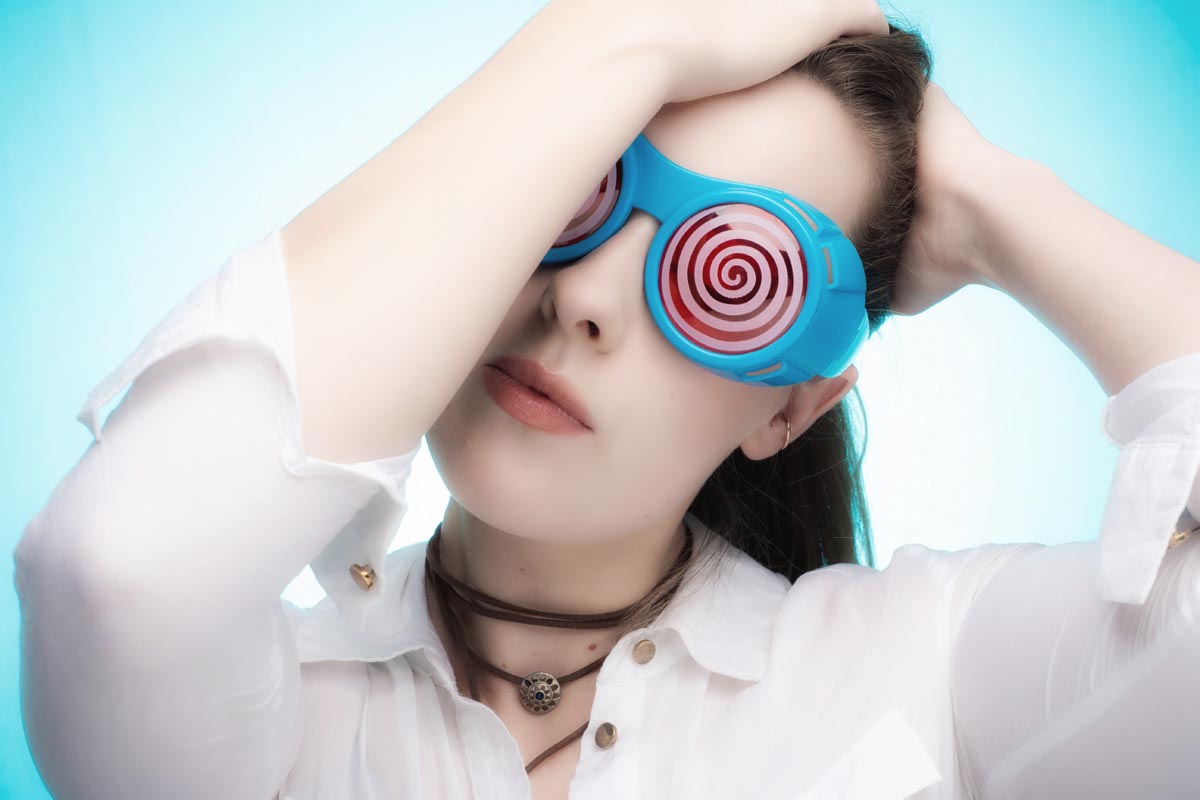
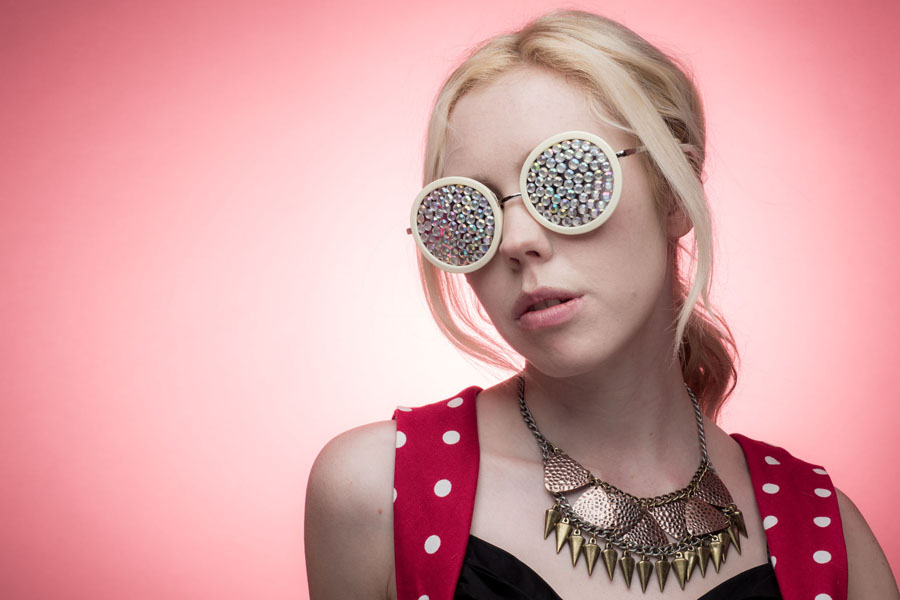
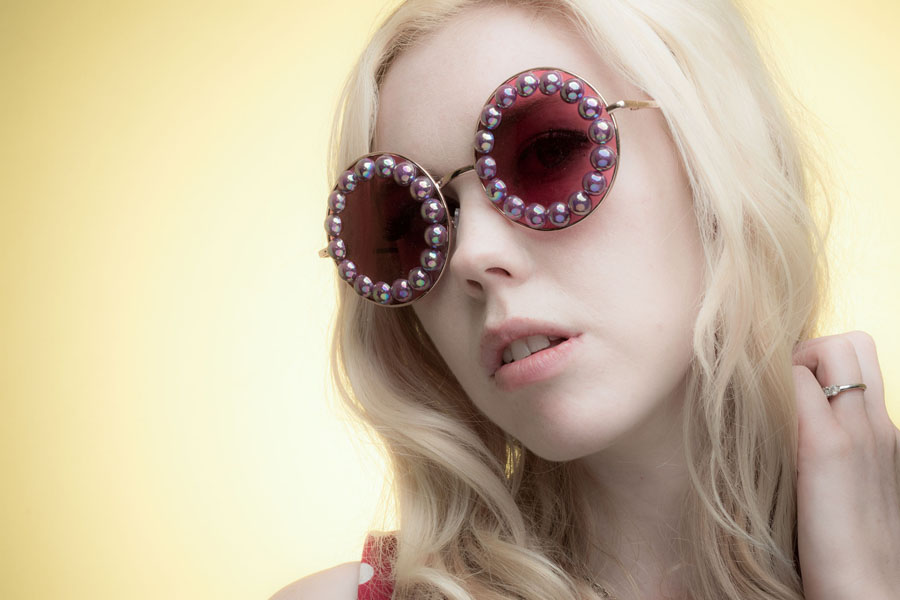
Winter might sound like the wrong time of year to be on the hunt for novelty sunglasses but I find having a selection on hand can really help. On a very simple level it gives something for your subject to interact with but sunglasses can also become part of the styling of the shoot. With a bit of craft skills you can also transform a pair of dull, basic sunglasses into a fashion item in it’s own right!

Hats
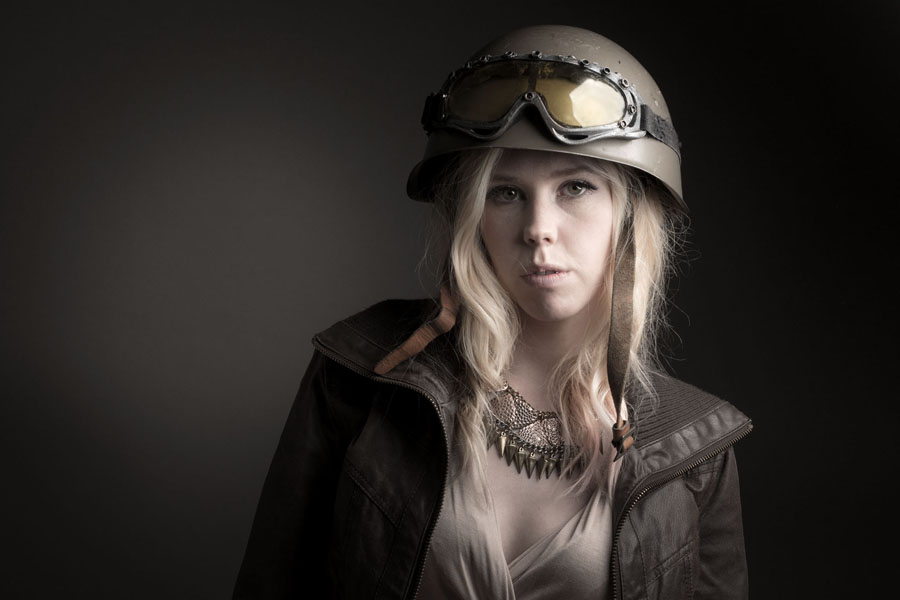
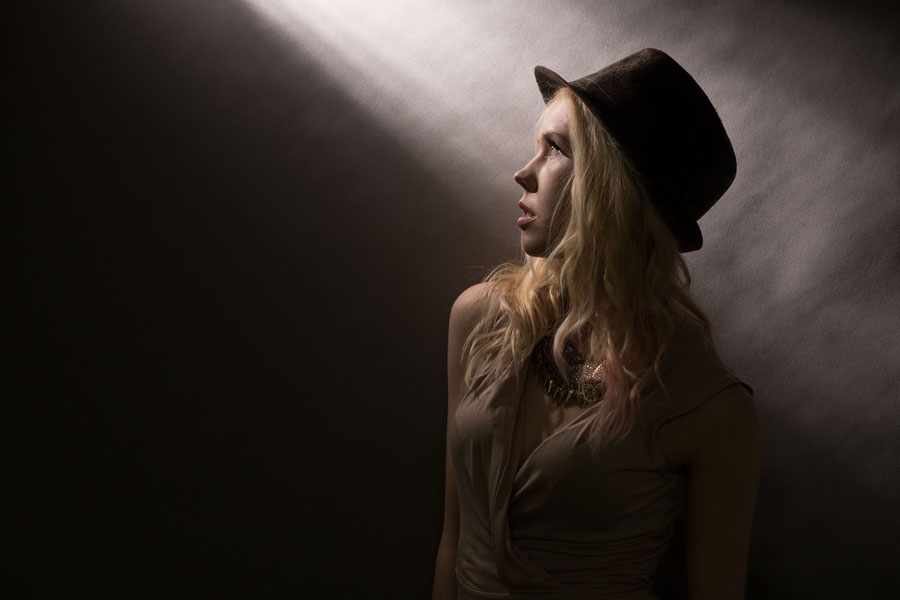
Just like sunglasses a hat can be worn or held once again giving your model something to work with. Hats can add character, hats can add mood, hats can be fun. Hats with brims can cast shadows which can cause problems as the model moves but with a bit of careful lighting that can be used to your advantage.

Fabric
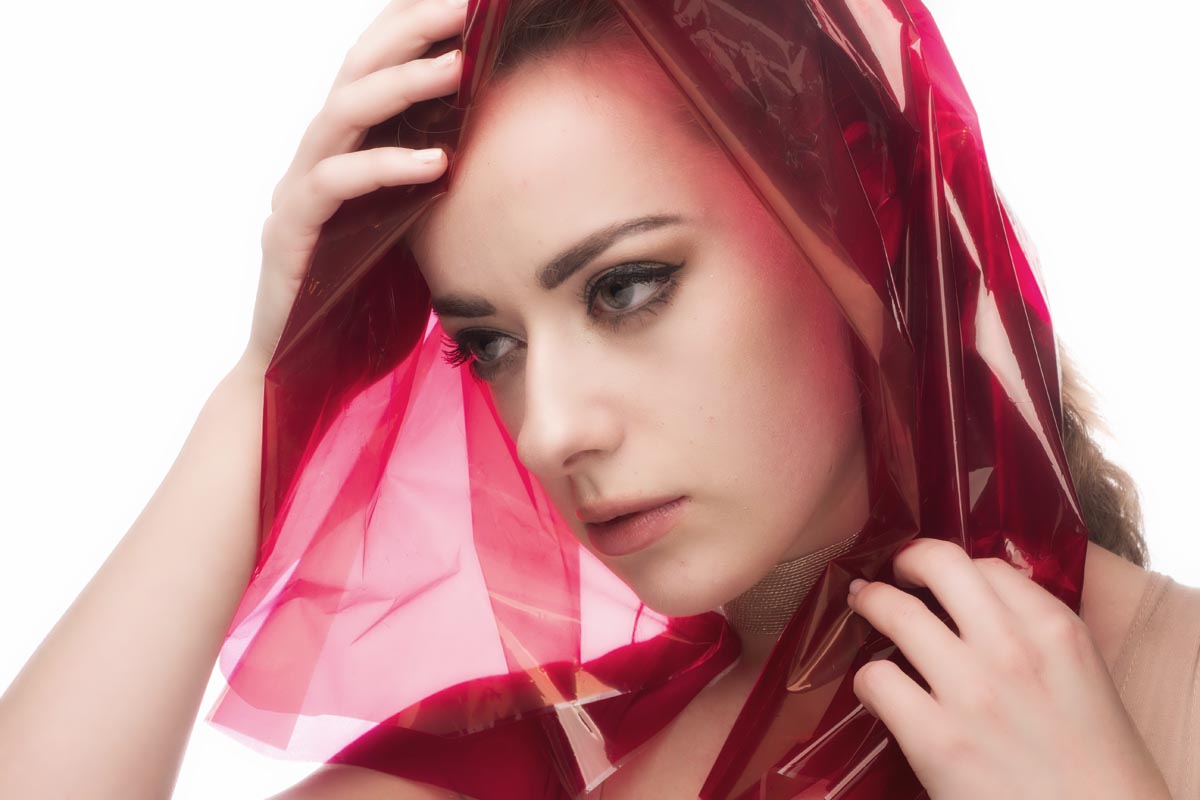
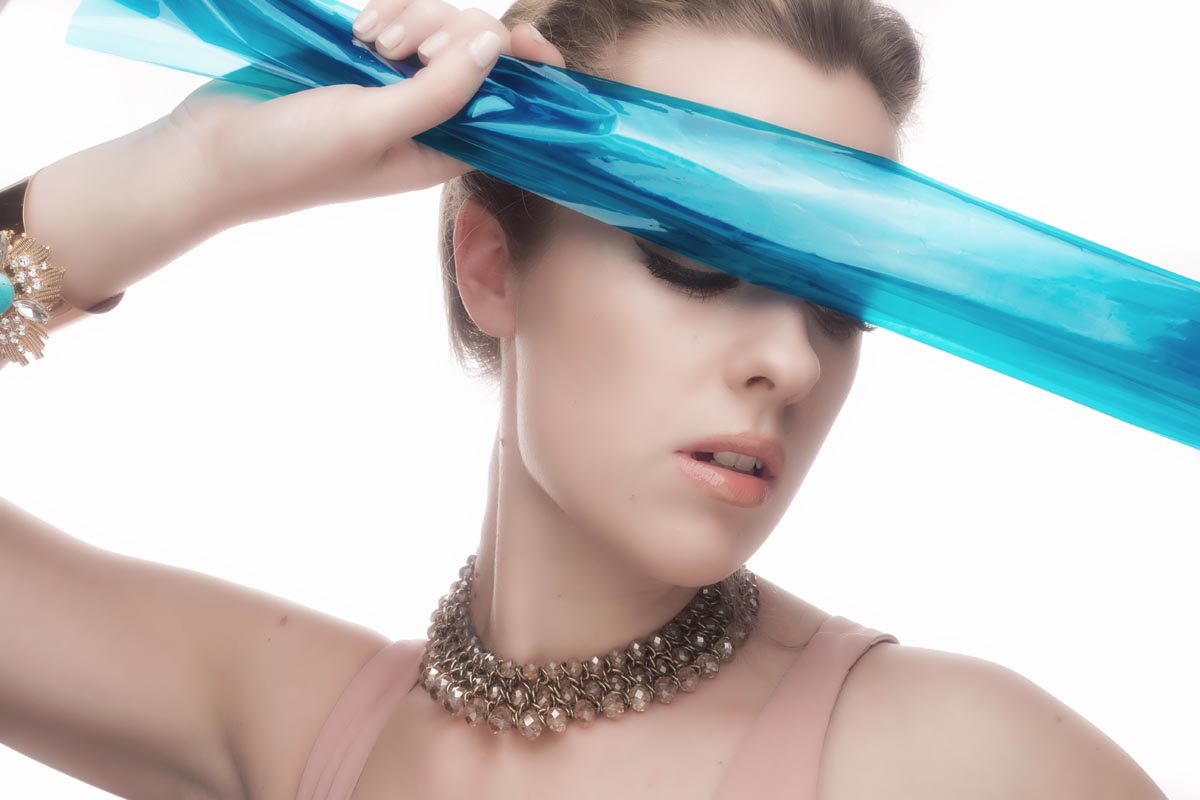
Random bits of fabric are the perfect thing to have in the studio. They can be pegged up as backgrounds or wrapped around your model as a an outfit. Sheer fabric can be placed over your subject to add mystery or moved around for a floaty feel
There are endless ways to add ideas to your shoots, props can really help at this is just a few ideas to get you started.

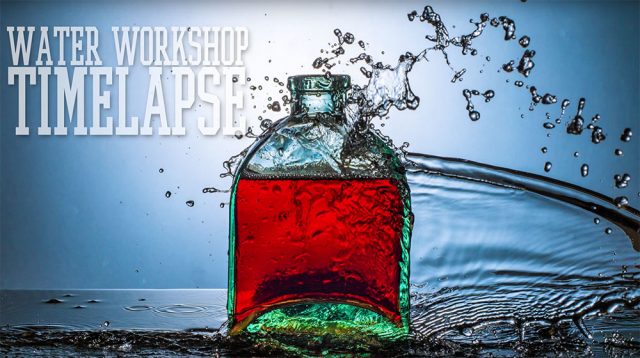
Water Workshop Timelapse

A few weeks ago I ran a slimmed down version of my water workshop at the Jessops store in London’s Oxford Street. This was an Olympus UK sponsored event but was open to any photographer whatever make of camera they owned. It was also free for the 20 photographers who were lucky enough to get a space in one of the two sessions
I love this workshop for many reasons but mostly because it’s a real “hands on” event and as you’ll see in the time-lapse below, everyone gets involved.

[youtube]https://www.youtube.com/watch?v=y9YrutvJN0s[/youtube]

Here’s a little info about the time-lapse. It was recorded on an Olympus TG Tracker action cam by Clare Harvey-May from Olympus UK. The TG Tracker has time-lapse recording built in and Clare recorded the two sessions (morning and afternoon) from two different angles, both in 4K.

I used Adobe Premiere Pro CC2015 to edit the two videos and add some of my stills from the workshop. As the final video was to be at 1080p HD, I was able to pan and zoom around the much larger 4K footage to create the motion you see in the final video.

I have to thank to Jessops and Olympus for hosting me and not complaining about the wet floor. Sam, for dragging crazy heavy bags of gear all over London. But mostly I can’t thank enough all the photographers who came along to both days and get so involved and slightly wet… you were warned!Water workshop cover

Best Focal Length for Portraits

Knowing the best focal length for shooting portrait isn’t as easy as it may sound. Different focal lengths give very different results, some more flattering then others. In this video I take the same head shot at several focal lengths and compare the results.

[youtube]www.youtube.com/watch?v=DGYqWULIUp0[/youtube]

Traditionally a 50mm lens (on a full frame camera) has been considered the closest to the human eye but generally I prefer headshots with 70mm or more.

Focal-Length-Comparison

As you can see in the comparisons above, zooming in (and therefore stepping back from the model) has a few benefits. The longer focal lengths give even tighter crops on the background and stepping back compresses the facial features. Of course there’s plenty of scope for creative portraits when shooting head shots with a wide angle lens but for most photographers, longer focal lengths are better.