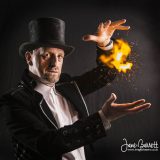
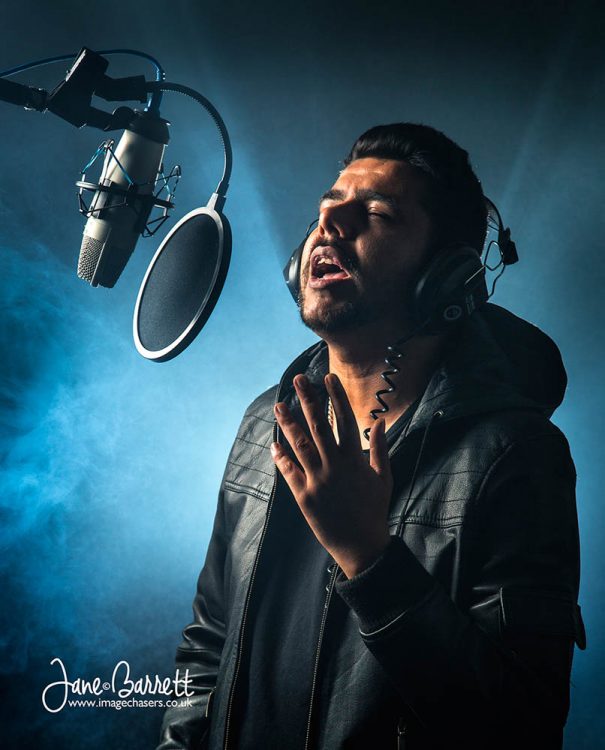
Music and magic may not sound like two photo subjects which fit seamlessly together but a few weeks back they joined harmoniously on my Music and Magic workshop.
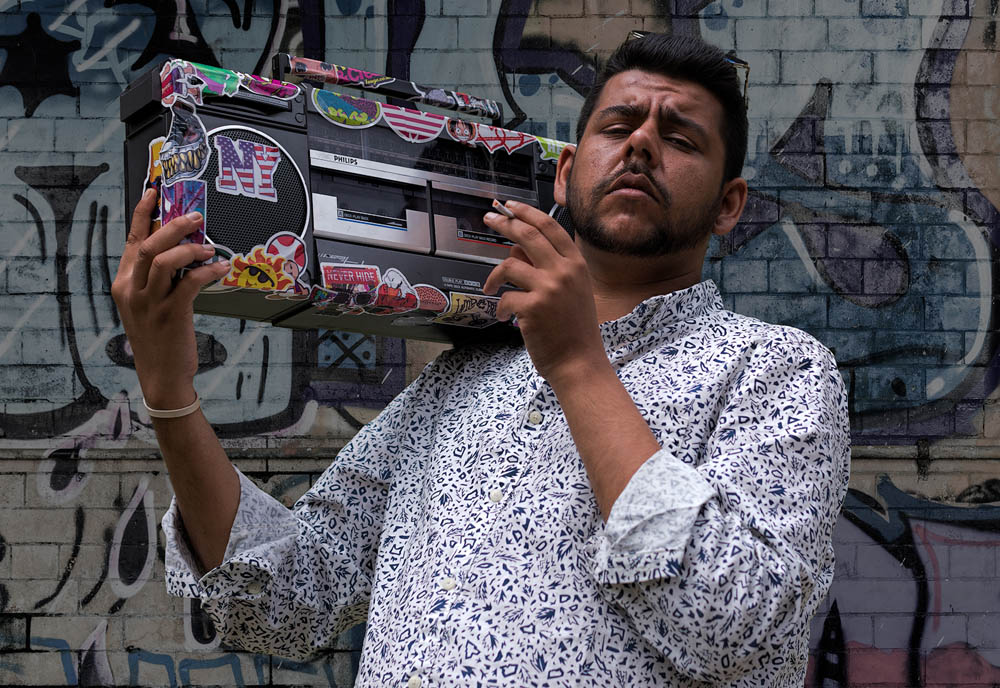
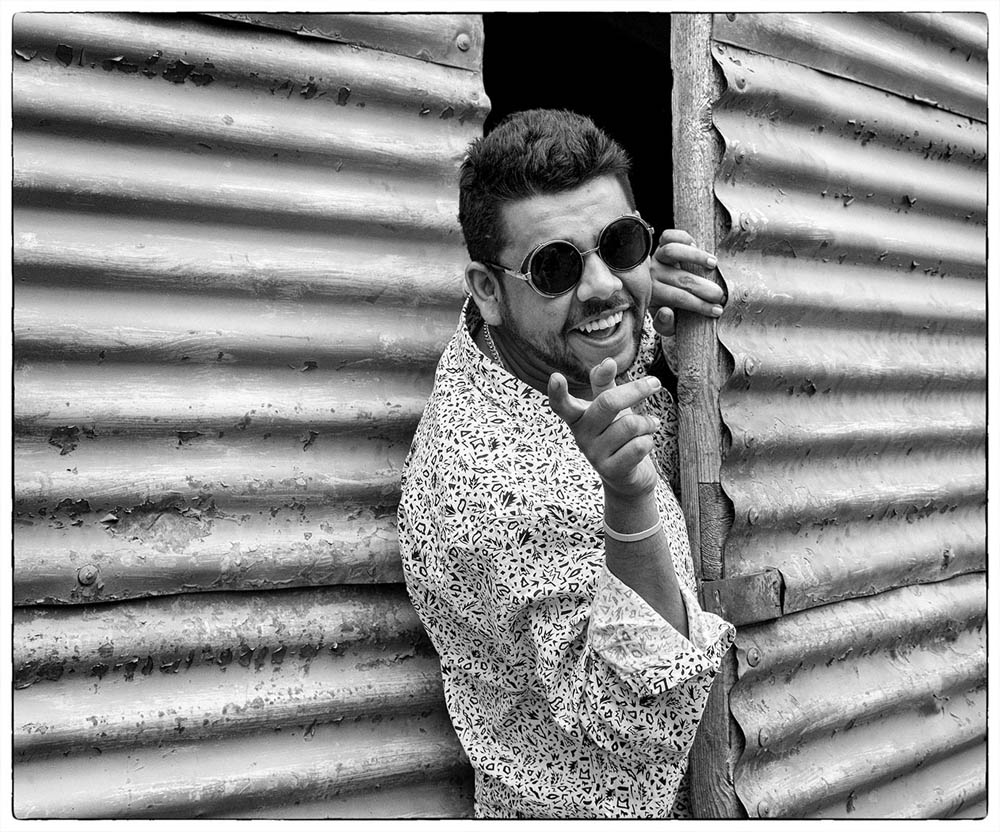
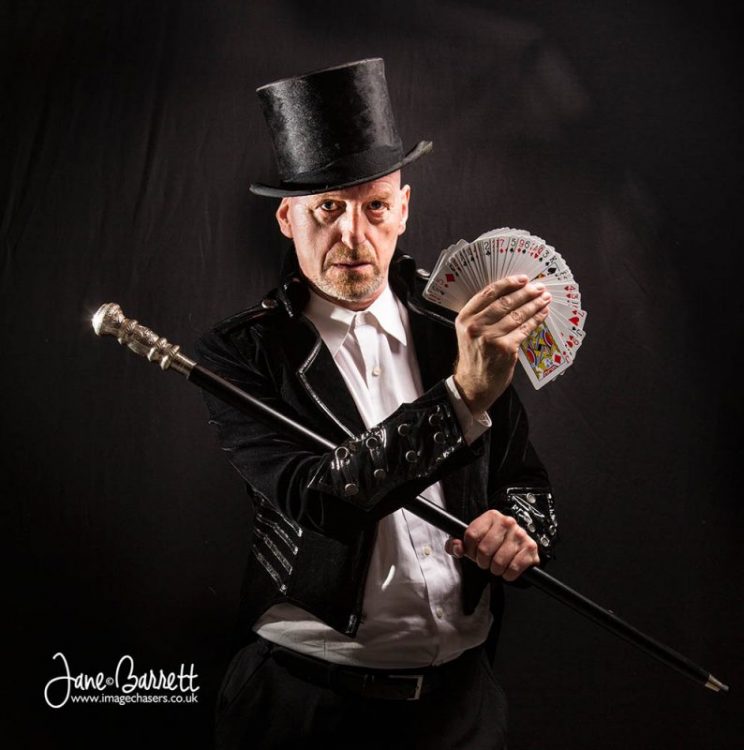
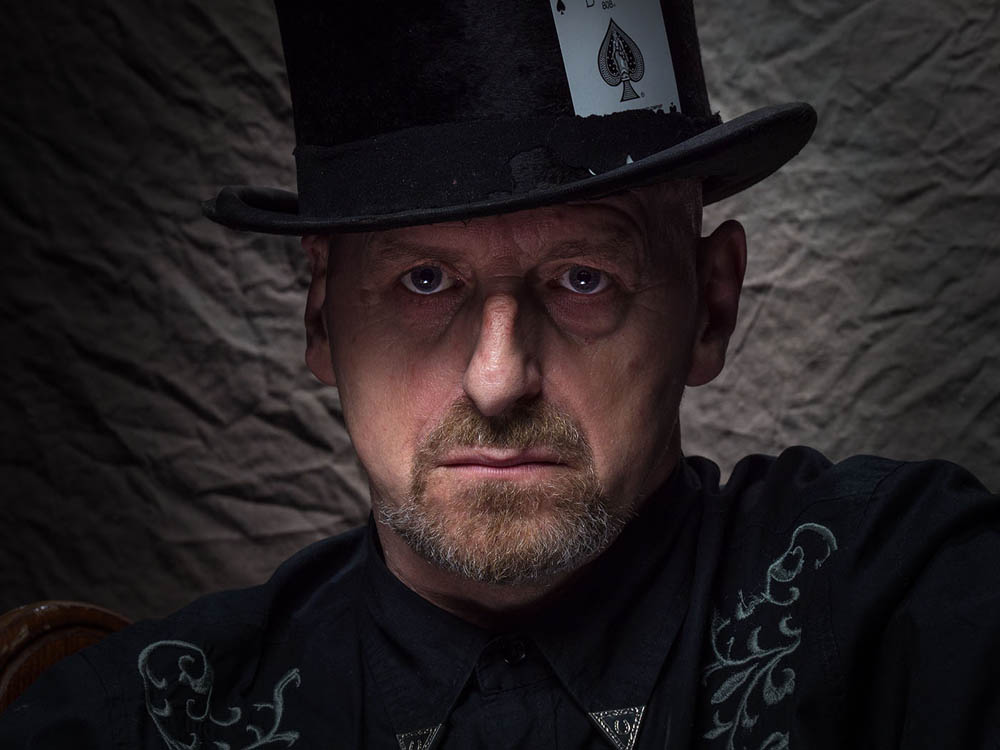
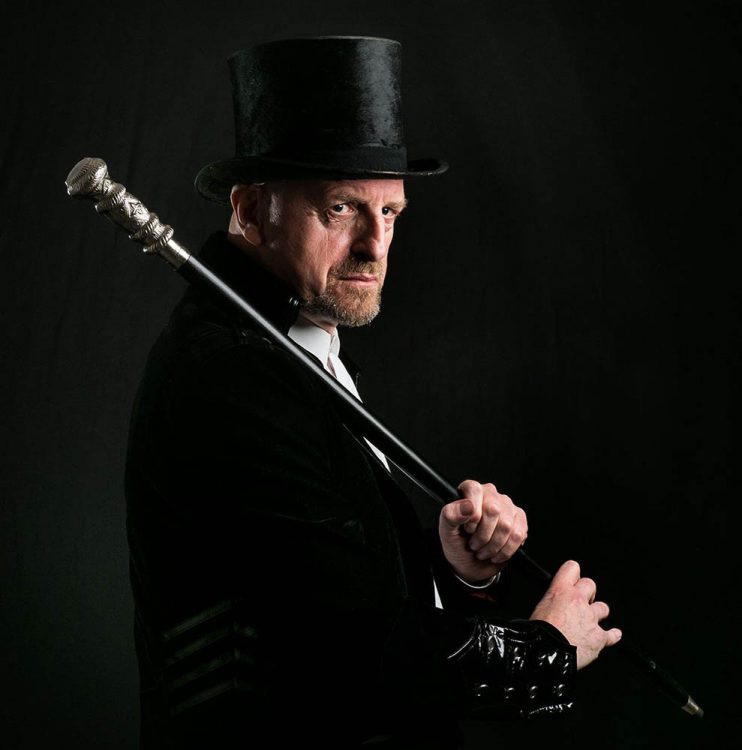
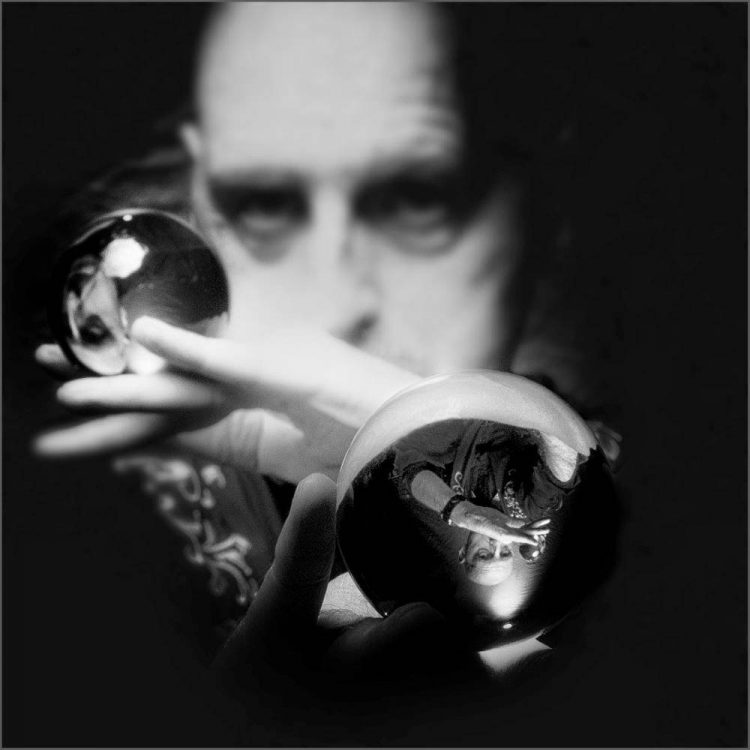
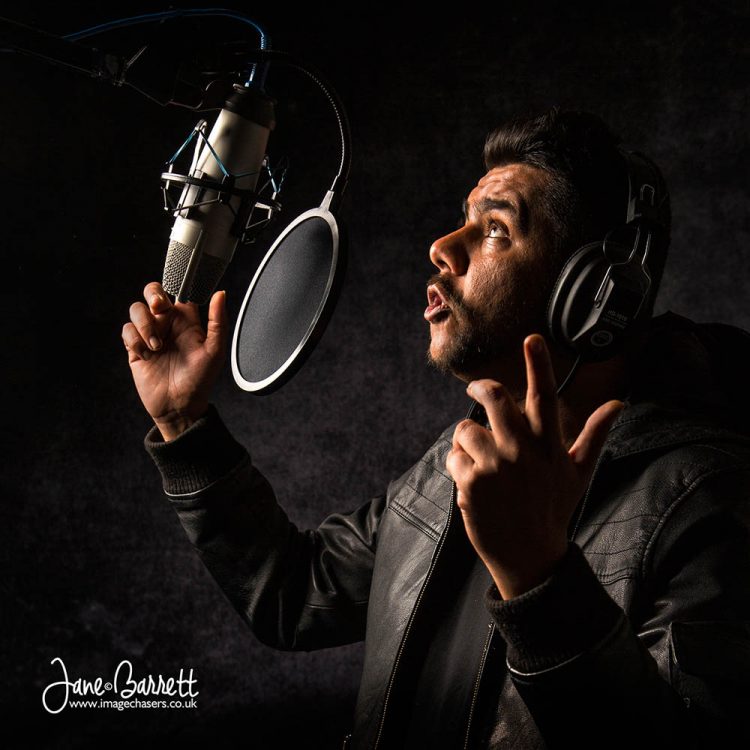
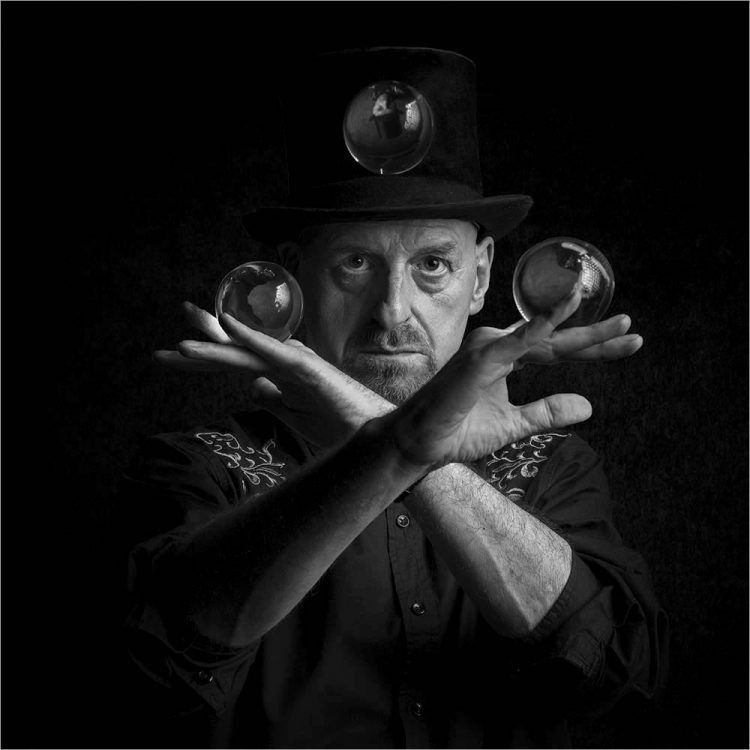
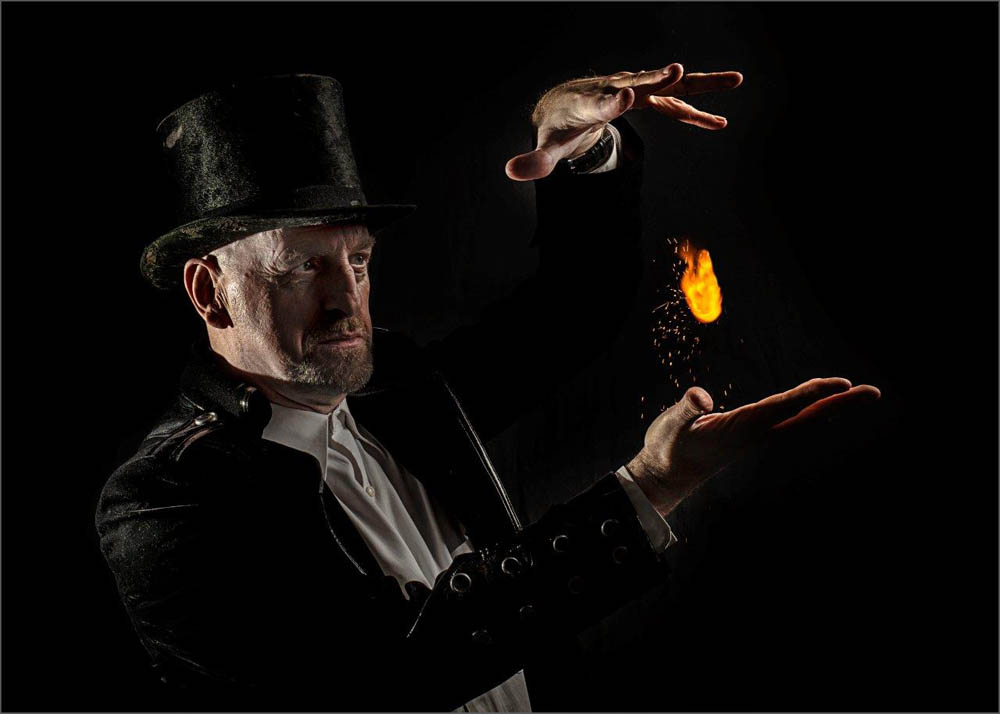
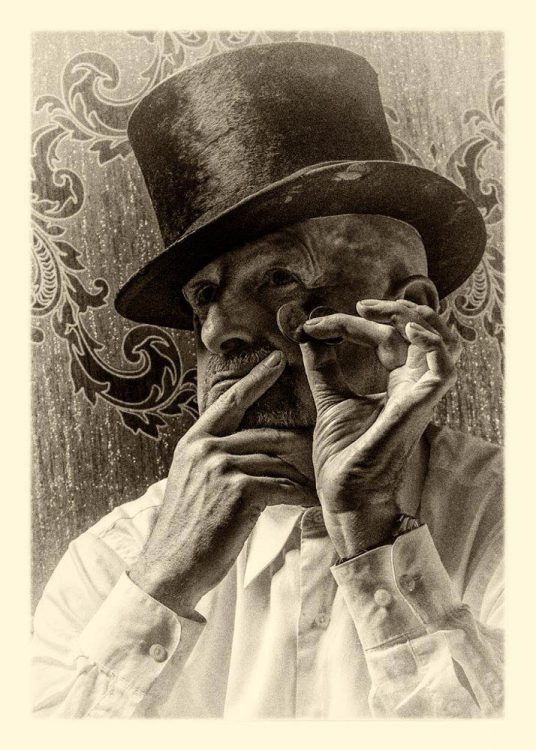
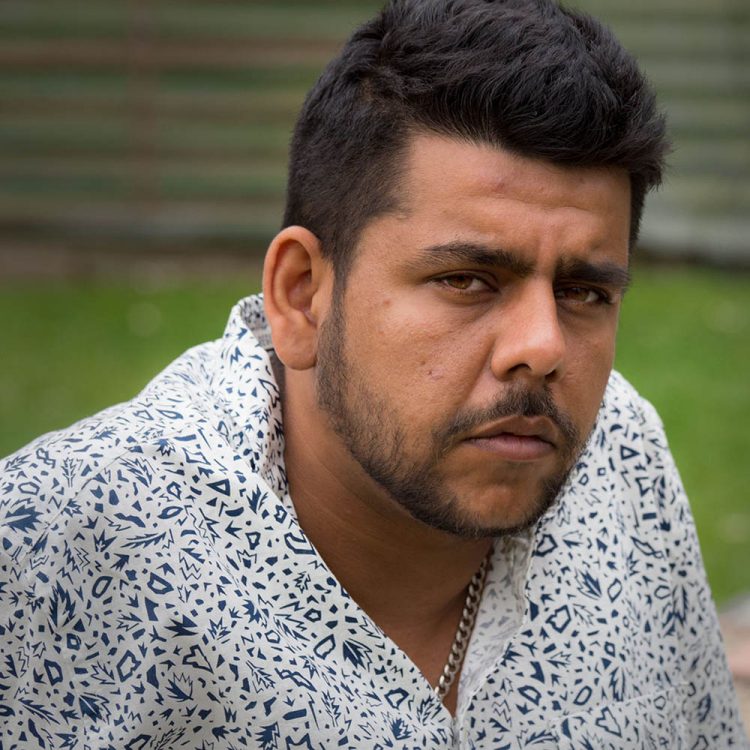
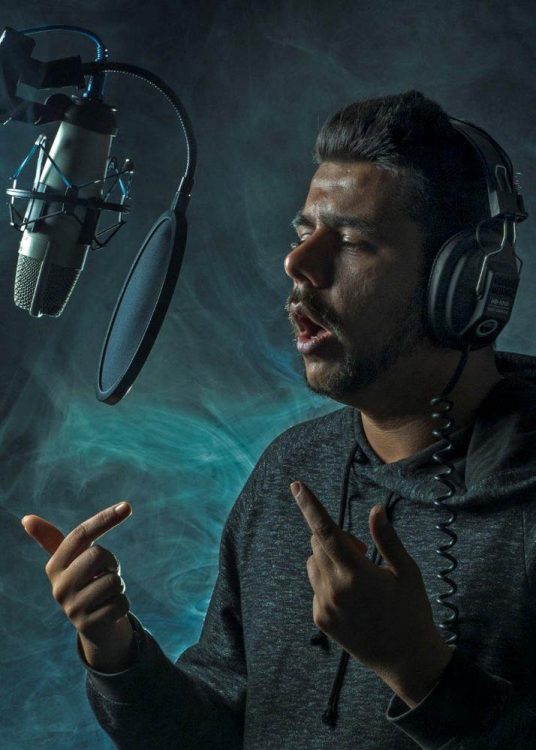
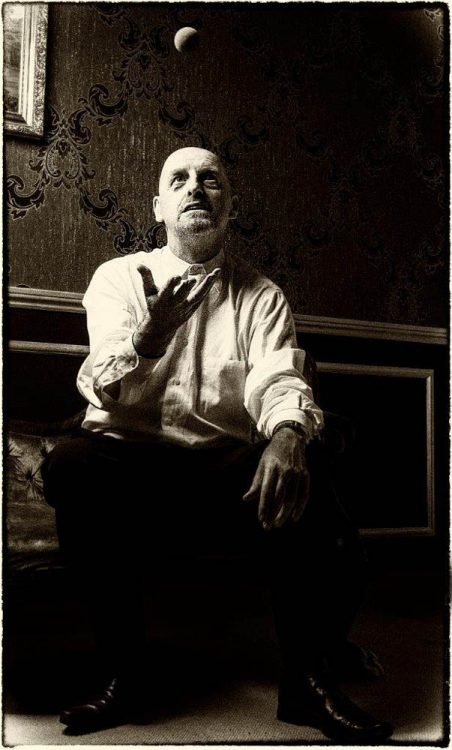
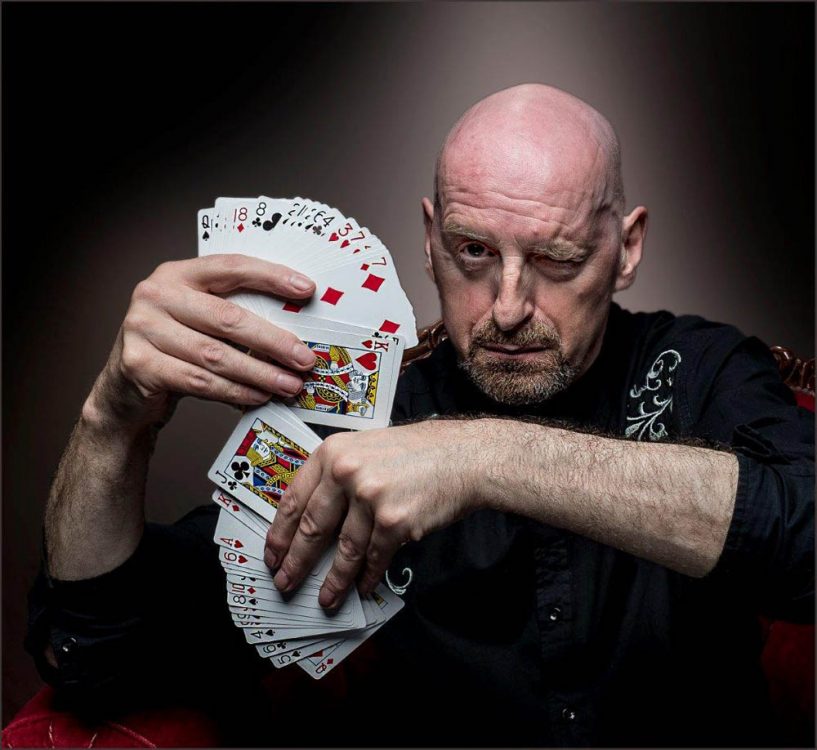
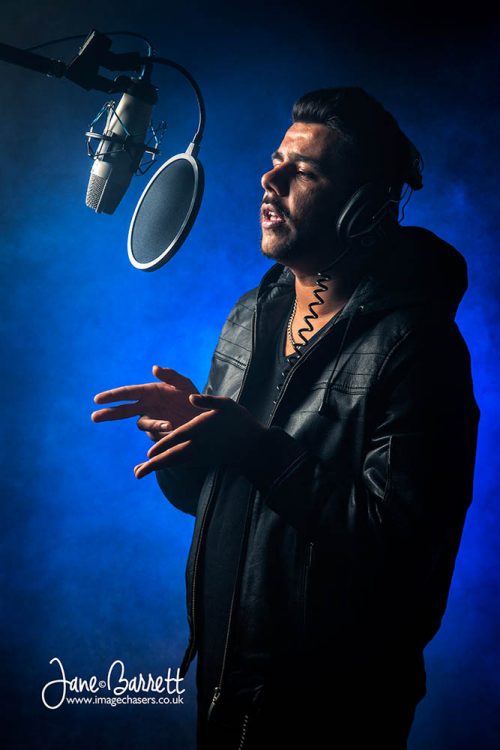
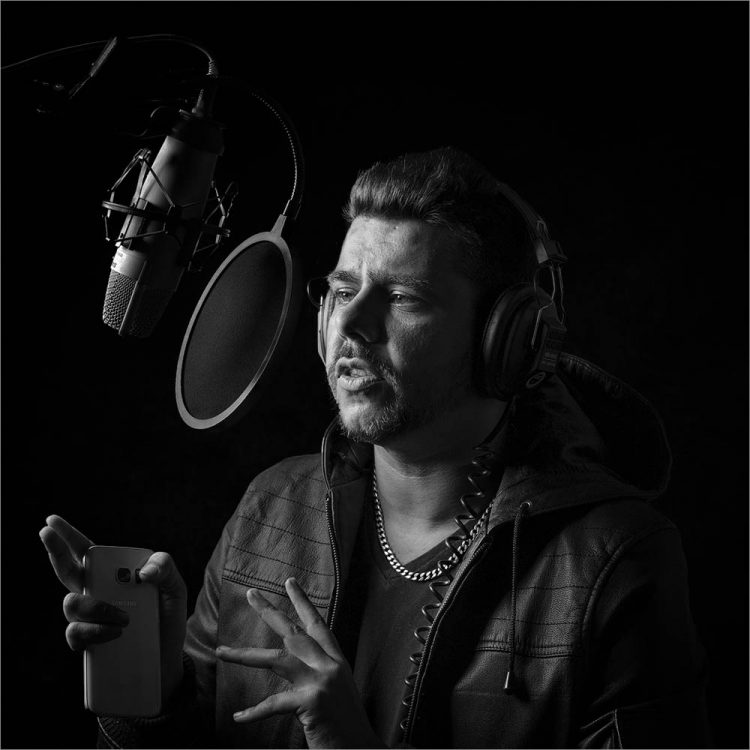
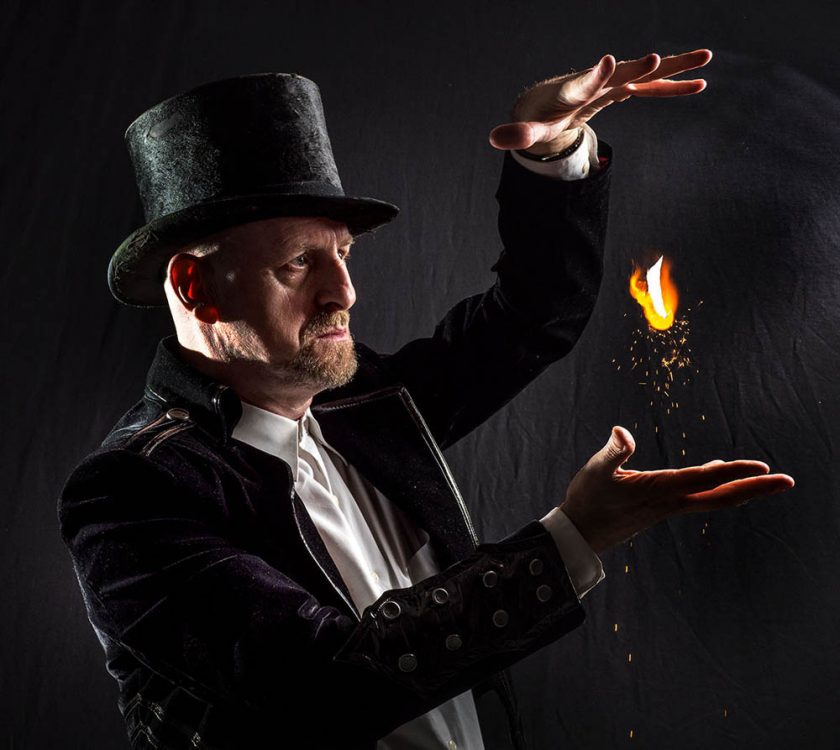
Based at the excellent Square 1 Studios, our subjects for the day were magician Anton Binder and grime artist IF-E, both of whom I’ve worked with before, so was sure the 10 photographers on the workshop were in for a great day.
Photo by David Keep
Photo by Vanessa Parker
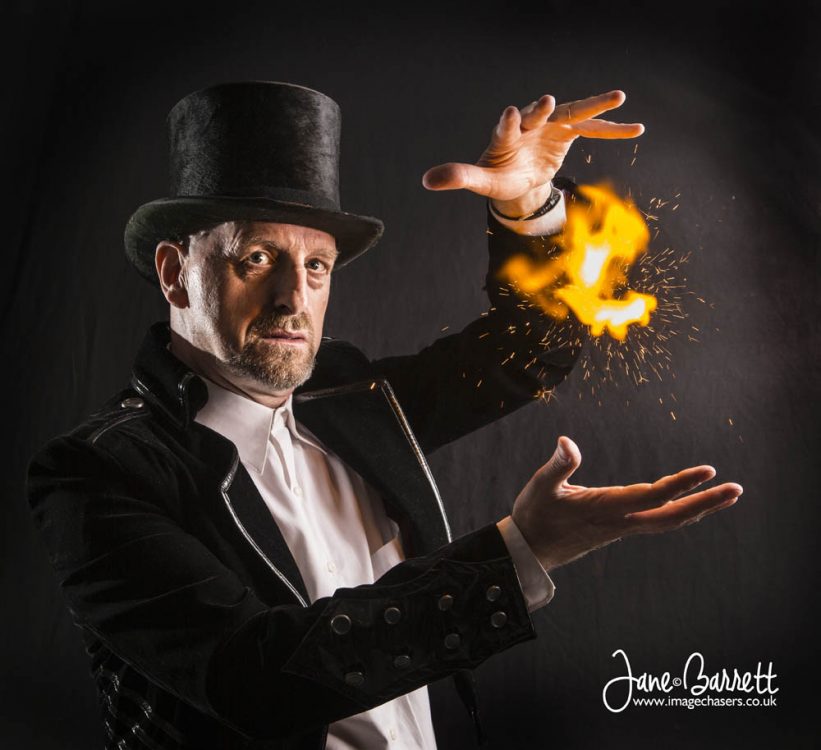
Photo by Jane Barrett
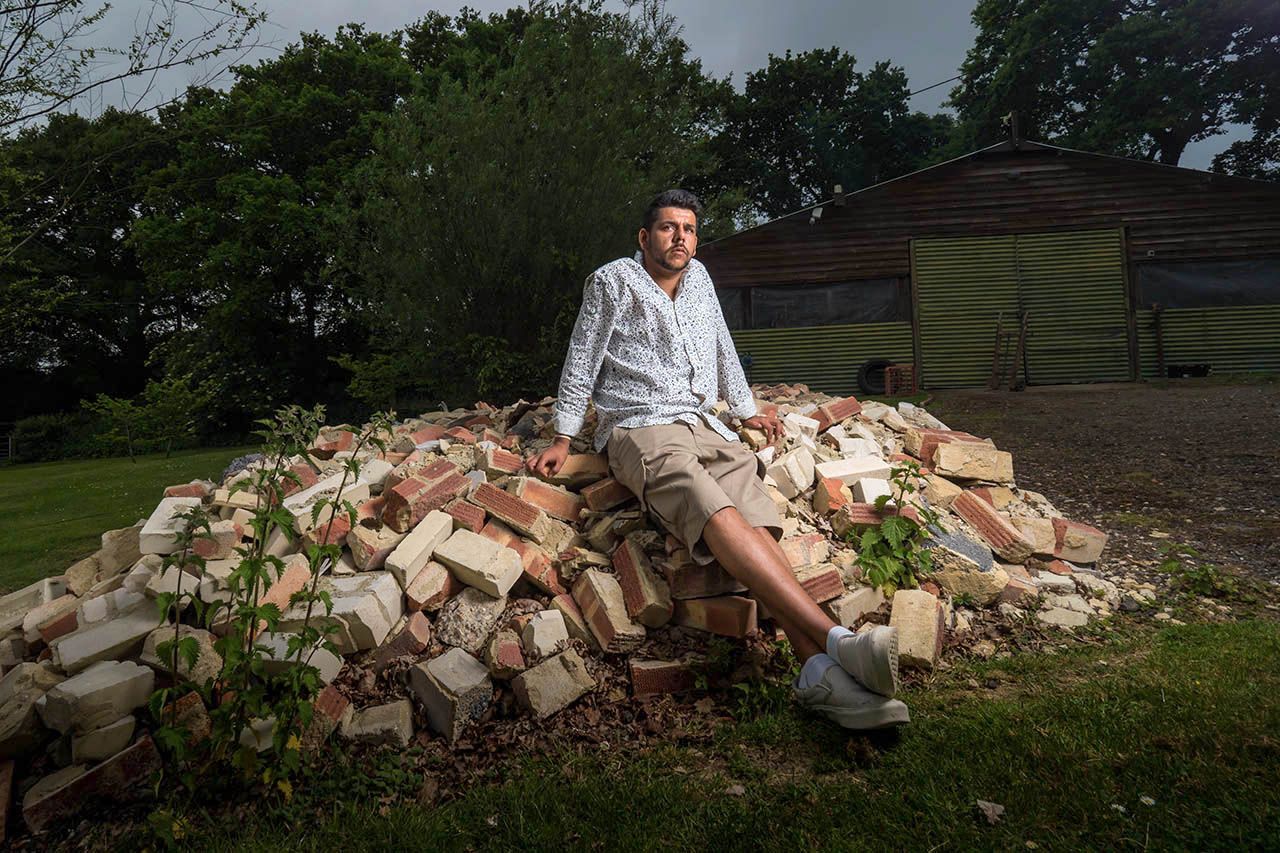
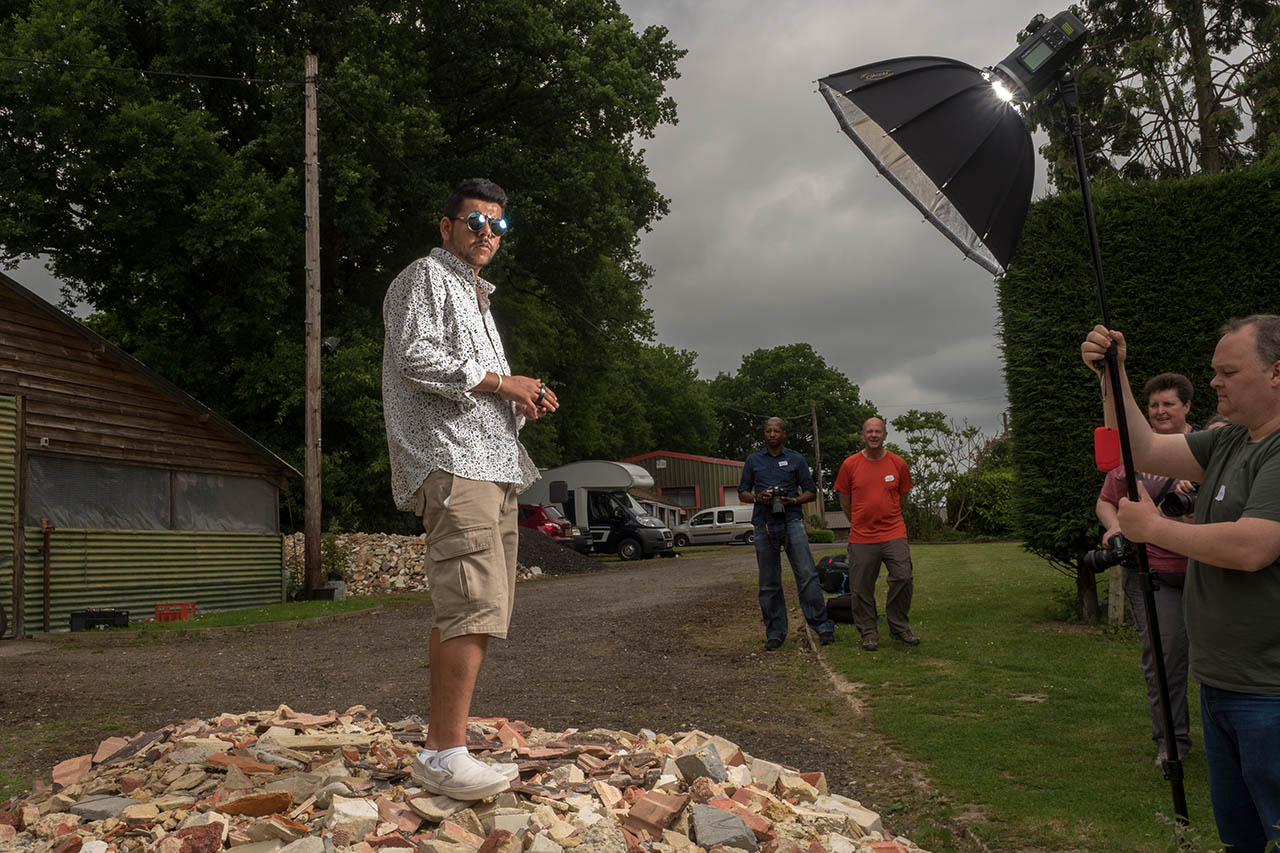
Photo by Vanessa Parker
Photo by Vanessa Parker
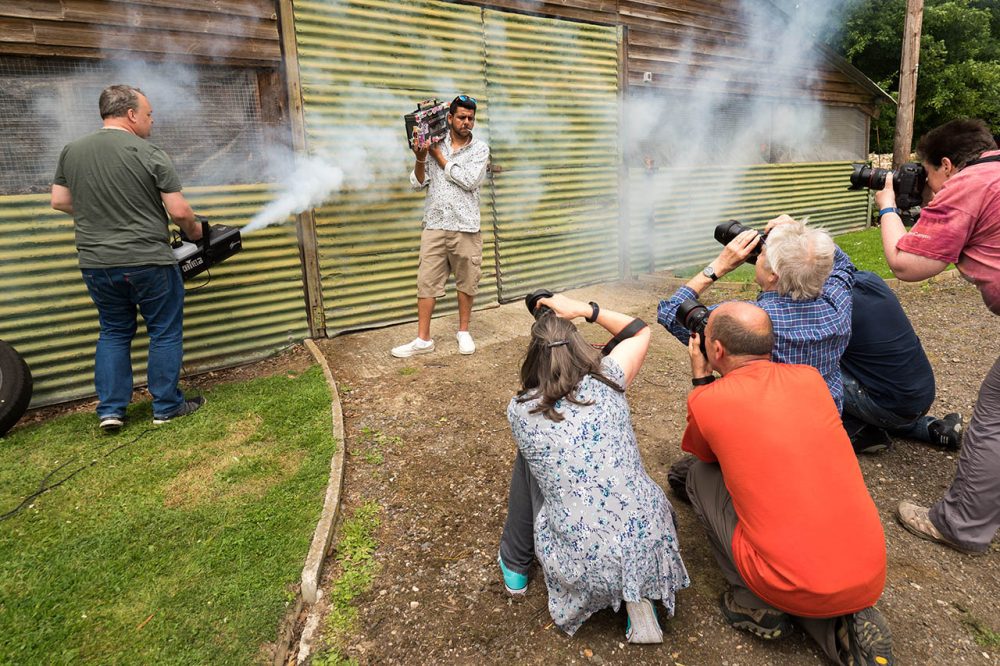
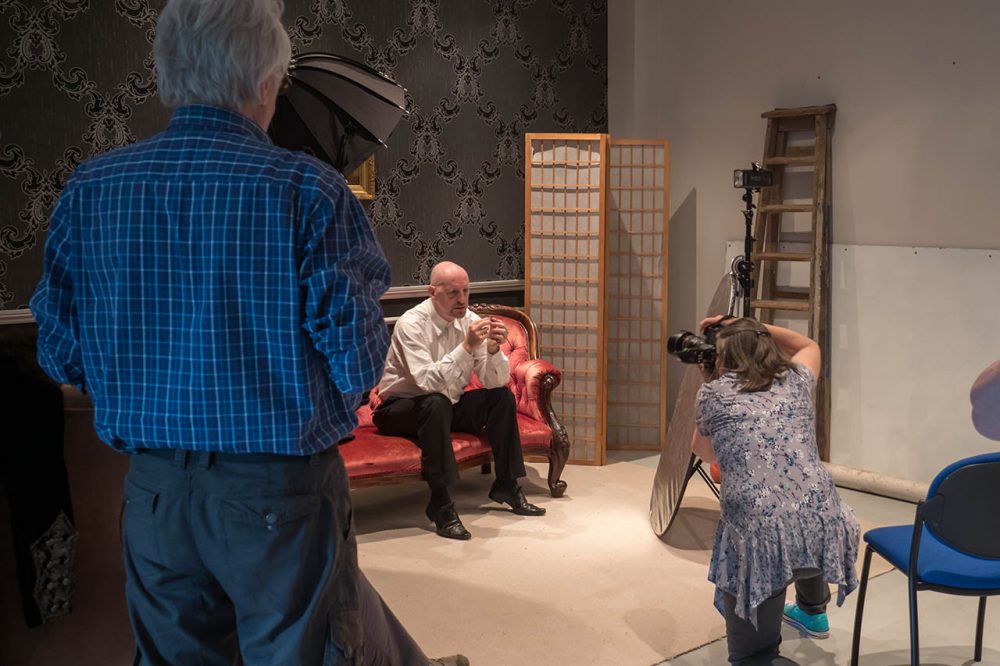
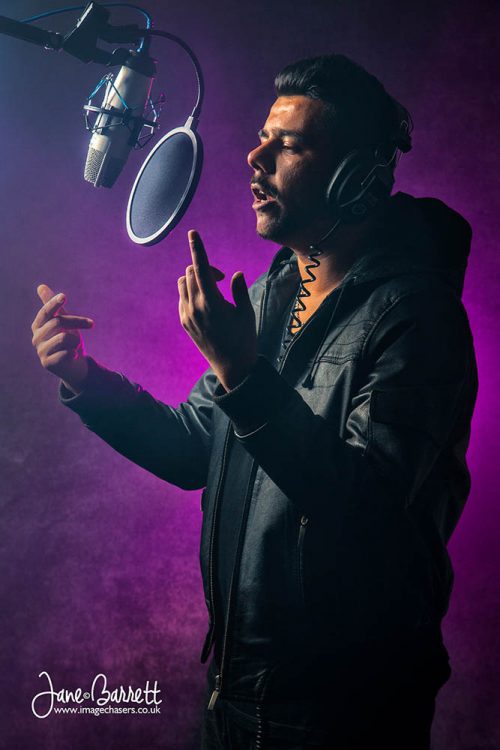
Split into two groups of five, the day started with Anton in the studio shooting theatrical style images and IF-E outside shooting lifestyle images for a fictional album cover.
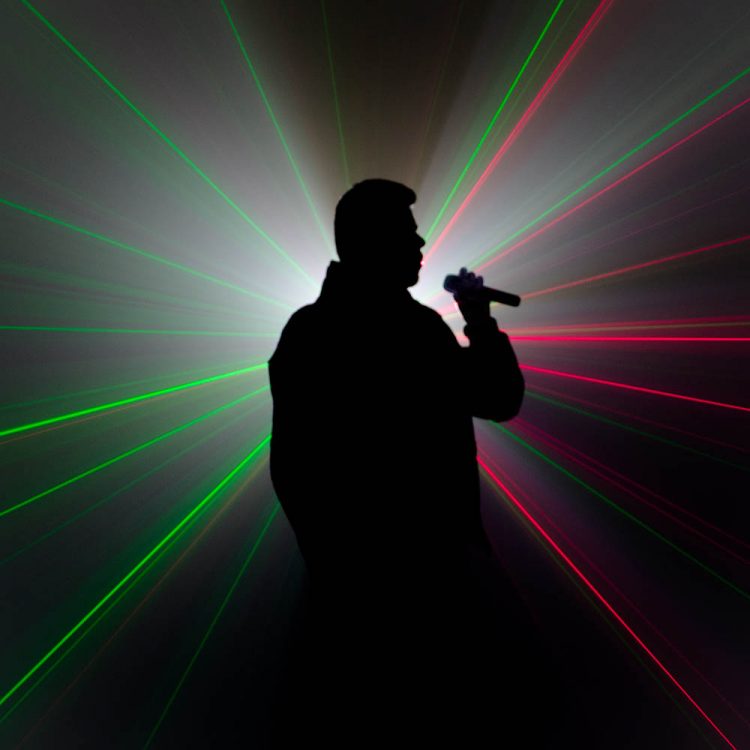
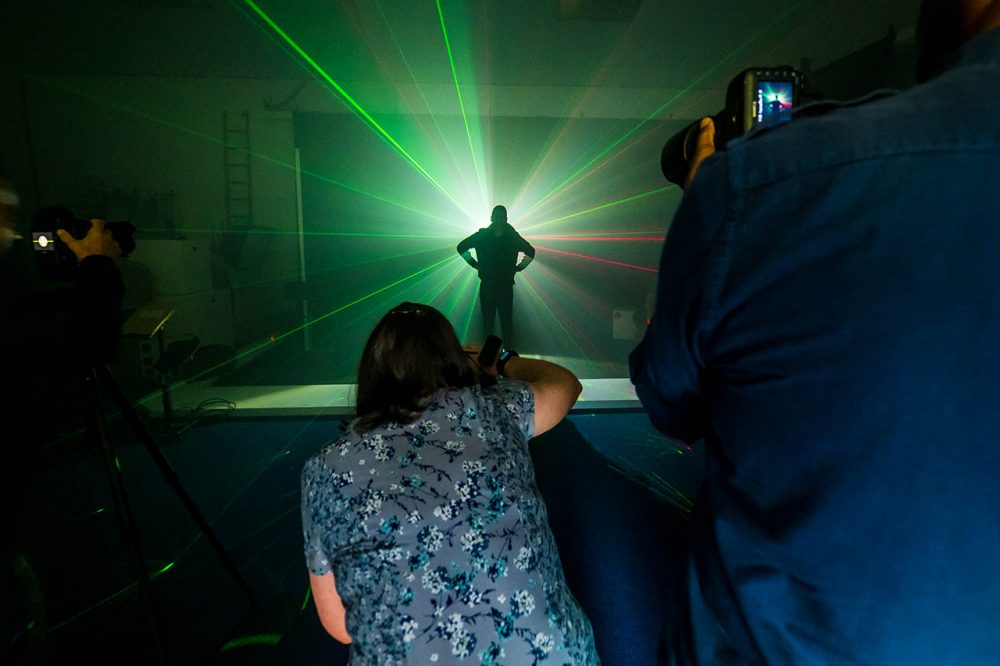
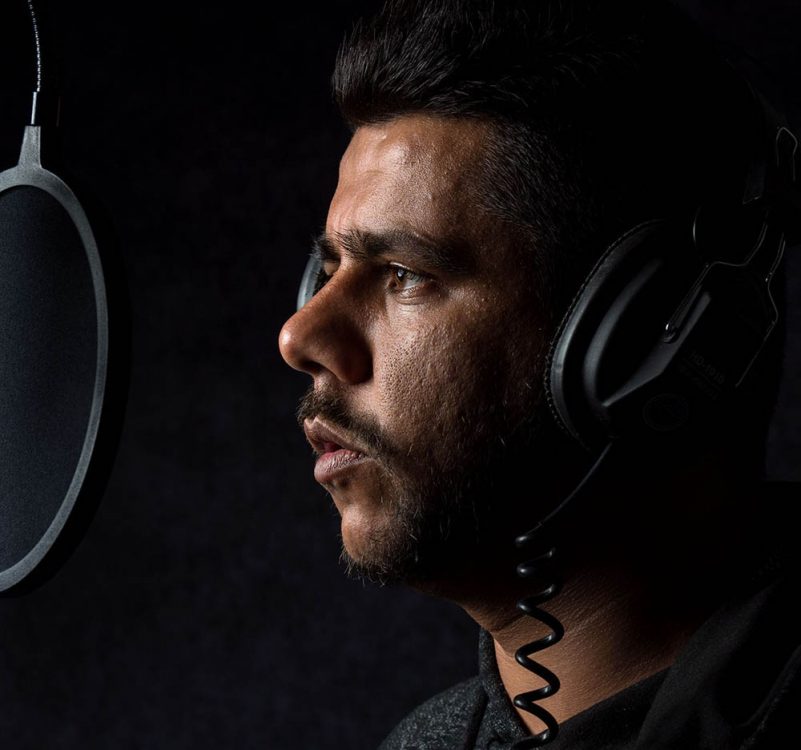
The afternoon was a little different. Anton got to magic up some fire and sparks thanks to something called Flash Paper, he did some close-up magic in the studio’s home set. IF-E on the other hand was laying down some lyrics in our fantasy recording studio and he finished the session posing for silhouette shots with smoke and lasers as the background and lights.
Photo by Daan Olivier
Photo by Jane Barrett
Photo by David Keep
Photo by Jane Barrett
We had a great day and I’d like to thank the models, my assistants and the photographers who made the whole thing possible.
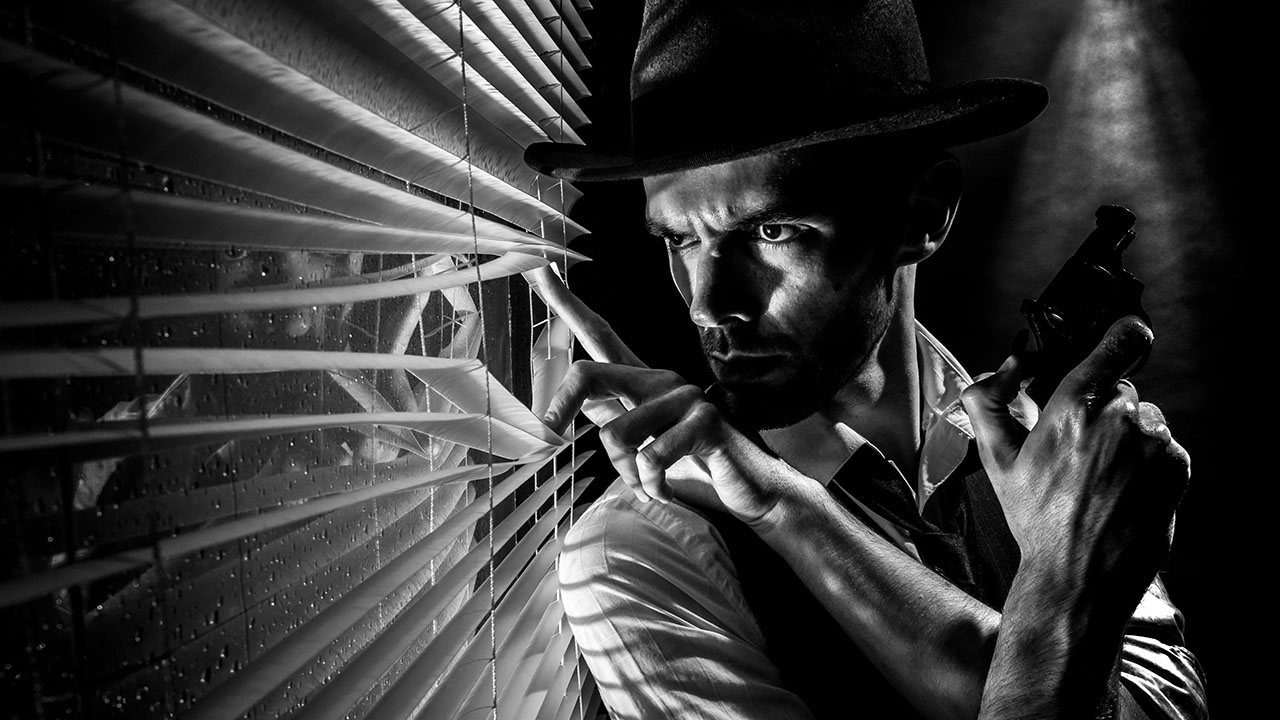
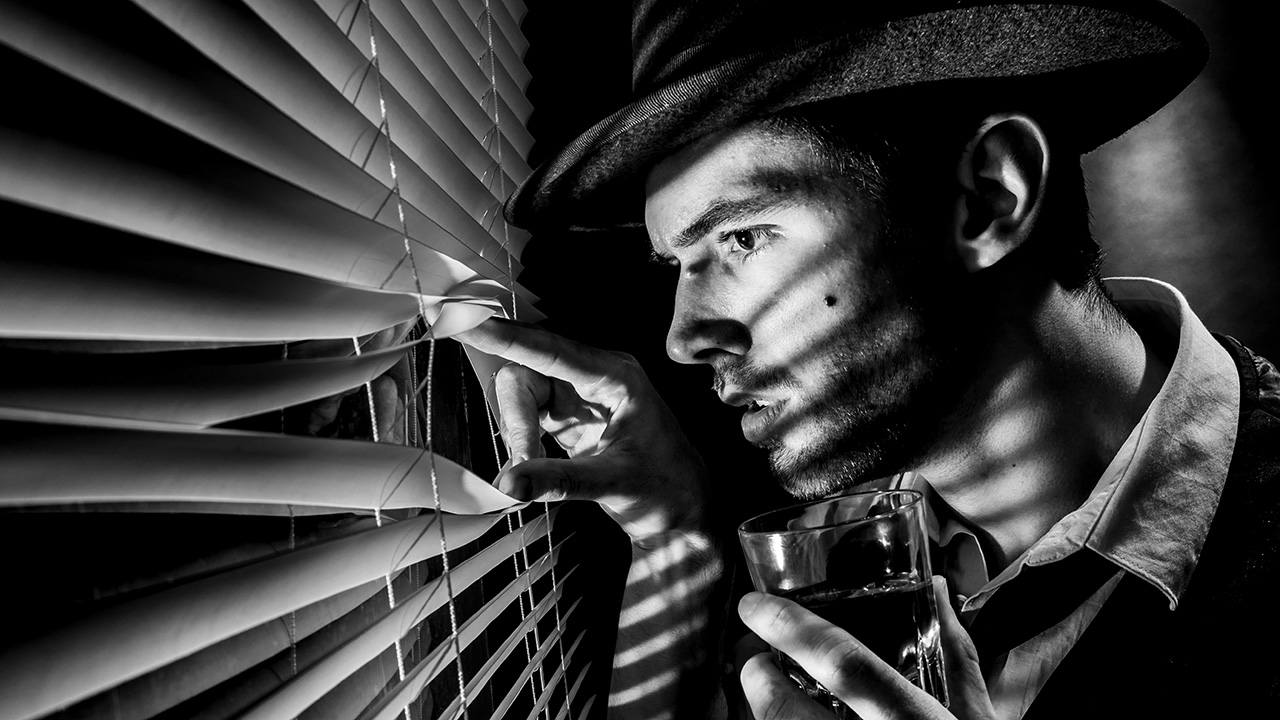
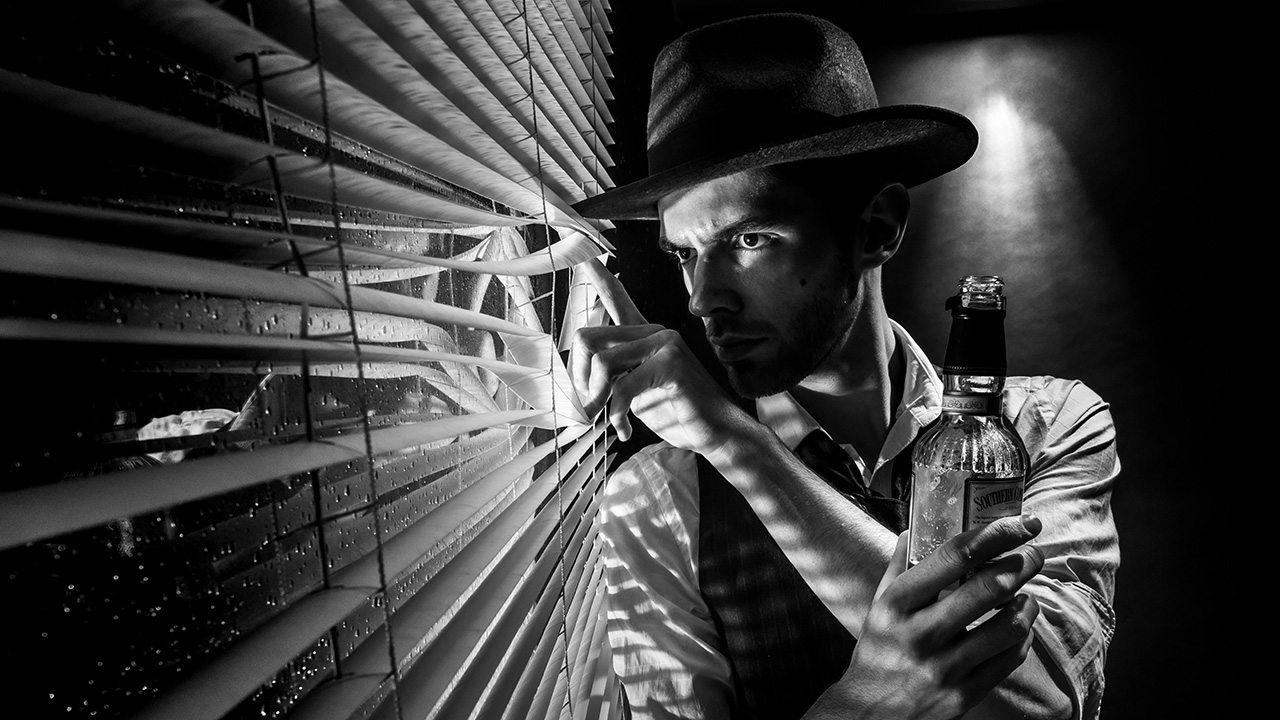
How do you sum up the film noir style? For me words like dark, moody and sinister would be fitting but there’s a lot more to it then that. There’s the style both in lighting and subject matter to consider too.
I always think of Film Noir as being high contrast, black and white scenes lit with hard light resulting in strong shadows. Rightly or not I also think 50’s style crime drama and that’s what I set out to produce in my small home studio.
[youtube]www.youtube.com/watch?v=-9o1Pc6uDRU[/youtube]
The trick here was to set my main light low and hard (No softboxes or umbrellas) That gave great shadows from the Venetian blinds and the up light gave a sense of menace, as well as the subtle feeling our hero was on a higher floor looking down.
The rest was down to Styling. So asking Brian (the model) to have a bit of stubble, giving him a bottle of whiskey (or cold tea in this case) and of course, having him hold a vintage kids cap gun all helped set the scene and tell the story.
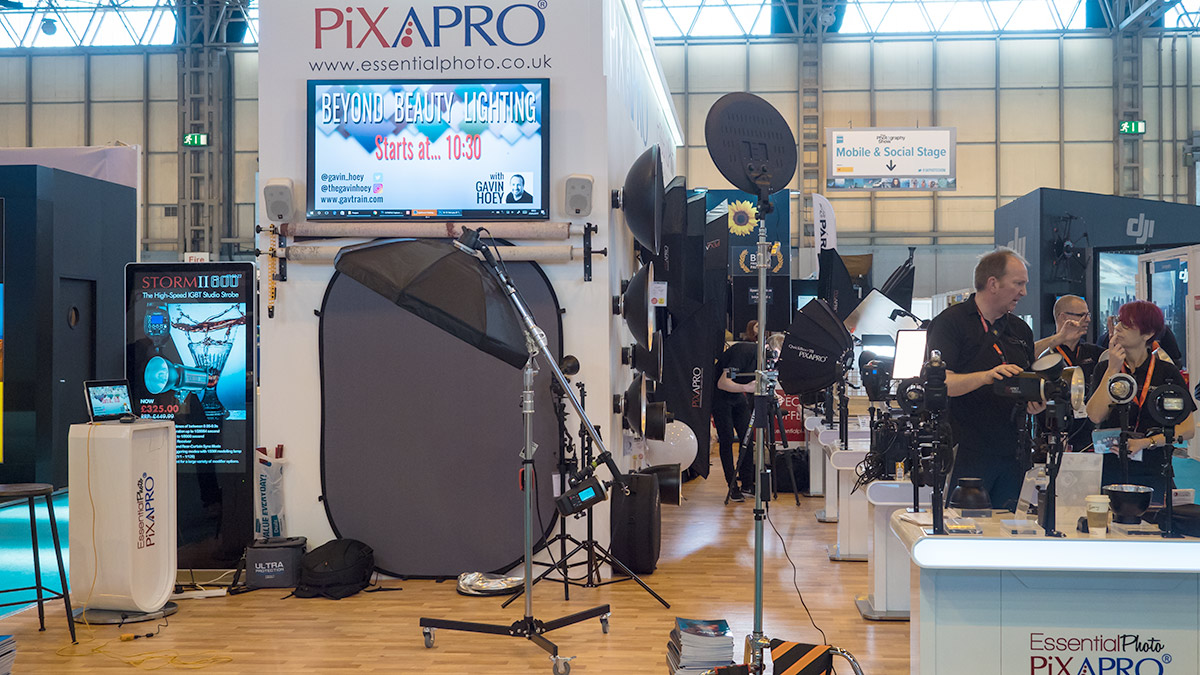
The Photography Show (TPS) is the UK’s biggest and busiest photo event and last week I was lucky enough to be there for all four days. But I wasn’t there to shop, network and learn. I was there to teach.
In all I did 17 talks, demos and live streams in four days, so TPS 2017 was a super busy event for me. Along the way I met with some wonderful photographers, so if you stopped and said hello then thank you.
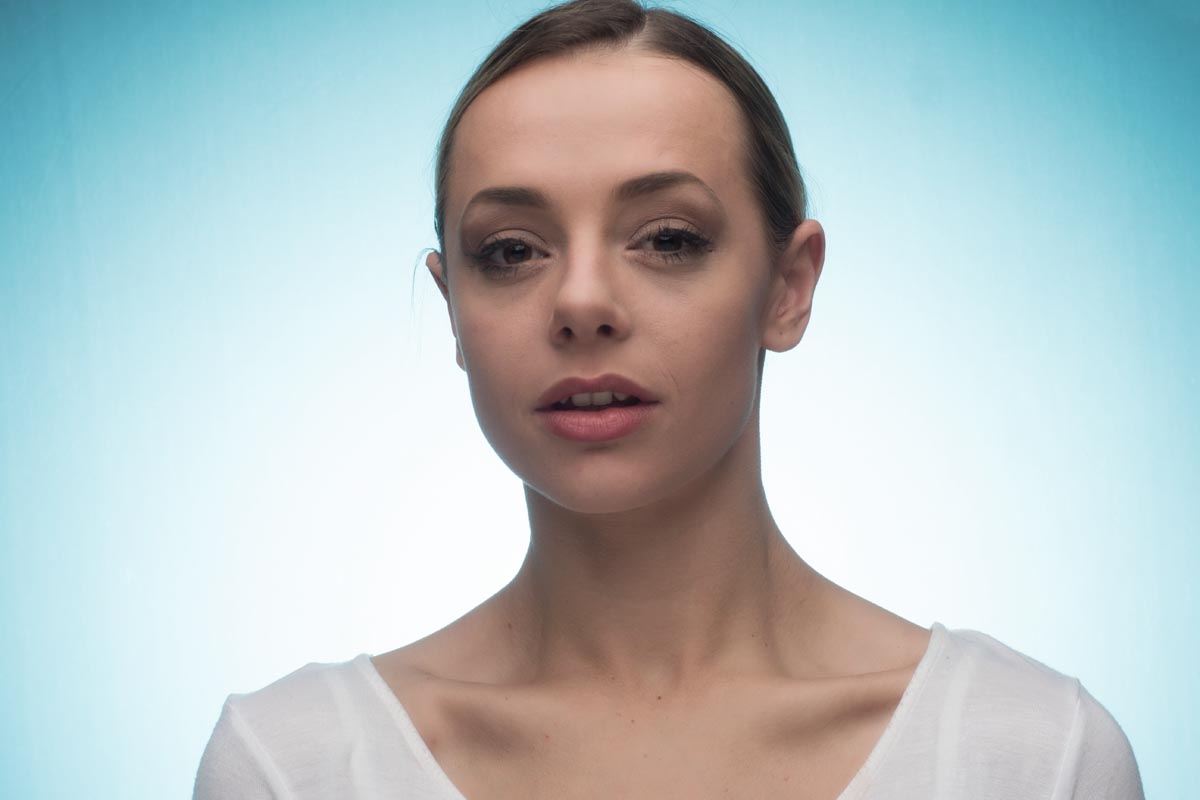
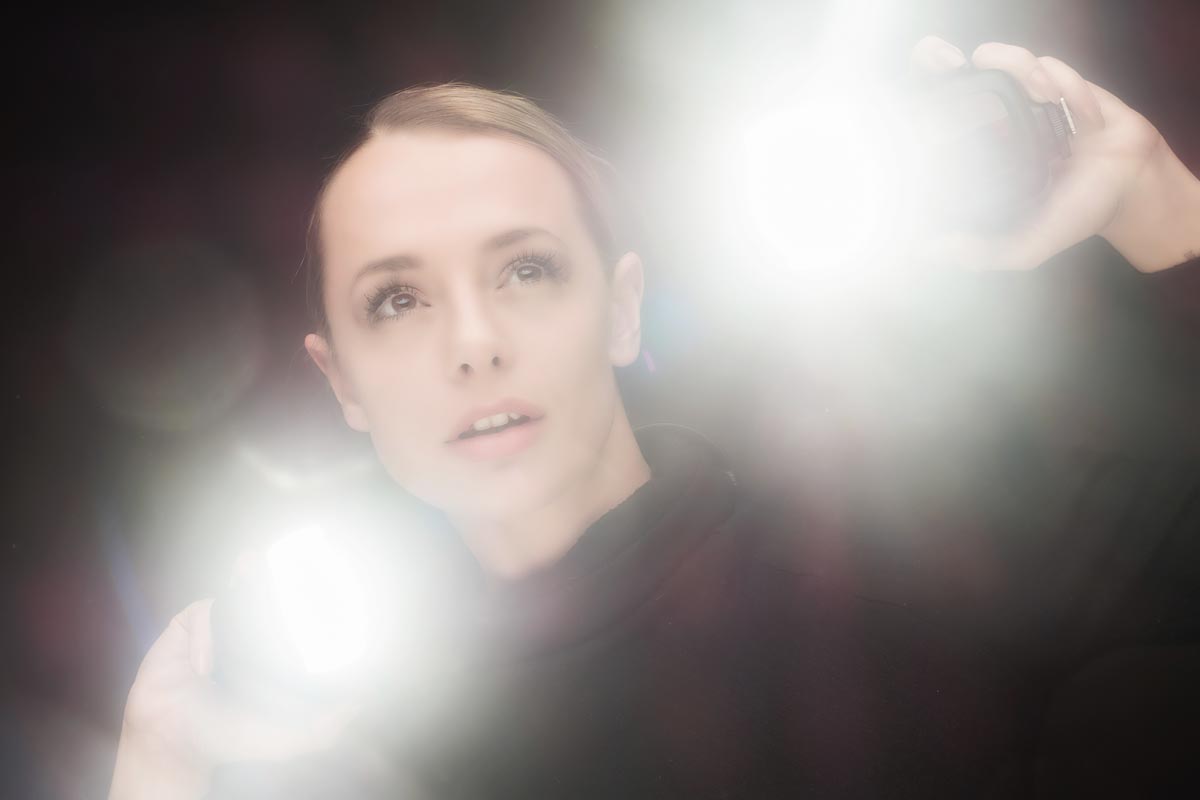
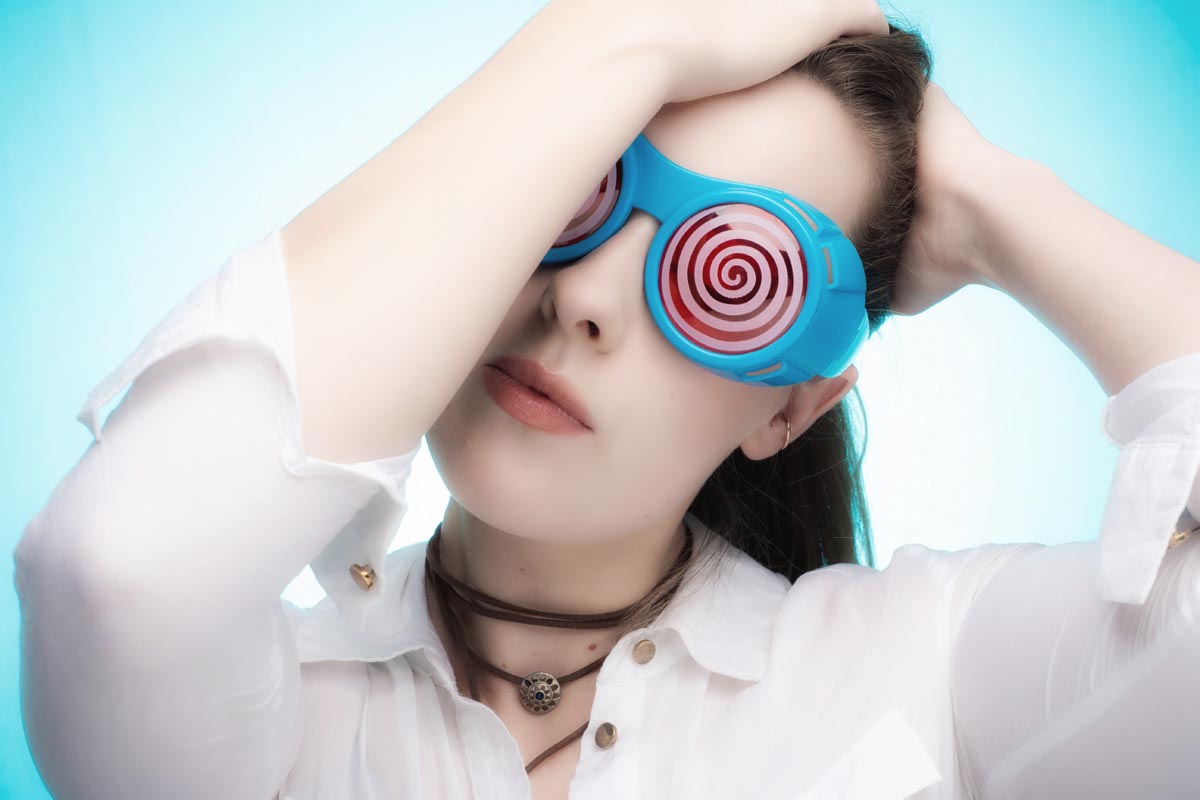
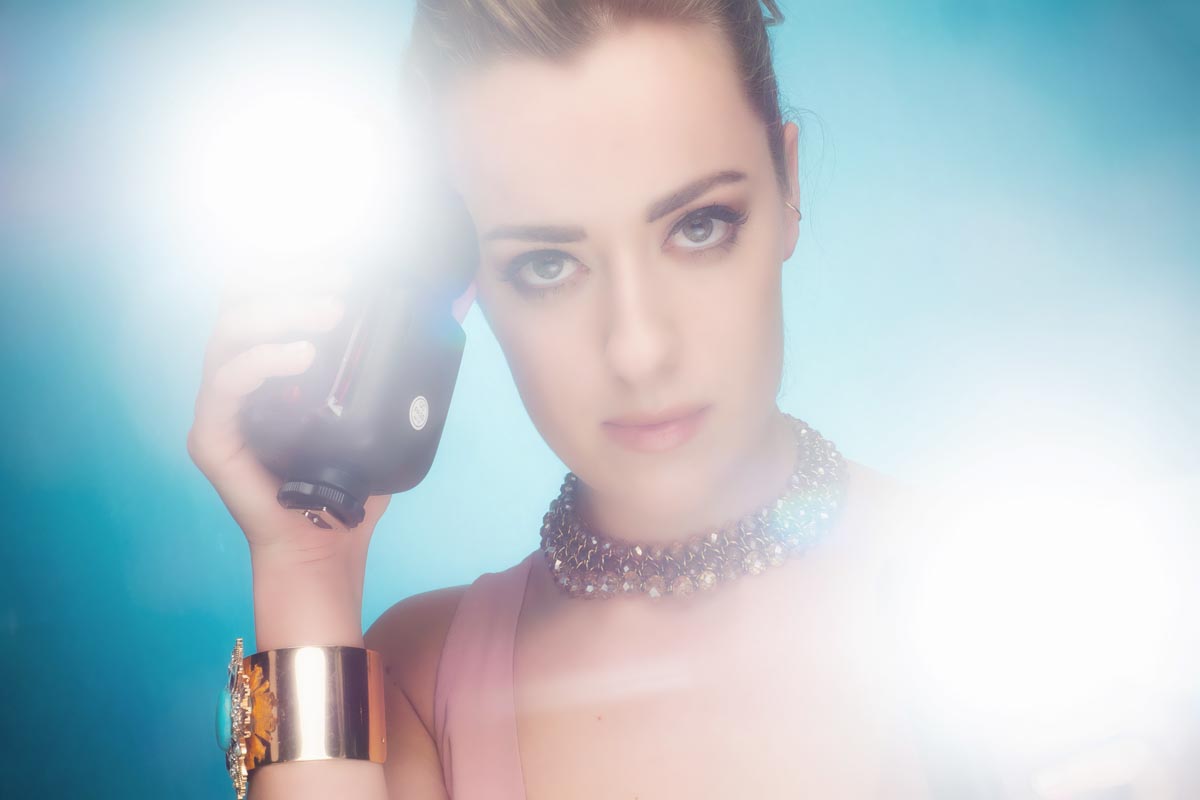
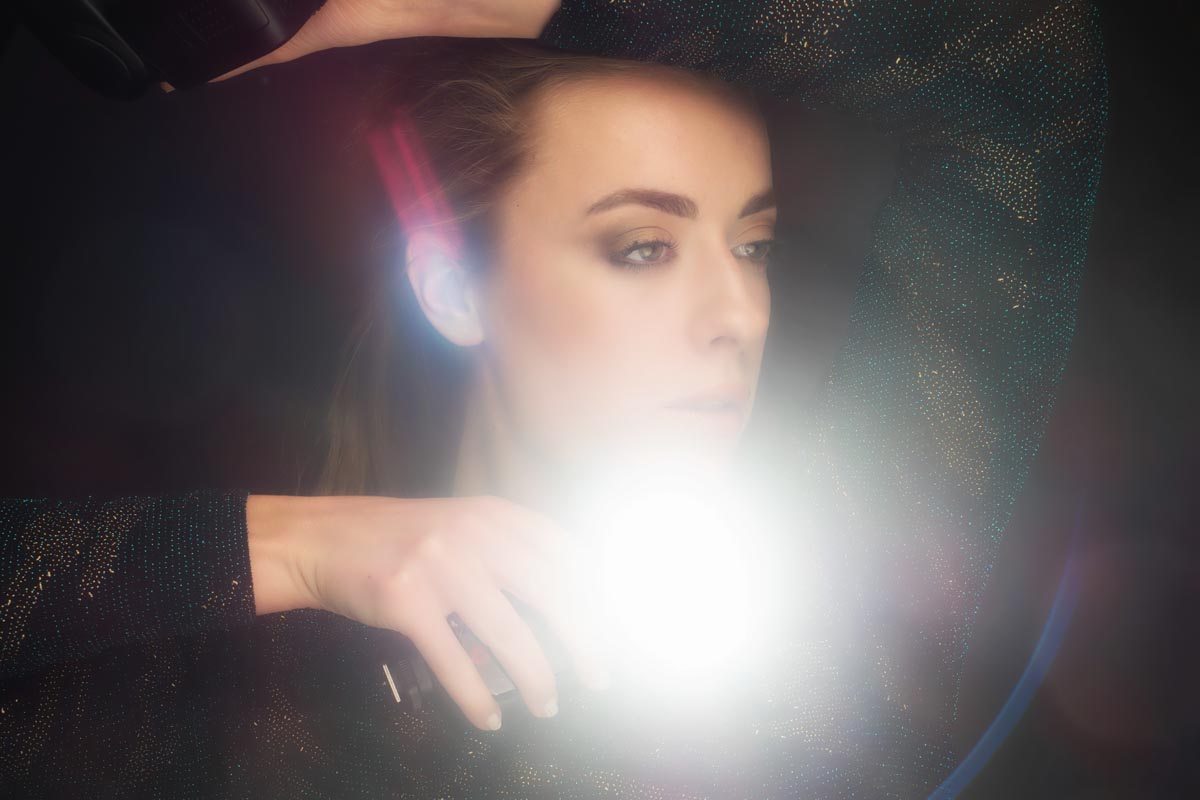
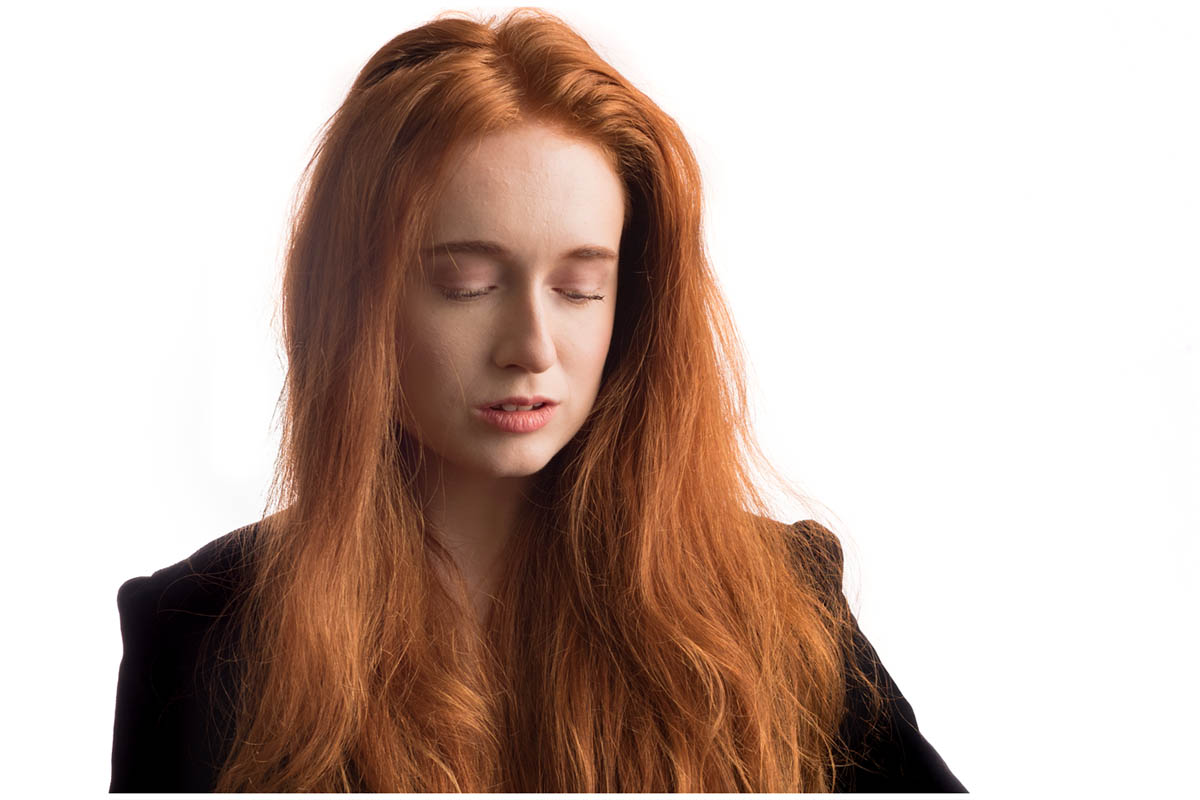
Most of my demos were with PiXAPRO lighting and below are some of the photos from my “Beyond Beauty Lighting” demo. The photos below are straight out of camera and give you a fair idea of what I was showing.
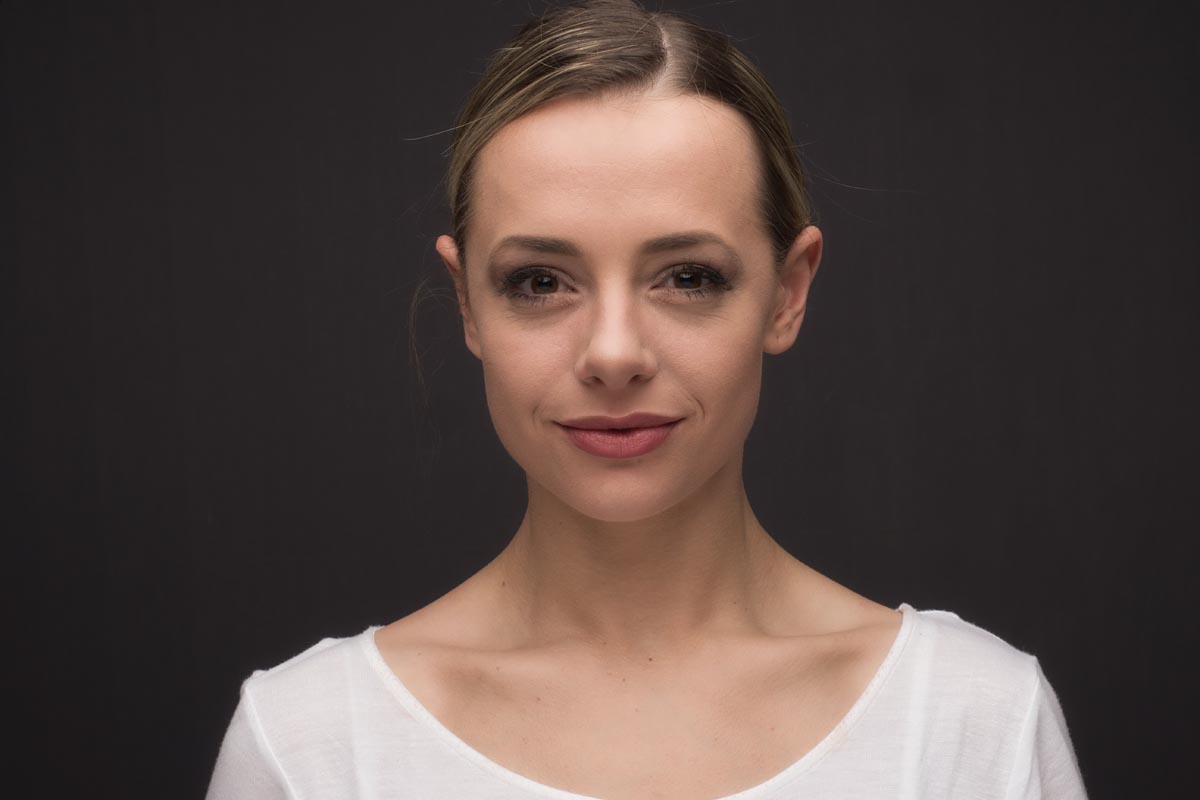
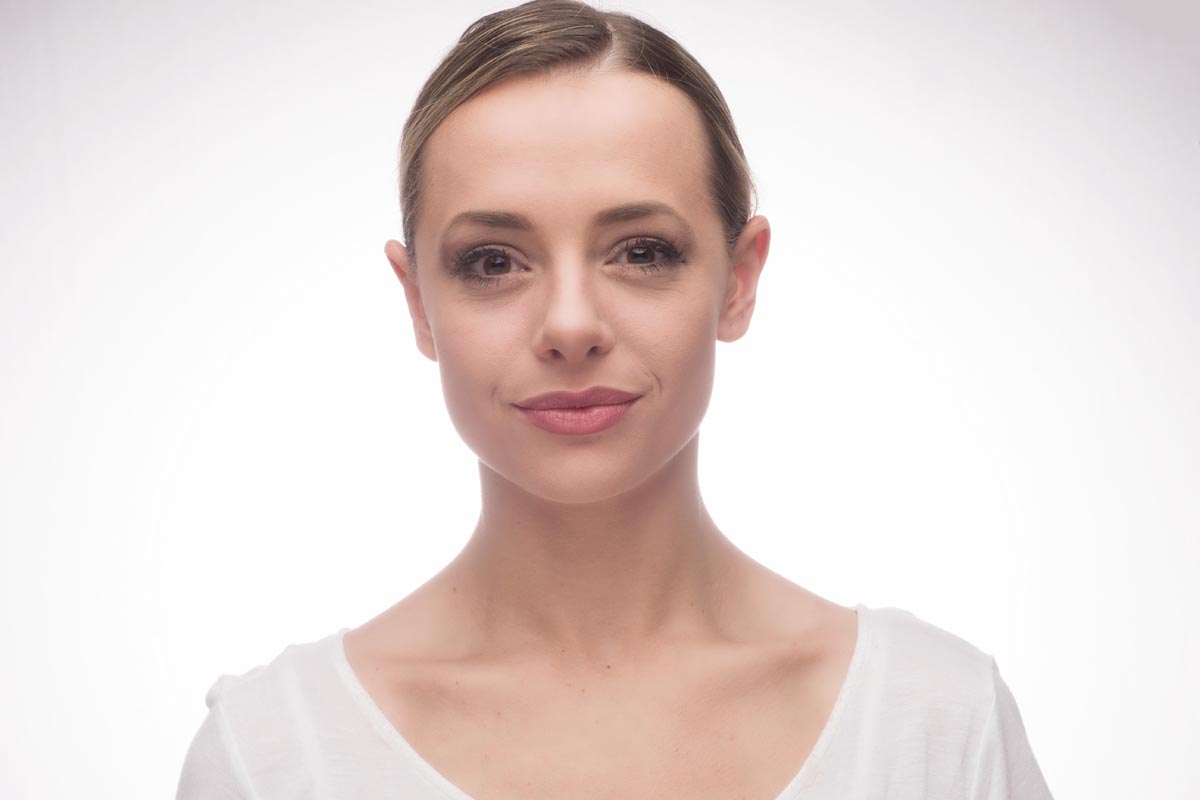
My idea was to set up the “classic” clamshell or beauty lighting with a softbox above and a white reflector below. Once done I then added a background light to take the mid grey background up to a light grey and then pure white. Once there I added a prop or two to style it out.
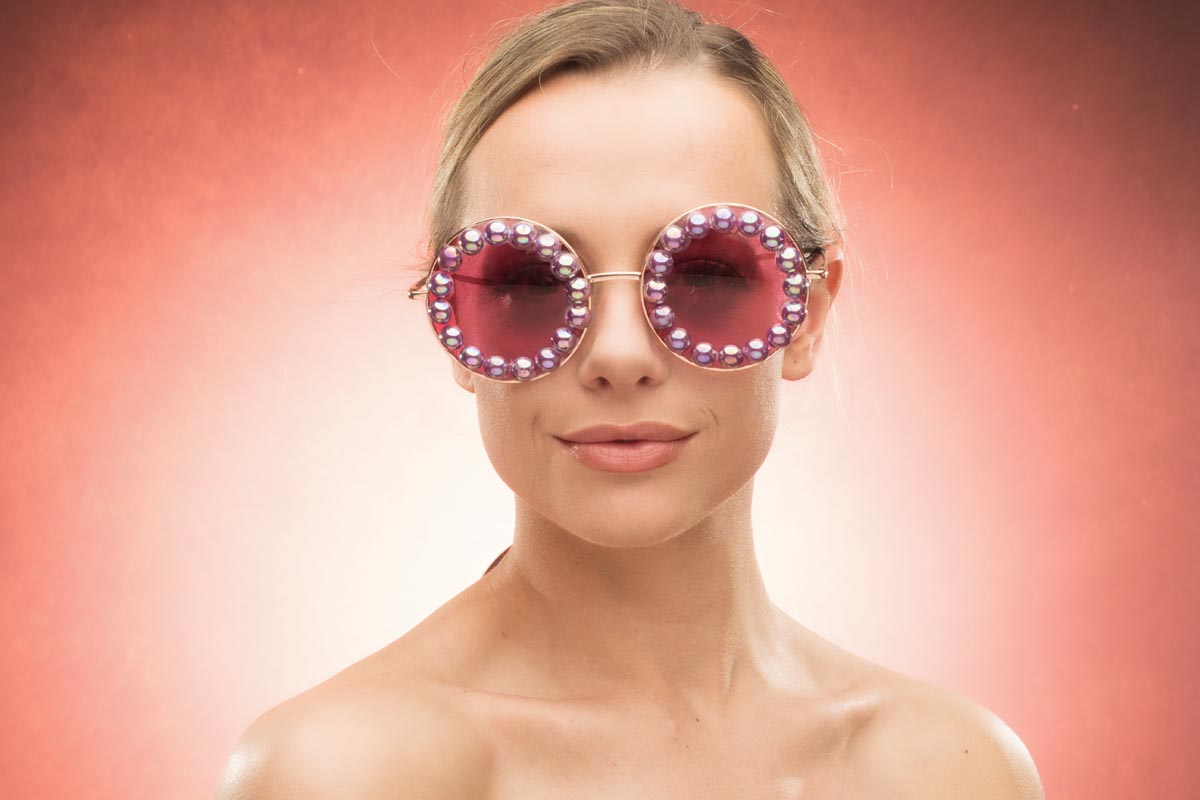
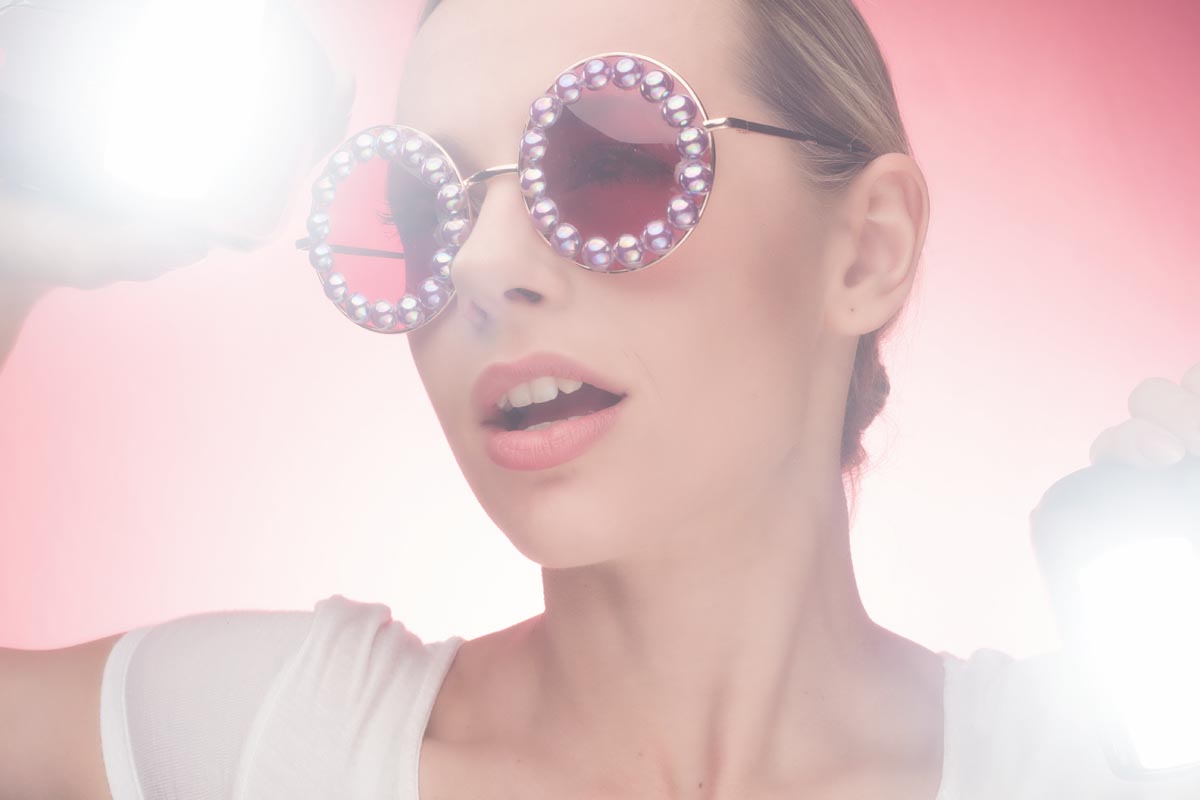
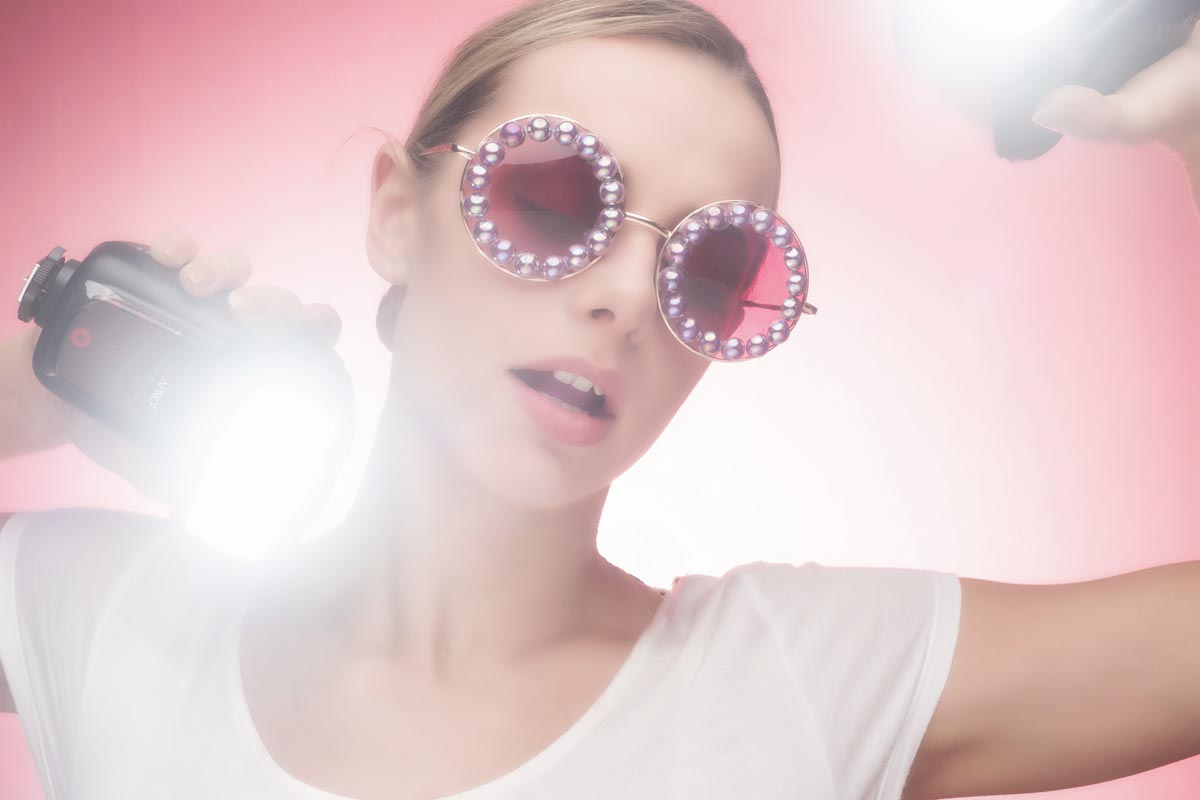
Next I added various coloured gels to the background, added two speedlights behind to “thin the face” finally broke the golden rule of photography by asking the model to hold the speedlights and point them at the camera. The result was unpredictable, random and fantastic fun! OK here’s a few more of both models with just a light touch of editing.
I worked with two models supplied by PiXAPRO over the four days. Ayla and Rosa both worked incredibly hard to make not only demos work but also the other PiXAPRO photographers who also worked the stand.
If you were one of the lucky few photographers who saw my demo AND got a chance to test out the lights with Ayla or Rosa I’d love to see what you shot… leave a link in the comments below.
There’s just one week to go until The Photography Showopens its doors at the N.E.C. in Birmingham and this year my free demos are back and better then ever. Running from the 18th – 21st March, it’s the UK’s biggest and busiest photography show around 30,000 amateur and professional photographers attending. It’s packed with a great mix of stands from the major photographic suppliers to the small independent retailers.
But this isn’t just another trade show, there’s also loads of things to see and do. There’s a constant stream of free demos and talks on various live stages and that’s on top of all the smaller demos on many of the booths dotted around the show.
I’ll be there for the whole four days giving various talks and demos on Photoshop, portrait lighting and photography. I’ll be dashing from demo to demo (see below) but if you’re coming along it would be great to meet you.
Saturday
10.30 am
PiXAPRO E91
Creative portrait lighting (Demo)
12.30 pm
Adobe Theatre
Photoshop CC For Photographers (Demo)
1.30 pm
Olympus D91
Action Stations (Talk)
2.30pm
PiXAPRO E91
Creative portrait lighting (Demo)
Sunday
10.30 am
PiXAPRO E91
Creative portrait lighting (Demo)
12.30 pm
Adobe Theatre
Photoshop CC For Photographers (Demo)
1.30 pm
PiXAPRO E91
Creative portrait lighting (Demo)
3.00 pm
Olympus D91
Action Stations (Talk)
4.00 pm
TPS Live Stage
Lighten Up (Demo)
Monday
10.30 am
PiXAPRO E91
Creative portrait lighting (Demo)
12.30 pm
Adobe Theatre
Photoshop CC For Photographers (Demo)
2.30 pm
PiXAPRO E91
Creative portrait lighting (Demo)
Tuesday
10.30 am
PiXAPRO E91
Creative portrait lighting (Demo)
12.30 pm
Adobe Theatre
Photoshop CC For Photographers (Demo)
2.00 pm
PiXAPRO E91
Creative portrait lighting (Demo)
All my demos are free and available on a first come first served basis. There’s no need to book but as the Adobe theatre in particular has limited seating I’d recommend getting there early!
Show tickets are free for professional photographers and the trade (if booked in advance) and £13.95 for enthusiasts (£18.00 on the door)
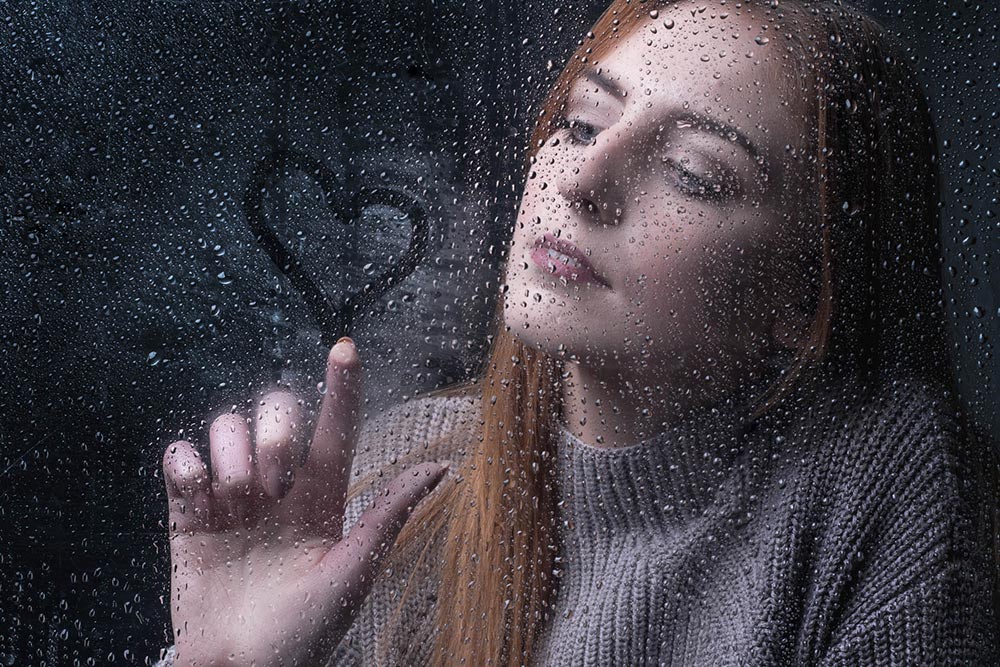
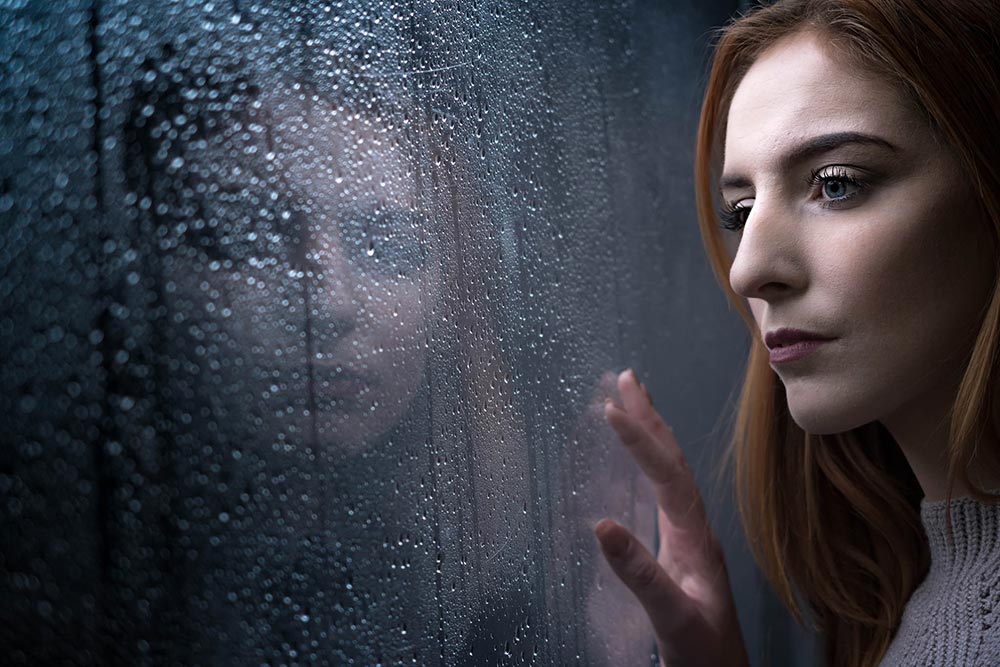
Rainy days aren’t always the easiest days to get great photos for a whole bunch of reasons but with a bit of effort and a lot of luck, you can get amazing photos.
However if getting wet isn’t your thing, it’s surprisingly simple to bring the rainy weather inside and under your control.
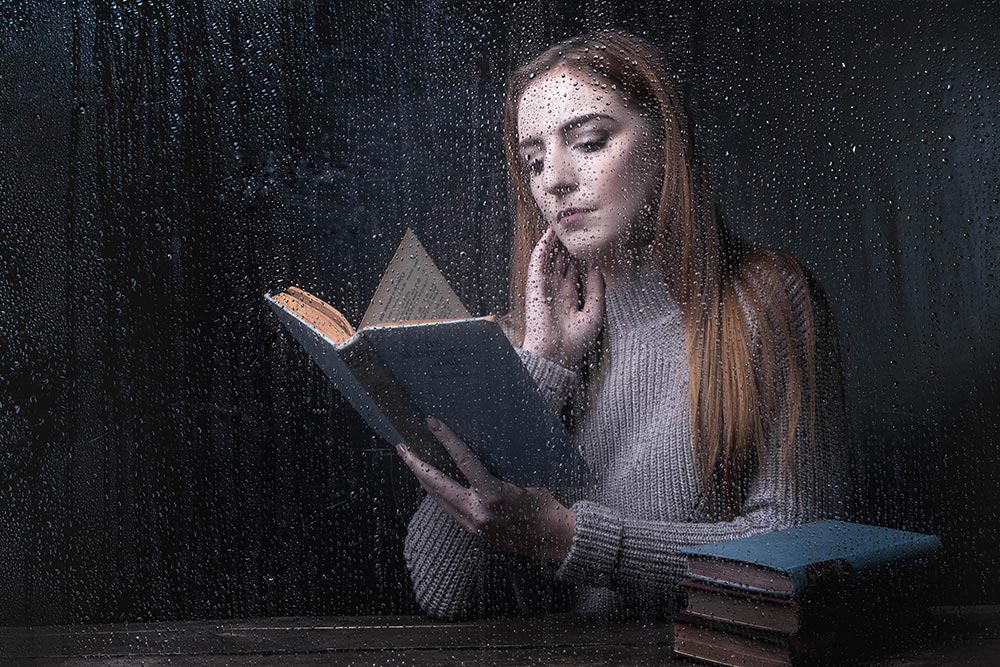
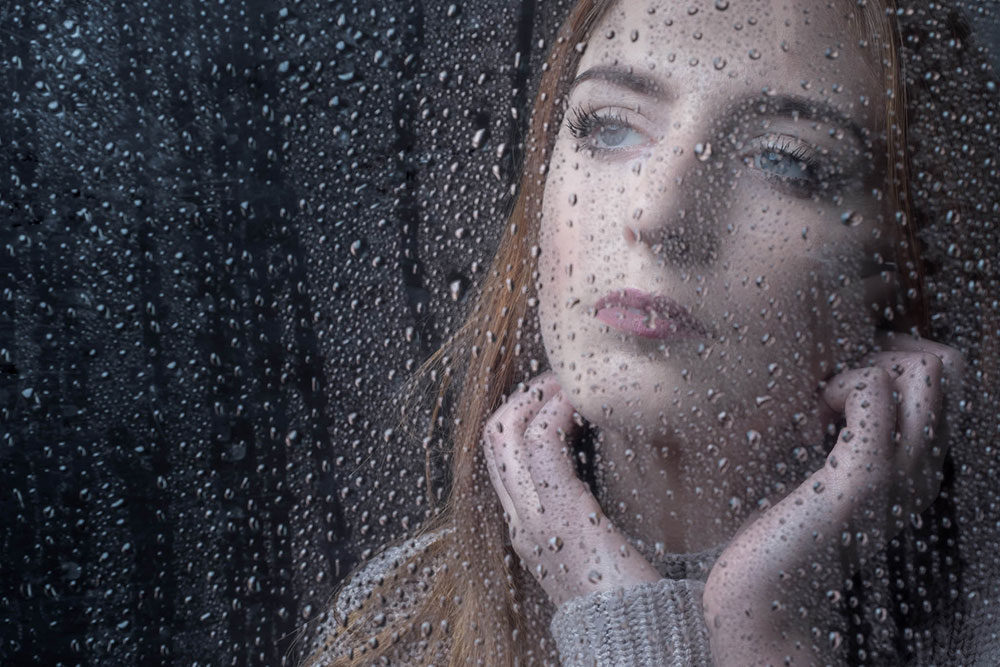
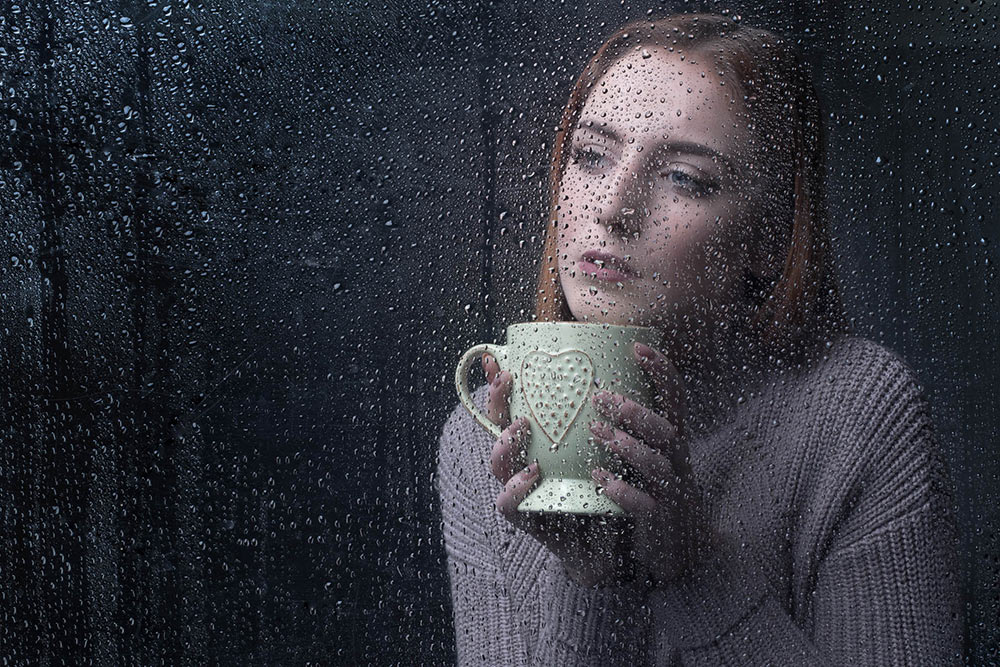
In the video below I’ll show you how you can create a rainy day window portrait using a couple of flashes and some simple props.
The main thing you’ll need is a “window” and although you could use a real one I opted for a sheet of clear Perspex (also called Plexiglas or clear Acrylic). I’ve had my sheet for many years and it’s very scratched but still serviceable. www.wickes.co.uk/Wickes-Durable-Acrylic-Sheet-90cmx1-8m/p/210002
The video has two ways of using the “window”, shooting looking from the outside in and shooting from the inside, out. Both have their own unique feel and if you’re set for one, doing the other is quick and easy.
If you tried the technique yourself, do leave me a comment below and share your photo if it’s online somewhere.
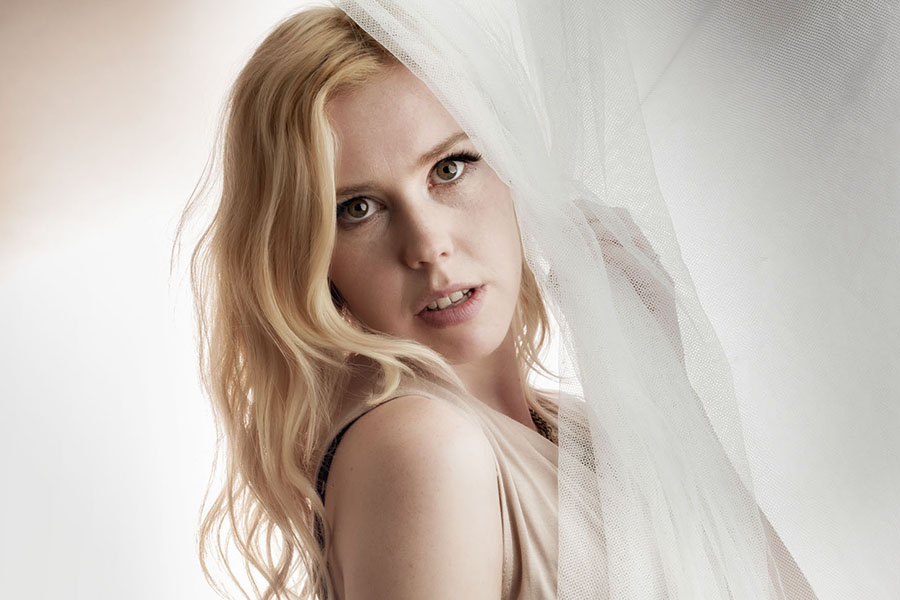
With the colder, darker weather very much with us here in the UK it’s not surprising that I’m finding the studio a much nicer place to work in then being on location. However the four walls of my small home studio can start to feel very limiting after a while so to avoid cabin fever setting in I have a selection of props to liven up my shoots.
The video below covers my three main types of prop and a few ideas on how I like to use them.
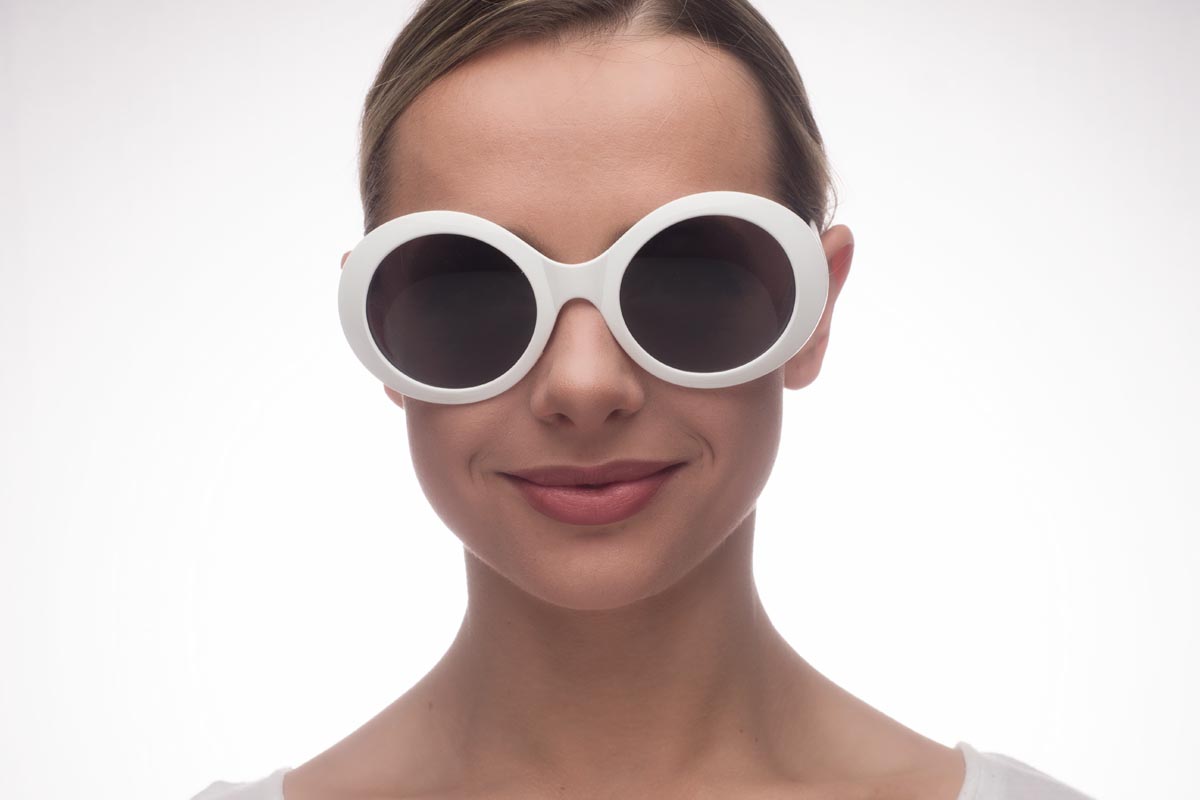
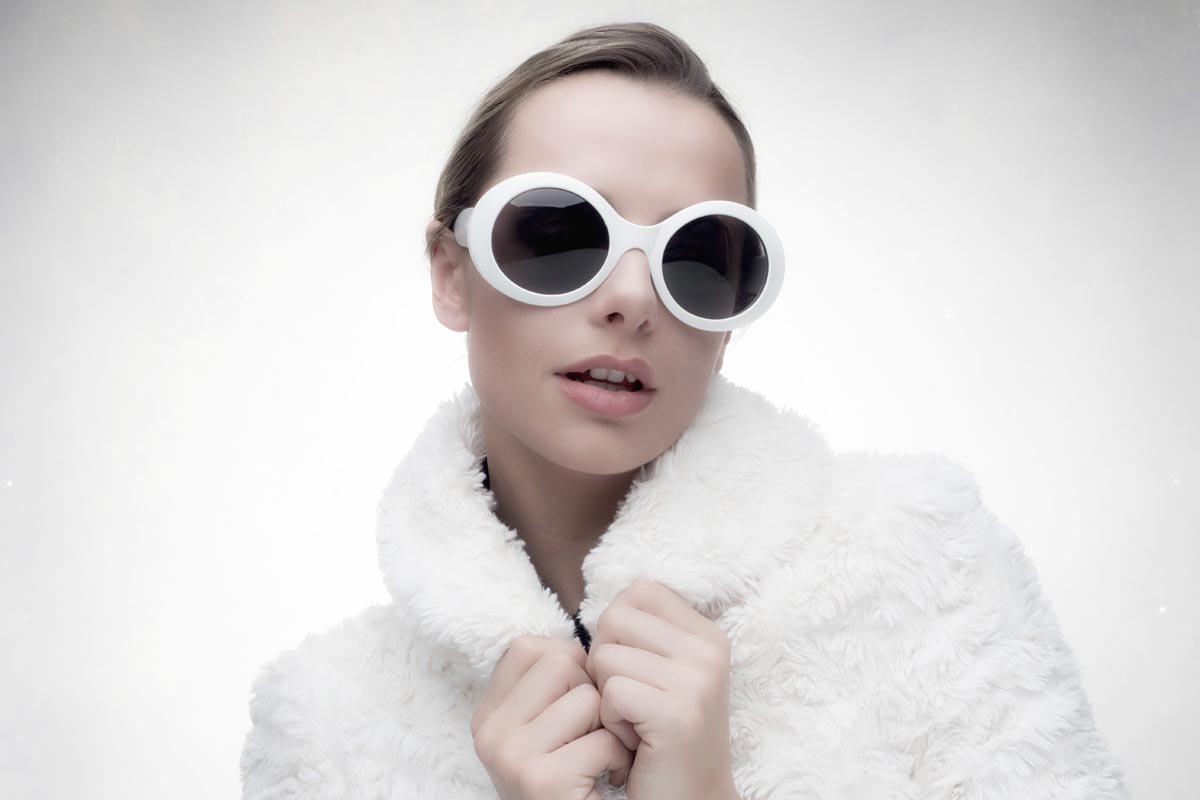
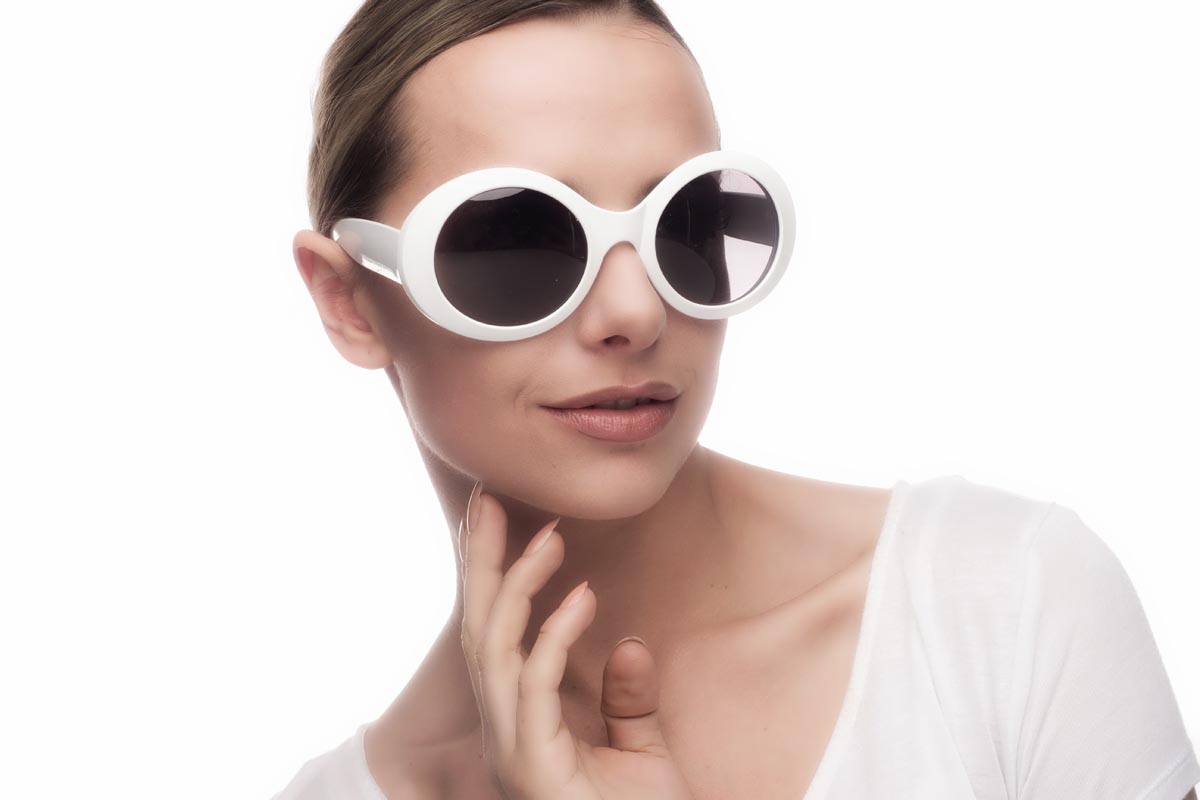
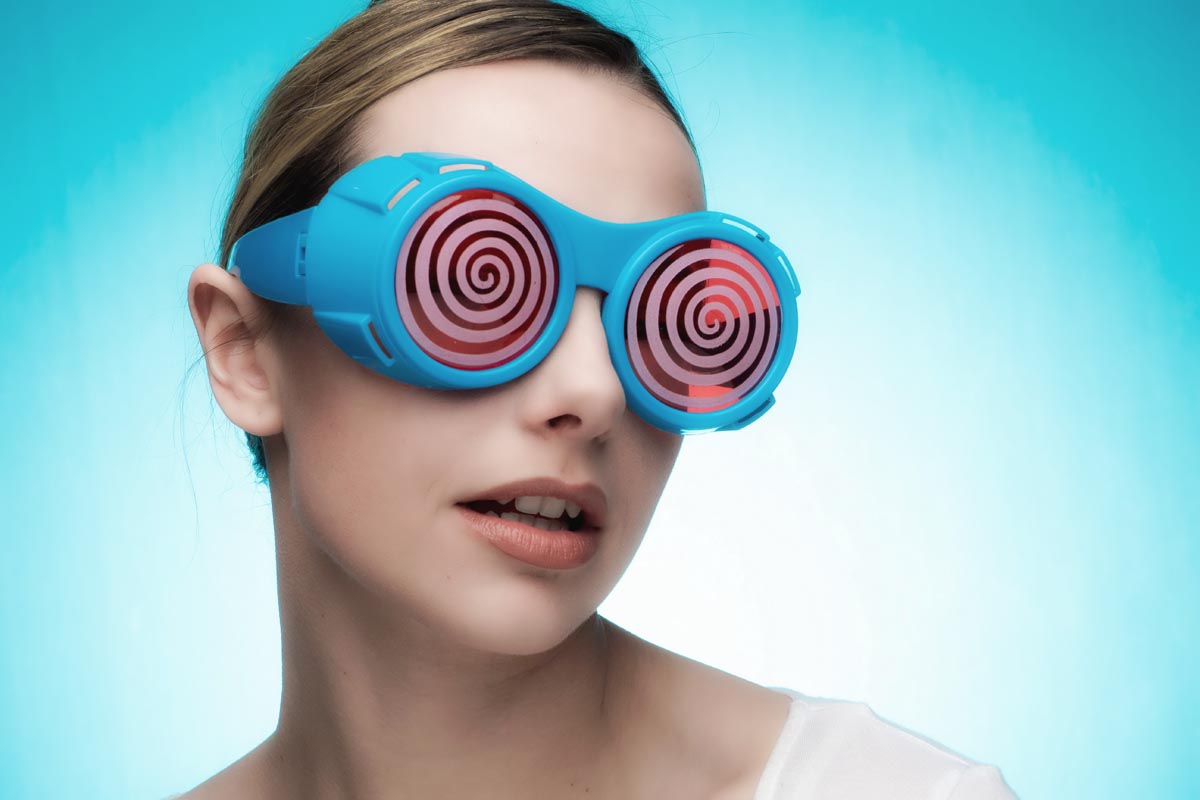
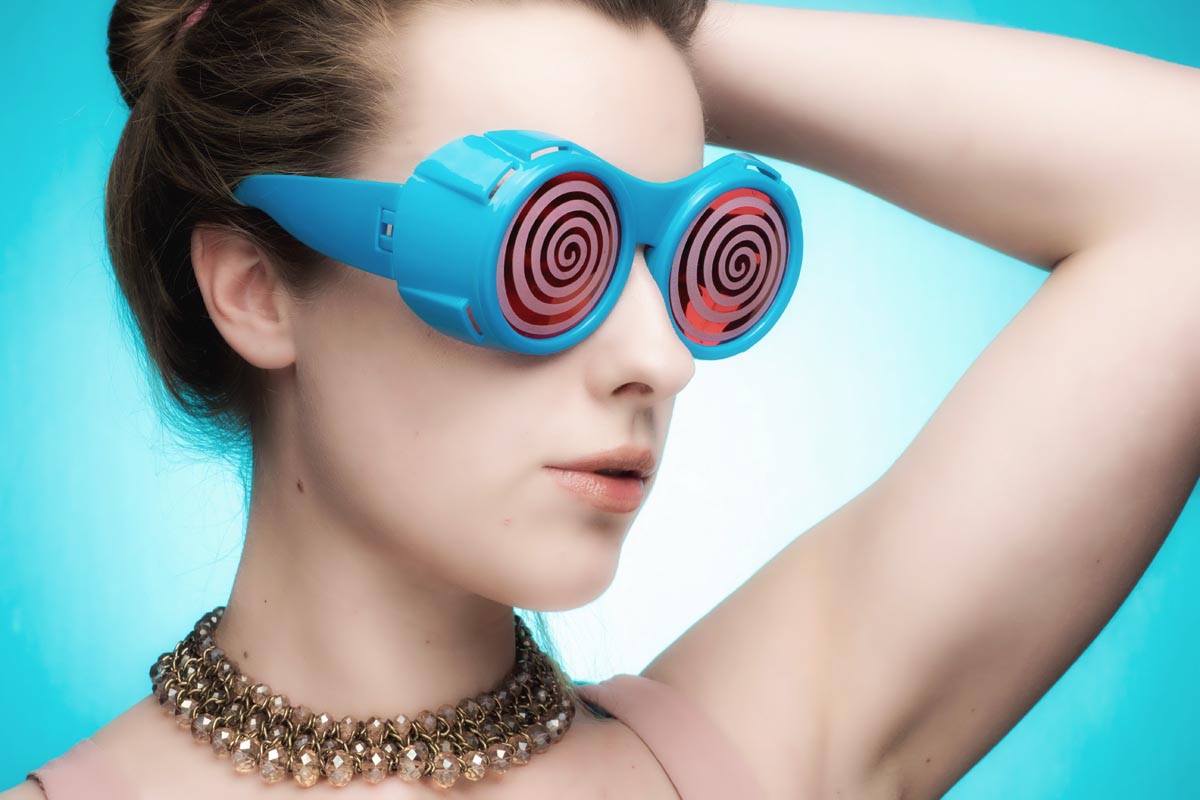
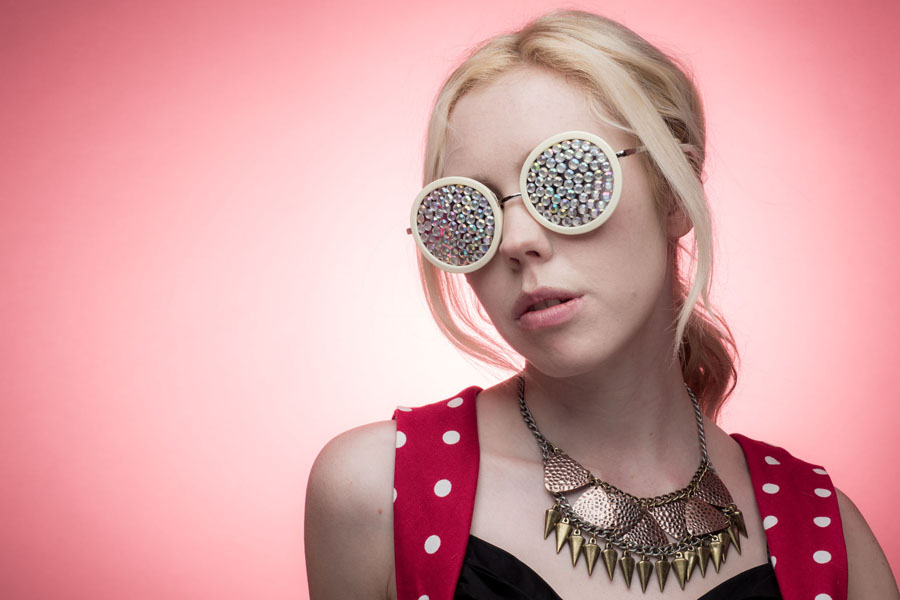
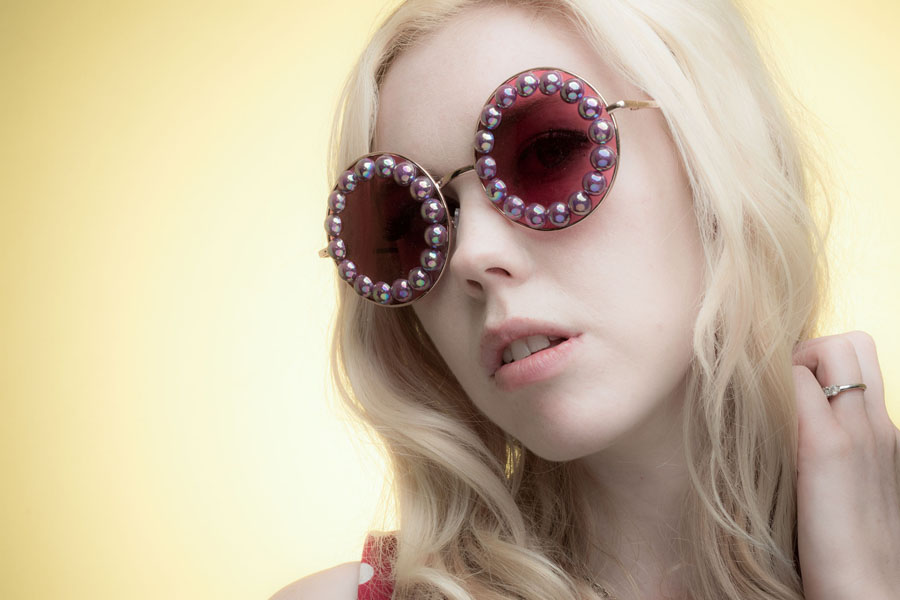
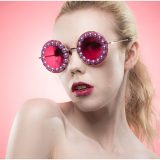
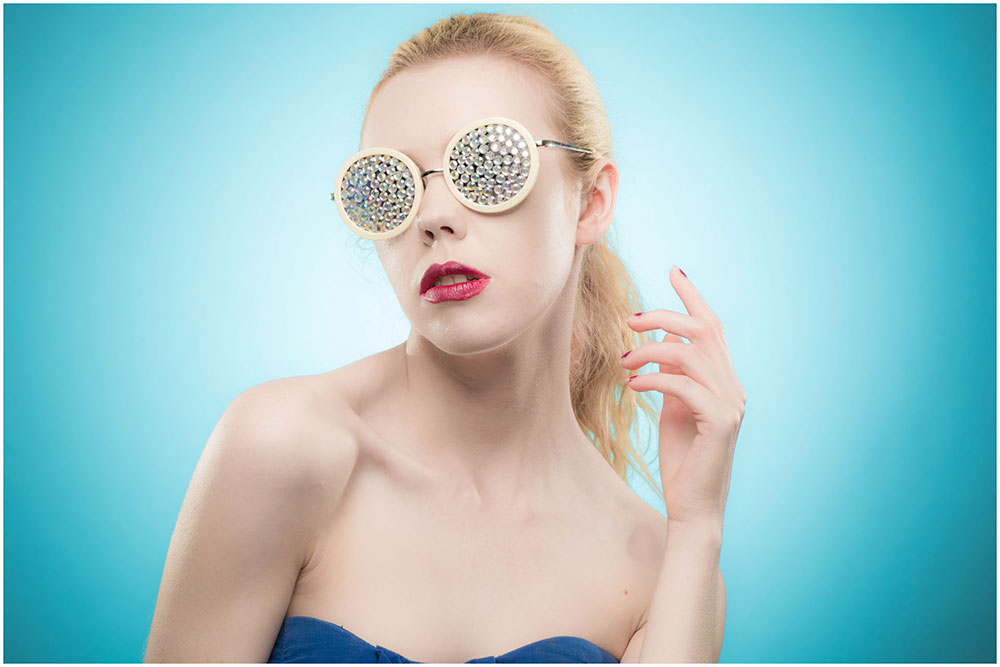
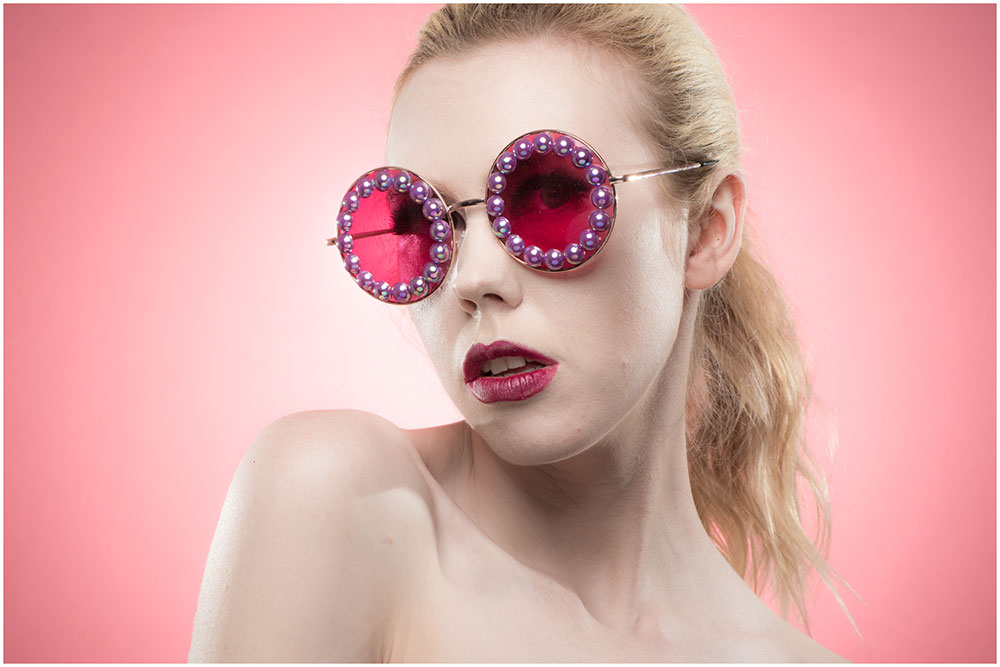
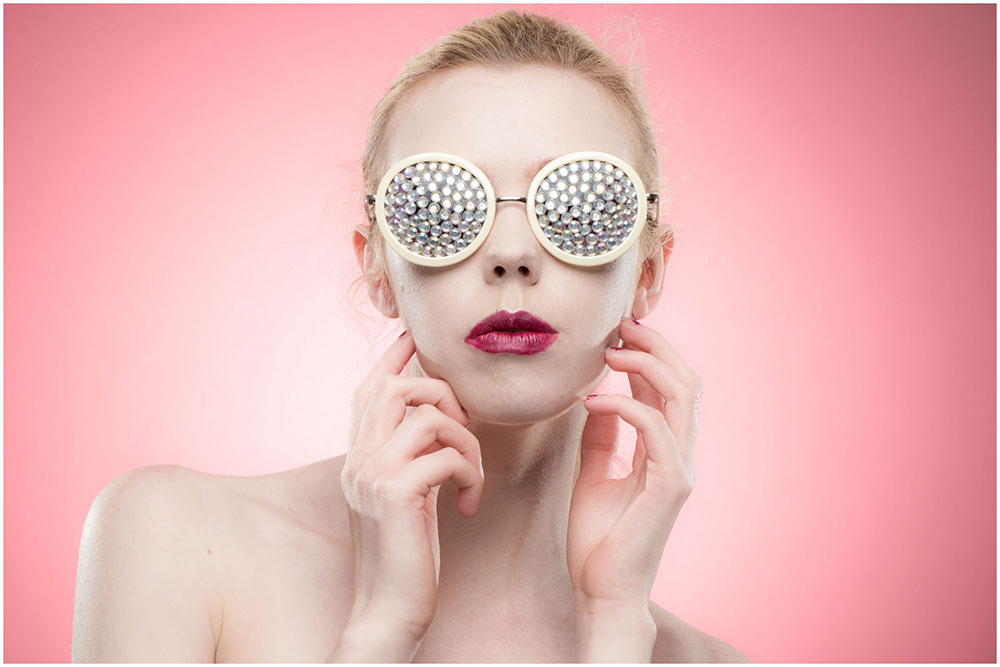
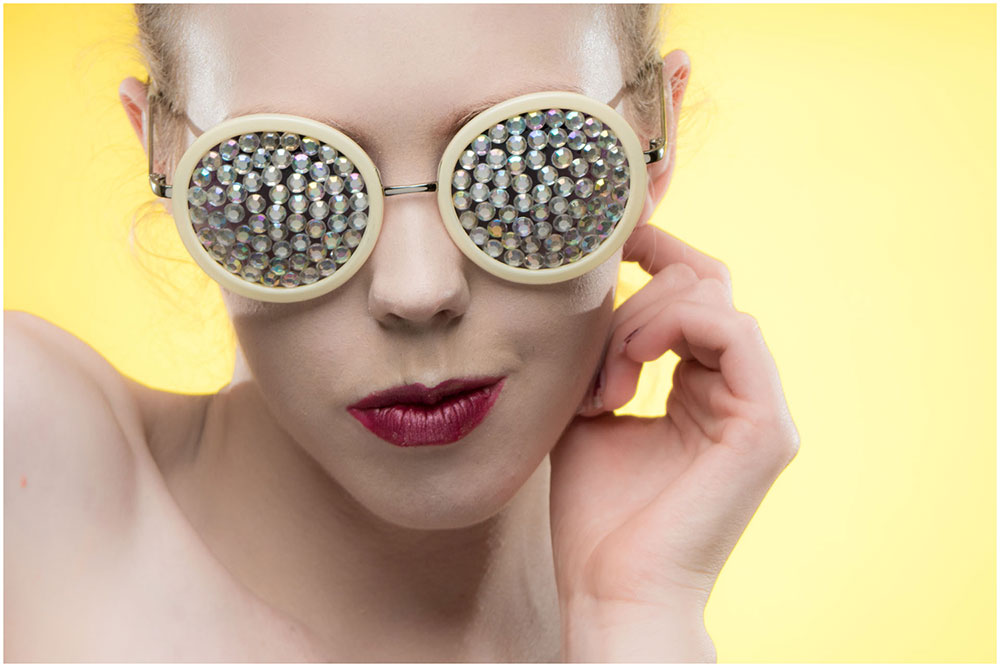
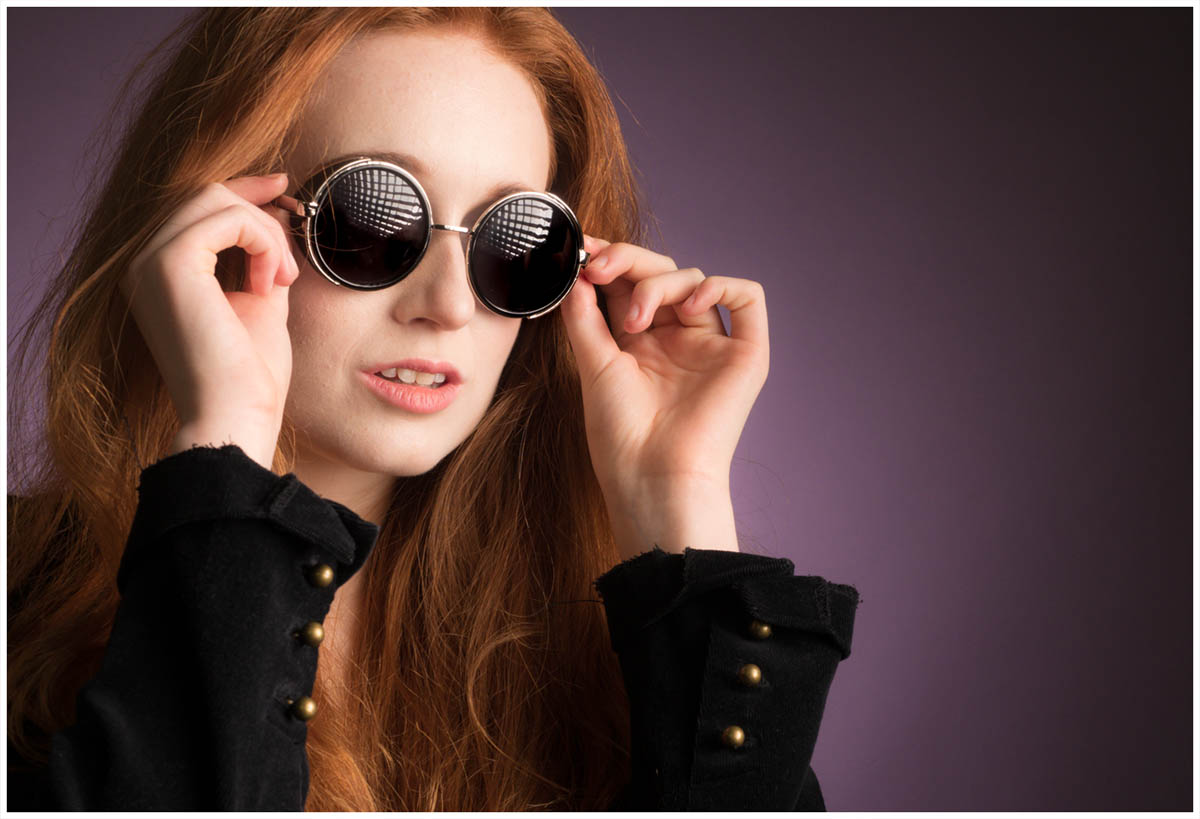
Sunglasses
Winter might sound like the wrong time of year to be on the hunt for novelty sunglasses but I find having a selection on hand can really help. On a very simple level it gives something for your subject to interact with but sunglasses can also become part of the styling of the shoot. With a bit of craft skills you can also transform a pair of dull, basic sunglasses into a fashion item in it’s own right!
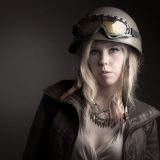
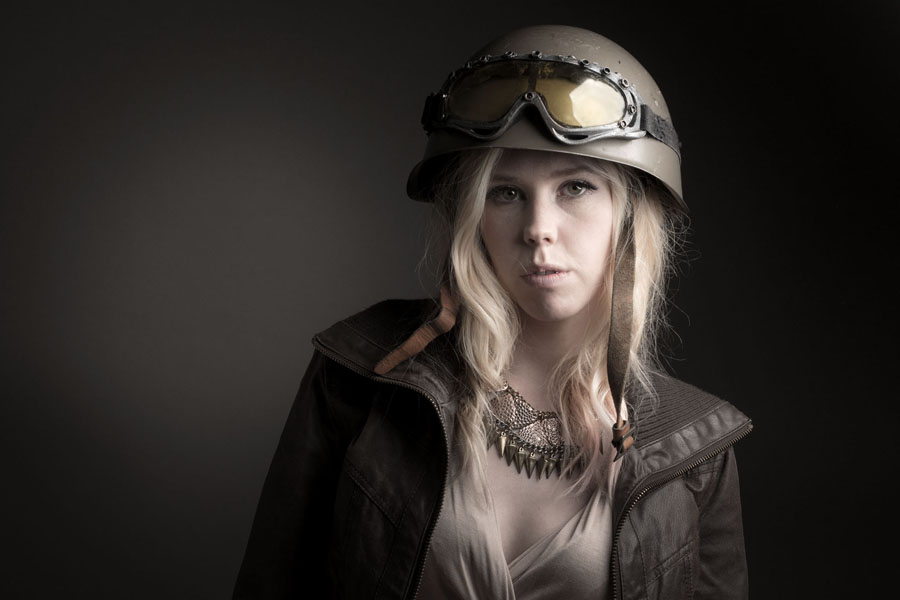
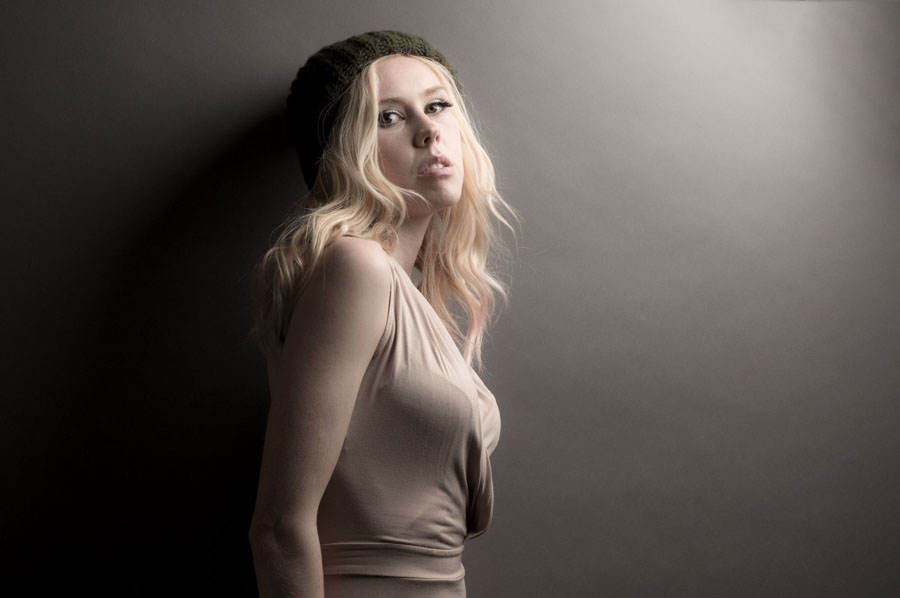
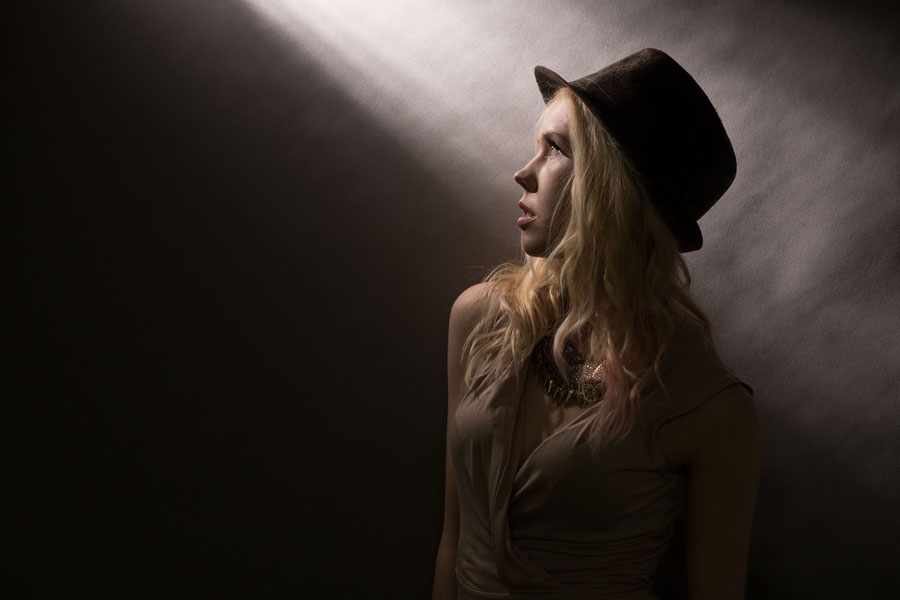
Hats
Just like sunglasses a hat can be worn or held once again giving your model something to work with. Hats can add character, hats can add mood, hats can be fun. Hats with brims can cast shadows which can cause problems as the model moves but with a bit of careful lighting that can be used to your advantage.
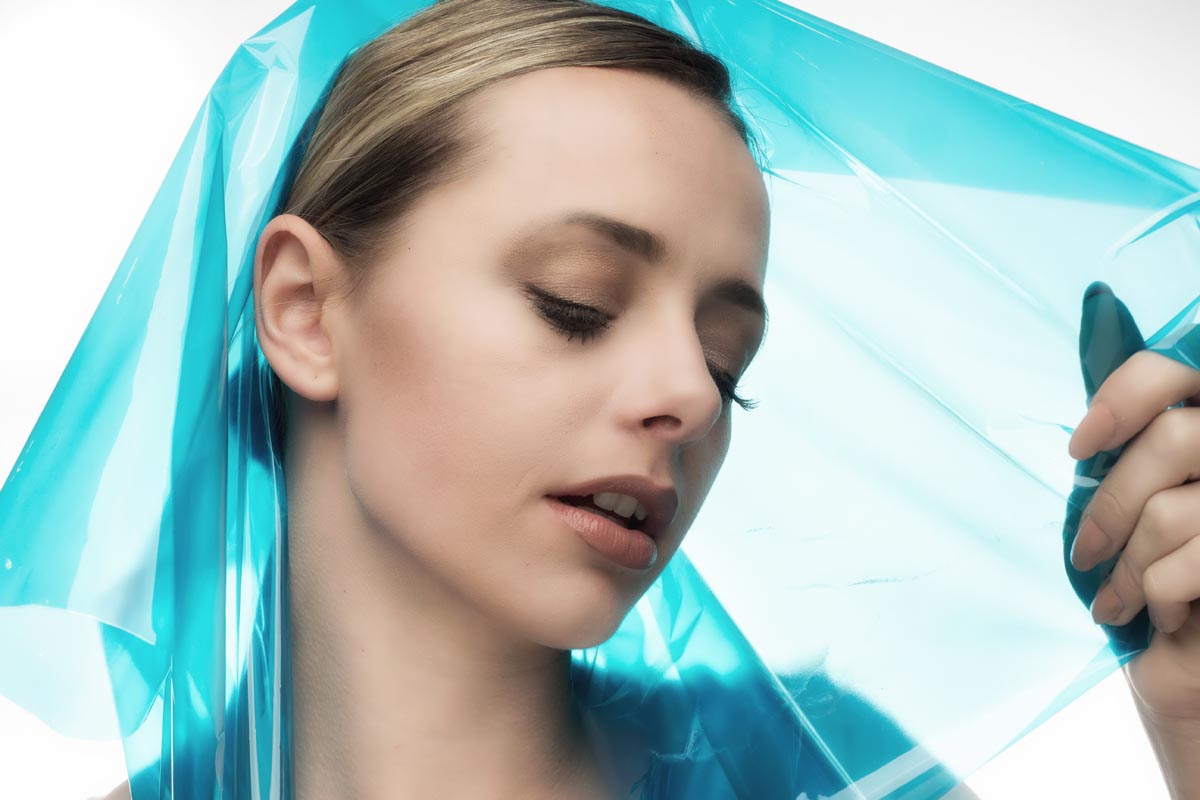
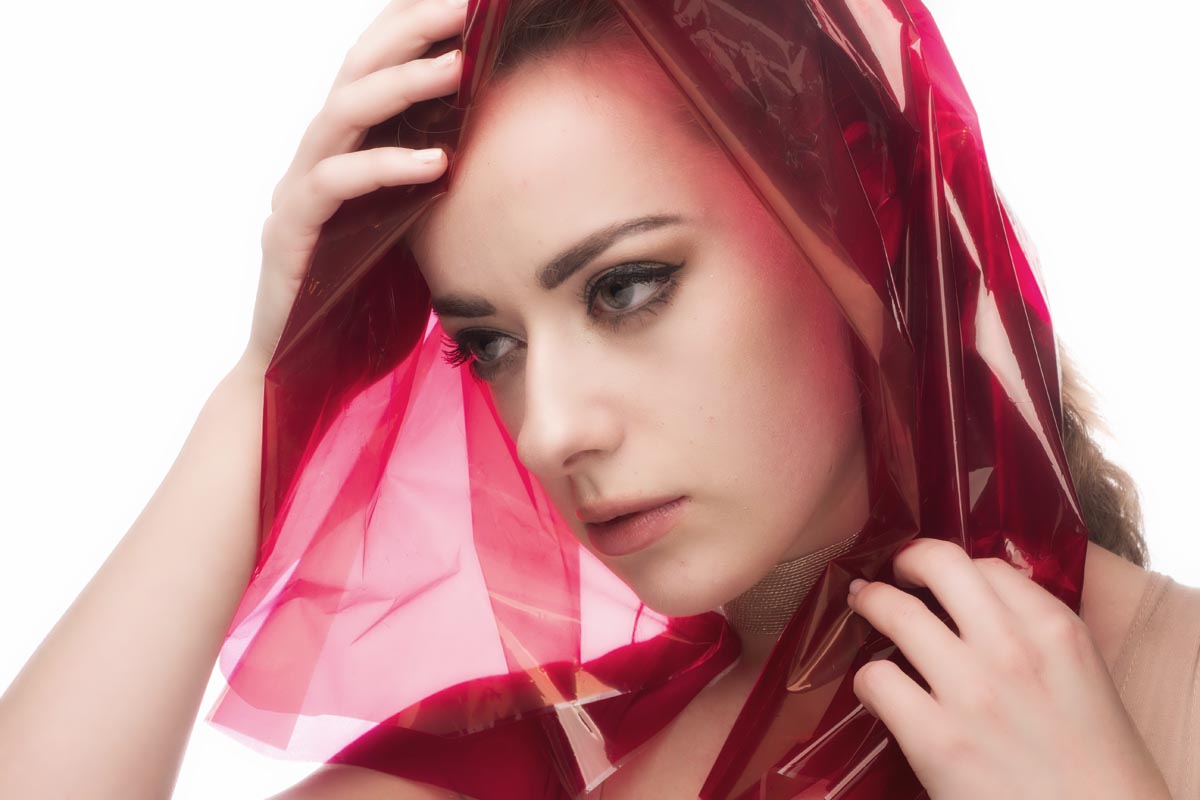
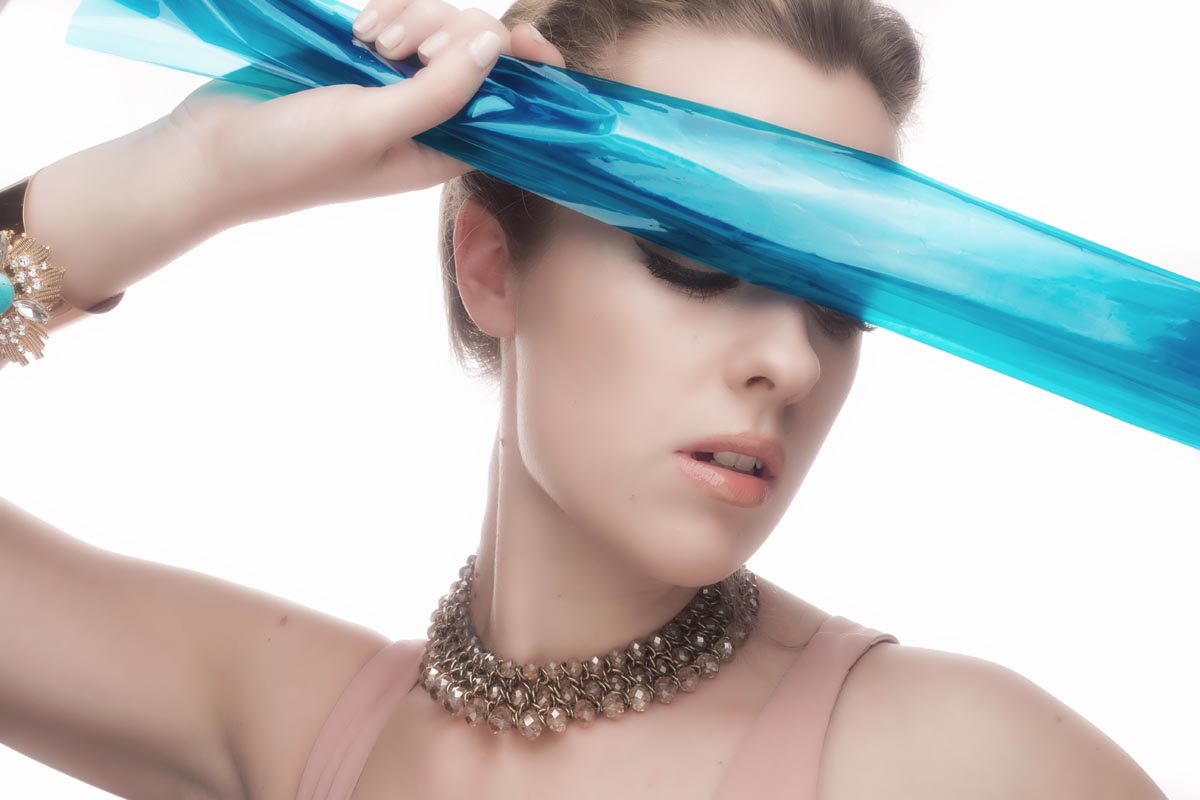
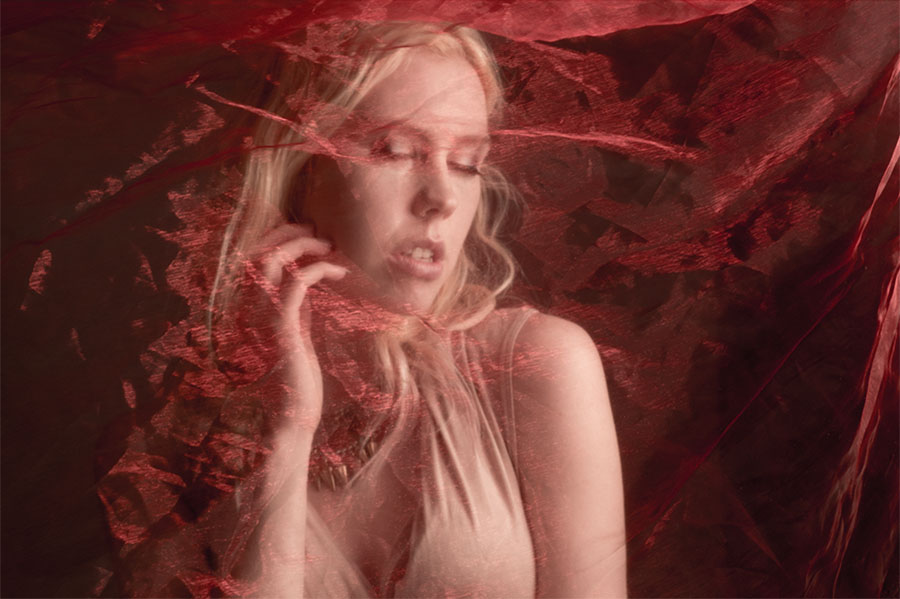
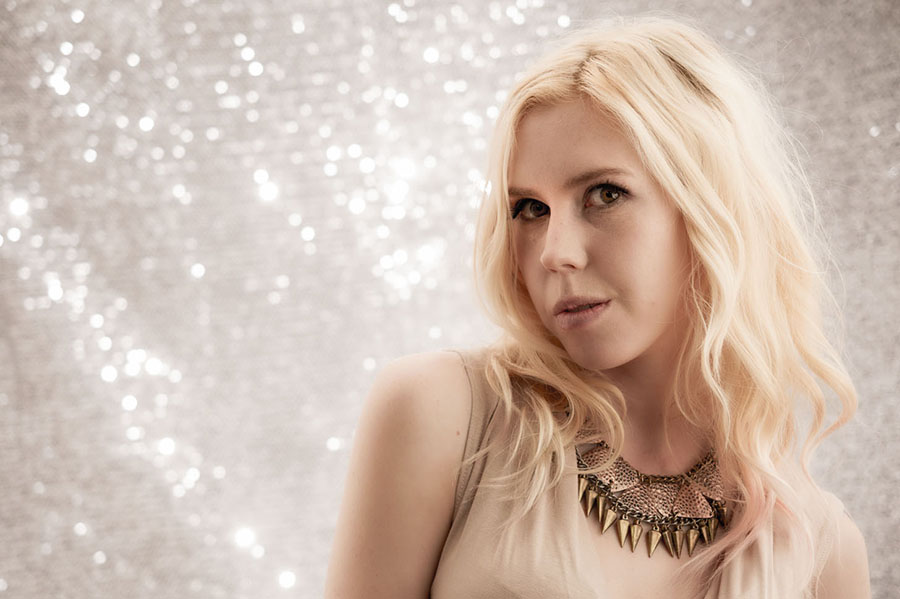
Fabric
Random bits of fabric are the perfect thing to have in the studio. They can be pegged up as backgrounds or wrapped around your model as a an outfit. Sheer fabric can be placed over your subject to add mystery or moved around for a floaty feel
There are endless ways to add ideas to your shoots, props can really help at this is just a few ideas to get you started.
Knowing the best focal length for shooting portrait isn’t as easy as it may sound. Different focal lengths give very different results, some more flattering then others. In this video I take the same head shot at several focal lengths and compare the results.
Traditionally a 50mm lens (on a full frame camera) has been considered the closest to the human eye but generally I prefer headshots with 70mm or more.
As you can see in the comparisons above, zooming in (and therefore stepping back from the model) has a few benefits. The longer focal lengths give even tighter crops on the background and stepping back compresses the facial features. Of course there’s plenty of scope for creative portraits when shooting head shots with a wide angle lens but for most photographers, longer focal lengths are better.
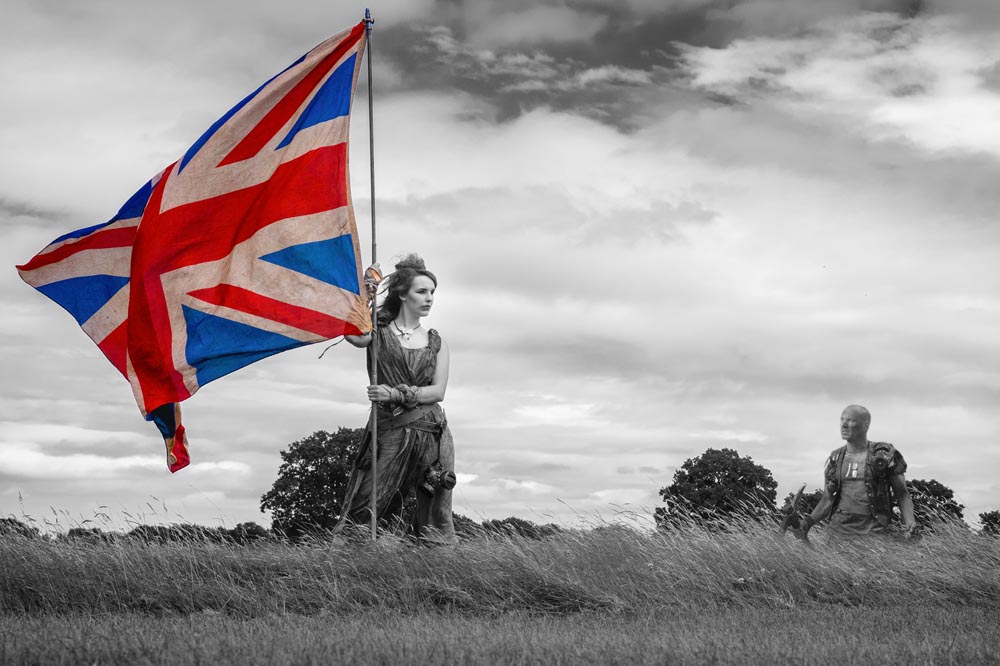
UPDATE: Scroll down to see the gallery from the 2nd running of the Aviation Apocalypse in September 2016
Last Sunday (24th July 2016) was the first Aviation Apocalypse workshop and after months of planning, building and testing ideas and outfits, it was amazing to see it all come together.
The Gatwick Aviation Museum was the location for the workshop and I was joined by 14 enthusiastic photographers and two amazing models. In order to keep the groups small and the shooting time high, I roped in the help of Tommy Reynolds as a group leader who did a brilliant job passing on his ideas and passion for the shoot.
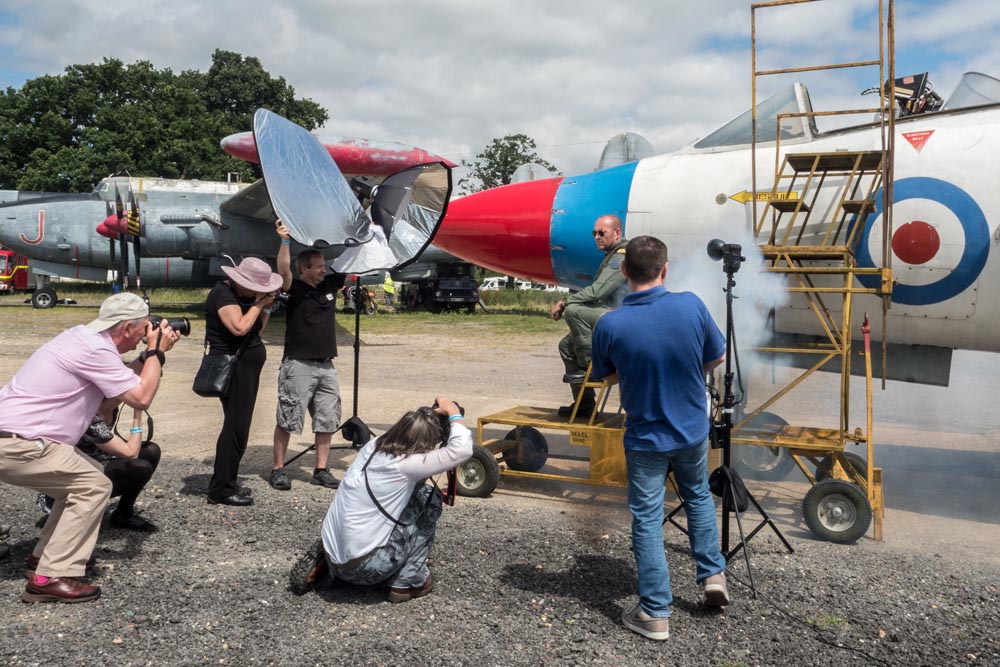
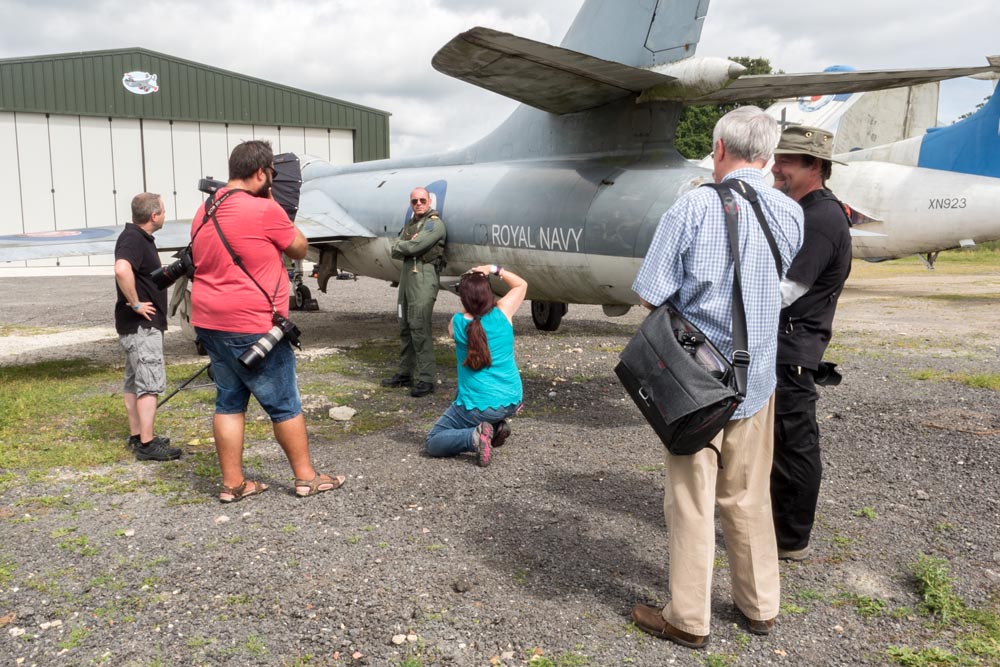
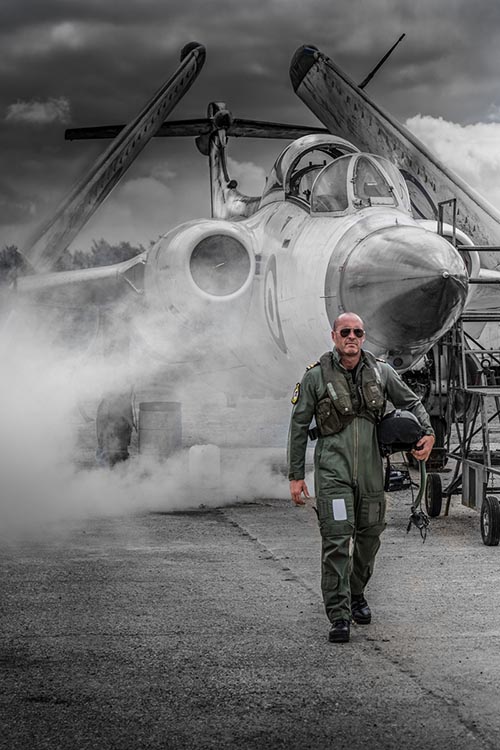
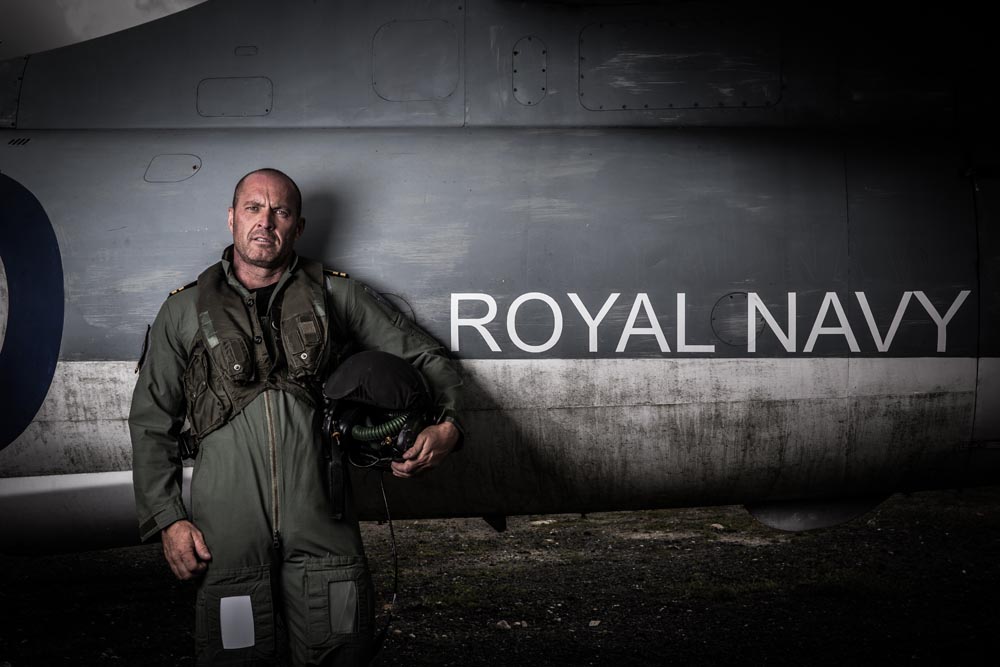
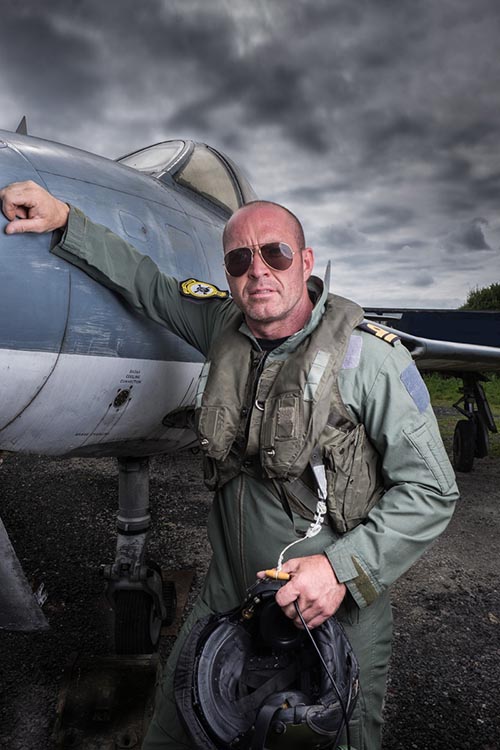
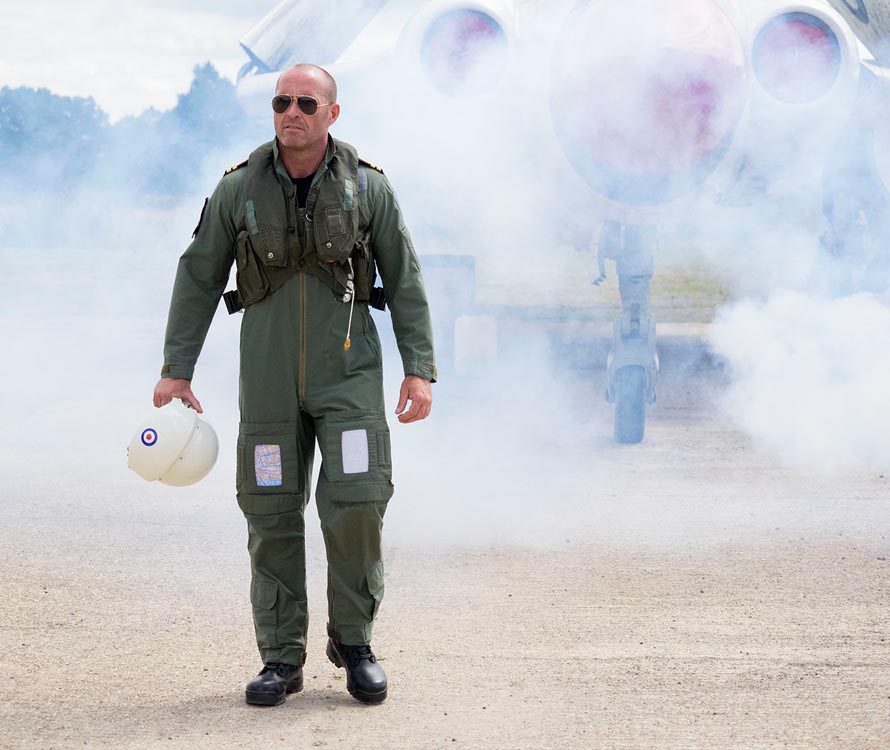
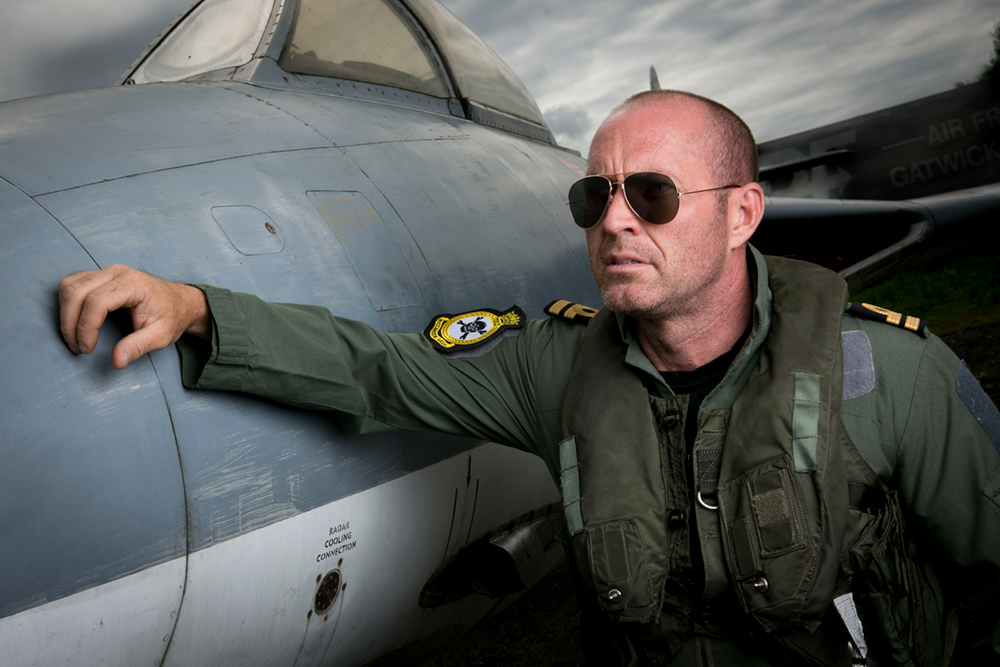
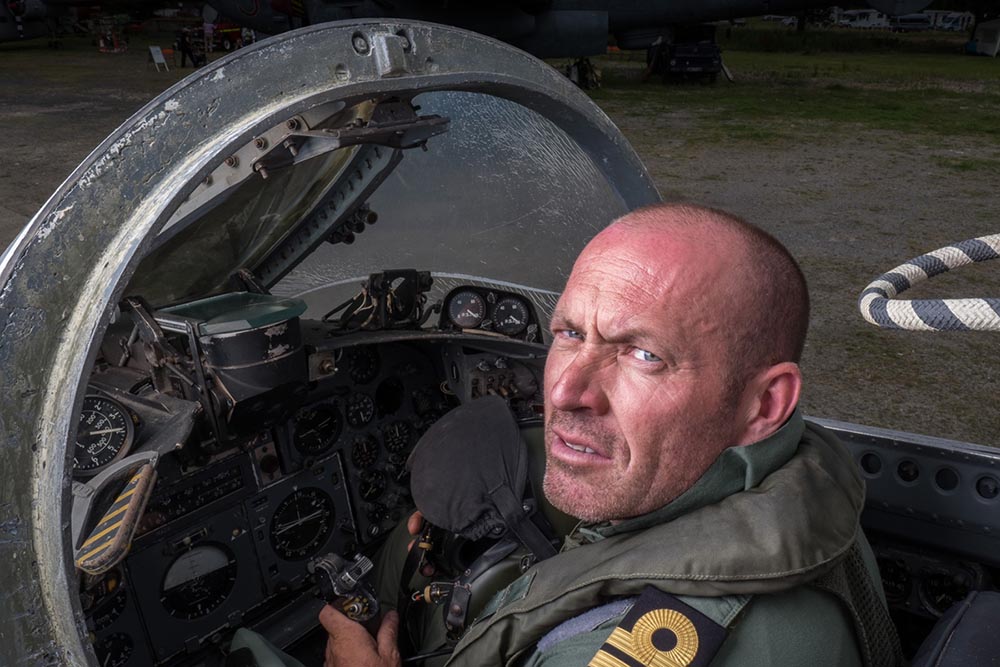
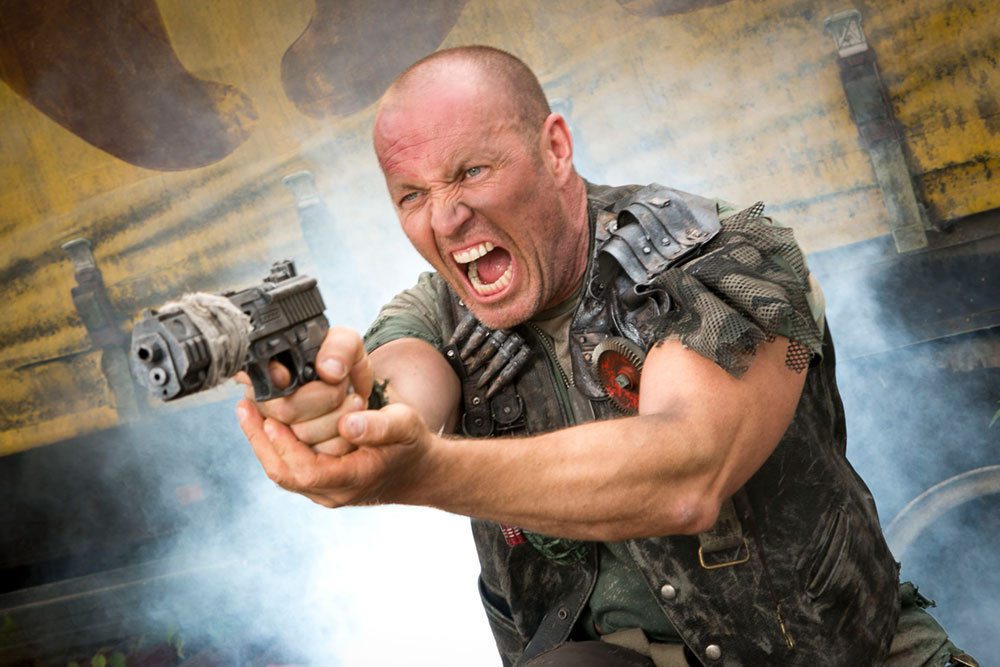
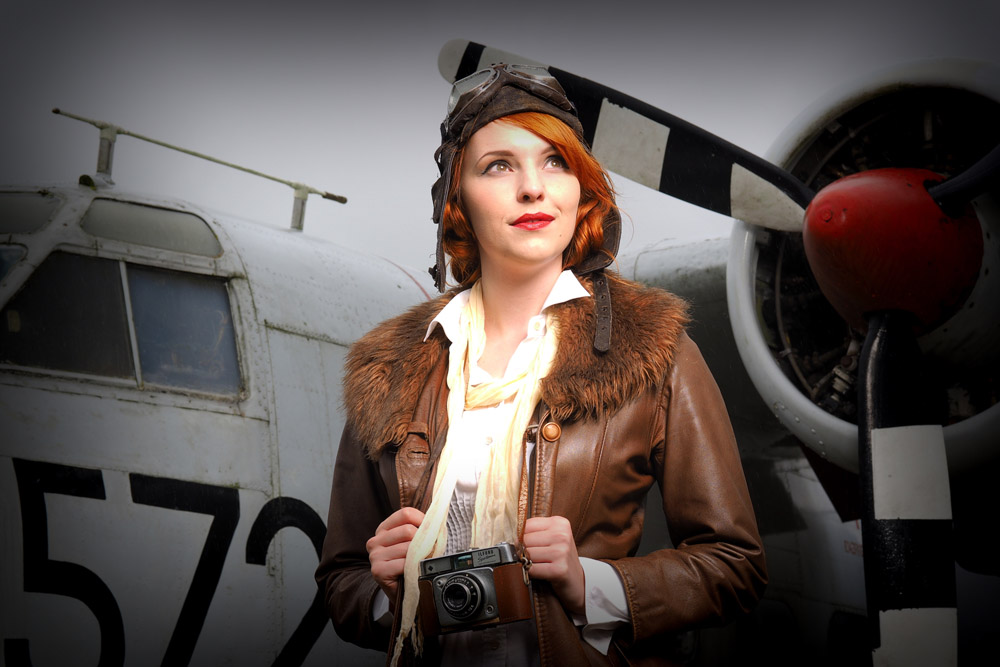
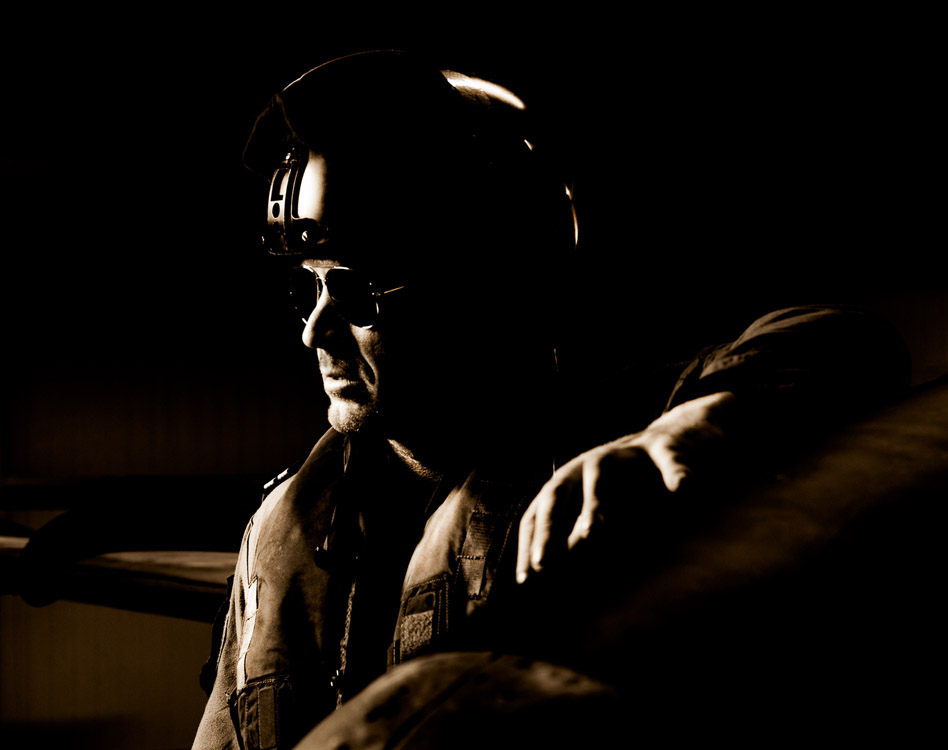
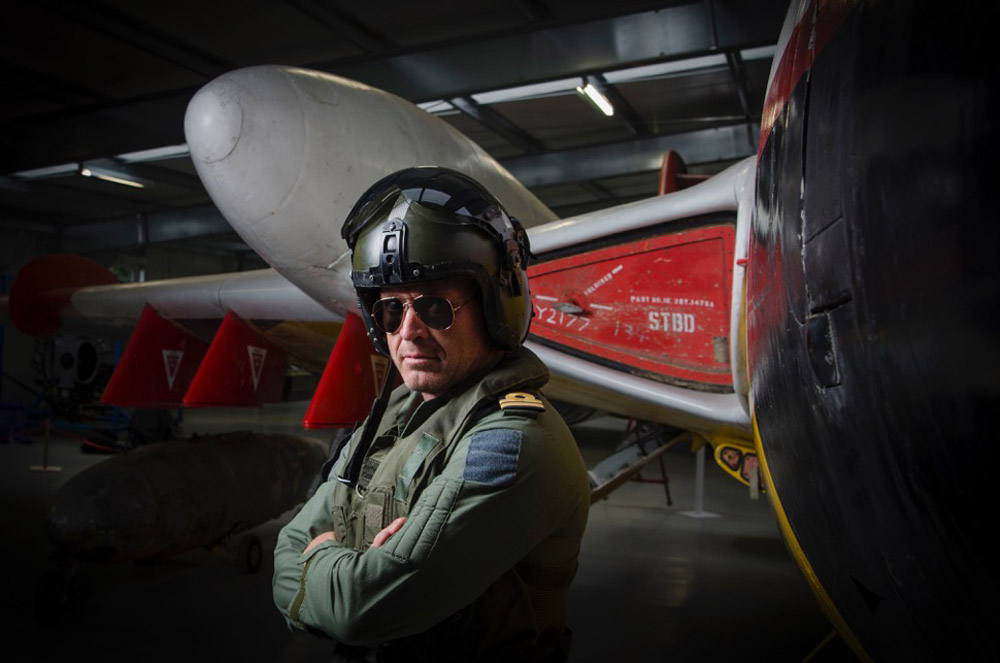
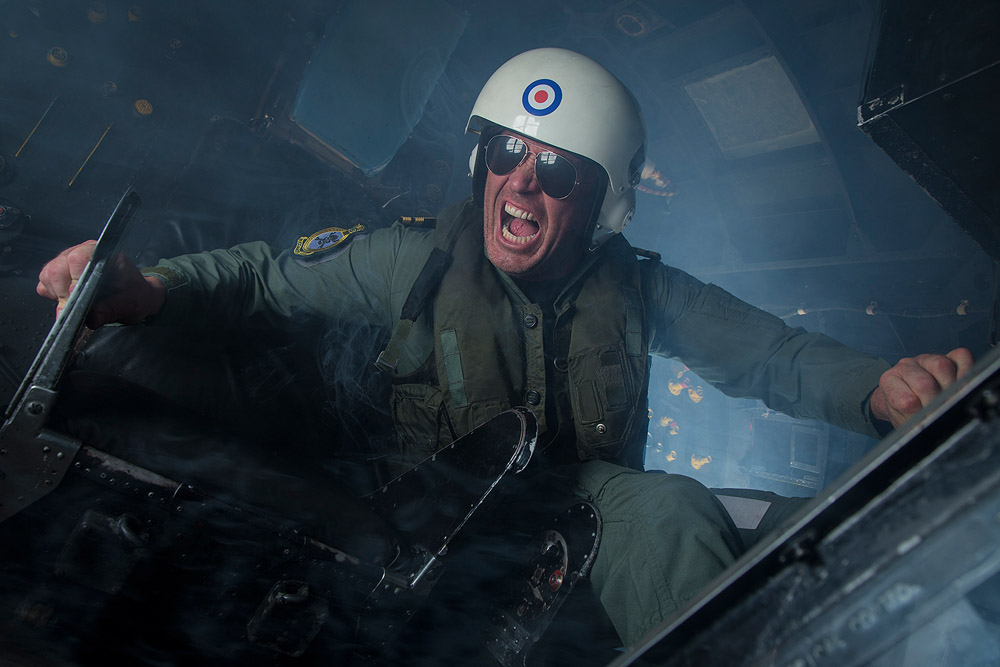
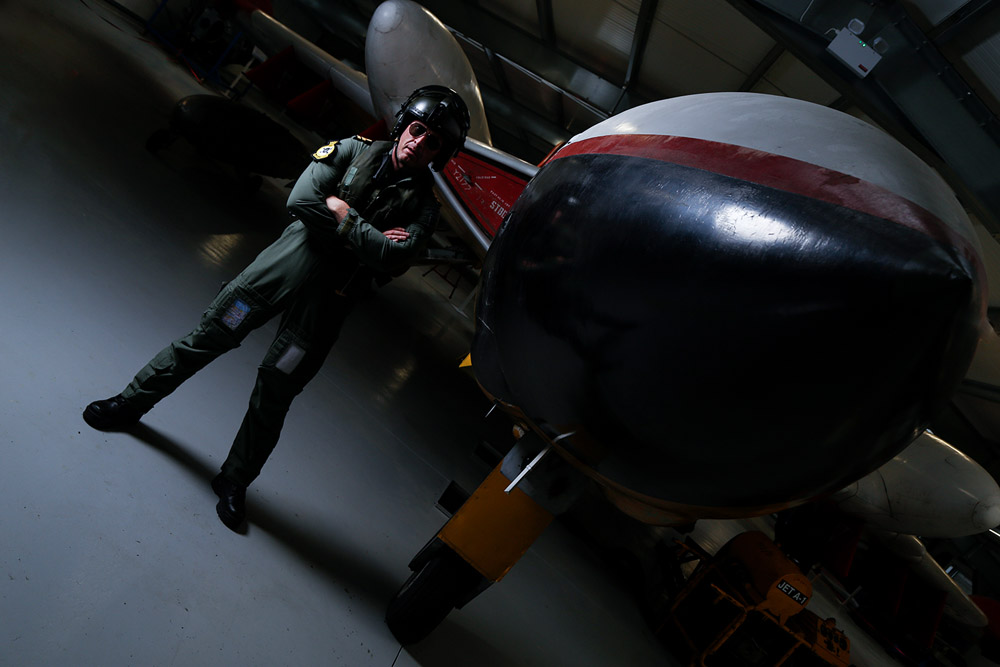
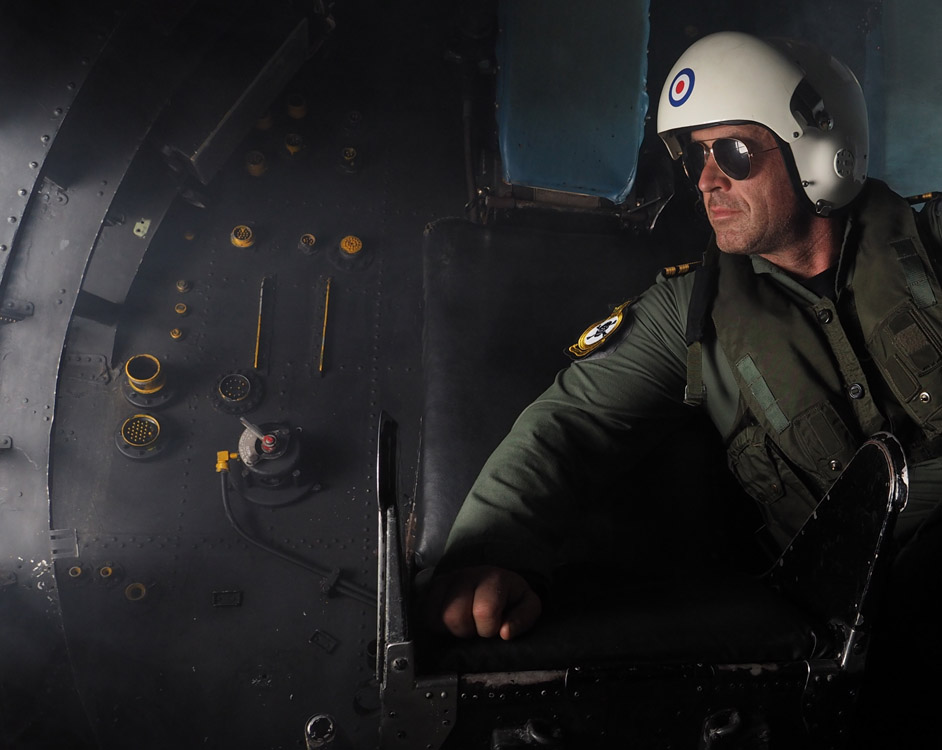
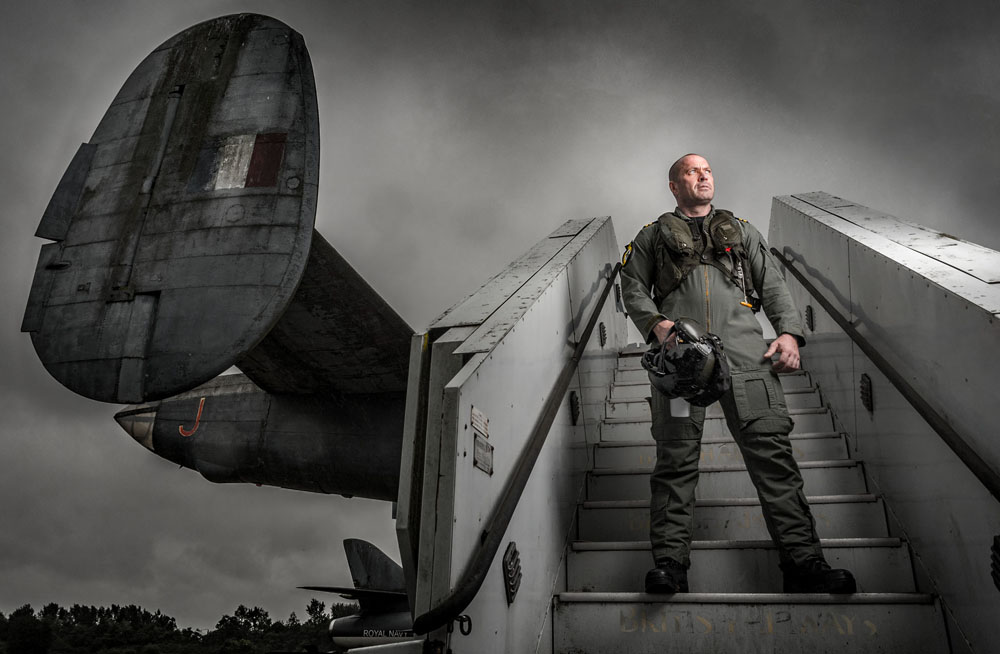
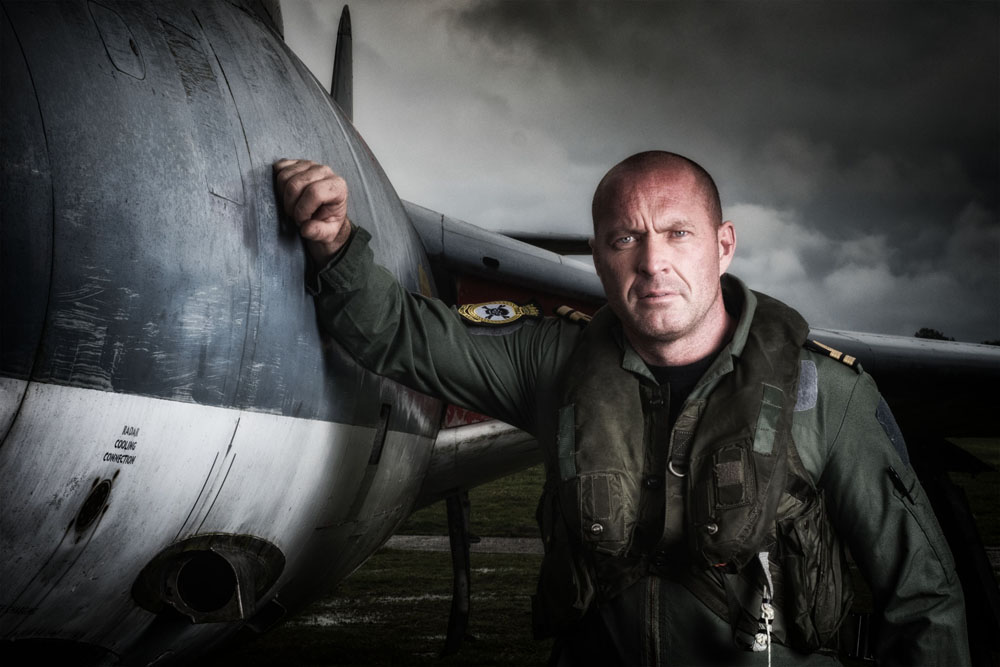
The theme for the morning was aviators. I worked with Roger who took on the role of a fighter pilot. The museums Buccaneer and Hunter aircraft were the backdrop and we were also granted special access to the Buccaneer’s cockpit.
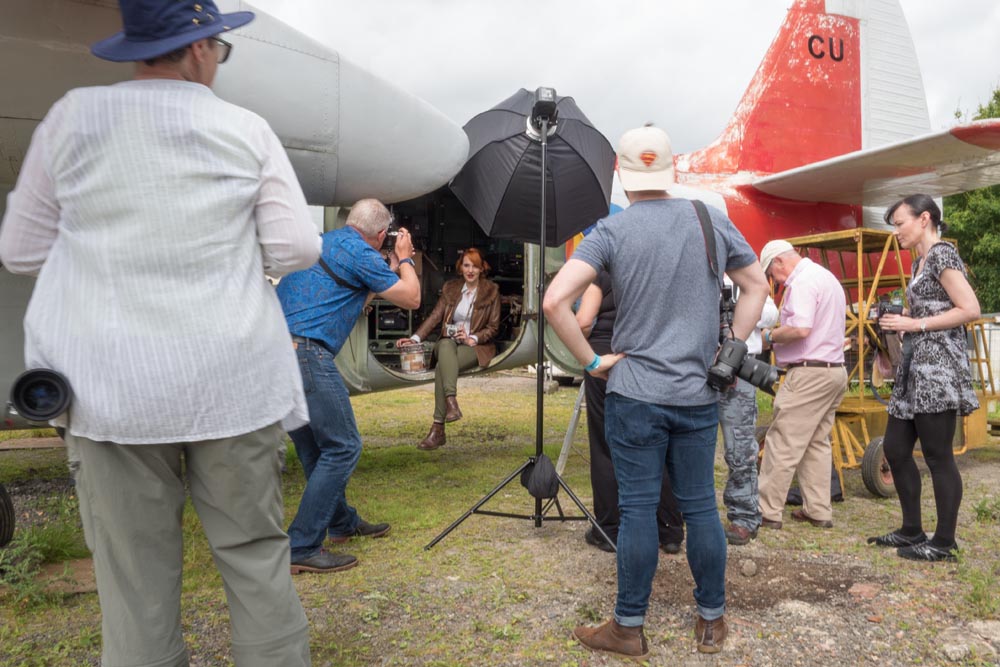
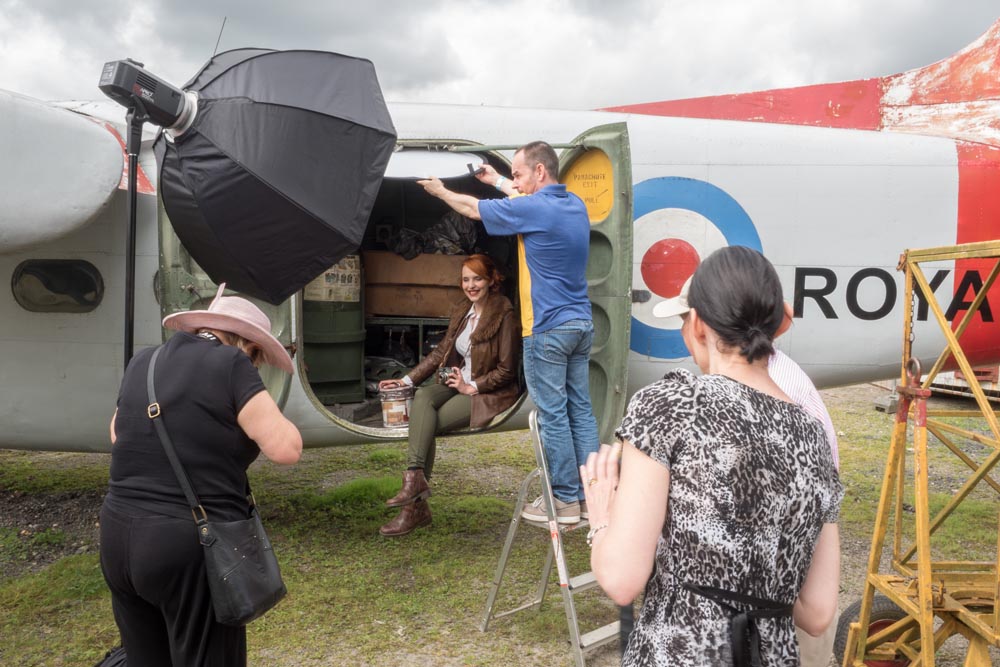
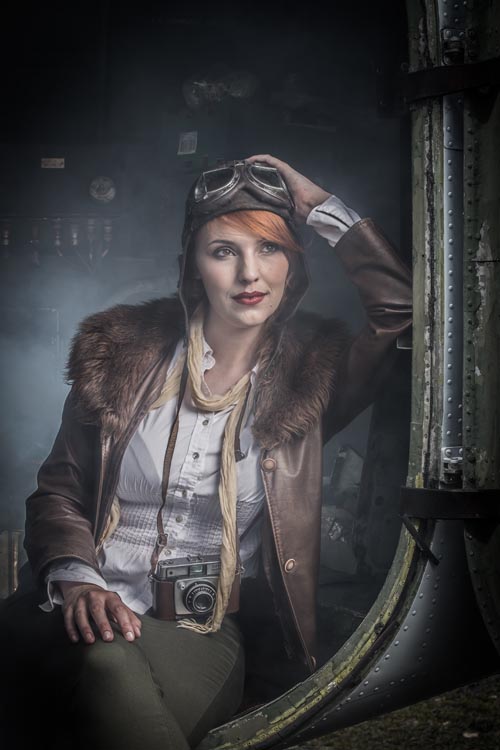
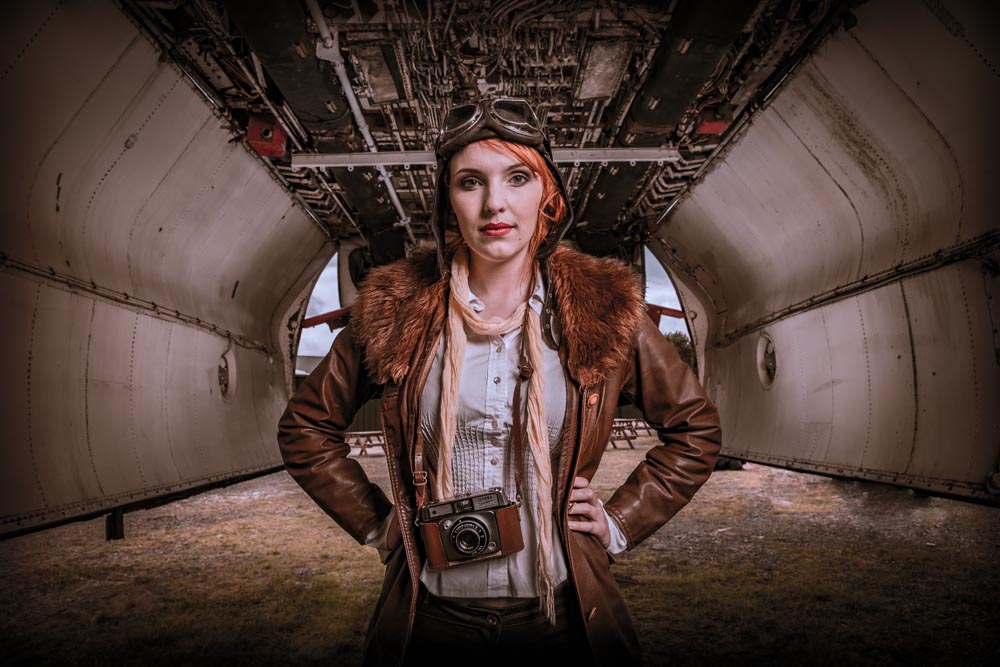
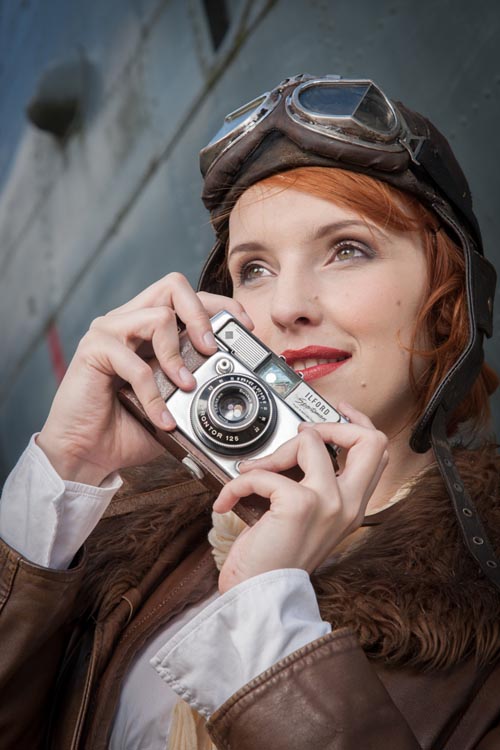
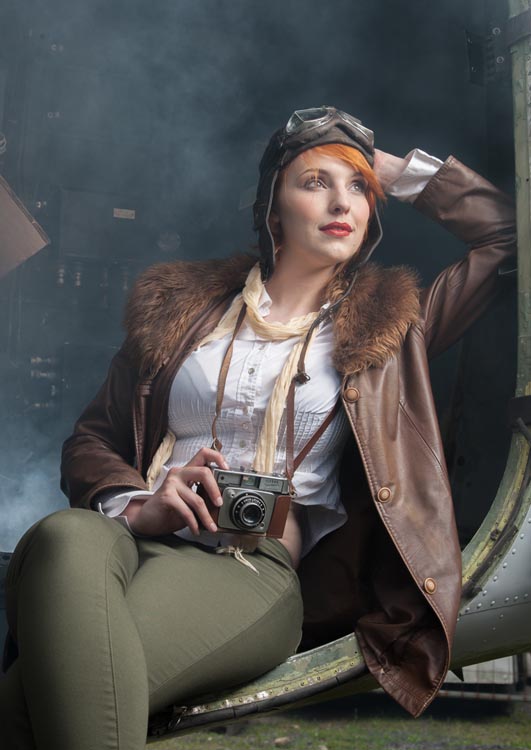
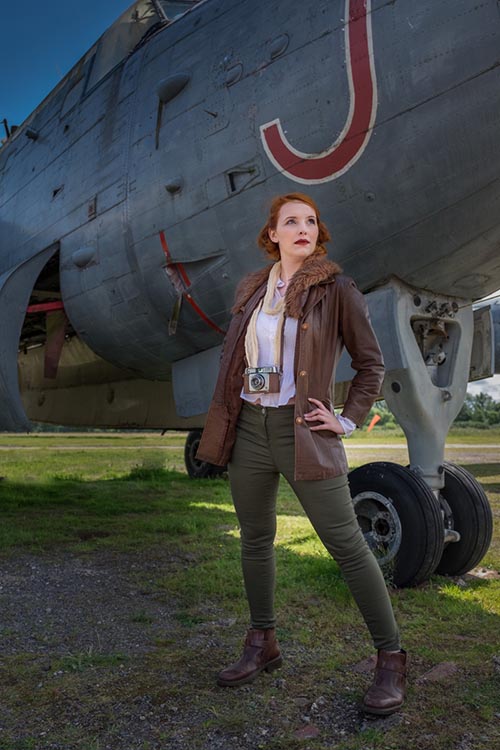
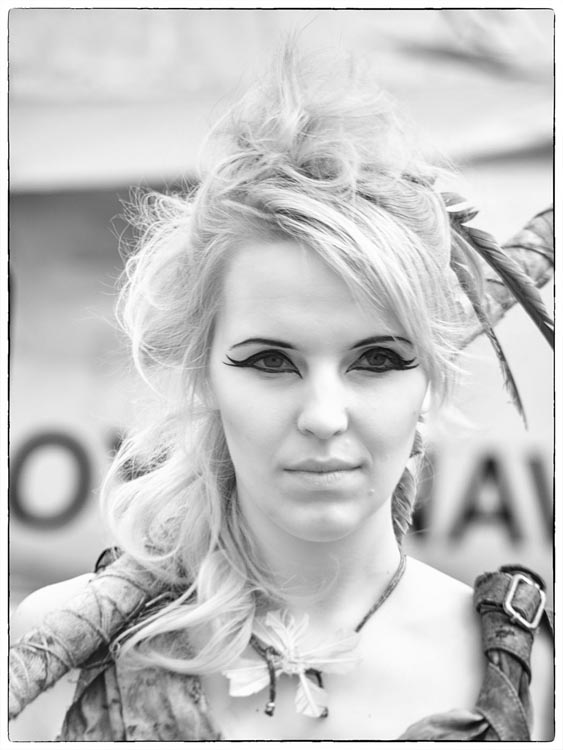
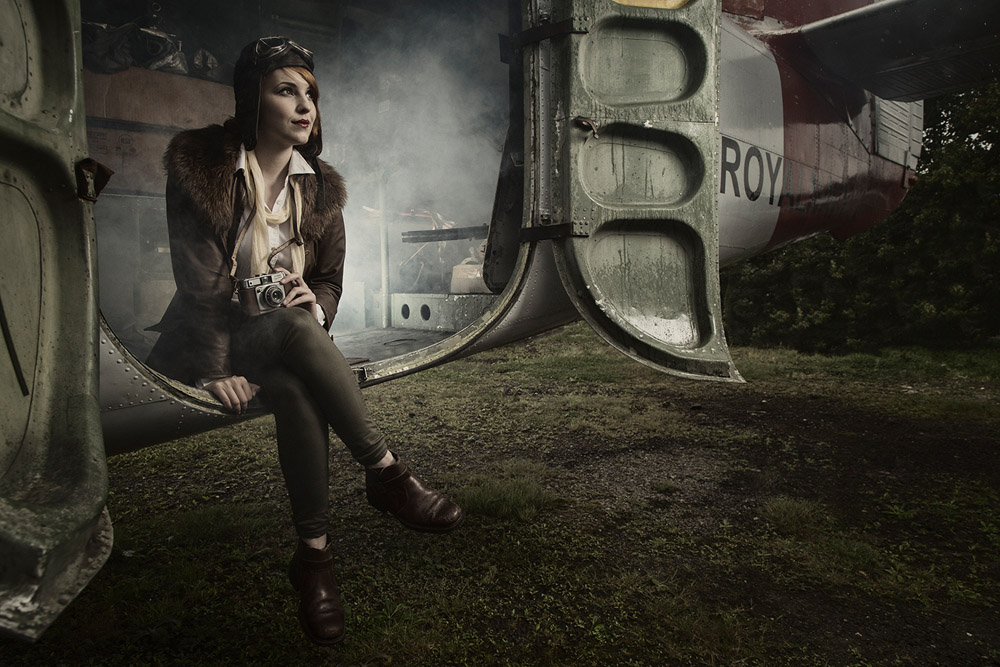
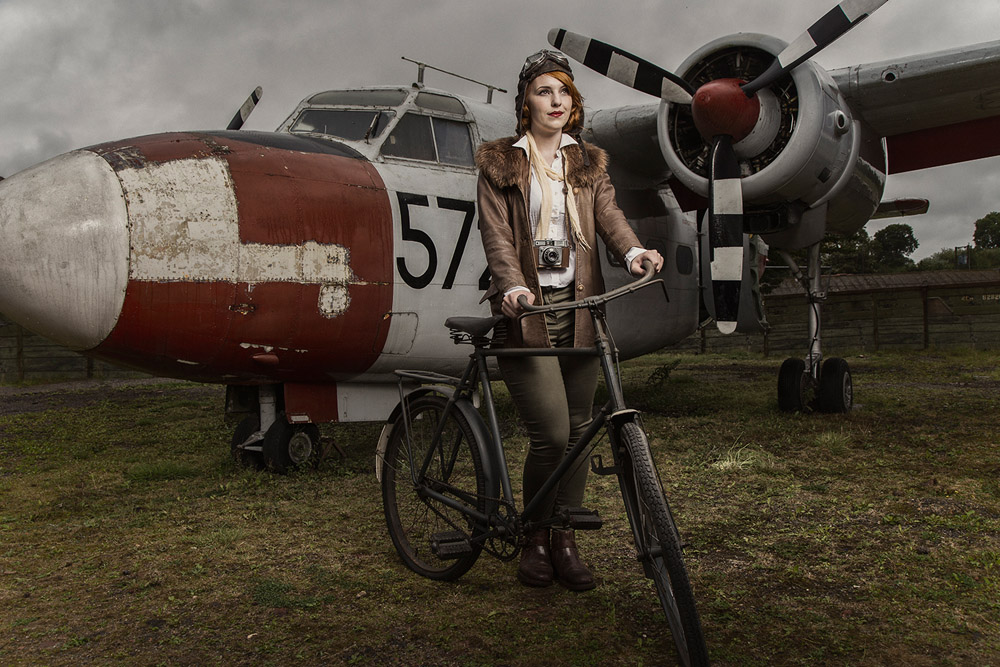
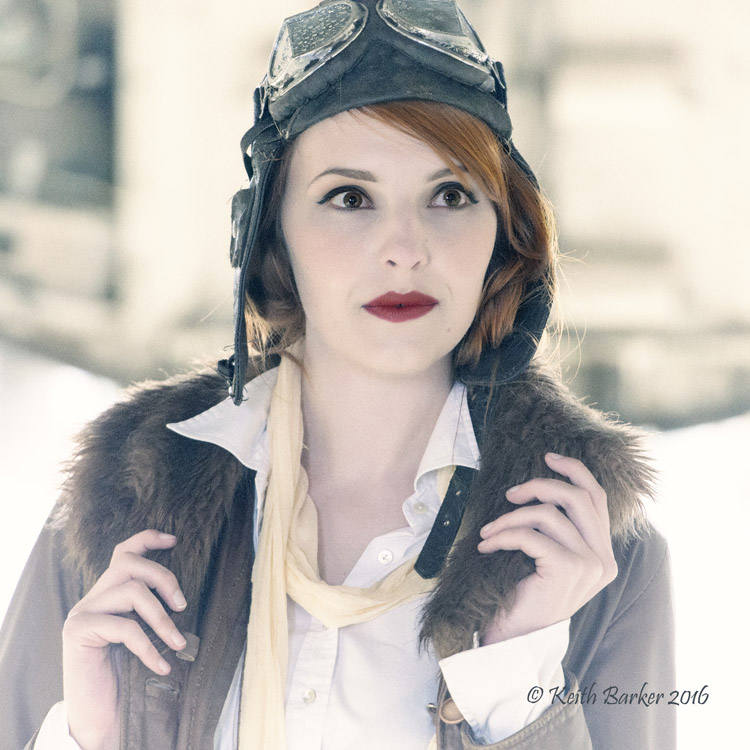
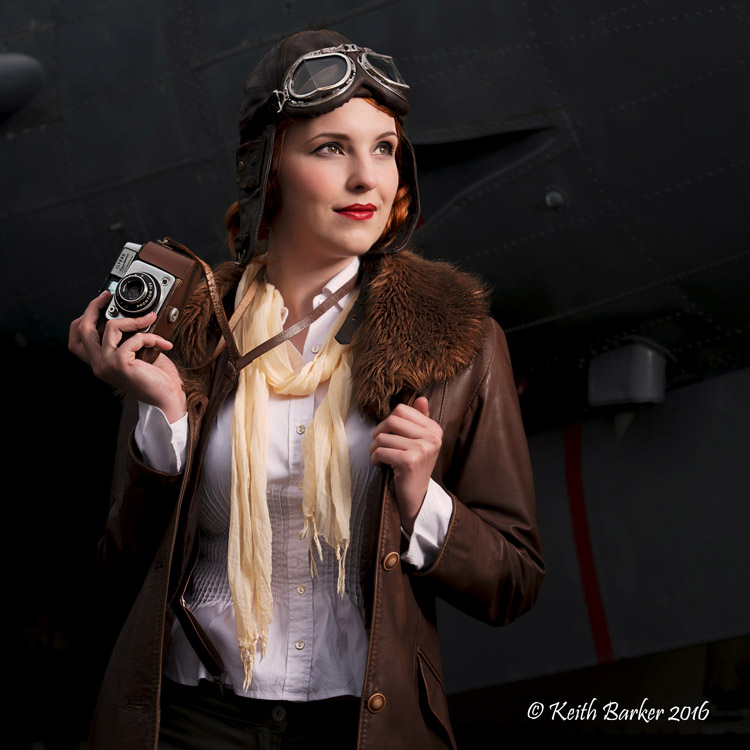
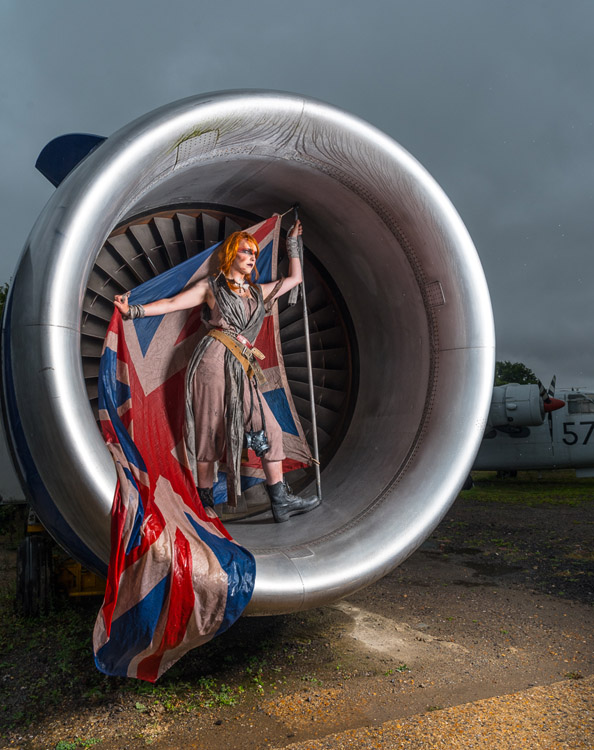
Tommy and Kerry turned back the clock with a vintage, Amelia Earhart inspired look. Once again the museum came up trumps, allowing us access inside the Sea Prince aircraft and the chance to get some really great shots. The group also made great use of the shade found under the massive Shackleton.
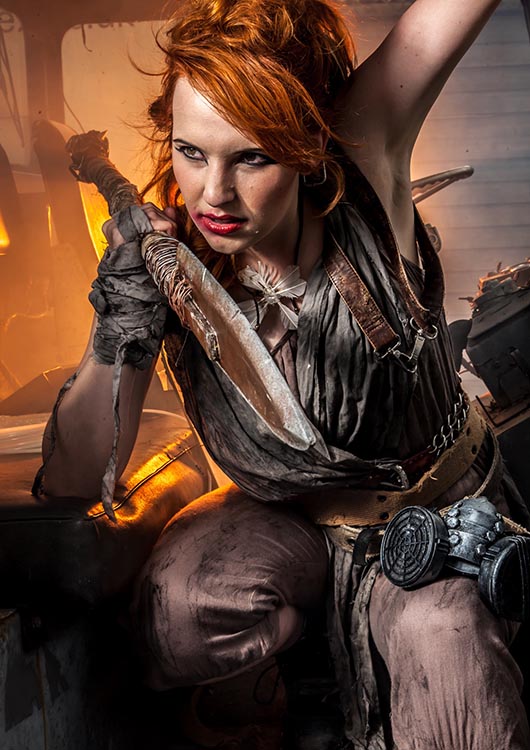
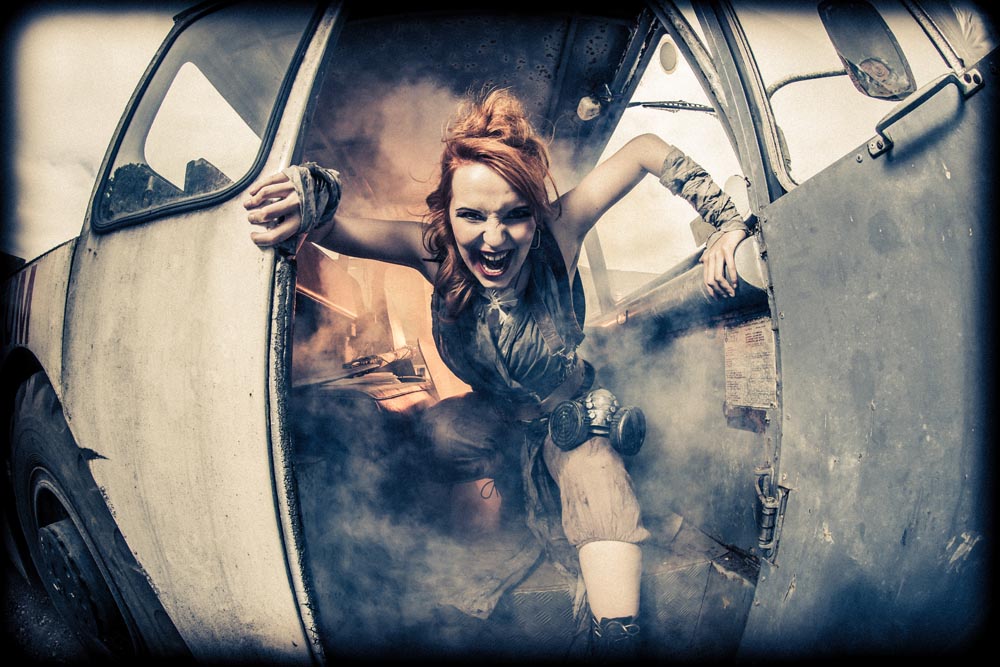
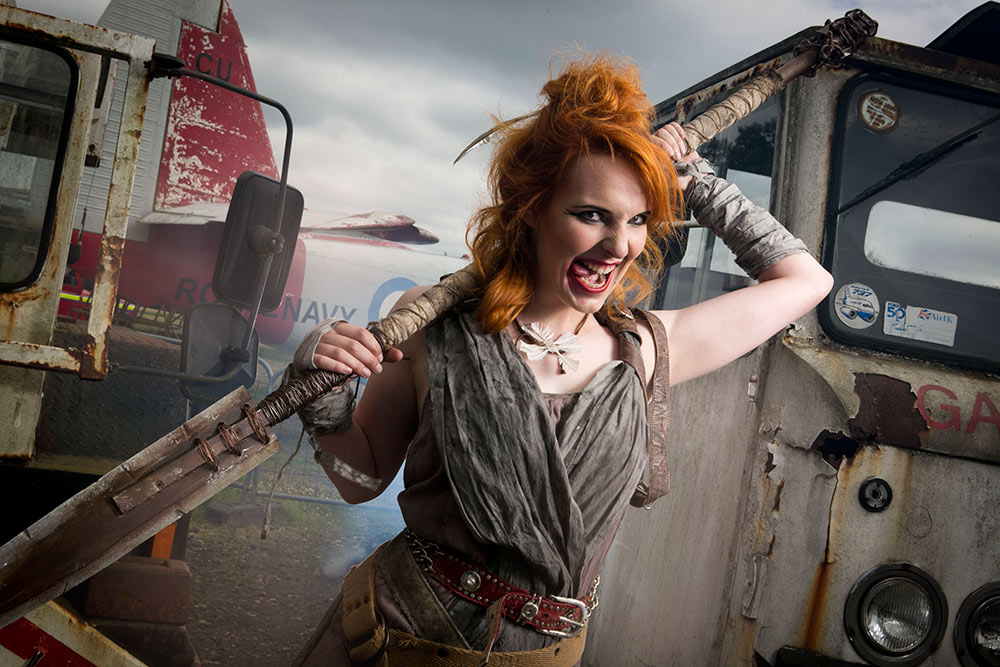
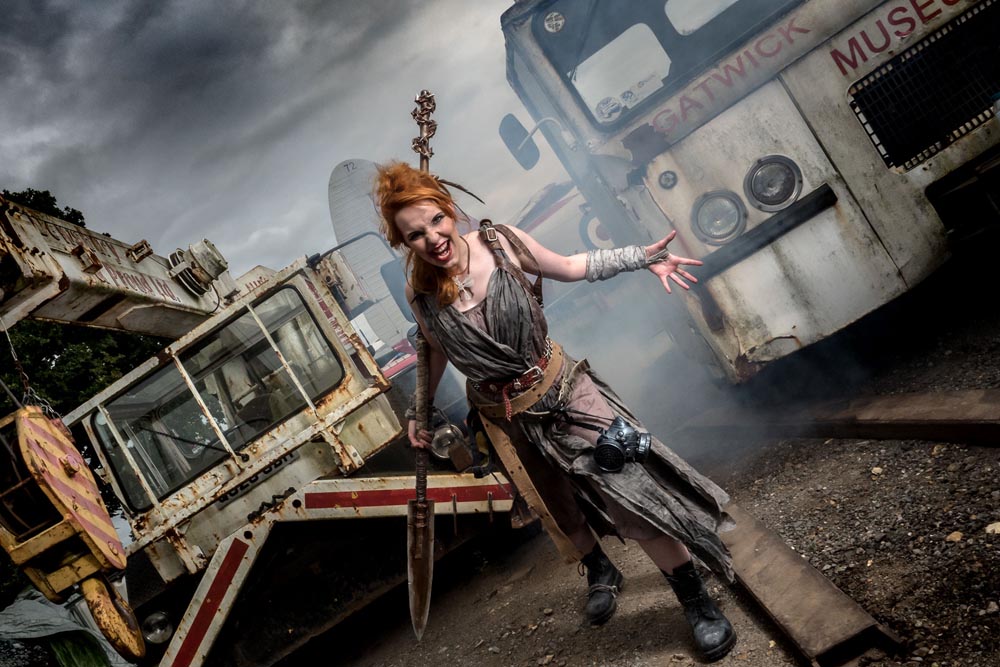
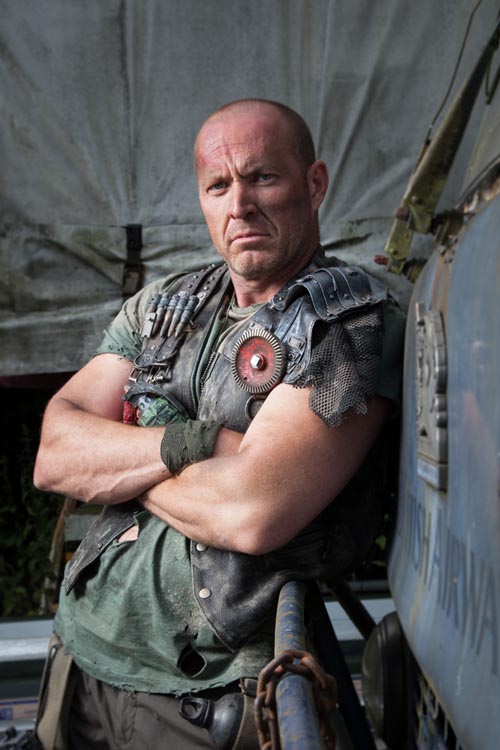
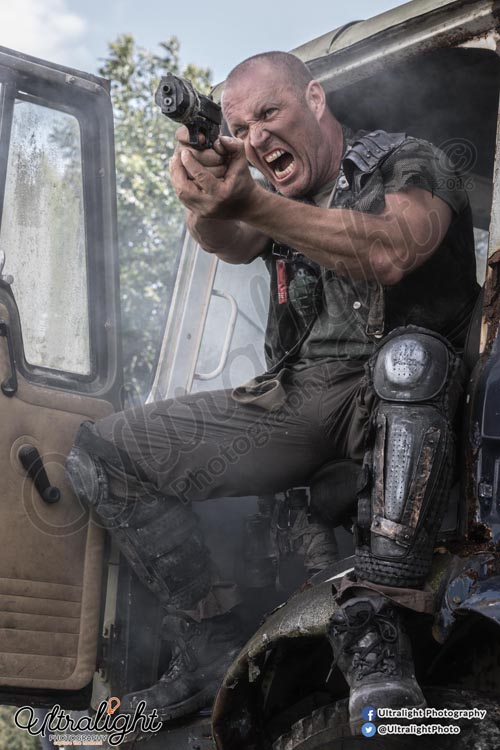
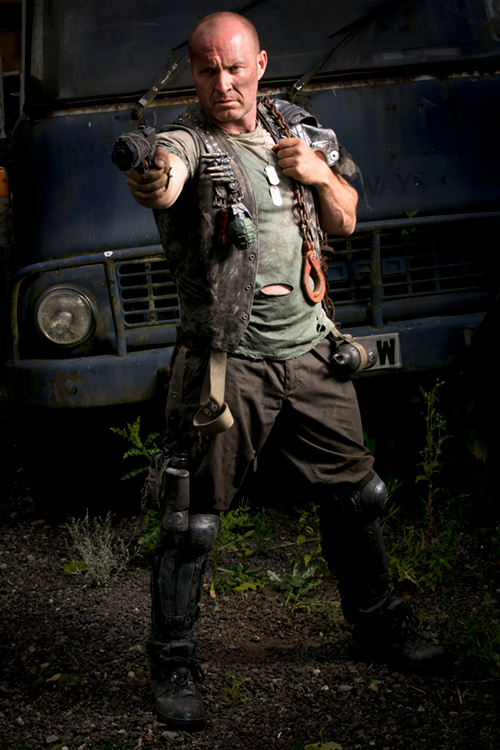
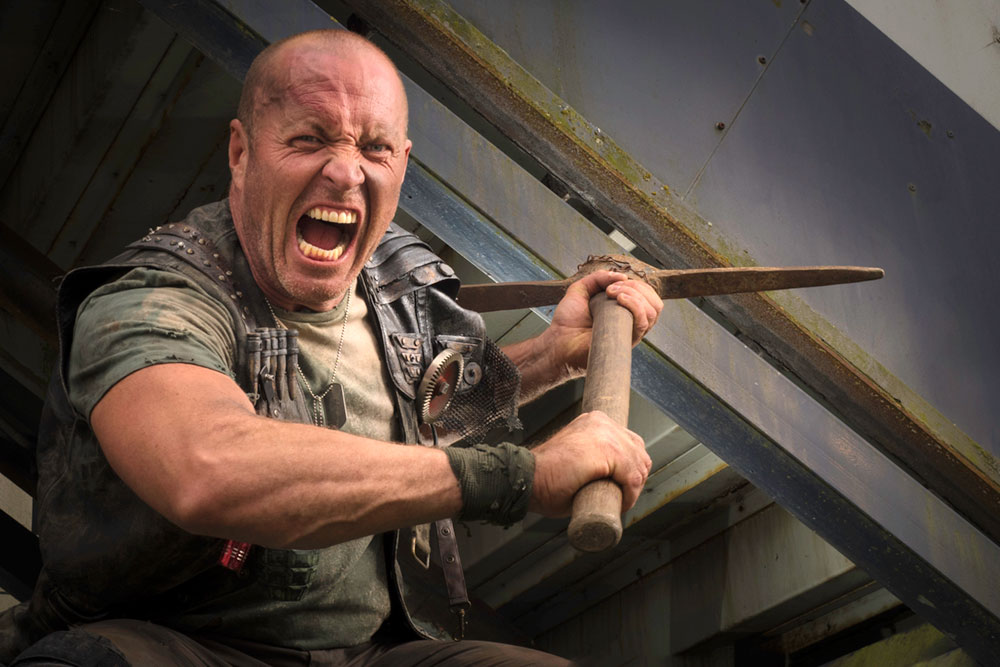
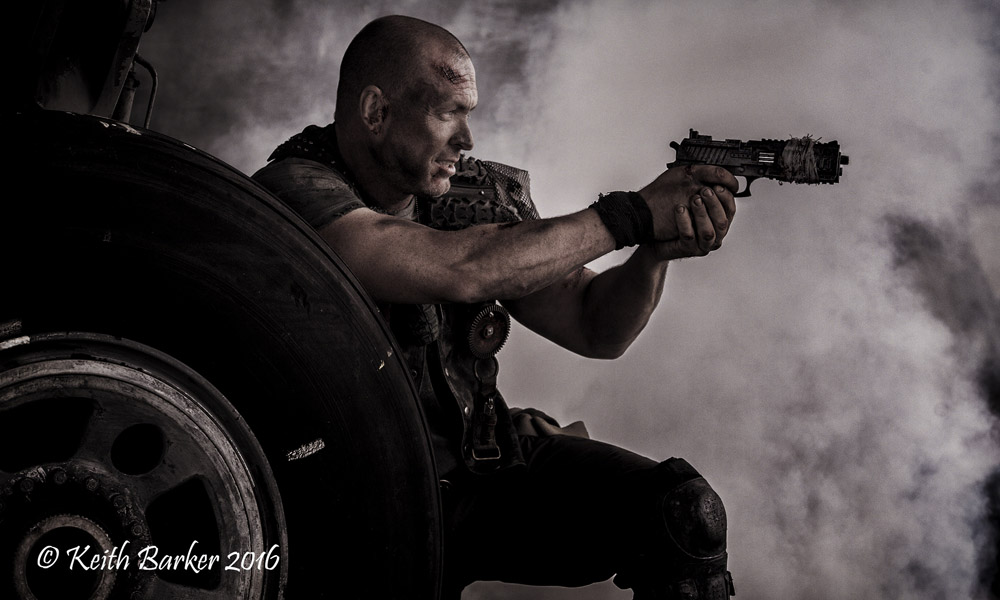
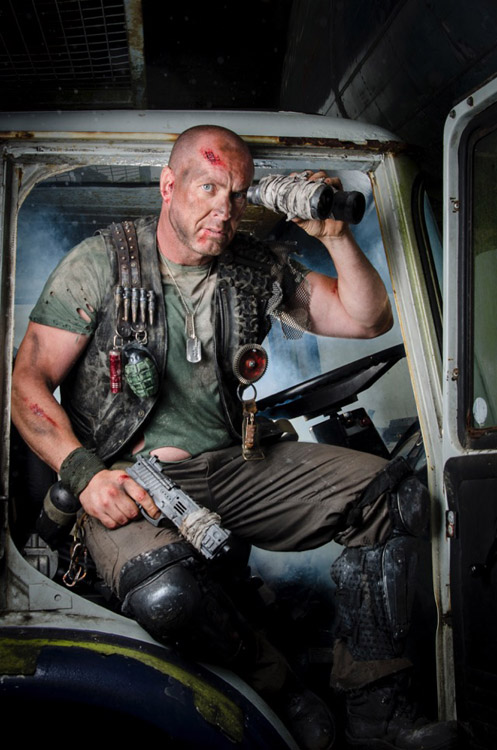
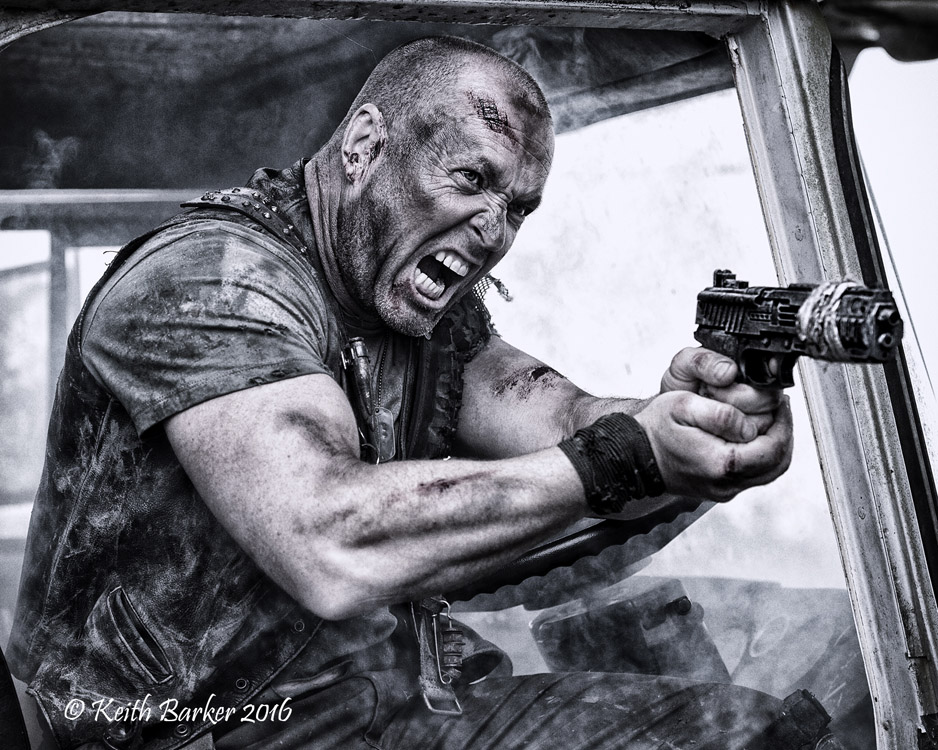
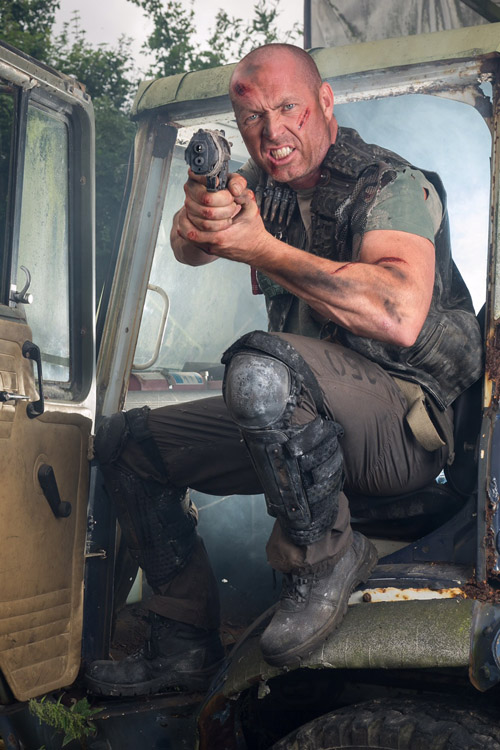
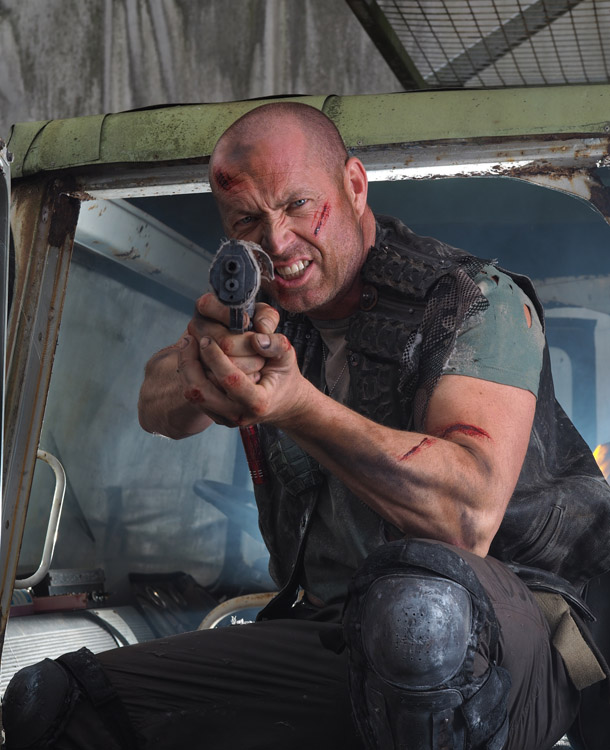
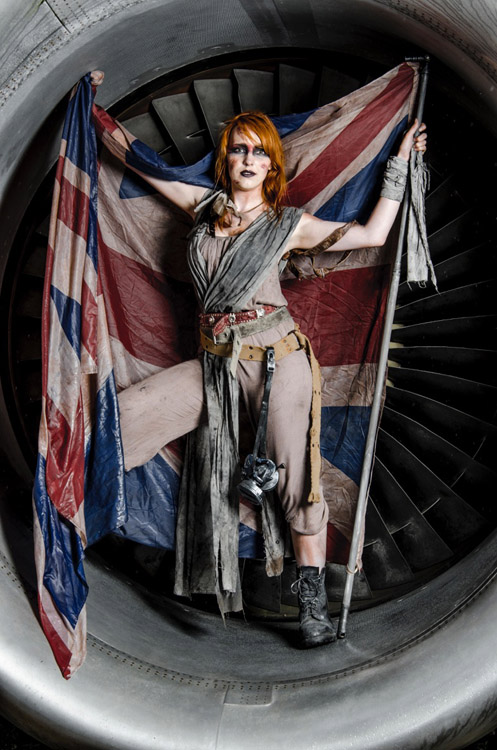
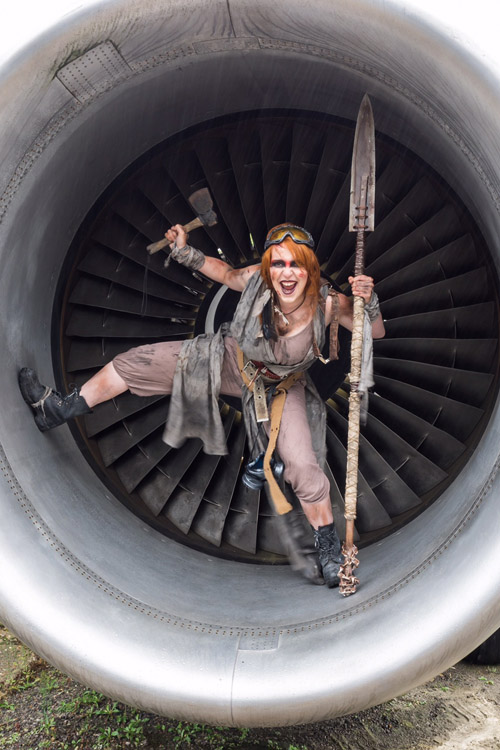
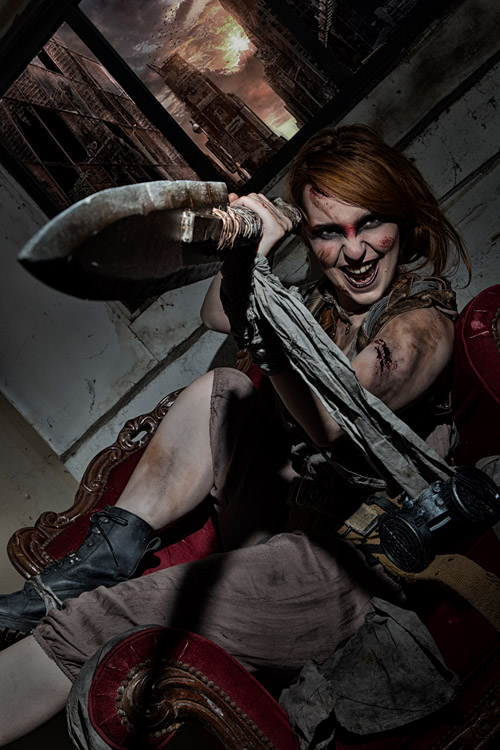
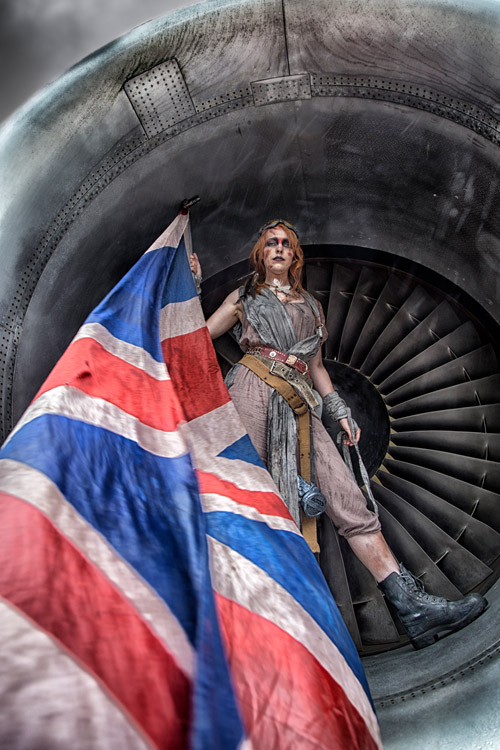
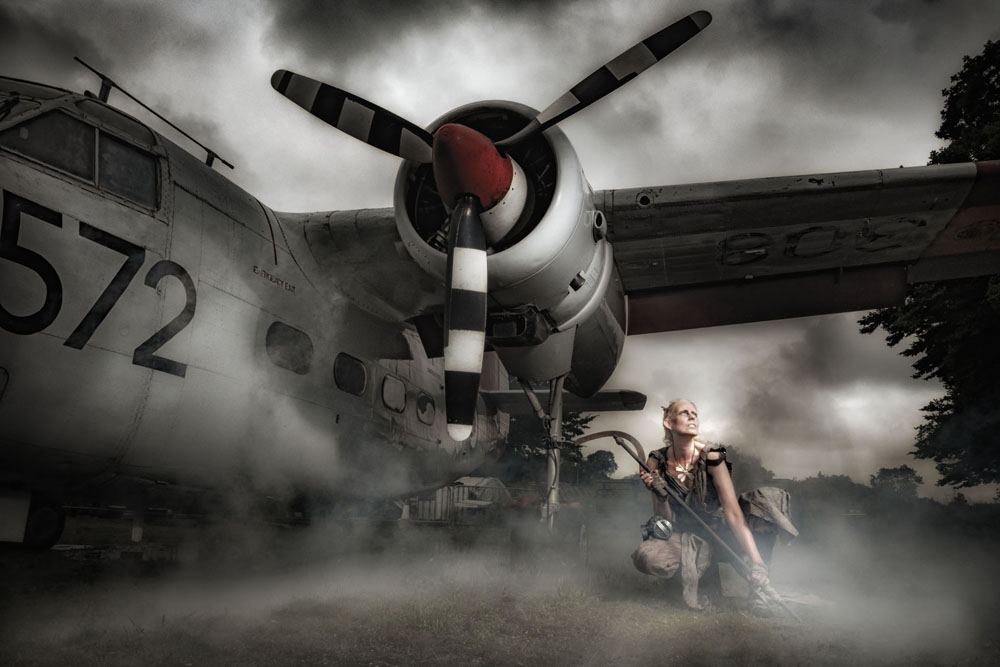
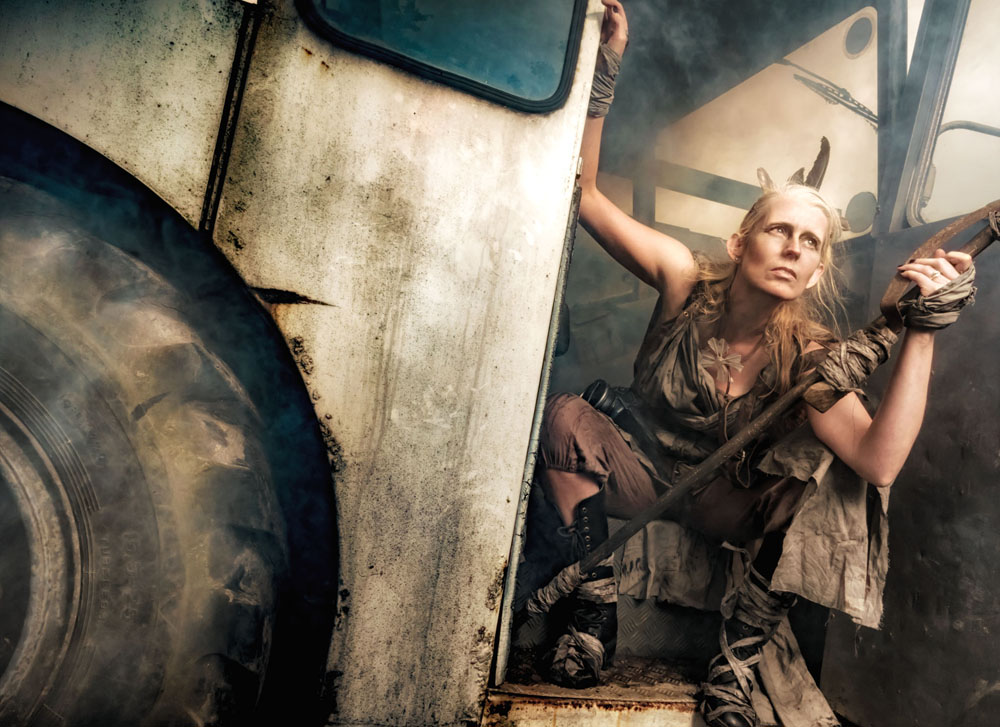
After a spot of lunch and a change of look we took on the apocalypse part of the themed workshop.
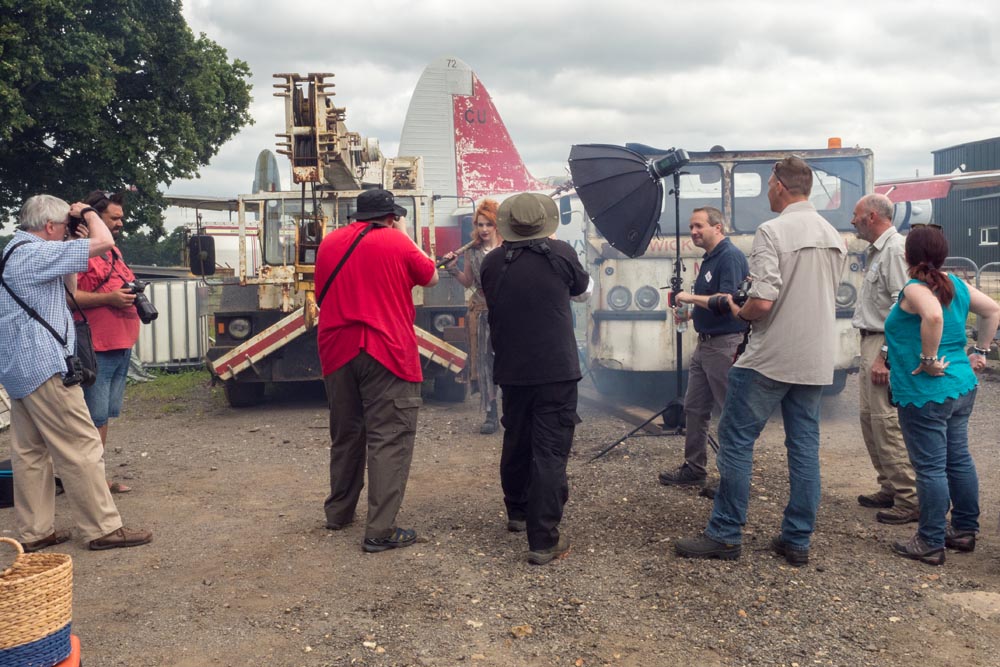
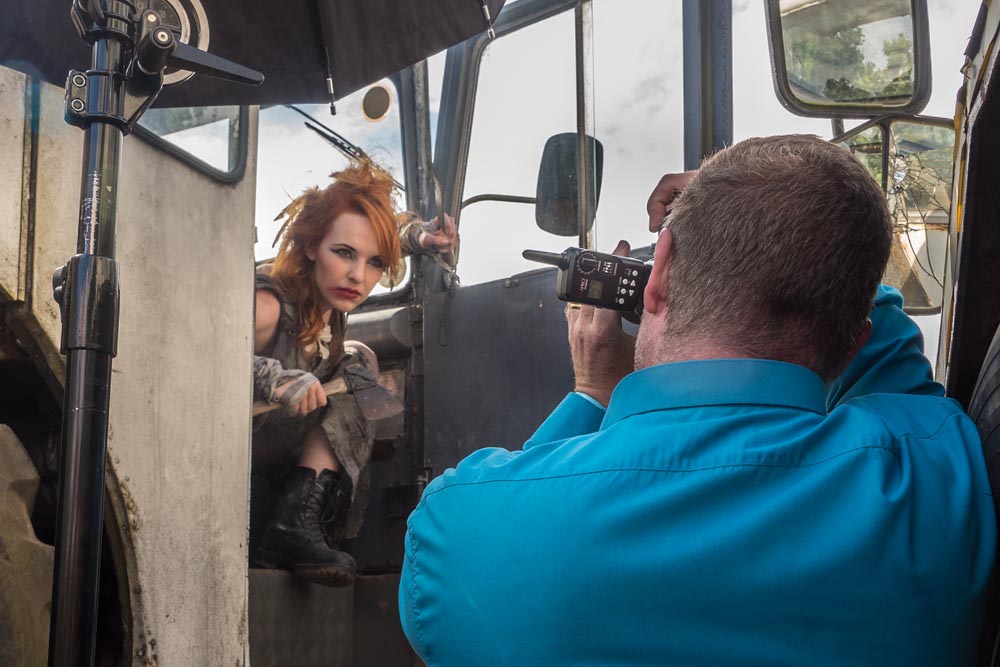
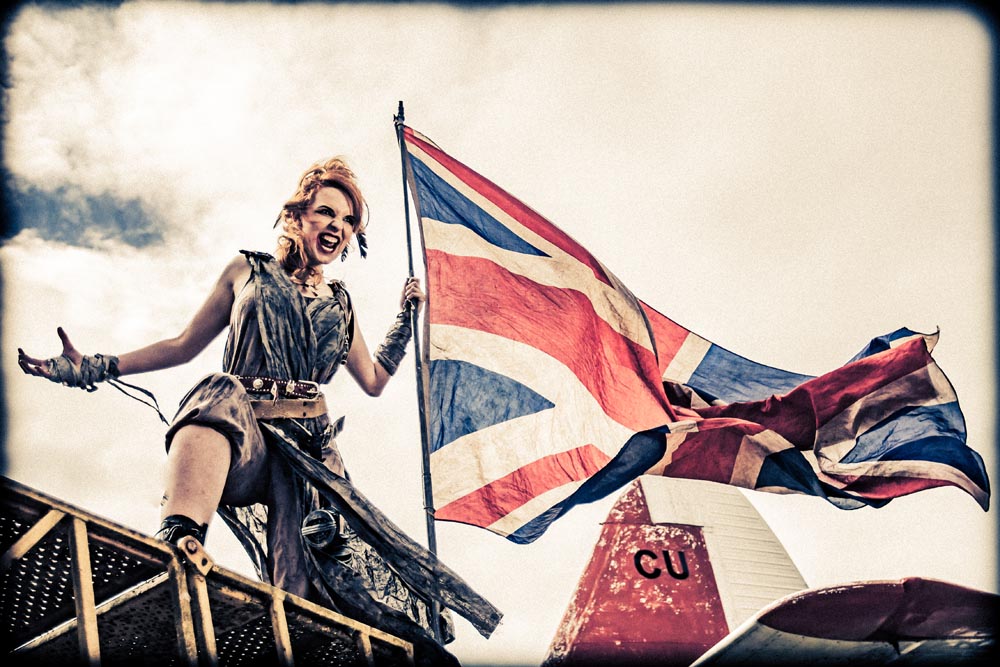
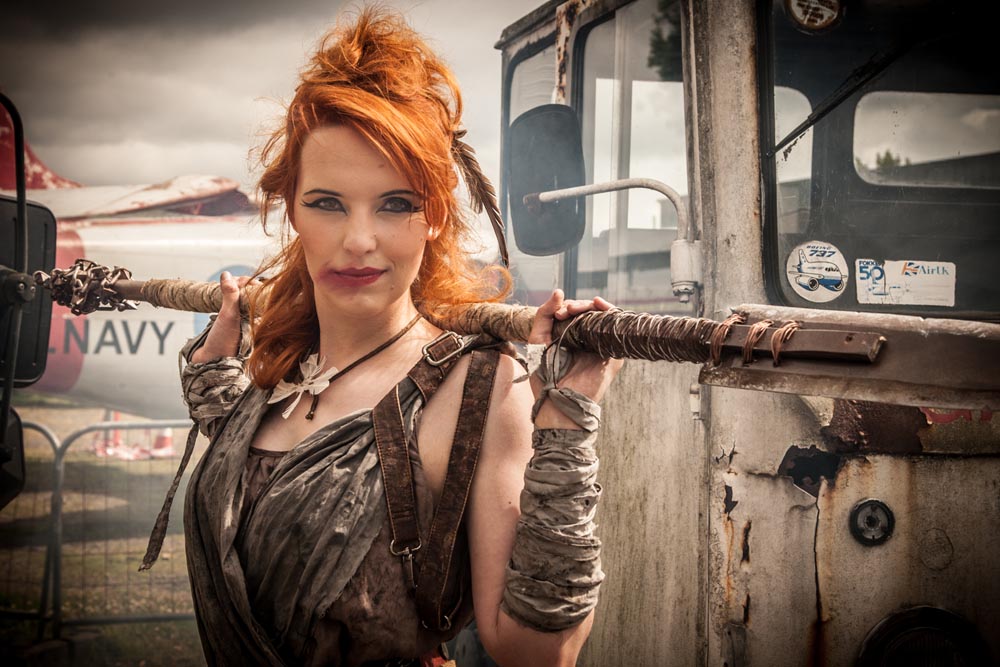
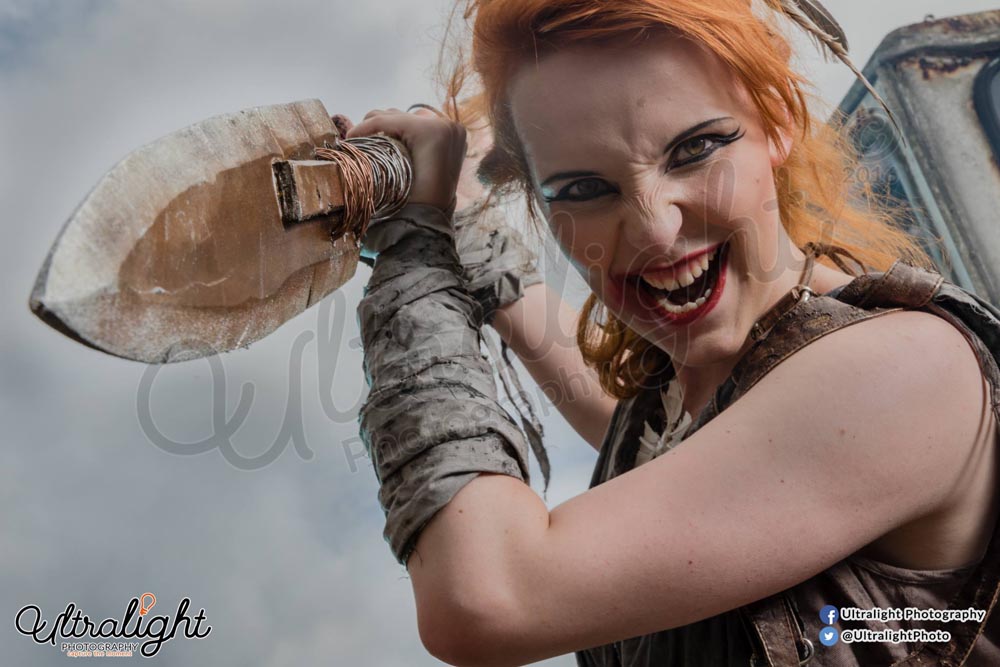
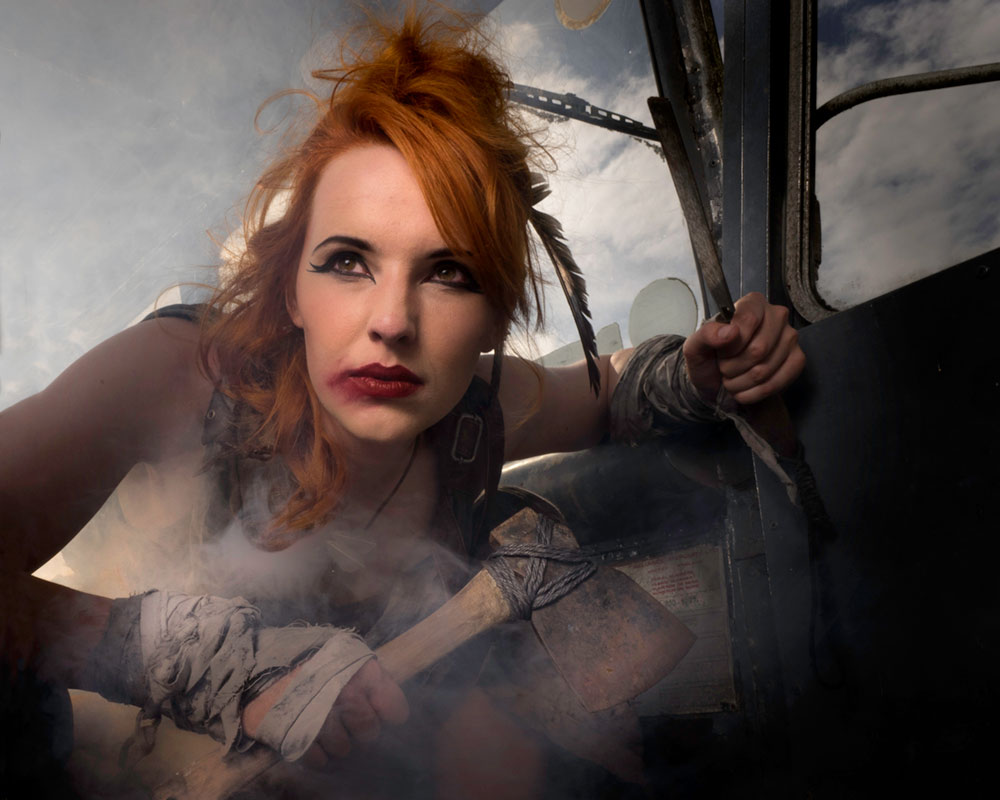
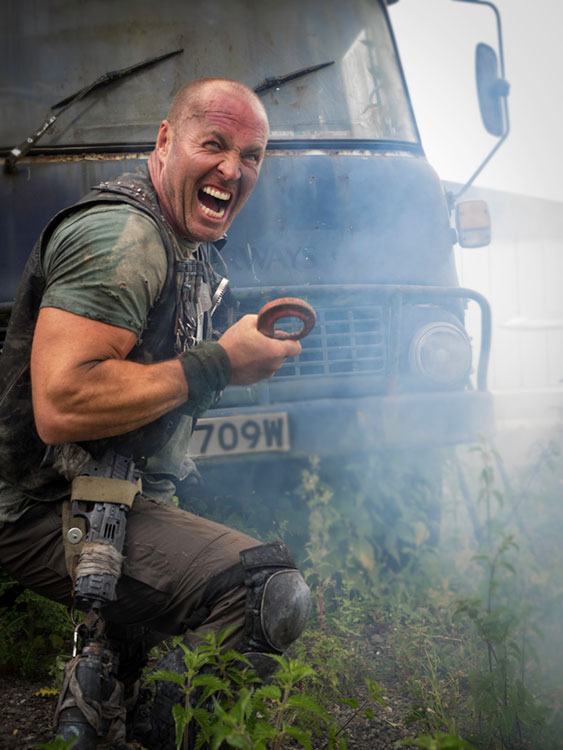
I took Kerry into the workshop area of the museum where there was plenty of rust and a few ageing vehicles. Smoke and flash combined with a bit of camera know how to create some serious moody images.
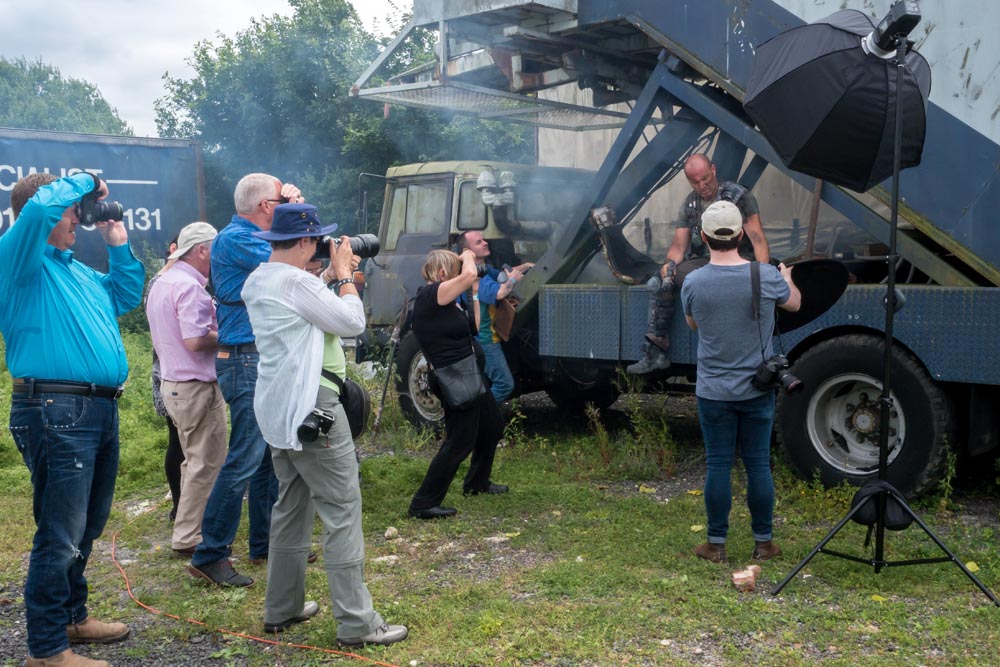
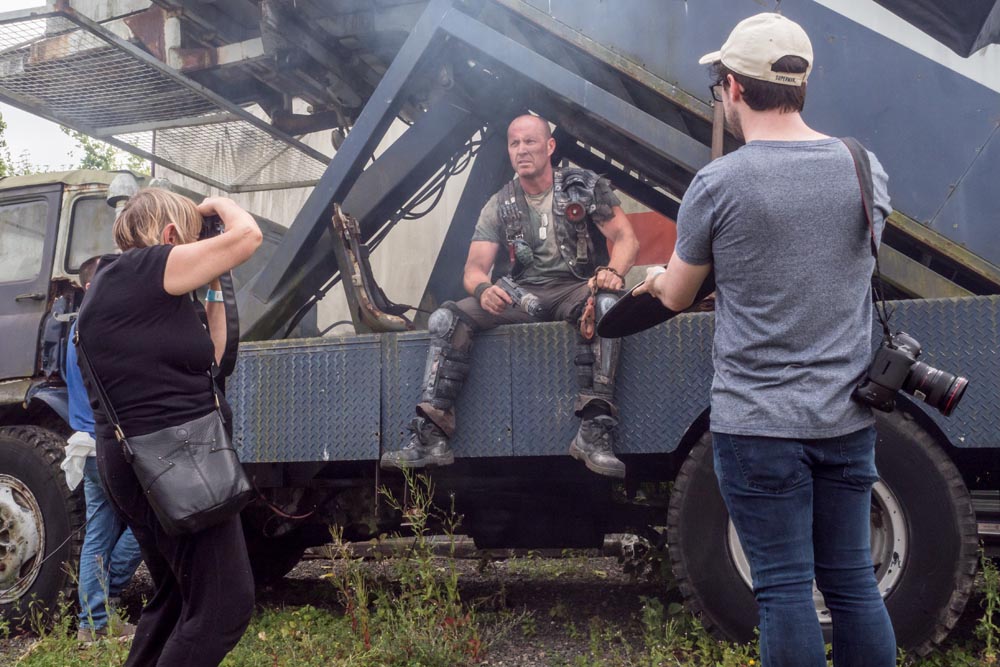
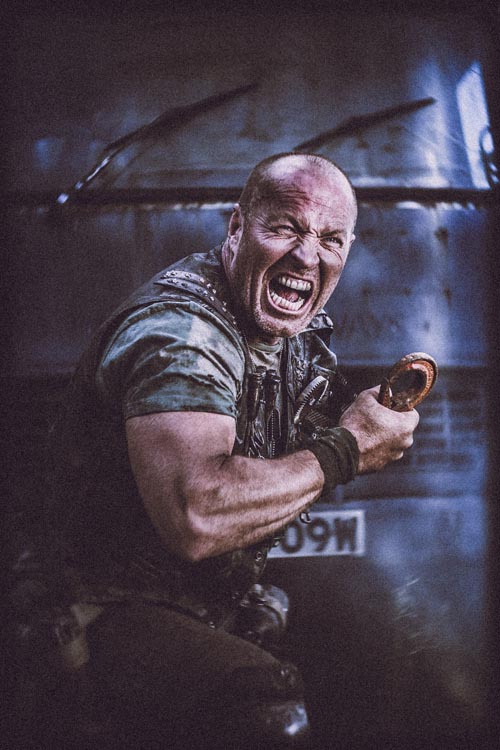
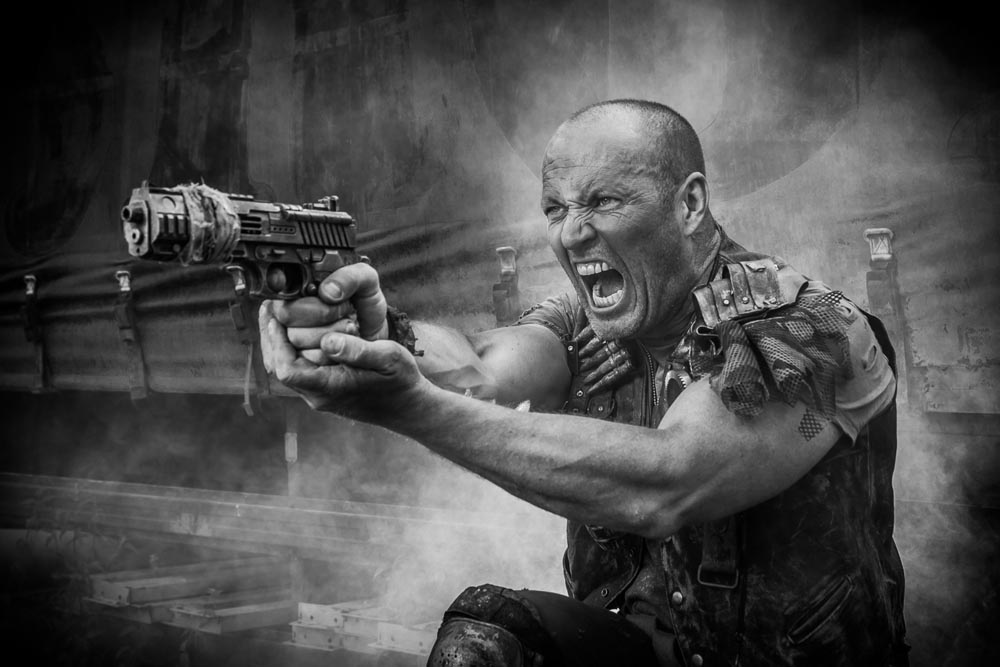
Tommy found plenty of post-apocalyptic inspiration at the other end of the museum and Roger unleashed his inner and outer strength with amazing results.
There’s nothing more frustrating to me than seeing a workshop organiser shooting photos for themselves at the expense of the attendees. As a result I hardly have a single “good” photo from the day. Fortunately, the photographers who joined us took thousands of shots and below are a few that I’ve been sent so far.
By Emma Bothamley
By Emma Bothamley
By Peter Jillians
By Peter Jillians
By Andrew Prior
By Richard Barry
By Vanessa Parker
By Andrew Prior
By Emma Bothamley
By Andrew Prior
By Vanessa Parker
By Chris Brudenell
By Andrew Prior
By Peter Jillians
By Emma Bothamley
By Peter Jillians
By Richard Barry
By Michelle Essenson
By Michelle Essenson
By Emma Bothamley
By Vanessa Parker
By Chris Brudenell
By Vanessa Parker
By Emma Bothamley
By Peter Jillians
By Peter Jillians
By Richard Barry
By Chris Brudenell
By Michelle Essenson
By Chris Brudenell
By Michelle Essenson
UPDATE:
We ran the workshop for a second time in September. Once again I was joined by Roger and Kerry as our models and Tommy as my second group leader. This time the weather was a lot more apocalyptic with rain forcing us to spend the afternoon. Luckily the Gatwick Aviation Museum is great inside and out.
Below are a selection of photos from the 14 photographers who came along and made the whole day very enjoyable.
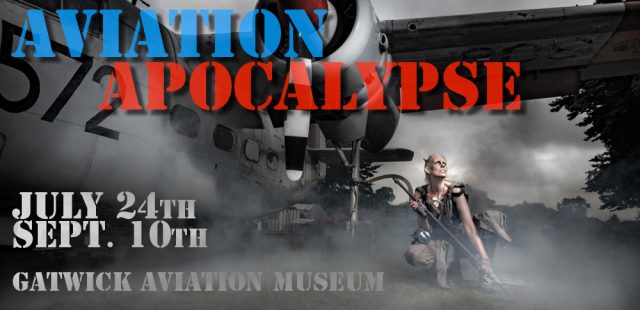
What happens if you combine a visit to a newly built aviation museum and a love of all things broken and old? Welcome to the Aviation Apocalypse!
This summer I’m running two all day photo shoots at the Gatwick Aviation Museum in Surrey and bookings are now open if you fancy joining me. Full details are on the event page here or if you just can’t wait, you can use the book now buttons below. Places are strictly limited and must be booked in advance.
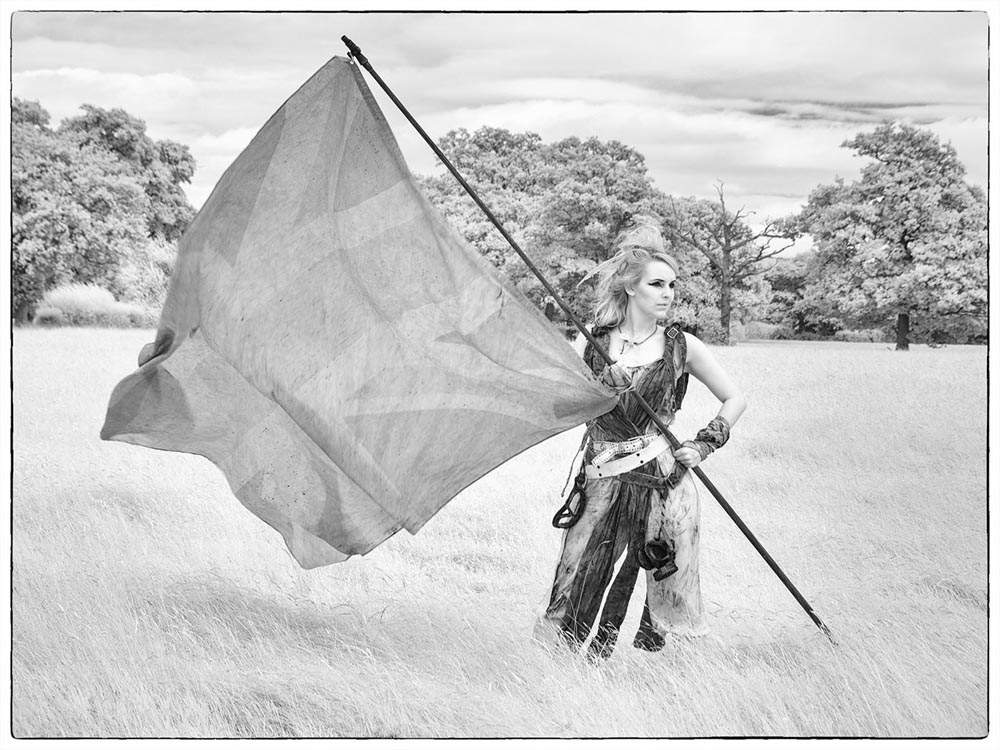
Building on the success of last year’s woodland workshops, once again I’ll be joined by two models who will each have two looks. Half the day they’ll be aviators and the rest of the day they’ll be survivors in a post apocalypse world.
You’ll be working in small groups with plenty of time to get great photos of both models in their different looks. This is a great opportunity to capture some unique portraits whatever skill level you’re at.
The photos above are from my test session at the actual location we’ll be using. Despite the rather gloomy weather that day I had a brilliant time and I’m really excited to see what suggestions, ideas and images the photographers on the day create.
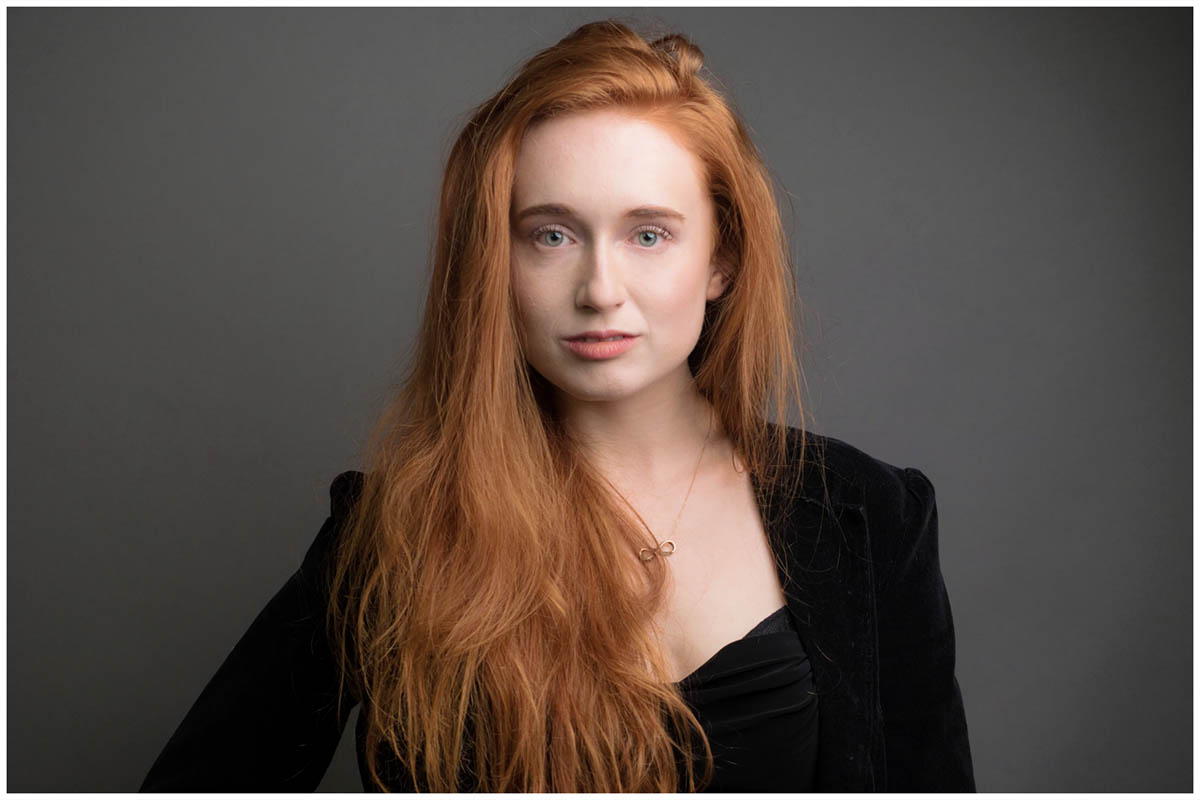
Sometime back I made a textured wall for my studio which I love but the most important thing about it is the colour. If you can only choose one background for your small studio then for me it’s always going to be grey. Why? Because with a little bit of lateral thinking and lighting knowhow a grey background can be black, white, coloured or grey (obviously).
Grey
This is the easiest to do. If you only have one light get your model as close to the grey background and shoot away. If you want a darker grey simply move the model and the light away from the background. For a lighter grey you’ll need at least one more light. Scroll down to “white” for more info.
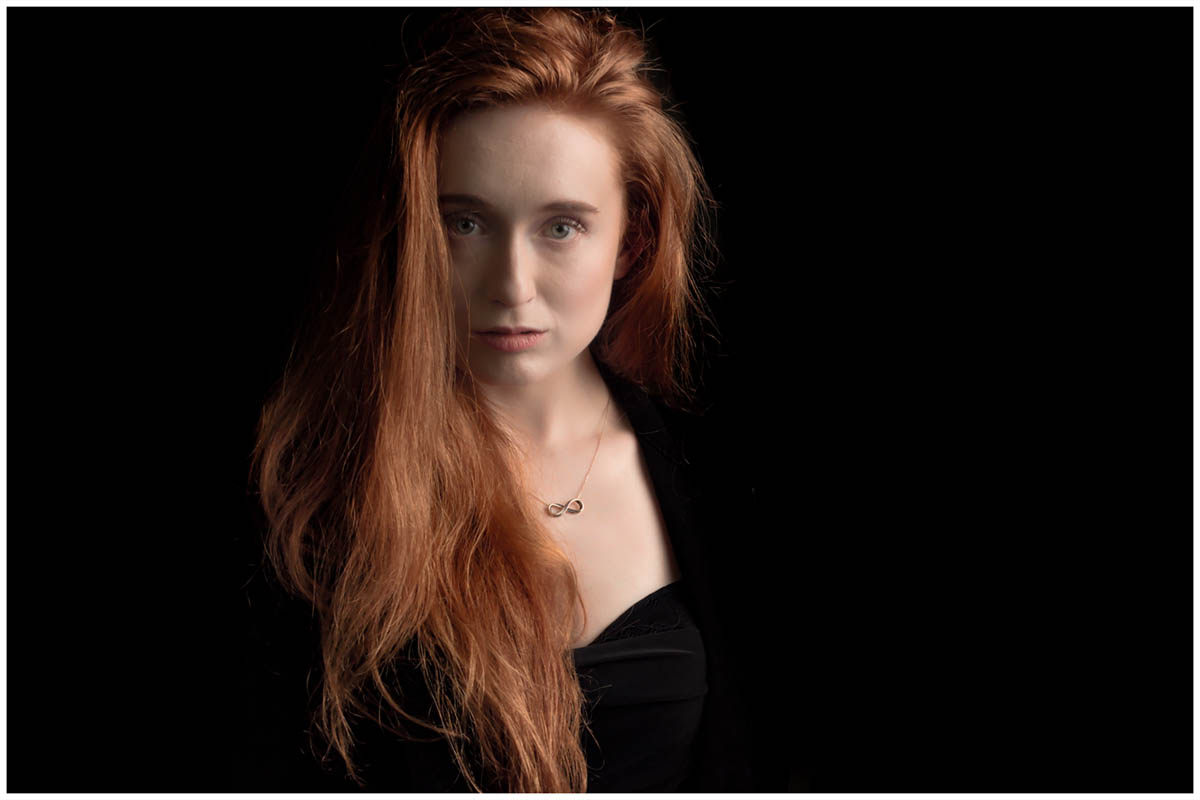
Black
Black is basically a very dark tone of grey so to make the standard grey go black you can do one of two things. Either move the model or light as far from the background as possible or move the light as close to the model as possible. An egg crate grid over the light can be used to reduce light spilling onto the background.
In a small studio the latter way is how I go, it does mean that the softbox ends up in the shot but if you watch the video you’ll see my Photoshop / Lightroom trick to hide it.
Coloured
For this you’ll need at least one more light. The extra light(s) is placed behind the model and a coloured gel is fitted. The background colour is from the gel but also from the light output. A stronger background light will give brighter colours which can bounce off the background and onto the edges of your model in a small studio. A lower powered light will created a background with darker, richer colours. It’s all about balance and experimentation. White
This is the toughest to nail. Adding more light onto the background from the rear light makes the background record as a lighter tone of grey. Add enough light and the grey will be white. Add too much light onto the background and you’ll lose detail on the model. You can find out my tips for balancing light to get the perfect white background in this video.