Behind The Scenes… Coming Soon.

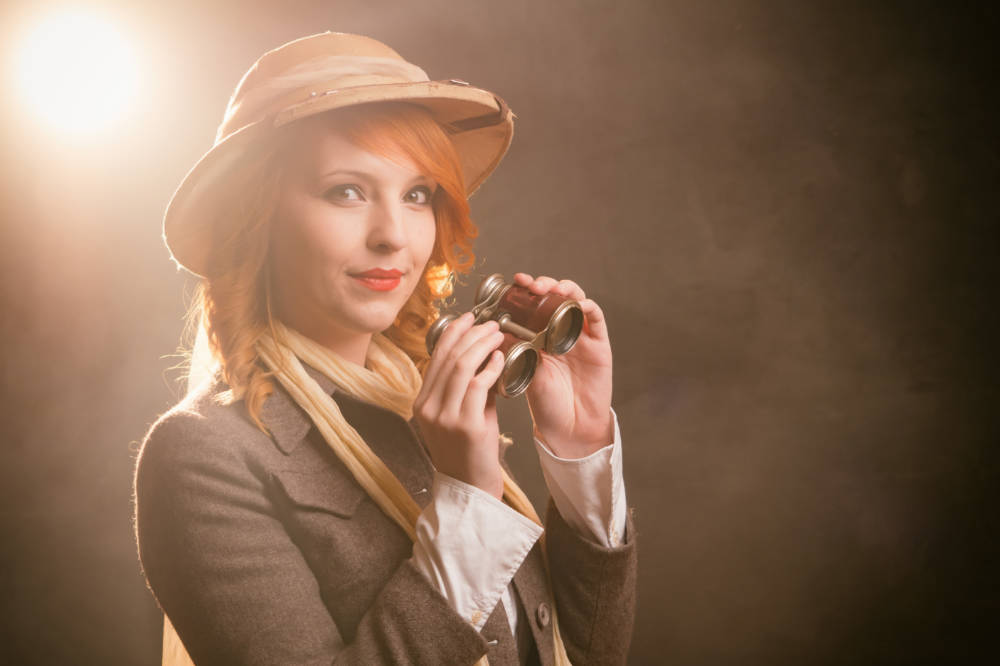
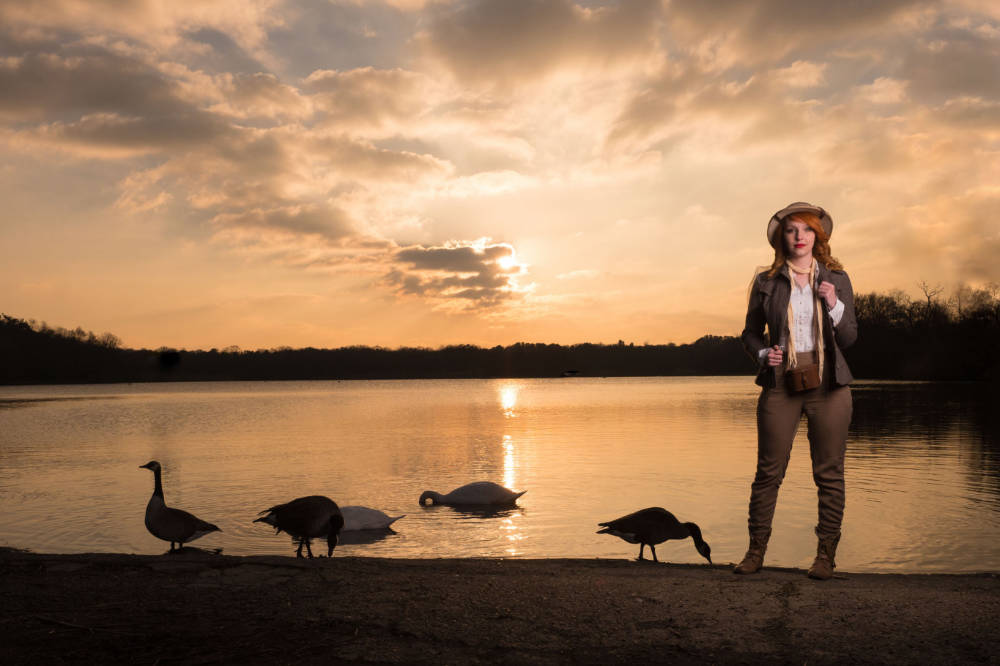
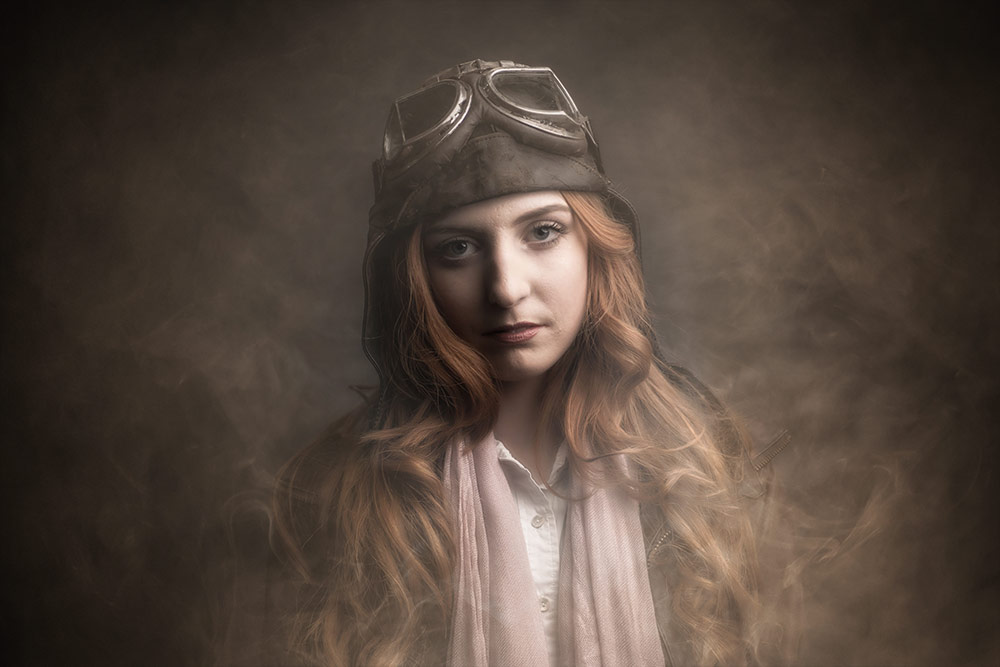
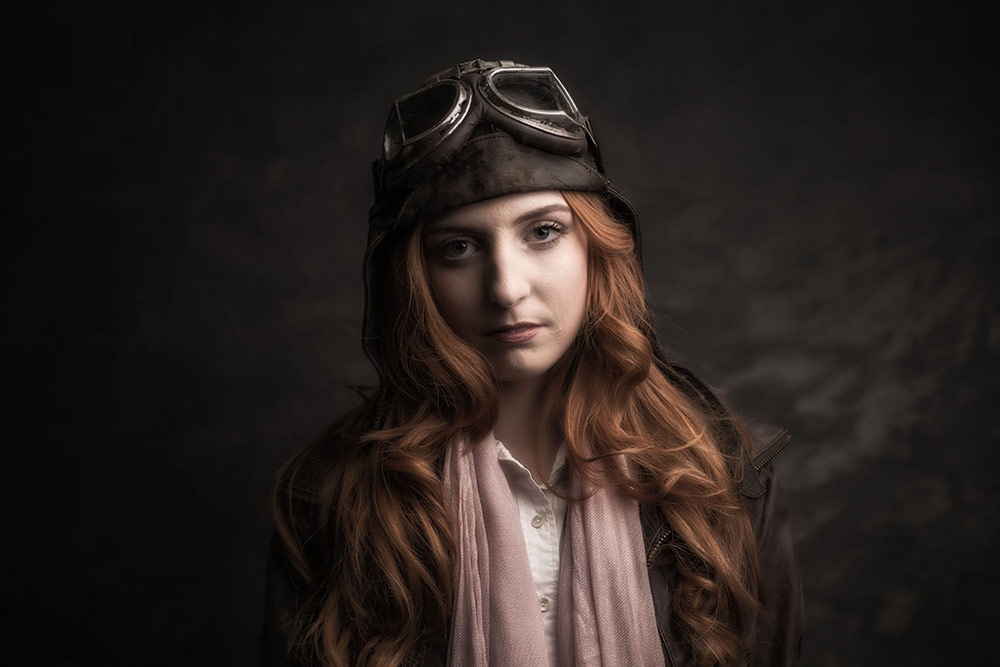
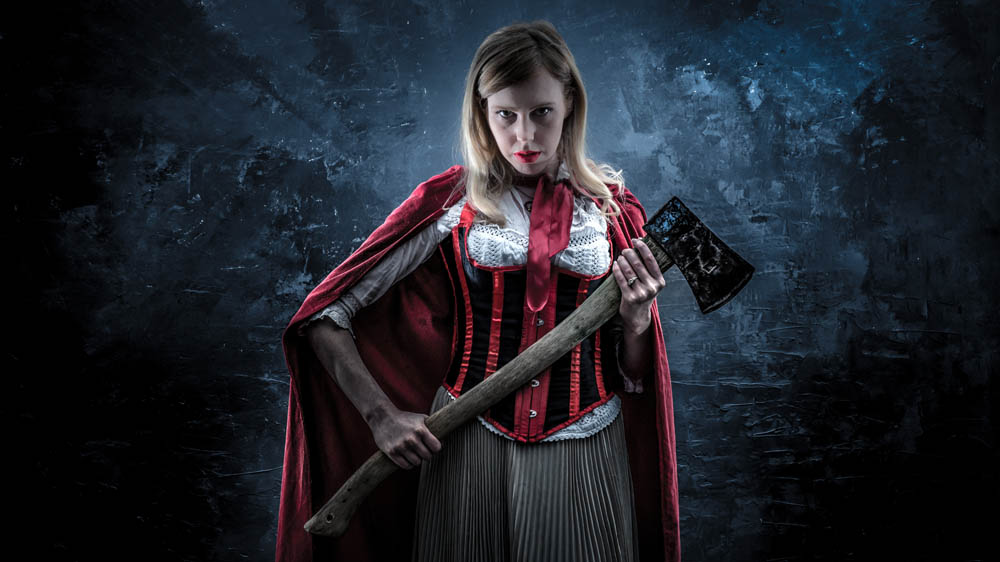
I often get asked how I come up with my ideas or what my creative process is. With that in mind the next video for Adorama TV will be a different format to usual. Encompassing the creative process behind one of my  photo shoots.

There’s a lot of planning and organising behind the scenes, all the stuff I don’t show usually. In the next 3 videos you will be part of the journey from initial concept through organising and shooting right to the end processing results and final conclusions.

You’ll see how we work as a team, that things don’t always go as planned. The importance of a plan B (and C) and much more. I hope you’ll join me, warts and all, to get a glimpse from the other side of the camera.

https://www.facebook.com/gavtrain/videos/2173023796040948/

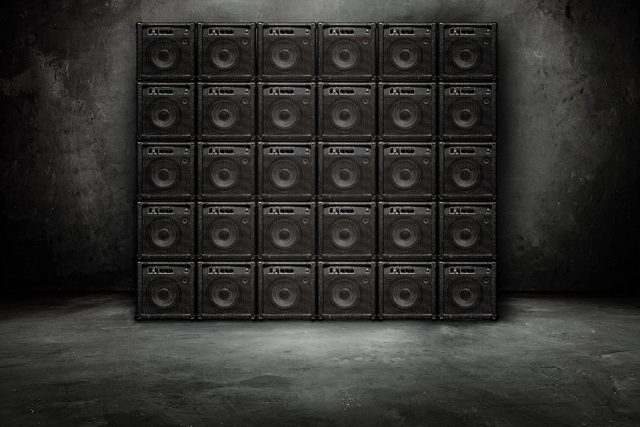
Wall of sound background

Recently I needed a wall of speakers in my studio to make an amazing background for an upcoming music shoot. But after a bit of thought I realised there were three major problems with the idea. First, my studio space is a lot smaller then my imagination. Second, I don’t have easy access to the 25 – 30 speakers I would need for a person sized wall and third, what would I do with all those speakers after the shoot? However I do own one small PA amp (I use it during my camera club talks) and of course I have Photoshop.

So here it is, a wall of sound in my studio and all it took was a couple of photos plus an hour or two in Photoshop. The only thing missing is a musician but I’ll get to that in a later post. In the meantime, I’m sharing this background as a Friday Freebie.

If you create a photo using the Friday Freebie then let me (and everyone else) know by leaving the link in the comments below.

Usage rules
The images are copyright Gavin Hoey 2018. Use is limited to any personal but non-commercial purposes. Please share the Friday Freebie by linking back to this page. Do not redistribute the original images without my permission.

Download instructions
       1. Click on the correct download link below (no sign up is needed)
          https://adobe.ly/2AUg8td

  1. Click the Download button download_icon
  2. The download should start automatically
  3. No support is provided with the Friday Freebies. If you need help Google or YouTube the question and you’ll almost certainly find the answer

Free Smoke Textures

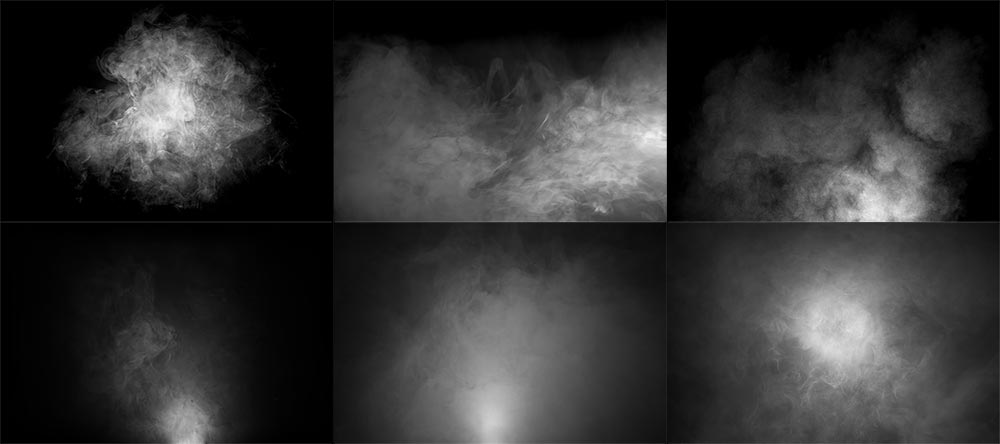
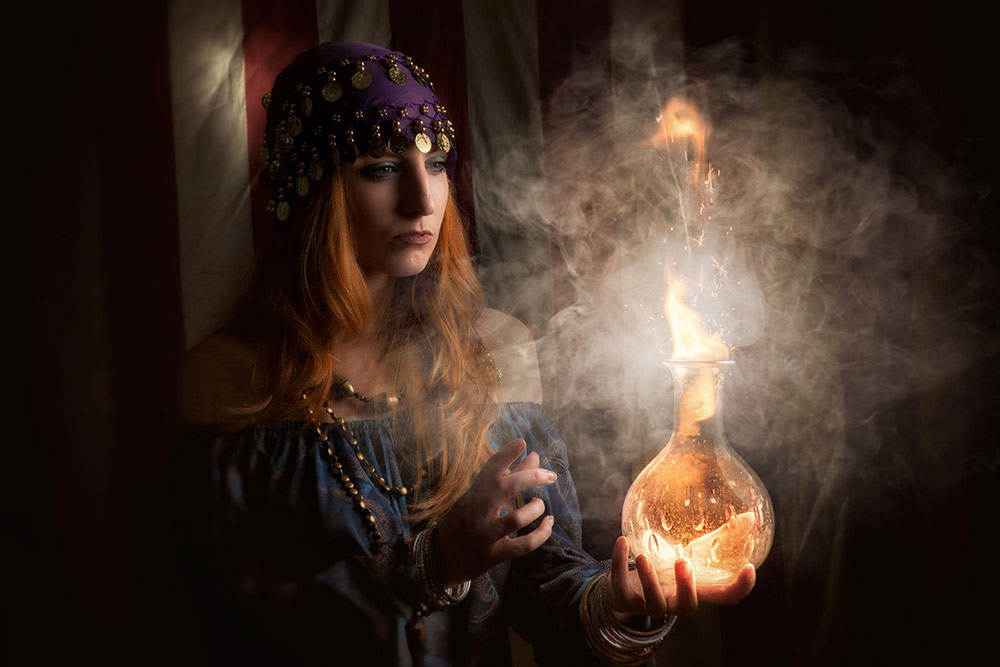
Recently I’ve run a couple of workshops that used smoke effects, the Music and Magic workshop was a great example. During the workshops I’ve mentioned that the volume of smoke can easily be enhanced with a little help from Photoshop. All you need is a shot of smoke against a black background and you’re good to go. Of course there’s smoke and then there’s smoke, so what you actually need is a library of various smoke patterns in order to match it to your scene.

To kick off your smoke collection I’m sharing 6 of my smoke shots as a Friday Freebie. You can download them from here:
https://drive.google.com/open?id=0B_Mmmm3K1utNam9wUk9yUFpVdEk
Please read the usage rules below.

How To Add Smoke
There’s a several ways to use my smoke textures but first you need to download and unzip them. In Photoshop simply open a smoke image and select it (CTRL+A). Then copy it (CTRL+C) and go to the image that needs smoke and paste it in (CTRL+V). To blend the smoke into the photo go to the Layers Panel and change the Layer Blending mode from Normal to Screen. Of course it’s unlikely that the smoke will be in the right place or even the right size, so press CTRL+T and use the Free Transform handles to resize the smoke and then drag it around as you need.

How you use the smoke in your photography is up to you but you. It can be used as realistic smoke by following the advice above or it can be more mist like by lowering the opacity and applying some Gaussian Blur. Alternatively you could add it to the whole image and use it as a texture, may be add some colour with CTRL+U (Hue/Saturation) or try different blending modes for interesting and unexpected results.

If you create a photo using the Friday Freebie then let me (and everyone else) know by leaving the link in the comments below.

Usage rules
The images are copyright Gavin Hoey 2017. Use is limited to any personal but non-commercial purposes. Please share the Friday Freebie by linking back to this page. Do not redistribute the original images without my permission.

Download instructions
       1. Click on the correct download link below (no sign up is needed)
https://drive.google.com/open?id=0B_Mmmm3K1utNam9wUk9yUFpVdEk

  1. Click the Download button download_icon
  2. The download should start automatically
  3. Once downloaded you’ll need to Extract or Unzip the file to access the images
  4. No support is provided with the Friday Freebies. If you need help Google or YouTube the question and you’ll almost certainly find the answer

Dramatic lighting with just two speedlights

So you only have two bare speedlights and you want to shoot some creative portraits. That’s the challenge I faced recently after discussing how a fellow photographer could get started in portrait photography without spending too much on new equipment.

Don’t get me wrong, bare speedlights will obviously limit how you can light your subject and won’t beat better strobes and a choice of light modifiers but I figured that if I can generate the initial excitement for shooting portraits with basic kit, the rest will grow in time.
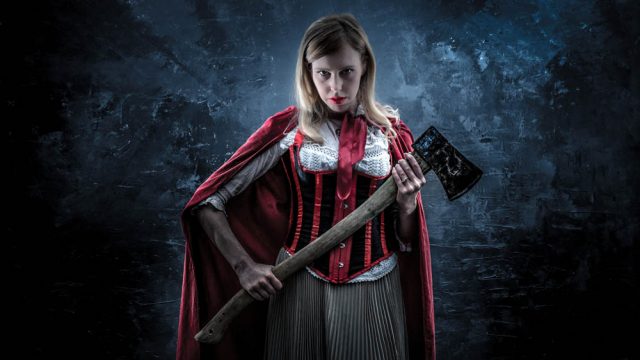
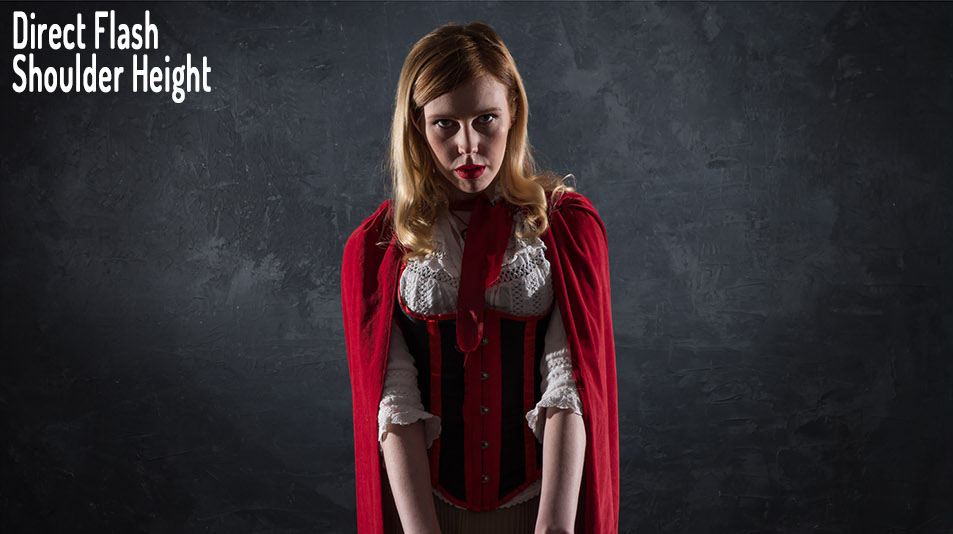
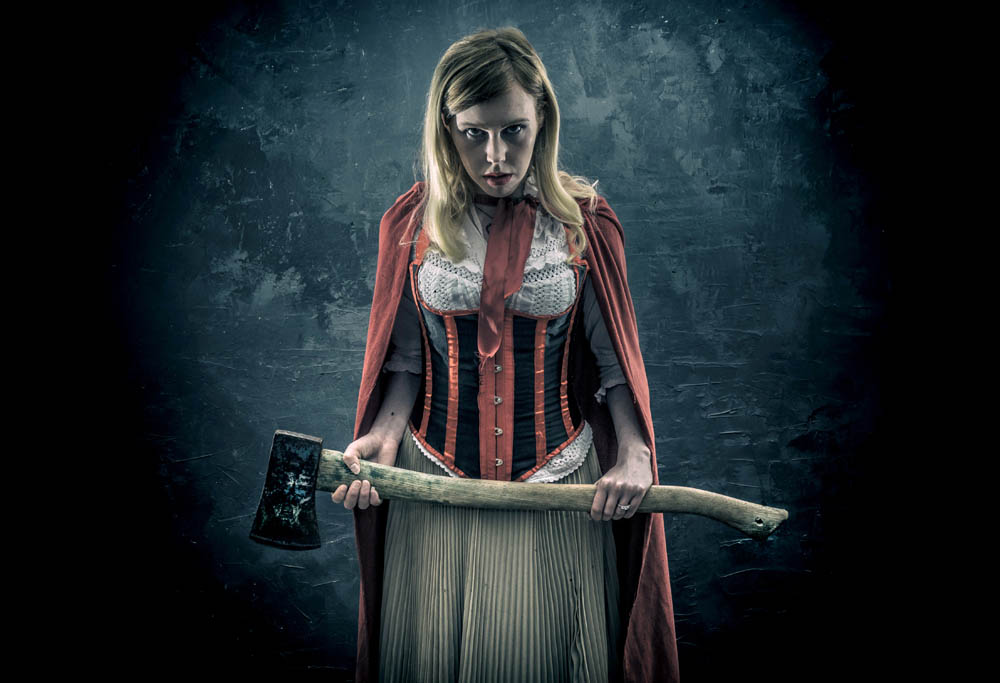
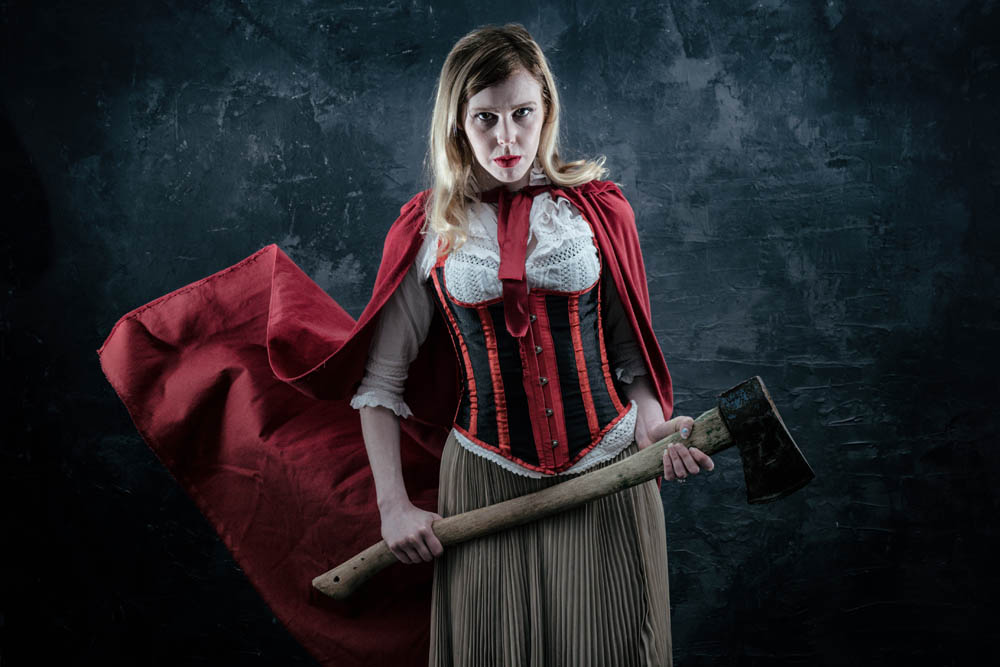
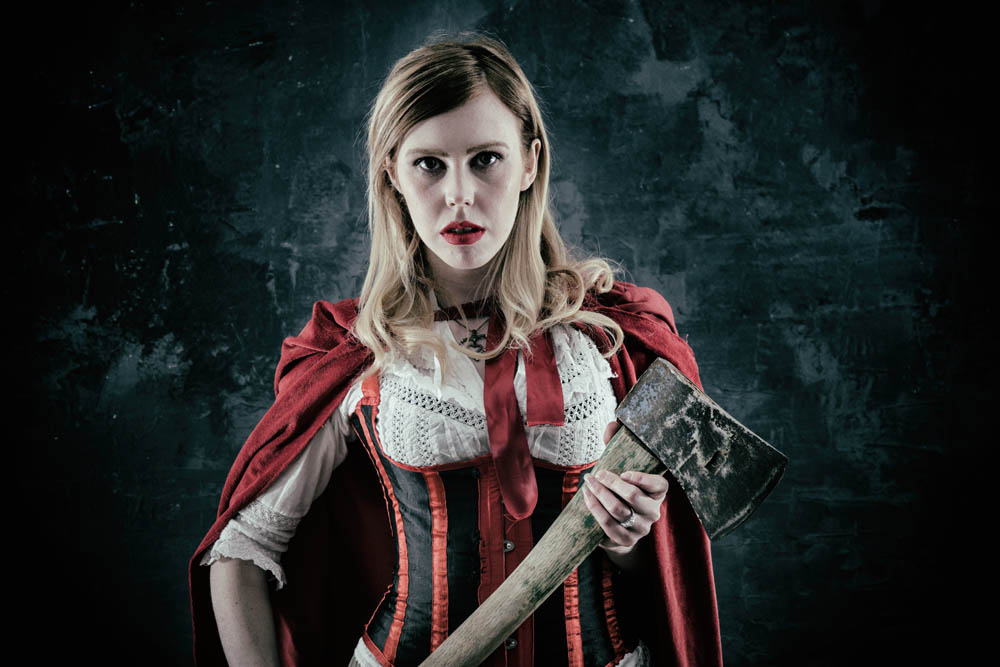
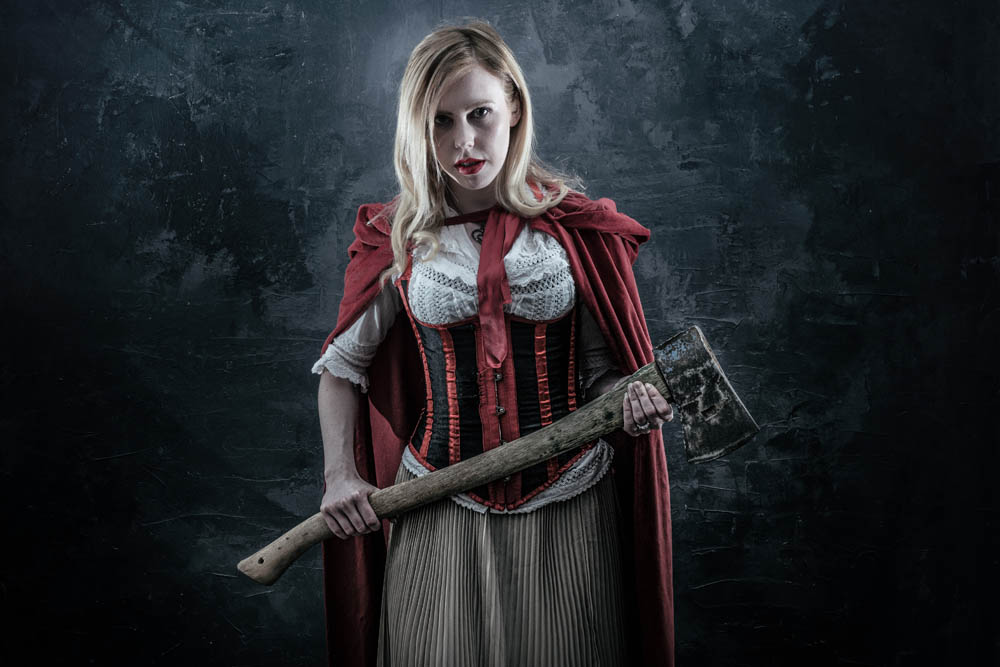
So with a bit of help from model Fern we dusted down the Red Riding Hood cape and set to work.
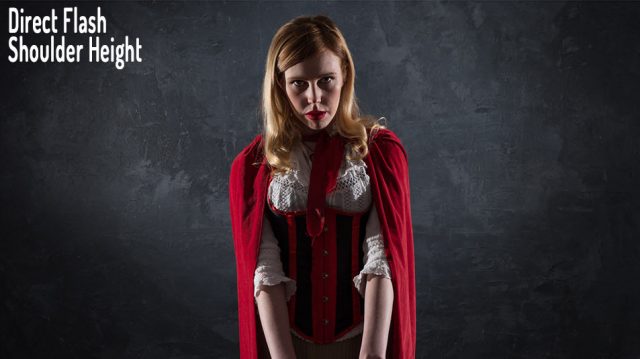
I started by putting the two lights either side of Fern, at 90 degrees to the camera and in line with her shoulders. I carefully made sure they were evenly spaced and that Fern was evenly lit. The end result was a bit too much contrast but very dramatic.
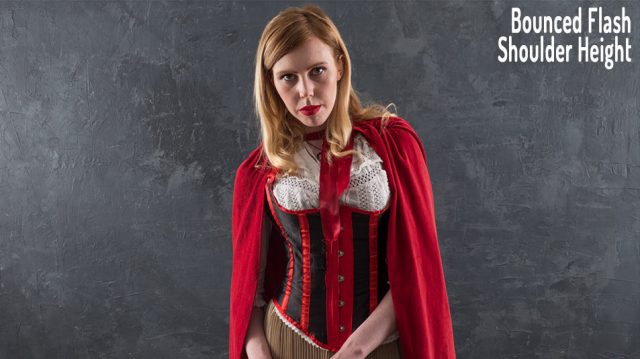
 

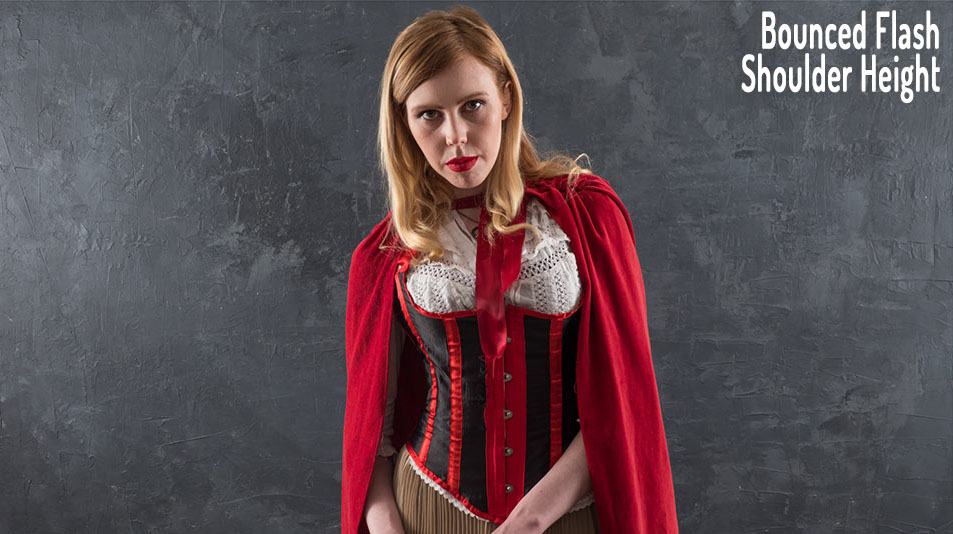
Next I spun the lights around and pointed them at the white walls of my studio. The light was bouncing off the walls which simulated the look of light coming from a source much bigger then a small speedlight. Bigger means softer when it comes to light but it also means more spread and sure enough the photo looked much flatter.
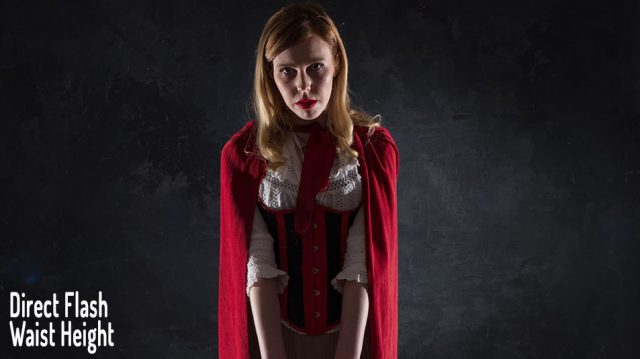
 

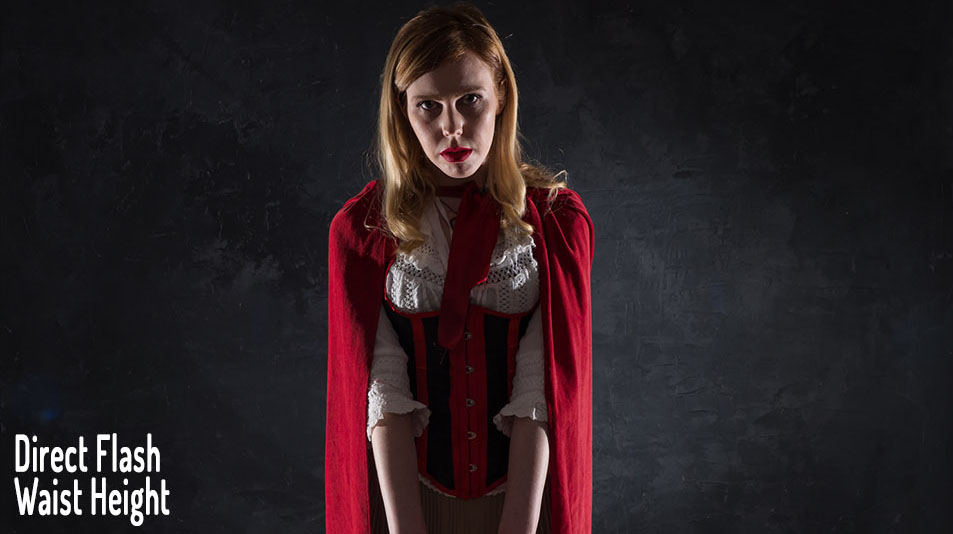
I turned the light back around. If you want a sinister look, put the lights low. It’s not a lighting position I regularly use but in this case it felt right. However the direct light from the bare flashes still looked a bit too harsh for my taste.
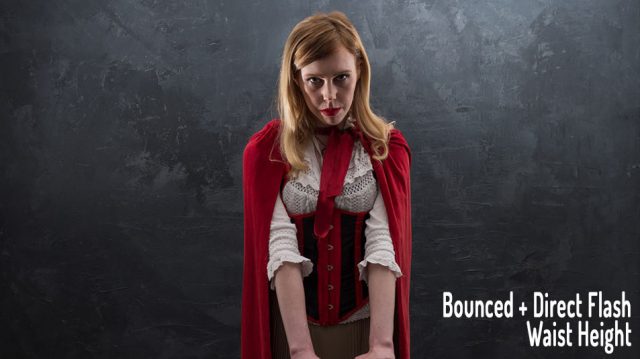
 

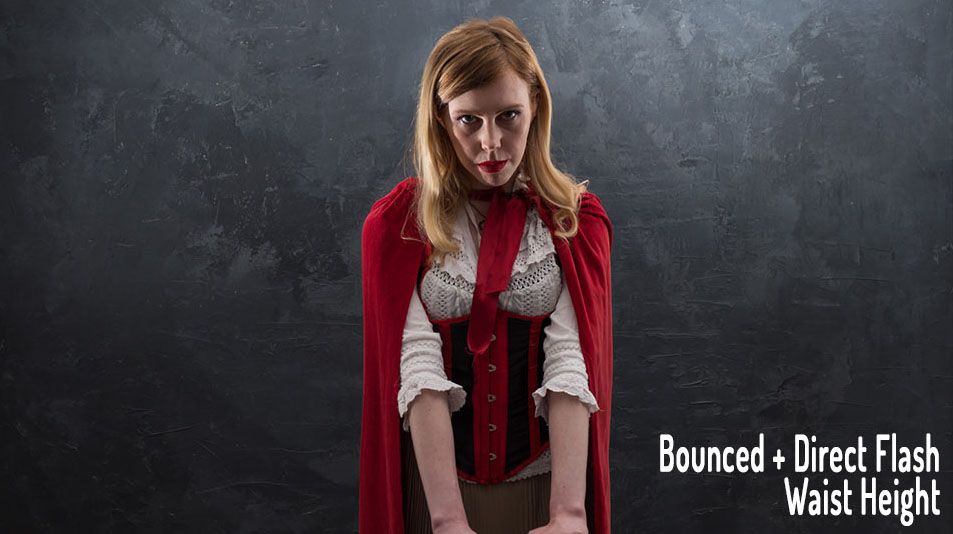
To soften the light a little on Ferns face I kept the lights low but angled them up to the ceiling. The result was a mixture of hard light and soft light that worked perfectly for the look we were going for.

For more information on the shoot and the post processing, check out the video below
[youtube]www.youtube.com/watch?v=LKNSqE8sdrc[/youtube]
Film Noir in a small studio

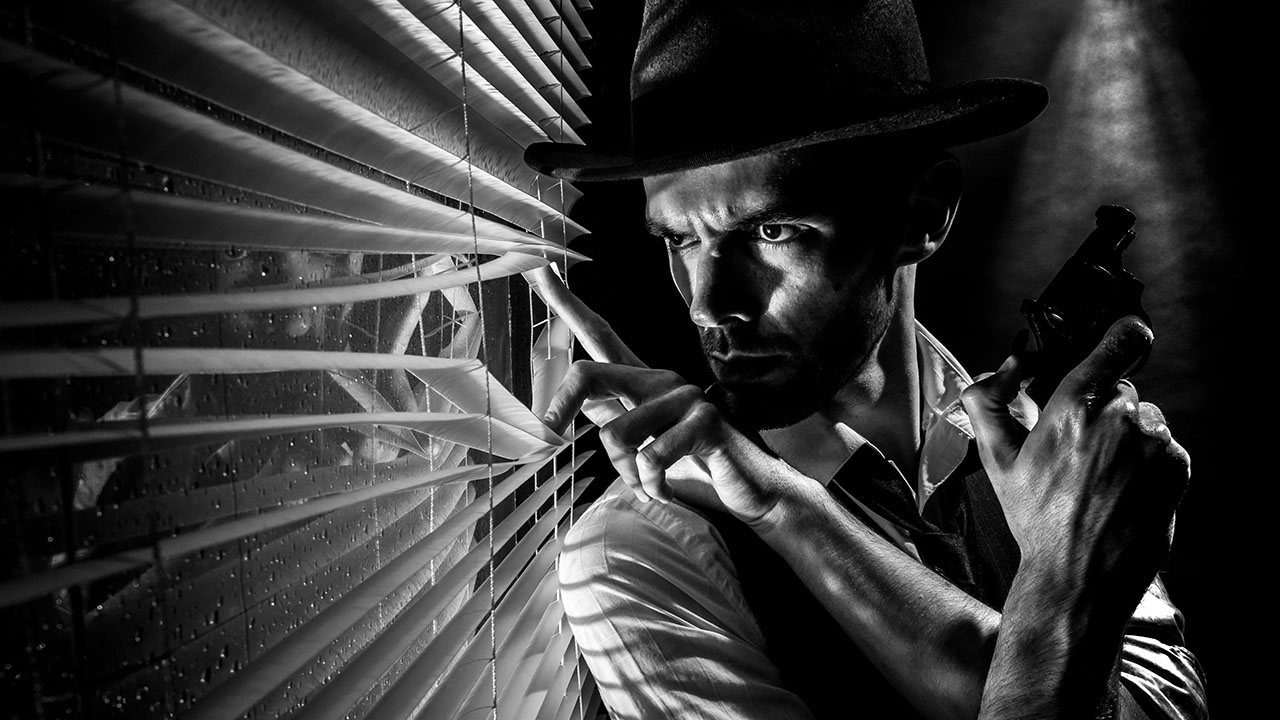
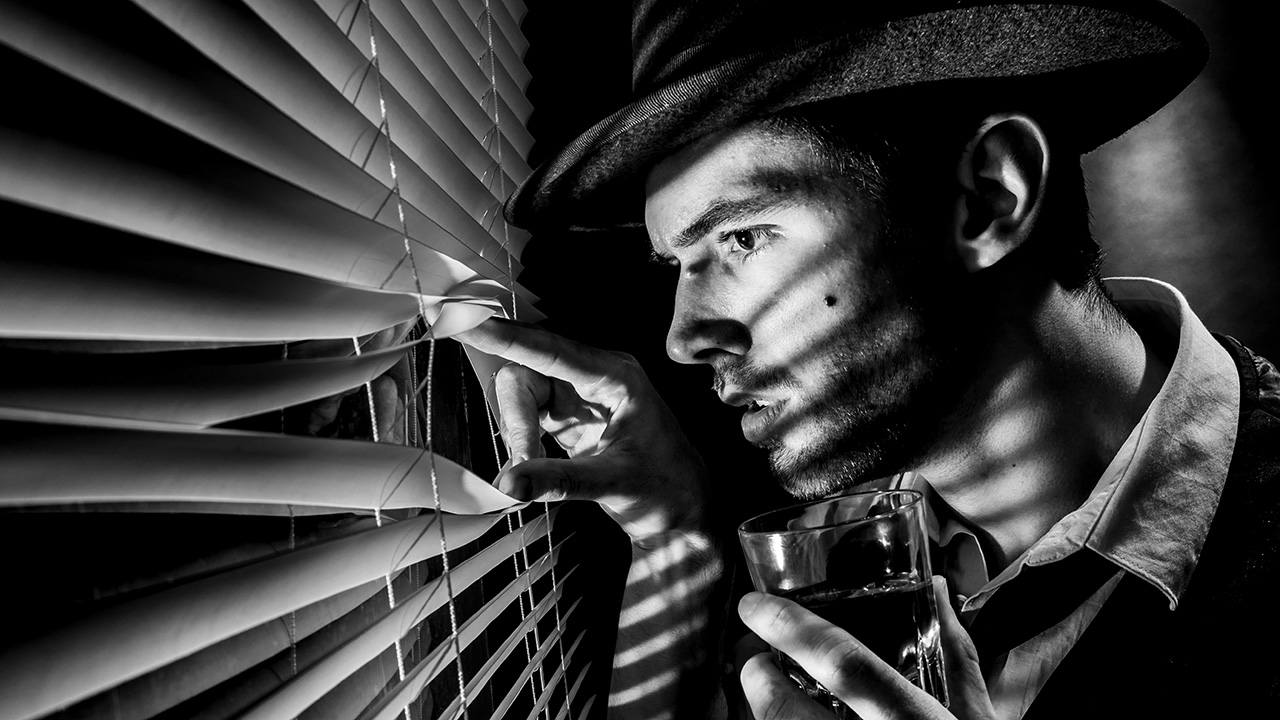
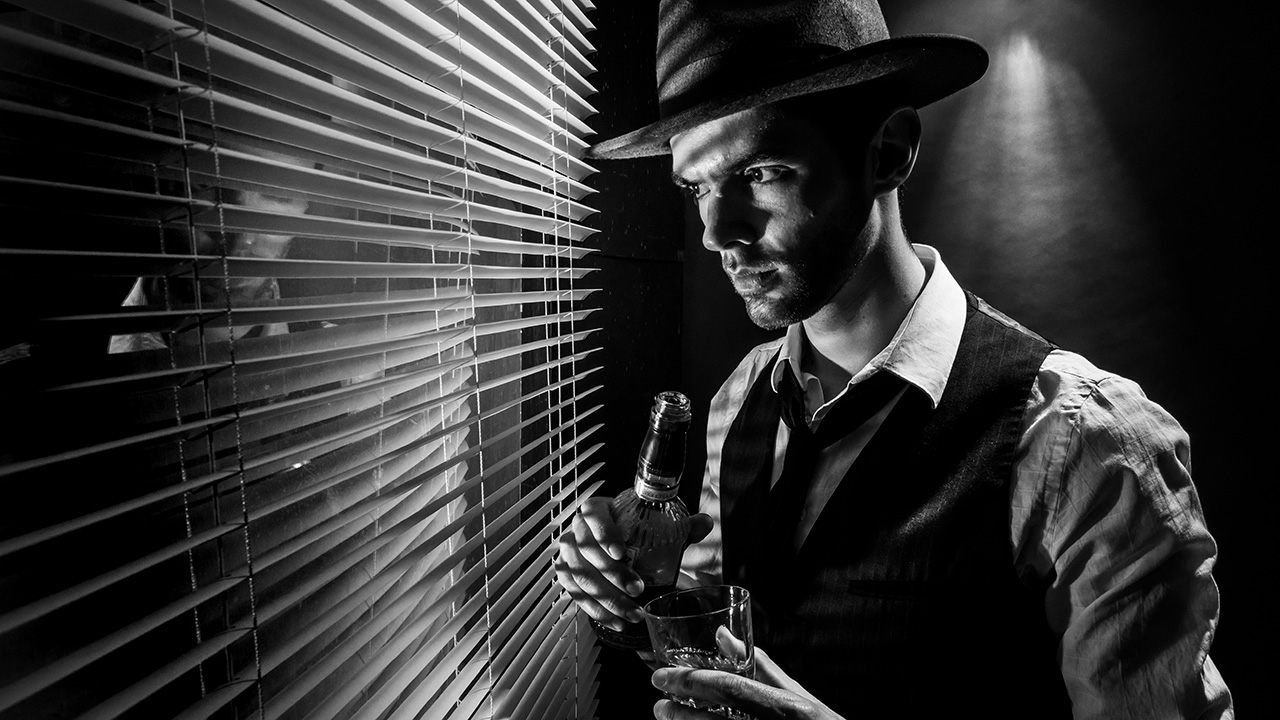
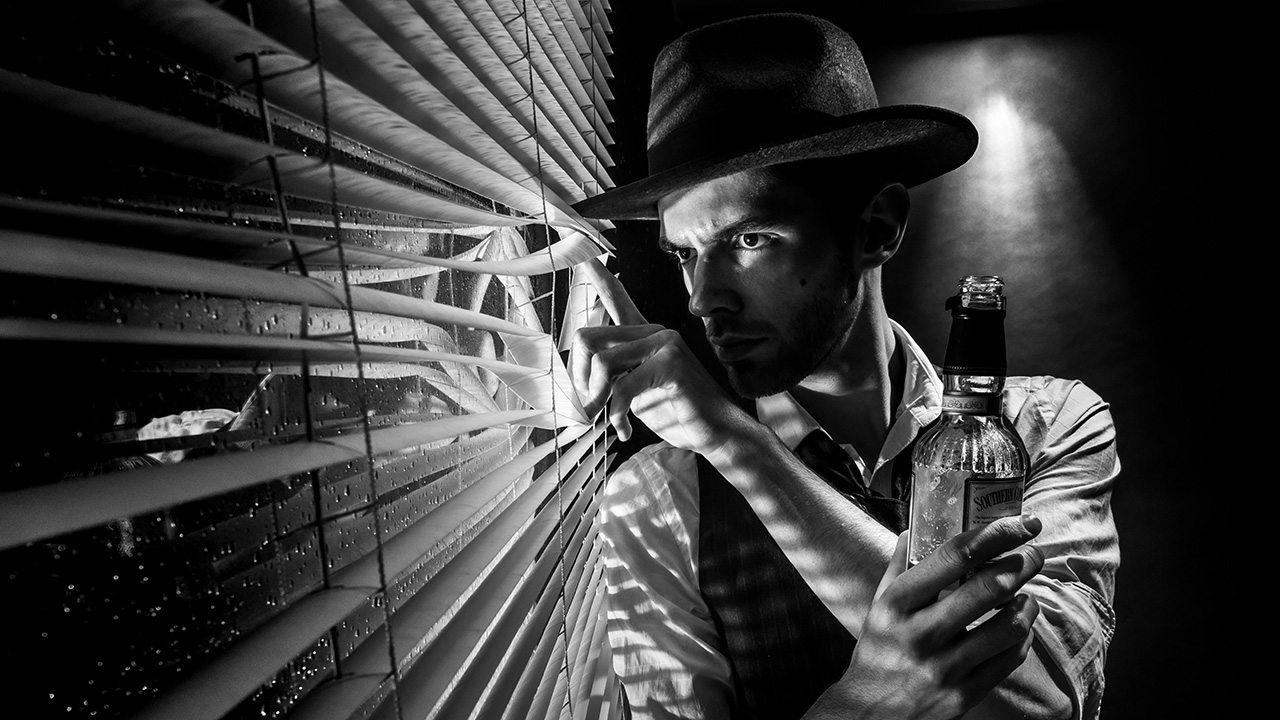
How do you sum up the film noir style? For me words like dark, moody and sinister would be fitting but there’s a lot more to it then that. There’s the style both in lighting and subject matter to consider too.

I always think of Film Noir as being high contrast, black and white scenes lit with hard light resulting in strong shadows. Rightly or not I also think 50’s style crime drama and that’s what I set out to produce in my small home studio.
[youtube]www.youtube.com/watch?v=-9o1Pc6uDRU[/youtube]
The trick here was to set my main light low and hard (No softboxes or umbrellas) That gave great shadows from the Venetian blinds and the up light gave a sense of menace, as well as the subtle feeling our hero was on a higher floor looking down.

The rest was down to Styling. So asking Brian (the model) to have a bit of stubble, giving him a bottle of whiskey (or cold tea in this case) and of course, having him hold a vintage kids cap gun all helped set the scene and tell the story.

My 2017 UK Photography Show Schedule

There’s just one week to go until The Photography Show opens its doors at the N.E.C. in Birmingham and this year my free demos are back and better then ever. Running from the 18th – 21st March, it’s the UK’s biggest and busiest photography show around 30,000 amateur and professional photographers attending. It’s packed with a great mix of stands from the major photographic suppliers to the small independent retailers.

TPS2016

But this isn’t just another trade show, there’s also loads of things to see and do. There’s a constant stream of free demos and talks on various live stages and that’s on top of all the smaller demos on many of the booths dotted around the show.

I’ll be there for the whole four days giving various talks and demos on Photoshop, portrait lighting and photography. I’ll be dashing from demo to demo (see below) but if you’re coming along it would be great to meet you.

Saturday

10.30 am PiXAPRO E91 Creative portrait lighting (Demo)
12.30 pm Adobe Theatre Photoshop CC For Photographers (Demo)
1.30 pm Olympus D91 Action Stations (Talk)
2.30pm PiXAPRO E91 Creative portrait lighting (Demo)

Sunday

10.30 am PiXAPRO E91 Creative portrait lighting (Demo)
12.30 pm Adobe Theatre Photoshop CC For Photographers (Demo)
1.30 pm PiXAPRO E91 Creative portrait lighting (Demo)
3.00 pm Olympus D91 Action Stations (Talk)
4.00 pm TPS Live Stage Lighten Up (Demo)

 Monday

10.30 am PiXAPRO E91 Creative portrait lighting (Demo)
12.30 pm Adobe Theatre Photoshop CC For Photographers (Demo)
2.30 pm PiXAPRO E91 Creative portrait lighting (Demo)

 Tuesday

10.30 am PiXAPRO E91 Creative portrait lighting (Demo)
12.30 pm Adobe Theatre Photoshop CC For Photographers (Demo)
2.00 pm PiXAPRO E91 Creative portrait lighting (Demo)

All my demos are free and available on a first come first served basis. There’s no need to book but as the Adobe theatre in particular has limited seating I’d recommend getting there early!

Show tickets are free for professional photographers and the trade (if booked in advance) and £13.95 for enthusiasts (£18.00 on the door)

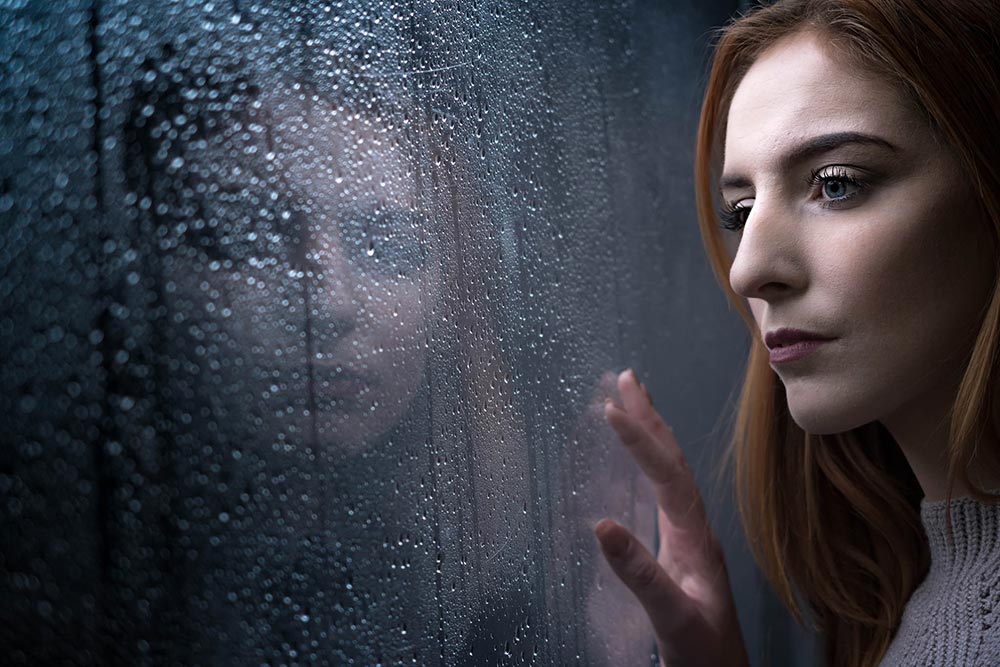
Rainy Portraits in the Studio

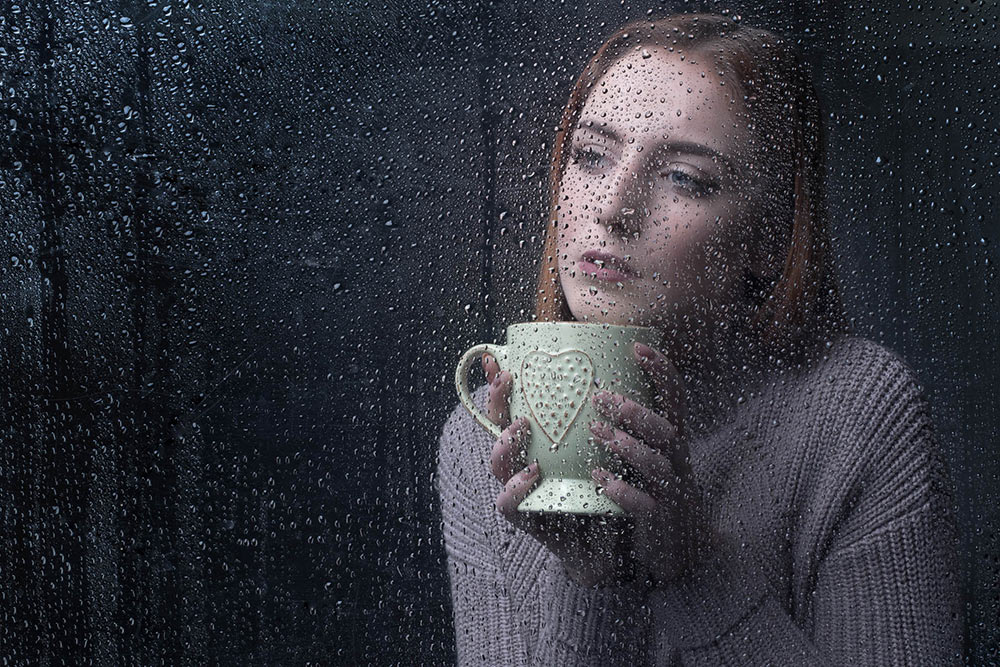
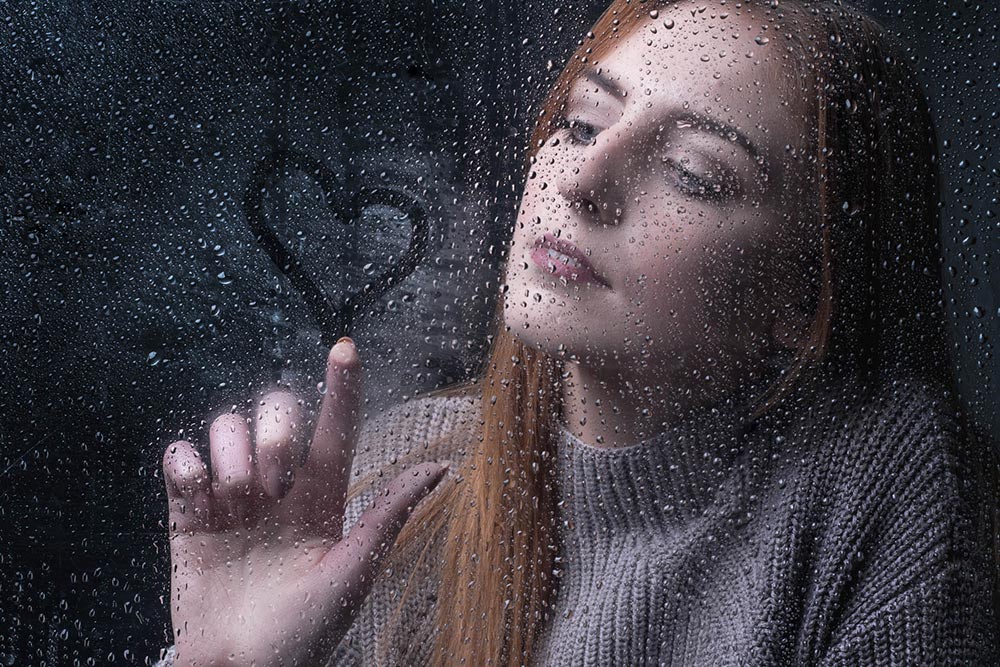
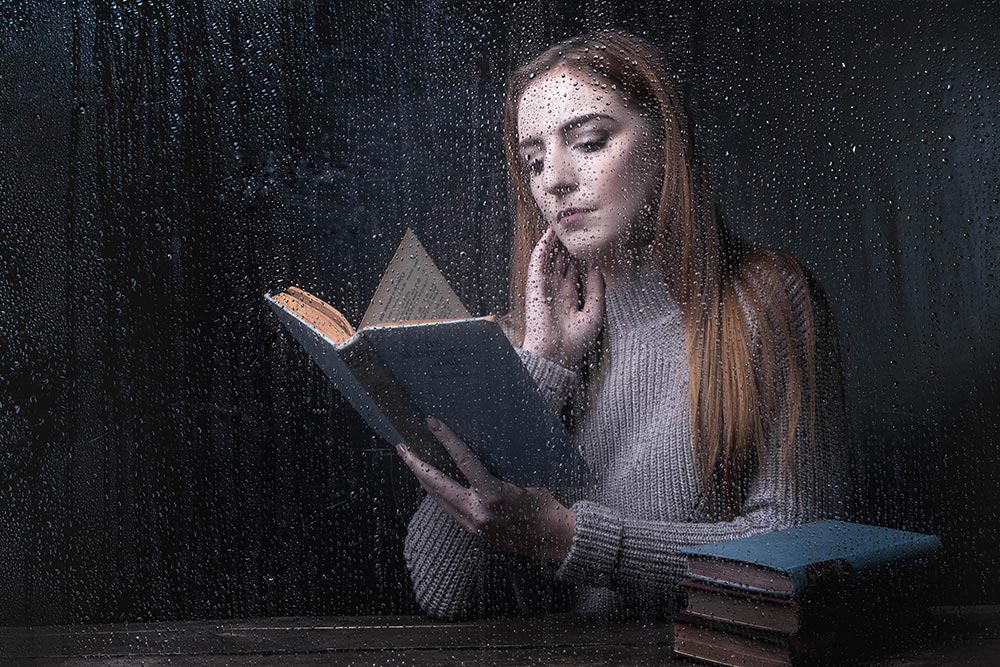
Rainy days aren’t always the easiest days to get great photos for a whole bunch of reasons but with a bit of effort and a lot of luck, you can get amazing photos.

However if getting wet isn’t your thing, it’s surprisingly simple to bring the rainy weather inside and under your control.

In the video below I’ll show you how you can create a rainy day window portrait using a couple of flashes and some simple props.

[youtube]https://www.youtube.com/watch?v=L4USUxcL49A[/youtube]
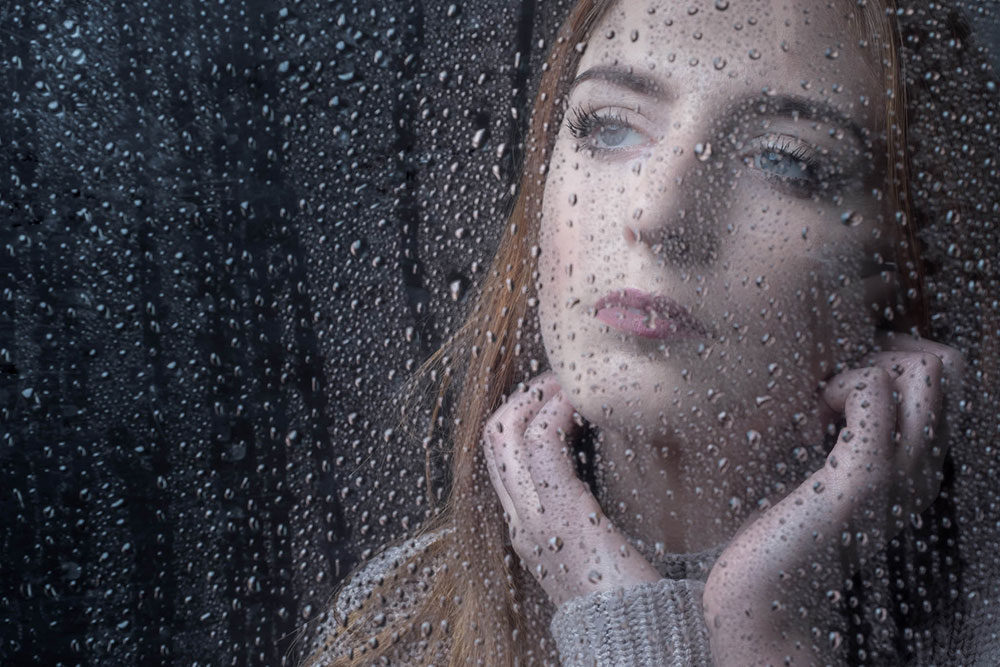
The main thing you’ll need is a “window” and although you could use a real one I opted for a sheet of clear Perspex (also called Plexiglas or clear Acrylic). I’ve had my sheet for many years and it’s very scratched but still serviceable. www.wickes.co.uk/Wickes-Durable-Acrylic-Sheet-90cmx1-8m/p/210002

The video has two ways of using the “window”, shooting looking from the outside in and shooting from the inside, out. Both have their own unique feel and if you’re set for one, doing the other is quick and easy.

If you tried the technique yourself, do leave me a comment below and share your photo if it’s online somewhere.

It’s always a pleasure to have Beth Smith model for me. Check out her portfolio at https://purpleport.com/portfolio/bethsmithmodel/

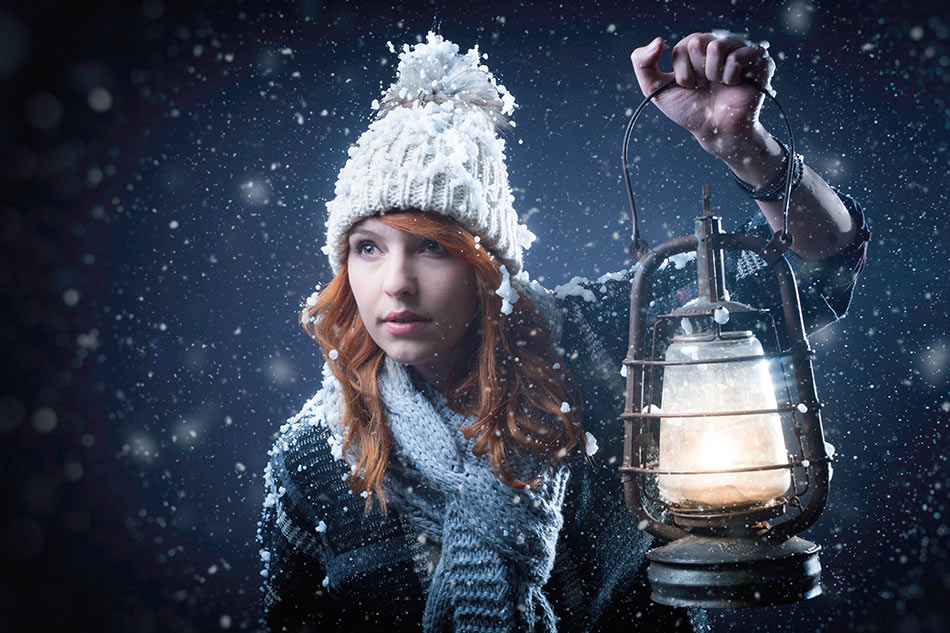
Shooting Winter and Snow Studio Portraits

I love shooting portraits outside on location but winter can pose problems. Changeable weather and short days don’t help but cold, wet weather are my nemesis. So perhaps it’s not surprising that I find myself spending more time in the studio at this time of year.

Being stuck in my studio doesn’t mean that I can’t also embrace winter and bring the outside inside. A great way to do that is to make it snow.

In the video below I walk you through both the lighting and Photoshop post processing.

[youtube]https://www.youtube.com/watch?v=g5QU9Jvc7v8[/youtube]
If you’d like to try my Photoshop Snow Action you can download it from https://www.gavtrain.com/?p=2490

If you’re after the falling snow in a can that I used for this shoot then check out the Snow Business store http://www.snowsupermarket.co.uk/falling-snow-c4/falling-snow-spray-in-a-can-p9

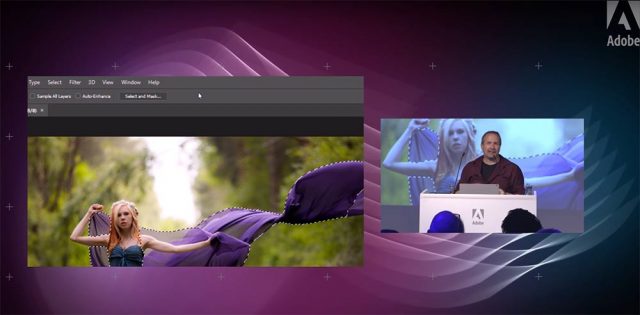
Adobe Photography Jam Re-Watch

I love demoing photography and Photoshop to my fellow photographers, so when Adobe UK invited me to speak at their Photography Jam event in London, I jumped at the chance.

It was an amazing evening of photography education and inspiration. Adobe lined up some really great speakers and invited an audience of around 150 photographers. Despite it being a seriously hot room, the audience’s enthusiasm throughout the evening made the event come alive.

If you couldn’t be there Adobe UK have you covered with all of the talks and demos now available on re-watch including mine.

[youtube]https://www.youtube.com/watch?v=oVvRU78hqUc&index=4&list=PL5JIQFdhtvjb-8SU3lZPYdyy6C_s-_IxQ[/youtube]
I was given about 20 minutes to talk about the new features of Photoshop CC2015.5 (and CC2015) that I actually use day to day. I also threw in a few general Photoshop tips along the way and would have loved to do more but time was not on my side.

You can see the rest of the talks and demos on the Adobe UK YouTube Playlist

Richard Curtis gave a great demo on the new features in Lightroom and Photoshop

Mike Watson passed on some of his Stock industry knowledge

Sophie Ebrard Talks about her amazing career journey
(NOTE: this link contains image that are NSFW – not safe for work viewing)

Bella Kotak shared some of here ethereal portrait work and how they are created.

Photojam-cover

Vintage Bookshelf – Friday Freebie


Recently IBook-Background-GAVTRAIN did a shoot which required a background made up of vintage books (video coming soon) and as luck would have it, I found 40 old books at a local boot sale for a bargain price. The books looked brilliant in the shoot but at the end of it I was left with a box full of slightly damaged Reader Digest books which I no longer needed.

So what do you do with 40 unloved books? Well the answer is obvious. I made them into a Friday Freebie to share on my blog. The more eagle eyed will notice there’s a few more books here than the 40 I started out with. You can thank the, magic of Photoshop for that.

You can download the book background here:
https://drive.google.com/file/d/0B_Mmmm3K1utNeVFyV0s4WUo0aVE/view?usp=sharing

This isn’t a template or a texture, it’s a stock image for you to use as you see fit (subject to the usage rules below).

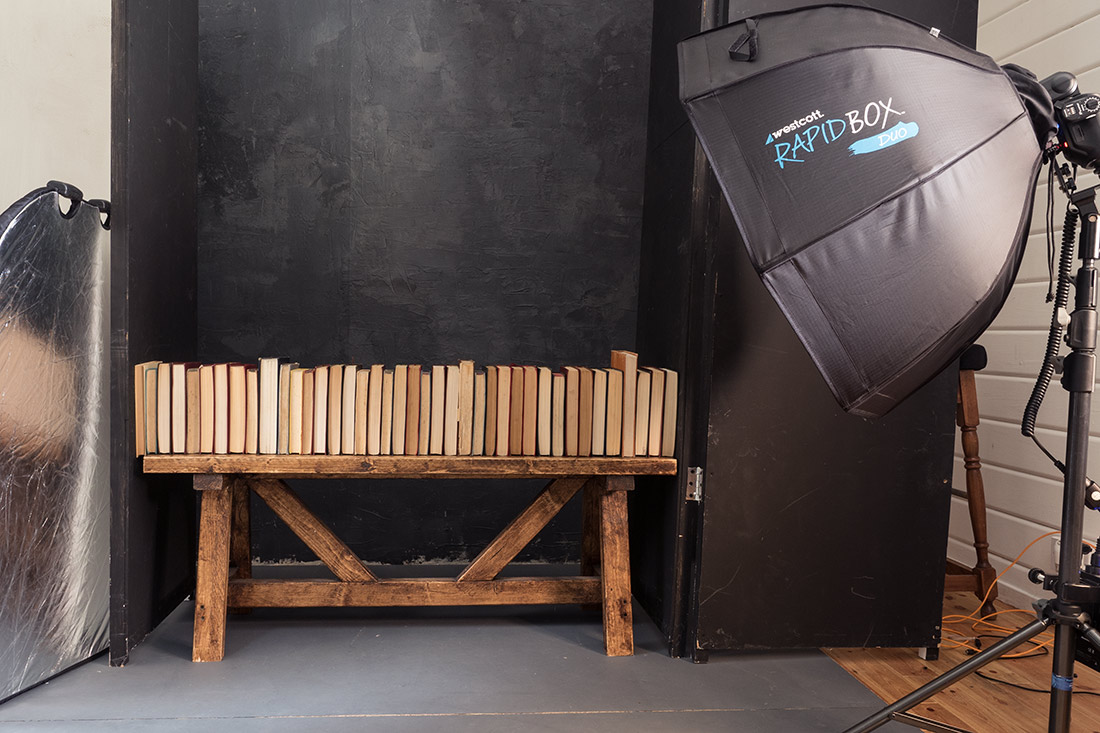
BTS-Books-FF

As you can see from the behind the scenes shot above, I shot the books on a wooden bench in my studio. I then randomised the book order a couple of times and took some more shots. In Photoshop I did a quick cut and paste job to create the illusion of book case stacked high with books. You’ll also notice that you only see the pages of the book and not the spine. That’s a deliberate choice on my part for a couple of reasons but mostly because the pages are the bit with all the texture.

If you create a photo using the Friday Freebie then let me (and everyone else) know by leaving the link in the comments below.

Usage rules
The image is copyright Gavin Hoey 2016. Use is limited to any personal but non-commercial purposes. Please share the Friday Freebie by linking back to this page. Do not redistribute the original image without my permission.

Download instructions
1. Click on the correct download link below (no sign up is needed)
https://drive.google.com/file/d/0B_Mmmm3K1utNeVFyV0s4WUo0aVE/view?usp=sharing

  1. Click the Download button download_icon
  2. The download should start automatically
  3. No support is provided with the Friday Freebies. If you need help Google or YouTube the question and you’ll almost certainly find the answer