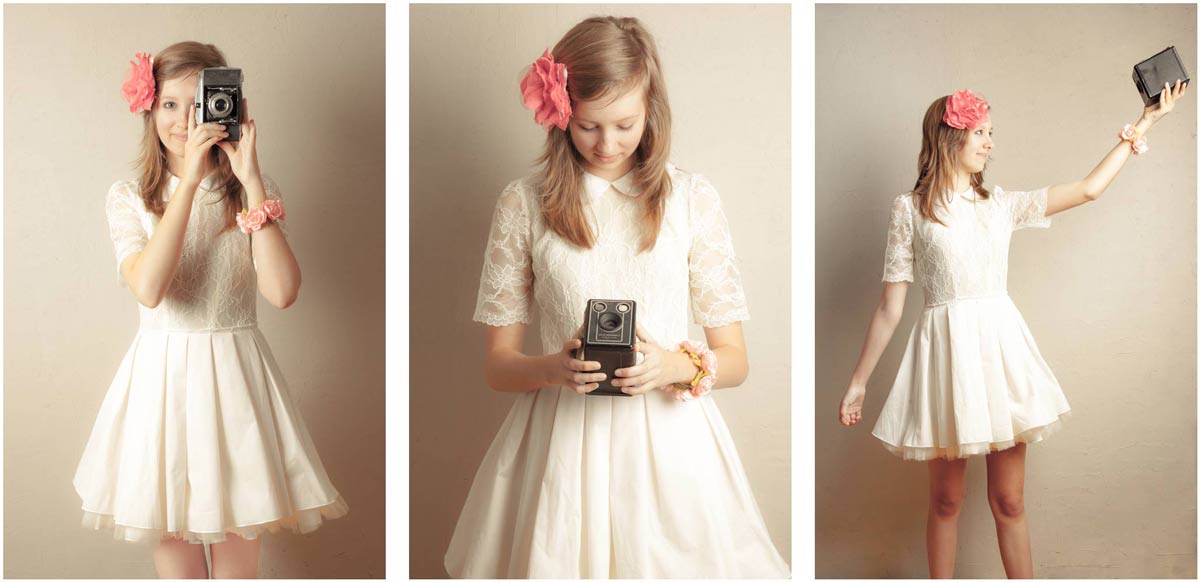
 There’s 1000’s of photographic gadgets, gizmos and accessories that you can spend your hard earned money on and whilst many are utterly useless, there are a few that are indispensable. Towards the top of my list of “must have” accessories is the 5 in 1 reflector.
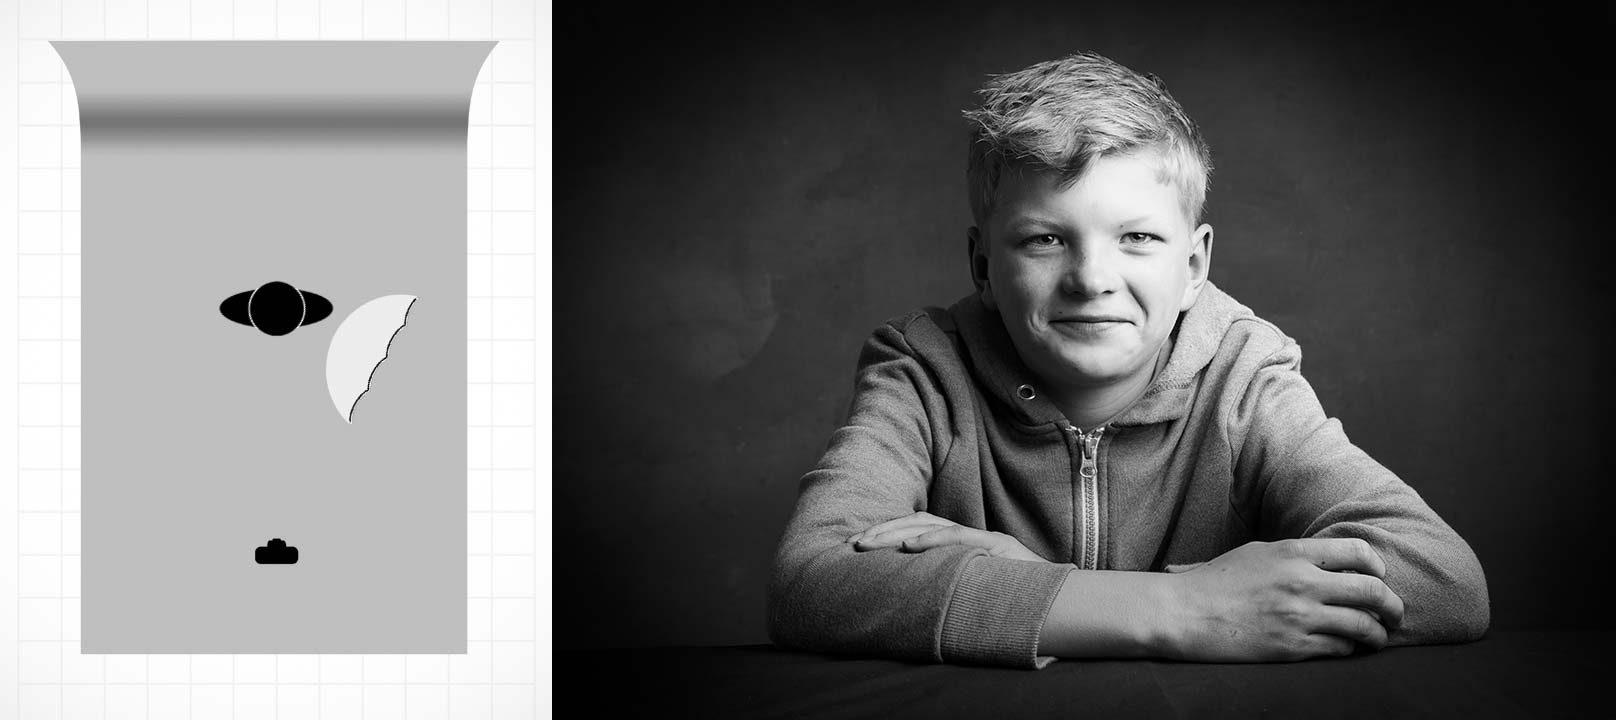
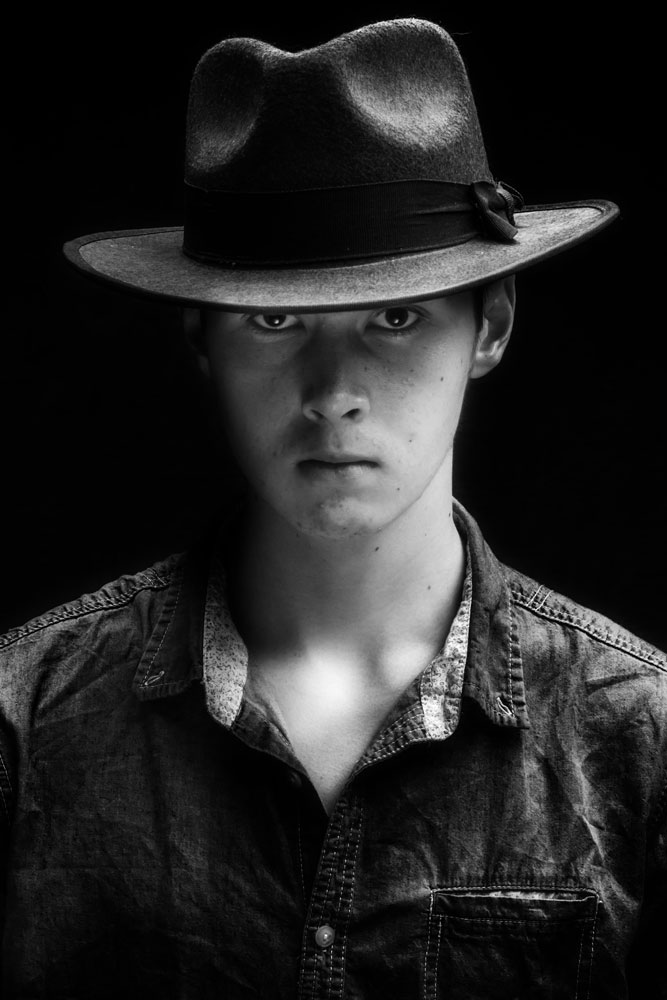
A five in one reflector is so called because it has five surfaces. There’s the white and silver surfaces for bouncing light, a gold side for adding adding warm light (and usually best avoided), a black surface to block light and a translucent surface to diffuse light. Best of all it’s one of the least expensive bits of kit you can buy.
In this video I use the silver surface to bounce light and fill in troublesome shadows. In this case the shadows are caused by a wide brimmed hat. One way would be to add a second light but if that’s not available a reflector can fill in very nicely… and yes, that pun was intended!
[youtube]https://www.youtube.com/watch?v=TYQh9MNC3Is&list=PL821B7D720DEA39FA[/youtube]
Gear used in this video (Links back to Adorama)
Flashpoint StreakLight 360 Ws Creative Collection (Includes flash, battery, trigger, boom etc)
Westcott Basics 5 in 1 reflector
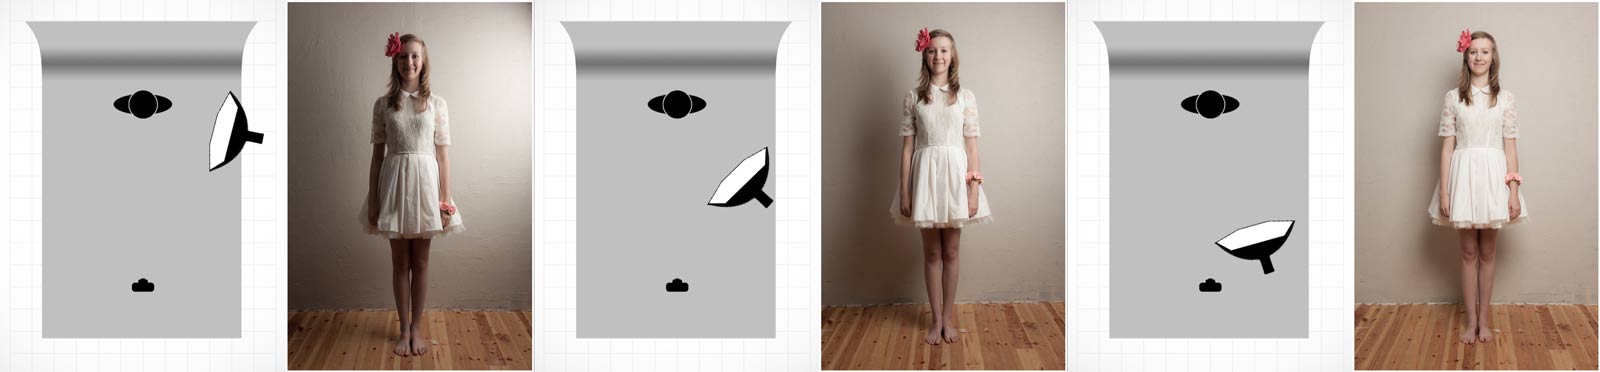
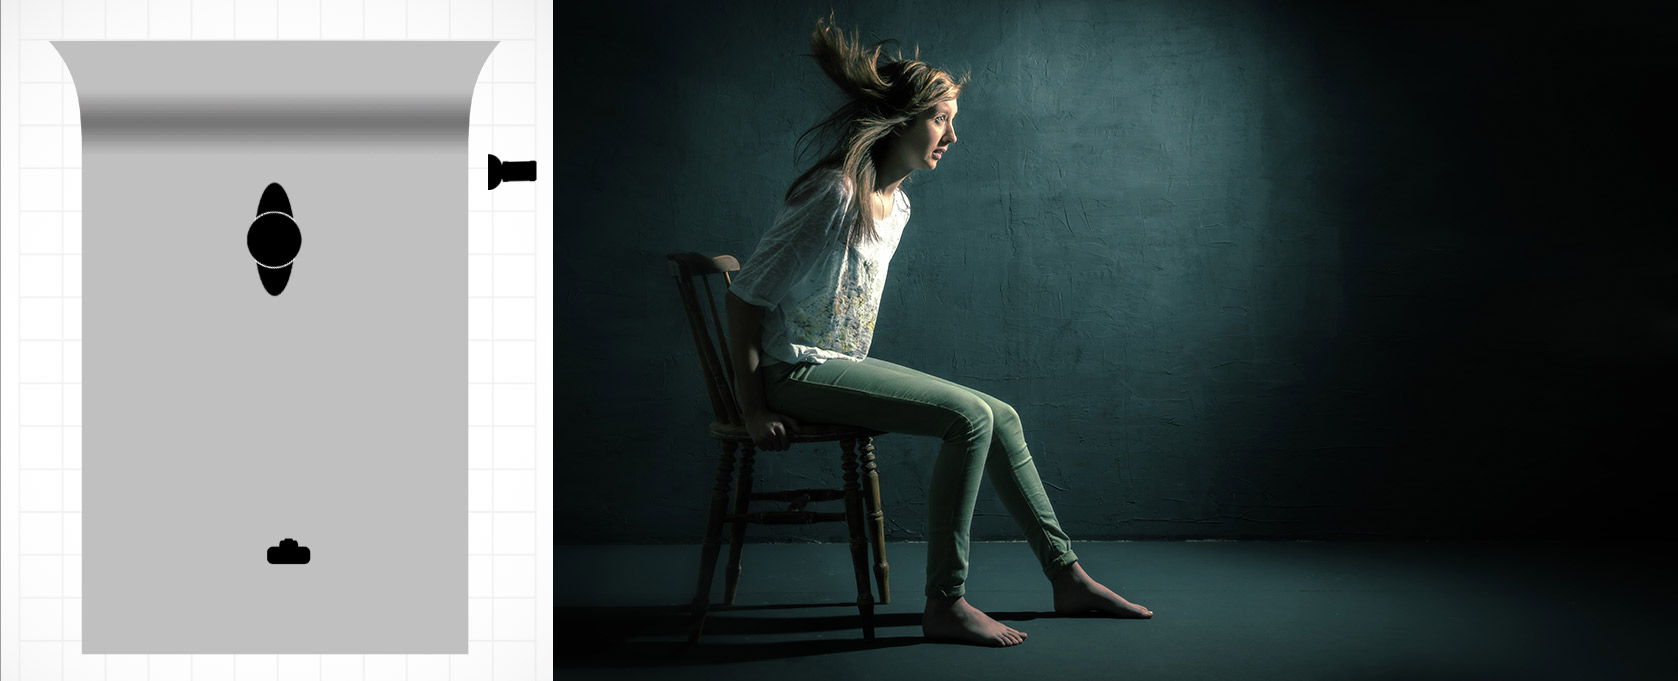
If like me you like to keep a visual record of you’re lighting set ups then this image should come in very handy.