
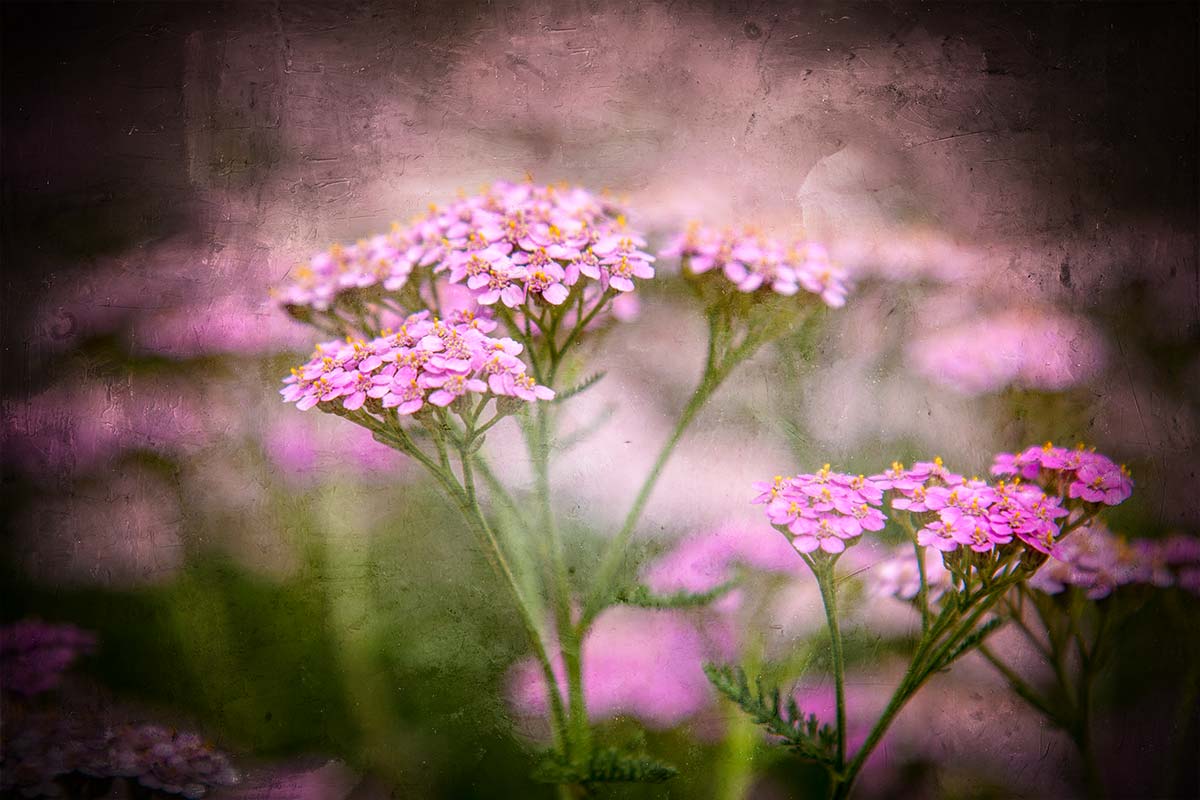
At this time of year there’s the potential for bokeh shots all over the place. With the right lens, twinkling Christmas lights can make great bokeh photos and that’s exactly what I used to create this Friday Freebie background / texture.

Full download instructions are below but you can also
Download the Bokeh Background Here
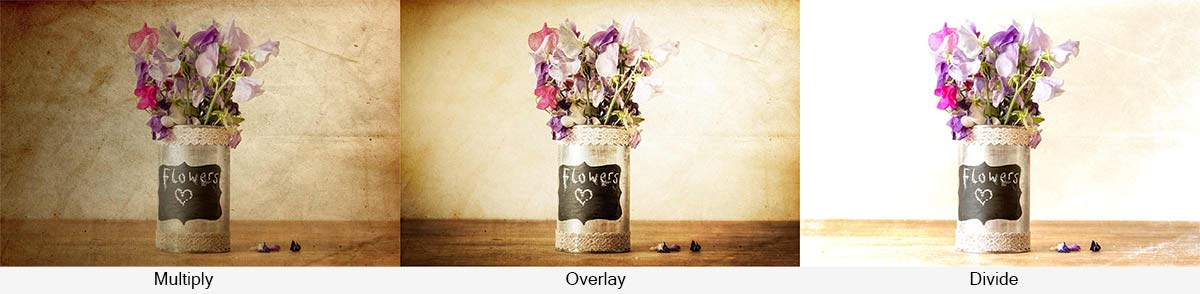
Once downloaded just open the bokeh image and your photo. Copy and paste the bokeh onto your photo and use Free Transform (CTRL+T) to make the bokeh fill the image. Next you’ll need to blend the two images together. For this shot I changed the Layer Blending Mode from Normal to Screen but as all the blending modes create a different look try them all.
The bokeh will most likely need masking or erasing away to reveal your main subject. Another thing to try is duplicating the bokeh layer to deepen the effect.

If you create a photo using the Friday Freebie then let me (and everyone else) know by leaving the link in the comments below.
Usage rules
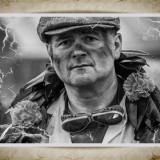
The image is copyright Gavin Hoey 2014. Use is limited to any personal but non-commercial purposes. Please share the Friday Freebie by linking back to this page. Do not redistribute the original image without my permission.
Download instructions
1. Click on the correct download link below (no sign up is needed)
https://drive.google.com/open?id=0B_Mmmm3K1utNZHVCSldJS2REMzQ&authuser=0
2. Click the Download button ![]()
3. The download should start automatically
4. No support is provided with the Friday Freebies. If you need help Google or YouTube the question and you’ll almost certainly find the answer ![]()


