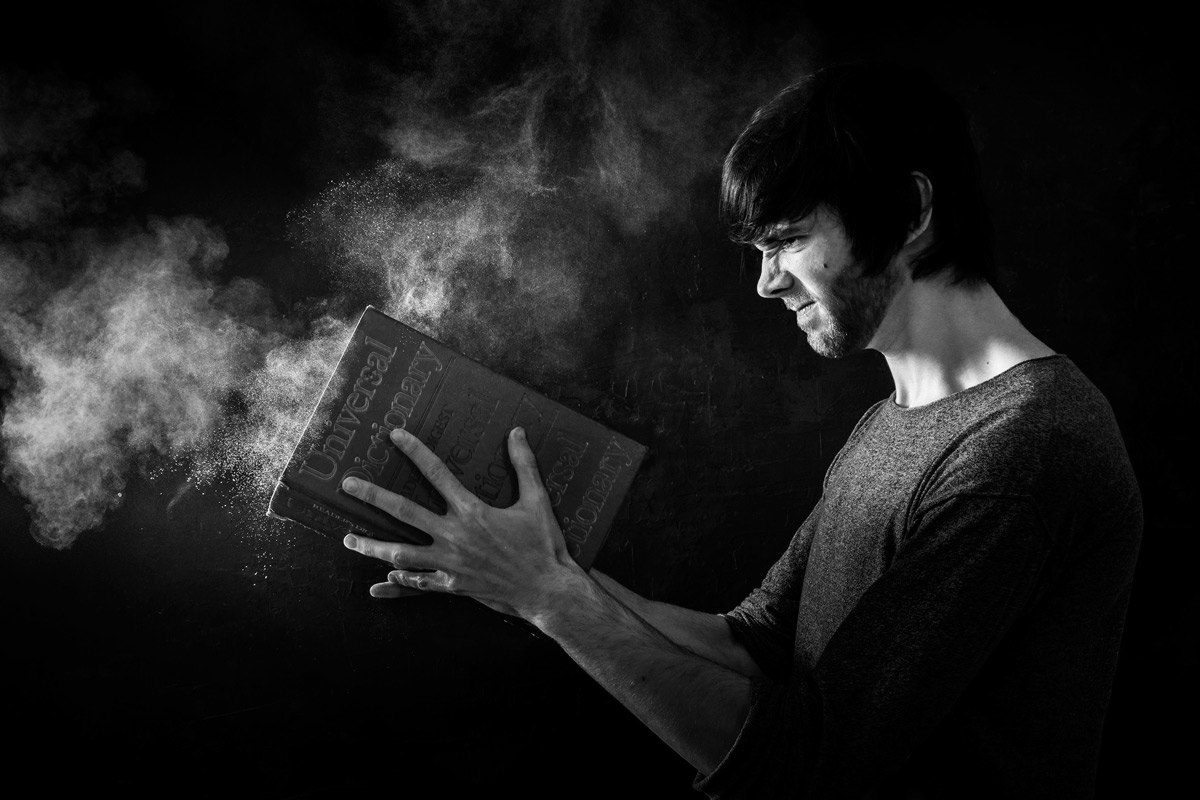
5 FAQ’s (and answers) about flash meters

If you shoot with flash you may well be aware that speedlights and (increasingly) studio strobes come in either manual or TTL versions. If you’re shooting weddings, events or any sort of running and gunning photography, TTL is brilliant but for me manual flash teamed with a flash meter is how I like to work in the studio.

If you’re thinking a flash meter might be what you need to improve the consistency of you shots or you already have a flash meter but aren’t sure on how to get started with it, then I’ve got you covered.

[youtube]https://www.youtube.com/watch?v=UG4P-Odutr8[/youtube]

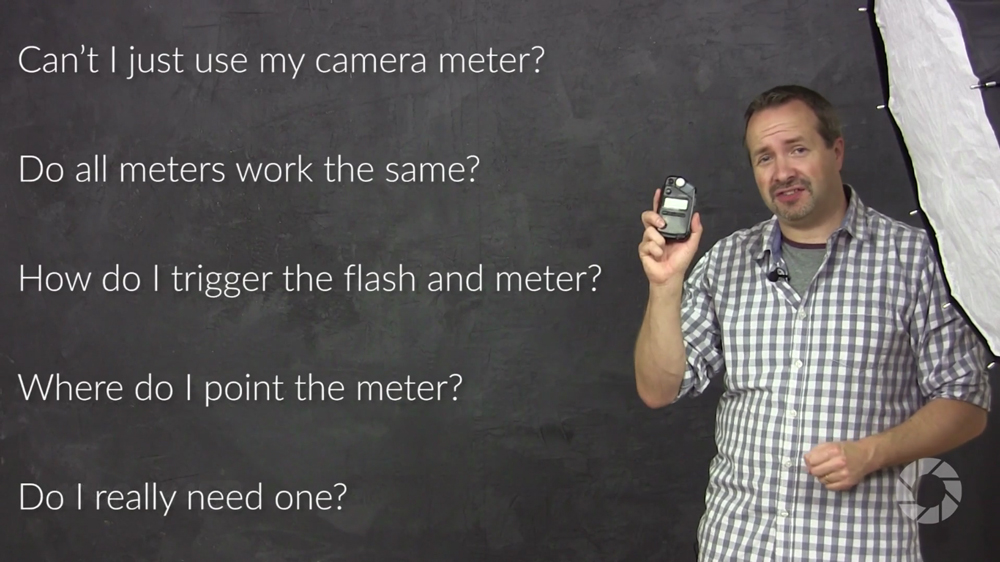
In the video above I cover the top 5 questions I hear from photographers and flash meters.

  • Can’t I just use my camera’s meter?
  • Do all flash meters work the same?
  • How do I trigger the flash and the meter?
  • Where do I point the meter?
  • Do I really need one?

My flash meter of choice is the Sekonic L-308S Flashmate. It’s about as basic as a handheld meter can be but it’s super reliable and excellent value for money. More information can be found over at Adorama http://www.adorama.com/SKL308SN.html?KBID=67338

Flash-Meter-Cover

Gavin vs Mark Portrait Challenge

A few weeks back I was honored to have Mark Wallace, my friend and fellow Adorama TV host, stop off at my studio for a couple of days. Mark has been travelling the world for the past 18 months or so and this was the first time in a long time that he’s been shooting in a studio.

Now you probably already know I love a photo challenge, so when Mark suggested a studio challenge I jumped at the chance.

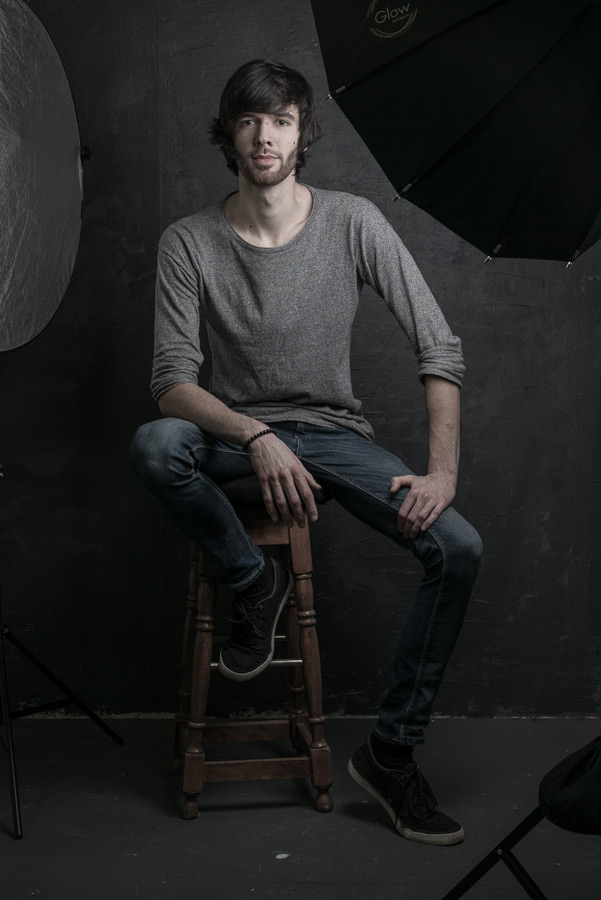
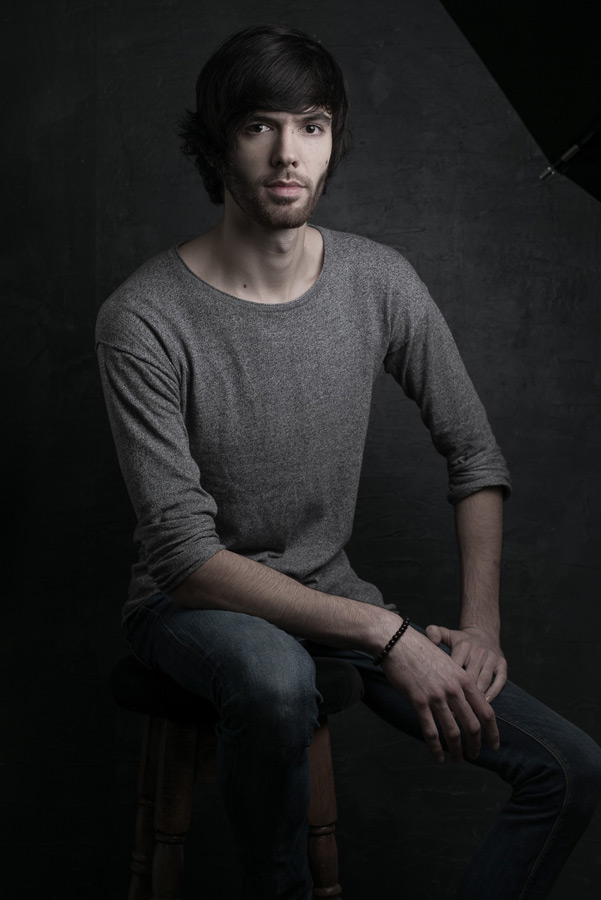
The rules were simple. We’d both use the same studio, same single flash and photograph the same model. We set a 20 minute time limit to include planning and filming and would see each other’s shoot until the end.

Mark went first and you can see his video below.
[youtube]https://www.youtube.com/watch?v=L2aEN6UUDYA[/youtube]

I love what Mark did with the simple lighting and subtle editing. I was also blown away by the quality for the Leica especially as Mark had been telling me it’s probably not a camera that you’d choose for studio portraits

Once Mark was through, I got my turn.
[youtube]https://www.youtube.com/watch?v=FzQr3GTUrwg[/youtube]

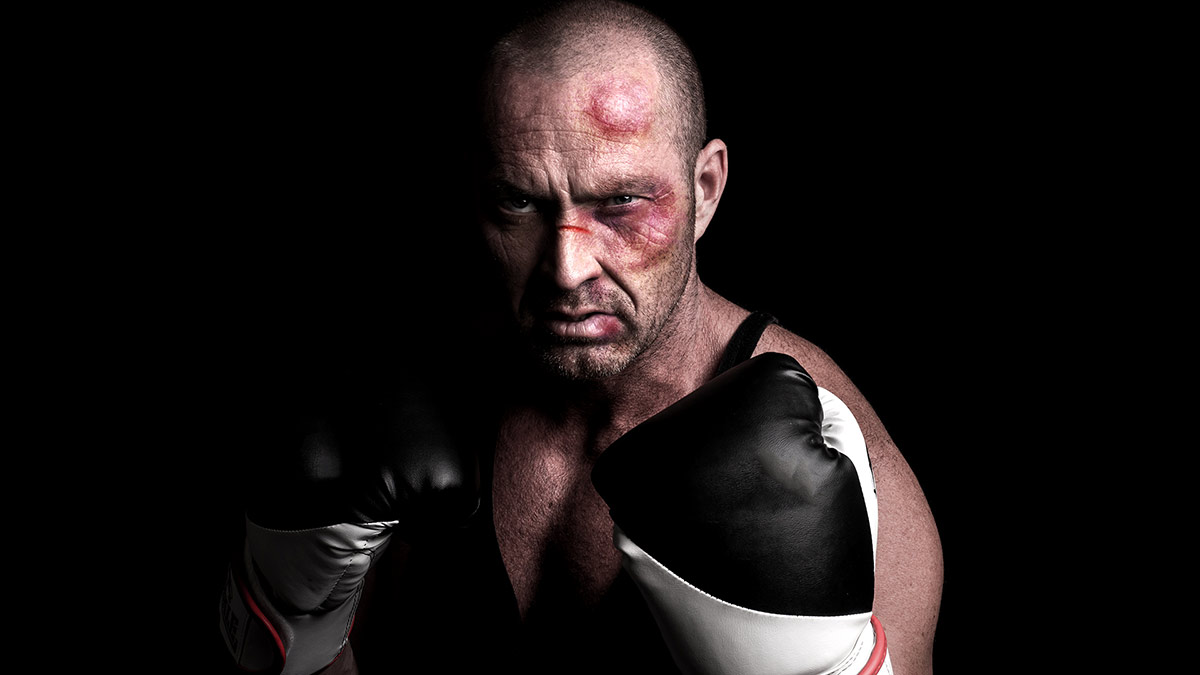
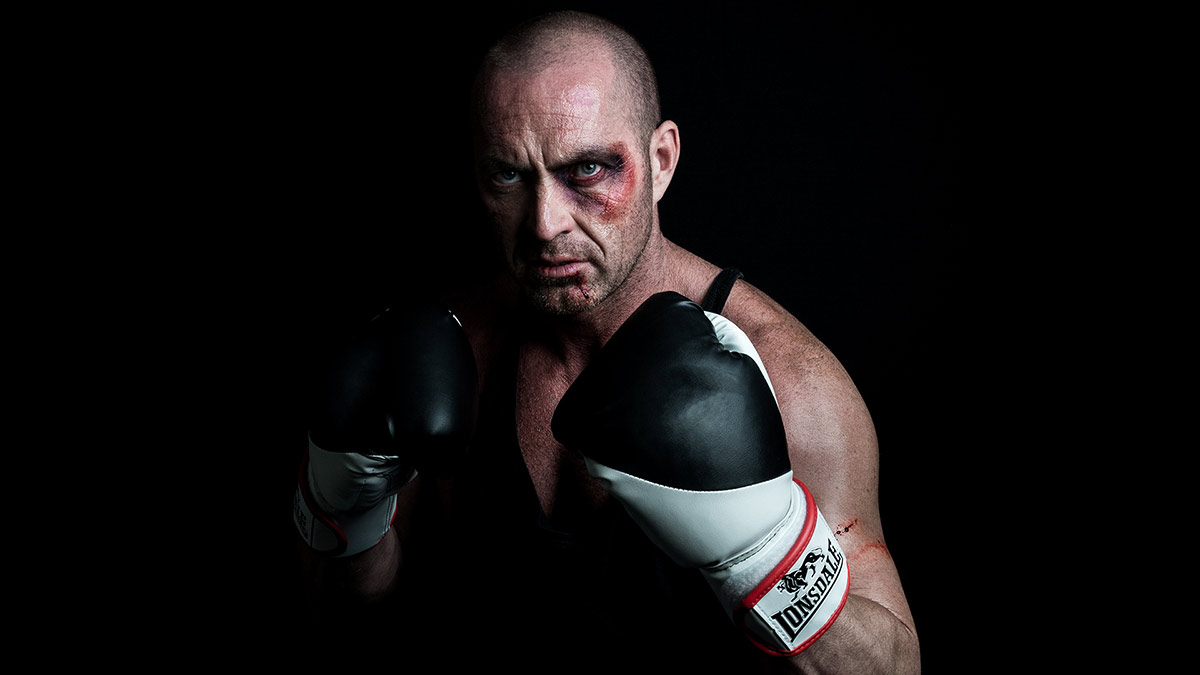
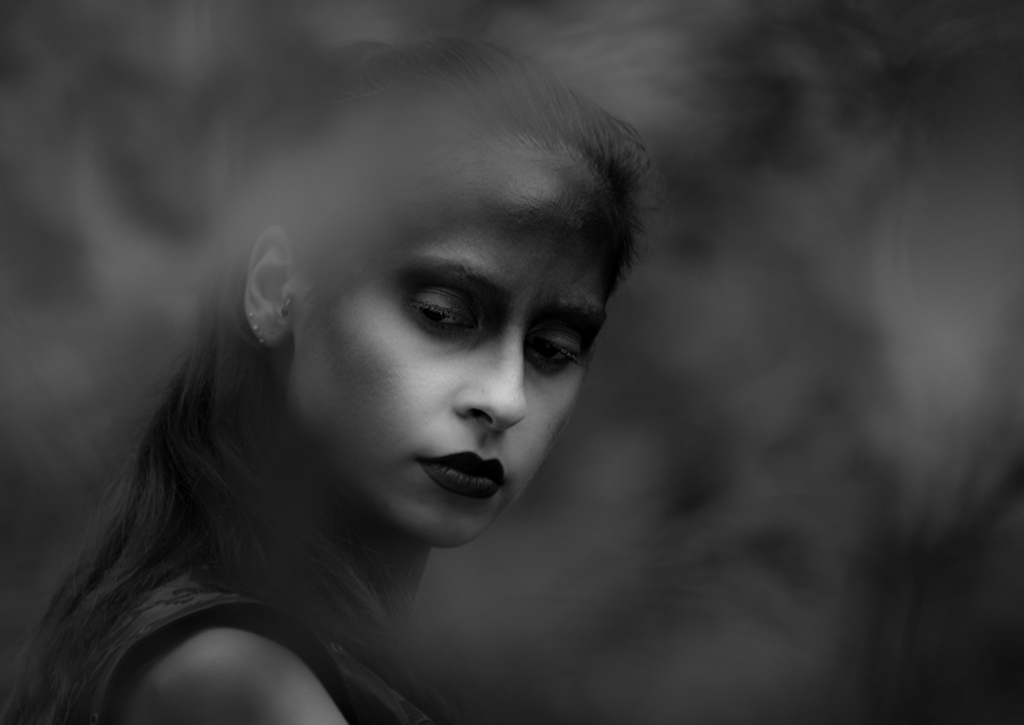
It was great to try out an idea I had been thinking about for a while and as you can see, my image is totally different to Marks in almost every way. I went with a contrasty light, aggressive pose and bags of drama.

The “home advantage” really can’t be underplayed. Remember I was using my gear, a model I’ve worked with before and I had the props hanging around in my studio. Even so I think it says a lot about how the photographer adds to the image when two of us can come away with such different emotions from the same subject using the same light.

Most of all it was a huge amount of fun and that’s what photography should always be about!


Tips for Better Bokeh

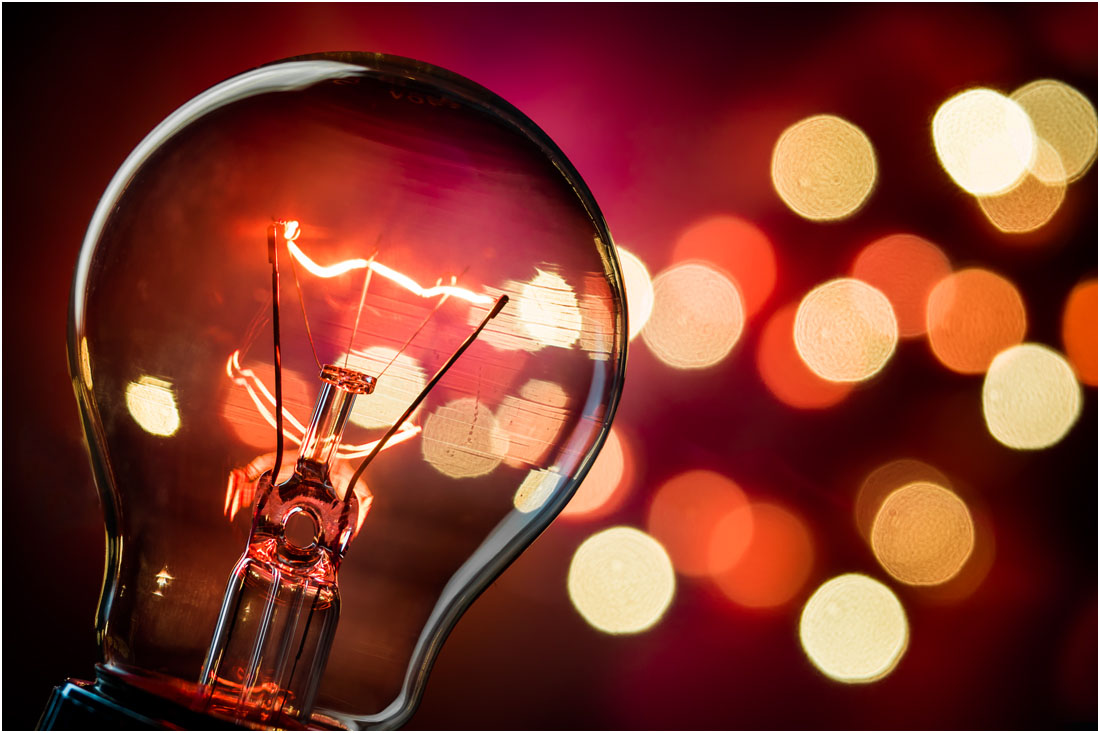
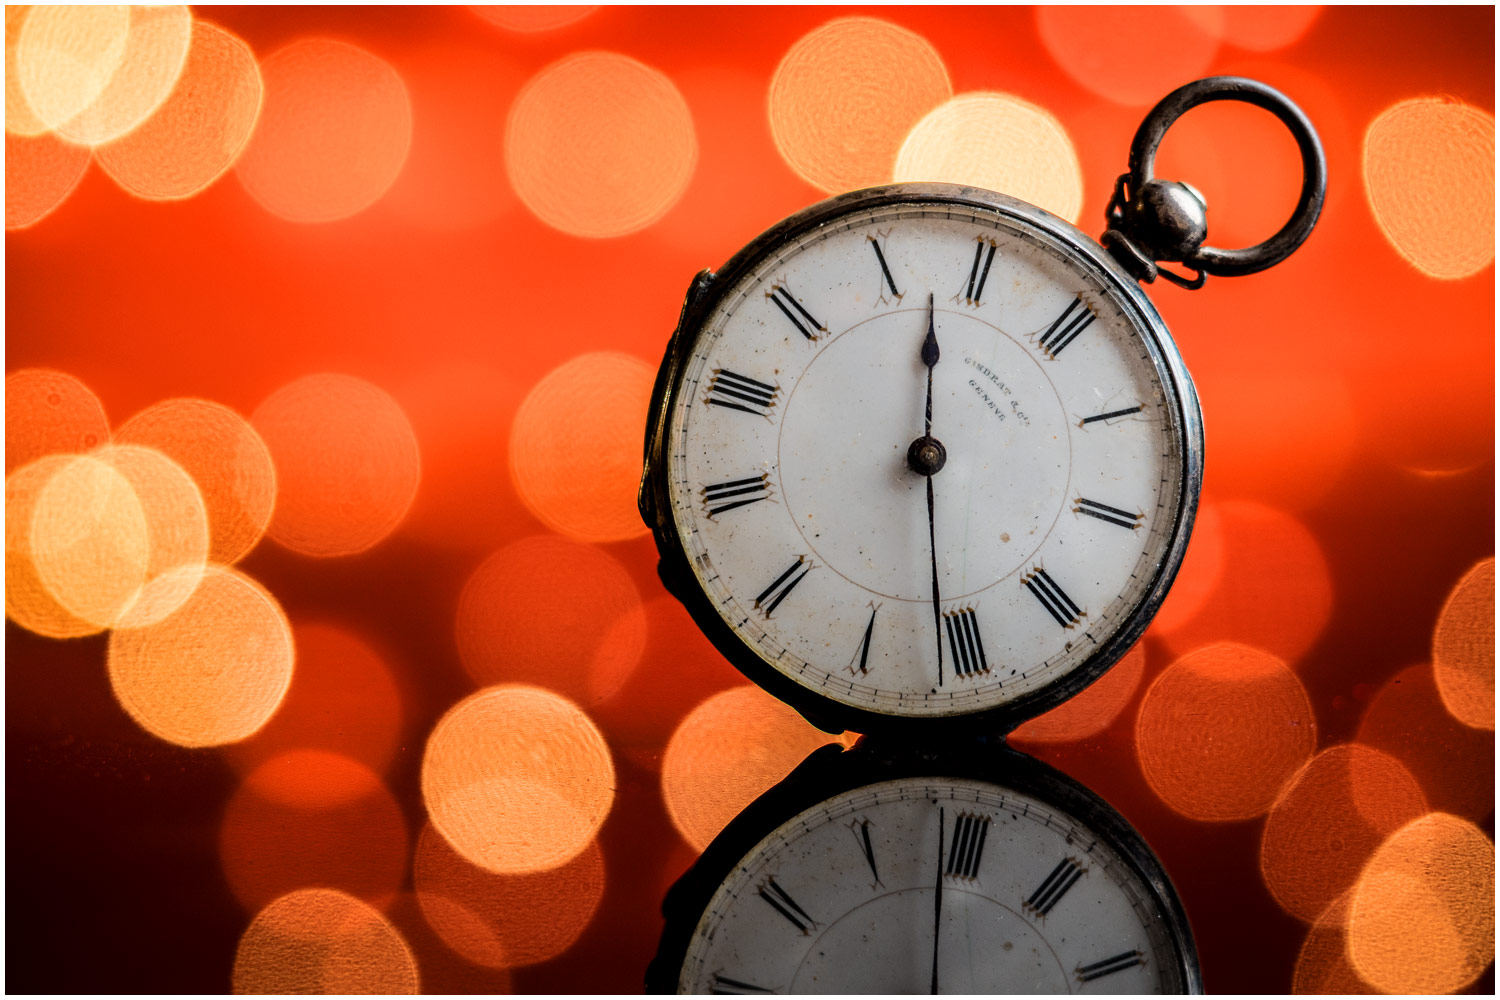
Recently I shared a few of my bokeh shots as a Friday Freebie. Nice as they are, nothing beats shooting your own stock shots and luckily bokeh is easy to do. This time of year is also perfect for bokeh shots with many places covered in festive lights which makes brilliant bokeh.

In the video below I cover the basics of bokeh, what it is, how you can control it and some simple tips for getting some great photos with it.

[youtube]https://www.youtube.com/watch?v=4zBfBDNyGpA[/youtube]

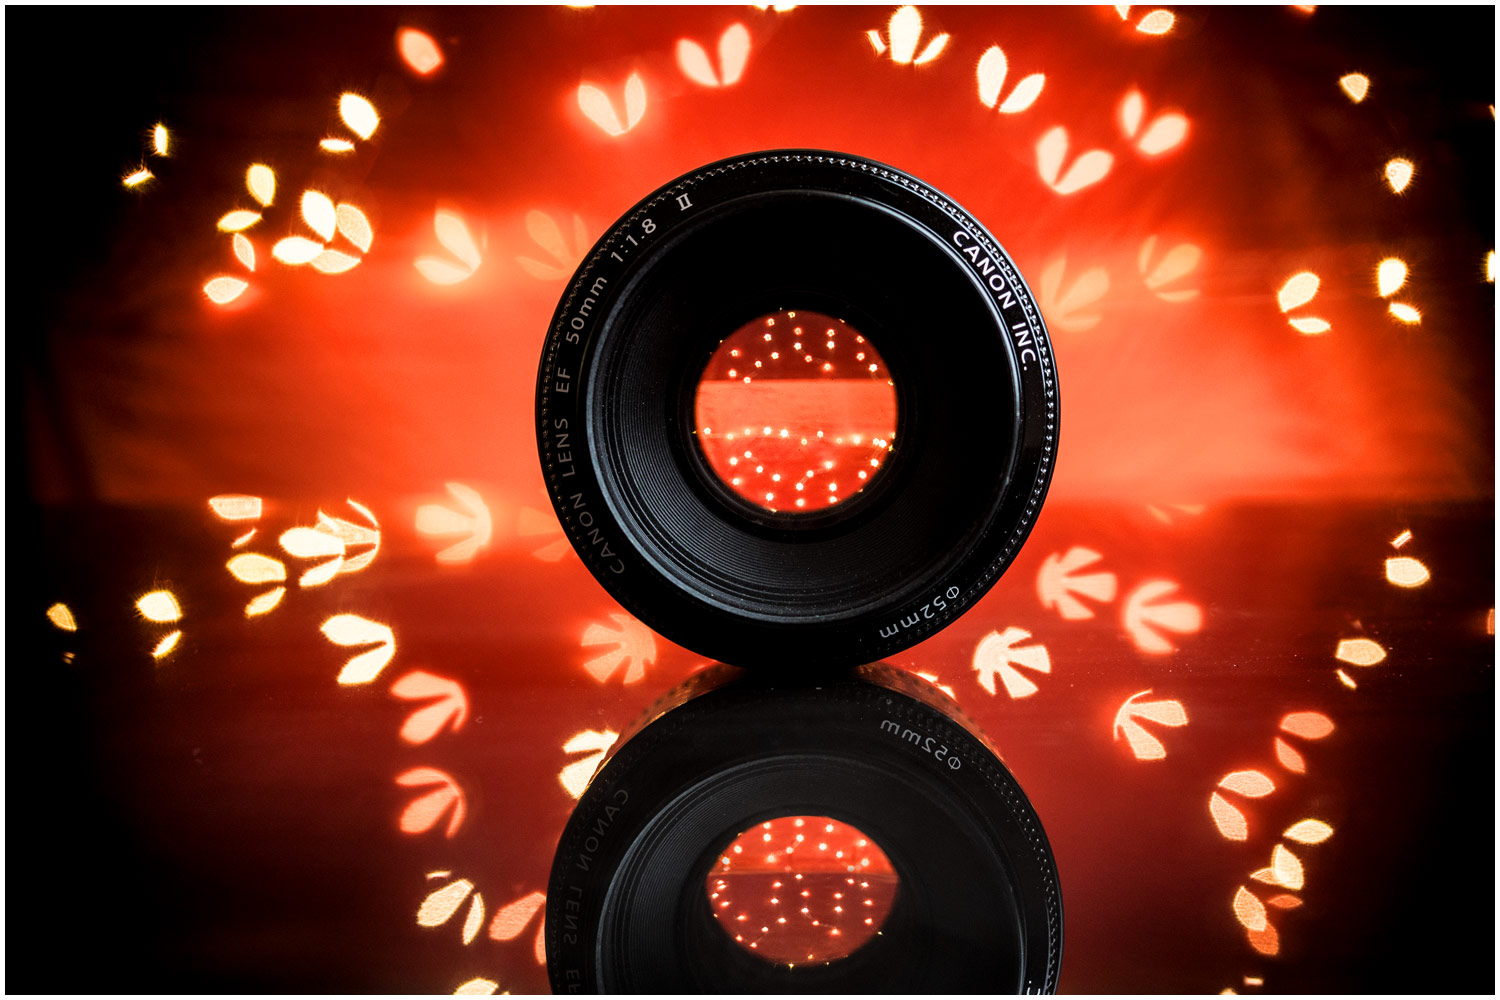
OK, so you’ve mastered bokeh and it’s time to go beyond basic bokeh. In part 2 of this mini series I dive a bit deeper by adding flash, doubling my bokeh count and changing the bokeh shape.

[youtube]https://www.youtube.com/watch?v=3mXg7-Juvrc&feature=youtu.be&a=[/youtube]

Bokeh is brilliant fun to play with but remember it’s not just for Christmas, the basic principles can be applied year round on any shot that has small points of light in the background.

Photoshop vs Make-Up

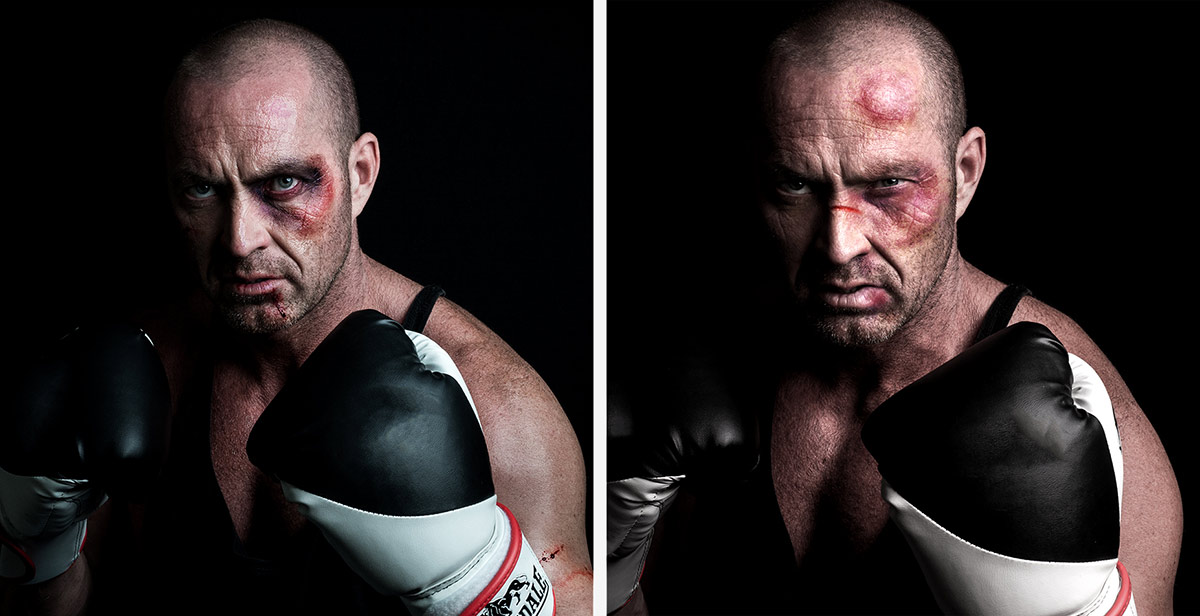
If you’re shooting any kind of portrait, the value of good quality make-up can’t be underestimated. For example, editing time can be massively reduced in family photo shoots by applying a little powder to reduce shiny skin on men. More creative photo shoots often demand more elaborate make-up and whilst I always try and get things as good as possible in camera, I do enjoy a spot of Photoshop fun.

So I decided it put make-up and Photoshop head to head in a battle to see which was better. You can see the results in the video below.
[youtube]https://www.youtube.com/watch?v=PUWY5jvCdG4[/youtube]

Photoshop
For a single photo, given enough time and skill it’s perfectly possible to create the effect of bruises. In fact using tools such as liquify I could create some pretty convincing swelling that make-up alone couldn’t do.MUA-vs-PS-2

Of course the downside is I’d need to do this to every photo and there are plenty of make-up styles that would be far harder (if not impossible) to recreate in post-production.


Make-Up

Give the choice, this is the way to go. An experienced make-up artist will be able to create amazing looks and once applied the make-up is there shot after shot, after shot.MUA-vs-PS-3

Of course there’s no reason why Photoshop and make-up can’t be combined and that has the potential to take your portrait photography to a whole new level.MUA-vs-PS-1

Wild Woodland Workshop Wrap-Up

UPDATE:
Scroll down to see the gallery from the September woodland workshop

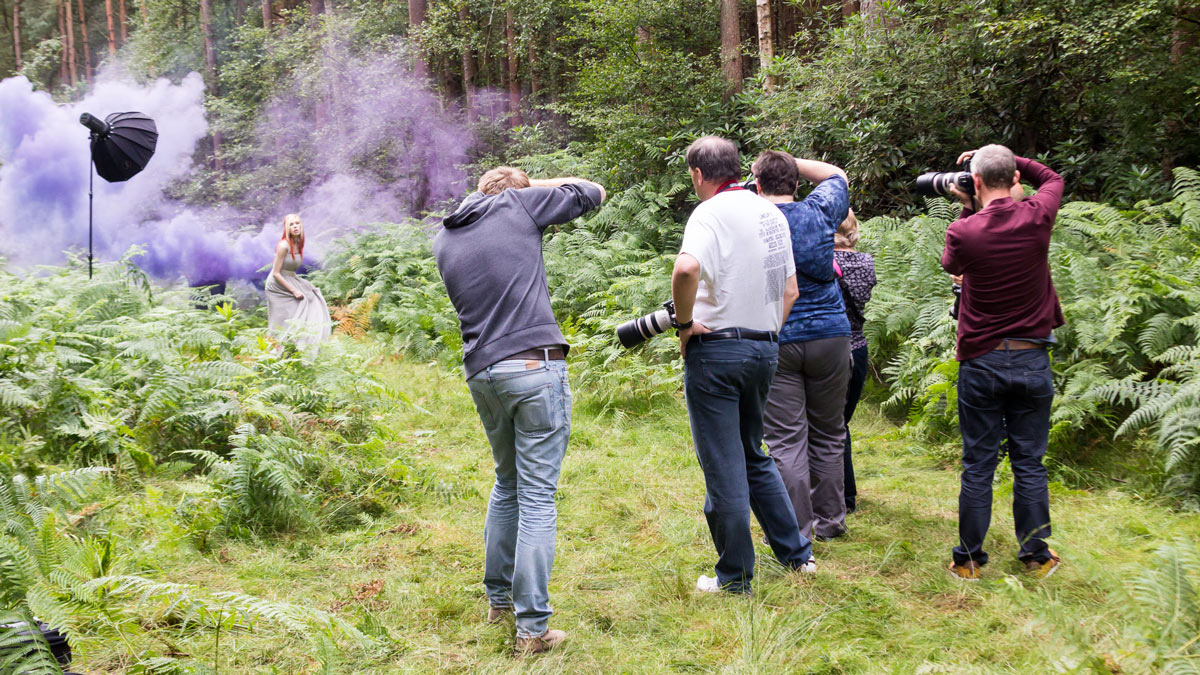
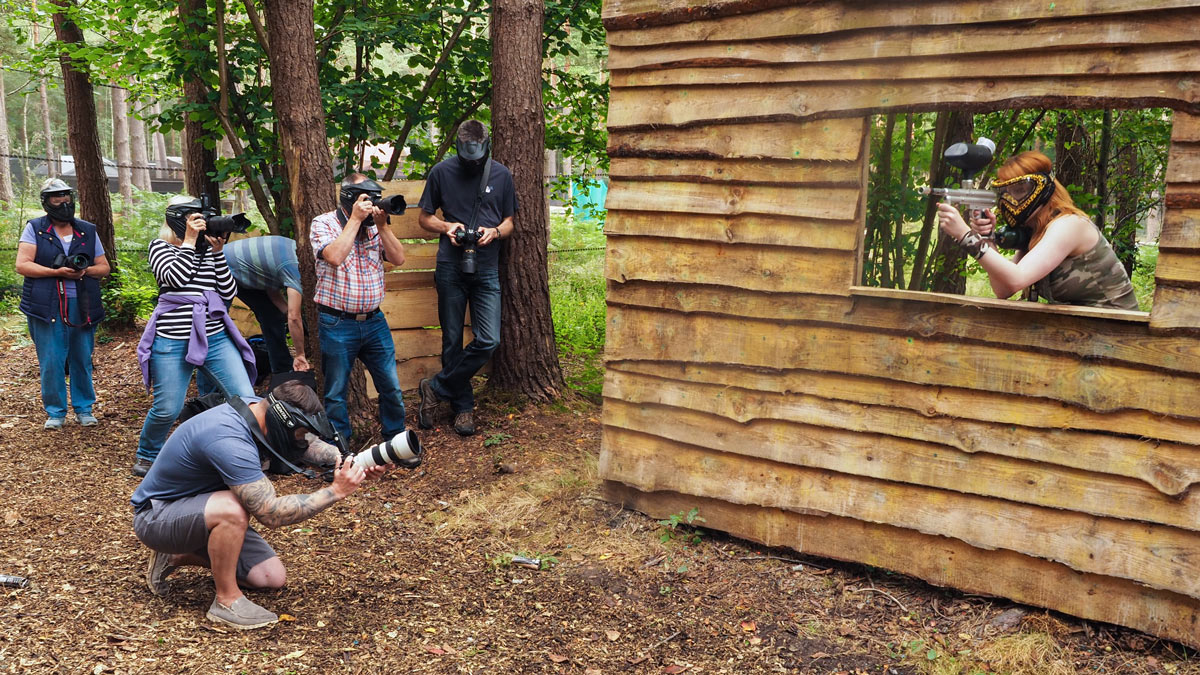
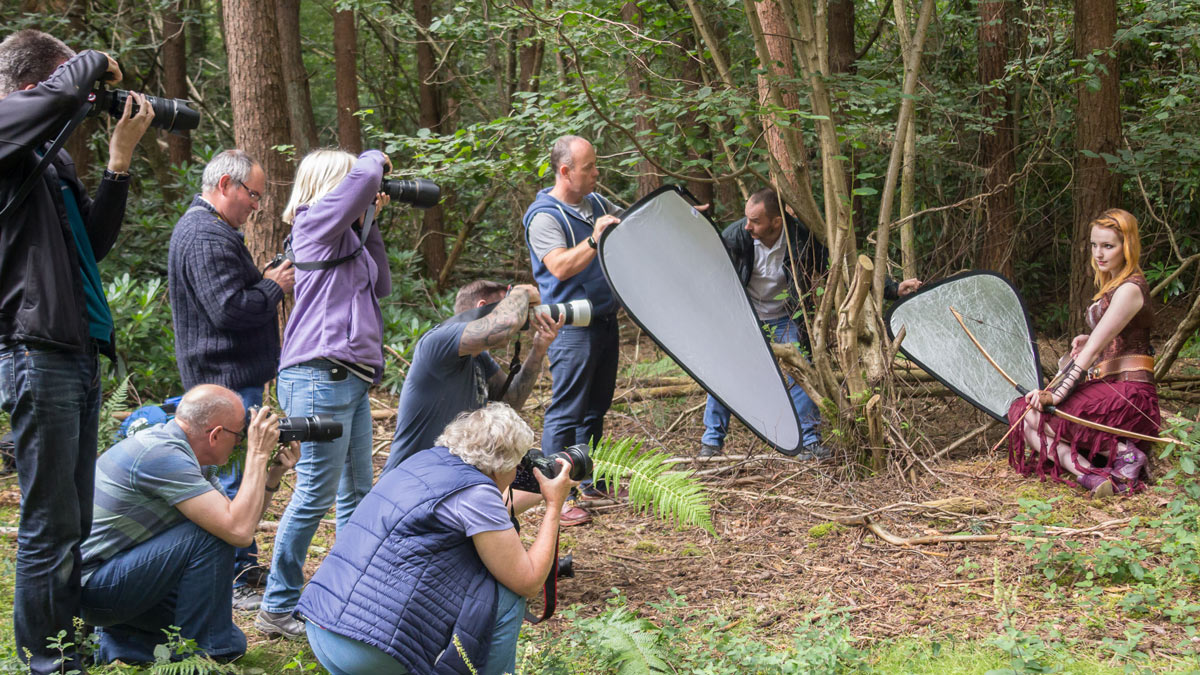
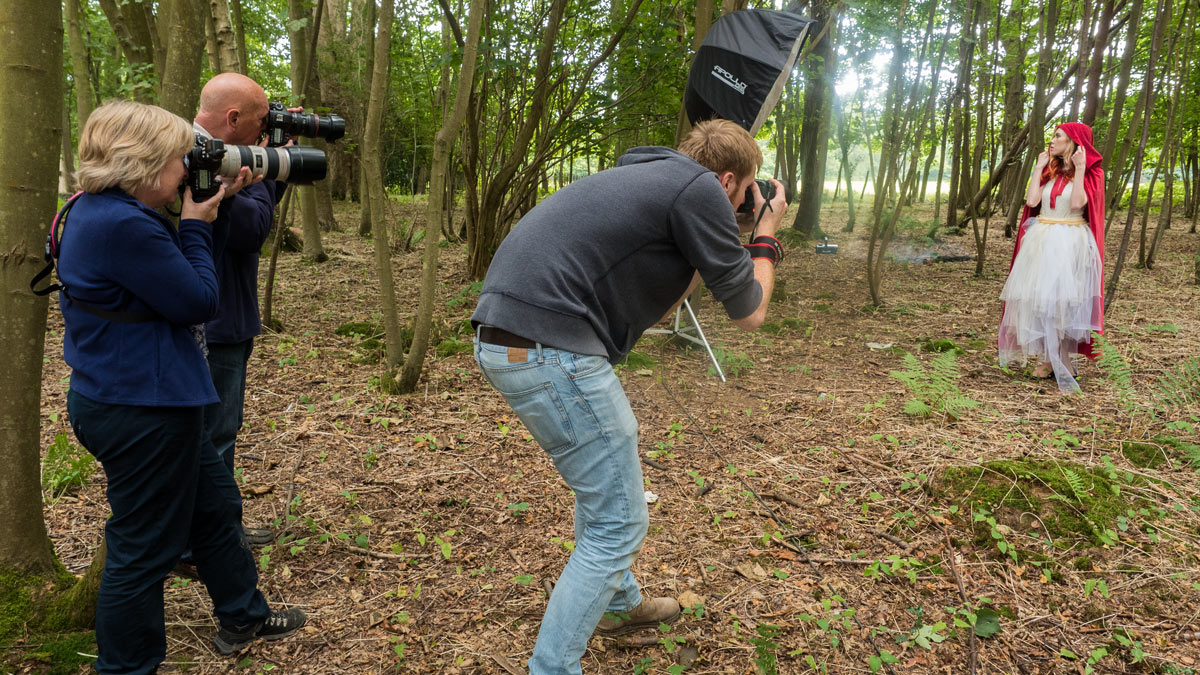
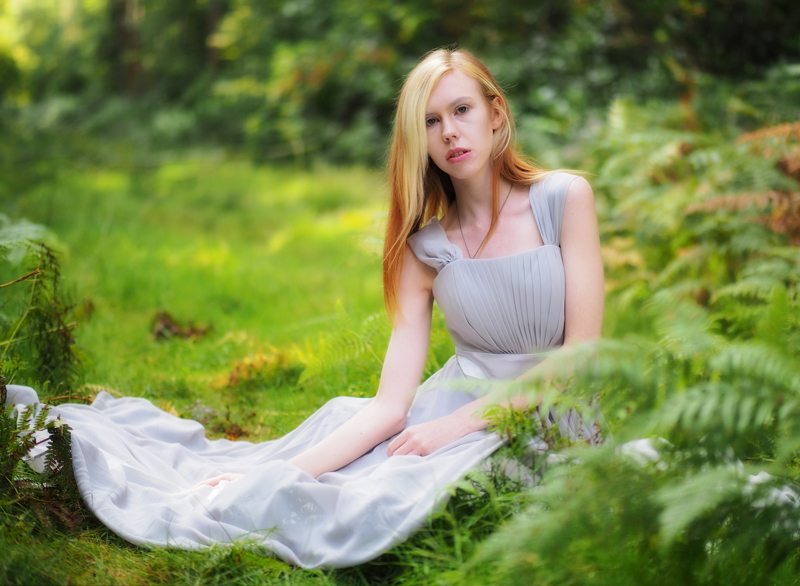
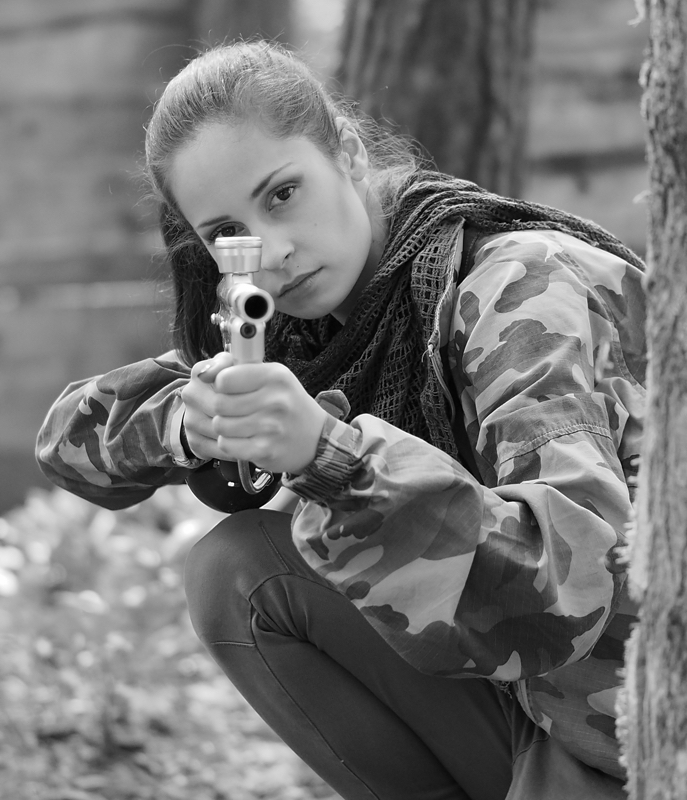
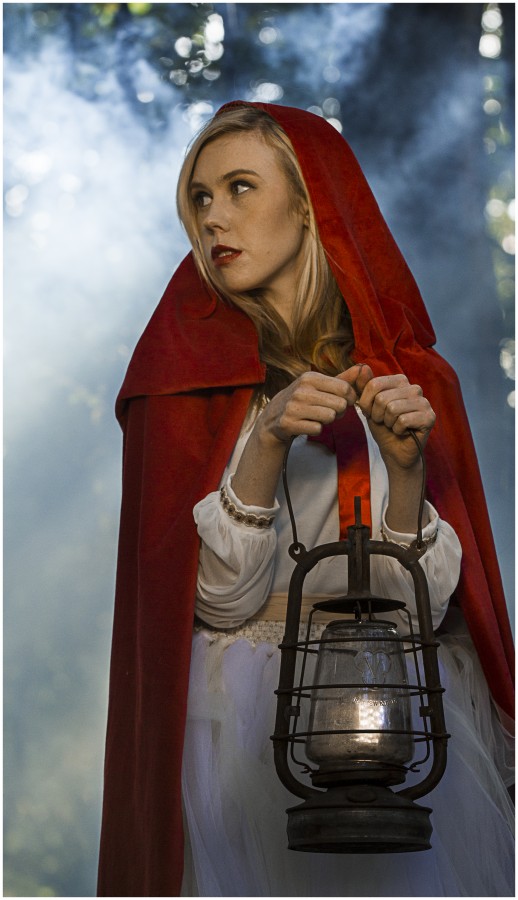
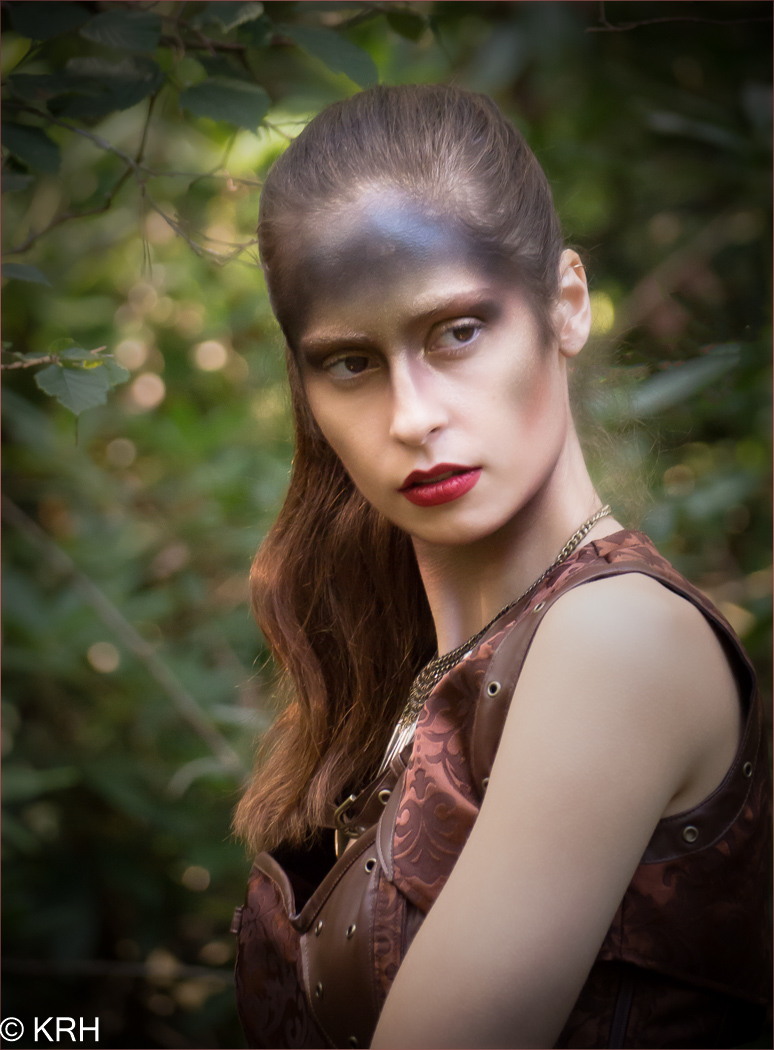
It may have taken months of planning but last Sunday everything came together perfectly for the Wild Woodland Workshop. A group of 12 photographers descended on Driver Wood Paintball for a day of photography among the trees, paths and paint balls.

I was joined by Robert Pugh, who is a brilliant photographer, educator and Olympus ambassador, not to mention all round good guy. Having a second photo trainer on-board gave the day extra value in so many ways, not least that we could split into two groups so everyone got plenty of time to work with both models.

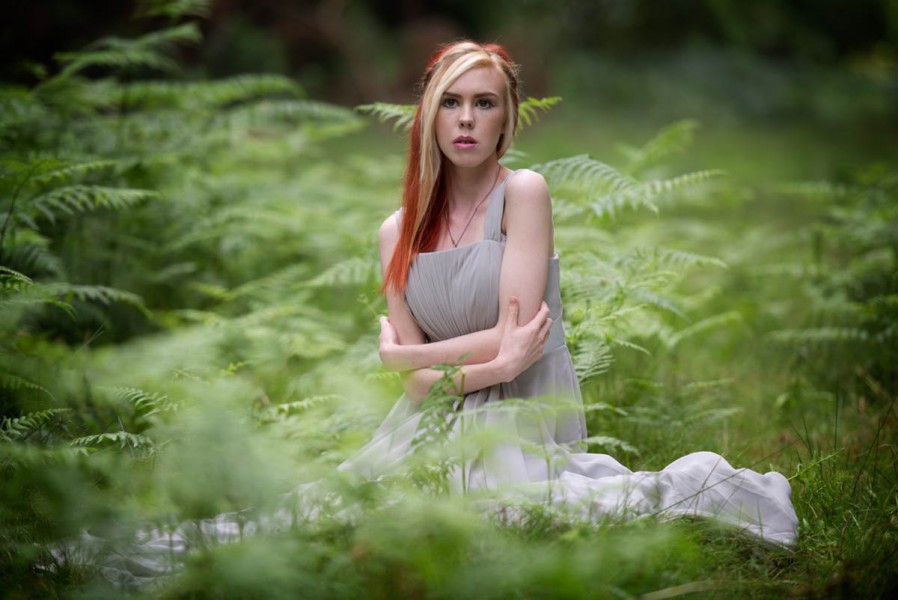
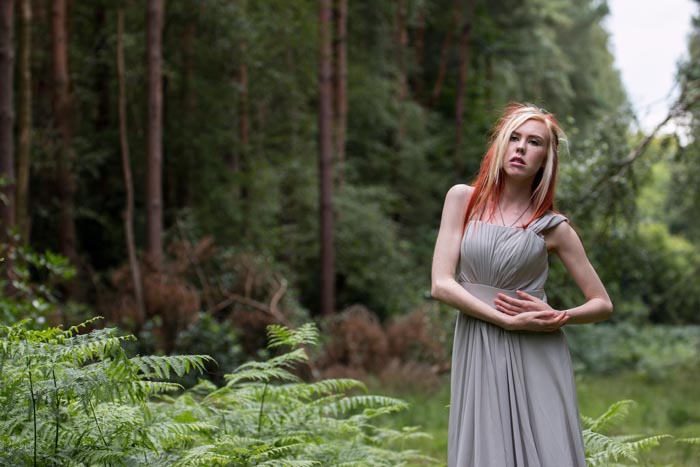
Rob’s morning was spent with model Fern Meaeve in a grassy clearing and some wonderful overcast light. It was the perfect light for a workshop with everyone being able to shoot with ambient light or with a splash of fill flash.IMG_2794

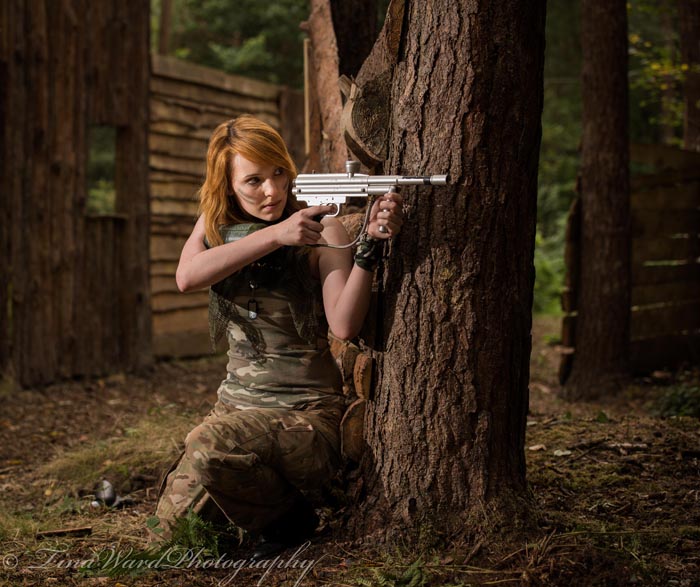
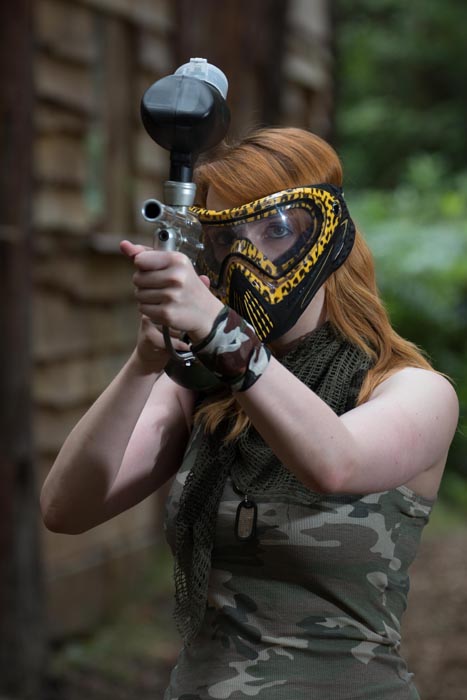
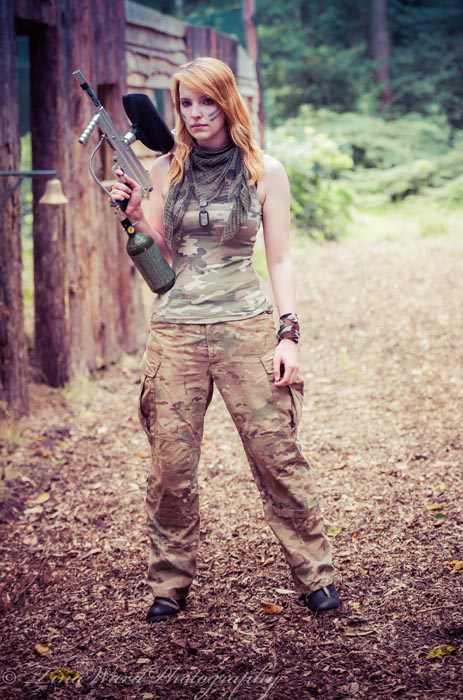
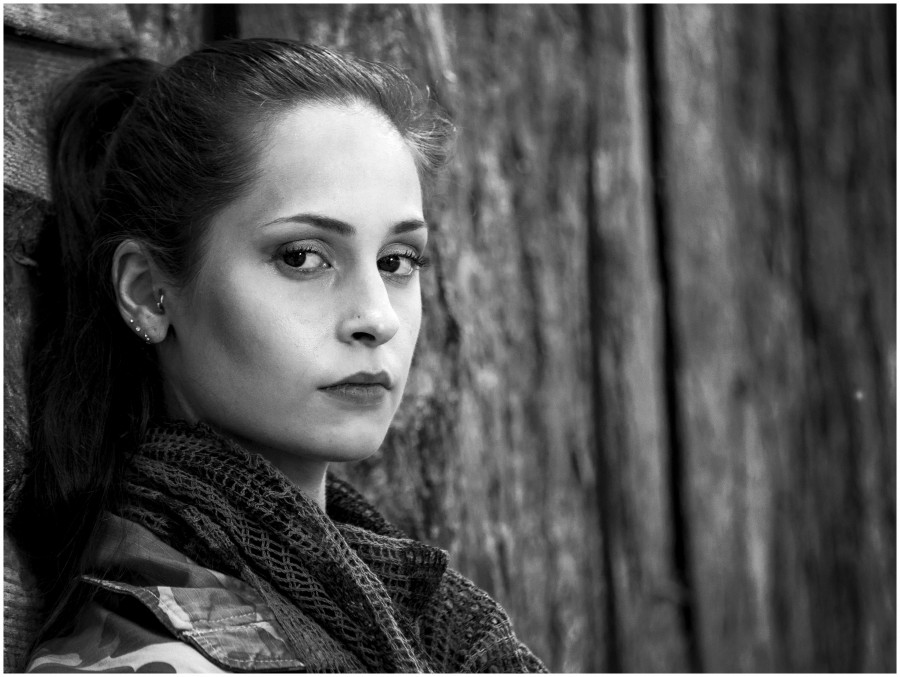
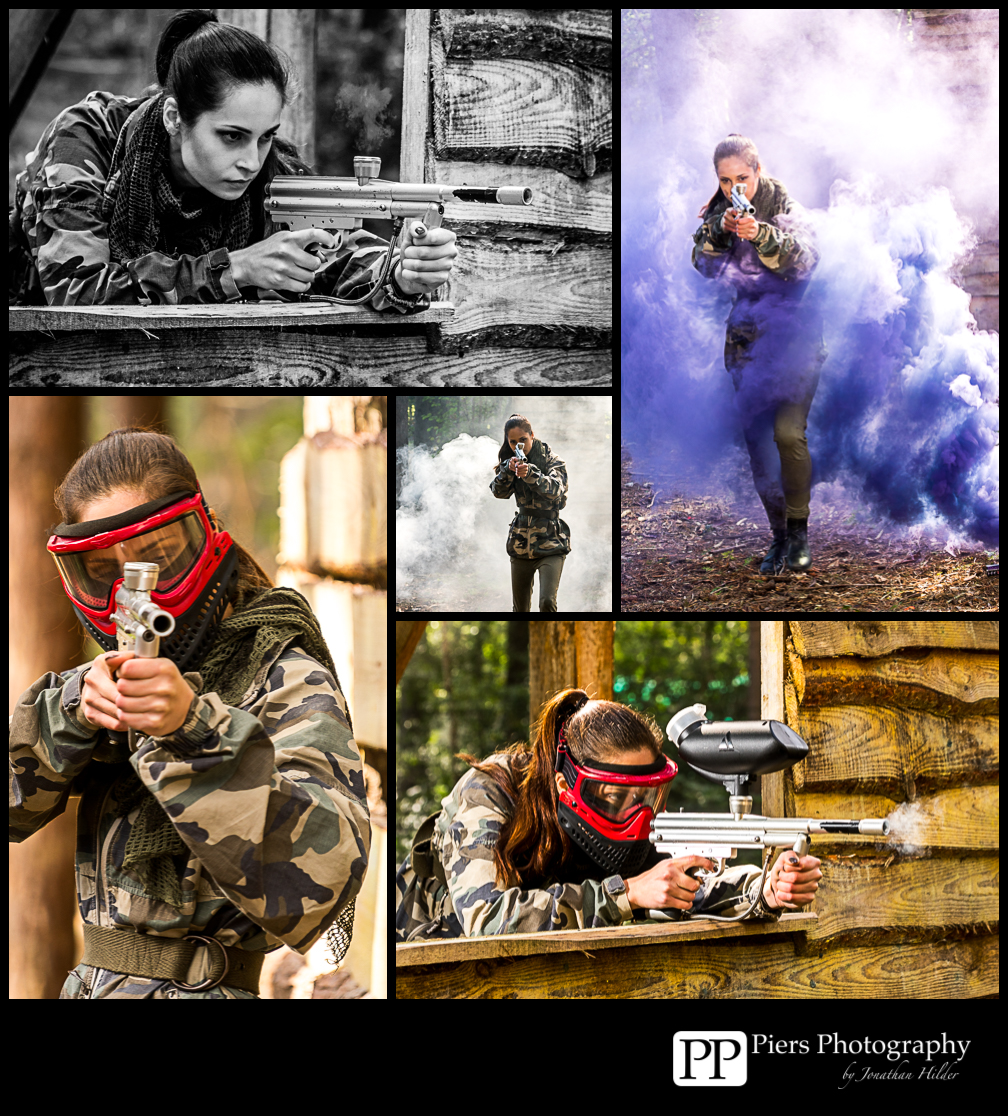
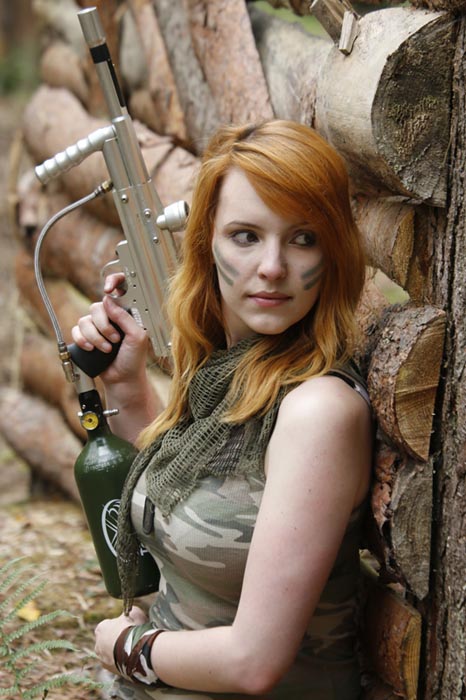
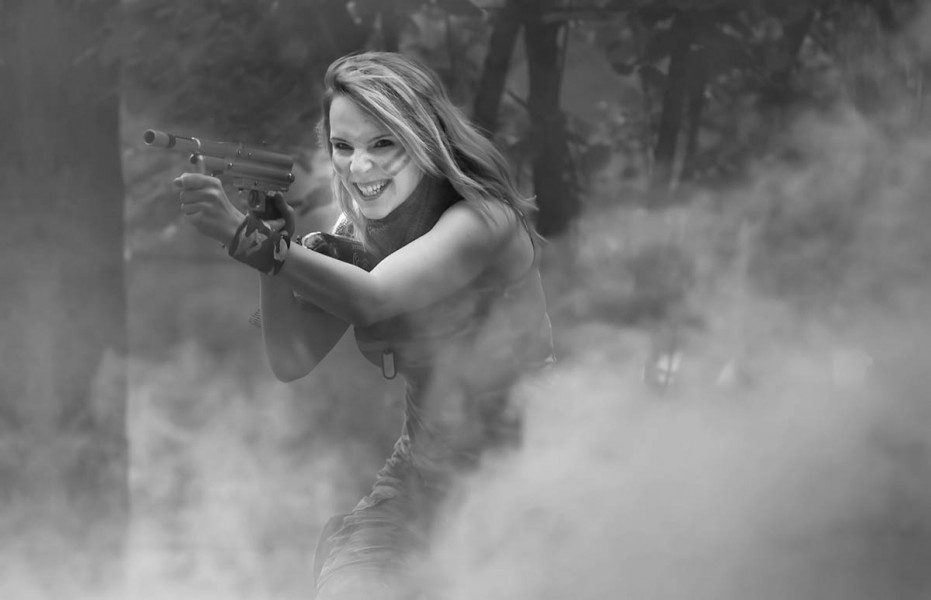
For me it was a little more rough and tough as I worked with model Kerry Allingham at the paintball parks wooden fort. Luckily for us, Kerry is an experienced paintball marshal and knew how to handle the guns. None the less, everyone wore protective eye wear during the live fire session.P8160112

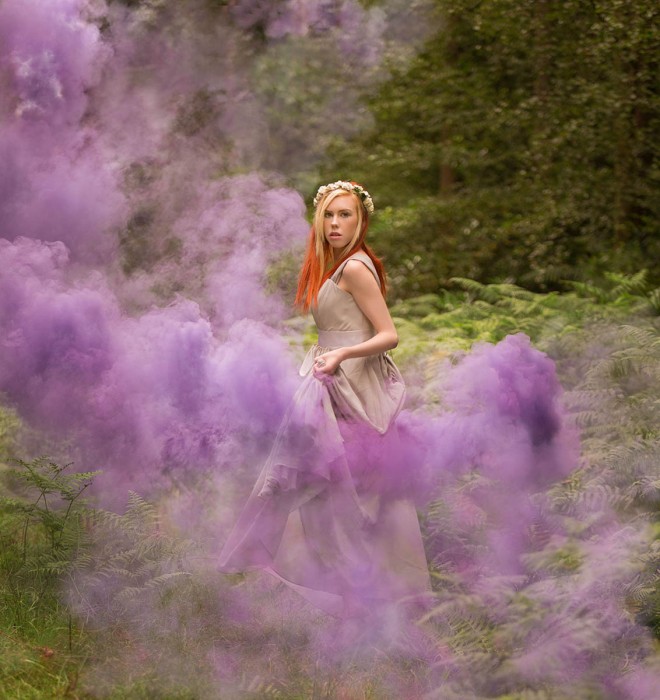
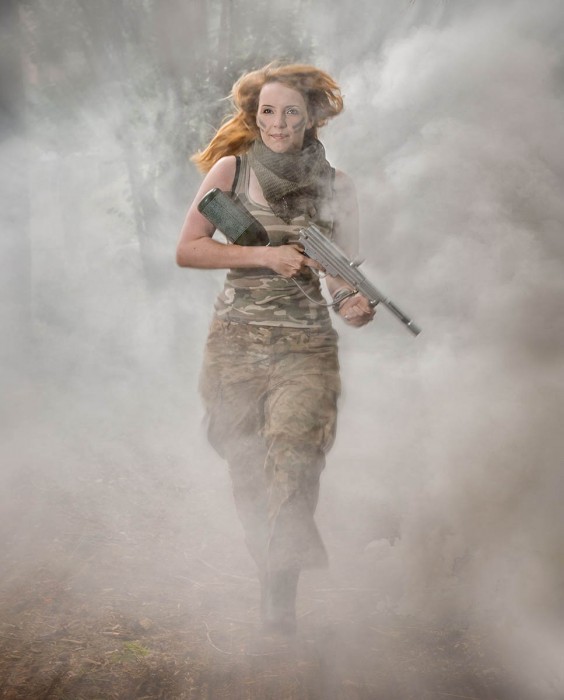
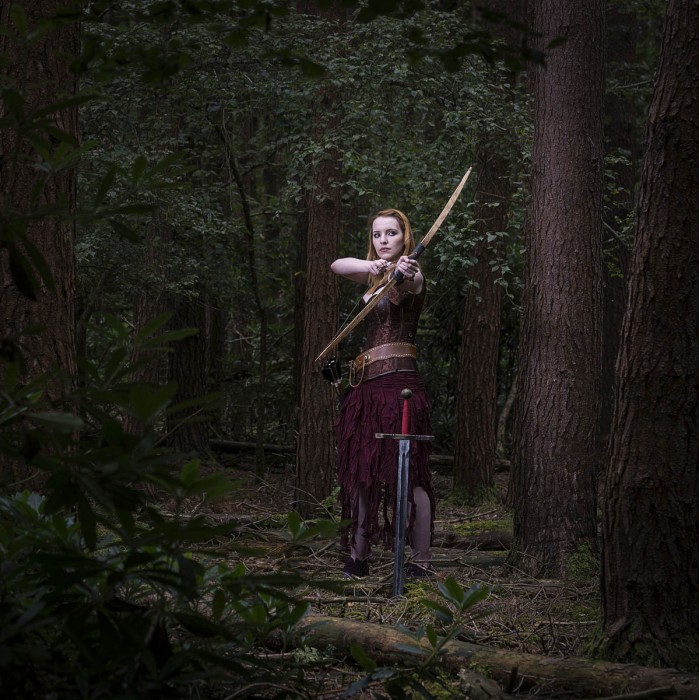
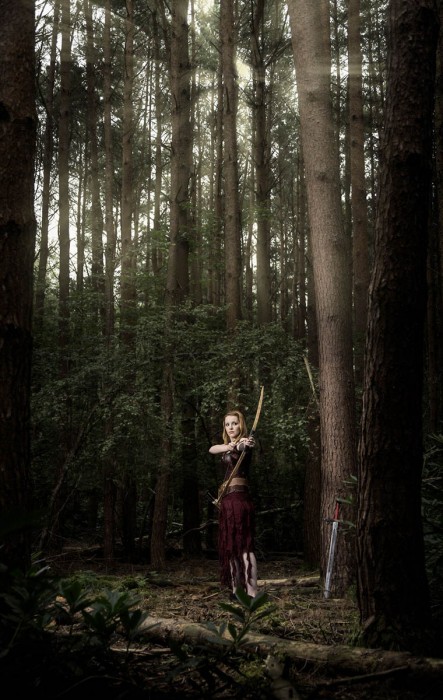
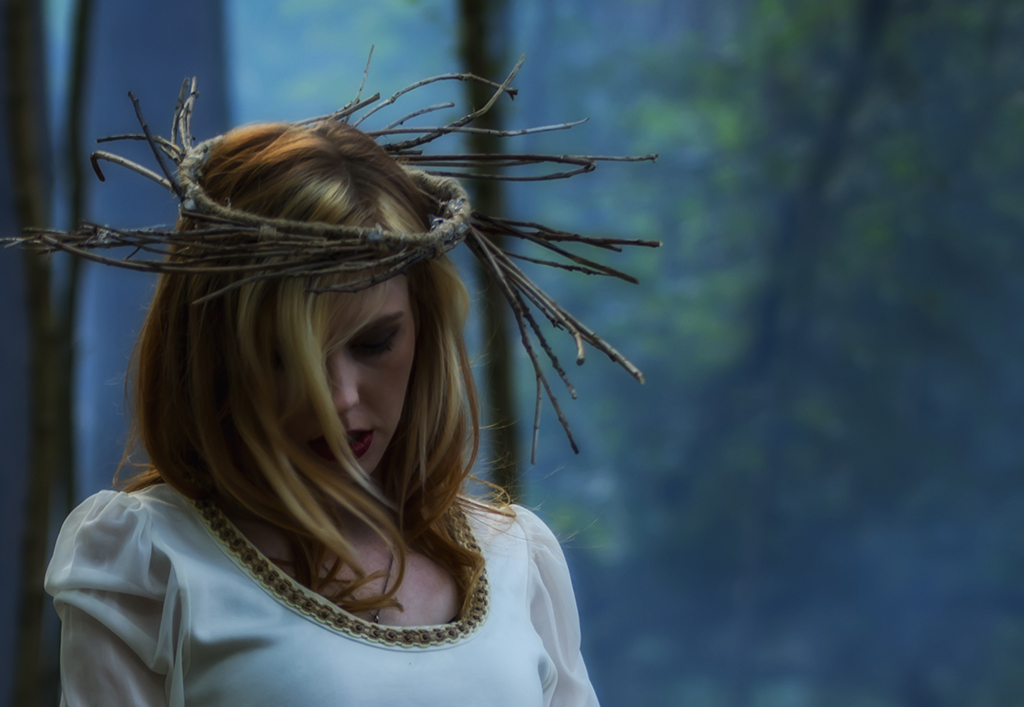
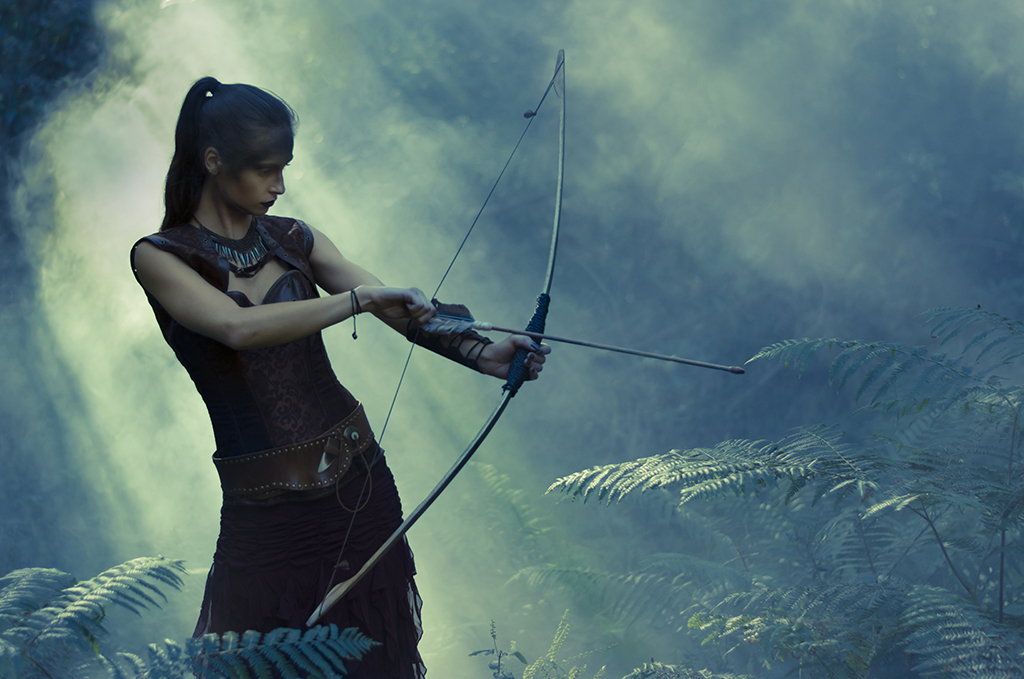
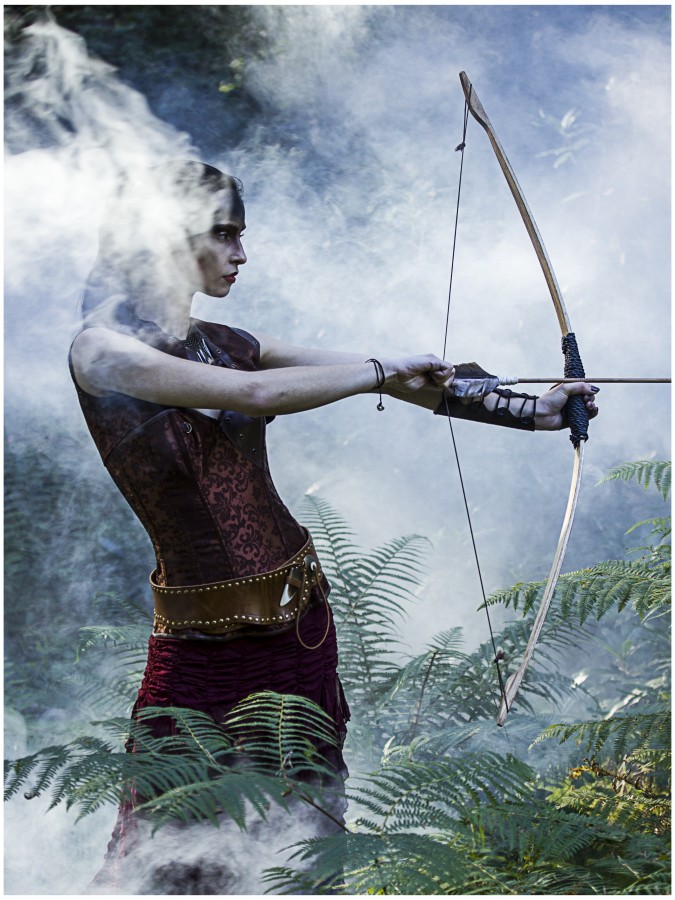
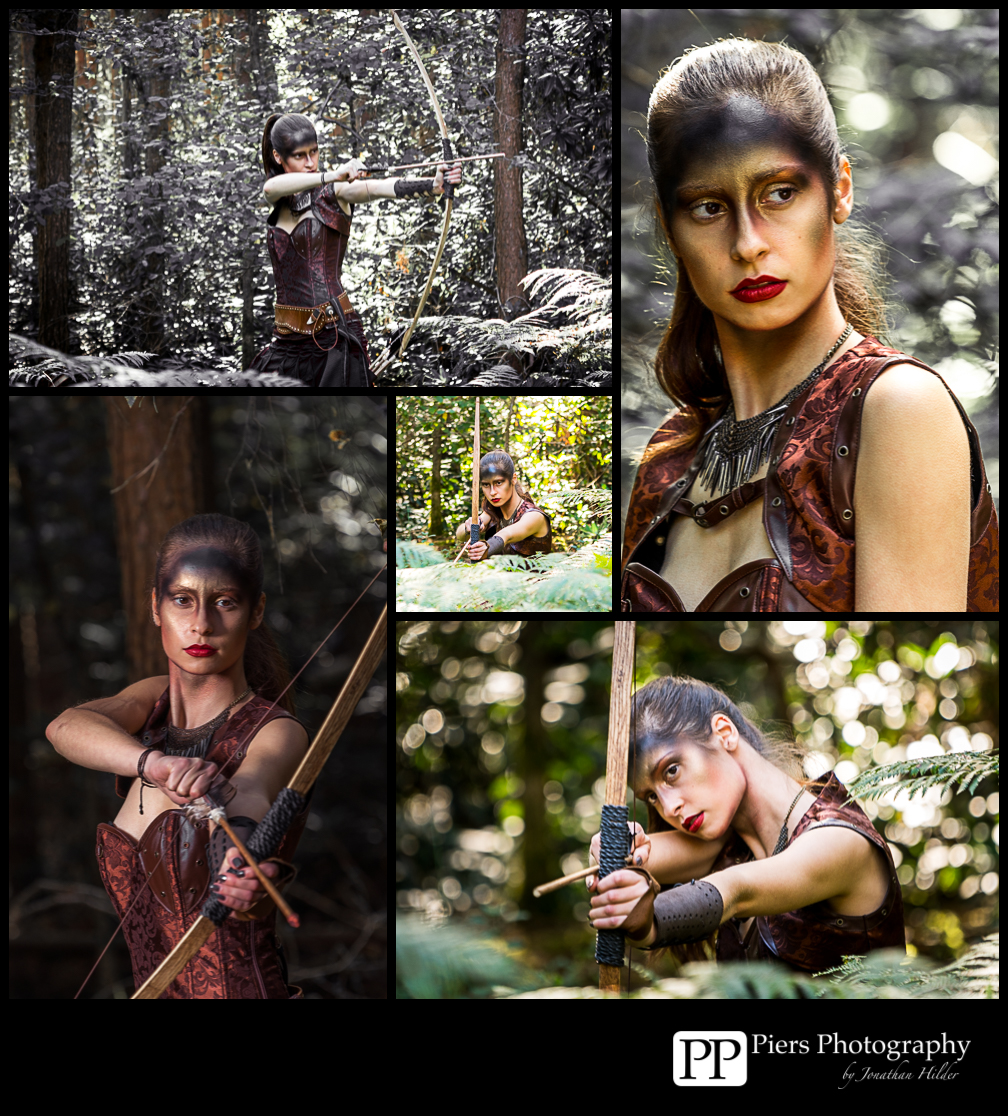
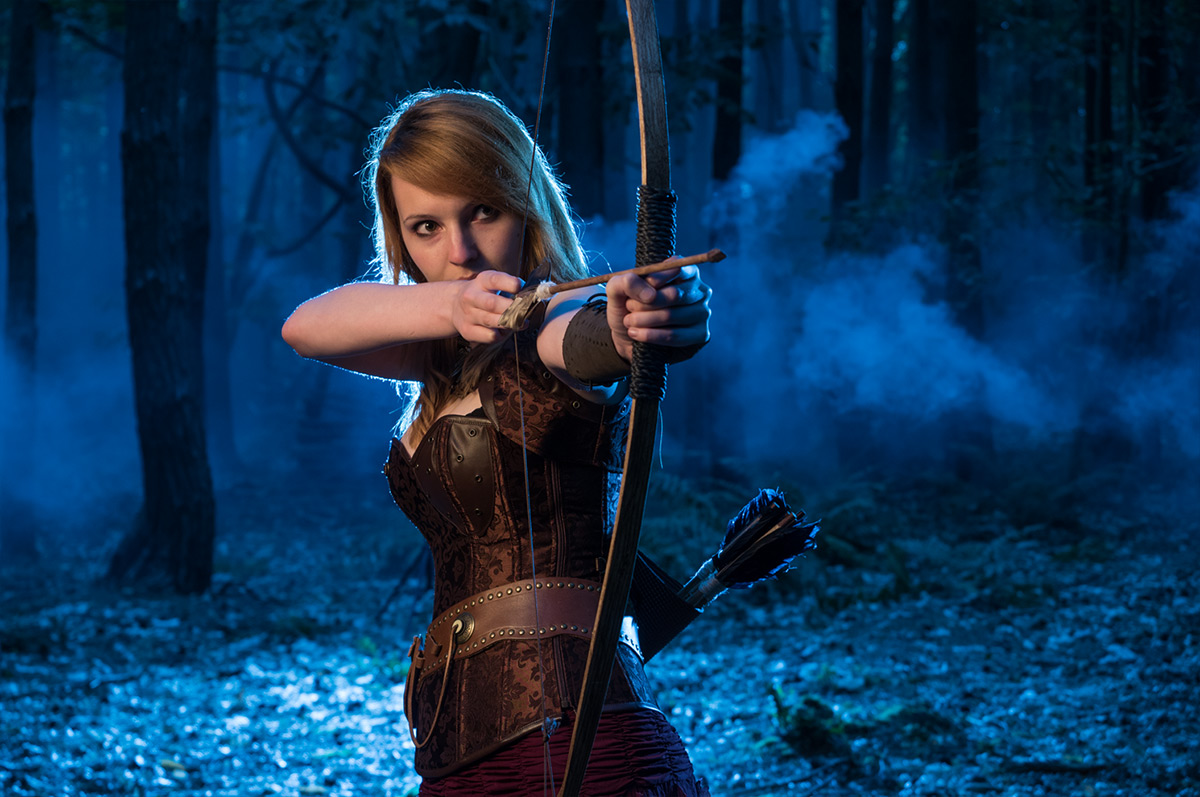
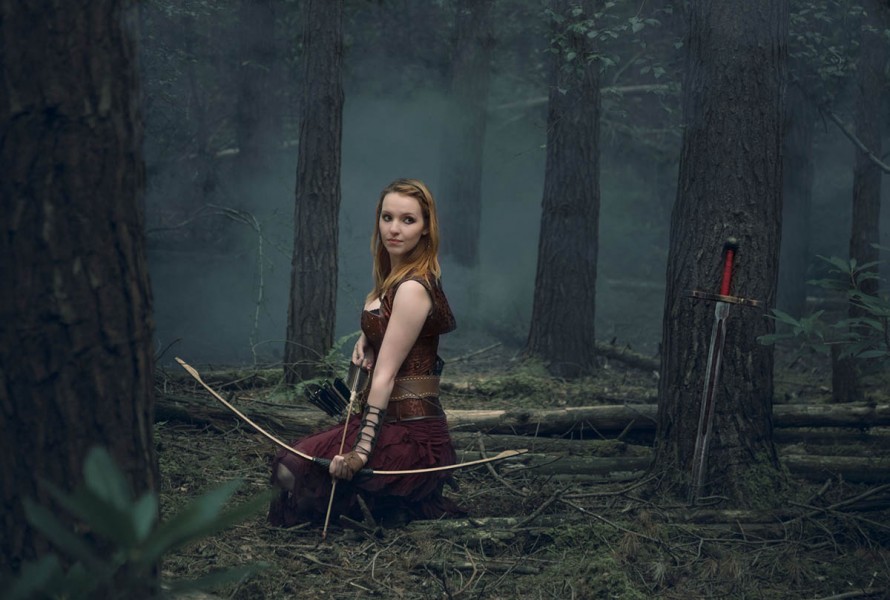
The afternoon saw a change of look. Kerry was transformed into an archer and disappeared deeper into the forest. Only the plumes of smoke from the colourful smoke grenades gave them away.IMG_2819

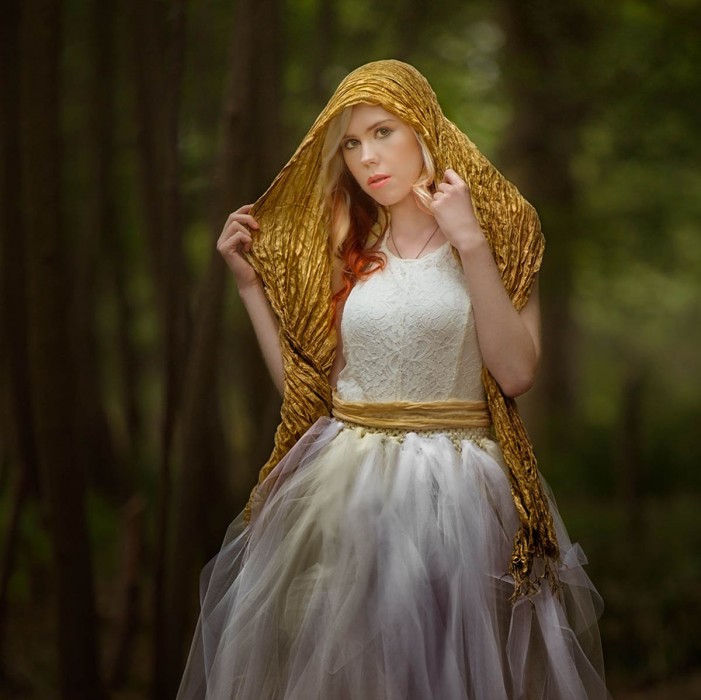
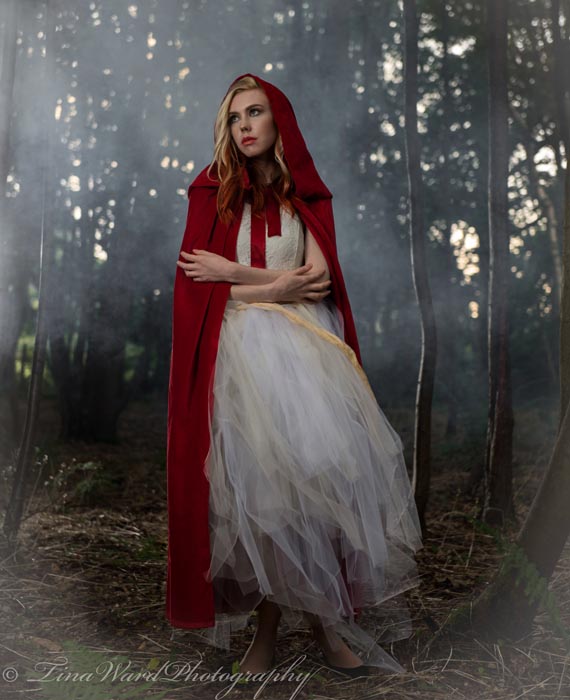
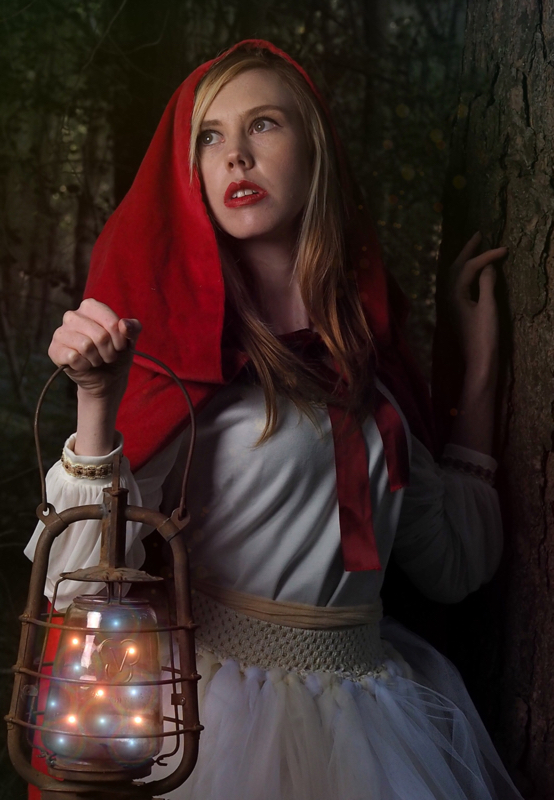
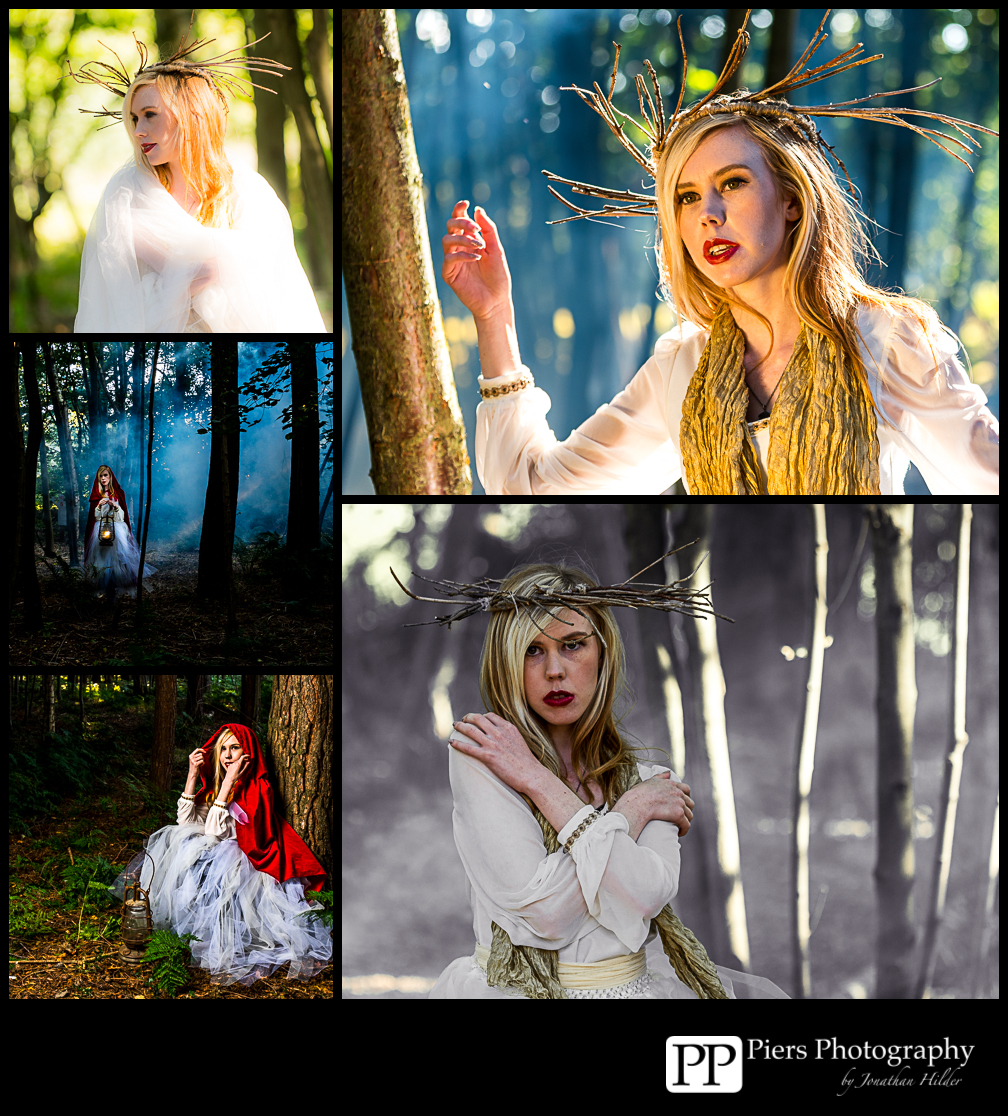
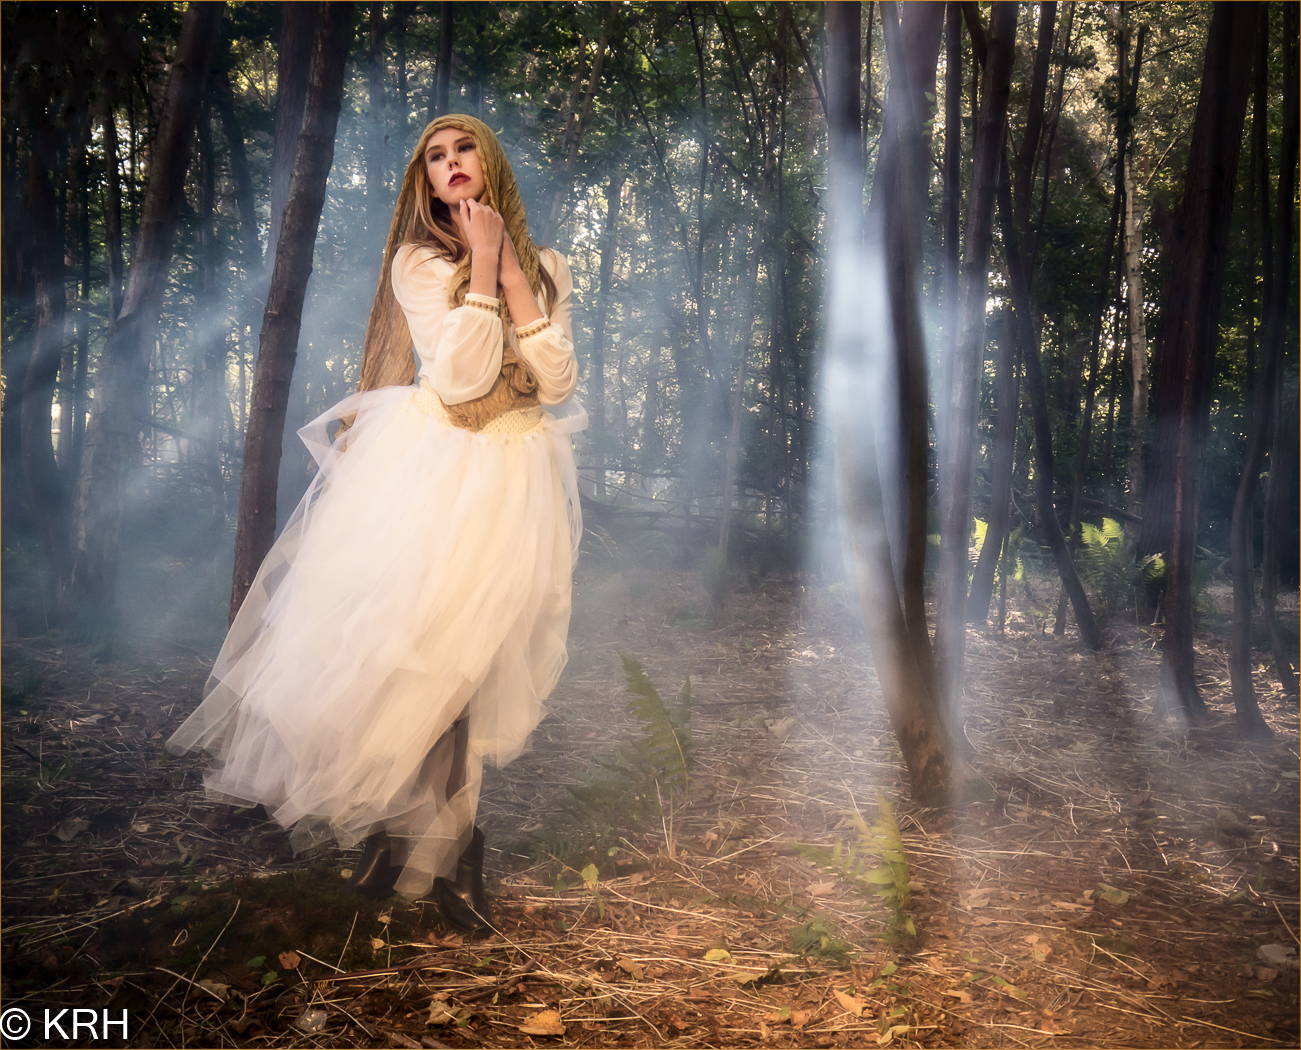
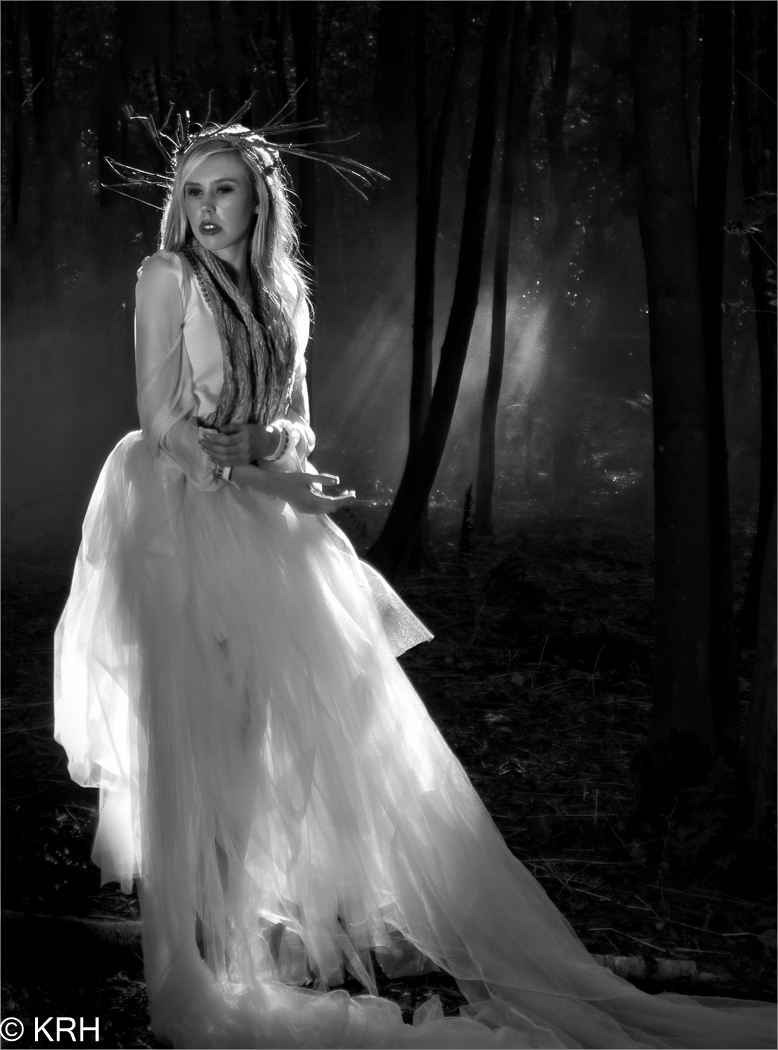
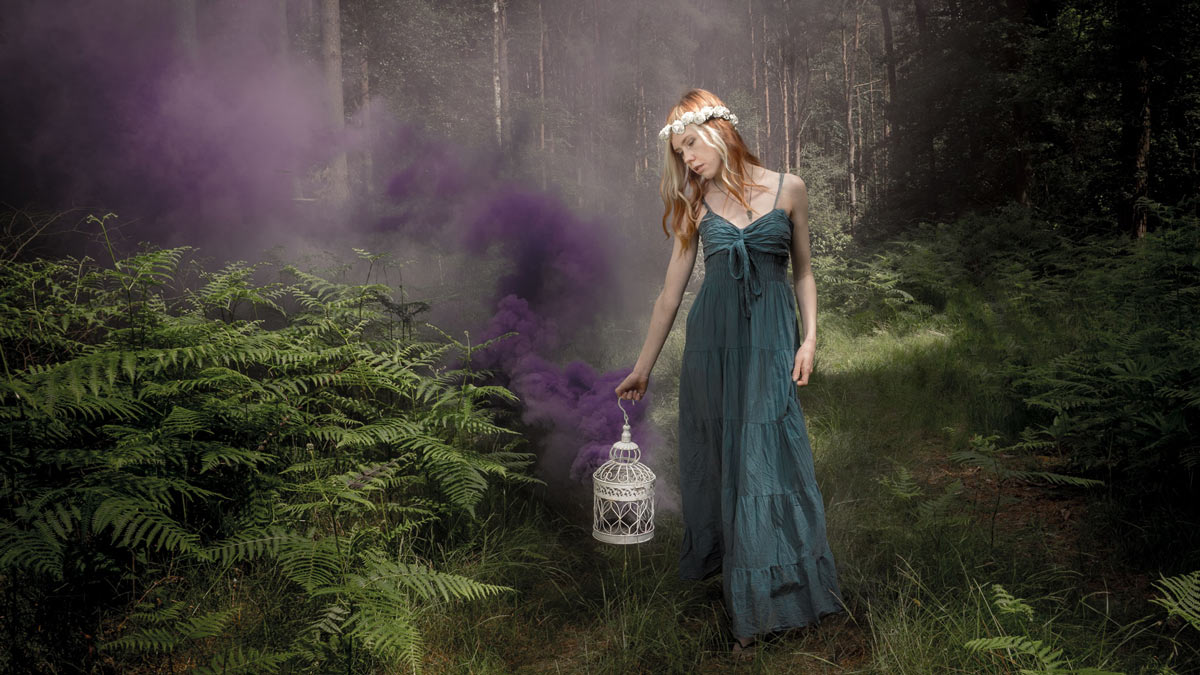
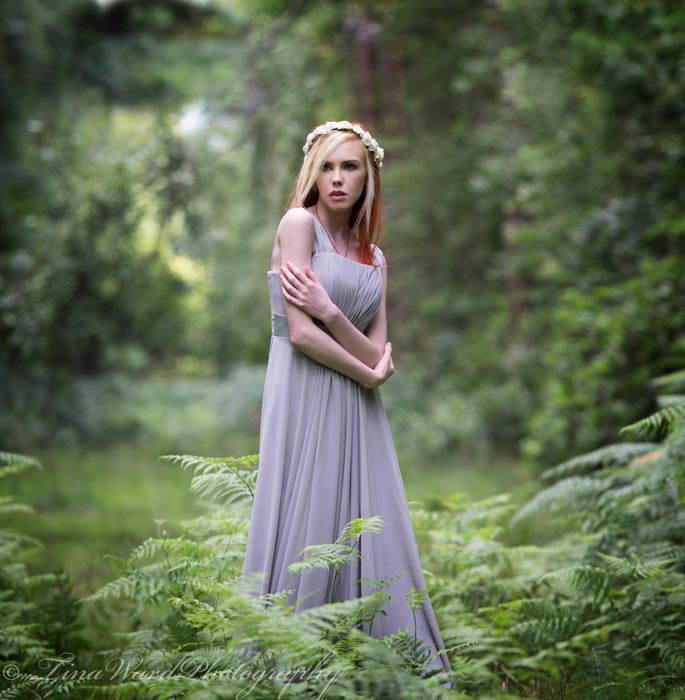
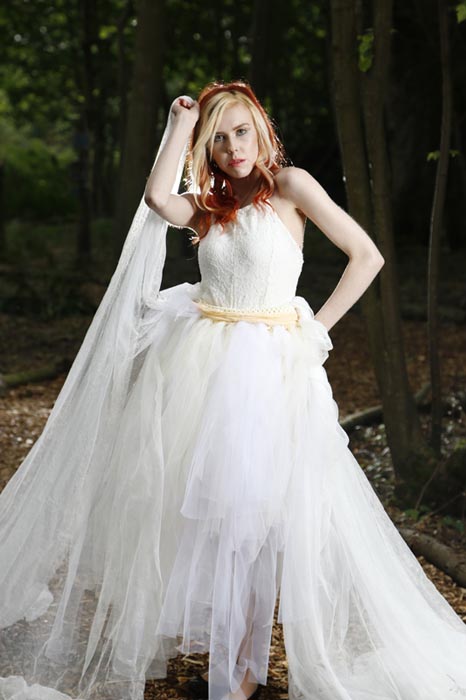
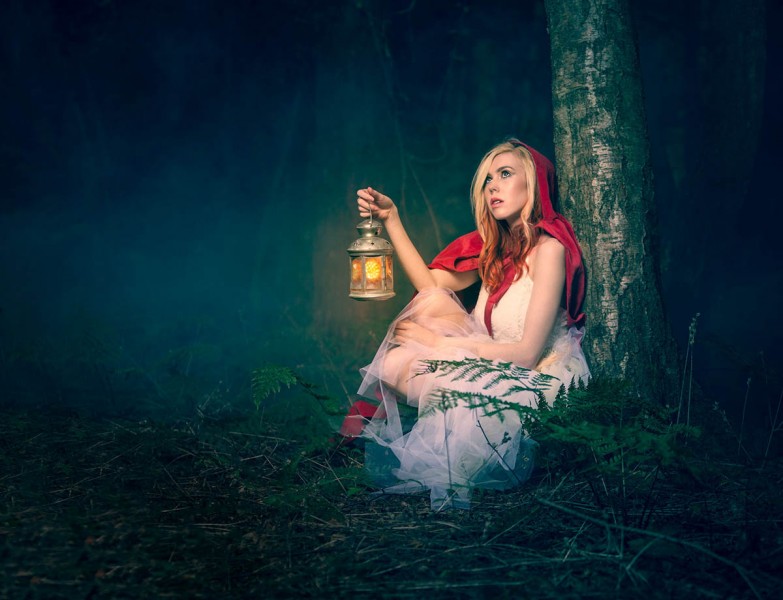
My afternoon was spent with Fern who had a lovely fairy-tale look. We stayed close to the paintball offices and thanks to a lovely long power cable, I was able to run an electric smoke machine to add a layer of mist to the scene.P8160173

There’s nothing more frustrating to me than seeing a workshop organiser shooting photos for themselves at the expense of the attendees. As a result I hardly have a single “good” photo from the day. Fortunately, the photographers who joined us took thousands of shots and below are a few that I’ve been sent so far.

Finally I’d like to thank the unsung heroes of the day. They include the staff at Driver Wood who allowed us use their facilities as a photo location. Anna Matos and here amazing box of make-up. My friends Steve and Stevie, who assisted brilliantly all day. Finally my biggest thanks goes to Sam, who pulled my crazy ideas together and created a workshop unlike any other!

UPDATE
Such was the demand, we ran the workshop for a second time in late September. Once again I was joined by Rob Pugh and Fern who worked just as hard as ever to make the day as brilliant as before. Joining us was model Charlotte Baker and make-up artist Alex Vleck.


Below are a selection of photos from the 12 photographers who came along and made the whole day another massive success.

Day to night in a flash

Shoots at night can yield some stunning photos but the lack of light has a bunch of problems that can easily trip you up… literately. However if you have a little bit of flash know how, it is possible to do a portrait shoot and make day turn to night in just a few steps. Here’s how I did it in four steps

Step 1 – Underexpose the ambient

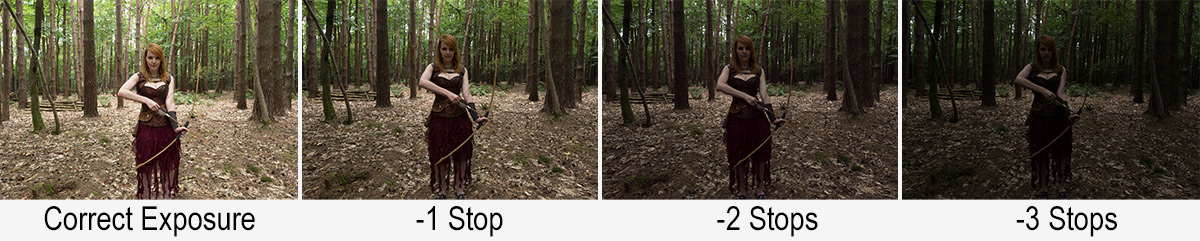
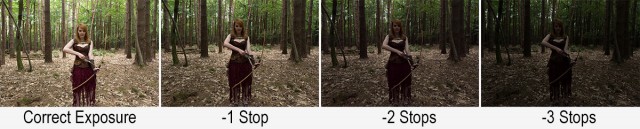
Unless you live in the Polar regions night time is usually associated with a lack of light, so the first thing I had needed to do was convince my camera to see less light. One way to do this is by using exposure compensation and dialing in a negative amount but because I was going to use flash to light the model I took a different route.
Day-Night-1

Flash and Manual mode go hand in glove, so switching to manual is the way to go. After setting the aperture to f/4 and the ISO to 200 the correct shutter speed turned out to be a feeble 1/10th second. By halving the shutter speed to 1/20th I underexposed the ambient light by 1 stop. 1/40th second gave me another stop and finally 1/80th second underexposed by three stops and gave a shot that was dark but not black.

Step 2 – Set the flash

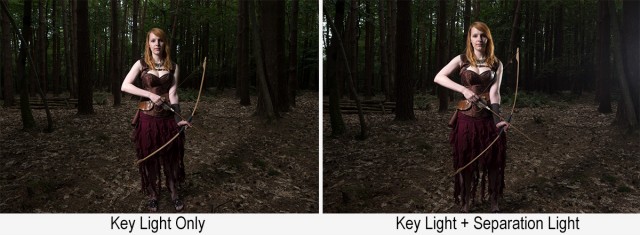
1/80th second gave a nice dark background but also underexposed the model, that’s where flash comes in. With the key light in place all I had to do was set my flash meter to match my camera (1/80th sec, 200 ISO) and adjust the flash power until I hit f/4 on the meter.
Day-Night-2

So now I’ve got the flash power to match my camera setting and giving a perfect exposure on the model, however the same camera settings are under exposing the background keeping it dark.

Once the key light was in I added a second light to separate the unlit side of the model from the dark background.

Step 3 – Moon light

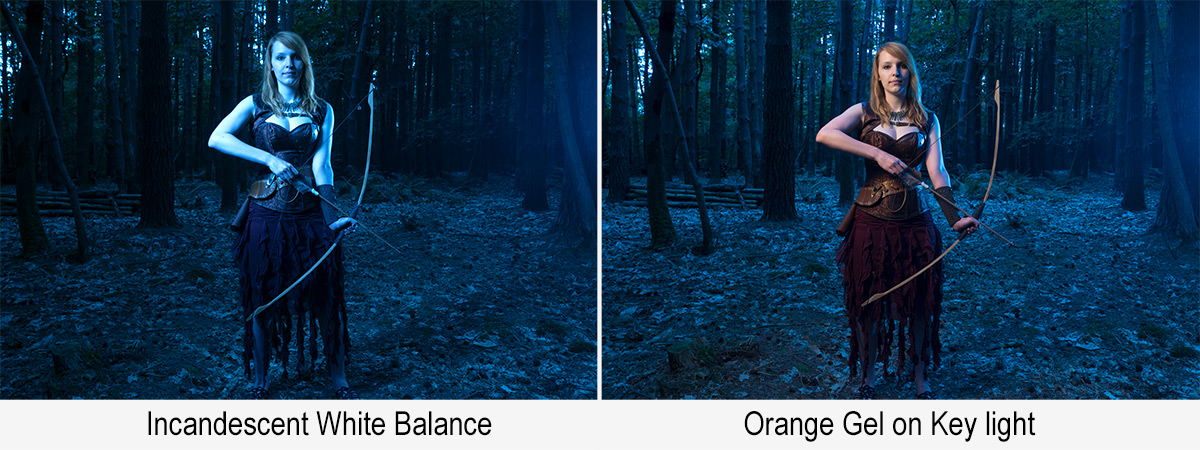
Thanks to Hollywood we assume that the moon always comes out at night and it produces blue light. Of course neither is true but let the dream live I say. Turning the warm afternoon light blue is as simple as setting the wrong white balance. Switching to Tungsten or Incandescent white balance will do the job in camera or it can be changed in Lightroom / Photoshop Camera RAW.
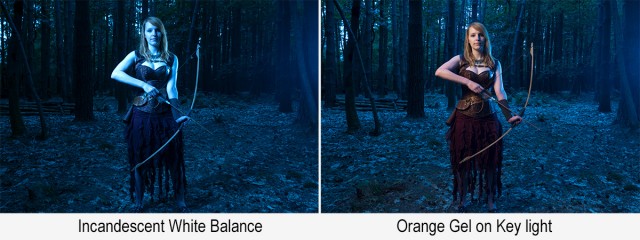
Day-Night-3

The blue looks great on the background but a bit odd on the model, so to warm her up I added an orange gel to the main flash. There are gels marked as CTO (Colour Temperature Orange) which should perfectly balance out the white balance but I don’t have one.  Luckily Lightroom / Photoshop Camera RAW can easily fine tune the colours, especially if you do the same as me and shoot a gray card in the same light.

Step 4 – Moody Mist

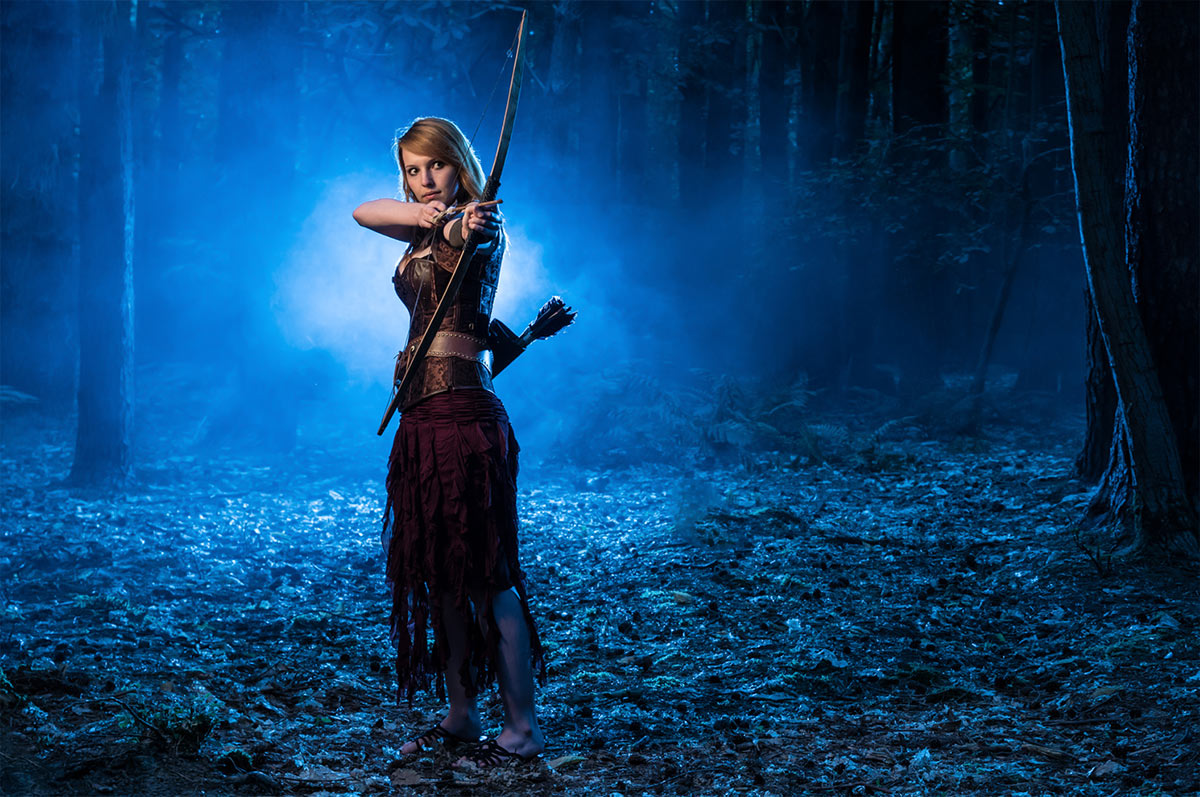
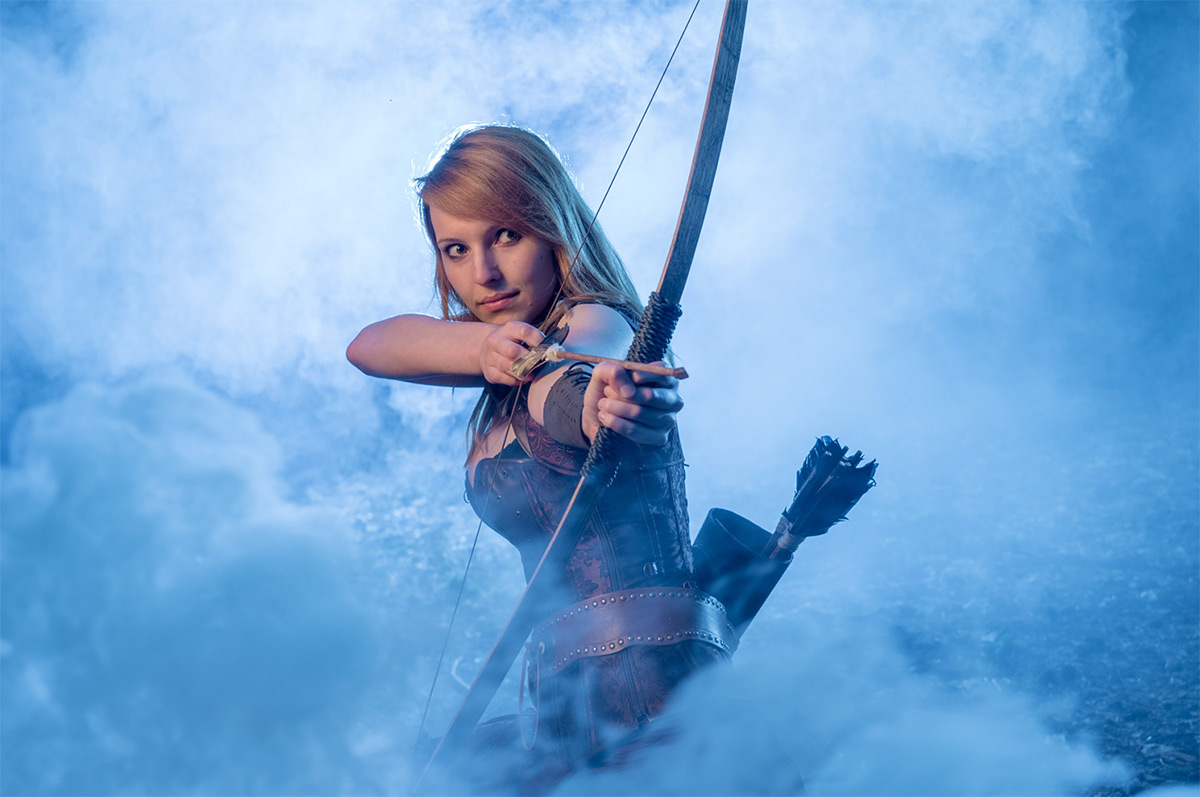
This is the fun bit. Again I’ve got the movies to thank for this but adding a little bit of mist seems to sell us the whole night feeling. It also helps to cover up anything distracting in the background and by adding a third light right behind the model (and the smoke) adds a splash of light to an otherwise dark scene.

There are many ways to make smoke. Being a long way from a power supply I opted for smoke grenades. You’ll find them at your local paintball / airsoft park and whilst they’re not cheap, they do offer a safe and reliable source of smoke. I used two Enola Gaye smoke grenades which gave around 90 seconds of smoke each. Yes after all that setting up the whole shoot was over and done in under three minutes!

So there you have it, day to night is perfectly possible and whilst the results are very different from really shooting after dark, they look pretty darn good to me.

[youtube]https://www.youtube.com/watch?v=aGsQxXUEvc4[/youtube]
Smoke on location

It’s amazing how adding a little bit of smoke can completely alter the look of a portrait shoot and a few months back I made a little video showing how I use a smoke machine in my studio.

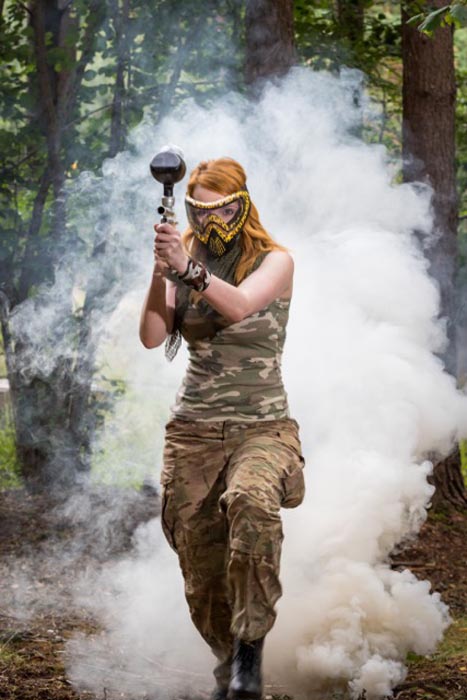
But with the long summer days and warm weather I love to get out of my home photo studio and into the great outdoors. Of course shooting portraits in the woods makes using an electric smoke machine a real challenge but I found an alternative that’s even better.

Smoke-Granade-Portrait

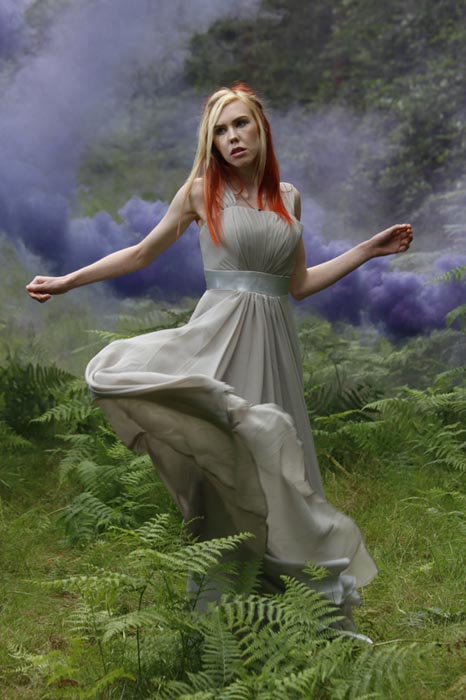
The smoke in the photo above comes from a small smoke bomb. Also called smoke grenades, it’s basically a firework without the explosion. I used smoke bombs from Enola Gaye which is a UK company that sells their non-toxic smoke granades around the world. You can get them online but if you head along to your nearest paint ball or airsoft park you should be able to pick them up fairly inexpensively and in smaller quantities.

[youtube]https://www.youtube.com/watch?v=f064pZ41Fz4[/youtube]
If you’re going to use smoke bombs in your photography, do so responsibly. I cover most of the important stuff in the video above but read the instructions on the smoke bombs before use. If nothing else follow the final bit of advice written on the side of every Enola Gaye smoke bomb… Don’t be a dick with this product.

Flash Duration To Freeze Action

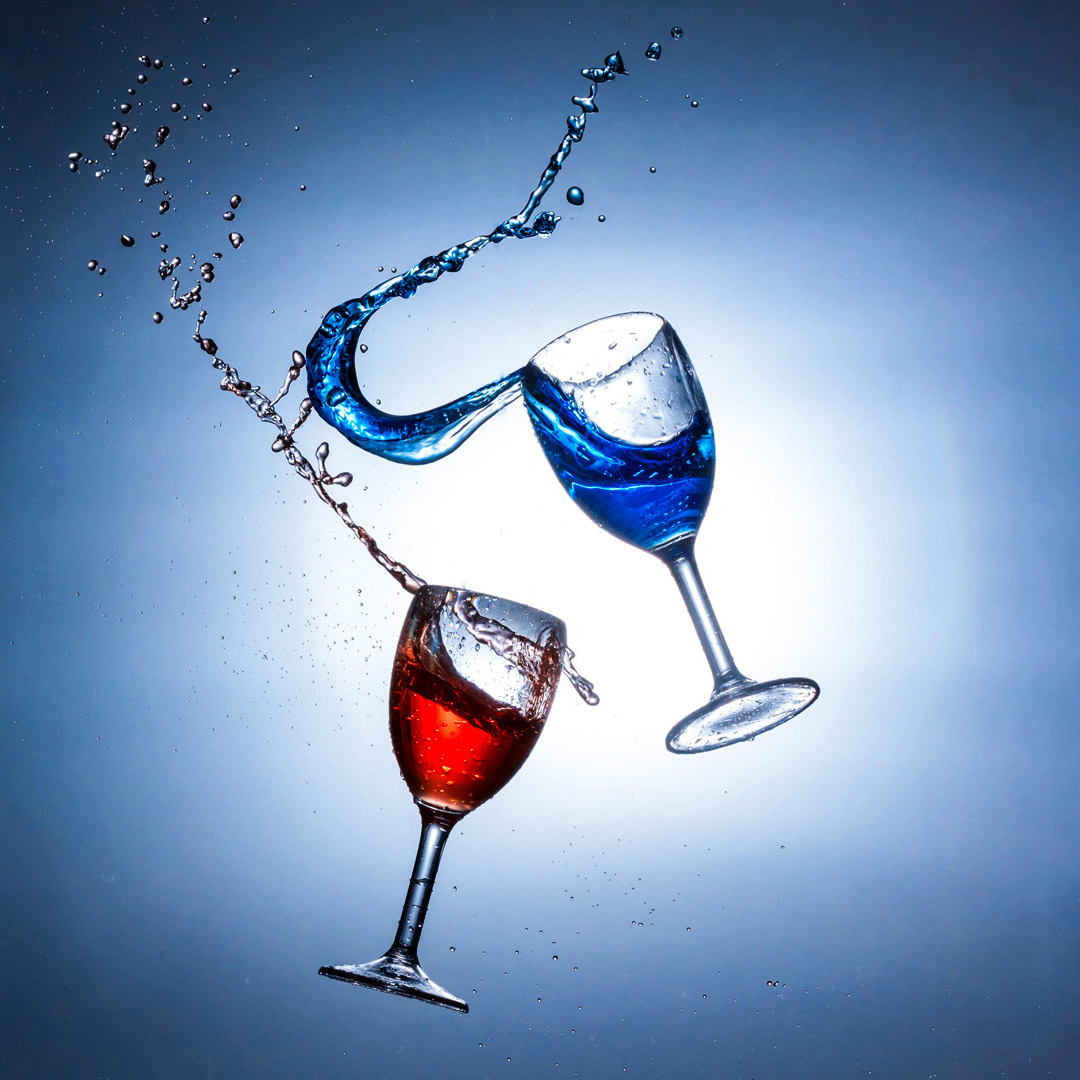
One of the many amazing things you can do with flash is use it to stop fast moving things in their tracks. Unlike working with a continuous light it’s not the shutter speed that freezes the action, it’s the tiny amount of time that the flash lasts… its duration.

Flash-Duiration-Final

Basically it works like this. The more light you need the longer the flash duration, so reducing the flash power shortens the flash duration and increases it’s freezing power.

Different flashes produce very different flash durations and older design studio heads worked in a very different fashion but if you take a standard speedlight as an example, it will have a flash duration of around 1/200th second at full power and 1/10,000 sec at minimum power.

In the video below I put the theory into practice by bumping two wine glasses together and photographing the results with different flash powers

[youtube]https://www.youtube.com/watch?v=WwcFbRUfHkk[/youtube]
In case you’re wondering, the wine glasses are made of plastic and I drilled two tiny holes in each to attach them to the fishing line.

Gear used in this video (Links to Adorama)

Canon EOS 60D Digital SLR Camera Body Kit

Canon EF 24-105mm f/4L IS USM AutoFocus Wide Angle Telephoto Zoom Lens

Flashpoint Zoom Li-on Manual On-Camera Flash

Vanguard Alta Pro 284 Carbon Tripod

Universal Swivel Holder

Flashpoint Pro Air Cushioned Heavy Duty Light Stand

Controlling reflections in glasses

So you’ve got the lights, you have your model and you’re ready to shoot. Then you take a test photo and all you see is huge white reflections. It’s a problem that happens all too often but fortunately there are a couple of solutions that are quick, easy and effective.

Let’s start with the simplest solution. Get your subject to remove their glasses. It sounds obvious but it’s surprising how many photographers don’t have the nerve to ask. Whilst this can work wonders with occasional spec wearers, anyone who wears glasses full time will look most weird without their specs on. It’s also not going to work with the cool crowd who wear sunglasses all year round.

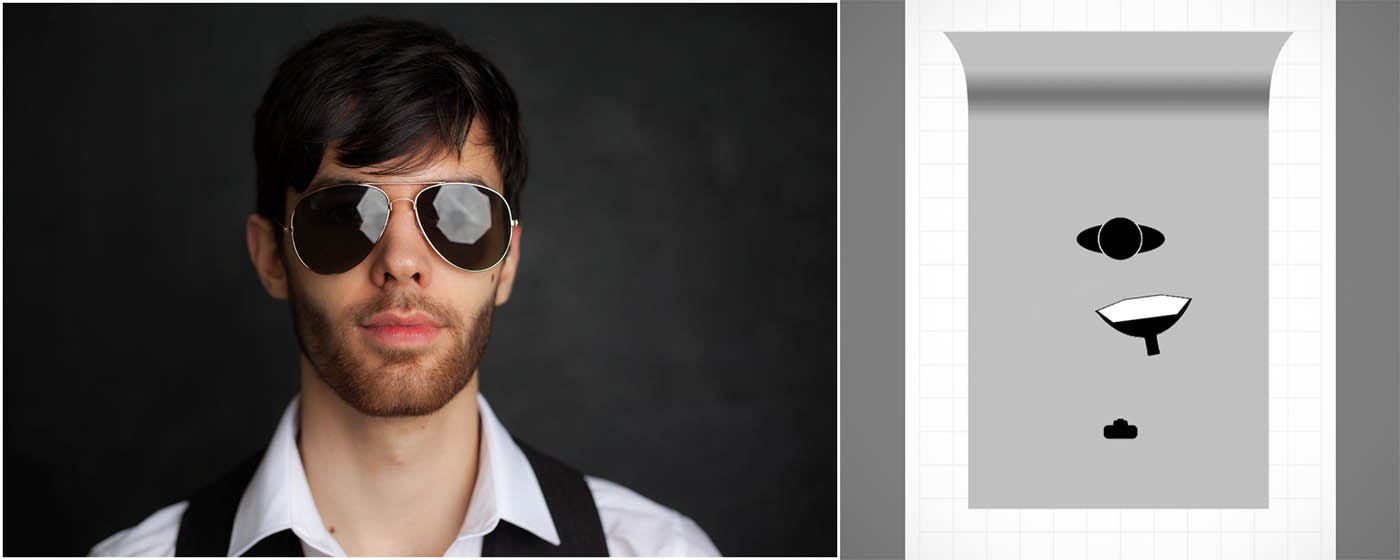
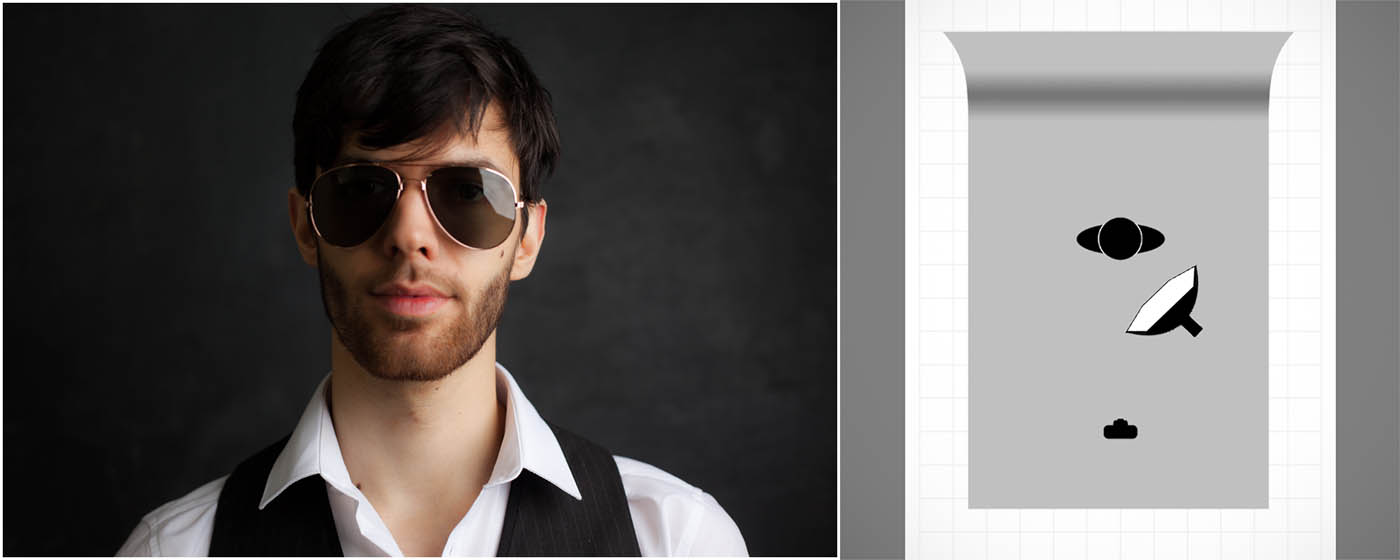
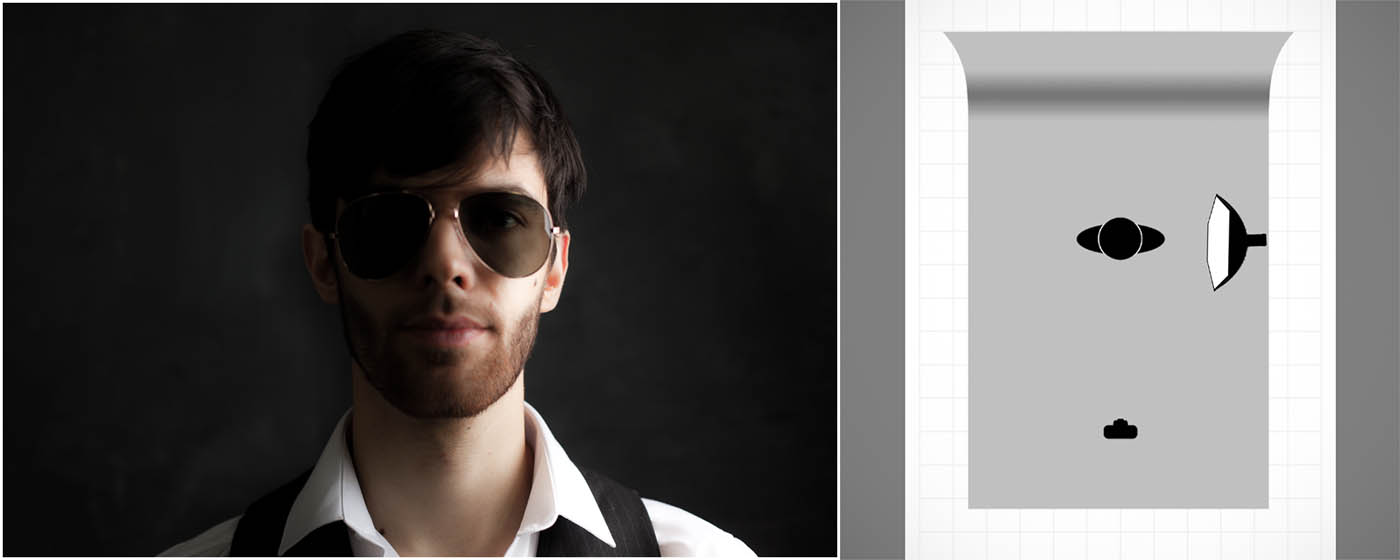
If you’re using flash or continuous light the chances are the reflections are likely to be from your lights and where you position the lights will affect the reflections you see in the photo.

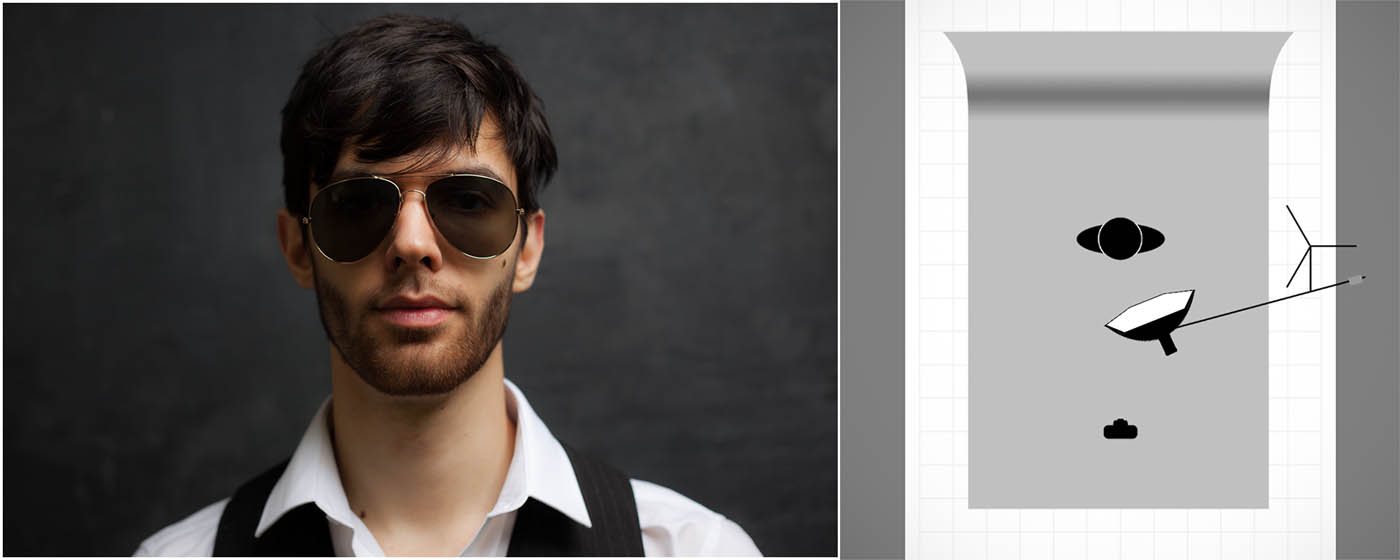
photo-1Light from the front (including on camera flash) will produce the biggest, brightest and least attractive reflections. Because light travels in straight lines it’s going to hit the front of the spectacle lenses and bounce right back in to the camera. This really is one lighting position to avoid.

photo-2Knowing that light travels in straight lines means that moving the light source to the side will move reflection. Here the light is at about 45 degrees and the result is a reflection that’s much reduced in size.

photo-3Taking the idea a bit further, if the light is fully 90 degrees to the glasses results in a tiny reflection but also produces a split light effect which might not be the look you’re after. If you look really close you’ll still see a slight reflection. Why? Well the surface of glasses isn’t flat like a window, it’s curved so you’re never at a 90 degree angle across the whole surface of the lens.

photo-5To minimise and remove reflections the best position for the light is up high. By elevating the light the reflections will disappear and the lighting pattern remains flattering too. Asking the model to drop their chin or slightly angle the glasses down can have a similar effect.

In the video below I go through all of the tips in this post in more detail and even give you some tips on how to add a reflection of your own choosing.

[youtube]http://youtu.be/kOzPWkkmZPE[/youtube]
Gear used in this video

Canon 5D Mark III www.adorama.com/ICA5DM3.html?KBID=67338

Canon 50mm f/1.8 II www.adorama.com/CA5018AFU.html?KBID=67338

Flashpoint Light Stand www.adorama.com/FPLS9.html?KBID=67338

Black Rapid RS-7 Strap www.adorama.com/BRRS7.html?KBID=67338

Flashpoint StreakLight 360 Ws Creative Collection www.adorama.com/FPLFSL360K2.html?KBID=67338

Sekonic L-308S Flashmate www.adorama.com/SKL308S.html?KBID=67338

Westcott Rapid Box 26″ Octa Softbox www.adorama.com/WERB26OM.html?KBID=67338

Home Studio Essentials Episodes 1-10

If you’ve been watching my recent videos over on Adorama TV you’ll have noticed a pattern forming. Over the past months the majority of the videos have focused on shooting with flash in a small, home studio and judging by the feedback it seems to have gone down very well indeed. I think part of the reason for their popularity is the way each video builds on the previous skills learned, at least that was the idea I had when I originally planned them.

HSE-MontageGear is always a big part of photography but none of the videos need a specific brand of equipment to complete. I used my trusty Canon 5D2 and 24-105mm lens. My flash gear is supplied by Adorama and is their amazing Streaklight flashes. If you want to know more then you can read my review.

To save you digging through my blog / YouTube to find them all I’ve added them all here.

Episode1: One bare flash
[youtube]http://youtu.be/hR4DW7dXOsk[/youtube]
Episode 2: One flash with an umbrella
[youtube]https://www.youtube.com/watch?v=ur58XNQwMXA&list=PL821B7D720DEA39FA&index=11[/youtube]
Episode 3:One flash and a softbox
[youtube]https://www.youtube.com/watch?v=z0MTQFYnvQA&list=PL821B7D720DEA39FA&index=10[/youtube] 
Episode 4: One flash and a reflector
[youtube]https://www.youtube.com/watch?v=TYQh9MNC3Is&list=PL821B7D720DEA39FA&index=9[/youtube] 
Episode 5: Adding a second light
[youtube]https://www.youtube.com/watch?v=FcQg0cBncHs&list=PL821B7D720DEA39FA&index=7[/youtube] 
Episode 6: Using honeycomb grids
[youtube]https://www.youtube.com/watch?v=K-C9xgTCLfM&list=PL821B7D720DEA39FA&index=6[/youtube] 
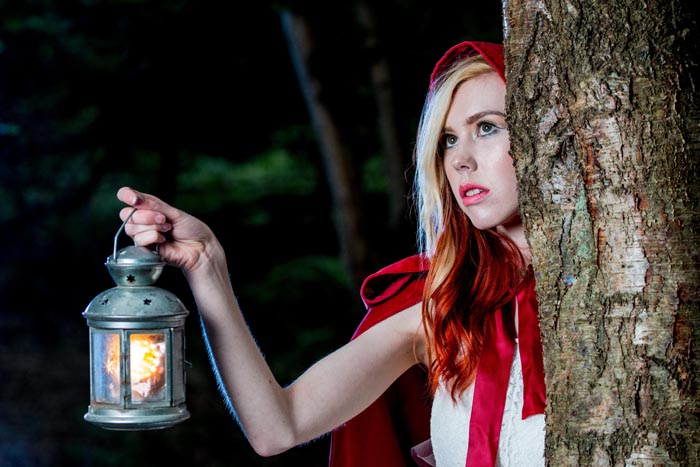
Episode 7: Using coloured gels
[youtube]https://www.youtube.com/watch?v=sR0wu9Sy6GM&list=PL821B7D720DEA39FA&index=5[/youtube] 
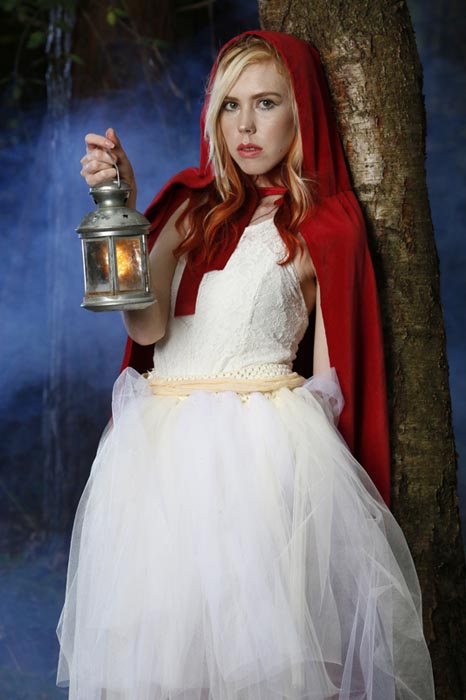
Episode 8: Getting a white background
[youtube]https://www.youtube.com/watch?v=RP4IixDOP5M&list=PL821B7D720DEA39FA&index=4[/youtube] 
Episode 9: Softbox as a white background
[youtube]https://www.youtube.com/watch?v=wy0VZEhwtSU&list=PL821B7D720DEA39FA&index=3[/youtube] 
Episode 10: Hair / seperation light
[youtube]https://www.youtube.com/watch?v=PaDUIqdQpPM&list=PL821B7D720DEA39FA&index=2[/youtube]