If you’ve used a Speedlight then you’ll have spotted the zoom setting which can be used to make the spread of light from the flash match the angle of view from your lens. When it comes to on camera flash that’s great news as it helps to maximise t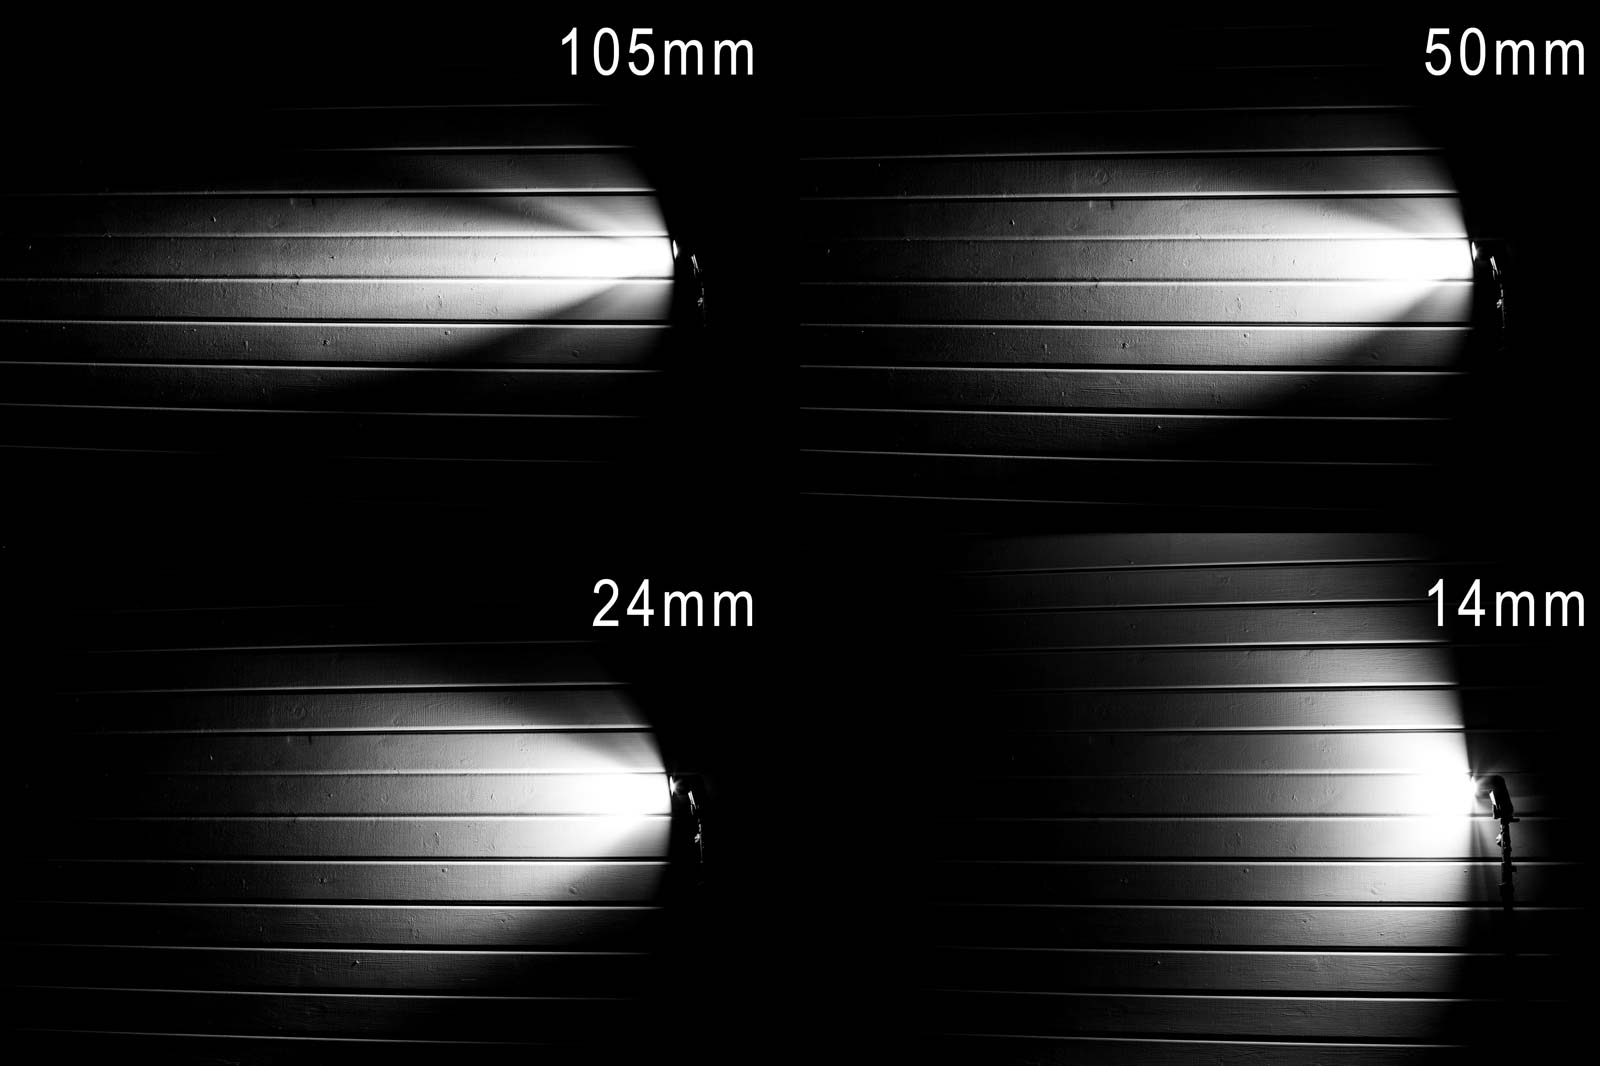 he efficiency of the flash but go off camera and it’s something that can easily get over looked. Setting the zoom for off camera speedlite work is one of the handy tools in a photographer’s bag of tricks. It can be used to shape the light into a tight rectangle or spread it wider and rounder. Most speedlight’s even have a pull out diffuser for a crazy wide spread of light. So what should you do with the zoom setting when you’re shooting your flash into an umbrella or softbox? In a nutshell I tend to zoom out to the wider end of the flashes zoom range but I wanted to see how things changed at different zoom settings so I did a little experiment.
 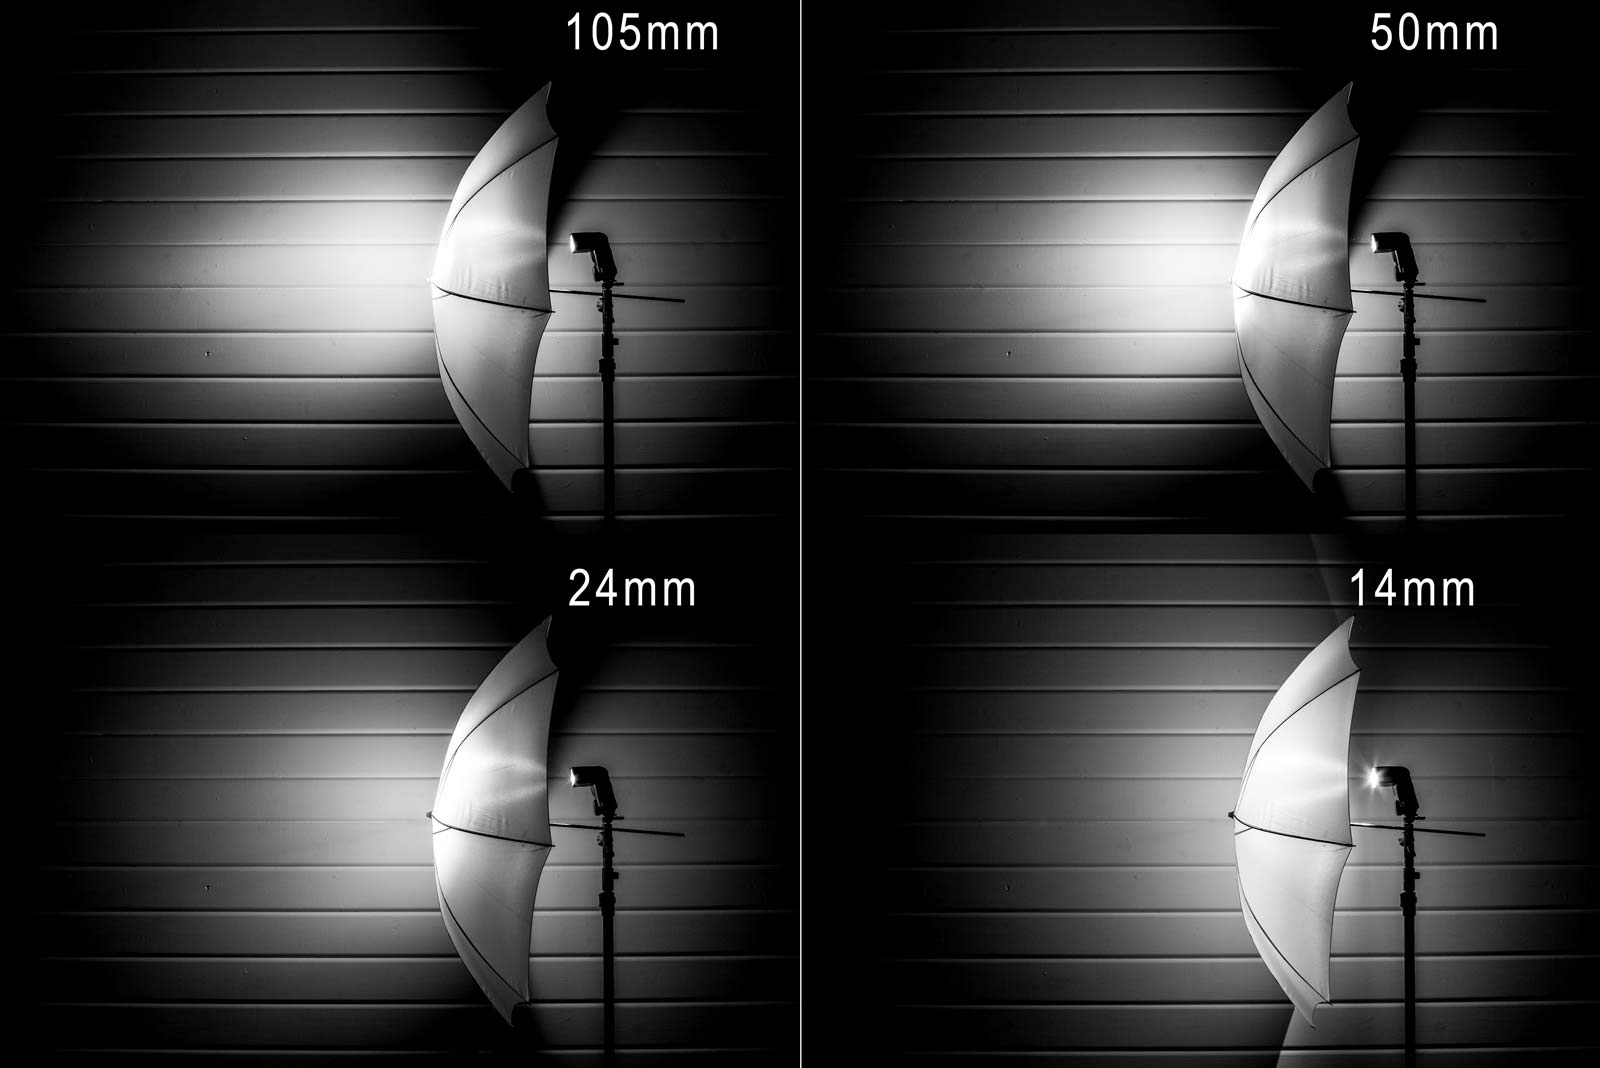 Let’s start with the side view. At my Canon 580EXII’s maximum zoom of 105mm the flash is diffused fairly well but it’s noticeably bright in the centre with a lot of fall off at the edges. Things don’t change much even at 50mm zoom but by 24mm zoom the light spread from the umbrella is a lot more even. Flip out the wide angle diffuser and zoom reads 14mm, now that’s wide! The resulting light is amazingly soft and diffused but it’s so wide it actually passes the edges of the umbrella completely!
 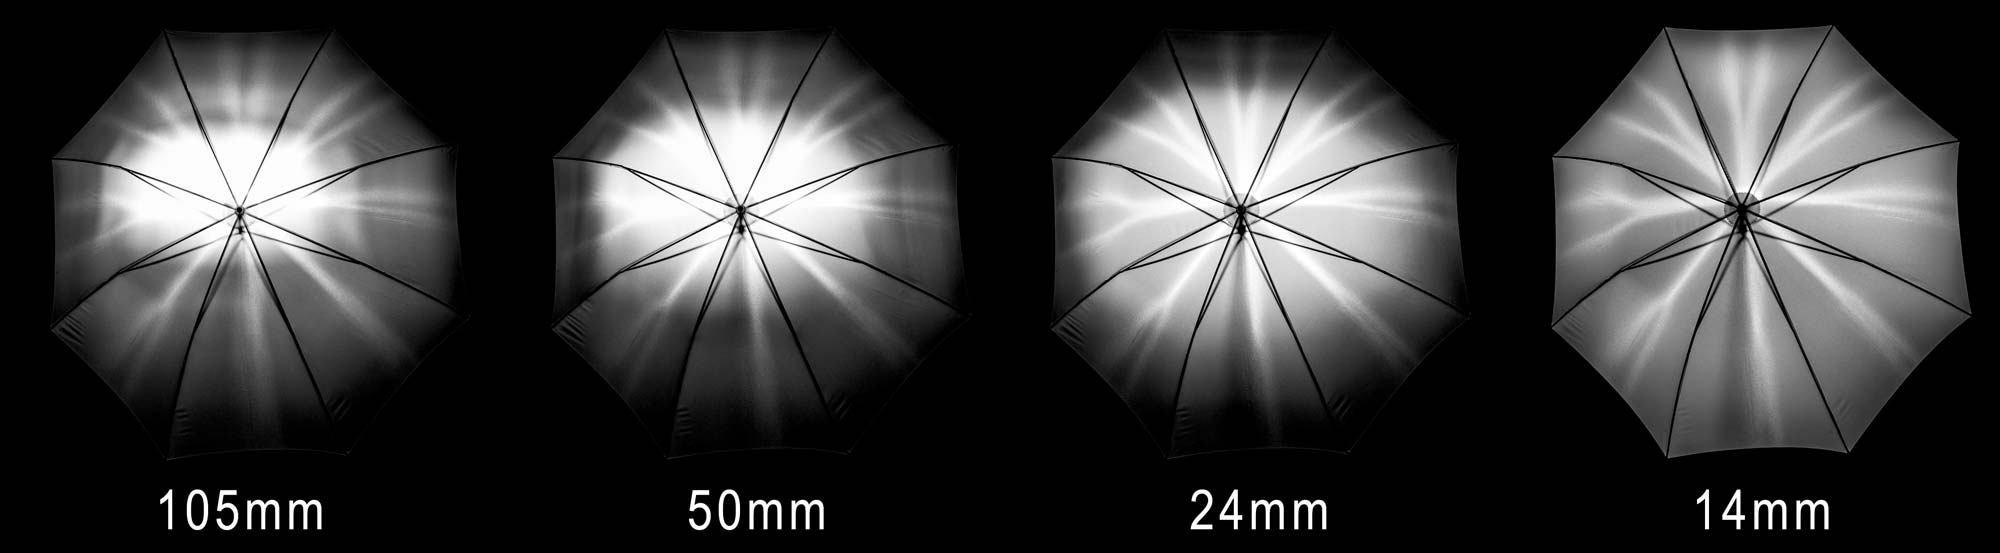 It’s the front view which probably make things clearest. The hot spot at 105mm to 50mm is clear to see. At 24mm the flash coverage is better but at 14mm it’s very VERY even. So what conclusions can I draw from this? Well the obvious one is don’t zoom the flash when using an umbrella or softbox. 14mm looks very tempting but one thing to note is the flash power was roughly a stop less than at 24mm. So I’ll be sticking to 24mm for my brollies but I might consider going for 14mm in softboxes when I can accept shallower depth of fields or higher ISO in my photo.
Tag: featured
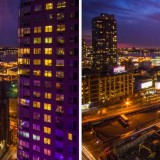
How to shoot through windows without reflections
Earlier this year I made my first ever visit to New York and one of the things I put on my “to do” list was capture some great shots of the New York skyline. Wih that in mind I spent a long time researching hotels that had great views. Now there’s no shortage of hotels in New York and some of them have unbelievable views which come at a sky high price but eventually I settled on the Yotel Times Square. I paid a few dollars extra for a room towards the top of the hotel and sure enough the view from the 22nd floor was stunning.
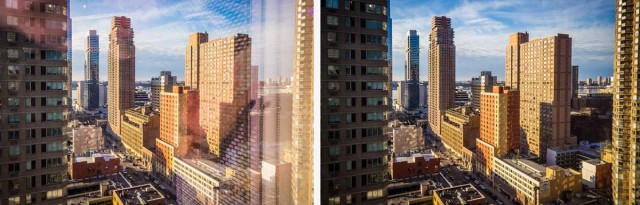
Like all modern hotels the Yotel came with lovely big windows which gave a great view but horrible reflections. Fortunately reducing the reflections and even getting rid of them completely isn’t too difficult, especially if you follow my simple steps in the video below.
[youtube]https://www.youtube.com/watch?v=b3q6aIBc_cc&list=PLwm6LvGc5xq3_BqxMpqpGyxYdJJMQE1mM[/youtube]
Can’t see the video? Click here http://youtu.be/b3q6aIBc_cc
The daytime view was always beautiful but just after the sunset it became amazing, especially with the huge purple neon “Yotel” sign which reflected off the surrounding buildings. The only regret I have is that the view from the rooms on the other side of the Yotel were potentially even better… and that sounds like a good reason to return to me.
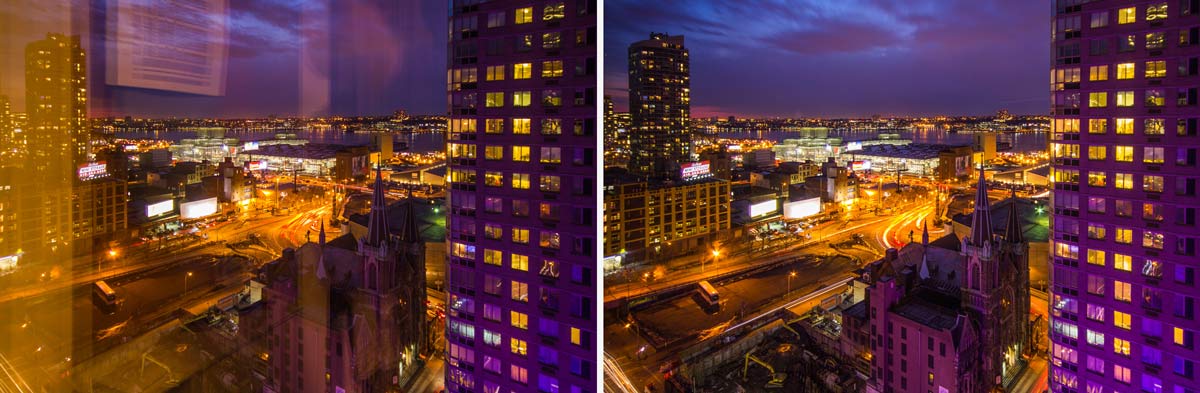
Equipment used in this video (Links to Adorama)
Canon 60D http://www.adorama.com/ICA60D.html?KBID=67338
Sigma 10mm-20mm http://www.adorama.com/SG1020EOS.html?KBID=67338
Vanguard 284CB100 Tripod http://www.adorama.com/VGALTA284CB.html?KBID=67338

Three Light Leaks
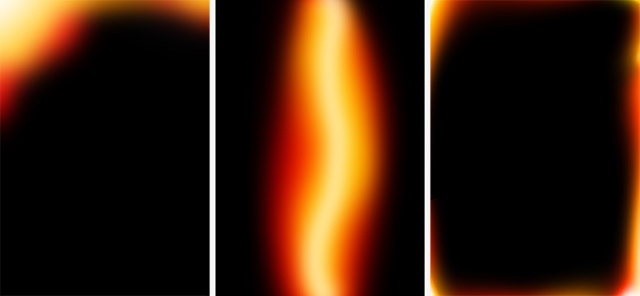
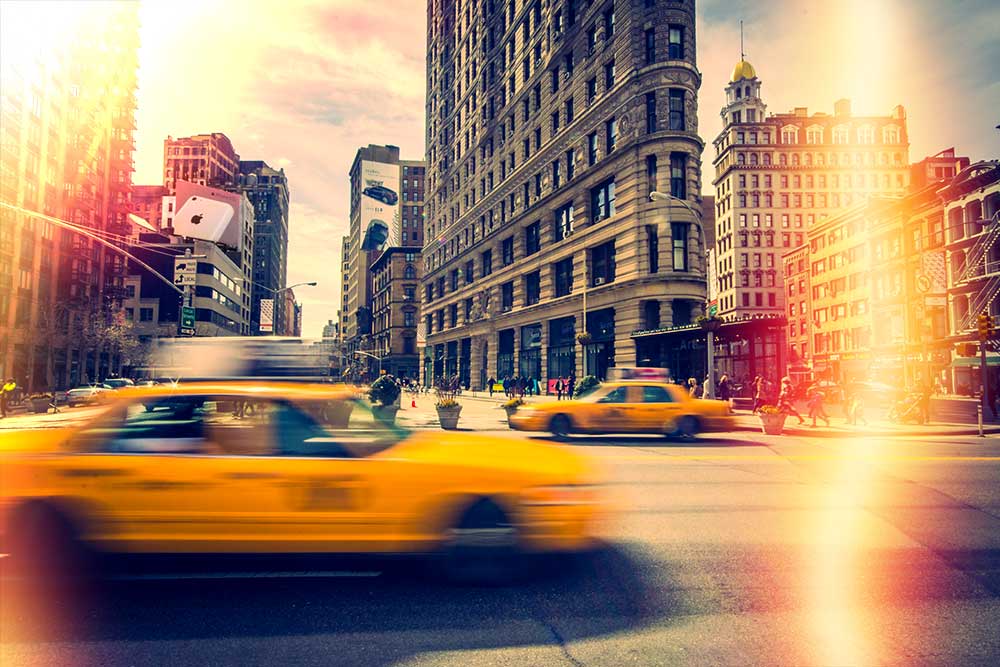 Here’s a Friday Freebie for those that love the vintage style photos. Light leaks were always a potential hazard for me back in the days of film photography, especially with my very first Praktica camera. Fortunately it rarely happened but now it’s very in.
Click Here To Download three light leaks
This Friday Freebie is not one, not two but three light leak images that are all ready to be pasted to your images. They’ll work with pretty much any photo but they really look good on vintage style images with a retro or timeless feel. In this case it’s a photo I snapped on a recent trip to New York
To use the light leaks first download them and unzip the file. Open the light leaks into Photoshop or Photoshop Elements and simply copy and paste them on to your image. Use Free Transform to rotate and resize them as much as you need. To blend them in simply change the Layer Blending Mode from Normal to Screen. If you want more light leaks, just paste them in!
If you create a photo using the Friday Freebie then let me (and everyone else) know by leaving the link in the comments below.
Usage rules
The template is copyright Gavin Hoey 2014. Use is limited to any personal, non-commercial purposes. Please share the Friday Freebie by linking back to this page. Do not redistribute the original image without my permission

Adorama TV LIVE!
It’s been a busy few weeks for me with trade shows and travel filling my diary. Top of the list was a flying visit to the Adorama store in New York, a city like no other!
I’ve never been to New York before but of course I’ve seen it many times before. I’ve seen it in Hollywood movies, I’ve seen it in music videos and I’ve seen photos taken by other photographers but nothing compares to actually being there… I absolutely loved it!
The main reason for the visit was both to meet the amazing people who work at Adorama and to talk to the brave group of photographers who endured the freezing New York weather to spend a few hours with me. If you were there I’d like to thank you for making me feel so welcome.
The Adorama team wanted to share the event with those that couldn’t attend in person and so they organised a live stream.
[youtube]http://www.youtube.com/watch?v=0HVBEk2fI5E&feature=share&t=7m11s[/youtube]
The video above is about 90 minutes long and is a recording of my lighting demo on how to get the best from just one light. You can skip the first 7 minutes as they are blank!
Not having done live streaming before there were a few technical glitches, particularly with the audio but that aside the video contains 90 minutes of amazing tips.
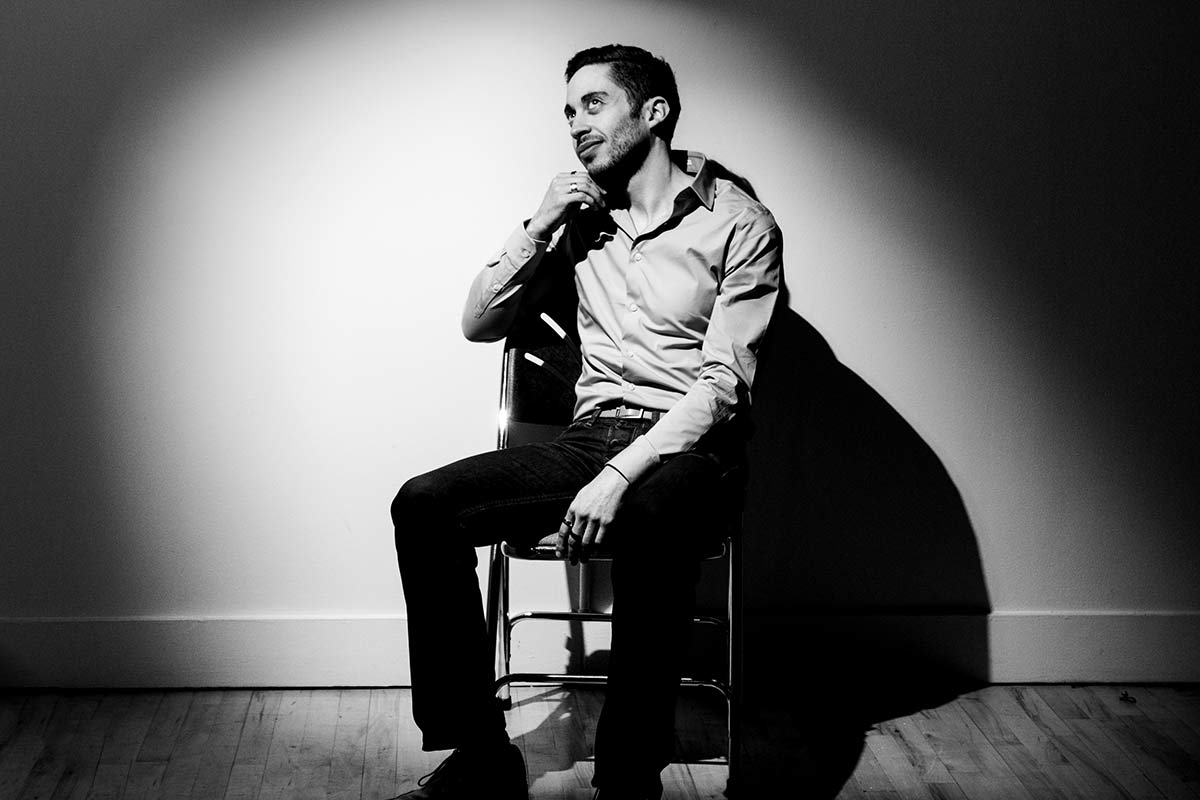
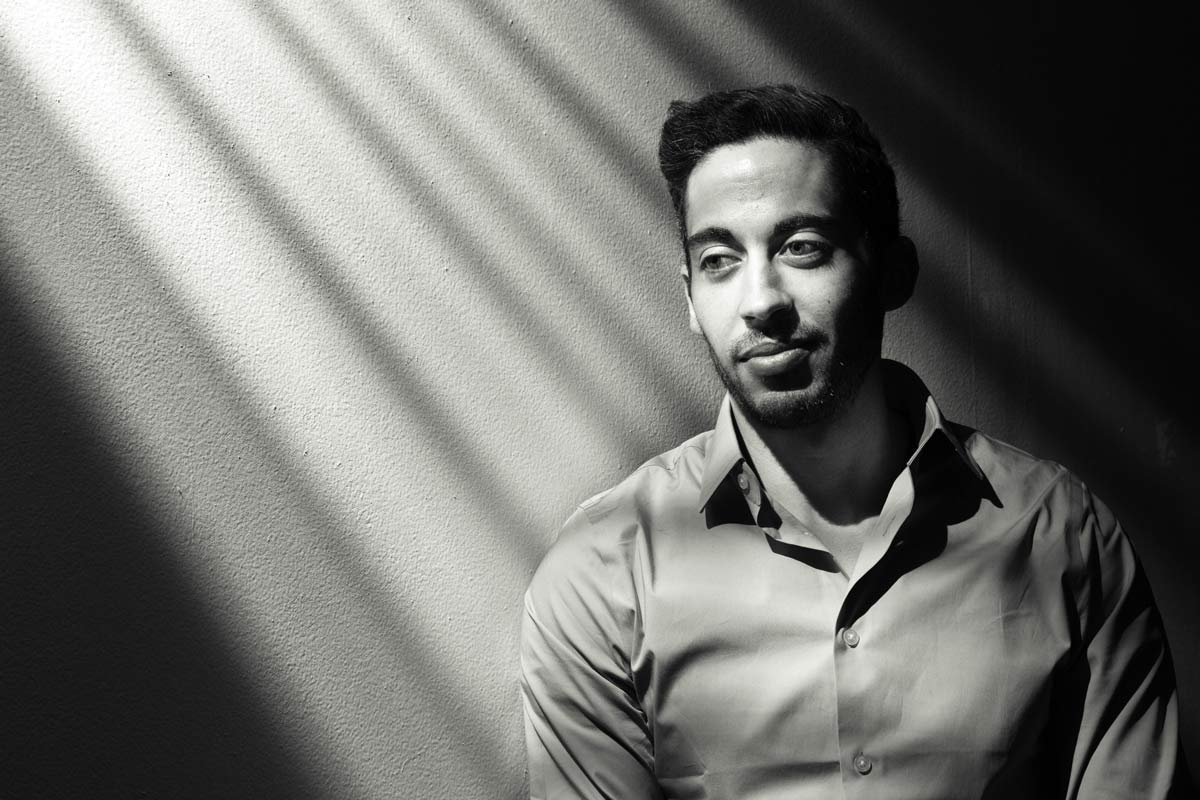
My model is an Adorama employee called Damian who excelled himself by being amazingly patient and a total pleasure to work with. All the photos you can see in the post are the actual shots taken during the Live Stream.

I’d like to say a huge thank you to Adorama for making the event happen, particularly to the team who worked tirelessly before, during and after the live event. I won’t embarrass them by naming them directly but they know who they are and I’m hugely grateful for all that they did.
Wet Paint Border
 The Friday Freebies have had a bit of a break but by popular request, they’re back! So to kick things off here’s a free border that I made by pouring paint to form a photo frame.
Full download instructions are below but you can also
Click Here To Wet Paint Border
I do like getting in a mess with my creations but this one was particularly bad. I created it by dribbling paint from a pot onto white paper in a rough rectangular shape.
To make life for you a little easier I’ve already made the cut out hole, so all you need to do is drop your photo on a layer below the border and resize it to fit.
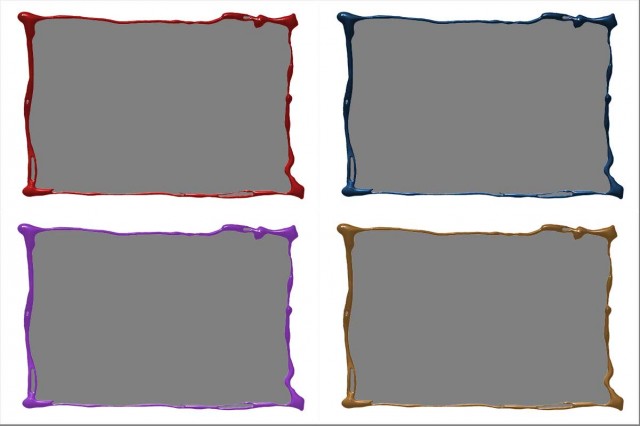
Don’t like the colour of the border? No problem. I’ve added a Hue/Saturation adjustment layer that only effects the border. Double click it and alter the Hue and Saturation values to create all these and lots more too. You can also adjust the Lightness value but it will have to be in the plus range only.
As always, if you create a photo using the Friday Freebie then let me (and everyone else) know by leaving the link in the comments below.
Usage rules
The image is copyright Gavin Hoey 2014. Use is limited to any personal but non-commercial purposes. Please share the Friday Freebie by linking back to this page. Do not redistribute the original image without my permission.
Download instructions
Click the link https://drive.google.com/file/d/0B_Mmmm3K1utNdjB1YjRidjZocE0/view?usp=sharing
1. Click the Download button 
2. The download should start automatically

A Splash of Lemon
Winter round these parts usually means short days, long nights and inclement weather which makes for a tough time for us photographers. So here’s a photo project that you can take at any time and whatever the weather.
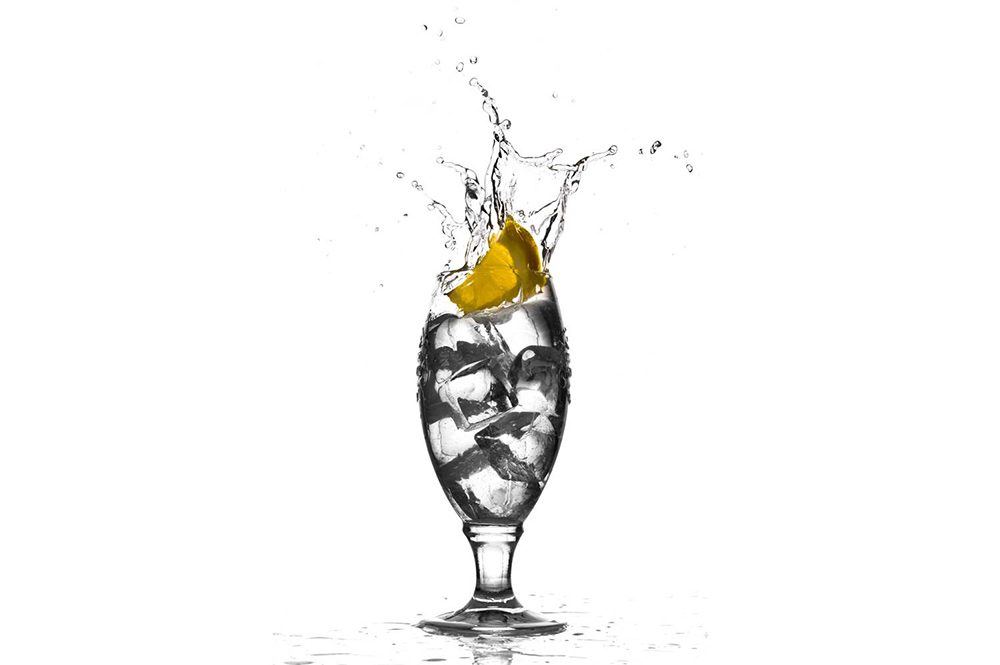
The technique makes use of a single flash to freeze the moment a slice of lemon splashes into a glass of water. No flash? Well you might be able to do this with a super bright light but to hit the really fast shutter speeds needed to freeze the action you’ll need to bump up your ISO and open up the aperture. Flash really is the way to go as you’ll get sharper shots with a bigger depth of field and be able to use a nice low ISO.
I’m using glass “ice cubes” real ones are fine but they will float. So either pack them in tight or use a bigger, heavier piece of lemon (other fruit slices can be used too). Alternatively lose the ice and use fizzy water, the idea is simply to put some texture in the glass and how you do that is up to you.
[youtube]http://youtu.be/9GxRwBxc8-8[/youtube]
Equipment used in this video (Links to Adorama)
Adobe Photoshop Lightroom V5 Software, Windows and Mac OS
Canon EOS 60D Digital SLR Camera
Canon EF 24-105mm f/4L IS USM AutoFocus Wide Angle Telephoto Zoom Lens
Enlight photo Frio Universal Locking Cold Shoe V2
Canon RS-60 E3 Remote Switch (2′) for Canon Sub-Mini (E3)
Flashpoint Universal Swivel Holder -Umbrella holder
Vanguard Alta Pro 284 Carbon Tripod with SBH-100 Ball Head
Reigate Fort 15 Minute Photo Challenge
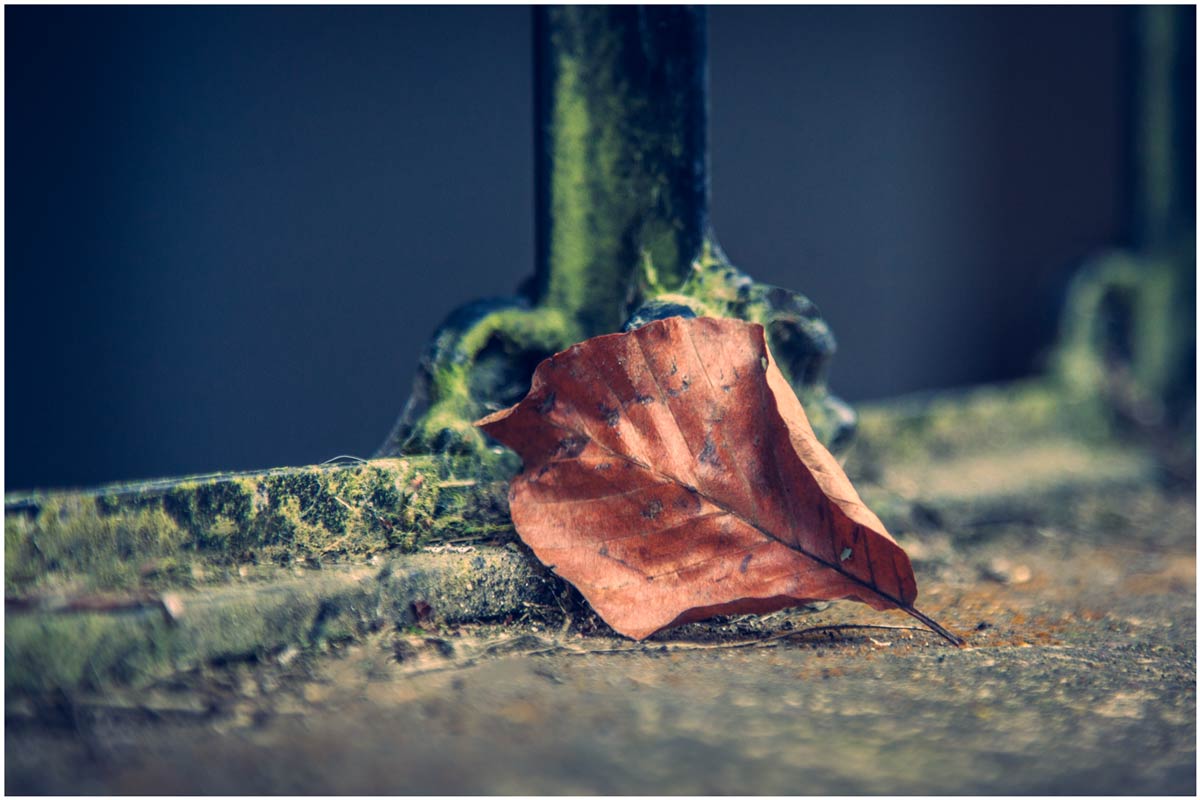
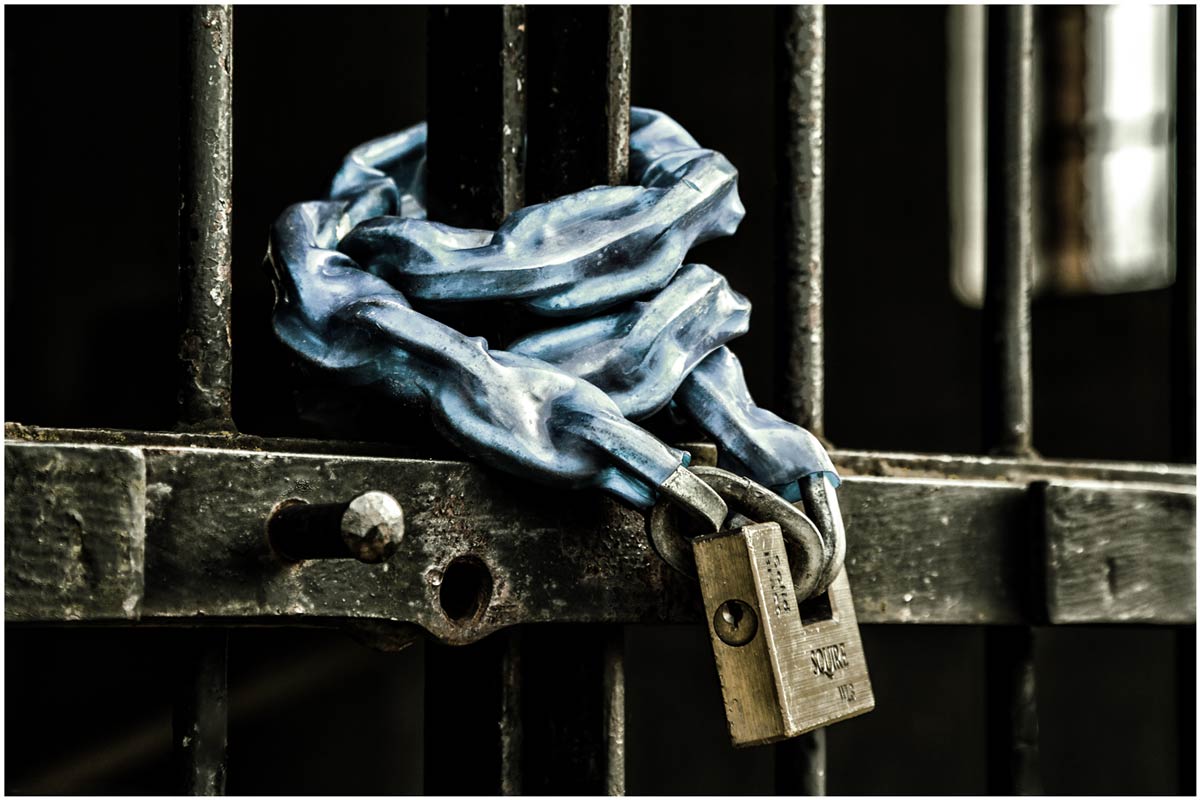
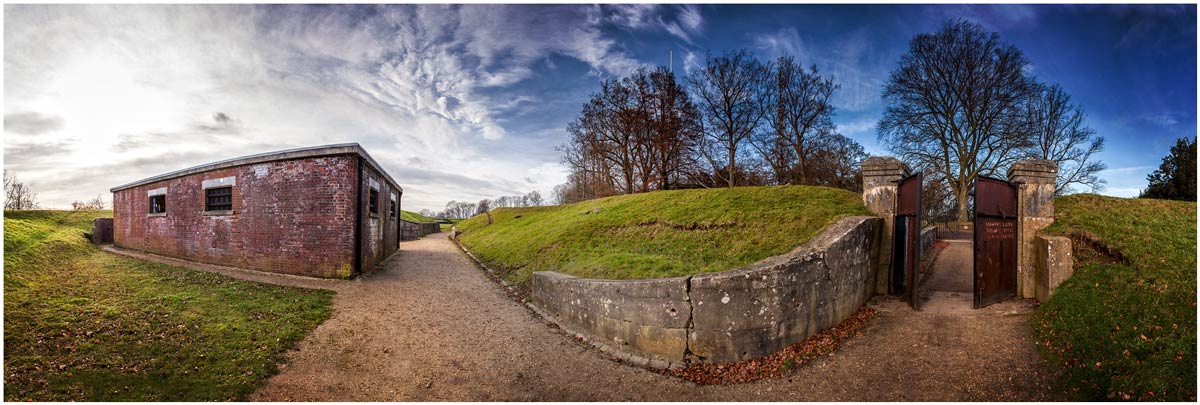
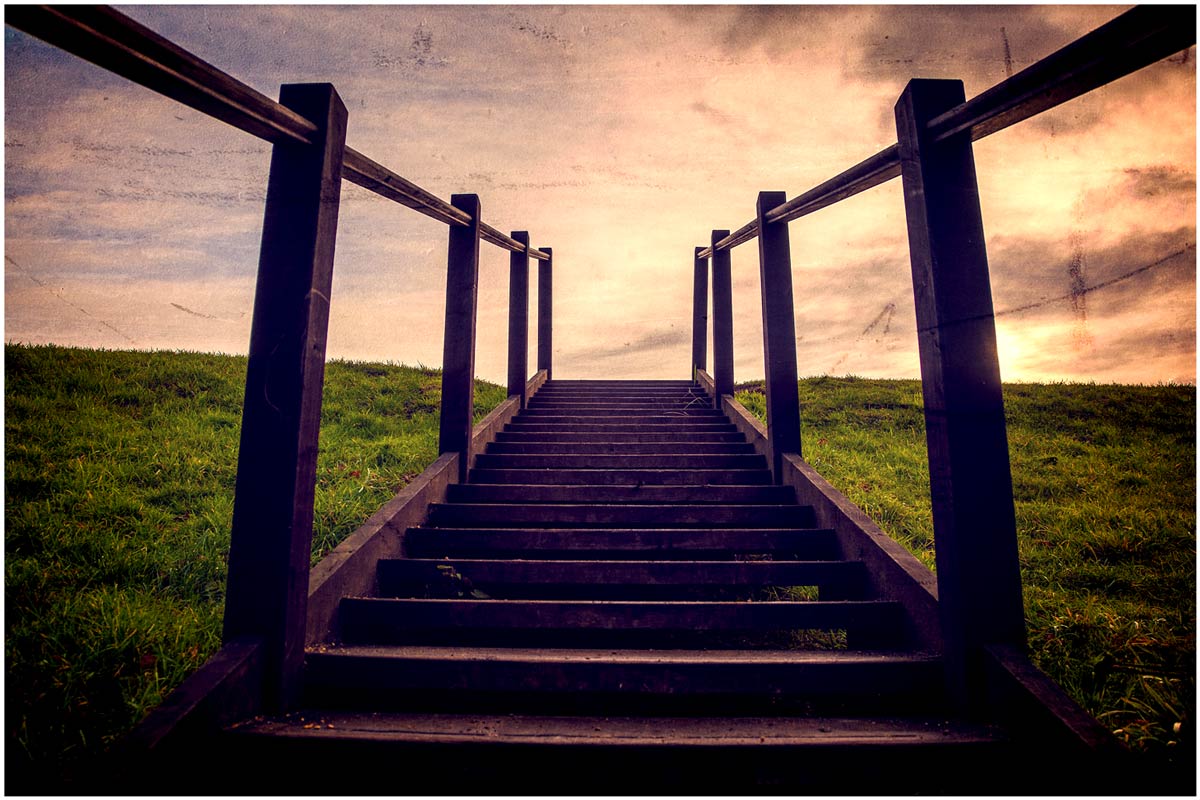 It’s time for another 15 minute photo challenge and this time I visit a fort in Surrey. Unfortunately for me this particular fort is mostly buried below ground and isn’t accessible to casual visitors such as myself.
But I wasn’t going to let a little thing like that stop me taking photos, nor did the particularly poor weather slow me down.
As always at the end of the challenge I’ll take you through the Photoshop edit of one photo. You can see the end result here. Keep scrolling down to see a few more final photos in higher resoloution
So let the 15 Minute Photo Challenge begin!
[youtube]http://youtu.be/niciZgOWBfA[/youtube]
If you enjoy the 15 minute photo challenge and you’re coming to my FREE New York workshop day then you’ll get to see an exclusive 15 minute challenge that’s never been seen online before!

NYC here I come!
Next month, for three days only, I’ll be in New York City and thanks to Adorama I’ll be sharing part of the experience with as many photographers as possible.
If you’re in New York on Tuesday 25th February I’d love to meet you. I have a whole day of photography talks and demo’s lined up and the best bit is… it’s all FREE!
Full details are over on the Adorama website. It’s a ticket only event and very much first come first served so bag yours now!

If you can’t join me in person then you can still join me online. The plan is to live stream a small part of the day, so no matter where you are in the world you can join me live! More details to follow.
Panorama Post Processing Tips
It feels like I’ve been planning to live stream forever but today it finally happened for real. In this live video I run through some of my post processing tips and tricks to go from a bunch of pretty average RAW files to the pano you see here. Being a streamed video there was a chance for me to answer questions from the live chat, obviously that’s not possible now but if you do have any question feel free to add them to the comments below.
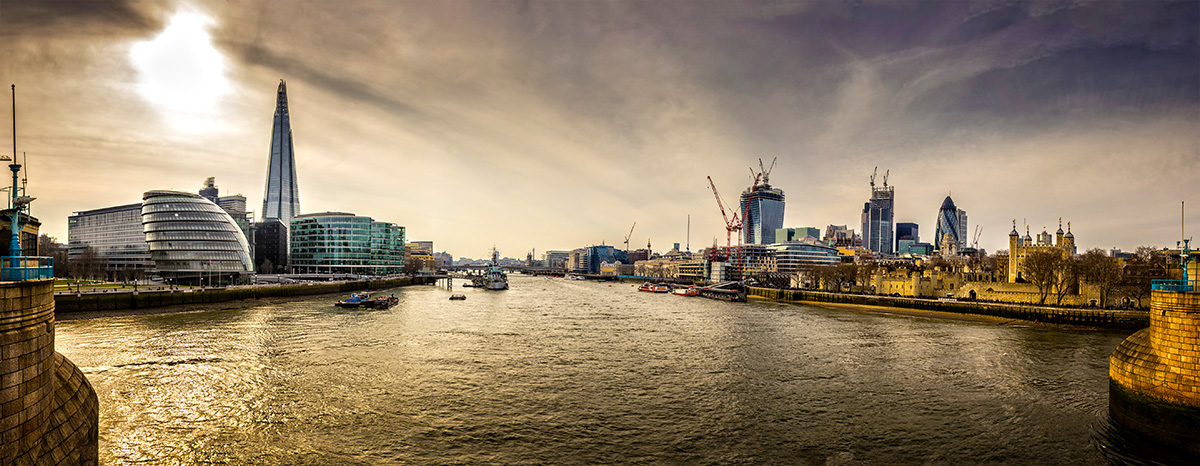 One the great things, and frustrating things, about making pano’s is not knowing how the final image will look. We’re all so used to instantly reviewing our photos that the sense of mystery and excitement about our photos has almost been lost. This photo is a perfect example. Taken in 2013 it sat, over looked, on my hard drive for months before I finally got around to stitching it and revealing the image in it’s full glory.
Top Tip: You can skip the first 45 seconds of the video;-)
[youtube]http://www.youtube.com/watch?v=sAu7N7uaAp4&feature=share&t=21s[/youtube]
If you can’t see the video click here http://www.youtube.com/watch?v=sAu7N7uaAp4&feature=share&t=41s
Once I remembered the correct sequence of buttons to press, I was live streaming for 30 minutes and it was amazing to get instant feedback and comments. A huge thanks goes to Sam who was kind enough to keep the questions flowing along to me from the chat room and an even bigger thanks to those that were able to join me live.
I’ll be doing more live streaming, including some live shoots in the future. Details will most likely appear on my twitter feed and on Facebook.
How my photo made the BBC news
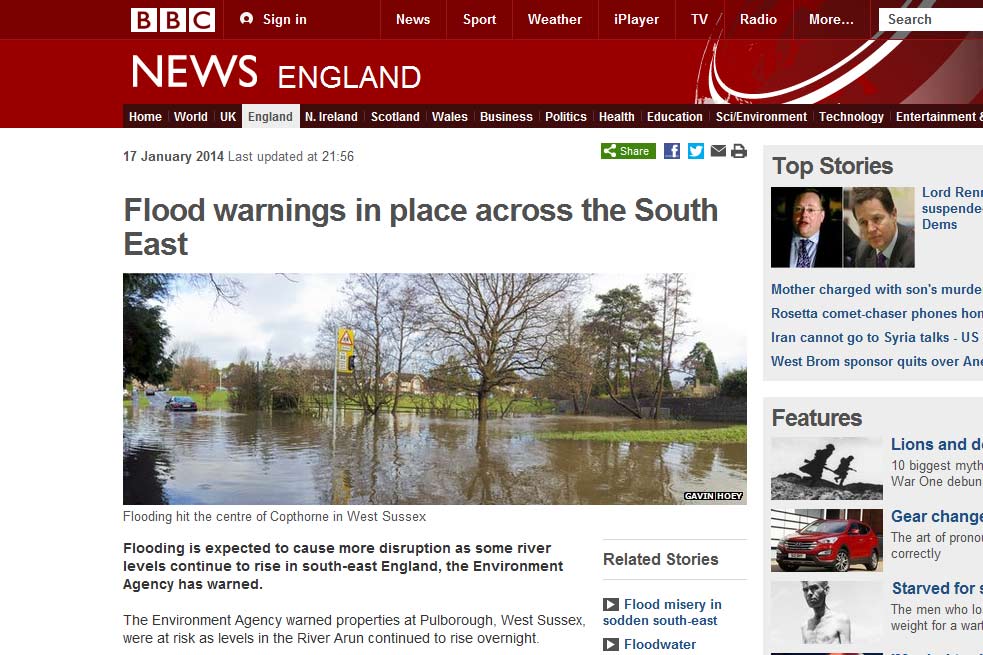 Last Friday one of my photos wound up on the BBC website and although the subject matter was a potential tragedy for those affected, I’m still very proud to see my work on the BBC news website.
To be honest the biggest surprise was just how many people noticed the small “by line” on the photo and got in contact. I also got plenty of questions about how my photo ended up being used, so here are some answers…
Was it commissioned
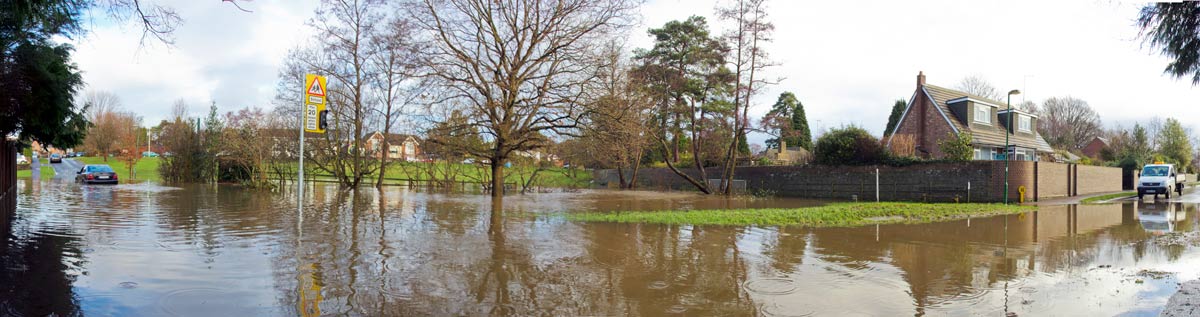
Not this time. Following weeks of wet weather we had one day of rain too many and the small stream that flows through the village in which I live, decided to flood in a way that I’ve never seen. I snapped a few photos just as record.
So how did it end up on the BBC website?
I was supposed to be travelling to London but trains were all cancelled and the roads blocked, so I was reading the Local BBC twitter feed to find out what was running. By chance a new tweet pop up asking for any photos of the flooding and I thought… why not. The local BBC retweeted my photo and a few minutes later I was contacted by a lady from the BBC website asking if they can use my photo.
Did you get paid?
In this case I didn’t ask to be paid and to be honest payment was the last thing on my mind.
Do you usually work for free?
No I don’t. Had I been commissioned to photograph or video the flooding then it would be another matter but this was simply me sharing a piece of the history of Copthorne.
Would you do it again?
Absolutely I would.
Did the BBC alter your photo?
My original photo is below. It’s a multi image panorama made up of 7 or 8 photos and cover a field of view that’s just under 180 degrees. I sent the BBC a high res version with permission that they could crop it as required and that’s exactly what they did.
So how bad was the damage?
It looked worse then it was, no one was injured and although the road and a few gardens were flooded, the houses were mostly fine. Some damage was self inflicted when a couple of drivers decided to brave the flooded road. A big mistake!
Did you get flooded ?
No we were just fine.