My 2017 UK Photography Show Schedule

There’s just one week to go until The Photography Show opens its doors at the N.E.C. in Birmingham and this year my free demos are back and better then ever. Running from the 18th – 21st March, it’s the UK’s biggest and busiest photography show around 30,000 amateur and professional photographers attending. It’s packed with a great mix of stands from the major photographic suppliers to the small independent retailers.
TPS2016

But this isn’t just another trade show, there’s also loads of things to see and do. There’s a constant stream of free demos and talks on various live stages and that’s on top of all the smaller demos on many of the booths dotted around the show.

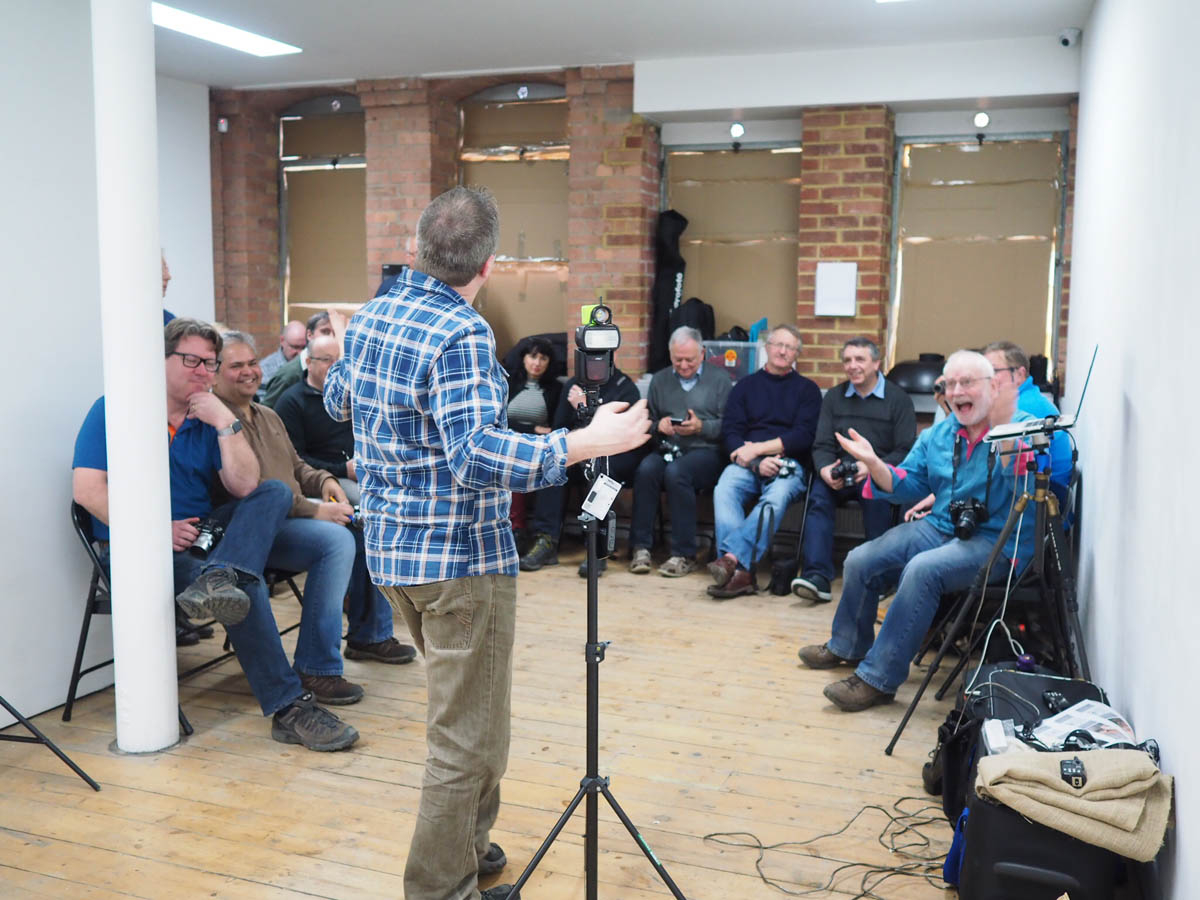
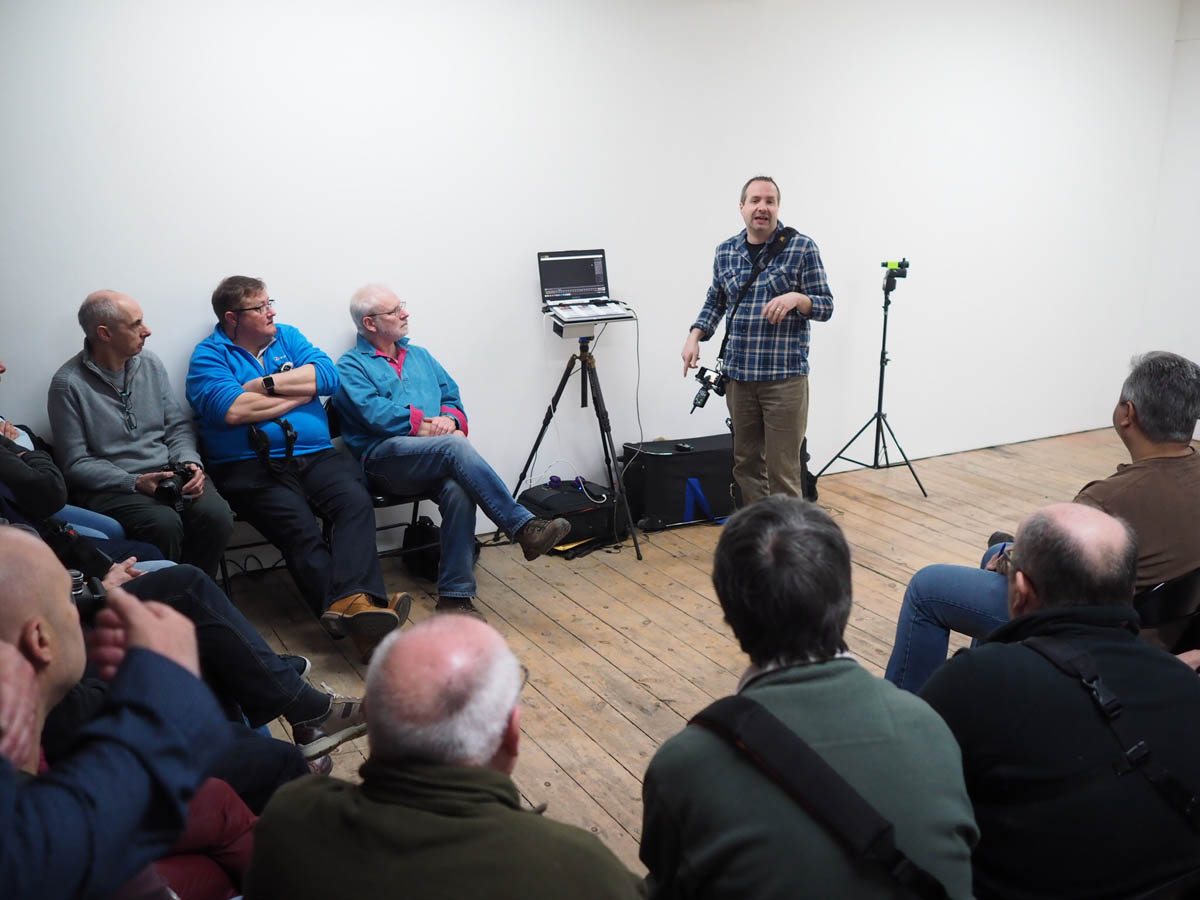
I’ll be there for the whole four days giving various talks and demos on Photoshop, portrait lighting and photography. I’ll be dashing from demo to demo (see below) but if you’re coming along it would be great to meet you.

Saturday

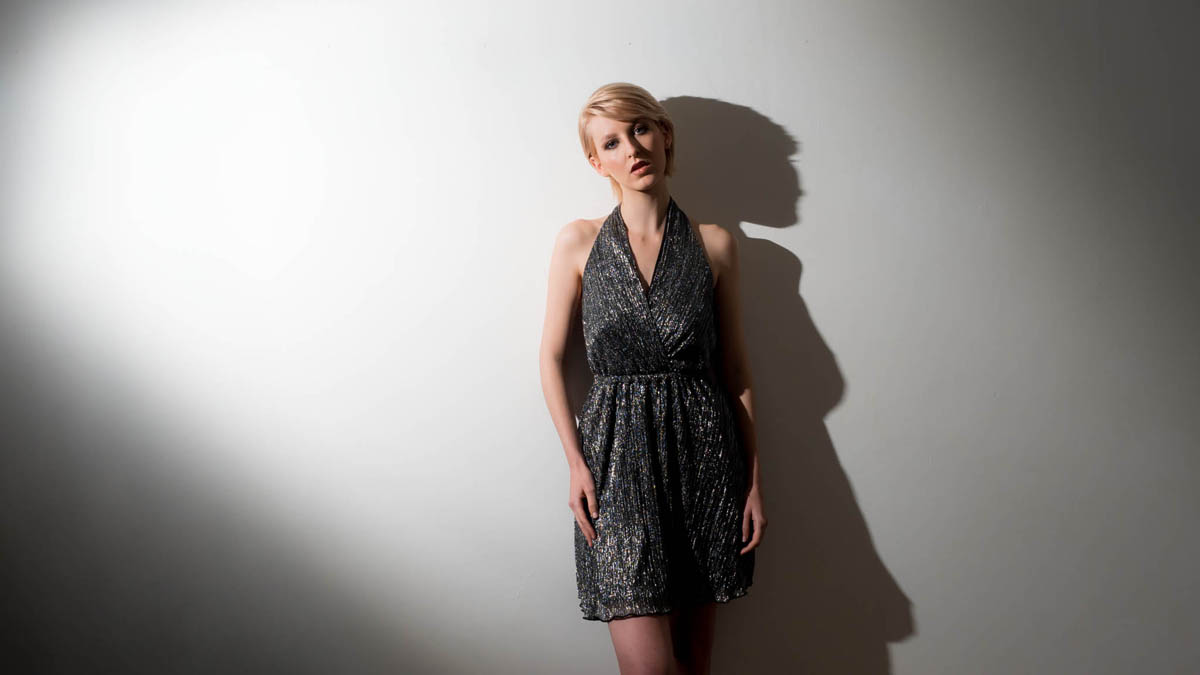
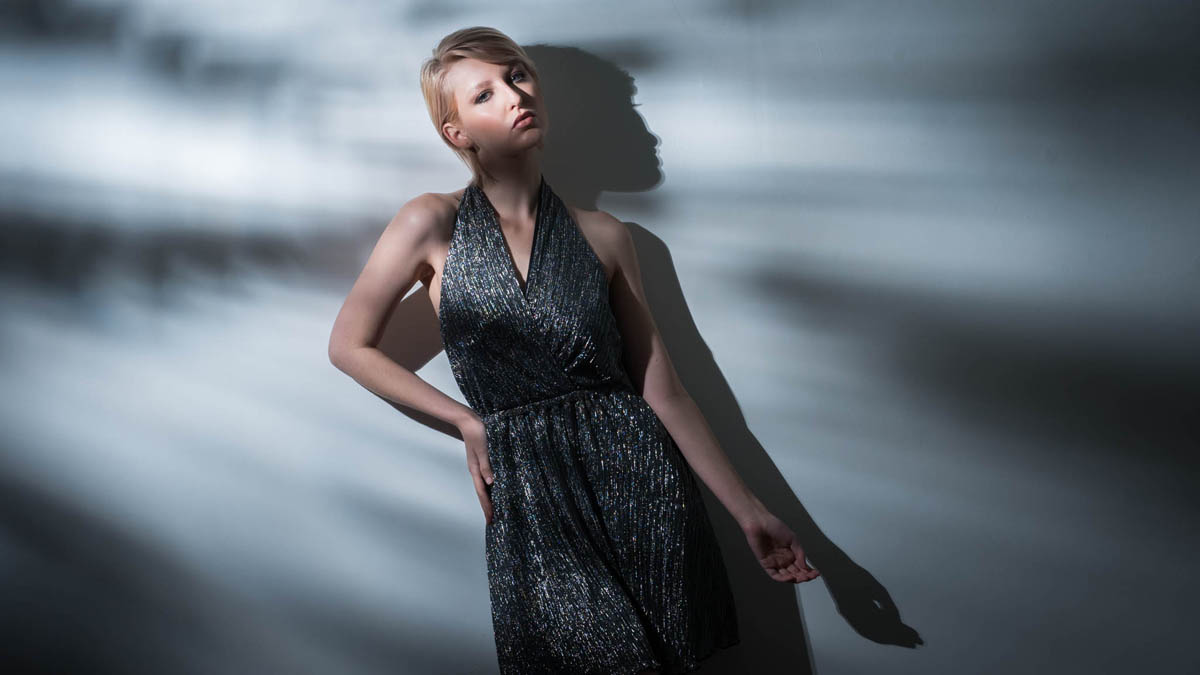
10.30 am PiXAPRO E91 Creative portrait lighting (Demo)
12.30 pm Adobe Theatre Photoshop CC For Photographers (Demo)
1.30 pm Olympus D91 Action Stations (Talk)
2.30pm PiXAPRO E91 Creative portrait lighting (Demo)

Sunday

10.30 am PiXAPRO E91 Creative portrait lighting (Demo)
12.30 pm Adobe Theatre Photoshop CC For Photographers (Demo)
1.30 pm PiXAPRO E91 Creative portrait lighting (Demo)
3.00 pm Olympus D91 Action Stations (Talk)
4.00 pm TPS Live Stage Lighten Up (Demo)

 Monday

10.30 am PiXAPRO E91 Creative portrait lighting (Demo)
12.30 pm Adobe Theatre Photoshop CC For Photographers (Demo)
2.30 pm PiXAPRO E91 Creative portrait lighting (Demo)

 Tuesday

10.30 am PiXAPRO E91 Creative portrait lighting (Demo)
12.30 pm Adobe Theatre Photoshop CC For Photographers (Demo)
2.00 pm PiXAPRO E91 Creative portrait lighting (Demo)

All my demos are free and available on a first come first served basis. There’s no need to book but as the Adobe theatre in particular has limited seating I’d recommend getting there early!

Show tickets are free for professional photographers and the trade (if booked in advance) and £13.95 for enthusiasts (£18.00 on the door)
Making An Exhibition Of Myself

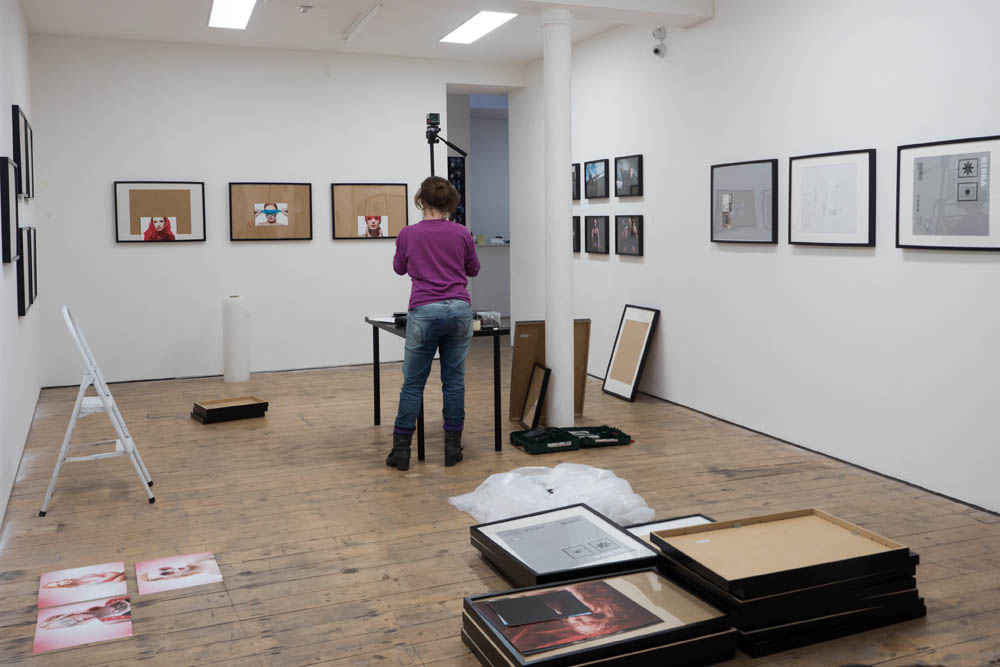
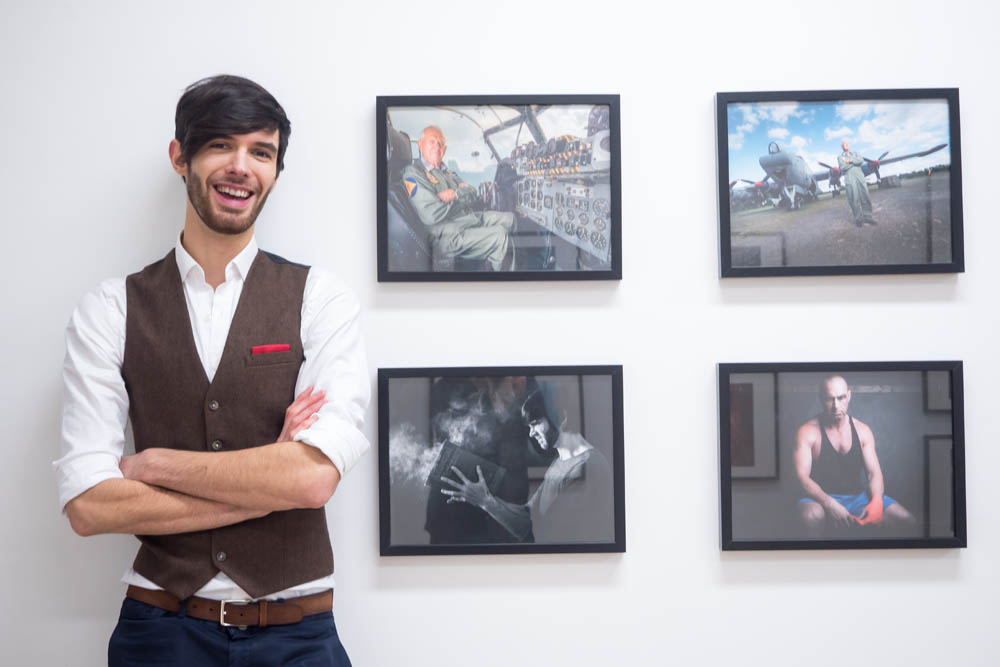
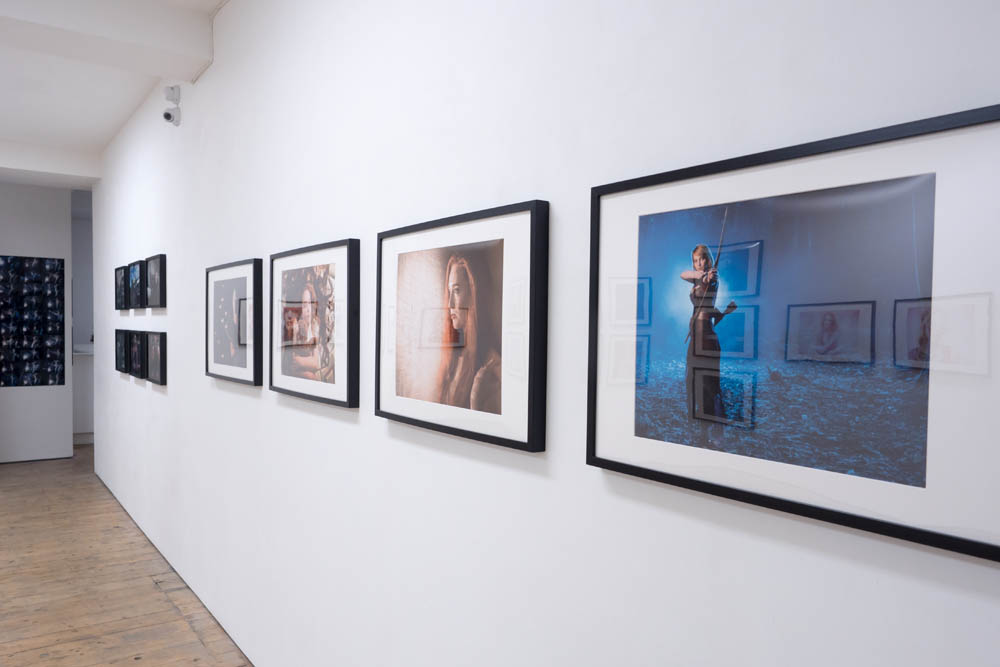
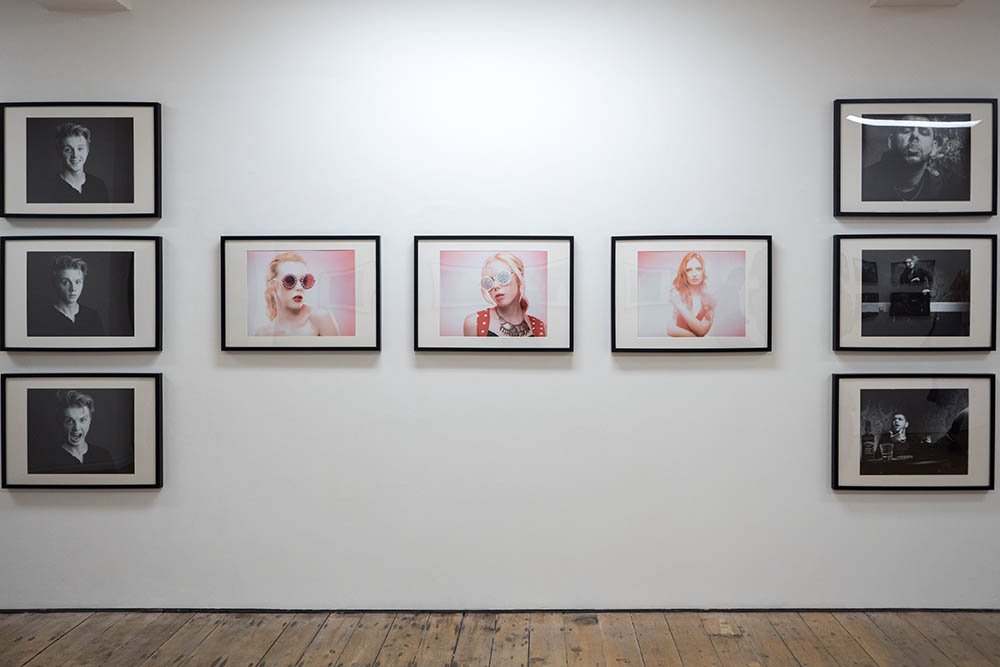
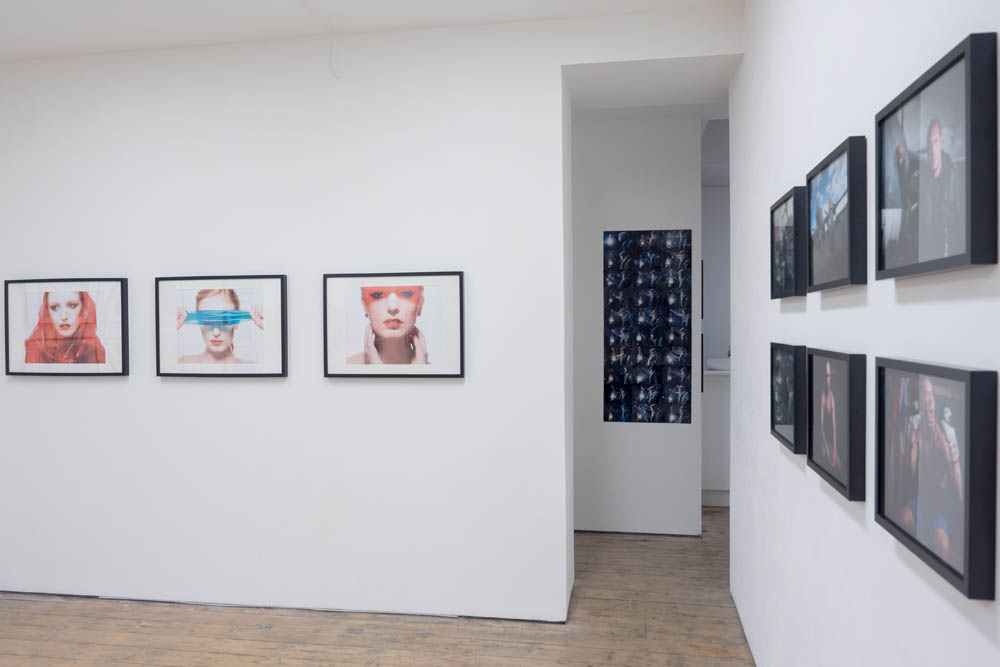
Earlier this year I got an email from Olympus asking if I’d like to hold an exhibition in their London “Project Space” gallery and to be honest my first thought was… thanks but no thanks. Now I know that will surprise a lot of people but I’ve always felt like my photos look OK but they’re not exactly “art” packed with deep hidden meaning. So I didn’t really commit either way to the offer and it sort of got lost over time.

Jump forward a few months and I get another email from Olympus saying that if I want to do the exhibition they needed my final photos in just three days. The exhibition starts in just 7 days time!

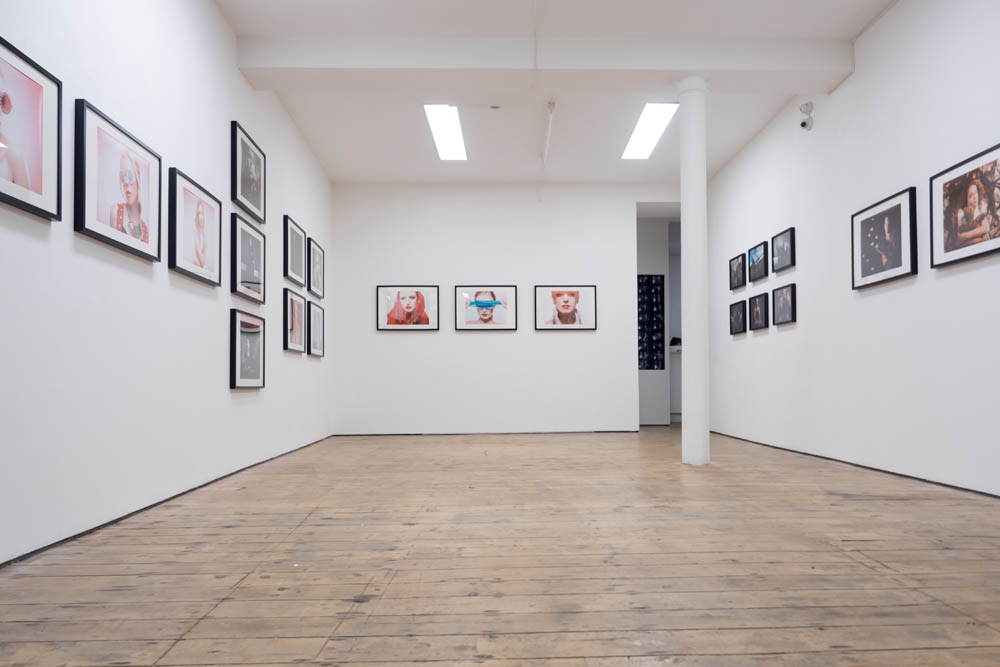
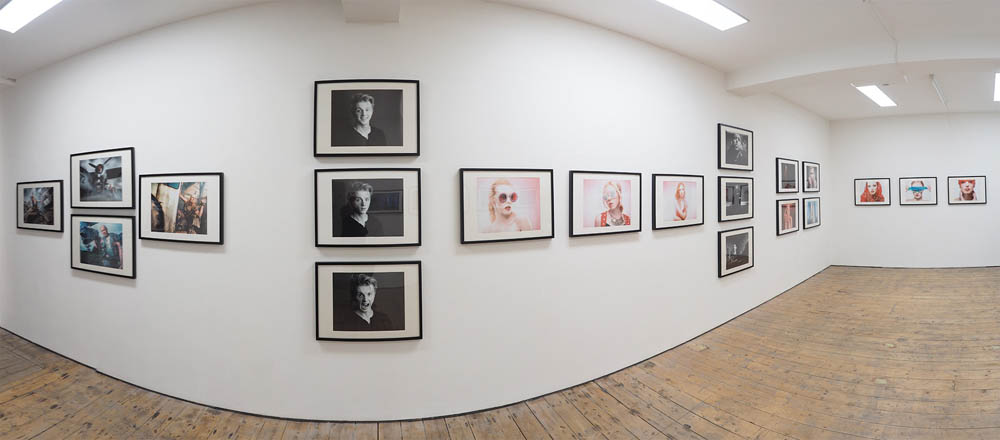
As my wife pointed out, this is probably a once in a lifetime chance that I couldn’t refuse, so I spent a day sorting through my photos, coming up with a theme and selecting the best 30-40 images for printing. Luckily Olympus were happy to handle the printing side of things and the gallery had the frames, so by the next morning my first and probably last exhibition was ready.

I’ve never hung an exhibition before but Serenella, the Art Bermondey Project Space  gallery manager, was amazingly helpful. We spent a few hours at the gallery looking at blank walls trying to figure out what to hang where but by the end of day the layout was done, all we needed were the big prints.

Letting someone else organise the printing was a major worry and sure enough things didn’t quite go to plan with the first set. But a massive thank you has to go to Claire Voyle from Olympus who personally took charge of the printing of the final photos and made sure they reached the gallery on time.

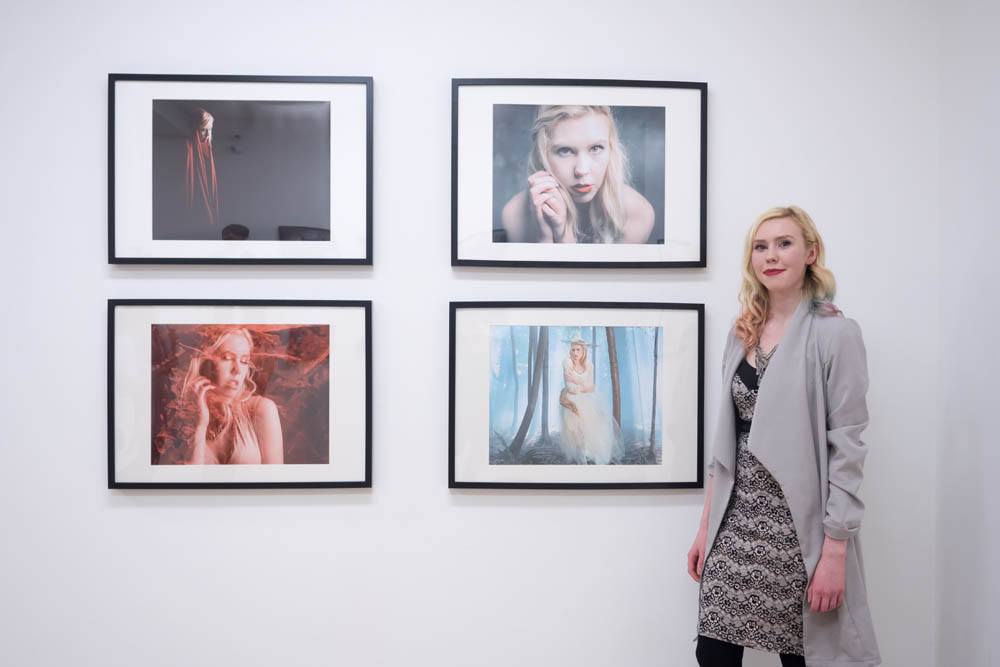
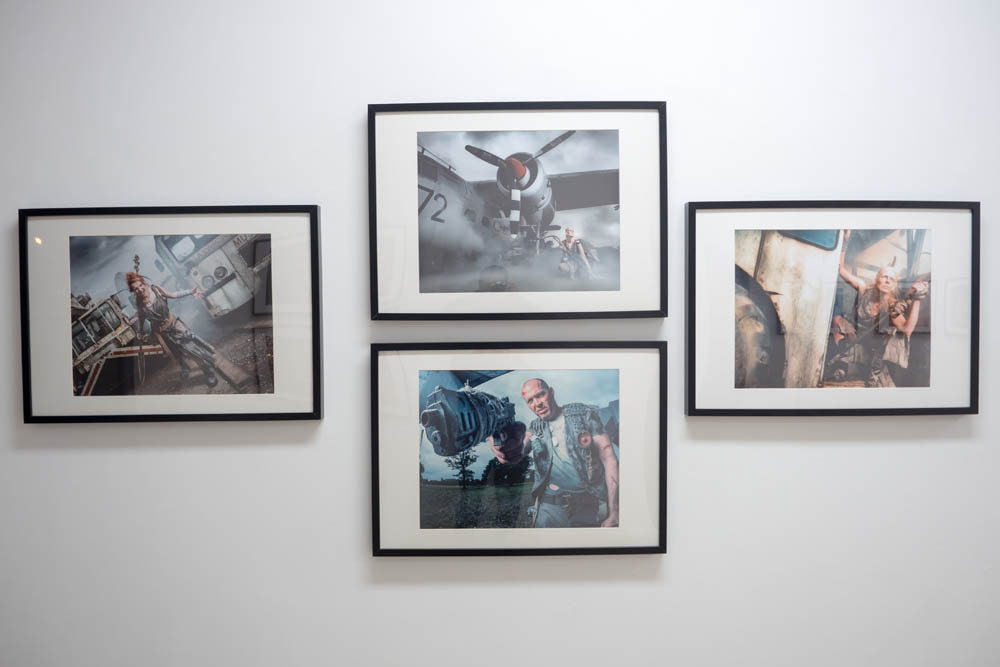
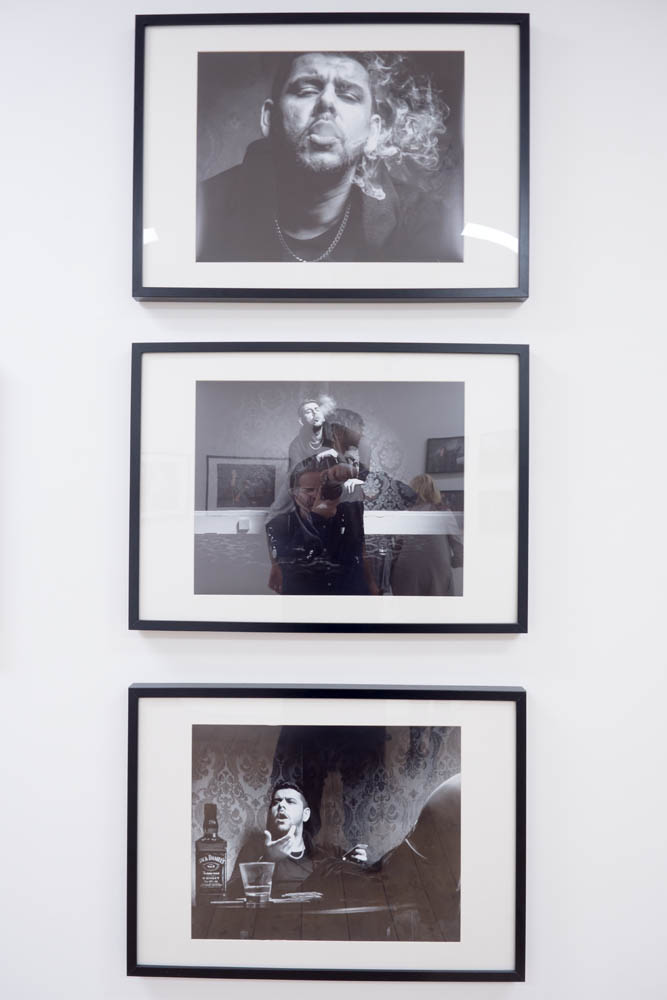
The theme for my exhibition was that all the photos were taken as part of training or education events and that none of the photos had ever been printed before (I know, I know) so to walk into the gallery and see nearly 40 large prints of my work all in one place was really overwhelming for me.

I’d like to thank the many people who came along to the exhibition and the VIP preview night. I hope you enjoyed the work as much as I did.

The whole exhibition was planned, printed and put together in a little over a week, which as anyone who’s done an exhibition will tell you, is an incredibly short time frame.

Would I do one again? Yes if I got the chance I would.

Would I do things differently? Without question. Putting the exhibition together was filled with huge highs and some lows but I learned so many things from it.

Would I recommend other photographers to hold an exhibition? I’ve learned exhibitions are not just for painters, sculptors and photographers who need to explain what you’re looking at before you can appreciate what you’re looking at. If you have a body of work that you love then why not share it.

Water Workshop Timelapse

A few weeks ago I ran a slimmed down version of my water workshop at the Jessops store in London’s Oxford Street. This was an Olympus UK sponsored event but was open to any photographer whatever make of camera they owned. It was also free for the 20 photographers who were lucky enough to get a space in one of the two sessions

I love this workshop for many reasons but mostly because it’s a real “hands on” event and as you’ll see in the time-lapse below, everyone gets involved.

[youtube]https://www.youtube.com/watch?v=y9YrutvJN0s[/youtube]

Here’s a little info about the time-lapse. It was recorded on an Olympus TG Tracker action cam by Clare Harvey-May from Olympus UK. The TG Tracker has time-lapse recording built in and Clare recorded the two sessions (morning and afternoon) from two different angles, both in 4K.

I used Adobe Premiere Pro CC2015 to edit the two videos and add some of my stills from the workshop. As the final video was to be at 1080p HD, I was able to pan and zoom around the much larger 4K footage to create the motion you see in the final video.

I have to thank to Jessops and Olympus for hosting me and not complaining about the wet floor. Sam, for dragging crazy heavy bags of gear all over London. But mostly I can’t thank enough all the photographers who came along to both days and get so involved and slightly wet… you were warned!Water workshop cover

Aviation Apocalypse – Wrap Up

UPDATE:
Scroll down to see the gallery from the 2nd running of the Aviation Apocalypse in September 2016

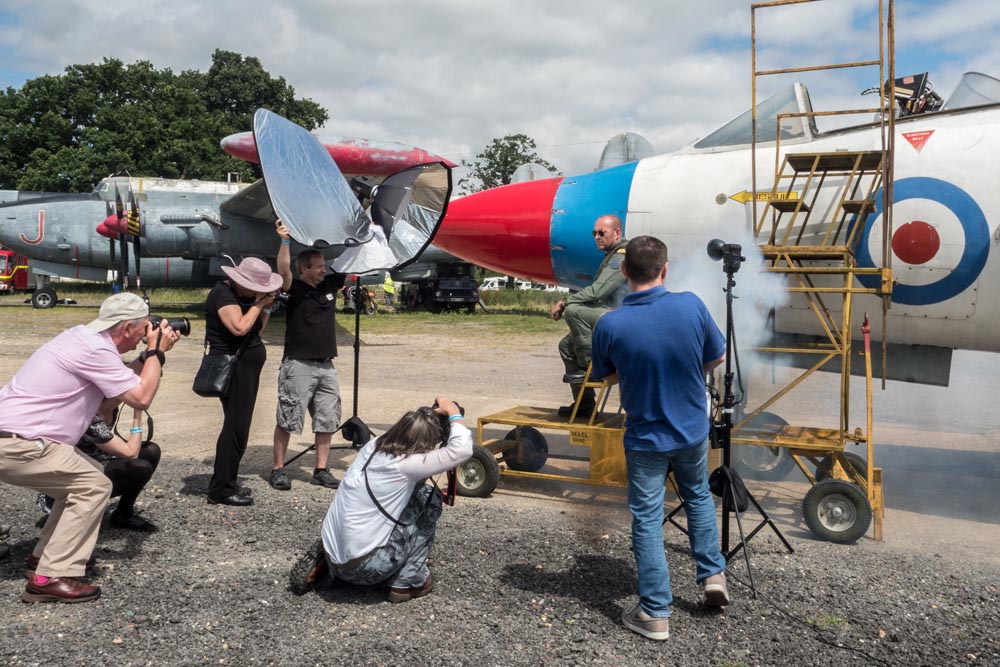
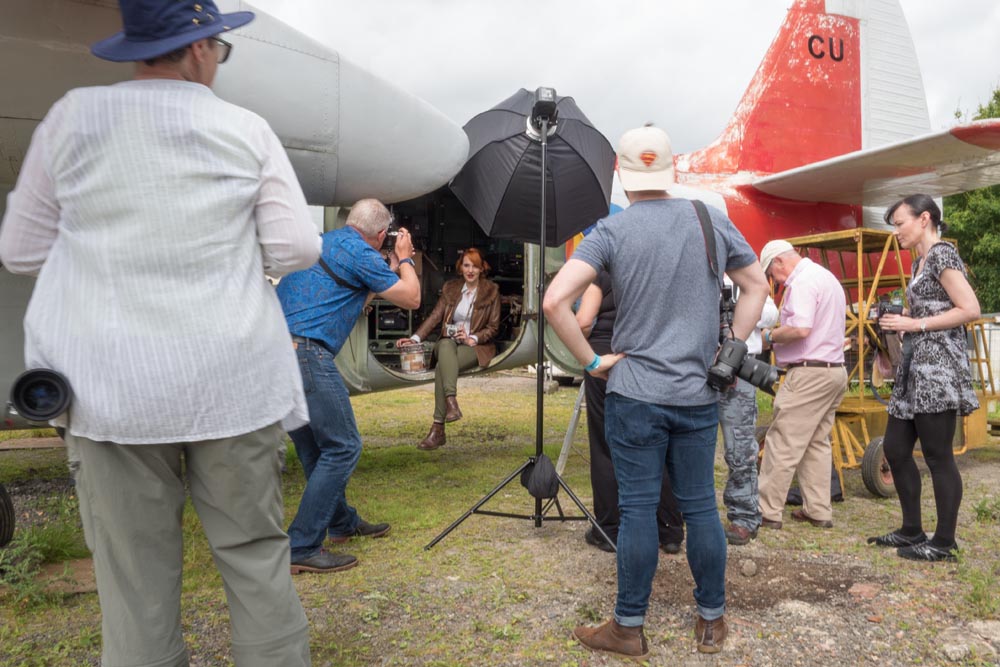
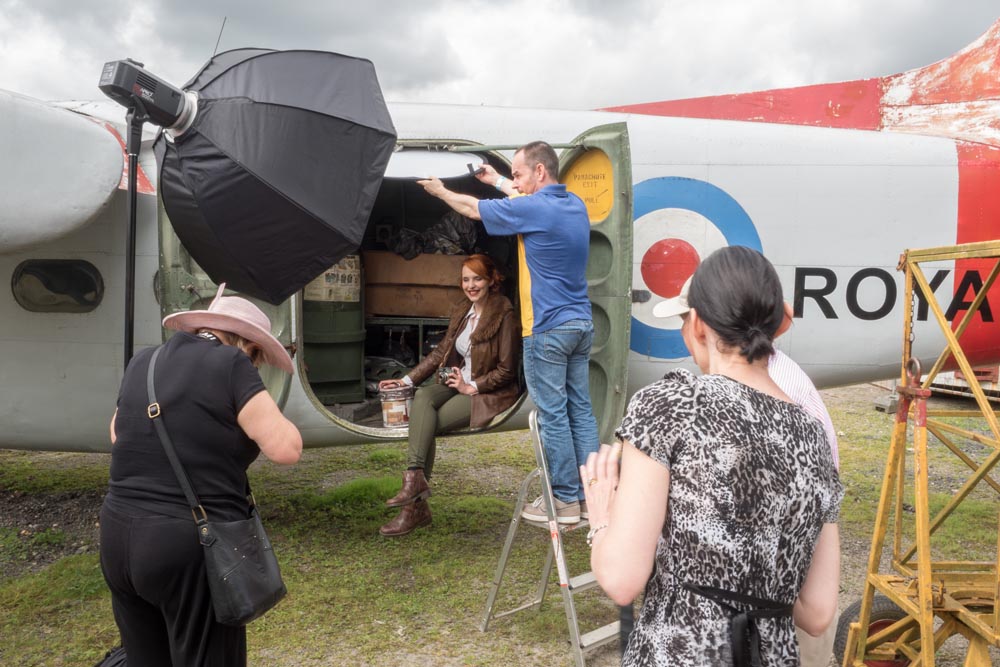
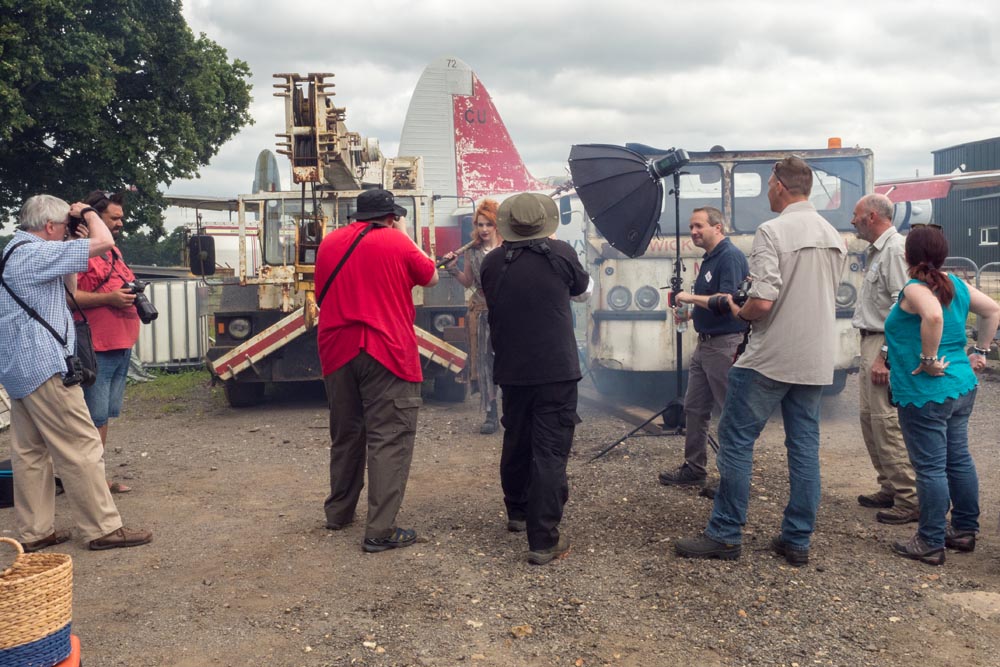
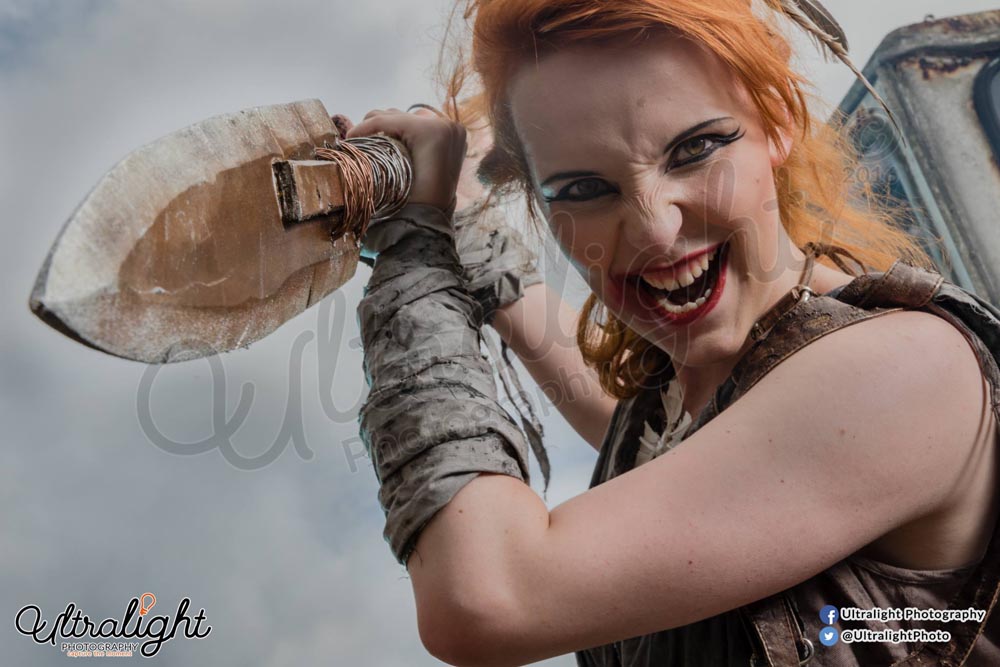
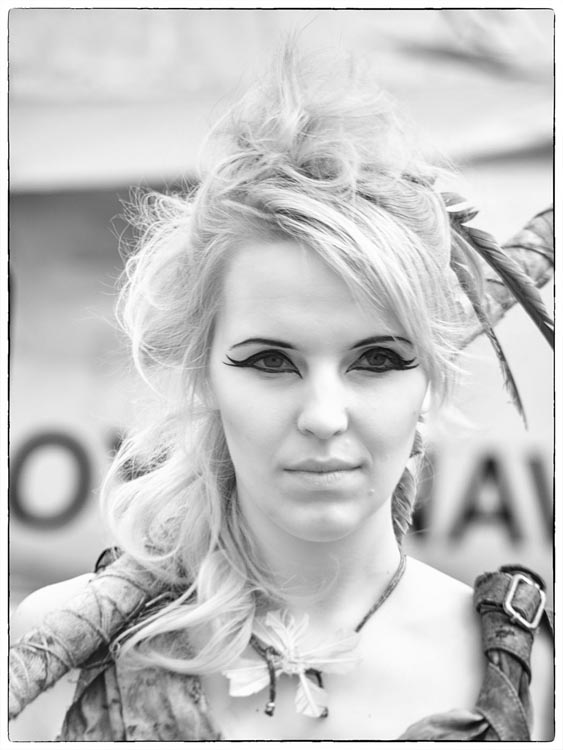
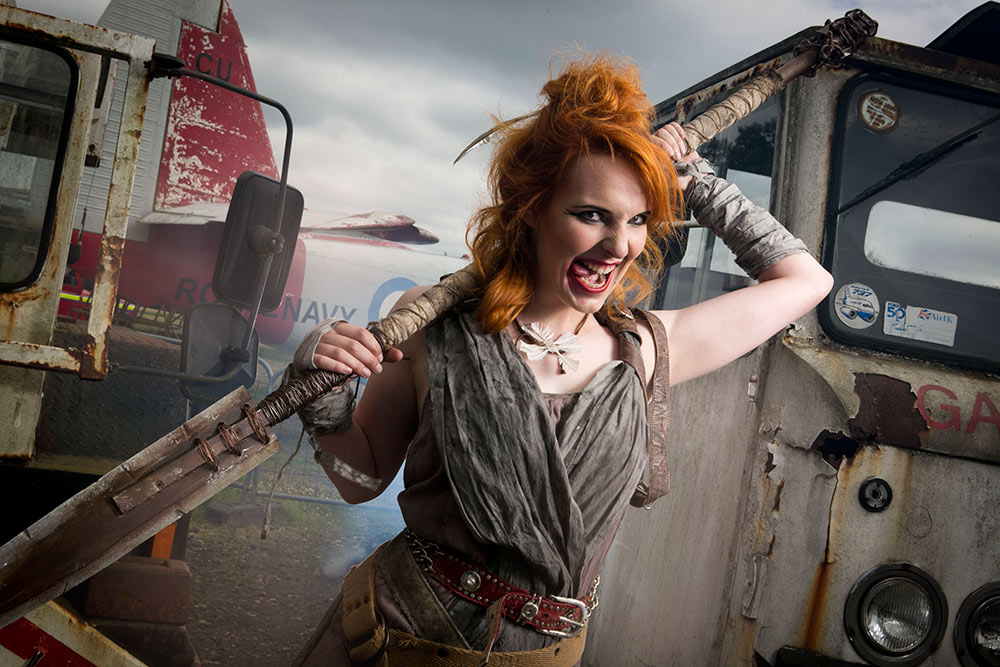
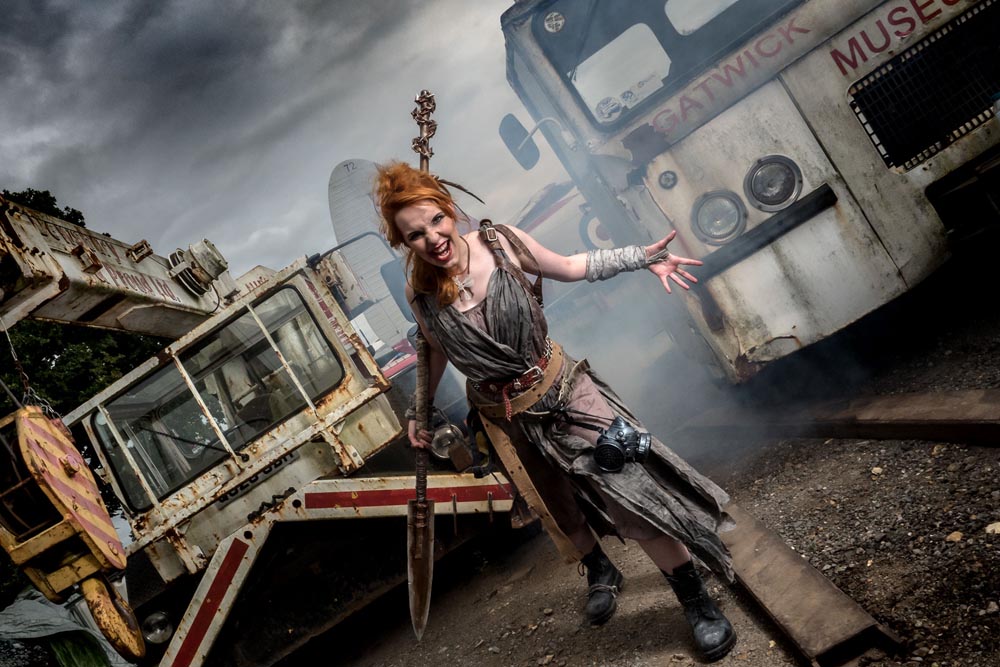
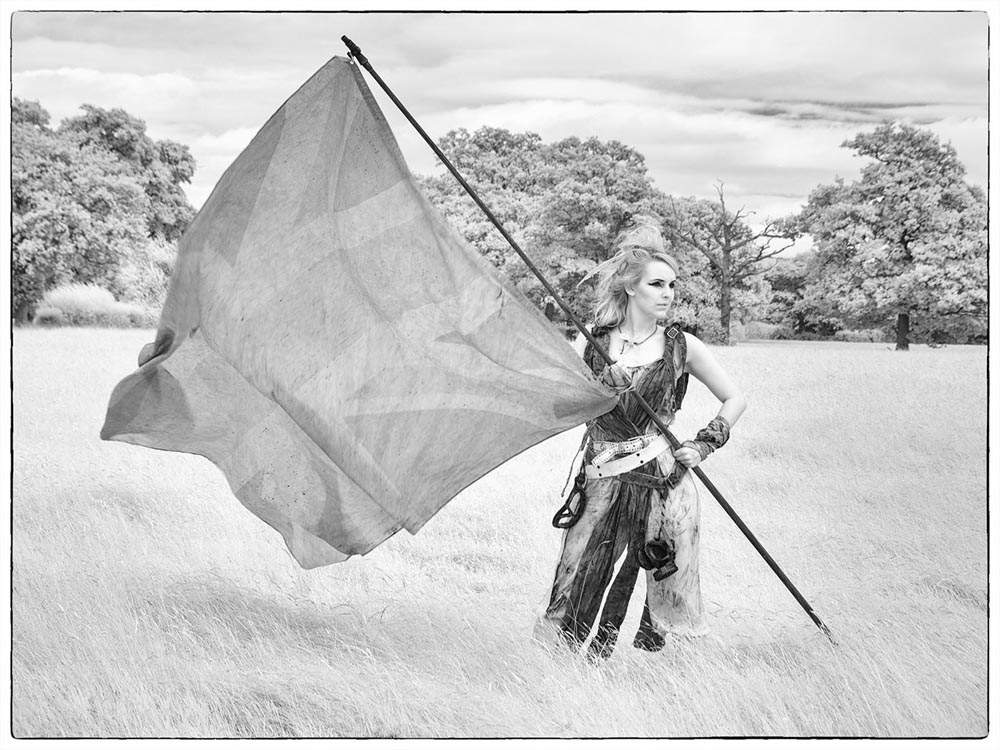
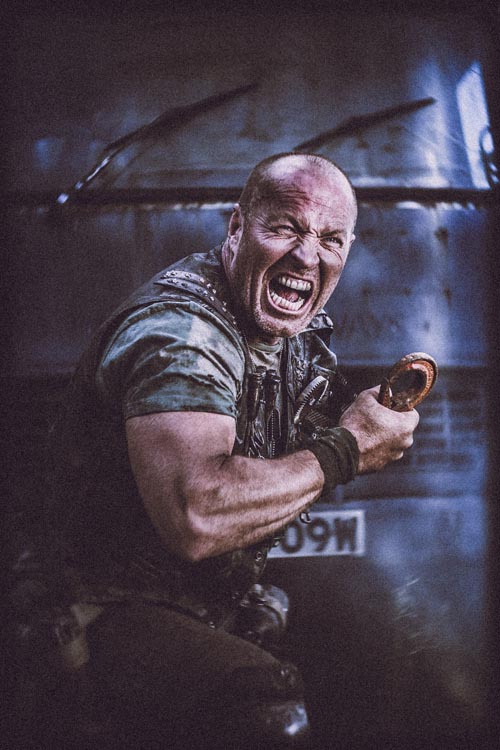
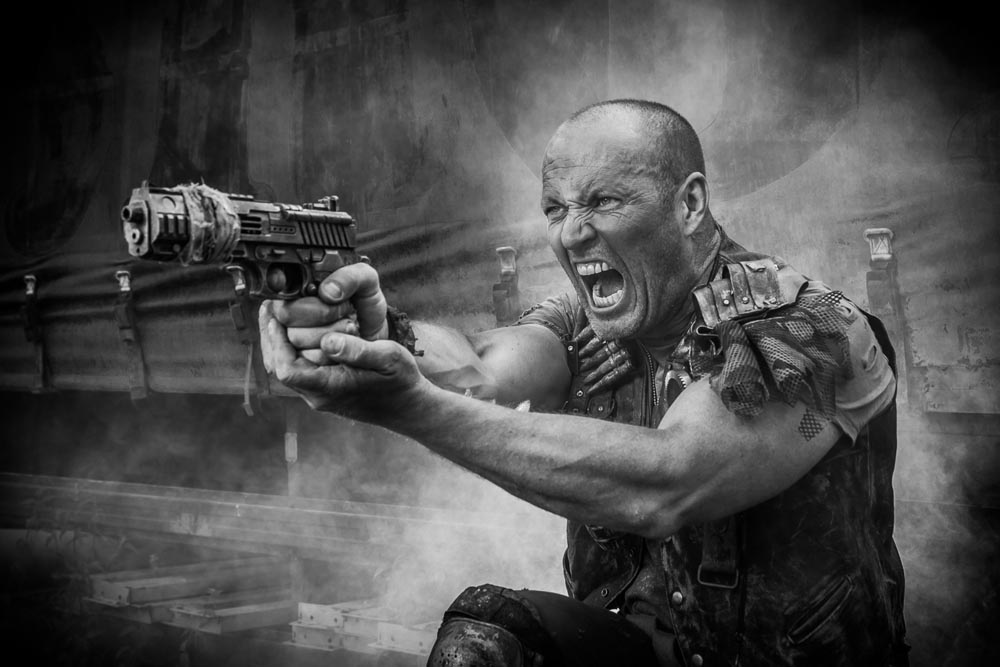
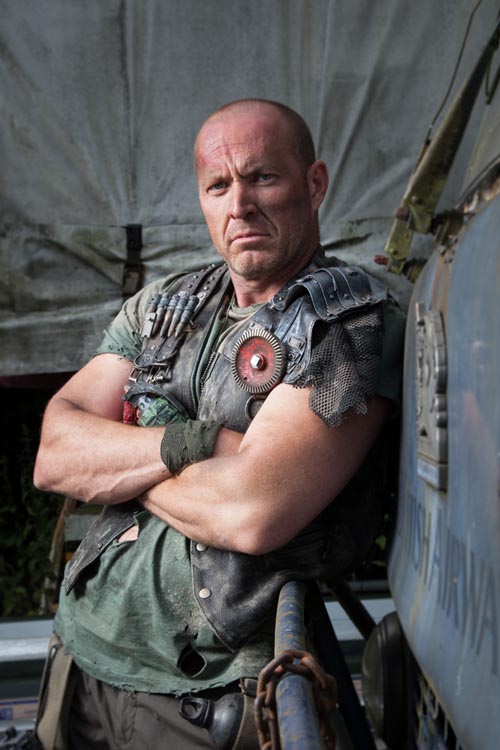
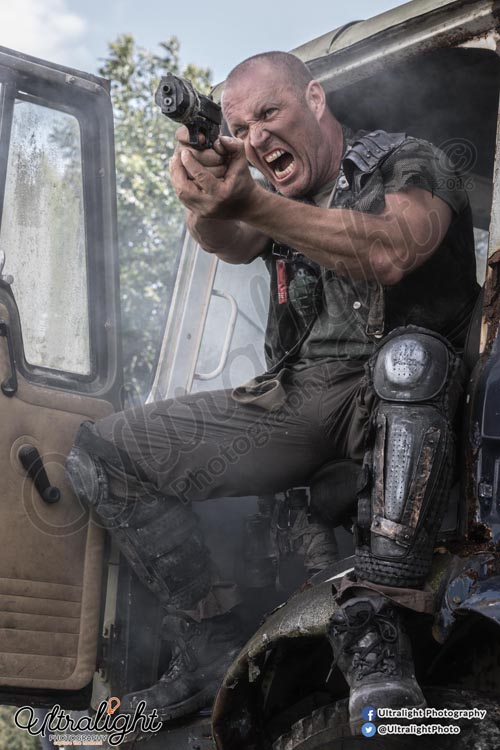
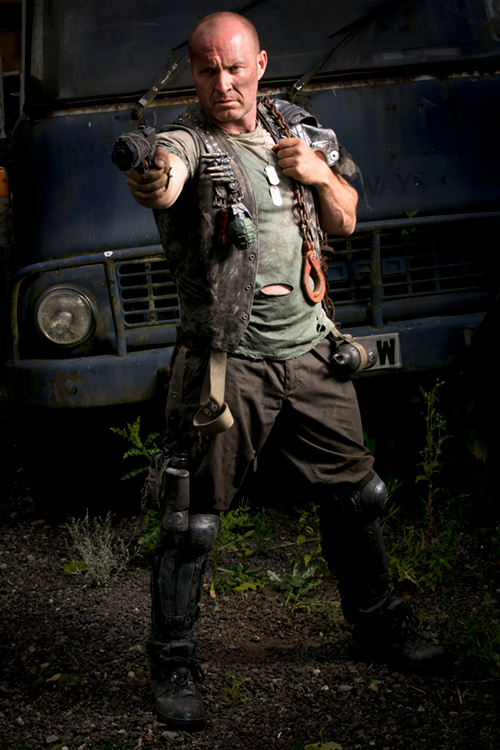
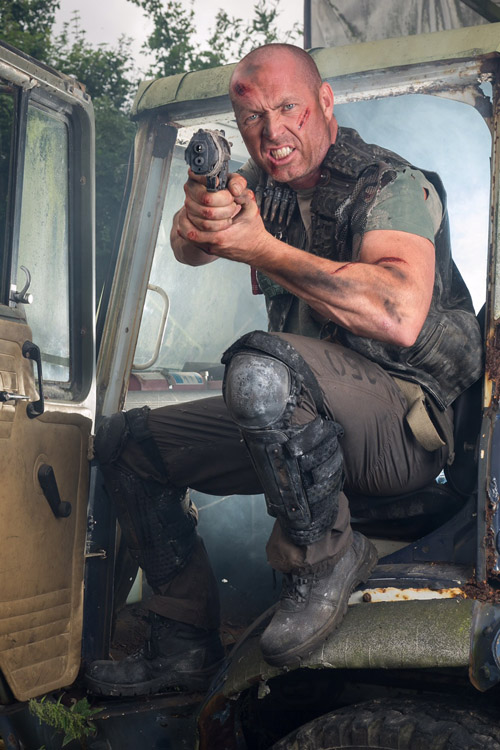
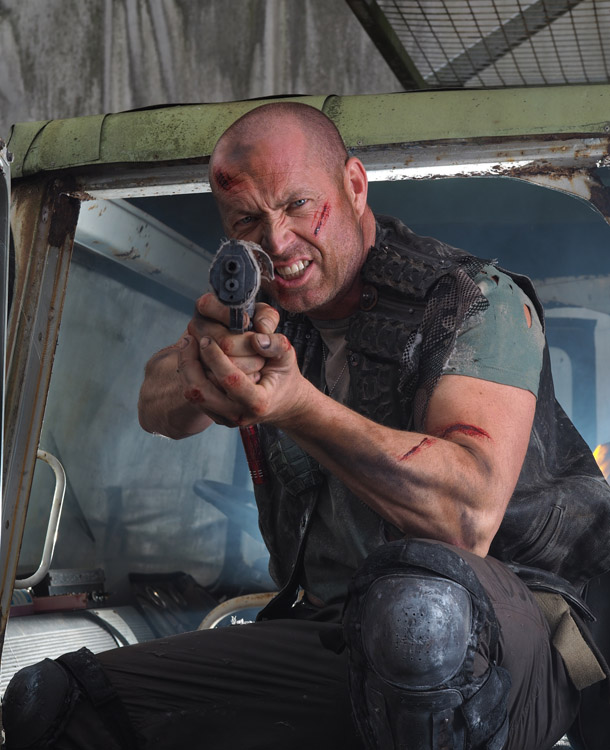
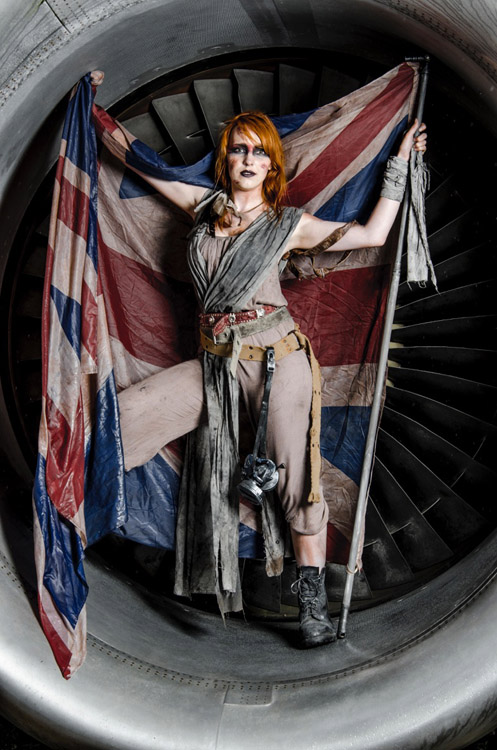
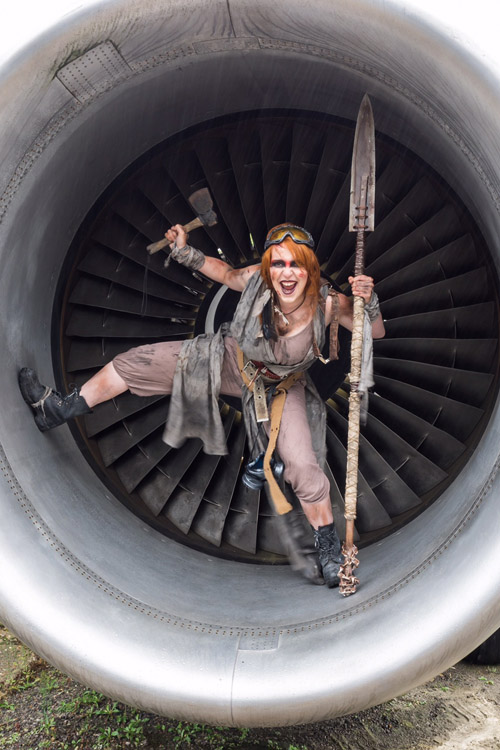
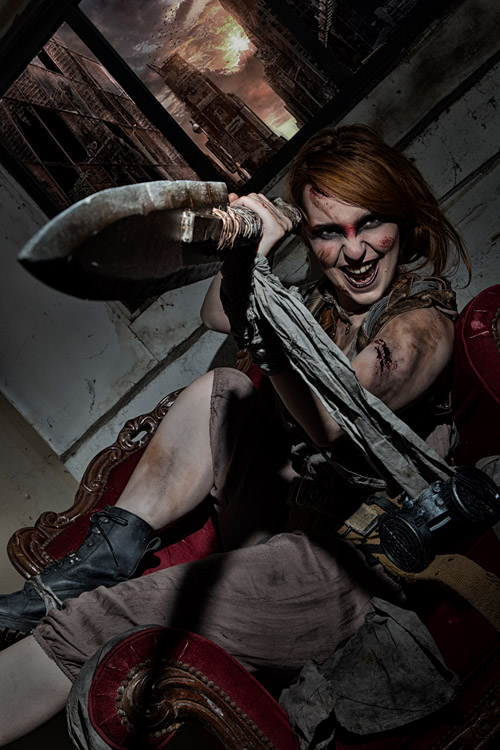
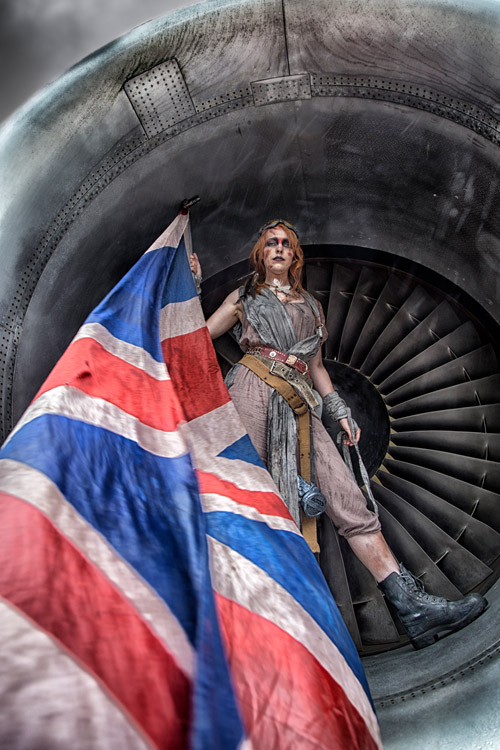
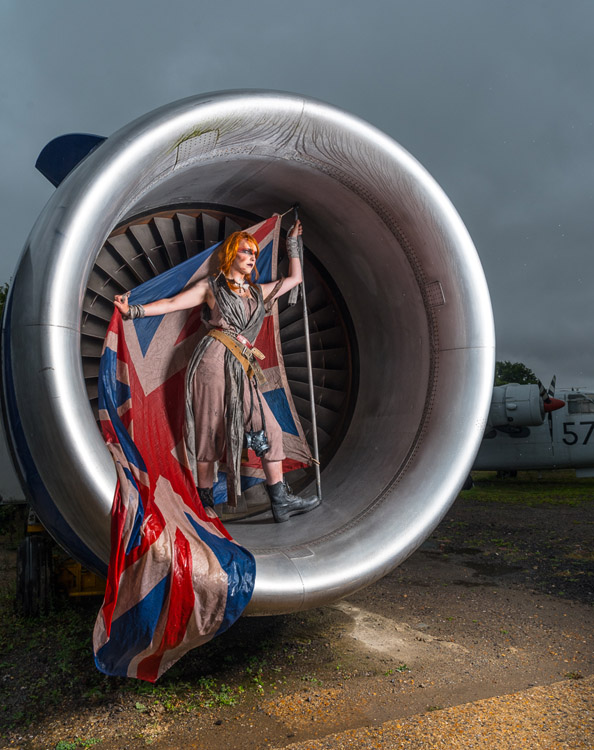
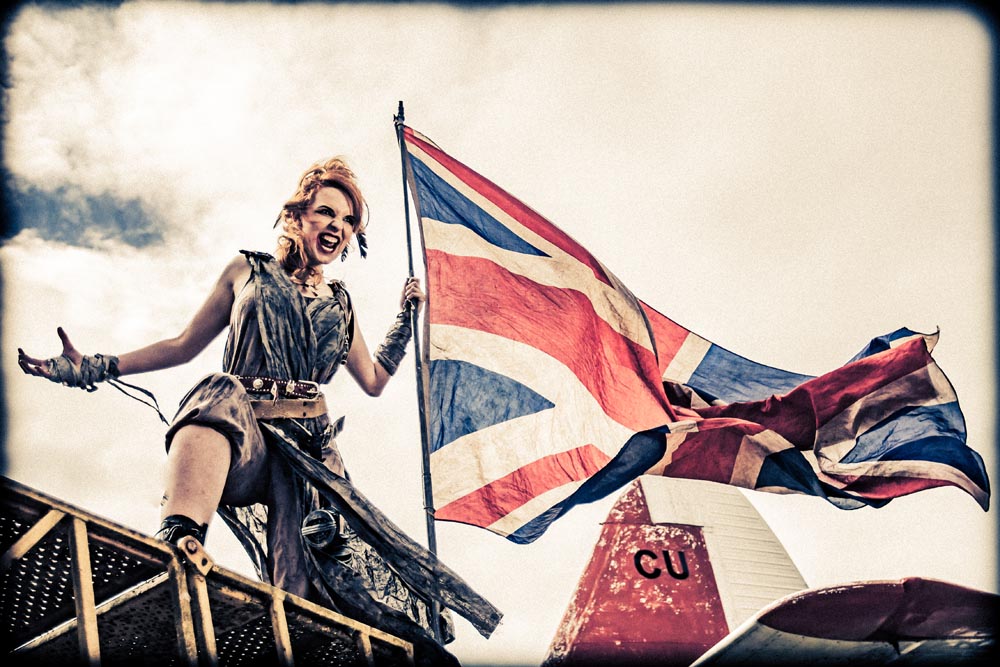
Last Sunday (24th July 2016) was the first Aviation Apocalypse workshop and after months of planning, building and testing ideas and outfits, it was amazing to see it all come together.

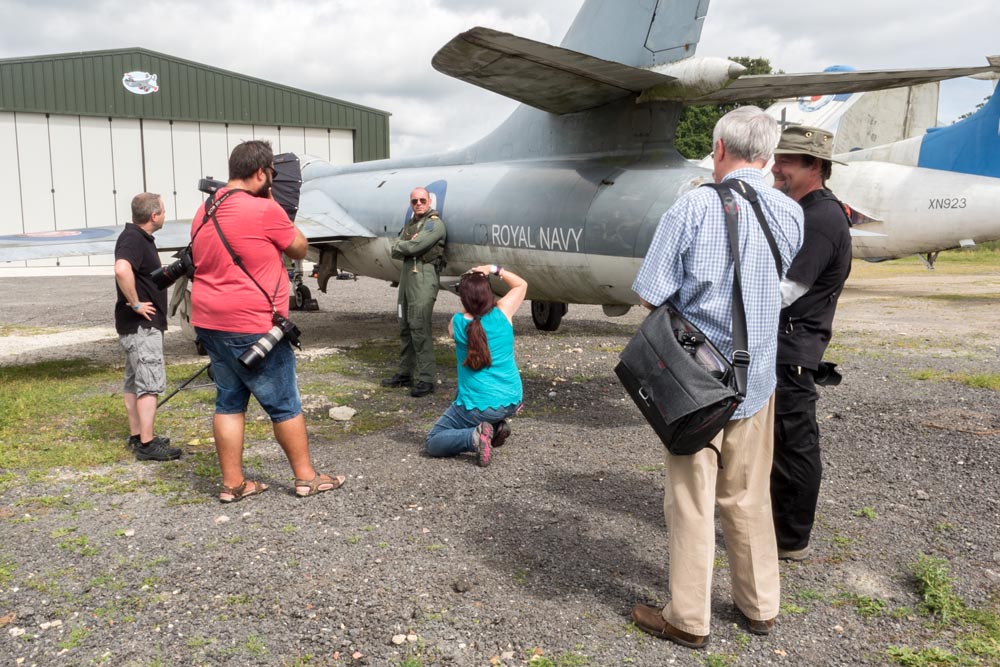
The Gatwick Aviation Museum was the location for the workshop and I was joined by 14 enthusiastic photographers and two amazing models. In order to keep the groups small and the shooting time high, I roped in the help of Tommy Reynolds as a group leader who did a brilliant job passing on his ideas and passion for the shoot.

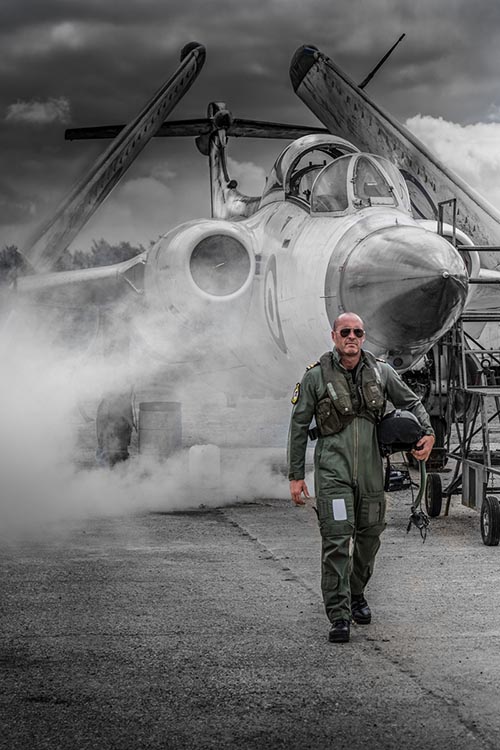
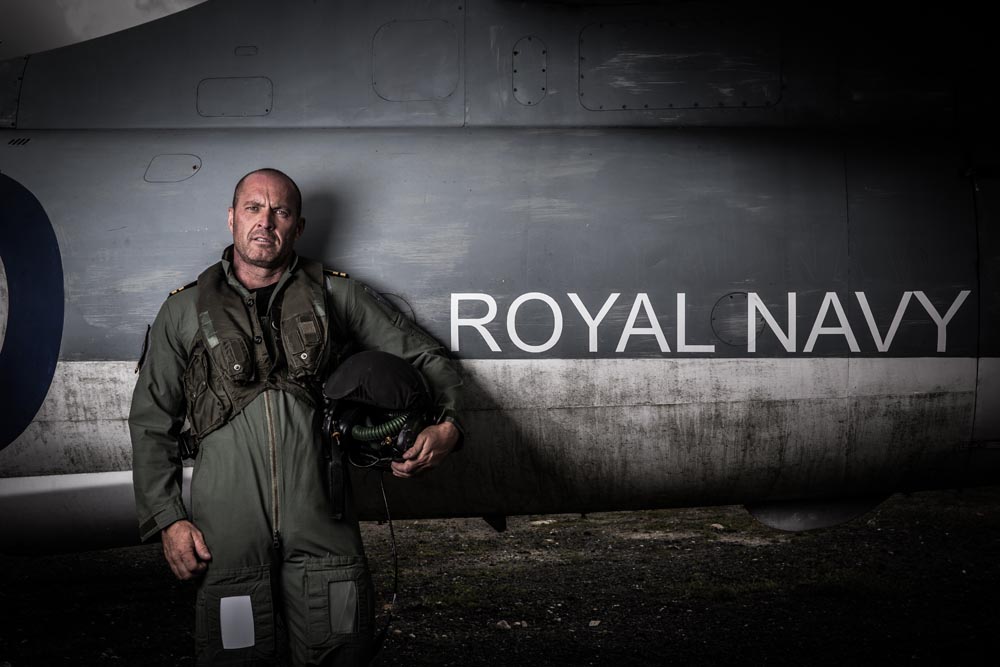
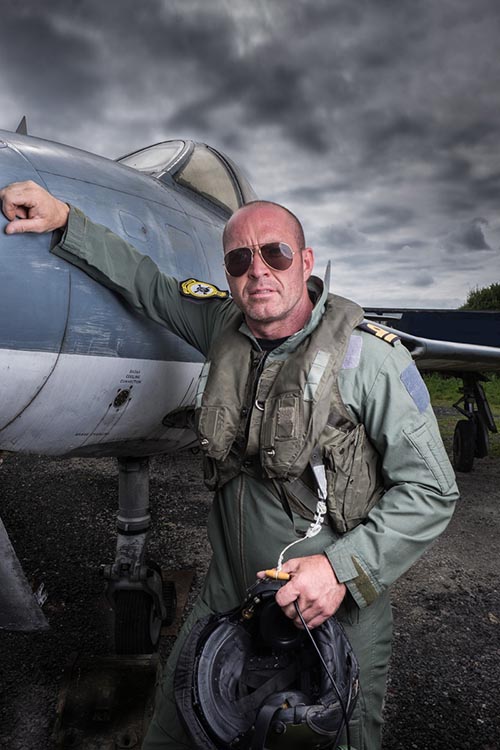
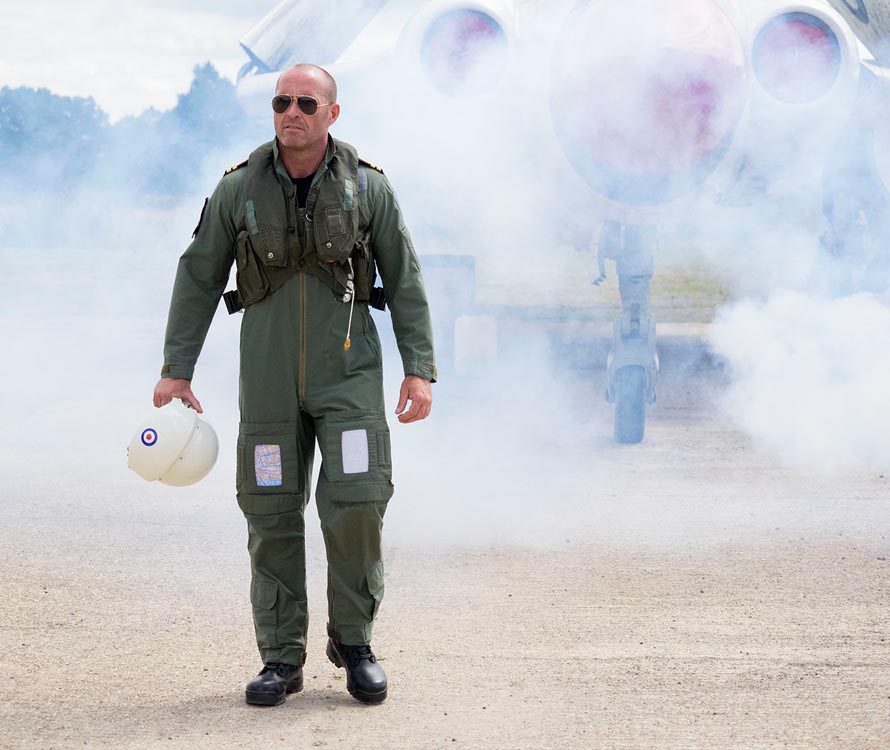
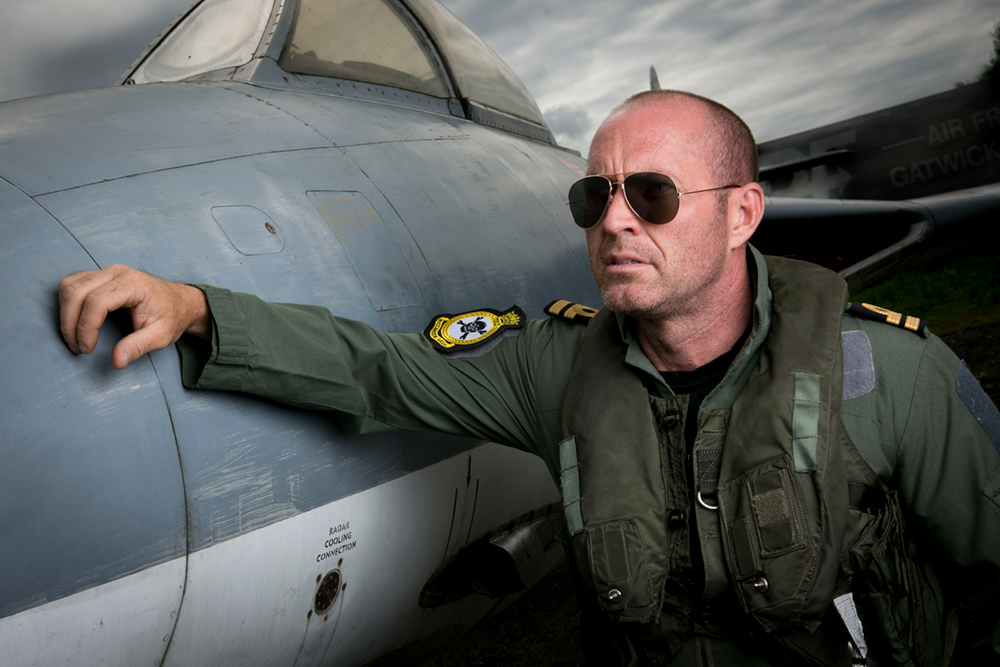
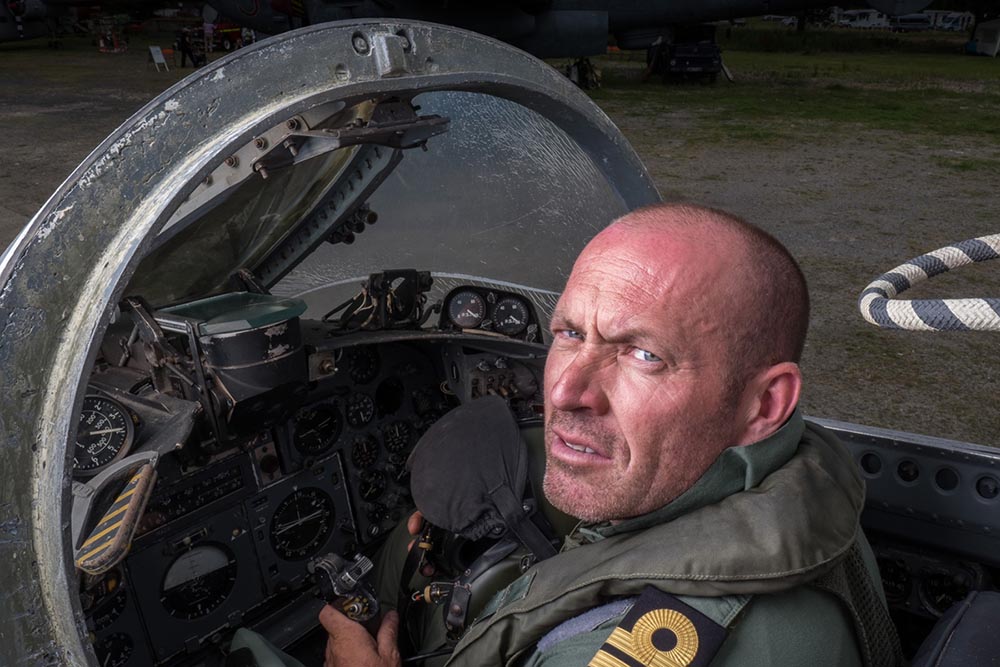
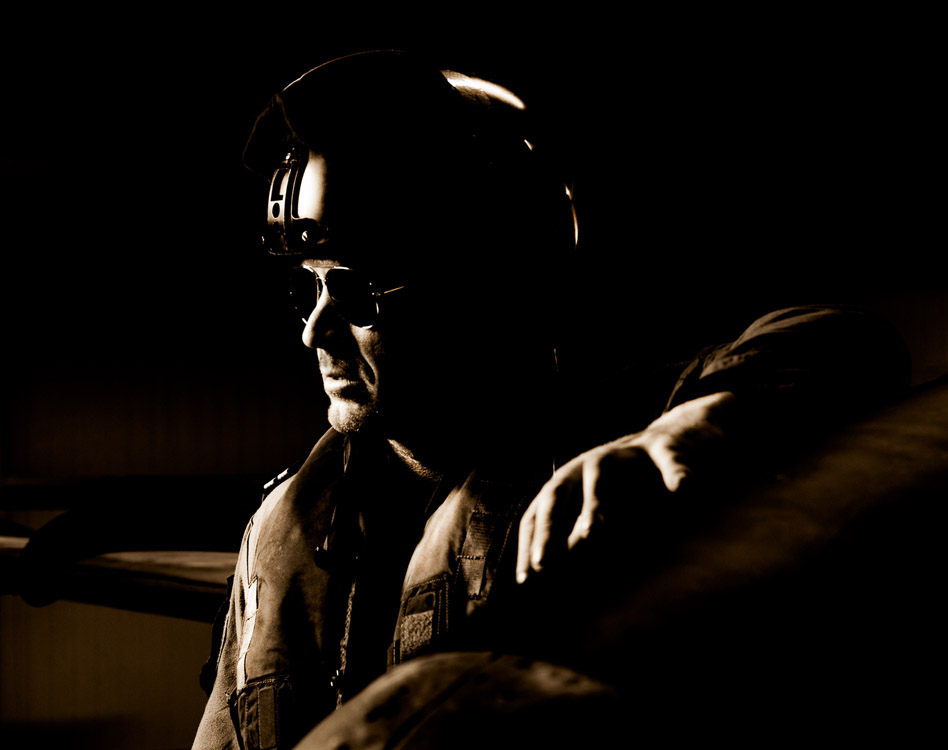
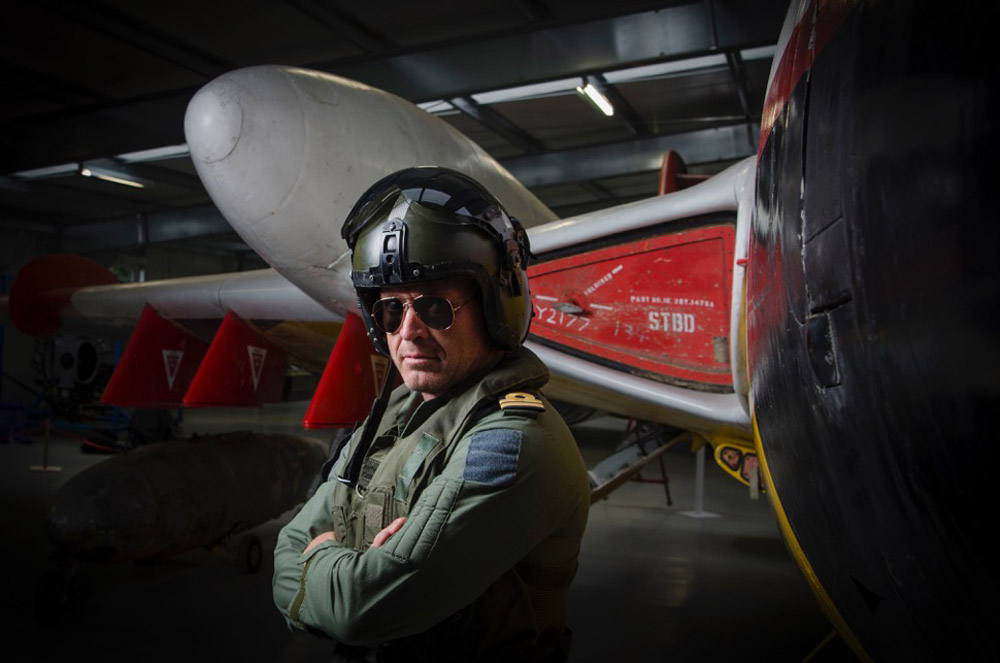
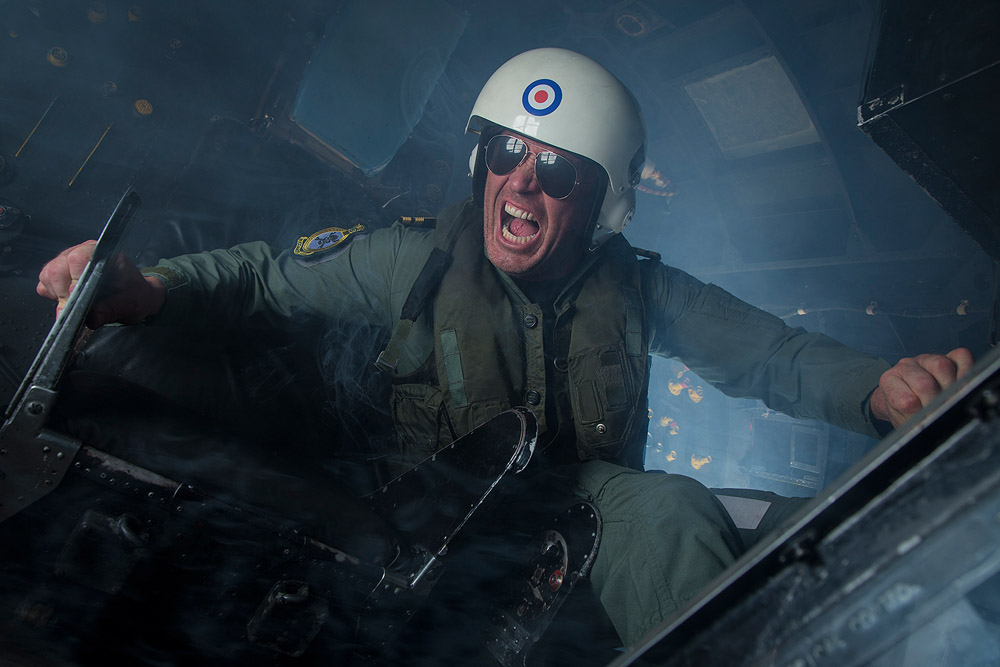
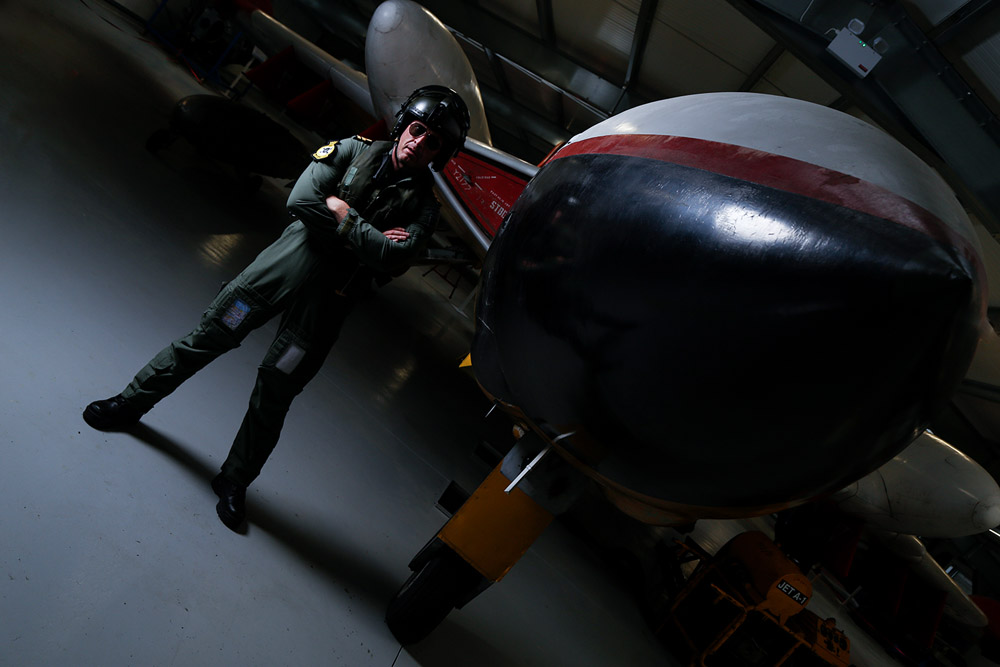
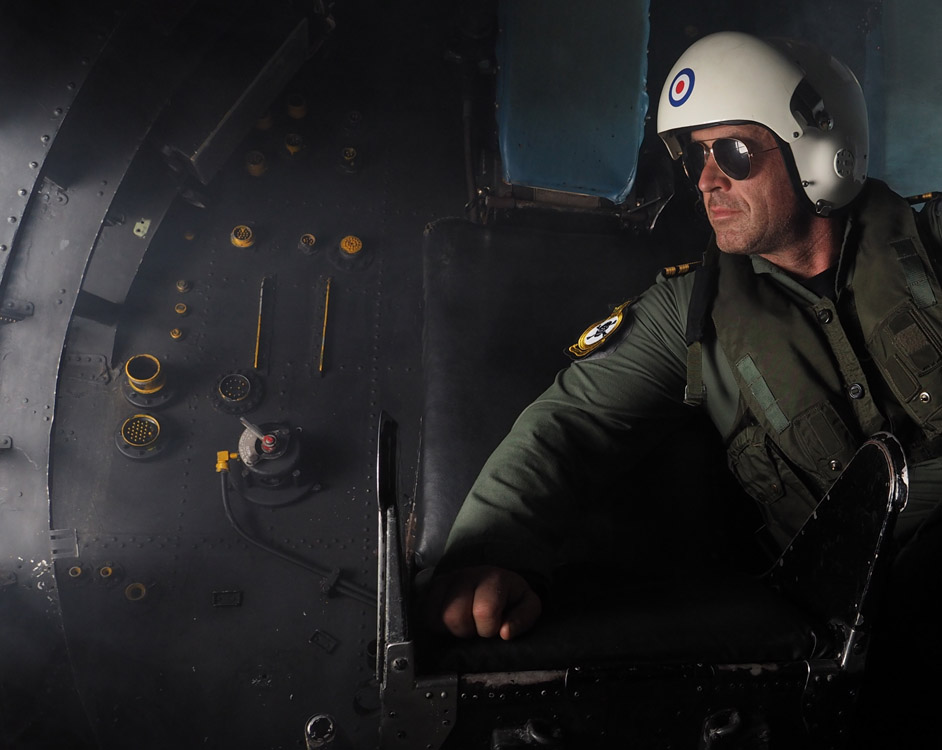
The theme for the morning was aviators. I worked with Roger who took on the role of a fighter pilot. The museums Buccaneer and Hunter aircraft were the backdrop and we were also granted special access to the Buccaneer’s cockpit.

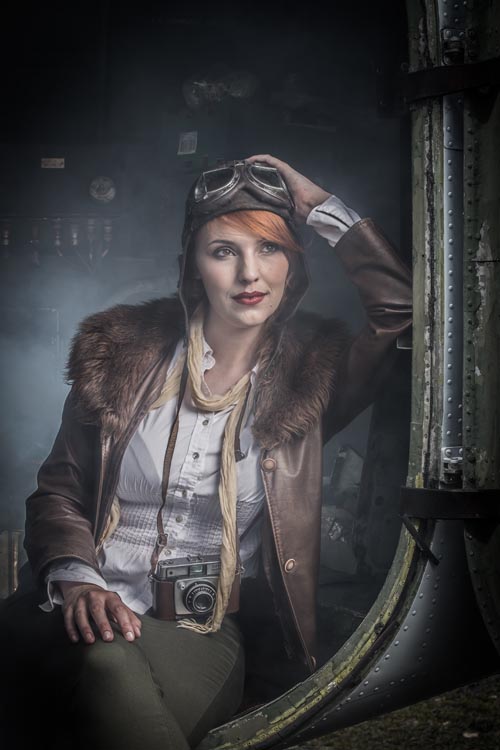
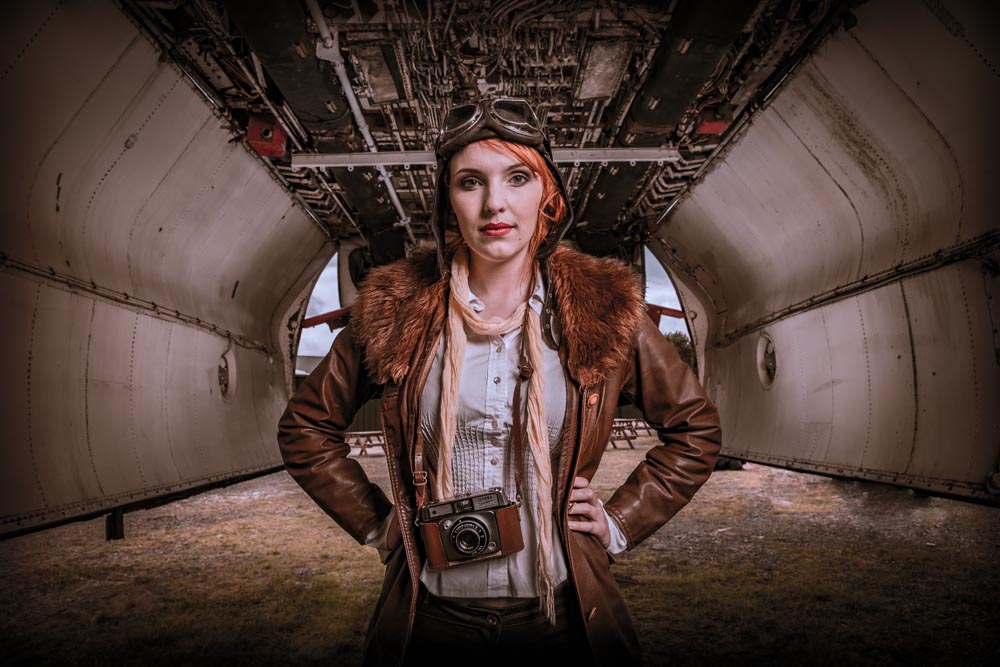
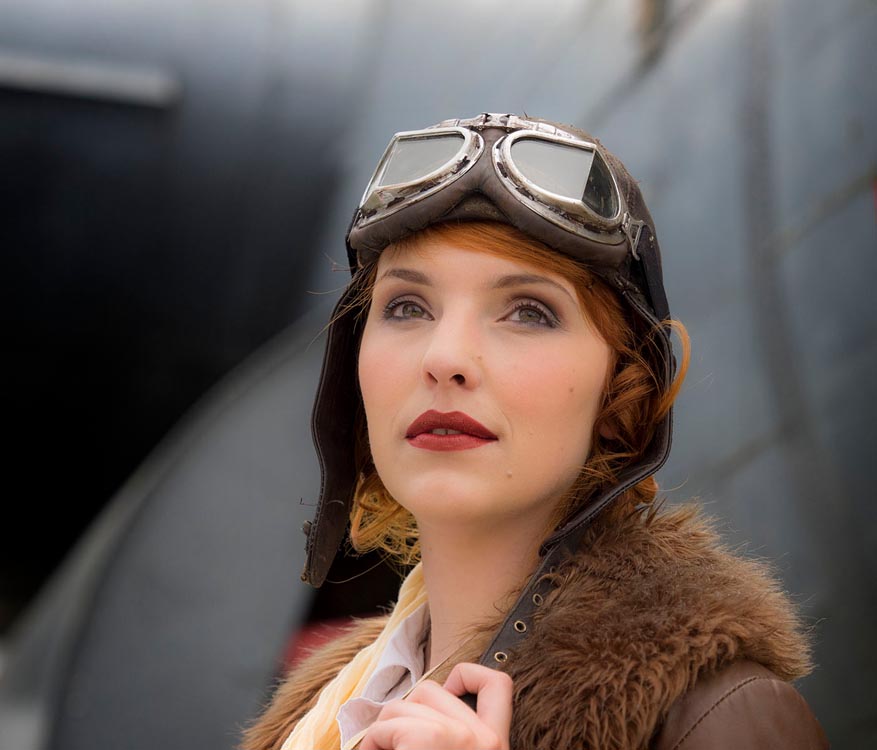
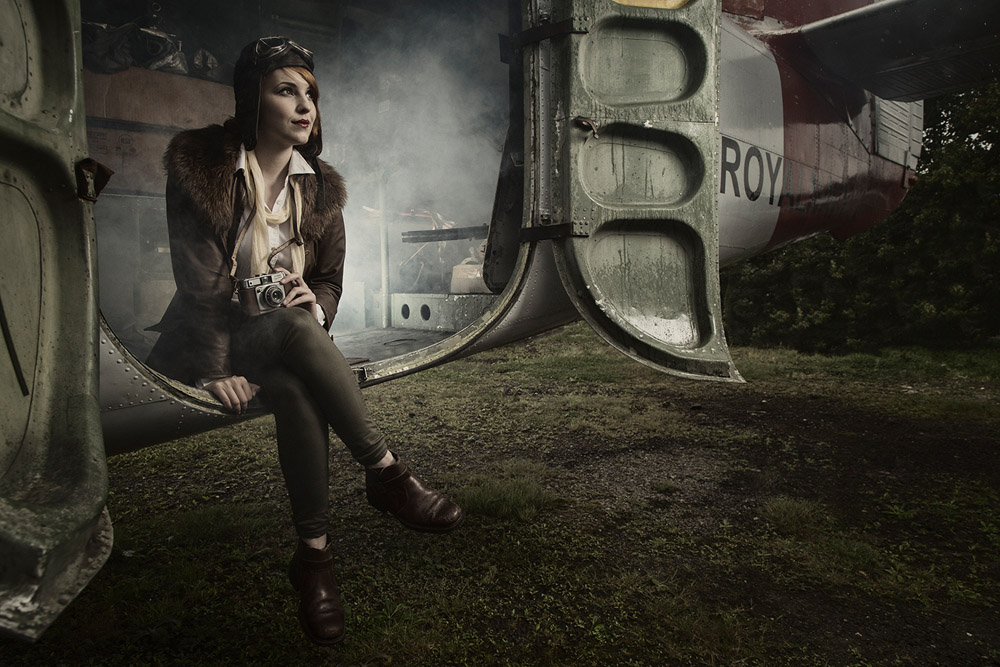
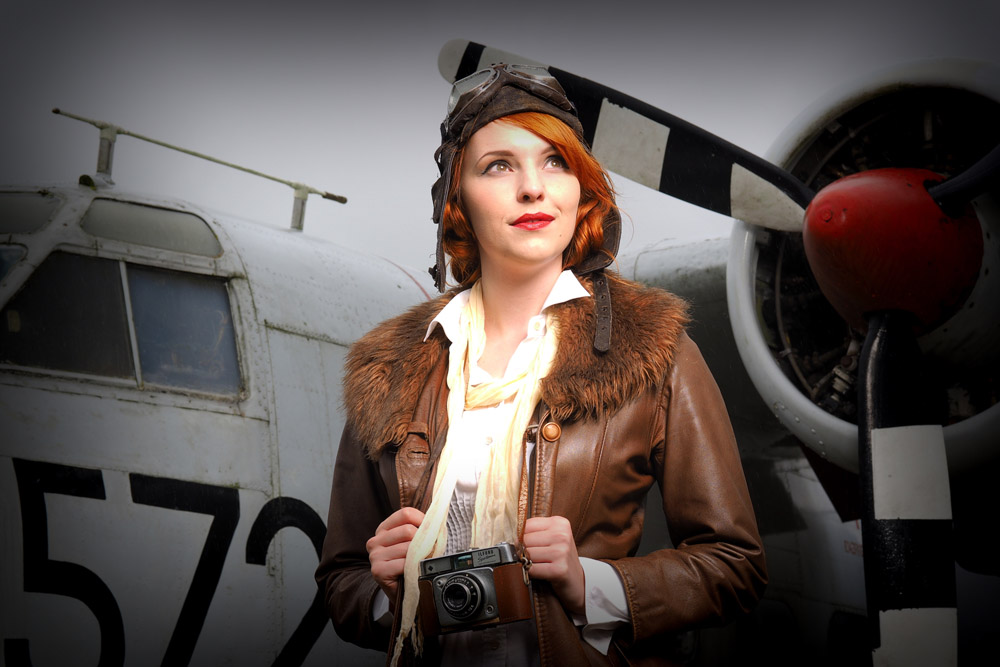
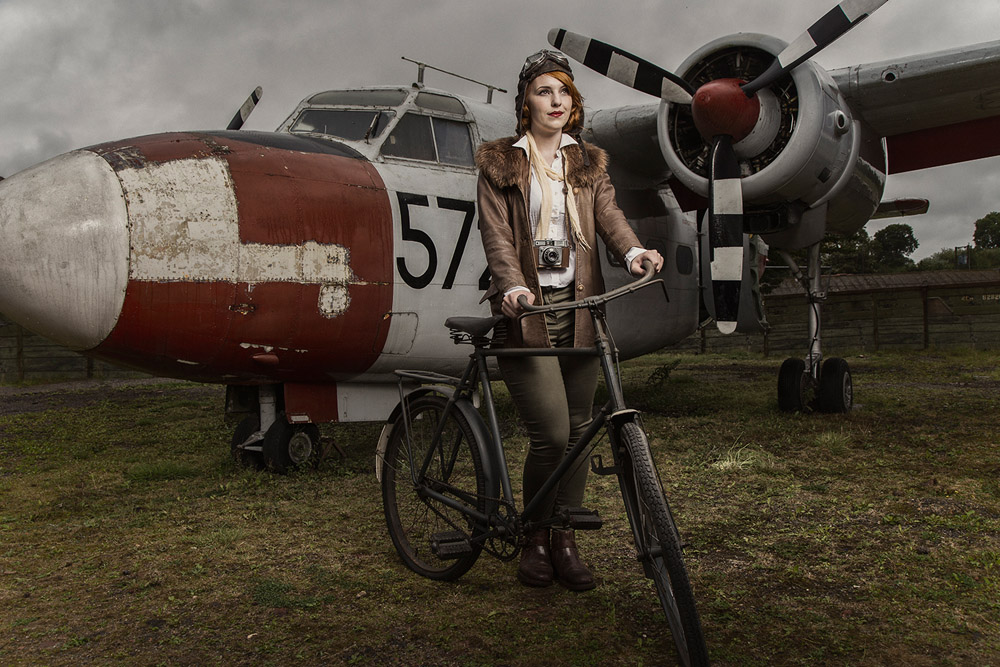
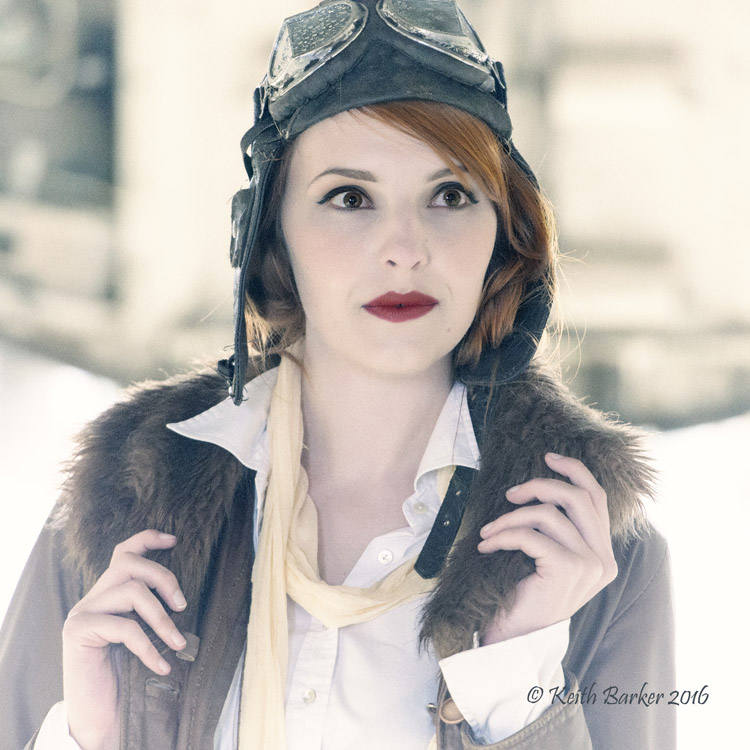
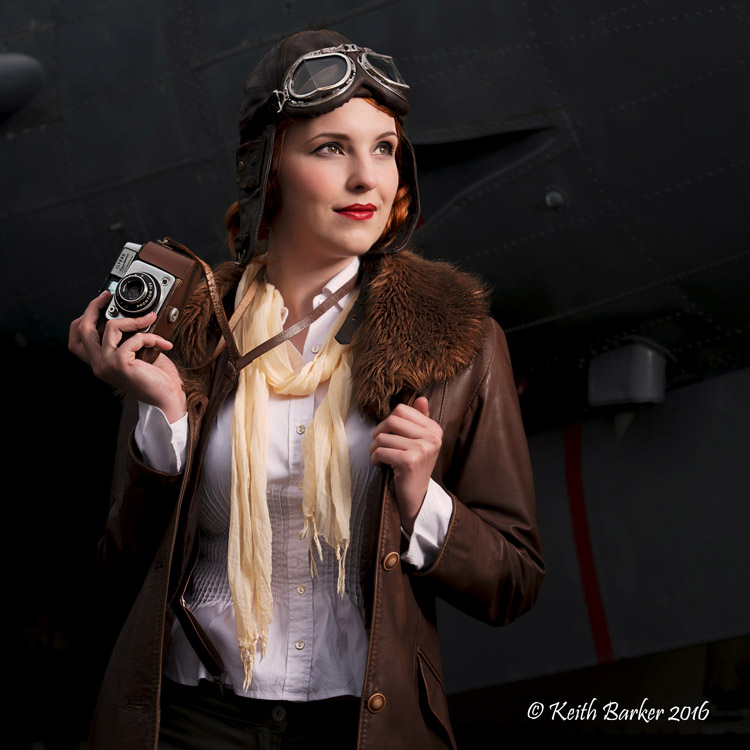
Tommy and Kerry turned back the clock with a vintage, Amelia Earhart inspired look. Once again the museum came up trumps, allowing us access inside the Sea Prince aircraft and the chance to get some really great shots. The group also made great use of the shade found under the massive Shackleton.

After a spot of lunch and a change of look we took on the apocalypse part of the themed workshop.

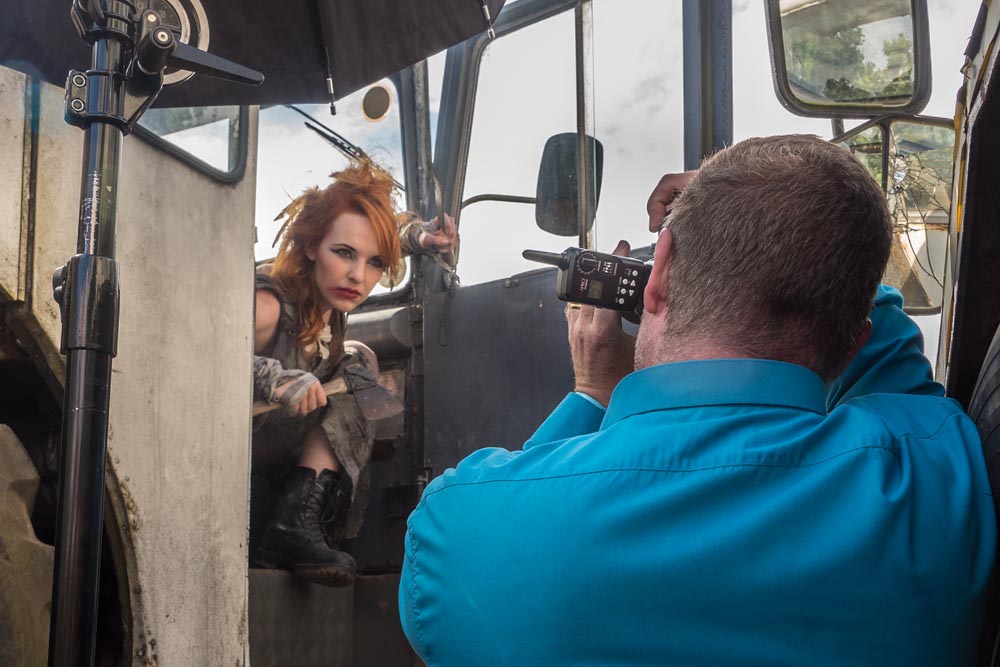
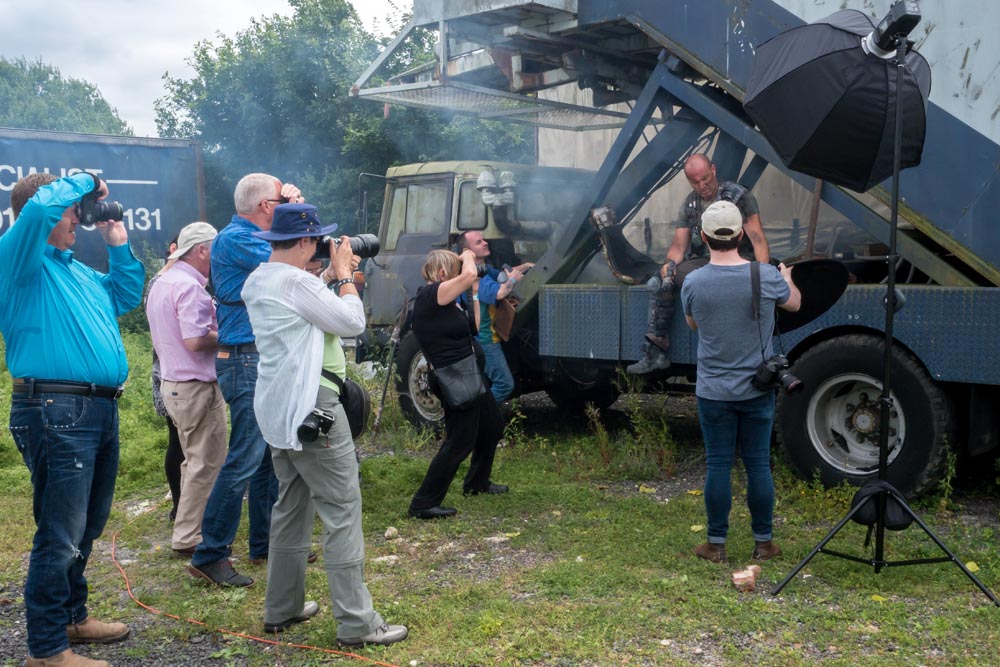
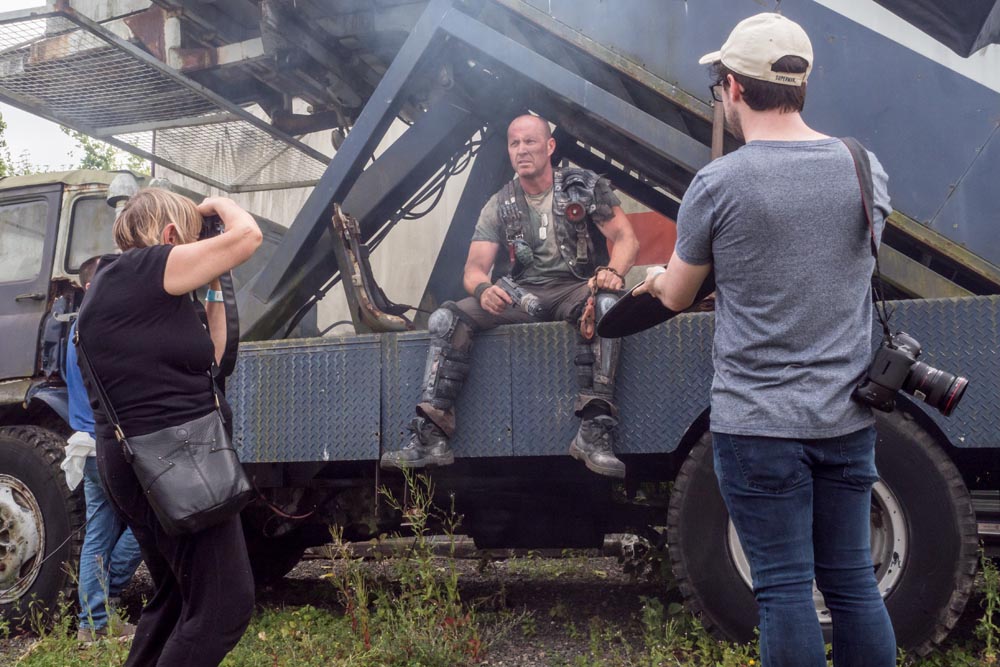
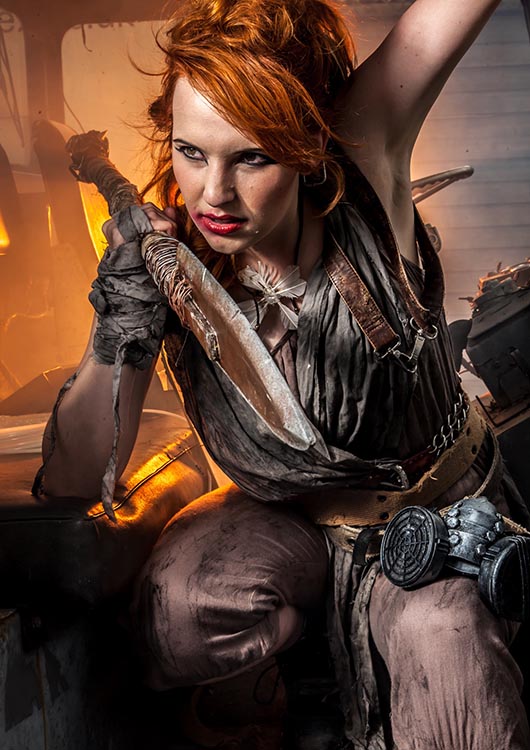
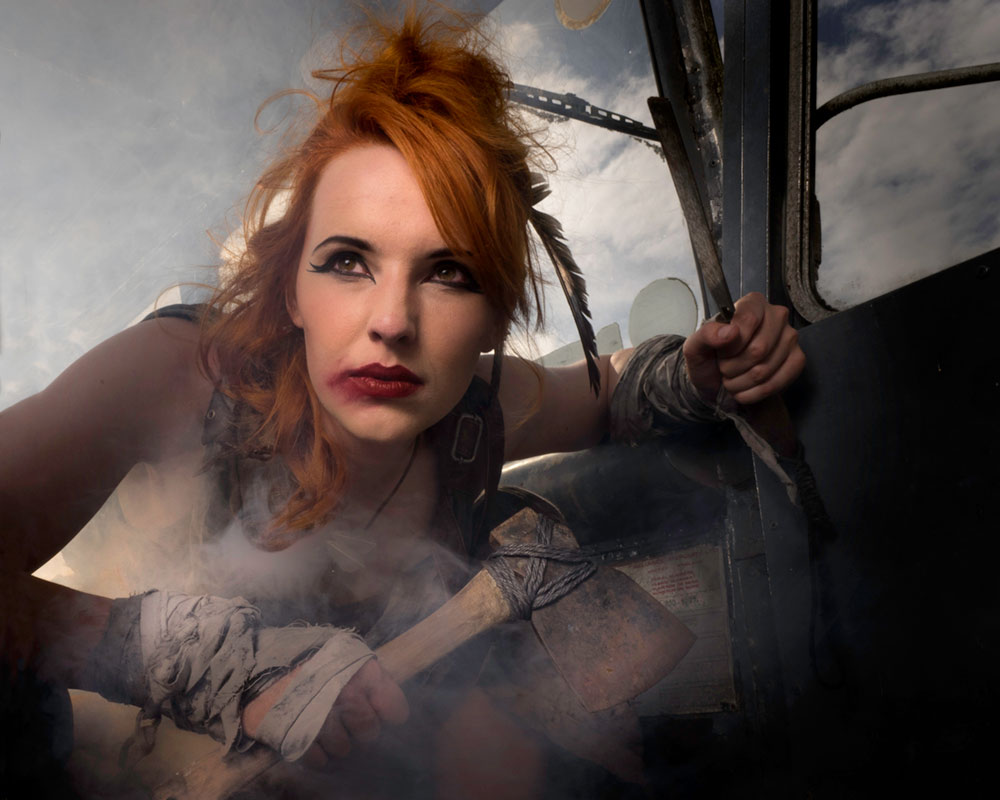
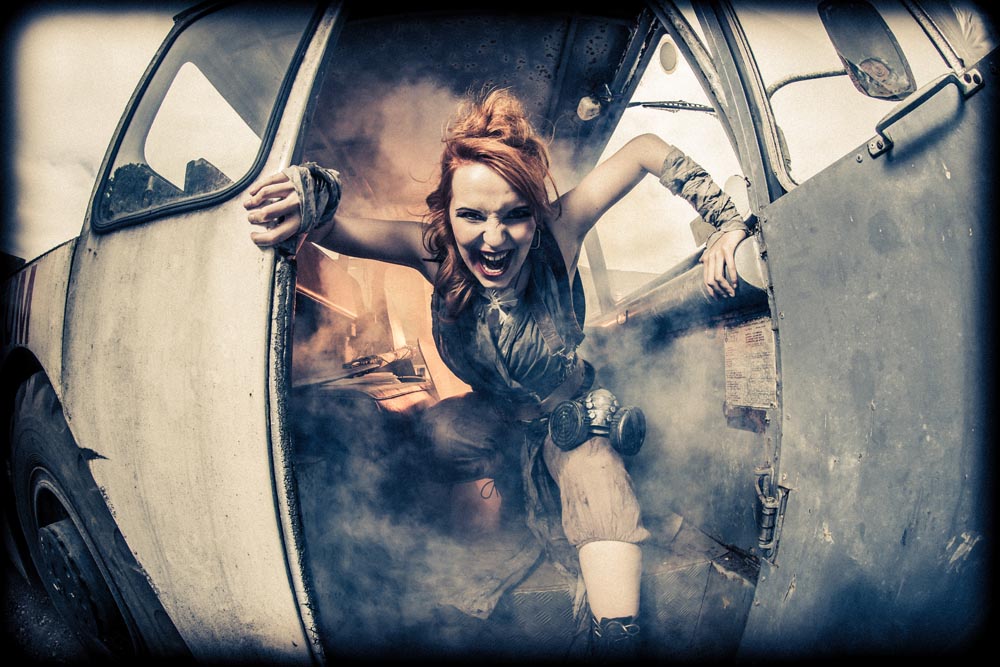
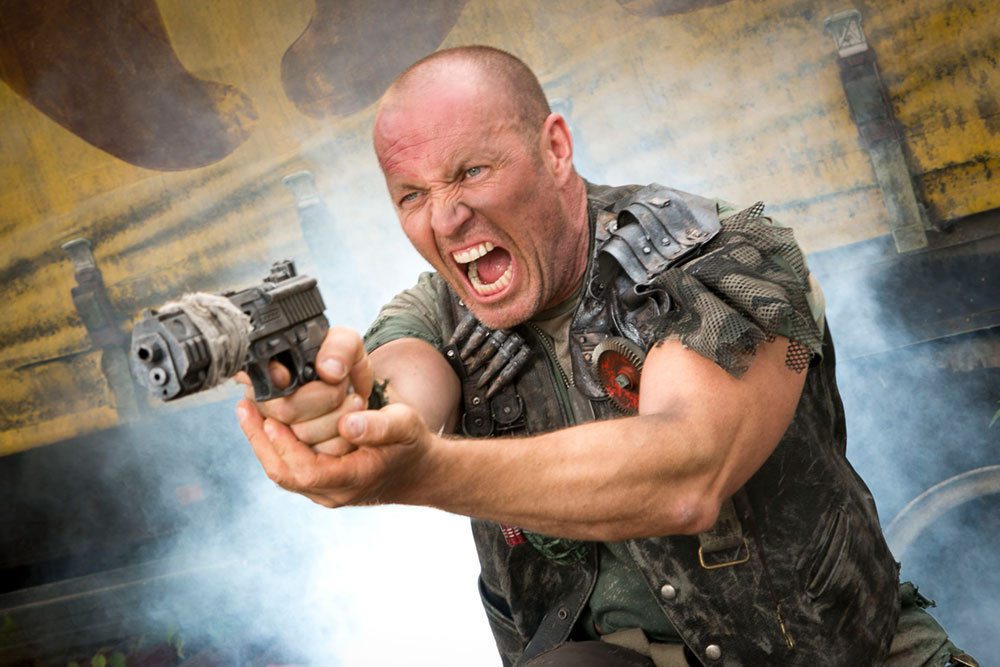
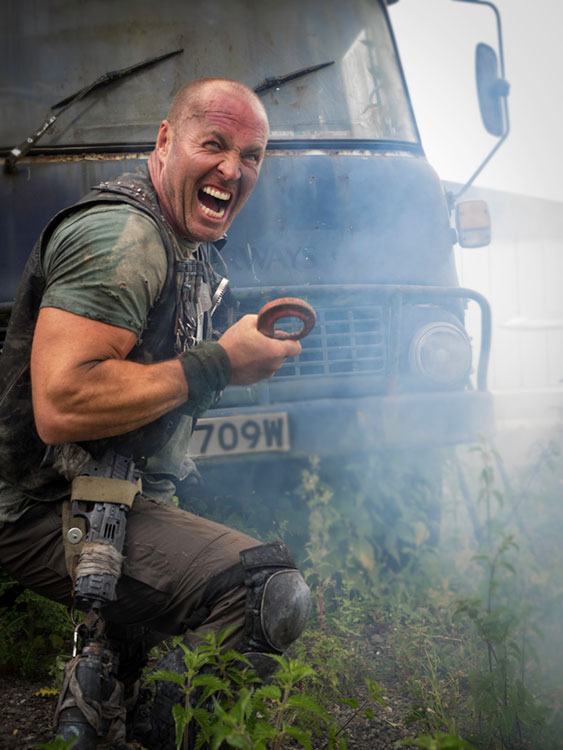
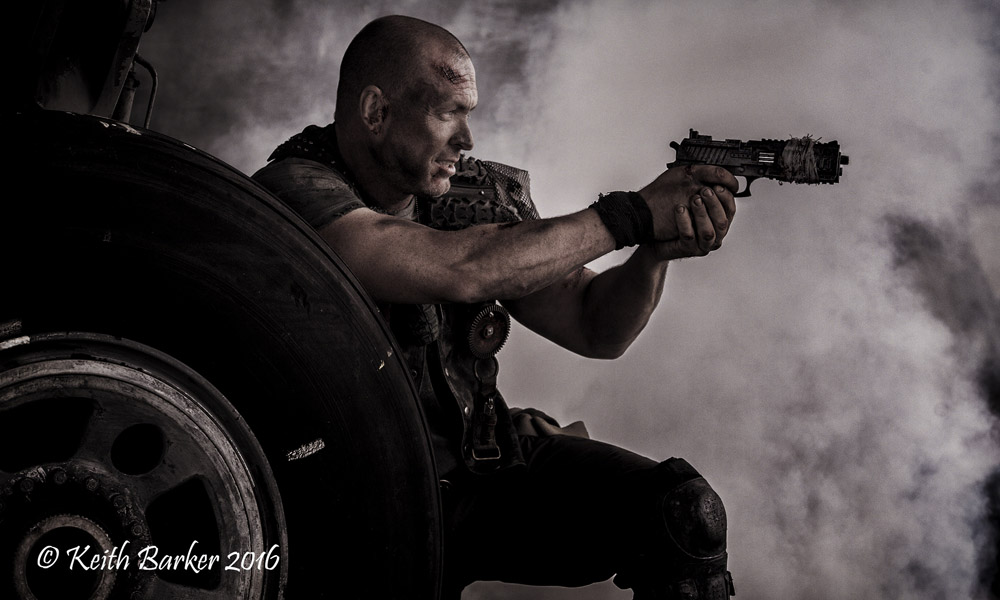
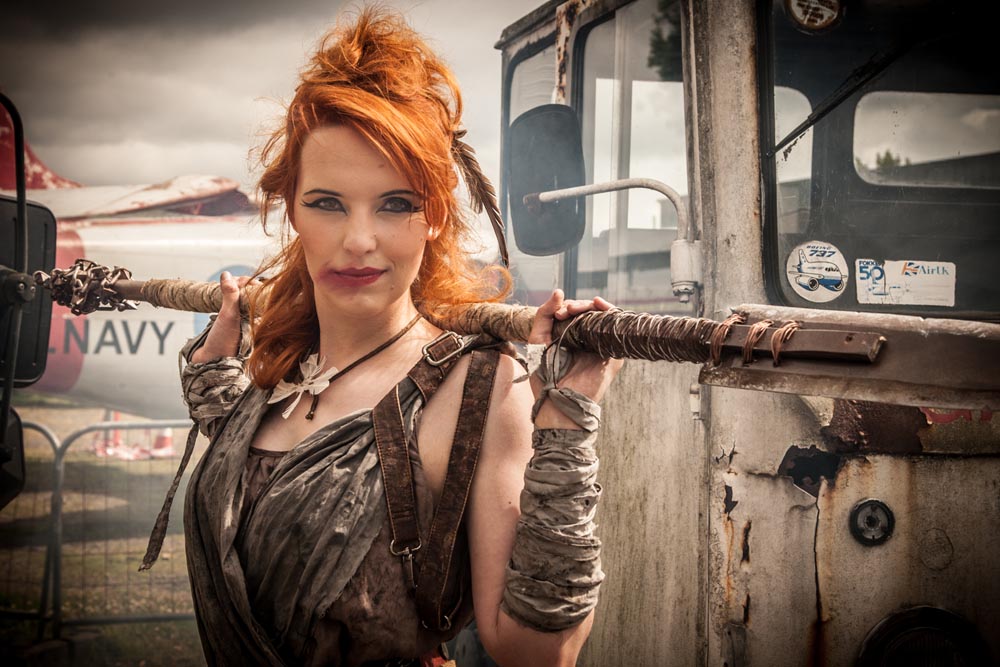
I took Kerry into the workshop area of the museum where there was plenty of rust and a few ageing vehicles. Smoke and flash combined with a bit of camera know how to create some serious moody images.

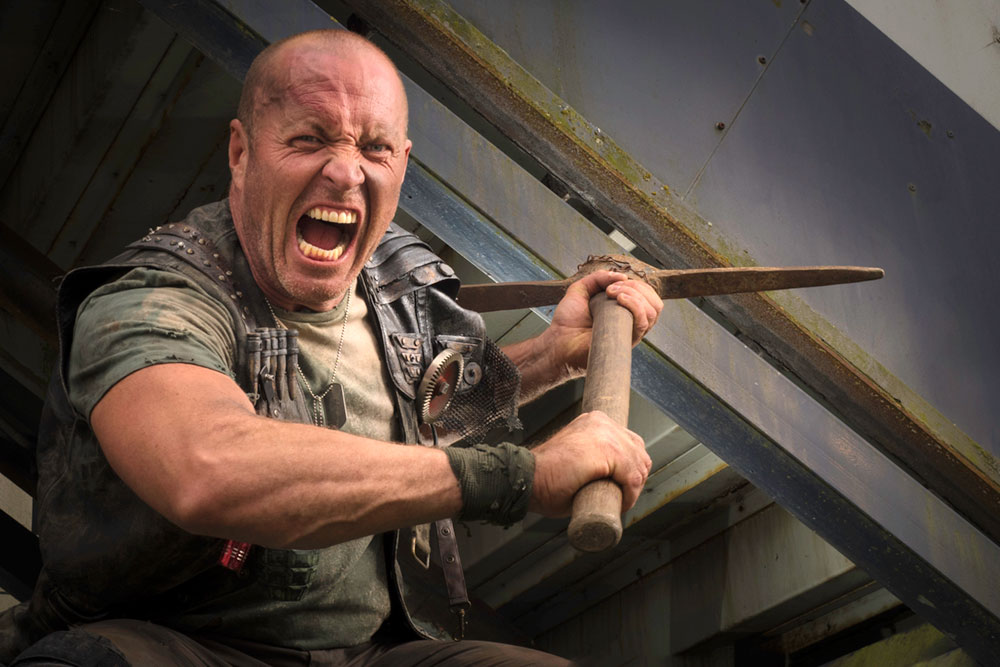
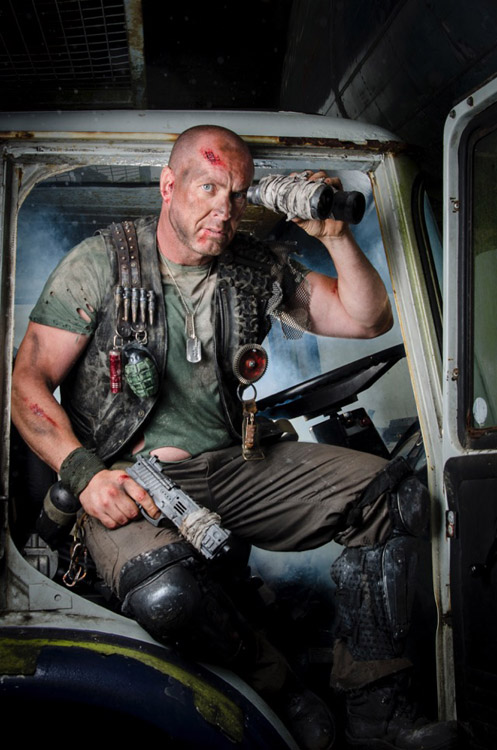
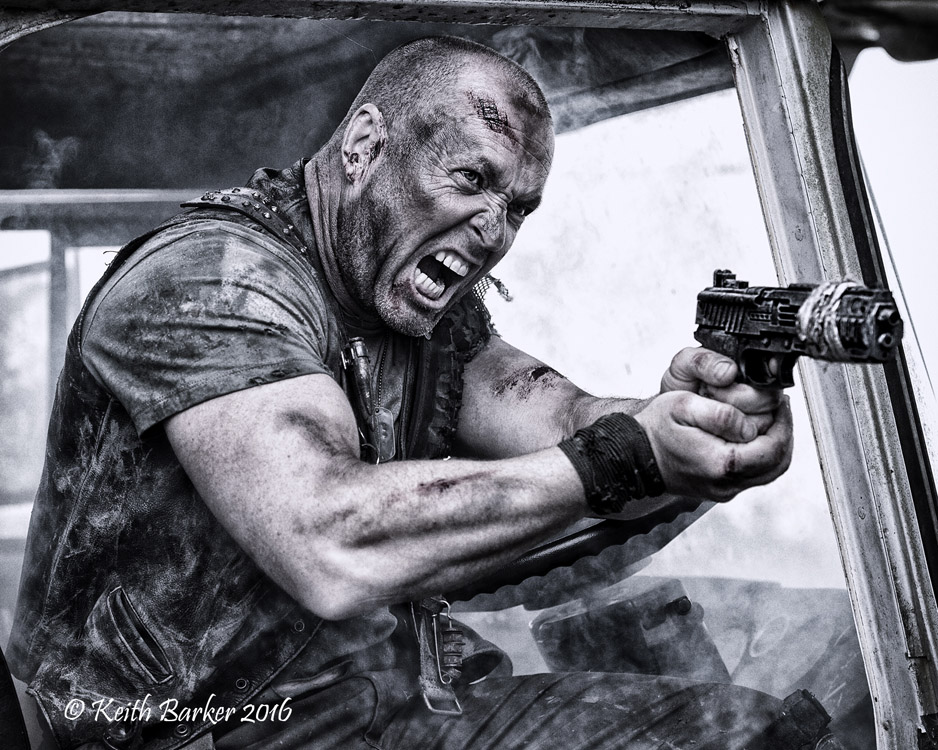
Tommy found plenty of post-apocalyptic inspiration at the other end of the museum and Roger unleashed his inner and outer strength with amazing results.

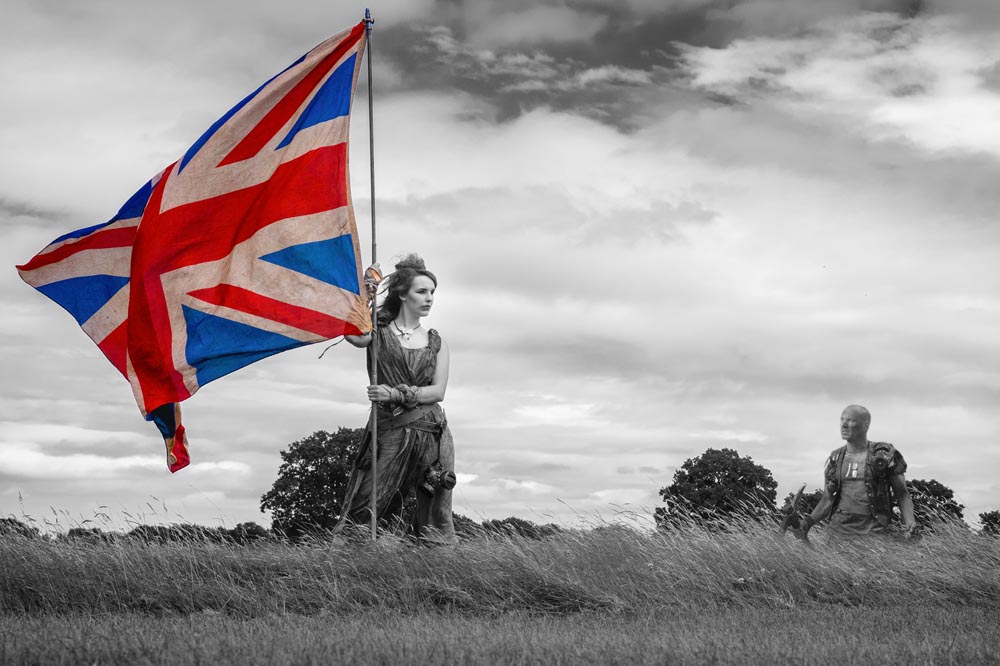
There’s nothing more frustrating to me than seeing a workshop organiser shooting photos for themselves at the expense of the attendees. As a result I hardly have a single “good” photo from the day. Fortunately, the photographers who joined us took thousands of shots and below are a few that I’ve been sent so far.

UPDATE:
We ran the workshop for a second time in September. Once again I was joined by Roger and Kerry as our models and Tommy as my second group leader. This time the weather was a lot more apocalyptic with rain forcing us to spend the afternoon. Luckily the Gatwick Aviation Museum is great inside and out.

Below are a selection of photos from the 14 photographers who came along and made the whole day very enjoyable.

Gatwick Aviation Museum Re-Opening

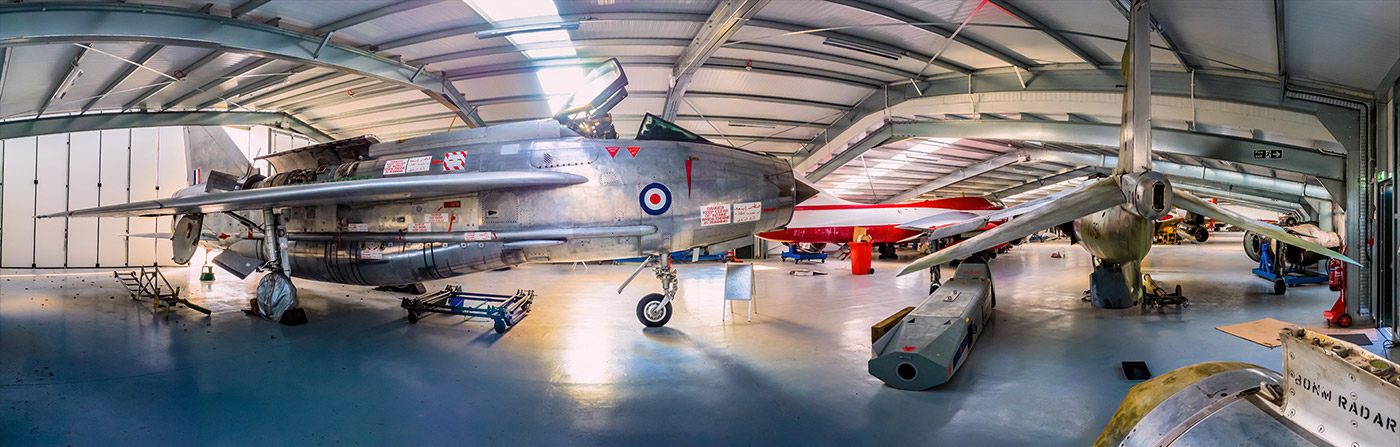
I’ve been to the Gatwick Aviation Museum more times than I can remember but for the past year it’s doors have been closed to visitors as it underwent major alterations. The great news is the new hanger has been completed, the planes have been moved inside and it’s ready to re-open its doors to aviation enthusiasts and photographers alike.

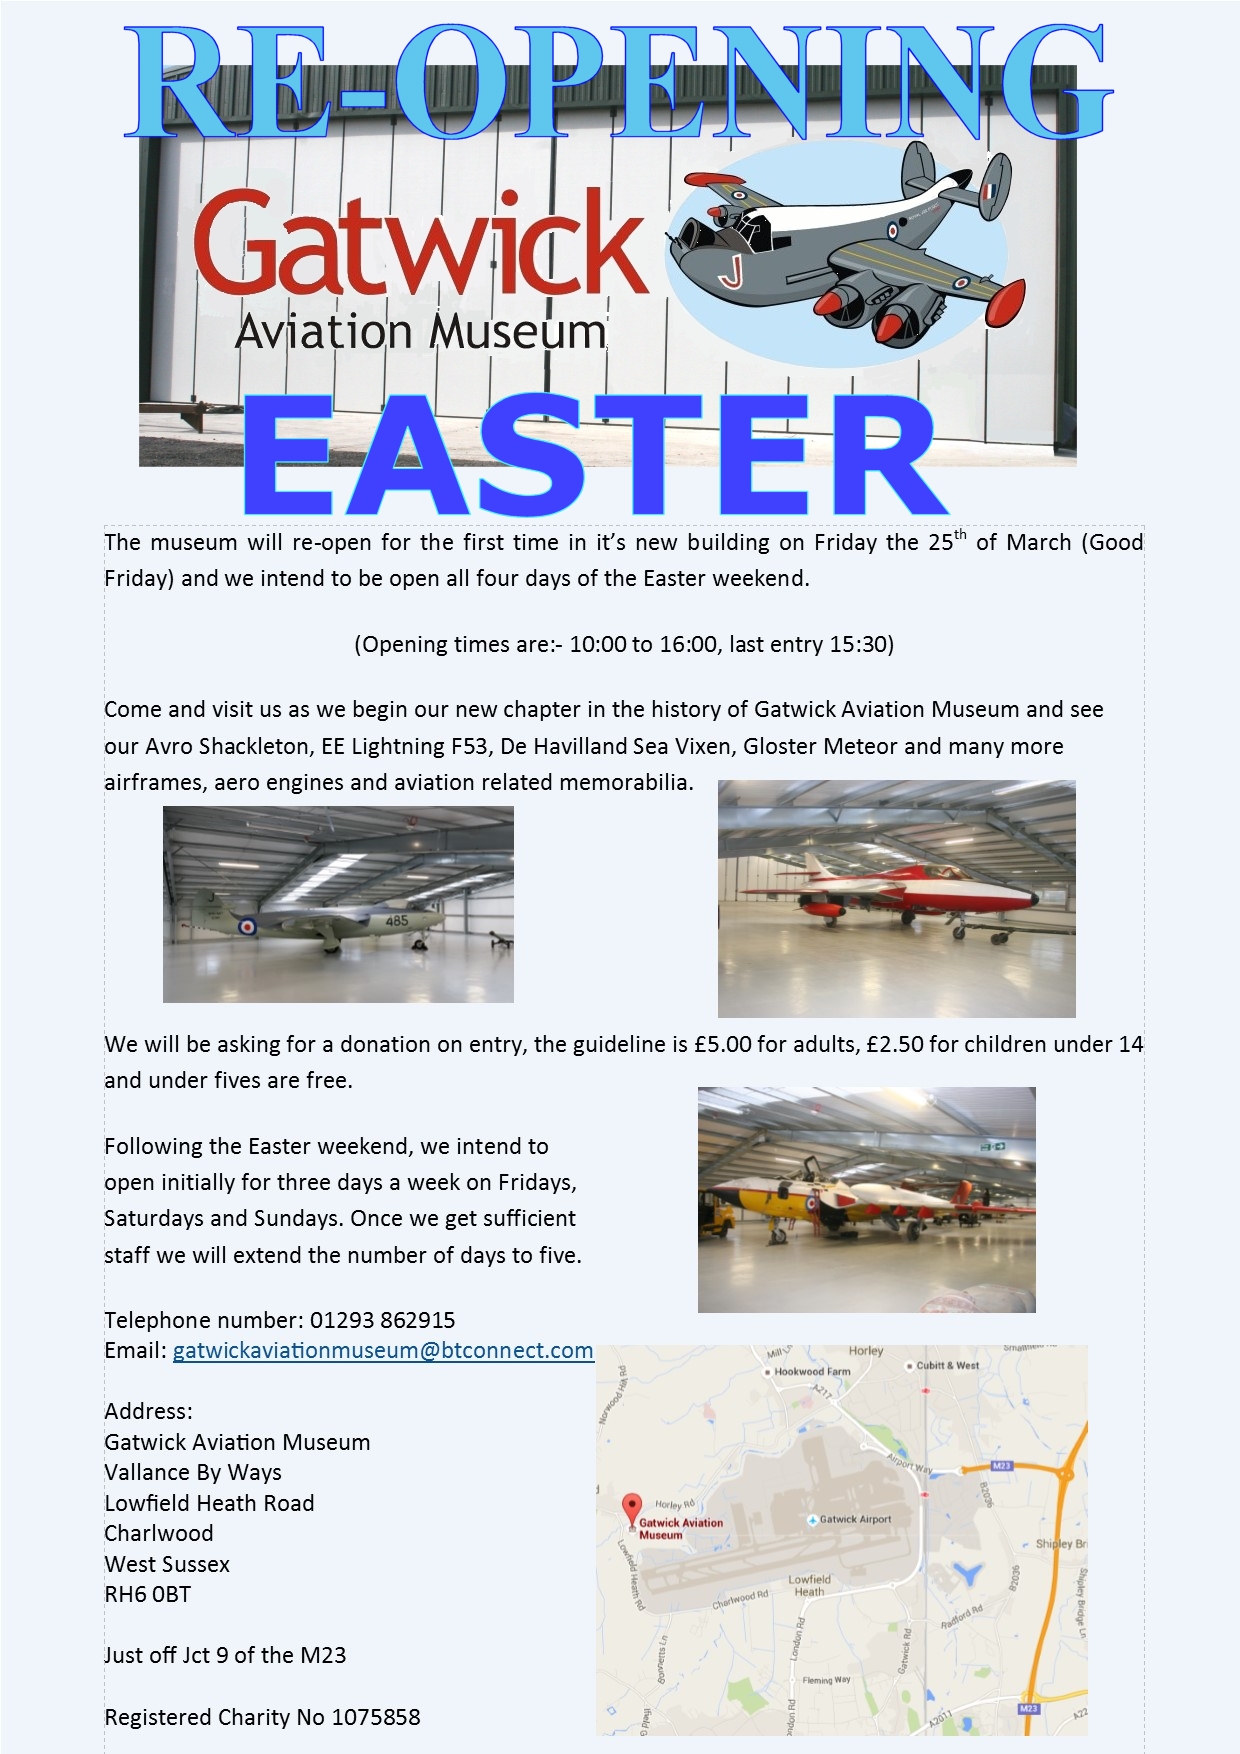
To celebrate the re-opening, the museum is holding a special four day event over the Easter weekend. As well as their usual displays, they’ll be joined by some special guests. More details can be found on their website www.gatwick-aviation-museum.co.uk

Gatwick Pano NEW

I’ll be at the Gatwick Aviation Museum on Saturday 26th March from around 11:30am until mid afternoon. If you fancy coming along I’ll be on hand to offer some photo advice whilst you get up close to some classic British aircraft.

The Gatwick Aviation Museum always had a reputation of being extremely welcoming and accommodating to photographers. So even if you can’t make it along this weekend you’ll find the volunteers at the museum will be delighted to show you round most Fridays, Saturdays and Sundays.

easterposter

My 2016 UK Photography Show Schedule

There’s just one week to go until The Photography Show opens its doors at the N.E.C. in Birmingham and this year my free demos are bigger and better then ever. Running from the 19th – 22nd March, it’s easily the UK’s biggest and busiest photography show with 30,000 amateur and professional photographers attending. It’s packed with a great mix of stands from the major photographic suppliers to the small independent retailers.

TPS2016

But this isn’t just another trade show, there’s also loads of things to see and do. There’s a constant stream of free demos and talks on various live stages and that’s on top of all the smaller demos on many of the booths dotted around the show.

I’ll be there for the whole four days giving various talks and demos on Photoshop, portrait lighting and photography. I’ll be dashing from demo to demo (see below) but if you’re coming along it would be great to meet you.

Saturday

11.15 am PiXAPRO E91 Small Space, Big Impact Lighting
12.30 pm Adobe Theatre Photoshop CC Hidden Gems
3.15 pm PiXAPRO E91 One Flash Lighting
4.30pm Olympus E31 Losing A Mirror But Finding Focus

Sunday

11.30 am TPS Live Stage Fearless Flash Photography
12.45 pm PiXAPRO E91 Small Space, Big Impact Lighting
2.00 pm Adobe Theatre Photoshop CC Hidden Gems
3.15  pm PiXAPRO E91 One Flash Lighting
5.00 pm TPS Behind the lens Snap Happiness (Talk)

 Monday

11.00 am Adobe Theatre Photoshop CC Hidden Gems
12.15 pm PiXAPRO E91 Small Space, Big Impact Lighting
2.15 pm PiXAPRO E91 One Flash Lighting
3.30 pm Adobe Theatre Photoshop CC for Photographers
5.30 pm TPS Networking Event Mega Mess Ups! (Talk)

 Tuesday

11:00 am Adobe theatre Photoshop CC Hidden Gems
12.15 pm PiXAPRO E91 Small Space, Big Impact Lighting
2.15 pm PiXAPRO E91 One Flash Lighting
3.30 pm Adobe Theatre Photoshop CC for Photographers

All my demos are free and available on a first come first served basis. There’s no need to book but as the Adobe theatre in particular has limited seating I’d recommend getting there early!

Show tickets are free for professional photographers and the trade (if booked in advance) and £13.95 for enthusiasts (£18.00 on the door)
Fashion Photography Workshop Wrap-up

Last Sunday I was in London with a great bunch of photographers. I’d been asked to be part of a workshop organised by my friend Robert Pugh and hosted by Olympus UK at their Art Bermondsey Project Space.

The day was themed around fashion photography with Rob running through a fashion set up with Profoto studio lights in the afternoon and me covering as many lighting tips and tricks as I could fit into the morning. Rob had secured the services or Amber Tutton as our model for the day, make-up was in the expert hands of Michelle Court and the clothes were supplied by Rob’s contacts in the fashion world… or so he told me 🙂

I kicked off the session with a single PIXAPRO speedlight in combination with either a MagMod snoot or just random house hold items used as GoBo’s

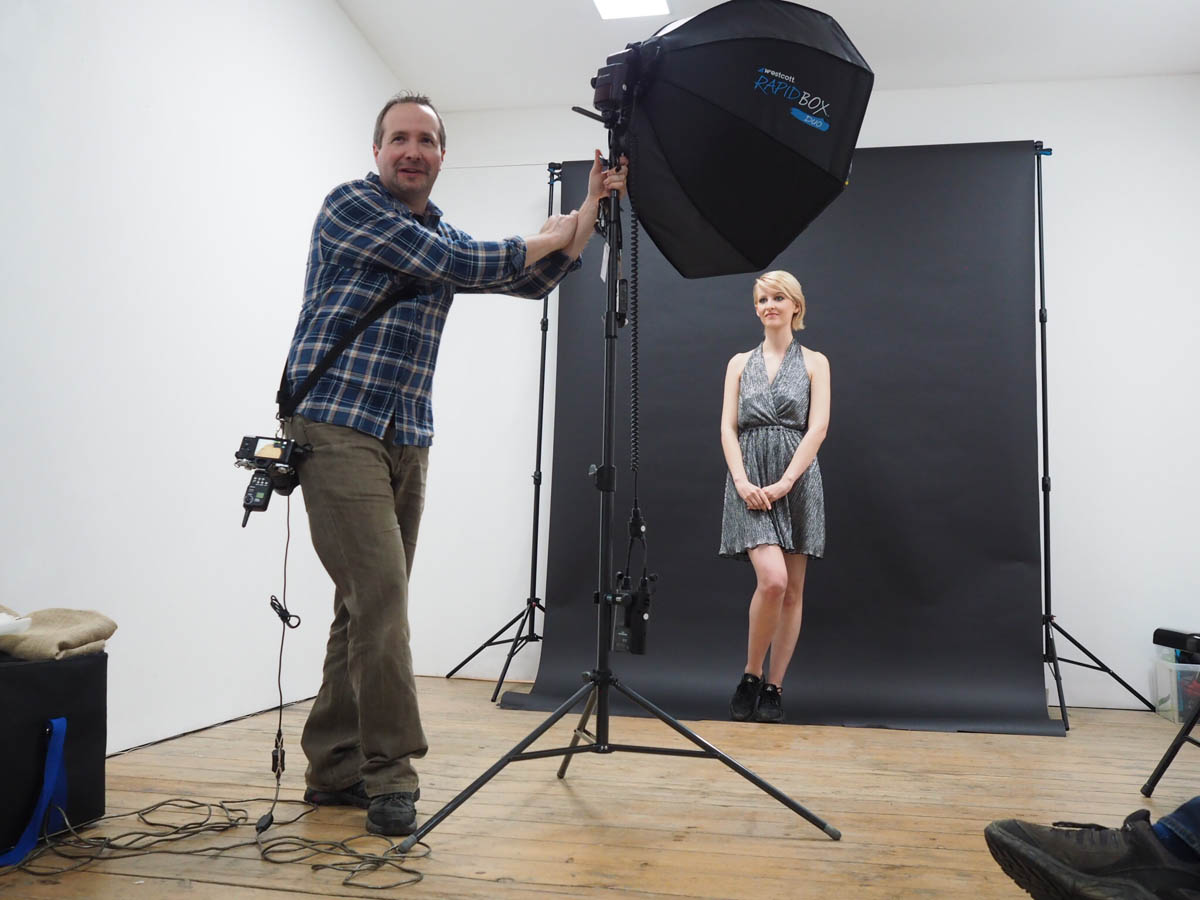
Next I moved on to a more powerful PIXAPRO flash inside a Westcott Rapidbox Duo softbox. Adding a grid to the softbox made controlling the light much easier and gave some great effects.

Finally I moved from the plain white walls of the gallery and on to Robs roll of black paper. The lack of background shadows makes black a great choice but a little uninteresting, that’s where background lights really help and when you throw gels into the mix, things can get really fun.

With my time up, I had one last tip. Learn the rules of photography so you can break them. My last shot did just that by pointing two speedlights right at the camera. The result was hard to predict but great fun.

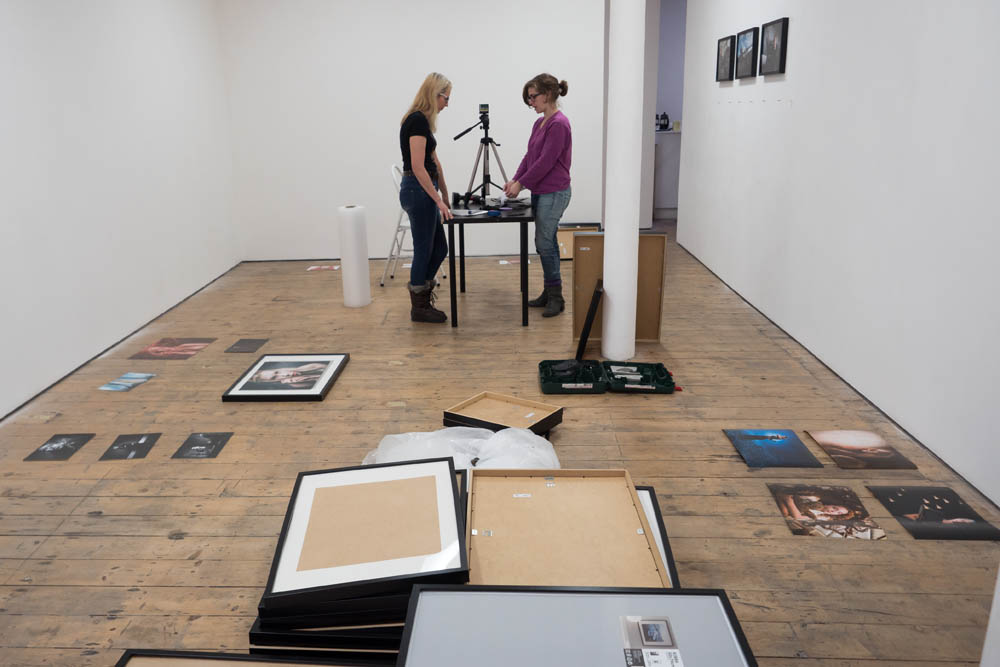
You can check out Robs photos and write up of the day on his blog. Thanks to Clare Harvey-May for the behind the scenes photos

Make a simple LED Background

All sorts of random things can be turned into an amazing  portrait background but last year I was shown something called the Pixel Stick which looked amazing. It was a Kickstarter backed project that combined LED’s and long exposures in a way I’ve never seen before. Although the pixelstick was out of my budget the basic idea wasn’t.

My low tech LED stick took just a few minutes to make and worked amazingly. Take a look at the Adorama TV video I made with the spectacular Mark Wallace to see for yourself.

I’ve had loads questions all asking the same thing… How do you make my LED stick?

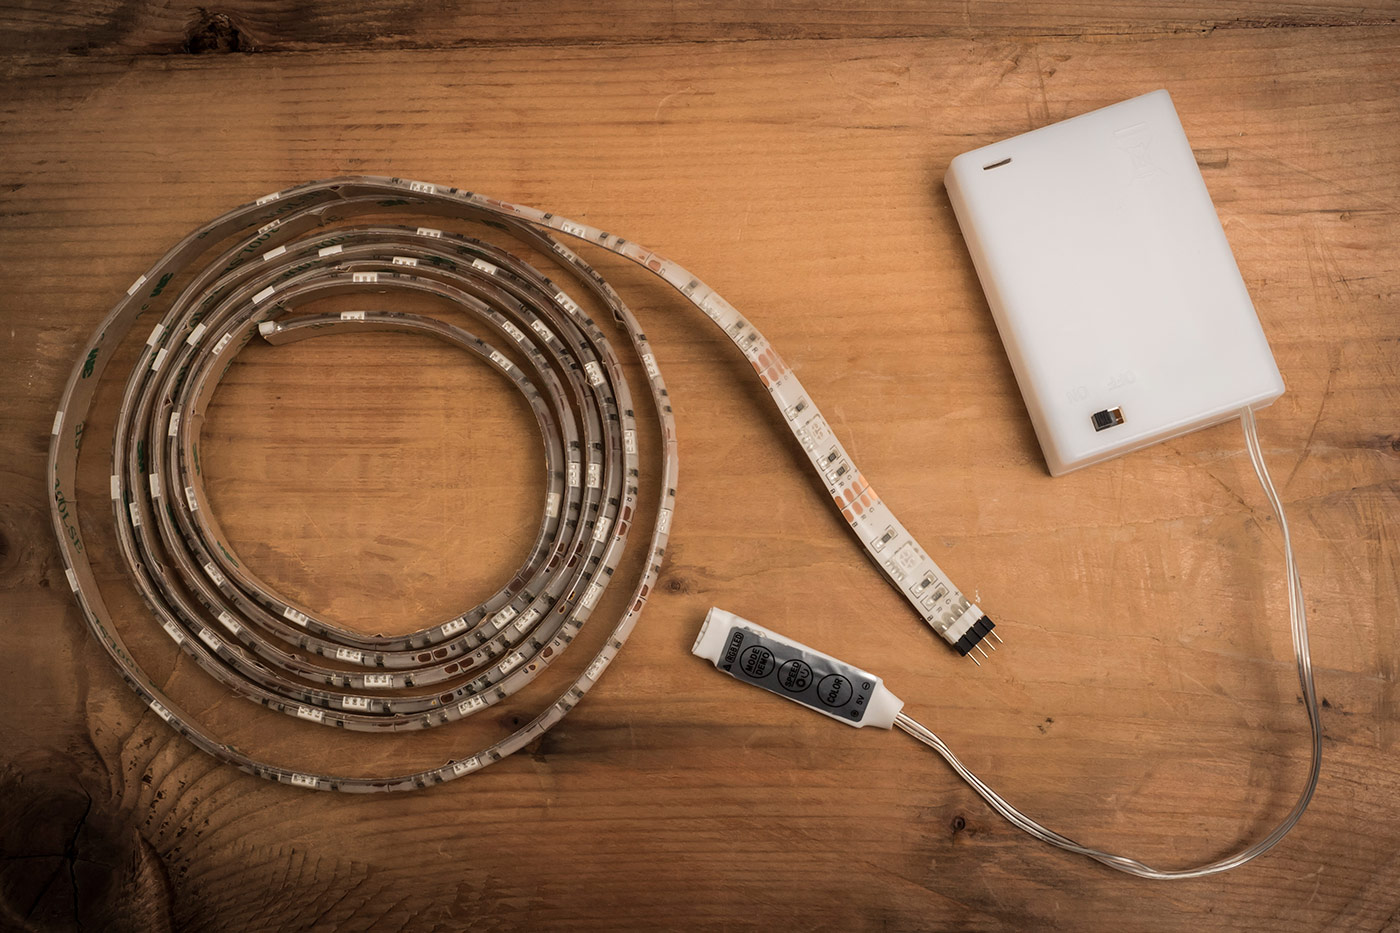
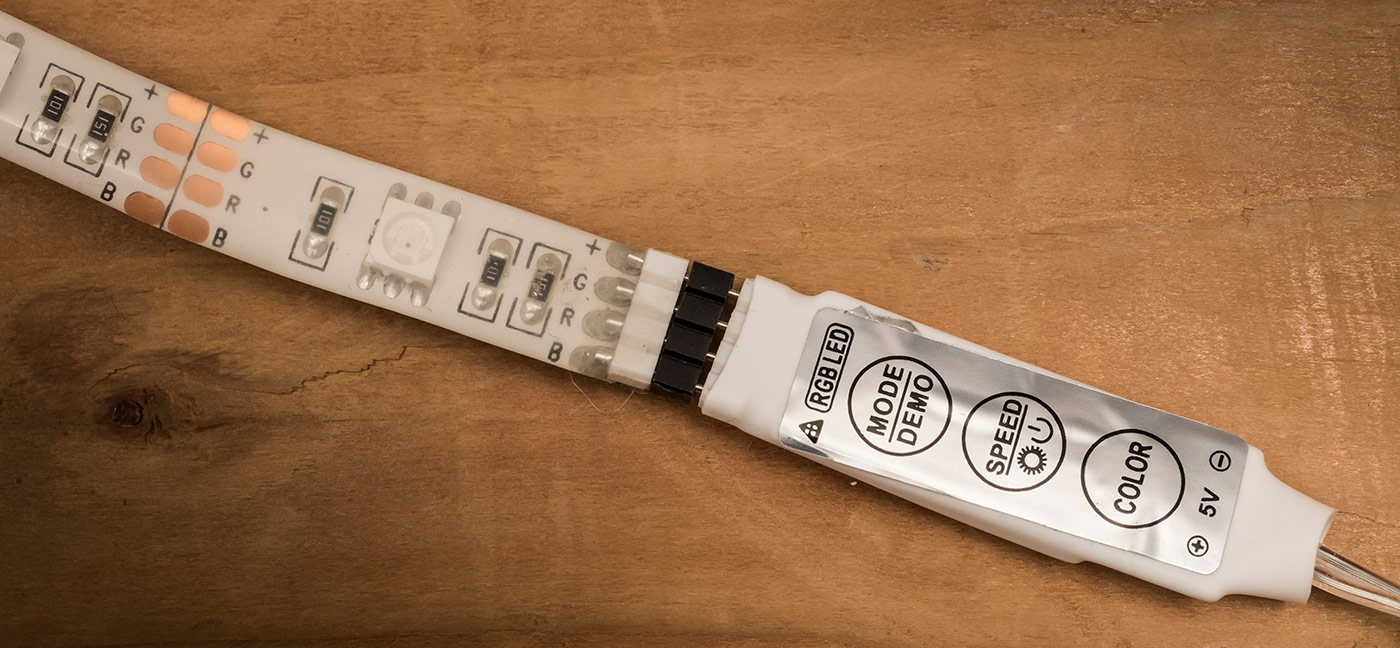
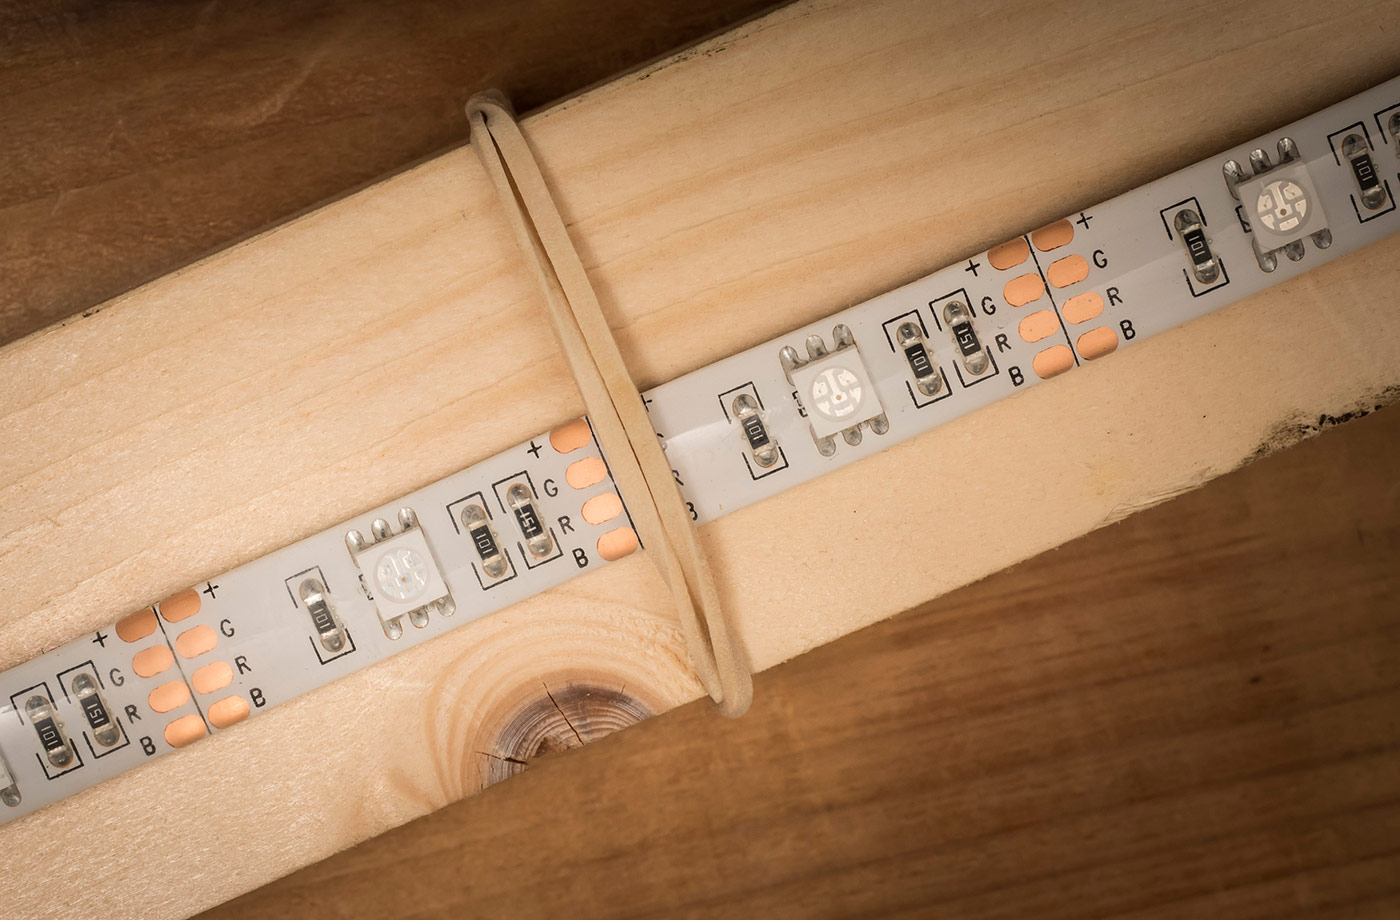
eBay proved to be the perfect place to start my search. There are loads of low cost LED’s on the market and I found a 2 meter roll of multi-coloured LED’s complete with battery box and controller for about £17.00.LED-Setup

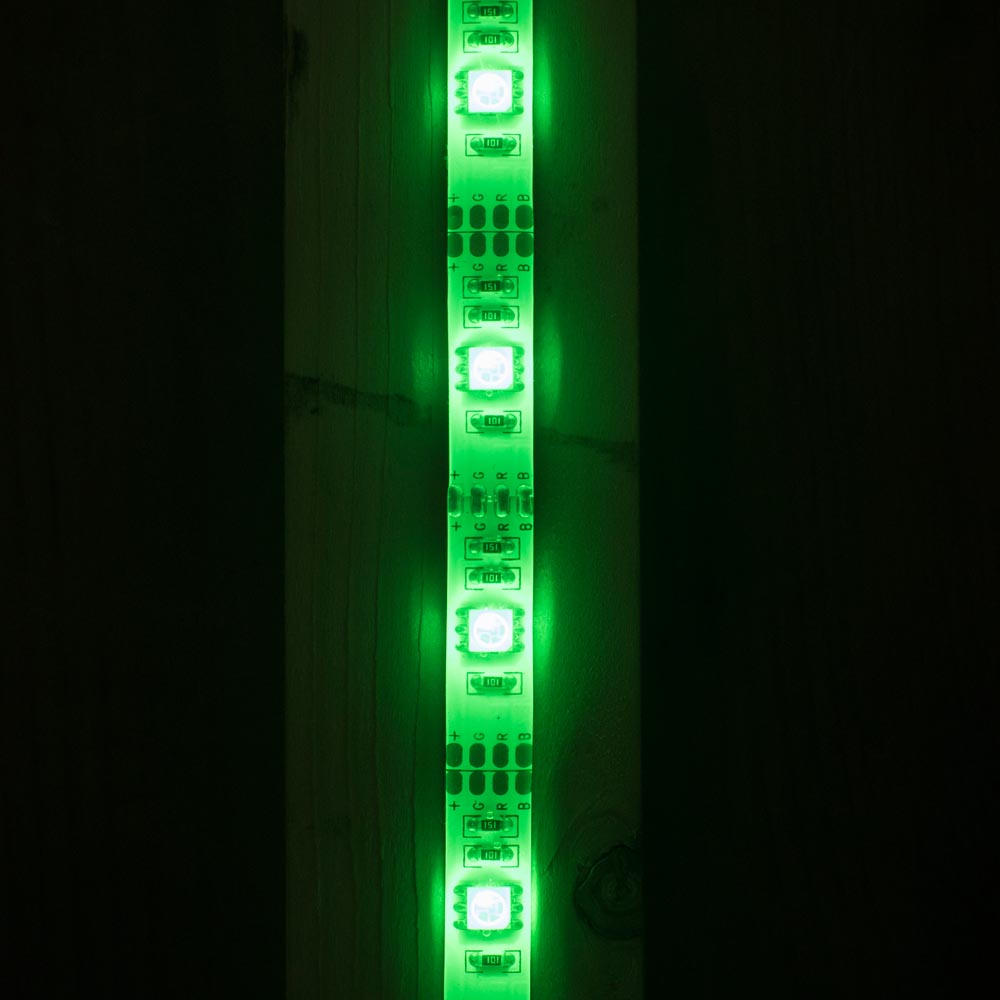
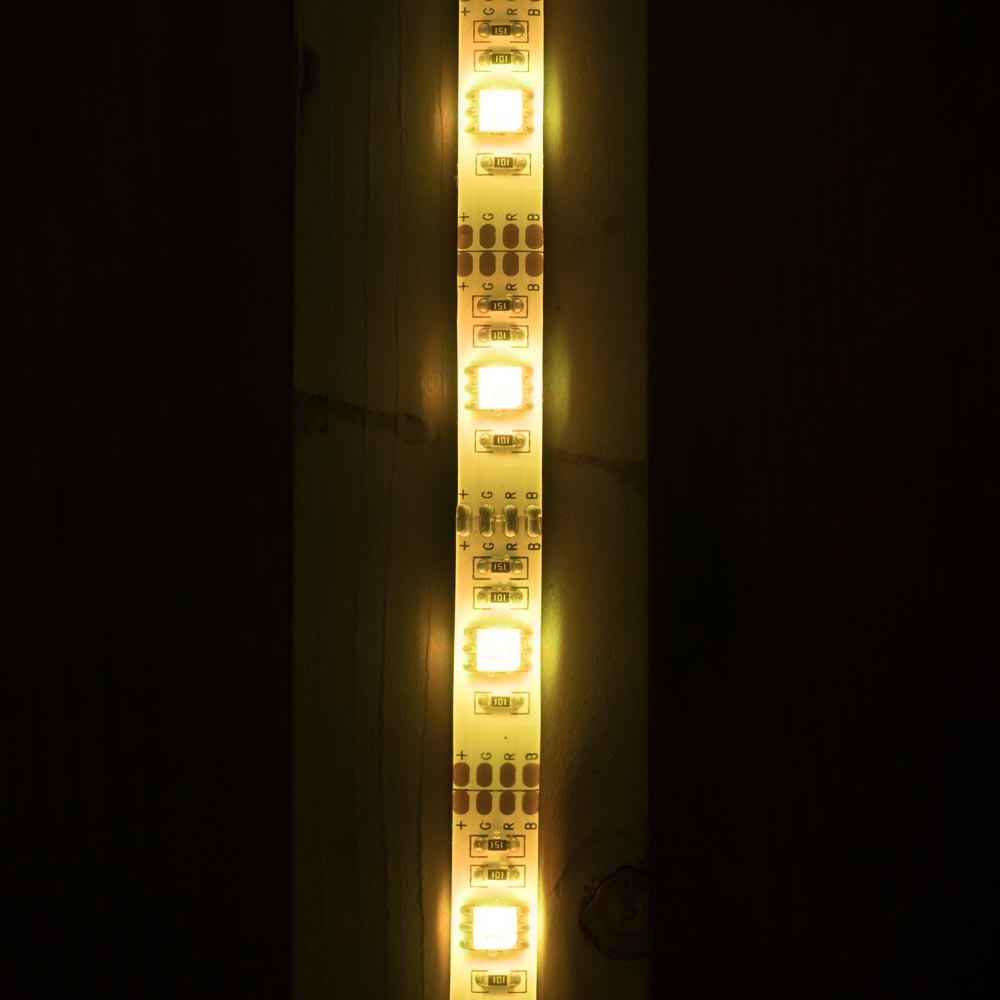
Each LED is actually several coloured LED’s clustered together which turn on or adjust their brightness to change the colour. The controller is very basic but allows you to set the colour, brightness and any effects such as flashing or fading through the spectrum.

LED-Setup-2

The LED strip is very flexible and sealed inside clear silicone (or something like it), so I found a spare bit of 1.8m timber and attached the LED strip to that. There’s adhesive on the back of the strip but I just used a few rubber bands to hold it place. Just make sure the bands don’t cover the LED’s!

LED-Setup-3

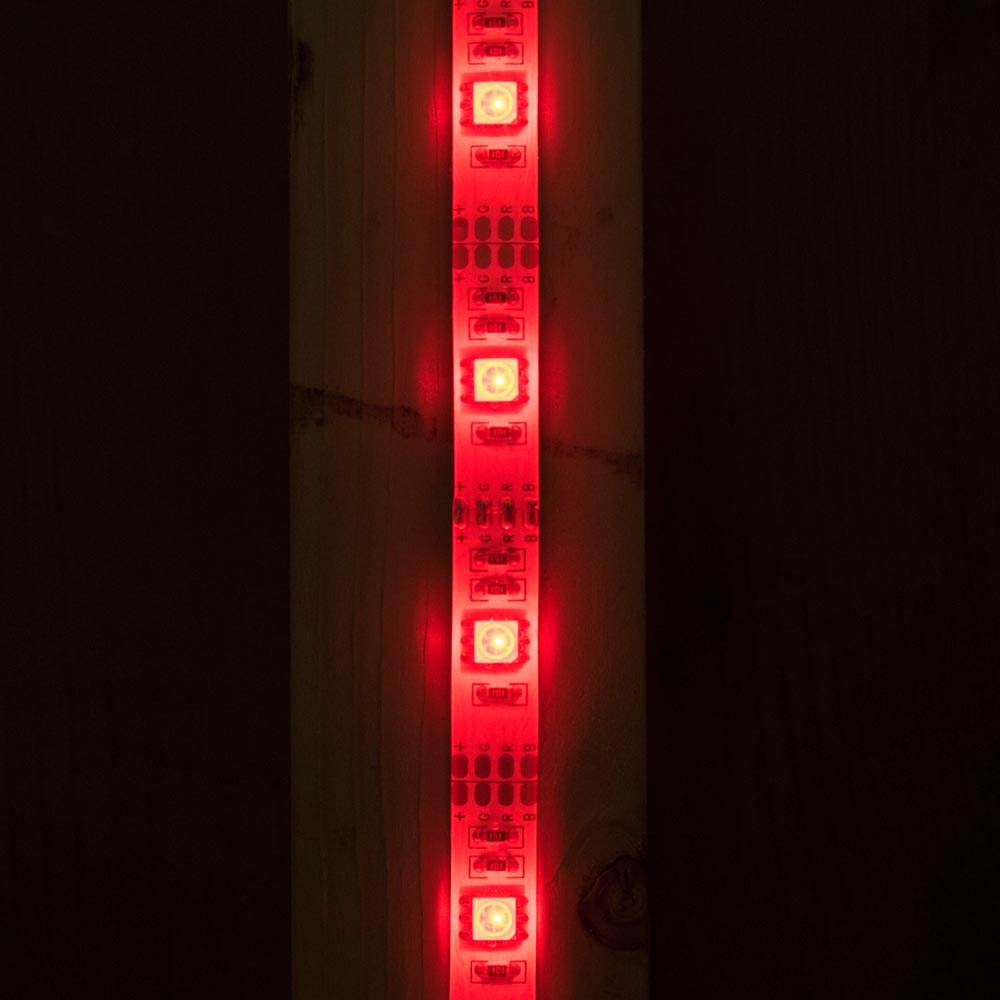
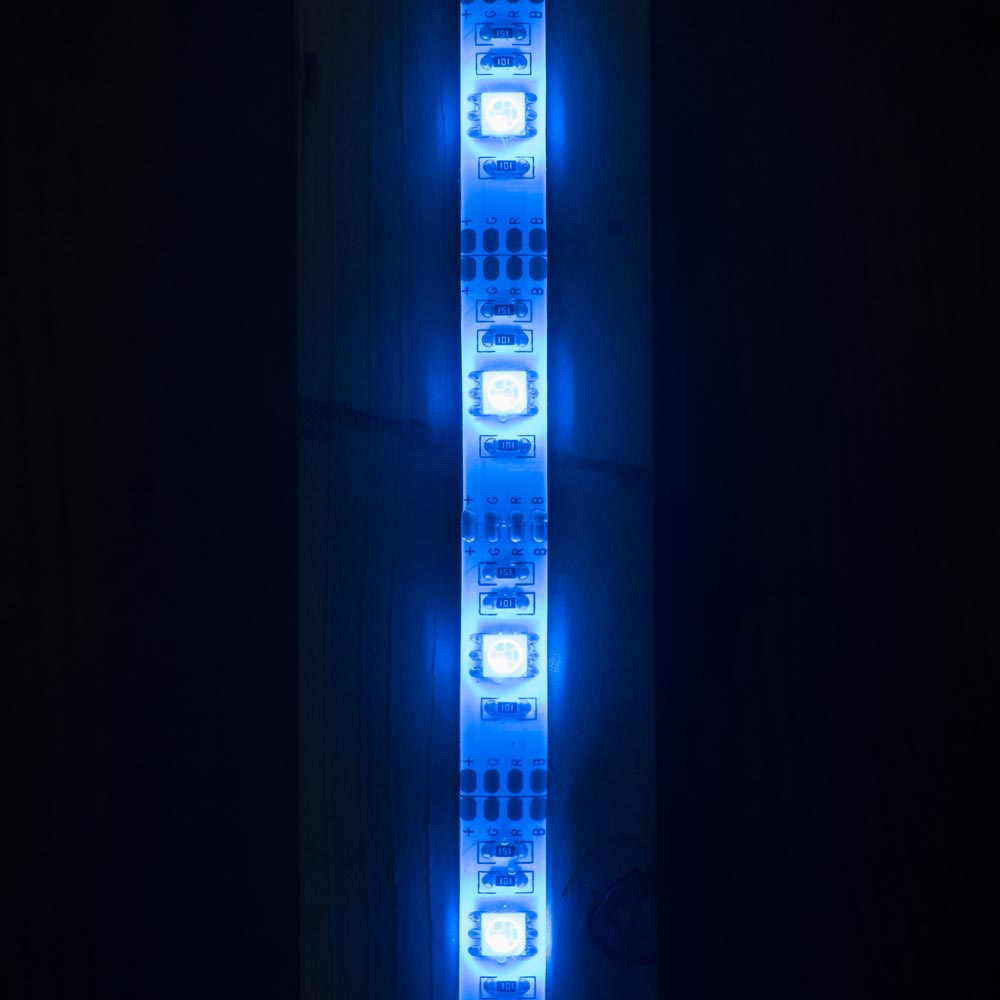
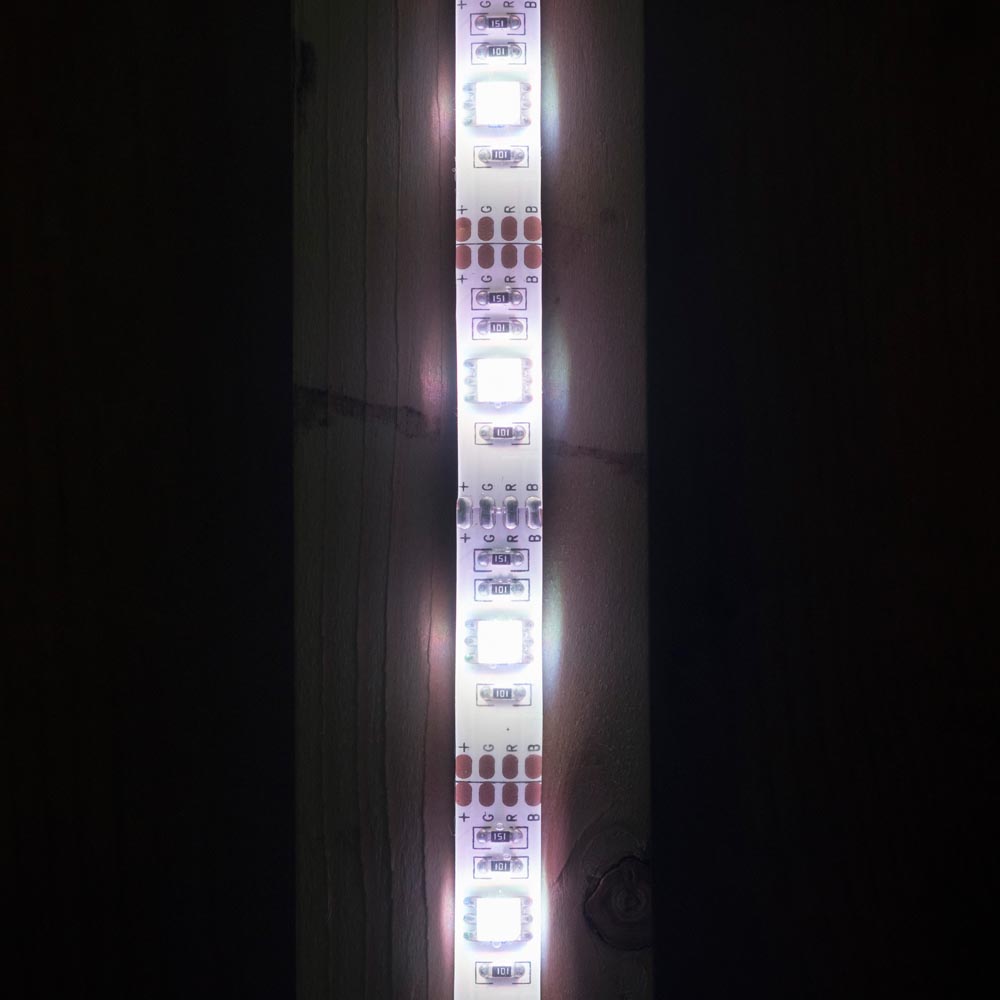
Then it’s just a matter of attaching the batteries and choosing a mode. Some colours worked better then others as did some modes. The key as always is to experiment and have some fun!

5 Top Tether Tips (into Lightroom)

There’s plenty of reasons why tethering your camera to your computer is a really great idea, I do it all the time for my live demos and workshops. Having your photos appear on a large screen is a great way to show them off to a group or simply to check the sharpness and colour on a screen that’s bigger and better than the one on your camera. You don’t even have to be a studio photographer to find tethering useful for example, I hook up to a 10” Windows tablet during my location workshops.

So here are my top five tips for tethering into Lightroom.

1 Already supported
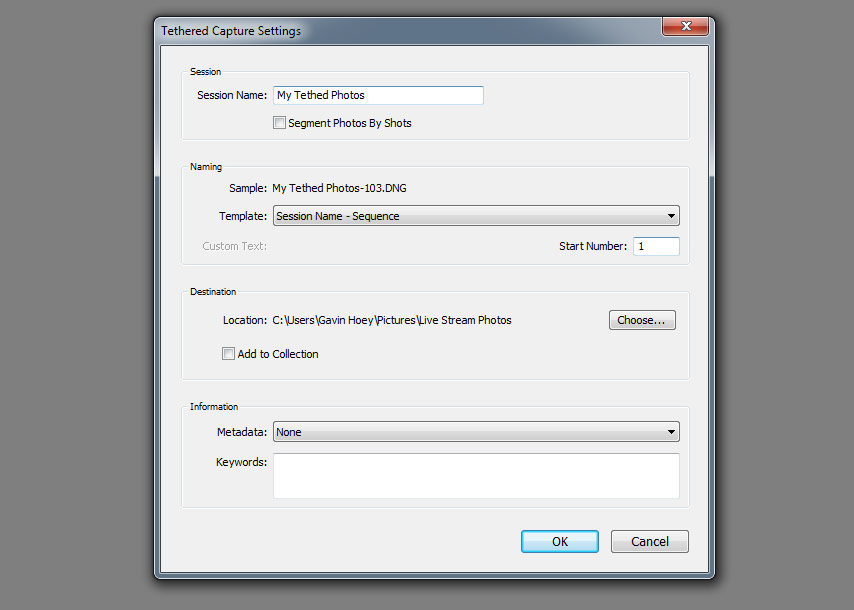
Ever since Lightroom 3 there’s been a built in way to tether a camera and Lightroom. It’s quick, simple and reliable. You’ll find it under File-Tethered Capture-Start Tethered Capture. Fill in the setting boxes and away you go.Tether-1

The bad news is it only works for a selected number of cameras from Canon, Nikon and Leica. You can see the full list here https://helpx.adobe.com/lightroom/kb/tethered-camera-support.html

Basically if you’re camera body isn’t supported you can’t use it but all is not lost. Jump down to section 5 for help.

2 Right Cable
OK so you have a camera that’s supported by your version of Lightroom, it’s all hooked up and the camera’s USB setting are correct. But for some reason Lightroom just won’t recognise it and insists that “No Camera Detected”Tether-2

What USB cable are you using? Is it the one that camera with your camera or a cable you found stuffed away in a drawer? The problem is not all USB cables are the same, despite how they may appear and Lightroom (or rather your computer) is fussy.
Some USB cables are charging cables, some are data cables, some are both and all of them look the same. If Lightroom won’t talk to your camera it may well be the cable that’s faulty or simply doesn’t support data. Swap the cable for a known good one and try again.

3 Go long
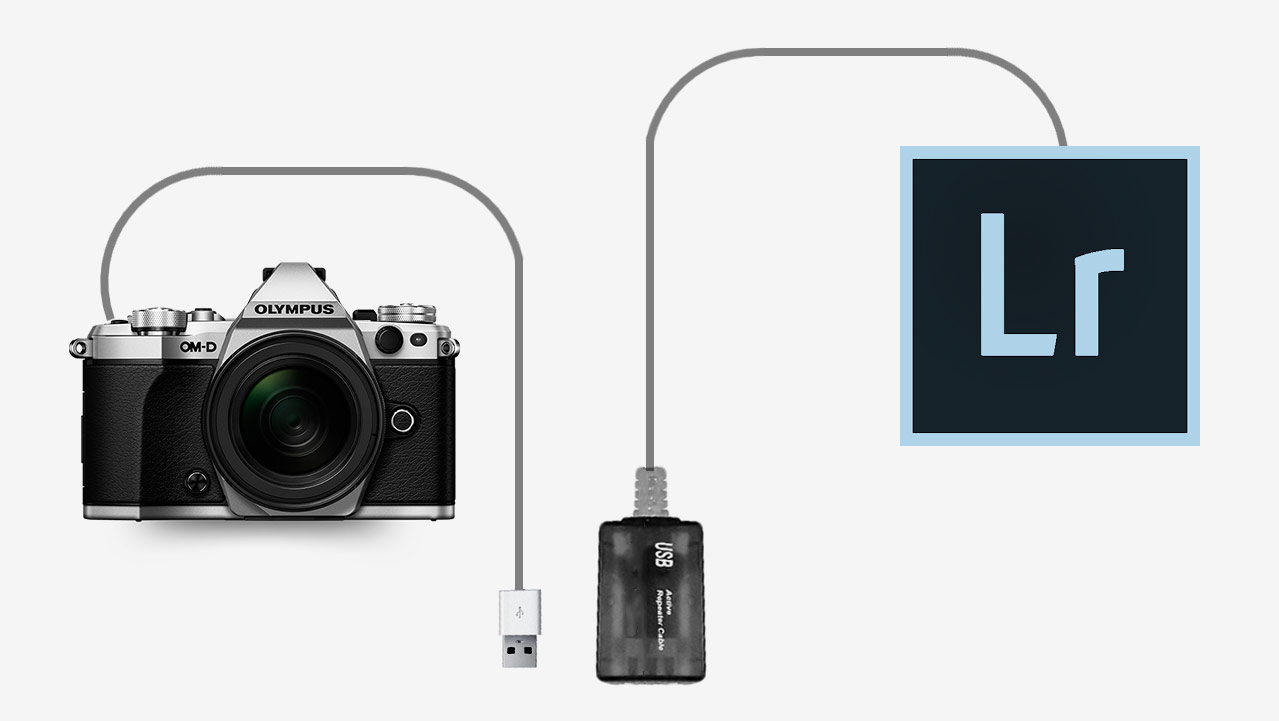
Unless you intend to shoot with your computer less than a metre from your camera (and some photographers do) you’ll want a USB extension cable. The longer the cable the less likely I am to trip over it and the more mobile I can work. However there’s a problem. If your total cable length goes beyond about 5 meters the USB signal will be intermittent or just plain stop.
The solution is to buy something called an Active USB Extension also known as a USB Repeater Cable. It’ll have either a thicker connection at the female end or a little bump in the cable which houses a signal booster and that’s what gets you past the 5 metre limit.Tether-3

4 Shrink the bar
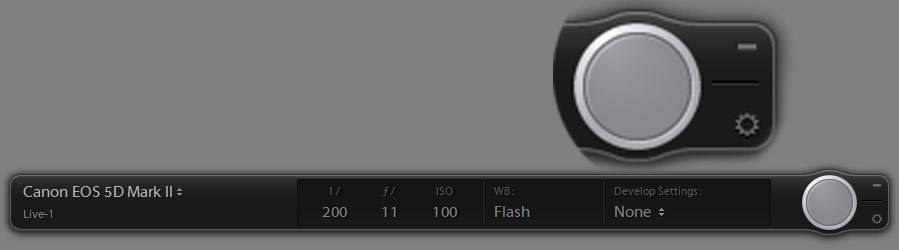
Once everything is set up, Lightroom will auto import you images whenever you press the camera shutter button, plus it has some basic camera controls such as remote firing the shutter and… well, actually that’s it but it will show you a bunch of useful camera information like ISO and aperture.

Of course you may not need to see all that extra info, so to hide it hold the ALT key and click on the – icon in the Tether tools bar’s top right corner. You’ll be left with a single button which you can drag out of the way.Tether-4

5 Not supported, not a problem
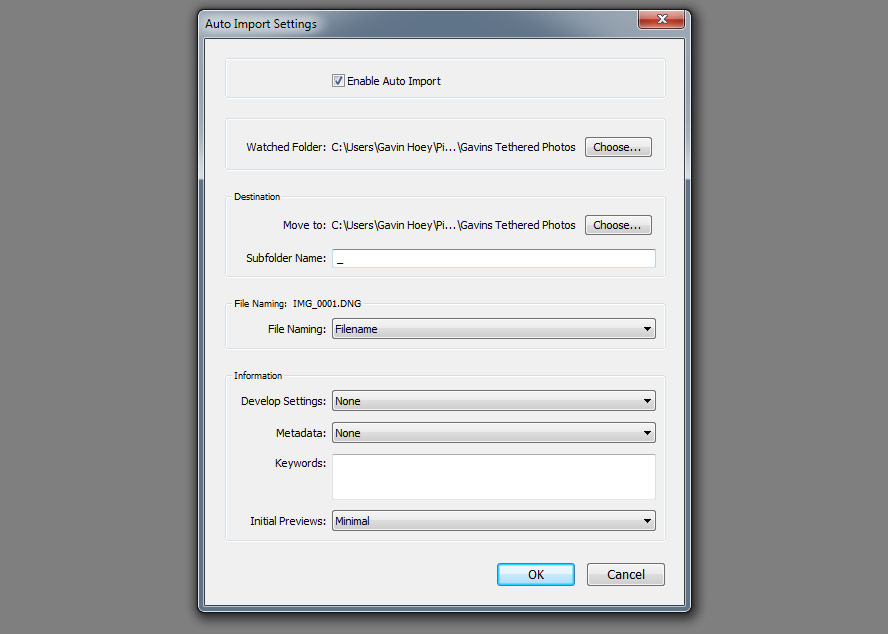
Moving from Canon to Olympus caused me a few headaches when it came to tethering into Lightroom. Like most cameras manufactures, Olympus makes its own software for tethering and gives it away for free but it lacks things I need (like full screen reviews or any sort of image editing).  What it does do is auto import photos to a chosen folder on my hard drive which I can then set as a watched folder in Lightoom. Here’s how it works.

With the camera software importing to a preselected folder (how this is done varies from brand to brand) I then go to Lightroom and click File-Auto Import-Auto Import Settings and put a tick in the Enable Auto Import box. Set the watched Folder to be the same folder on my hard drive that I selected in the camera manufacturers software and do the same with the destination folder.Tether-5
And that’s it, Lightroom will auto import any images that land in the watched folder and they appear on screen about five seconds after I take the shot. Best of all Lightroom remembers these settings, so it’s a “set and forget” process too!

My best of 2015

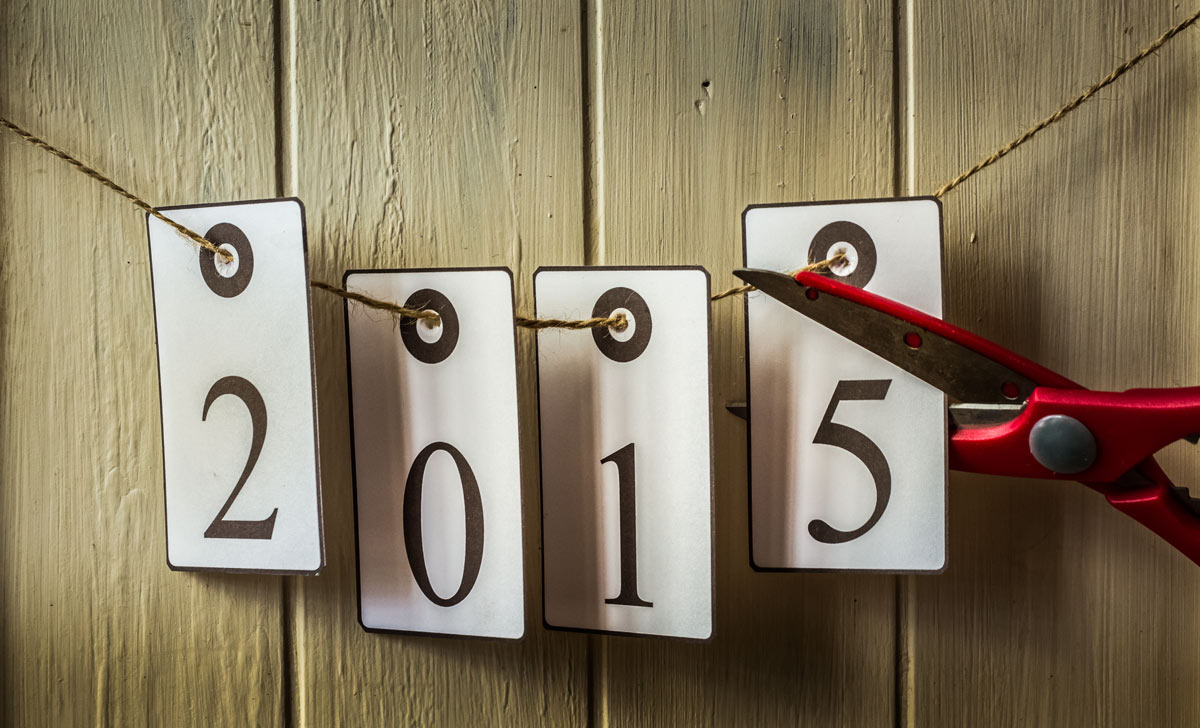
2015-6With the year drawing to a close, now seems like a good time to take a moment and look back at what I did with my camera during 2015. A lot (but not all) of my time goes into making videos for Adorama TV and in 2015 I made 26 of them, which have had over 1.4 million views so far.

So here are a few of my personal highlights. If you have your own, please leave me a comment.

Most watched video
At 150,000 views in just over 5 months, my “day to night” video for Adorama TV has easily been the most watched video I made in 2015. As anyone who makes YouTube videos will tell you, it’s almost impossible to predict which videos will become “popular” and often it’s not the ones you would expect, or perhaps that should be wish.

[youtube]https://www.youtube.com/watch?v=aGsQxXUEvc4[/youtube]
However I’m really thrilled this video has taken off. It was a sound idea that took a long time to plan but was great fun to shoot. Best of all I the final photos came out even better than I had hoped.

Most fun video
It’s tricky to choose just one as I enjoy them all in different ways. But the poker player shoot I did with Brian back in February was a very memorable one.

[youtube]https://www.youtube.com/watch?v=kum6KjmToYU&index=22&list=PL821B7D720DEA39FA[/youtube]
I know absolutely nothing about poker and as it turned out, neither did Brian. Fortunately Brian is an excellent actor as well as a model and once the technical bit was out of the way, he excelled in the role. I loved the range of emotions he produced although some of that may have come from drinking the “whisky” which was in fact cold tea!

Video I’m most proud of
usually my videos are all about taking and making a great shot but back in June I made a video that was more technical than usual. It covered how focal length can affect the compression in a photo.

For years I’ve listened to photographers go on about how they use a longer focal length lens to compress the foreground and background but that’s actually not strictly true. Yes they used a longer focal length lens but it’s camera to subject distance that does the compression and in this video I prove it… although I still get photographers telling me I’m wrong!

[youtube]https://www.youtube.com/watch?v=GbESqYkodmQ&list=PL821B7D720DEA39FA&index=14[/youtube]
I had photography students firmly in mind when I made this one but I know a few “expert” photographers who learned from it too.

Most fun photo shoot
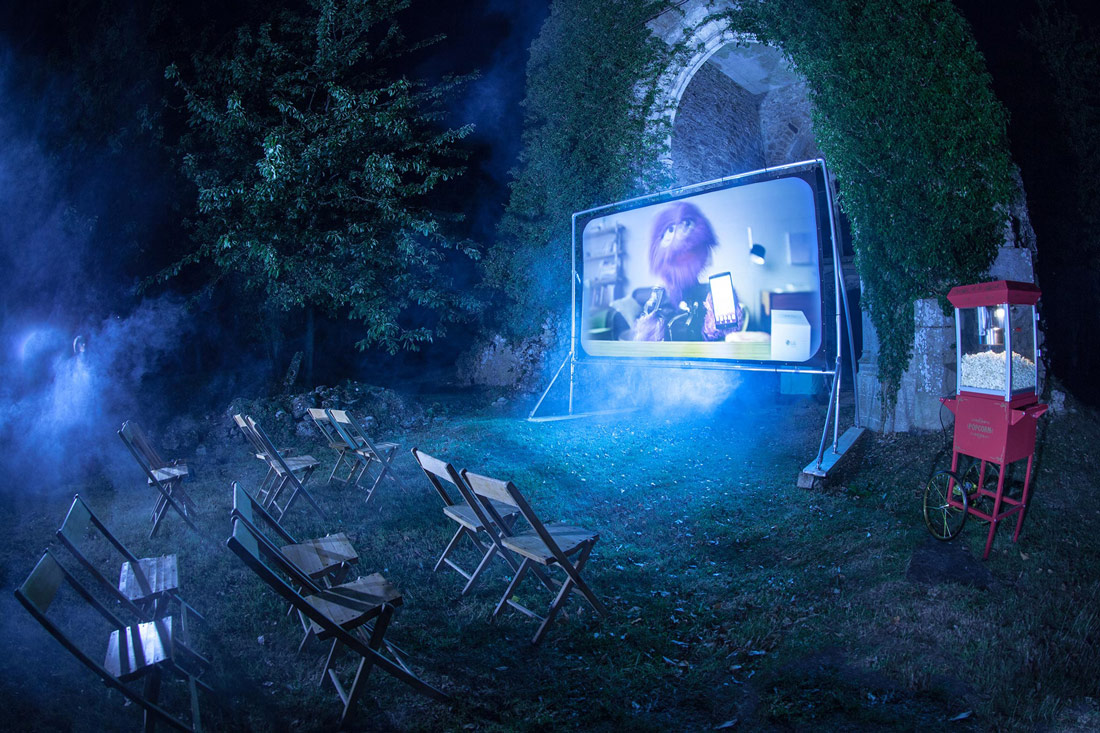
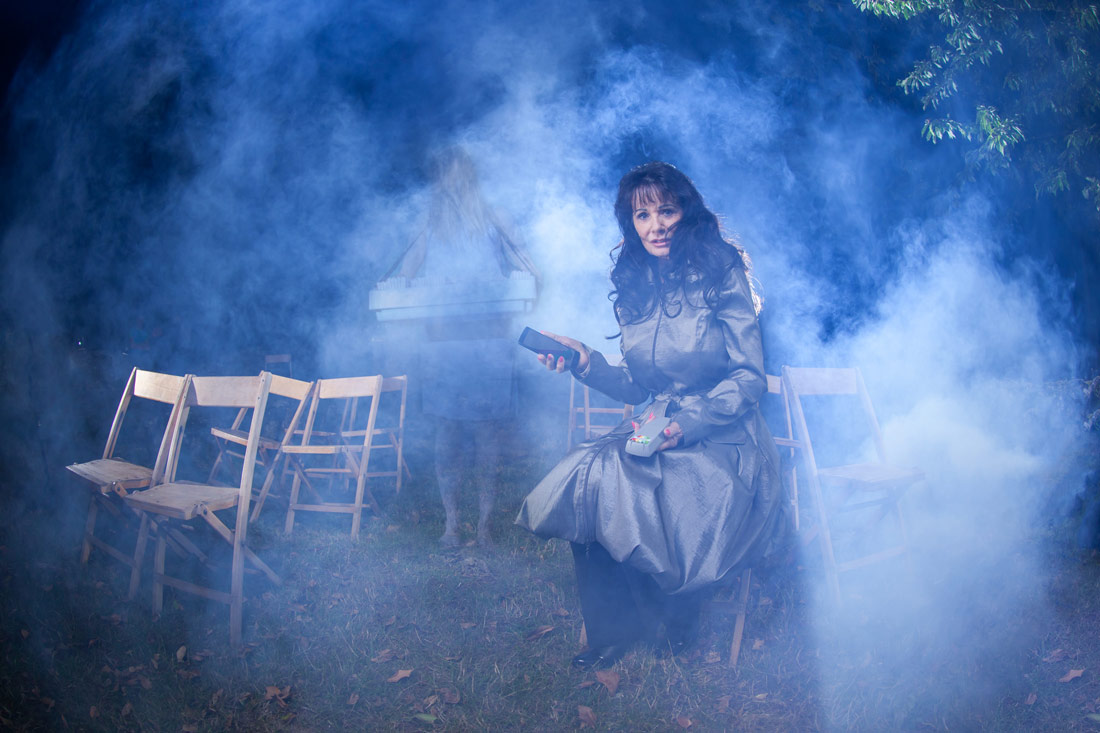
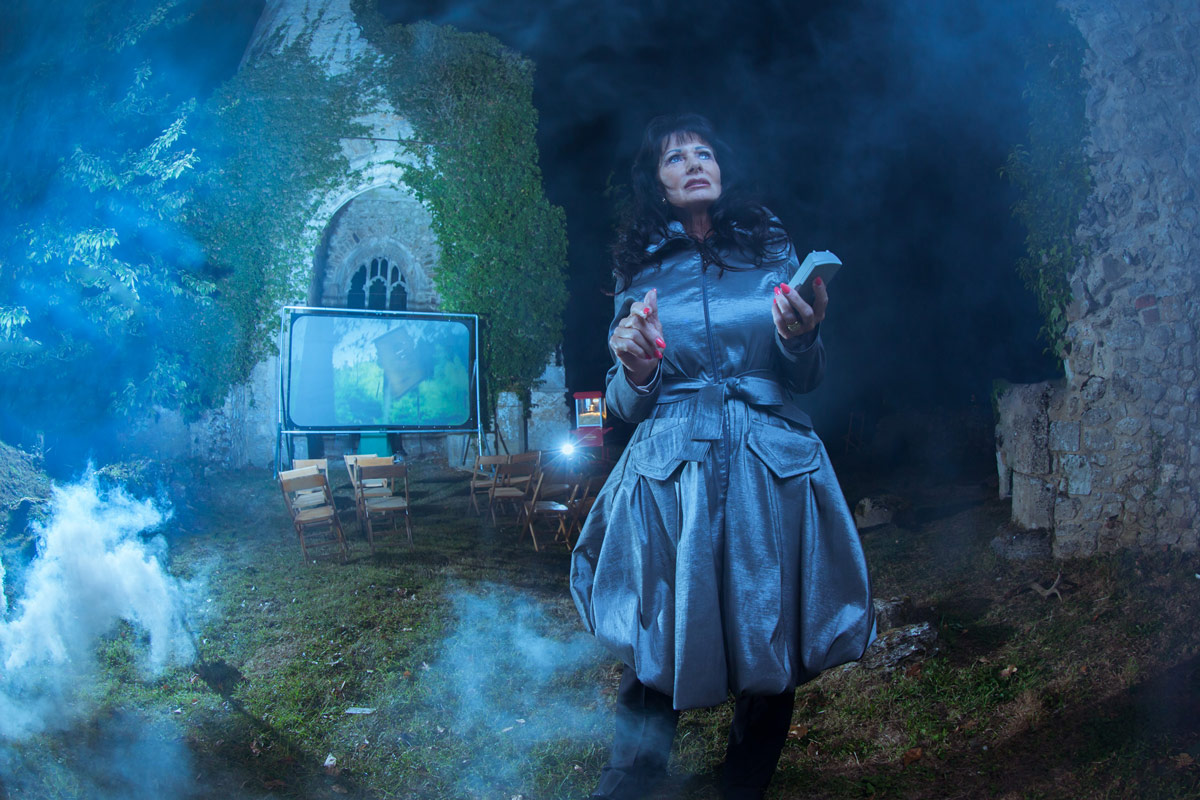
I don’t just make videos, I’m also a full time photographer. I always throw myself in to any shoot but occasionally a job comes along that really stands out. The best example of that in 2015 was a PR shoot I did with LG mobile and the Three network here in the UK.

When I got an email asking if you can photograph a medium and ghosts at a ruined church in the most haunted village in the UK, I jumped at the chance. The full brief included shooting a spooky outdoor cinema in the dead of night at a location without power… I loved it!

As you can see from the photos, things got very spooky and smoky. Our medium arrived late at night having just come from a séance but I guess my lights must have frightened away the spirts as she was unable to detect any ghosts until I was packing my gear into the car!

Best “Subscribe” ending
Do you watch my videos to the end? If you do then you’ll know I like to have fun with the “Subscribe” button. And yes I do spend far too much time on it.

This year I’ve made the subscribe button float in a balloon, appear on a London bus and ripple at the bottom of a fish bowl.

But my favourite subscribe button was at the end of my 15 minute photo challenge at the Pantheon in Rome. Chiselled on to the 2000 year old wall with just a little help from Adobe After Effects, this subscribe button took a fair bit longer to make then the rest of the video took to film!

[youtube]https://www.youtube.com/watch?v=9XaF-IPSwJo[/youtube]