Making An Exhibition Of Myself

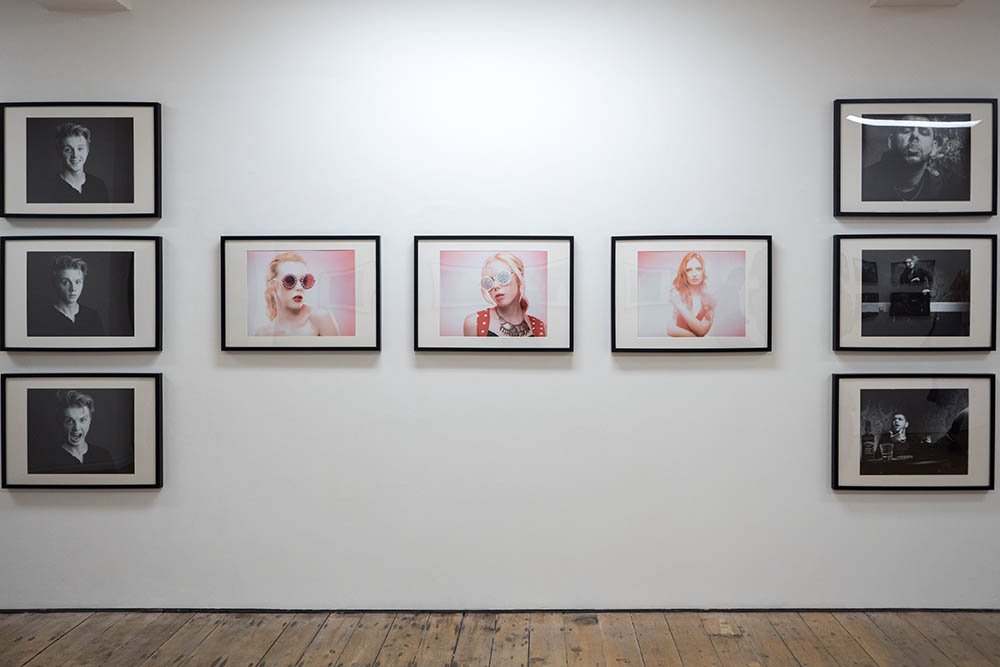
Earlier this year I got an email from Olympus asking if I’d like to hold an exhibition in their London “Project Space” gallery and to be honest my first thought was… thanks but no thanks. Now I know that will surprise a lot of people but I’ve always felt like my photos look OK but they’re not exactly “art” packed with deep hidden meaning. So I didn’t really commit either way to the offer and it sort of got lost over time.
Jump forward a few months and I get another email from Olympus saying that if I want to do the exhibition they needed my final photos in just three days. The exhibition starts in just 7 days time!

As my wife pointed out, this is probably a once in a lifetime chance that I couldn’t refuse, so I spent a day sorting through my photos, coming up with a theme and selecting the best 30-40 images for printing. Luckily Olympus were happy to handle the printing side of things and the gallery had the frames, so by the next morning my first and probably last exhibition was ready.

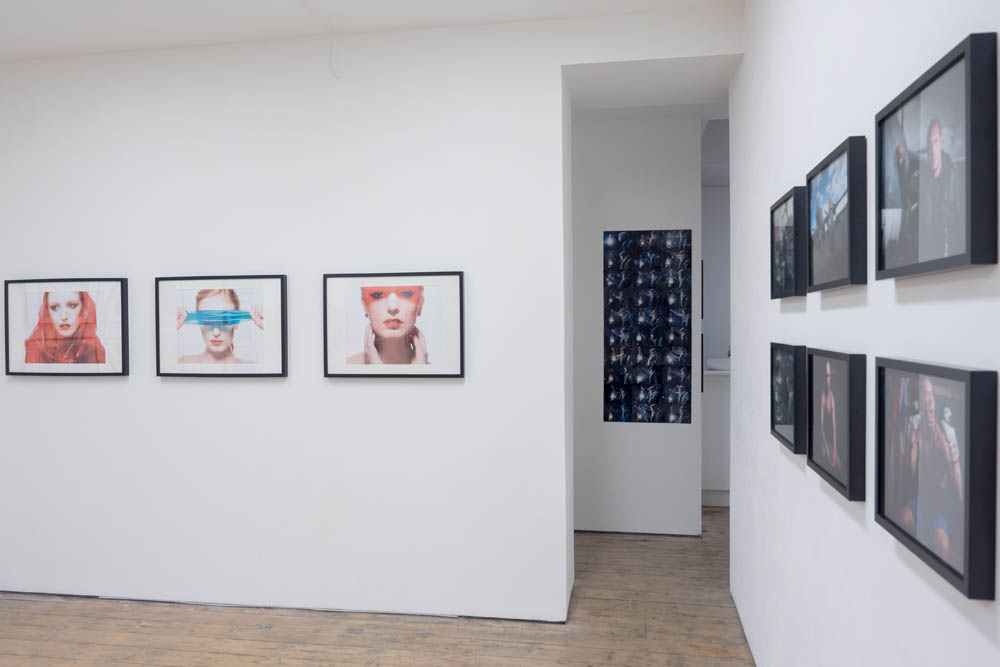
I’ve never hung an exhibition before but Serenella, the Art Bermondey Project Space  gallery manager, was amazingly helpful. We spent a few hours at the gallery looking at blank walls trying to figure out what to hang where but by the end of day the layout was done, all we needed were the big prints.
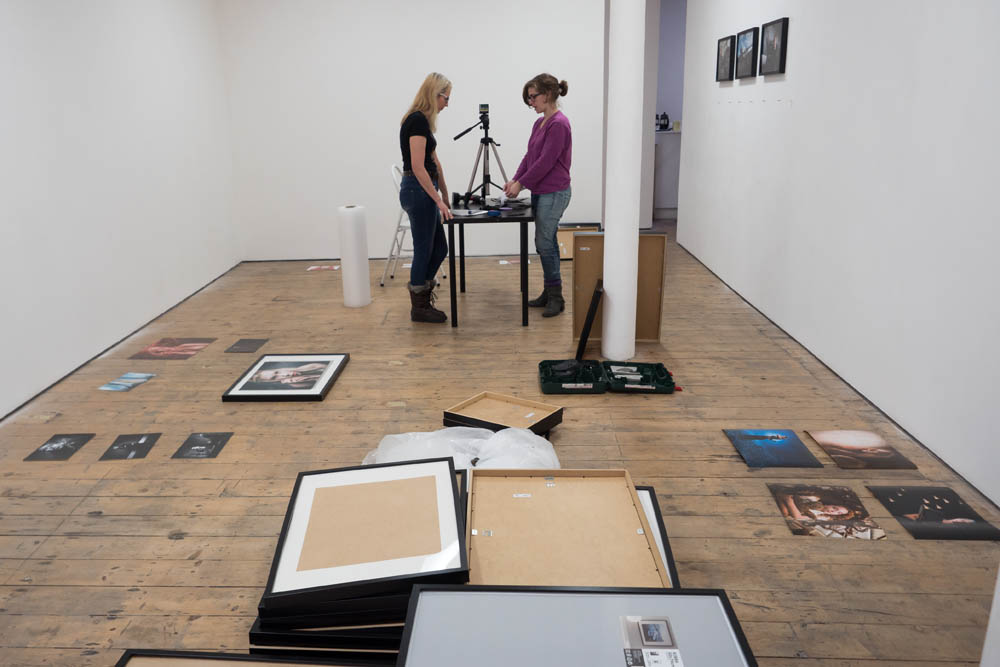
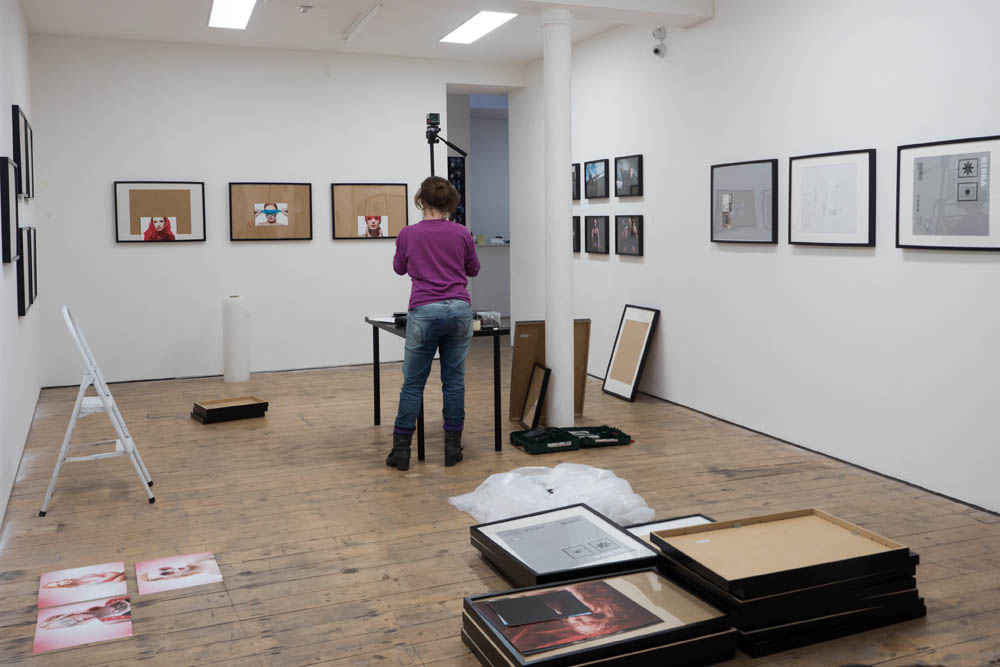
Letting someone else organise the printing was a major worry and sure enough things didn’t quite go to plan with the first set. But a massive thank you has to go to Claire Voyle from Olympus who personally took charge of the printing of the final photos and made sure they reached the gallery on time.

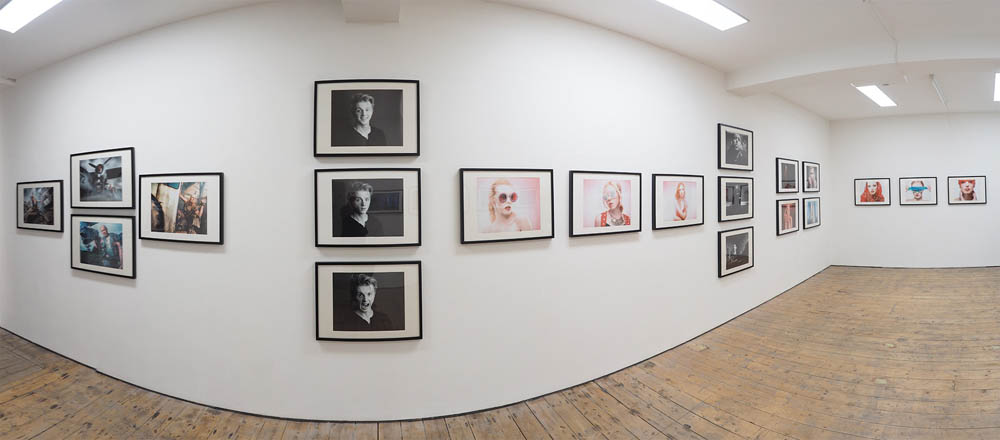
The theme for my exhibition was that all the photos were taken as part of training or education events and that none of the photos had ever been printed before (I know, I know) so to walk into the gallery and see nearly 40 large prints of my work all in one place was really overwhelming for me.
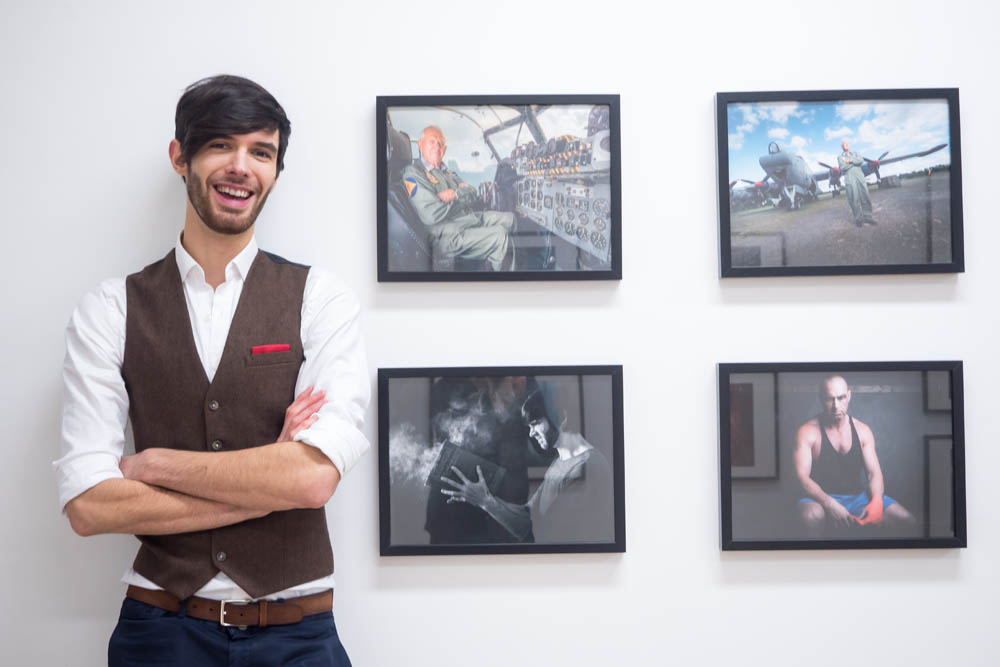
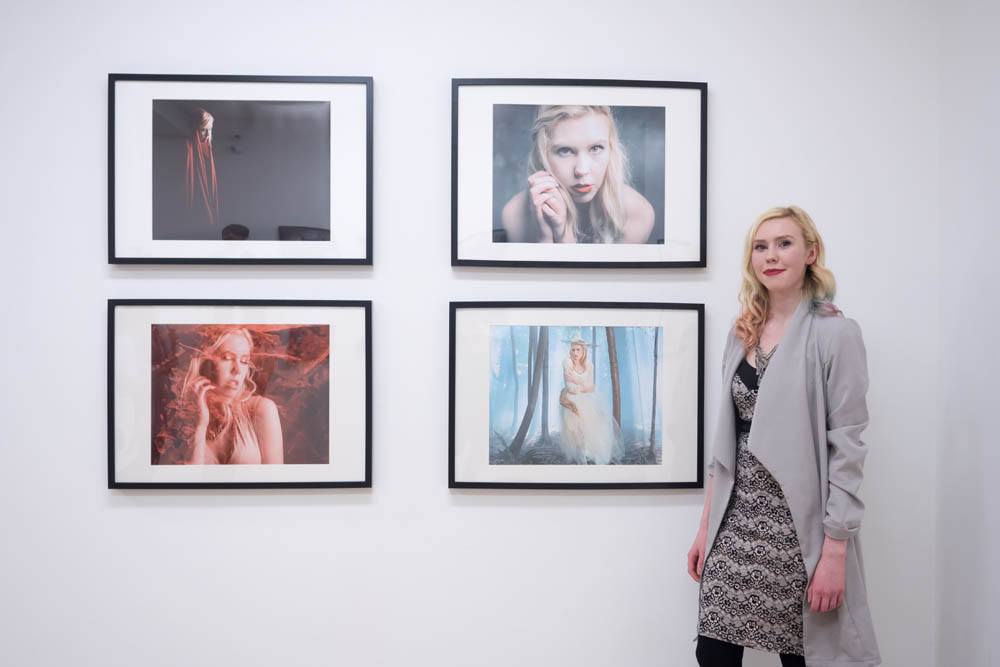
I’d like to thank the many people who came along to the exhibition and the VIP preview night. I hope you enjoyed the work as much as I did.

The whole exhibition was planned, printed and put together in a little over a week, which as anyone who’s done an exhibition will tell you, is an incredibly short time frame.
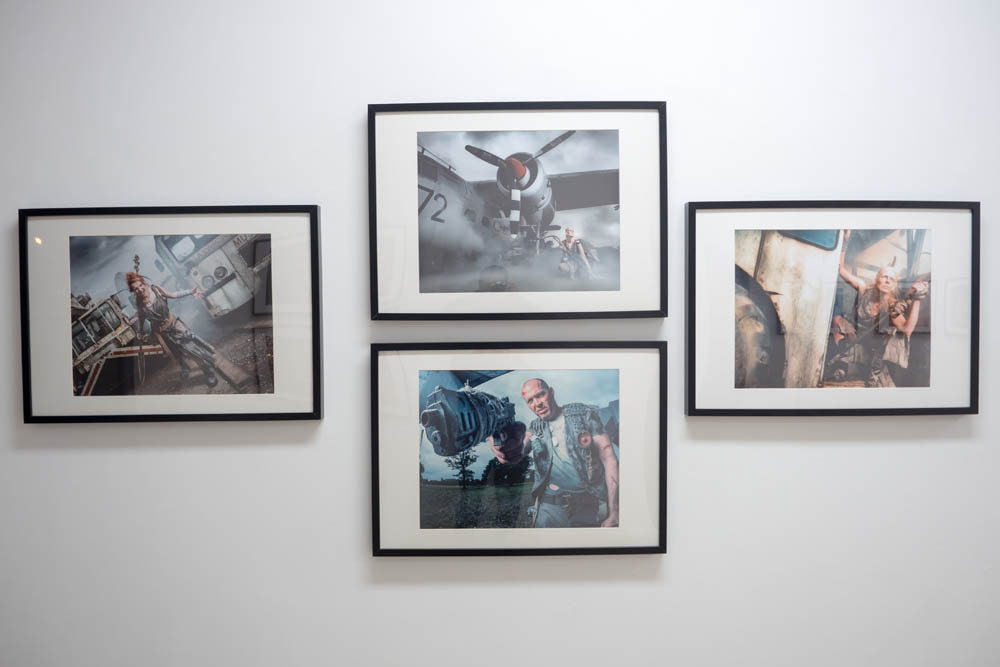
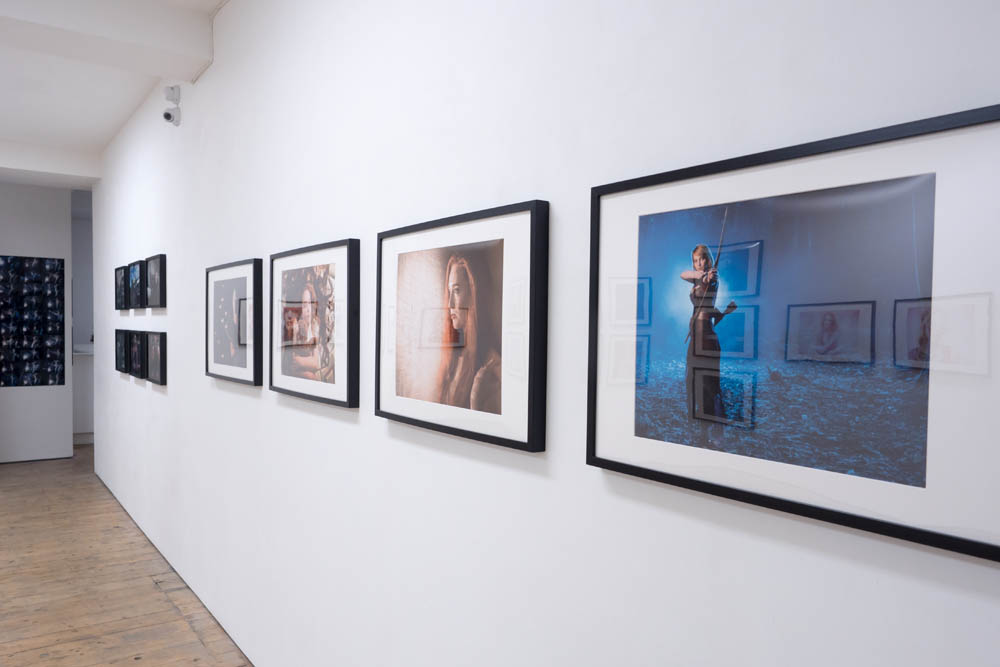
Would I do one again? Yes if I got the chance I would.

Would I do things differently? Without question. Putting the exhibition together was filled with huge highs and some lows but I learned so many things from it.

Would I recommend other photographers to hold an exhibition? I’ve learned exhibitions are not just for painters, sculptors and photographers who need to explain what you’re looking at before you can appreciate what you’re looking at. If you have a body of work that you love then why not share it.
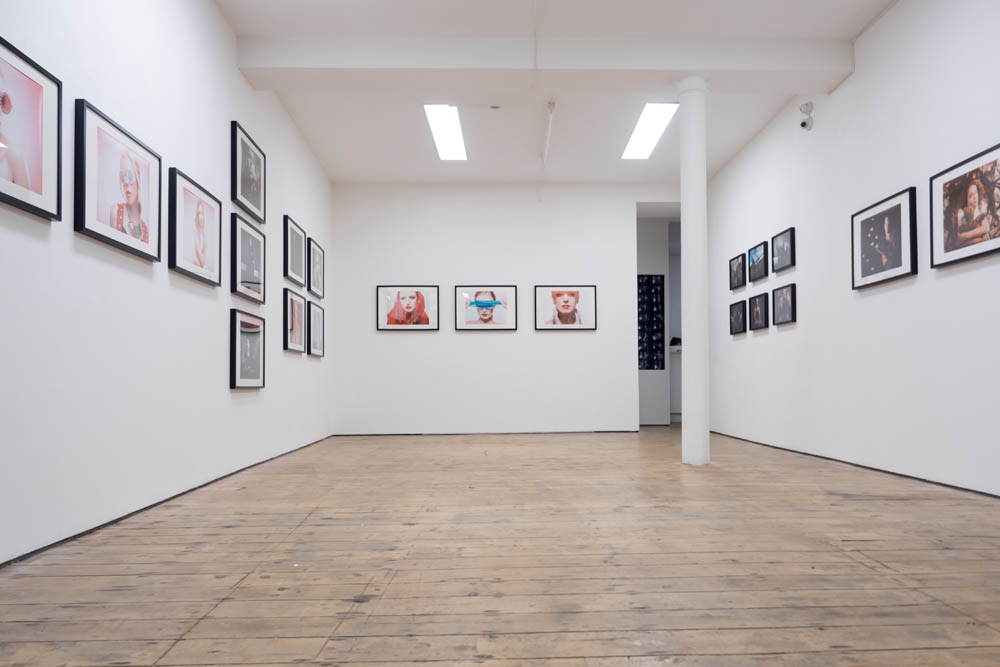
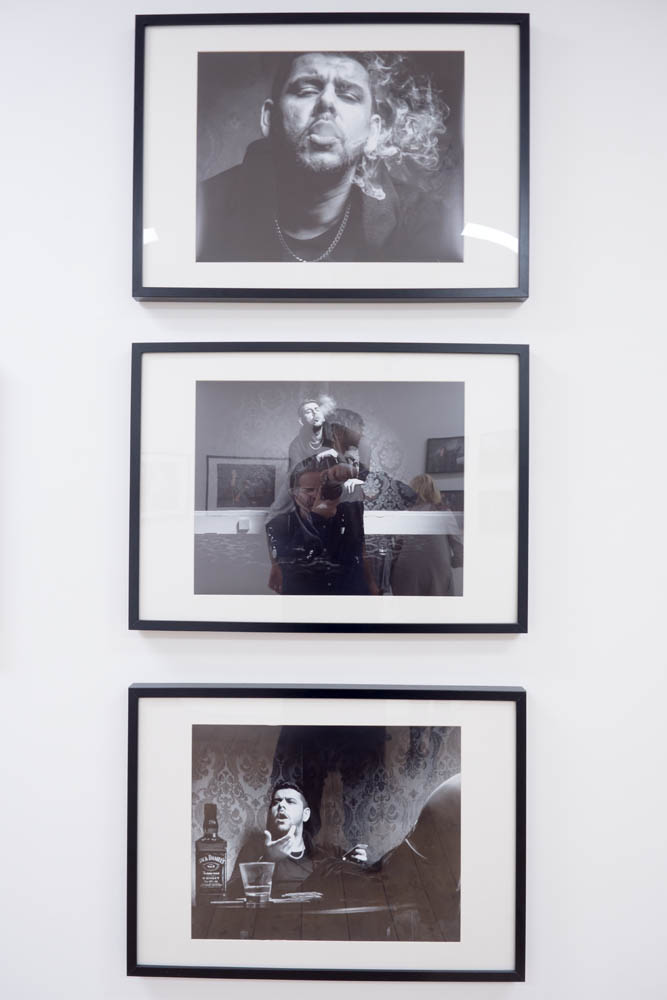
Getting Creative With Colored Gels

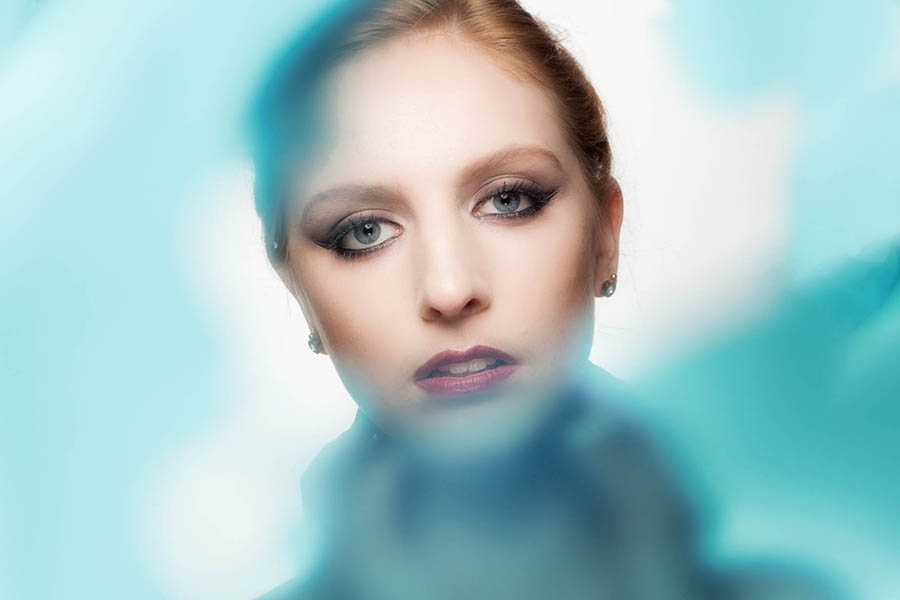
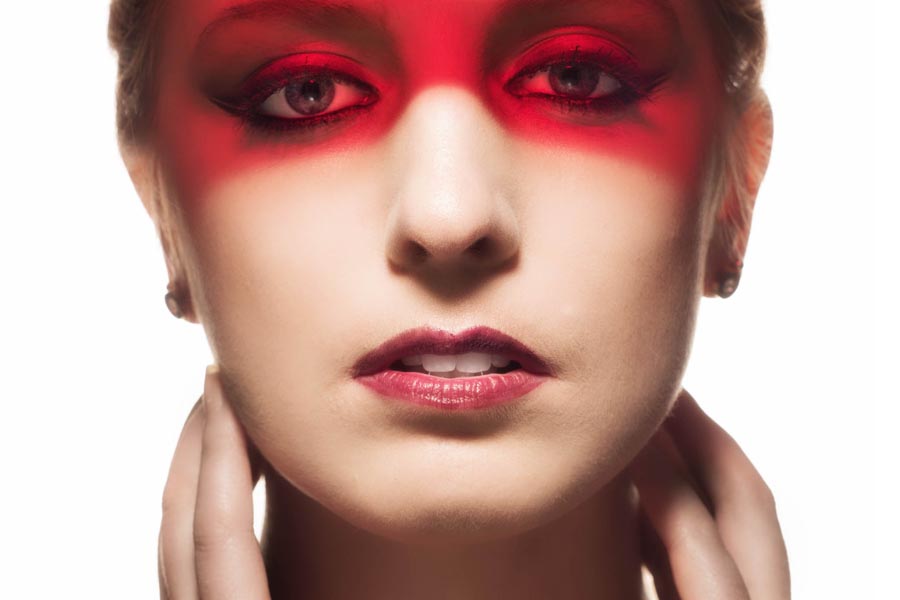
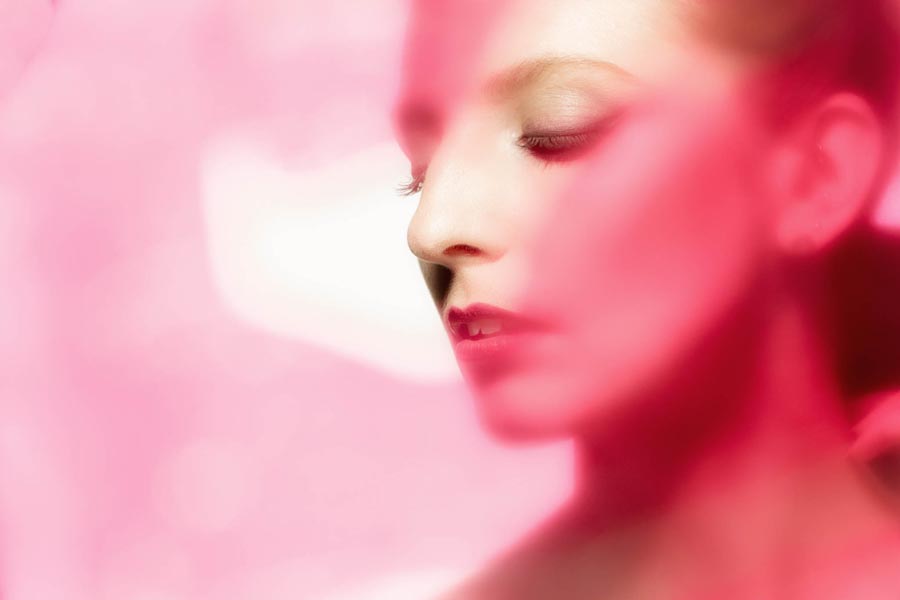
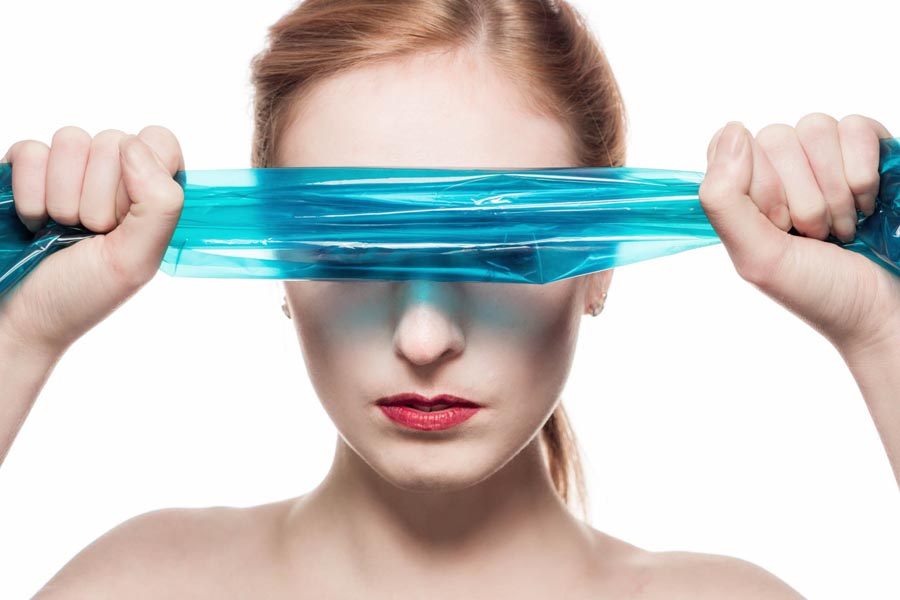
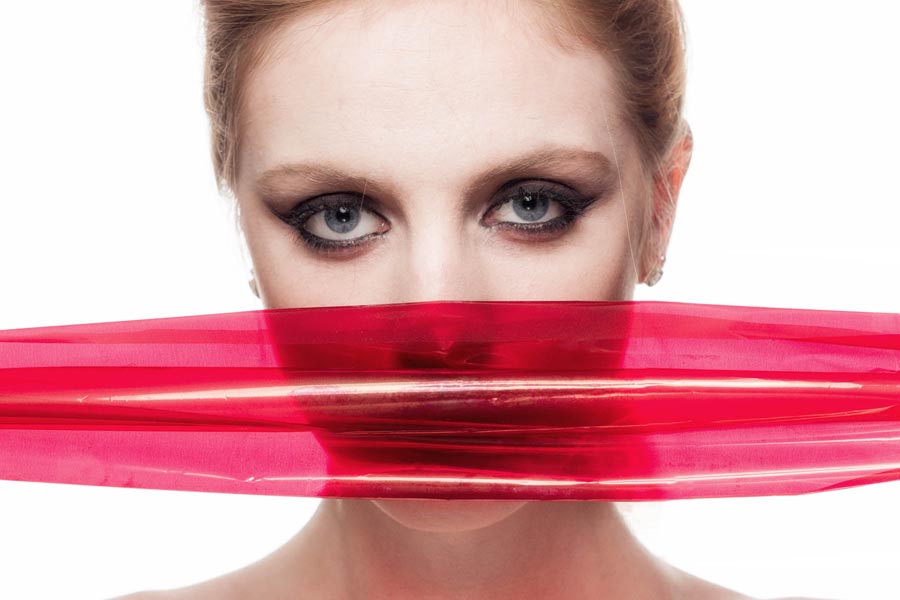
Coloured gels are one of the “must have” light modifiers in my studio. They don’t adjust the shape of the light but they modify it’s colour and with a bit of know how you can get some amazingly colourful effects.

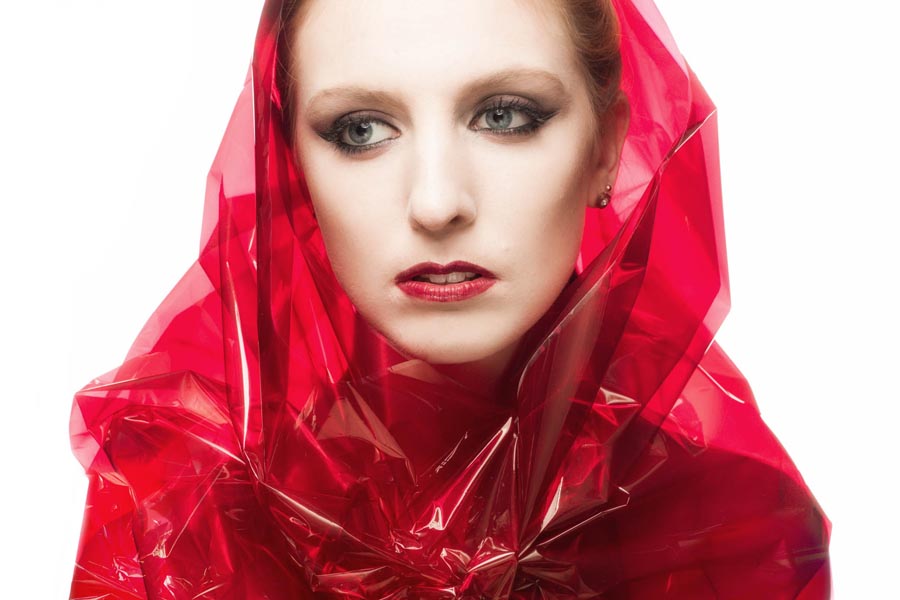
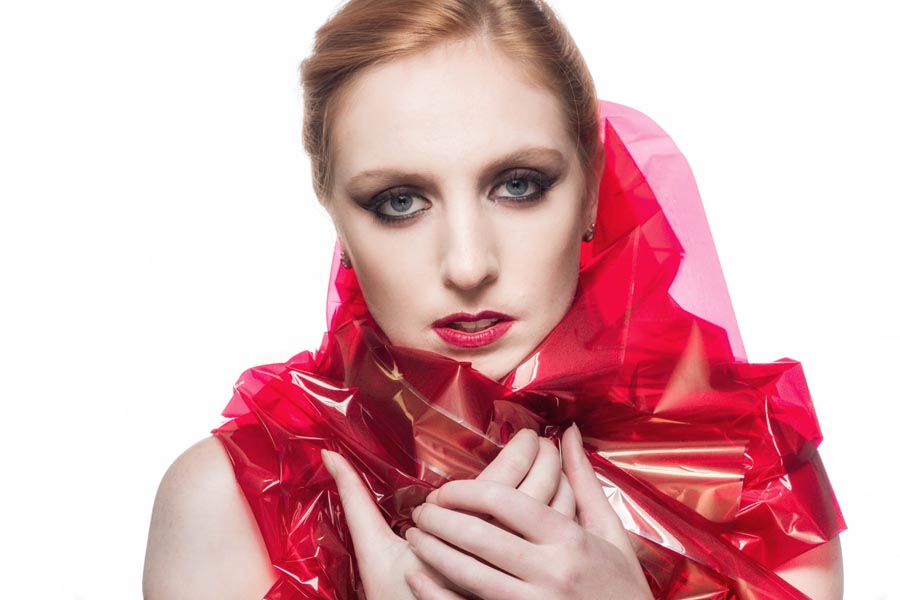
The gels I usually attach to my lights are always the heat resistant type, flashes produce loads of heat at higher powers. However if the gel is away from the light then I also have 70cm rolls of coloured cellophane which I get from my local florist and craft store.

Fun as gels are, why limit their use to altering the colour of light? In the video below I’ve got some creative alternatives uses for gels.

[youtube]https://www.youtube.com/watch?v=tkG62J2tSBc&[/youtube]

As always working with a great model makes the world of difference and Beth did a great job here https://purpleport.com/portfolio/bethsmithmodel/ Similarly close head shots need great make-up and I have to thank Kate for this https://purpleport.com/portfolio/katechalkleymakeup/

Shooting Winter and Snow Studio Portraits

I love shooting portraits outside on location but winter can pose problems. Changeable weather and short days don’t help but cold, wet weather are my nemesis. So perhaps it’s not surprising that I find myself spending more time in the studio at this time of year.

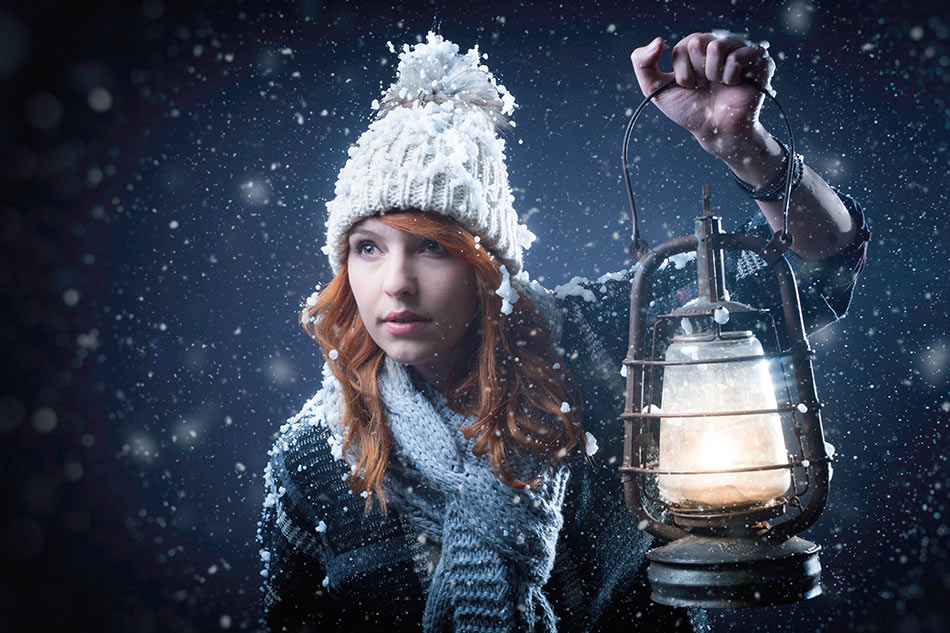
Being stuck in my studio doesn’t mean that I can’t also embrace winter and bring the outside inside. A great way to do that is to make it snow.

In the video below I walk you through both the lighting and Photoshop post processing.

[youtube]https://www.youtube.com/watch?v=g5QU9Jvc7v8[/youtube]

If you’d like to try my Photoshop Snow Action you can download it from https://www.gavtrain.com/?p=2490

If you’re after the falling snow in a can that I used for this shoot then check out the Snow Business store http://www.snowsupermarket.co.uk/falling-snow-c4/falling-snow-spray-in-a-can-p9

Three Must Have Portrait Props In My Studio

With the colder, darker weather very much with us here in the UK it’s not surprising that I’m finding the studio a much nicer place to work in then being on location. However the four walls of my small home studio can start to feel very limiting after a while so to avoid cabin fever setting in I have a selection of props to liven up my shoots.

The video below covers my three main types of prop and a few ideas on how I like to use them.

[youtube]https://www.youtube.com/watch?v=U4aPx8mbBAY[/youtube]

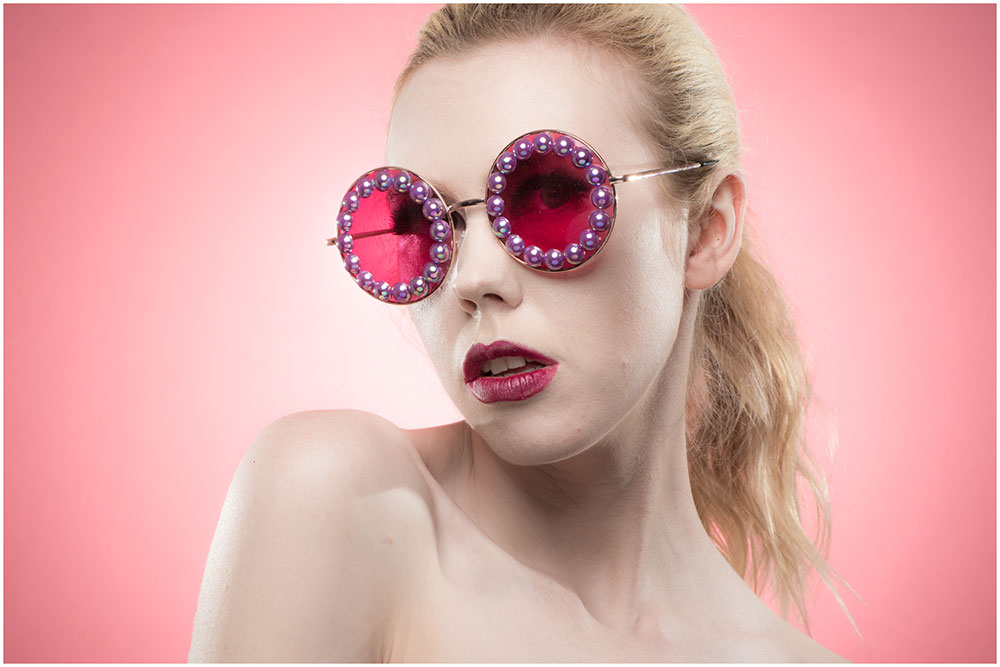
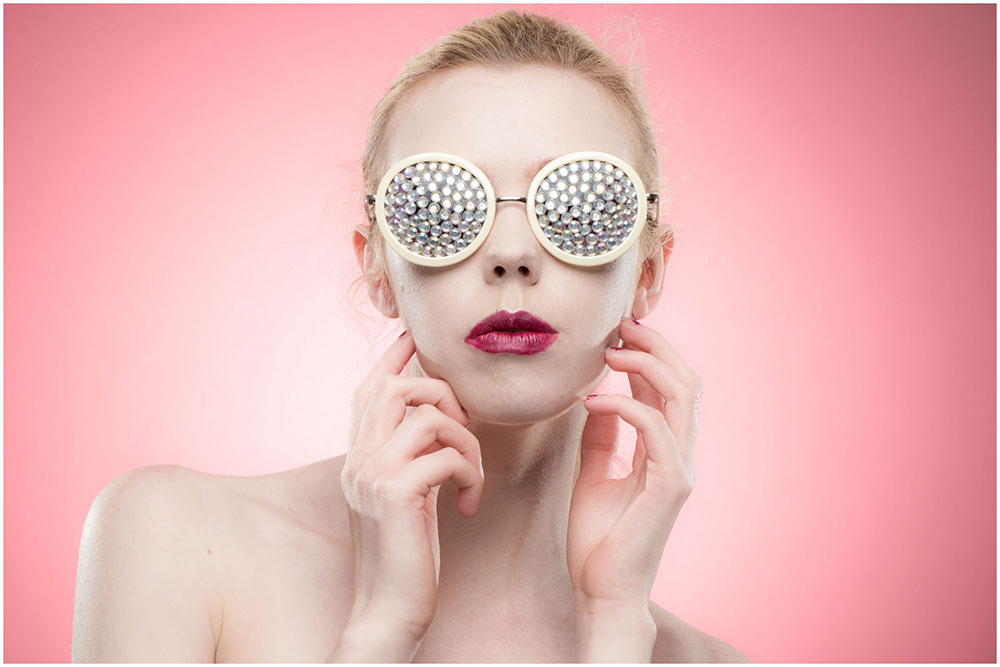
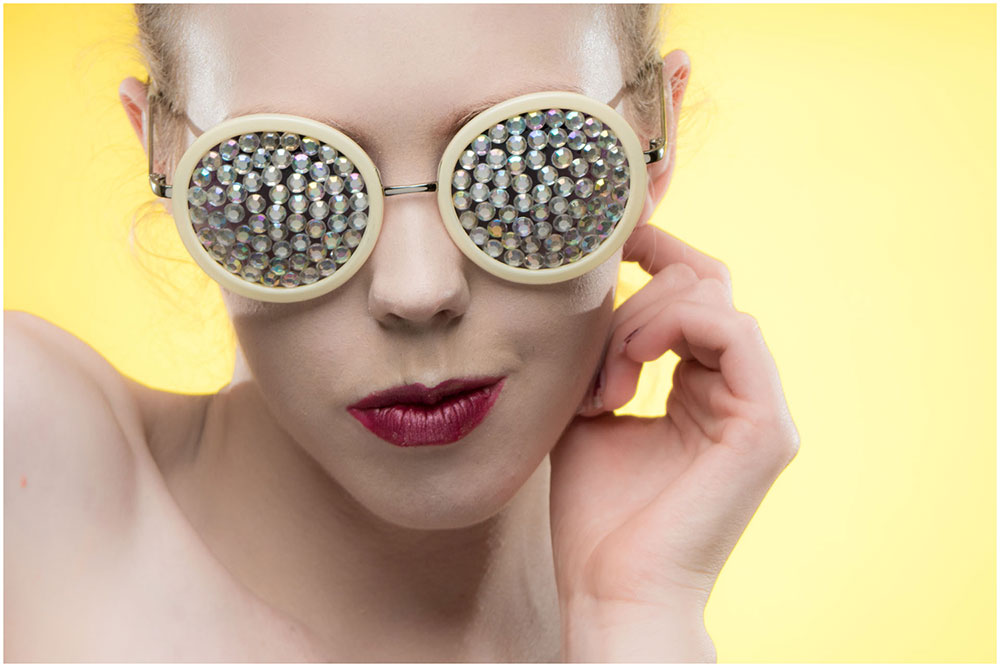
Sunglasses
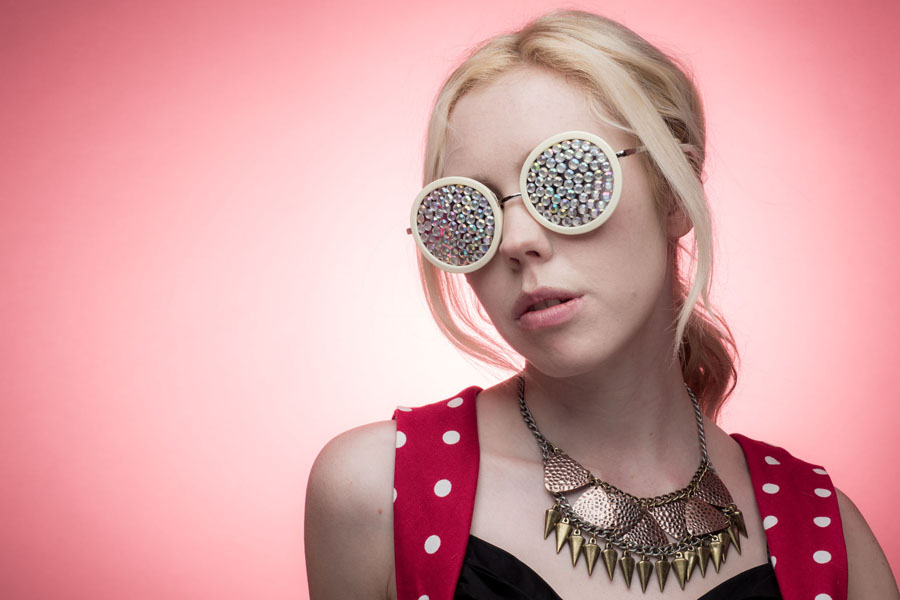
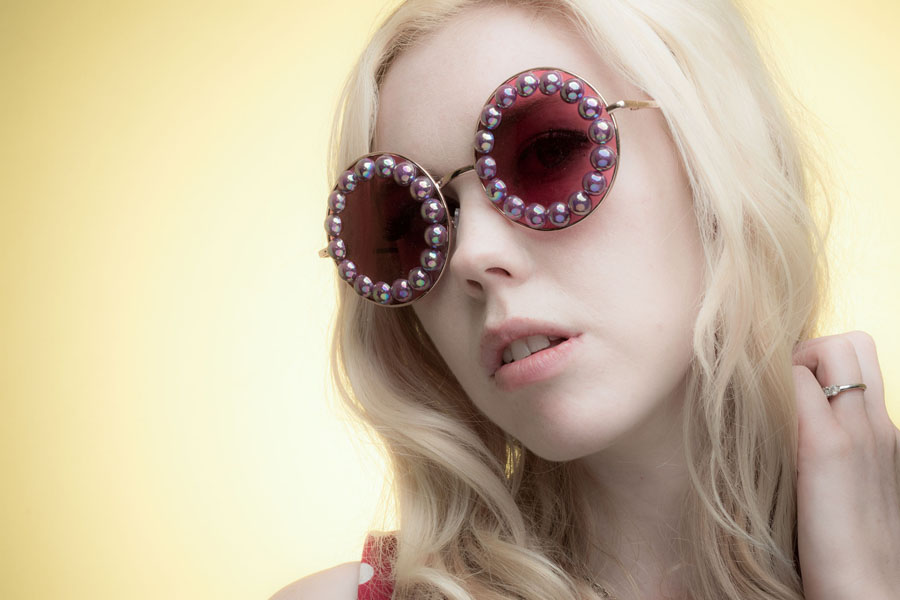
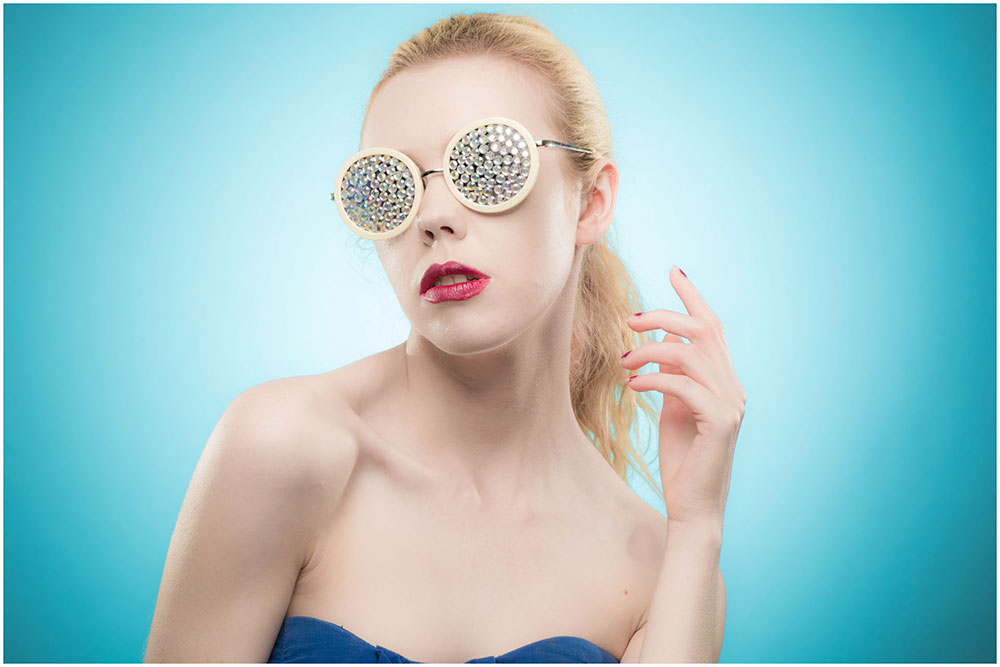
Winter might sound like the wrong time of year to be on the hunt for novelty sunglasses but I find having a selection on hand can really help. On a very simple level it gives something for your subject to interact with but sunglasses can also become part of the styling of the shoot. With a bit of craft skills you can also transform a pair of dull, basic sunglasses into a fashion item in it’s own right!

Hats
Just like sunglasses a hat can be worn or held once again giving your model something to work with. Hats can add character, hats can add mood, hats can be fun. Hats with brims can cast shadows which can cause problems as the model moves but with a bit of careful lighting that can be used to your advantage.

Fabric
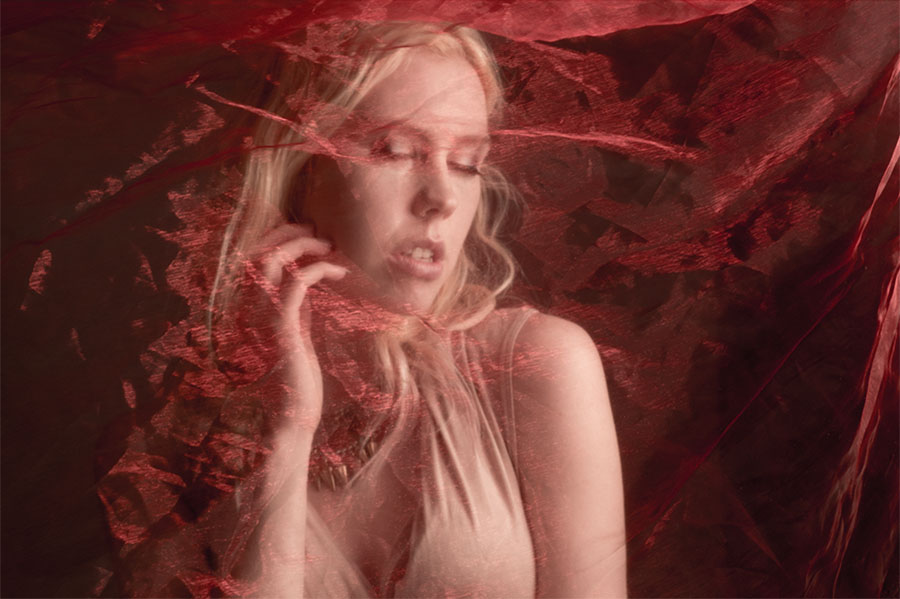
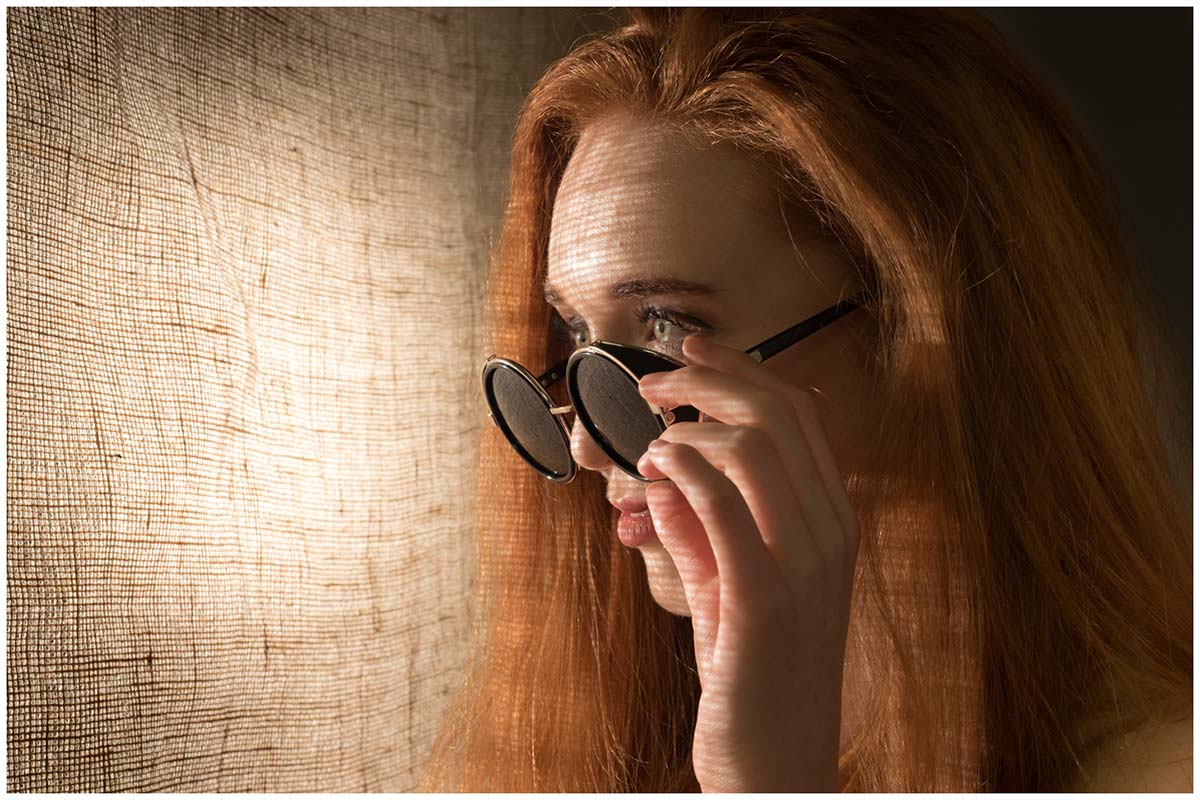
Random bits of fabric are the perfect thing to have in the studio. They can be pegged up as backgrounds or wrapped around your model as a an outfit. Sheer fabric can be placed over your subject to add mystery or moved around for a floaty feel

There are endless ways to add ideas to your shoots, props can really help at this is just a few ideas to get you started.

Best Focal Length for Portraits

Knowing the best focal length for shooting portrait isn’t as easy as it may sound. Different focal lengths give very different results, some more flattering then others. In this video I take the same head shot at several focal lengths and compare the results.

[youtube]www.youtube.com/watch?v=DGYqWULIUp0[/youtube]

Traditionally a 50mm lens (on a full frame camera) has been considered the closest to the human eye but generally I prefer headshots with 70mm or more.

Focal-Length-Comparison

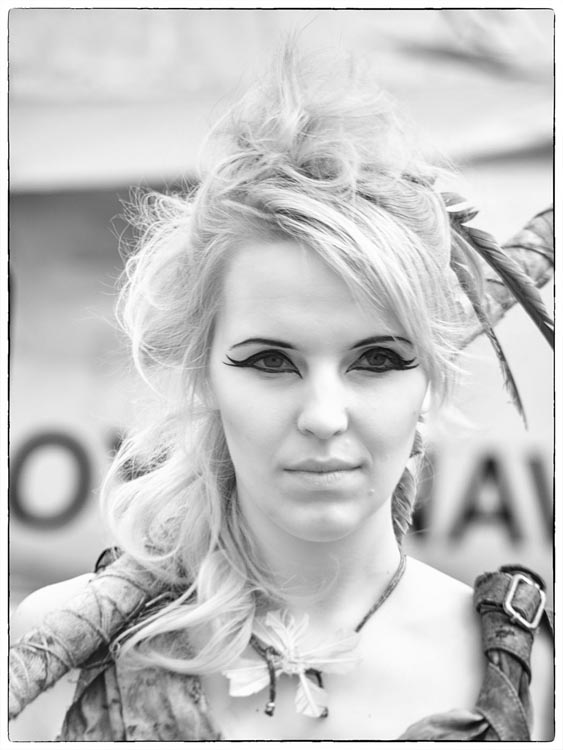
As you can see in the comparisons above, zooming in (and therefore stepping back from the model) has a few benefits. The longer focal lengths give even tighter crops on the background and stepping back compresses the facial features. Of course there’s plenty of scope for creative portraits when shooting head shots with a wide angle lens but for most photographers, longer focal lengths are better.

Aviation Apocalypse – Wrap Up

UPDATE:
Scroll down to see the gallery from the 2nd running of the Aviation Apocalypse in September 2016

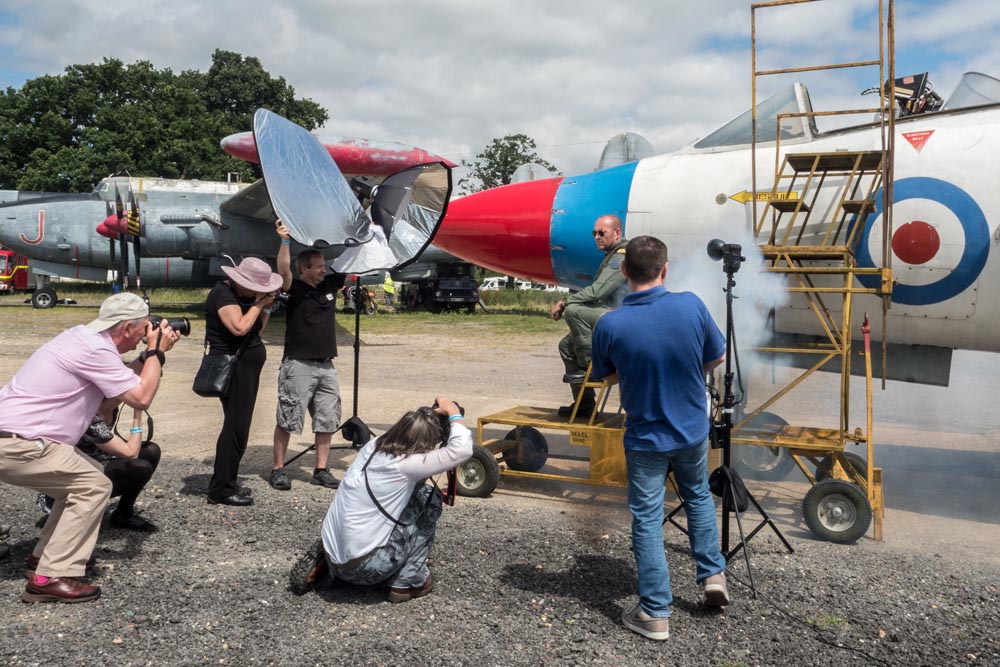
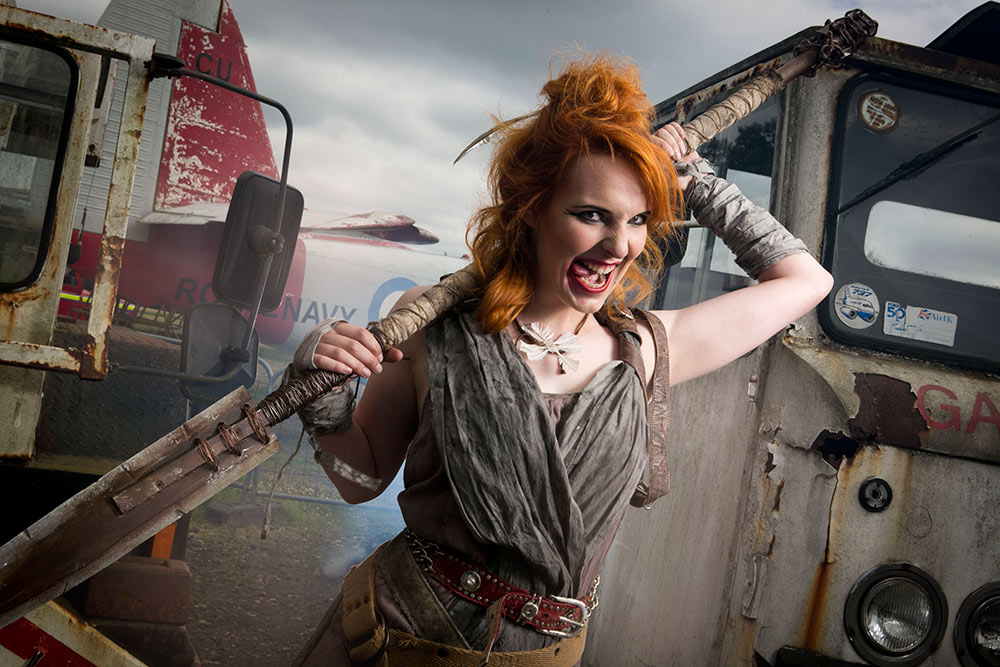
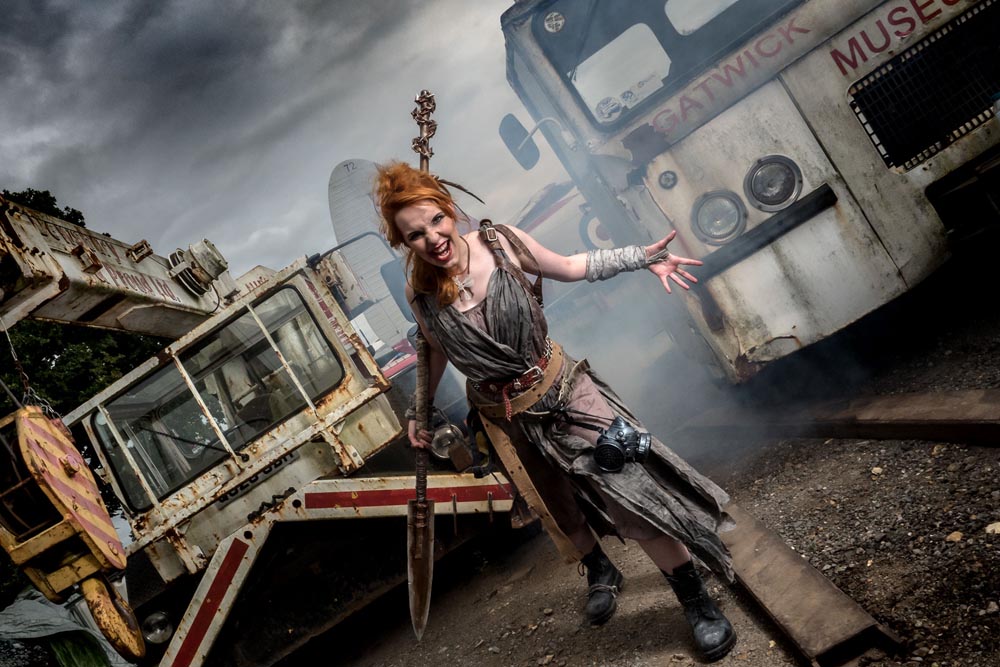
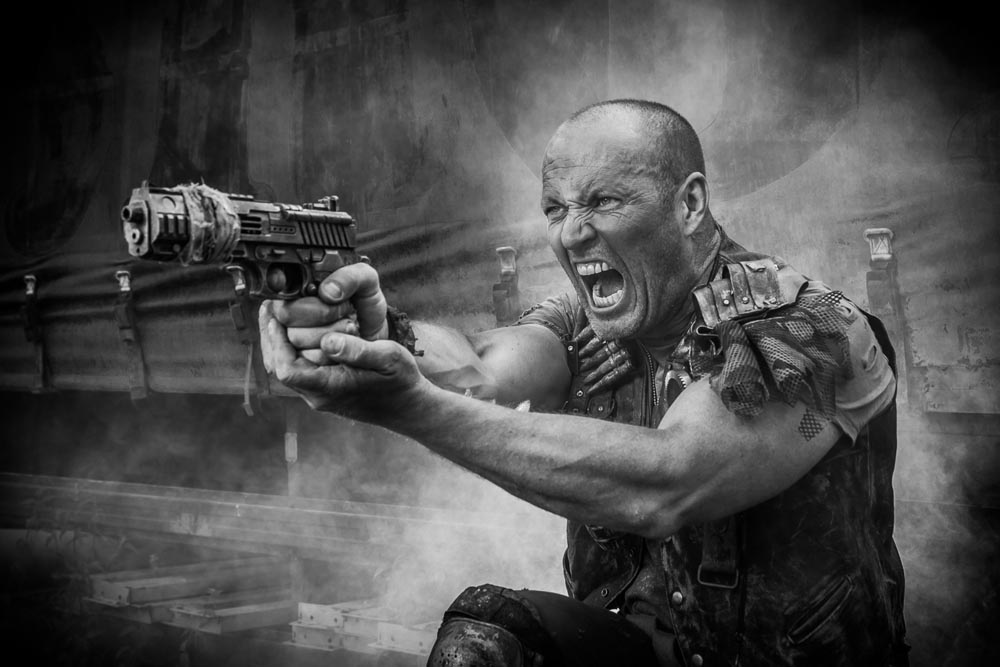
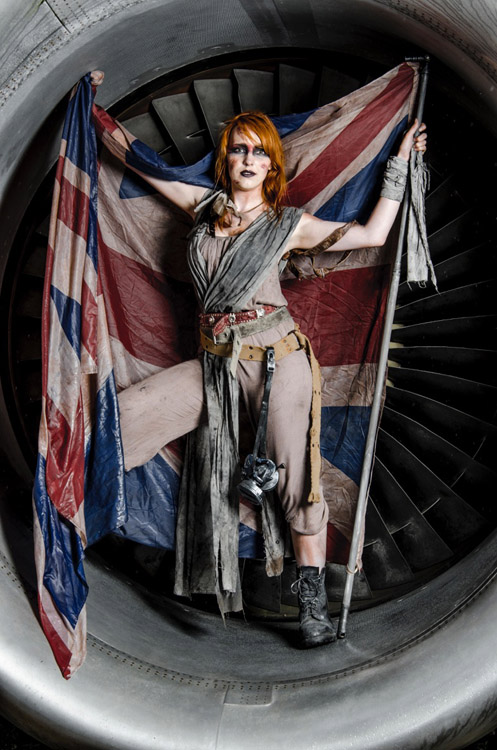
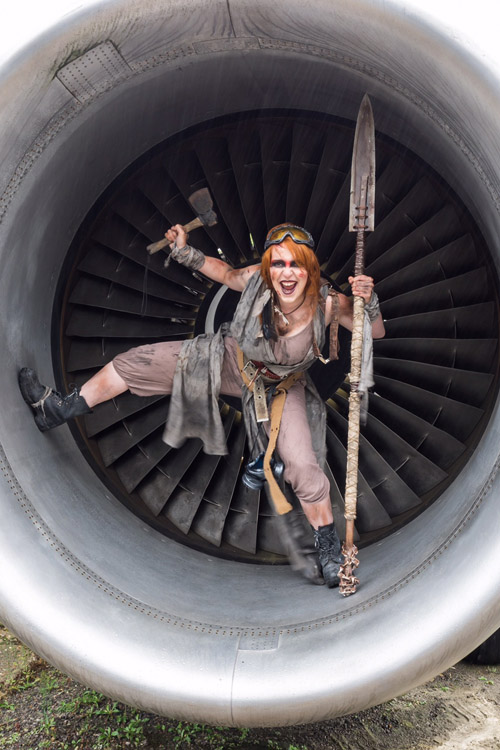
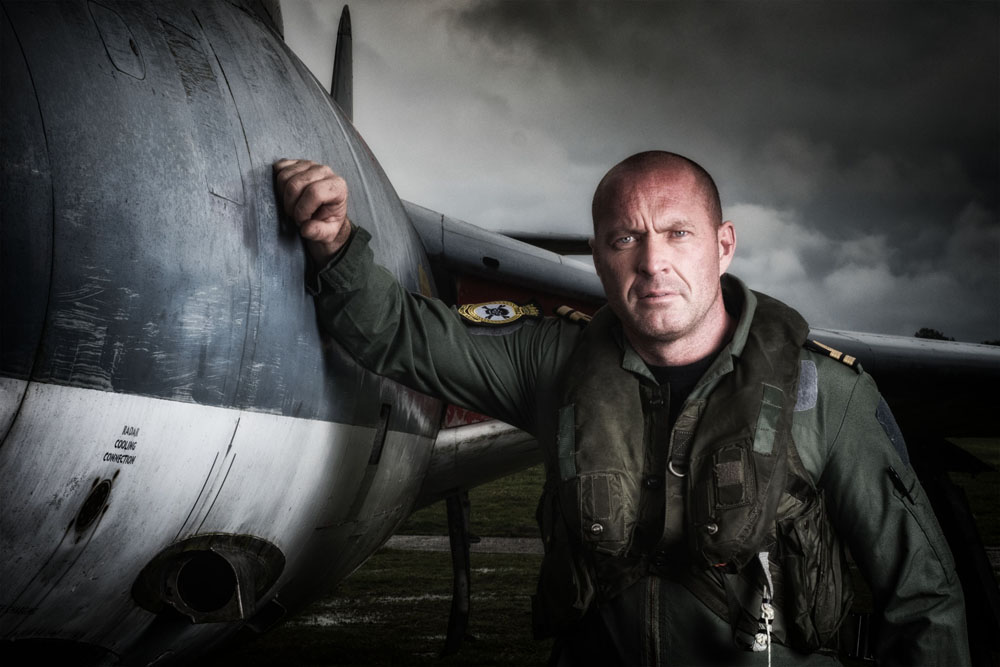
Last Sunday (24th July 2016) was the first Aviation Apocalypse workshop and after months of planning, building and testing ideas and outfits, it was amazing to see it all come together.

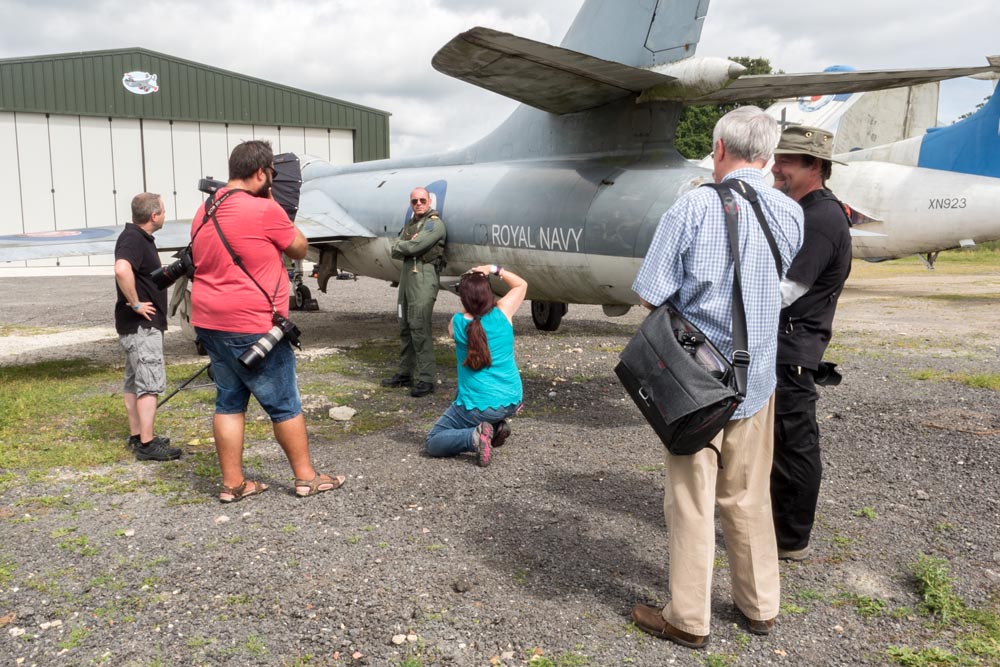
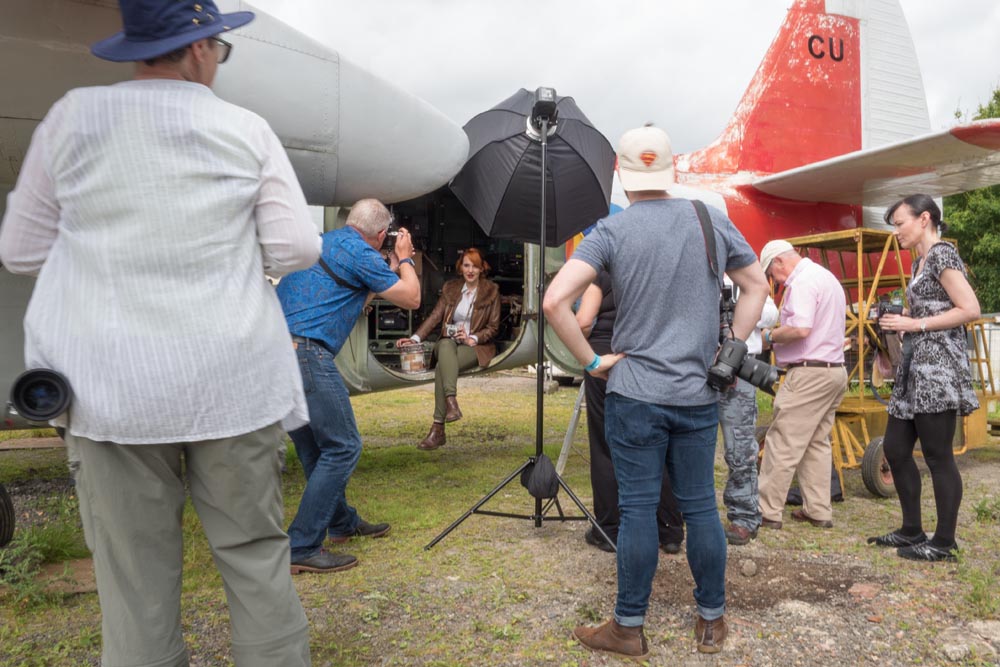
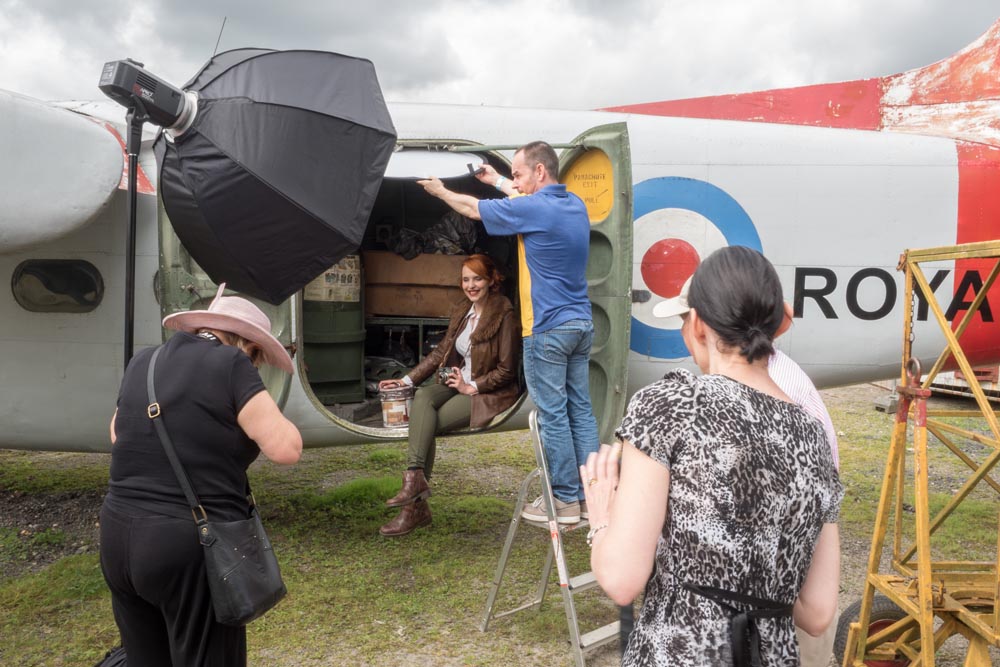
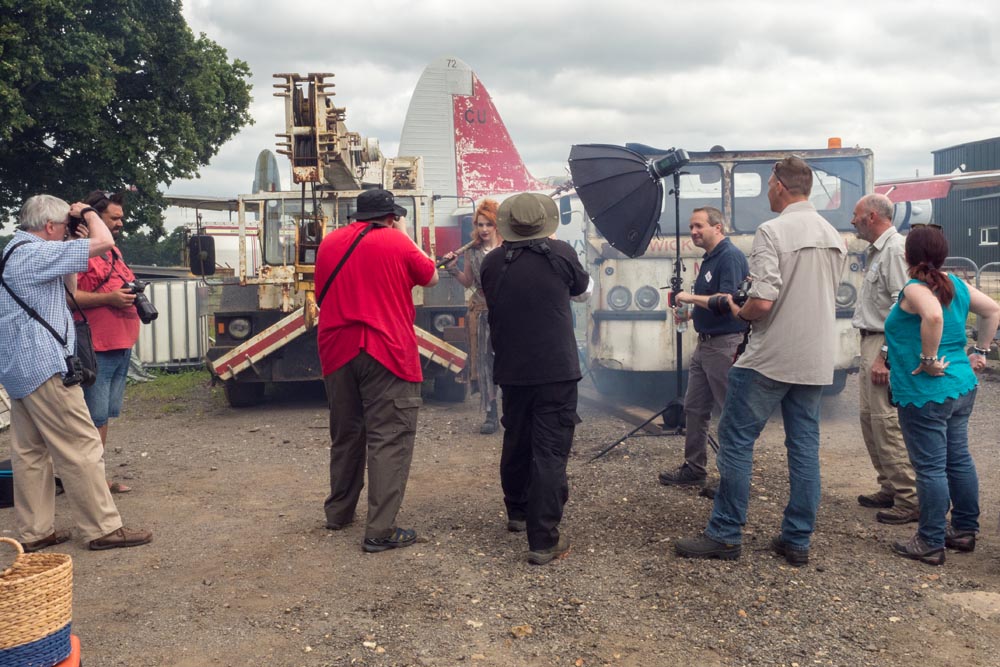
The Gatwick Aviation Museum was the location for the workshop and I was joined by 14 enthusiastic photographers and two amazing models. In order to keep the groups small and the shooting time high, I roped in the help of Tommy Reynolds as a group leader who did a brilliant job passing on his ideas and passion for the shoot.

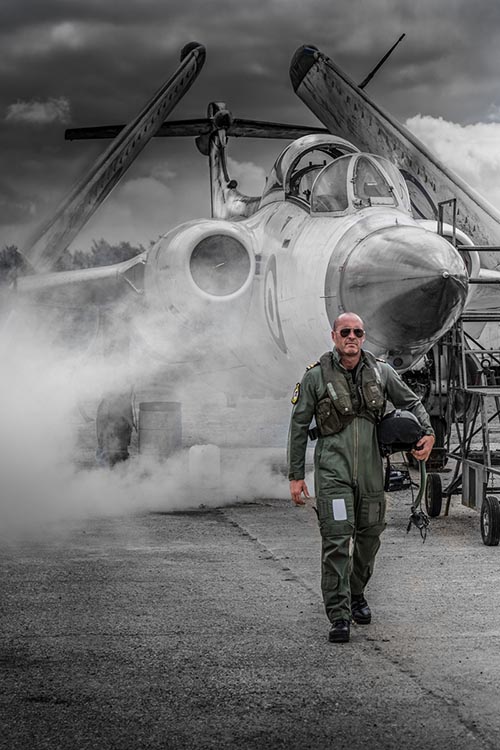
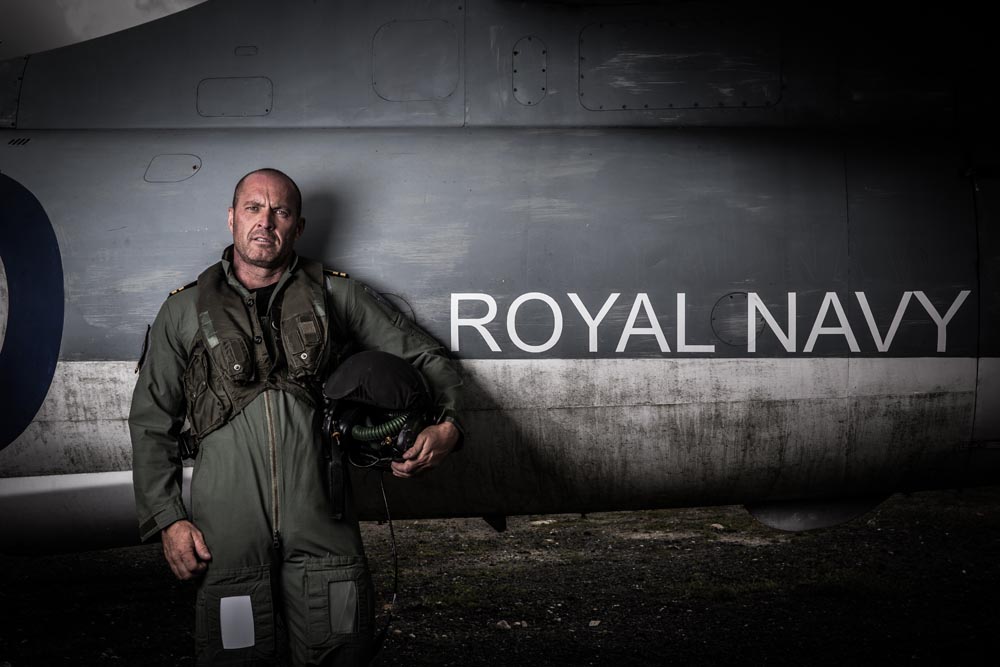
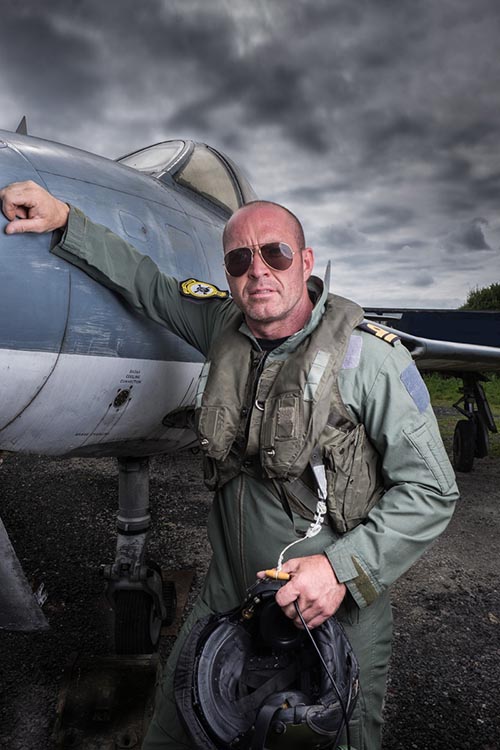
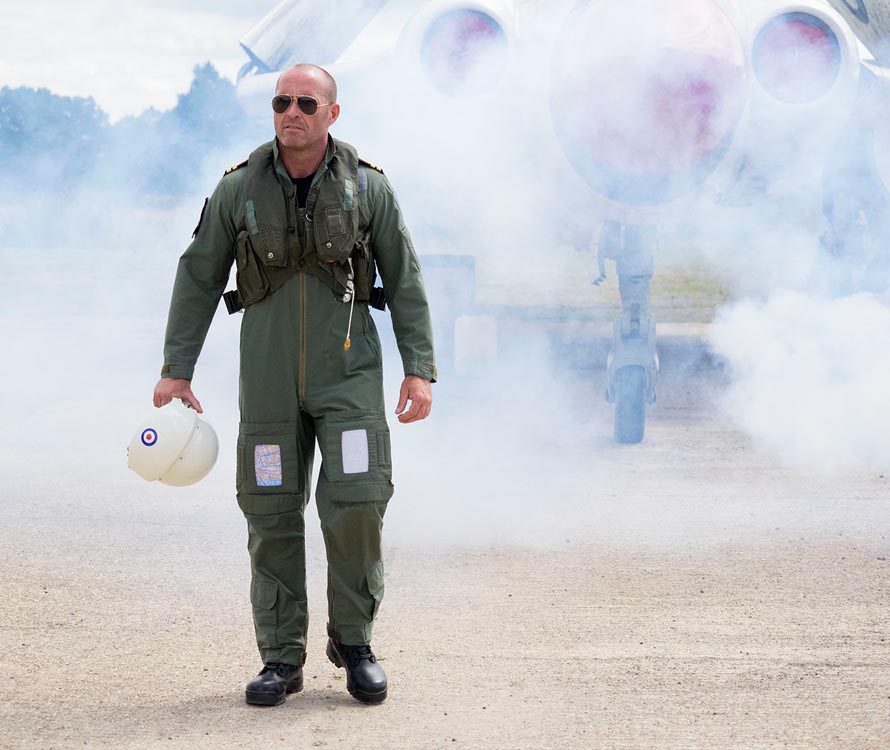
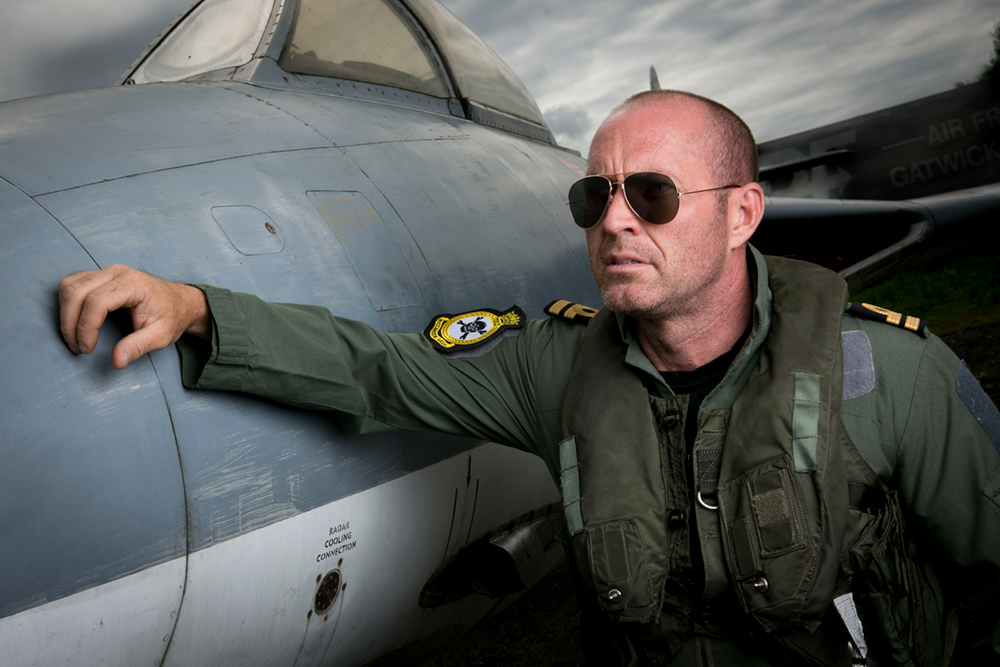
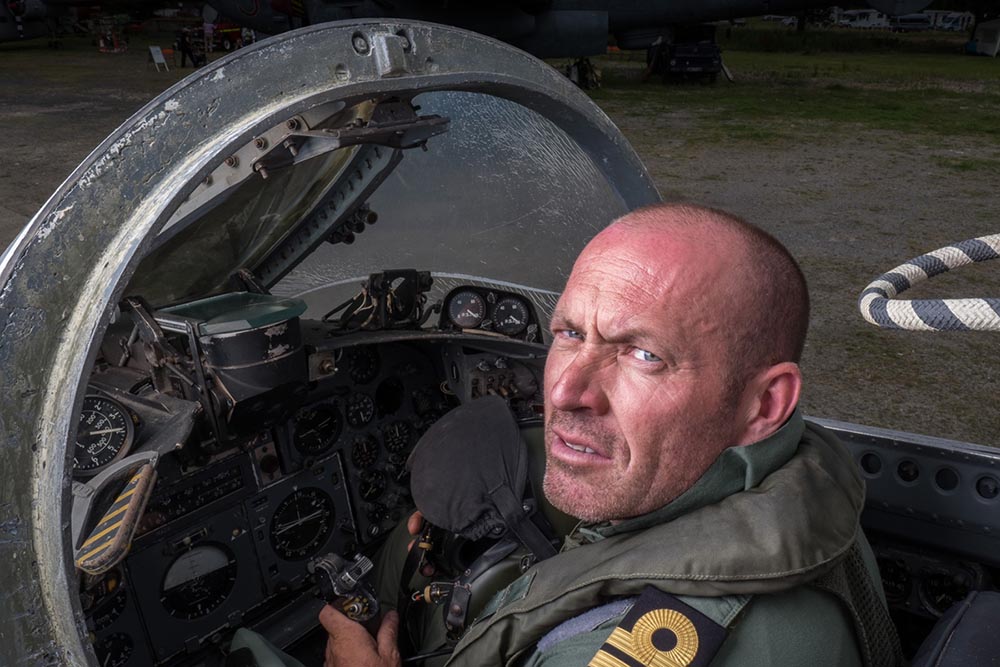
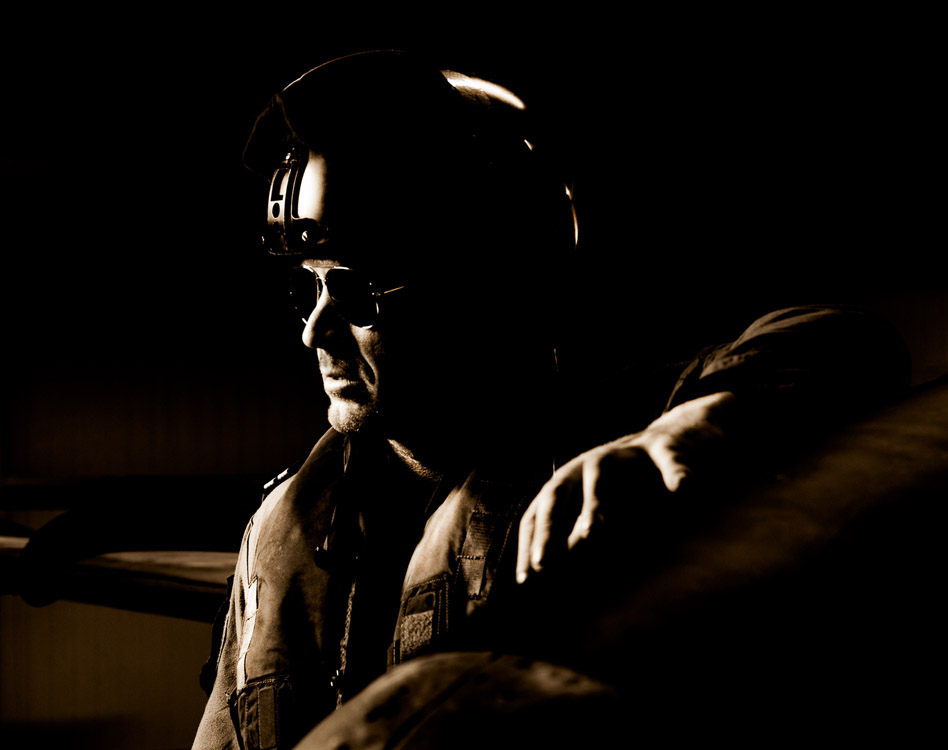
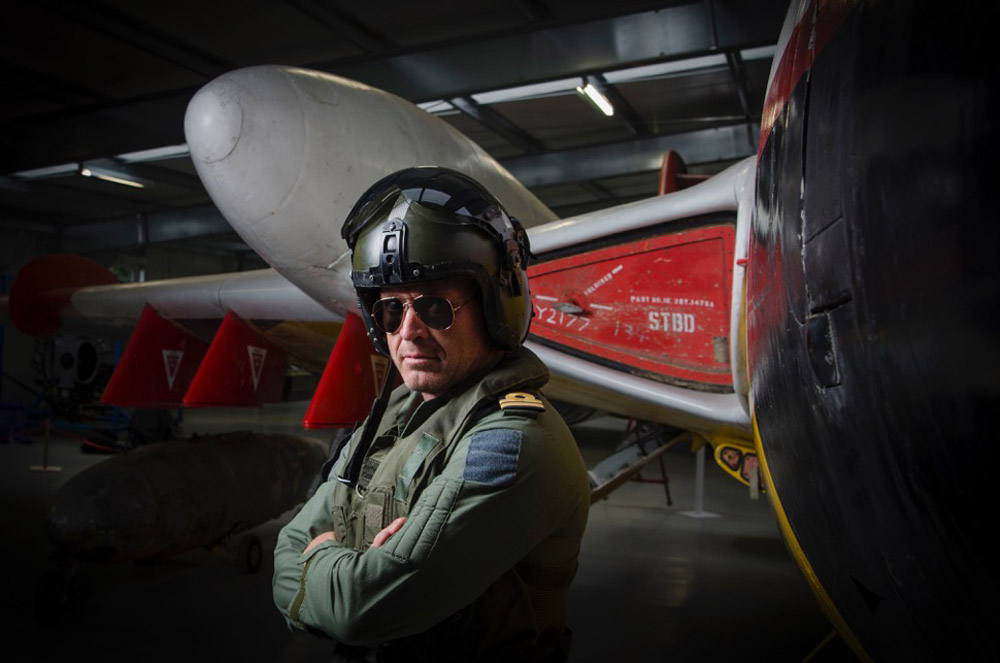
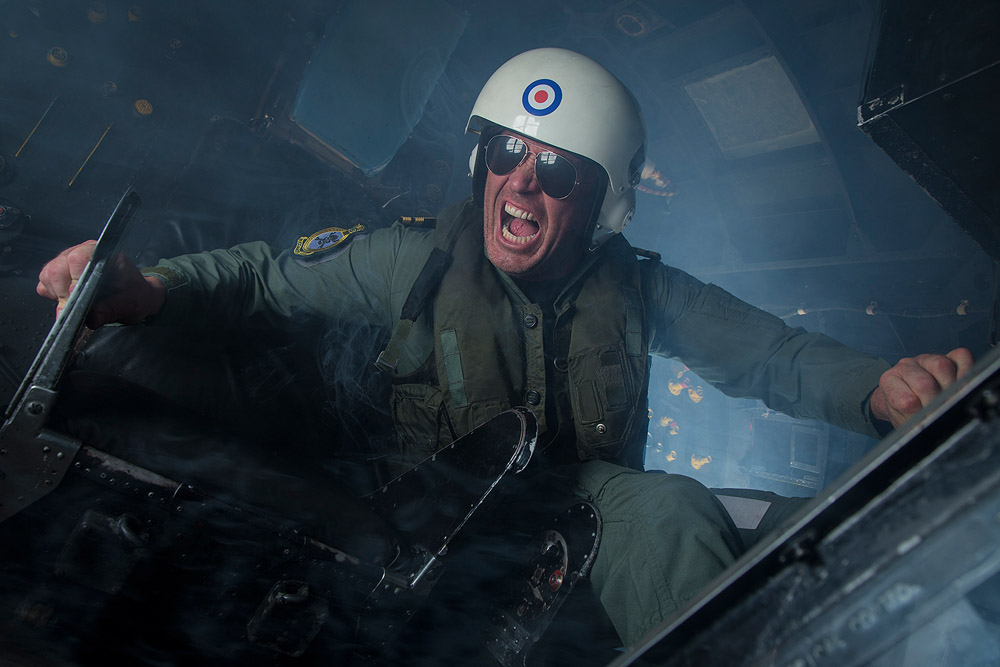
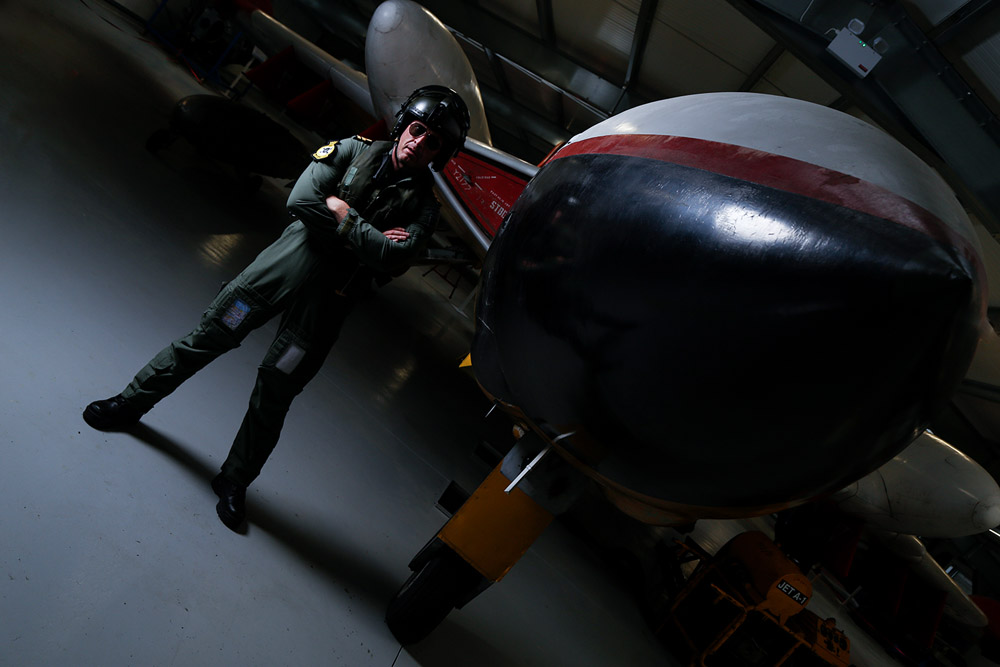
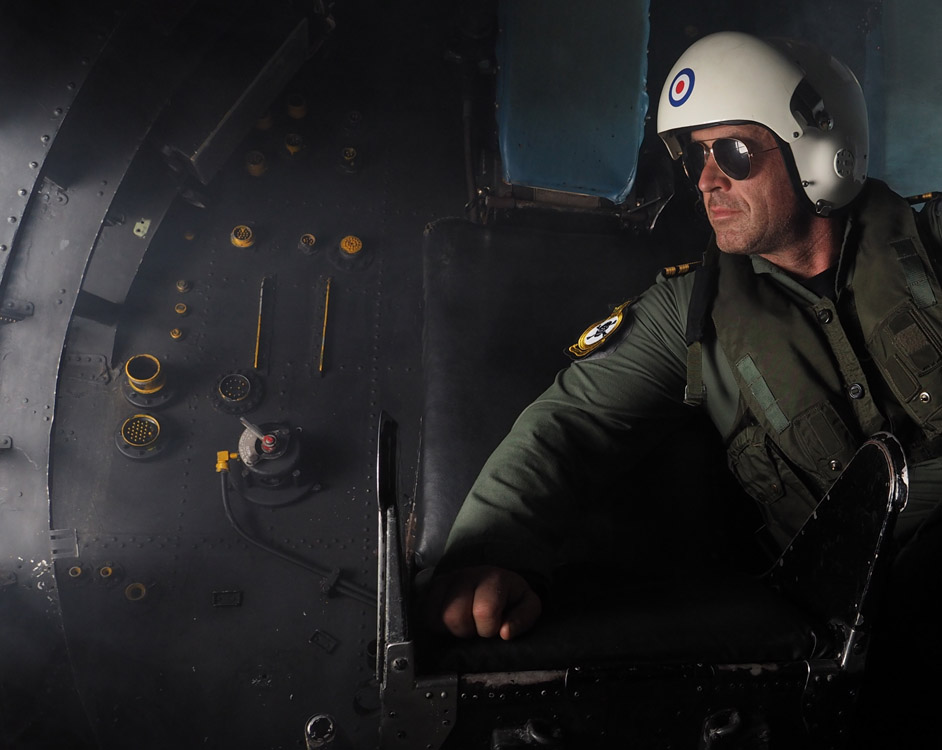
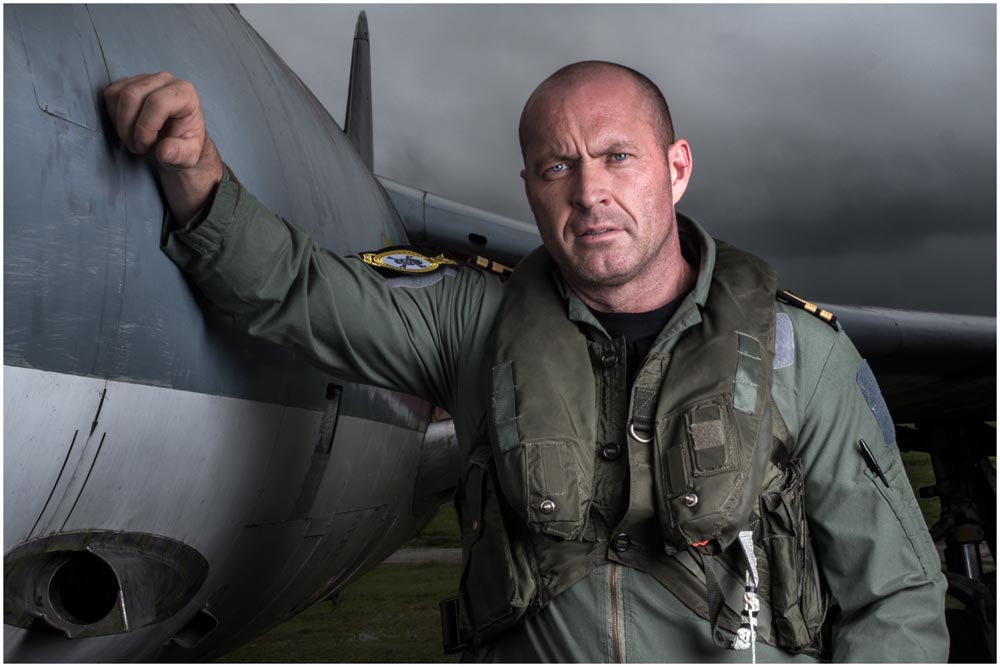
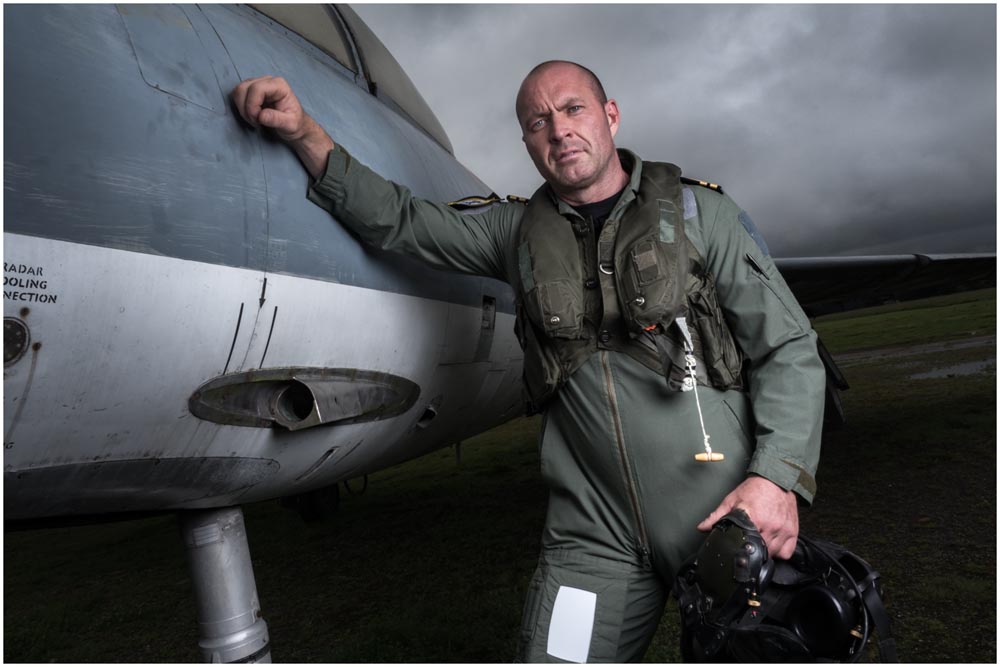
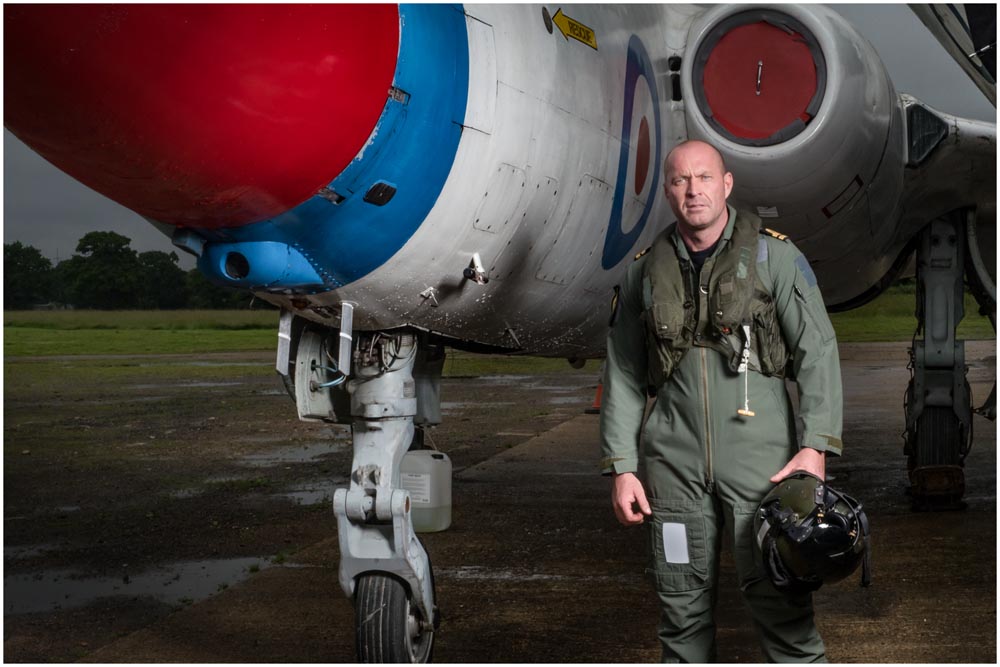
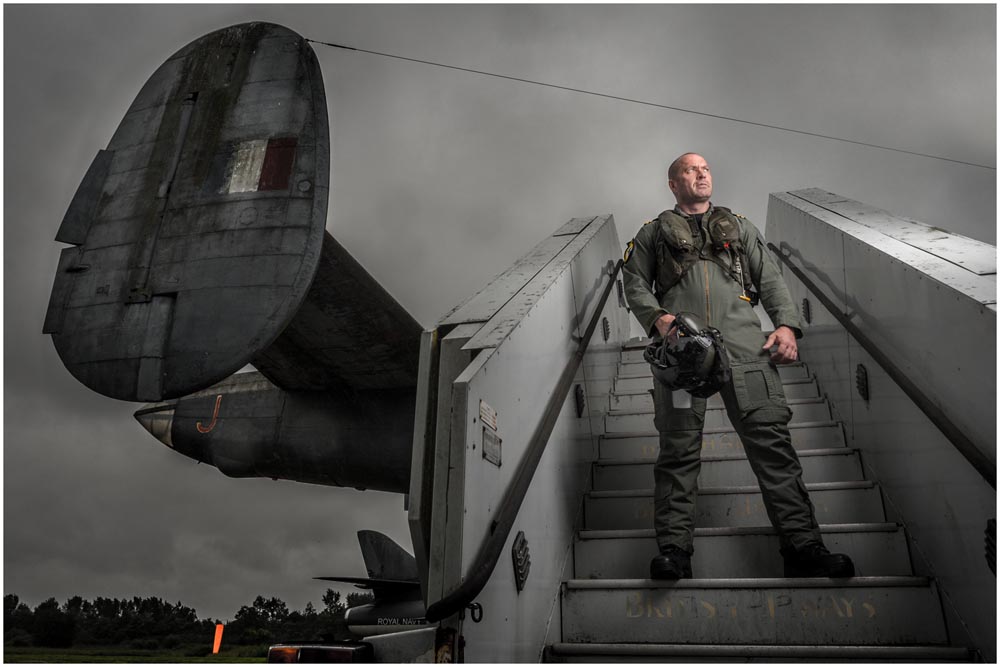
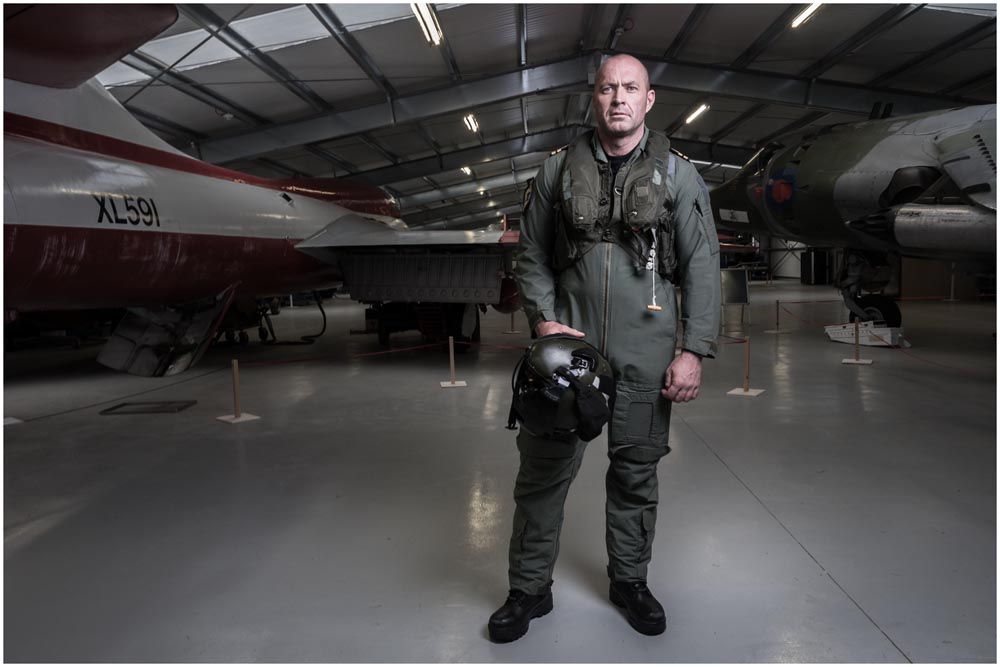
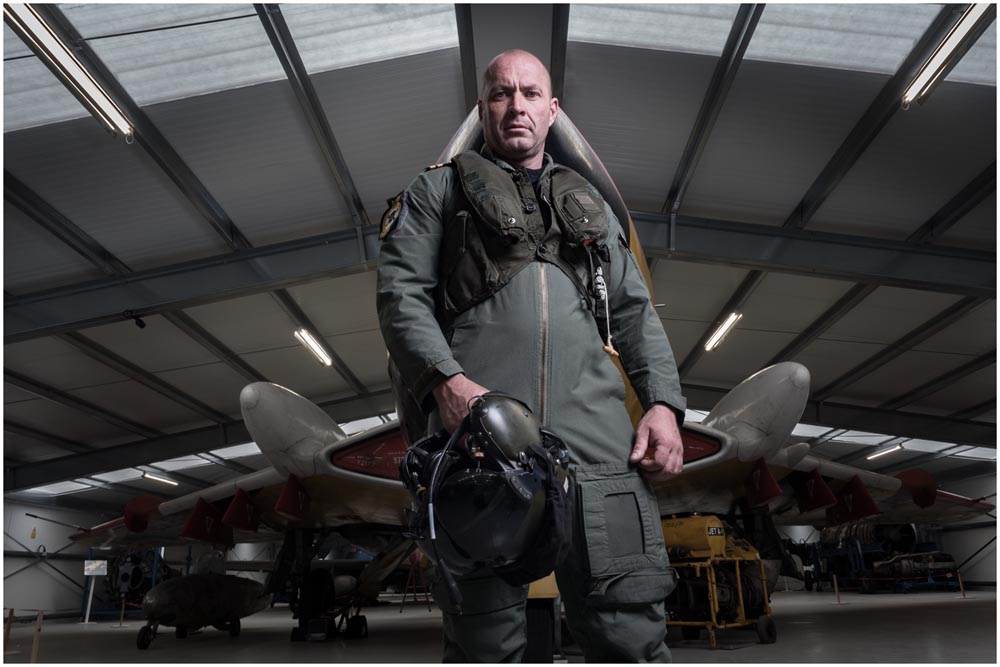
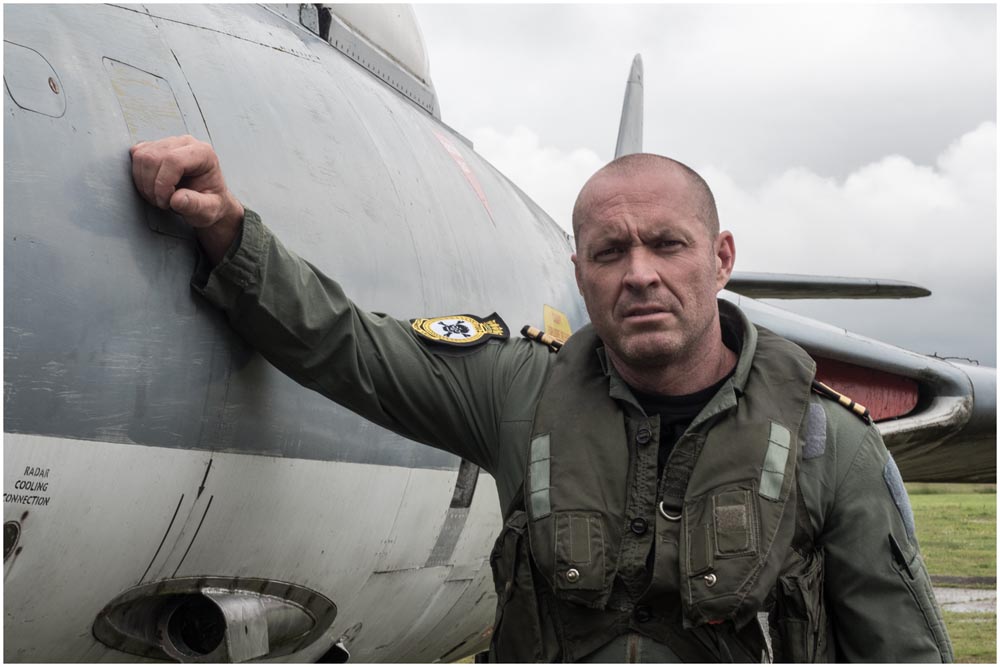
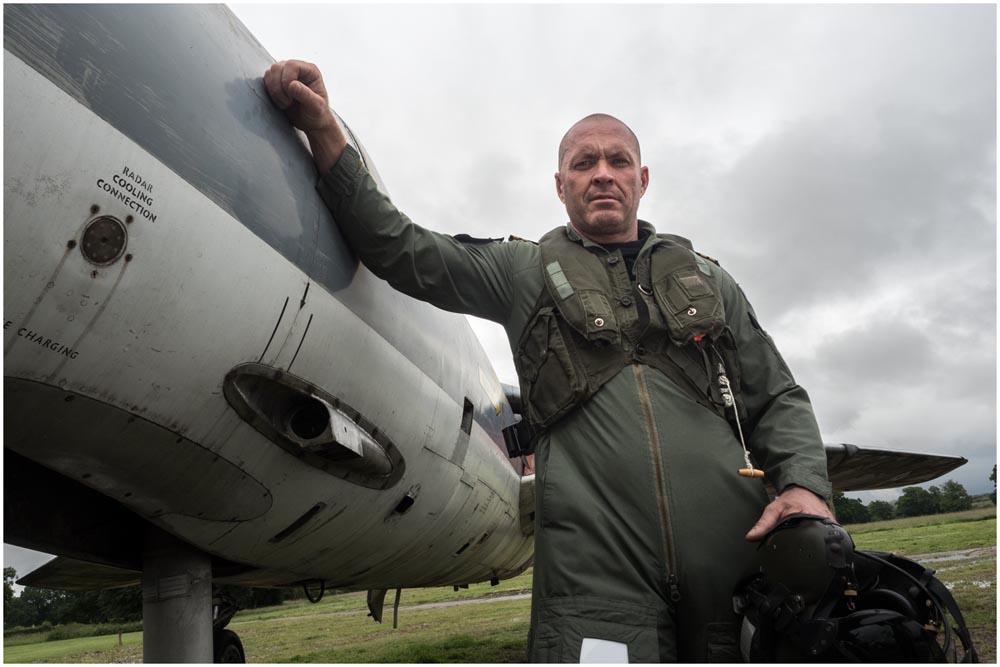
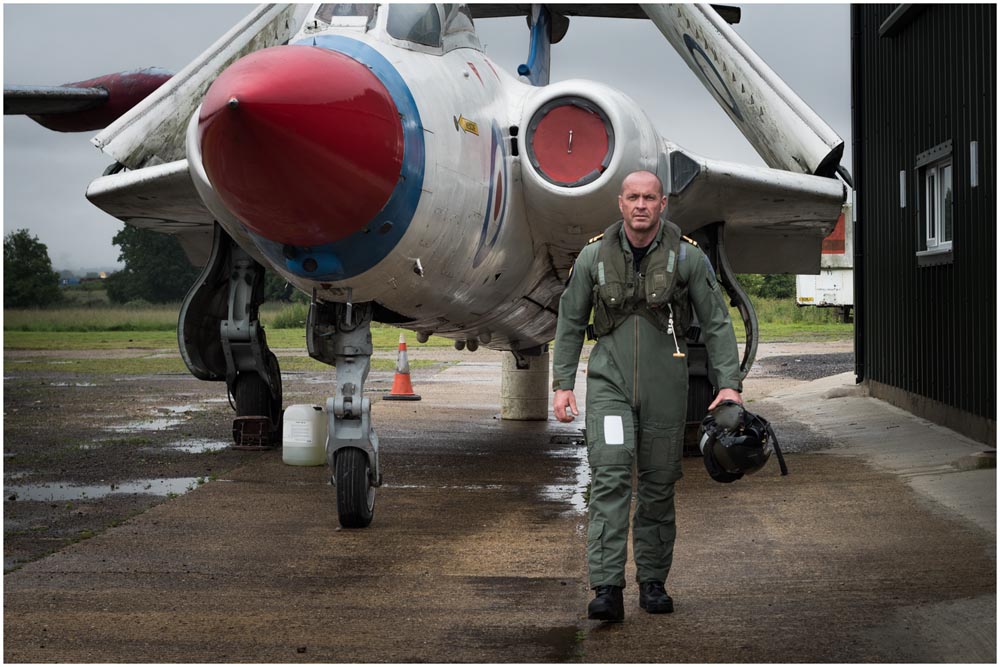
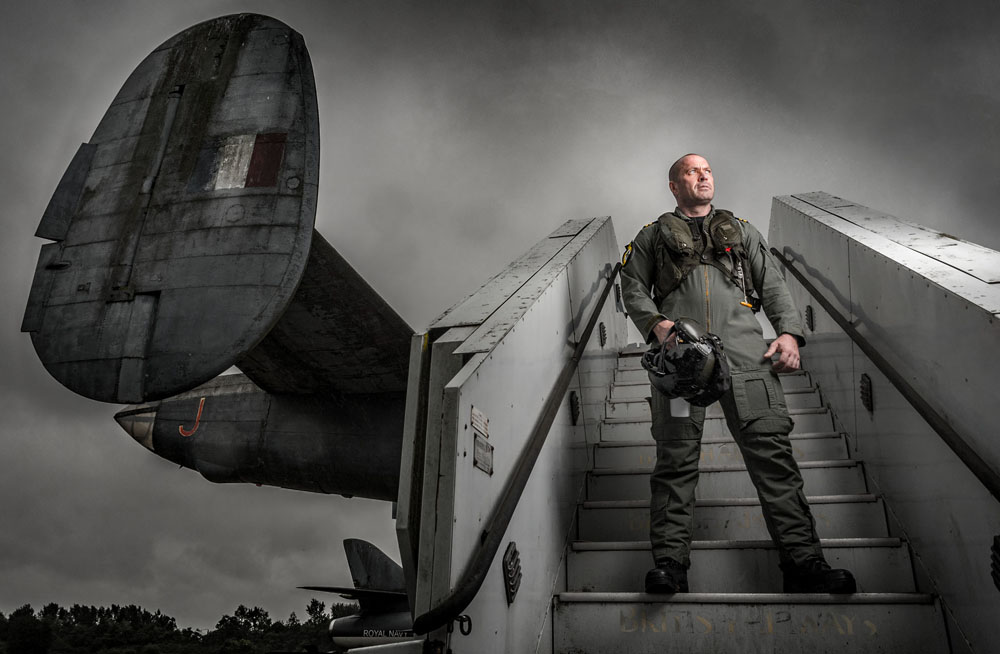
The theme for the morning was aviators. I worked with Roger who took on the role of a fighter pilot. The museums Buccaneer and Hunter aircraft were the backdrop and we were also granted special access to the Buccaneer’s cockpit.

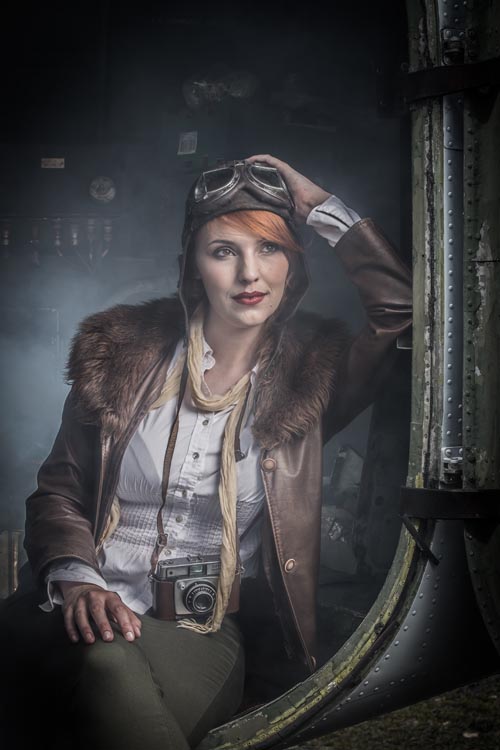
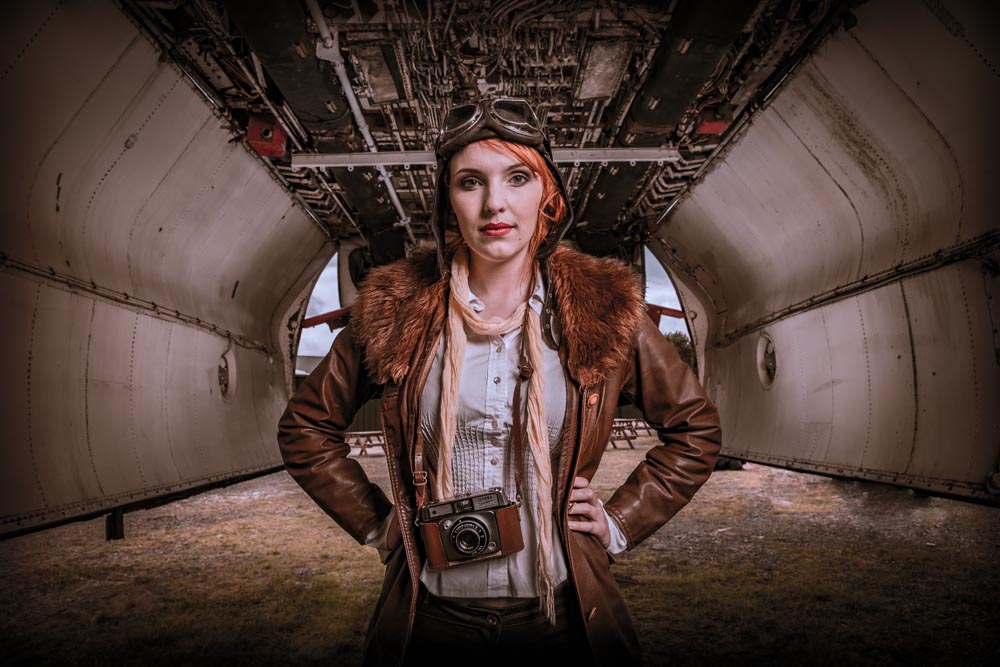
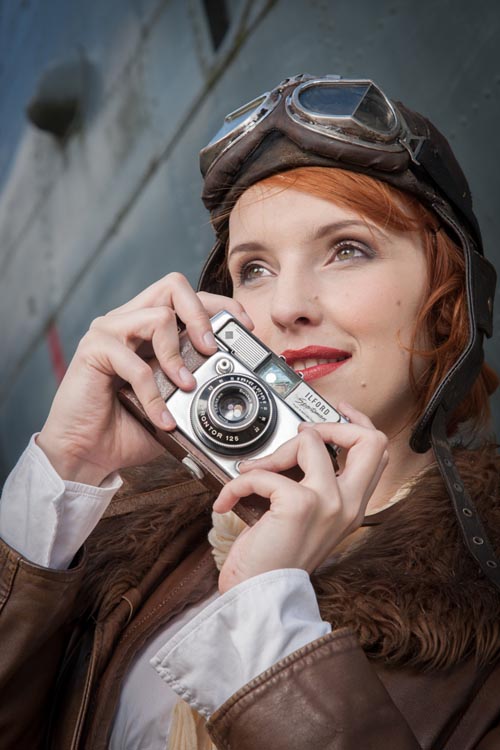
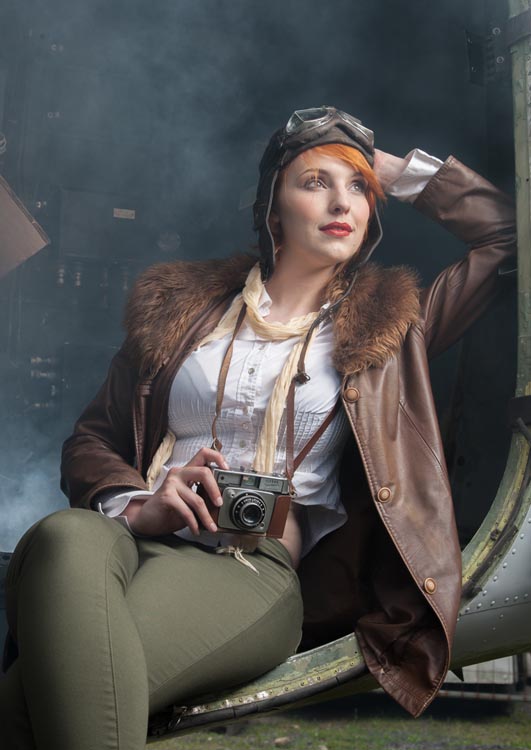
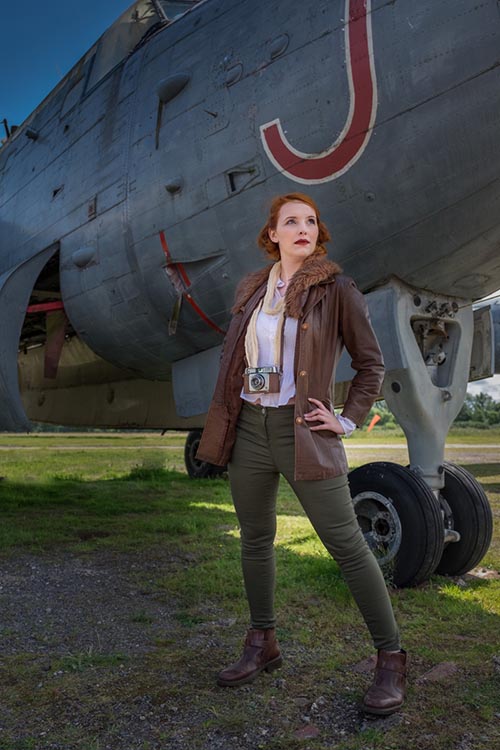
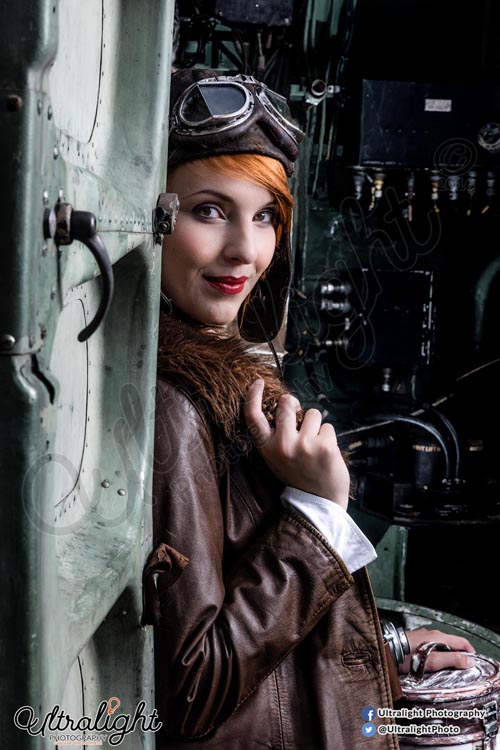
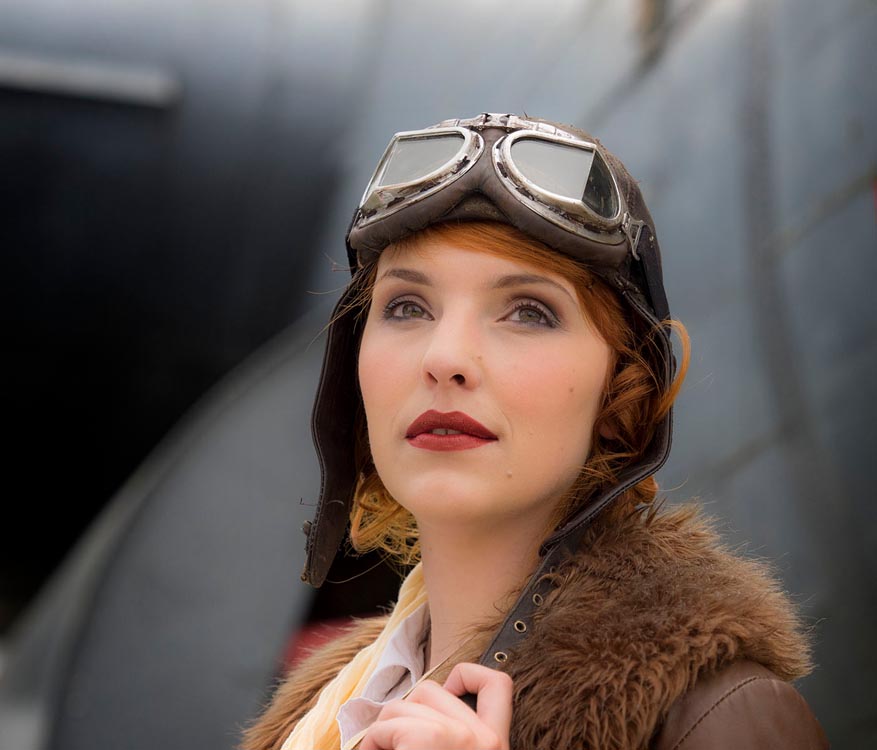
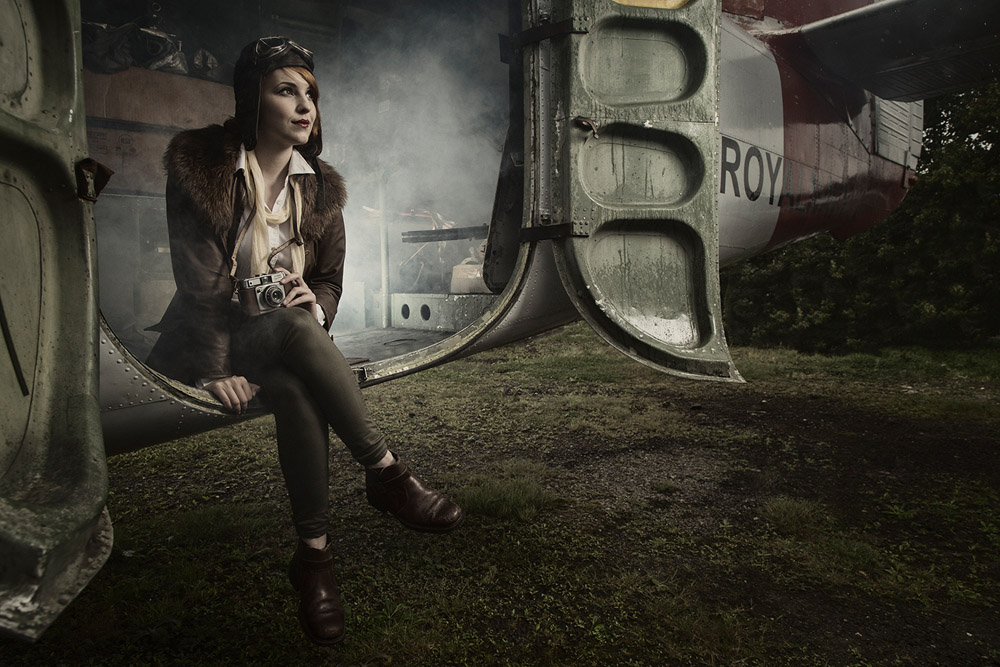
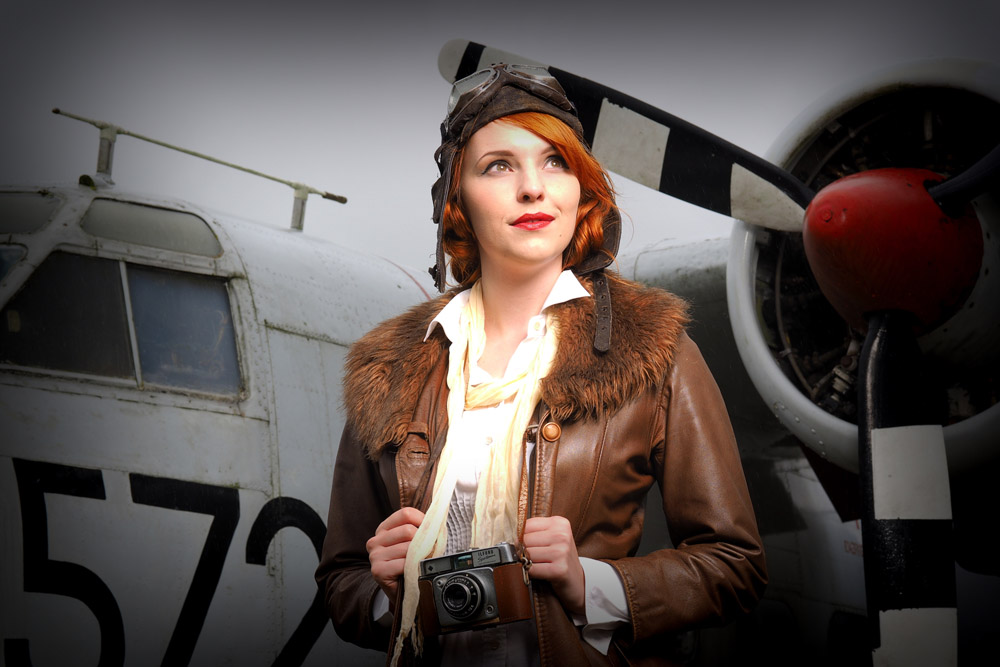
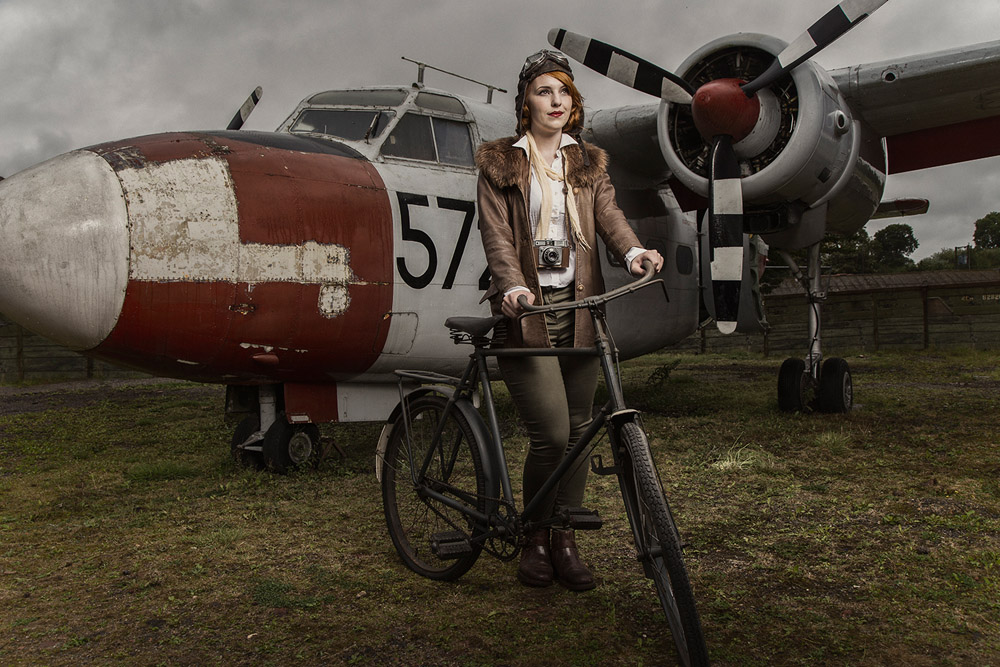
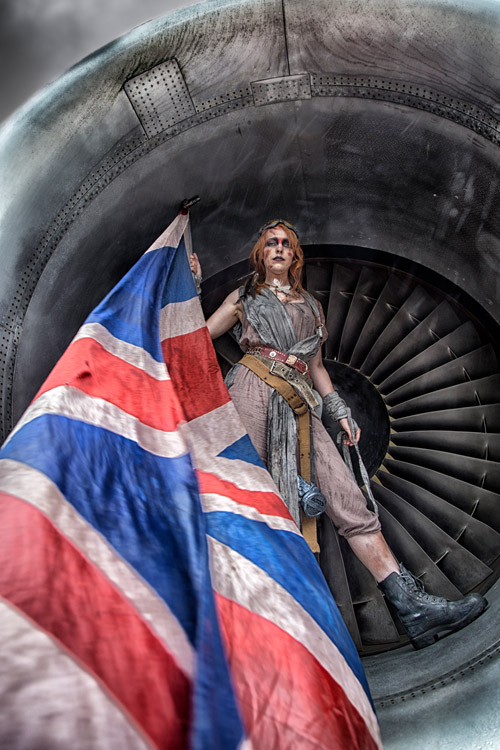
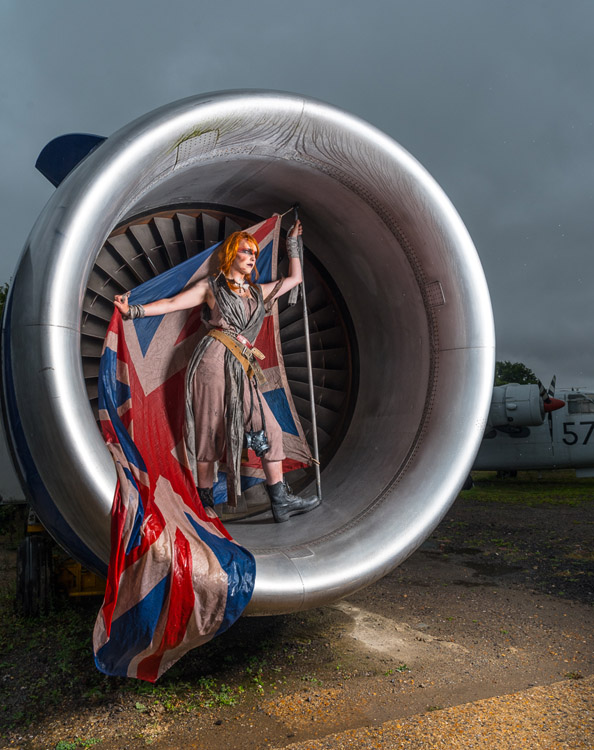
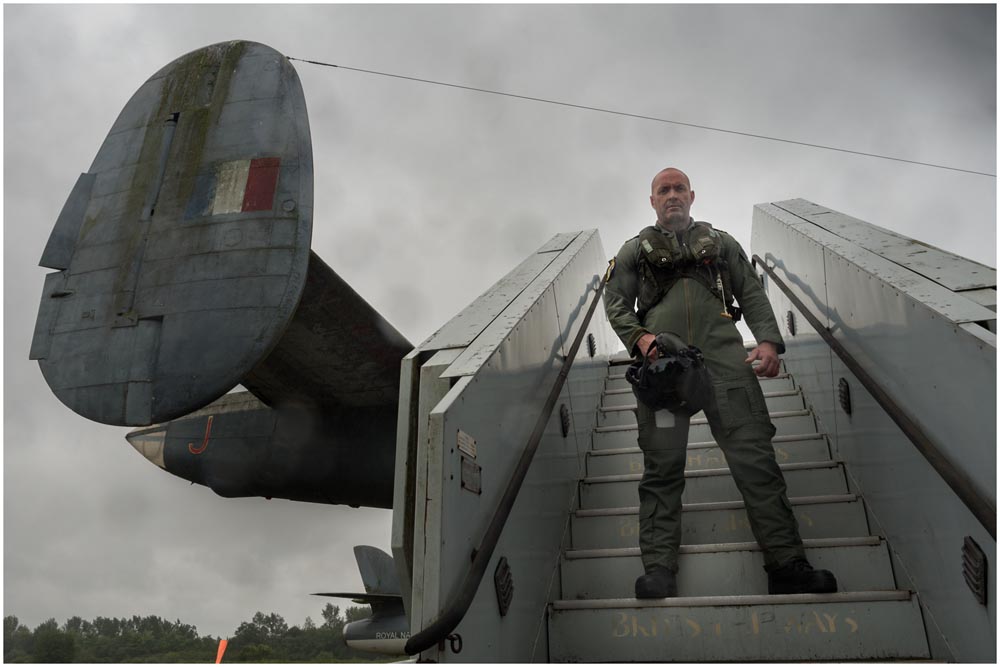
Tommy and Kerry turned back the clock with a vintage, Amelia Earhart inspired look. Once again the museum came up trumps, allowing us access inside the Sea Prince aircraft and the chance to get some really great shots. The group also made great use of the shade found under the massive Shackleton.

After a spot of lunch and a change of look we took on the apocalypse part of the themed workshop.

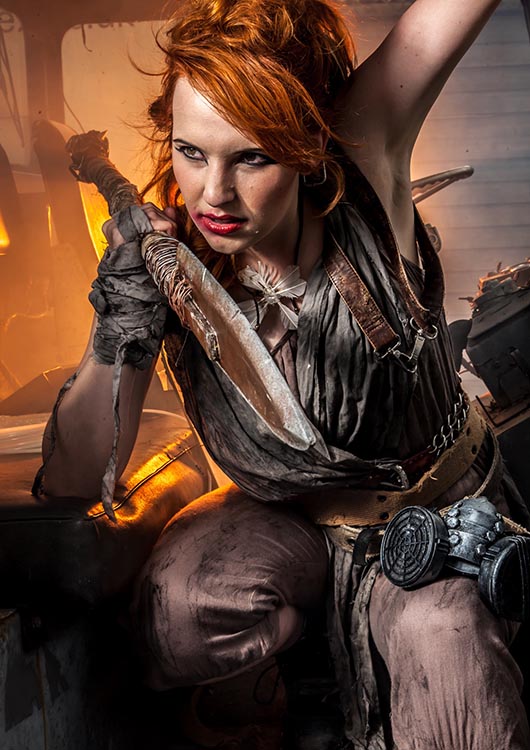
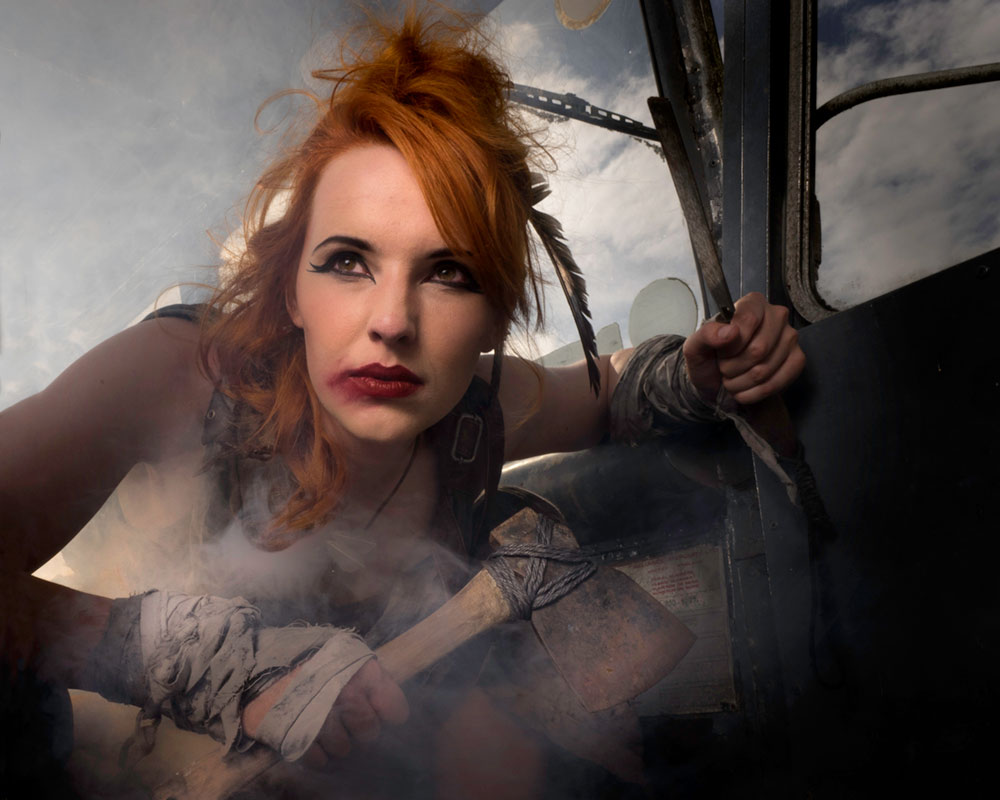
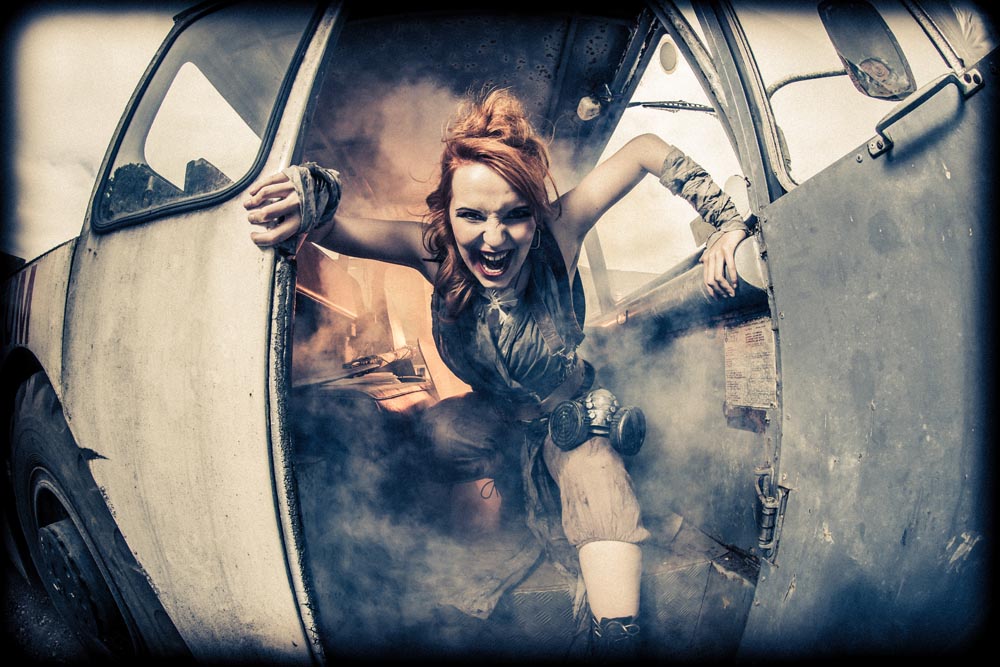
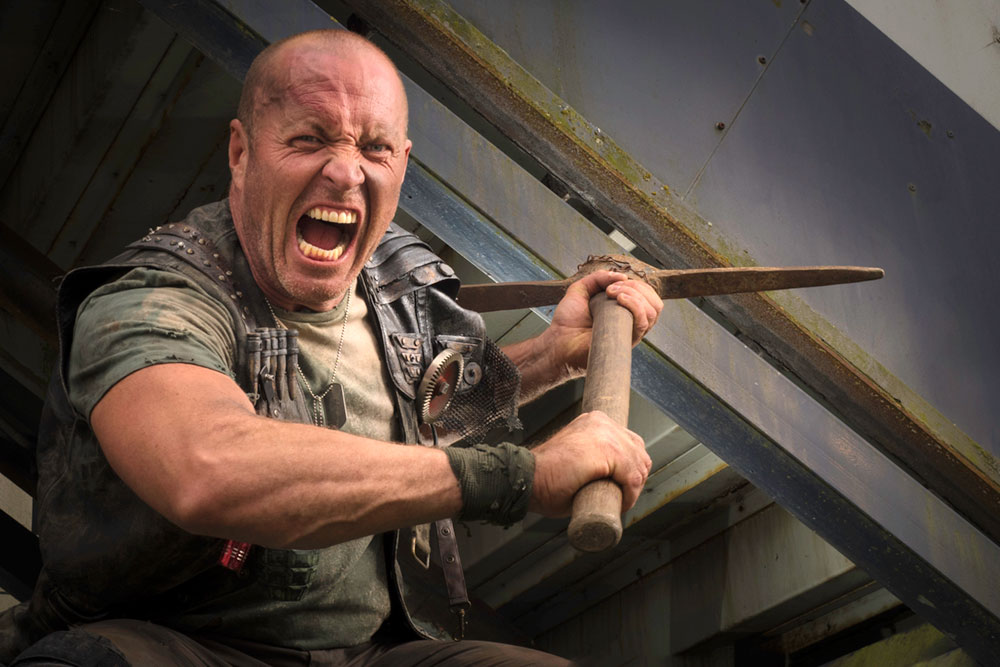
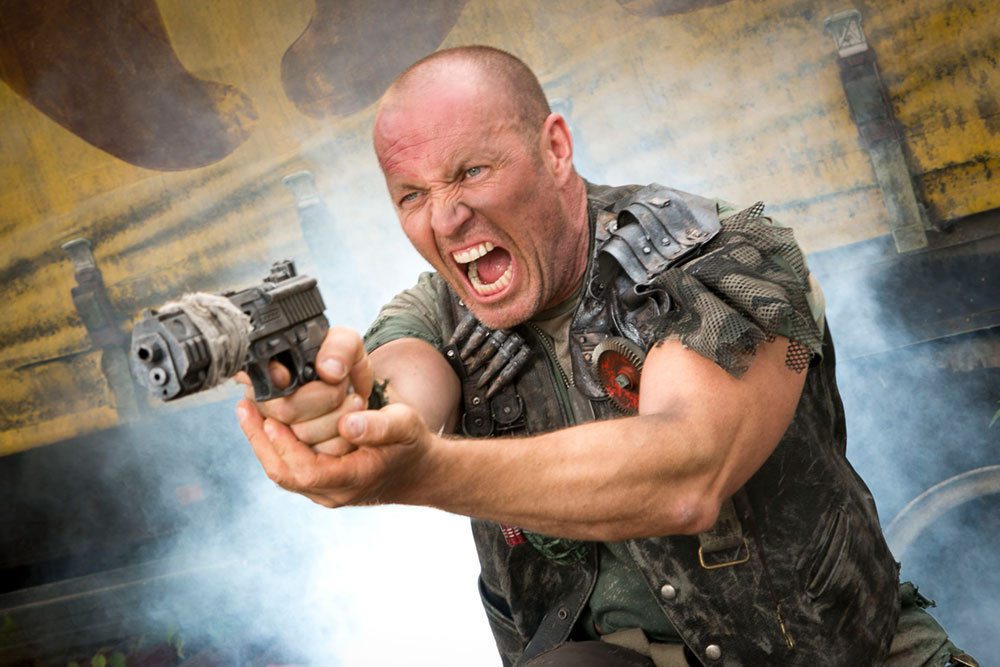
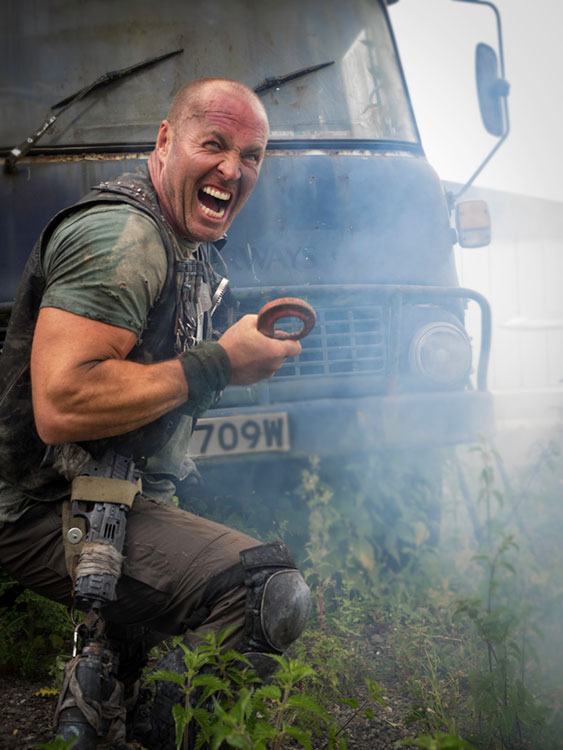
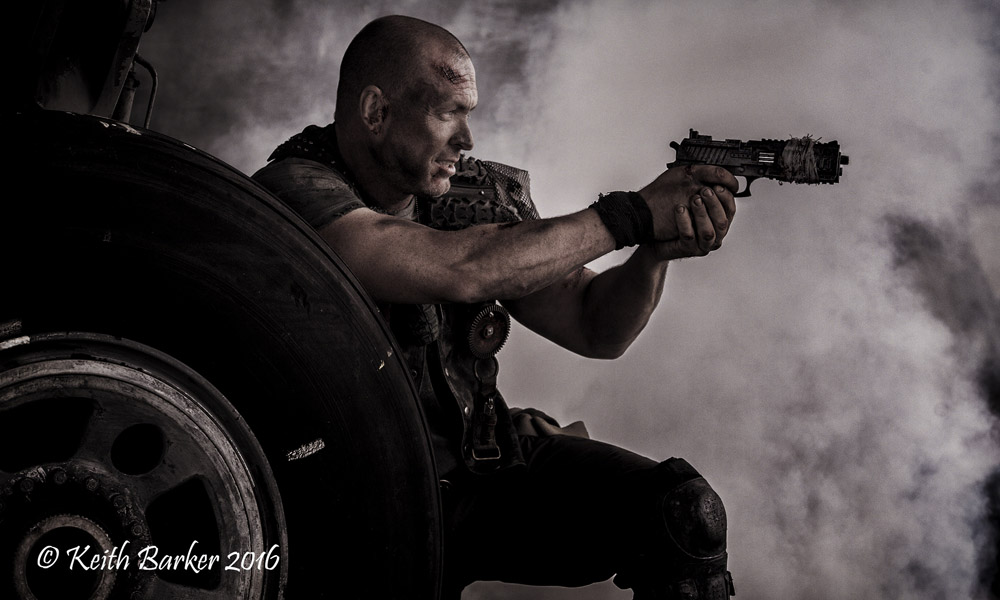
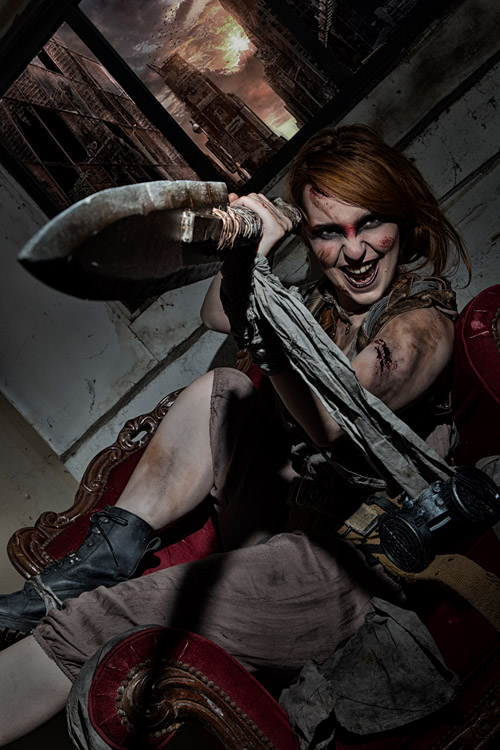
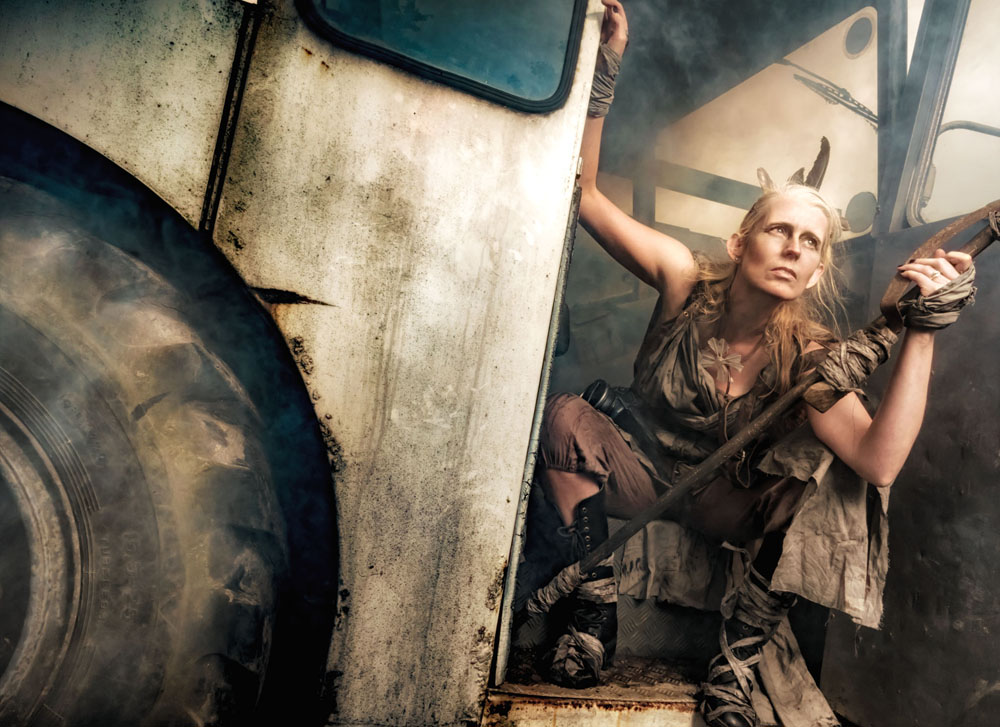
I took Kerry into the workshop area of the museum where there was plenty of rust and a few ageing vehicles. Smoke and flash combined with a bit of camera know how to create some serious moody images.

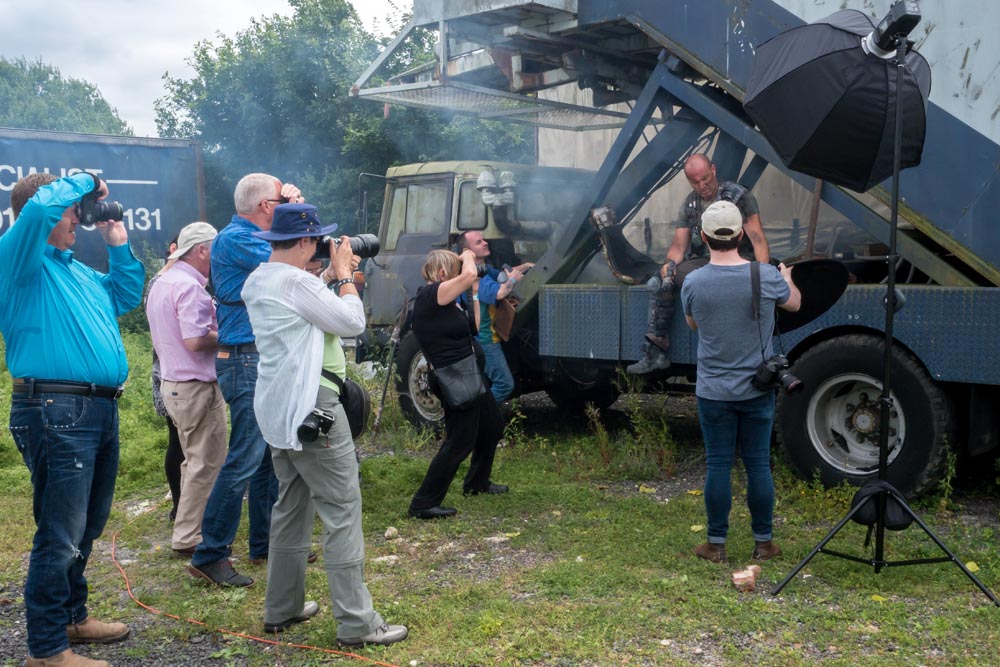
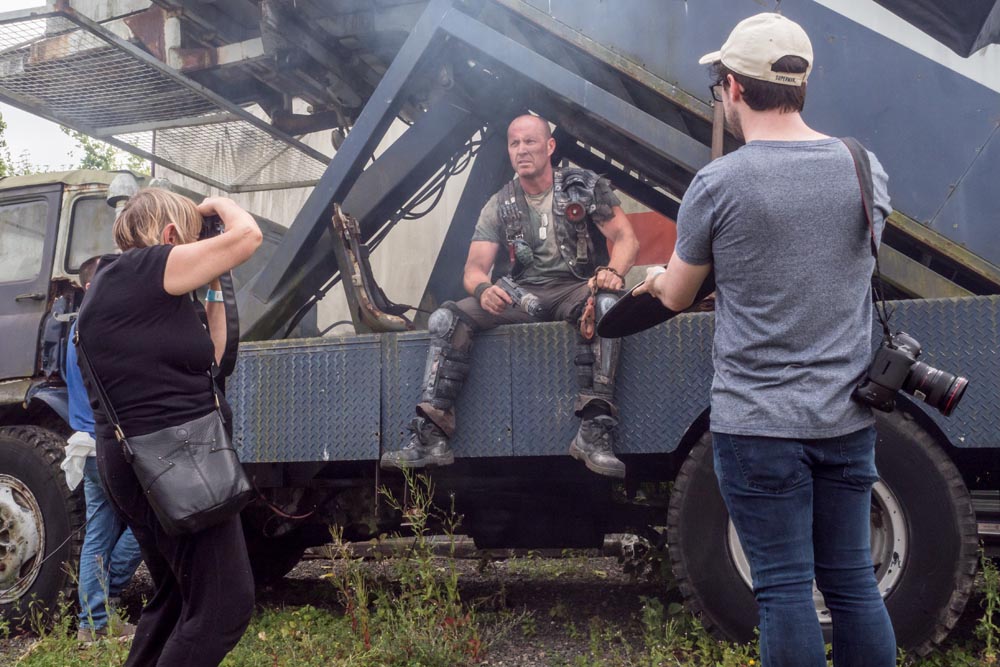
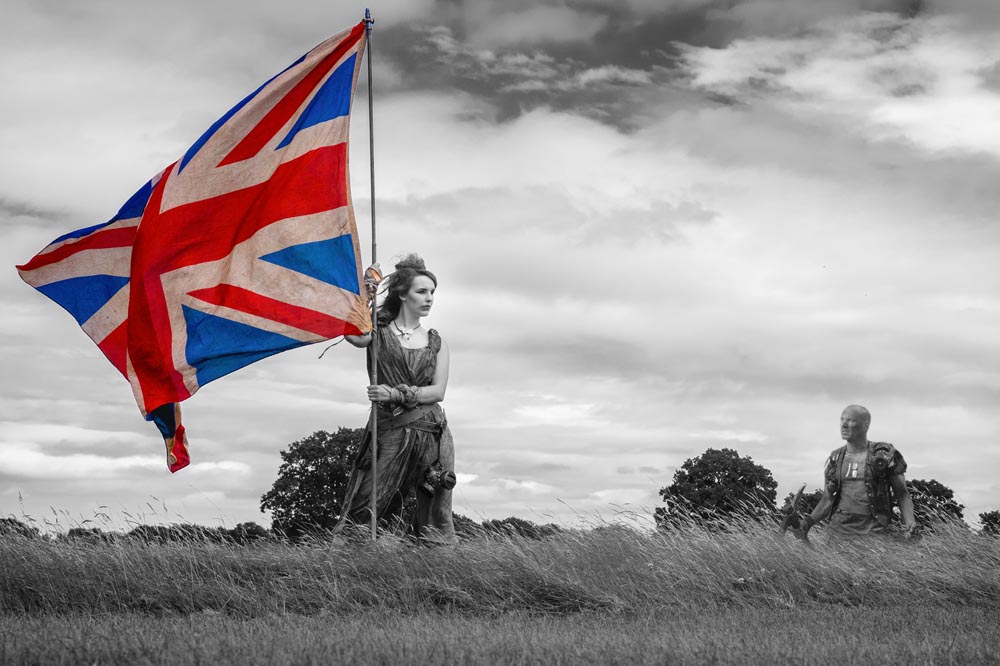
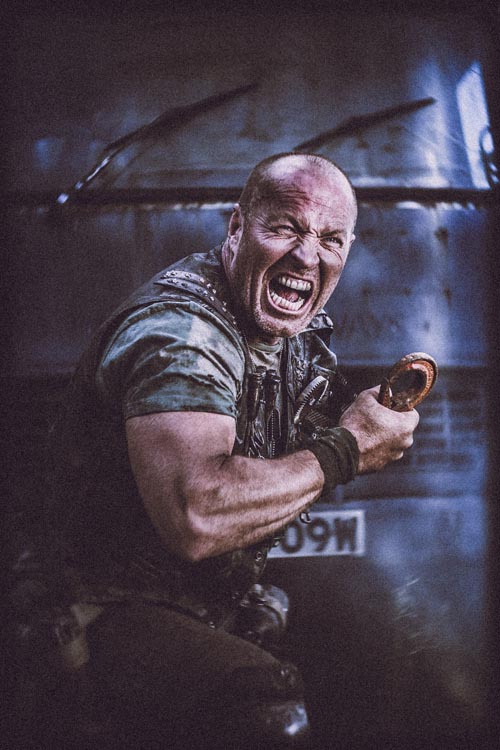
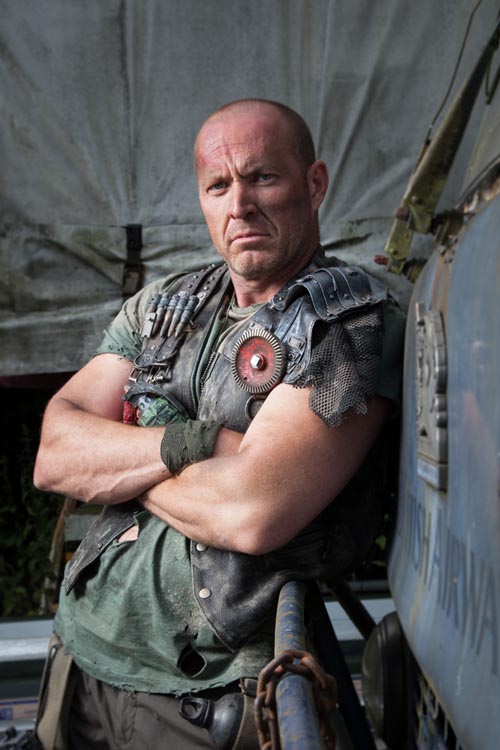
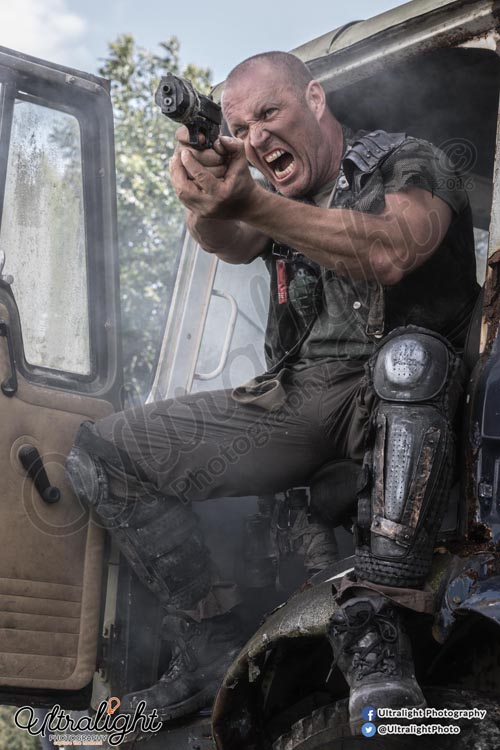
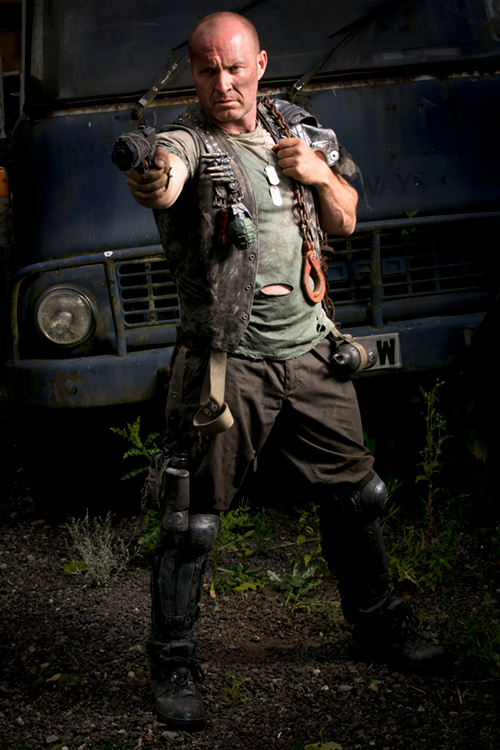
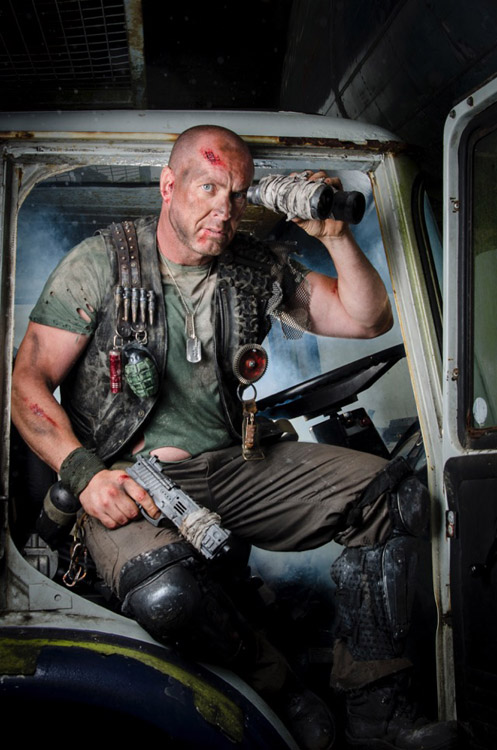
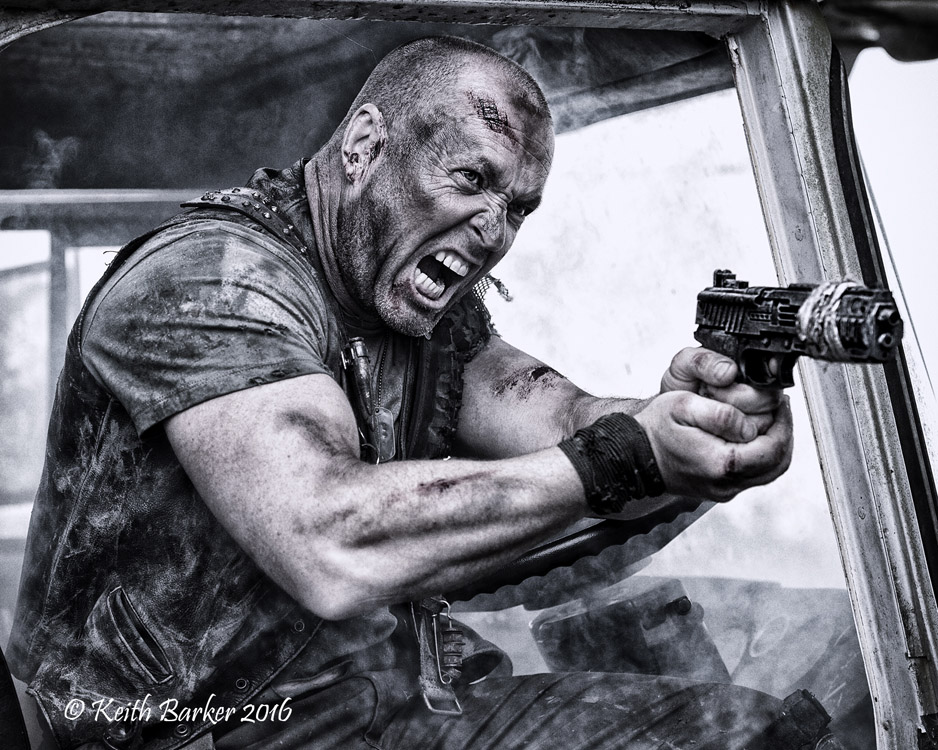
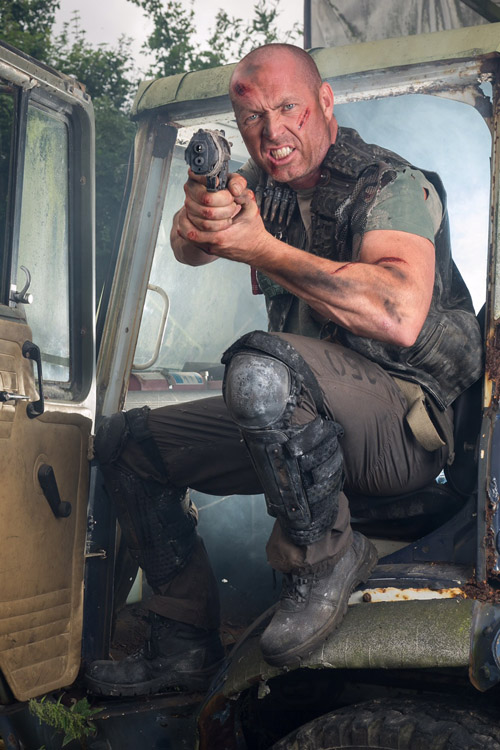
Tommy found plenty of post-apocalyptic inspiration at the other end of the museum and Roger unleashed his inner and outer strength with amazing results.

There’s nothing more frustrating to me than seeing a workshop organiser shooting photos for themselves at the expense of the attendees. As a result I hardly have a single “good” photo from the day. Fortunately, the photographers who joined us took thousands of shots and below are a few that I’ve been sent so far.

UPDATE:
We ran the workshop for a second time in September. Once again I was joined by Roger and Kerry as our models and Tommy as my second group leader. This time the weather was a lot more apocalyptic with rain forcing us to spend the afternoon. Luckily the Gatwick Aviation Museum is great inside and out.

Below are a selection of photos from the 14 photographers who came along and made the whole day very enjoyable.

Ambient vs Flash for location portraits

When it comes to shooting portraits on location I know many photographers who love to make best use of the ambient light. I also know lots of photographers who wouldn’t dream of shooting on location without flash. Although I prefer flash, I’m very happy to work with ambient light if it does what I need. If you’re undecided about moving to flash or perfecting your ambient shooting techniques then this video should answer a few questions.

[youtube]https://www.youtube.com/watch?v=UXA-vsOm-mk[/youtube]

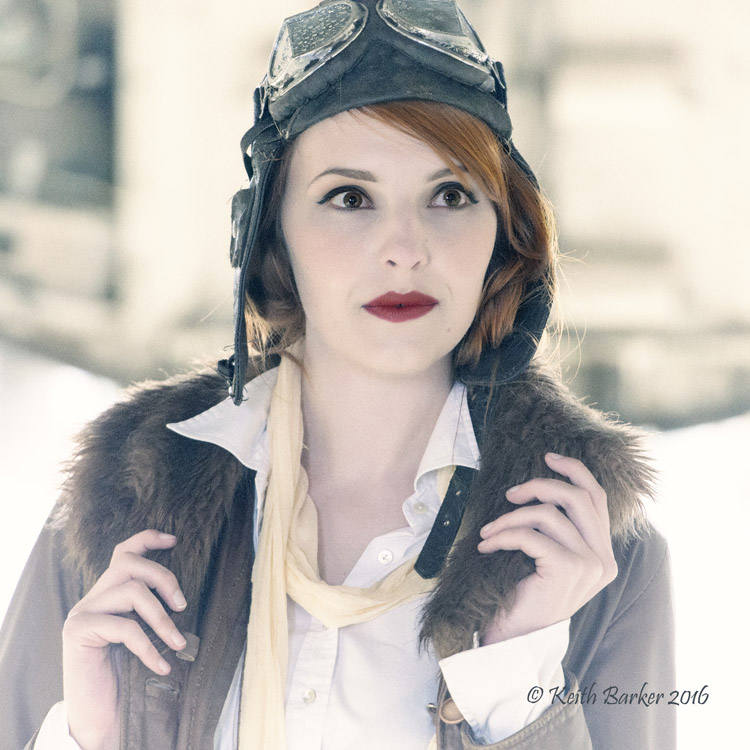
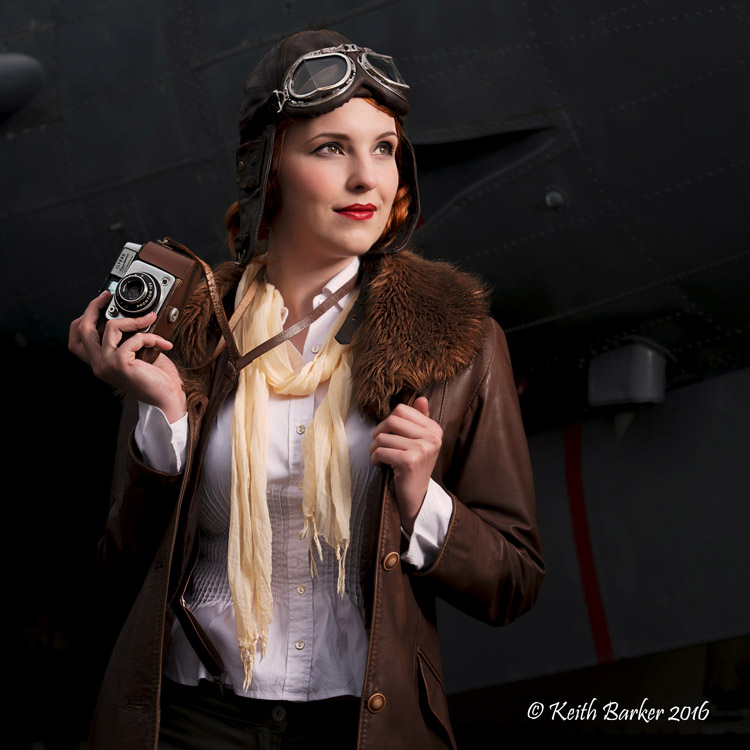
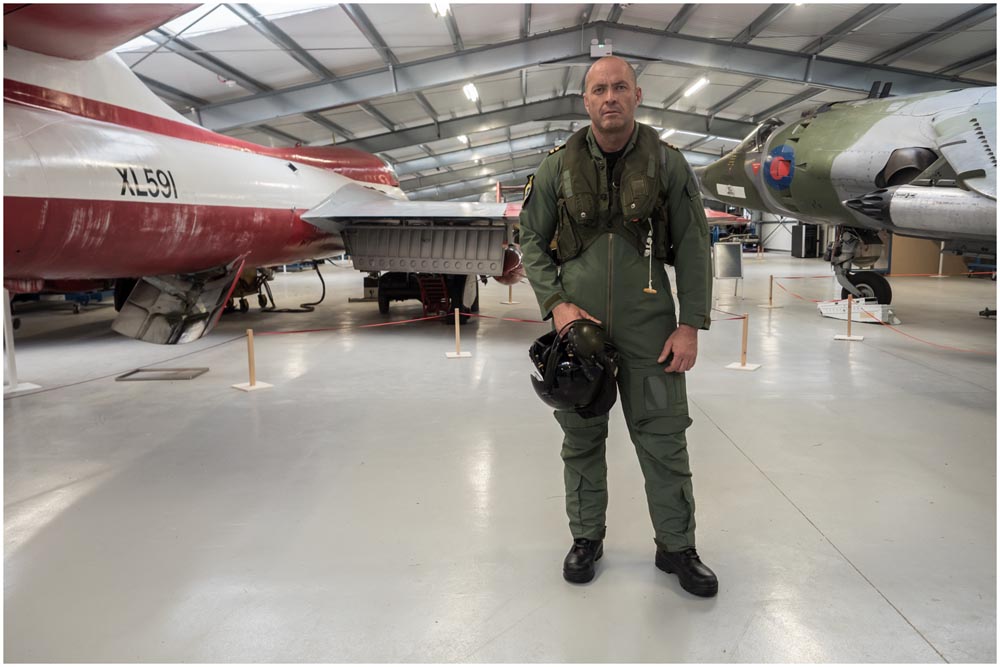
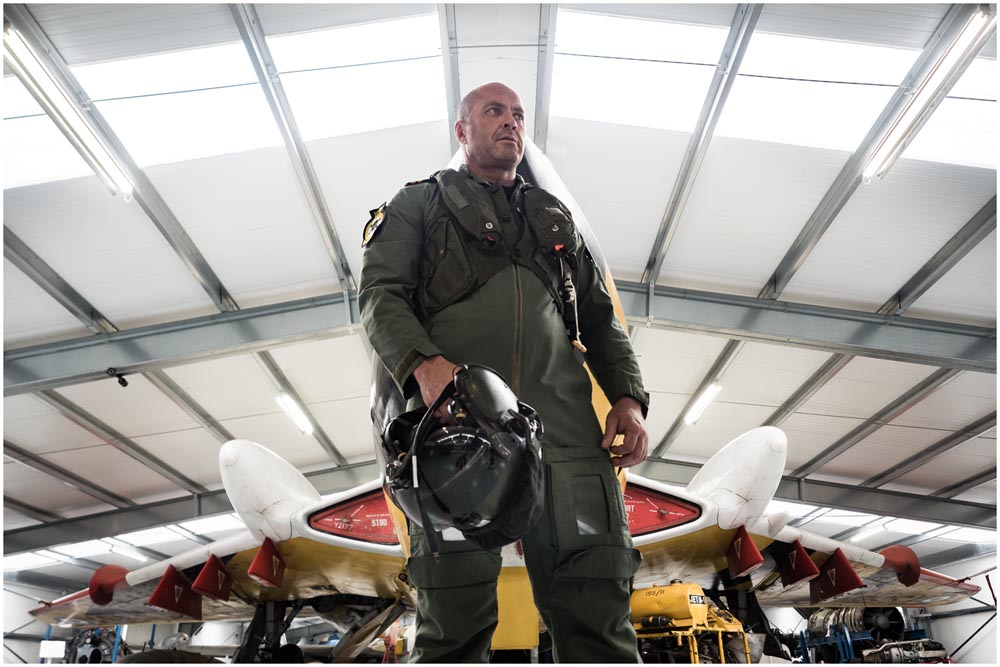
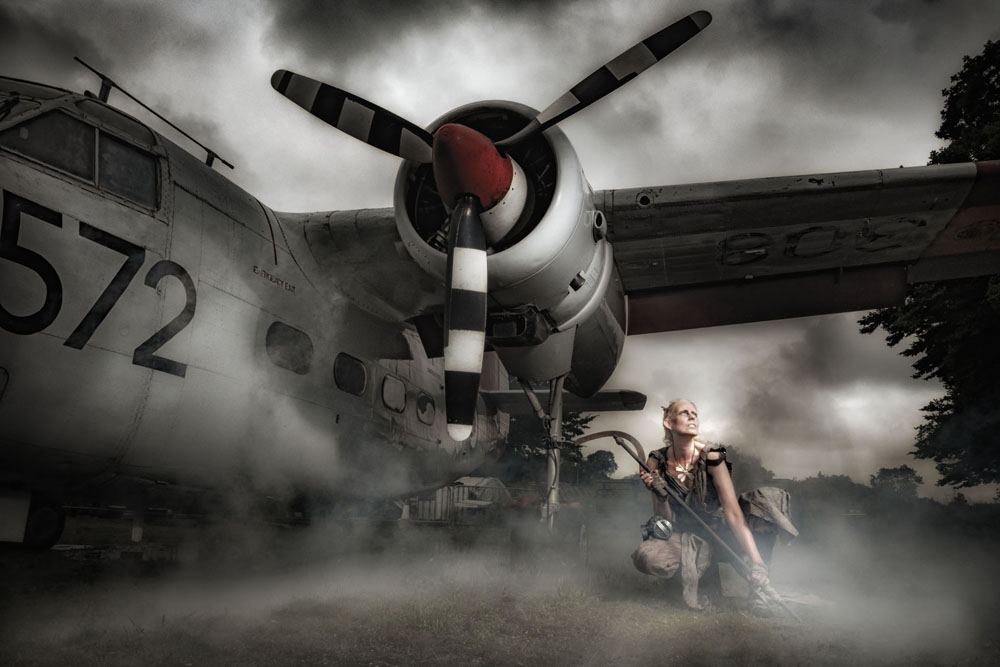
I must thank the Gatwick Aviation Museum for the use of their location and the loan of the pilots outfit. Part of the reason for the look and location in these shots was to test out the venue and one of the outfits for my big Aviation Apocalypse workshop. Judging by what we learned on this shoot, the workshops are shaping up to be very exciting!

Flash

Ambient

Aviation Apocalypse Workshop

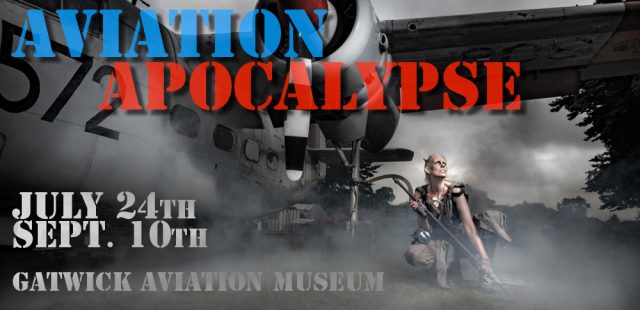
What happens if you combine a visit to a newly built aviation museum and a love of all things broken and old? Welcome to the Aviation Apocalypse!

AP-poster-1000px

This summer I’m running two all day photo shoots at the Gatwick Aviation Museum in Surrey and bookings are now open if you fancy joining me. Full details are on the event page here or if you just can’t wait, you can use the book now buttons below. Places are strictly limited and must be booked in advance.


Sunday 24th July 2016
£185.00 per person


Saturday 10th Sept. 2016
£185.00 per person

This workshop is subject to our Terms and Conditions

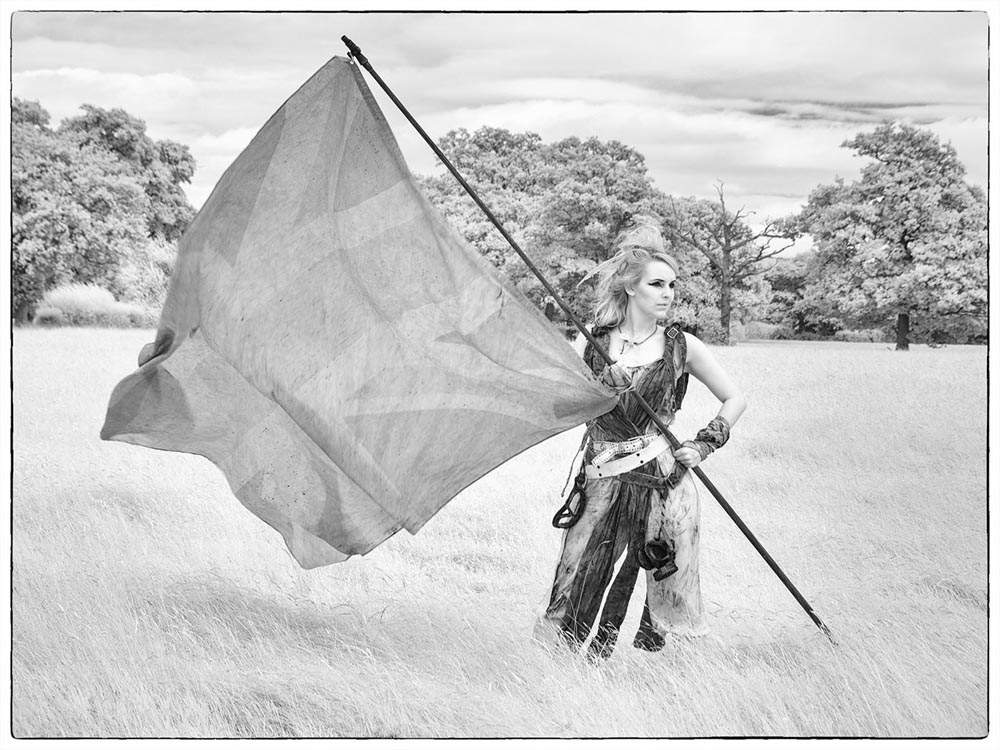
Building on the success of last year’s woodland workshops, once again I’ll be joined by two models who will each have two looks. Half the day they’ll be aviators and the rest of the day they’ll be survivors in a post apocalypse world.

You’ll be working in small groups with plenty of time to get great photos of both models in their different looks. This is a great opportunity to capture some unique portraits whatever skill level you’re at.

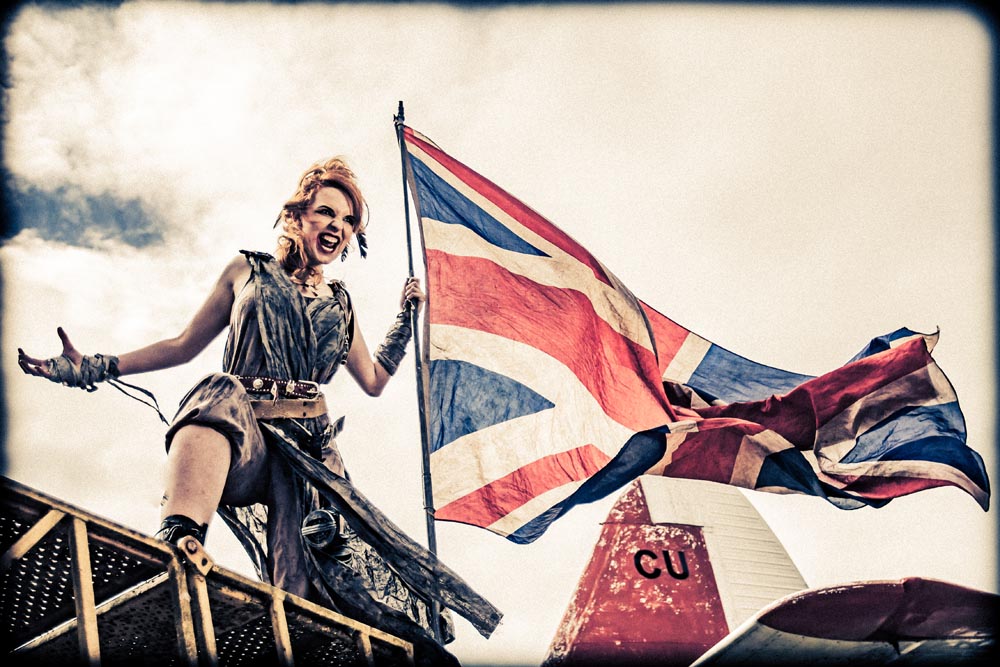
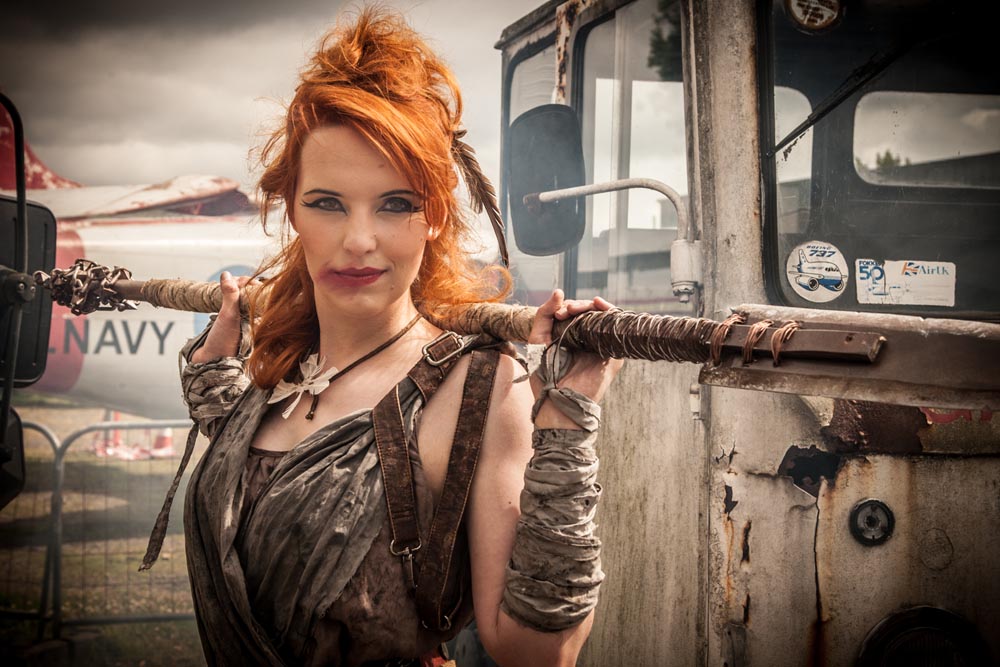
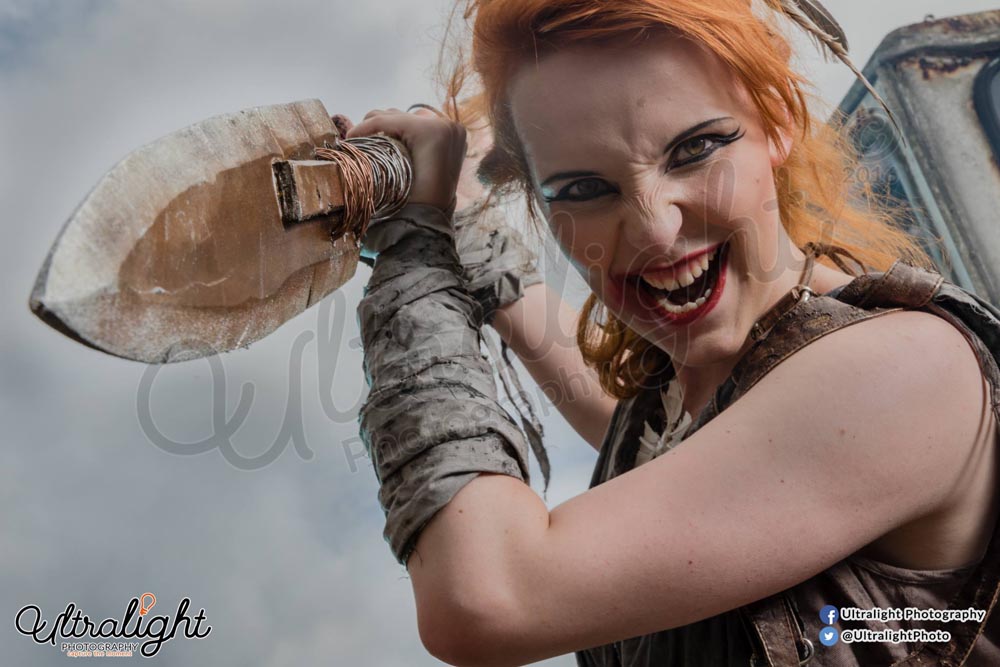
The photos above are from my test session at the actual location we’ll be using. Despite the rather gloomy weather that day I had a brilliant time and I’m really excited to see what suggestions, ideas and images the photographers on the day create.

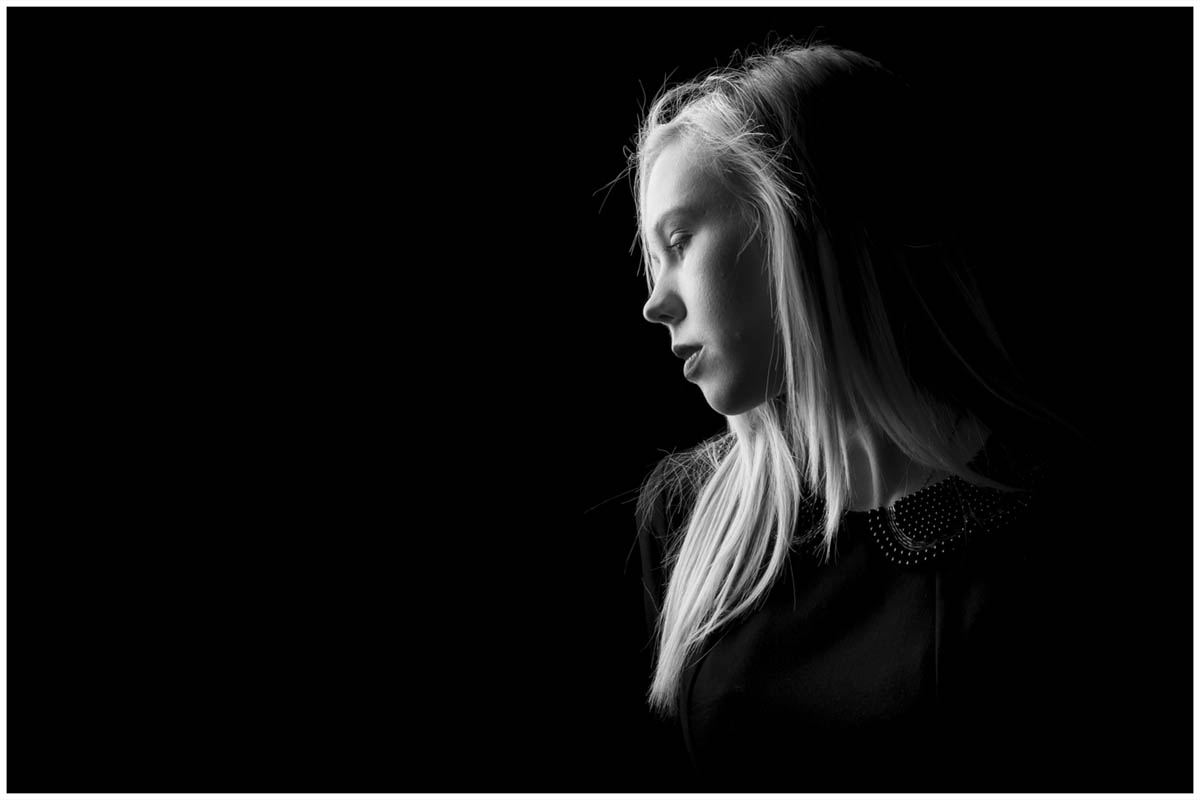
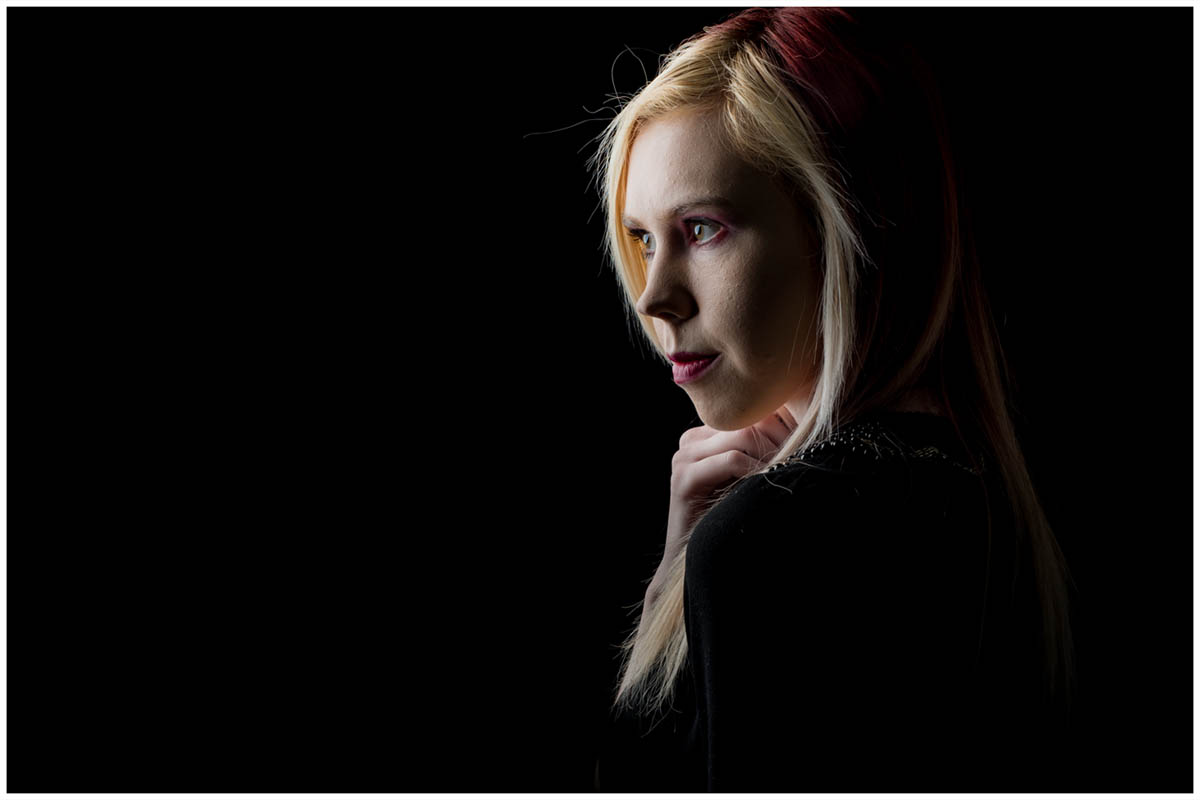
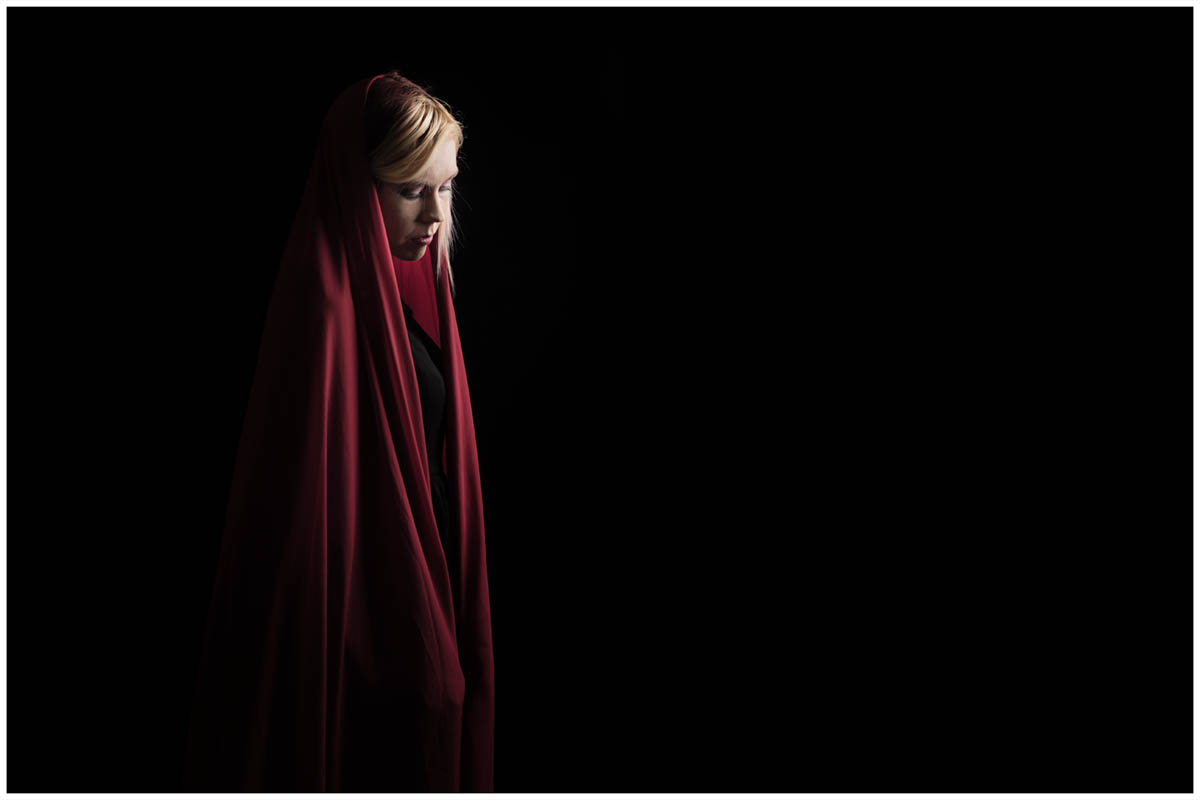
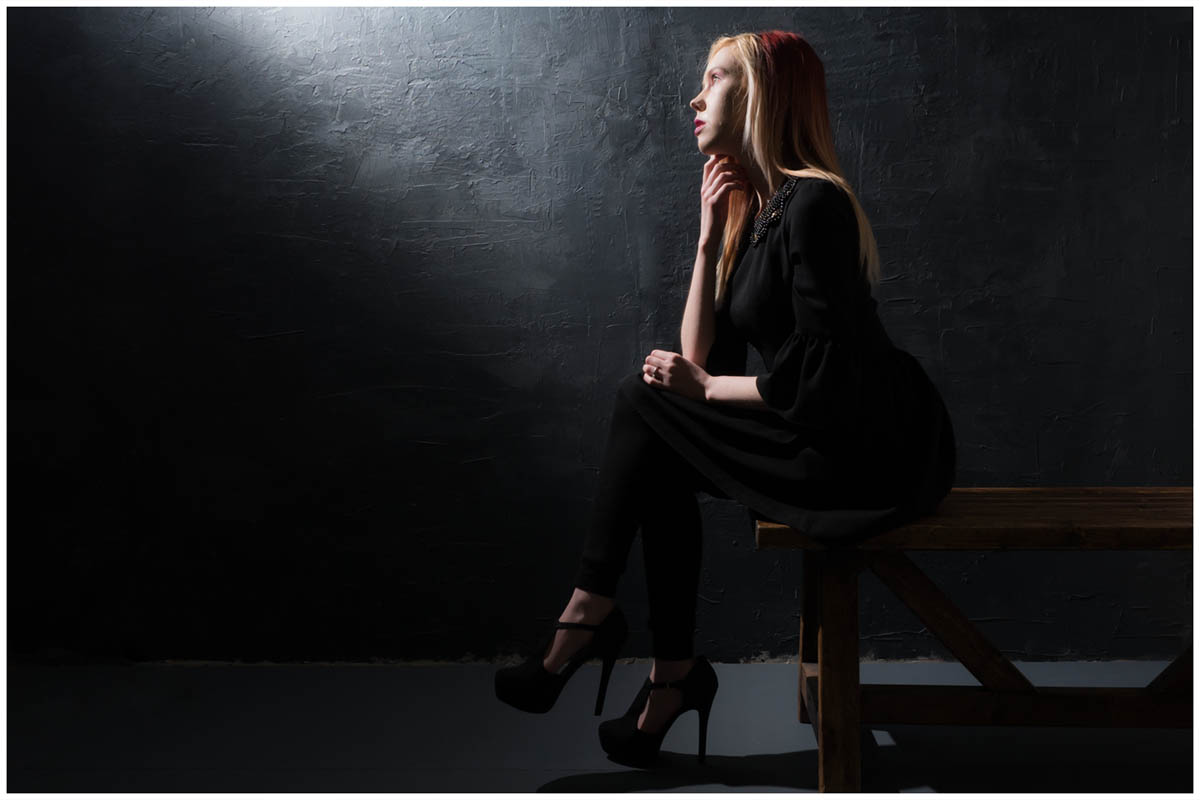
Low Key Lighting

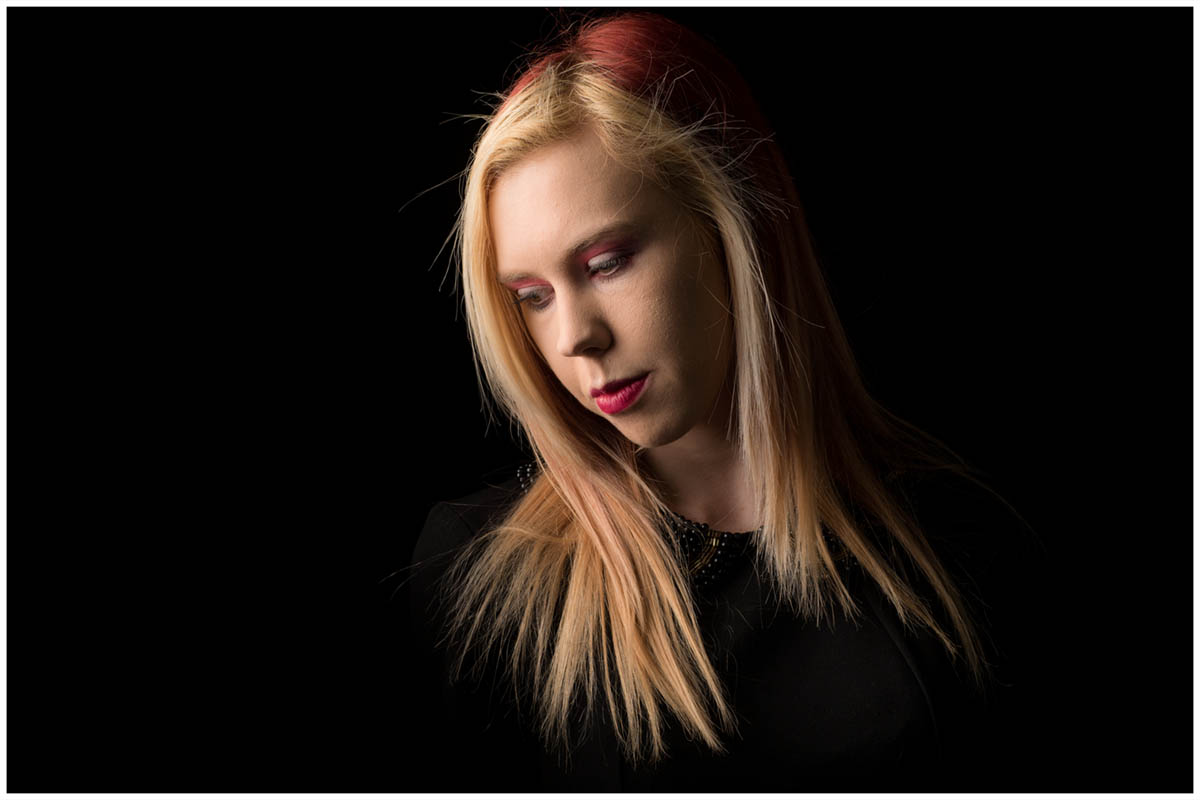
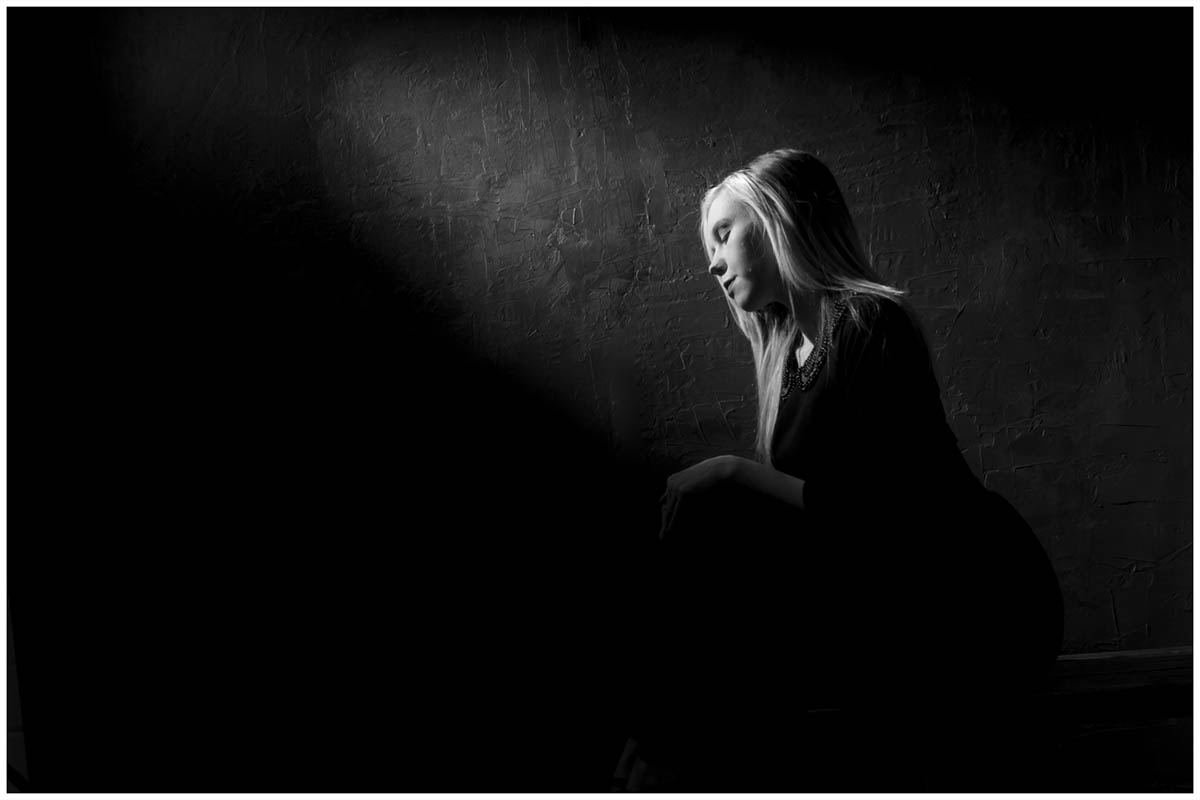
If you have a small or portable studio set up then low key portraits should be high on your list of “must have” lighting skills. Why? Apart from looking amazing, great low key lighting can be achieved with simple equipment against any dark background.

[youtube]https://www.youtube.com/watch?v=Ba1Hiq3w3kc&feature=youtu.be[/youtube]

As the video above demonstrates, black backgrounds are the obvious choice for low key shots but grey backgrounds work too. So what makes a shot low key?

An underexposed image is not the same as a low key image. Whilst a true low key shot will have the majority of it’s tones on the dark side it will also have a few areas of highlights too. Contrast is key and that needs lighting but how you get there is all part of the creative process.

Creating shadows with D.I.Y. Gobos

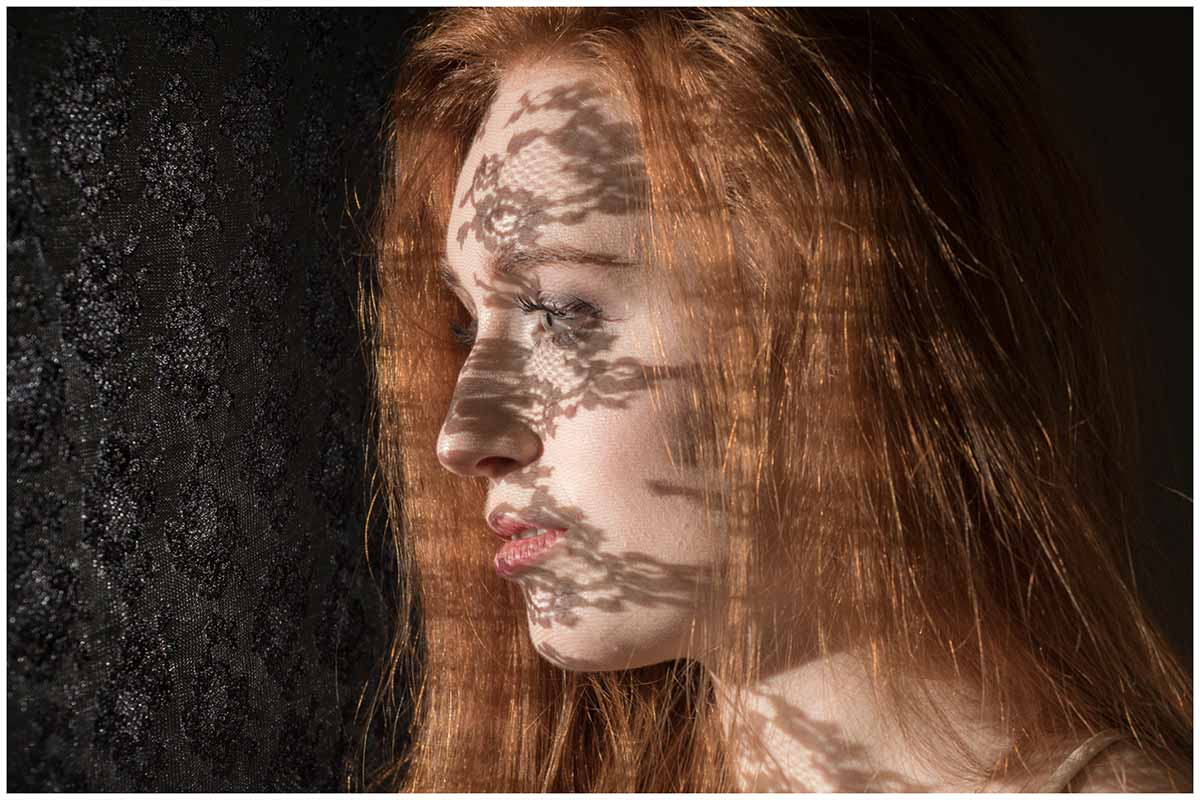
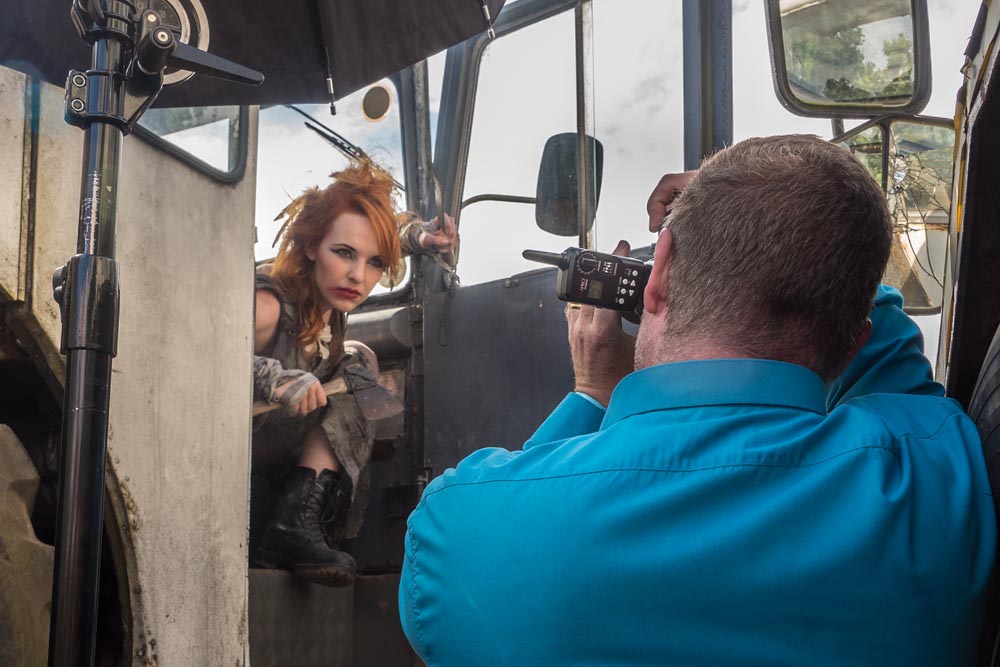
Placing an object in front of a light source will usually cast a shadow of some sort. In the studio, if the object is solid it’s known as a flag but if it’s full of gaps (or semi translucent) it’s called a GoBo and can be incredibly useful. The shadow cast by a GoBo is often used to add texture or shapes to an otherwise plain background but there’s more to GoBo’s then that.

GoBo’s can cast shadows directly on to your subject for dramatic effects or they can be used to give reflections of the light source a little more style. And you don’t need a fancy GoBo projector to do it. Fabric, glassware, twigs or even tinfoil with random holes in are just a few things you can find around the house.
[youtube]https://www.youtube.com/watch?v=_sBK4xFmF3Q&feature=youtu.be[/youtube]

One last thought. Many photographers will tell you that GoBo is short for Go Between because it’s something that goes between the light and the subject. Well, if that’s true why aren’t they called GoBe’s?