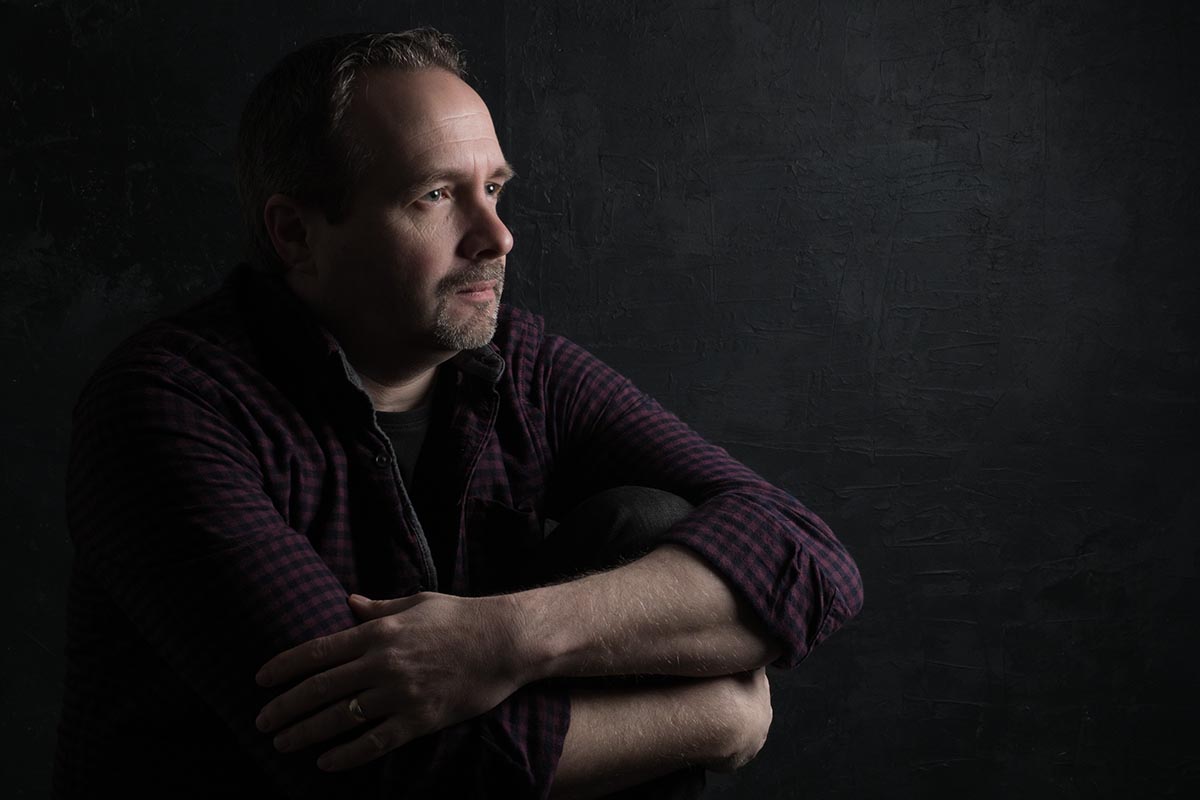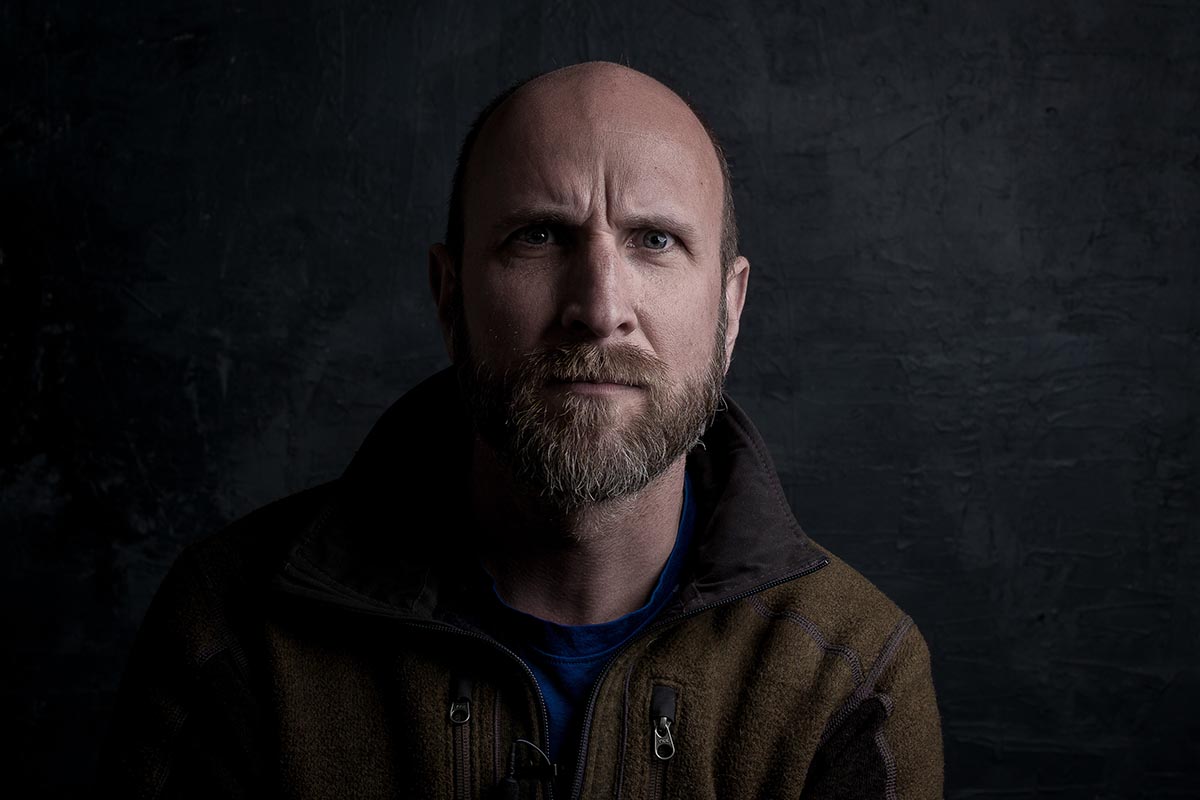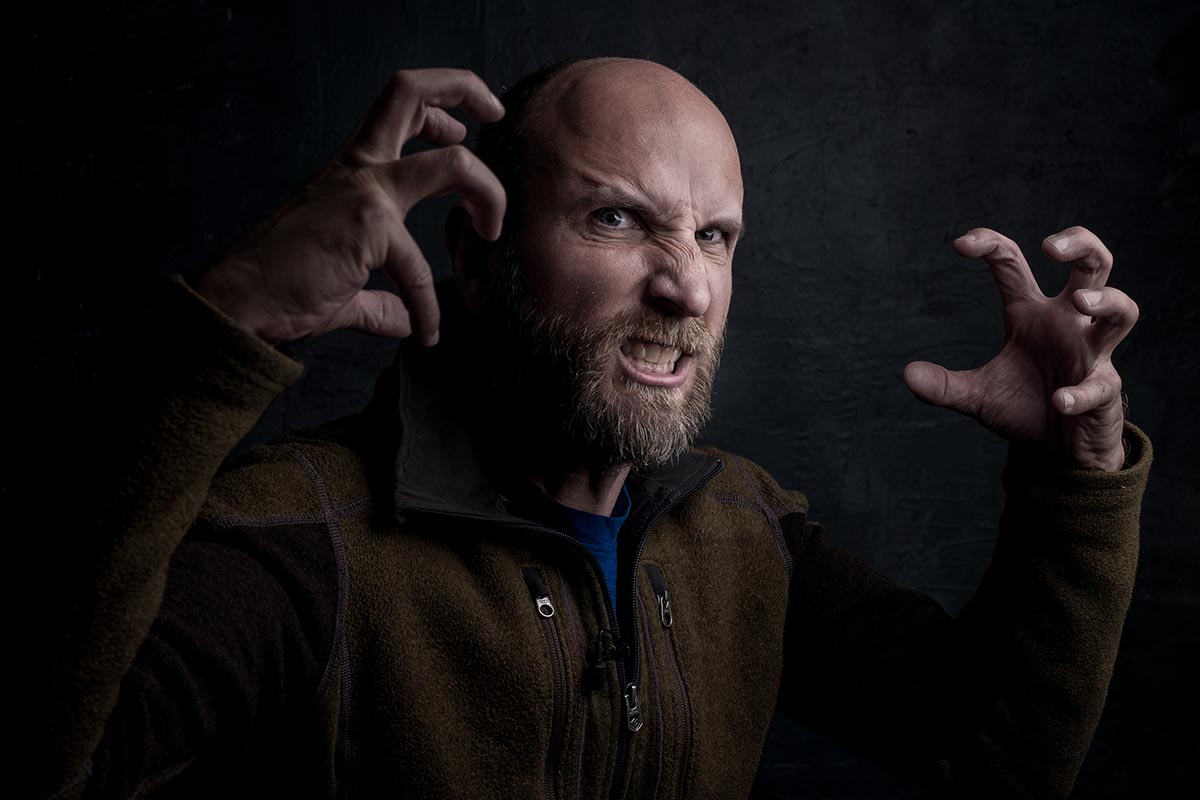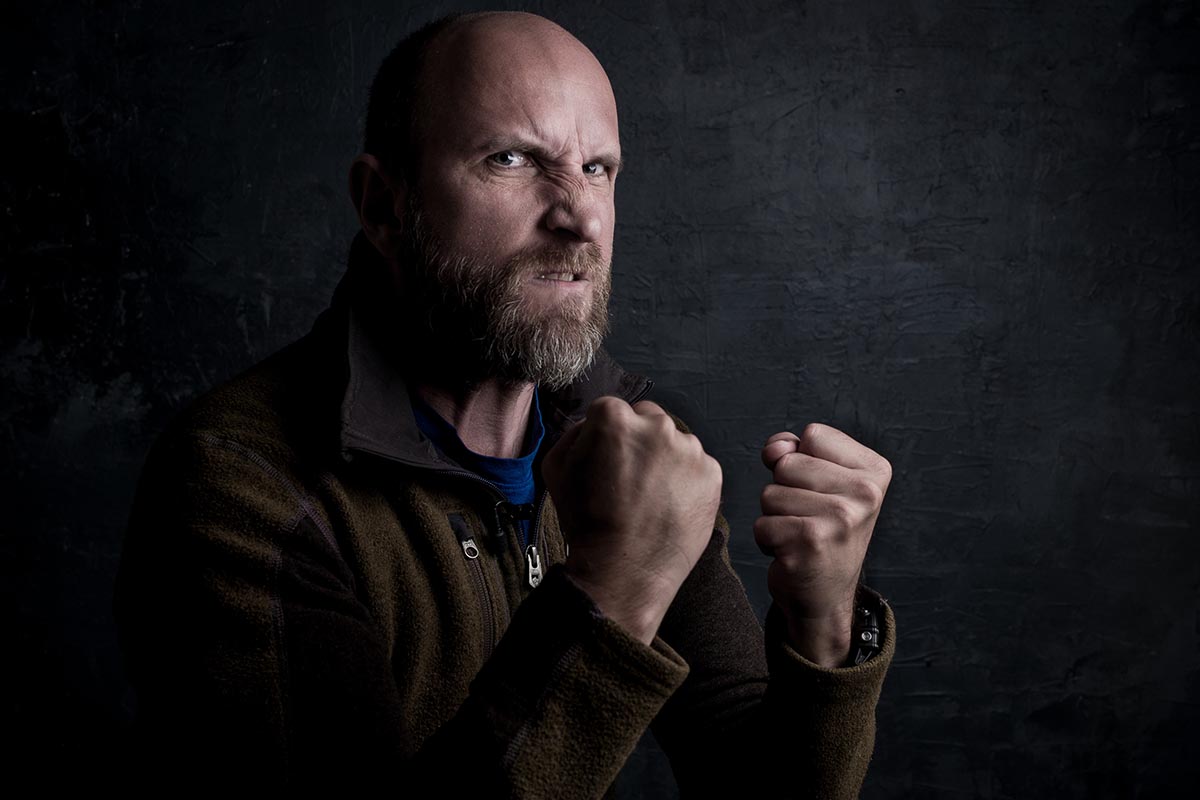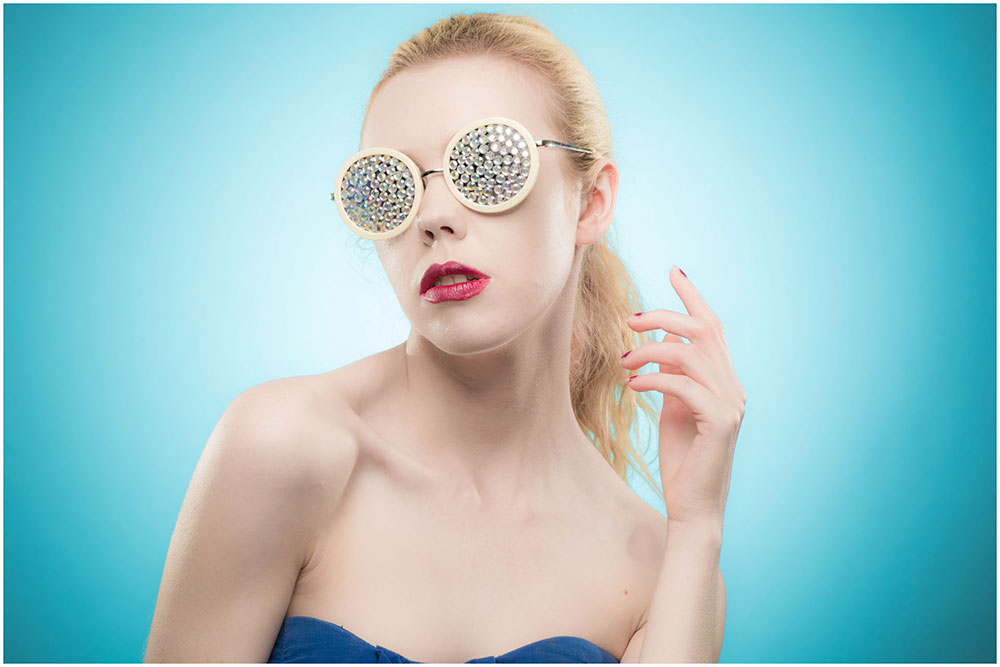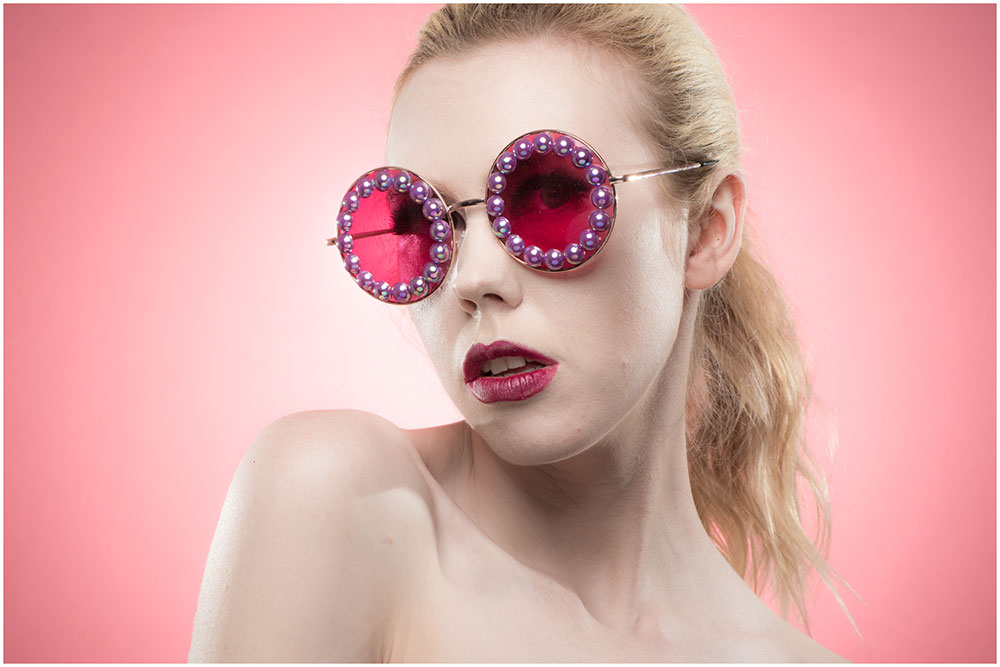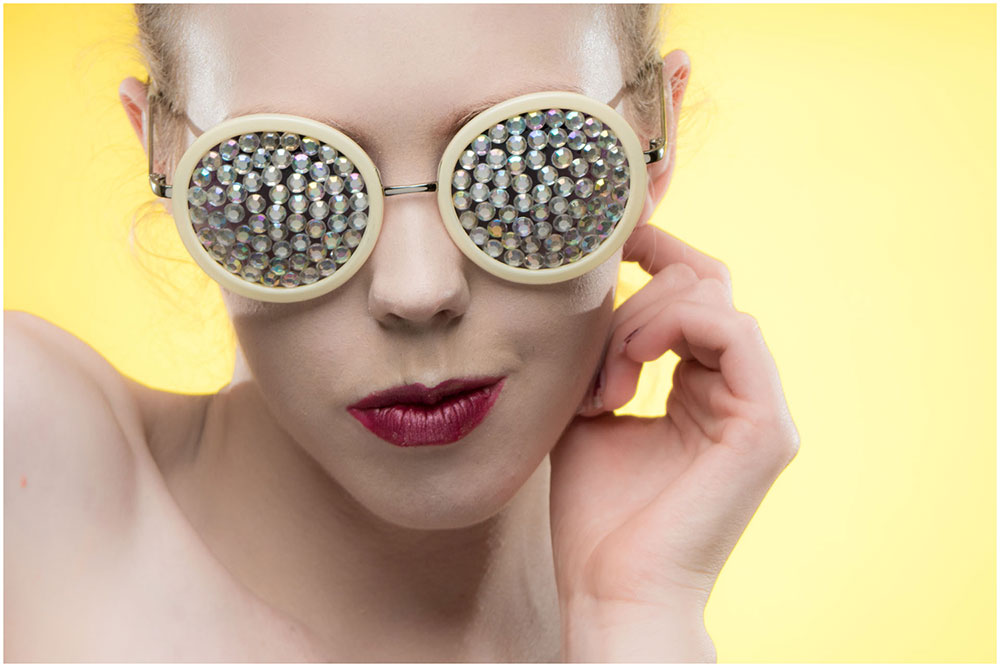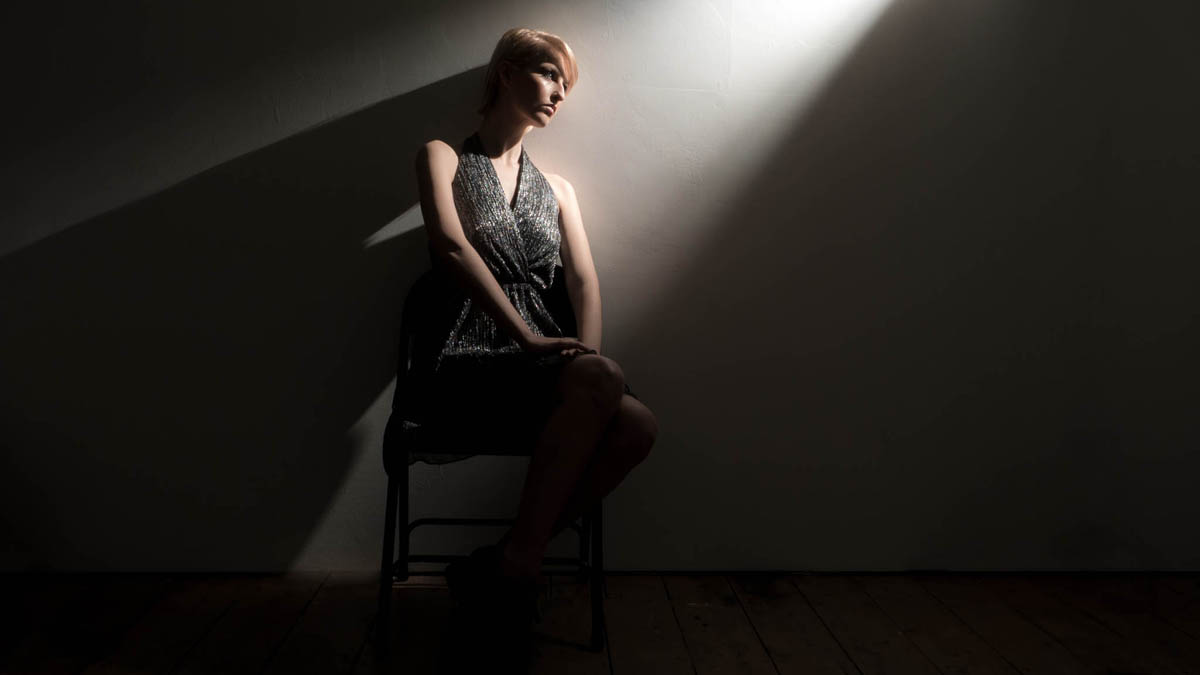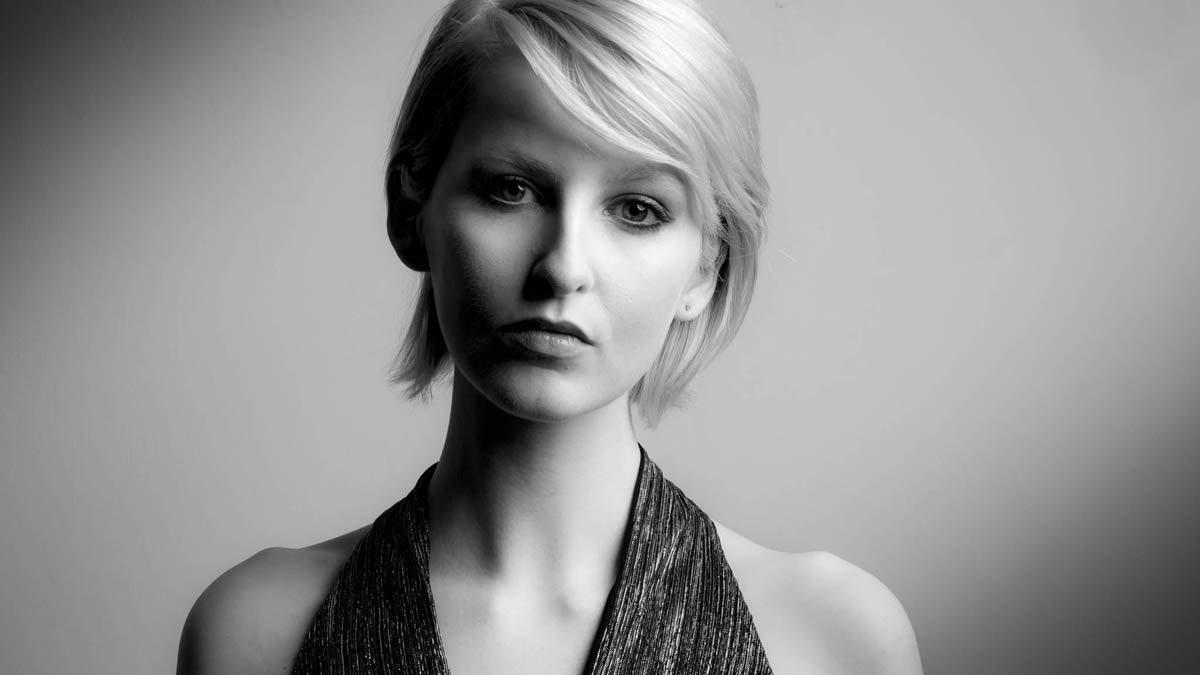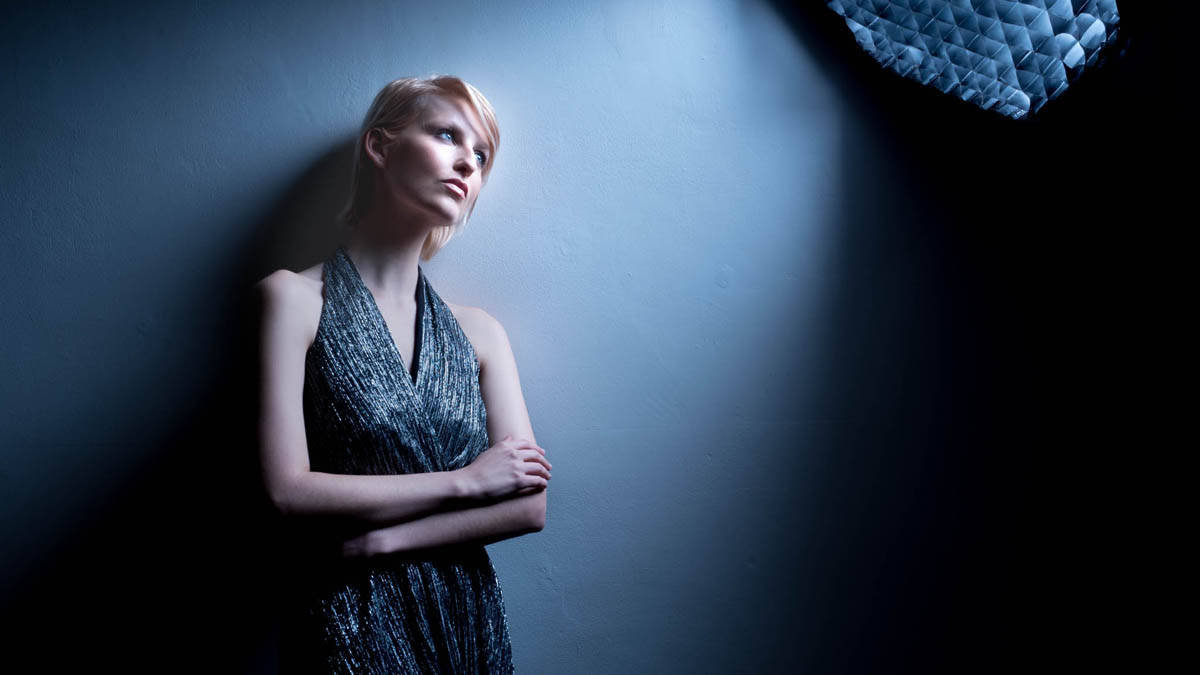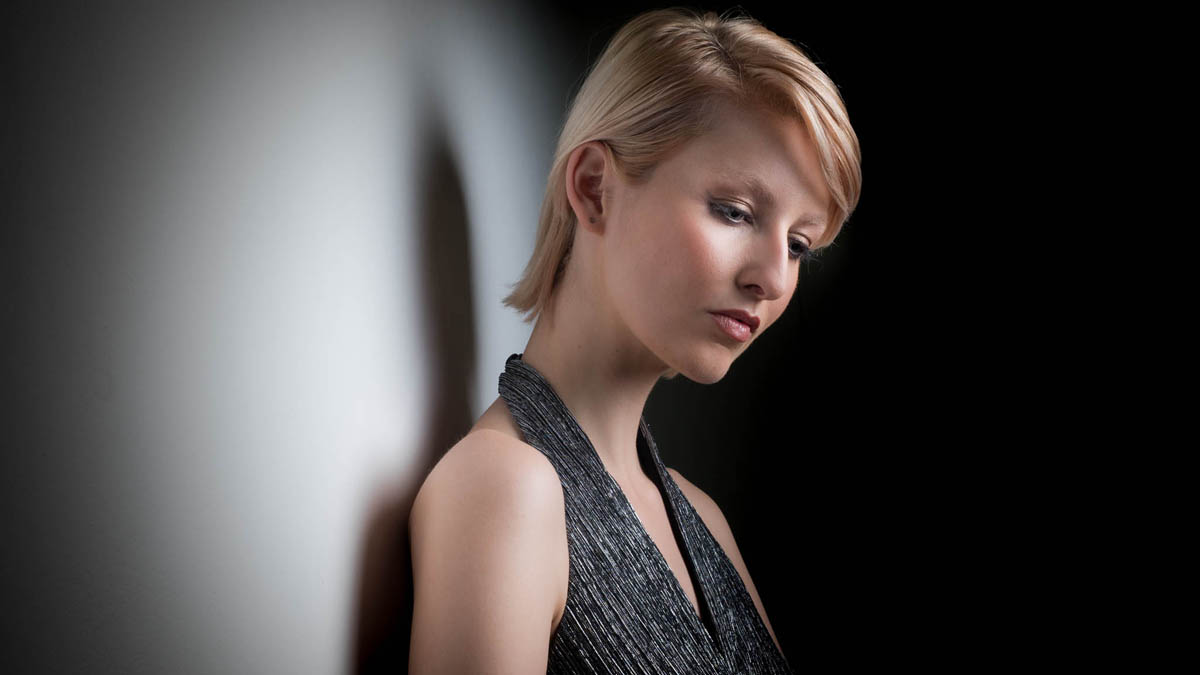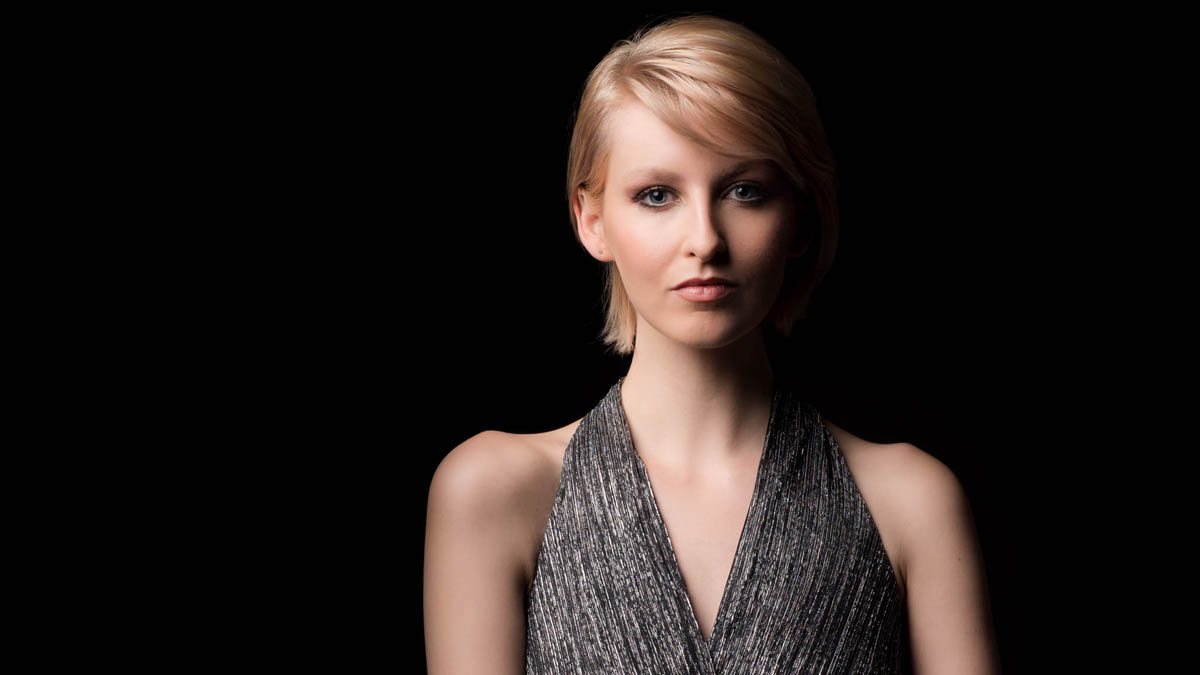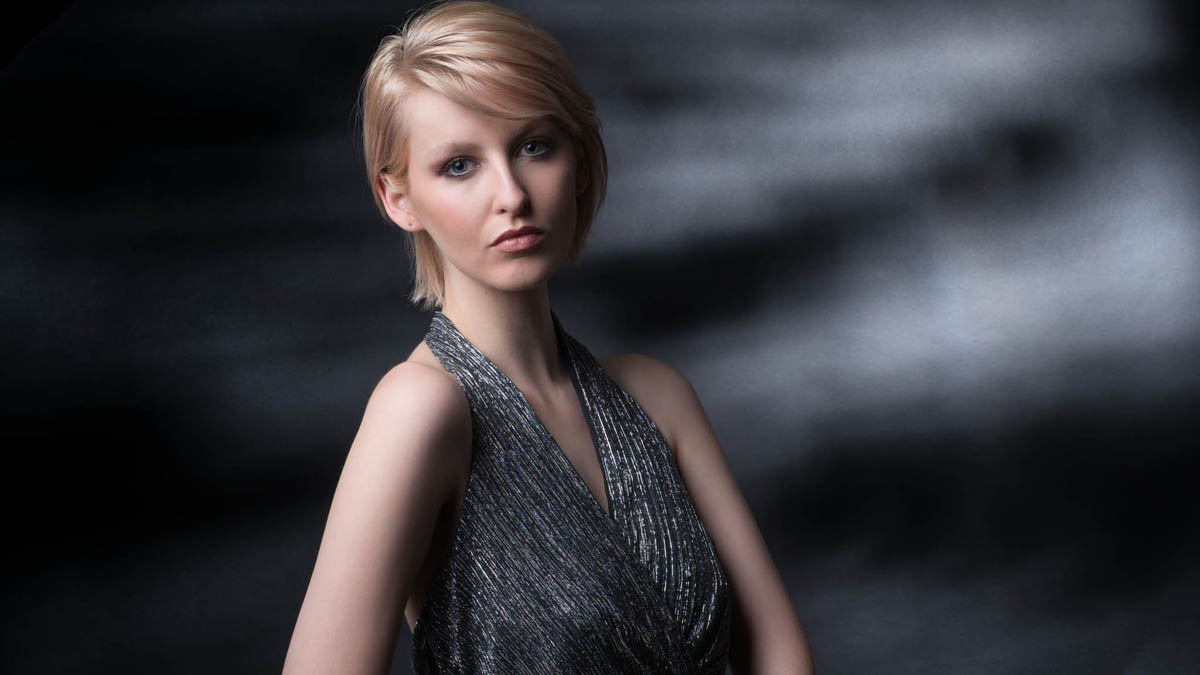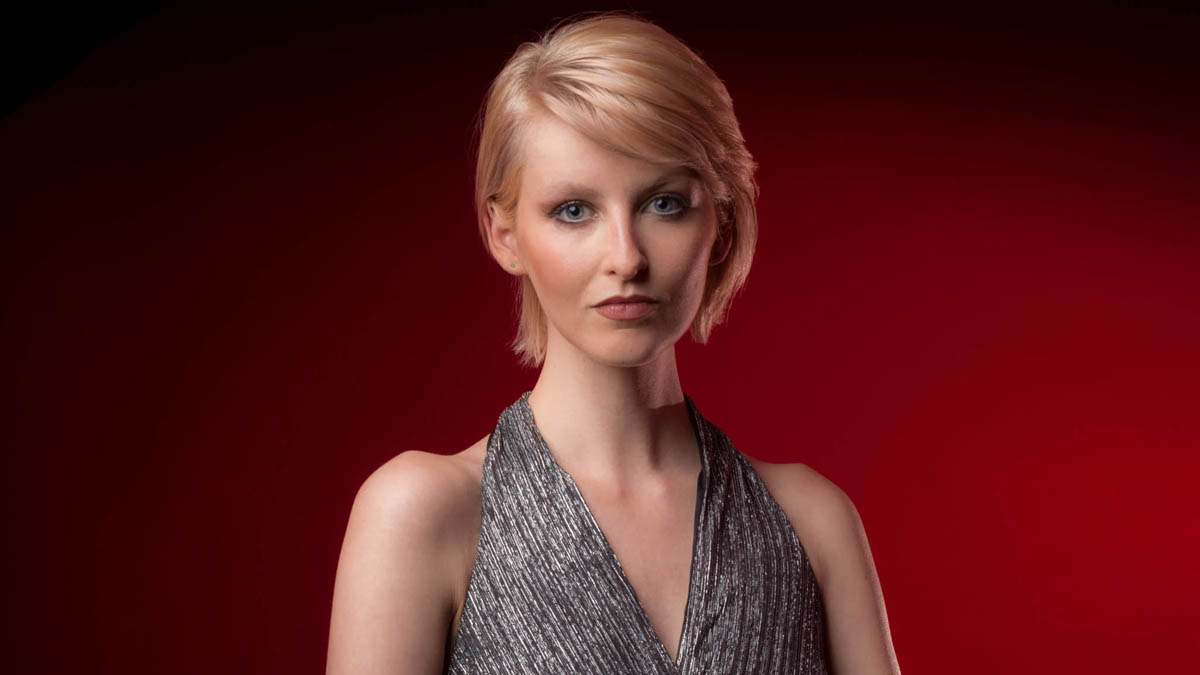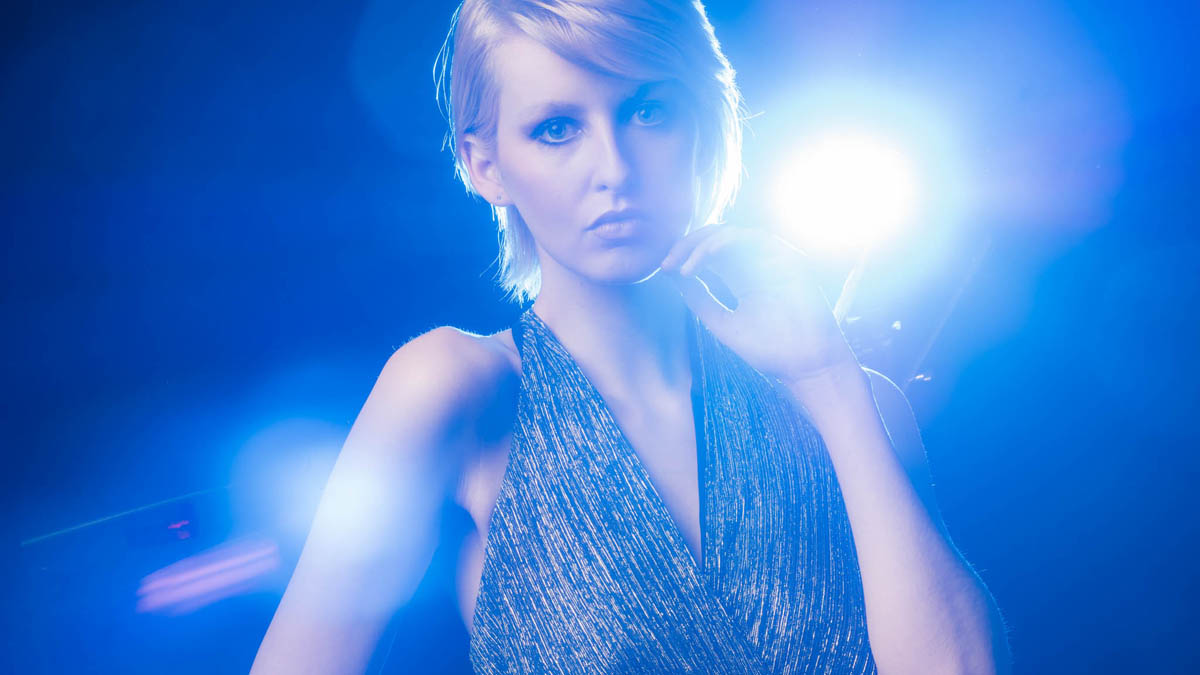
Pointless Photo Challenge, Episode 1

Photography can be a serious business sometimes, doubly so for me as it’s both my job and my hobby. But take things too seriously and run the risk of losing the fun factor and that’s often where the more creative side photography comes to the surface.

So when my good friend and fellow Adorama TV presenter Mark Wallace recently stopped by my house for a few days, we came up with a whole bunch of fun photo challenges to test our photography skills in a slightly pointless but hugely enjoyable way.

In this episode both Mark and I take part in a model shoot and background folding challenge. Sounds easy? Well there’s a twist.

[youtube]www.youtube.com/watch?v=ePI2jYcm1L4[/youtube]

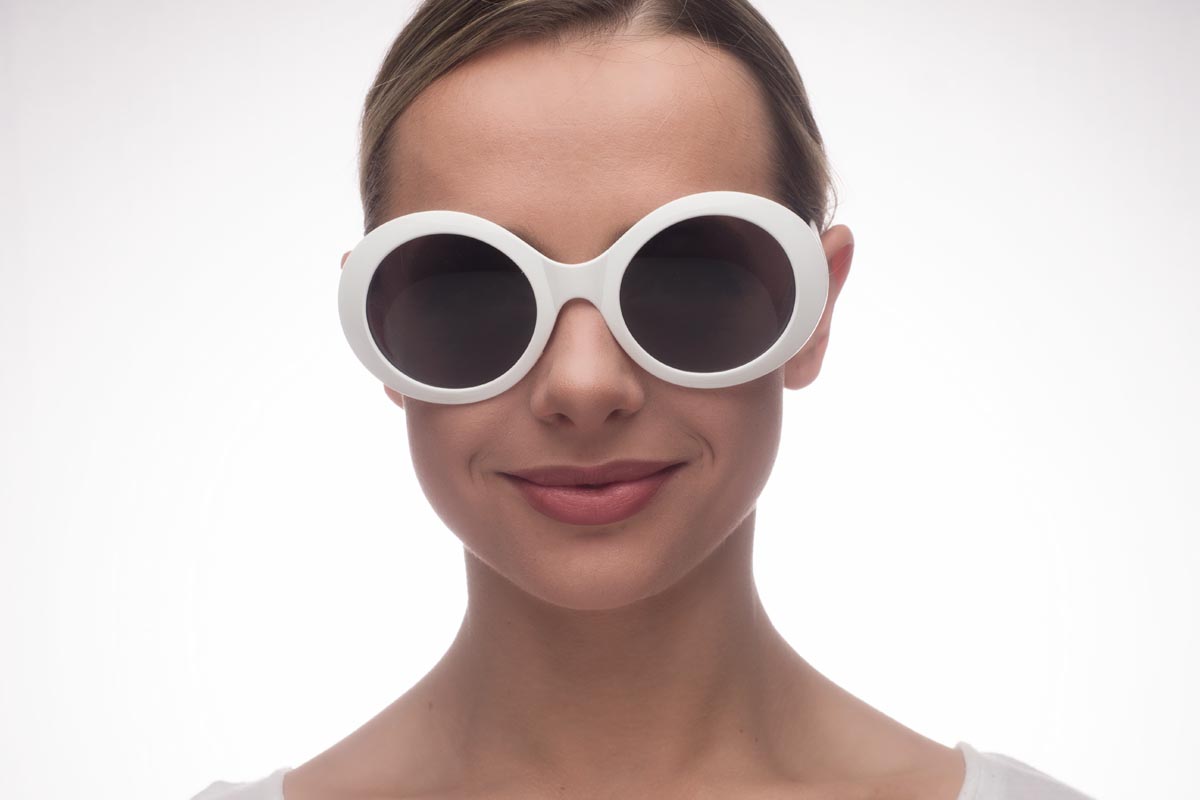
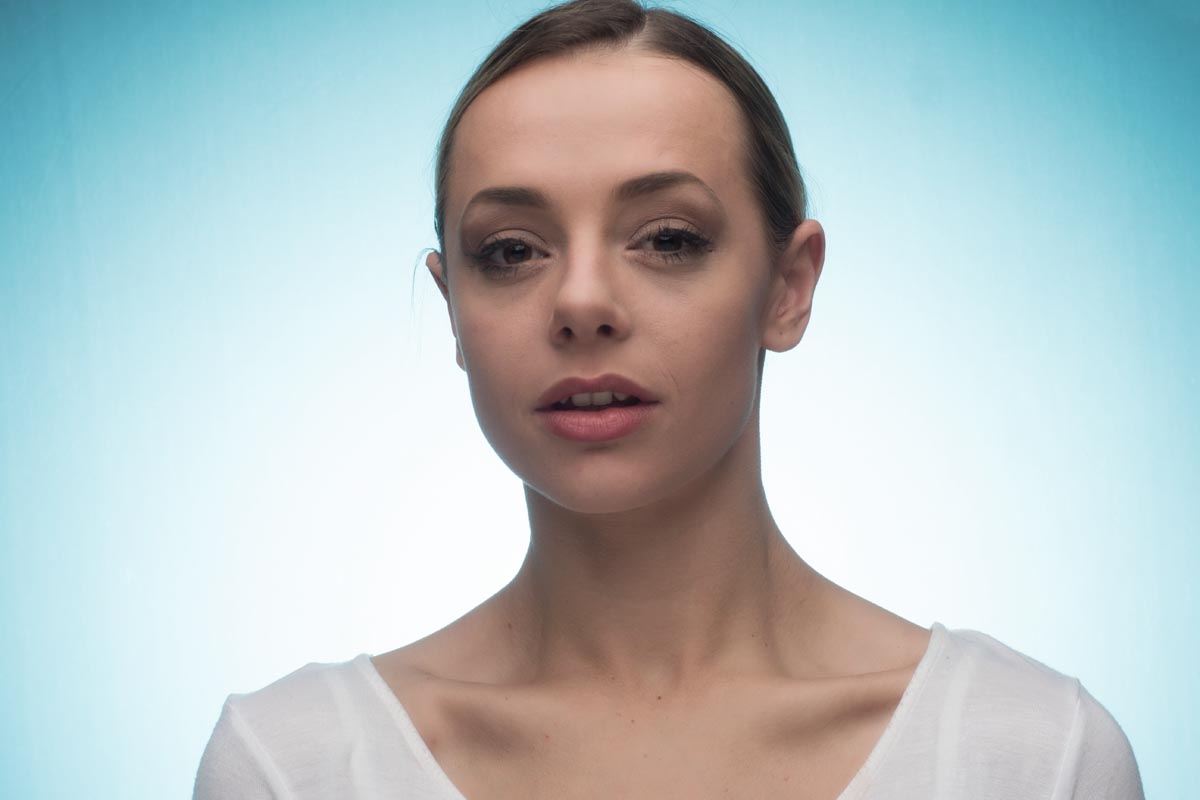
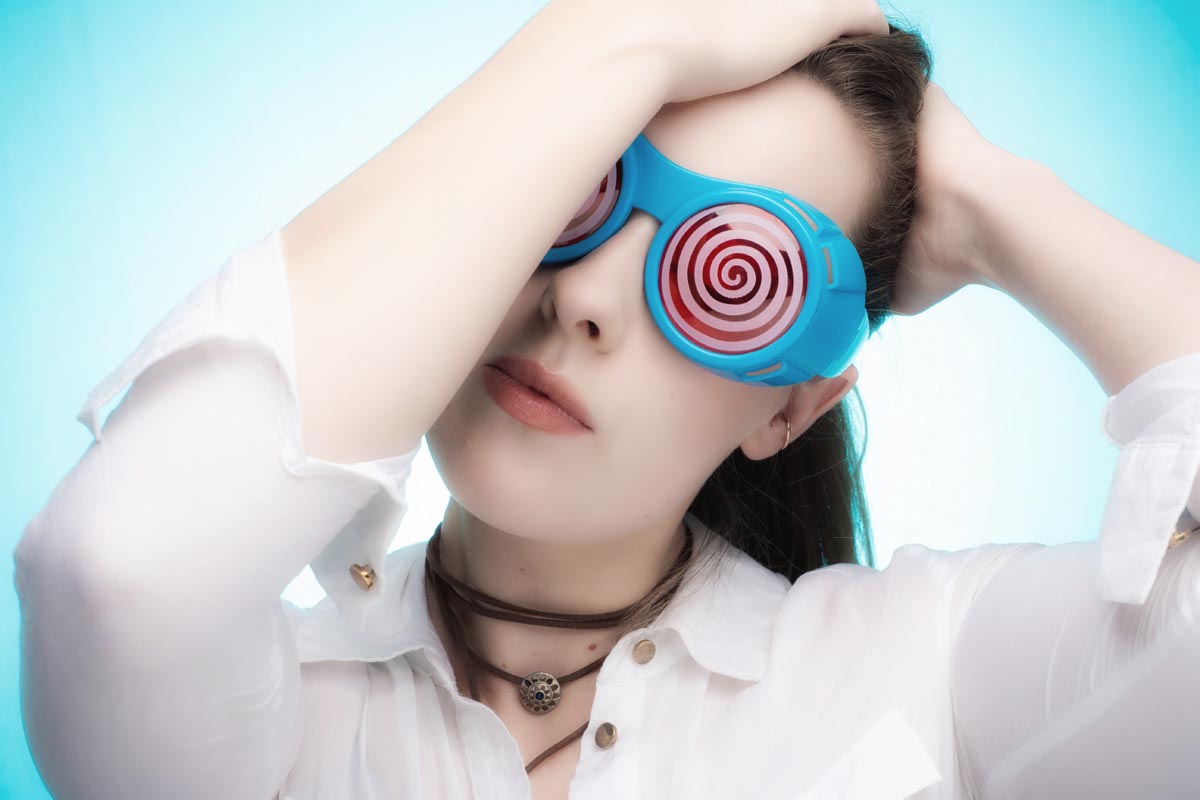
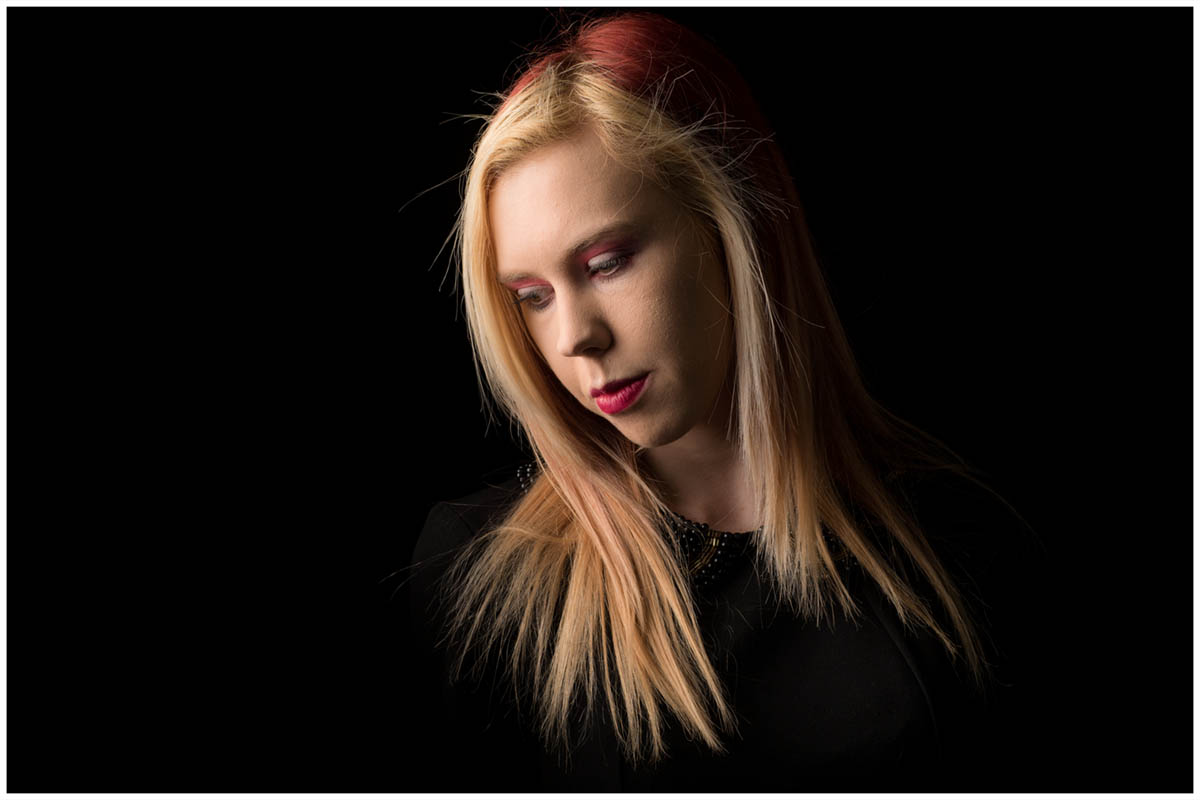
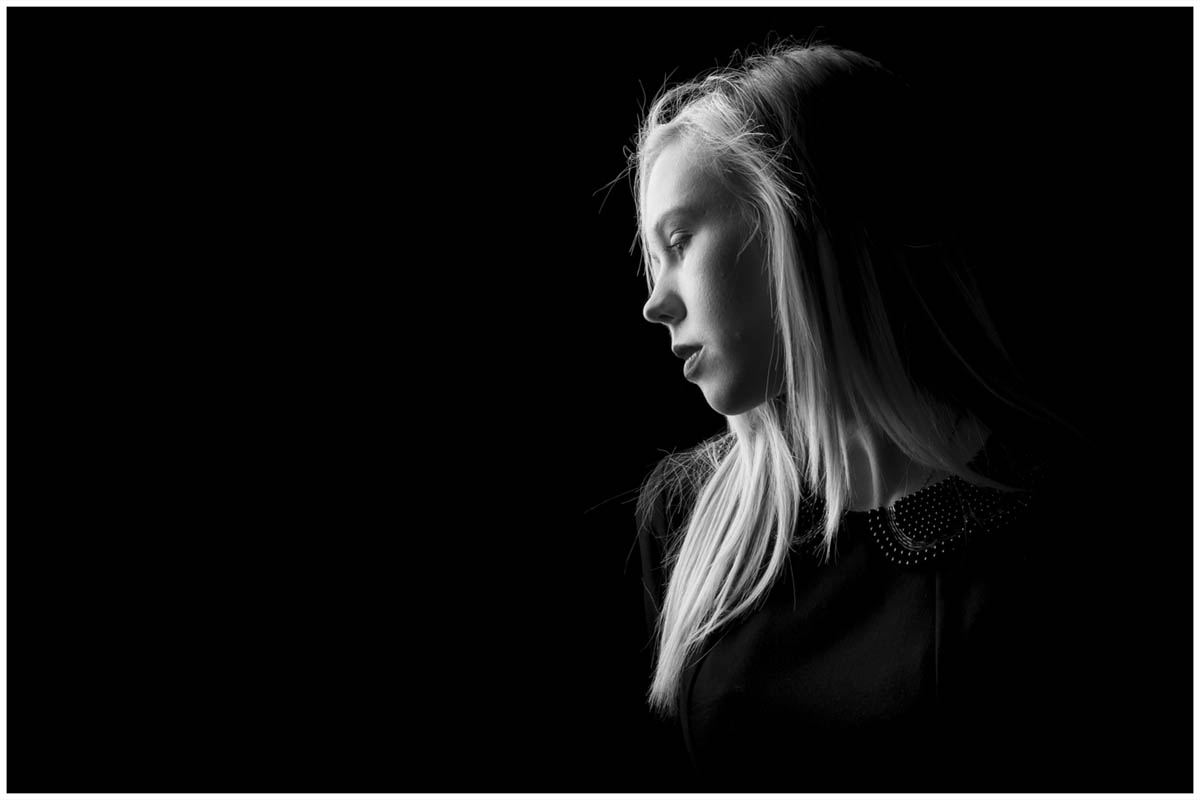
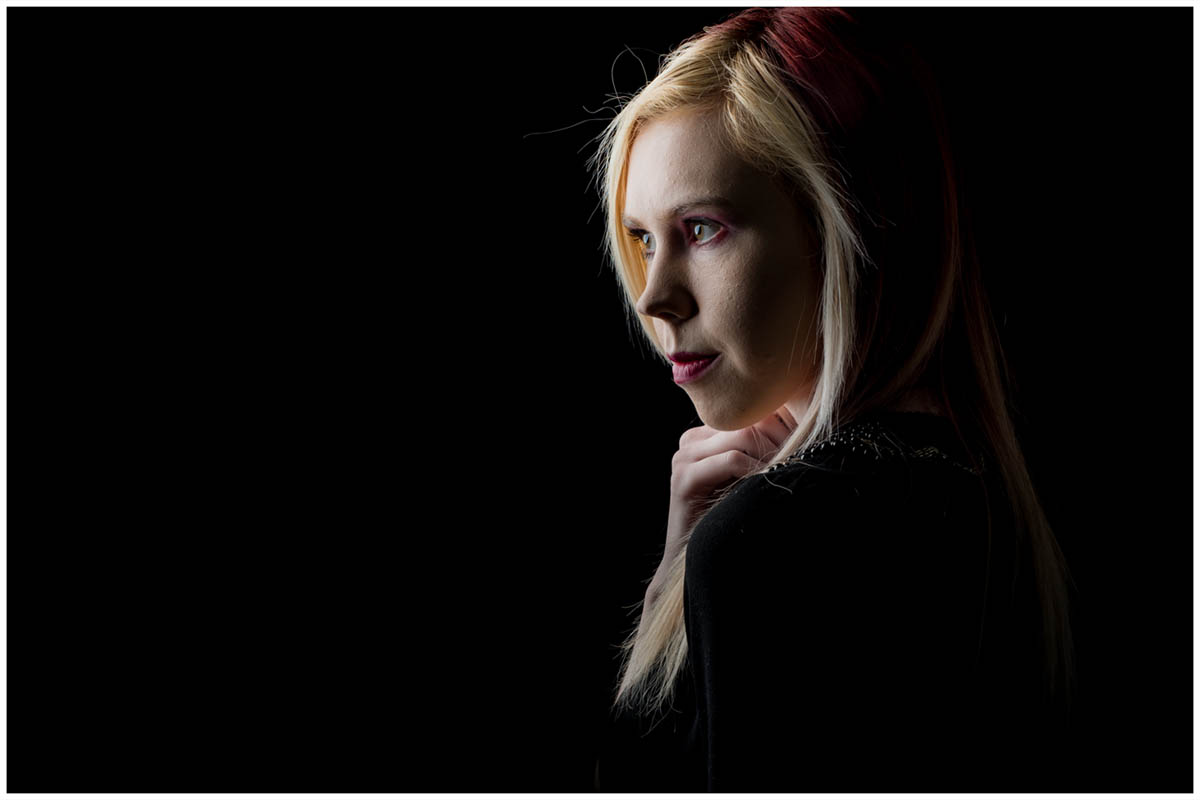
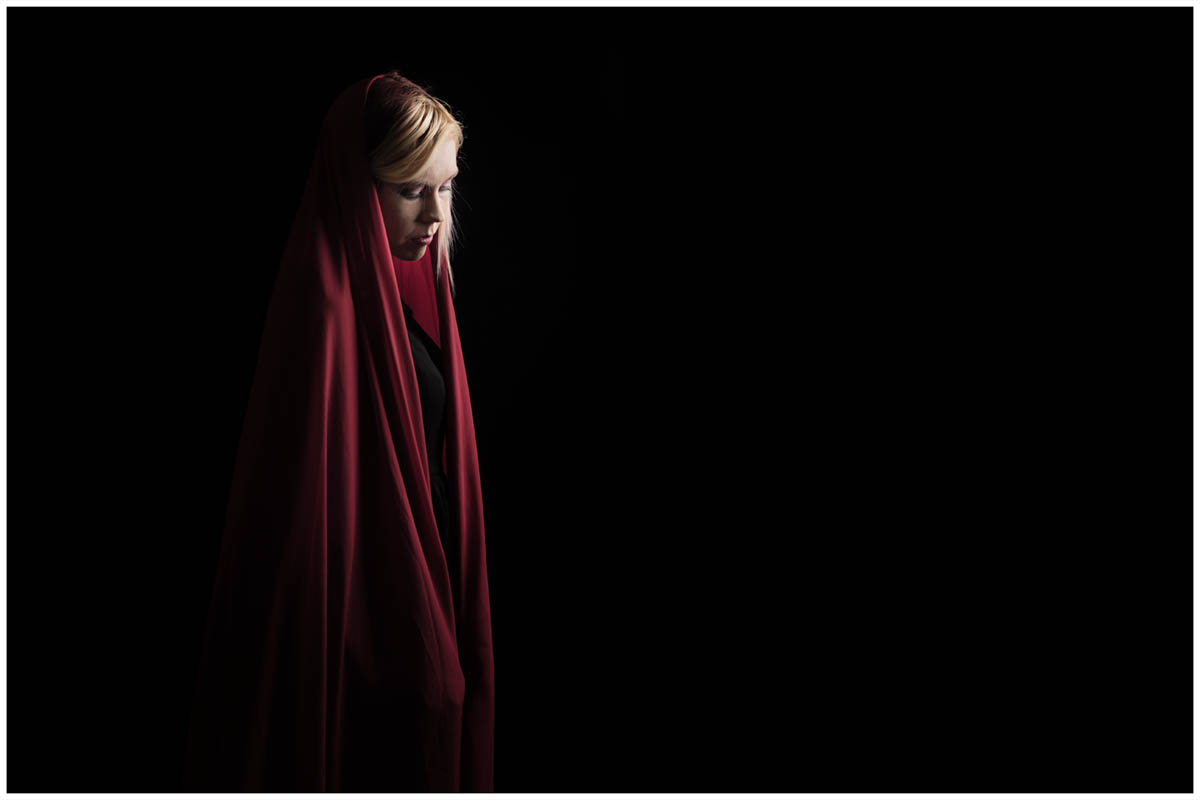
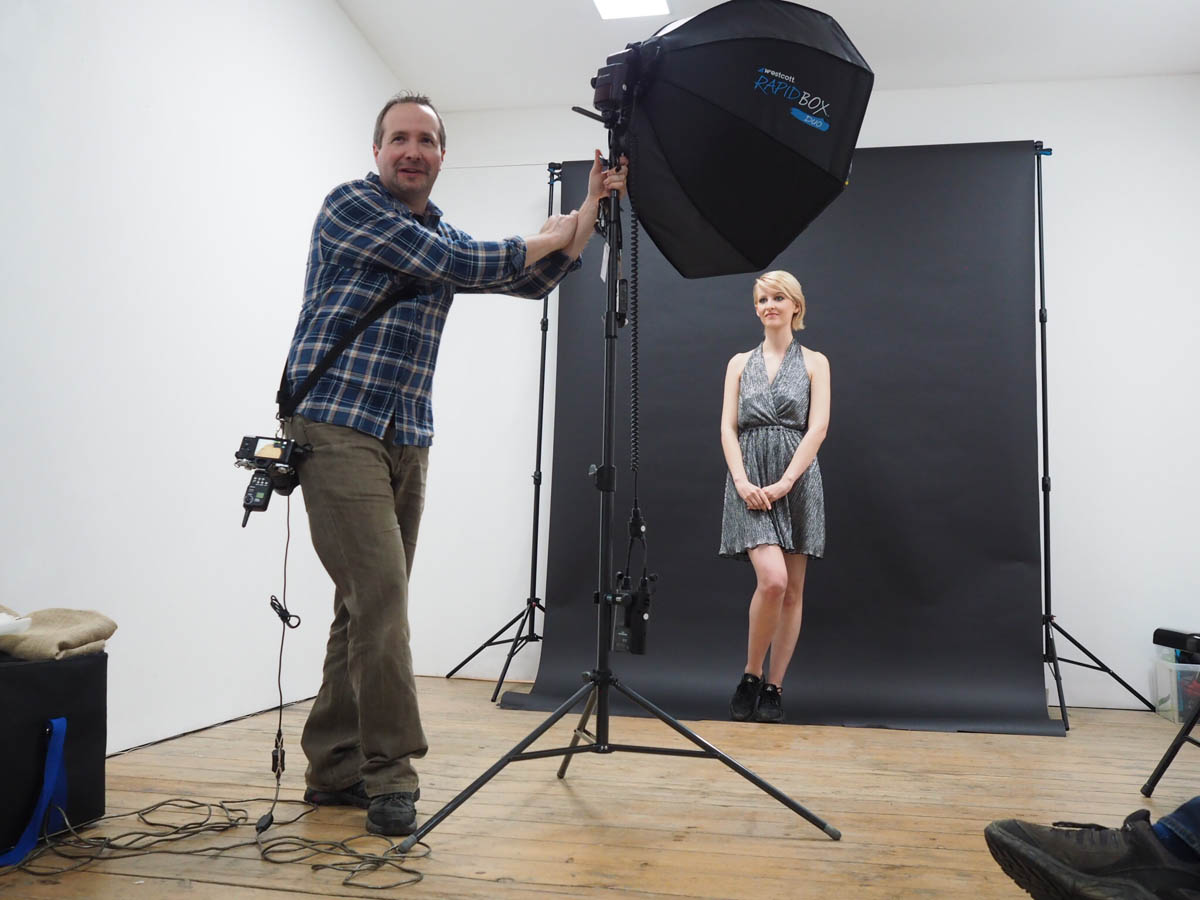
For the model shoot we both worked with Kerry Allingham but with the following instructions…
Reverse model shoot.
Swap places with Kerry and instruct her on how to take the best portrait of you. You can not touch any equipment including your camera or lights and you can’t see the photos until after the shoot. You have 20 minutes starting now

The next challenge was much more straight forward…
Folding challenge
Fold these three reflectors whilst blind folded. Fastest wins.

While there’s no arguing I won the folding challenge, who won the reverse model shoot is open to debate. Let me know who you think won and why in the comments below.
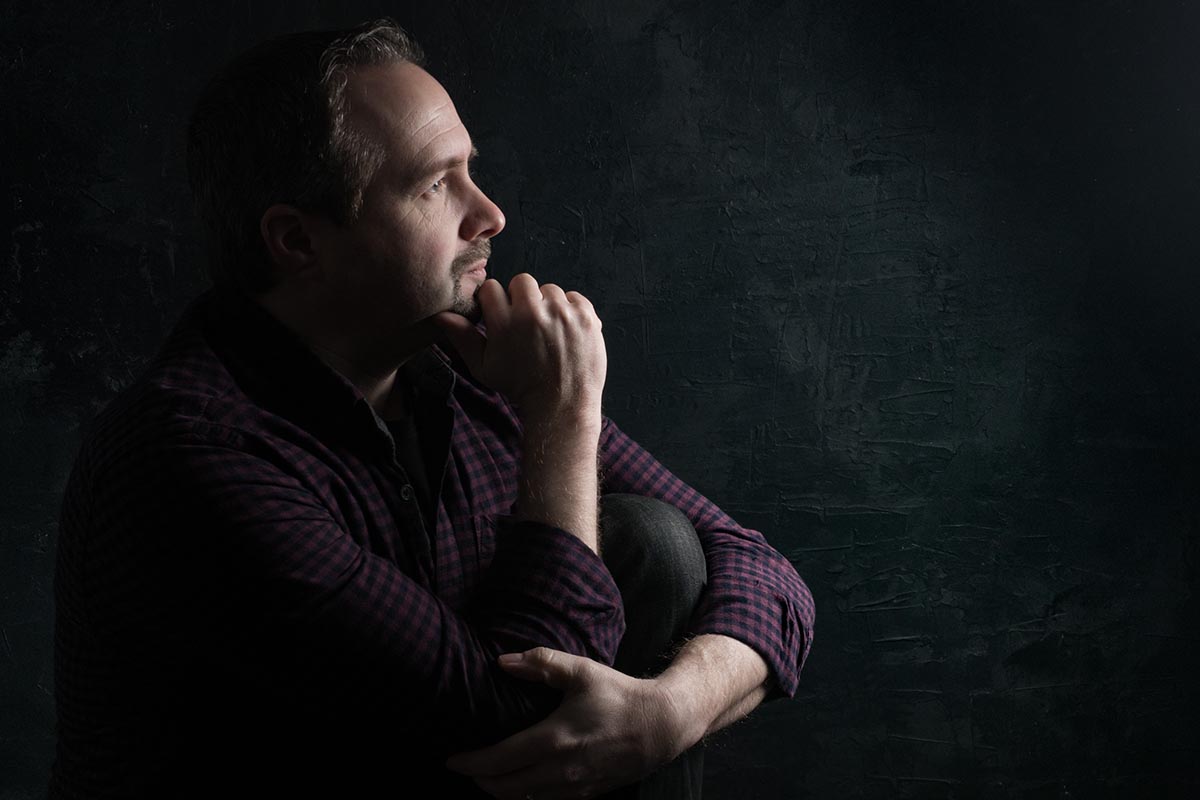
The Photography Show 2017 Lighting Demos

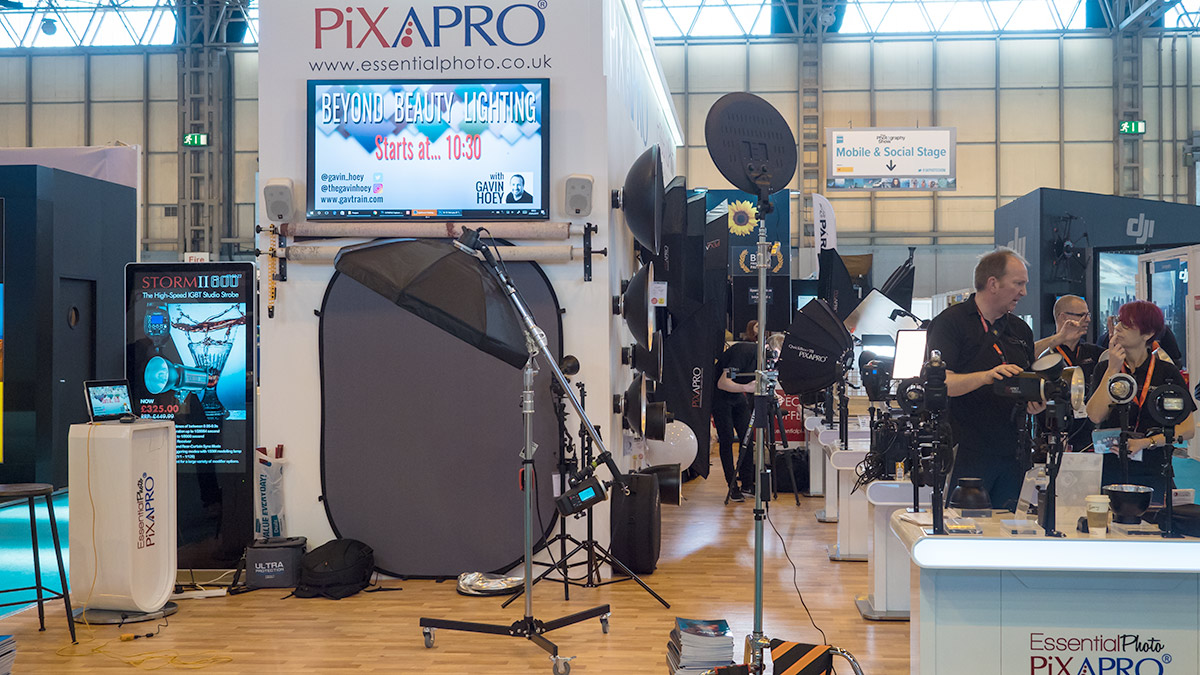
The Photography Show (TPS) is the UK’s biggest and busiest photo event and last week I was lucky enough to be there for all four days. But I wasn’t there to shop, network and learn. I was there to teach.

In all I did 17 talks, demos and live streams in four days, so TPS 2017 was a super busy event for me. Along the way I met with some wonderful photographers, so if you stopped and said hello then thank you.

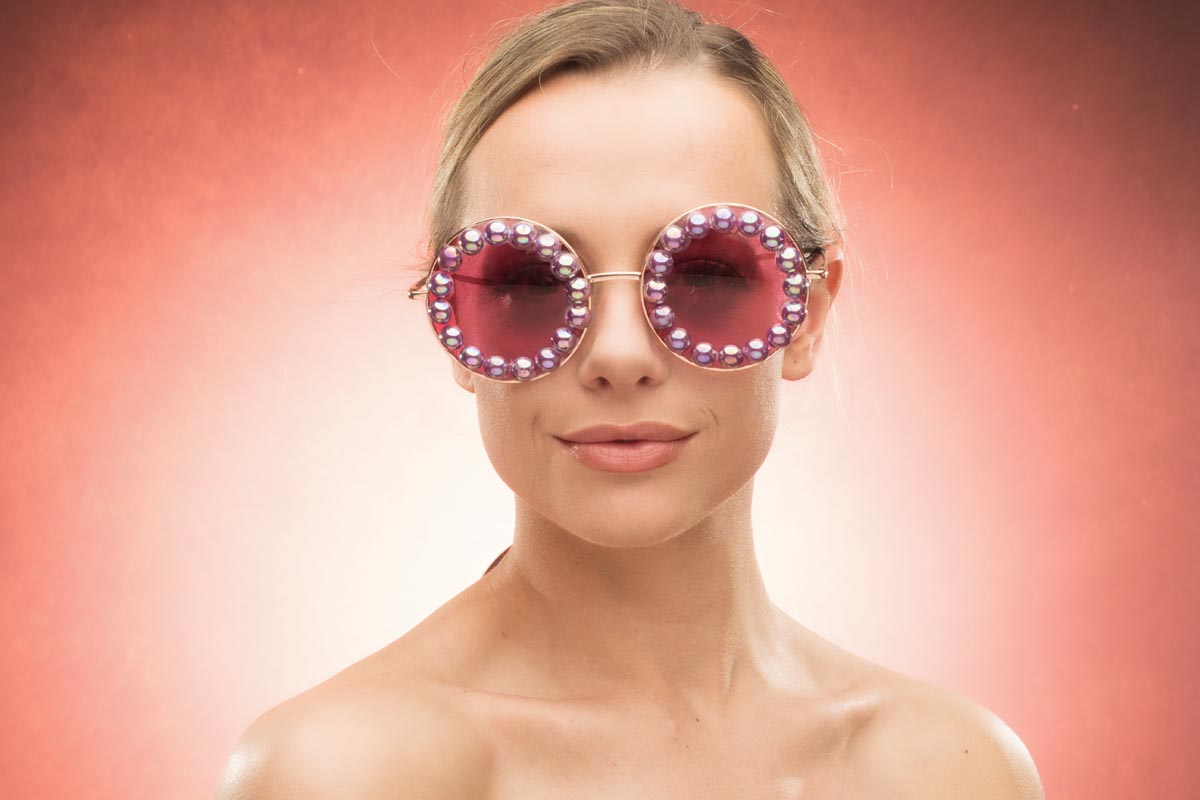
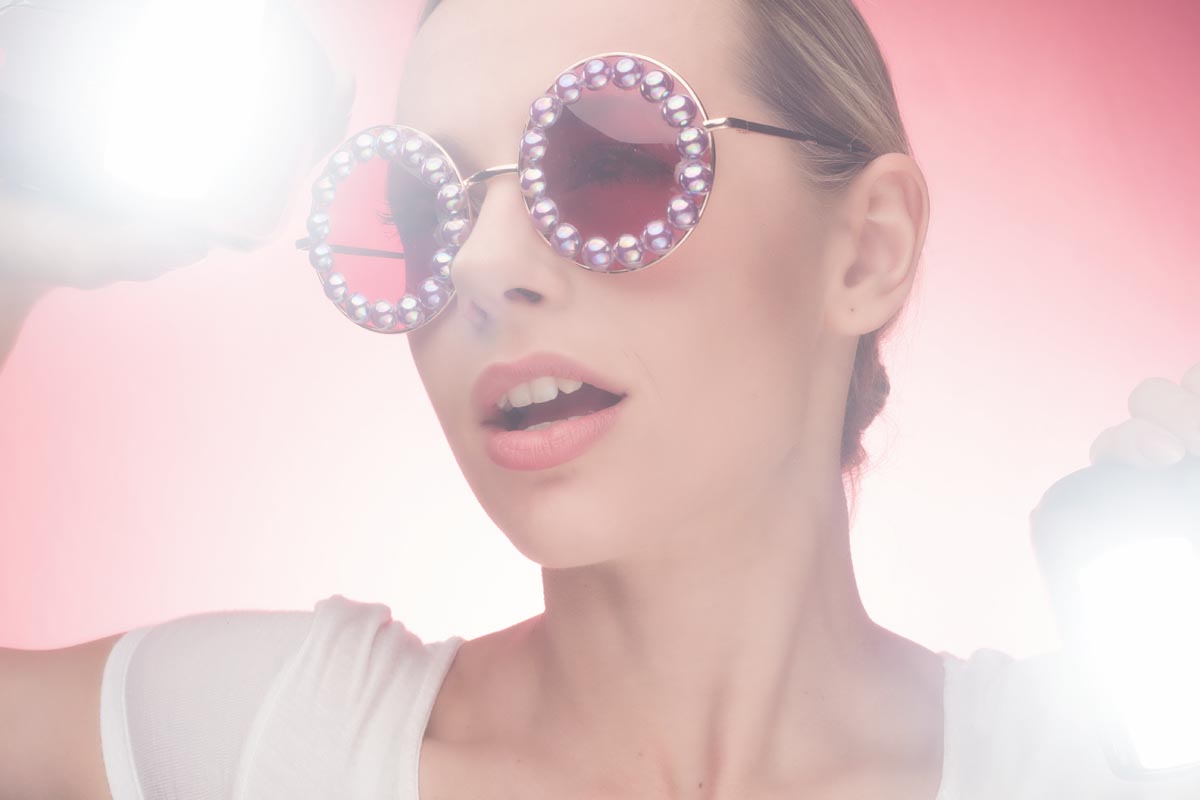
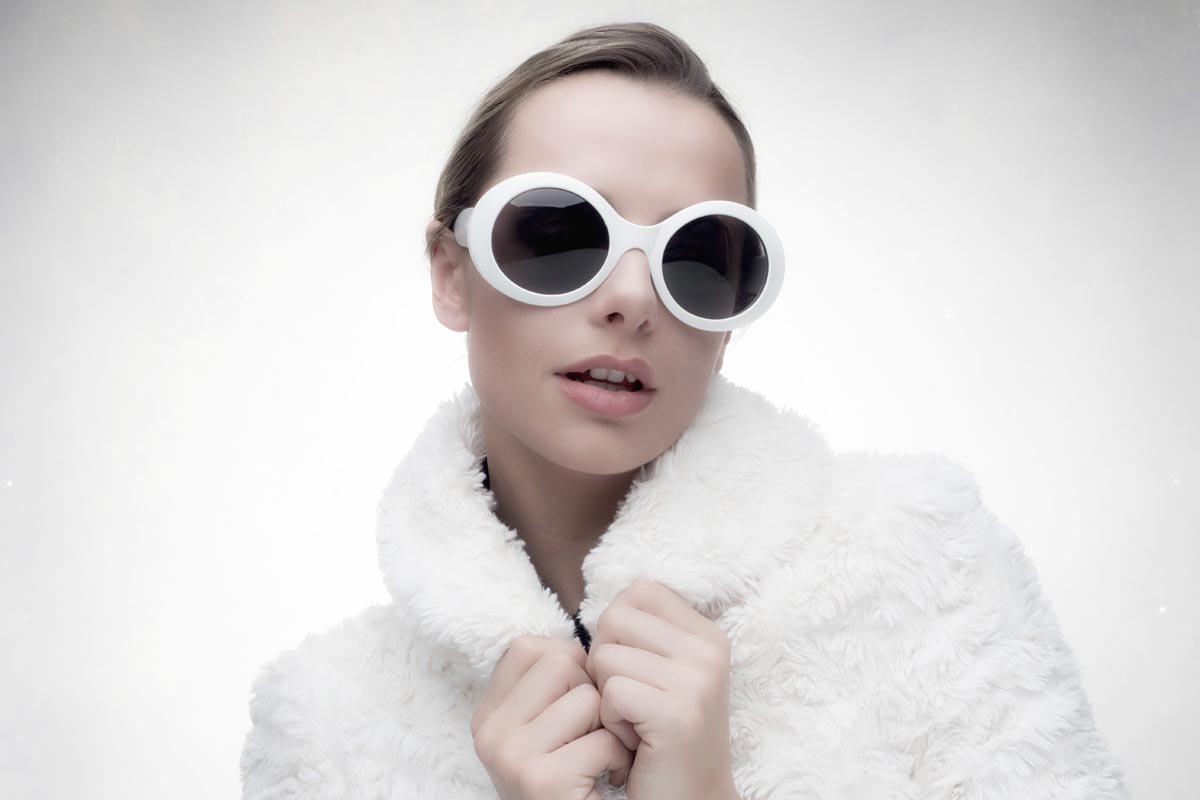
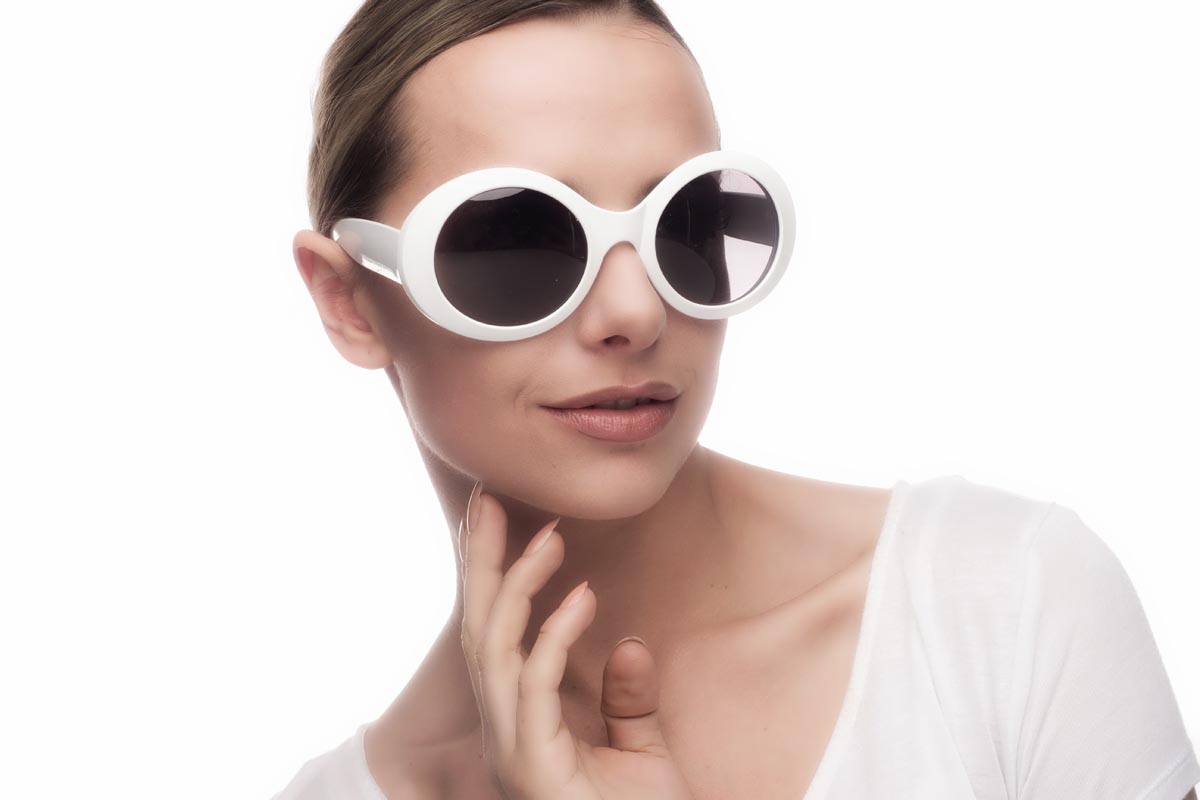
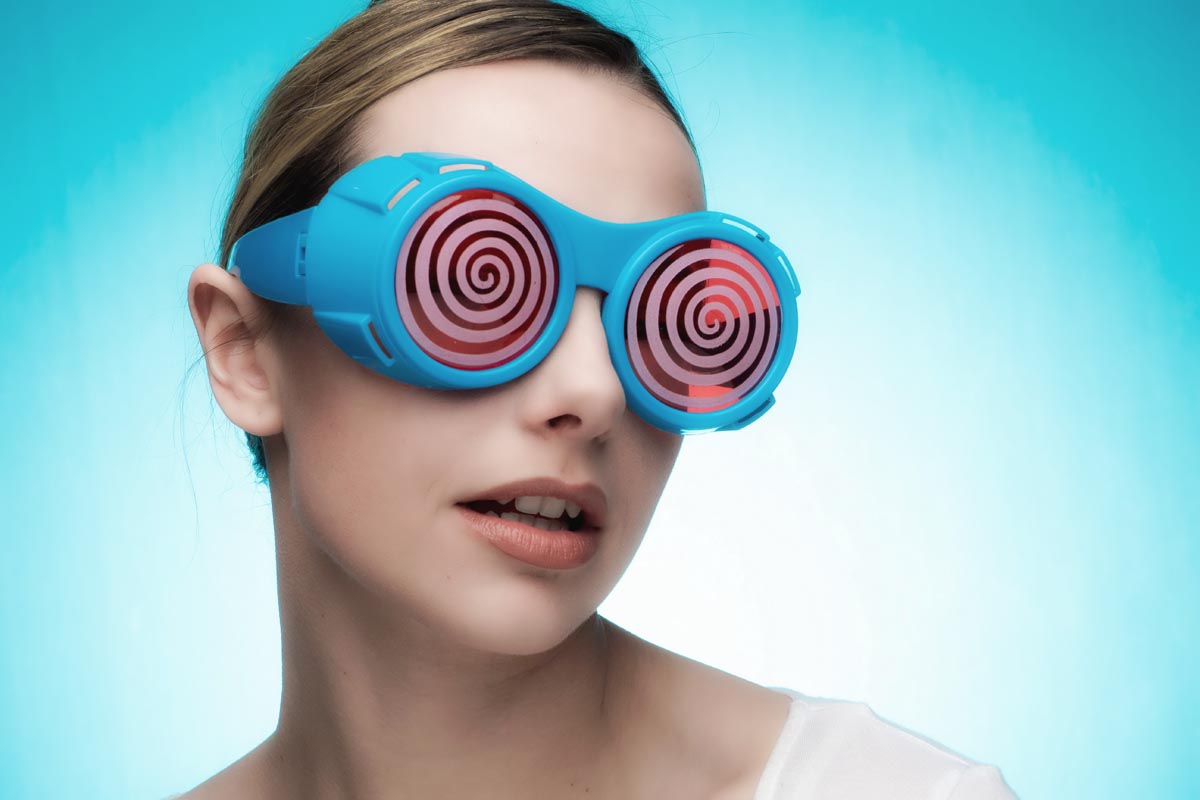
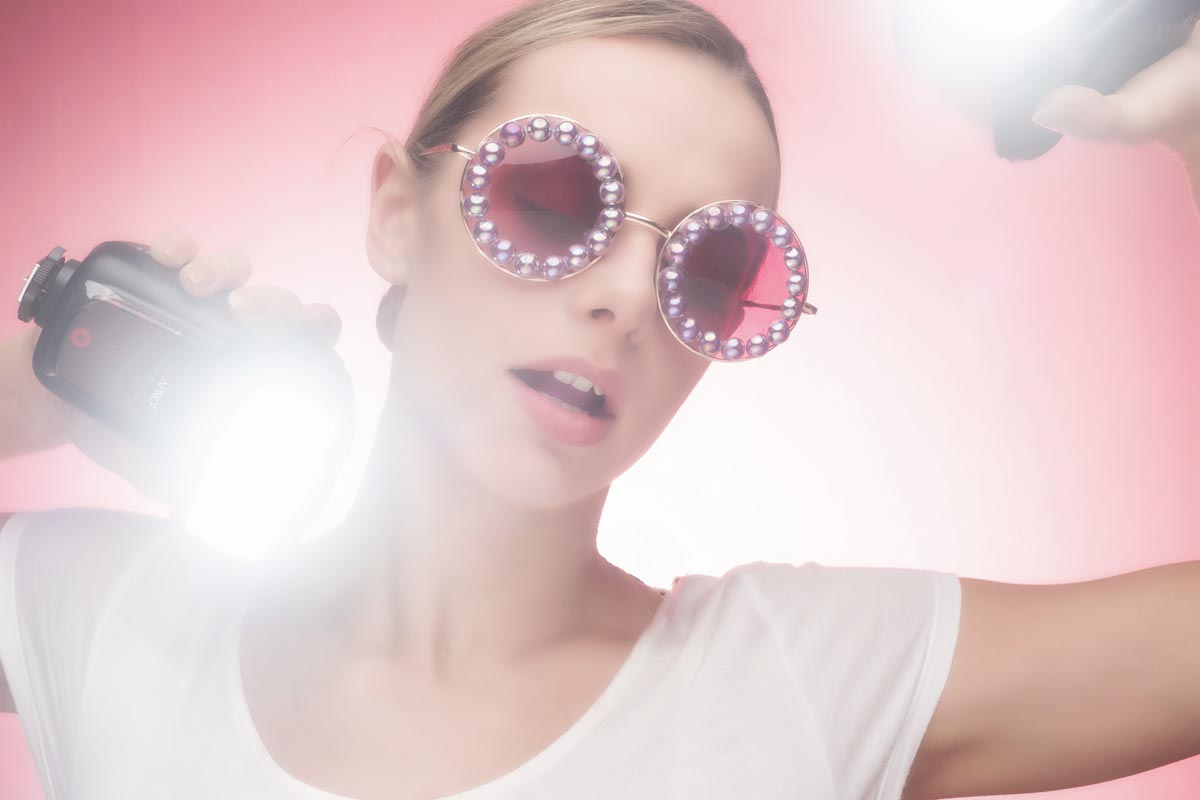
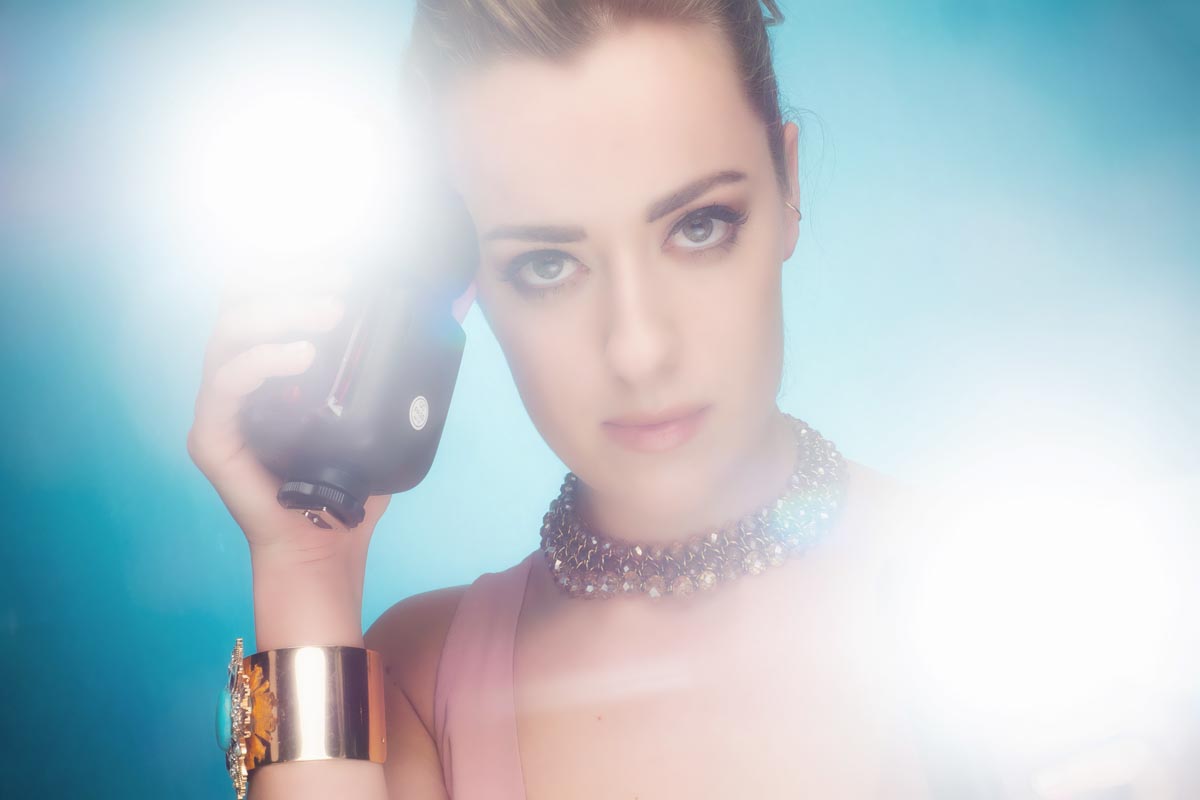
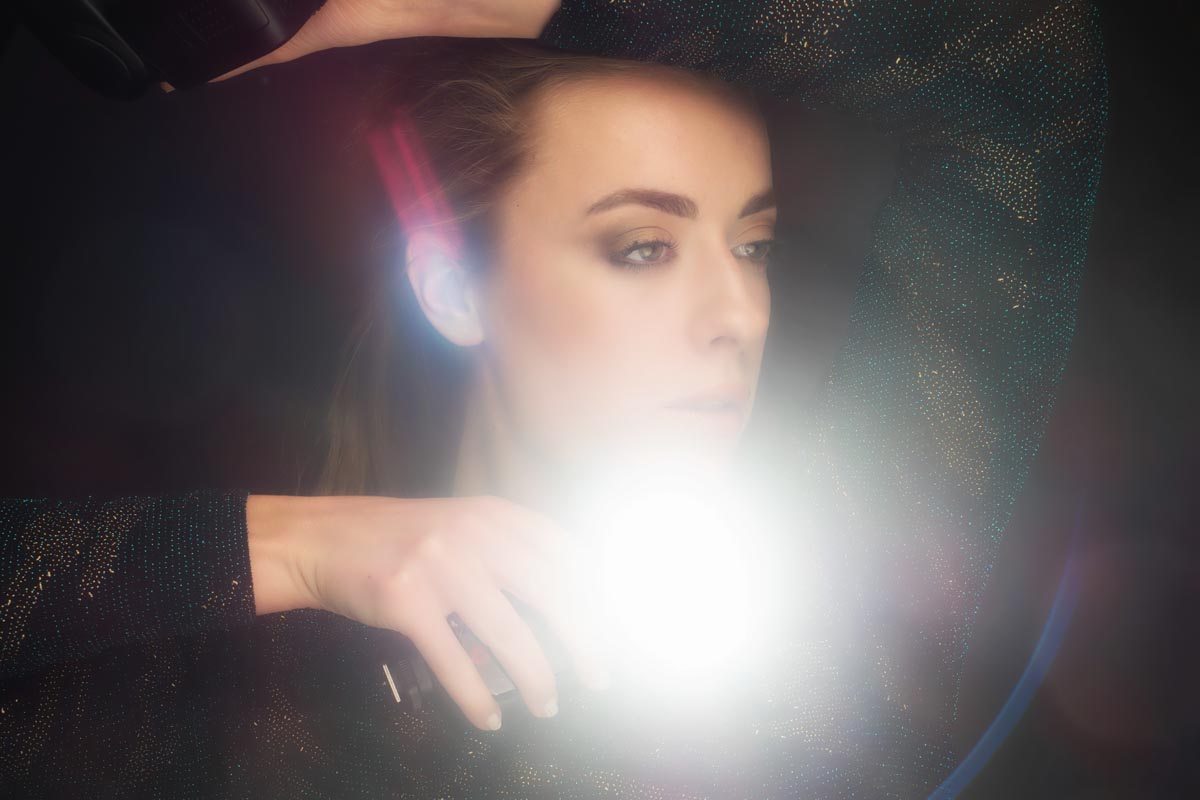
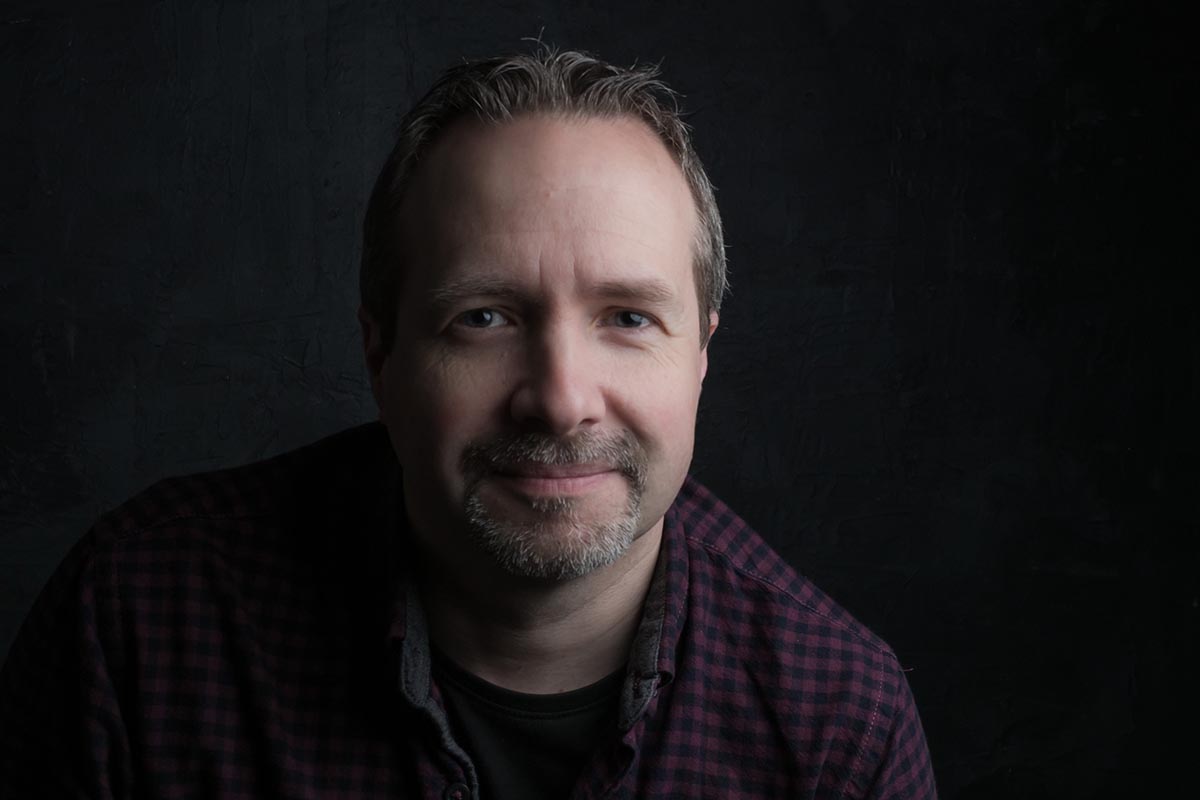
Most of my demos were with PiXAPRO lighting and below are some of the photos from my “Beyond Beauty Lighting” demo. The photos below are straight out of camera and give you a fair idea of what I was showing.

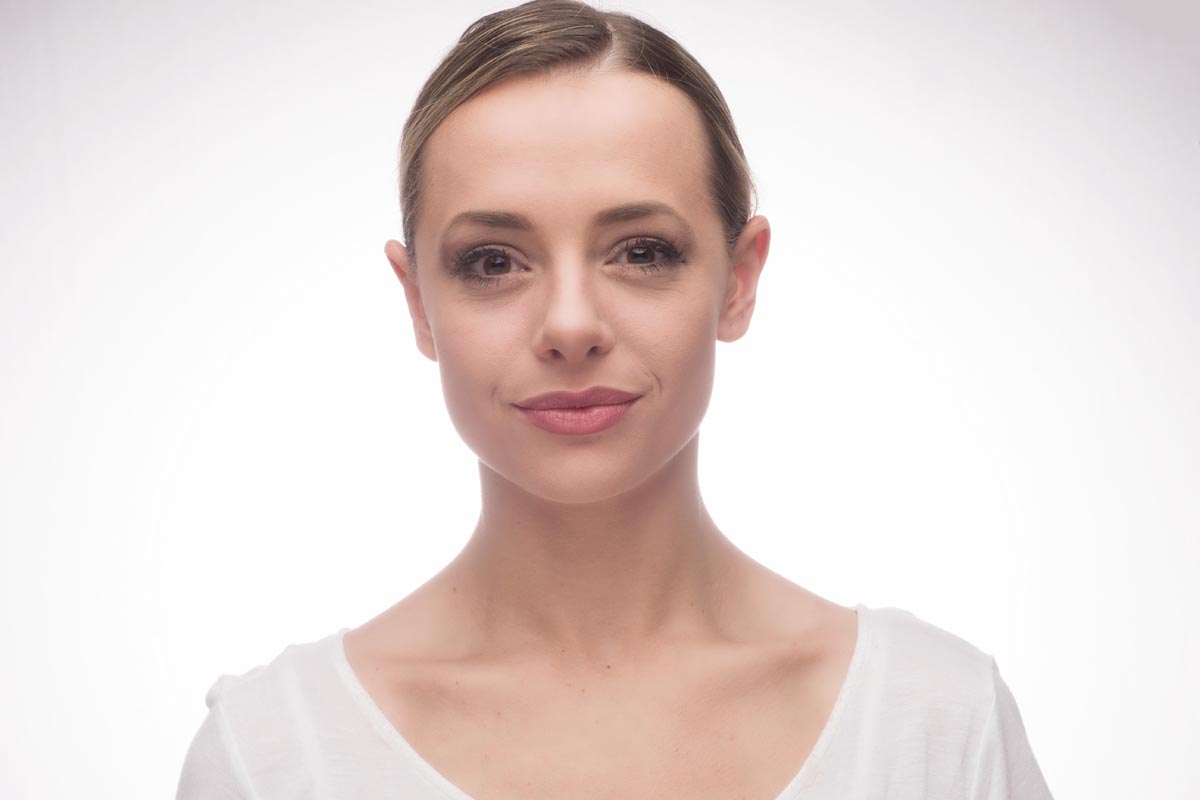
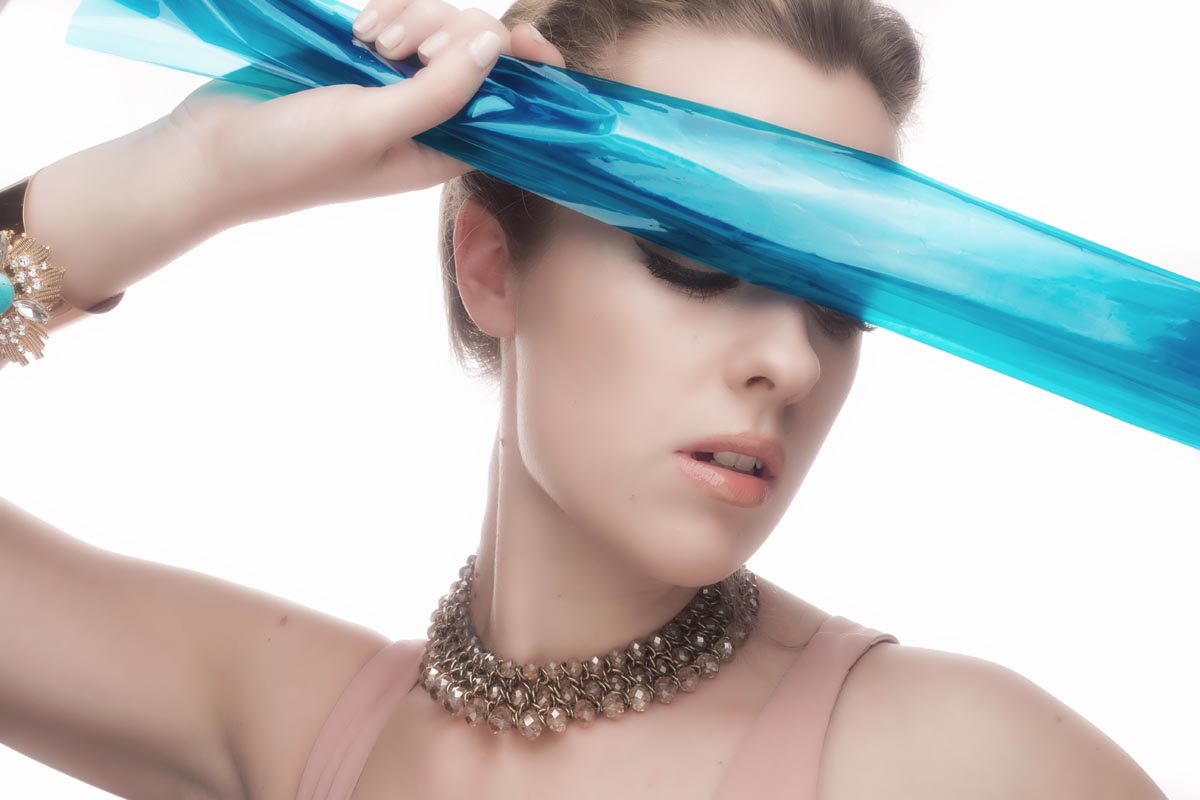
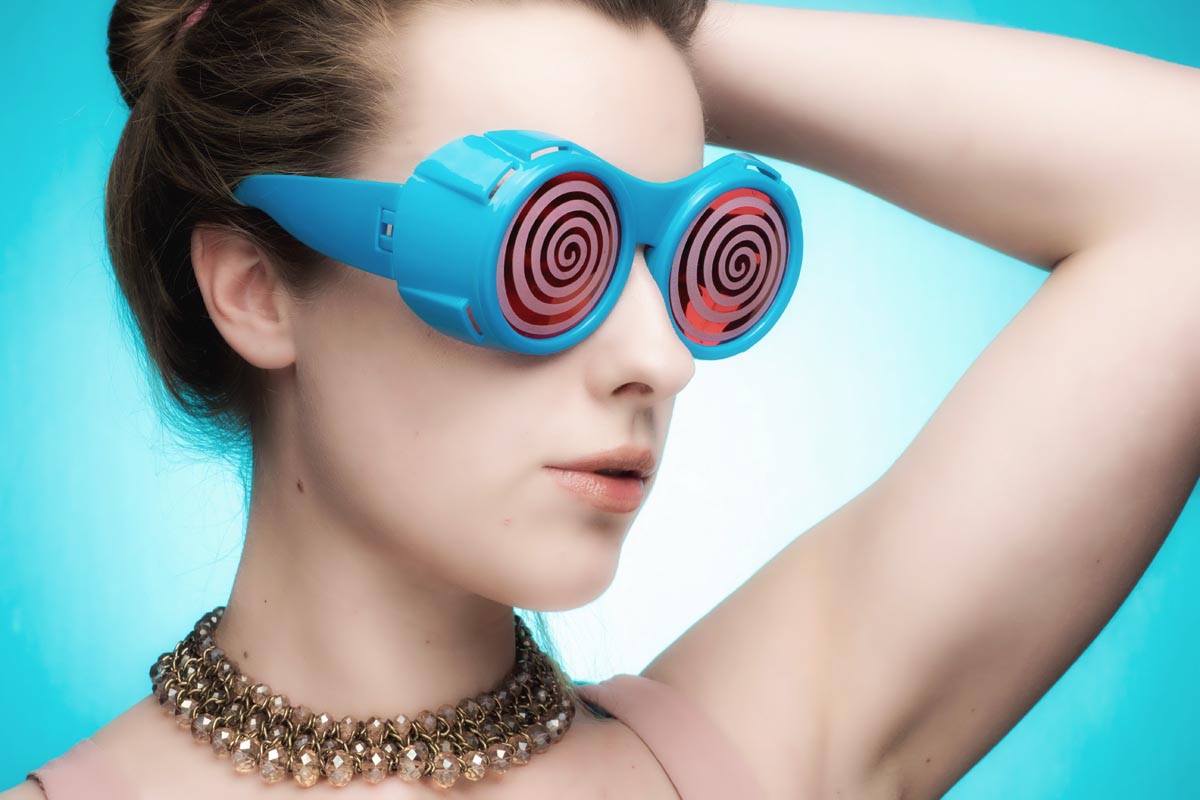
My idea was to set up the “classic” clamshell or beauty lighting with a softbox above and a white reflector below. Once done I then added a background light to take the mid grey background up to a light grey and then pure white. Once there I added a prop or two to style it out.

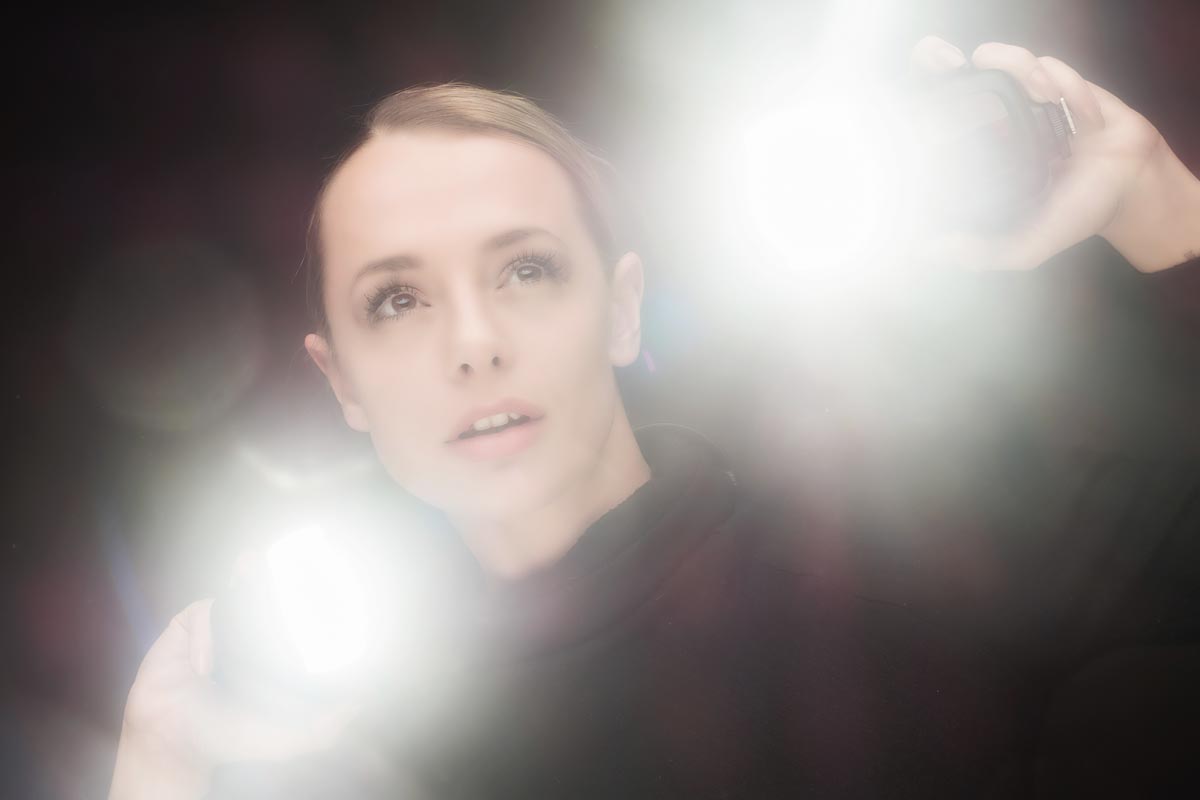
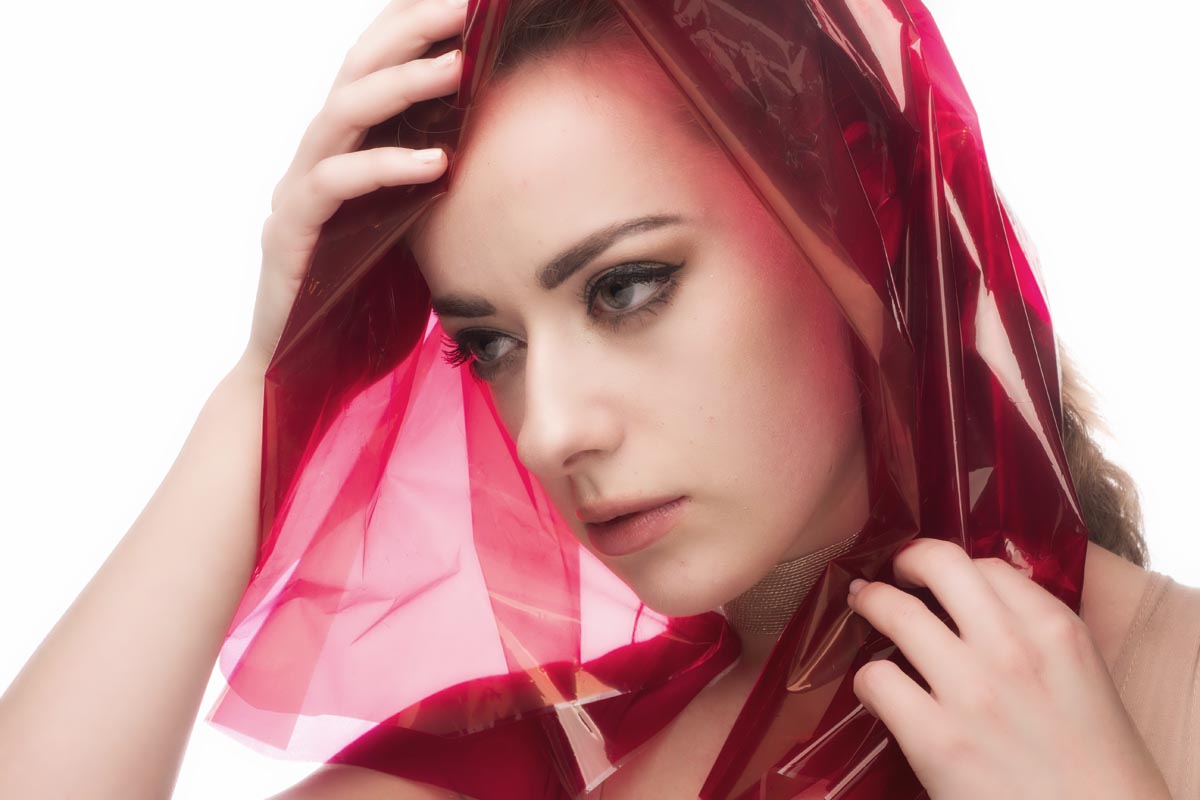
Next I added various coloured gels to the background, added two speedlights behind to “thin the face” finally broke the golden rule of photography by asking the model to hold the speedlights and point them at the camera. The result was unpredictable, random and fantastic fun! OK here’s a few more of both models with just a light touch of editing.

I worked with two models supplied by PiXAPRO over the four days. Ayla and Rosa both worked incredibly hard to make not only demos work but also the other PiXAPRO photographers who also worked the stand.

If you were one of the lucky few photographers who saw my demo AND got a chance to test out the lights with Ayla or Rosa I’d love to see what you shot… leave a link in the comments below.
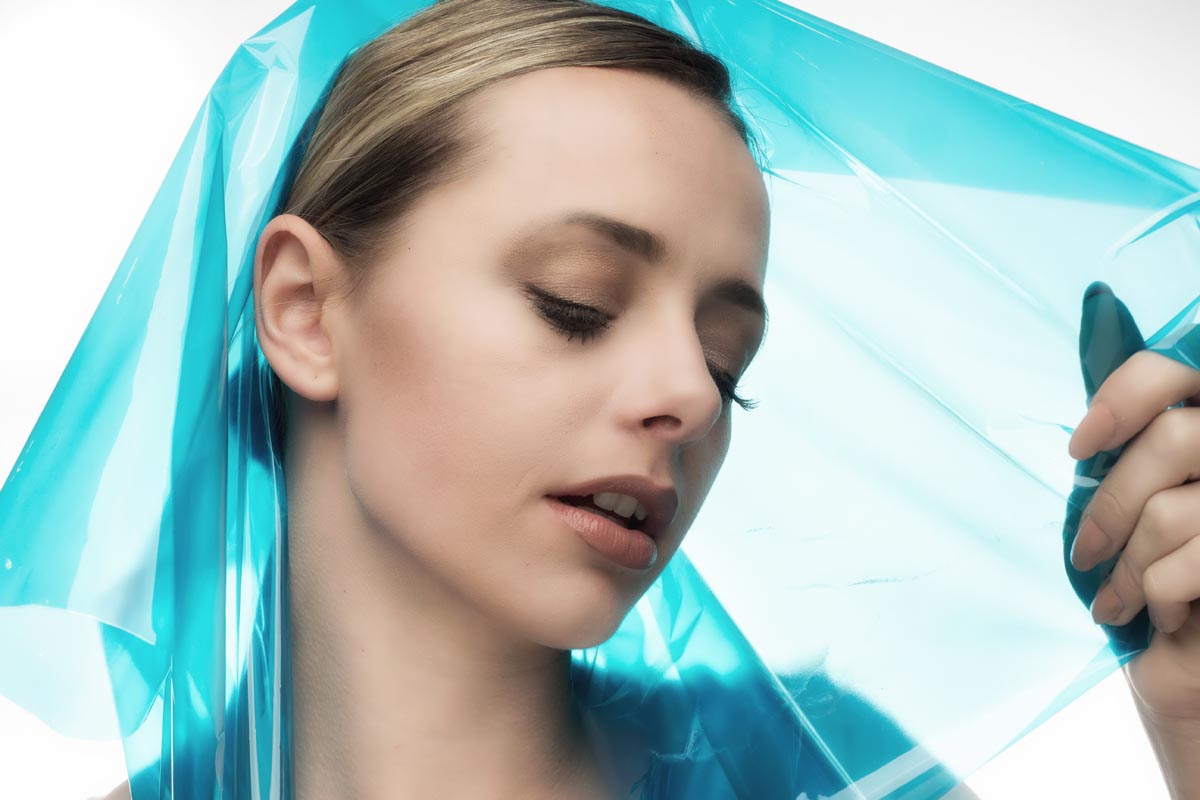
Rainy Portraits in the Studio

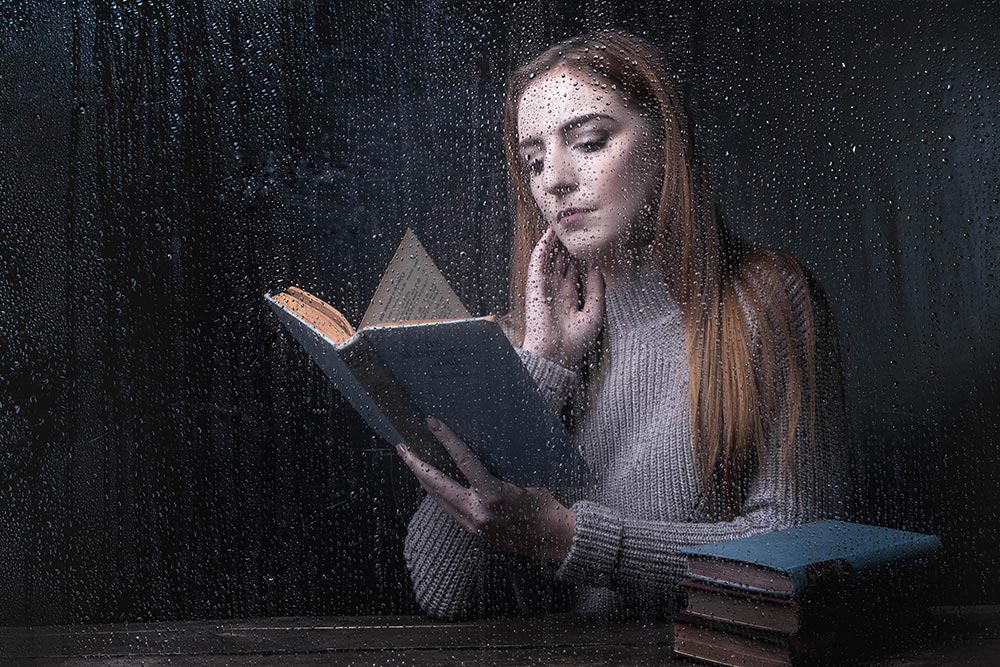
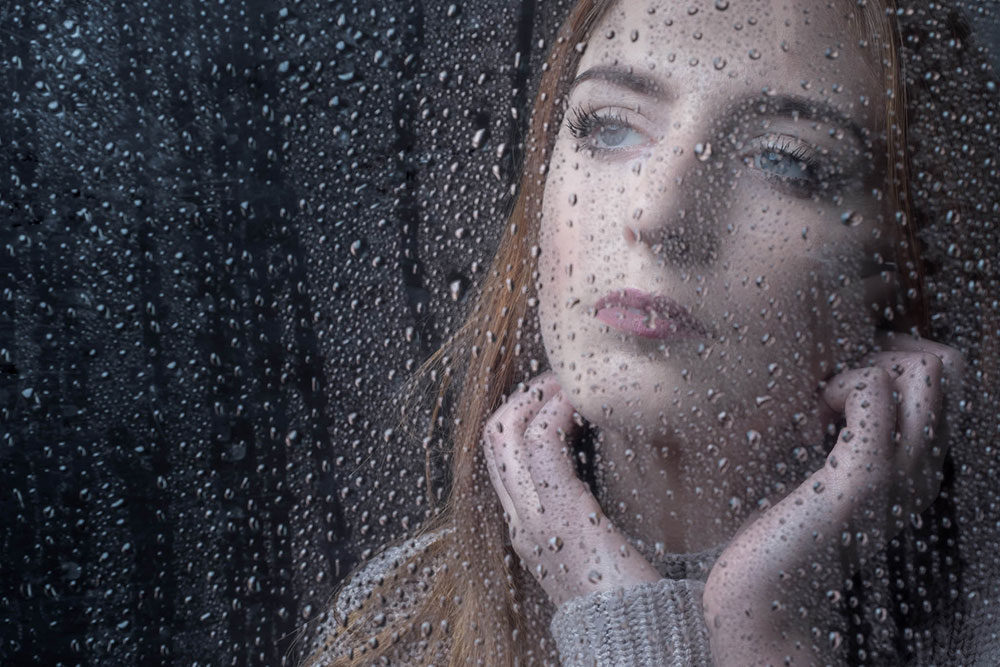
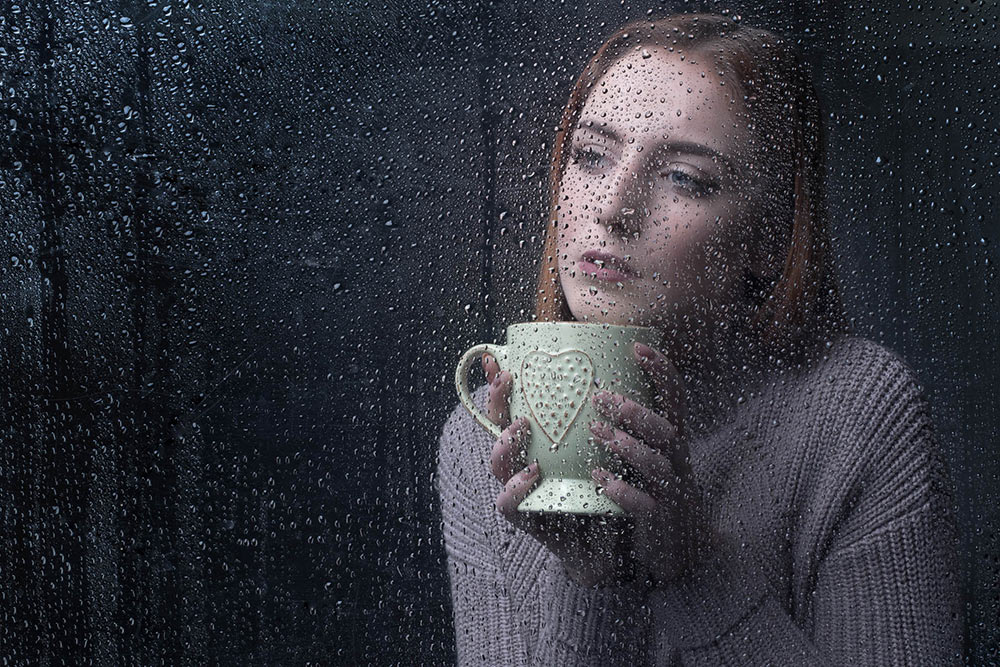
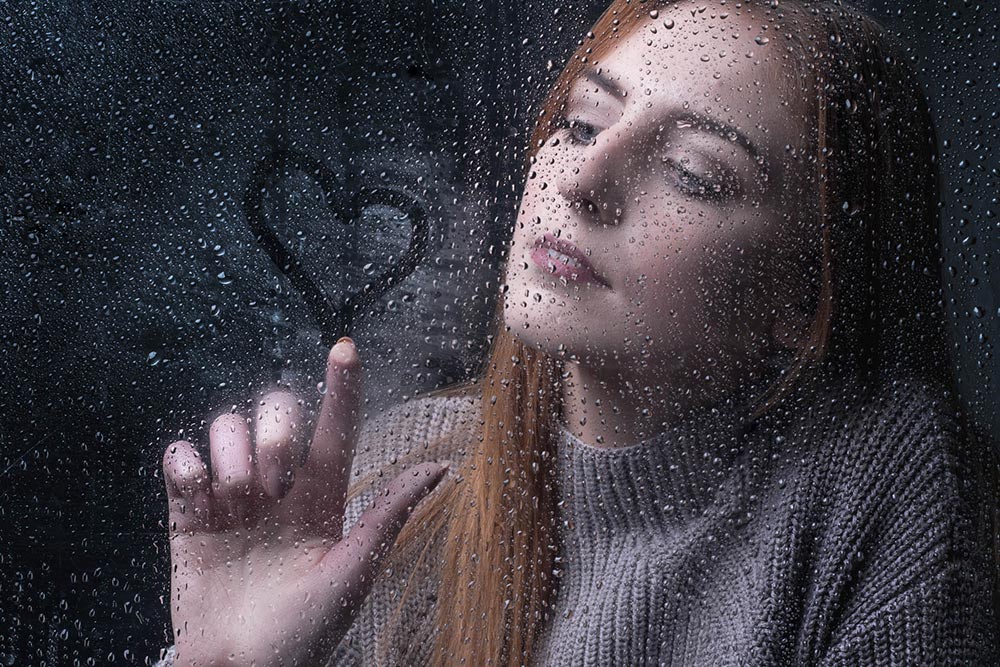
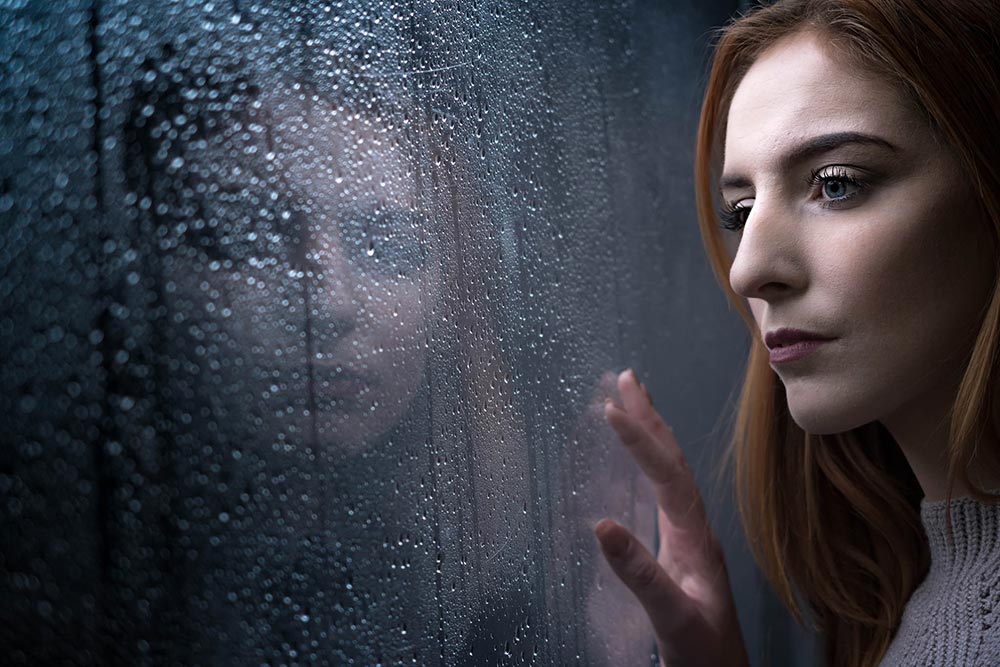
Rainy days aren’t always the easiest days to get great photos for a whole bunch of reasons but with a bit of effort and a lot of luck, you can get amazing photos.
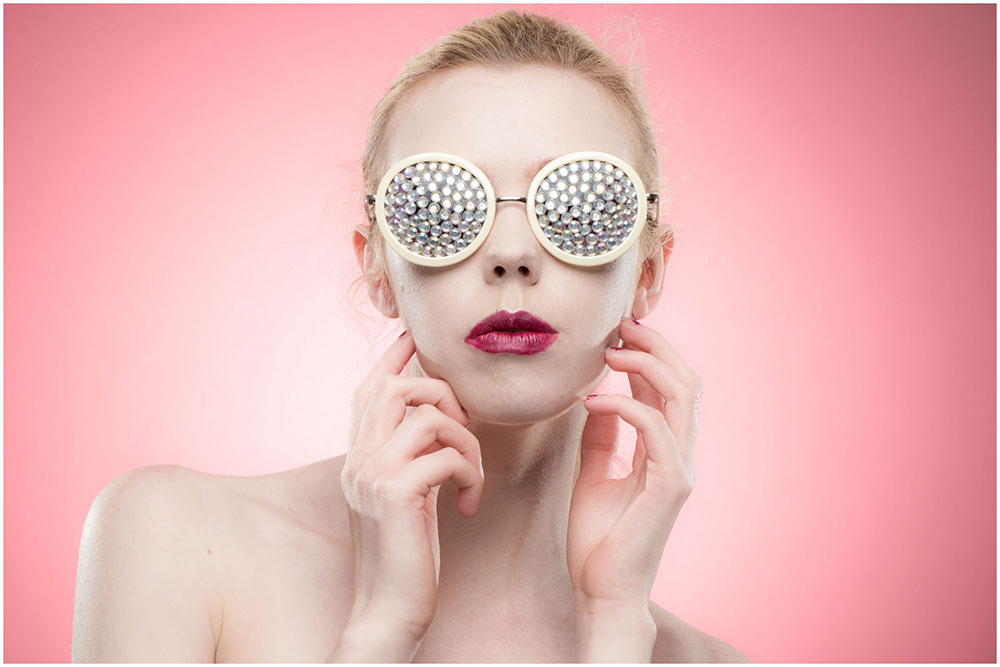
However if getting wet isn’t your thing, it’s surprisingly simple to bring the rainy weather inside and under your control.

In the video below I’ll show you how you can create a rainy day window portrait using a couple of flashes and some simple props.

[youtube]https://www.youtube.com/watch?v=L4USUxcL49A[/youtube]

The main thing you’ll need is a “window” and although you could use a real one I opted for a sheet of clear Perspex (also called Plexiglas or clear Acrylic). I’ve had my sheet for many years and it’s very scratched but still serviceable. www.wickes.co.uk/Wickes-Durable-Acrylic-Sheet-90cmx1-8m/p/210002

The video has two ways of using the “window”, shooting looking from the outside in and shooting from the inside, out. Both have their own unique feel and if you’re set for one, doing the other is quick and easy.

If you tried the technique yourself, do leave me a comment below and share your photo if it’s online somewhere.

It’s always a pleasure to have Beth Smith model for me. Check out her portfolio at https://purpleport.com/portfolio/bethsmithmodel/

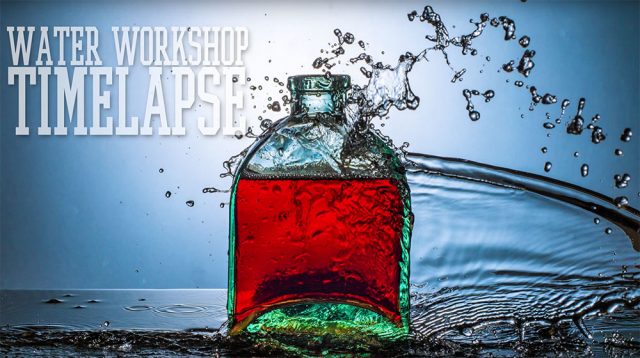
Water Workshop Timelapse

A few weeks ago I ran a slimmed down version of my water workshop at the Jessops store in London’s Oxford Street. This was an Olympus UK sponsored event but was open to any photographer whatever make of camera they owned. It was also free for the 20 photographers who were lucky enough to get a space in one of the two sessions

I love this workshop for many reasons but mostly because it’s a real “hands on” event and as you’ll see in the time-lapse below, everyone gets involved.

[youtube]https://www.youtube.com/watch?v=y9YrutvJN0s[/youtube]

Here’s a little info about the time-lapse. It was recorded on an Olympus TG Tracker action cam by Clare Harvey-May from Olympus UK. The TG Tracker has time-lapse recording built in and Clare recorded the two sessions (morning and afternoon) from two different angles, both in 4K.

I used Adobe Premiere Pro CC2015 to edit the two videos and add some of my stills from the workshop. As the final video was to be at 1080p HD, I was able to pan and zoom around the much larger 4K footage to create the motion you see in the final video.

I have to thank to Jessops and Olympus for hosting me and not complaining about the wet floor. Sam, for dragging crazy heavy bags of gear all over London. But mostly I can’t thank enough all the photographers who came along to both days and get so involved and slightly wet… you were warned!Water workshop cover

Best Focal Length for Portraits

Knowing the best focal length for shooting portrait isn’t as easy as it may sound. Different focal lengths give very different results, some more flattering then others. In this video I take the same head shot at several focal lengths and compare the results.

[youtube]www.youtube.com/watch?v=DGYqWULIUp0[/youtube]

Traditionally a 50mm lens (on a full frame camera) has been considered the closest to the human eye but generally I prefer headshots with 70mm or more.

Focal-Length-Comparison

As you can see in the comparisons above, zooming in (and therefore stepping back from the model) has a few benefits. The longer focal lengths give even tighter crops on the background and stepping back compresses the facial features. Of course there’s plenty of scope for creative portraits when shooting head shots with a wide angle lens but for most photographers, longer focal lengths are better.

Low Key Lighting

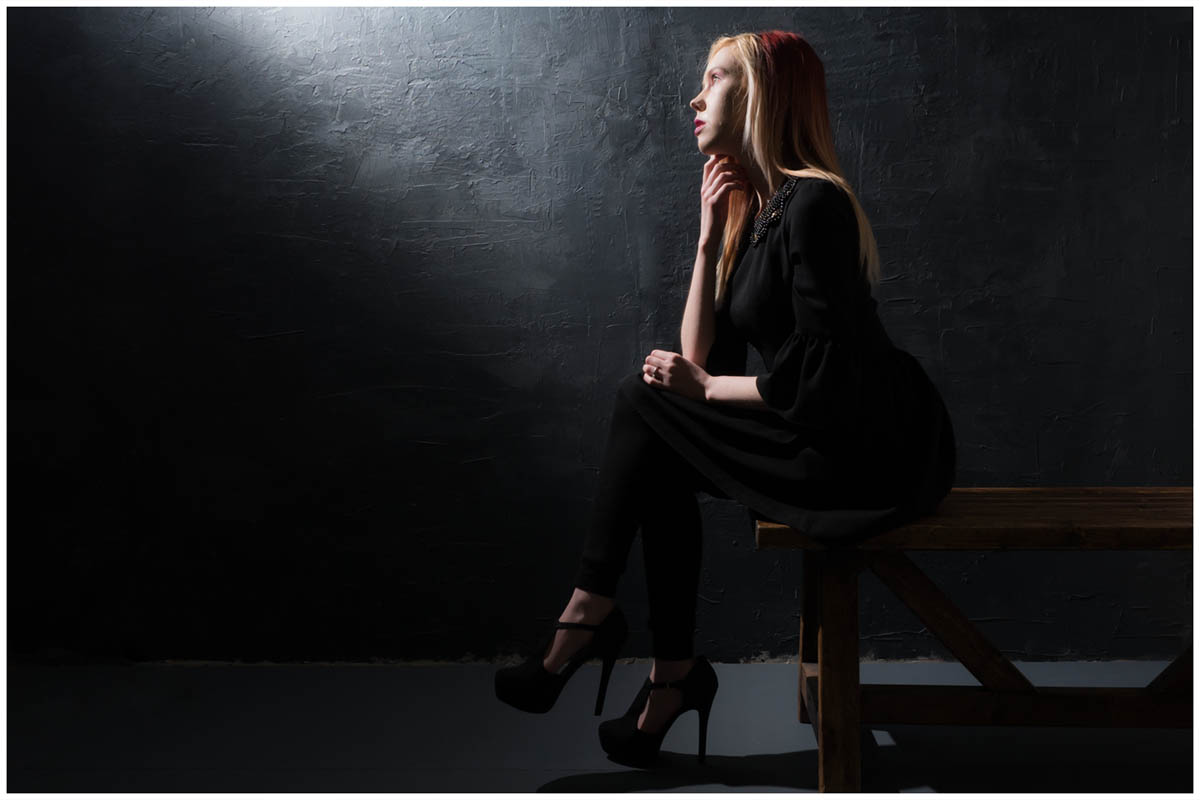
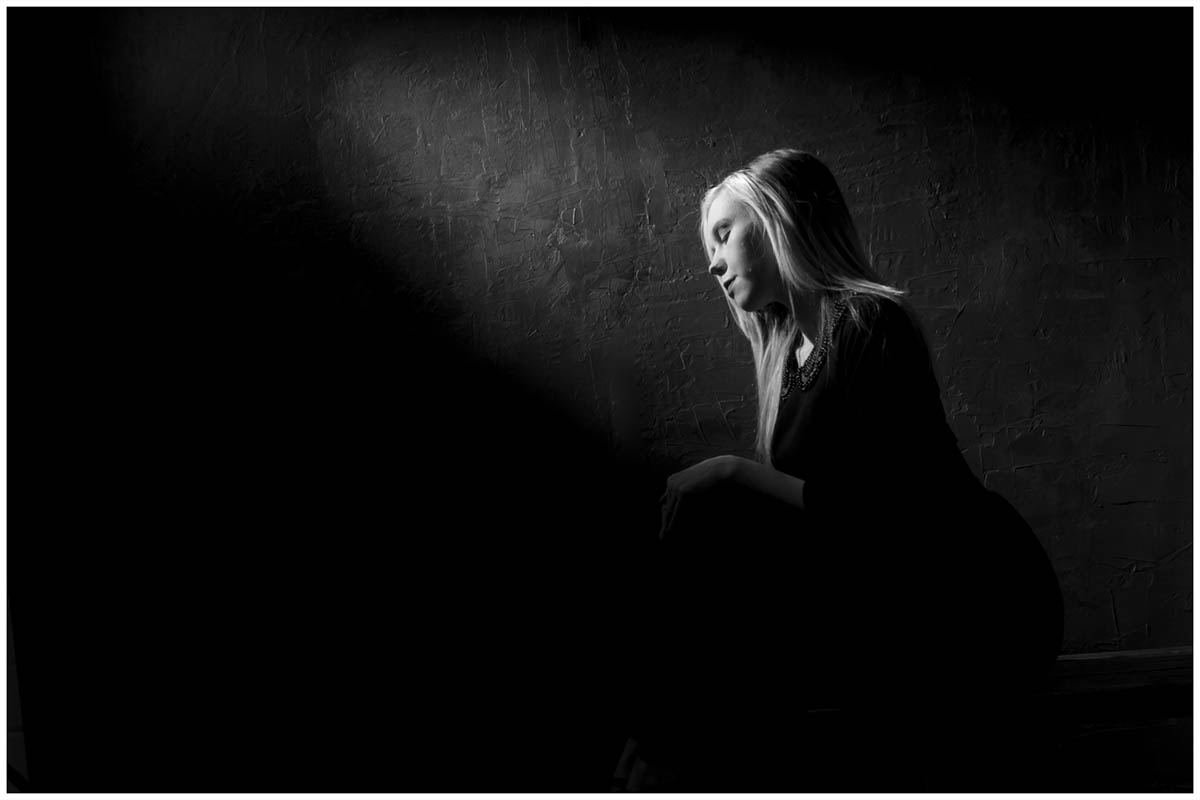
If you have a small or portable studio set up then low key portraits should be high on your list of “must have” lighting skills. Why? Apart from looking amazing, great low key lighting can be achieved with simple equipment against any dark background.

[youtube]https://www.youtube.com/watch?v=Ba1Hiq3w3kc&feature=youtu.be[/youtube]

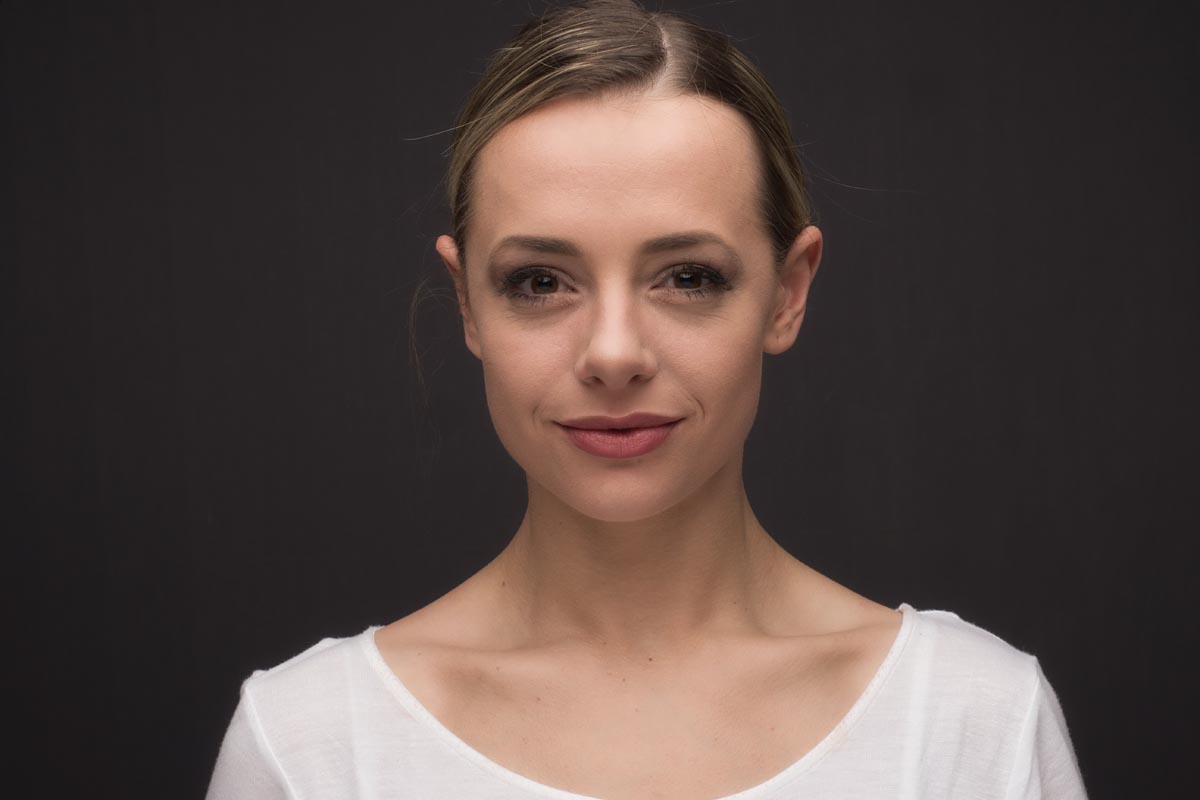
As the video above demonstrates, black backgrounds are the obvious choice for low key shots but grey backgrounds work too. So what makes a shot low key?

An underexposed image is not the same as a low key image. Whilst a true low key shot will have the majority of it’s tones on the dark side it will also have a few areas of highlights too. Contrast is key and that needs lighting but how you get there is all part of the creative process.

Creating shadows with D.I.Y. Gobos

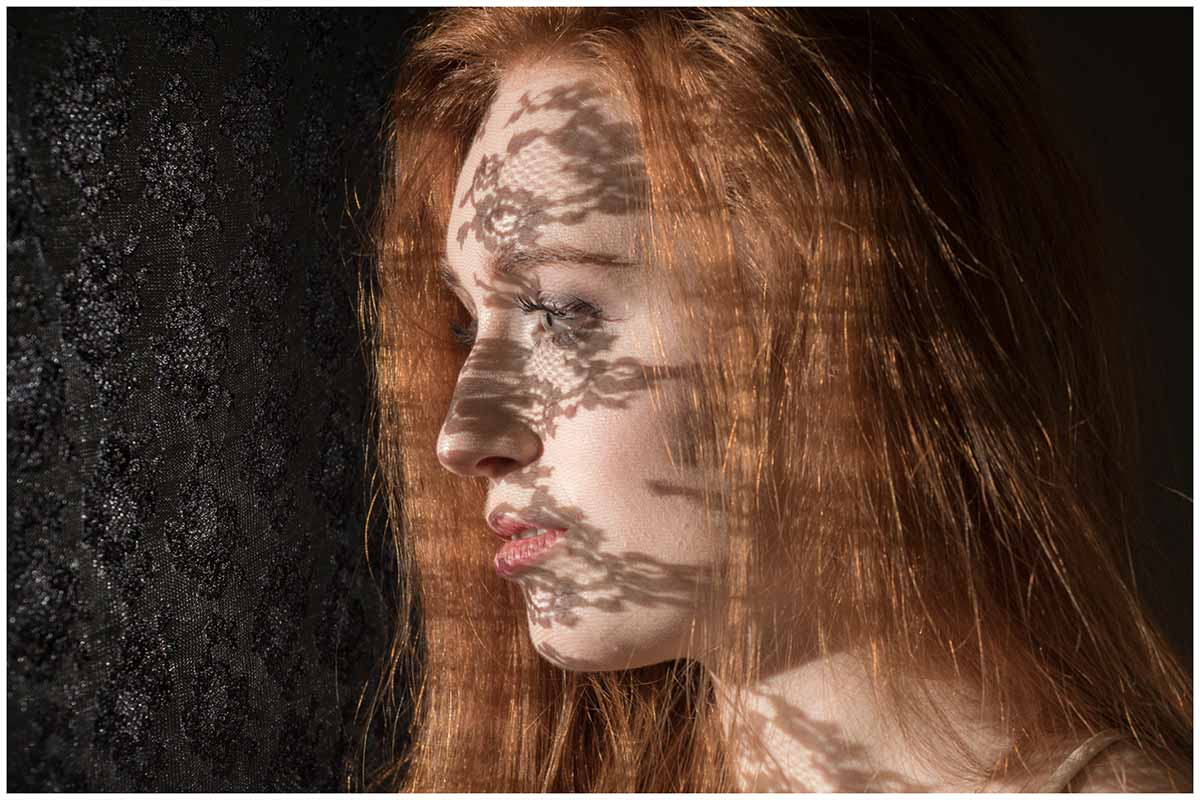
Placing an object in front of a light source will usually cast a shadow of some sort. In the studio, if the object is solid it’s known as a flag but if it’s full of gaps (or semi translucent) it’s called a GoBo and can be incredibly useful. The shadow cast by a GoBo is often used to add texture or shapes to an otherwise plain background but there’s more to GoBo’s then that.

GoBo’s can cast shadows directly on to your subject for dramatic effects or they can be used to give reflections of the light source a little more style. And you don’t need a fancy GoBo projector to do it. Fabric, glassware, twigs or even tinfoil with random holes in are just a few things you can find around the house.

[youtube]https://www.youtube.com/watch?v=_sBK4xFmF3Q&feature=youtu.be[/youtube]

One last thought. Many photographers will tell you that GoBo is short for Go Between because it’s something that goes between the light and the subject. Well, if that’s true why aren’t they called GoBe’s?

Fashion Photography Workshop Wrap-up

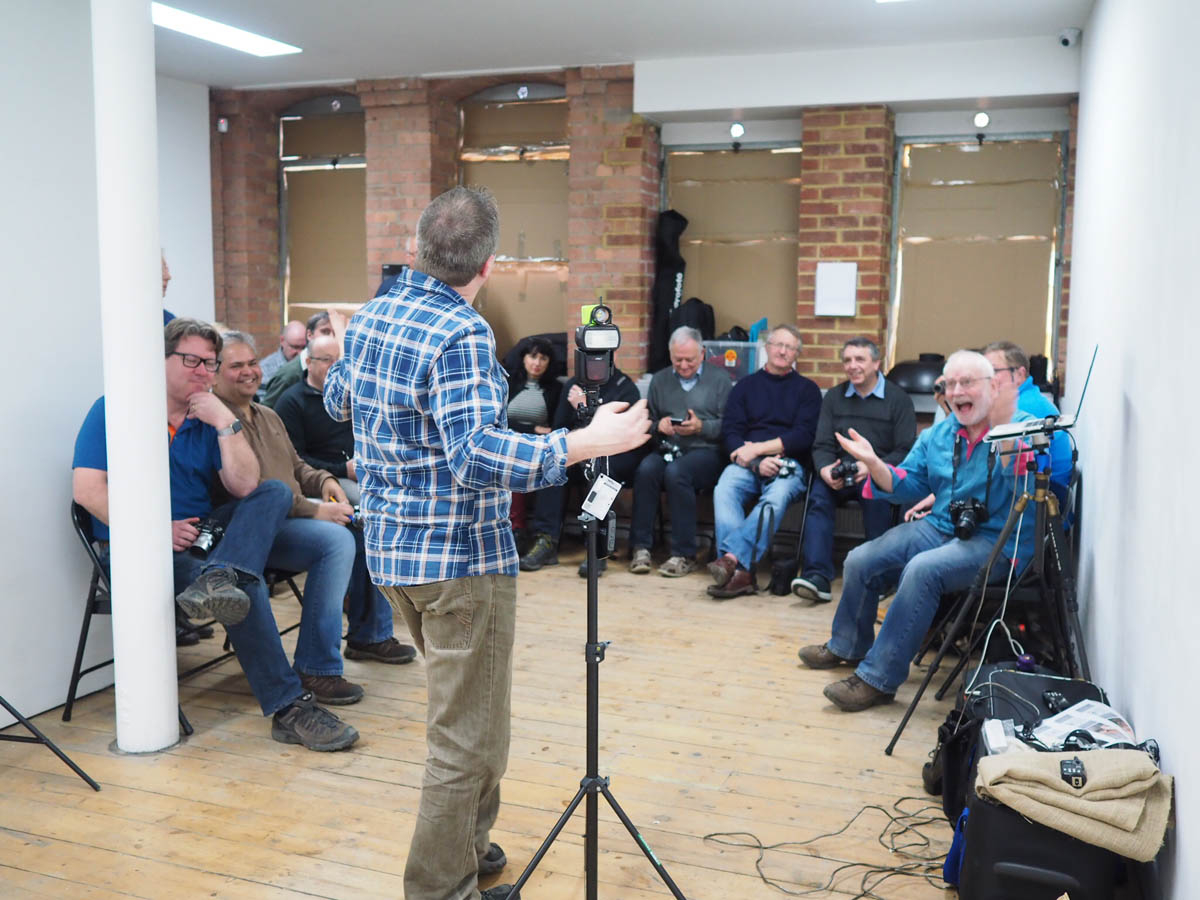
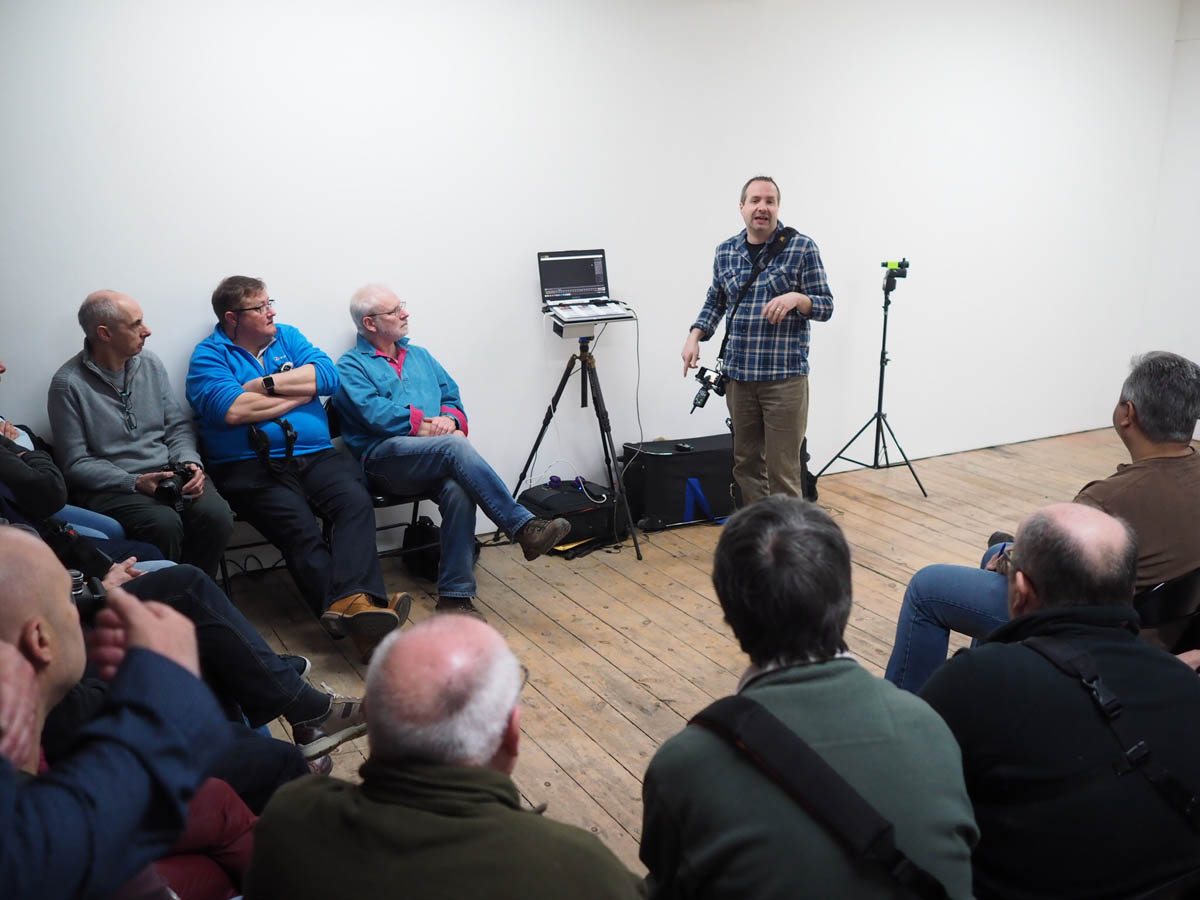
Last Sunday I was in London with a great bunch of photographers. I’d been asked to be part of a workshop organised by my friend Robert Pugh and hosted by Olympus UK at their Art Bermondsey Project Space.

The day was themed around fashion photography with Rob running through a fashion set up with Profoto studio lights in the afternoon and me covering as many lighting tips and tricks as I could fit into the morning. Rob had secured the services or Amber Tutton as our model for the day, make-up was in the expert hands of Michelle Court and the clothes were supplied by Rob’s contacts in the fashion world… or so he told me 🙂

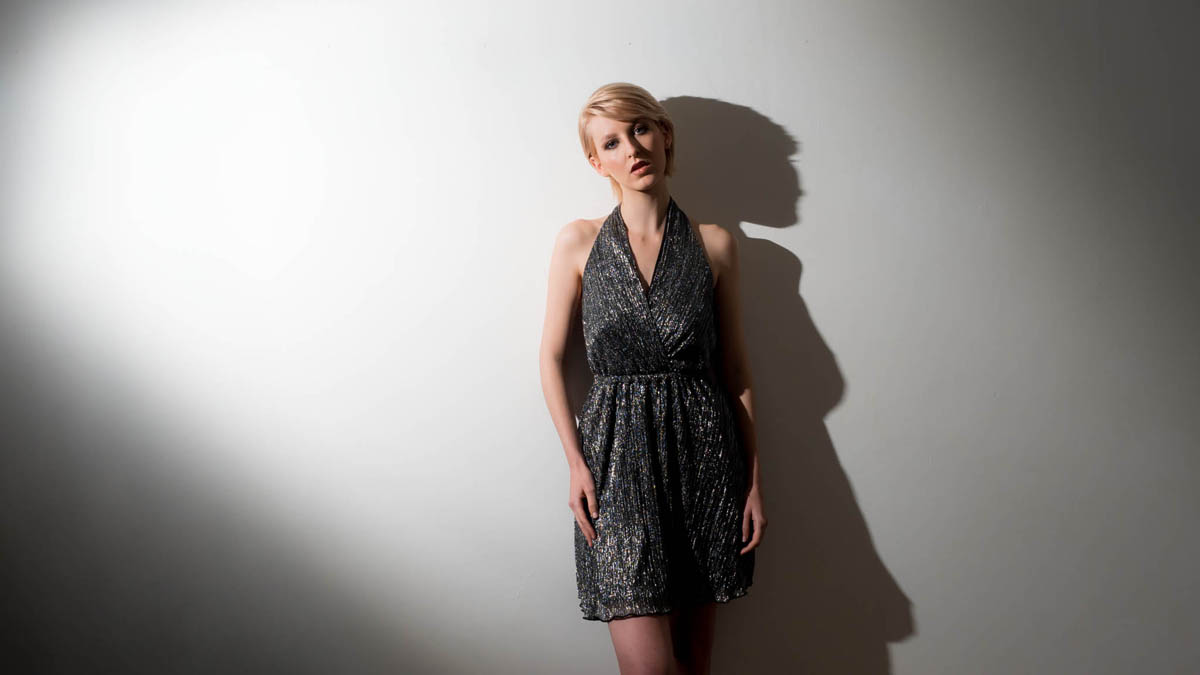
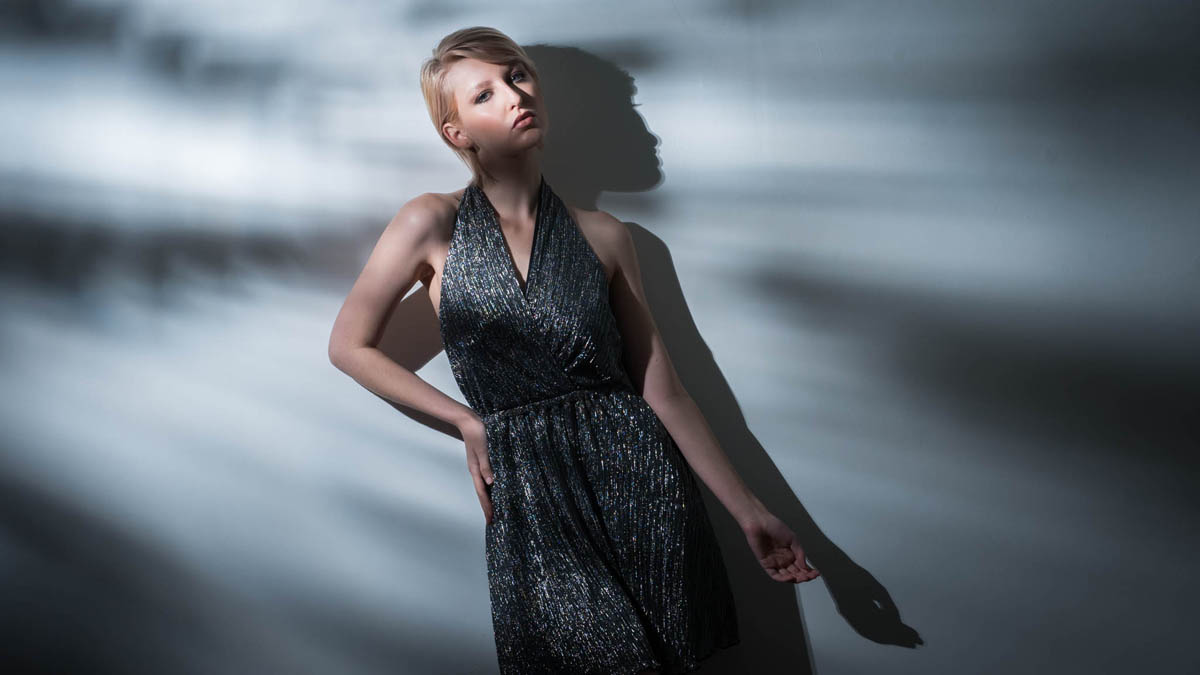
I kicked off the session with a single PIXAPRO speedlight in combination with either a MagMod snoot or just random house hold items used as GoBo’s

Next I moved on to a more powerful PIXAPRO flash inside a Westcott Rapidbox Duo softbox. Adding a grid to the softbox made controlling the light much easier and gave some great effects.

Finally I moved from the plain white walls of the gallery and on to Robs roll of black paper. The lack of background shadows makes black a great choice but a little uninteresting, that’s where background lights really help and when you throw gels into the mix, things can get really fun.

With my time up, I had one last tip. Learn the rules of photography so you can break them. My last shot did just that by pointing two speedlights right at the camera. The result was hard to predict but great fun.

You can check out Robs photos and write up of the day on his blog. Thanks to Clare Harvey-May for the behind the scenes photos

Make a simple LED Background

All sorts of random things can be turned into an amazing  portrait background but last year I was shown something called the Pixel Stick which looked amazing. It was a Kickstarter backed project that combined LED’s and long exposures in a way I’ve never seen before. Although the pixelstick was out of my budget the basic idea wasn’t.

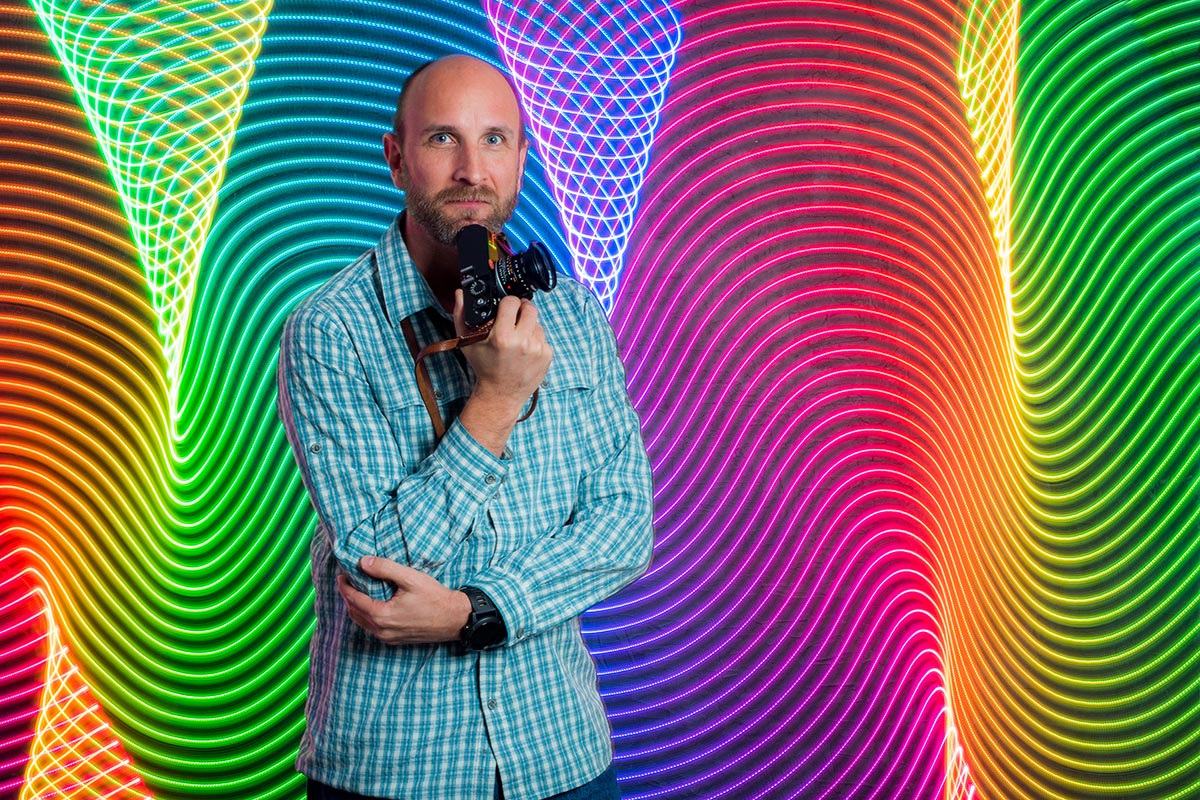
My low tech LED stick took just a few minutes to make and worked amazingly. Take a look at the Adorama TV video I made with the spectacular Mark Wallace to see for yourself.

I’ve had loads questions all asking the same thing… How do you make my LED stick?

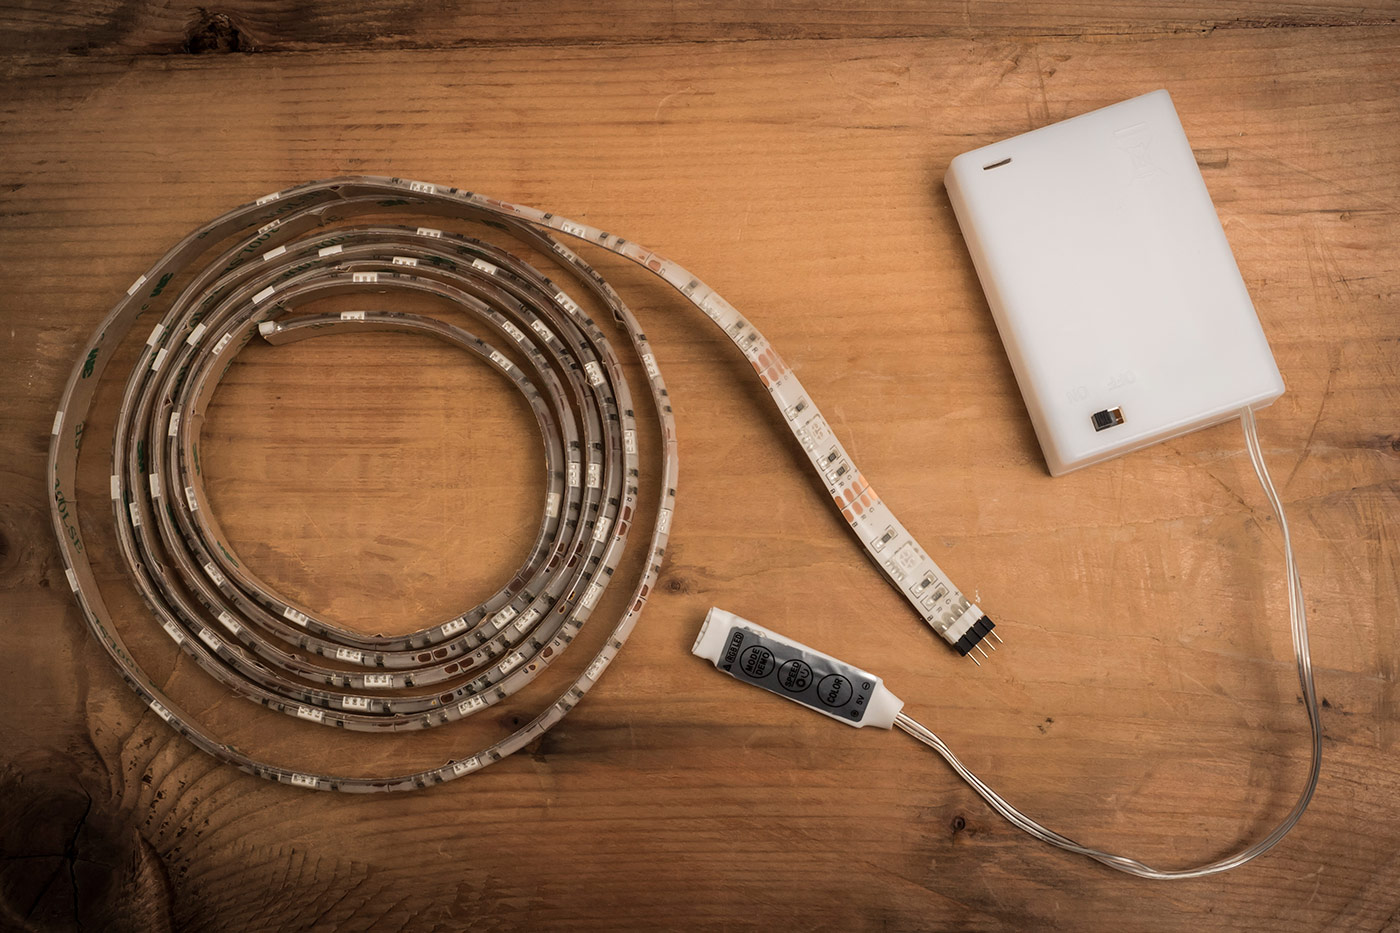
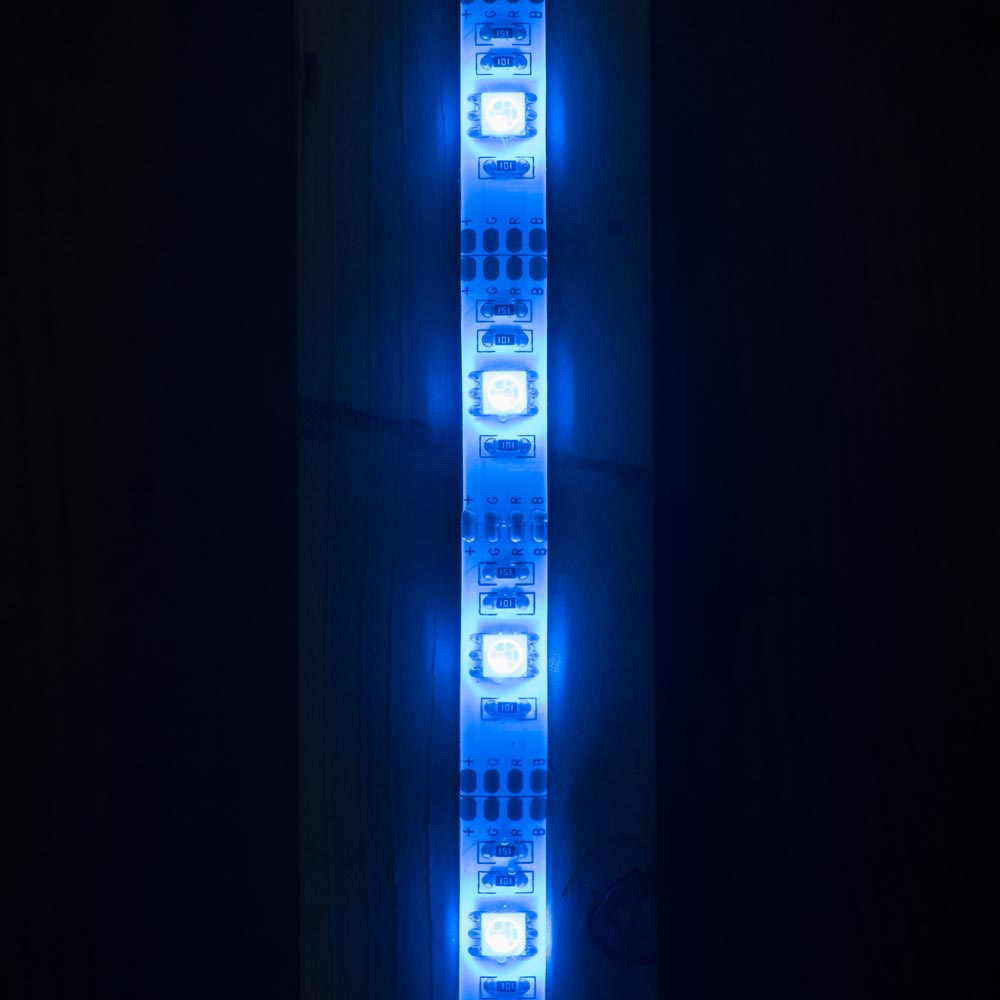
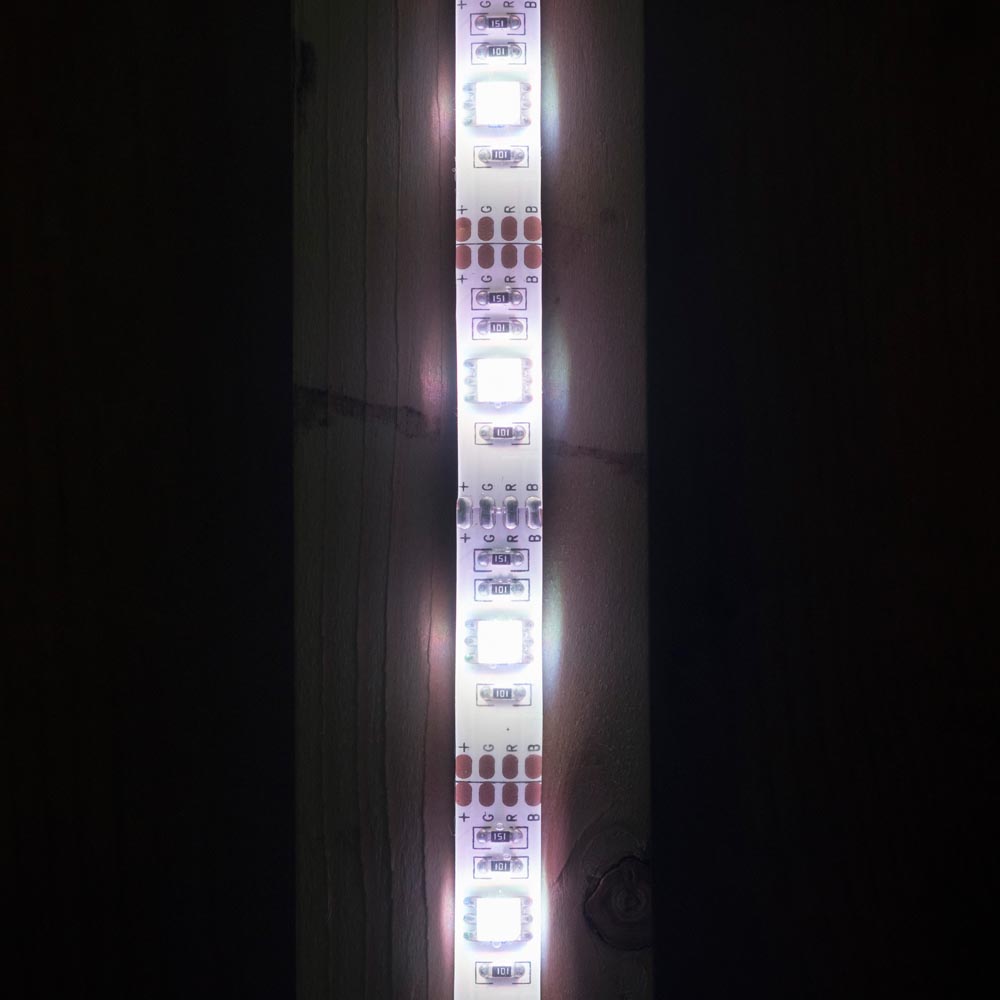
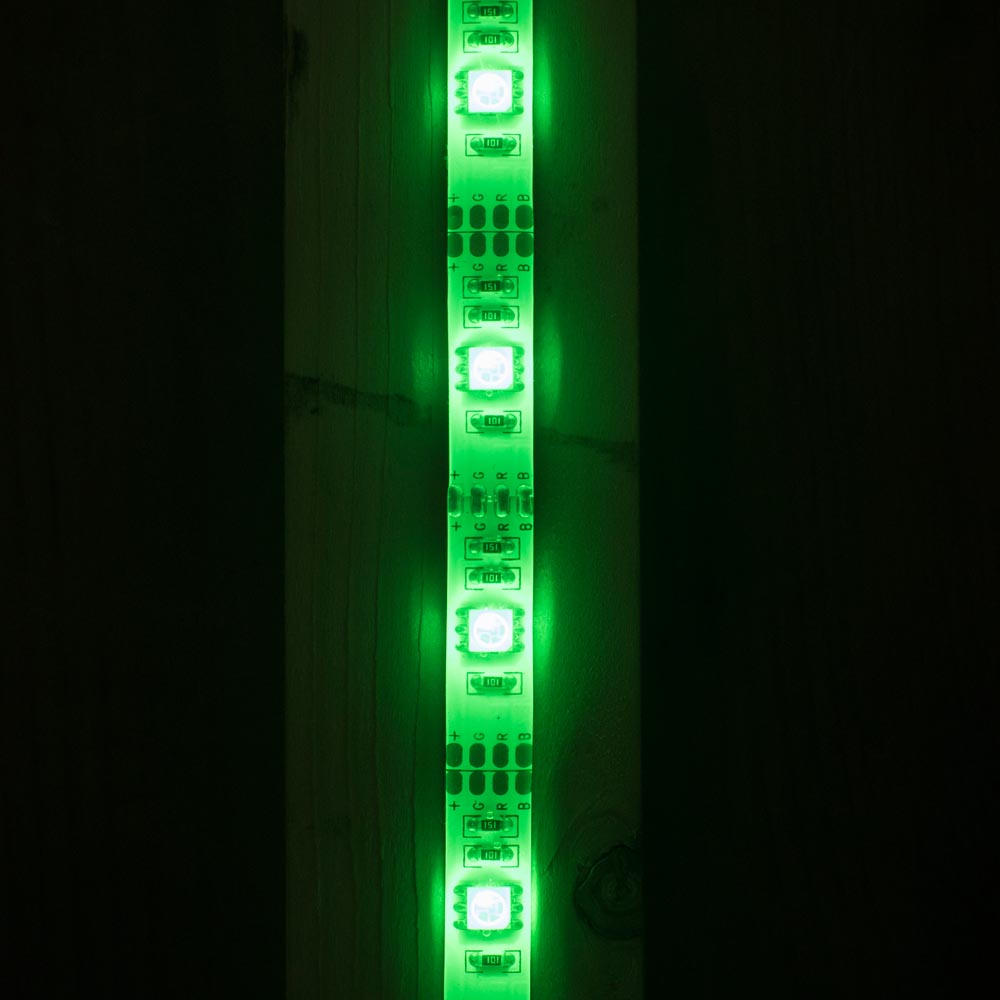
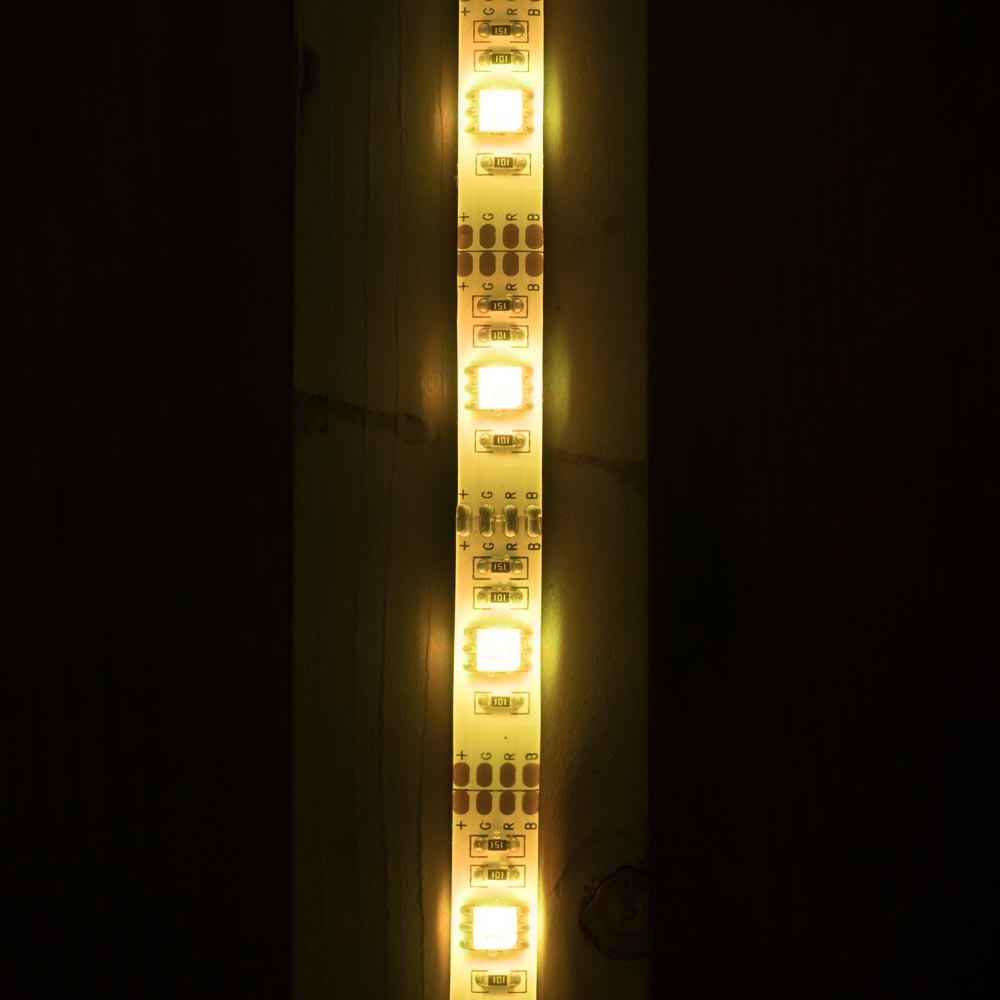
eBay proved to be the perfect place to start my search. There are loads of low cost LED’s on the market and I found a 2 meter roll of multi-coloured LED’s complete with battery box and controller for about £17.00.LED-Setup

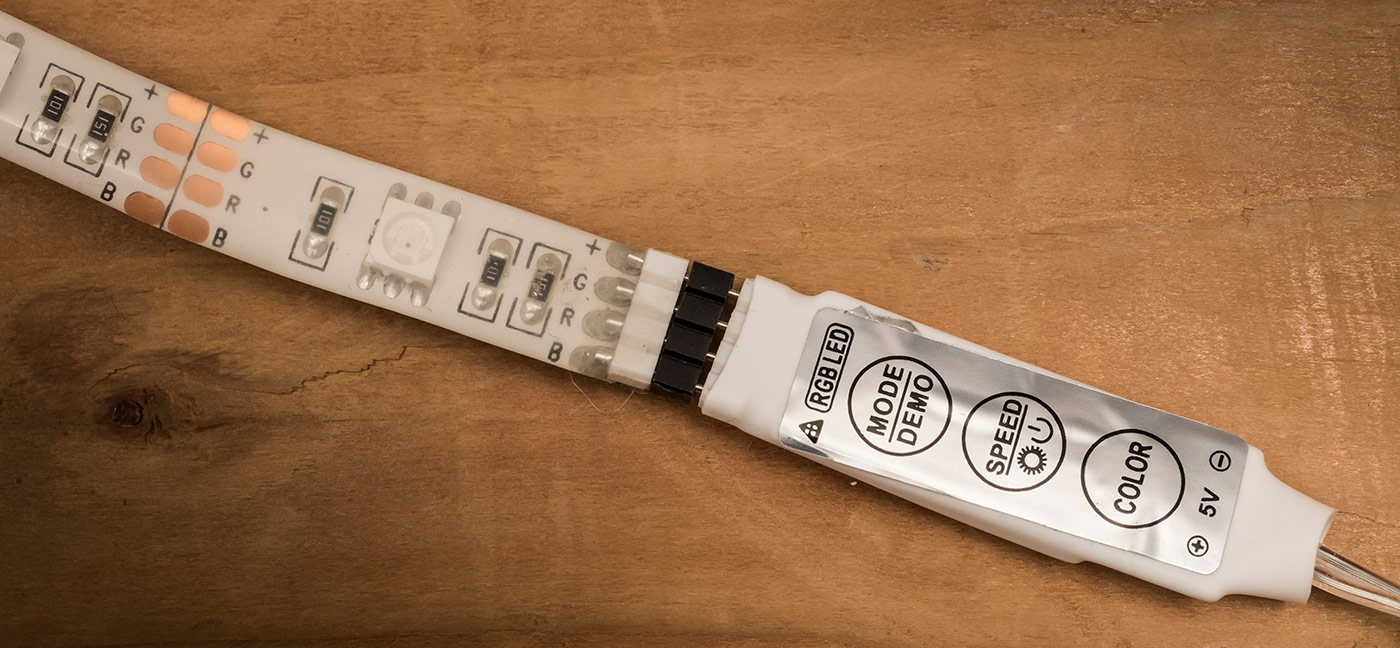
Each LED is actually several coloured LED’s clustered together which turn on or adjust their brightness to change the colour. The controller is very basic but allows you to set the colour, brightness and any effects such as flashing or fading through the spectrum.

LED-Setup-2

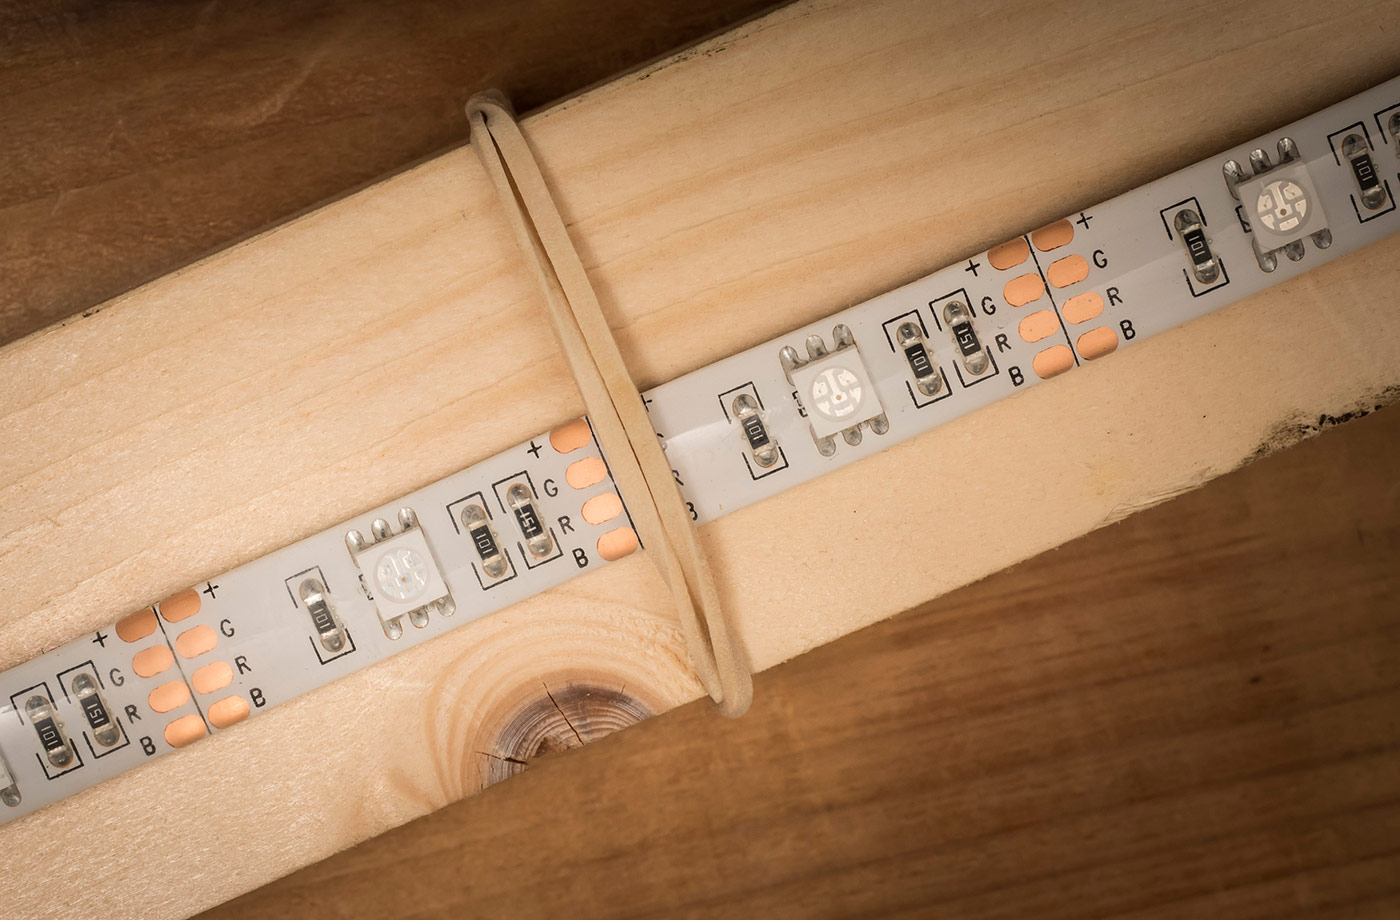
The LED strip is very flexible and sealed inside clear silicone (or something like it), so I found a spare bit of 1.8m timber and attached the LED strip to that. There’s adhesive on the back of the strip but I just used a few rubber bands to hold it place. Just make sure the bands don’t cover the LED’s!

LED-Setup-3

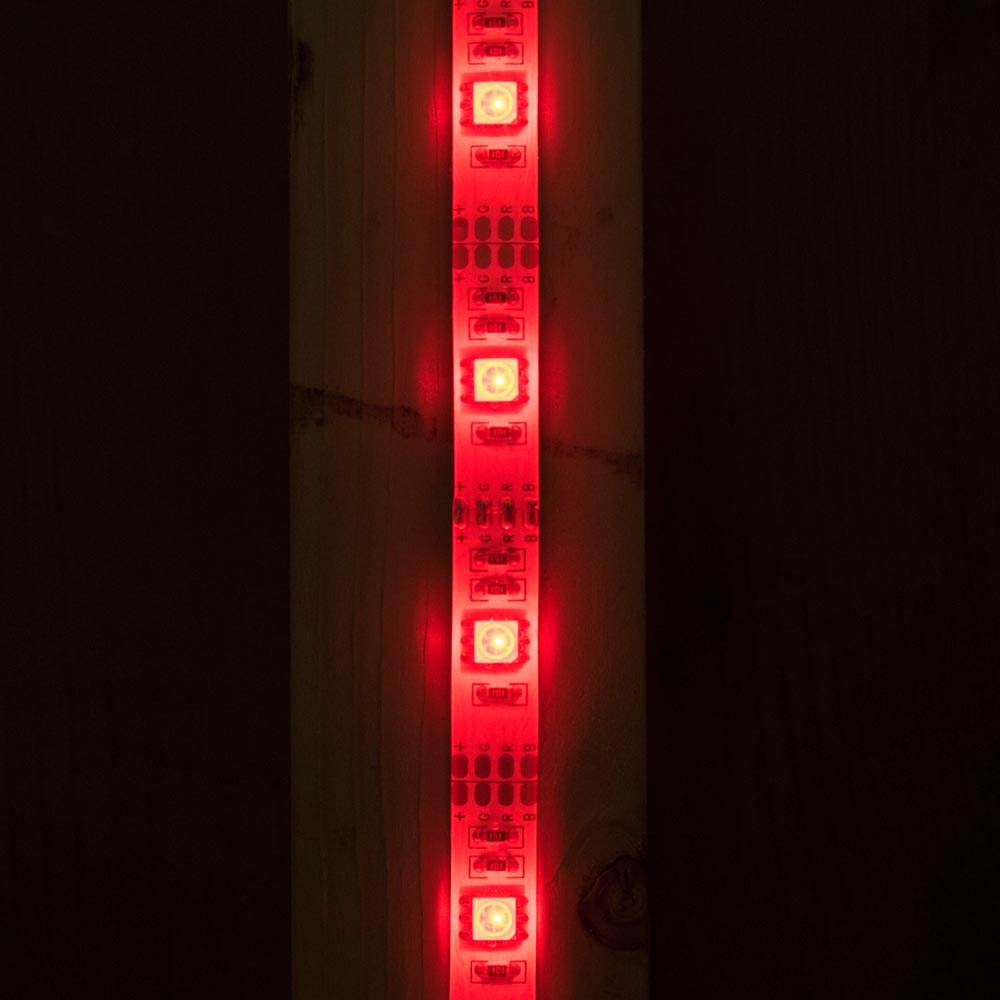
Then it’s just a matter of attaching the batteries and choosing a mode. Some colours worked better then others as did some modes. The key as always is to experiment and have some fun!

5 FAQ’s (and answers) about flash meters

If you shoot with flash you may well be aware that speedlights and (increasingly) studio strobes come in either manual or TTL versions. If you’re shooting weddings, events or any sort of running and gunning photography, TTL is brilliant but for me manual flash teamed with a flash meter is how I like to work in the studio.

If you’re thinking a flash meter might be what you need to improve the consistency of you shots or you already have a flash meter but aren’t sure on how to get started with it, then I’ve got you covered.

[youtube]https://www.youtube.com/watch?v=UG4P-Odutr8[/youtube]

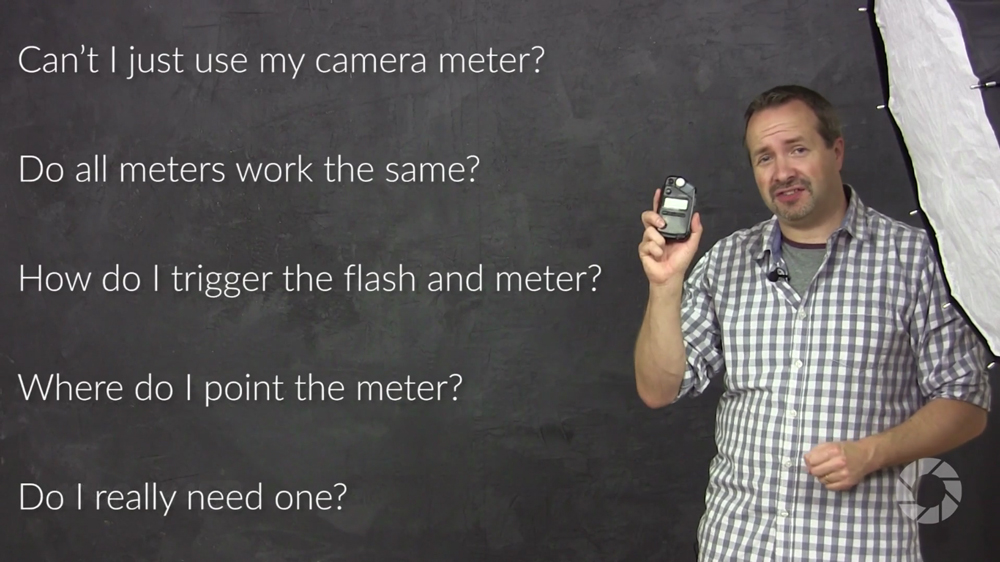
In the video above I cover the top 5 questions I hear from photographers and flash meters.

  • Can’t I just use my camera’s meter?
  • Do all flash meters work the same?
  • How do I trigger the flash and the meter?
  • Where do I point the meter?
  • Do I really need one?

My flash meter of choice is the Sekonic L-308S Flashmate. It’s about as basic as a handheld meter can be but it’s super reliable and excellent value for money. More information can be found over at Adorama http://www.adorama.com/SKL308SN.html?KBID=67338

Flash-Meter-Cover