Bed Sheets As Backgrounds

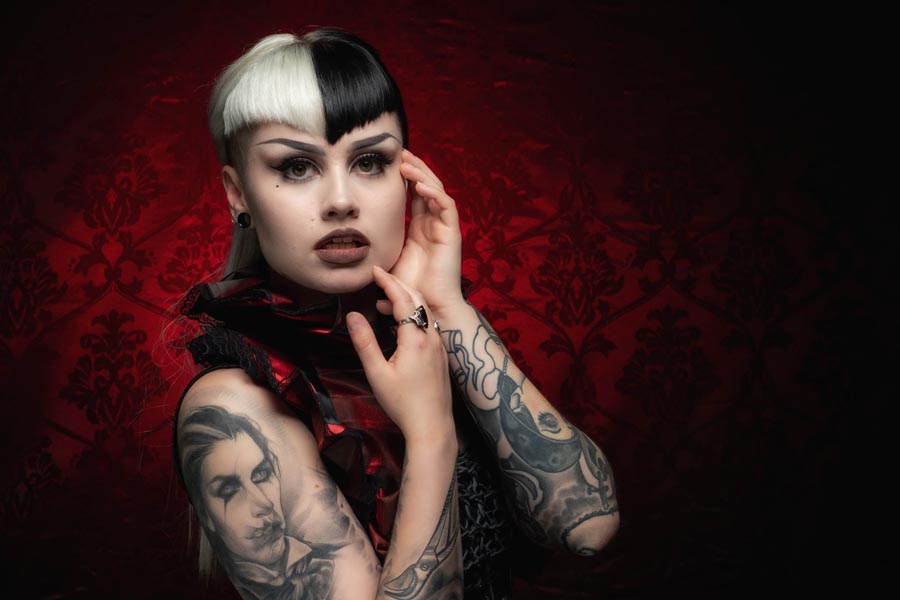
When I first started shooting portraits, I made do with some very basic gear. My studio was my garage, my second light was a reflector and my backgrounds were sheets of fabric.

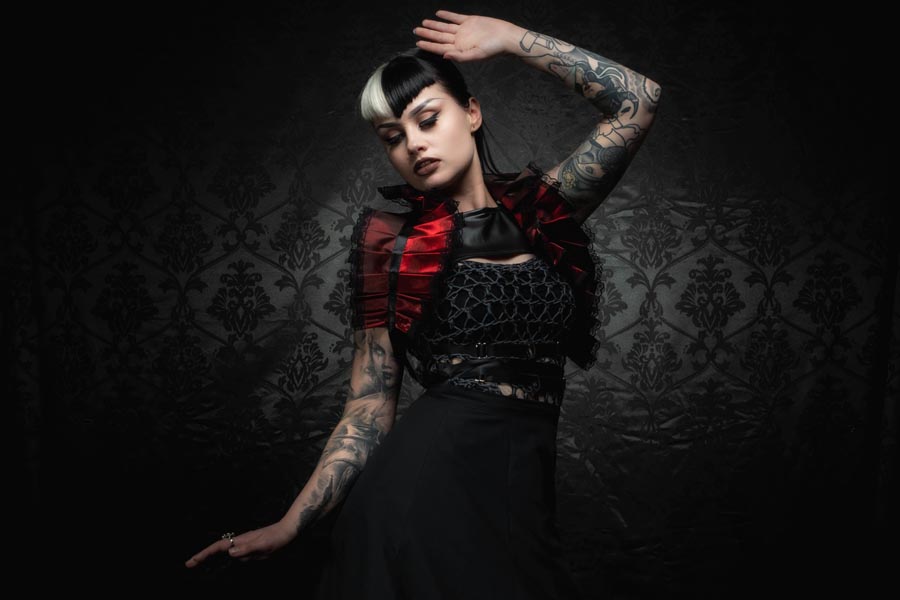
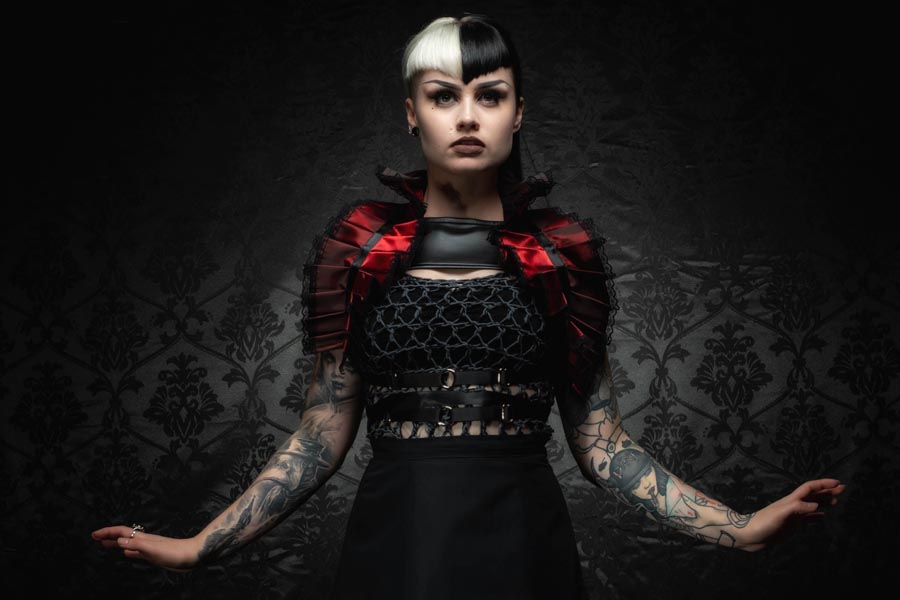
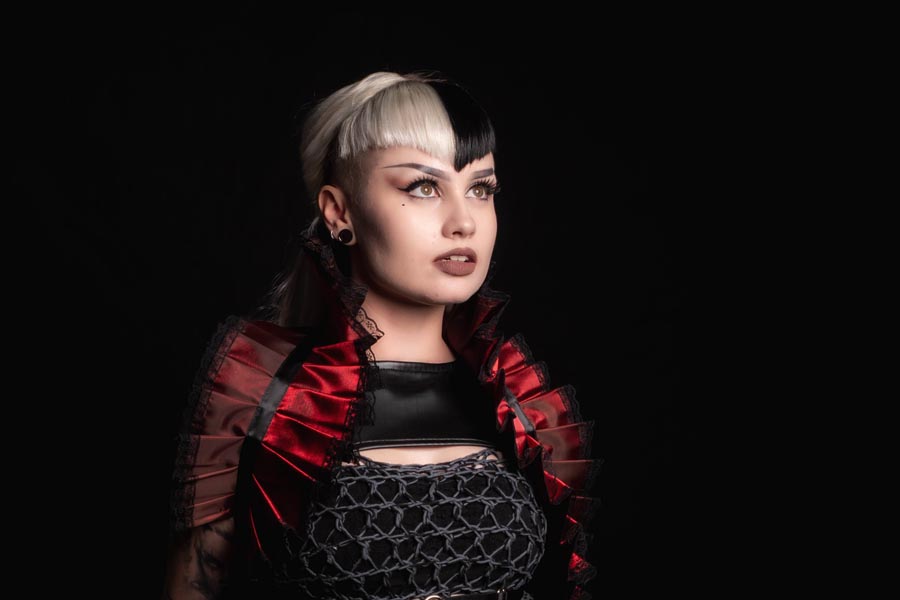
Fortunately I’ve added one or two more lights to my gear over the years and I have my own, permanent small home studio. My backgrounds have evolved a bit too but one of the most challenging parts of being in a studio is the limited choice of backgrounds. So in the video below I revisited my early days by buying three cheap bed sheets for use as backgrounds.

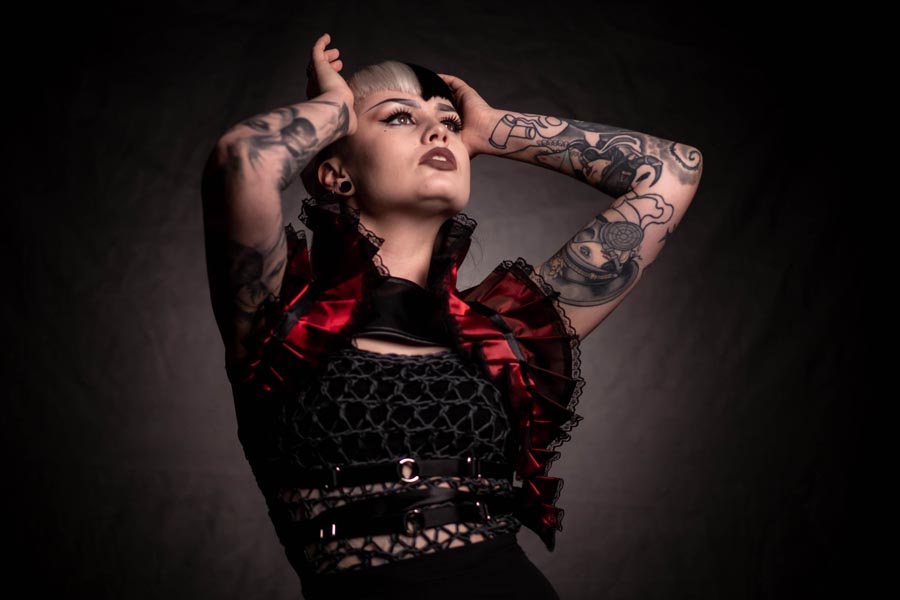
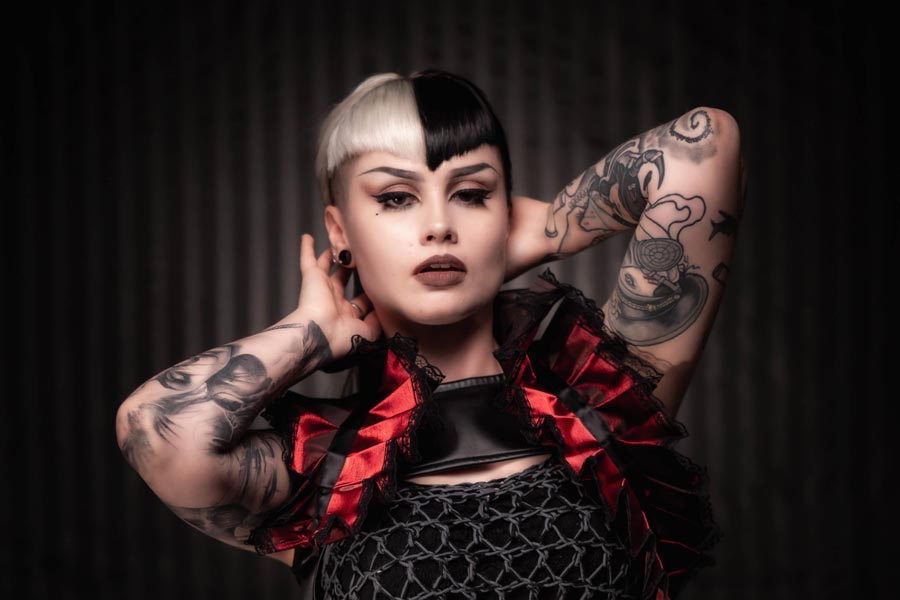
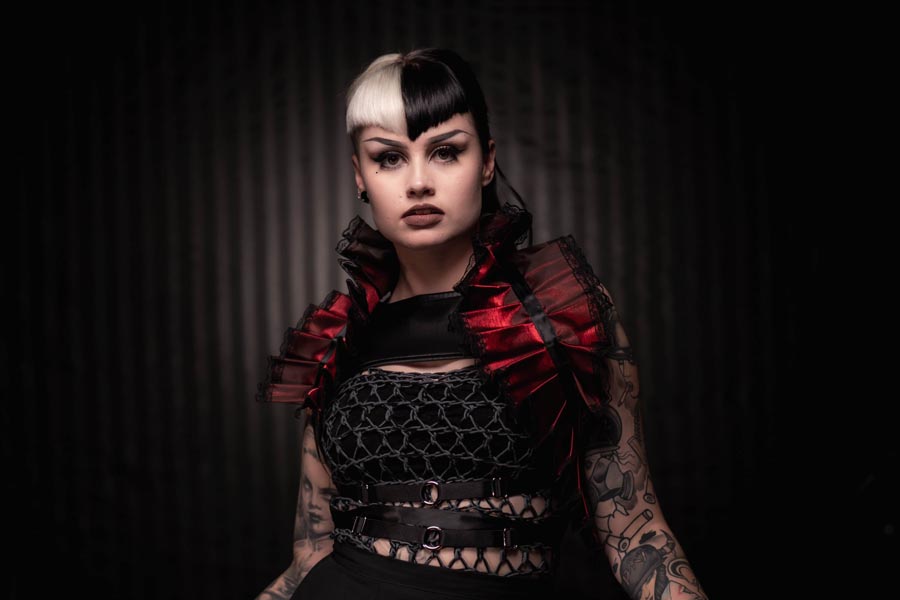
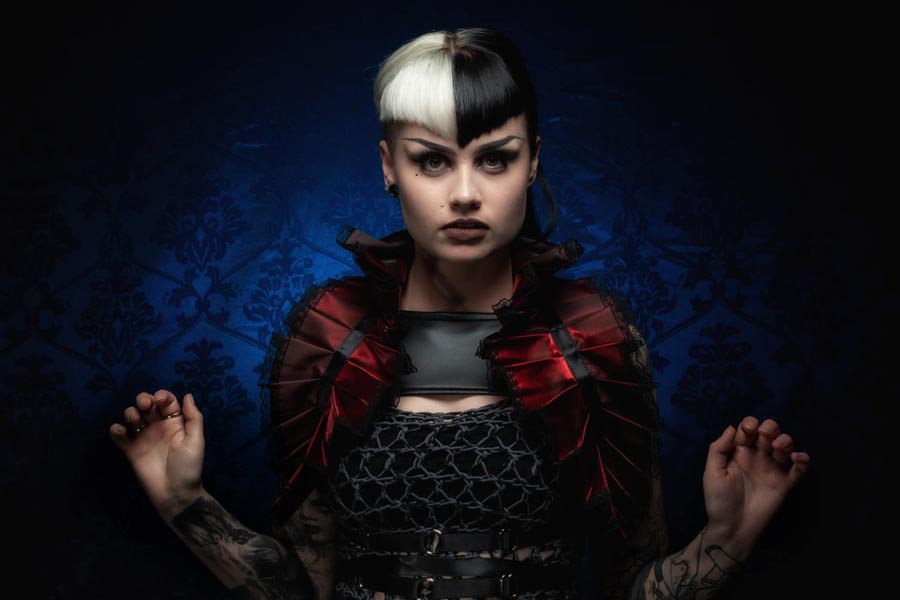
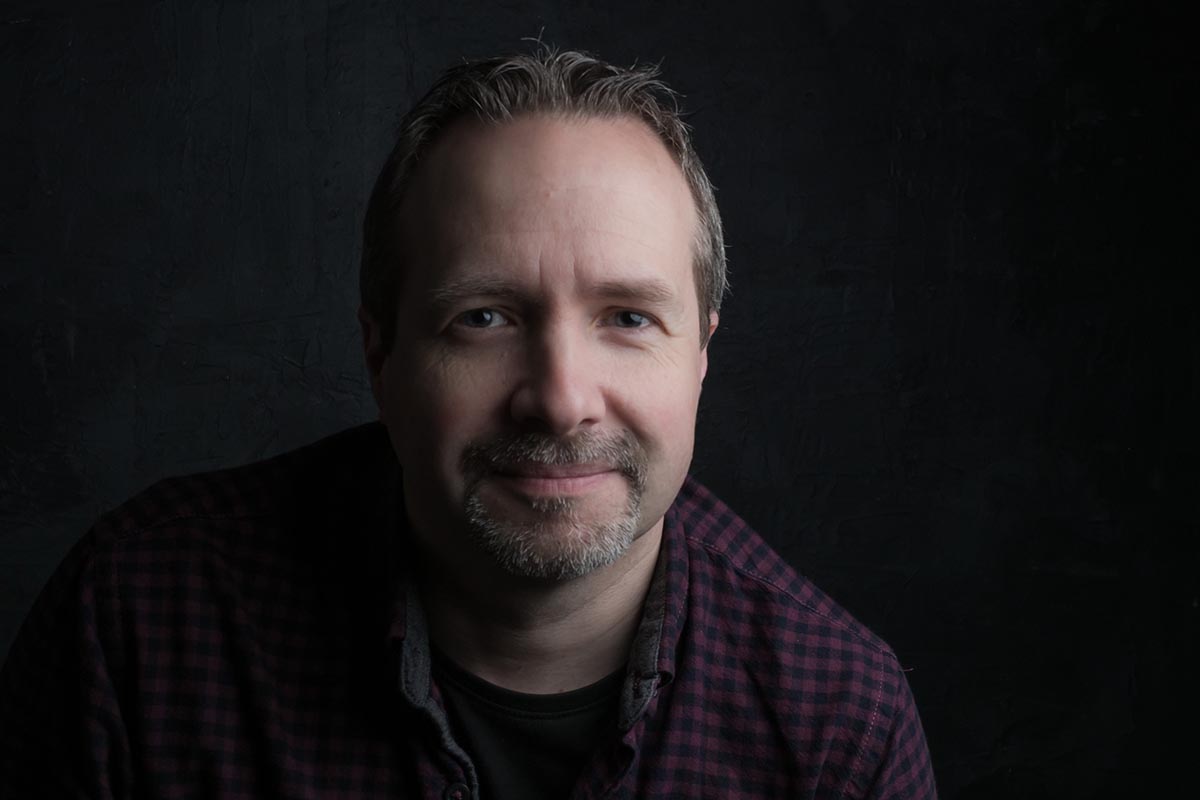
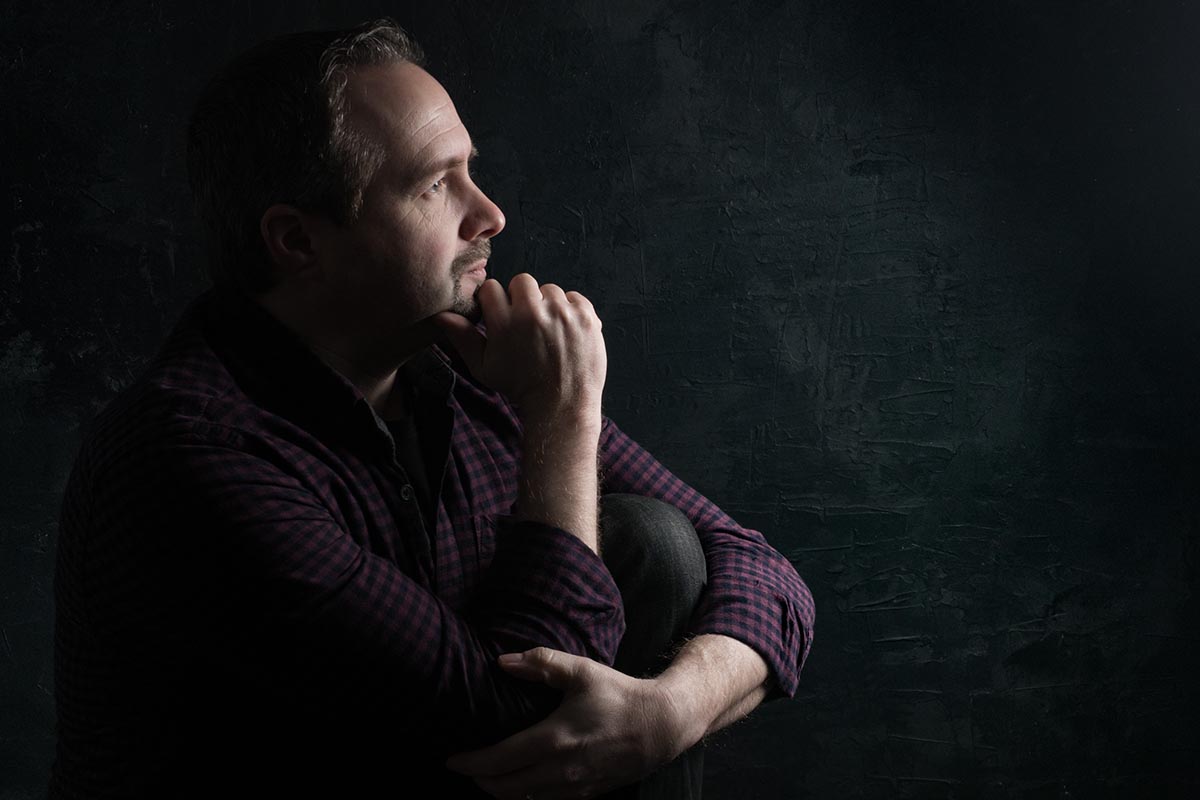
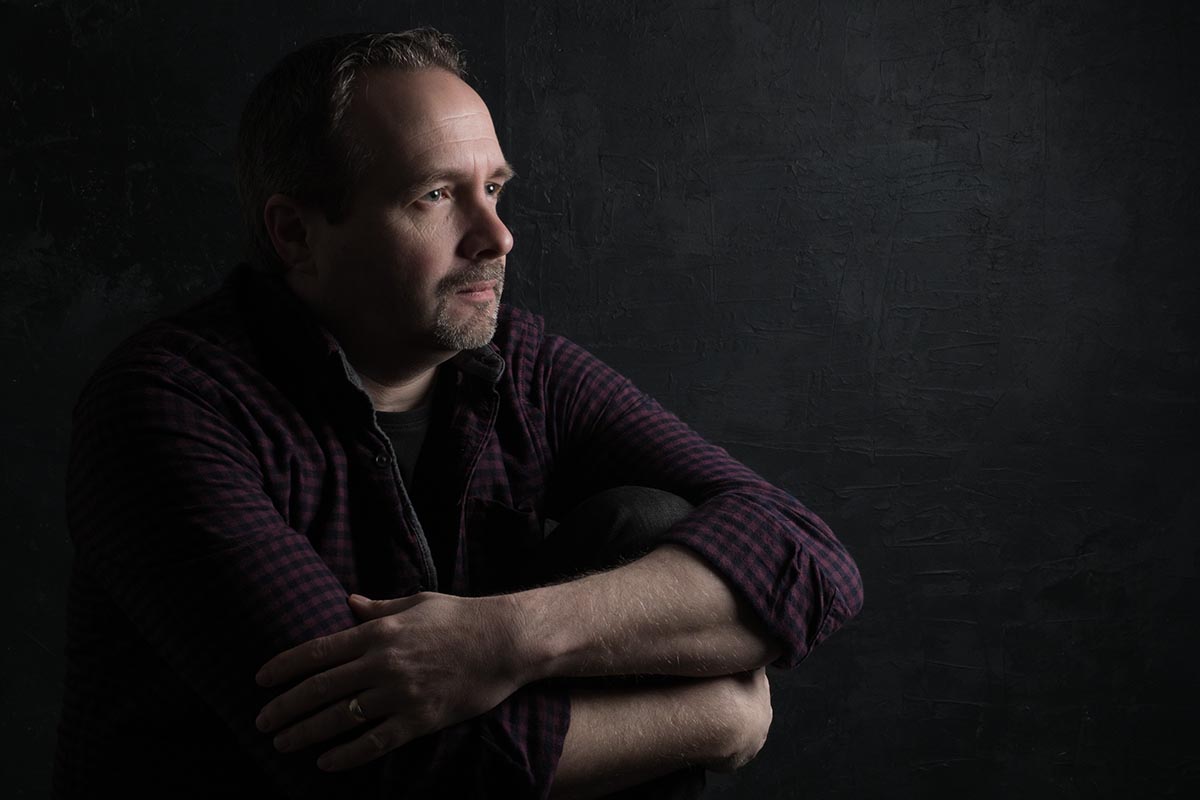
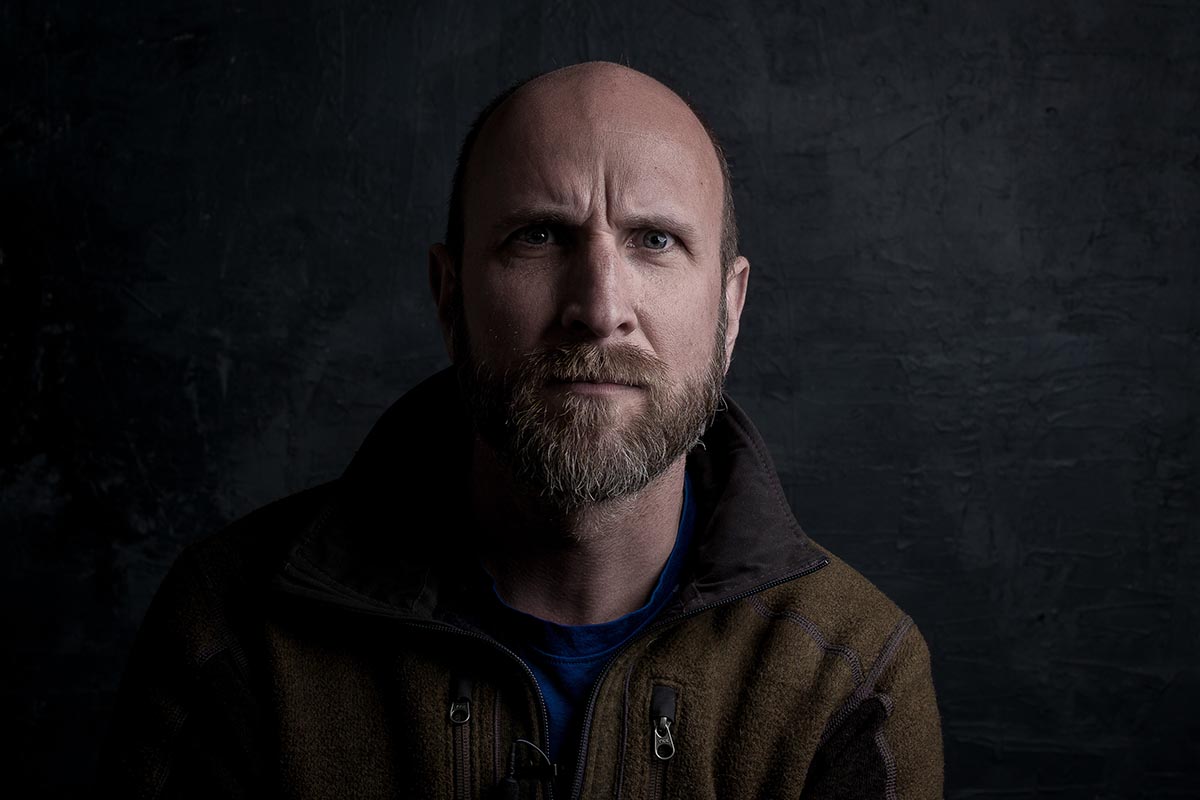
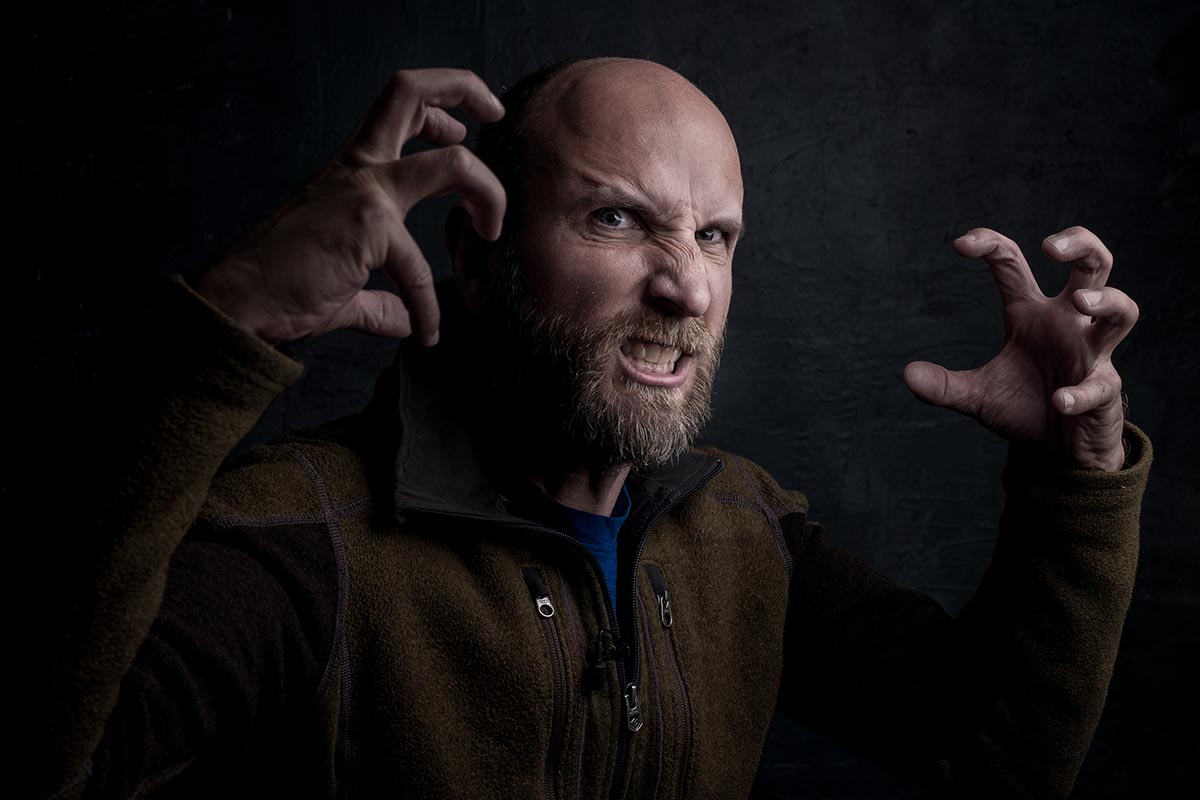
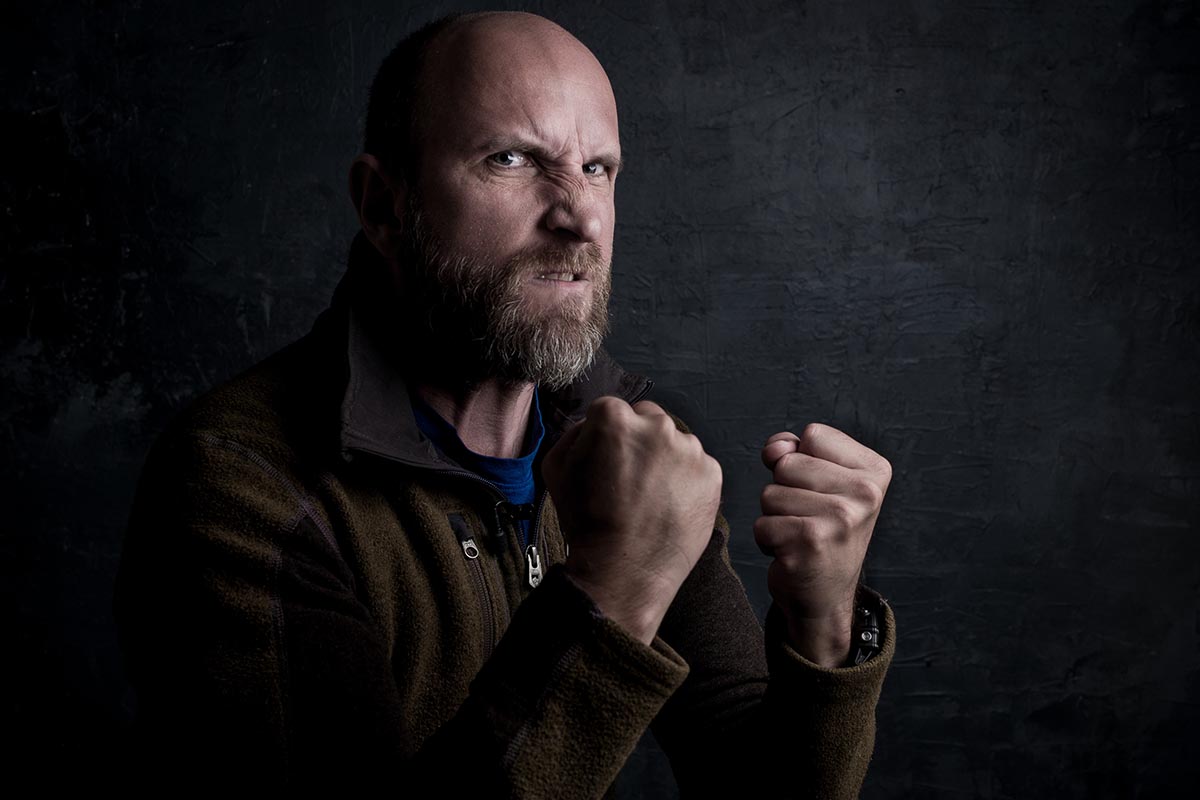
I love dark and moody studio shots, so my three bed sheets (technically they’re duvet covers) were a basic black, stripy black and damask patterned black. Each gave a very different result, as you’ll see in the video below.

[youtube]https://www.youtube.com/watch?v=9pv_LX319uU[/youtube]

So what did I discover? First off, king sized duvet’s are amazing value (I limited myself to £20 max per sheet) and because they open up, adding some timber inside helps them hang well. However the creases were a real pain and took an age to steam out.

If all you want is a basic black background, a bed sheet is cheap and works perfectly. If you want a pattern, look for sheets that are advertised as crease resistant or ironing free but be aware that those terms aren’t really accurate from a photographic point of view.

As a bonus each duvet set comes with two pillow cases. So what should I do with those? Ideas below please.
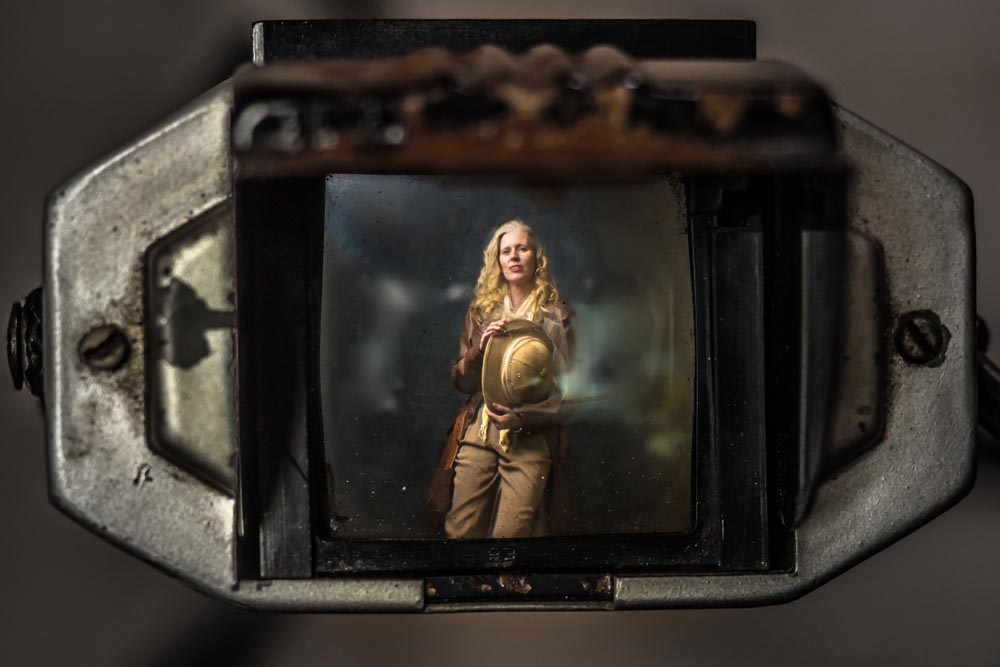
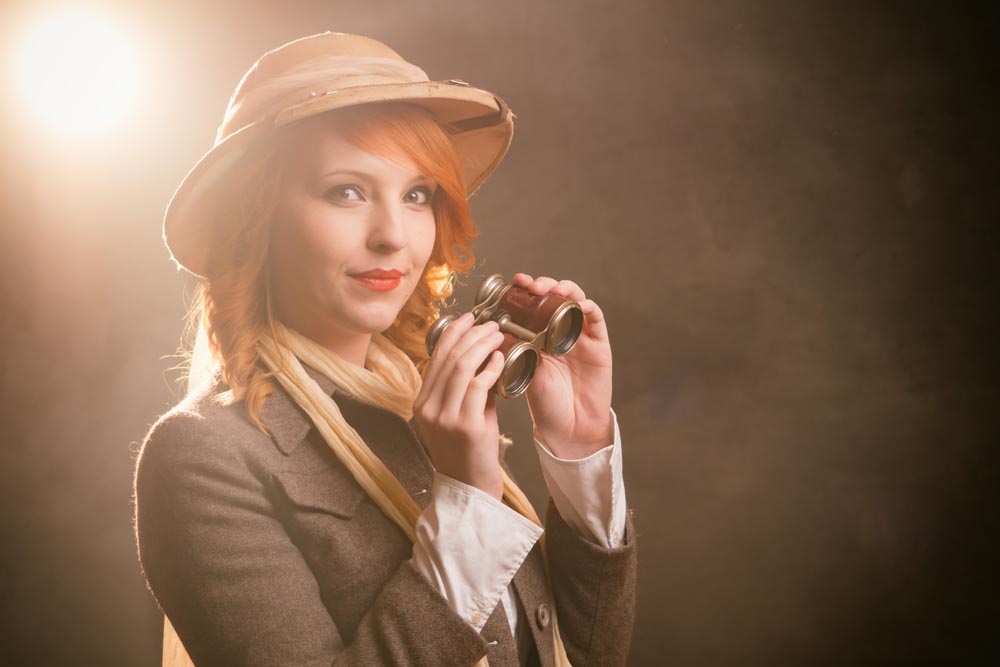
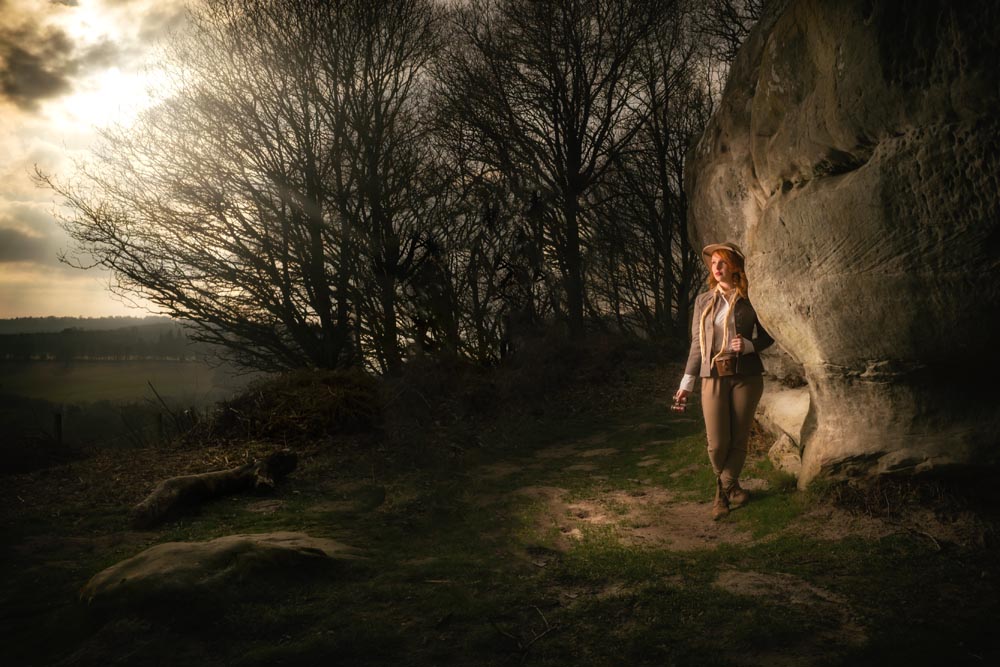
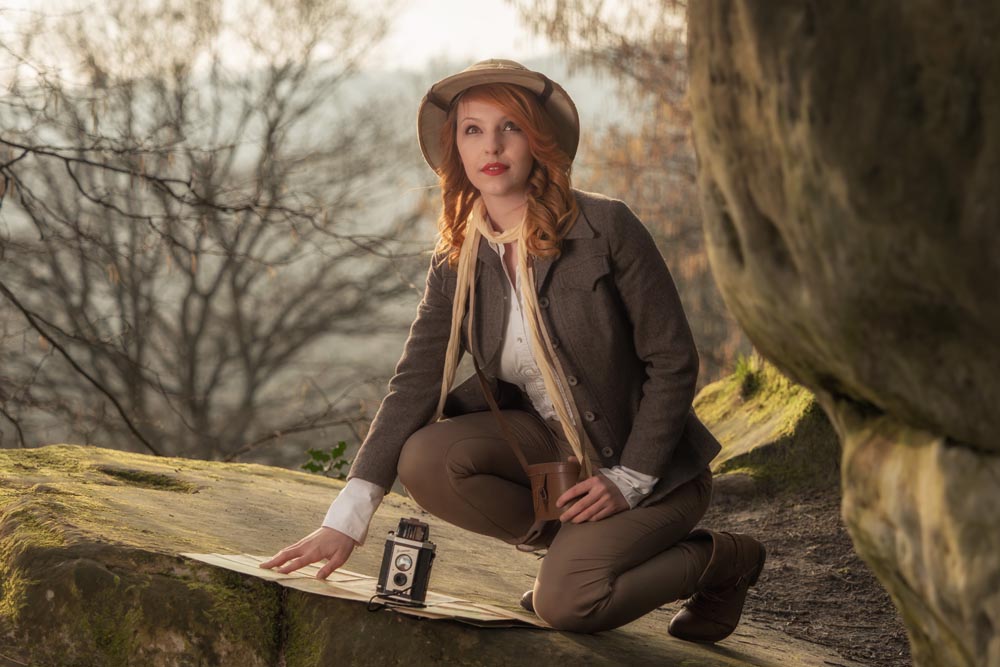
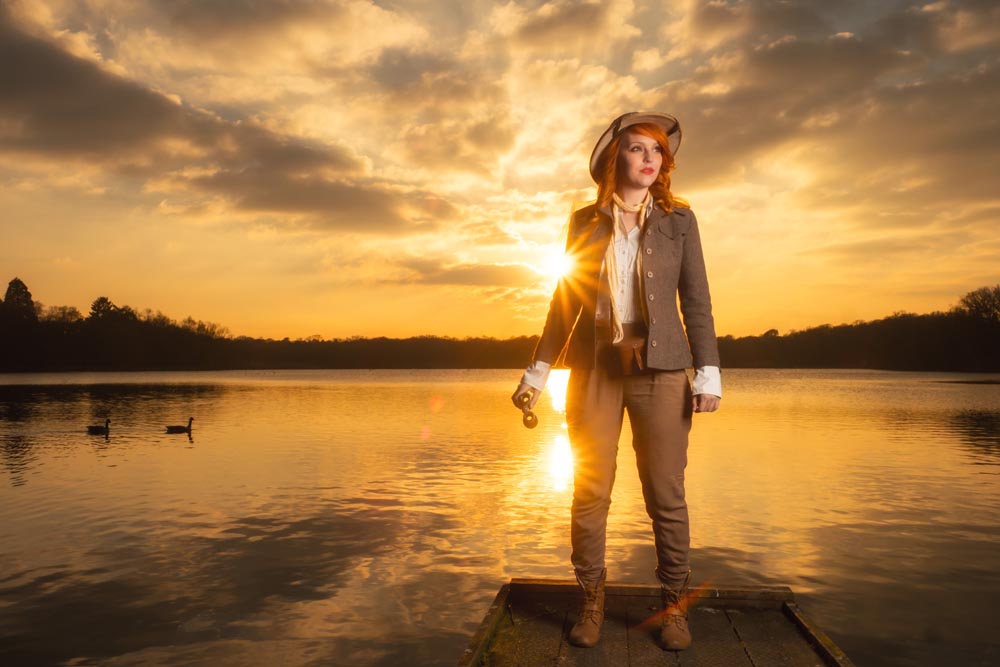
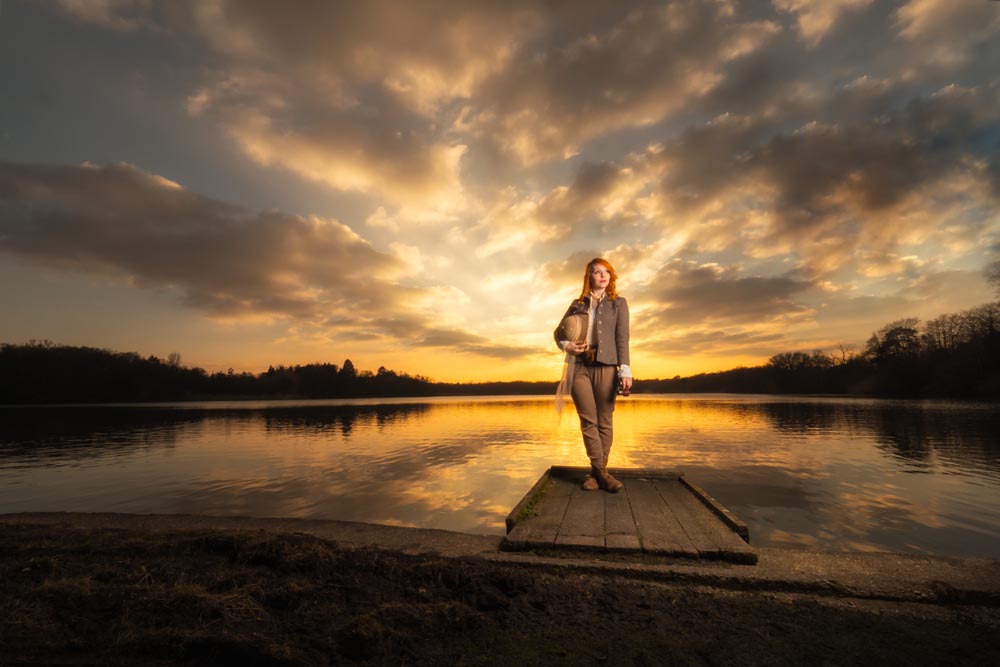
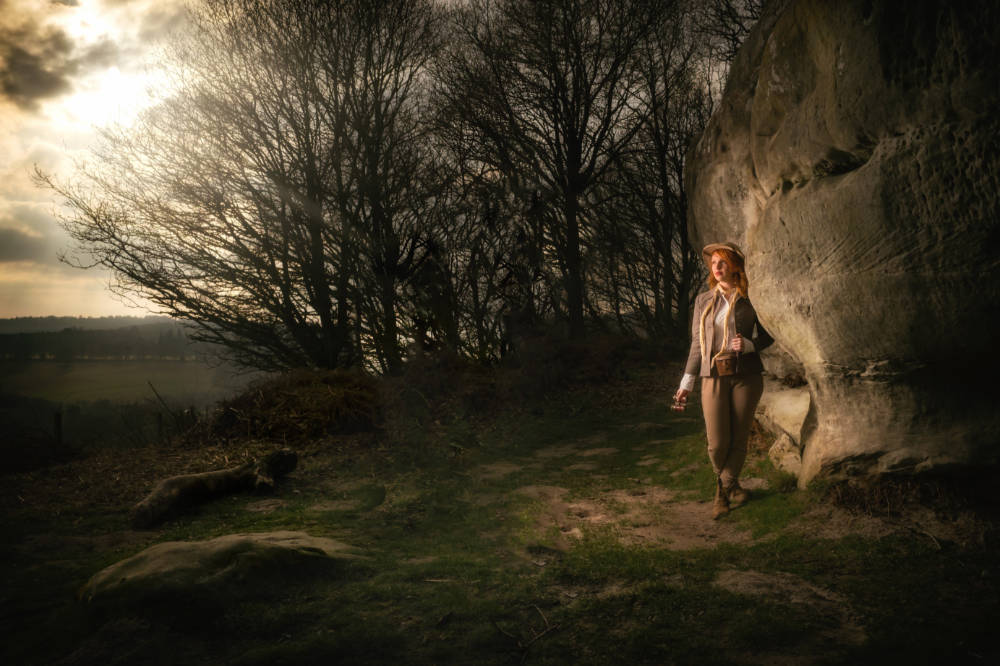
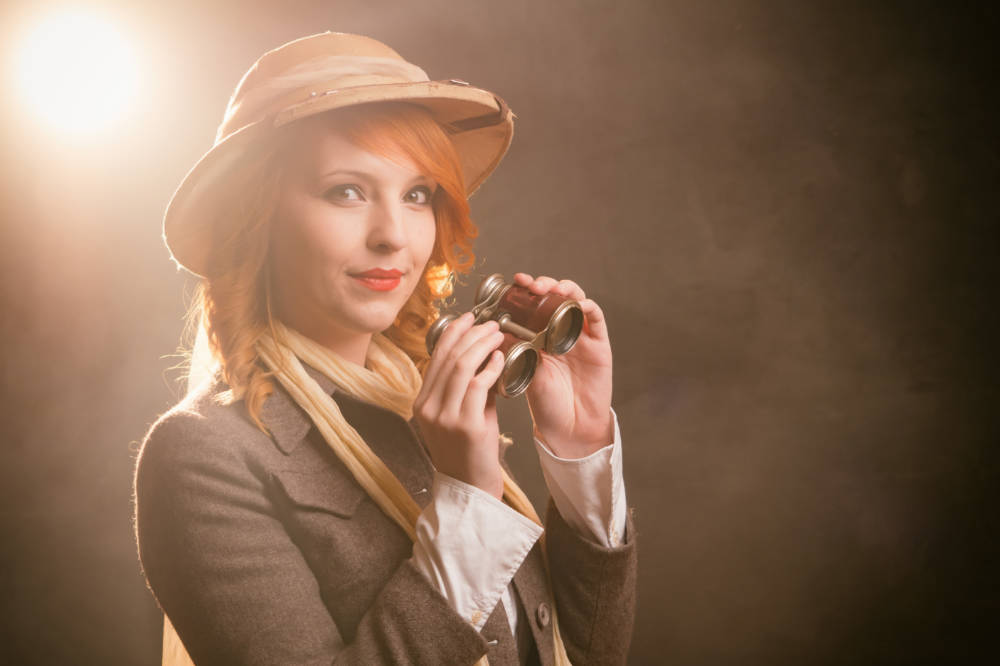
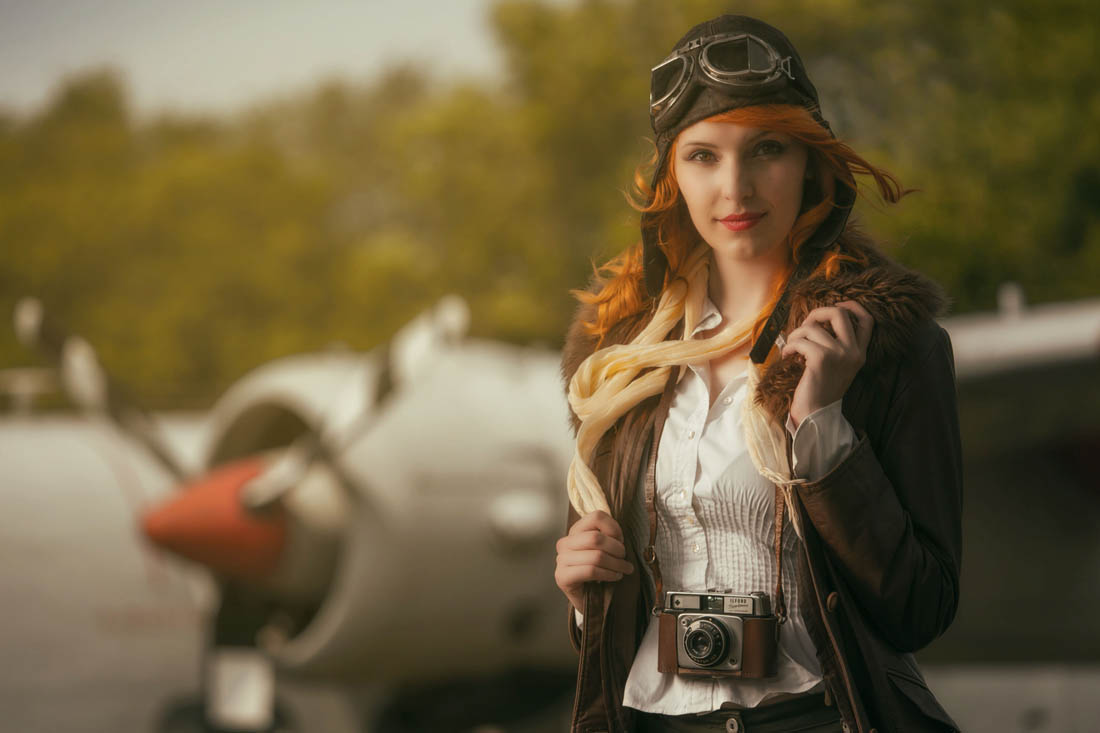
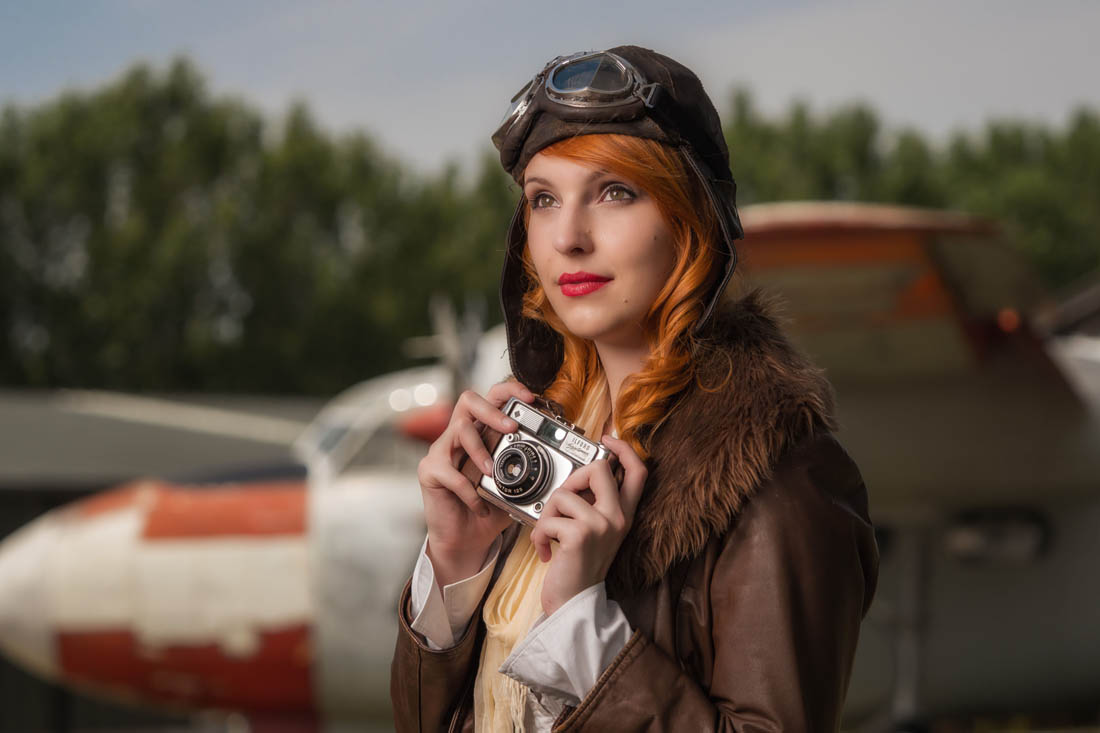
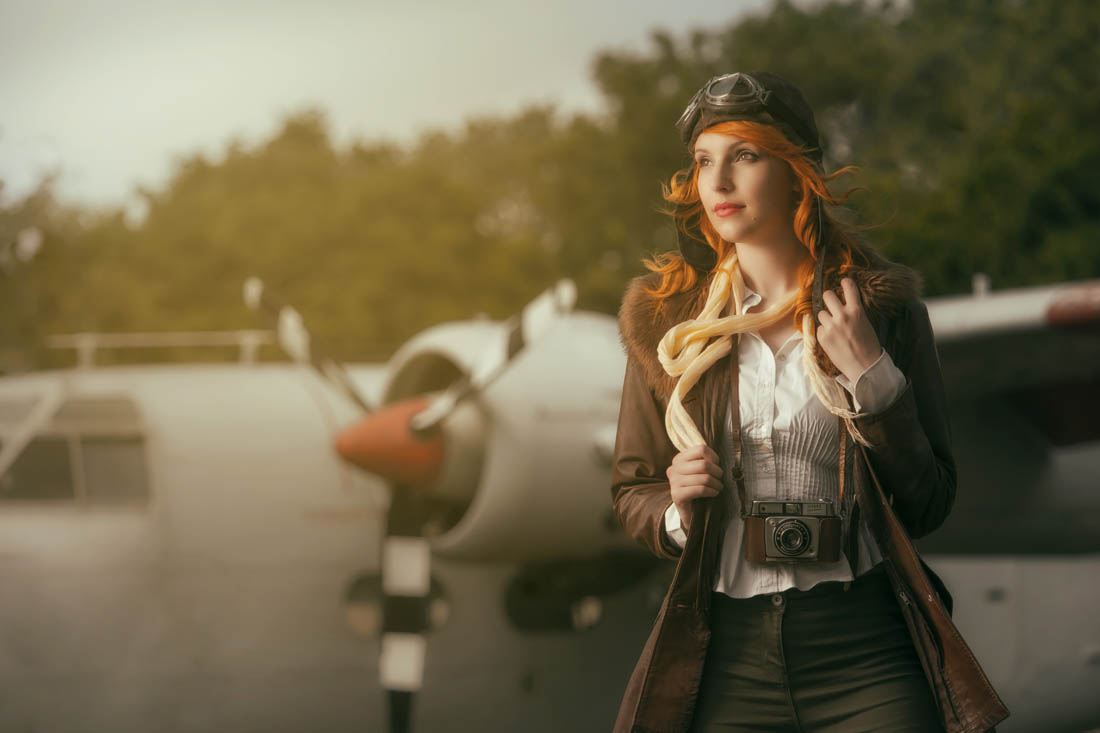
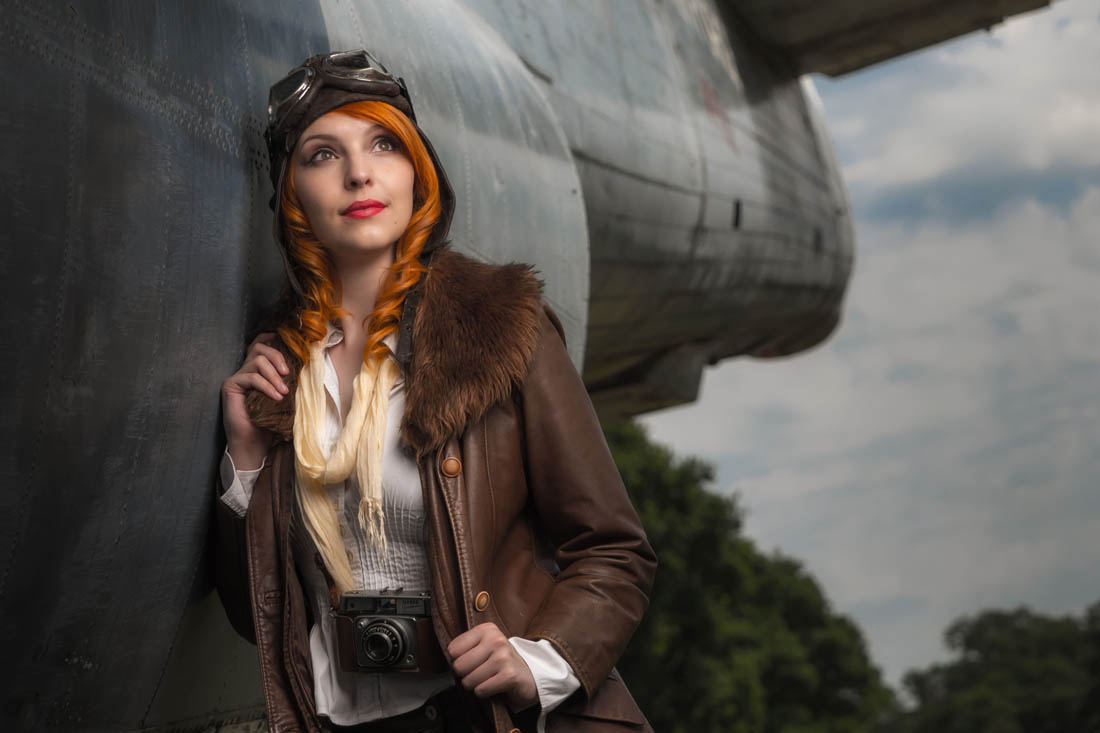
Vintage Explorer – Plan It, Shoot It, Edit

This is the first of a new series where I take you behind the scenes on one of my shoots. You get to come along for the ride as I plan the shoot, do the shoot and edit the photos.

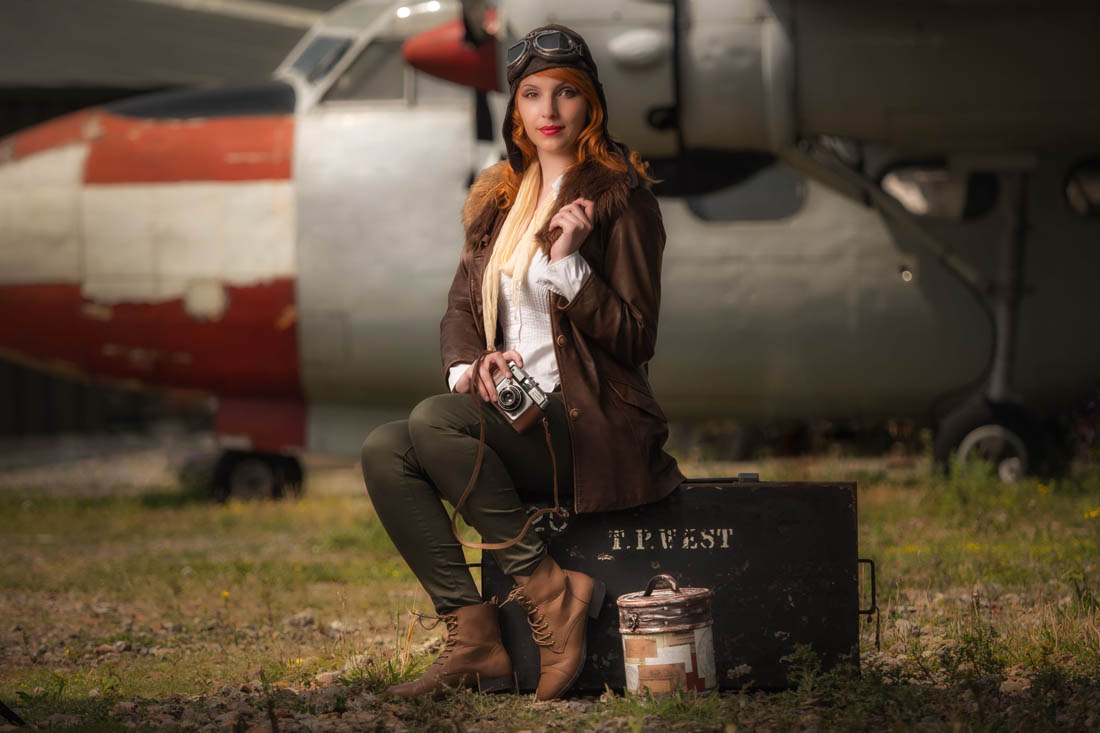
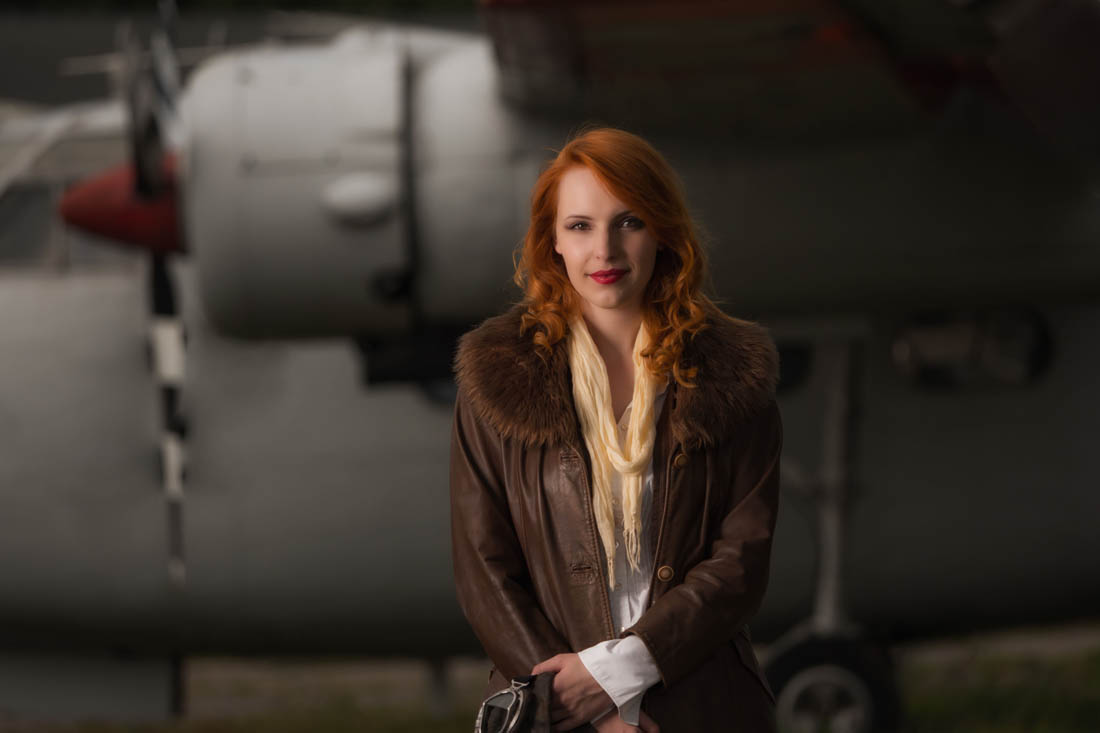
The theme for the first “Plan It, Shoot It, Edit” is Vintage Explorer.

Plan It
It all starts with an idea, then there’s the preparation and planning. A location has to be found, props need making and finally there’s a test shoot to do. Of course not everything goes to plan, as you’ll see.
[youtube]https://www.youtube.com/watch?v=ri5f29WqWqs[/youtube]

Shoot It
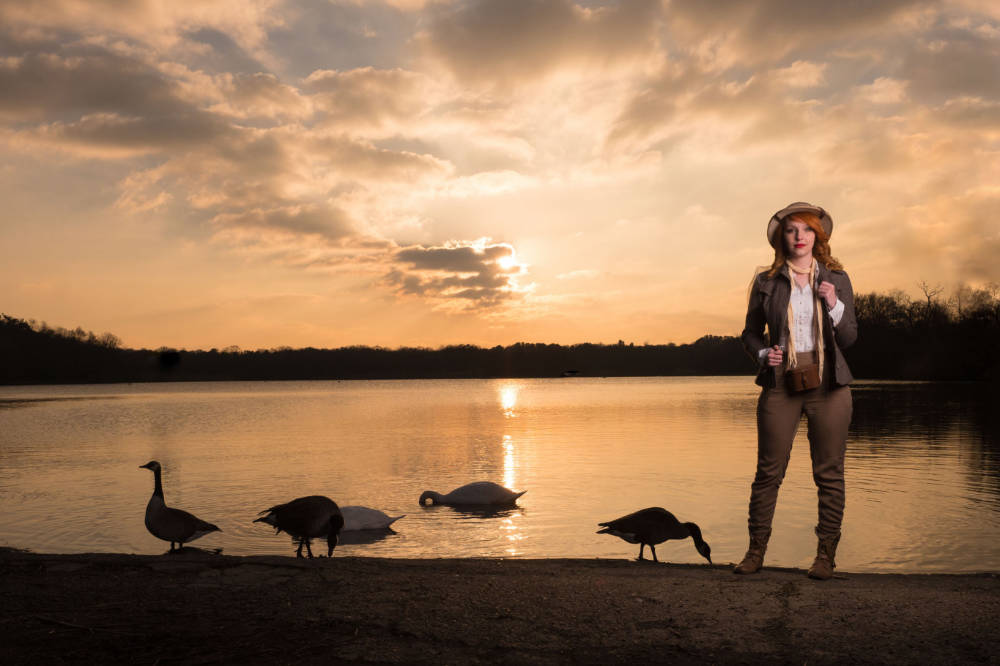
Now for the fun bit… the shoot itself. The weather was cold, so I decided to get some banker shots in my studio before heading out on location. Sometimes you just get lucky and on the way home I stop off to shoot against a spectacular sunset.
[youtube]https://www.youtube.com/watch?v=3dNqKYBZNus[/youtube]

Edit
Here’s where the photos come alive. Adding colour and contrast is all that most of the shots needed but if you want to shoot wide shots and light the model with a softbox, there’s bound to be a bit of Photoshop needed.

[youtube]https://www.youtube.com/watch?v=2onA5CUF2uk[/youtube]

Behind The Scenes… Coming Soon.

I often get asked how I come up with my ideas or what my creative process is. With that in mind the next video for Adorama TV will be a different format to usual. Encompassing the creative process behind one of my  photo shoots.

There’s a lot of planning and organising behind the scenes, all the stuff I don’t show usually. In the next 3 videos you will be part of the journey from initial concept through organising and shooting right to the end processing results and final conclusions.

You’ll see how we work as a team, that things don’t always go as planned. The importance of a plan B (and C) and much more. I hope you’ll join me, warts and all, to get a glimpse from the other side of the camera.

https://www.facebook.com/gavtrain/videos/2173023796040948/

Limited Color Palette Portraits

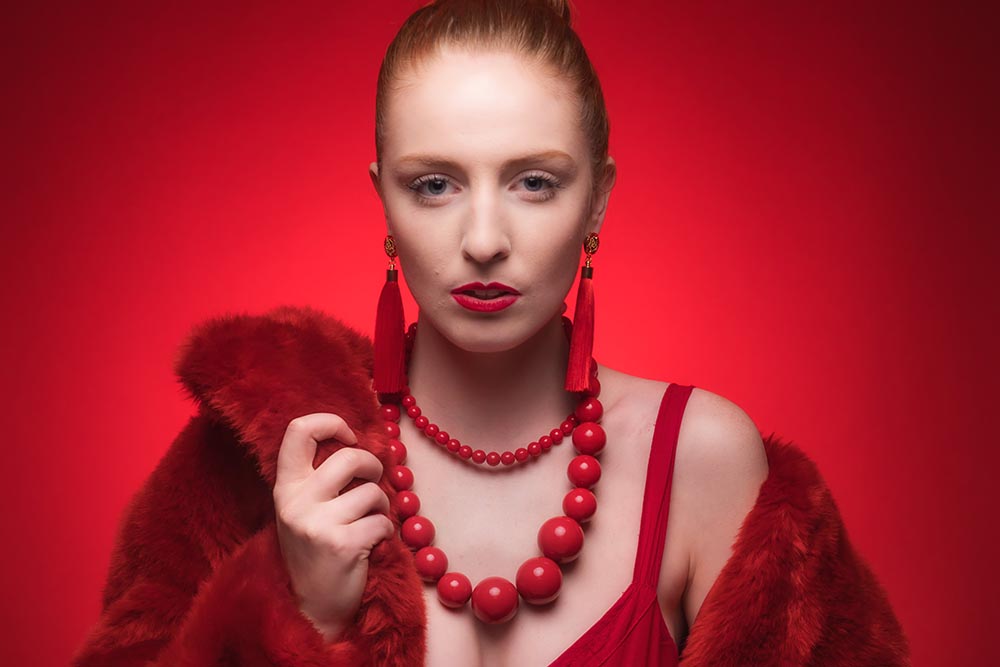
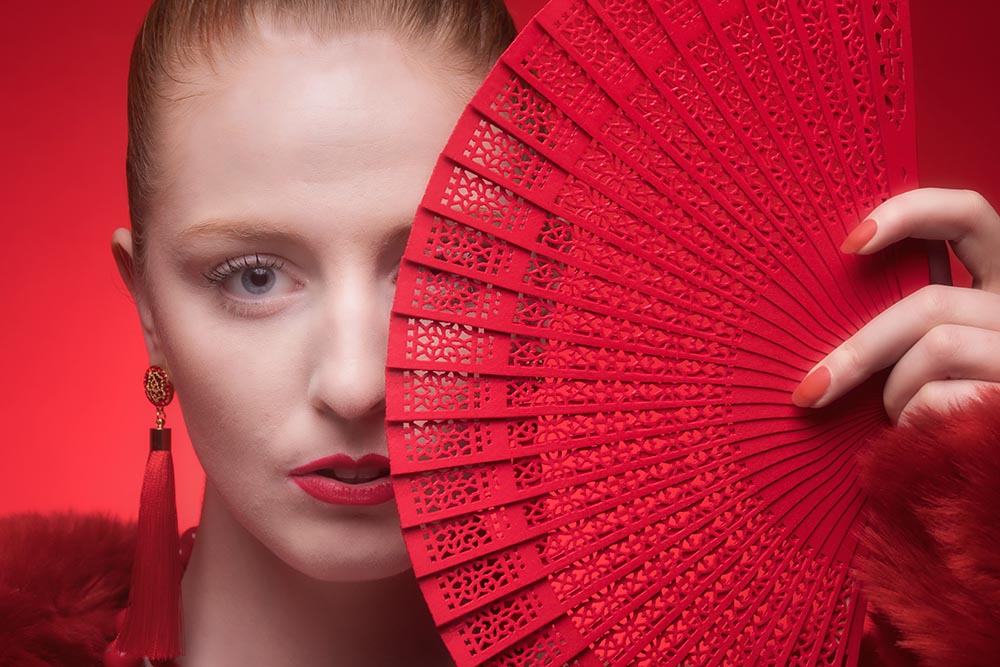
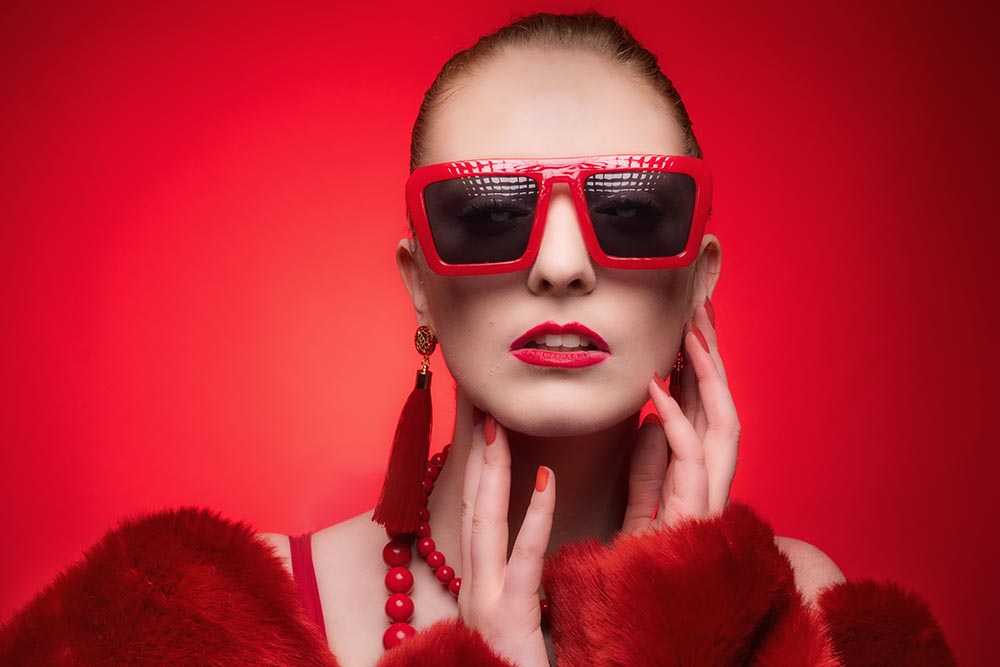
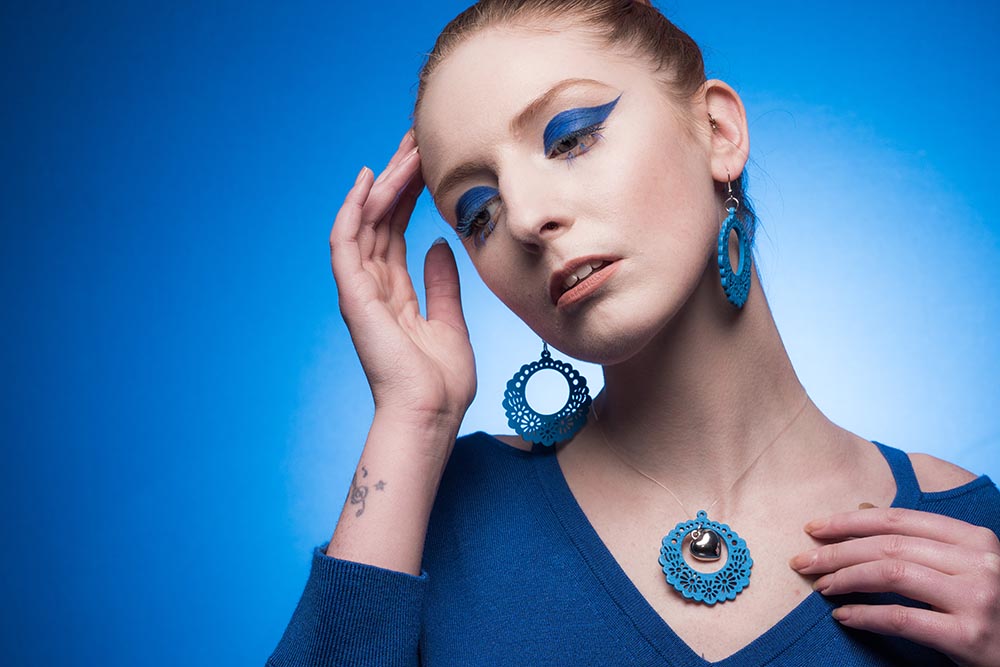
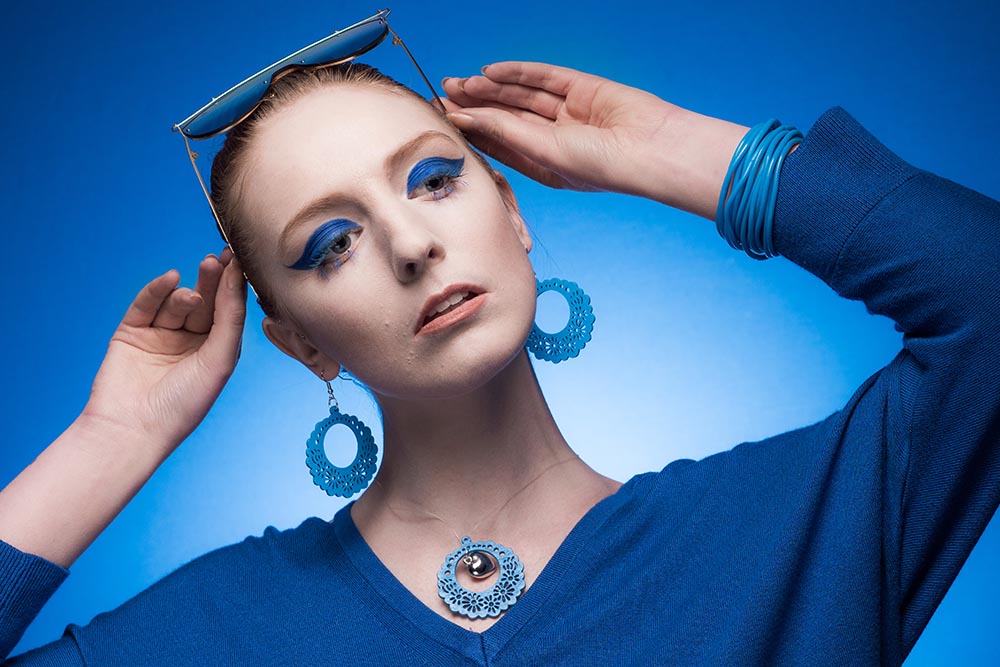
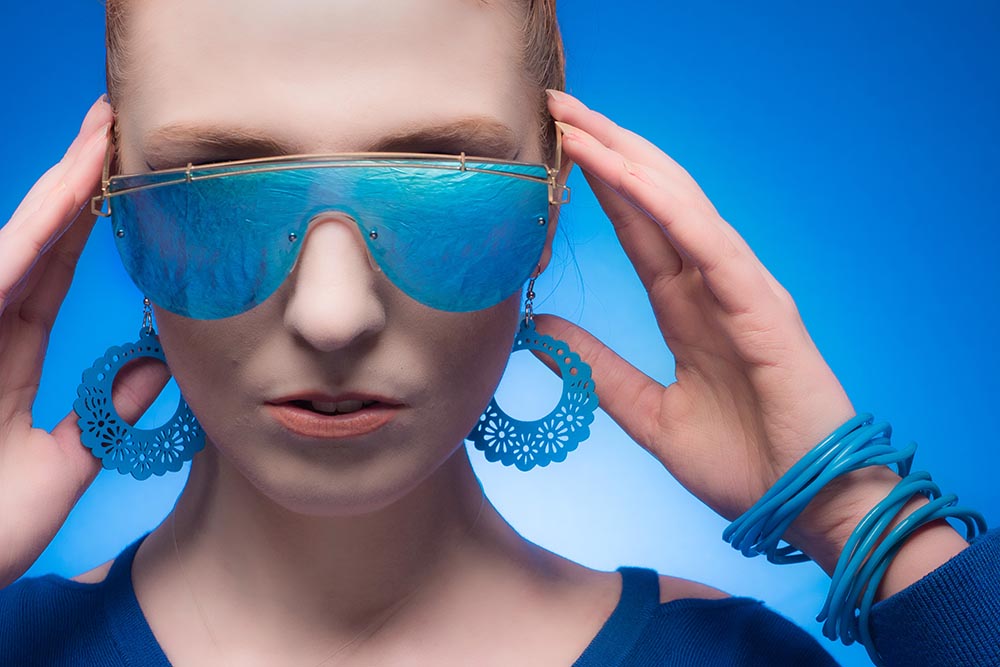
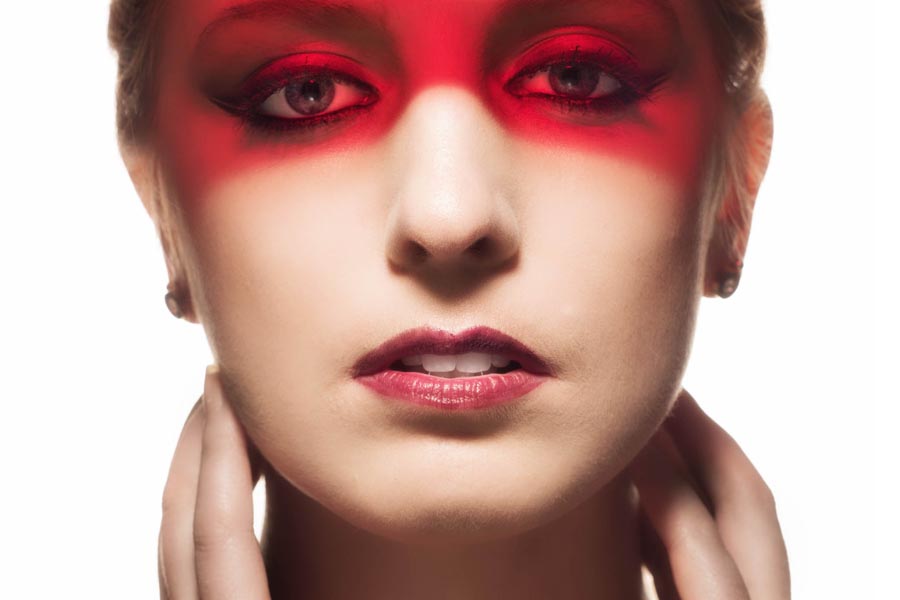
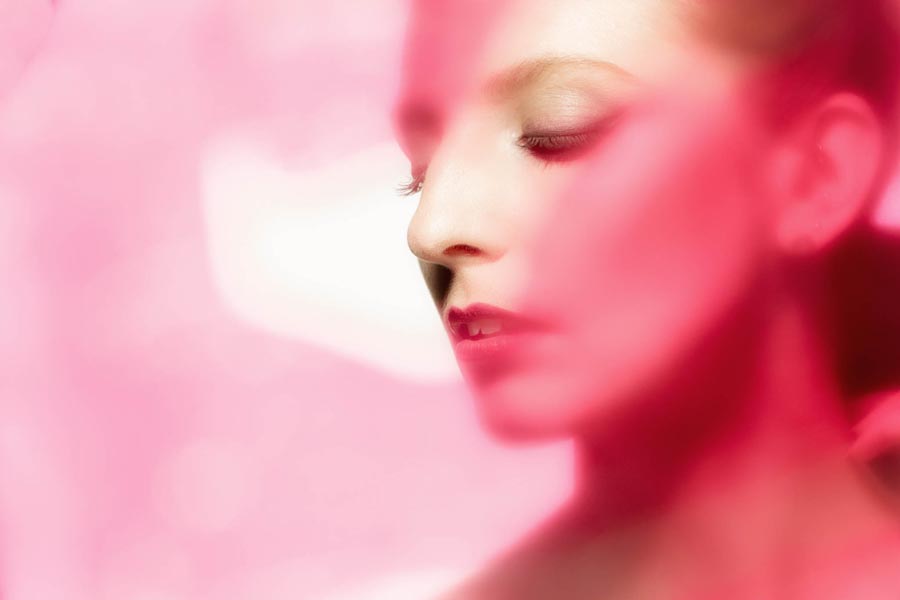
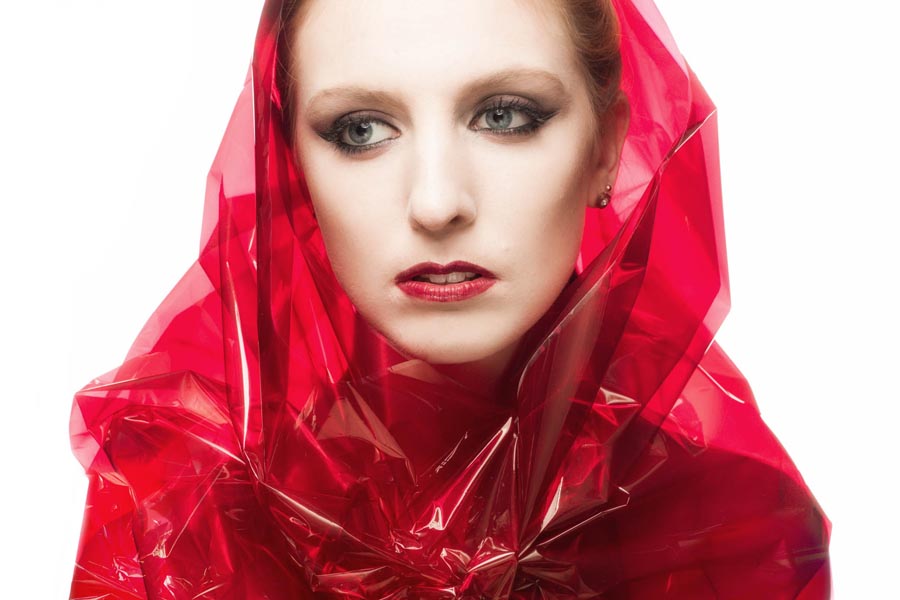
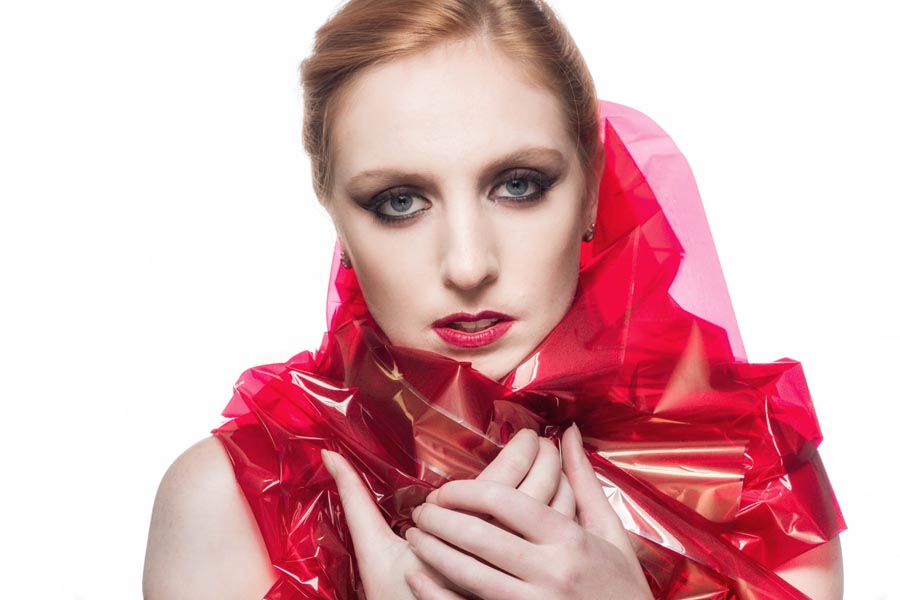
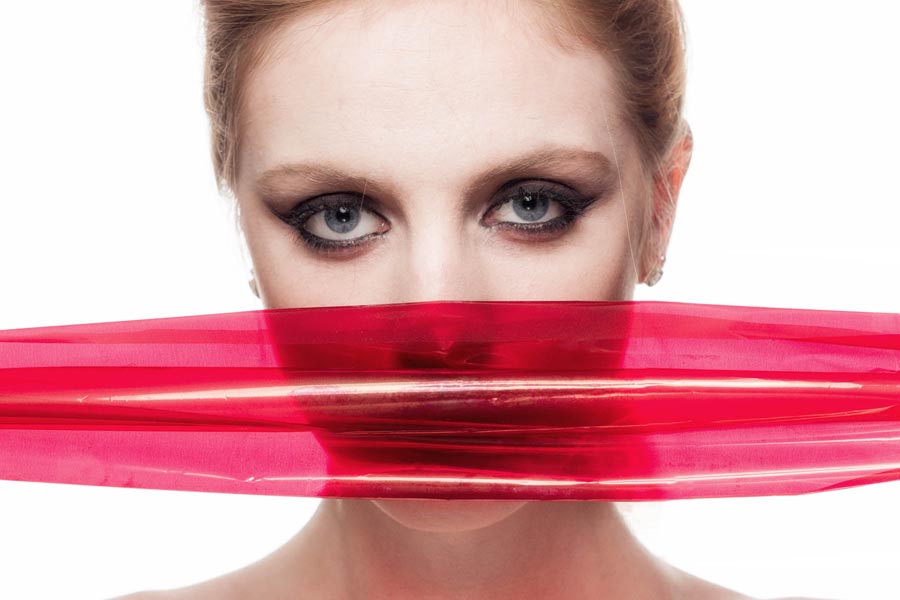
Colour can really make an image pop and catch the eye and that’s something I wanted to experiment with in my small home studio. Using some colour themed props can help give the photo’s a high fashion feel and also gives your model something to use in poses. Make up can play an important part in creating the atmosphere, especially for close shots.

In this video we look at how punchy using one strong colour can be. Don’t think that you’ll need awhole rainbow of backdrops either!

[youtube]https://www.youtube.com/watch?v=ilnJCCmprLs[/youtube]

High Speed Sync Flash

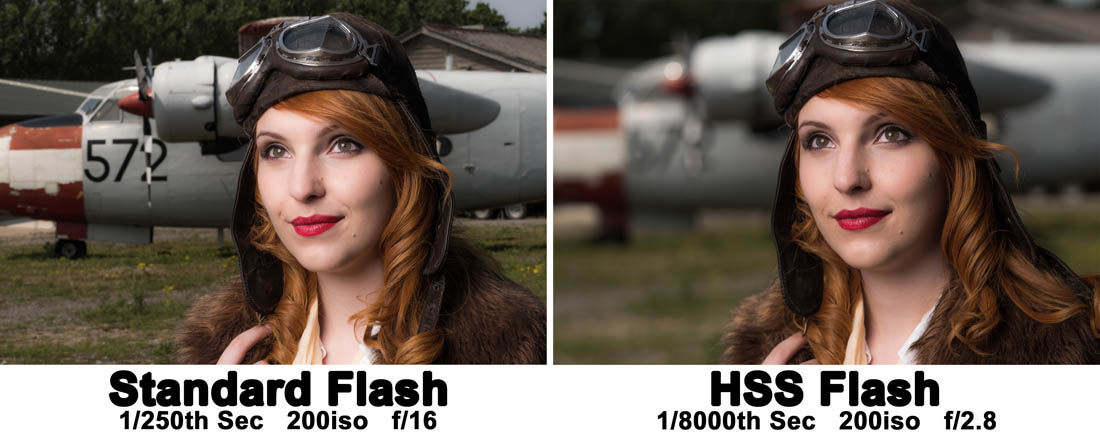
High speed sync is the one flash feature I’ve been missing since swapping to Olympus from Canon a few years back. Yes I could work around it with ND filters or shooting at either end of the day but neither worked as conveniently as high speed sync.

Also known as FP flash or just HSS, flash manufacturers have been slowly catching up and now there are a couple of brands supporting Olympus, Panasonic and Fuji. The first I came across was Profoto but sadly they’re way beyond my budget. Then Godox introduced the TT350o which works like a charm.

[youtube]www.youtube.com/watch?v=jywWCwvf7ps[/youtube]

As you can see in the video above, HSS allows the camera to shoot at shutter speeds far beyond the tradition flash sync speed of around 1/250th sec. The upshot of reducing the exposure time is that you either reduce the ambient light contamination (perfect when shooting inside with large apertures) or if you want to record the ambient and flash together, you can shoot with wider apertures for less depth of field.

The Godox TT350o flash/trigger that I used here is branded as the Adorama Zoom Mini o (O for Olympus… and Panasonic) there’s also a f version as well as a C, N and S version.

Since then Godox have launched the X1T-o also known as the Adorama Flashpoint R2-o in the USA or the Pixapro ST-iii T in the UK

Dramatic lighting with just two speedlights

So you only have two bare speedlights and you want to shoot some creative portraits. That’s the challenge I faced recently after discussing how a fellow photographer could get started in portrait photography without spending too much on new equipment.

Don’t get me wrong, bare speedlights will obviously limit how you can light your subject and won’t beat better strobes and a choice of light modifiers but I figured that if I can generate the initial excitement for shooting portraits with basic kit, the rest will grow in time.

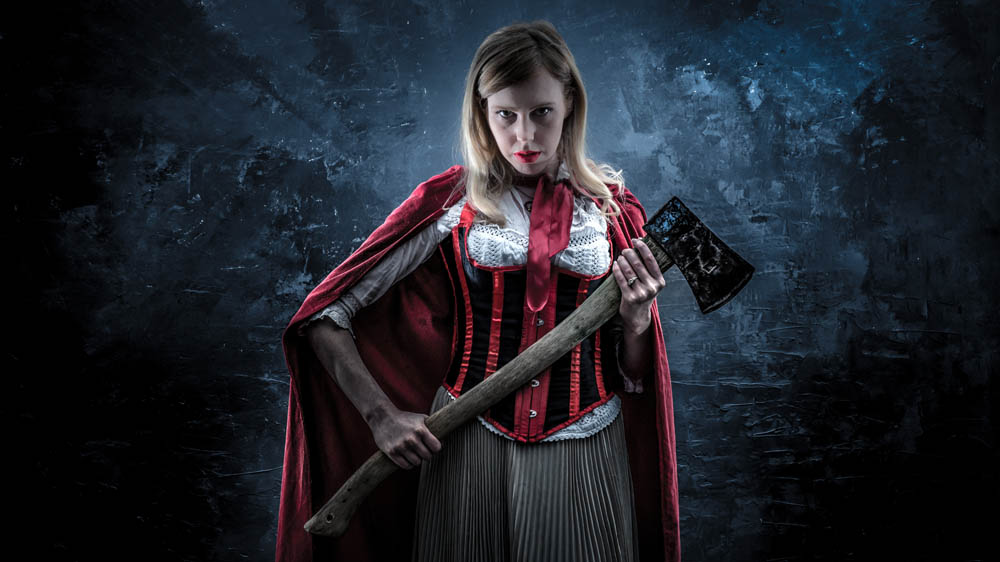
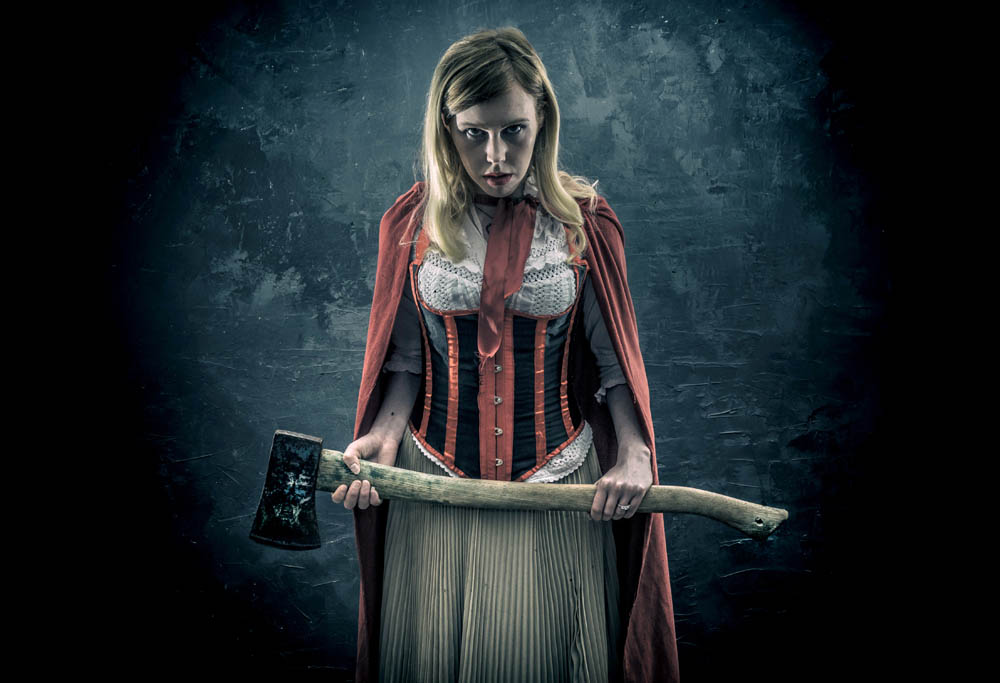
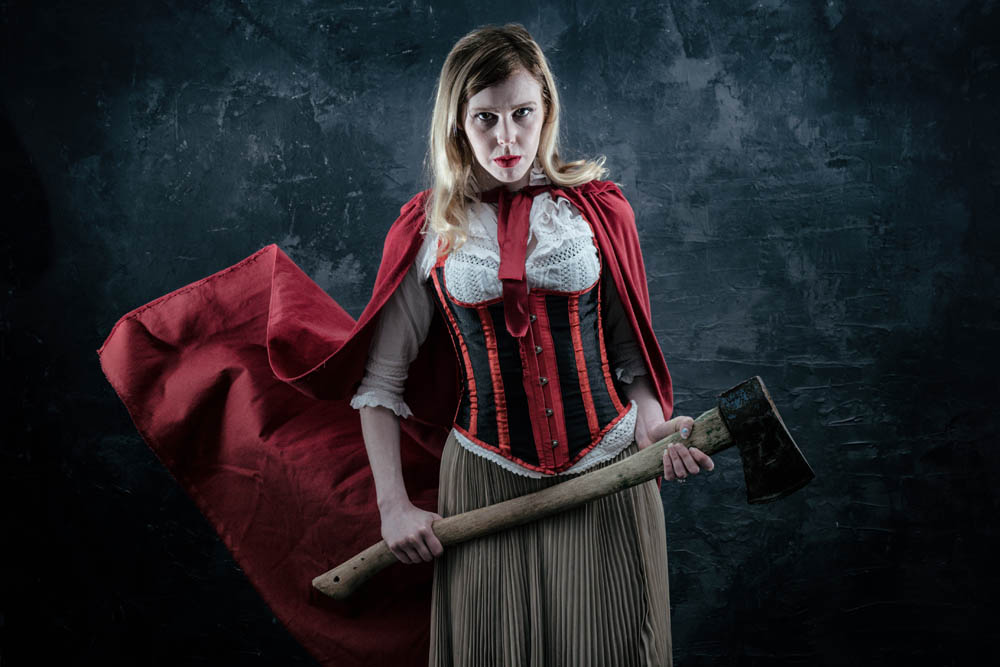
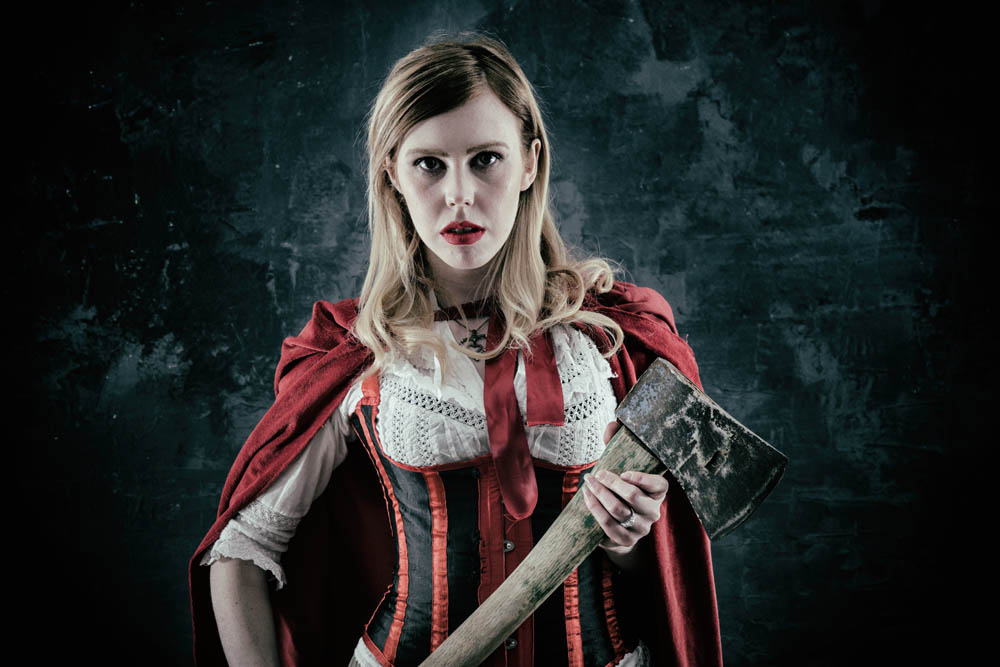
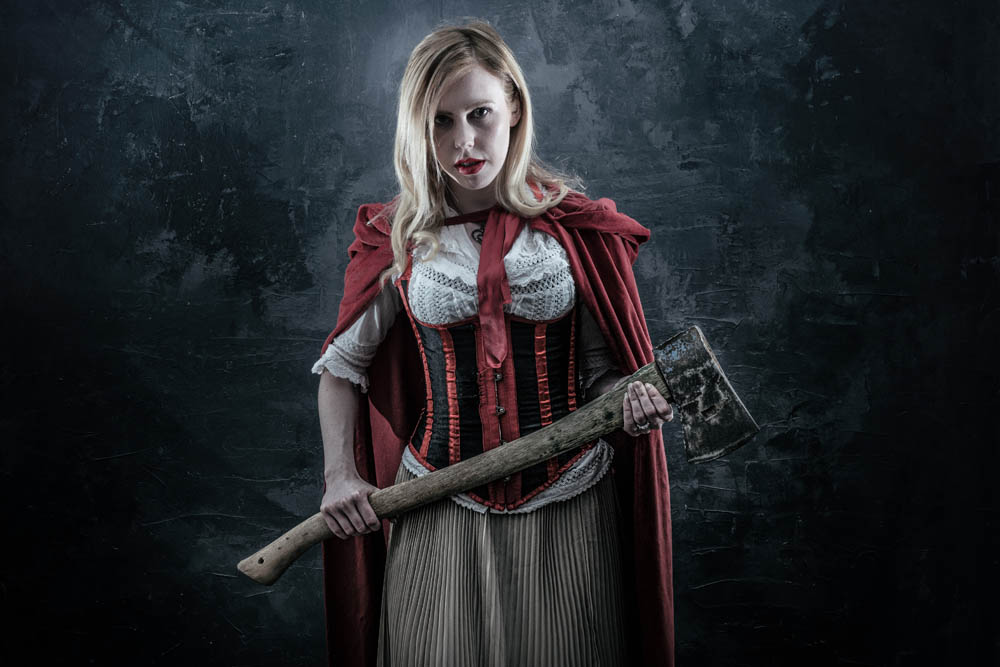
So with a bit of help from model Fern we dusted down the Red Riding Hood cape and set to work.

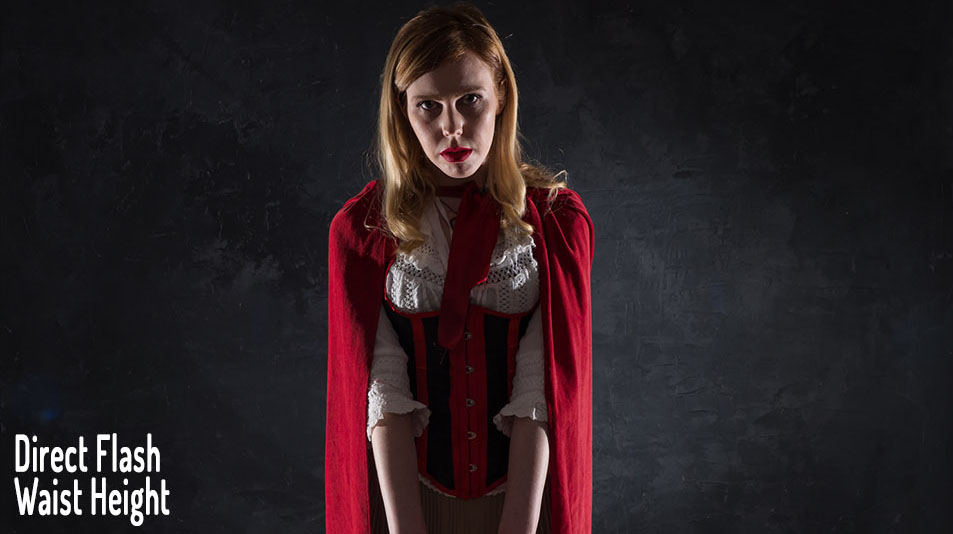
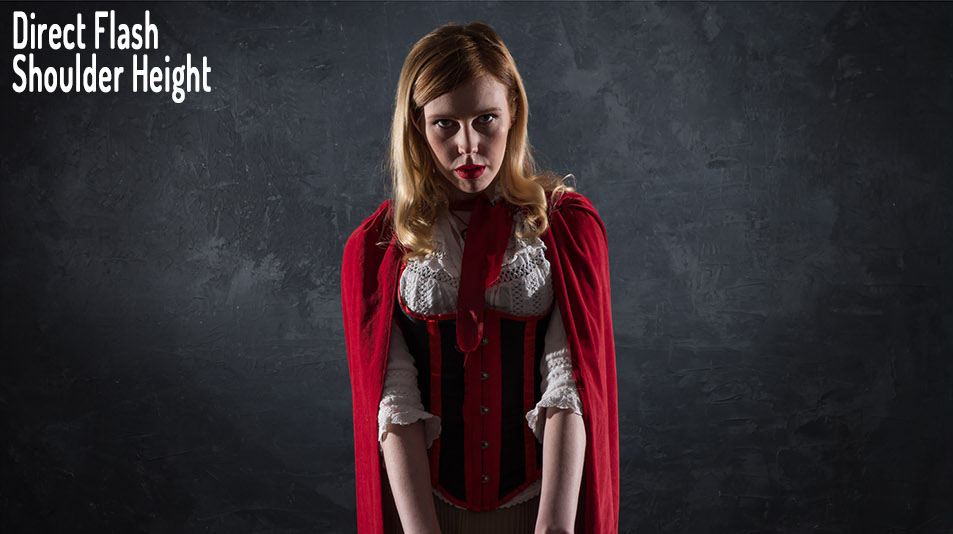
I started by putting the two lights either side of Fern, at 90 degrees to the camera and in line with her shoulders. I carefully made sure they were evenly spaced and that Fern was evenly lit. The end result was a bit too much contrast but very dramatic.


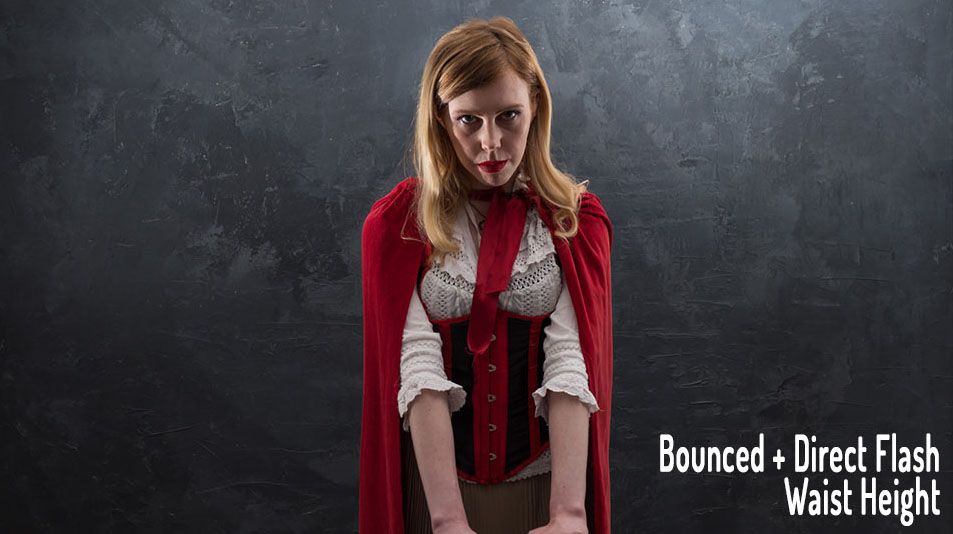
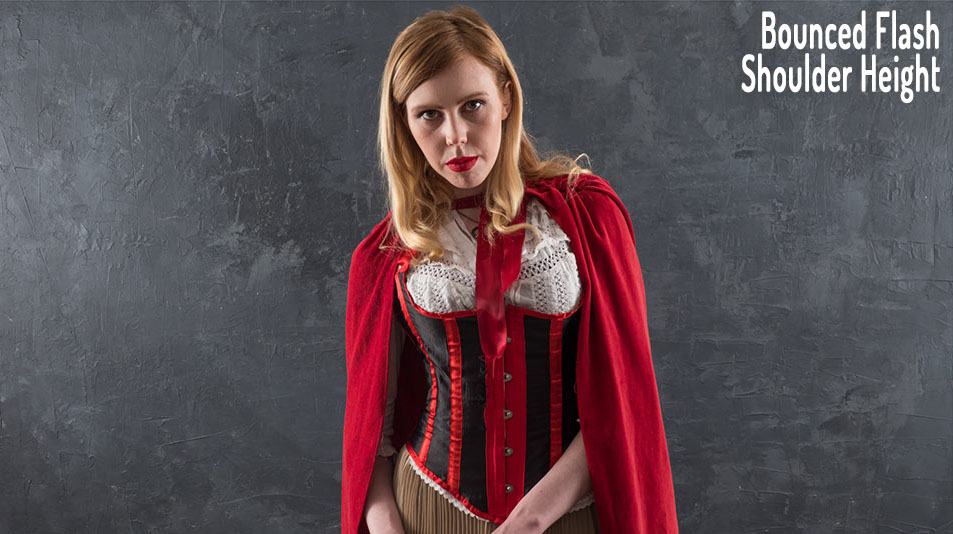
Next I spun the lights around and pointed them at the white walls of my studio. The light was bouncing off the walls which simulated the look of light coming from a source much bigger then a small speedlight. Bigger means softer when it comes to light but it also means more spread and sure enough the photo looked much flatter.


I turned the light back around. If you want a sinister look, put the lights low. It’s not a lighting position I regularly use but in this case it felt right. However the direct light from the bare flashes still looked a bit too harsh for my taste.


To soften the light a little on Ferns face I kept the lights low but angled them up to the ceiling. The result was a mixture of hard light and soft light that worked perfectly for the look we were going for.

For more information on the shoot and the post processing, check out the video below
[youtube]www.youtube.com/watch?v=LKNSqE8sdrc[/youtube]

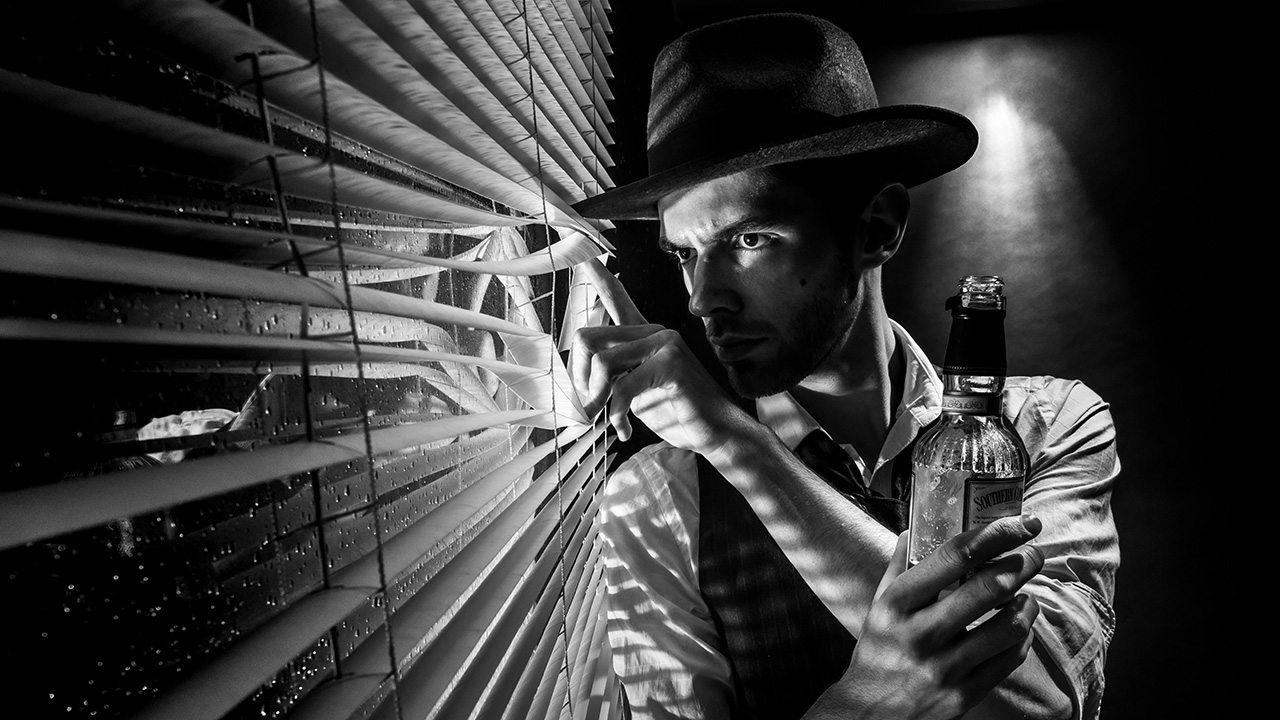
Film Noir in a small studio

How do you sum up the film noir style? For me words like dark, moody and sinister would be fitting but there’s a lot more to it then that. There’s the style both in lighting and subject matter to consider too.

I always think of Film Noir as being high contrast, black and white scenes lit with hard light resulting in strong shadows. Rightly or not I also think 50’s style crime drama and that’s what I set out to produce in my small home studio.
[youtube]www.youtube.com/watch?v=-9o1Pc6uDRU[/youtube]

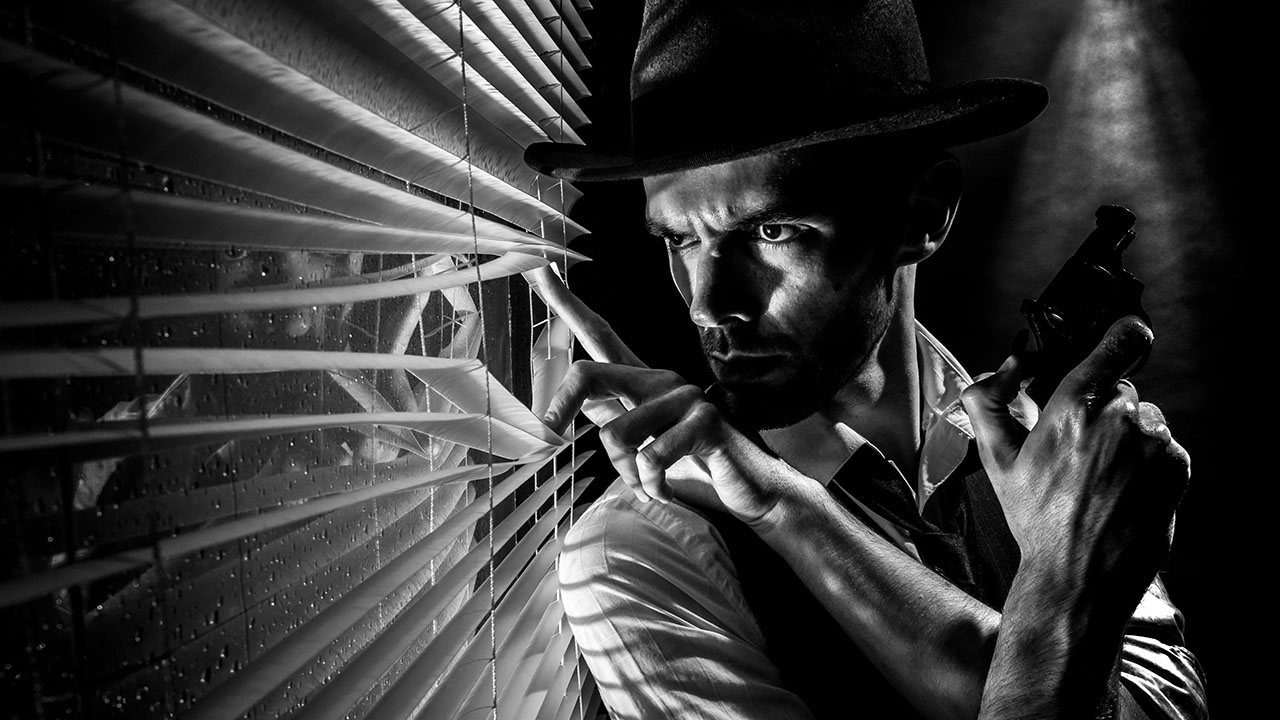
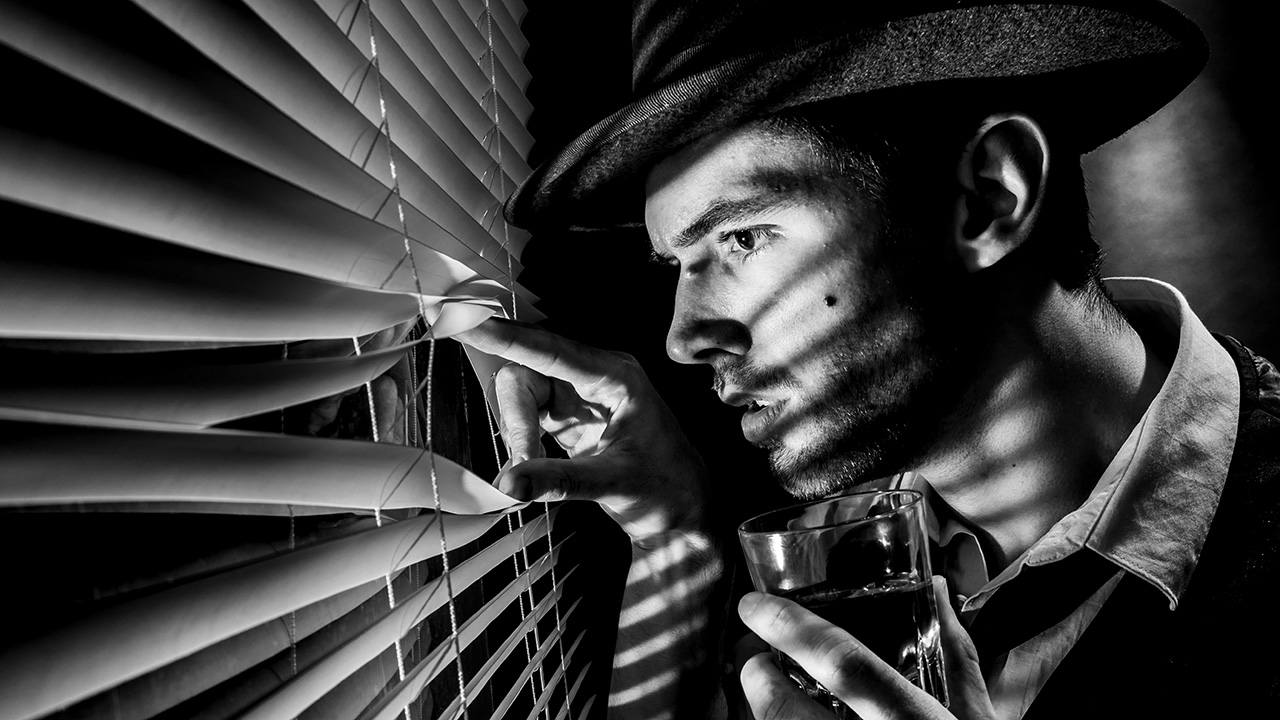
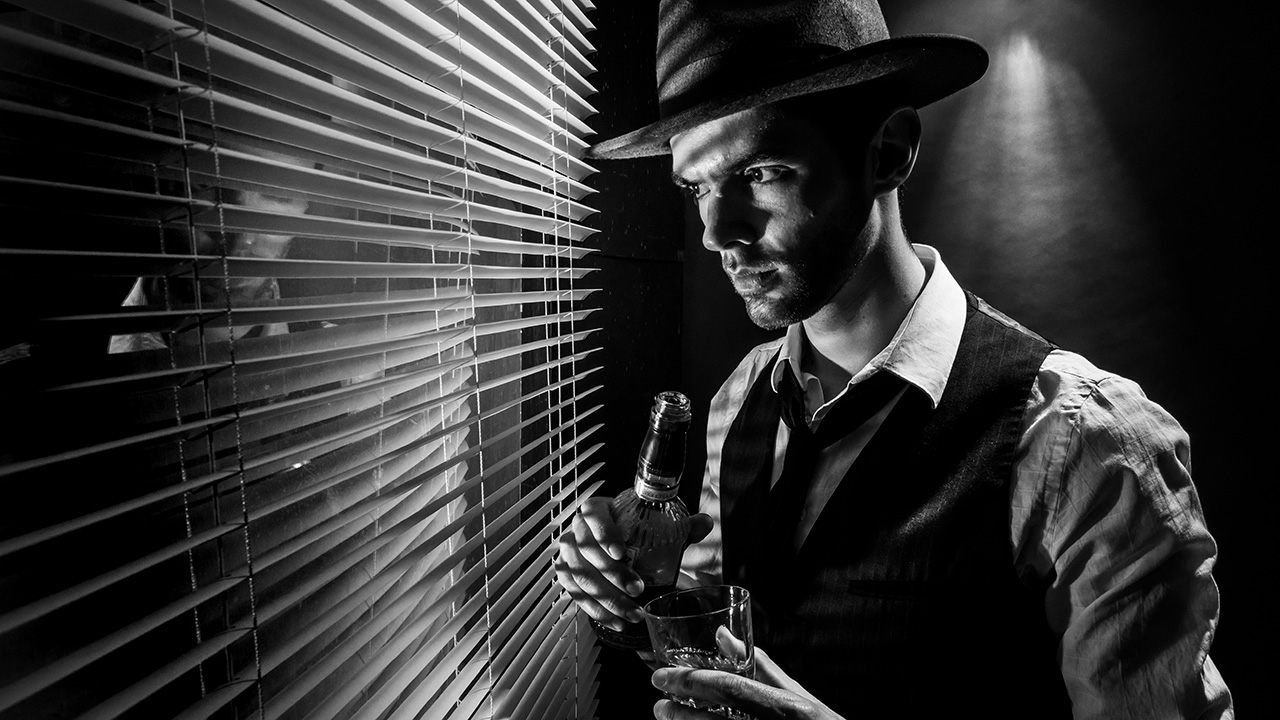
The trick here was to set my main light low and hard (No softboxes or umbrellas) That gave great shadows from the Venetian blinds and the up light gave a sense of menace, as well as the subtle feeling our hero was on a higher floor looking down.

The rest was down to Styling. So asking Brian (the model) to have a bit of stubble, giving him a bottle of whiskey (or cold tea in this case) and of course, having him hold a vintage kids cap gun all helped set the scene and tell the story.

Pointless Photo Challenge, Episode 1

Photography can be a serious business sometimes, doubly so for me as it’s both my job and my hobby. But take things too seriously and run the risk of losing the fun factor and that’s often where the more creative side photography comes to the surface.

So when my good friend and fellow Adorama TV presenter Mark Wallace recently stopped by my house for a few days, we came up with a whole bunch of fun photo challenges to test our photography skills in a slightly pointless but hugely enjoyable way.

In this episode both Mark and I take part in a model shoot and background folding challenge. Sounds easy? Well there’s a twist.

[youtube]www.youtube.com/watch?v=ePI2jYcm1L4[/youtube]

For the model shoot we both worked with Kerry Allingham but with the following instructions…
Reverse model shoot.
Swap places with Kerry and instruct her on how to take the best portrait of you. You can not touch any equipment including your camera or lights and you can’t see the photos until after the shoot. You have 20 minutes starting now

The next challenge was much more straight forward…
Folding challenge
Fold these three reflectors whilst blind folded. Fastest wins.

While there’s no arguing I won the folding challenge, who won the reverse model shoot is open to debate. Let me know who you think won and why in the comments below.

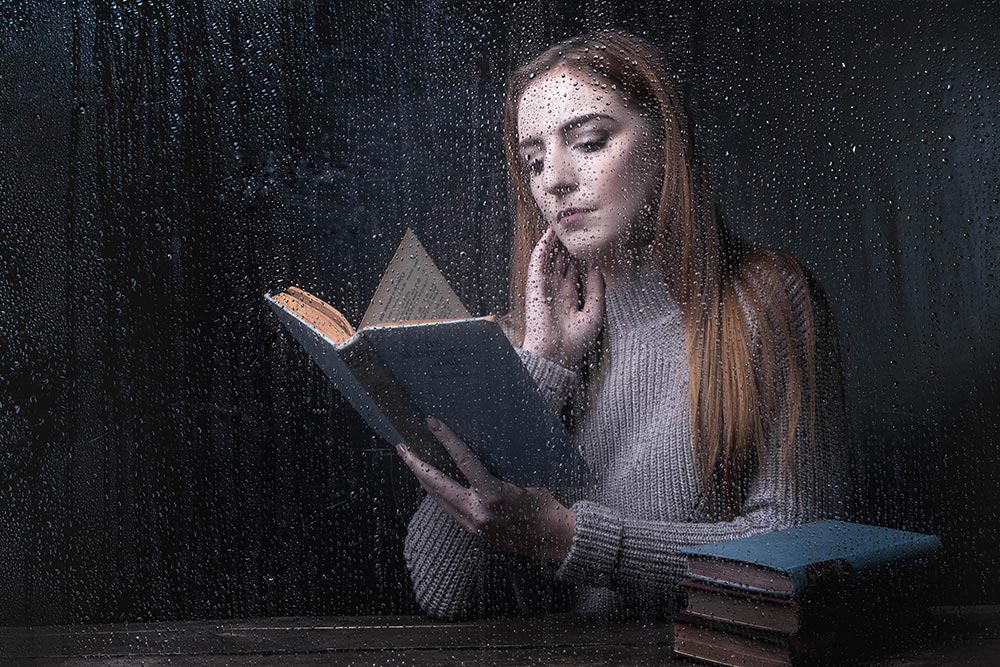
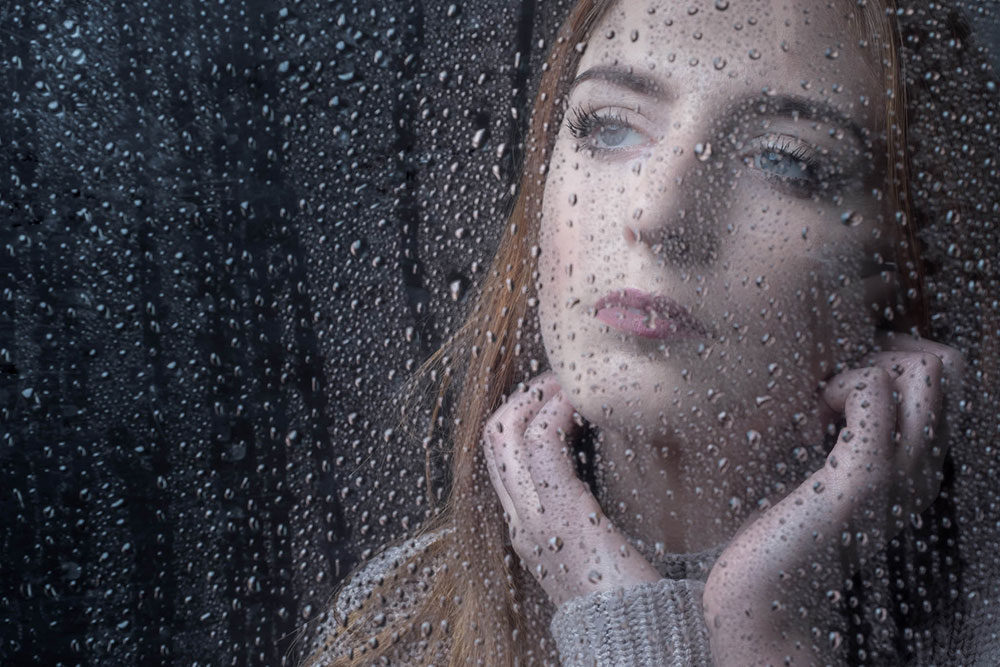
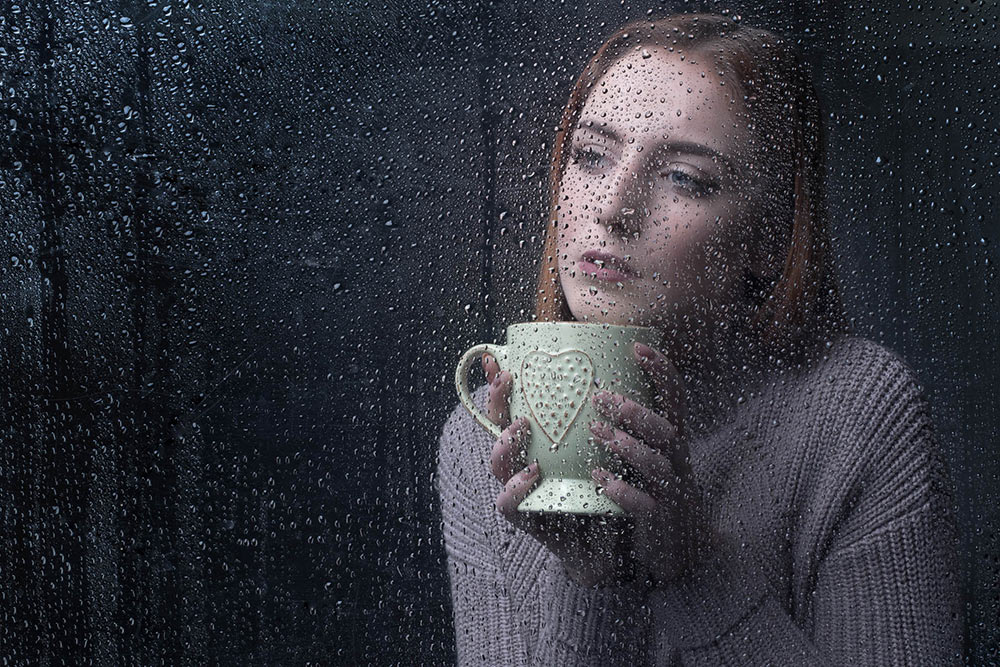
Rainy Portraits in the Studio

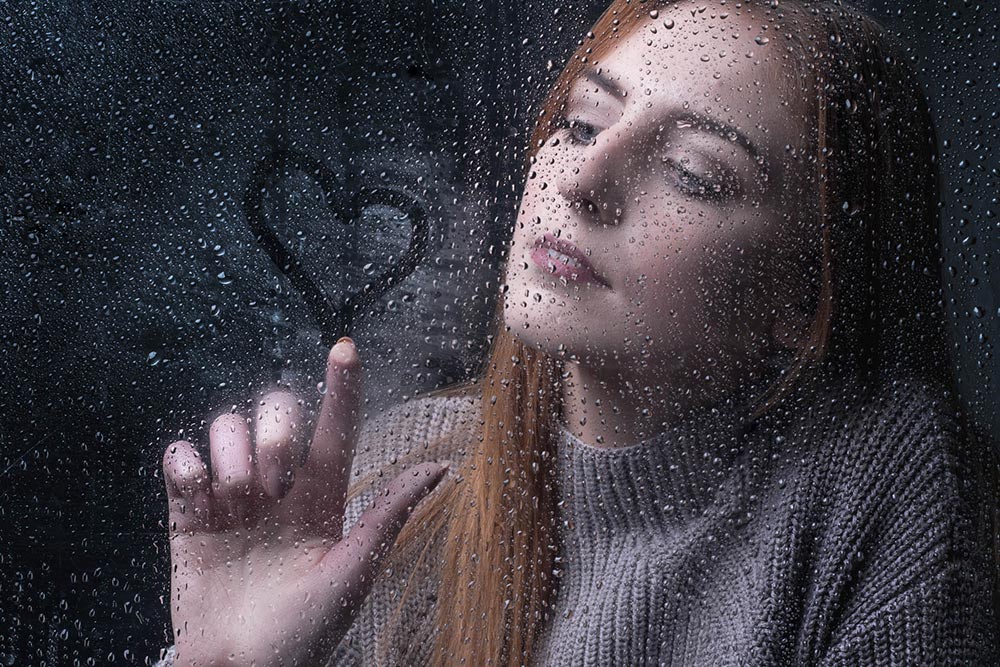
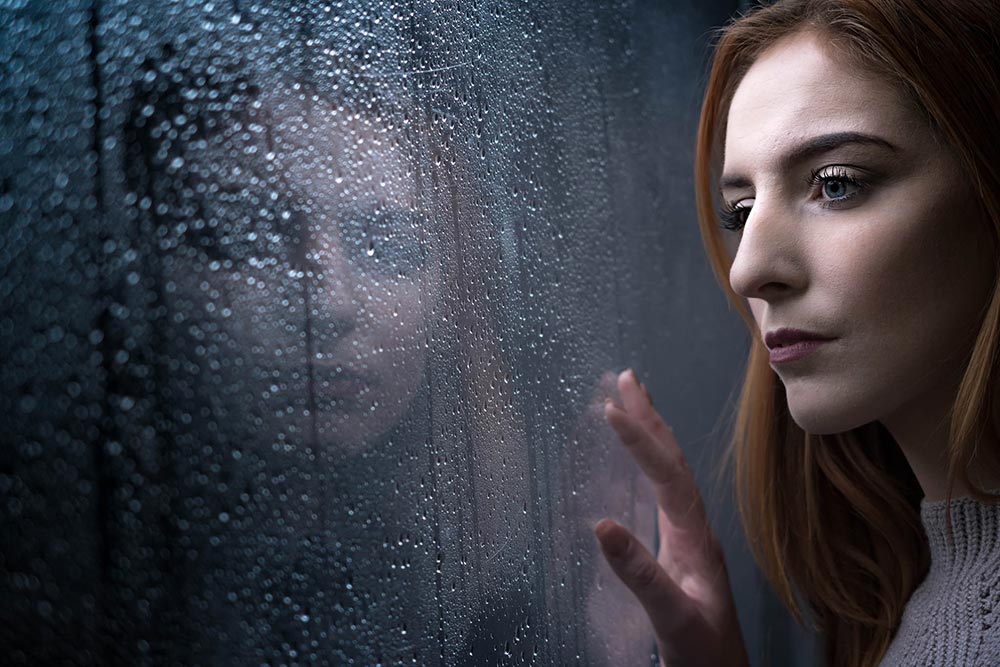
Rainy days aren’t always the easiest days to get great photos for a whole bunch of reasons but with a bit of effort and a lot of luck, you can get amazing photos.

However if getting wet isn’t your thing, it’s surprisingly simple to bring the rainy weather inside and under your control.

In the video below I’ll show you how you can create a rainy day window portrait using a couple of flashes and some simple props.

[youtube]https://www.youtube.com/watch?v=L4USUxcL49A[/youtube]

The main thing you’ll need is a “window” and although you could use a real one I opted for a sheet of clear Perspex (also called Plexiglas or clear Acrylic). I’ve had my sheet for many years and it’s very scratched but still serviceable. www.wickes.co.uk/Wickes-Durable-Acrylic-Sheet-90cmx1-8m/p/210002

The video has two ways of using the “window”, shooting looking from the outside in and shooting from the inside, out. Both have their own unique feel and if you’re set for one, doing the other is quick and easy.

If you tried the technique yourself, do leave me a comment below and share your photo if it’s online somewhere.

It’s always a pleasure to have Beth Smith model for me. Check out her portfolio at https://purpleport.com/portfolio/bethsmithmodel/

Getting Creative With Colored Gels

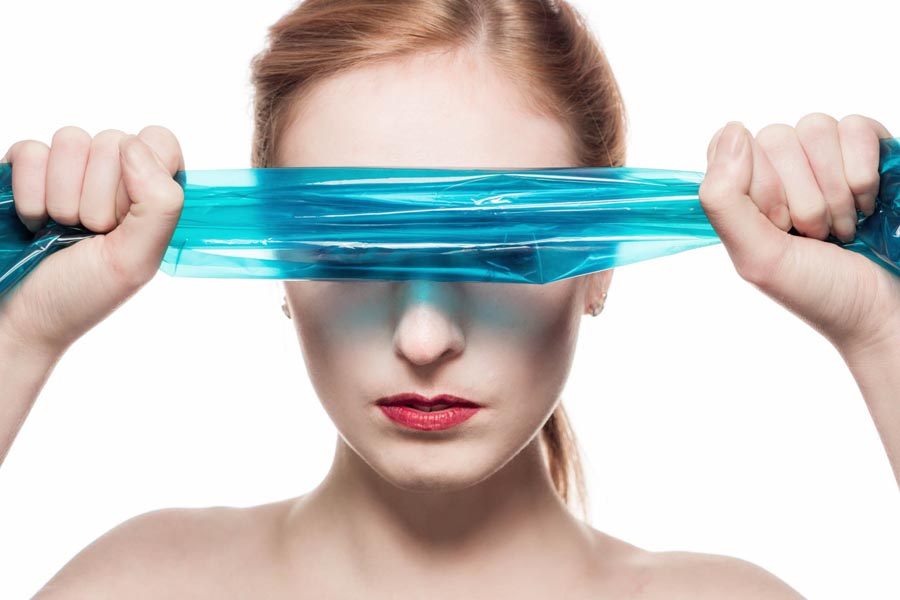
Coloured gels are one of the “must have” light modifiers in my studio. They don’t adjust the shape of the light but they modify it’s colour and with a bit of know how you can get some amazingly colourful effects.

The gels I usually attach to my lights are always the heat resistant type, flashes produce loads of heat at higher powers. However if the gel is away from the light then I also have 70cm rolls of coloured cellophane which I get from my local florist and craft store.

Fun as gels are, why limit their use to altering the colour of light? In the video below I’ve got some creative alternatives uses for gels.

[youtube]https://www.youtube.com/watch?v=tkG62J2tSBc&[/youtube]

As always working with a great model makes the world of difference and Beth did a great job here https://purpleport.com/portfolio/bethsmithmodel/ Similarly close head shots need great make-up and I have to thank Kate for this https://purpleport.com/portfolio/katechalkleymakeup/