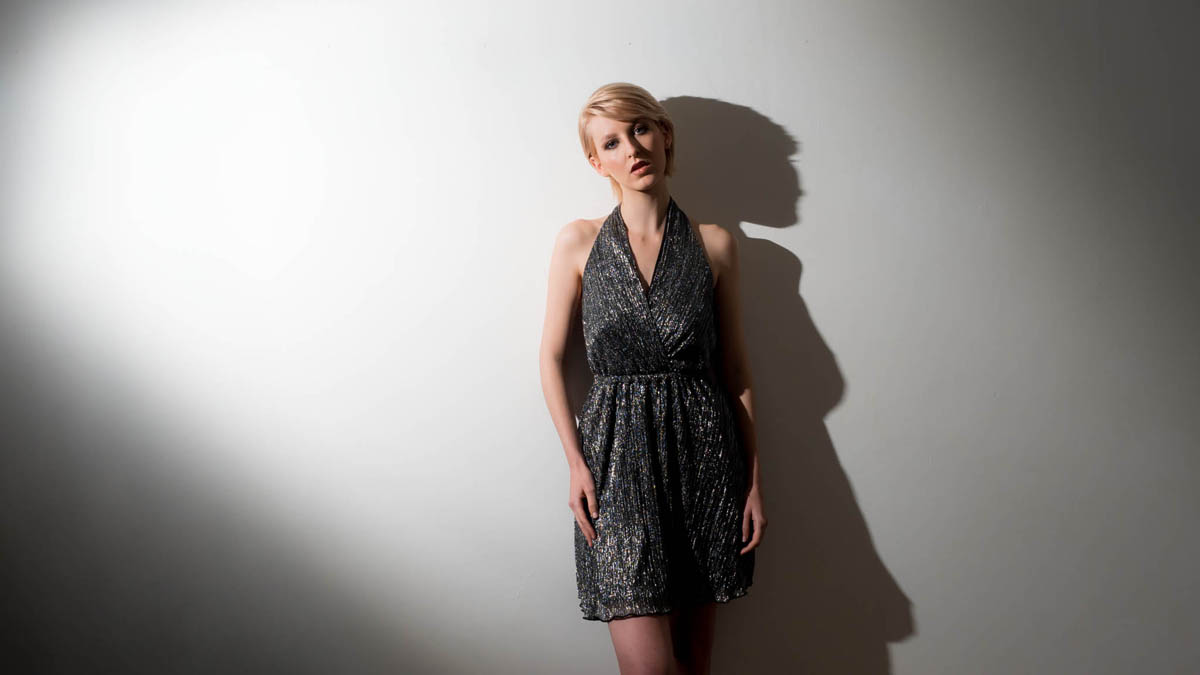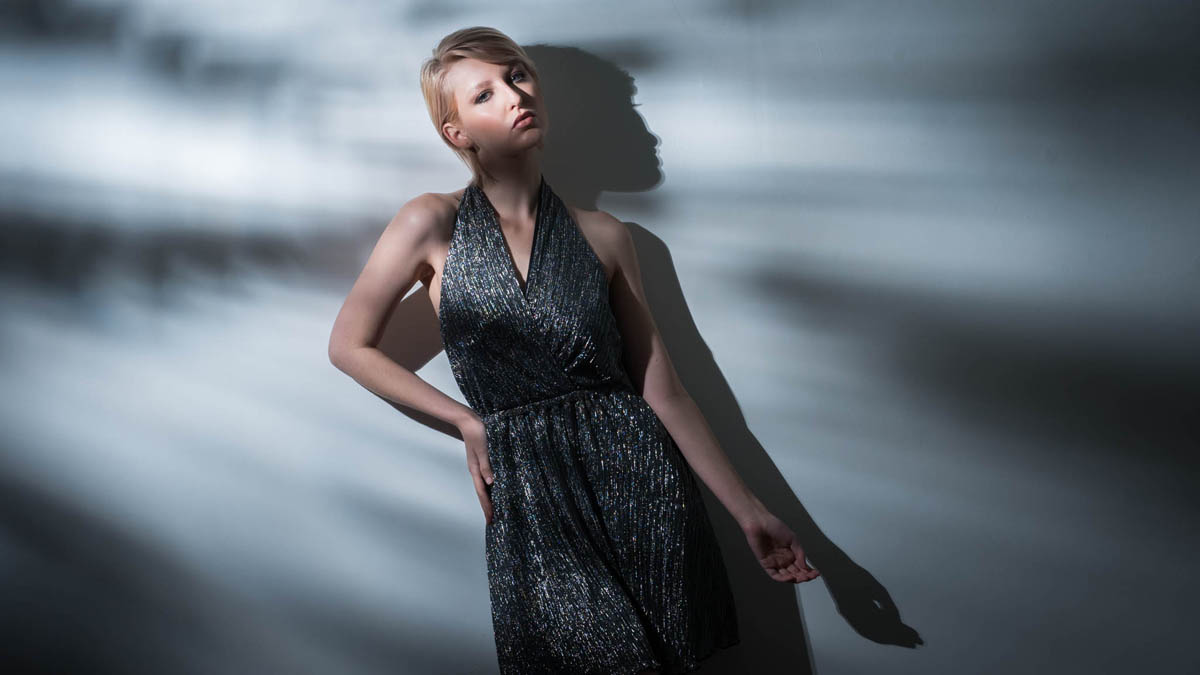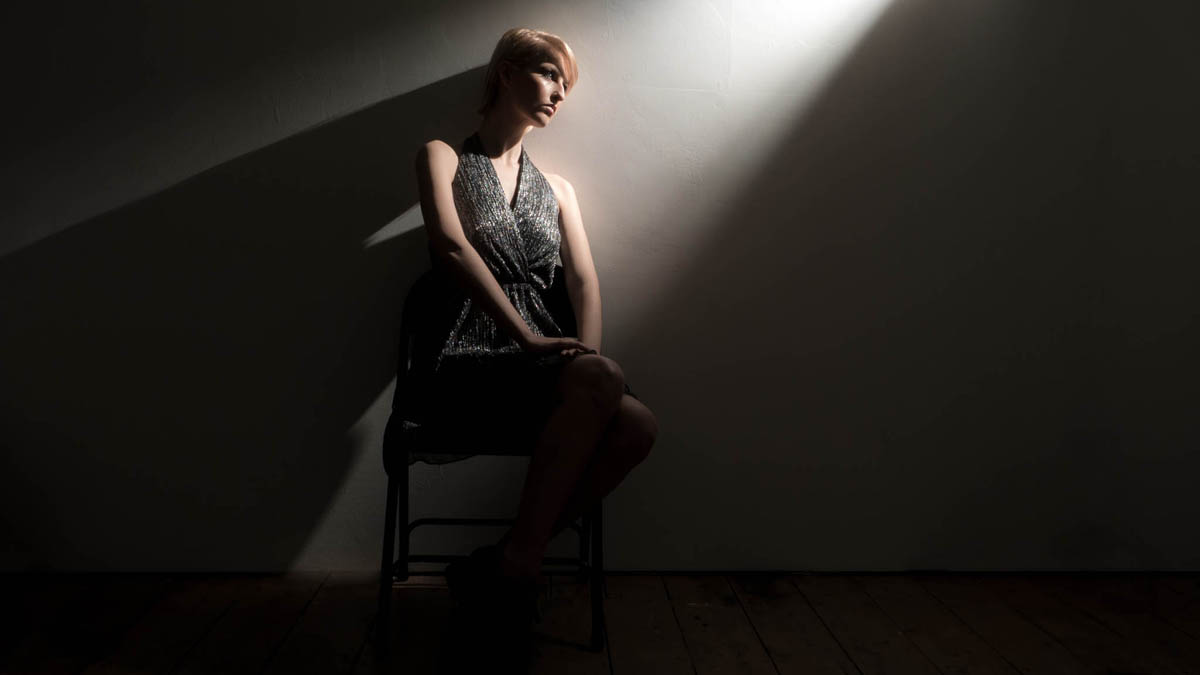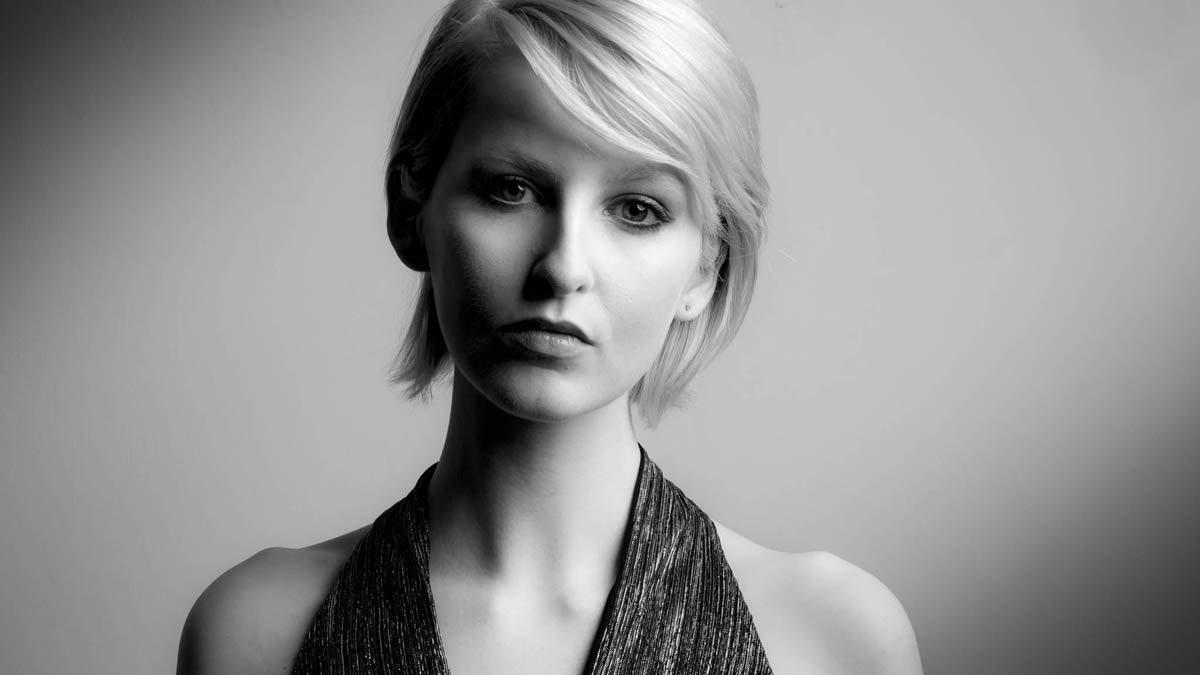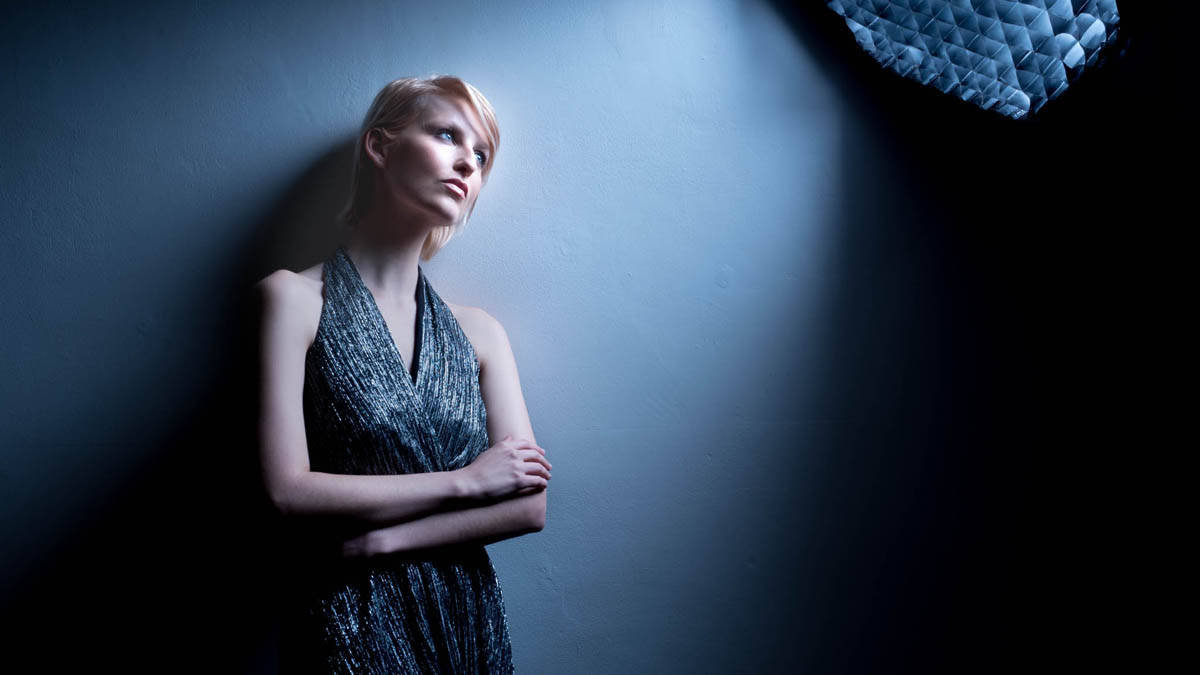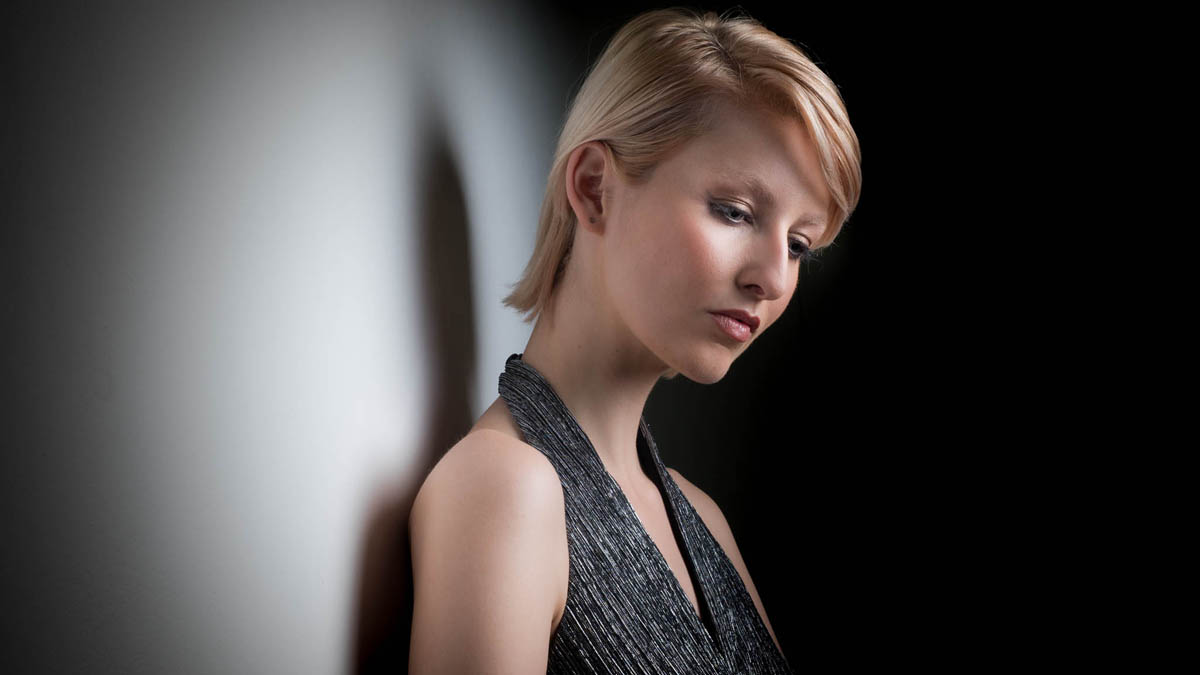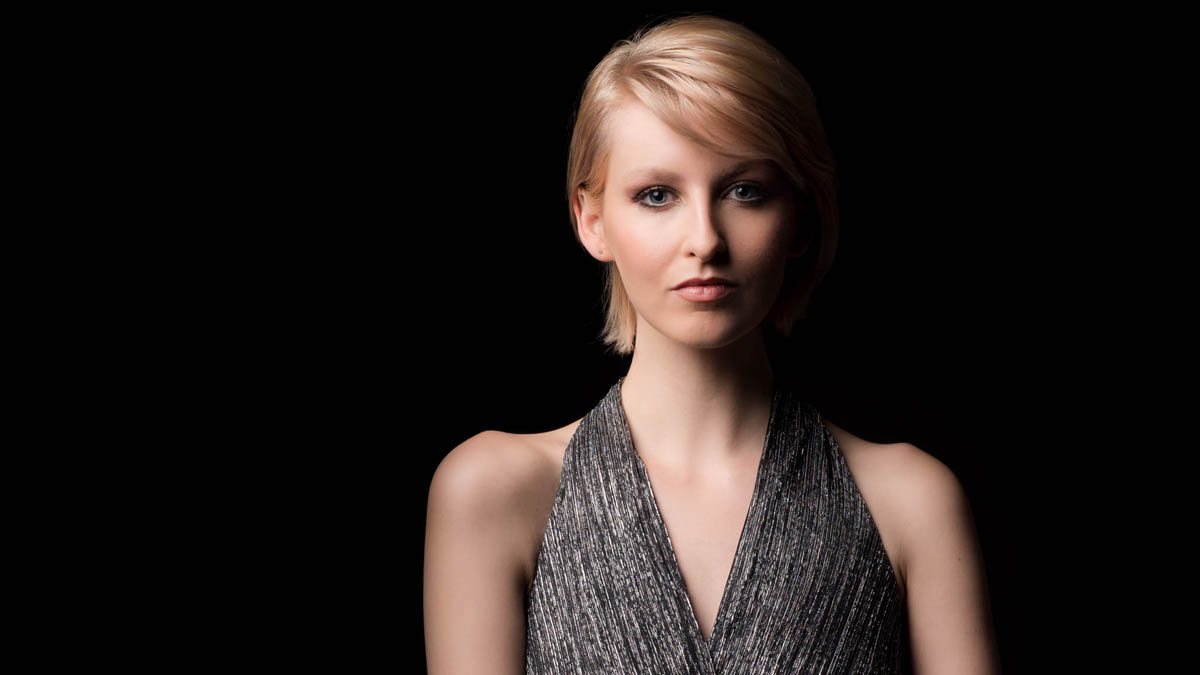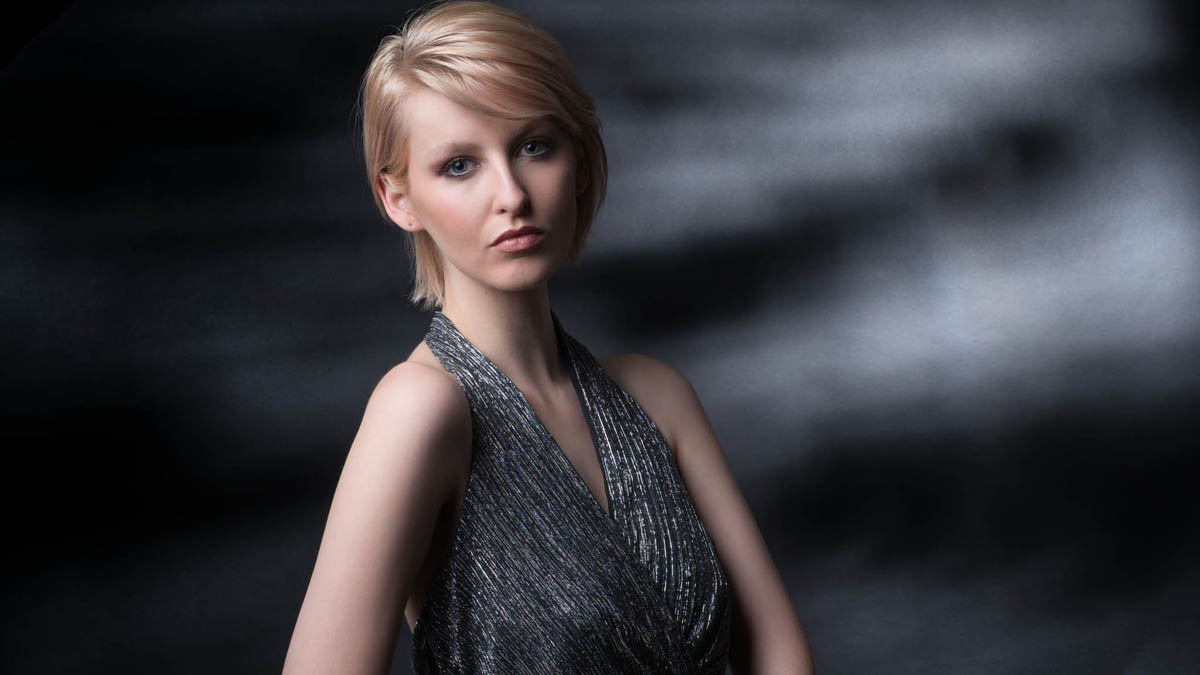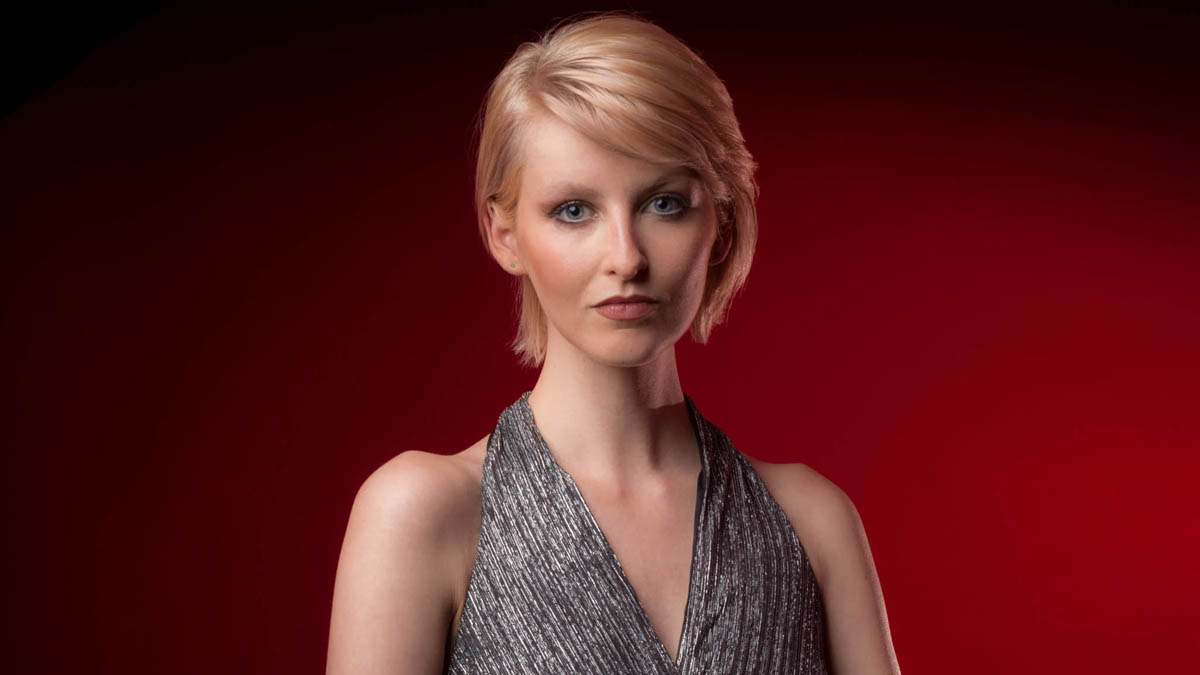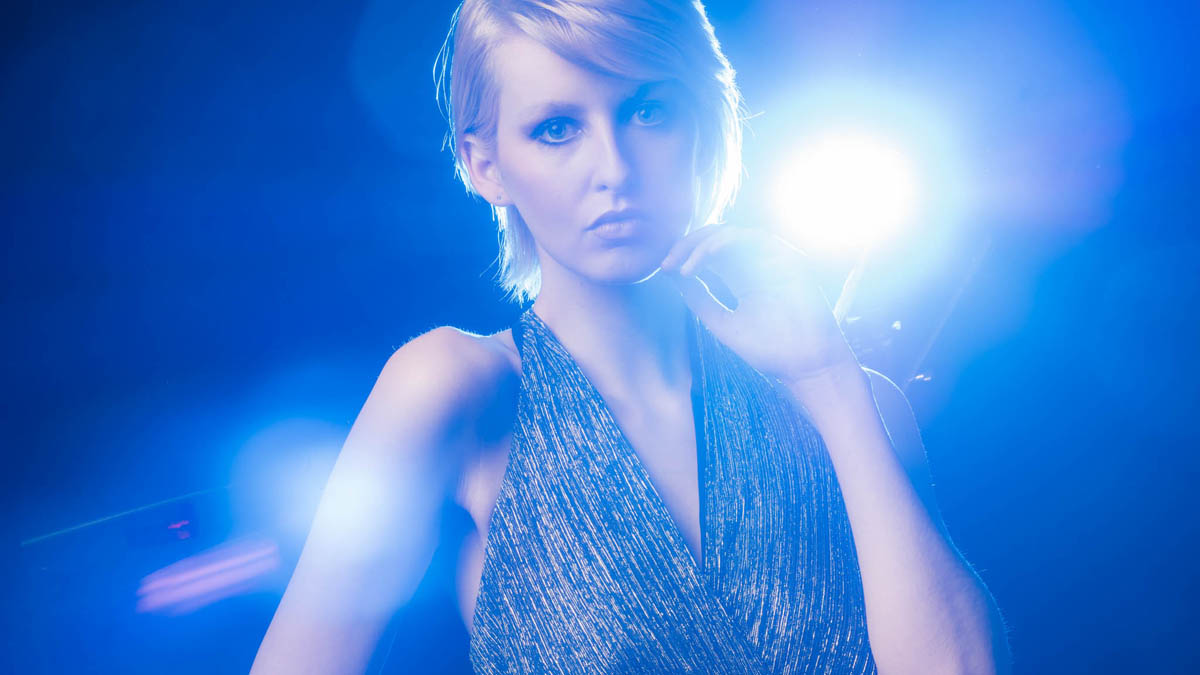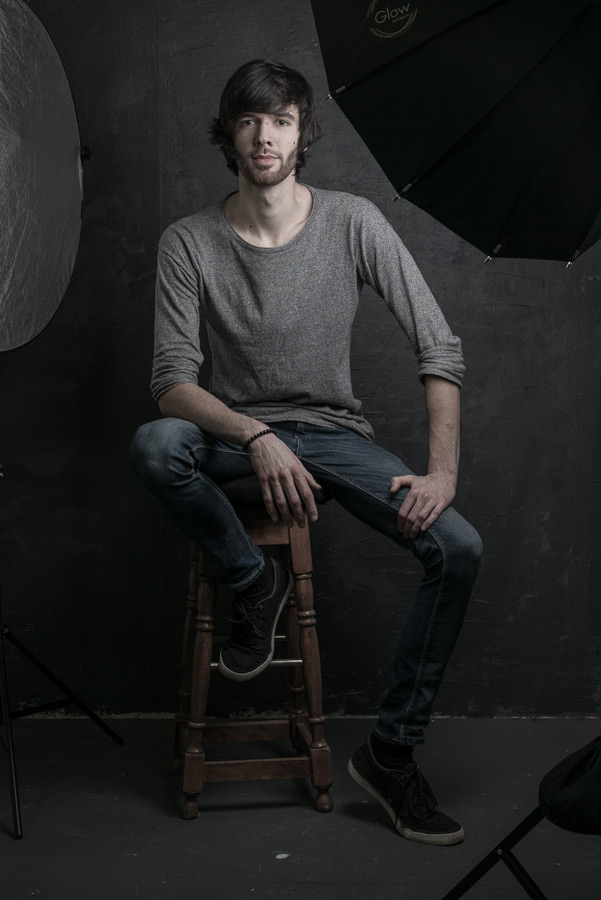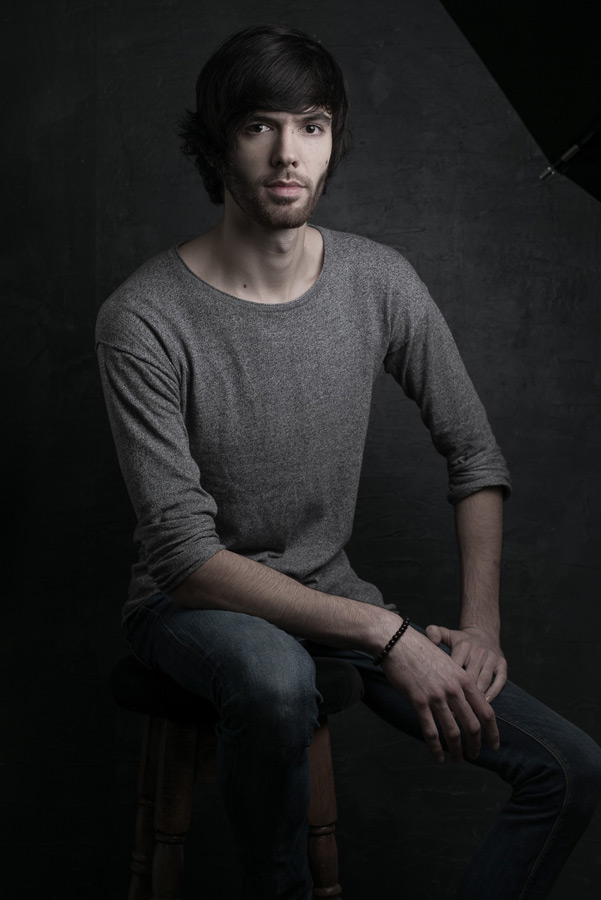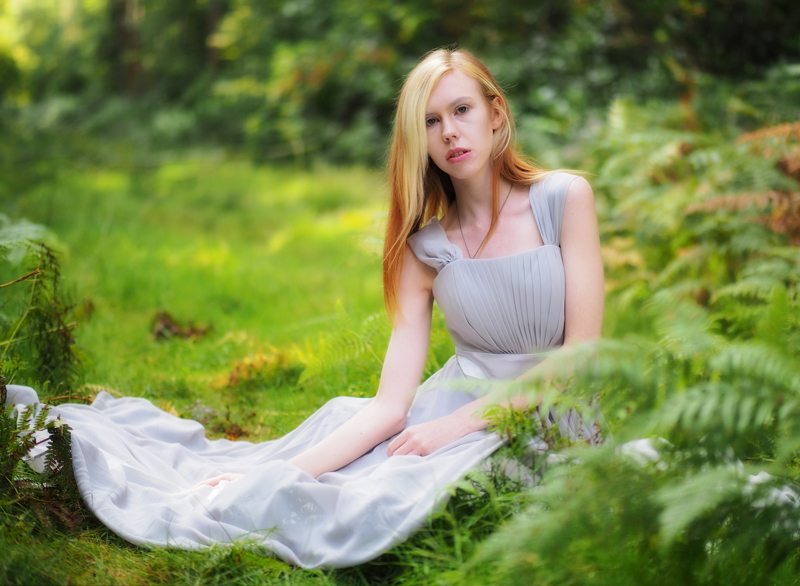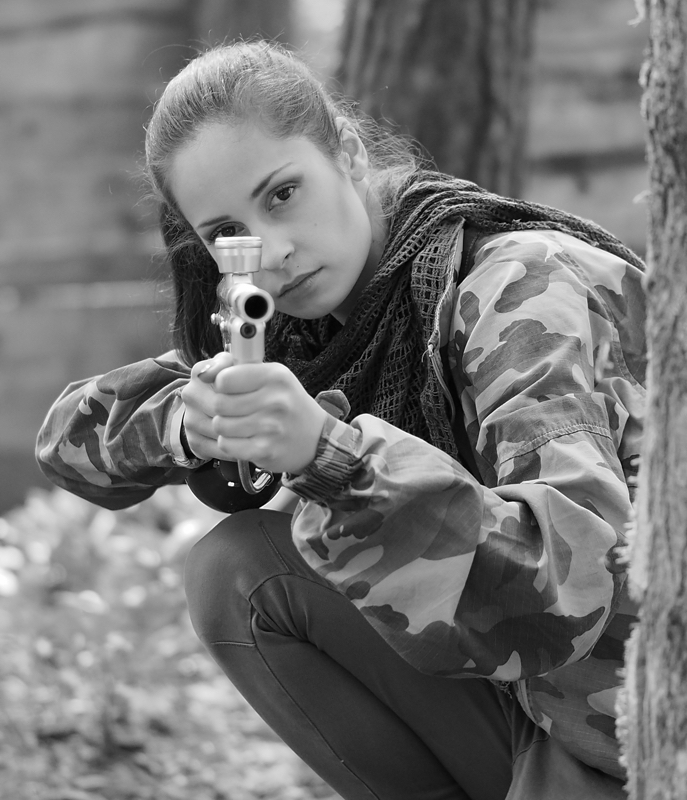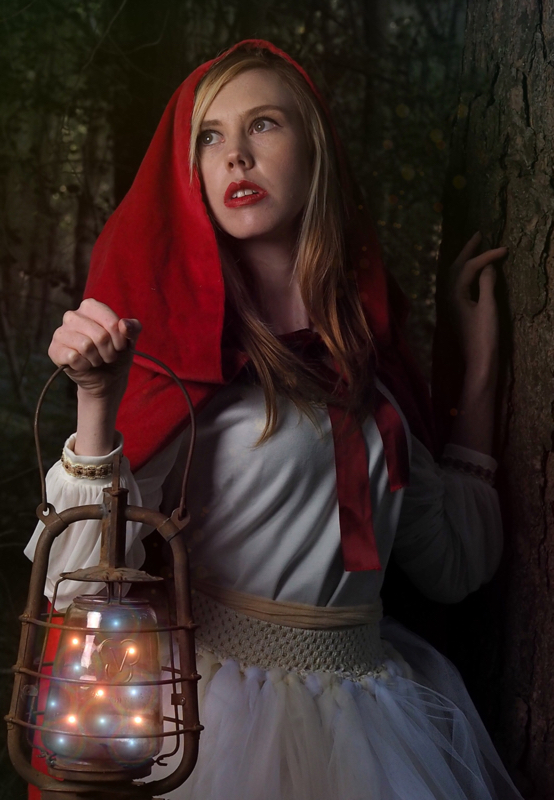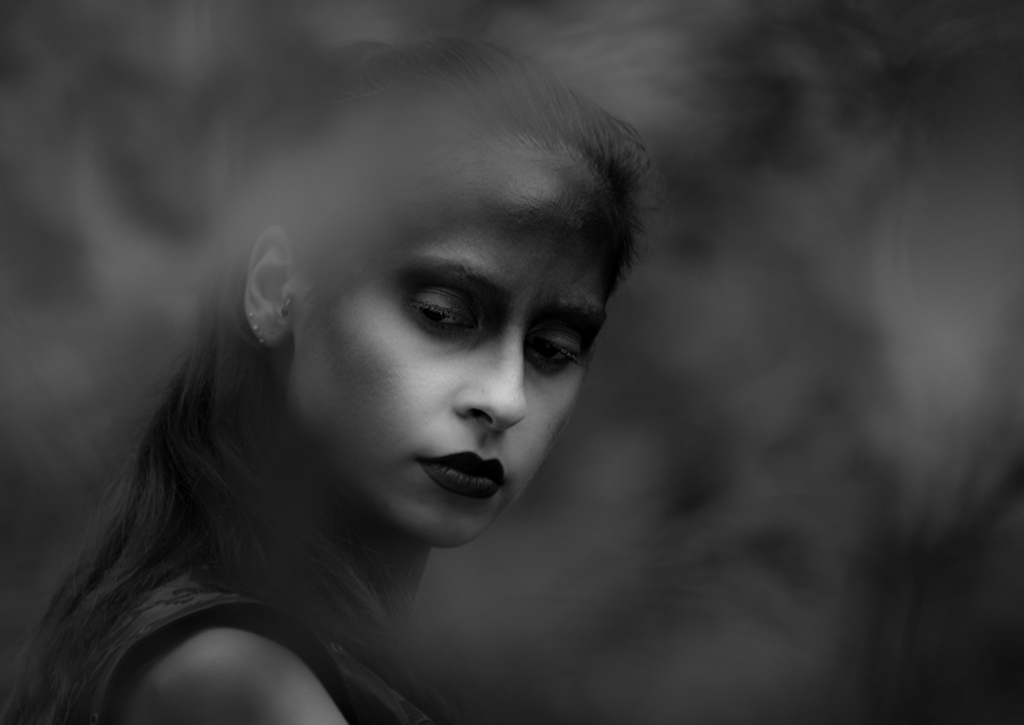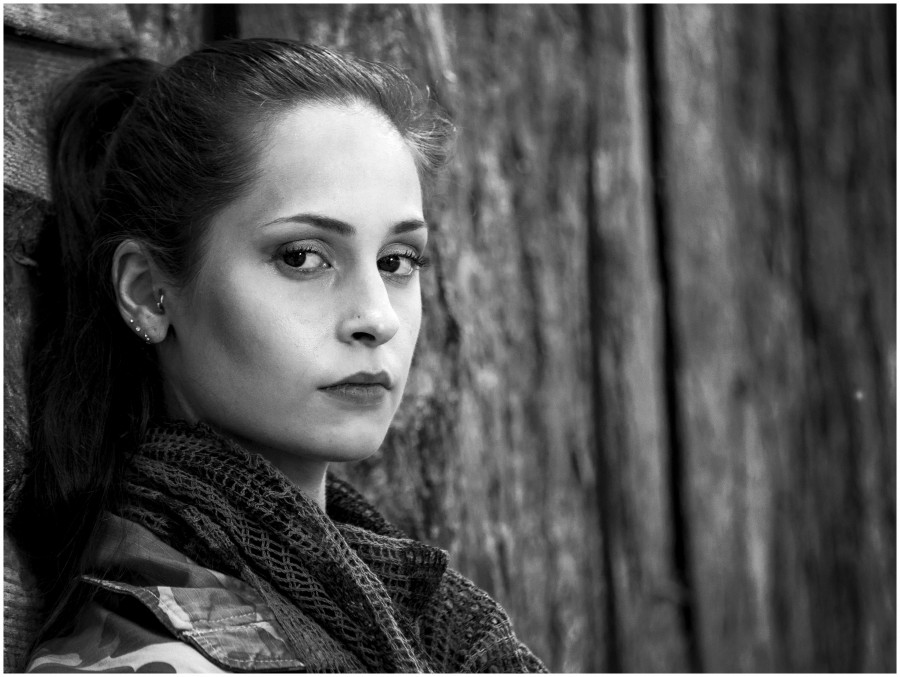
Four looks, one grey background

Sometime back I made a textured wall for my studio which I love but the most important thing about it is the colour. If you can only choose one background for your small studio then for me it’s always going to be grey. Why? Because with a little bit of lateral thinking and lighting knowhow a grey background can be black, white, coloured or grey (obviously).

[youtube]https://www.youtube.com/watch?v=PIoWwx-elCE[/youtube]

Grey
This is the easiest to do. If you only have one light get your model as close to the grey background and shoot away. If you want a darker grey simply move the model and the light away from the background. For a lighter grey you’ll need at least one more light. Scroll down to “white” for more info.
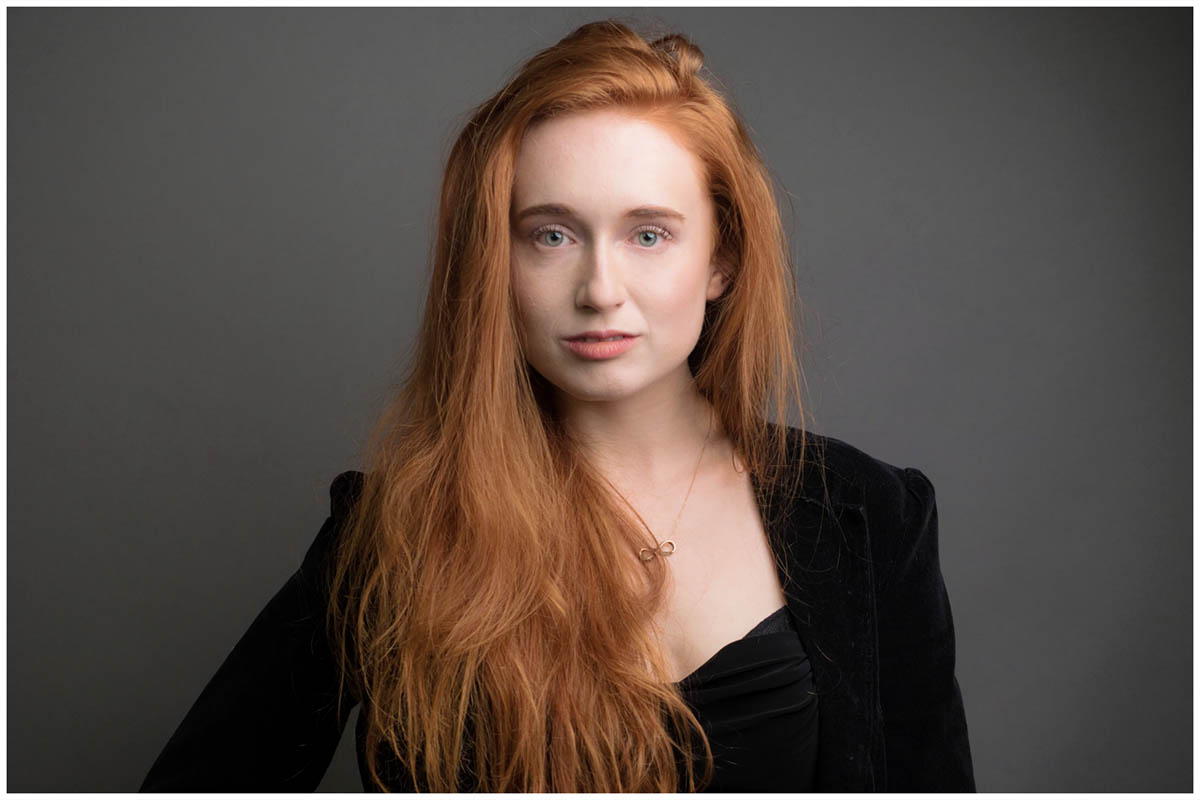
OLYMPUS DIGITAL CAMERA

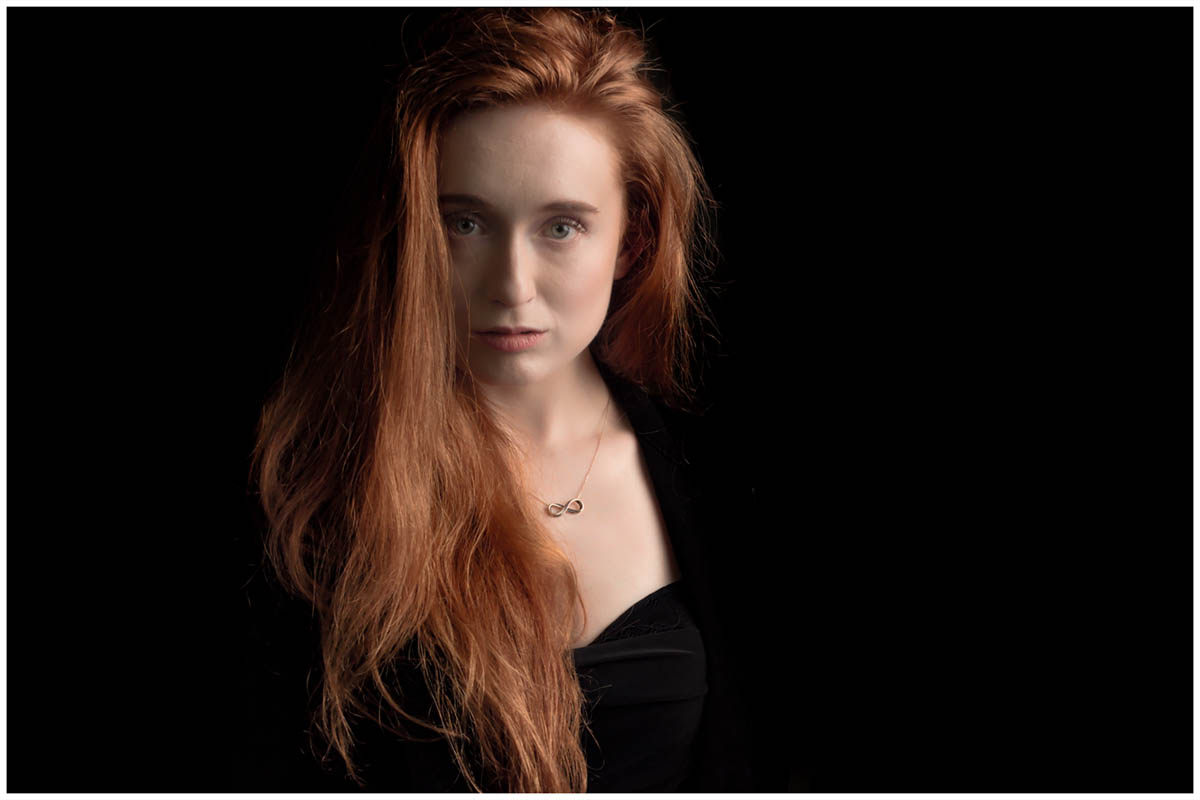
Black
Black is basically a very dark tone of grey so to make the standard grey go black you can do one of two things. Either move the model or light as far from the background as possible or move the light as close to the model as possible. An egg crate grid over the light can be used to reduce light spilling onto the background.
In a small studio the latter way is how I go, it does mean that the softbox ends up in the shot but if you watch the video you’ll see my Photoshop / Lightroom trick to hide it.
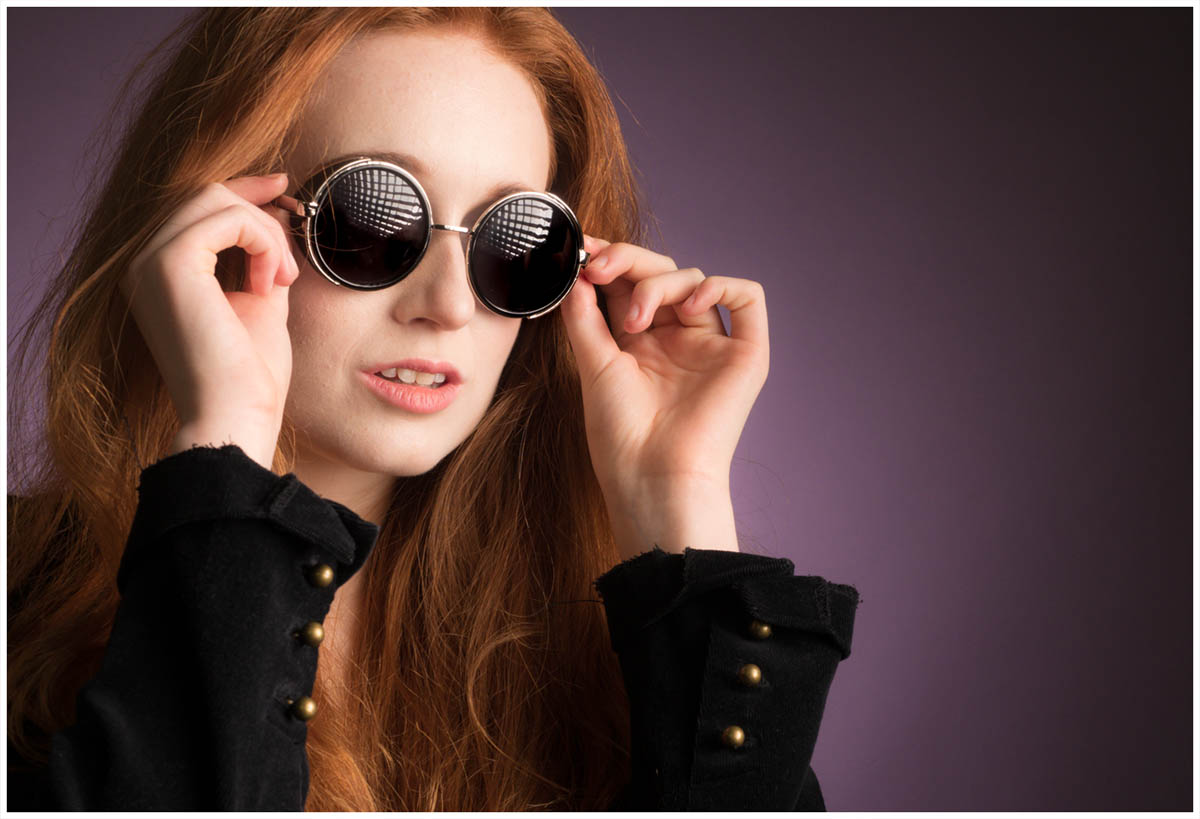
Coloured
For this you’ll need at least one more light. The extra light(s) is placed behind the model and a coloured gel is fitted. The background colour is from the gel but also from the light output. A stronger background light will give brighter colours which can bounce off the background and onto the edges of your model in a small studio. A lower powered light will created a background with darker, richer colours. It’s all about balance and experimentation.
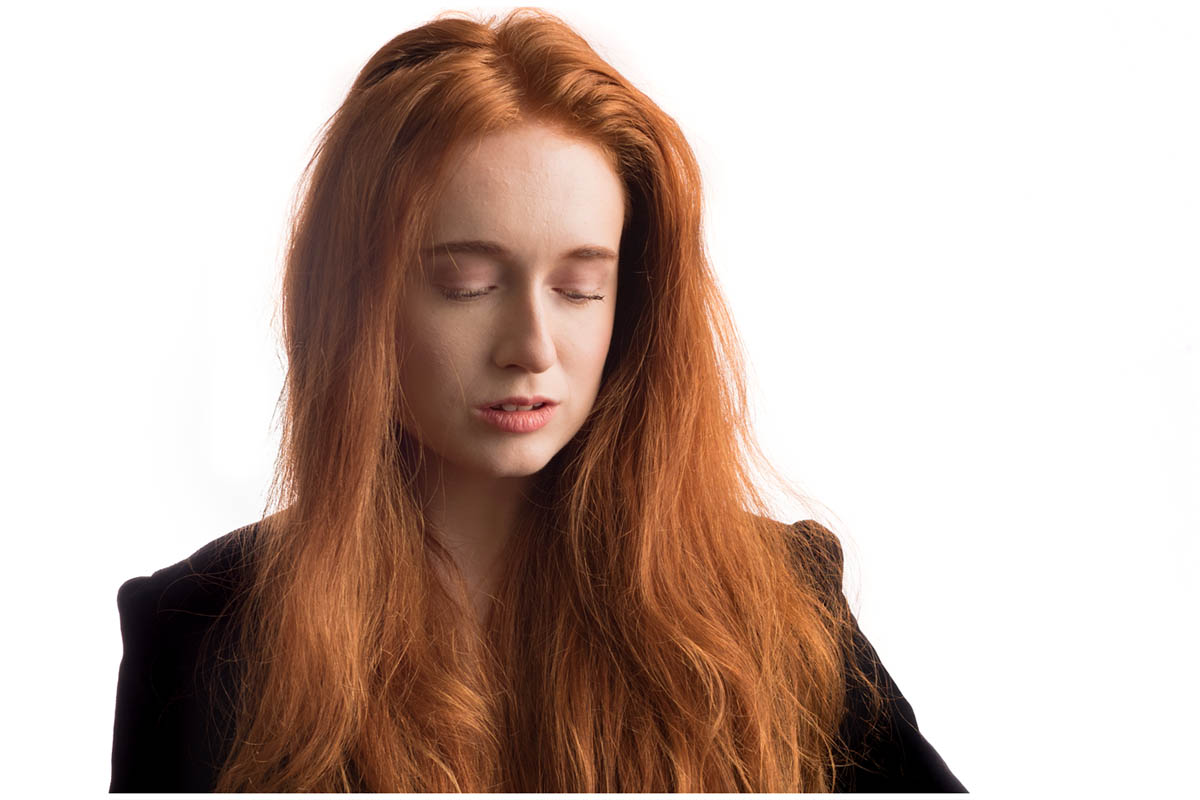
White
This is the toughest to nail. Adding more light onto the background from the rear light makes the background record as a lighter tone of grey. Add enough light and the grey will be white. Add too much light onto the background and you’ll lose detail on the model. You can find out my tips for balancing light to get the perfect white background in this video.
OLYMPUS DIGITAL CAMERA

My 2016 UK Photography Show Schedule

There’s just one week to go until The Photography Show opens its doors at the N.E.C. in Birmingham and this year my free demos are bigger and better then ever. Running from the 19th – 22nd March, it’s easily the UK’s biggest and busiest photography show with 30,000 amateur and professional photographers attending. It’s packed with a great mix of stands from the major photographic suppliers to the small independent retailers.

TPS2016

But this isn’t just another trade show, there’s also loads of things to see and do. There’s a constant stream of free demos and talks on various live stages and that’s on top of all the smaller demos on many of the booths dotted around the show.
I’ll be there for the whole four days giving various talks and demos on Photoshop, portrait lighting and photography. I’ll be dashing from demo to demo (see below) but if you’re coming along it would be great to meet you.

Saturday

11.15 am PiXAPRO E91 Small Space, Big Impact Lighting
12.30 pm Adobe Theatre Photoshop CC Hidden Gems
3.15 pm PiXAPRO E91 One Flash Lighting
4.30pm Olympus E31 Losing A Mirror But Finding Focus

Sunday

11.30 am TPS Live Stage Fearless Flash Photography
12.45 pm PiXAPRO E91 Small Space, Big Impact Lighting
2.00 pm Adobe Theatre Photoshop CC Hidden Gems
3.15  pm PiXAPRO E91 One Flash Lighting
5.00 pm TPS Behind the lens Snap Happiness (Talk)

 Monday

11.00 am Adobe Theatre Photoshop CC Hidden Gems
12.15 pm PiXAPRO E91 Small Space, Big Impact Lighting
2.15 pm PiXAPRO E91 One Flash Lighting
3.30 pm Adobe Theatre Photoshop CC for Photographers
5.30 pm TPS Networking Event Mega Mess Ups! (Talk)

 Tuesday

11:00 am Adobe theatre Photoshop CC Hidden Gems
12.15 pm PiXAPRO E91 Small Space, Big Impact Lighting
2.15 pm PiXAPRO E91 One Flash Lighting
3.30 pm Adobe Theatre Photoshop CC for Photographers

All my demos are free and available on a first come first served basis. There’s no need to book but as the Adobe theatre in particular has limited seating I’d recommend getting there early!

Show tickets are free for professional photographers and the trade (if booked in advance) and £13.95 for enthusiasts (£18.00 on the door)

Fashion Photography Workshop Wrap-up

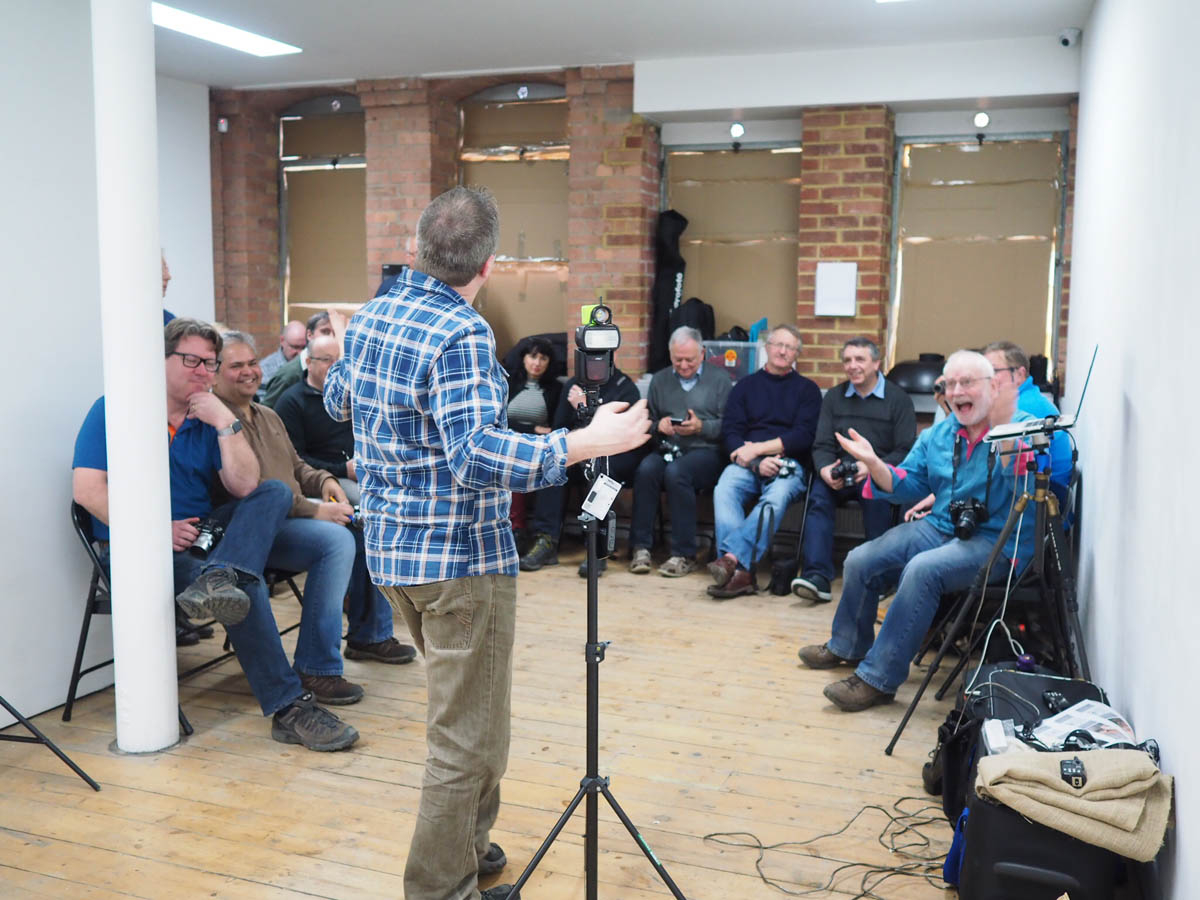
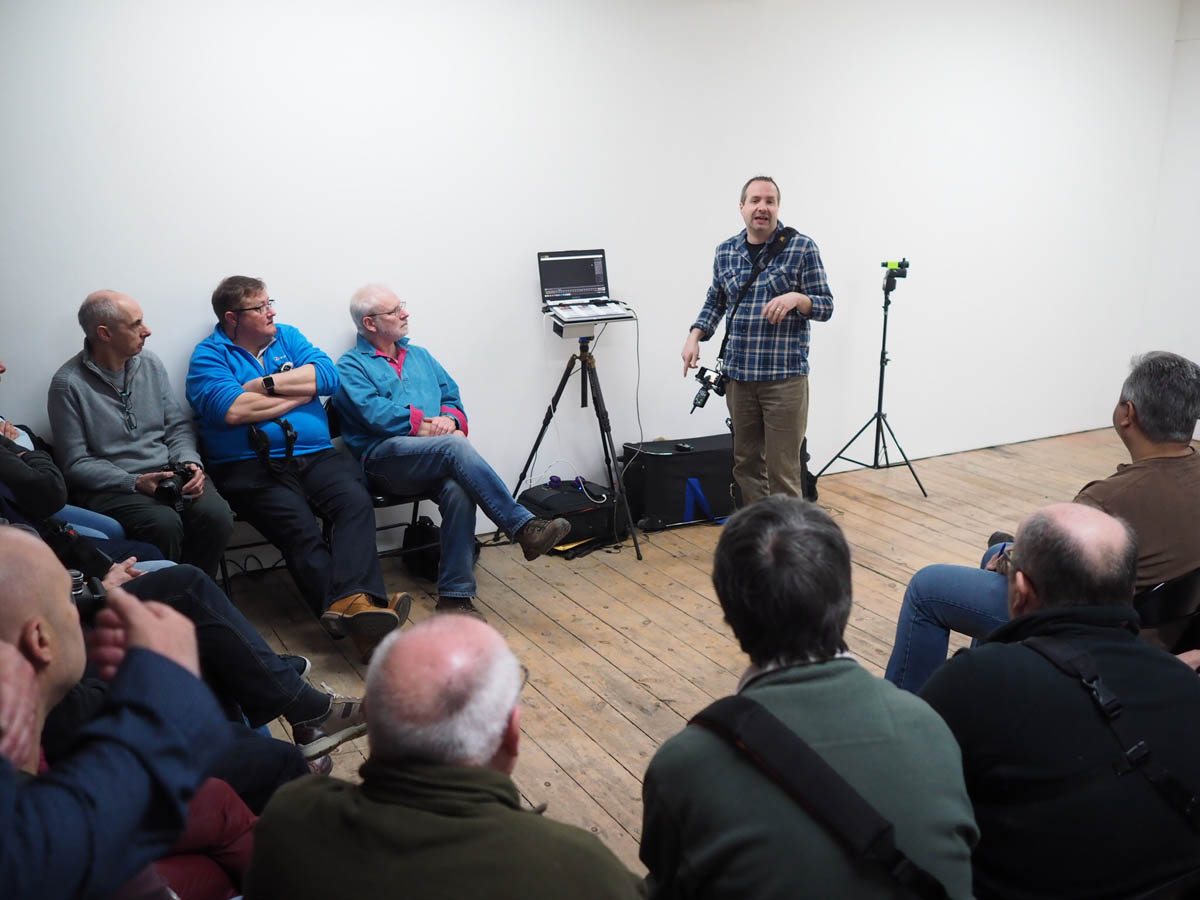
Last Sunday I was in London with a great bunch of photographers. I’d been asked to be part of a workshop organised by my friend Robert Pugh and hosted by Olympus UK at their Art Bermondsey Project Space.

The day was themed around fashion photography with Rob running through a fashion set up with Profoto studio lights in the afternoon and me covering as many lighting tips and tricks as I could fit into the morning. Rob had secured the services or Amber Tutton as our model for the day, make-up was in the expert hands of Michelle Court and the clothes were supplied by Rob’s contacts in the fashion world… or so he told me 🙂

I kicked off the session with a single PIXAPRO speedlight in combination with either a MagMod snoot or just random house hold items used as GoBo’s

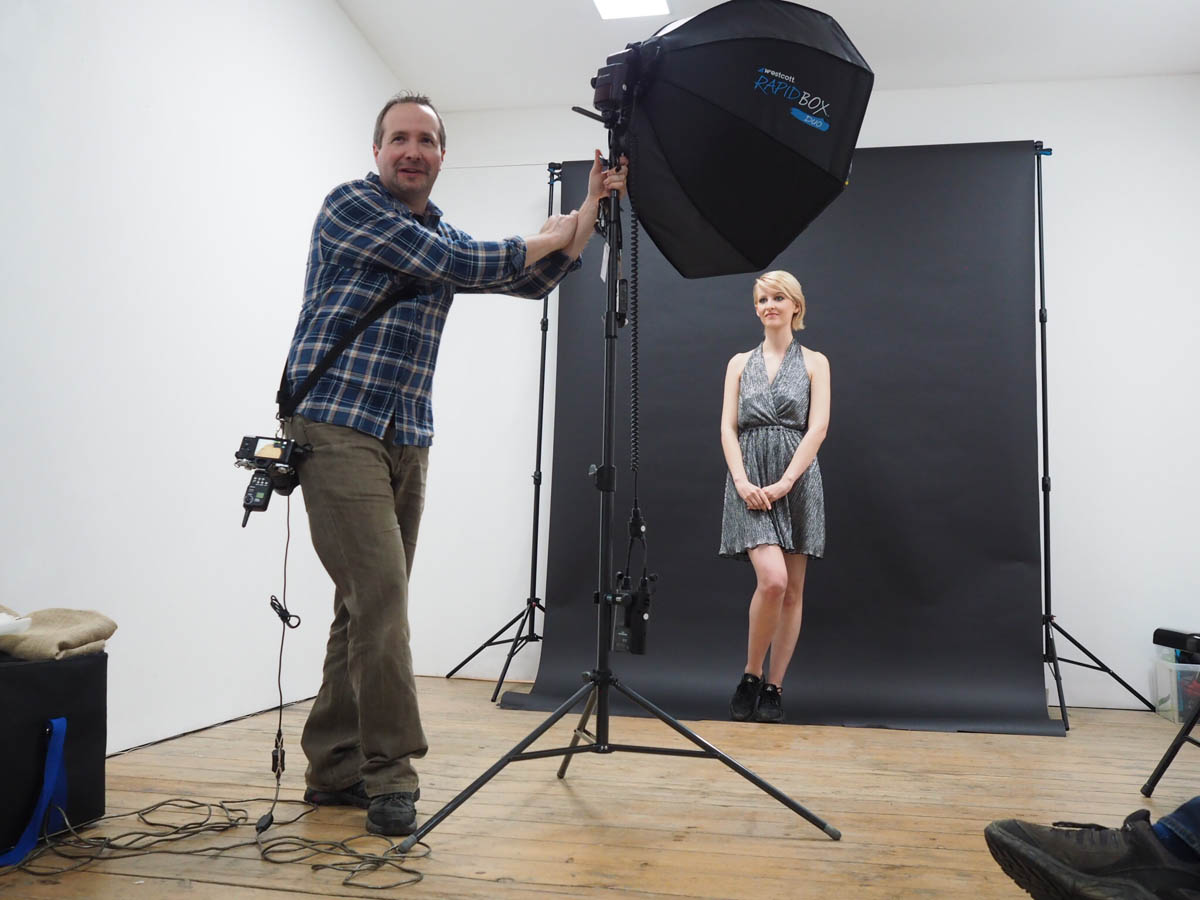
Next I moved on to a more powerful PIXAPRO flash inside a Westcott Rapidbox Duo softbox. Adding a grid to the softbox made controlling the light much easier and gave some great effects.

Finally I moved from the plain white walls of the gallery and on to Robs roll of black paper. The lack of background shadows makes black a great choice but a little uninteresting, that’s where background lights really help and when you throw gels into the mix, things can get really fun.

With my time up, I had one last tip. Learn the rules of photography so you can break them. My last shot did just that by pointing two speedlights right at the camera. The result was hard to predict but great fun.

You can check out Robs photos and write up of the day on his blog. Thanks to Clare Harvey-May for the behind the scenes photos

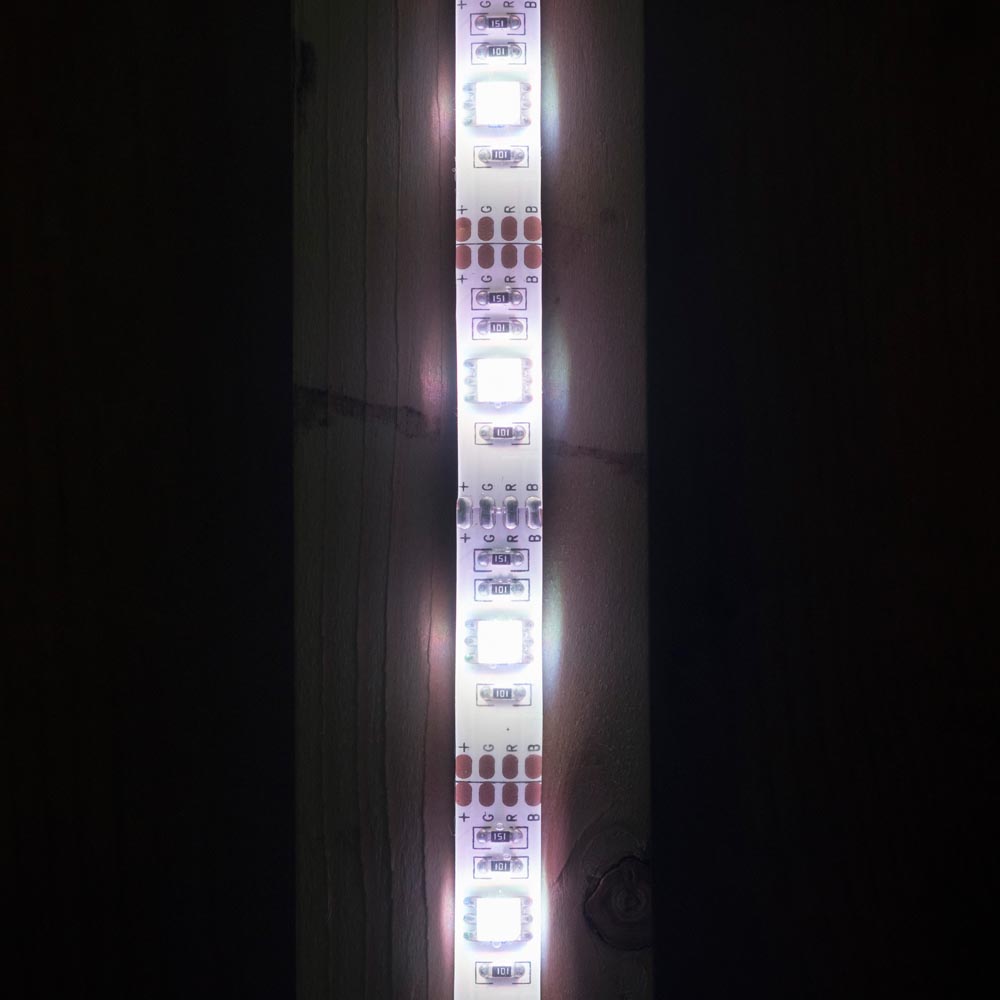
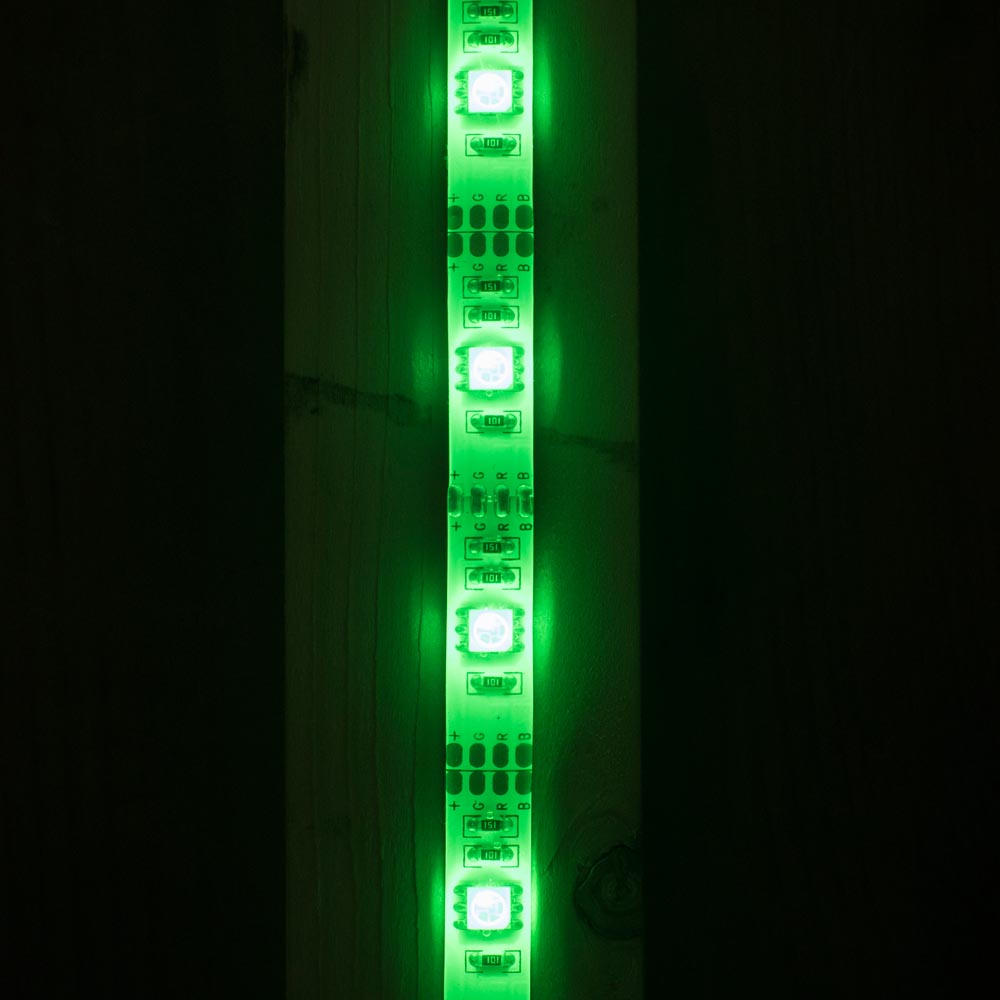
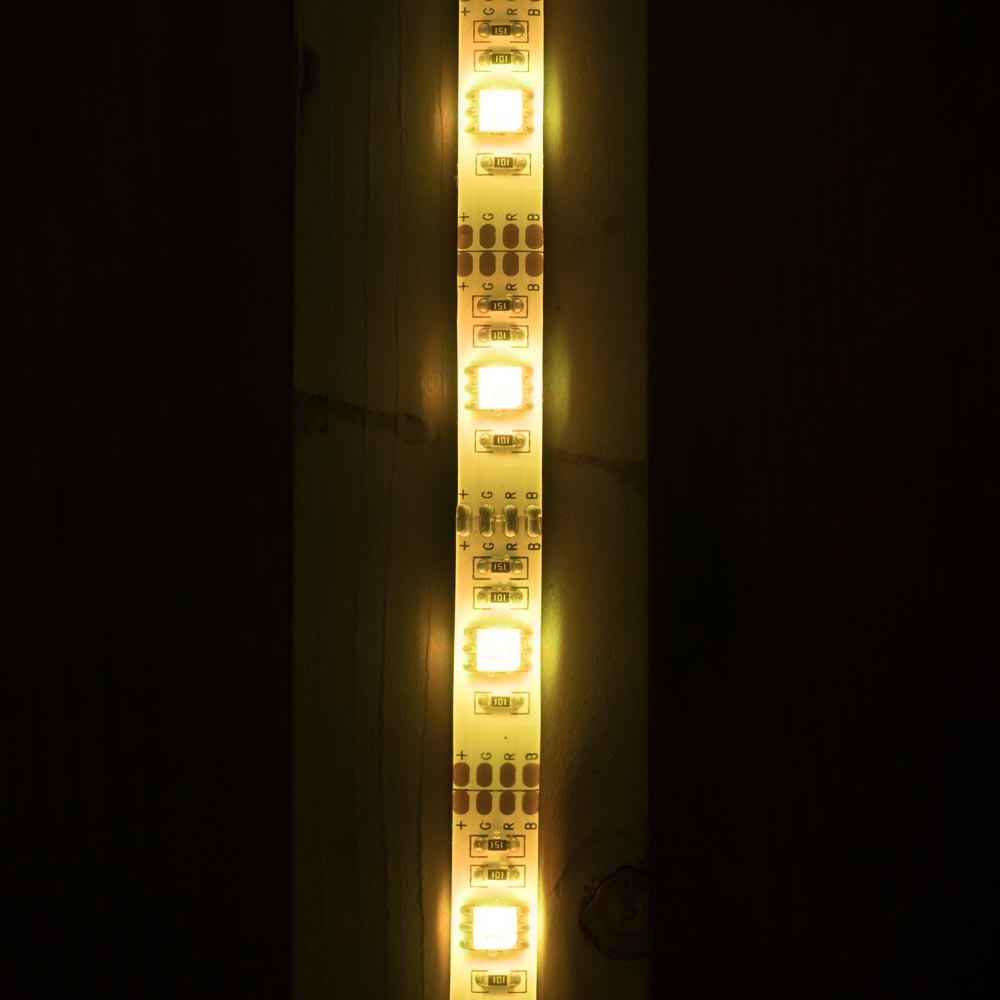
Make a simple LED Background

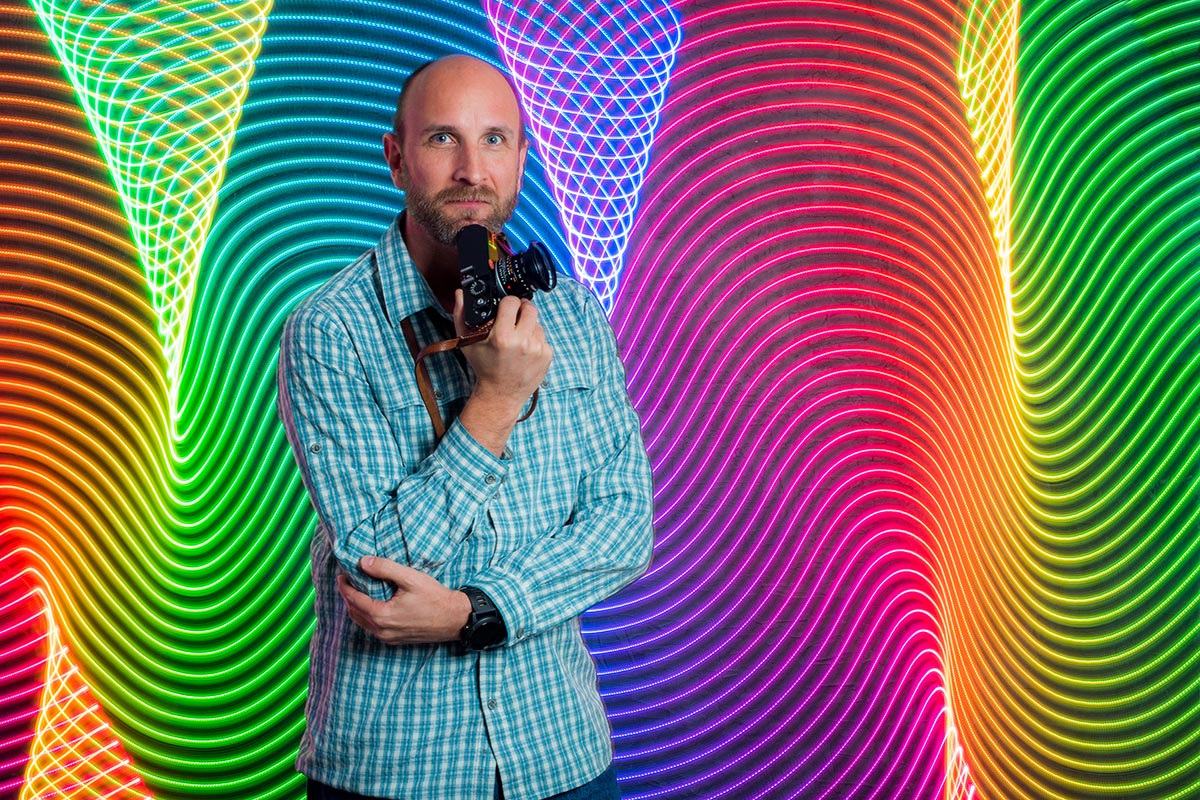
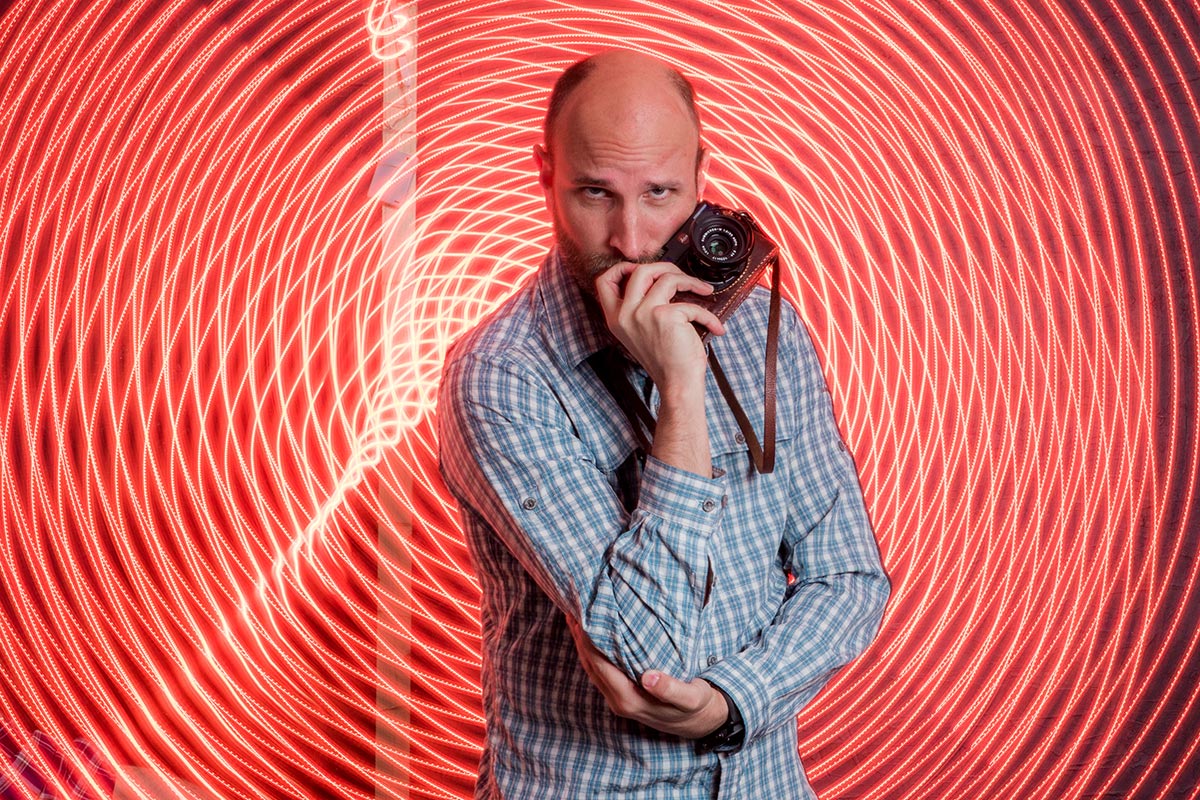
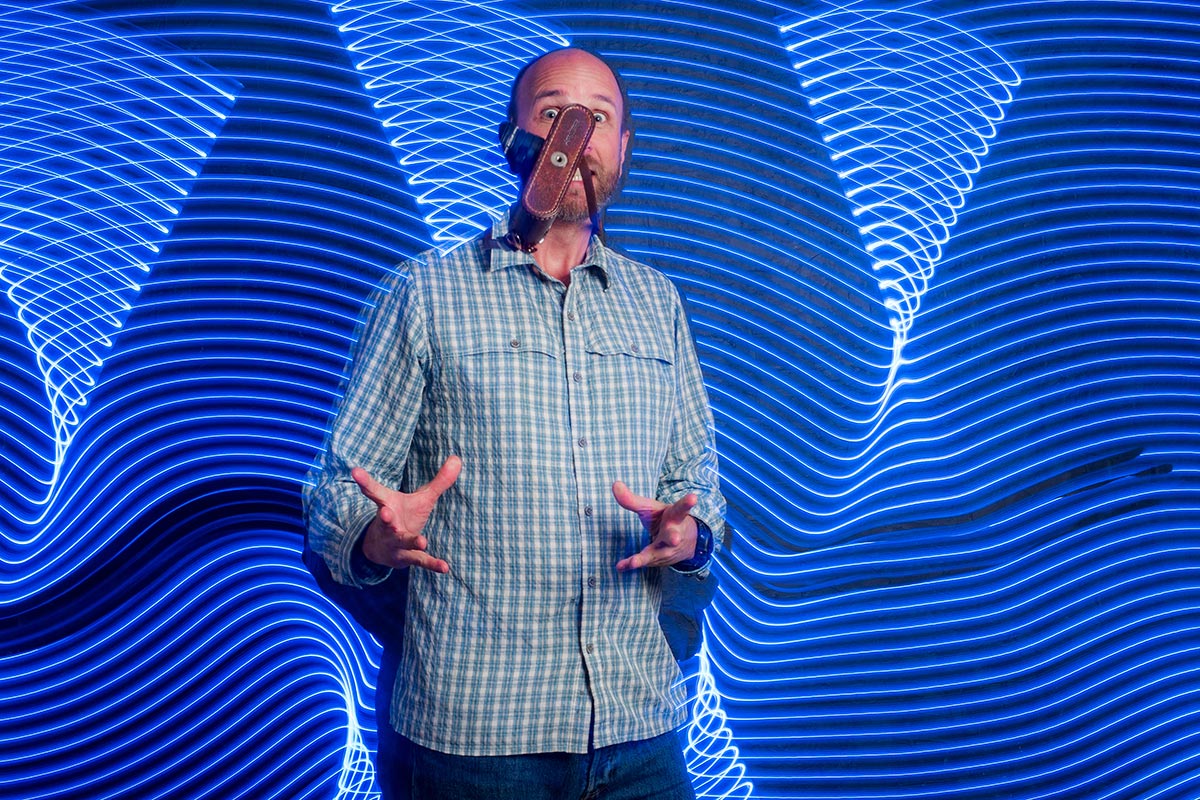
All sorts of random things can be turned into an amazing  portrait background but last year I was shown something called the Pixel Stick which looked amazing. It was a Kickstarter backed project that combined LED’s and long exposures in a way I’ve never seen before. Although the pixelstick was out of my budget the basic idea wasn’t.

My low tech LED stick took just a few minutes to make and worked amazingly. Take a look at the Adorama TV video I made with the spectacular Mark Wallace to see for yourself.

I’ve had loads questions all asking the same thing… How do you make my LED stick?

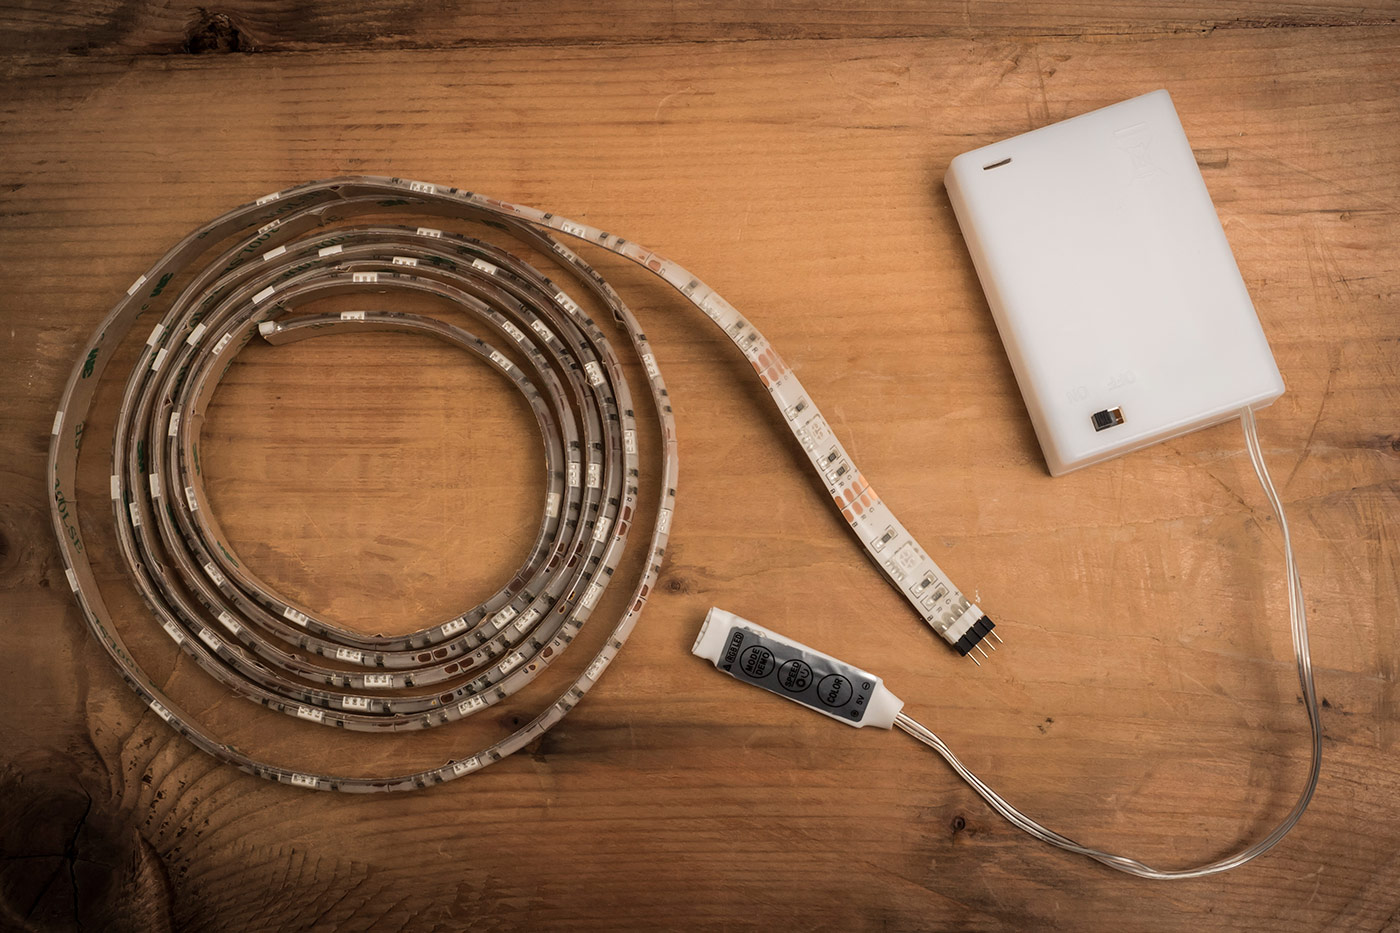
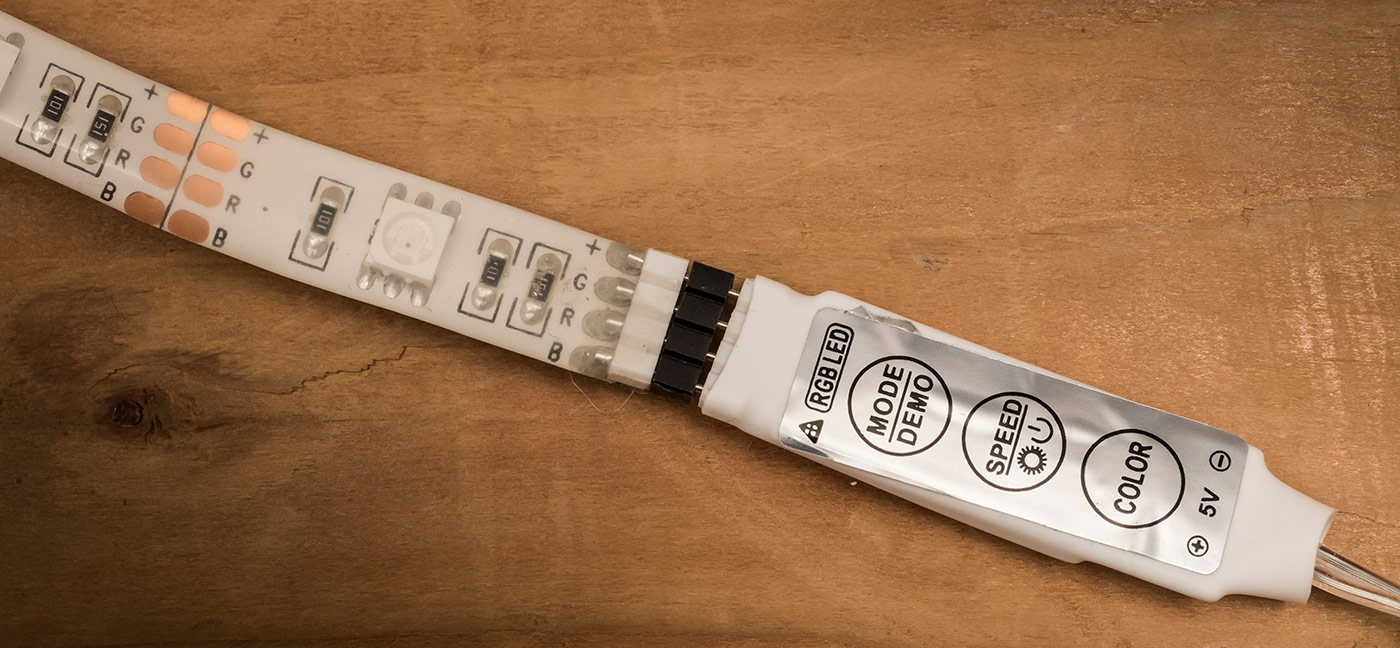
eBay proved to be the perfect place to start my search. There are loads of low cost LED’s on the market and I found a 2 meter roll of multi-coloured LED’s complete with battery box and controller for about £17.00.LED-Setup

Each LED is actually several coloured LED’s clustered together which turn on or adjust their brightness to change the colour. The controller is very basic but allows you to set the colour, brightness and any effects such as flashing or fading through the spectrum.

LED-Setup-2

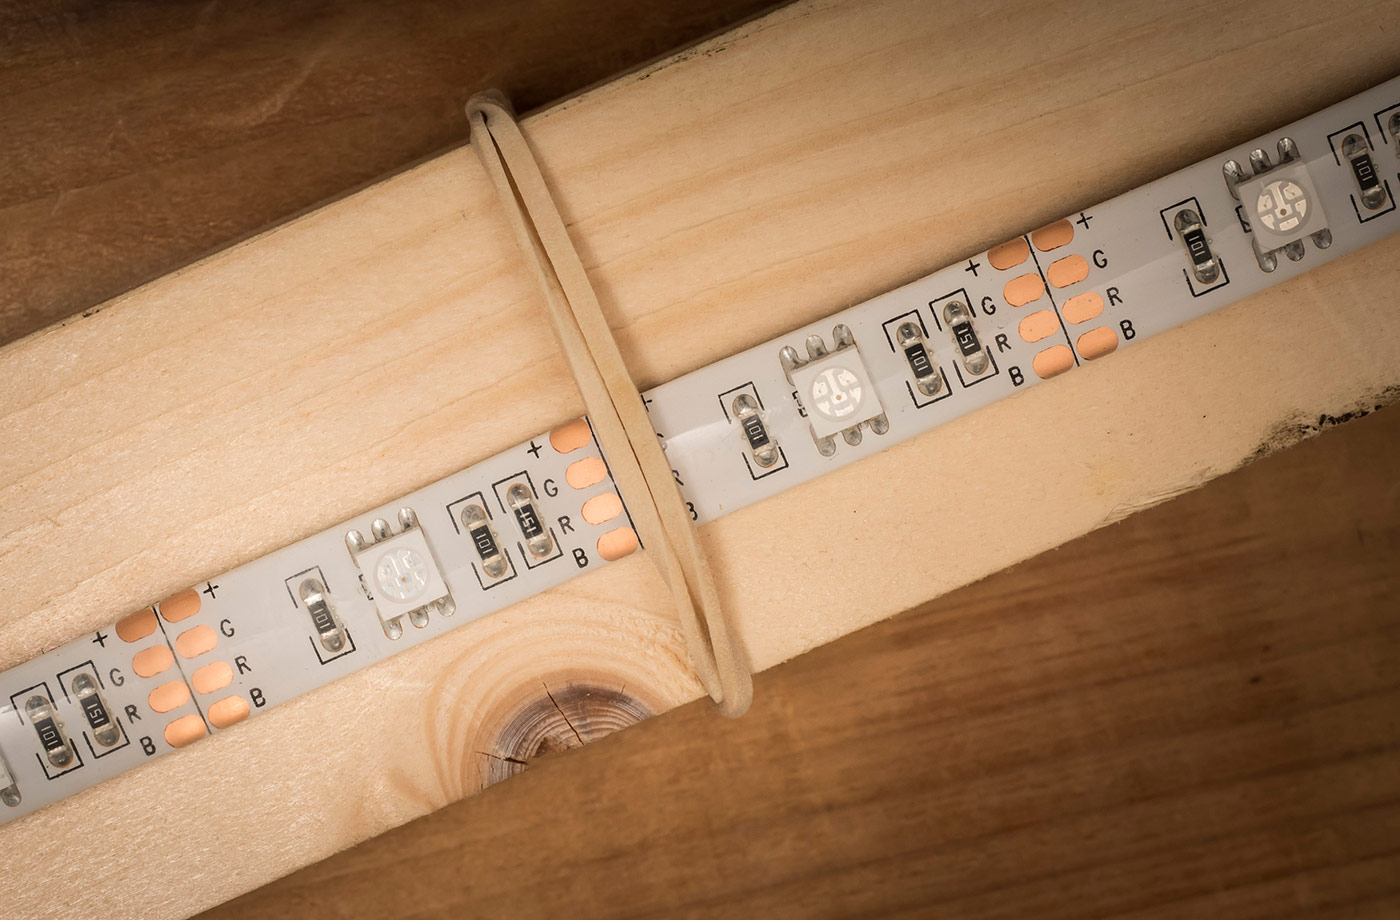
The LED strip is very flexible and sealed inside clear silicone (or something like it), so I found a spare bit of 1.8m timber and attached the LED strip to that. There’s adhesive on the back of the strip but I just used a few rubber bands to hold it place. Just make sure the bands don’t cover the LED’s!

LED-Setup-3

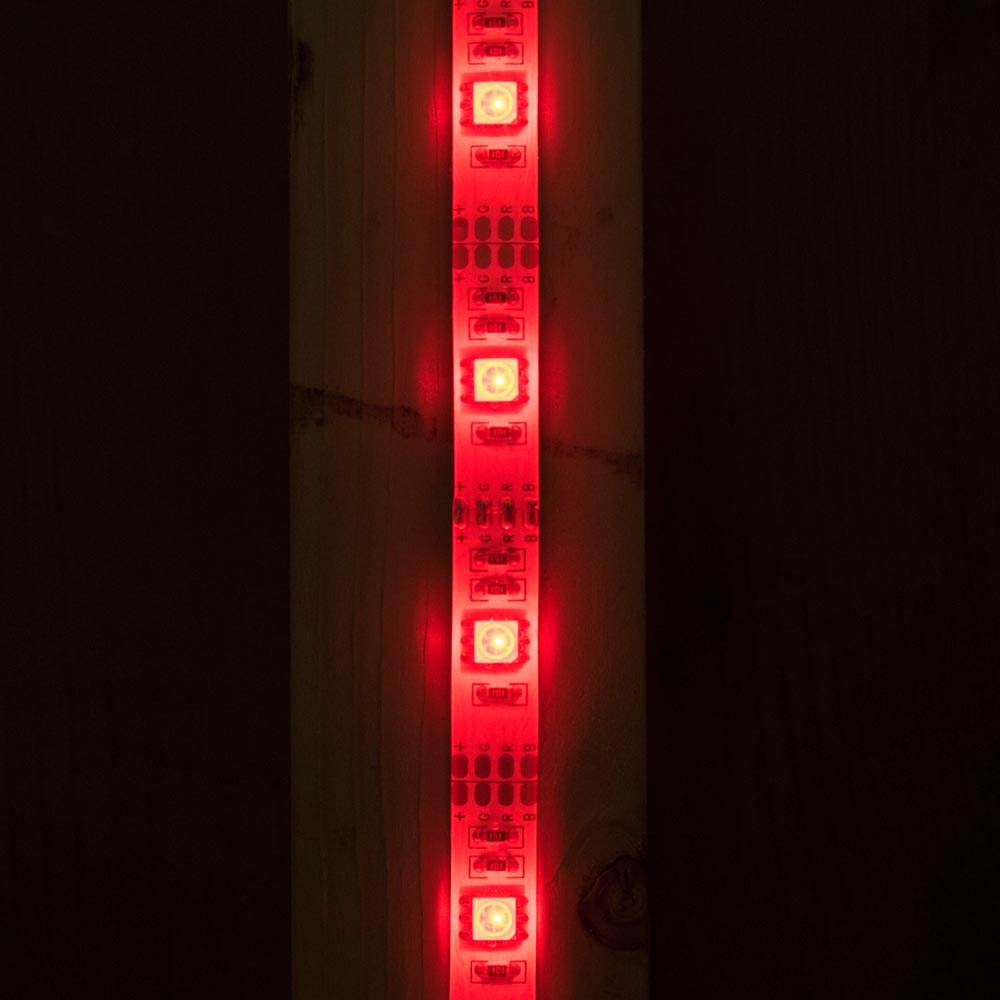
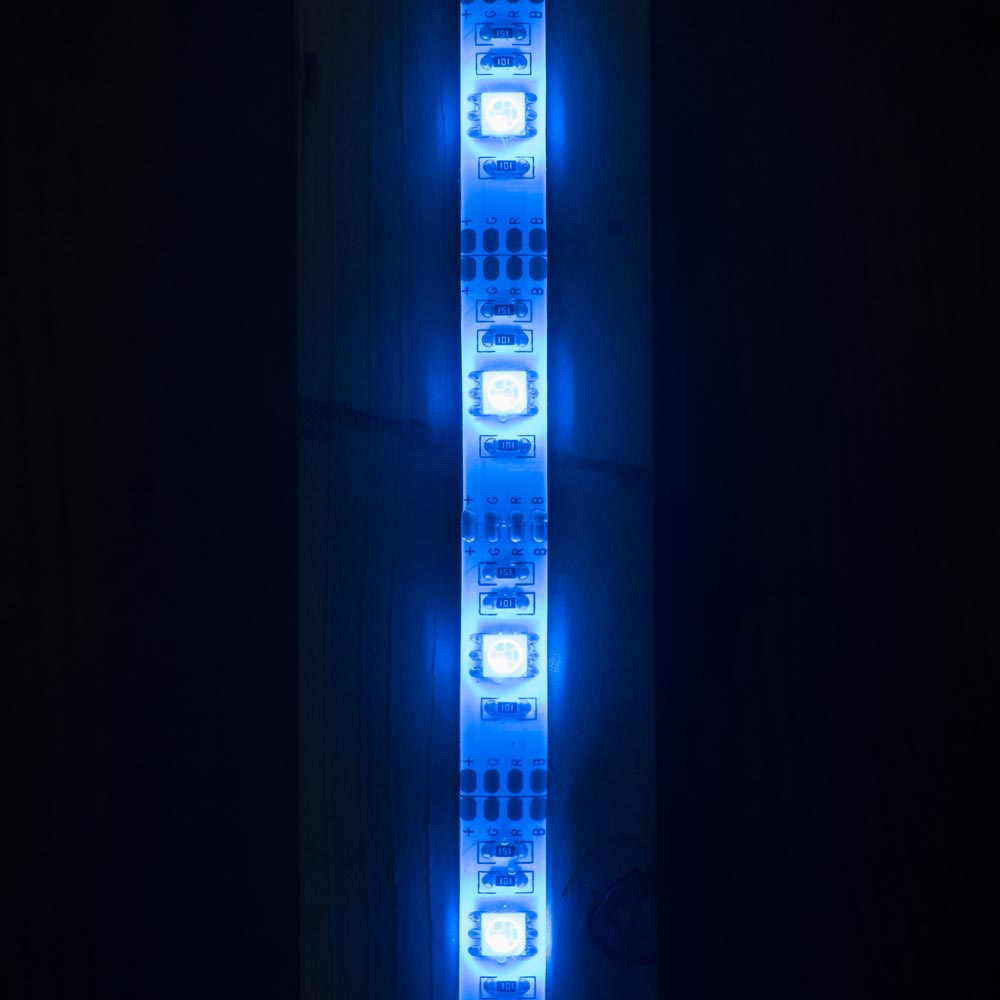
Then it’s just a matter of attaching the batteries and choosing a mode. Some colours worked better then others as did some modes. The key as always is to experiment and have some fun!

5 FAQ’s (and answers) about flash meters

If you shoot with flash you may well be aware that speedlights and (increasingly) studio strobes come in either manual or TTL versions. If you’re shooting weddings, events or any sort of running and gunning photography, TTL is brilliant but for me manual flash teamed with a flash meter is how I like to work in the studio.

If you’re thinking a flash meter might be what you need to improve the consistency of you shots or you already have a flash meter but aren’t sure on how to get started with it, then I’ve got you covered.

[youtube]https://www.youtube.com/watch?v=UG4P-Odutr8[/youtube]

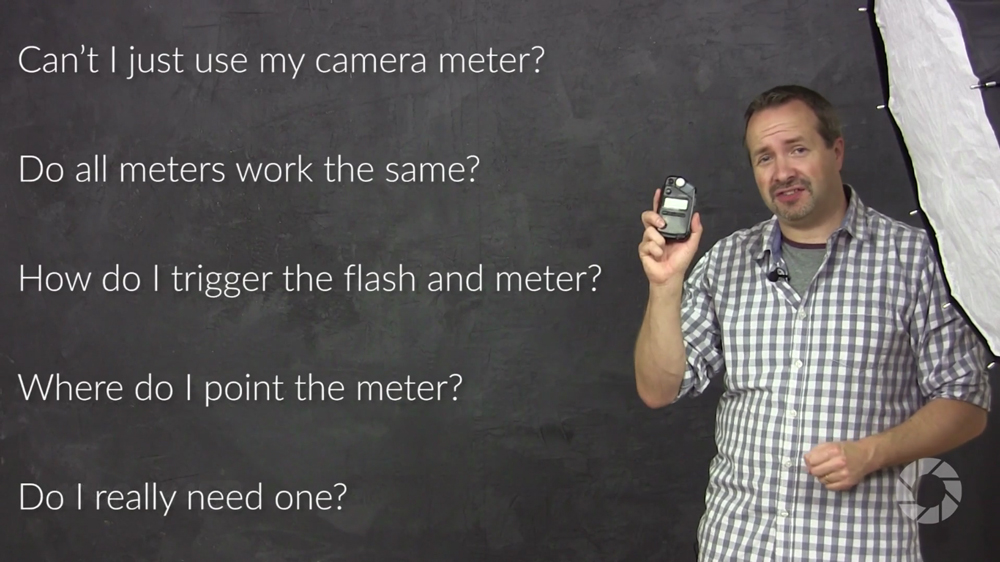
In the video above I cover the top 5 questions I hear from photographers and flash meters.

  • Can’t I just use my camera’s meter?
  • Do all flash meters work the same?
  • How do I trigger the flash and the meter?
  • Where do I point the meter?
  • Do I really need one?

My flash meter of choice is the Sekonic L-308S Flashmate. It’s about as basic as a handheld meter can be but it’s super reliable and excellent value for money. More information can be found over at Adorama http://www.adorama.com/SKL308SN.html?KBID=67338

Flash-Meter-Cover

Gavin vs Mark Portrait Challenge

A few weeks back I was honored to have Mark Wallace, my friend and fellow Adorama TV host, stop off at my studio for a couple of days. Mark has been travelling the world for the past 18 months or so and this was the first time in a long time that he’s been shooting in a studio.

Now you probably already know I love a photo challenge, so when Mark suggested a studio challenge I jumped at the chance.

The rules were simple. We’d both use the same studio, same single flash and photograph the same model. We set a 20 minute time limit to include planning and filming and would see each other’s shoot until the end.

Mark went first and you can see his video below.
[youtube]https://www.youtube.com/watch?v=L2aEN6UUDYA[/youtube]

I love what Mark did with the simple lighting and subtle editing. I was also blown away by the quality for the Leica especially as Mark had been telling me it’s probably not a camera that you’d choose for studio portraits

Once Mark was through, I got my turn.
[youtube]https://www.youtube.com/watch?v=FzQr3GTUrwg[/youtube]

It was great to try out an idea I had been thinking about for a while and as you can see, my image is totally different to Marks in almost every way. I went with a contrasty light, aggressive pose and bags of drama.

The “home advantage” really can’t be underplayed. Remember I was using my gear, a model I’ve worked with before and I had the props hanging around in my studio. Even so I think it says a lot about how the photographer adds to the image when two of us can come away with such different emotions from the same subject using the same light.

Most of all it was a huge amount of fun and that’s what photography should always be about!


My best of 2015

2015-6With the year drawing to a close, now seems like a good time to take a moment and look back at what I did with my camera during 2015. A lot (but not all) of my time goes into making videos for Adorama TV and in 2015 I made 26 of them, which have had over 1.4 million views so far.

So here are a few of my personal highlights. If you have your own, please leave me a comment.

Most watched video
At 150,000 views in just over 5 months, my “day to night” video for Adorama TV has easily been the most watched video I made in 2015. As anyone who makes YouTube videos will tell you, it’s almost impossible to predict which videos will become “popular” and often it’s not the ones you would expect, or perhaps that should be wish.

[youtube]https://www.youtube.com/watch?v=aGsQxXUEvc4[/youtube]
However I’m really thrilled this video has taken off. It was a sound idea that took a long time to plan but was great fun to shoot. Best of all I the final photos came out even better than I had hoped.

Most fun video
It’s tricky to choose just one as I enjoy them all in different ways. But the poker player shoot I did with Brian back in February was a very memorable one.

[youtube]https://www.youtube.com/watch?v=kum6KjmToYU&index=22&list=PL821B7D720DEA39FA[/youtube]
I know absolutely nothing about poker and as it turned out, neither did Brian. Fortunately Brian is an excellent actor as well as a model and once the technical bit was out of the way, he excelled in the role. I loved the range of emotions he produced although some of that may have come from drinking the “whisky” which was in fact cold tea!

Video I’m most proud of
usually my videos are all about taking and making a great shot but back in June I made a video that was more technical than usual. It covered how focal length can affect the compression in a photo.

For years I’ve listened to photographers go on about how they use a longer focal length lens to compress the foreground and background but that’s actually not strictly true. Yes they used a longer focal length lens but it’s camera to subject distance that does the compression and in this video I prove it… although I still get photographers telling me I’m wrong!

[youtube]https://www.youtube.com/watch?v=GbESqYkodmQ&list=PL821B7D720DEA39FA&index=14[/youtube]
I had photography students firmly in mind when I made this one but I know a few “expert” photographers who learned from it too.

Most fun photo shoot
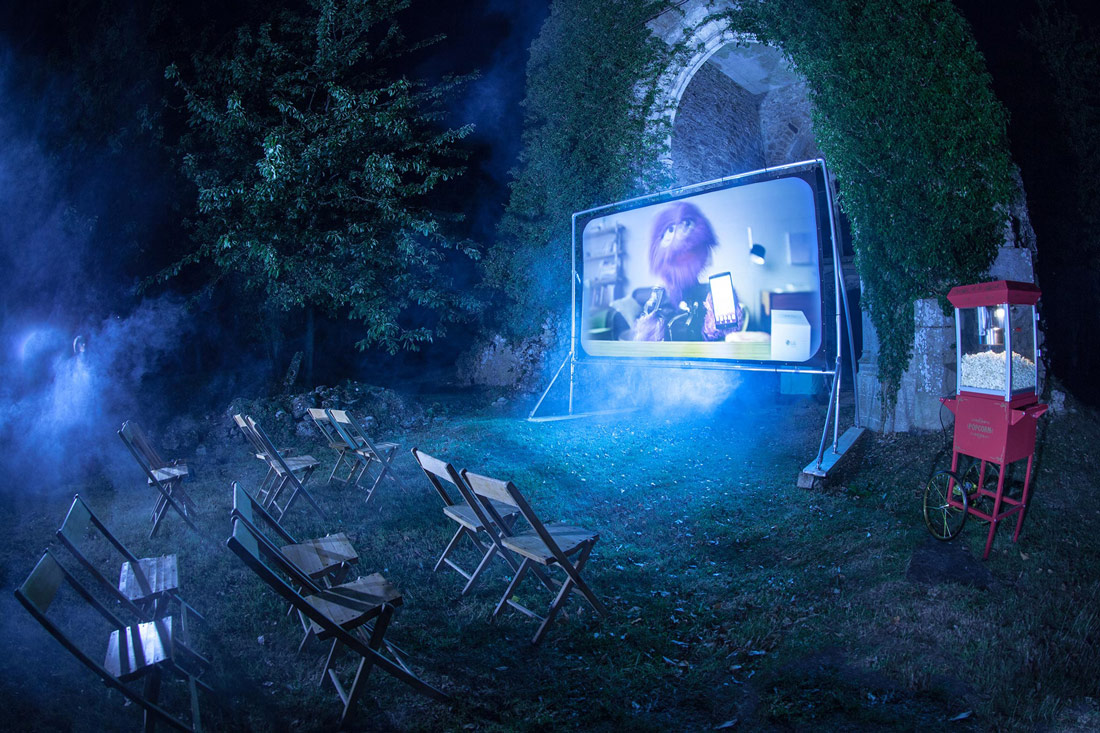
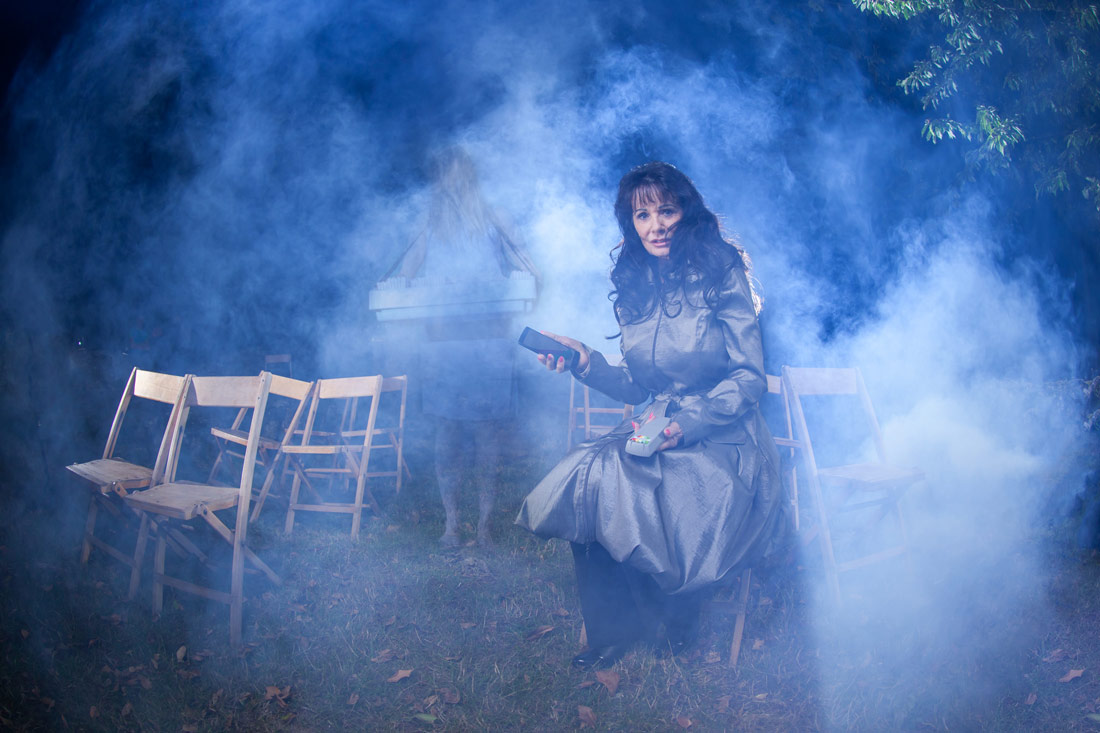
I don’t just make videos, I’m also a full time photographer. I always throw myself in to any shoot but occasionally a job comes along that really stands out. The best example of that in 2015 was a PR shoot I did with LG mobile and the Three network here in the UK.

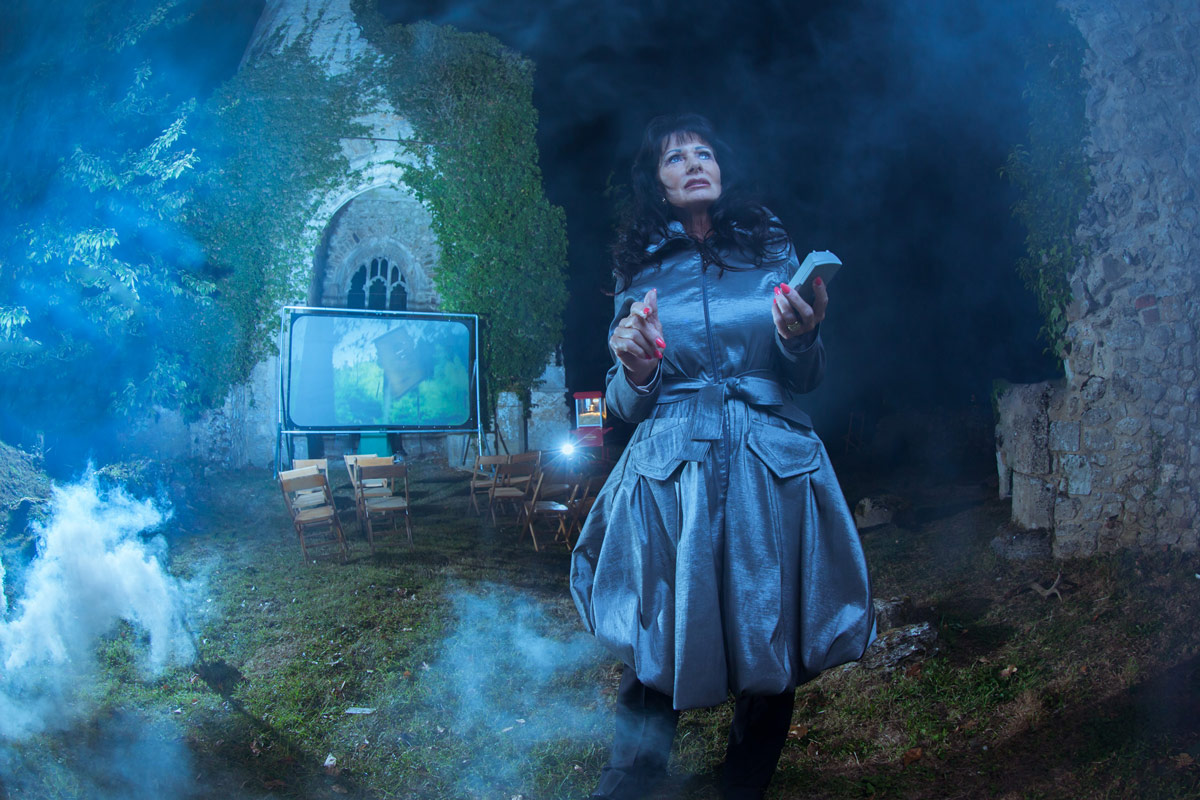
When I got an email asking if you can photograph a medium and ghosts at a ruined church in the most haunted village in the UK, I jumped at the chance. The full brief included shooting a spooky outdoor cinema in the dead of night at a location without power… I loved it!

As you can see from the photos, things got very spooky and smoky. Our medium arrived late at night having just come from a séance but I guess my lights must have frightened away the spirts as she was unable to detect any ghosts until I was packing my gear into the car!

Best “Subscribe” ending
Do you watch my videos to the end? If you do then you’ll know I like to have fun with the “Subscribe” button. And yes I do spend far too much time on it.

This year I’ve made the subscribe button float in a balloon, appear on a London bus and ripple at the bottom of a fish bowl.

But my favourite subscribe button was at the end of my 15 minute photo challenge at the Pantheon in Rome. Chiselled on to the 2000 year old wall with just a little help from Adobe After Effects, this subscribe button took a fair bit longer to make then the rest of the video took to film!

[youtube]https://www.youtube.com/watch?v=9XaF-IPSwJo[/youtube]

Fearless Flash For Speedlights

I love shooting portraits with small flashes and judging by the number of questions I get about the subject, I’m not alone. I’ve run many workshops on the subject, I use speedlights during my live talks to camera groups and yes, I really do use them in my day to day work. But I’ve never made a complete video series on how to get the most from them… until now.

I’ve been working on the Fearless Flash Photograghy video series for the past few months and I’m really thrilled it’s finally completed.
More info here…


If you’re looking to get big results from small speedlights, this course is for you and I’ll walk you through everything you need to know to get up and running with speedlight photography.

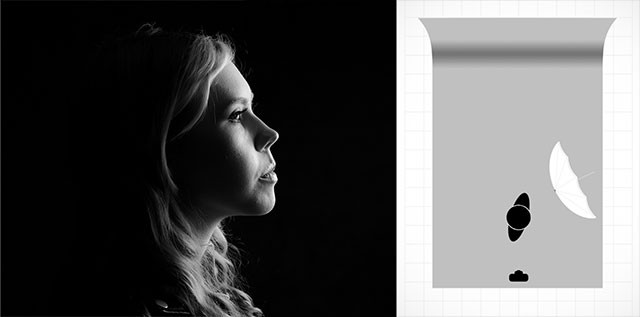
Fearless-Flash-Cover-GavtrainIn this video series you’ll learn more than just what gear you need, you’ll discover the craft of working with speedlights as I put theory into practice on some simple but stunning shoots. Working with three great models, I’ll share my favourite one flash setups and double light setups that can be quickly reproduced in any studio big or small, permanent or portable.

The course is packed with great information but you don’t need a specific camera or flash brand to follow along. It includes plenty of lighting diagrams and a BONUS video with my quick tips for post processing the images shot during the making of this series.

You choose to either rent the videos and watch online for a month or buy the series and download or watch online at anytime.
More info here…

Fearless-Diagram-2

Photoshop vs Make-Up

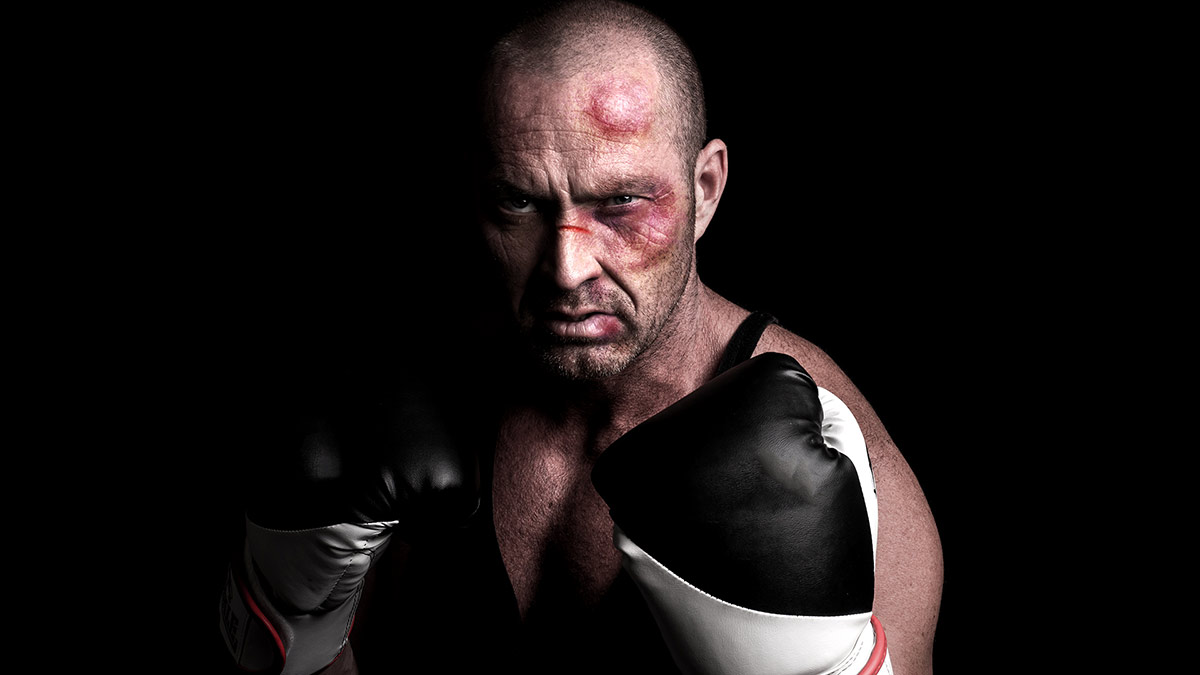
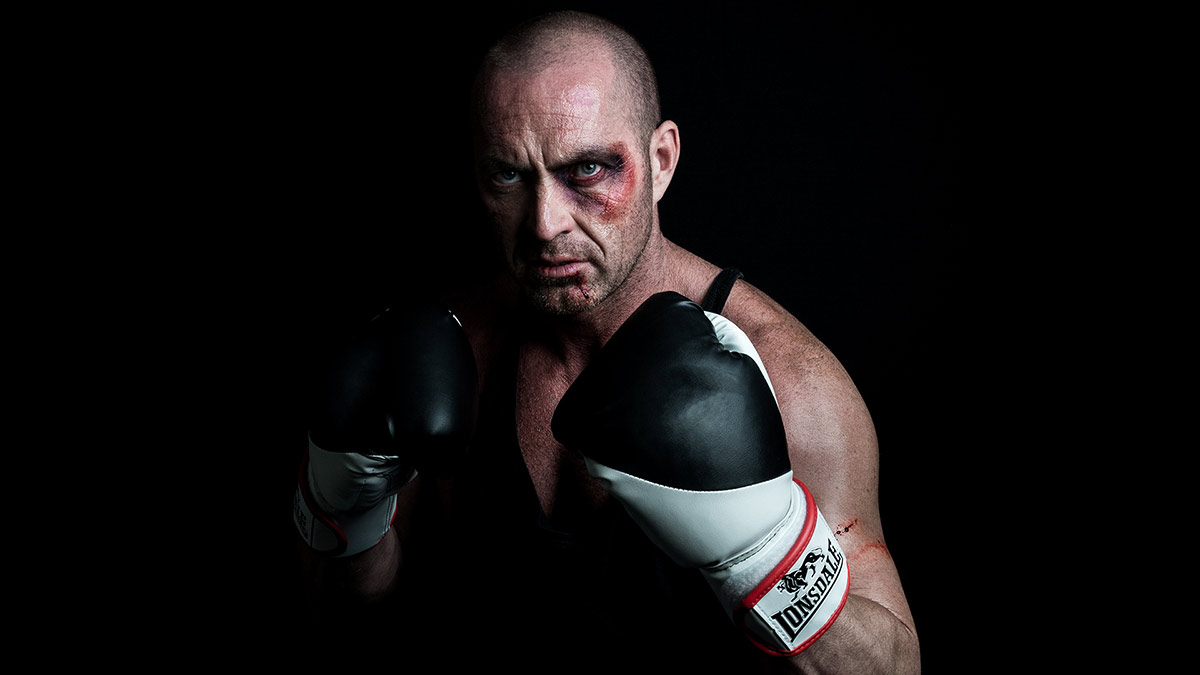
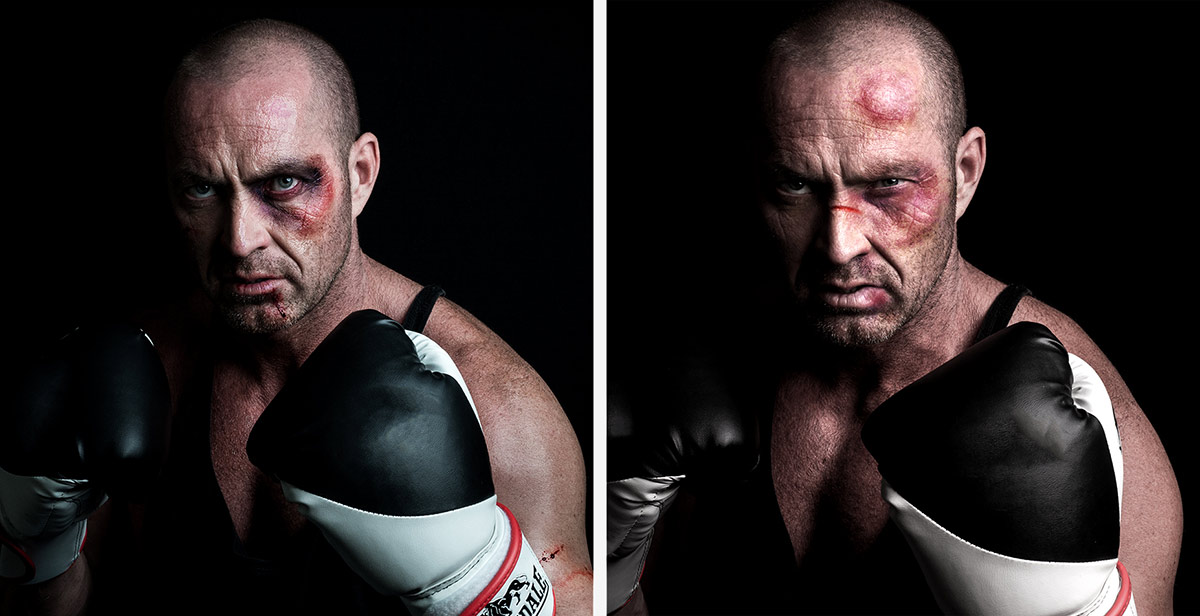
If you’re shooting any kind of portrait, the value of good quality make-up can’t be underestimated. For example, editing time can be massively reduced in family photo shoots by applying a little powder to reduce shiny skin on men. More creative photo shoots often demand more elaborate make-up and whilst I always try and get things as good as possible in camera, I do enjoy a spot of Photoshop fun.

So I decided it put make-up and Photoshop head to head in a battle to see which was better. You can see the results in the video below.
[youtube]https://www.youtube.com/watch?v=PUWY5jvCdG4[/youtube]

Photoshop
For a single photo, given enough time and skill it’s perfectly possible to create the effect of bruises. In fact using tools such as liquify I could create some pretty convincing swelling that make-up alone couldn’t do.MUA-vs-PS-2

Of course the downside is I’d need to do this to every photo and there are plenty of make-up styles that would be far harder (if not impossible) to recreate in post-production.


Make-Up

Give the choice, this is the way to go. An experienced make-up artist will be able to create amazing looks and once applied the make-up is there shot after shot, after shot.MUA-vs-PS-3

Of course there’s no reason why Photoshop and make-up can’t be combined and that has the potential to take your portrait photography to a whole new level.MUA-vs-PS-1

Wild Woodland Workshop Wrap-Up

UPDATE:
Scroll down to see the gallery from the September woodland workshop

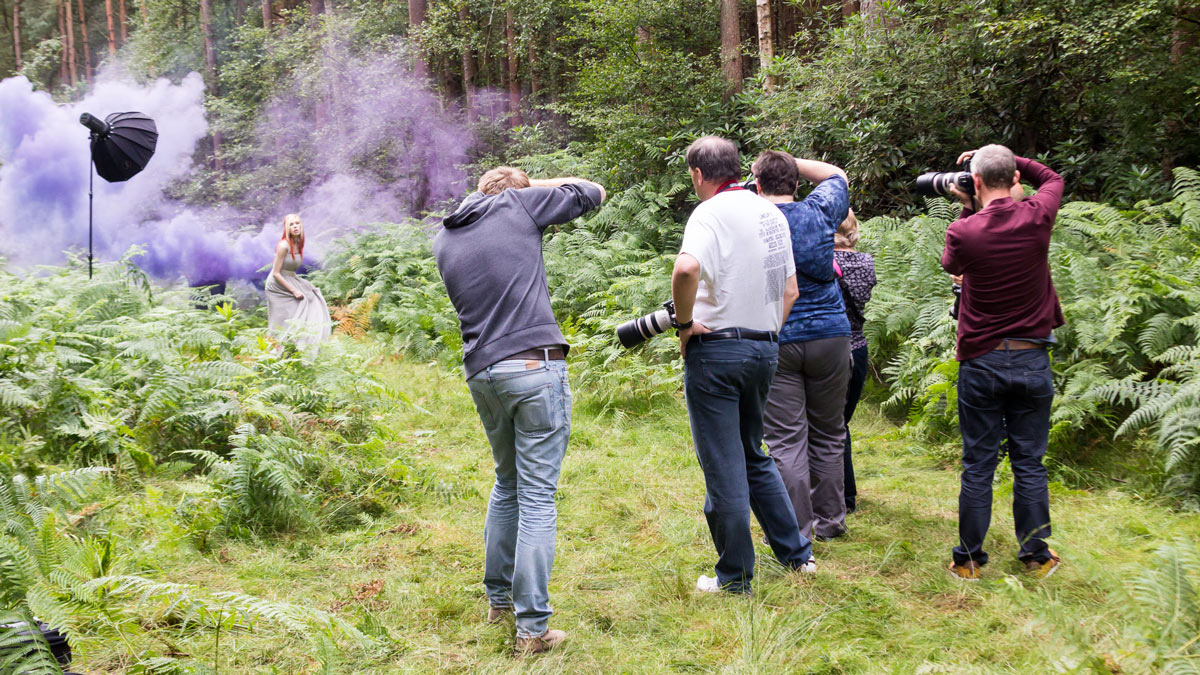
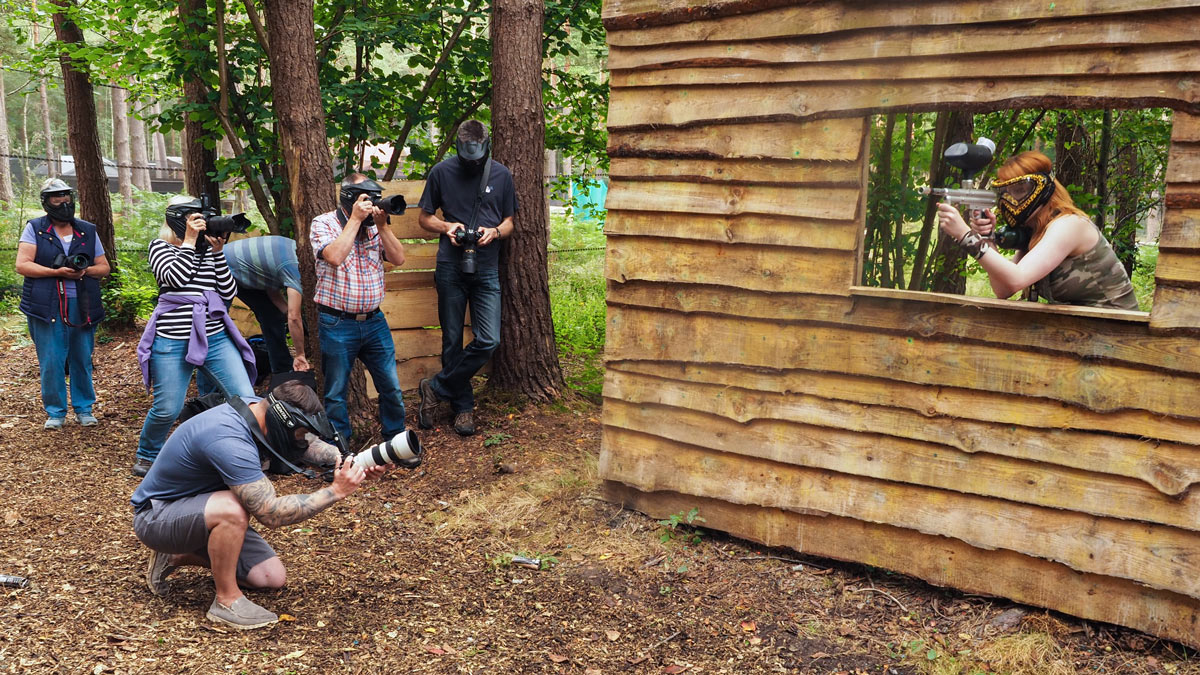
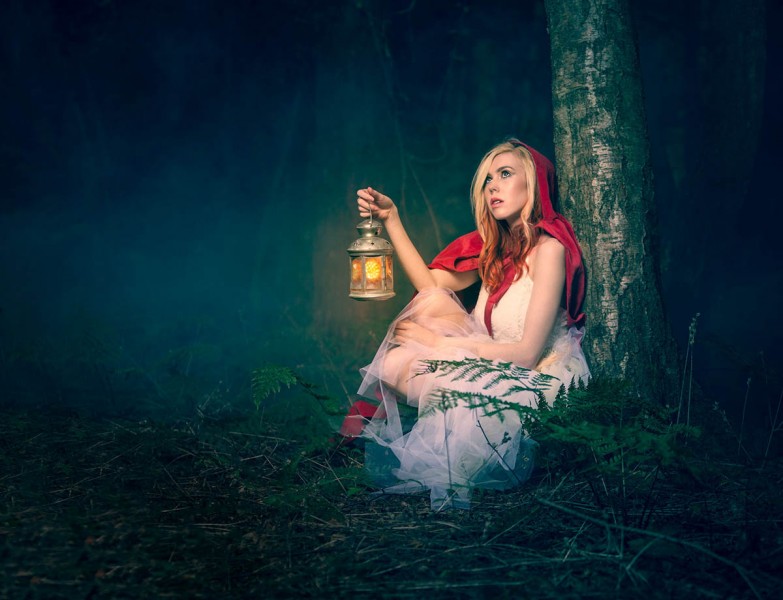
It may have taken months of planning but last Sunday everything came together perfectly for the Wild Woodland Workshop. A group of 12 photographers descended on Driver Wood Paintball for a day of photography among the trees, paths and paint balls.

I was joined by Robert Pugh, who is a brilliant photographer, educator and Olympus ambassador, not to mention all round good guy. Having a second photo trainer on-board gave the day extra value in so many ways, not least that we could split into two groups so everyone got plenty of time to work with both models.

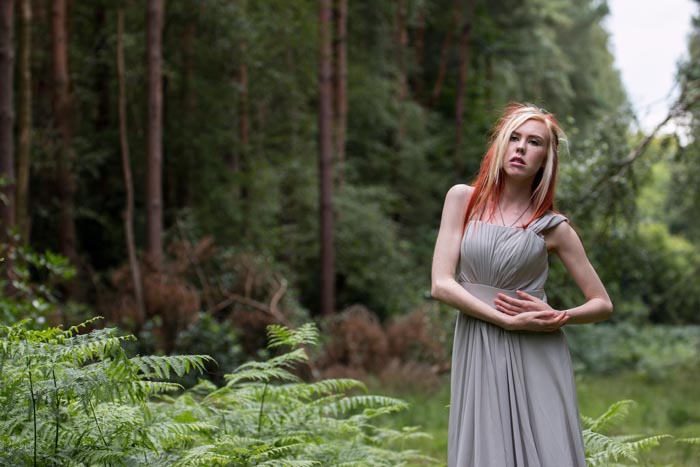
Rob’s morning was spent with model Fern Meaeve in a grassy clearing and some wonderful overcast light. It was the perfect light for a workshop with everyone being able to shoot with ambient light or with a splash of fill flash.IMG_2794

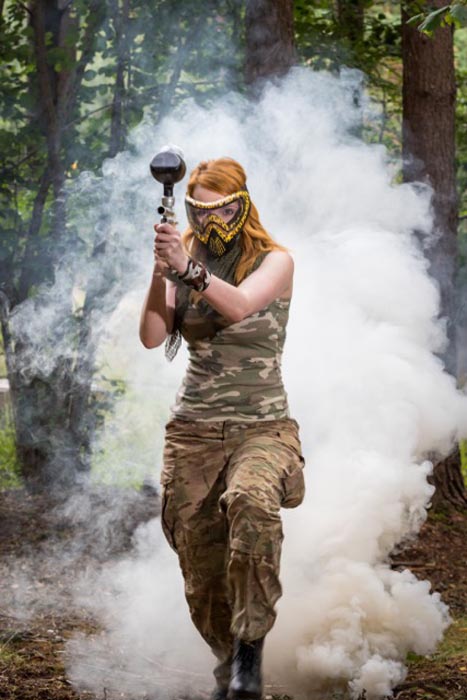
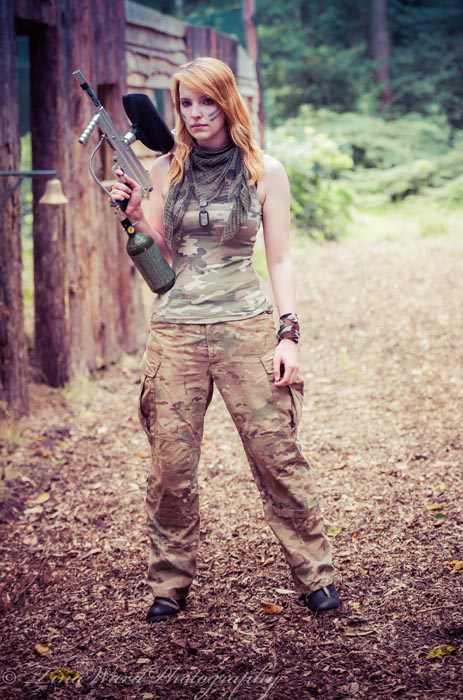
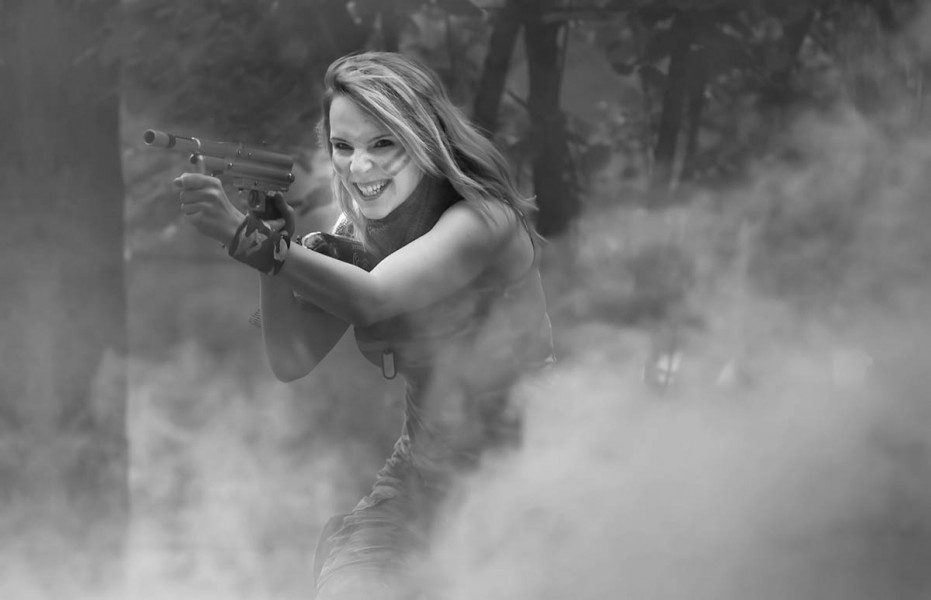
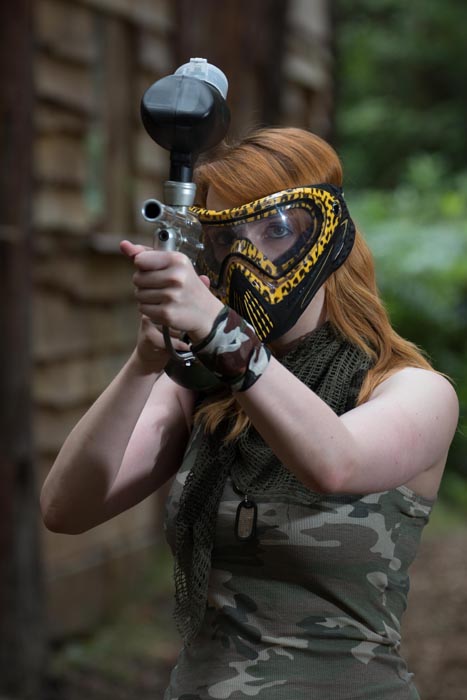
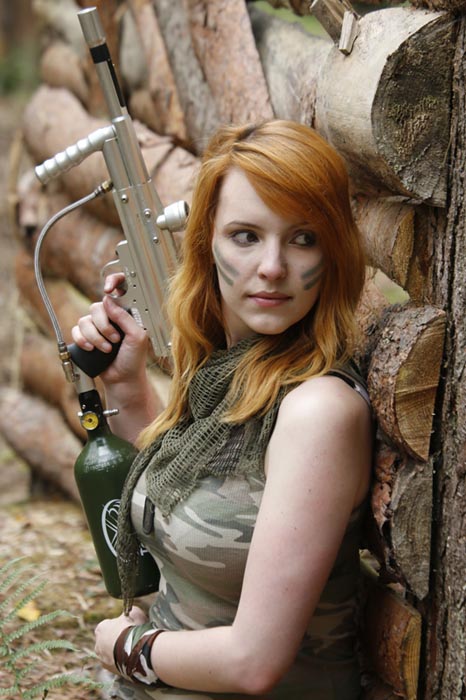
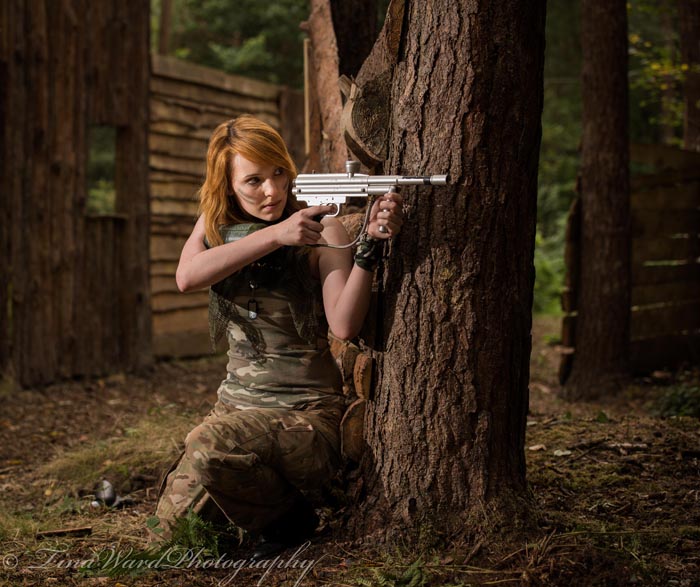
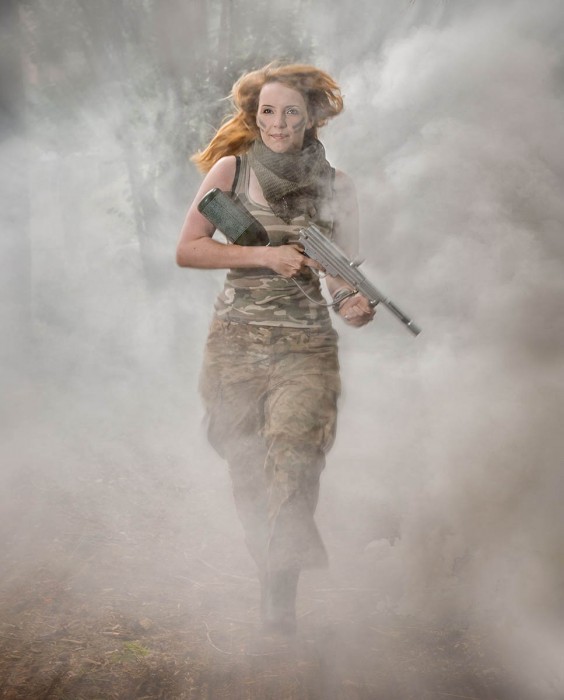
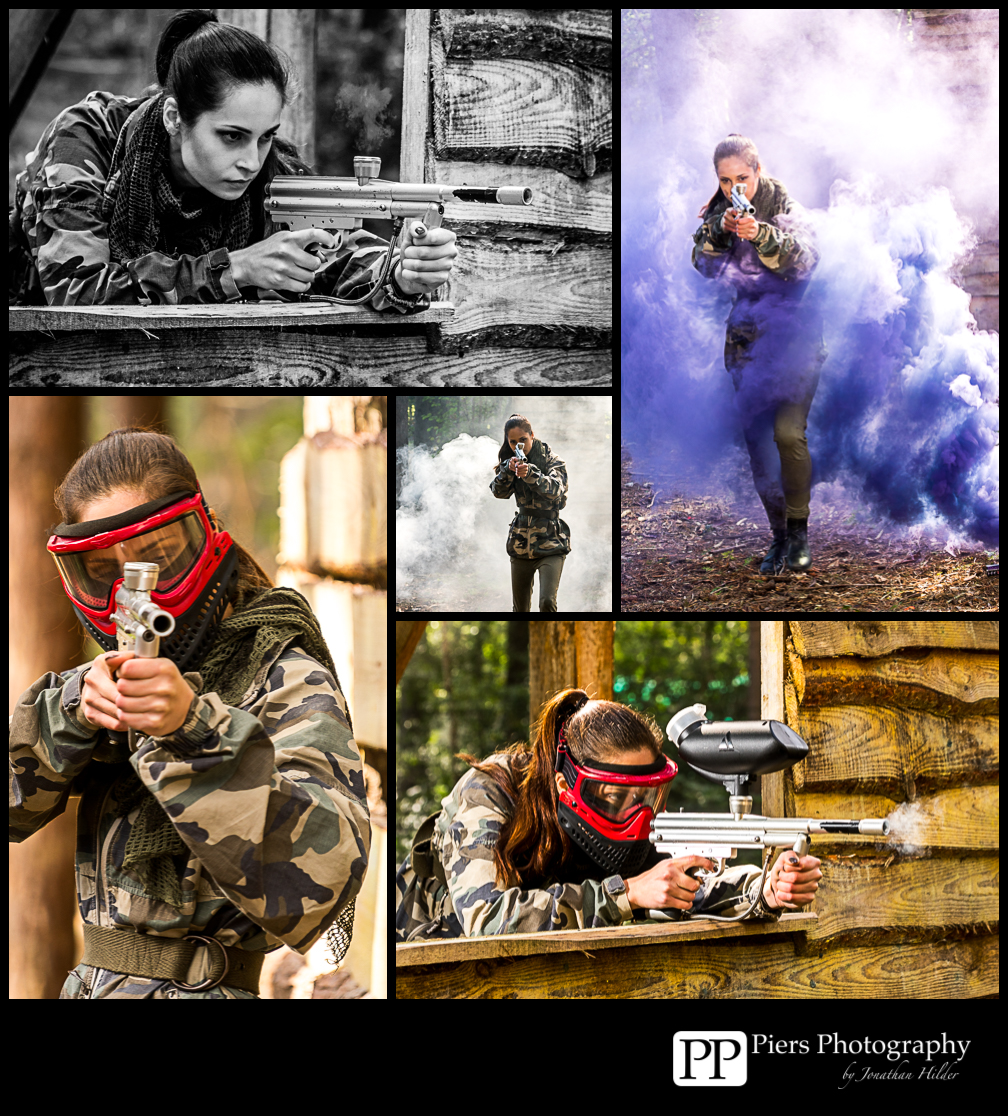
For me it was a little more rough and tough as I worked with model Kerry Allingham at the paintball parks wooden fort. Luckily for us, Kerry is an experienced paintball marshal and knew how to handle the guns. None the less, everyone wore protective eye wear during the live fire session.P8160112

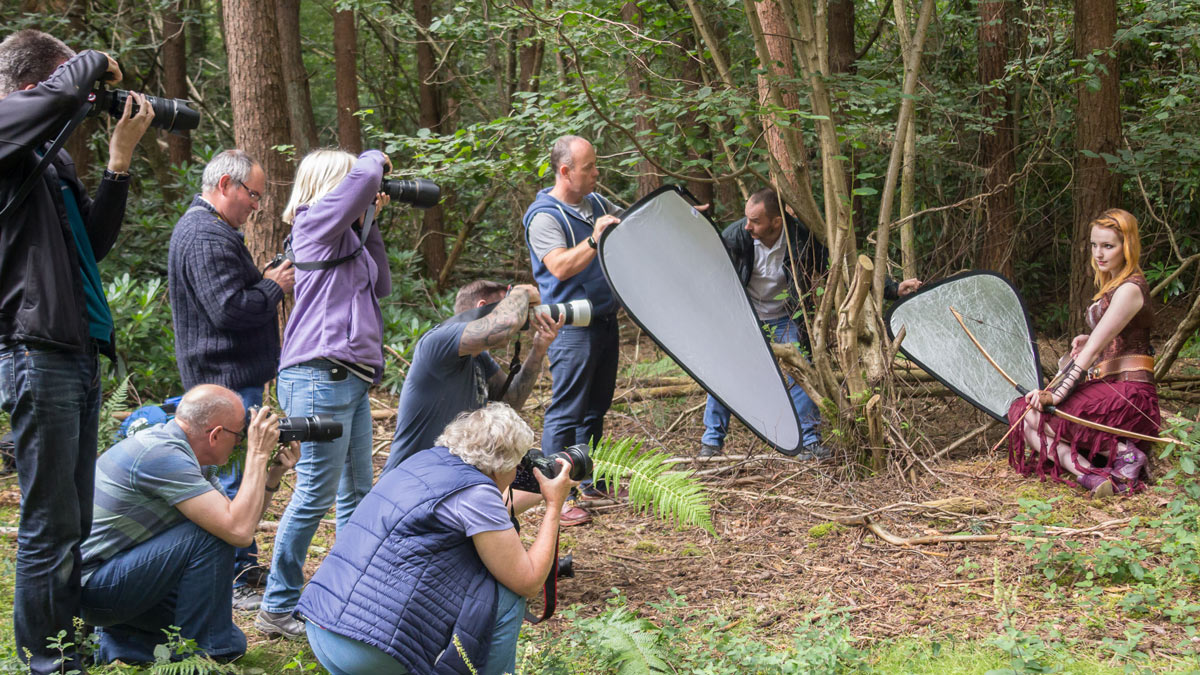
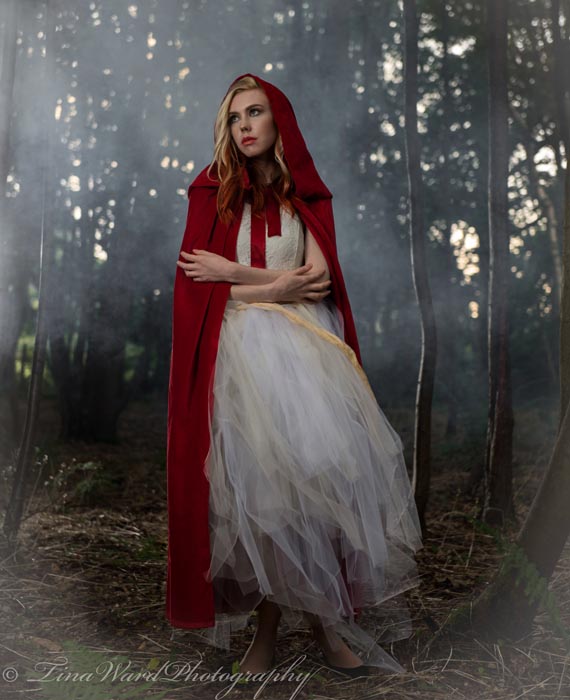
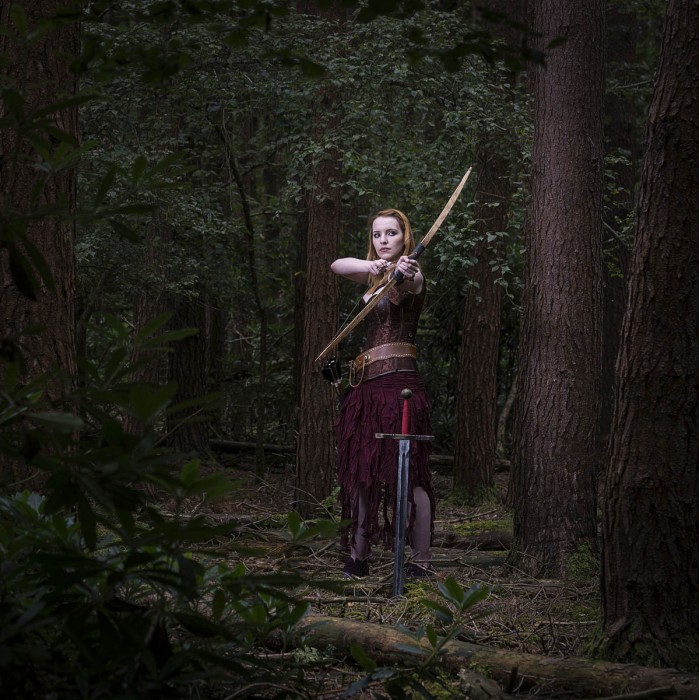
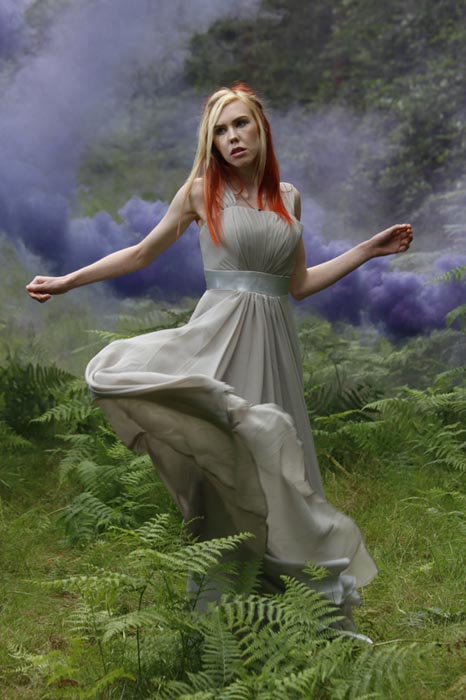
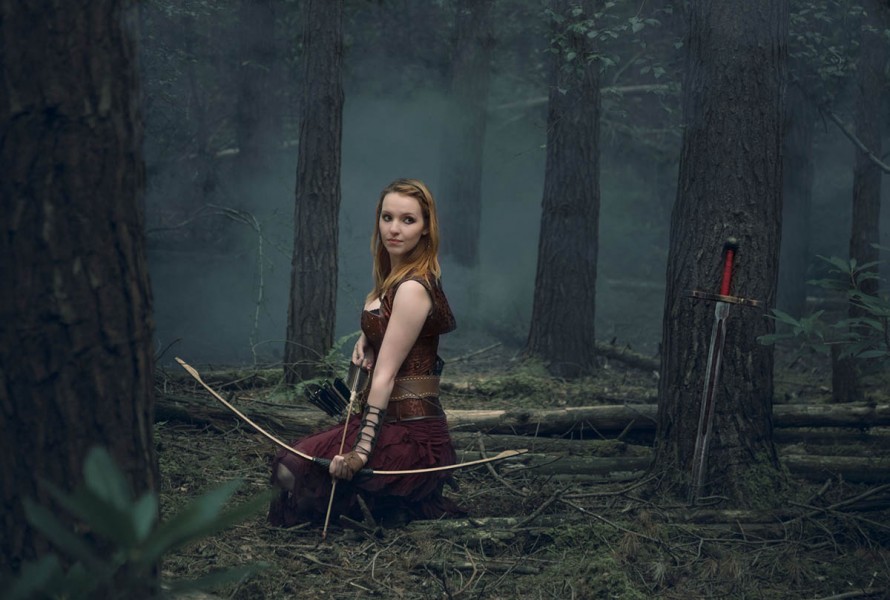
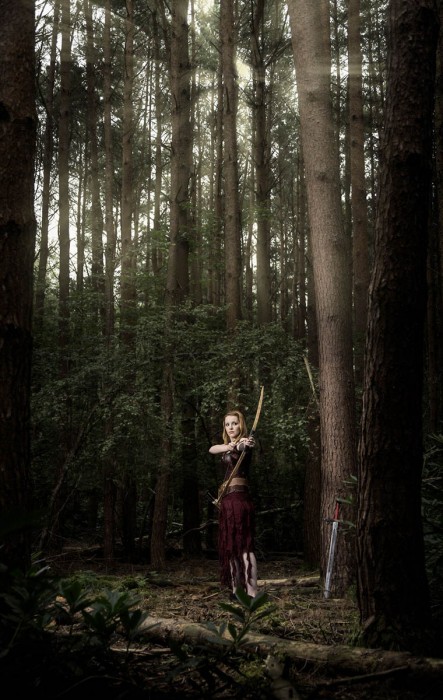
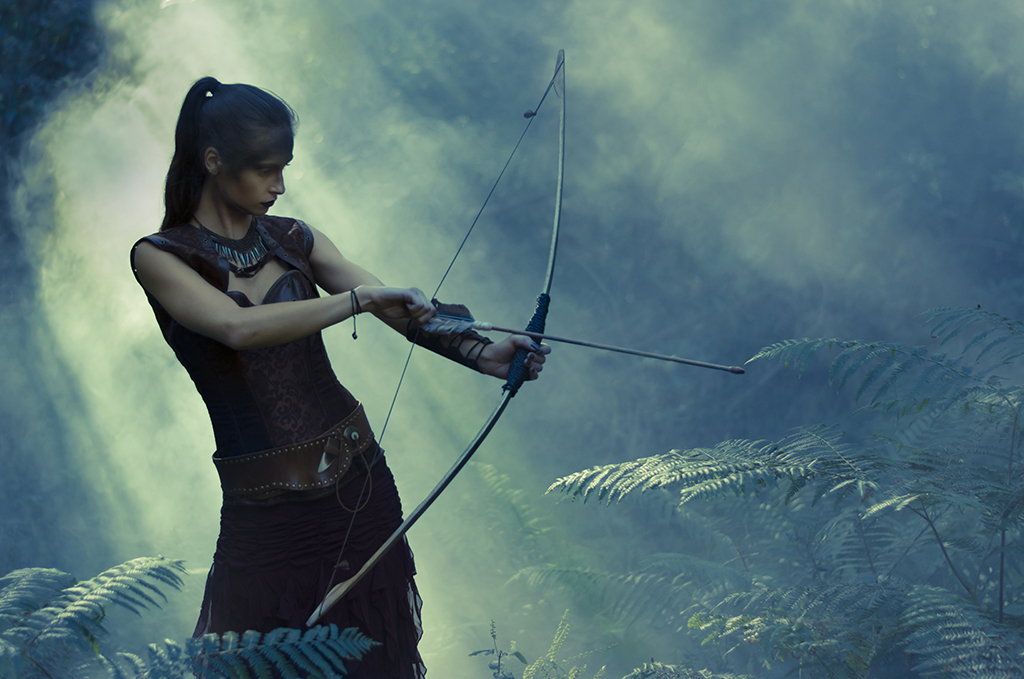
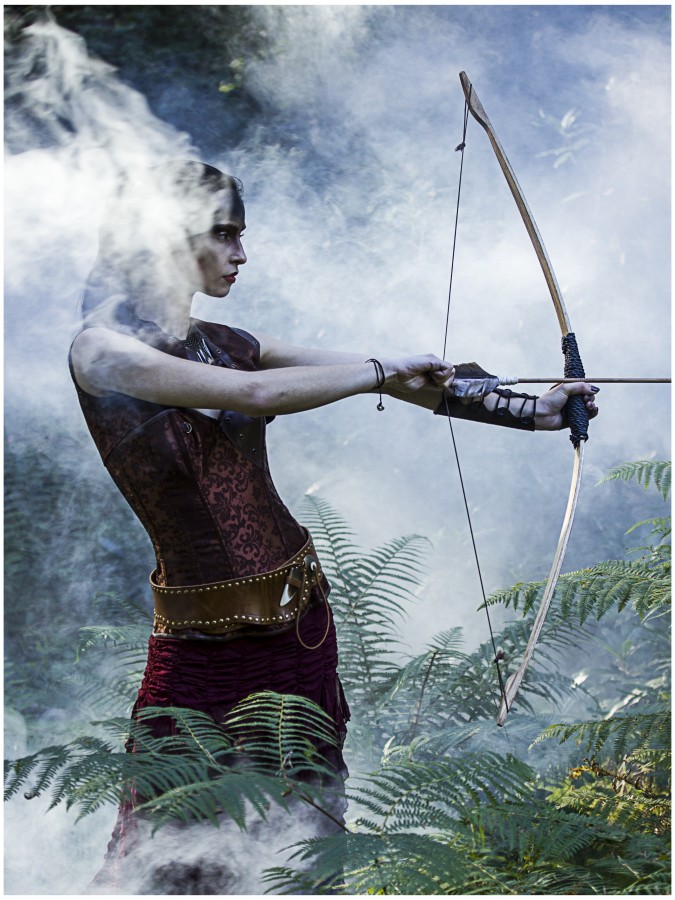
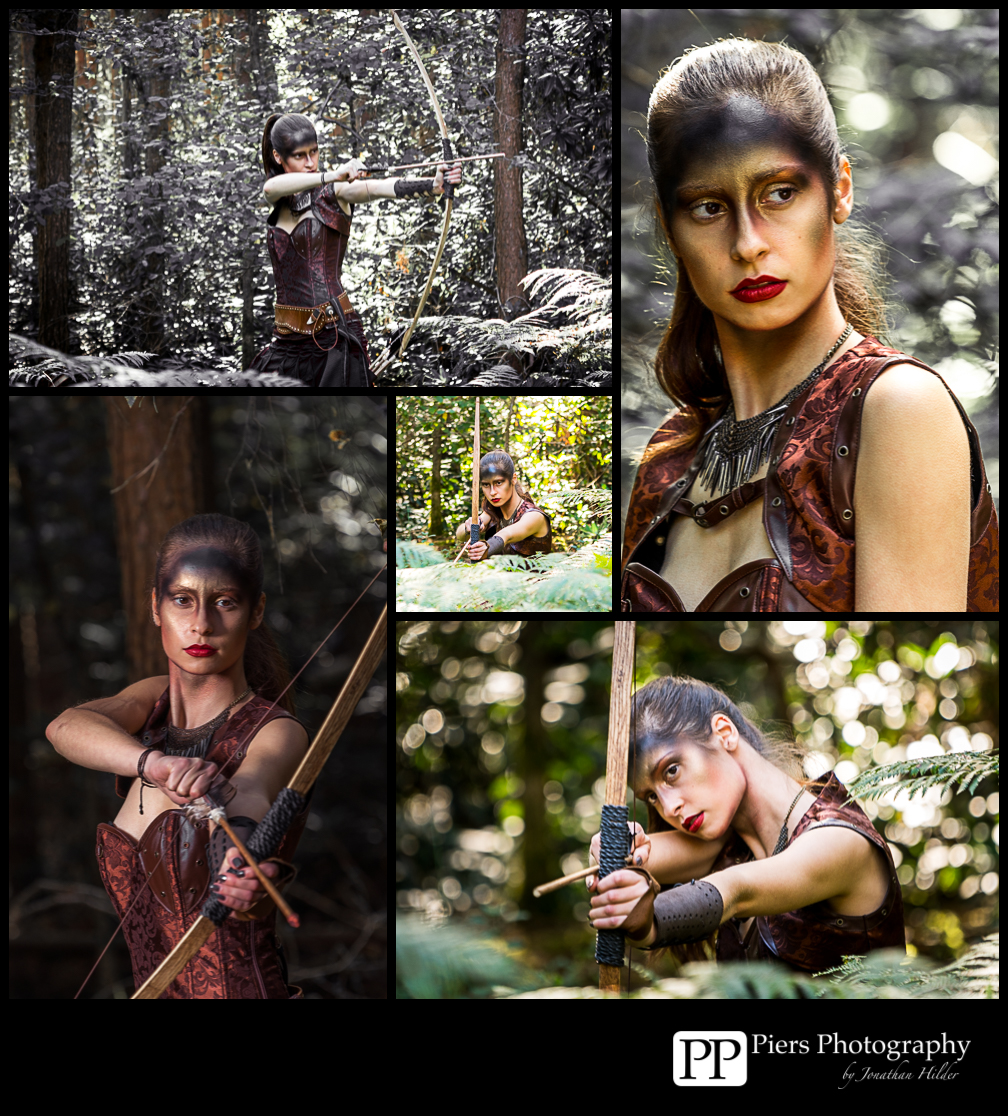
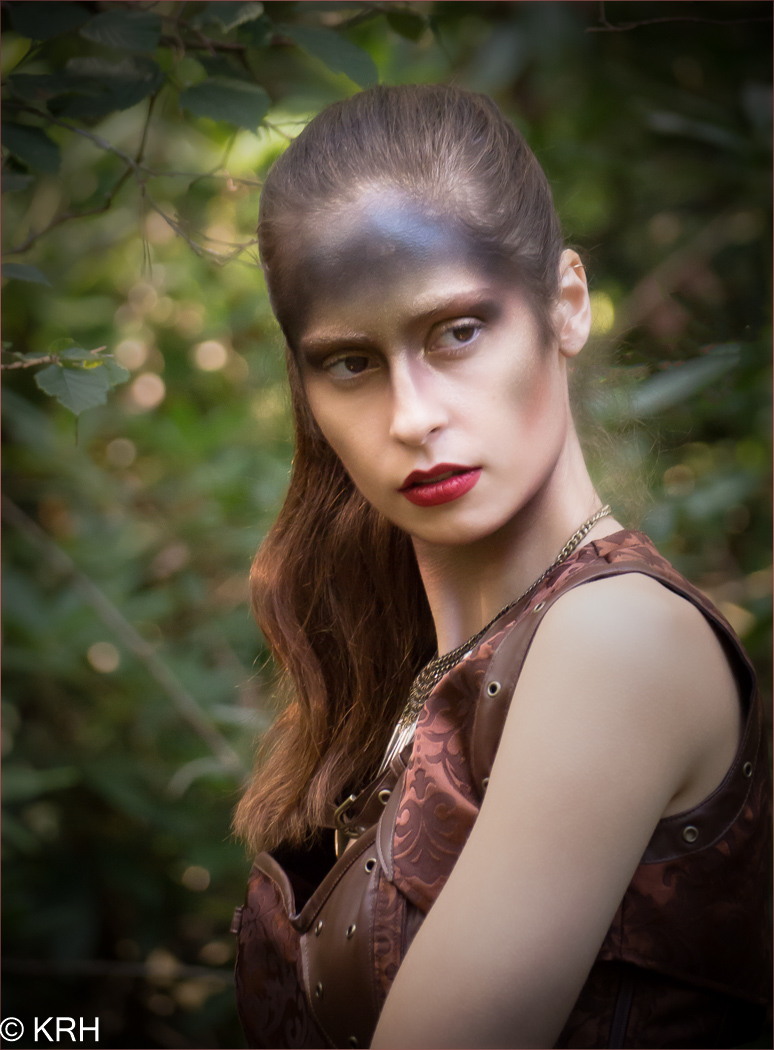
The afternoon saw a change of look. Kerry was transformed into an archer and disappeared deeper into the forest. Only the plumes of smoke from the colourful smoke grenades gave them away.IMG_2819

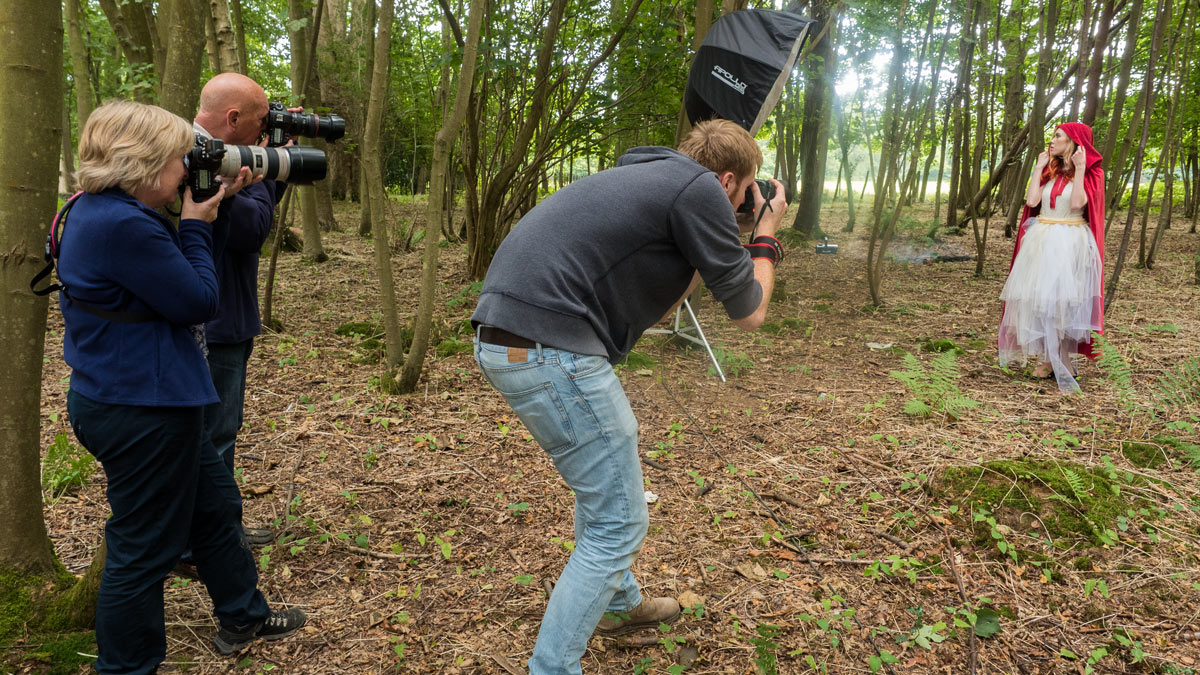
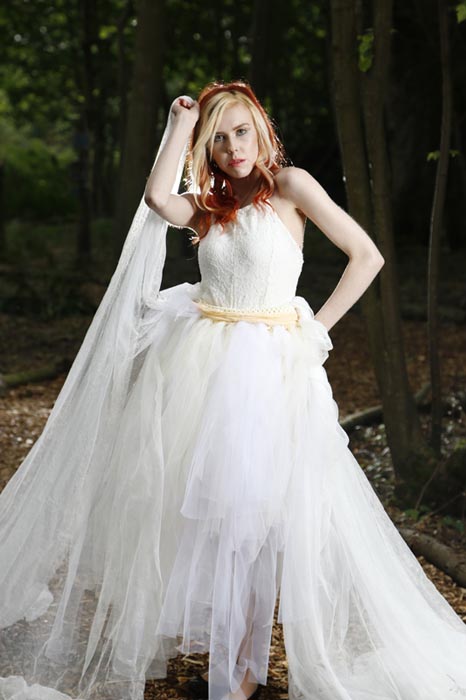
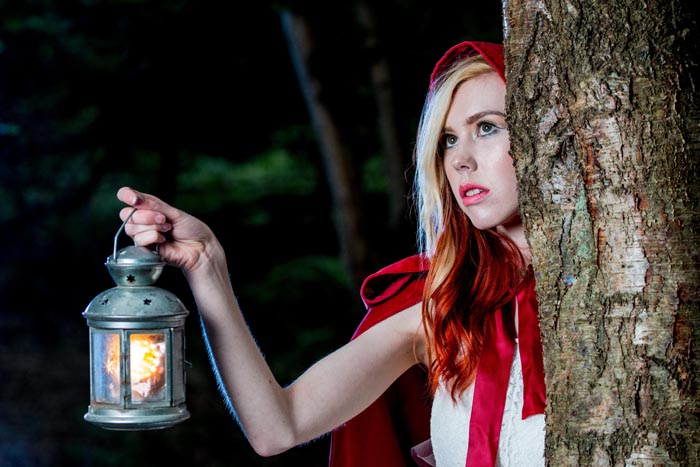
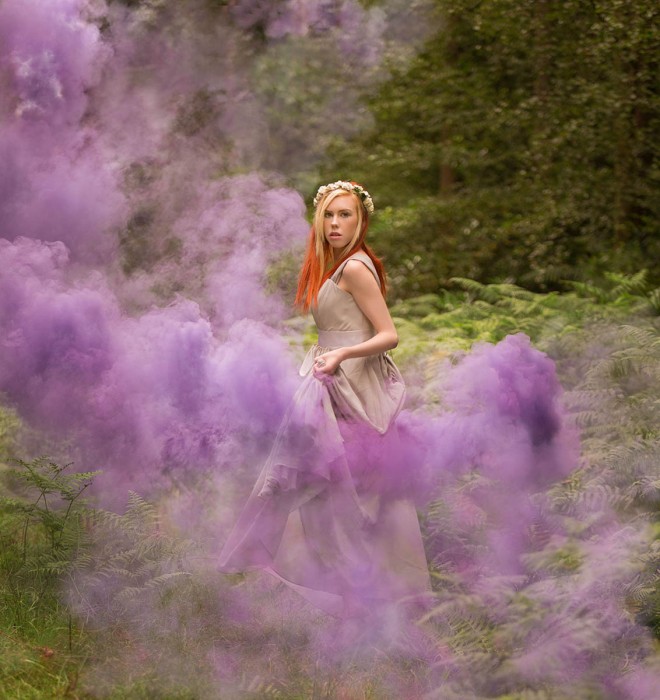
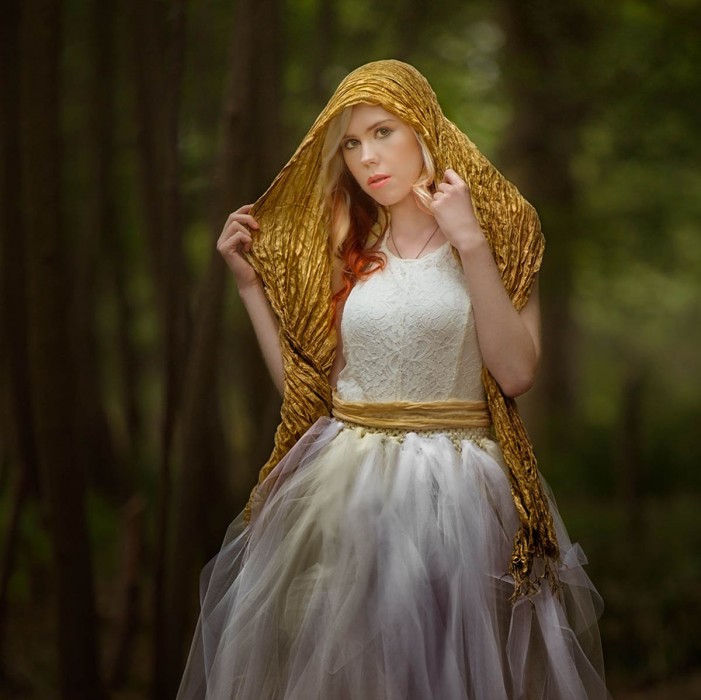
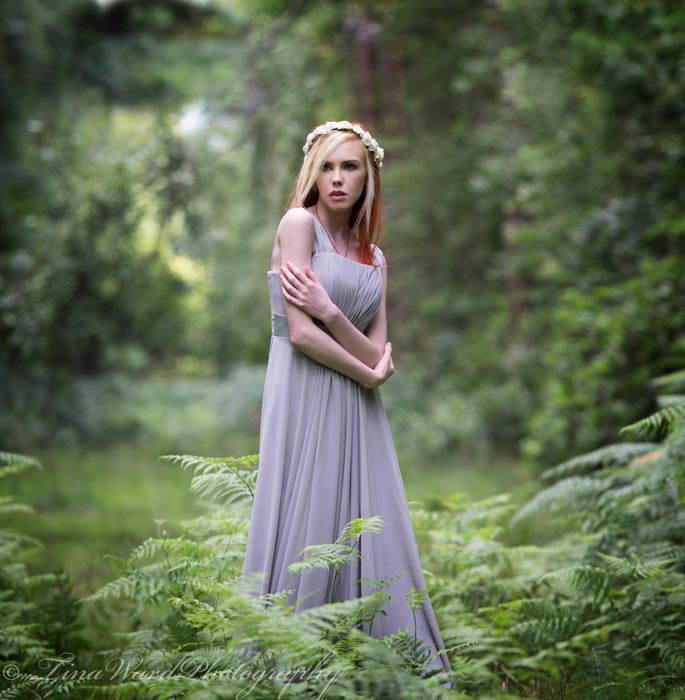
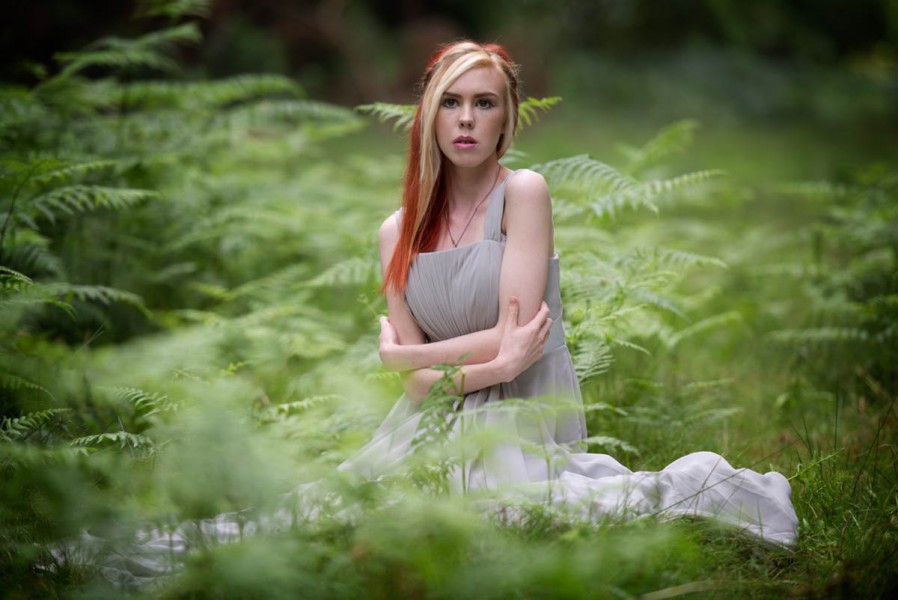
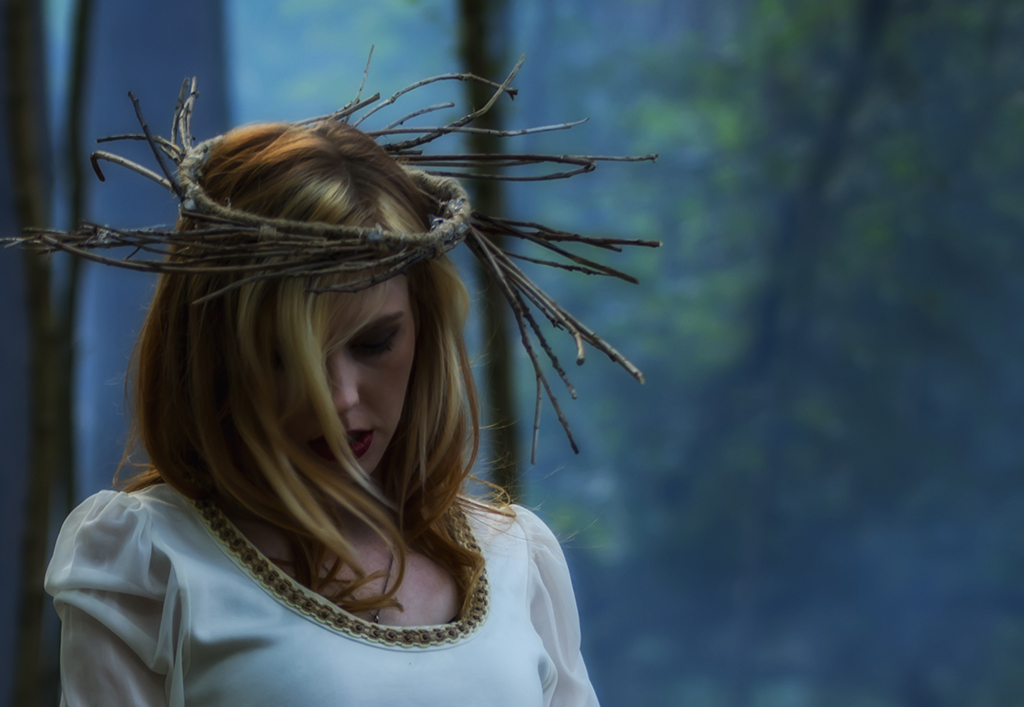
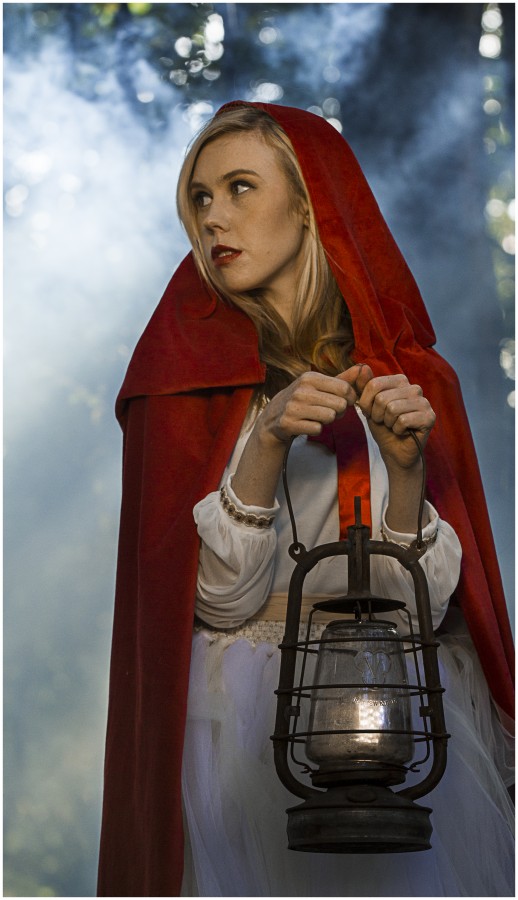
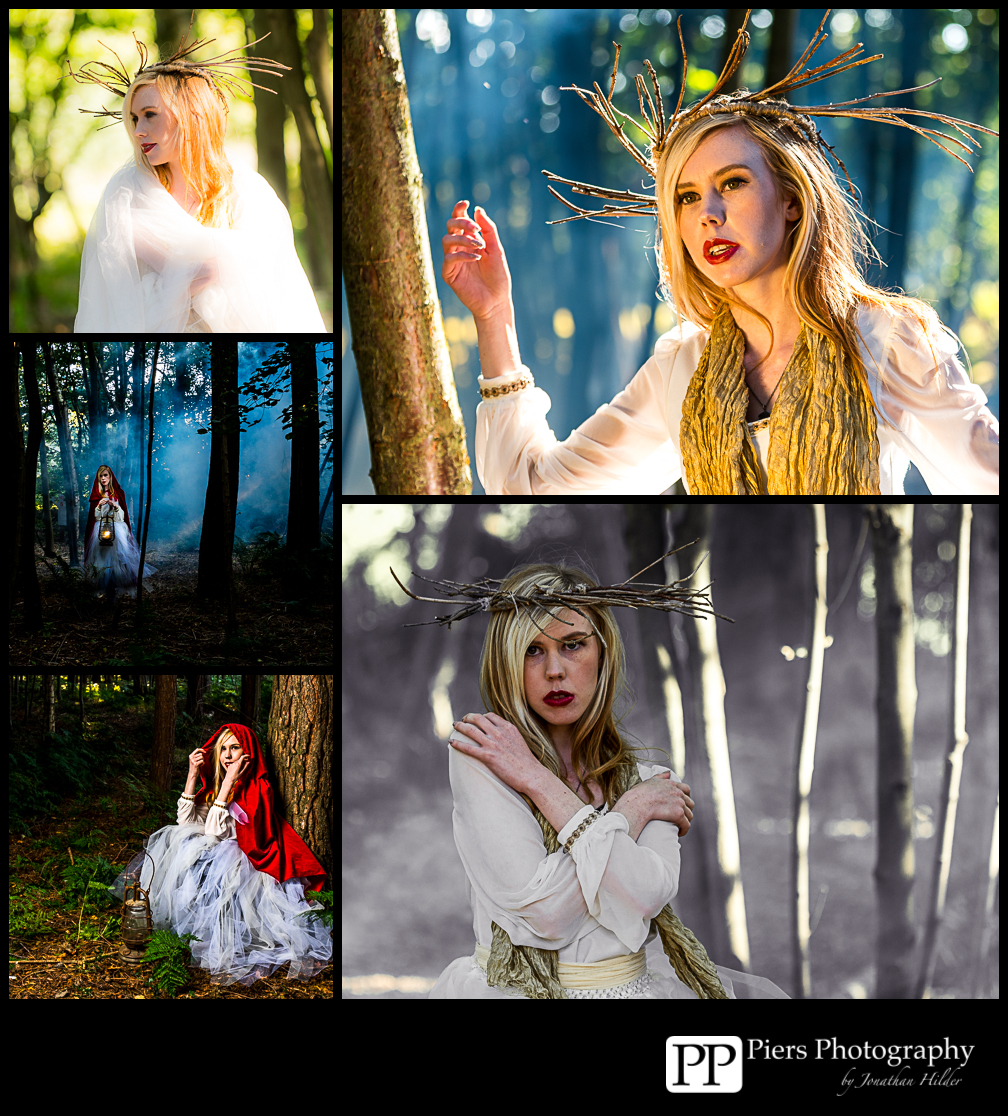
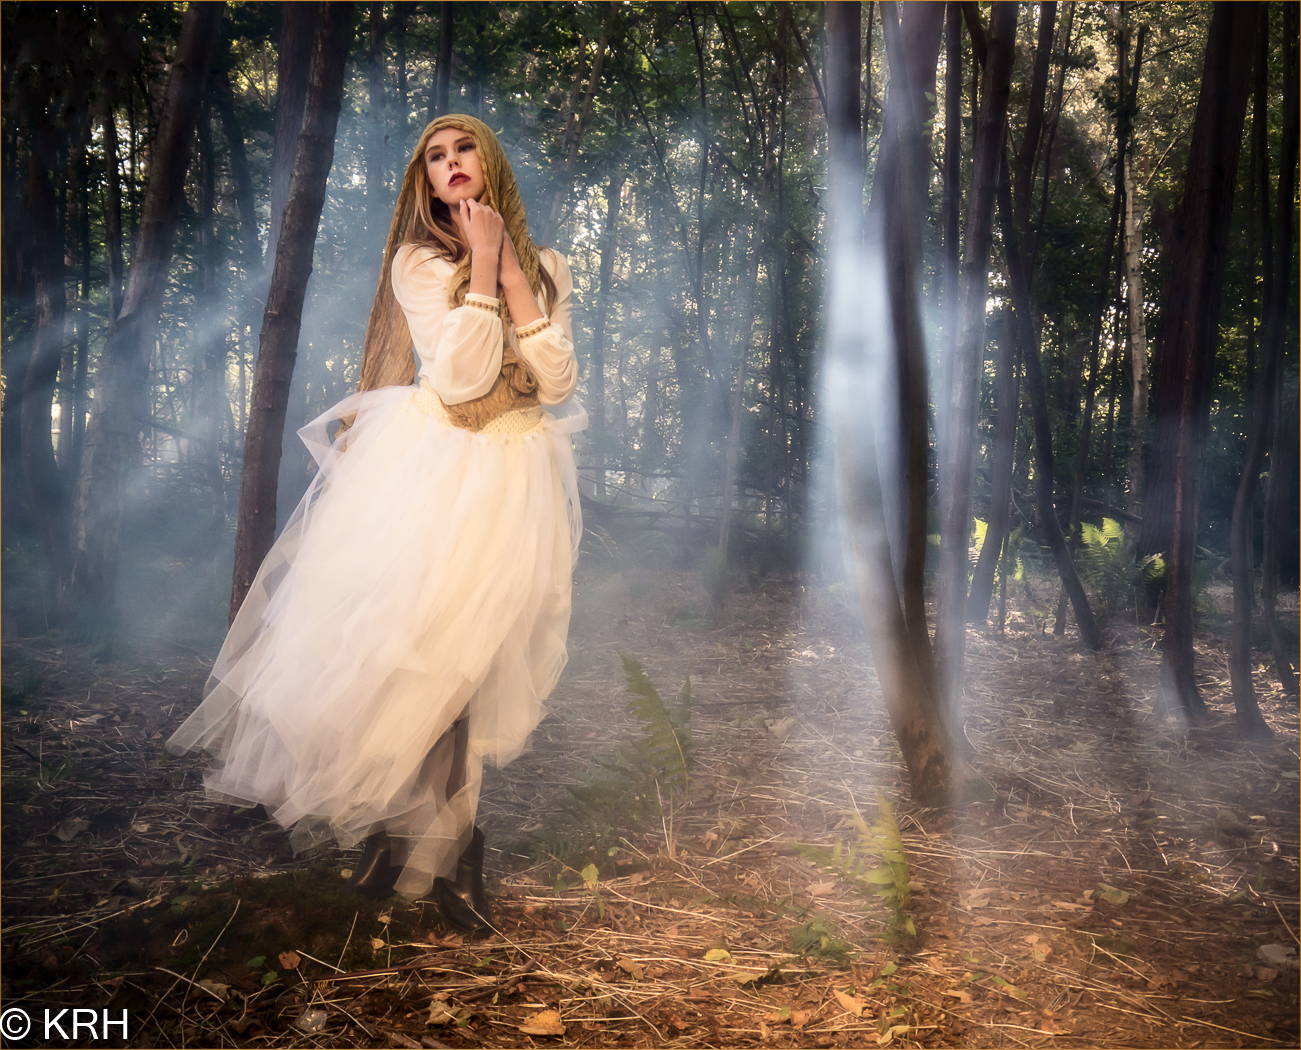
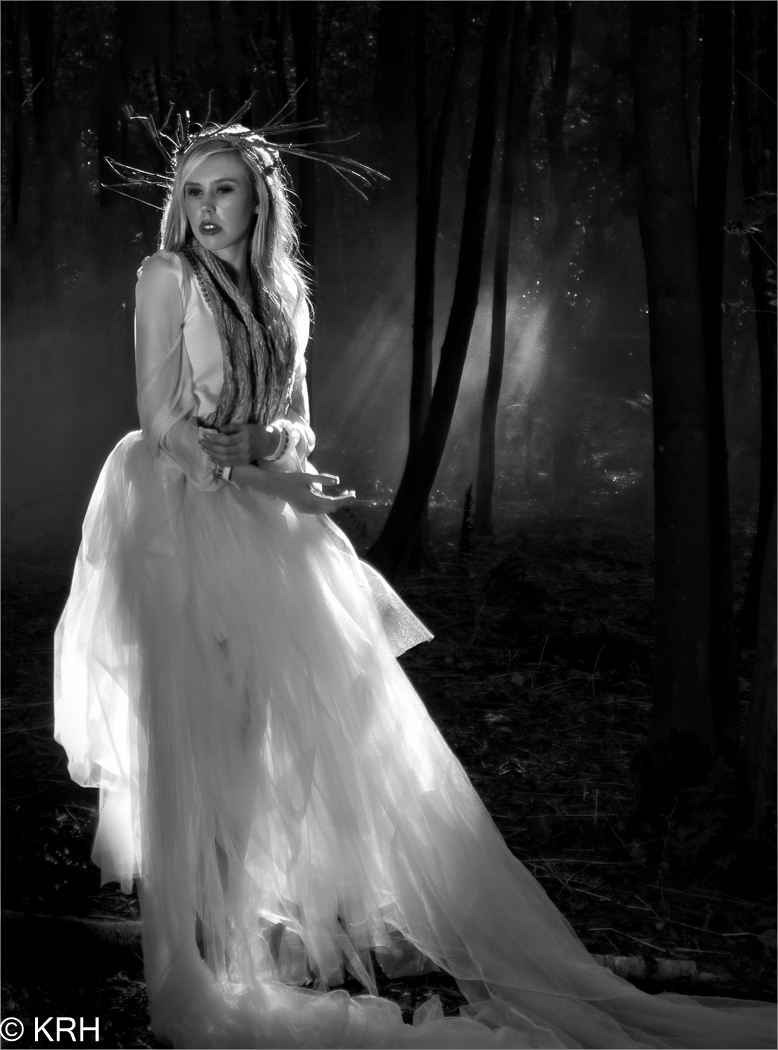
My afternoon was spent with Fern who had a lovely fairy-tale look. We stayed close to the paintball offices and thanks to a lovely long power cable, I was able to run an electric smoke machine to add a layer of mist to the scene.P8160173

There’s nothing more frustrating to me than seeing a workshop organiser shooting photos for themselves at the expense of the attendees. As a result I hardly have a single “good” photo from the day. Fortunately, the photographers who joined us took thousands of shots and below are a few that I’ve been sent so far.

Finally I’d like to thank the unsung heroes of the day. They include the staff at Driver Wood who allowed us use their facilities as a photo location. Anna Matos and here amazing box of make-up. My friends Steve and Stevie, who assisted brilliantly all day. Finally my biggest thanks goes to Sam, who pulled my crazy ideas together and created a workshop unlike any other!

UPDATE
Such was the demand, we ran the workshop for a second time in late September. Once again I was joined by Rob Pugh and Fern who worked just as hard as ever to make the day as brilliant as before. Joining us was model Charlotte Baker and make-up artist Alex Vleck.


Below are a selection of photos from the 12 photographers who came along and made the whole day another massive success.