My 2016 UK Photography Show Schedule

There’s just one week to go until The Photography Show opens its doors at the N.E.C. in Birmingham and this year my free demos are bigger and better then ever. Running from the 19th – 22nd March, it’s easily the UK’s biggest and busiest photography show with 30,000 amateur and professional photographers attending. It’s packed with a great mix of stands from the major photographic suppliers to the small independent retailers.
TPS2016

But this isn’t just another trade show, there’s also loads of things to see and do. There’s a constant stream of free demos and talks on various live stages and that’s on top of all the smaller demos on many of the booths dotted around the show.

I’ll be there for the whole four days giving various talks and demos on Photoshop, portrait lighting and photography. I’ll be dashing from demo to demo (see below) but if you’re coming along it would be great to meet you.

Saturday

11.15 am PiXAPRO E91 Small Space, Big Impact Lighting
12.30 pm Adobe Theatre Photoshop CC Hidden Gems
3.15 pm PiXAPRO E91 One Flash Lighting
4.30pm Olympus E31 Losing A Mirror But Finding Focus

Sunday

11.30 am TPS Live Stage Fearless Flash Photography
12.45 pm PiXAPRO E91 Small Space, Big Impact Lighting
2.00 pm Adobe Theatre Photoshop CC Hidden Gems
3.15  pm PiXAPRO E91 One Flash Lighting
5.00 pm TPS Behind the lens Snap Happiness (Talk)

 Monday

11.00 am Adobe Theatre Photoshop CC Hidden Gems
12.15 pm PiXAPRO E91 Small Space, Big Impact Lighting
2.15 pm PiXAPRO E91 One Flash Lighting
3.30 pm Adobe Theatre Photoshop CC for Photographers
5.30 pm TPS Networking Event Mega Mess Ups! (Talk)

 Tuesday

11:00 am Adobe theatre Photoshop CC Hidden Gems
12.15 pm PiXAPRO E91 Small Space, Big Impact Lighting
2.15 pm PiXAPRO E91 One Flash Lighting
3.30 pm Adobe Theatre Photoshop CC for Photographers

All my demos are free and available on a first come first served basis. There’s no need to book but as the Adobe theatre in particular has limited seating I’d recommend getting there early!

Show tickets are free for professional photographers and the trade (if booked in advance) and £13.95 for enthusiasts (£18.00 on the door)
Fearless Flash For Speedlights

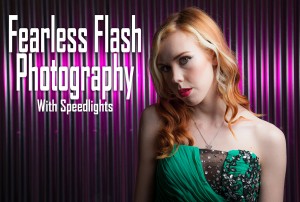
I love shooting portraits with small flashes and judging by the number of questions I get about the subject, I’m not alone. I’ve run many workshops on the subject, I use speedlights during my live talks to camera groups and yes, I really do use them in my day to day work. But I’ve never made a complete video series on how to get the most from them… until now.

I’ve been working on the Fearless Flash Photograghy video series for the past few months and I’m really thrilled it’s finally completed.
More info here…


If you’re looking to get big results from small speedlights, this course is for you and I’ll walk you through everything you need to know to get up and running with speedlight photography.

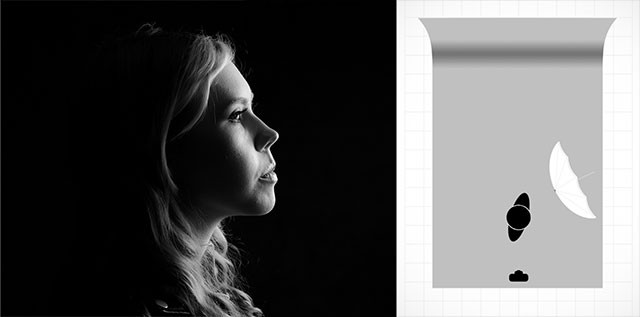
Fearless-Flash-Cover-GavtrainIn this video series you’ll learn more than just what gear you need, you’ll discover the craft of working with speedlights as I put theory into practice on some simple but stunning shoots. Working with three great models, I’ll share my favourite one flash setups and double light setups that can be quickly reproduced in any studio big or small, permanent or portable.

The course is packed with great information but you don’t need a specific camera or flash brand to follow along. It includes plenty of lighting diagrams and a BONUS video with my quick tips for post processing the images shot during the making of this series.

You choose to either rent the videos and watch online for a month or buy the series and download or watch online at anytime.
More info here…

Fearless-Diagram-2

Bokeh – Friday Freebie

Recently I visited the historic city of Winchester which was decked out with wonderful Christmas lights. Not surprisingly I couldn’t resist grabbing a few shots, especially around the pretty little Christmas market.

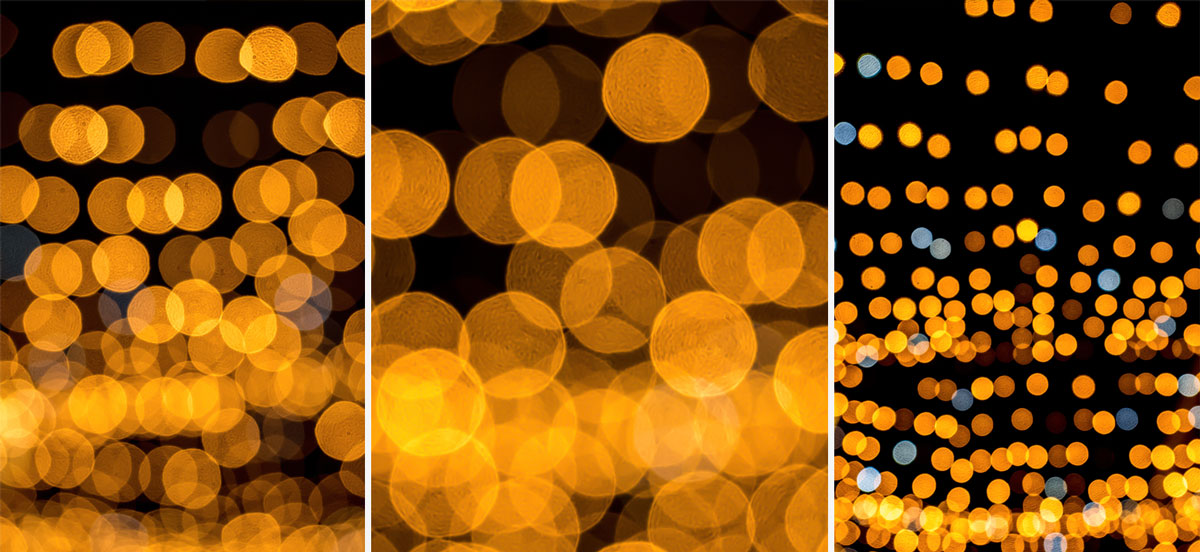
But I didn’t just stick to the usual type of photos, I also shot some bokeh images that might come in handy as backgrounds or textures for other photos. You can download them here:
https://drive.google.com/file/d/0B_Mmmm3K1utNMkRIWHhUUnFlMW8/view?usp=sharing

BOKEH-FF

The shooting technique is simple enough. I used a wide open f/2.8 aperture and manually focused to 20cm. I then pointed my camera at the Christmas lights and zoomed in or out to adjust the size of the bokeh circles.

I’ve shared three of my favourite bokeh patterns in this Friday Freebie, I hope you find them useful.

If you create a photo using the Friday Freebie then let me (and everyone else) know by leaving the link in the comments below.

Usage rules
The image is copyright Gavin Hoey 2015. Use is limited to any personal but non-commercial purposes. Please share the Friday Freebie by linking back to this page. Do not redistribute the original image without my permission.

Download instructions
1. Click on the correct download link below (no sign up is needed)
https://drive.google.com/file/d/0B_Mmmm3K1utNMkRIWHhUUnFlMW8/view?usp=sharing

  1. Click the Download button download_icon
  2. The download should start automatically
  3. No support is provided with the Friday Freebies. If you need helpGoogle or YouTube the question and you’ll almost certainly find the answer

Photoshop vs Make-Up

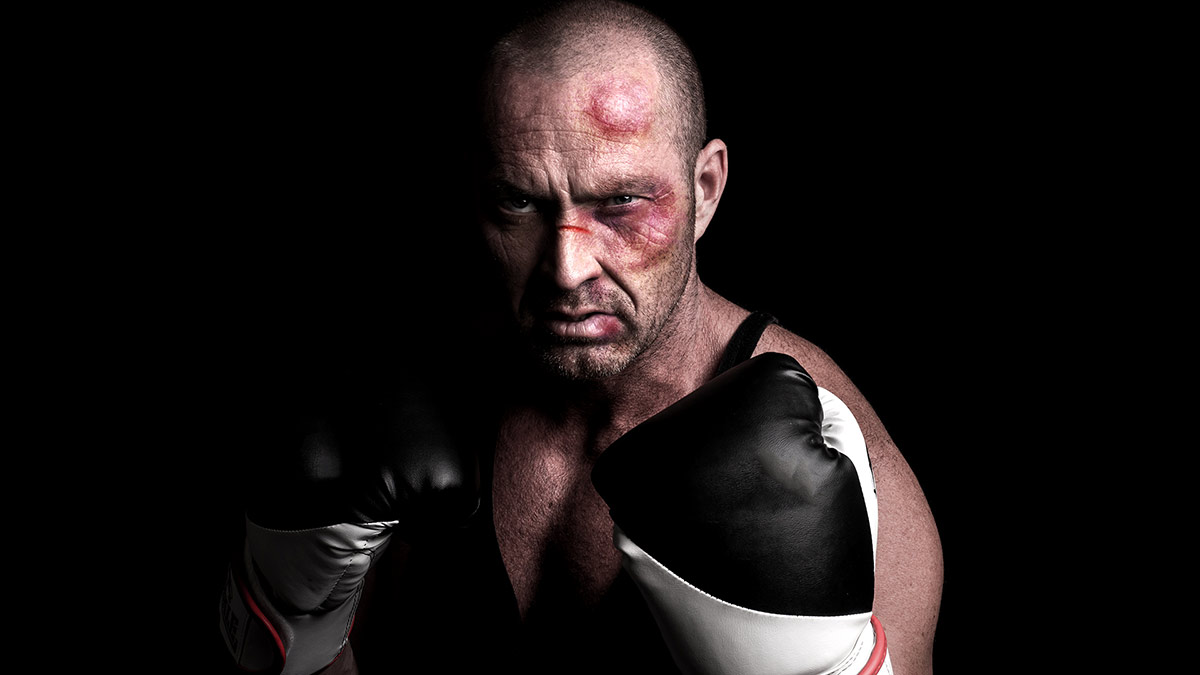
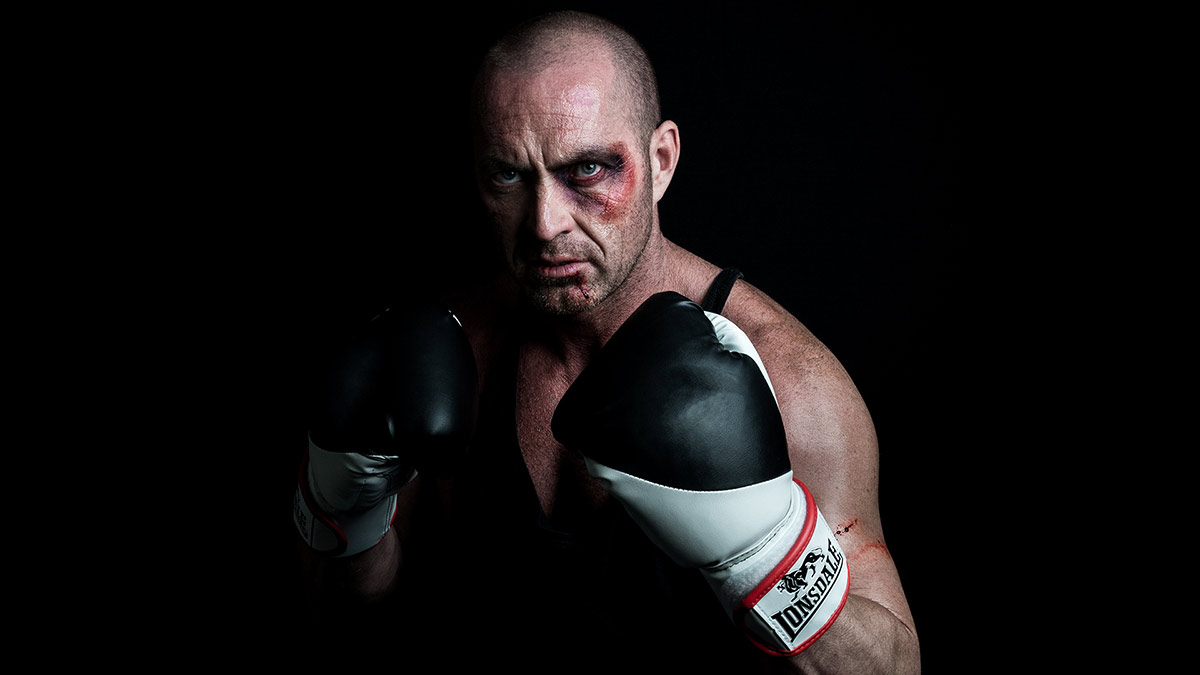
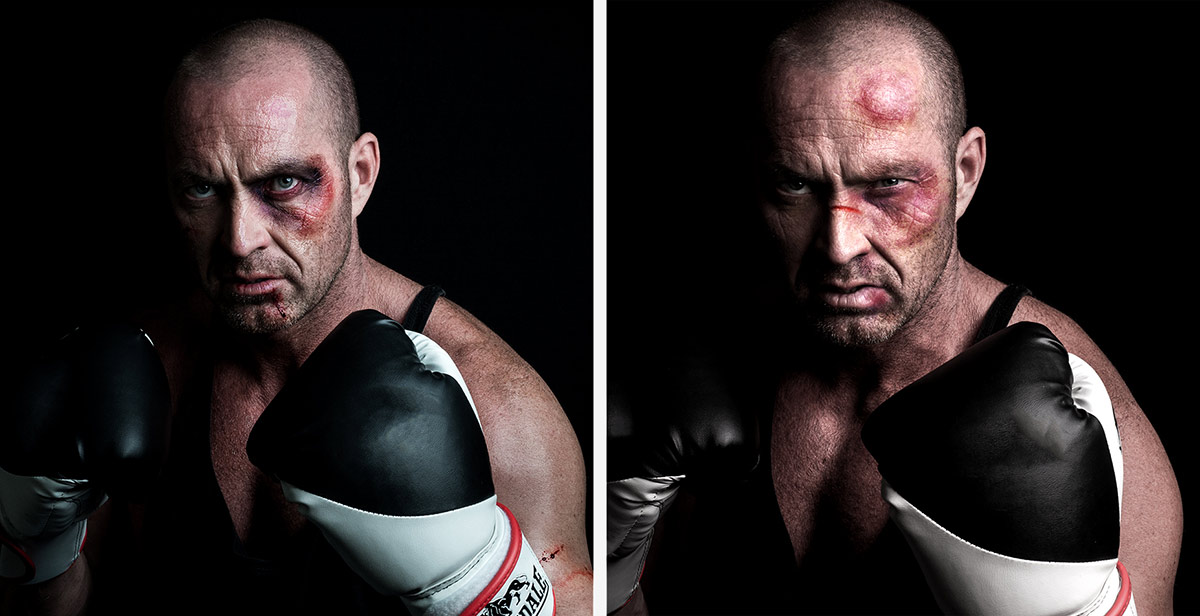
If you’re shooting any kind of portrait, the value of good quality make-up can’t be underestimated. For example, editing time can be massively reduced in family photo shoots by applying a little powder to reduce shiny skin on men. More creative photo shoots often demand more elaborate make-up and whilst I always try and get things as good as possible in camera, I do enjoy a spot of Photoshop fun.

So I decided it put make-up and Photoshop head to head in a battle to see which was better. You can see the results in the video below.
[youtube]https://www.youtube.com/watch?v=PUWY5jvCdG4[/youtube]

Photoshop
For a single photo, given enough time and skill it’s perfectly possible to create the effect of bruises. In fact using tools such as liquify I could create some pretty convincing swelling that make-up alone couldn’t do.MUA-vs-PS-2

Of course the downside is I’d need to do this to every photo and there are plenty of make-up styles that would be far harder (if not impossible) to recreate in post-production.


Make-Up

Give the choice, this is the way to go. An experienced make-up artist will be able to create amazing looks and once applied the make-up is there shot after shot, after shot.MUA-vs-PS-3

Of course there’s no reason why Photoshop and make-up can’t be combined and that has the potential to take your portrait photography to a whole new level.MUA-vs-PS-1

Day to night in a flash

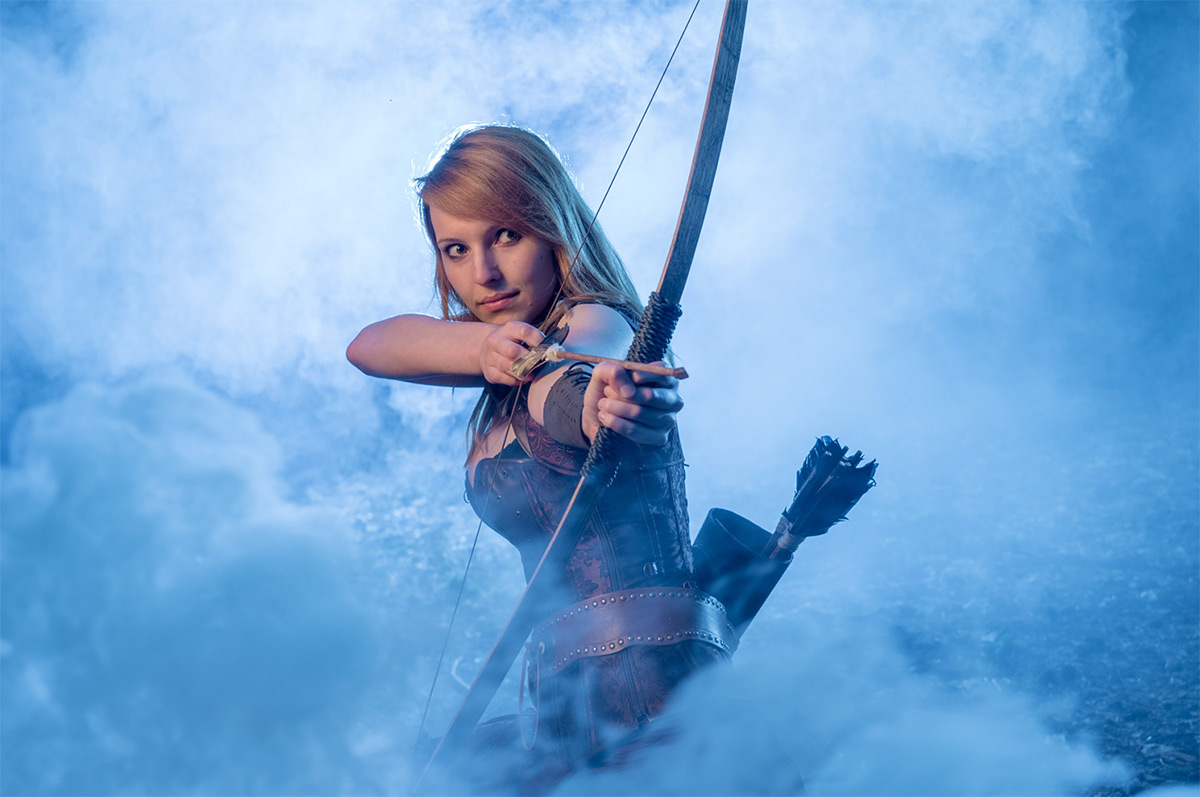
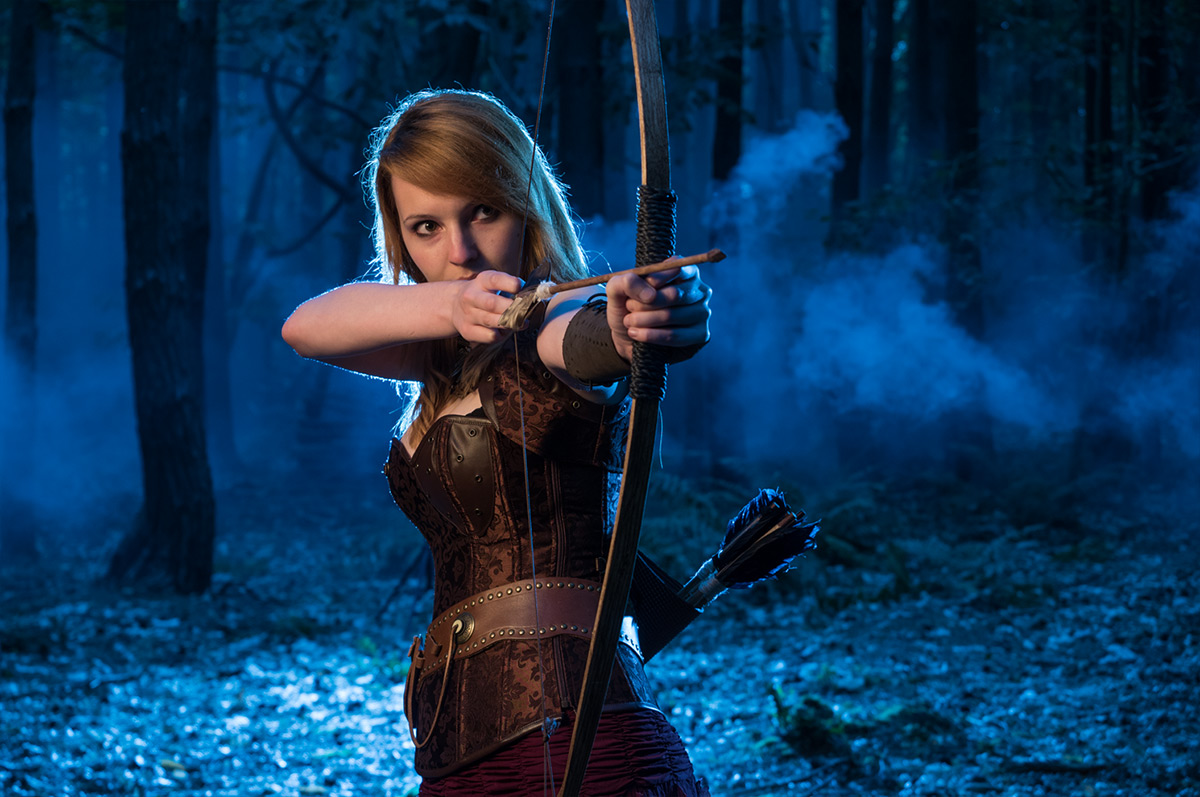
Shoots at night can yield some stunning photos but the lack of light has a bunch of problems that can easily trip you up… literately. However if you have a little bit of flash know how, it is possible to do a portrait shoot and make day turn to night in just a few steps. Here’s how I did it in four steps

Step 1 – Underexpose the ambient

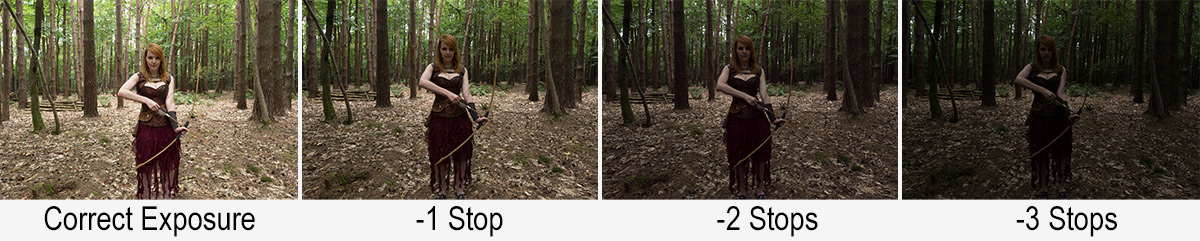
Unless you live in the Polar regions night time is usually associated with a lack of light, so the first thing I had needed to do was convince my camera to see less light. One way to do this is by using exposure compensation and dialing in a negative amount but because I was going to use flash to light the model I took a different route.

Day-Night-1

Flash and Manual mode go hand in glove, so switching to manual is the way to go. After setting the aperture to f/4 and the ISO to 200 the correct shutter speed turned out to be a feeble 1/10th second. By halving the shutter speed to 1/20th I underexposed the ambient light by 1 stop. 1/40th second gave me another stop and finally 1/80th second underexposed by three stops and gave a shot that was dark but not black.

Step 2 – Set the flash

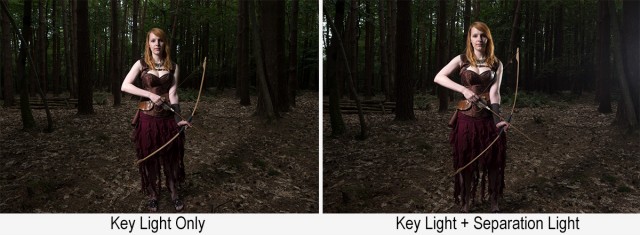
1/80th second gave a nice dark background but also underexposed the model, that’s where flash comes in. With the key light in place all I had to do was set my flash meter to match my camera (1/80th sec, 200 ISO) and adjust the flash power until I hit f/4 on the meter.

Day-Night-2

So now I’ve got the flash power to match my camera setting and giving a perfect exposure on the model, however the same camera settings are under exposing the background keeping it dark.

Once the key light was in I added a second light to separate the unlit side of the model from the dark background.

Step 3 – Moon light

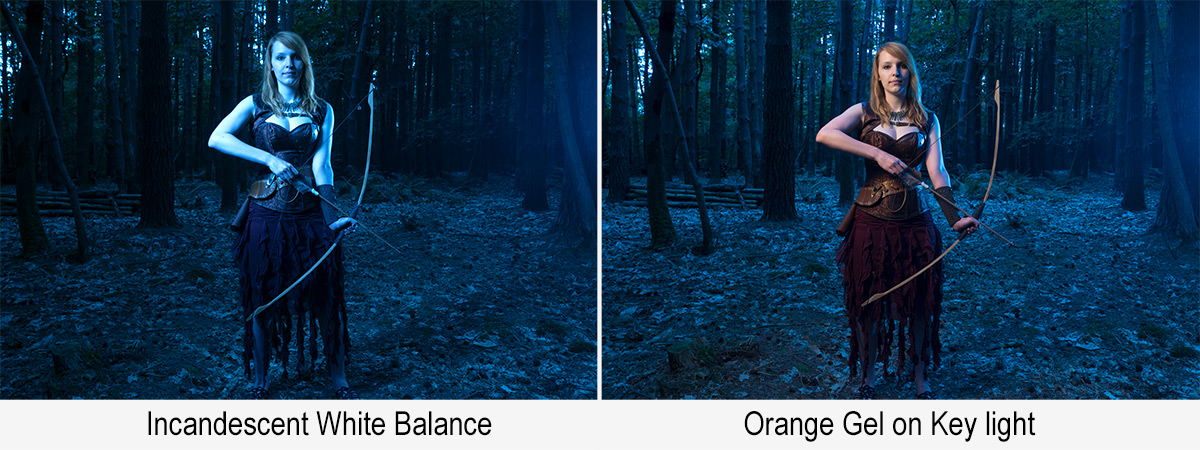
Thanks to Hollywood we assume that the moon always comes out at night and it produces blue light. Of course neither is true but let the dream live I say. Turning the warm afternoon light blue is as simple as setting the wrong white balance. Switching to Tungsten or Incandescent white balance will do the job in camera or it can be changed in Lightroom / Photoshop Camera RAW.

Day-Night-3

The blue looks great on the background but a bit odd on the model, so to warm her up I added an orange gel to the main flash. There are gels marked as CTO (Colour Temperature Orange) which should perfectly balance out the white balance but I don’t have one.  Luckily Lightroom / Photoshop Camera RAW can easily fine tune the colours, especially if you do the same as me and shoot a gray card in the same light.

Step 4 – Moody Mist

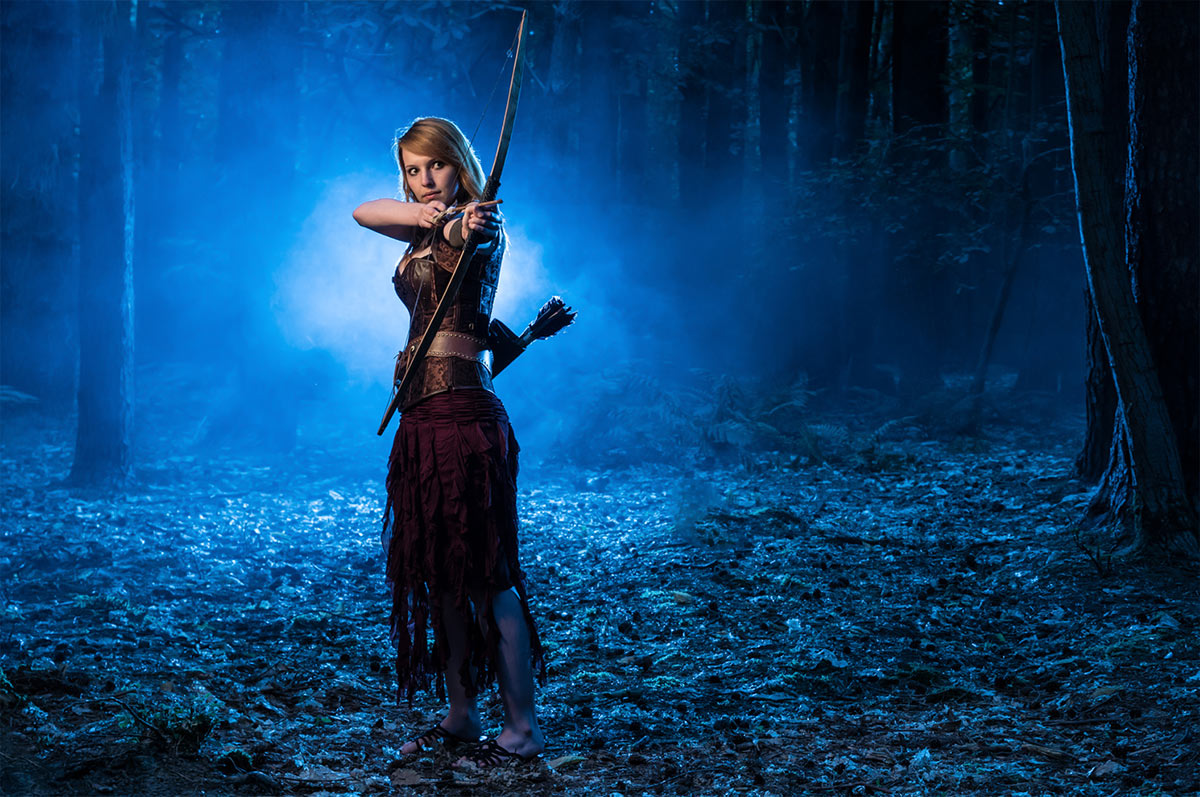
This is the fun bit. Again I’ve got the movies to thank for this but adding a little bit of mist seems to sell us the whole night feeling. It also helps to cover up anything distracting in the background and by adding a third light right behind the model (and the smoke) adds a splash of light to an otherwise dark scene.

There are many ways to make smoke. Being a long way from a power supply I opted for smoke grenades. You’ll find them at your local paintball / airsoft park and whilst they’re not cheap, they do offer a safe and reliable source of smoke. I used two Enola Gaye smoke grenades which gave around 90 seconds of smoke each. Yes after all that setting up the whole shoot was over and done in under three minutes!

So there you have it, day to night is perfectly possible and whilst the results are very different from really shooting after dark, they look pretty darn good to me.

[youtube]https://www.youtube.com/watch?v=aGsQxXUEvc4[/youtube]

Food Photography Workshop

One area of photography that you may not know that I work in is food photography. You’ll rarely see any food photos on this blog but there’s plenty over at Sams Kitchen, which is the blog run by my wife Sam.

Sam is a food writer and recipe creator and also a darn good food photographer. Her work regularly appears in various foodie magazines as does her (and my) photos.

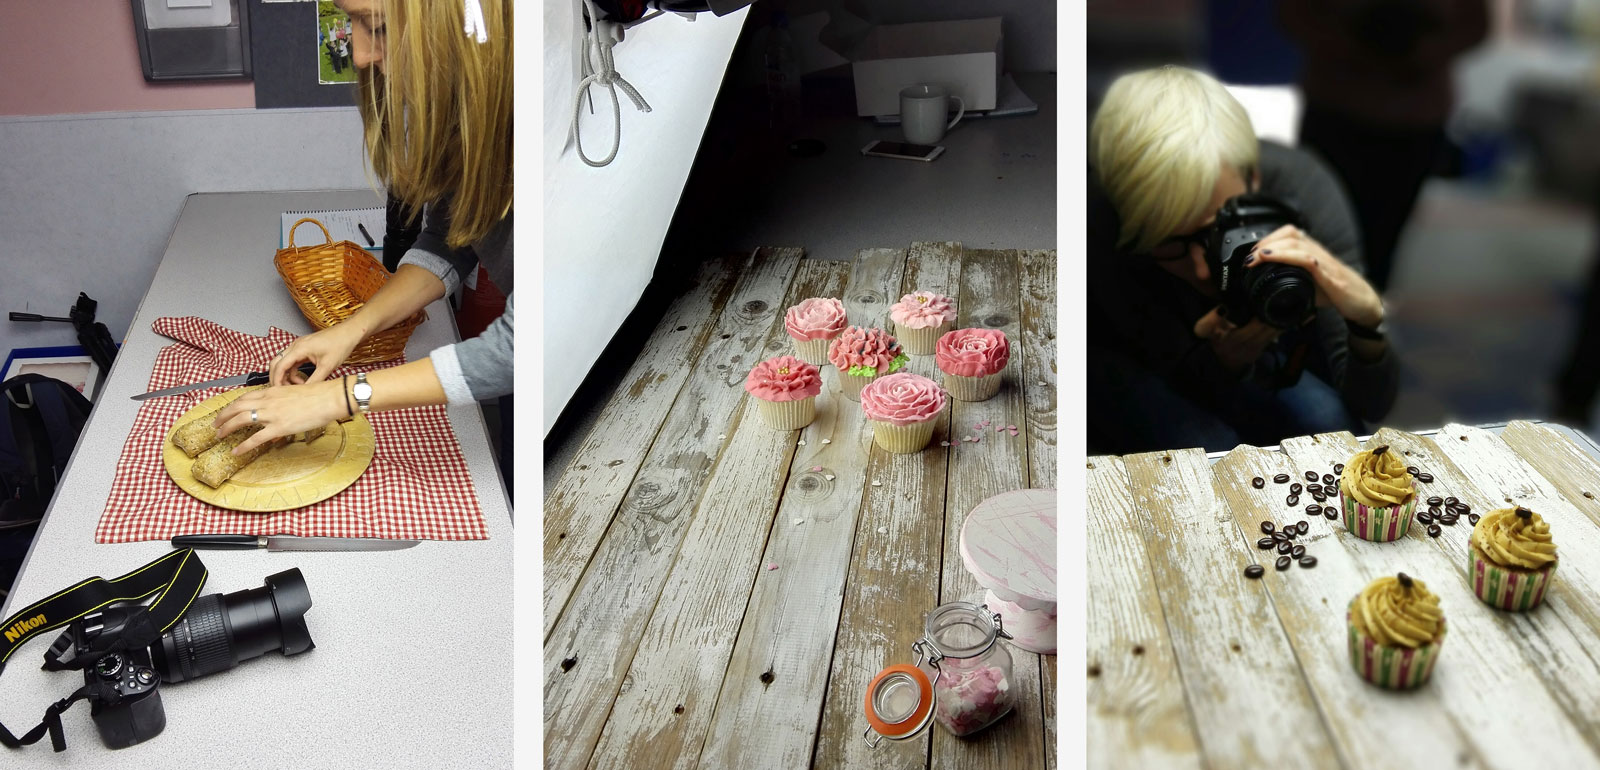
A few weeks back we ran a food photography workshop and will be running it again on the 13th June… Details of the next food photography workshop are here.Food-workshop-1

The workshop was aimed at bakers who wanted to improve their food photography and photographers who wanted to learn the real basics of how the camera worked whilst photographing some great looking baked goodies.

The day was great fun with Sam demoing various food set ups and style tips, whilst I ran around answering camera questions and running through some really quick and simple post processing trick in Photoshop Elements.
[youtube]https://www.youtube.com/watch?v=ziA0gCr2X28[/youtube]
It was really great to see people getting excited about food photography and discovering how really simple changes in styling and shooting made huge improvements to the photos.

If you’d like to get involved in the next workshop visit www.samskitchen.net/?page_id=1682 for more information.

Making The Most of Motivated Lighting

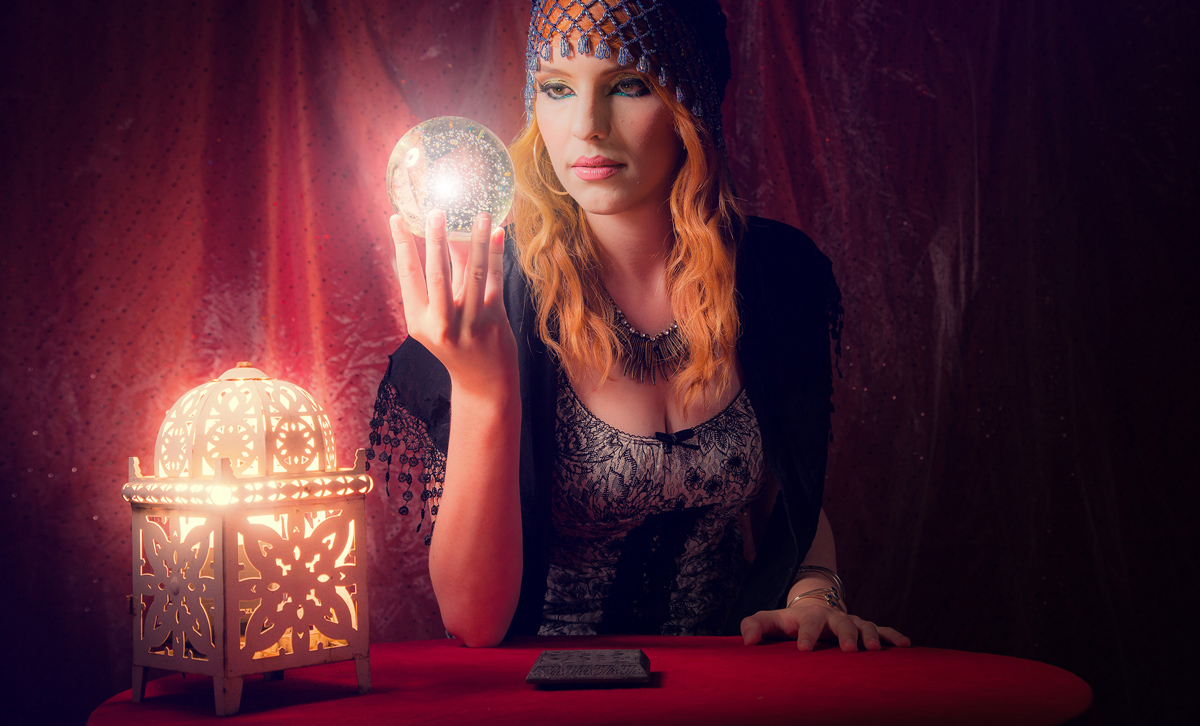
Motivated light is a term that’s more normally used in the world of the movies but there’s no reason for us stills photographers not to be aware of it and use it to create some great effects.

So what is motivated light? Put simply if you can see (or think you can see) the source of the light that’s illuminating the scene, you’re looking at a motivated light. But there’s a bit more to it than that.

Kerry-Fortune-Teller-(2)

Usually I go to great lengths to avoid seeing my lights in the shot, especially if the light is directed towards the camera lens. Even a tiny edge of light in the frame can play havoc with contrast and flare. If I have to see a light I can minimise flare by turning the power right down but then it doesn’t produce the light needed to get the exposure right. So how can I have the motivated light source in the scene and keep control of the exposure?

The answer is… I cheat!

In the video below I’ll look at two ways to create motivated light. The first way is in camera by teaming a low powered flash with a high powered flash that’s out of shot but in the same direction. The second way is by creating the effect in Photoshop.

[youtube]https://www.youtube.com/watch?v=U6sZlhhe3h4[/youtube]

Of course motivated light doesn’t have to be done like this and by definition motivated light can be something as simple as a window or room light that’s in the shot. So the chances are you have used motivated light in the past without even knowing it.

Model: Kerry Allingham
Make-Up: Anna Matos

Gear used in this video

Canon 5D Mark III www.adorama.com/ICA5DM3.html?KBID=67338

Canon EF 24-105mm f/4L IS USM Lens www.adorama.com/CA24105AFUC.html?KBID=67338

Flashpoint Light Stand www.adorama.com/FPLS9.html?KBID=67338

Black Rapid RS-7 Strap www.adorama.com/BRRS7.html?KBID=67338

Flashpoint StreakLight 360 Ws Creative Collection www.adorama.com/FPLFSL360K2.html?KBID=67338

Sekonic L-308S Flashmate www.adorama.com/SKL308S.html?KBID=67338

Flashpoint Zoom Li-on Manual On-Camera Flash http://www.adorama.com/FPLFSMZL.html?KBID=67338

Smoke Machine Background

One of the draw backs of working in any studio is the finite nature of the backgrounds you can work with during a shoot. Of course if you’re handy at a bit of DIY you can build your own sets and create some amazing backgrounds but that takes time and besides, carpentry isn’t one of my strongest skills as you’ll see when I made my current studio background.

So what can you do to quickly change the background? Well I have a bunch of different fabrics which work really well but as you’ll see in this video, nothing beats the smoke machine for effect and downright fun!

[youtube]https://www.youtube.com/watch?v=LvLjiahVBrs[/youtube]

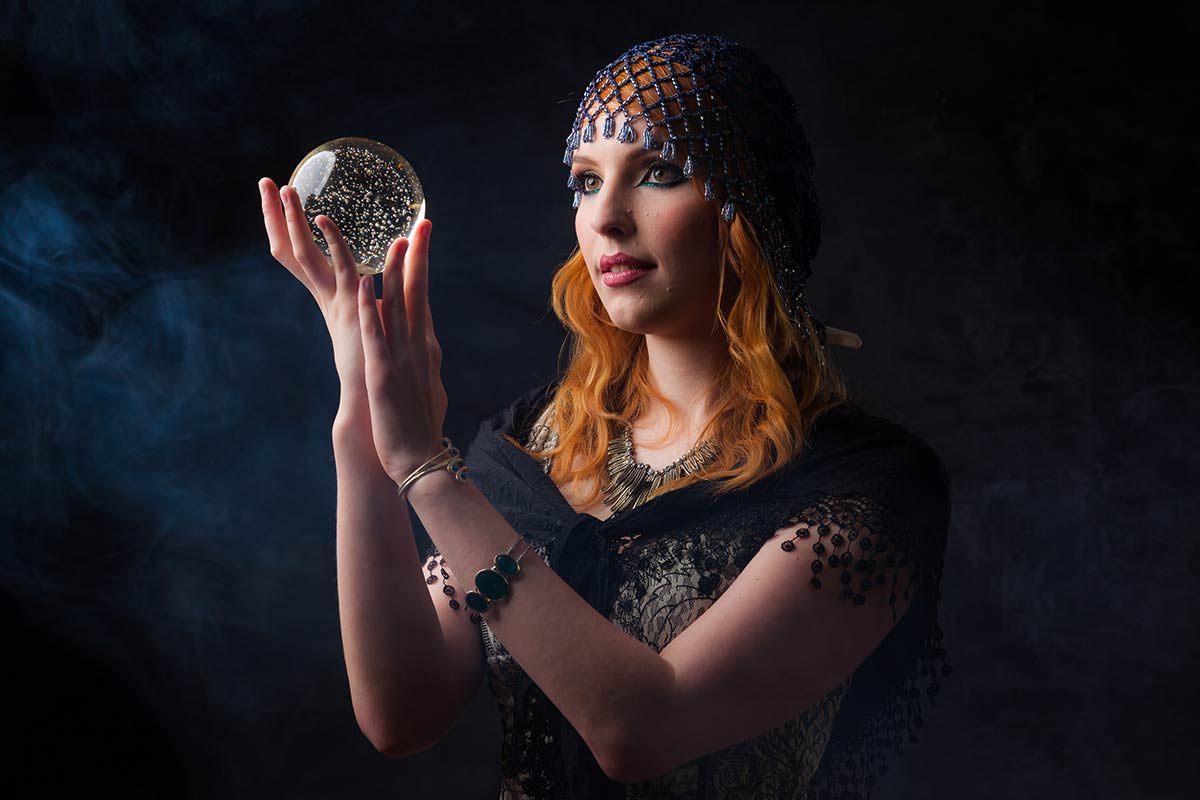
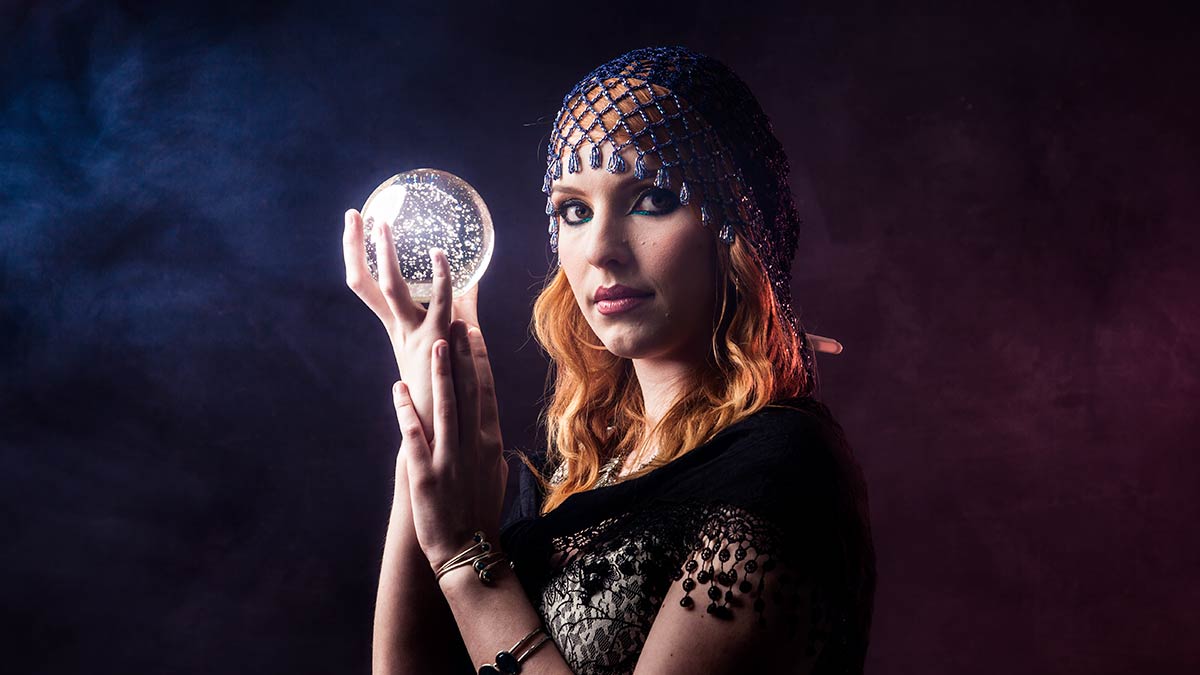
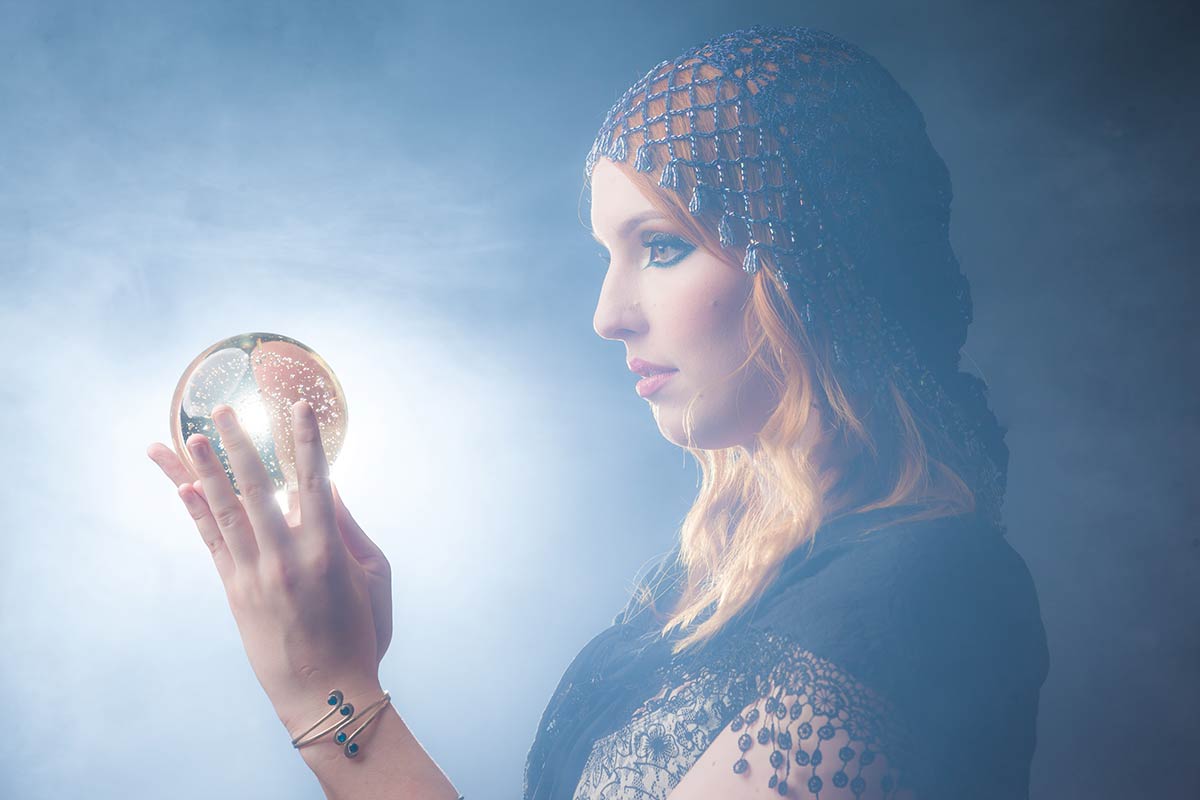
That shoot was part of a series I shot with a Fortune Teller theme and the smoke machine was perfect for the background, as the smoke builds up, the effect changes from a slight haze to thick fog.

Kerry-Smoke-1

The smoke is a whitish/blueish colour so to get the full effect of the smoke you’ll need a dark background and ideally a light to illuminate the smoke from either the side or back.

Kerry-Smoke-2

Adding a splash of colour to the fog is as easy as popping a coloured gel on the flash that illuminating the fog. In this case I added a red gel to the flash on the right and increased the saturation of the natural blue colour of the fog in Photoshop.

Too much smoke can ruin the shot by reducing contrast, especially if you light it from the front. For that reason I keep any smoke shots until the end of the shoot.

Kerry-Smoke-3

Finally it’s worth checking that the smoke “juice” is water based to avoid leaving a residue all over your studio and is non toxic… pretty obviously. The smoke builds up pretty quickly so also keep a check on the model and anyone else in the studio. At the first sign of problems get some fresh air.

Model: Kerry Allingham
Make-Up: Anna Matos

Gear used in this video

Canon 5D Mark III www.adorama.com/ICA5DM3.html?KBID=67338

Canon 50mm f/1.8 II www.adorama.com/CA5018AFU.html?KBID=67338

Flashpoint Light Stand www.adorama.com/FPLS9.html?KBID=67338

Black Rapid RS-7 Strap www.adorama.com/BRRS7.html?KBID=67338

Flashpoint StreakLight 360 Ws Creative Collection www.adorama.com/FPLFSL360K2.html?KBID=67338

Sekonic L-308S Flashmate www.adorama.com/SKL308S.html?KBID=67338


Curtain Action – Friday Freebie

It’s been a while since I’ve done a Friday freebie so lets put that right with a Photoshop action.

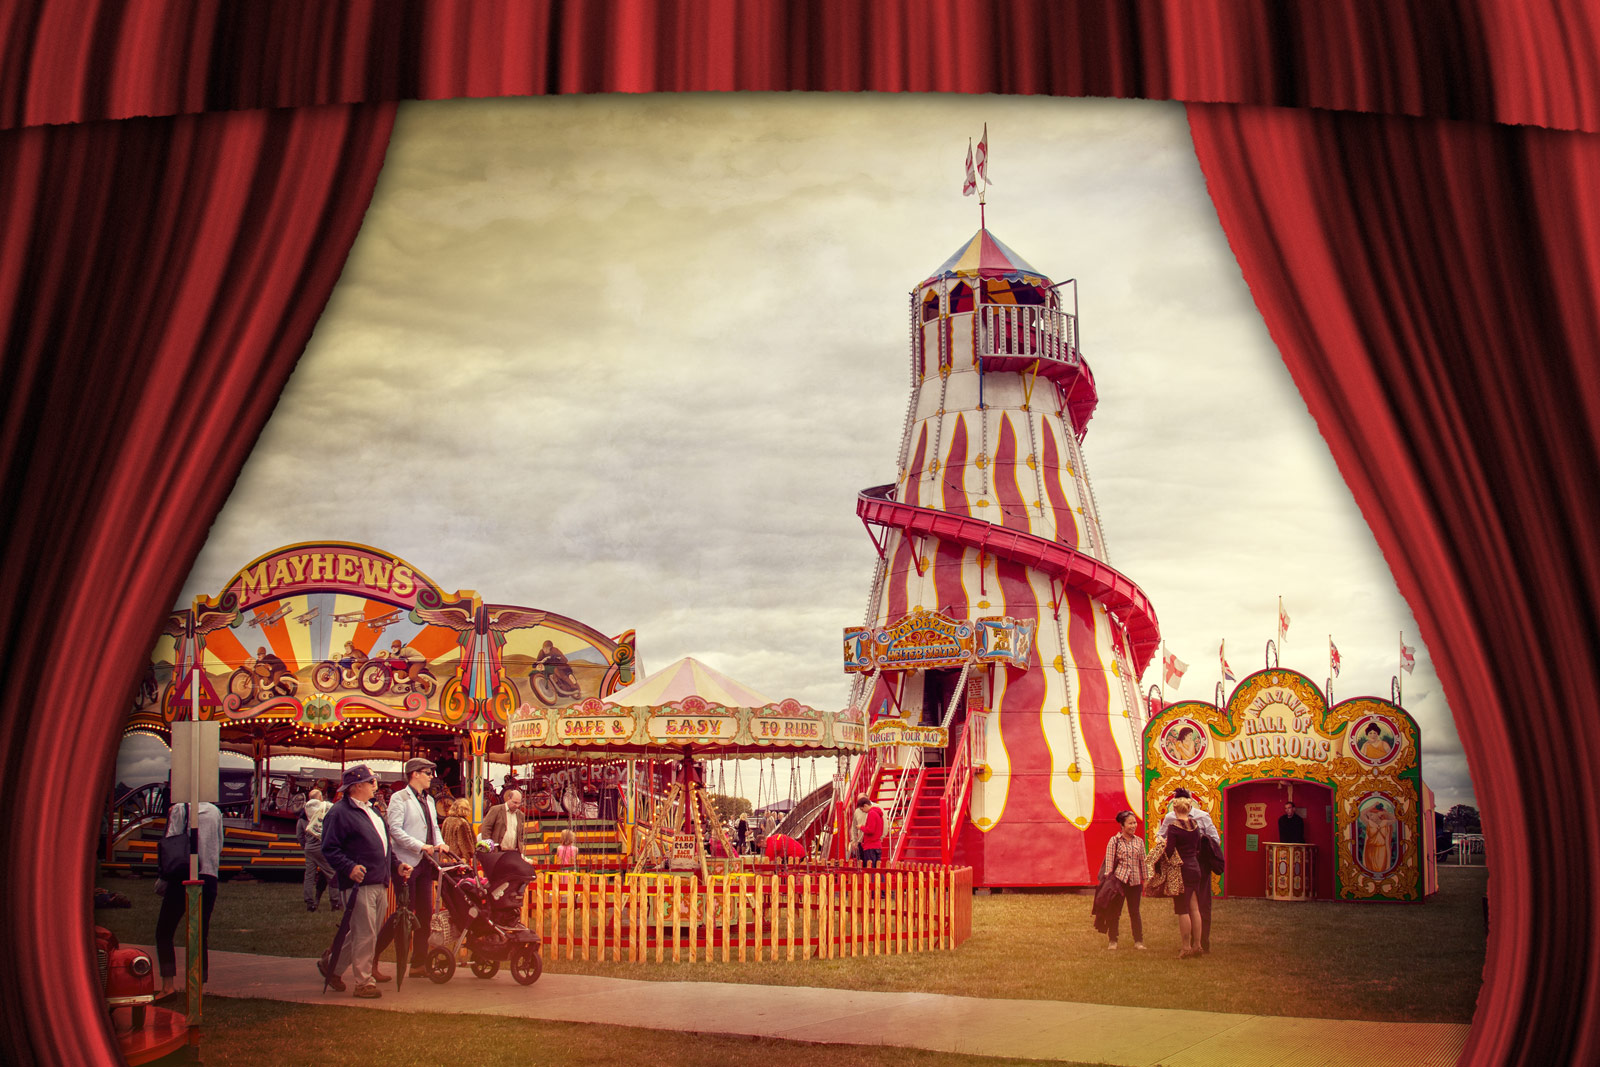
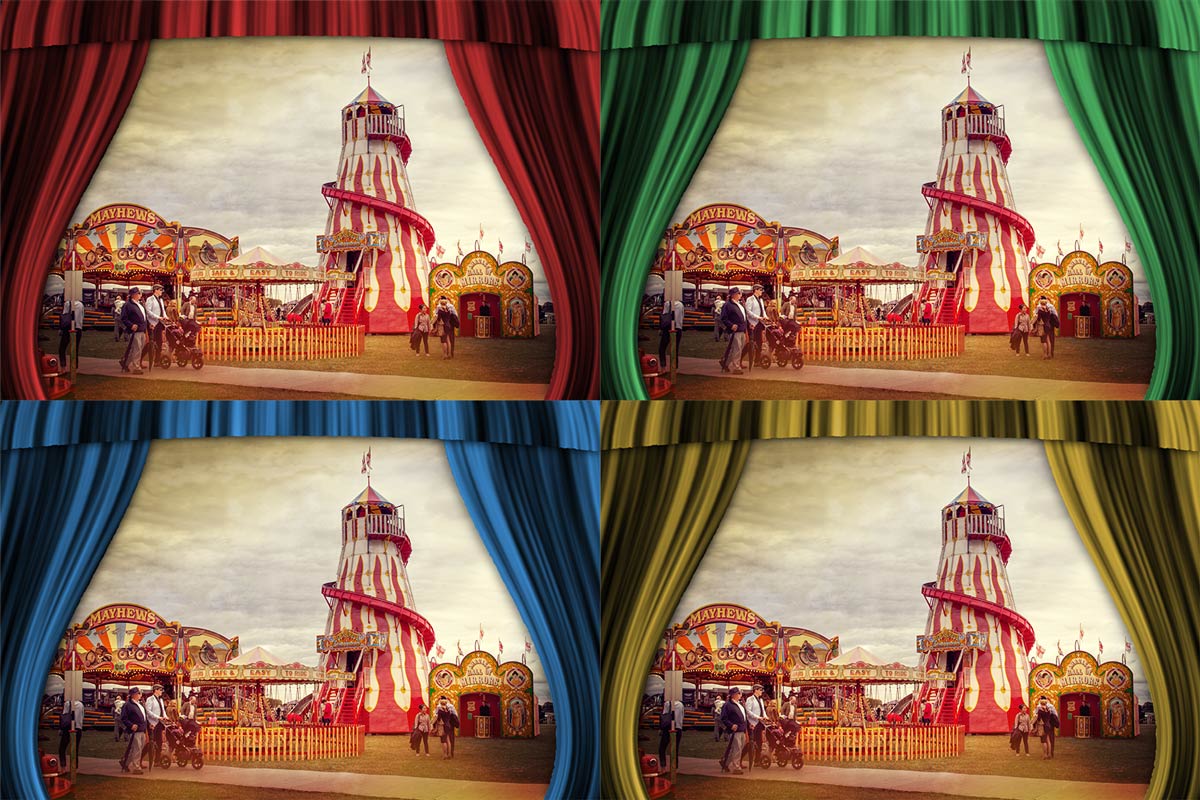
This Action creates a set of beautiful curtains in a theatrical style with a single click of your mouse. There’s four colours to choose from and it’s a brilliant way to frame your vintage style images. The curtains are created from scratch using standard Photoshop filters and effects and to add an extra touch of realism they have a ragged edge and a gentle bow.

Full download instructions are below but you can also Download the Curtain Action

Basic-Curtains

Once downloaded just unzip and install the action into Photoshop. Unfortunately this action is unsuitable for  Photoshop Elements

To use the action, start with the photo you wish to use already open in Photoshop and then play one of the four actions in this set. The first thing it does is make a copy of your photo so the original will be untouched and safe. There’s a lot of things for Photoshop to do with this action so it may take a minute or two to run through.
DO NOT switch to another image whilst running the action.

There are no options or controls for this action but at the end you may need to use Free Transform (CTRL+T) to re-size and re-positing your photo under the curtains

The action will work with Photoshop CC2014, CC, CS6, CS5 and CS4

If you create a photo using the Friday Freebie then let me (and everyone else) know by leaving the link in the comments below.

all-curtains

Usage rules
The action is copyright Gavin Hoey 2015. Use is limited to any personal but non-commercial purposes. Please share the Friday Freebie by linking back to this page. Do not redistribute the original image without my permission.

Download instructions

he direct link to download the actions is https://www.gavtrain.com/wp-content/uploads/2015/05/Cutains-Gavtrain.zip

You must UNZIP the action before installing it in Photoshop

No support is provided with the Friday Freebies. If you need help Google or YouTube the question and you’ll almost certainly find the answer :-)

Flash Duration To Freeze Action

One of the many amazing things you can do with flash is use it to stop fast moving things in their tracks. Unlike working with a continuous light it’s not the shutter speed that freezes the action, it’s the tiny amount of time that the flash lasts… its duration.

Flash-Duiration-Final

Basically it works like this. The more light you need the longer the flash duration, so reducing the flash power shortens the flash duration and increases it’s freezing power.

Different flashes produce very different flash durations and older design studio heads worked in a very different fashion but if you take a standard speedlight as an example, it will have a flash duration of around 1/200th second at full power and 1/10,000 sec at minimum power.

In the video below I put the theory into practice by bumping two wine glasses together and photographing the results with different flash powers

[youtube]https://www.youtube.com/watch?v=WwcFbRUfHkk[/youtube]

In case you’re wondering, the wine glasses are made of plastic and I drilled two tiny holes in each to attach them to the fishing line.

Gear used in this video (Links to Adorama)

Canon EOS 60D Digital SLR Camera Body Kit

Canon EF 24-105mm f/4L IS USM AutoFocus Wide Angle Telephoto Zoom Lens

Flashpoint Zoom Li-on Manual On-Camera Flash

Vanguard Alta Pro 284 Carbon Tripod

Universal Swivel Holder

Flashpoint Pro Air Cushioned Heavy Duty Light Stand