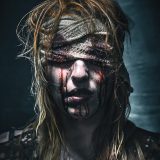
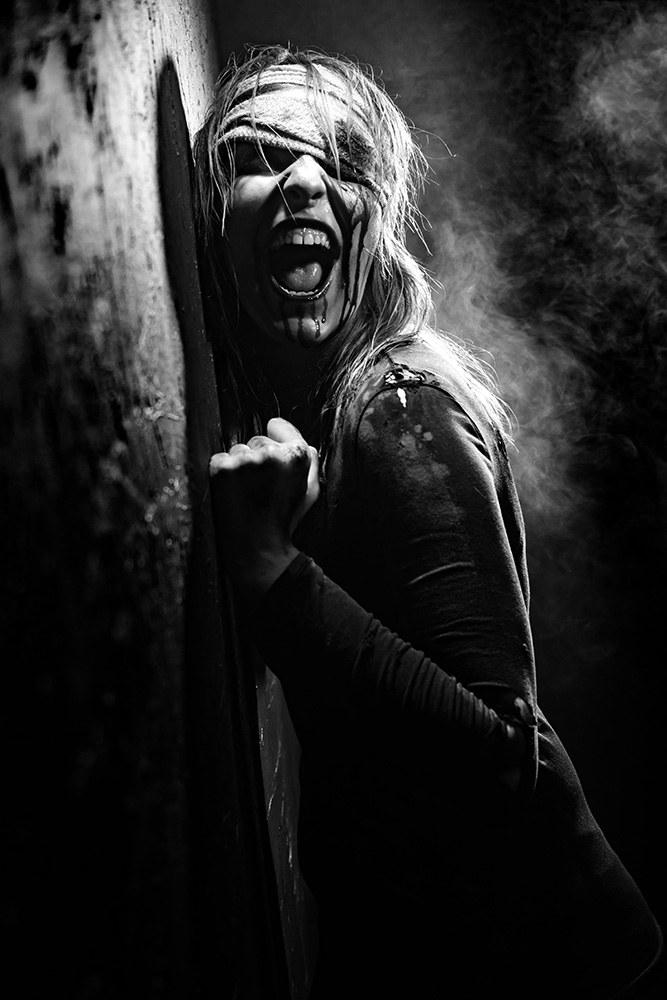
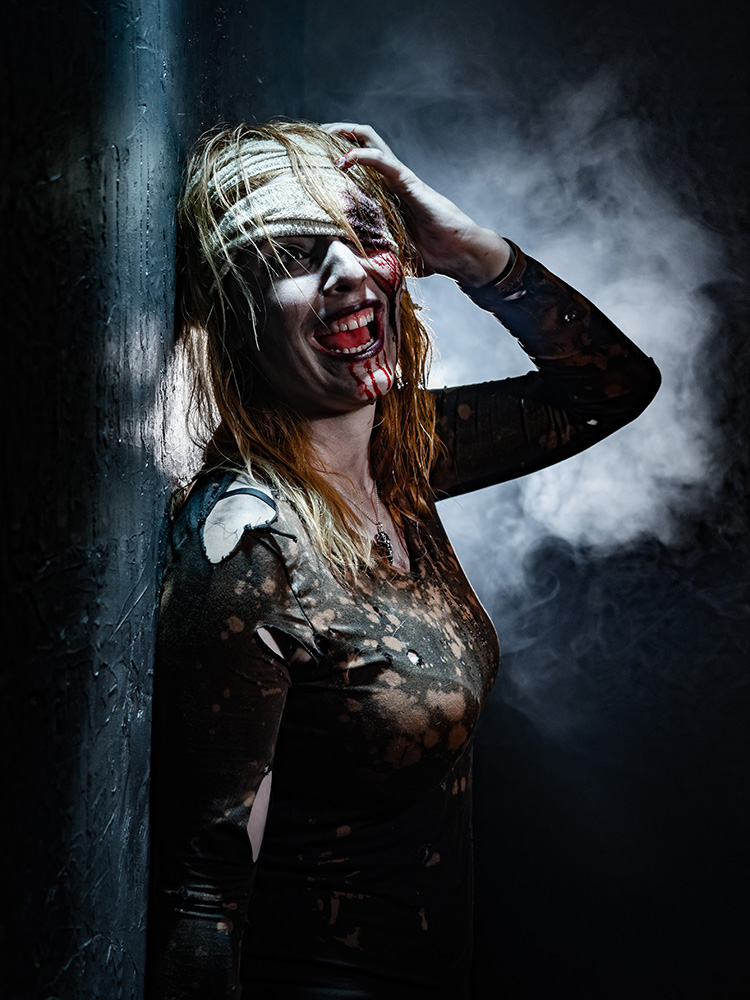
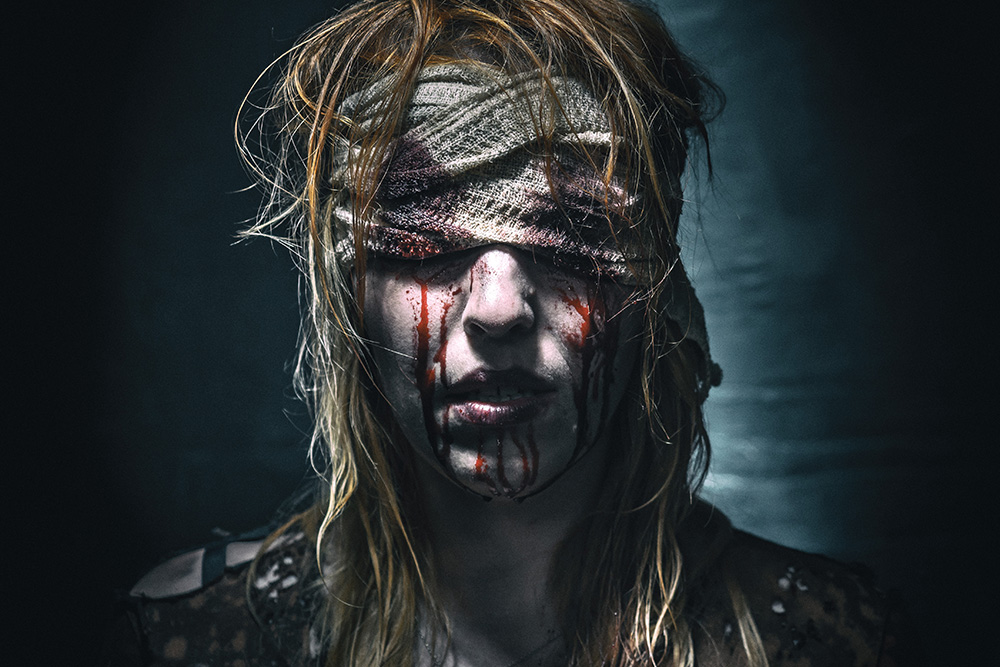
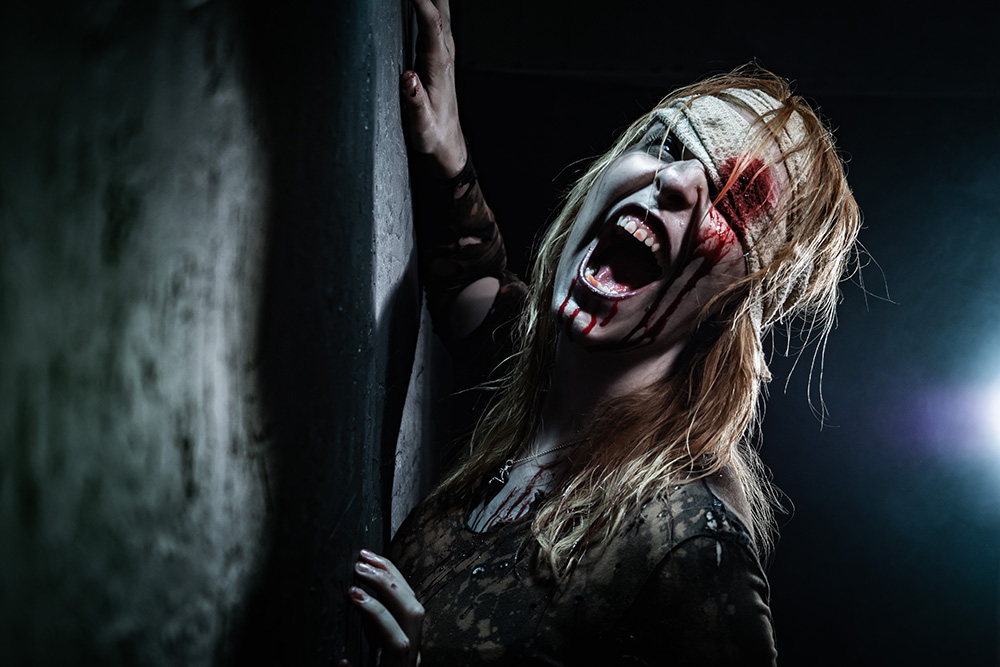
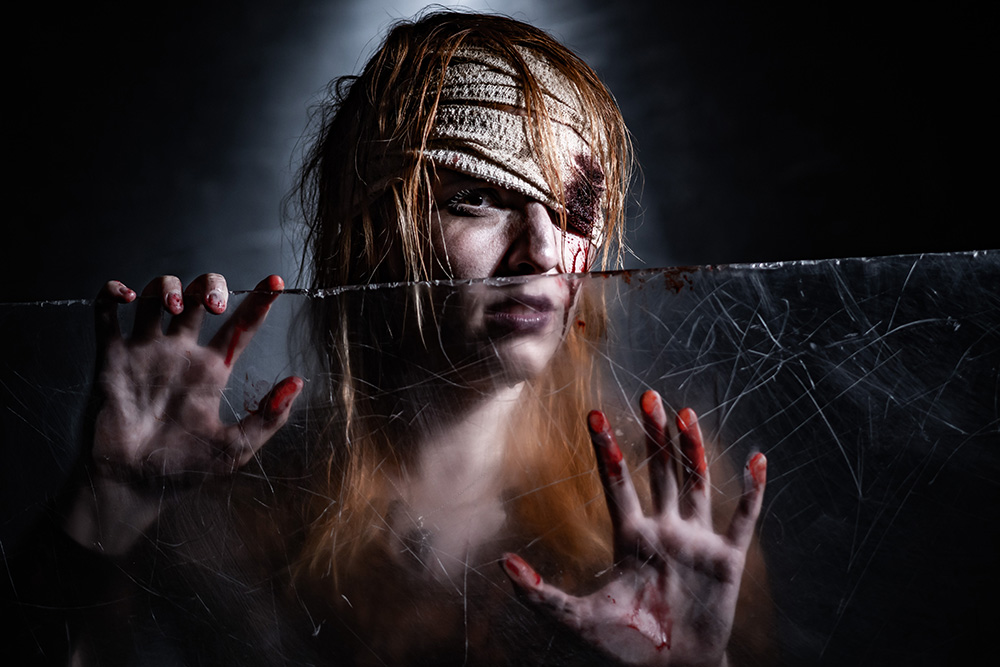
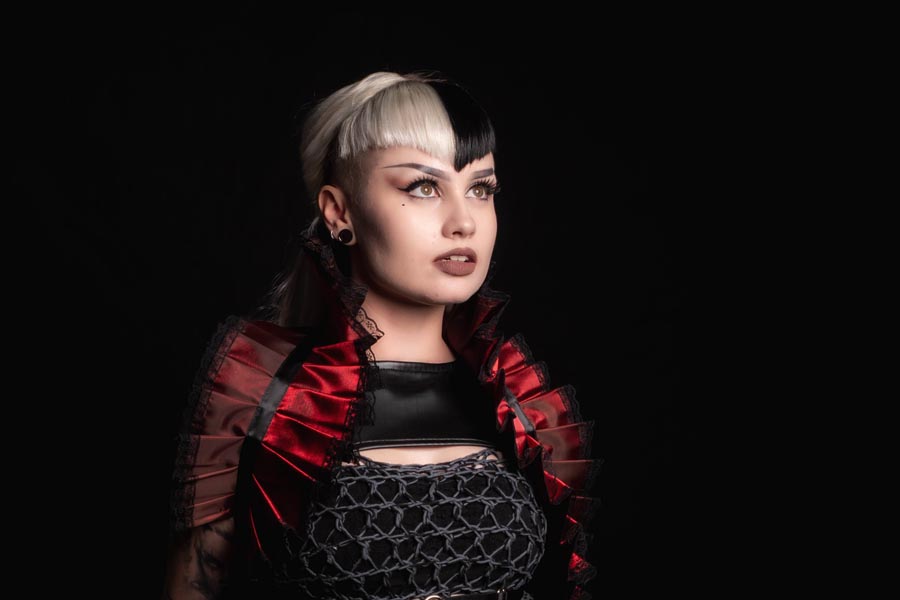
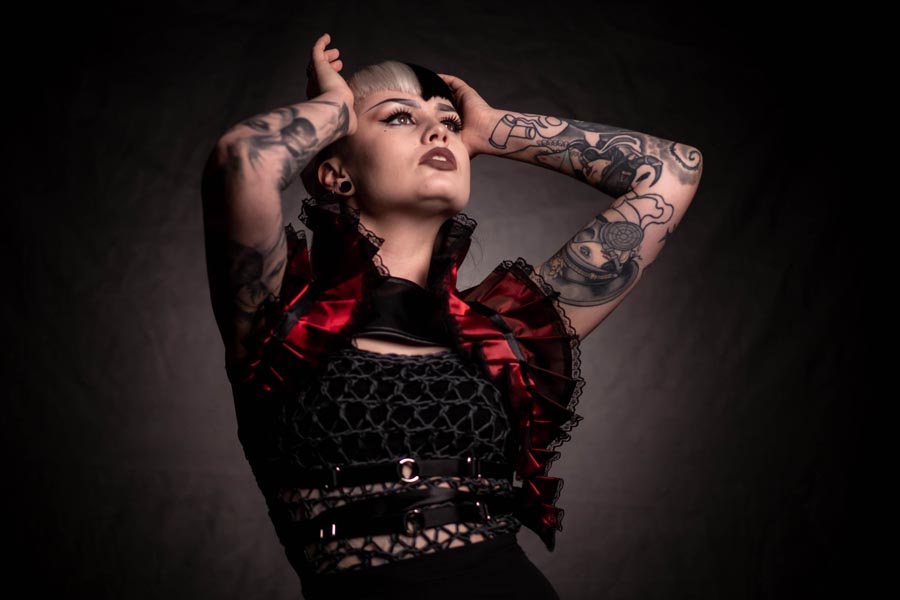
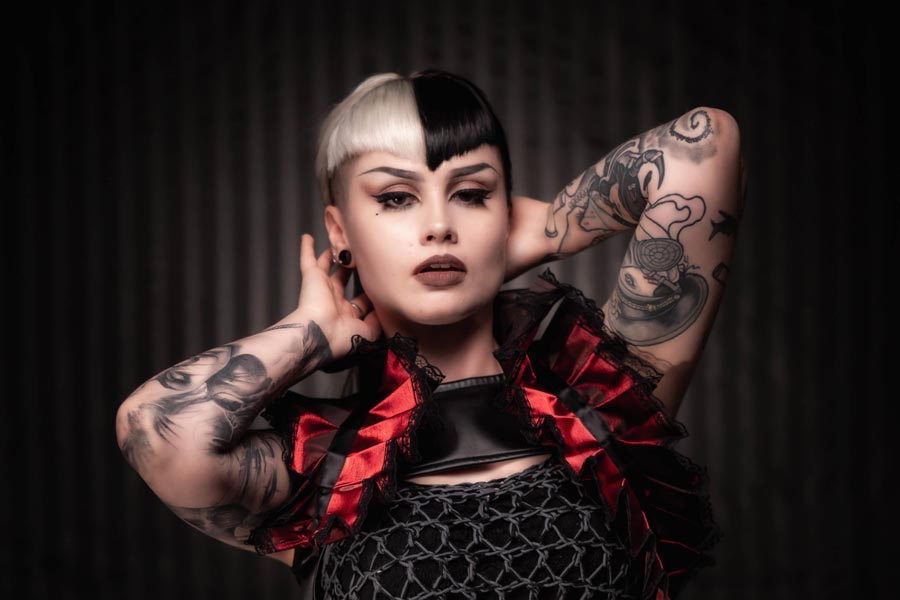
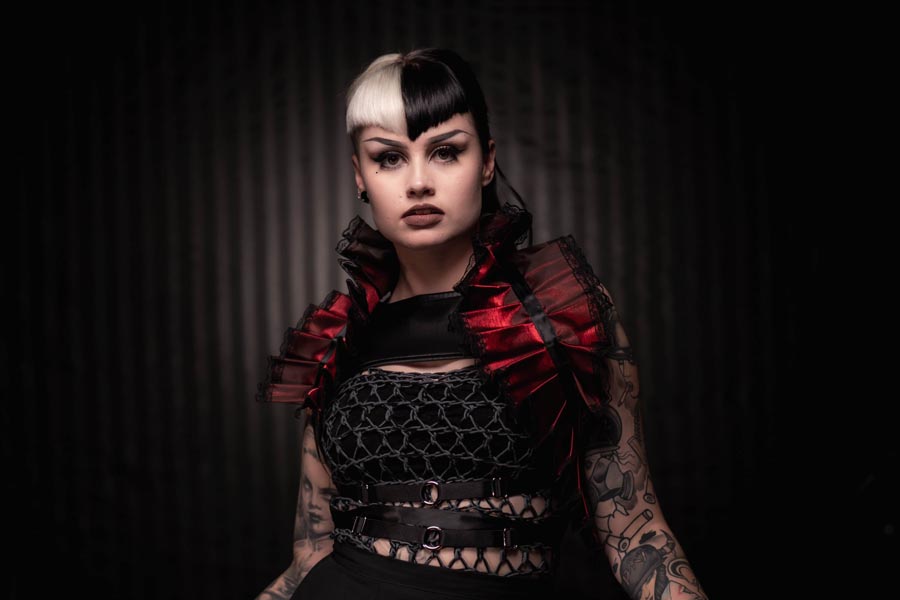
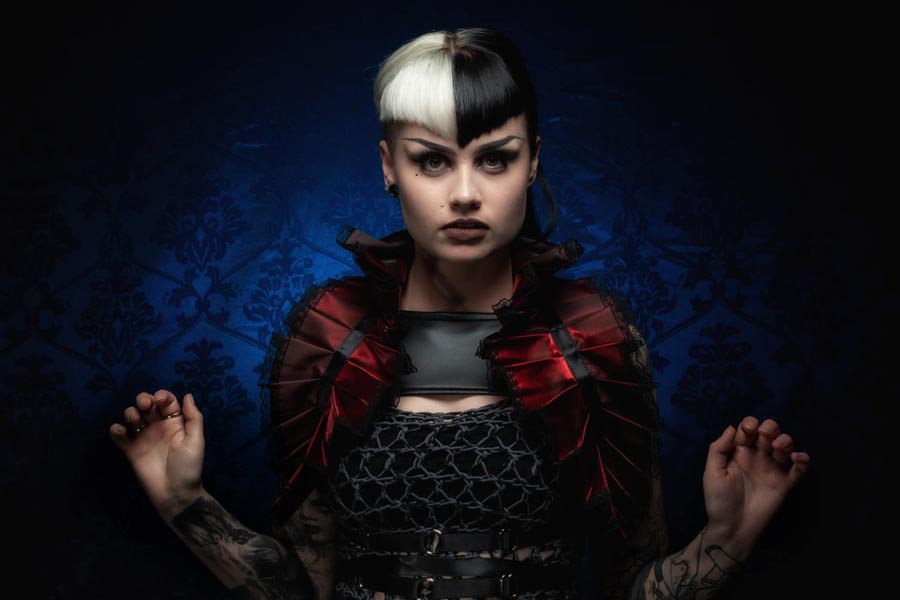
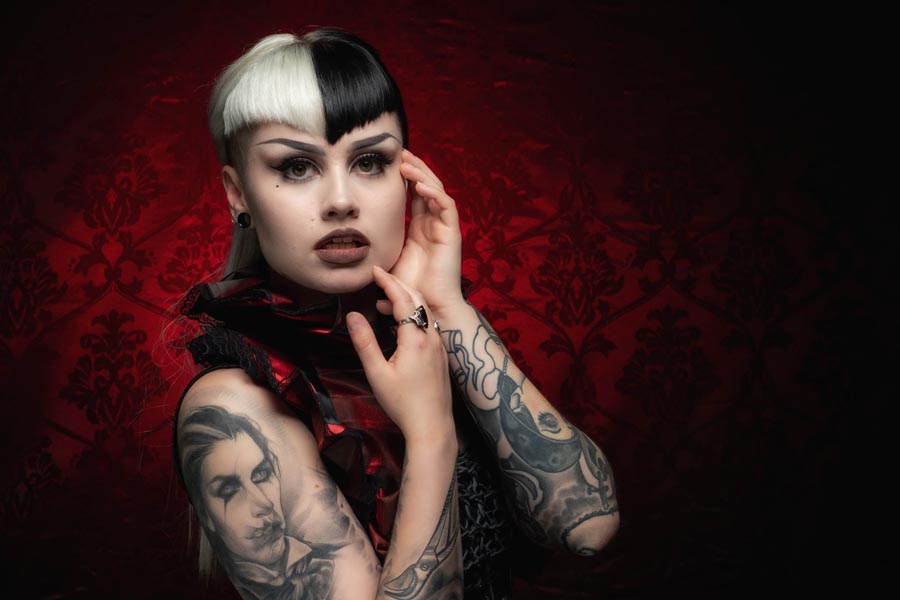
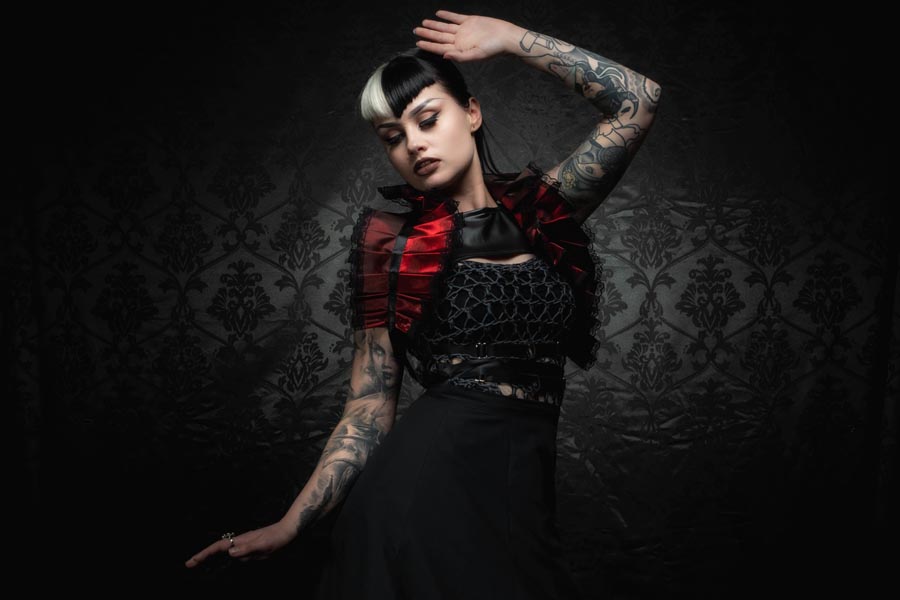
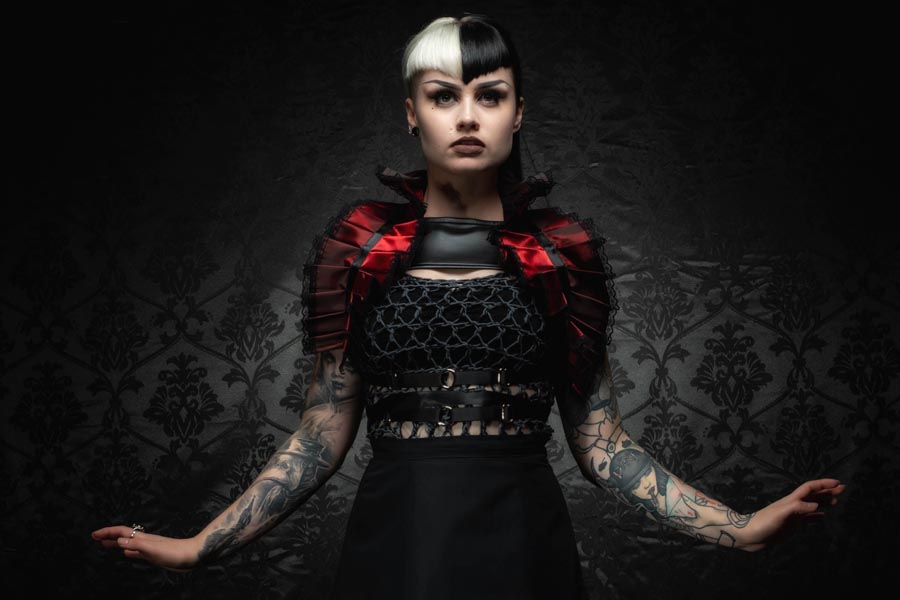
When Kerry said she was available for a shoot, even though it was only August, we knew it should be a Halloween shoot. Not sure why but most of the models, make up artists and quite a lot of photographers love this theme!
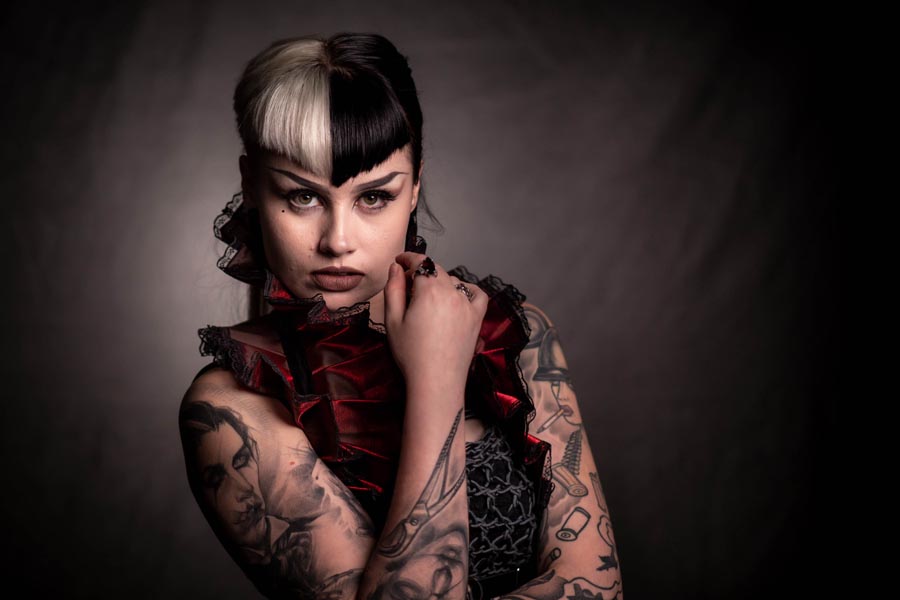
Despite the scary look, this was such a fun shoot. Also the first time I’ve had to clear up blood drops and splatters from the studio walls and floor, thank goodness all fake!!
[youtube]https://youtu.be/ScVEJfBzOJ4[/youtube]
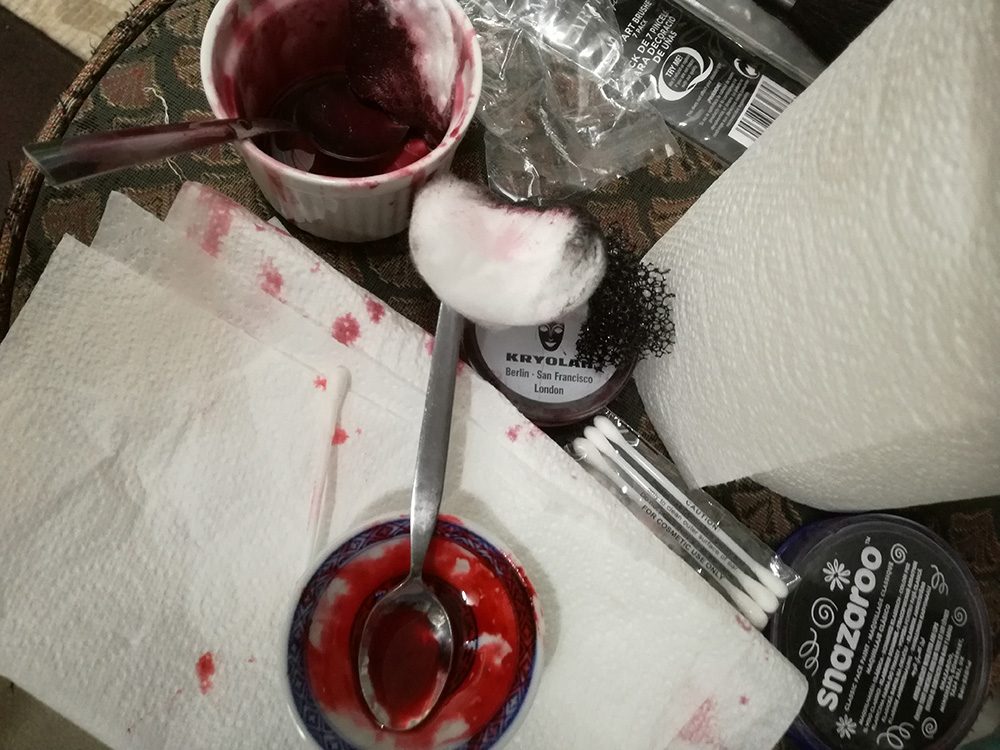
As you’ll see in the video, the blood used was tried out first. The one used for the closest skin contact, especially on the bandages close to Kerry’s eye, was homemade. I used a mix of runny honey, a little cornflour and some red food colour gel. As it was edible and Kerry likes honey!
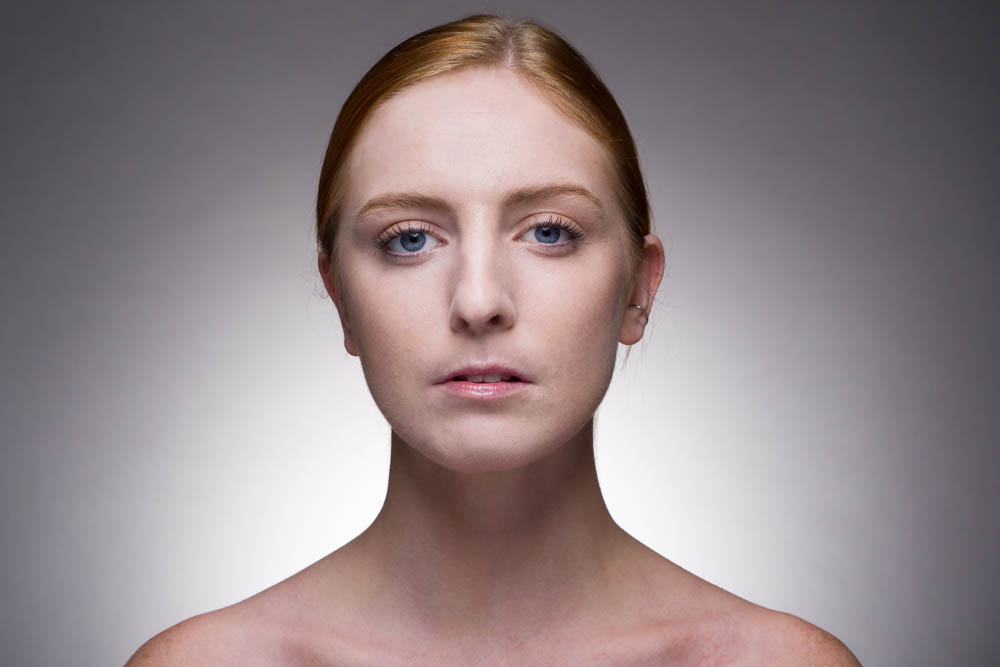
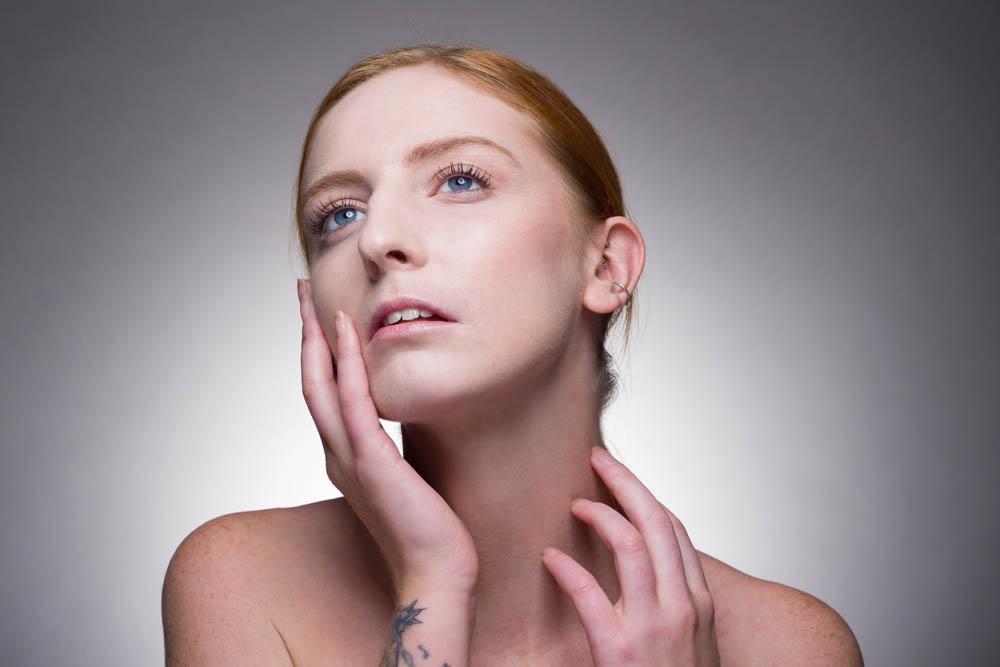
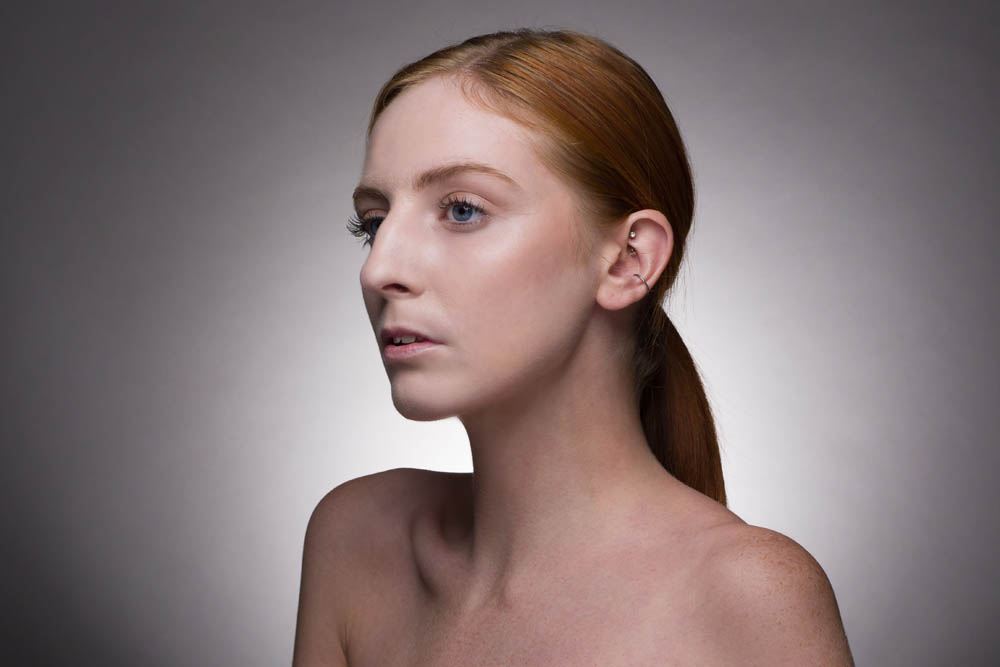
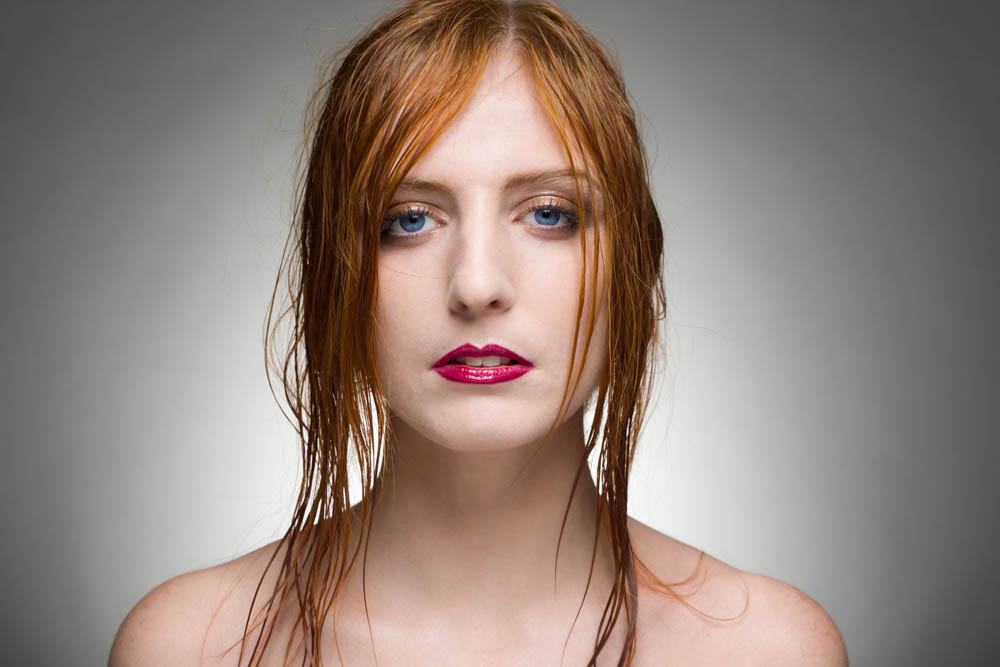
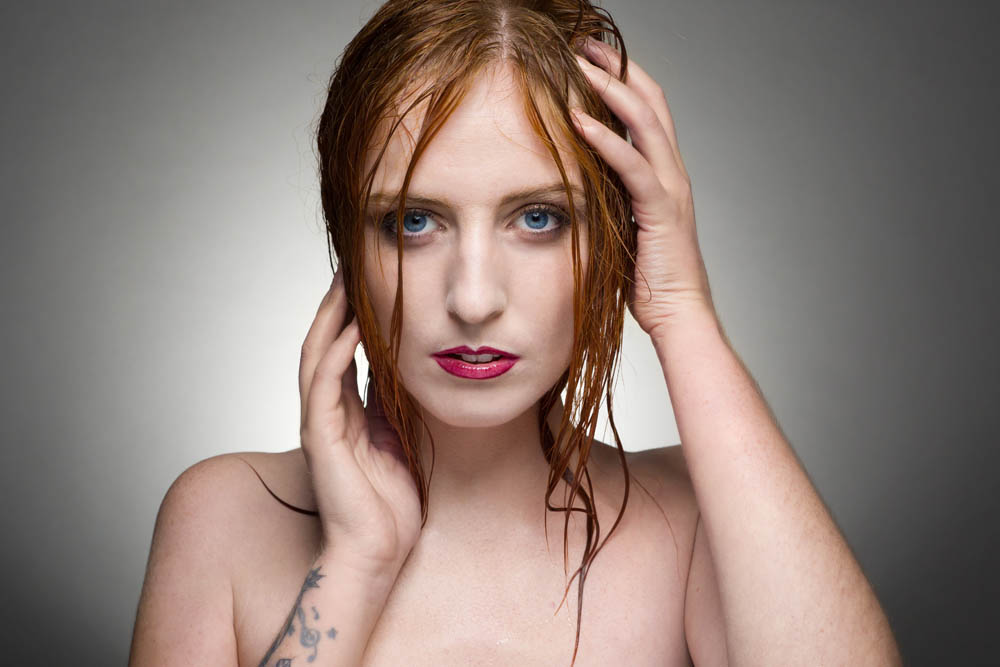
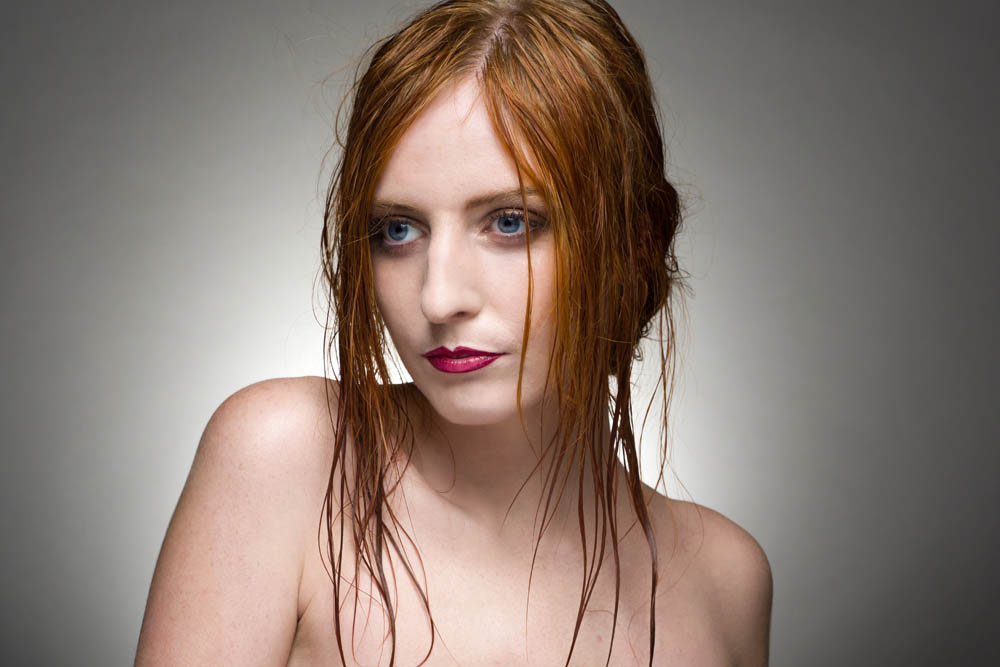
We started working with make up artists several years ago for our portrait shoots. It really opened our eyes to how much make up can change the look of your shots.
Some themes and styled shoots can benefit dramatically from the services of a good make up artist. In this video Gavin takes shots firstly with a quick make up coverage and then repeats the shoot after a more stylised make up look has been applied.
Our model, Beth Smith and make up artist, Sophie Daly help to show the difference achieved. Gavin gives hints and tips on how to get the most from working with a great make up artist.
When I first started shooting portraits, I made do with some very basic gear. My studio was my garage, my second light was a reflector and my backgrounds were sheets of fabric.
Fortunately I’ve added one or two more lights to my gear over the years and I have my own, permanent small home studio. My backgrounds have evolved a bit too but one of the most challenging parts of being in a studio is the limited choice of backgrounds. So in the video below I revisited my early days by buying three cheap bed sheets for use as backgrounds.
I love dark and moody studio shots, so my three bed sheets (technically they’re duvet covers) were a basic black, stripy black and damask patterned black. Each gave a very different result, as you’ll see in the video below.
So what did I discover? First off, king sized duvet’s are amazing value (I limited myself to £20 max per sheet) and because they open up, adding some timber inside helps them hang well. However the creases were a real pain and took an age to steam out.
If all you want is a basic black background, a bed sheet is cheap and works perfectly. If you want a pattern, look for sheets that are advertised as crease resistant or ironing free but be aware that those terms aren’t really accurate from a photographic point of view.
As a bonus each duvet set comes with two pillow cases. So what should I do with those? Ideas below please.
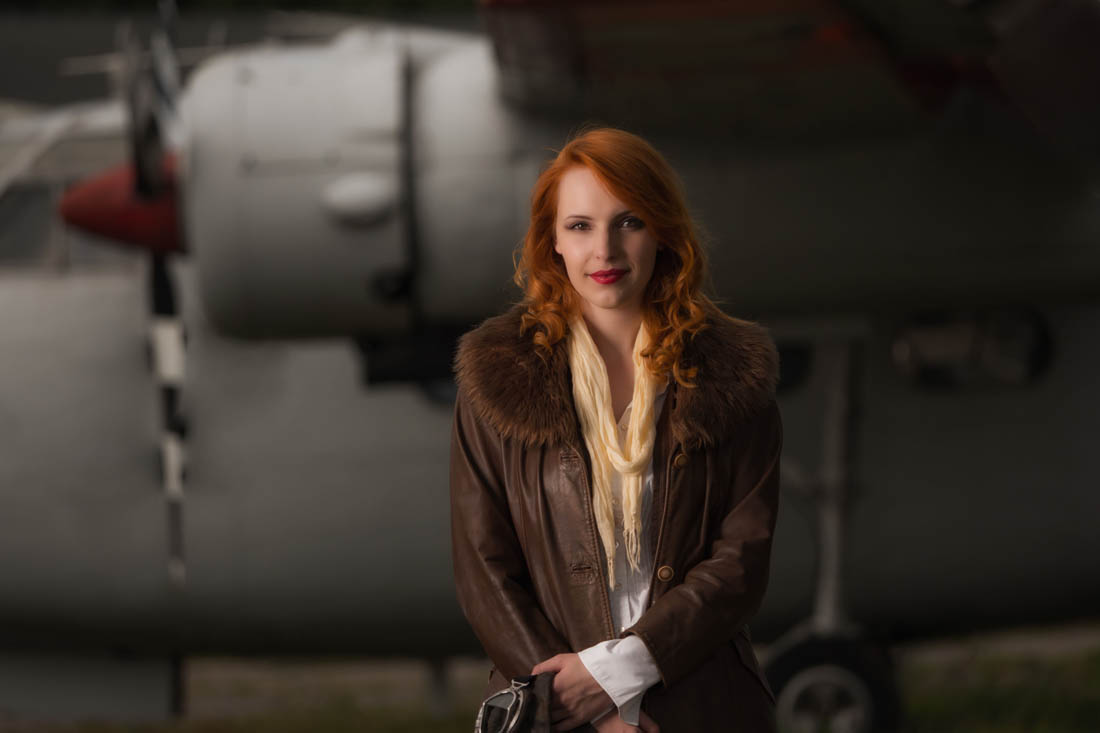
This is the first of a new series where I take you behind the scenes on one of my shoots. You get to come along for the ride as I plan the shoot, do the shoot and edit the photos.
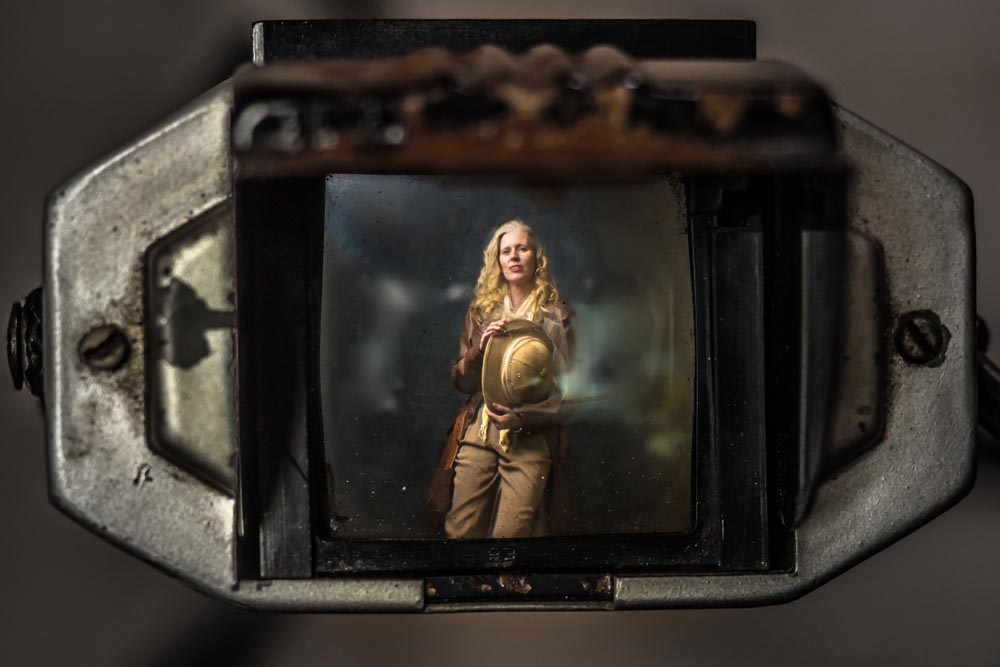
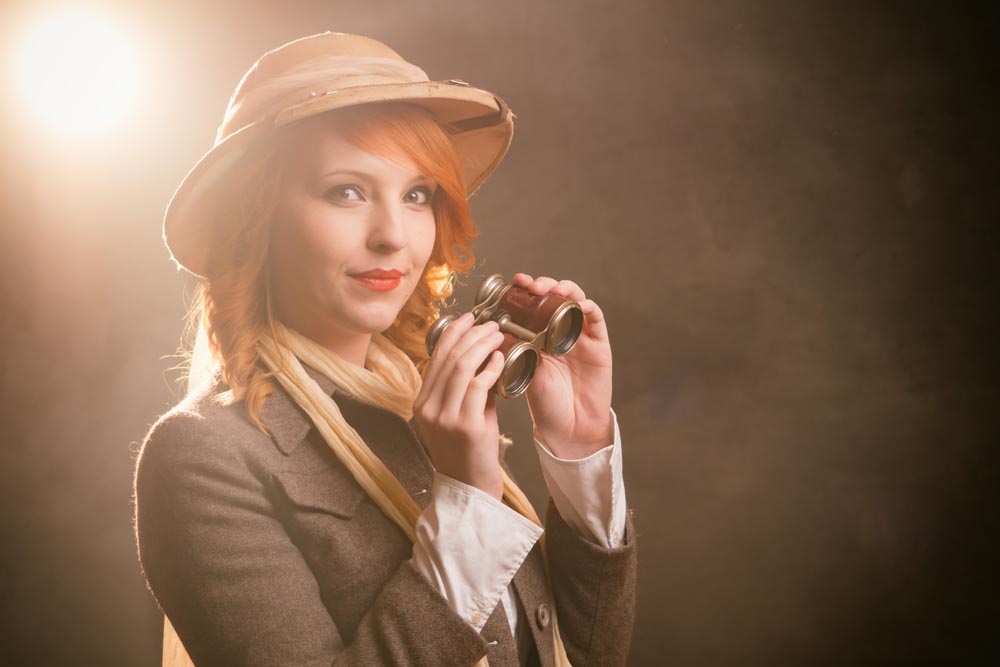
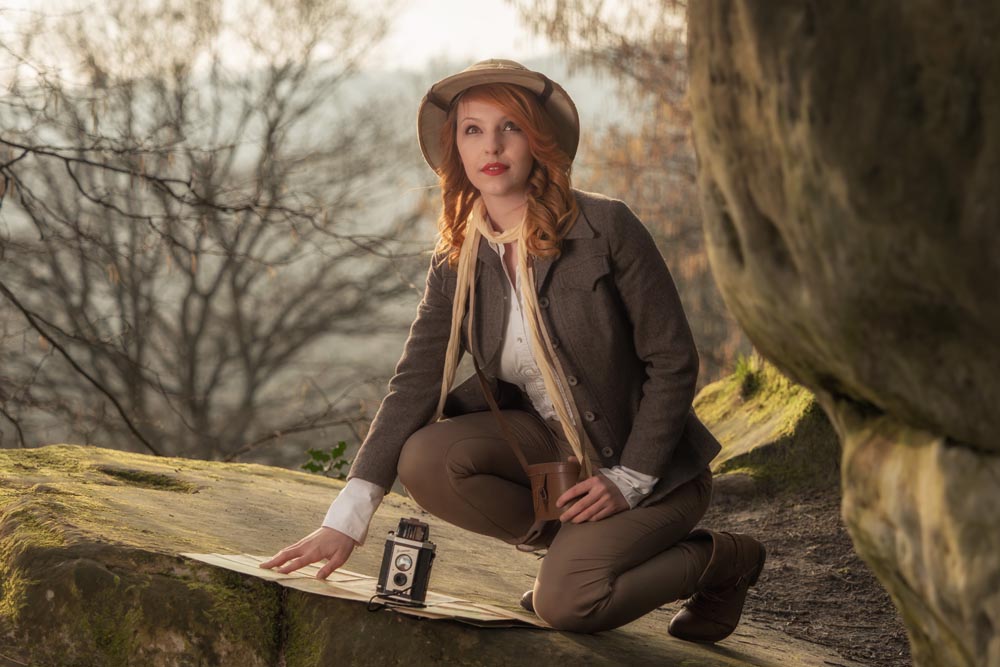
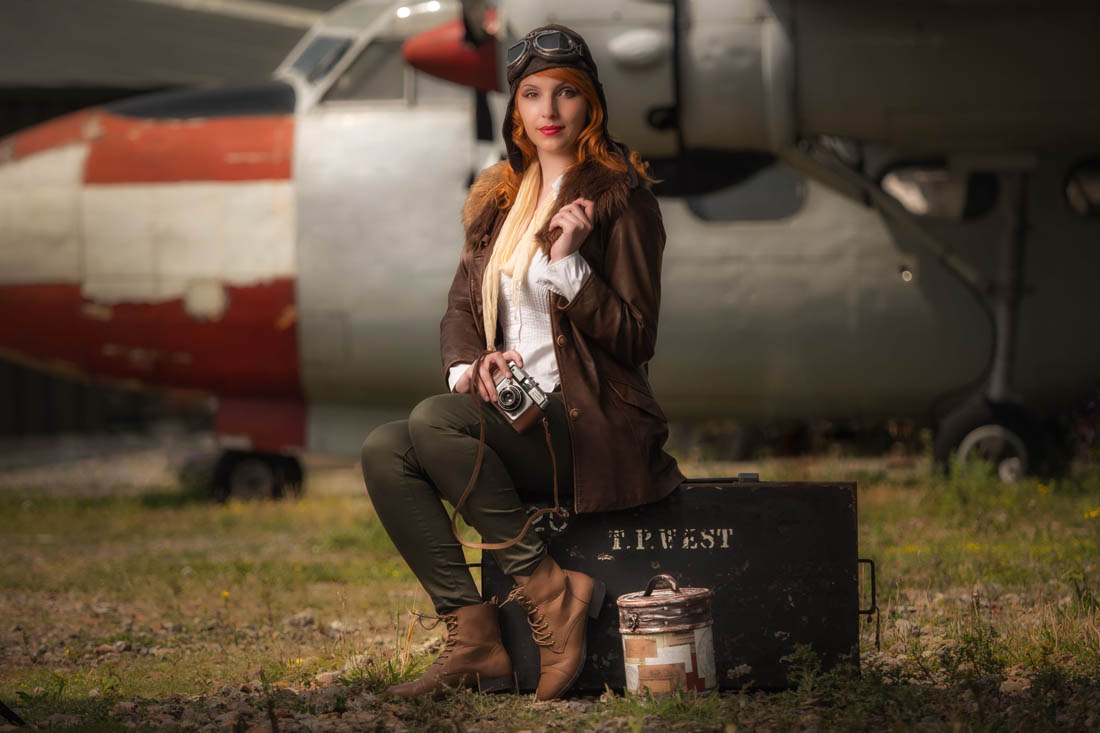
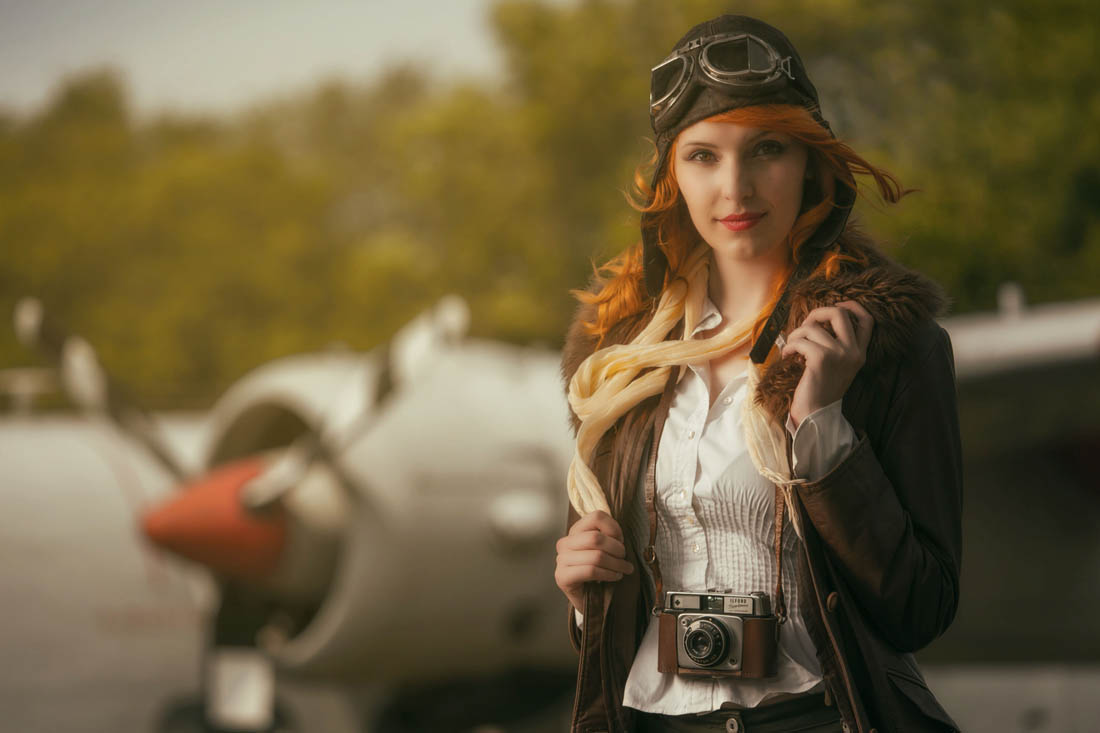
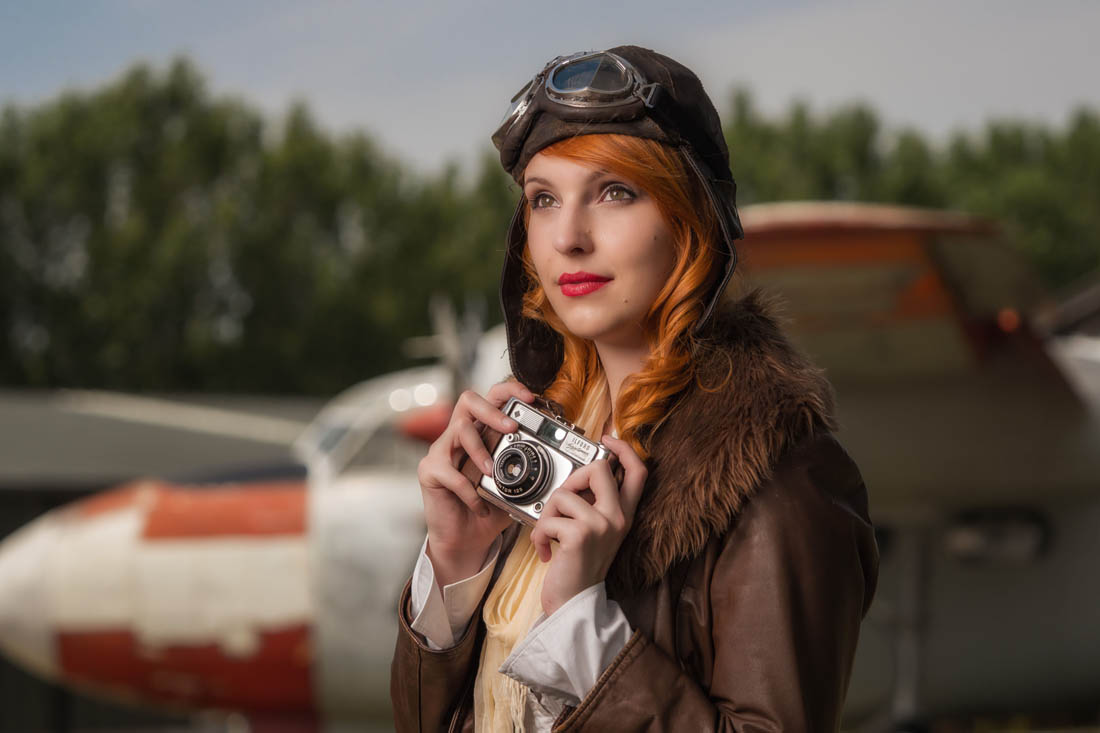
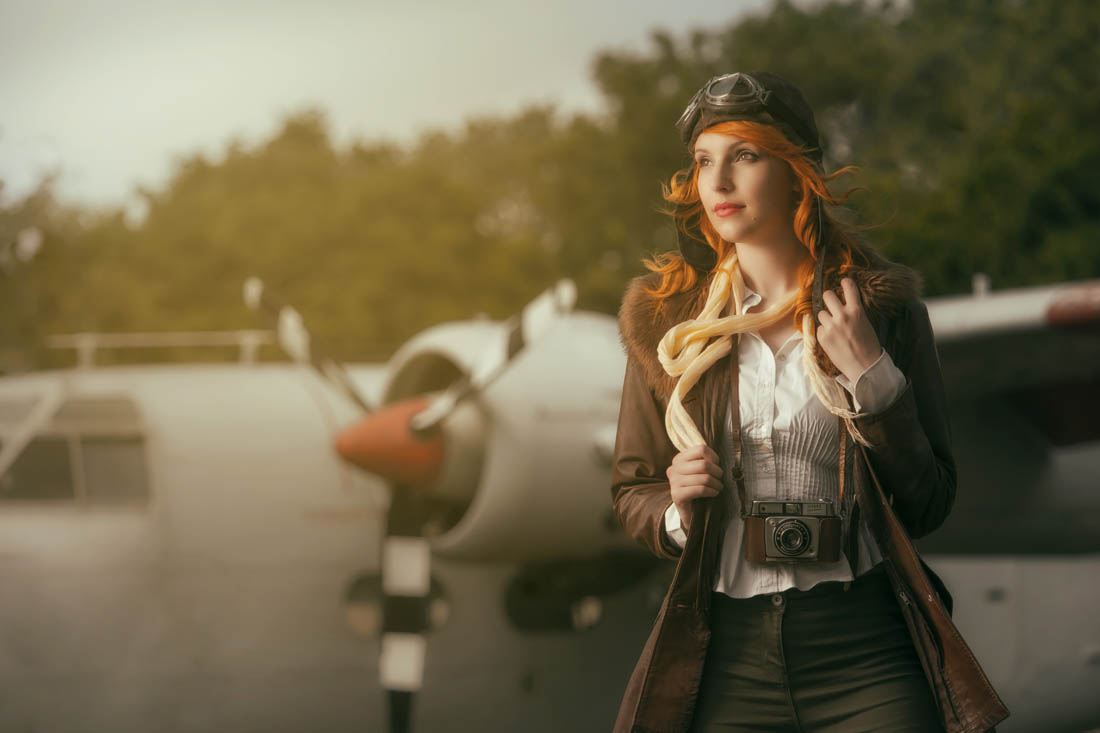
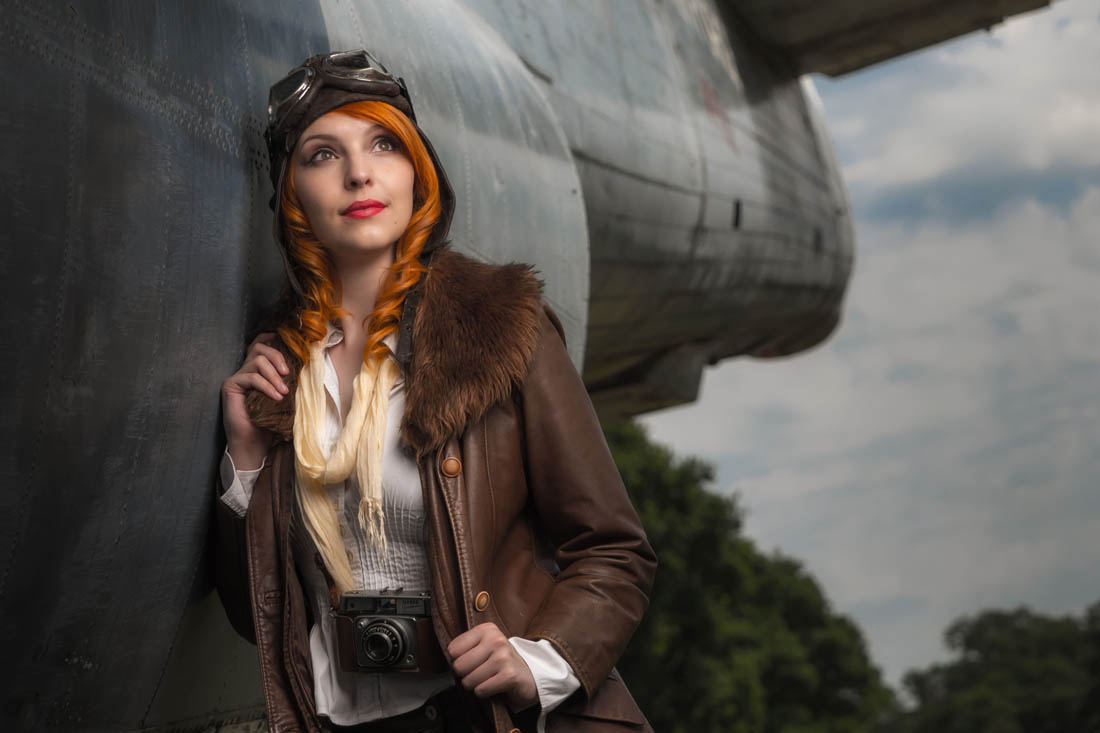
The theme for the first “Plan It, Shoot It, Edit” is Vintage Explorer.
Plan It It all starts with an idea, then there’s the preparation and planning. A location has to be found, props need making and finally there’s a test shoot to do. Of course not everything goes to plan, as you’ll see.
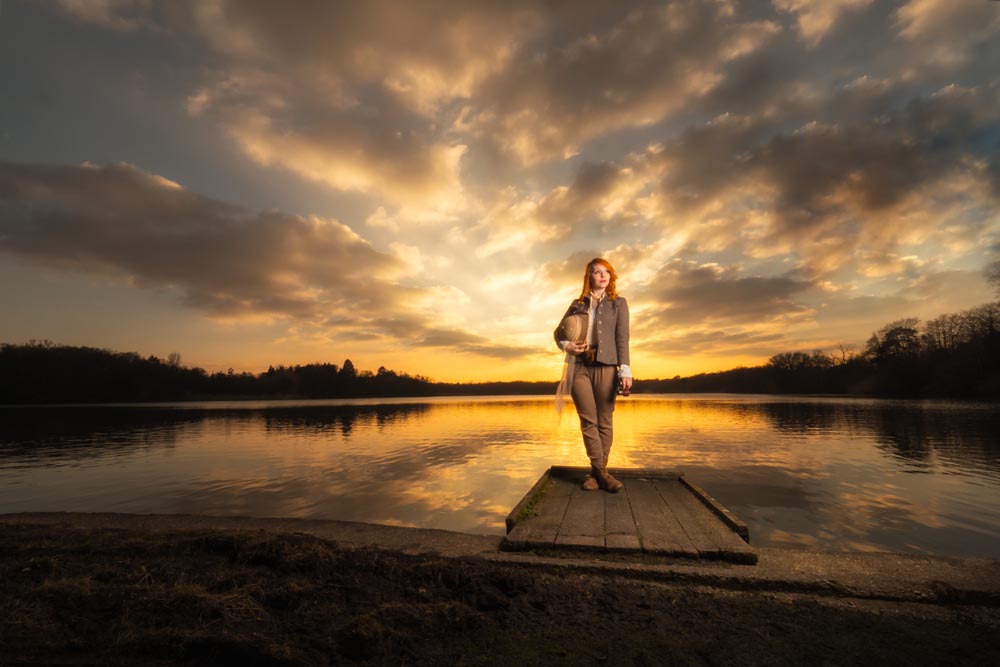
Shoot It Now for the fun bit… the shoot itself. The weather was cold, so I decided to get some banker shots in my studio before heading out on location. Sometimes you just get lucky and on the way home I stop off to shoot against a spectacular sunset.
Edit Here’s where the photos come alive. Adding colour and contrast is all that most of the shots needed but if you want to shoot wide shots and light the model with a softbox, there’s bound to be a bit of Photoshop needed.
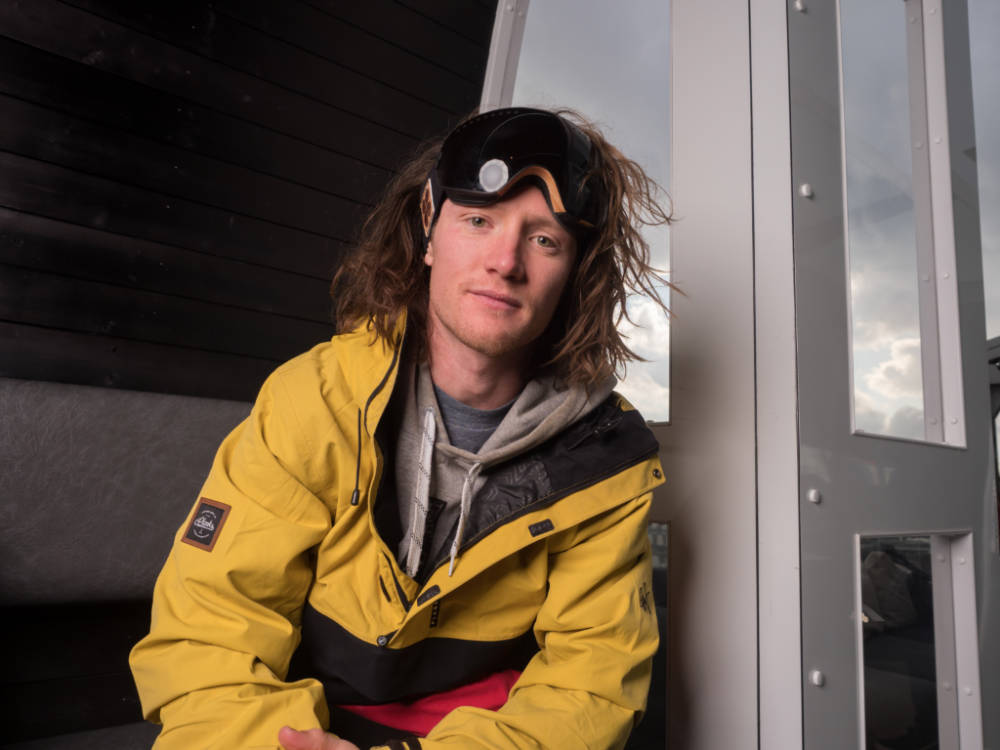
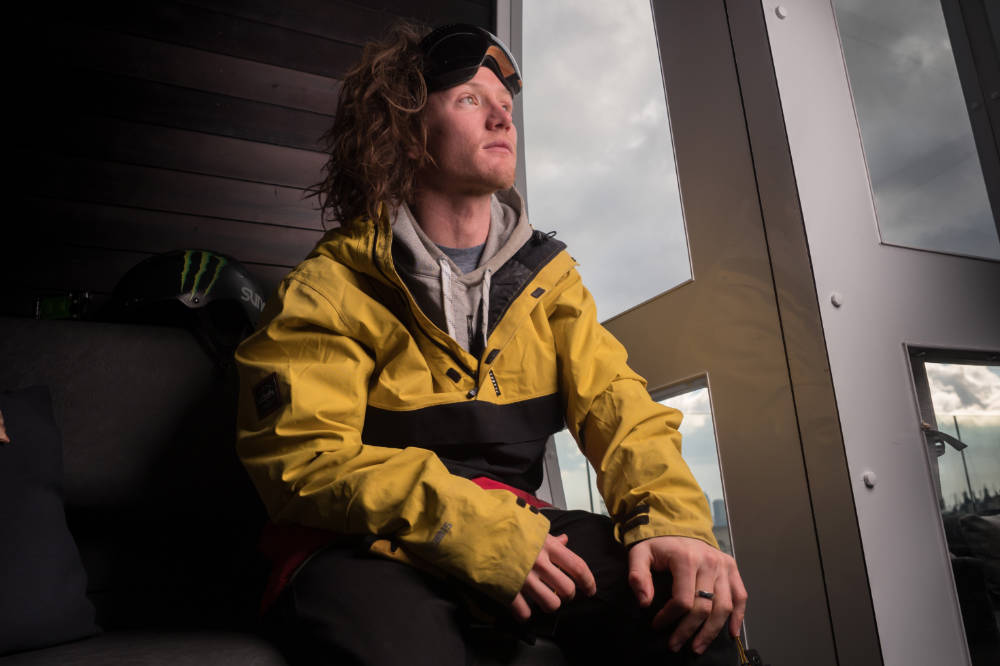
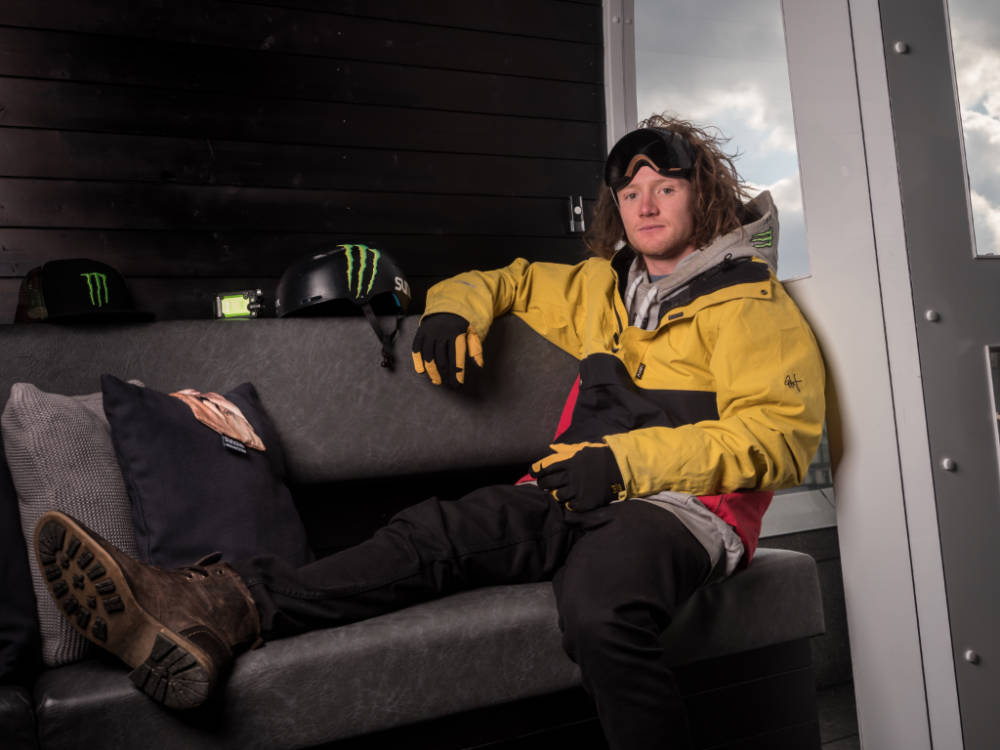
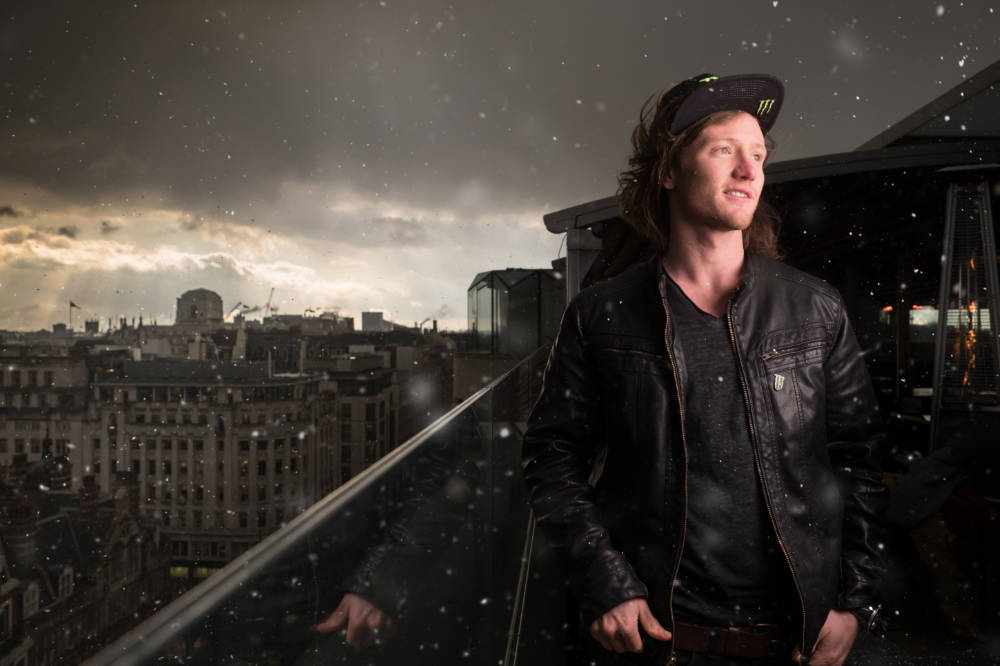
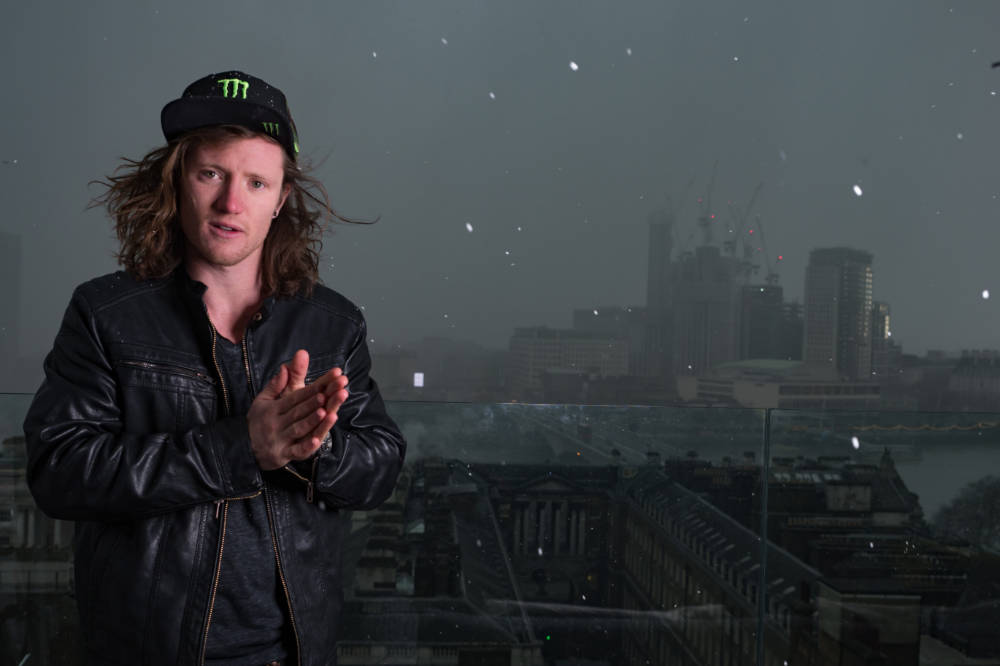
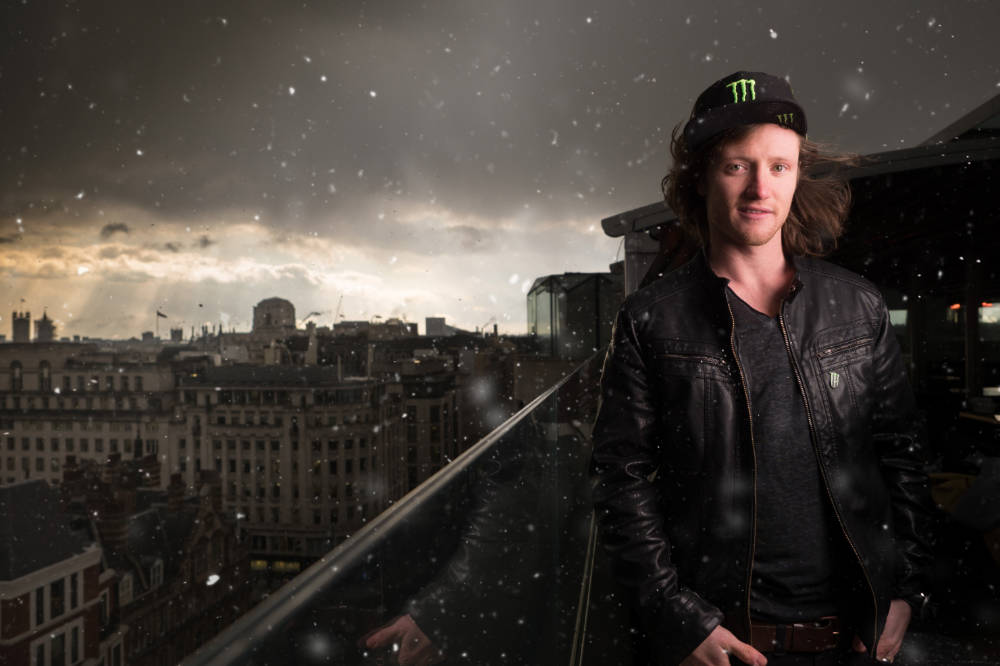
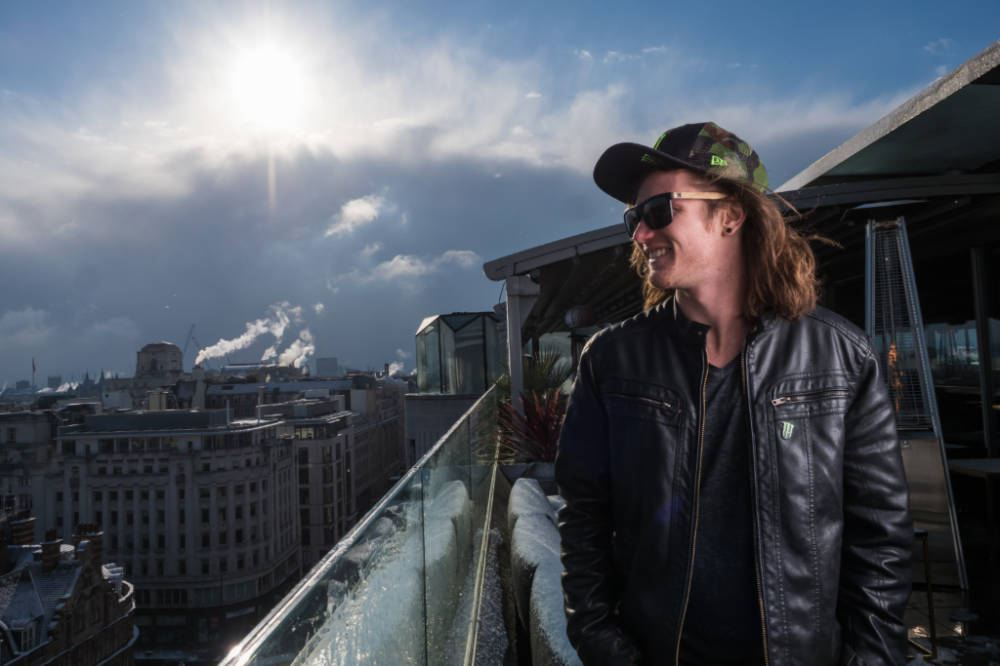
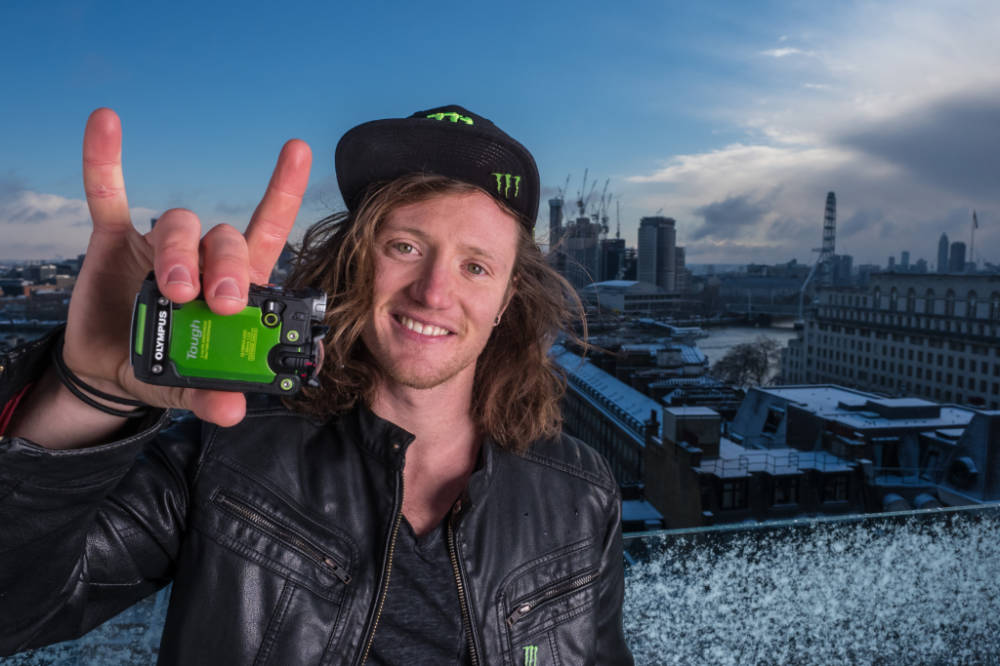
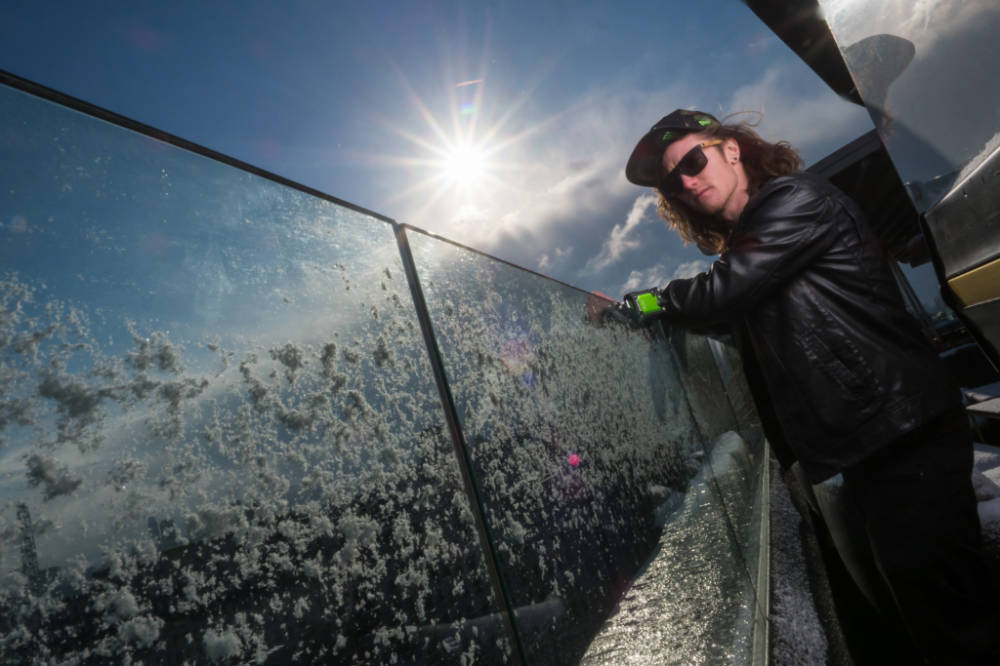
It’s not often you get the chance to photograph an Olympic athlete, but recently I was very fortunate to be asked to take some PR shot of the brilliant freestyle skier James ‘Woodsy’ Woods for Olympus UK.
There was a small window of opportunity, between winter Olympic competing in the slopestyle skiing and world cup practice, when he was in the UK.
It’s not often the weather plays in to your hands but I can honestly say we couldn’t have planned it any better. We were shooting on the amazing rooftop at the ME London Hotel. There had been snow elsewhere in the UK but London was boringly snow free, just cold. But then a few flakes started.
The most intense of weather phenomenon’s hit and suddenly we couldn’t see the London skyline at all for snow. We sheltered ourselves and the gear in the very cool cable car the hotel has and when the worst of the storm passed we continued shooting with the fresh covering of snow adding the perfect level of authenticity to the photo’s of a winter Olympian!
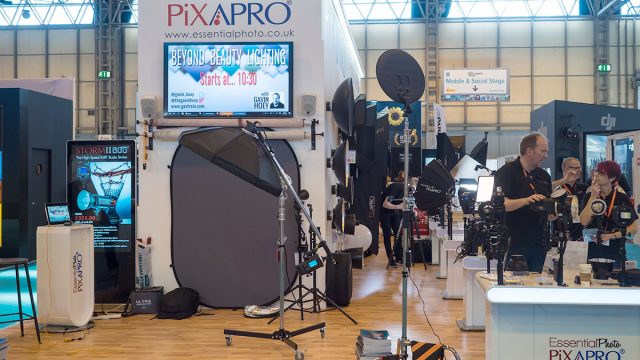
There’s just one week to go until The Photography Show2018 opens its doors at the N.E.C. in Birmingham, UK. Running from the 17th – 20th March, it’s the UK’s biggest and busiest photography show around 30,000 amateur and professional photographers attending and I’ll be there for all four days.
It’s a great mix of booths from photographic businesses big and small but this isn’t just another trade show, there’s also loads of things to see and do. There’s a constant stream of free demos and talks on various live stages and that’s on top of all the smaller demos on many of the booths dotted around the show.
I’ll be there giving various talks and demos on portrait lighting and photography, so if you’re coming along it would be great to meet you.
Saturday
10.30 am
PiXAPRO E91
Out of sight light (Demo)
1:00 pm
TPS Live Stage
Beyond beauty lighting (Demo)
2.30 pm
PiXAPRO E91
One light or two (Demo)
Sunday
10.30 am
PiXAPRO E91
Out of sight light (Demo)
12.15 pm
Olympus D91
Creative portraits from simple lighting (Talk)
1.30 pm
PiXAPRO E91
One light or two (Demo)
3.30 pm
PiXAPRO E91
Out of sight light (Demo)
Monday
11.30 am
PiXAPRO E91
Out of sight light (Demo)
2.00 pm
TPS Live Stage
Creative portraits in tight spaces (Demo)
3.30 pm
PiXAPRO E91
One light or two (Demo)
Tuesday
10.30 am
PiXAPRO E91
Out of sight light (Demo)
3.30 pm
PiXAPRO E91
One light or two (Demo)
All my demos are free and available on a first come first served basis.
Show tickets are free for professional photographers and the trade (if booked in advance) and £13.95 for enthusiasts (£18.00 on the door)
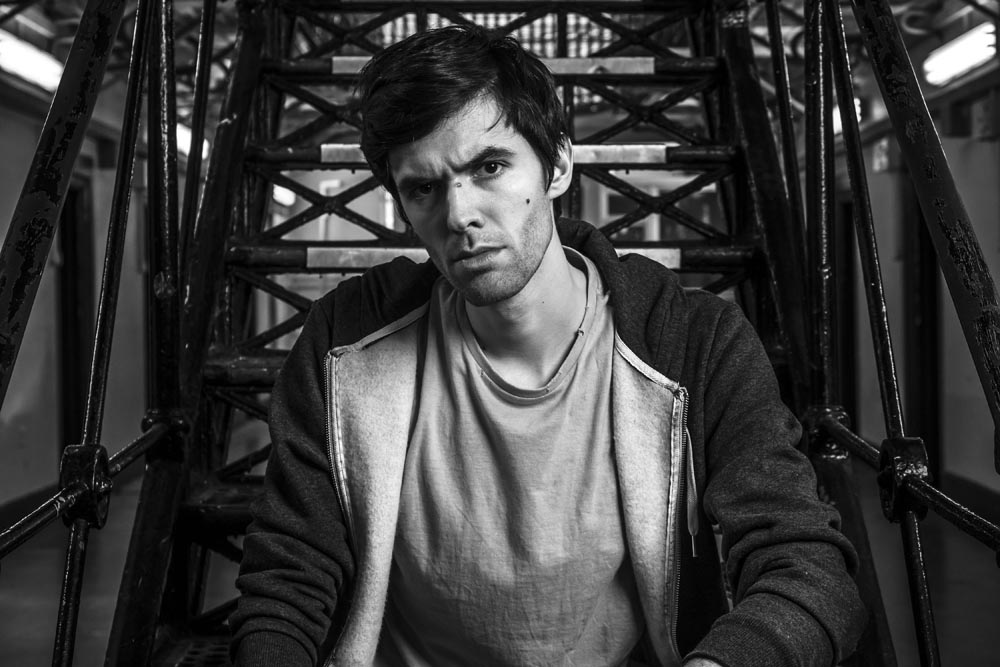
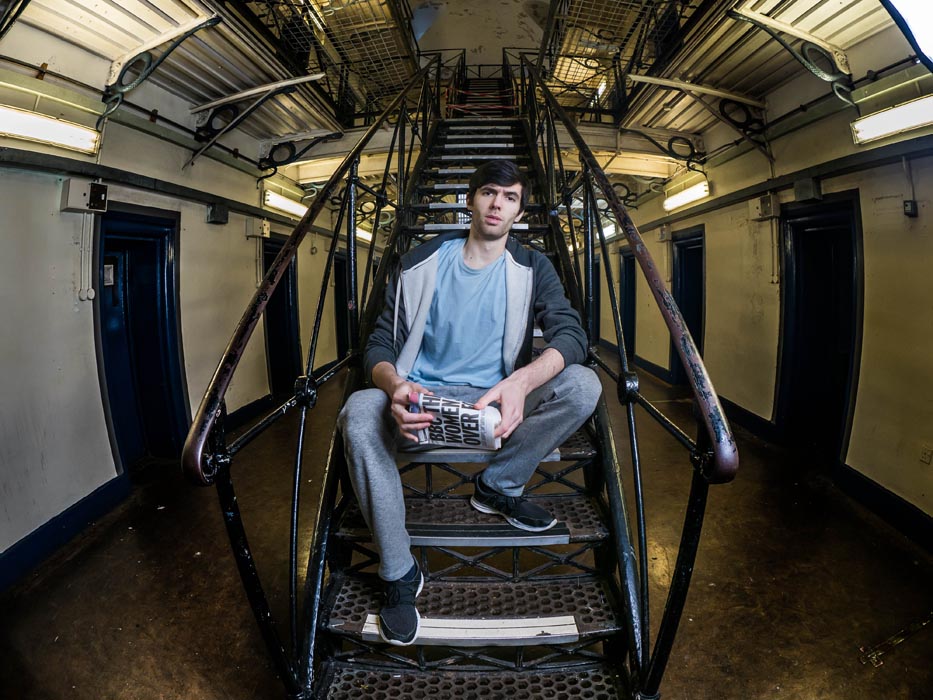
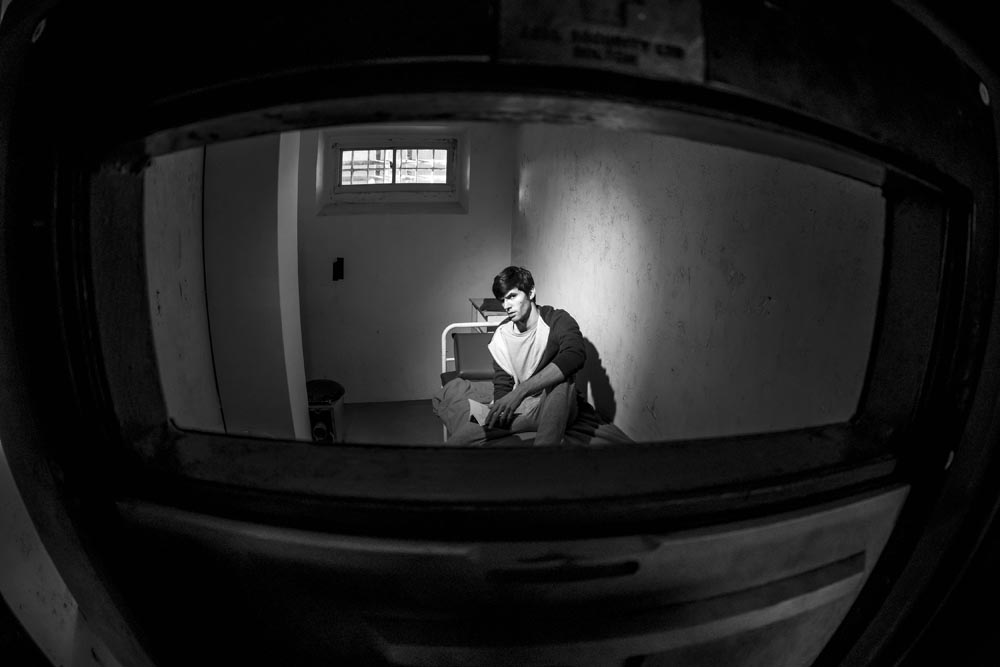
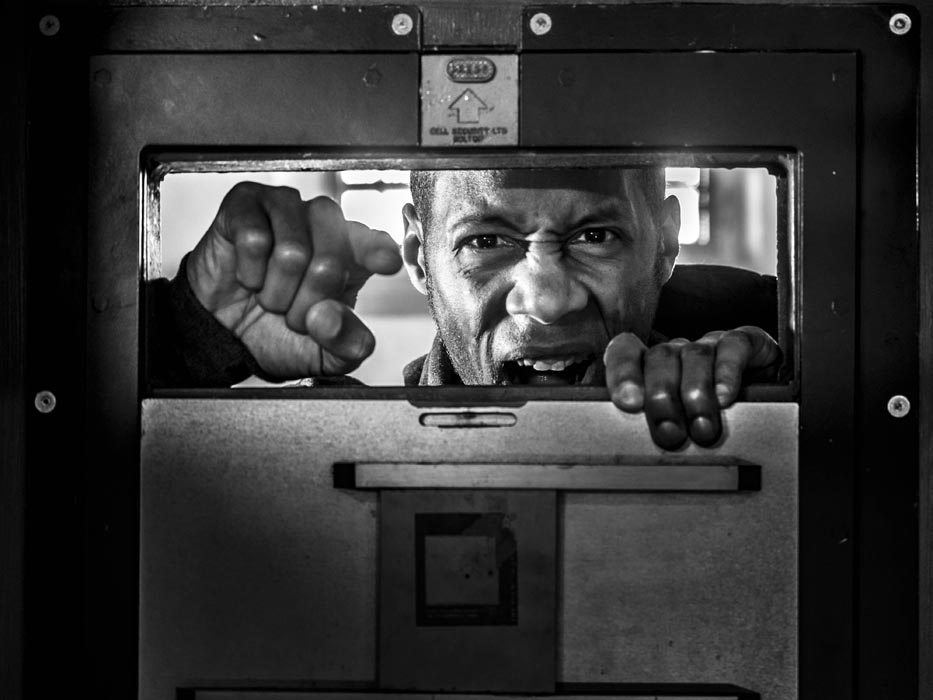
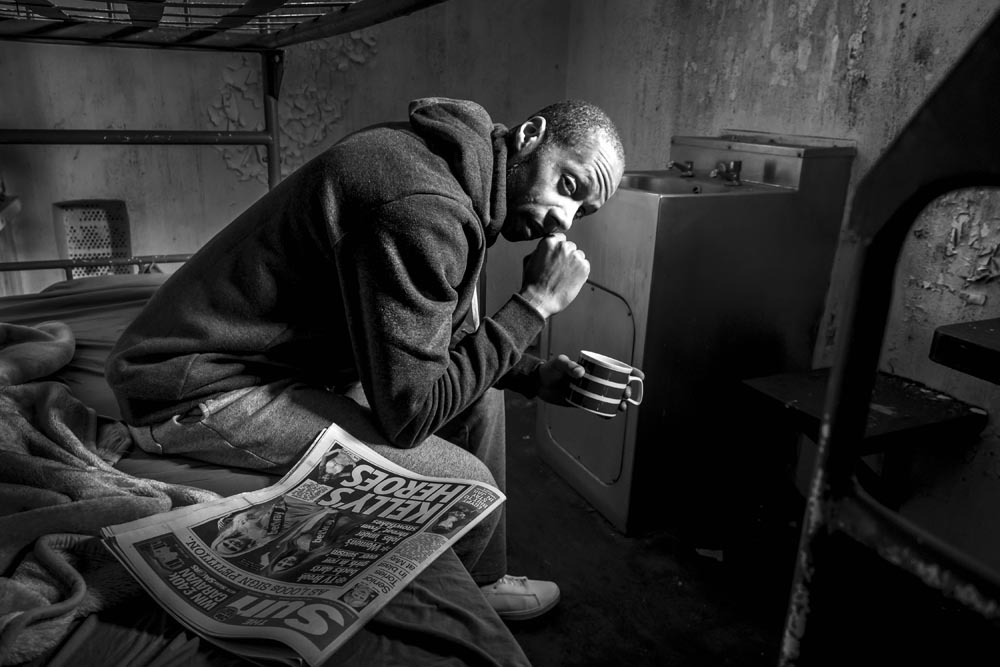
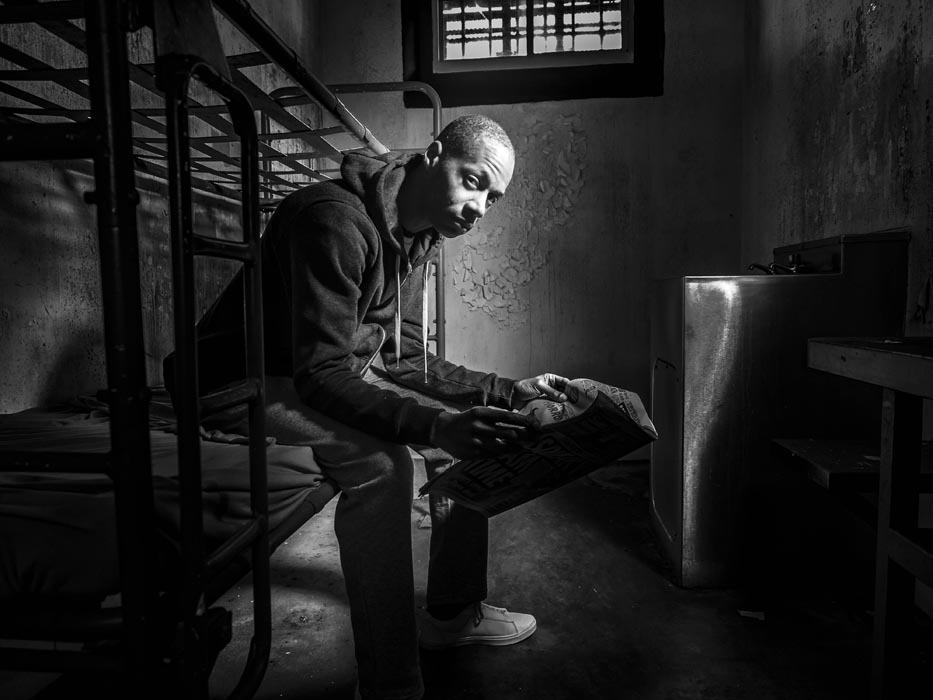
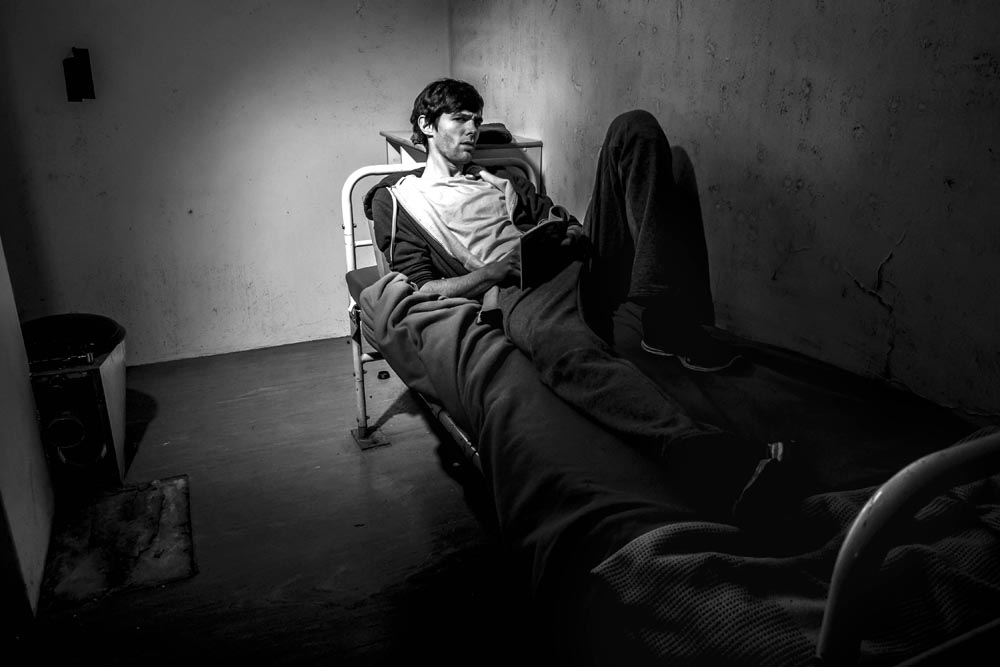
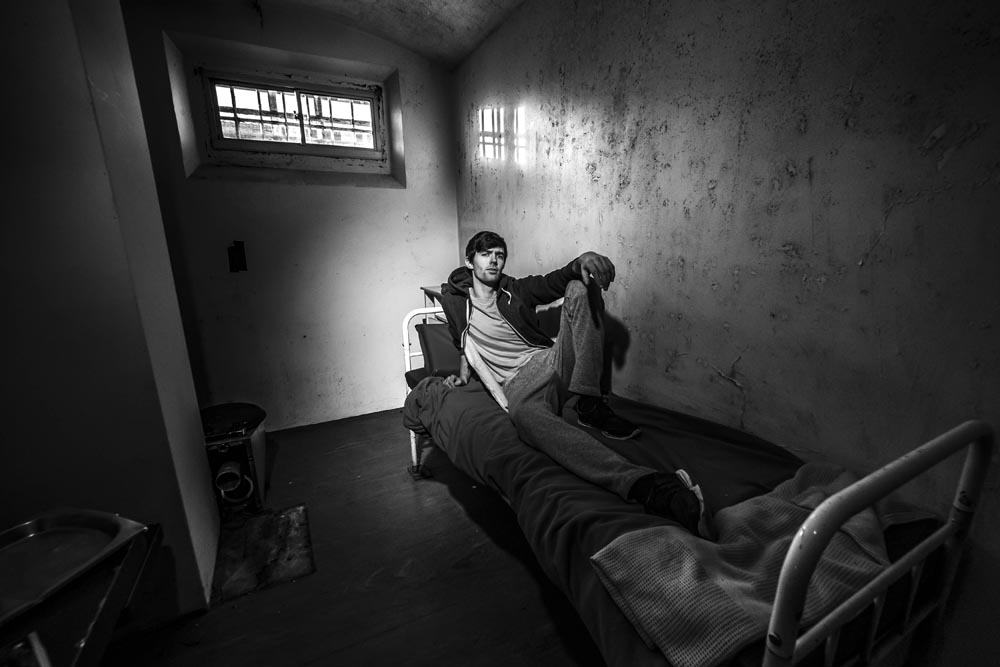
Going to prison isn’t something I’d ever want to do. But going to a decommissioned prison and having exclusive access to all areas is my sort of event.
Gloucester prison is an incredible location to visit. Its last residents left 5 years ago but luckily Brianand P-J came along to play the part of prison inmates for the day. The cold, small cells with peeling paint may have looked grim but photographically they were perfect and both models really got into character.
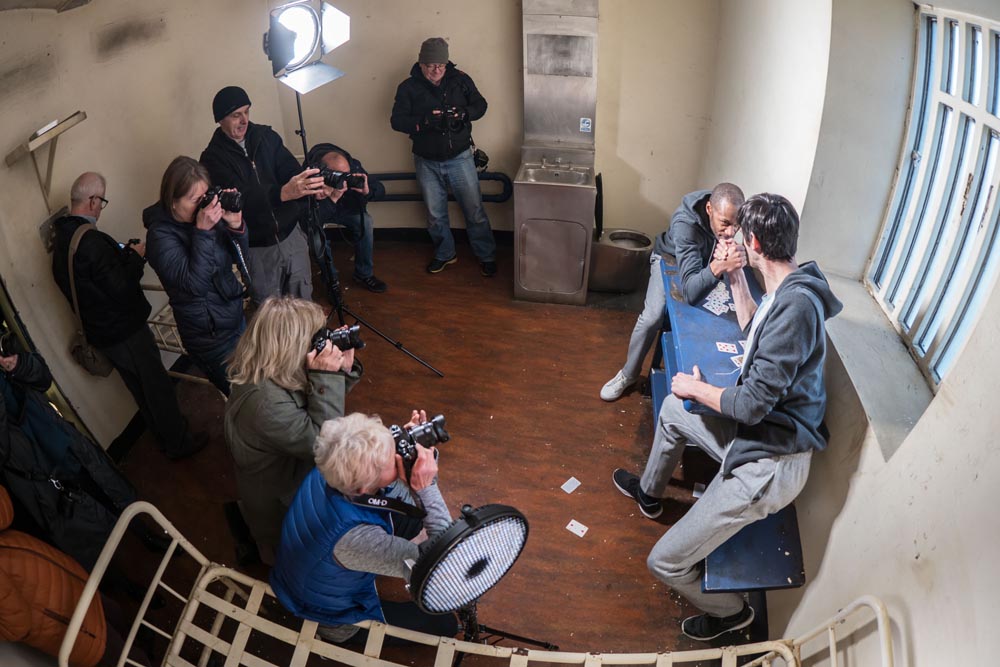
Being a winter workshop and with small windows in the cells, we needed extra light to create mood and atmosphere in the photos. The photographers on the workshop got to work with some excellent continuous light courtesy of Rotolight Aeos LED panels and the small but powerful Pixapro Pika200 flashes.
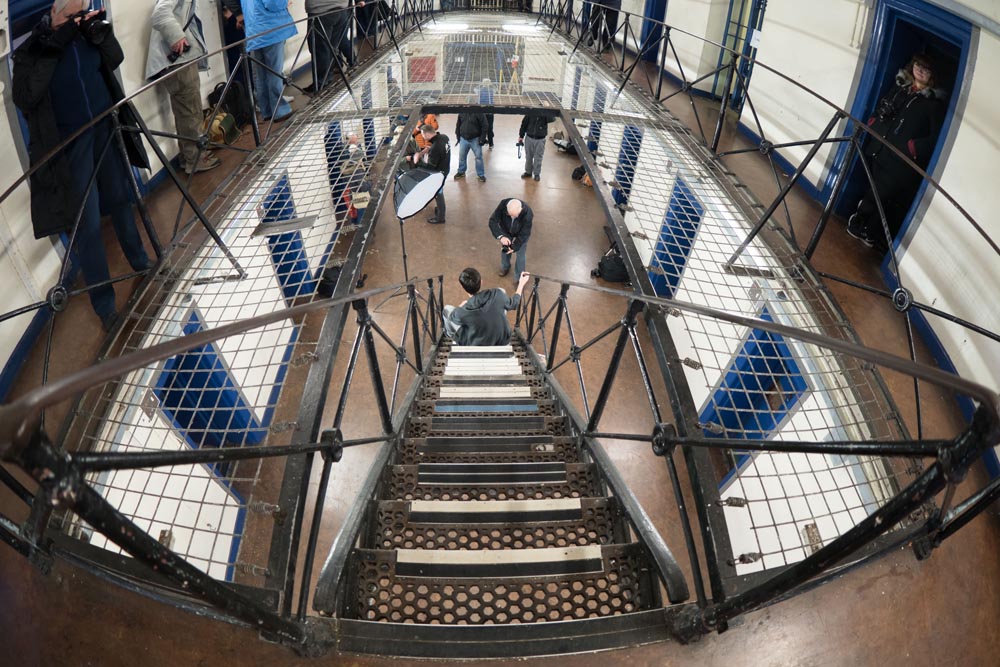
Of course you need more then a great location, great models and great light to take great photos and luckily we also had a great group of photographers. I loved watching them take my original idea and turn it into something unique. It’s not often you get to take part in a shoot like this, so it was wonderful to see so many photographers making the most of the opportunity.
The whole thing was organised by Olympus UK and was open to users of any camera, not just Olympus users. For details of their upcoming workshops check out the Olympus Image Space events page.
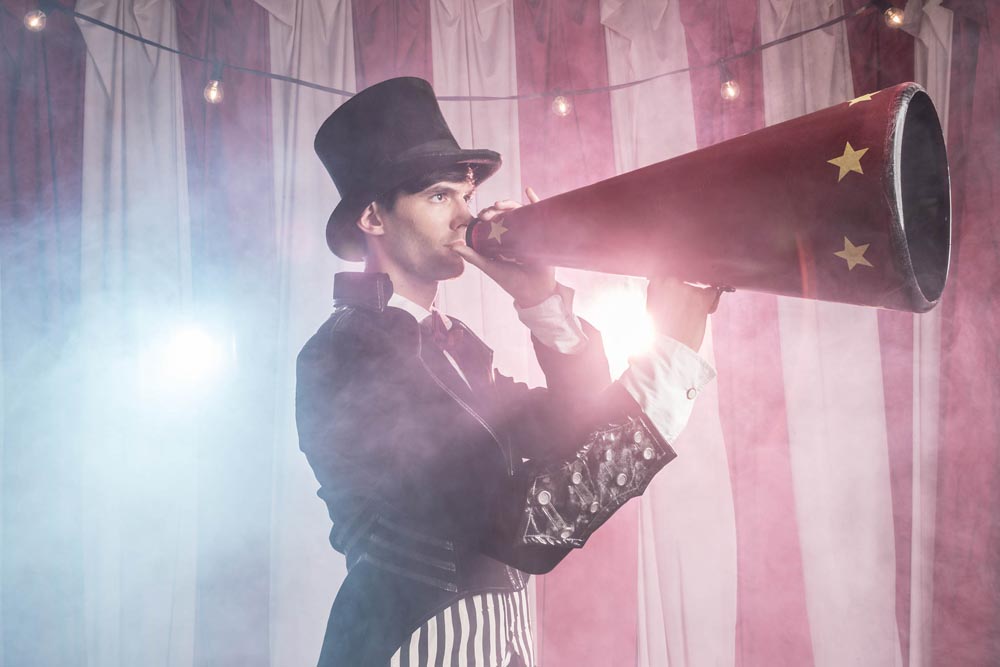
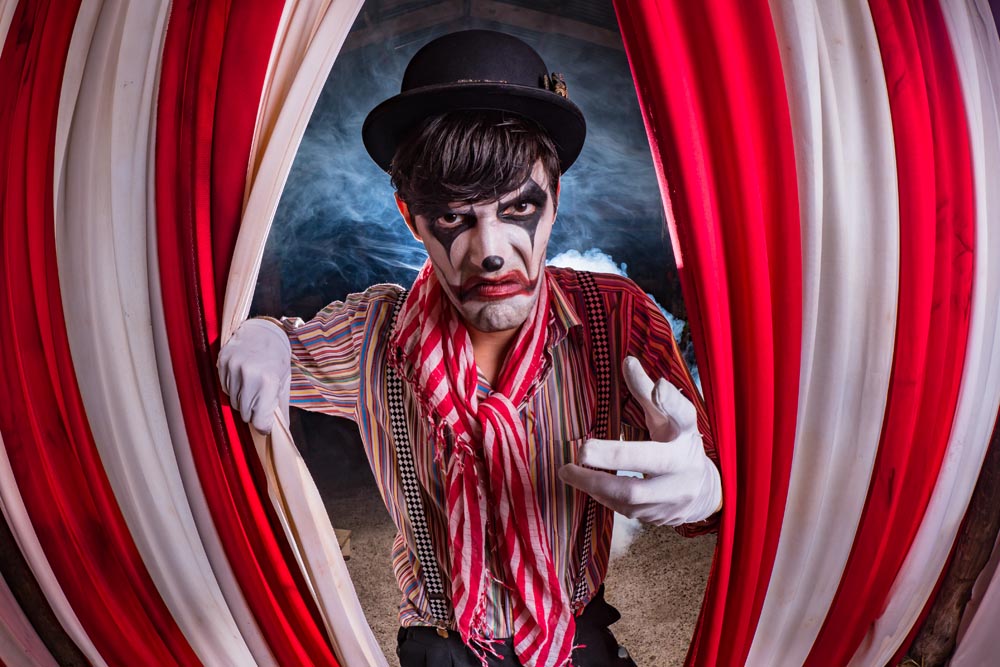
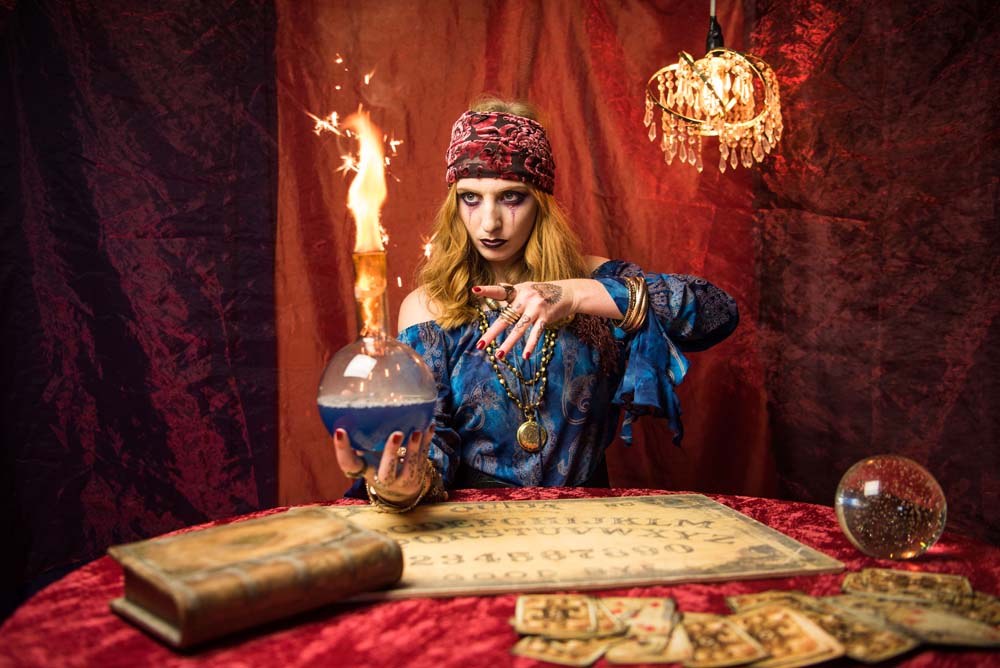
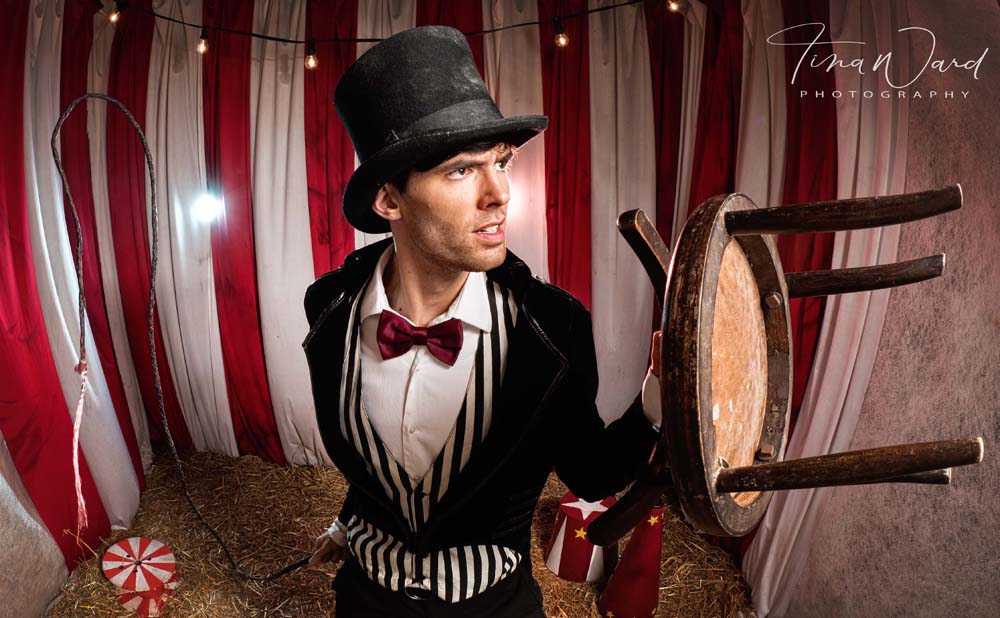
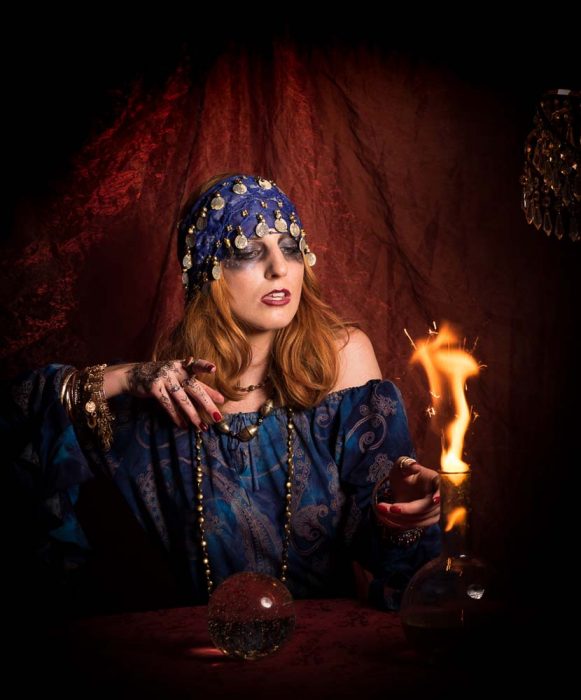
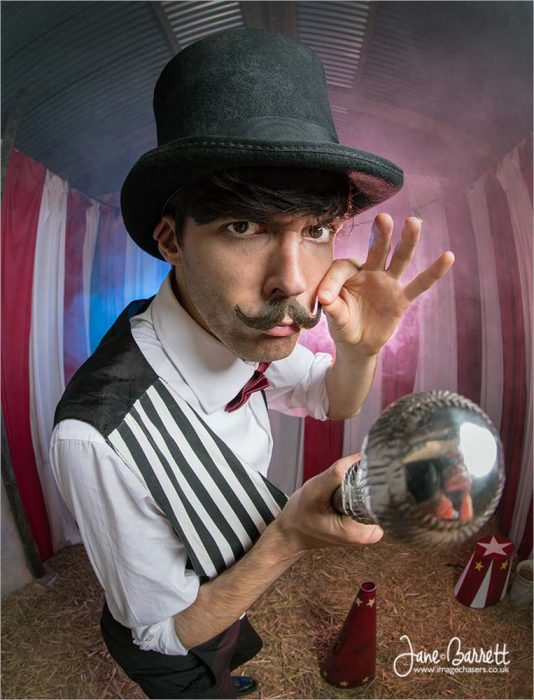
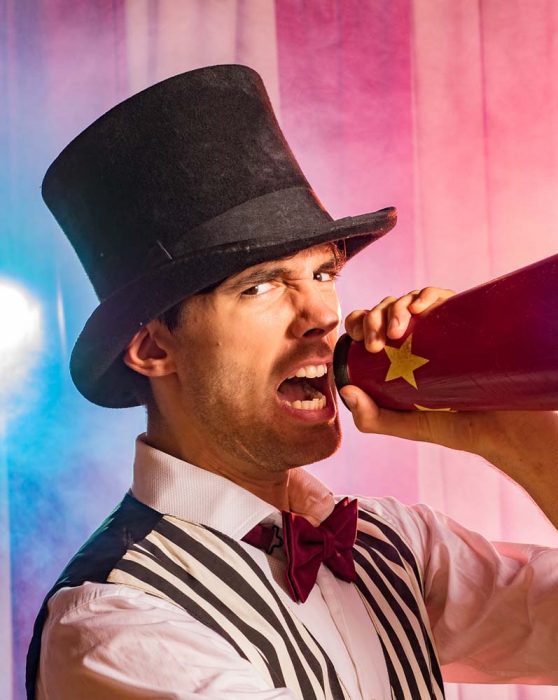
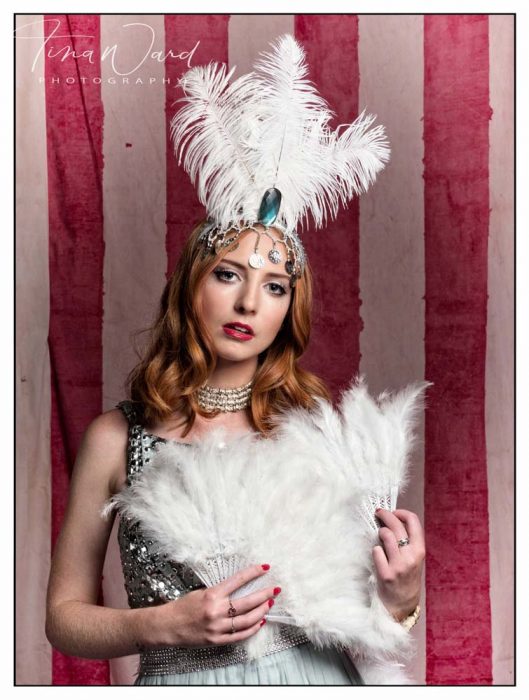
Our big summer workshop is becoming something of an annual event. This years theme was “The Faded Circus” which we held at Square One Studio in Surrey on two dates in July and August. Steve, the studio owner, allowed us to take over both his studio areas and even gave us rare access to his barn for that authentic circus feel.
We were joined by 12 photographers for each date and two amazing models, Beth Smith and Brian Mansi. In order to keep the groups small and the shooting time high, I once again roped in the help of Tommy Reynolds as a group leader who did a brilliant job passing on his ideas and passion.
We’ll be running this workshop again in April 2018 (exact date TBA). Register your interest here
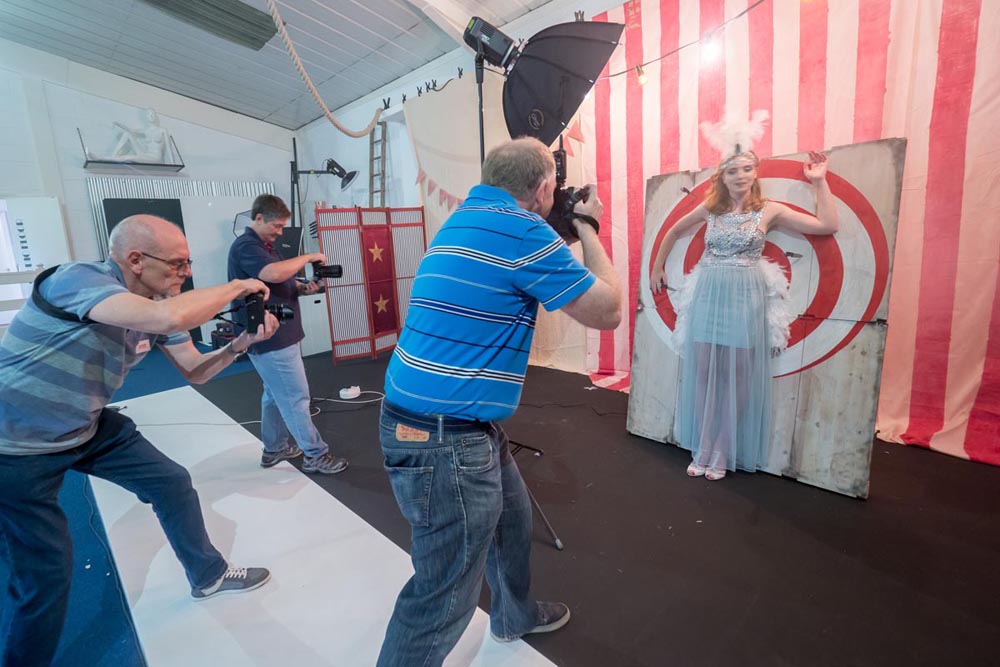
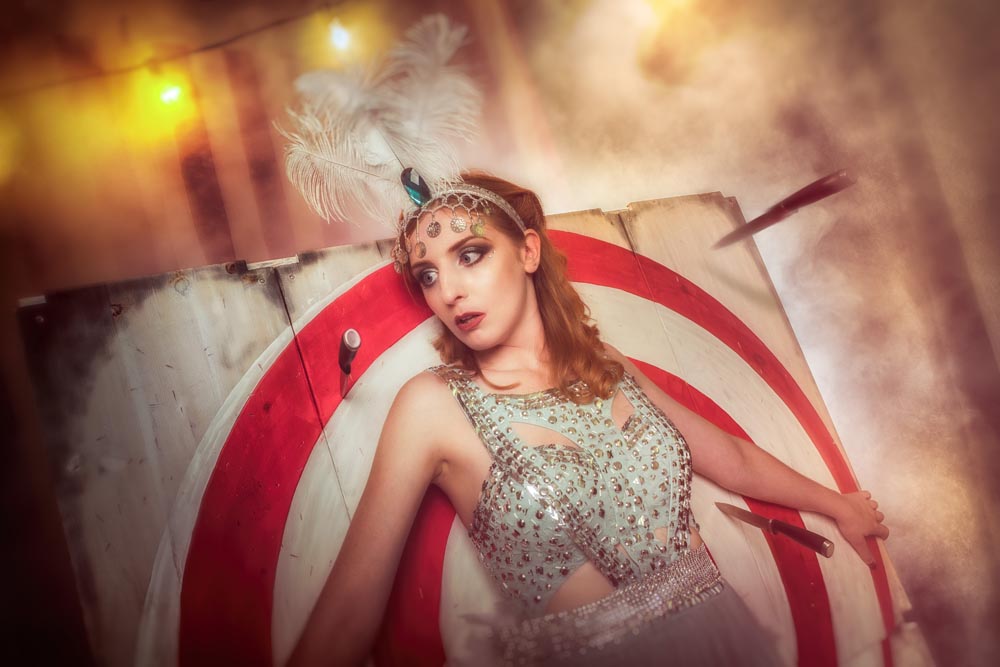
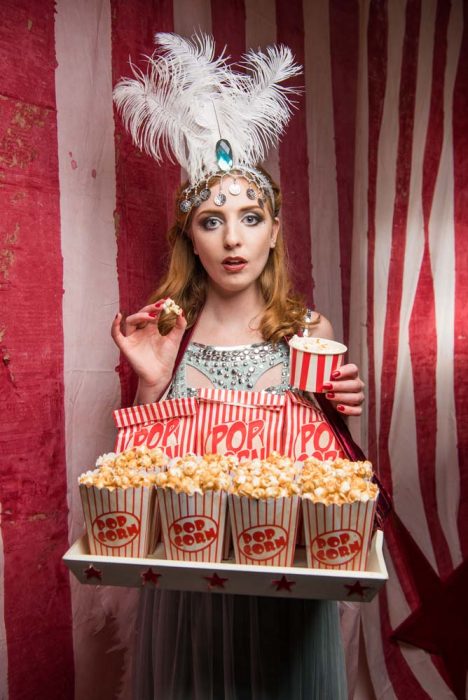
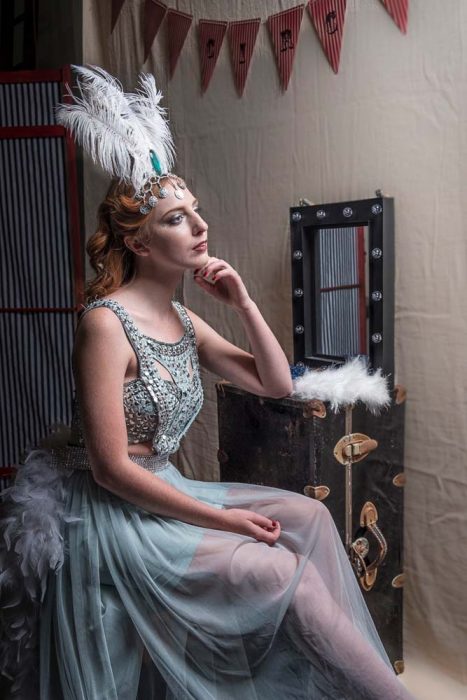
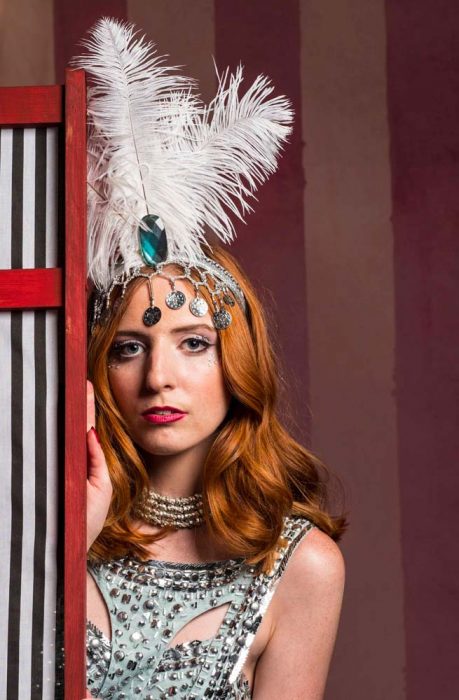
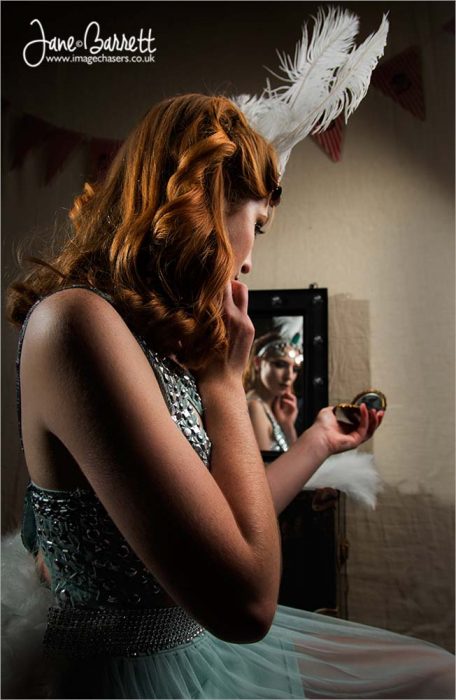
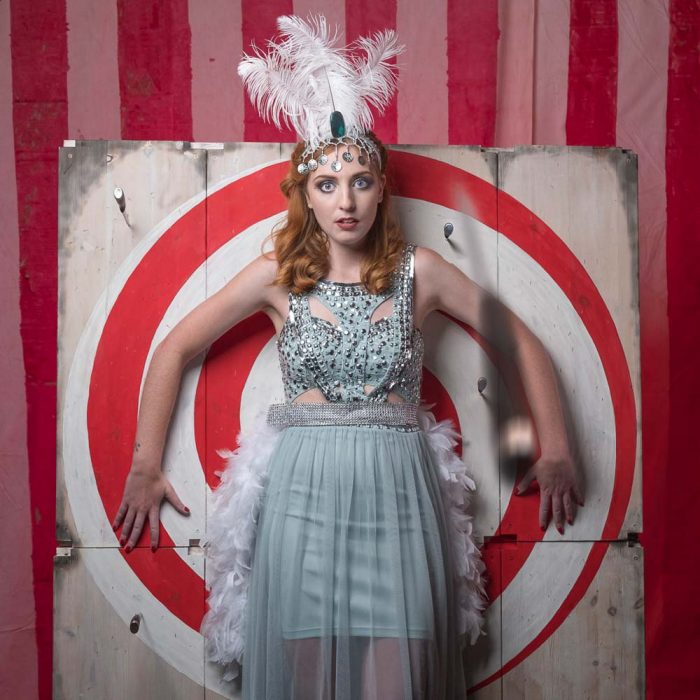
For the morning sessions Beth took on the roll of a show girl. We had the whole of the main studio to play with and set up various areas for Beth to sell popcorn, brave the knife throwing board and even had a little back stage area.
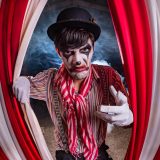
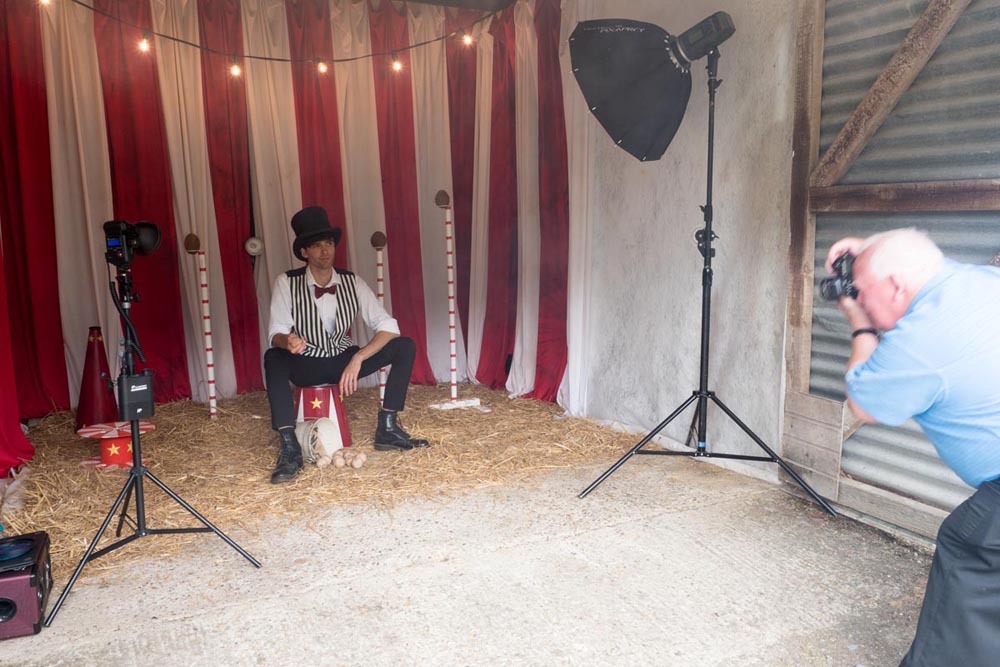
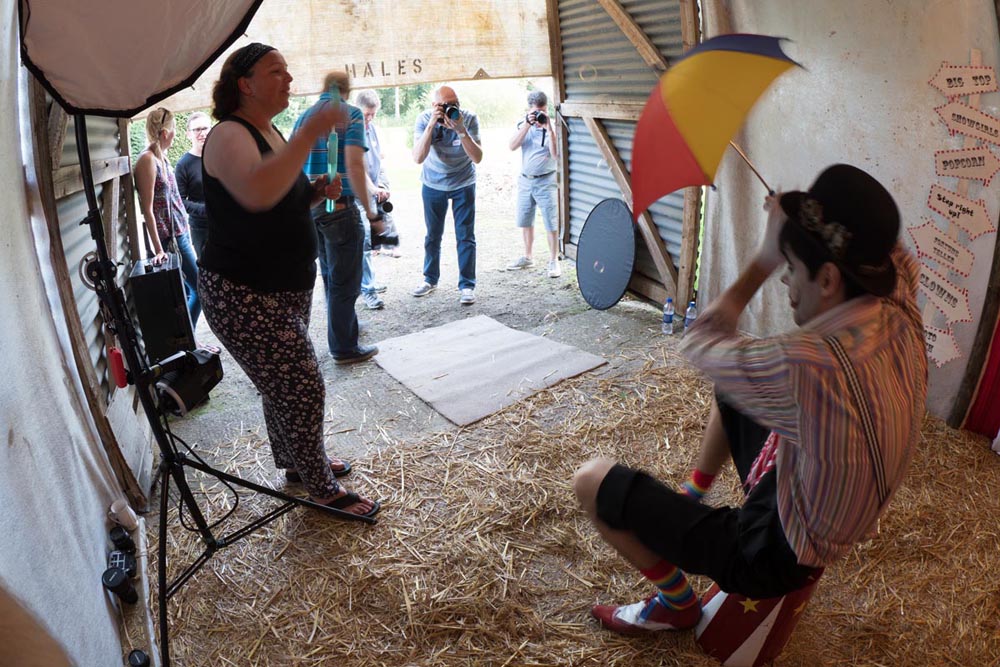
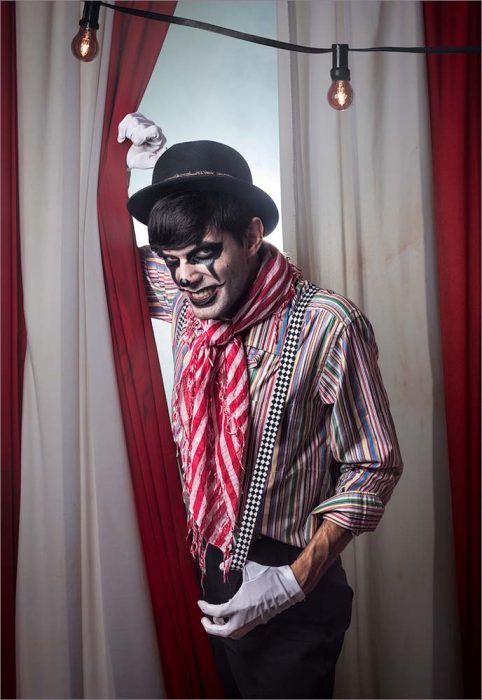
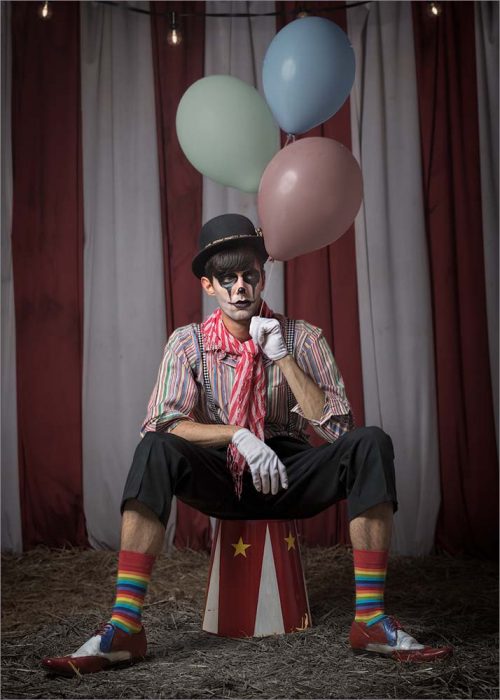
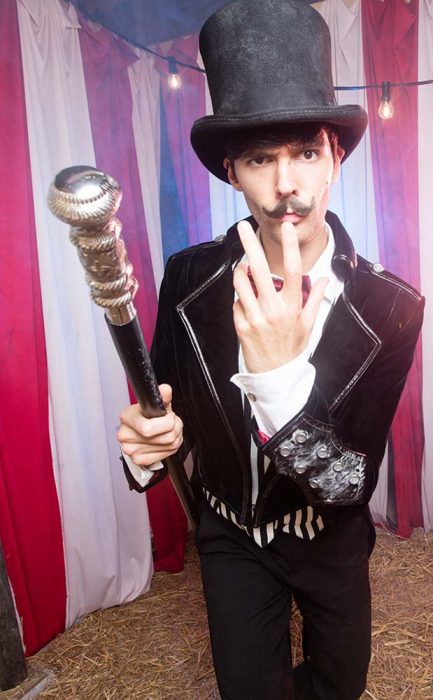
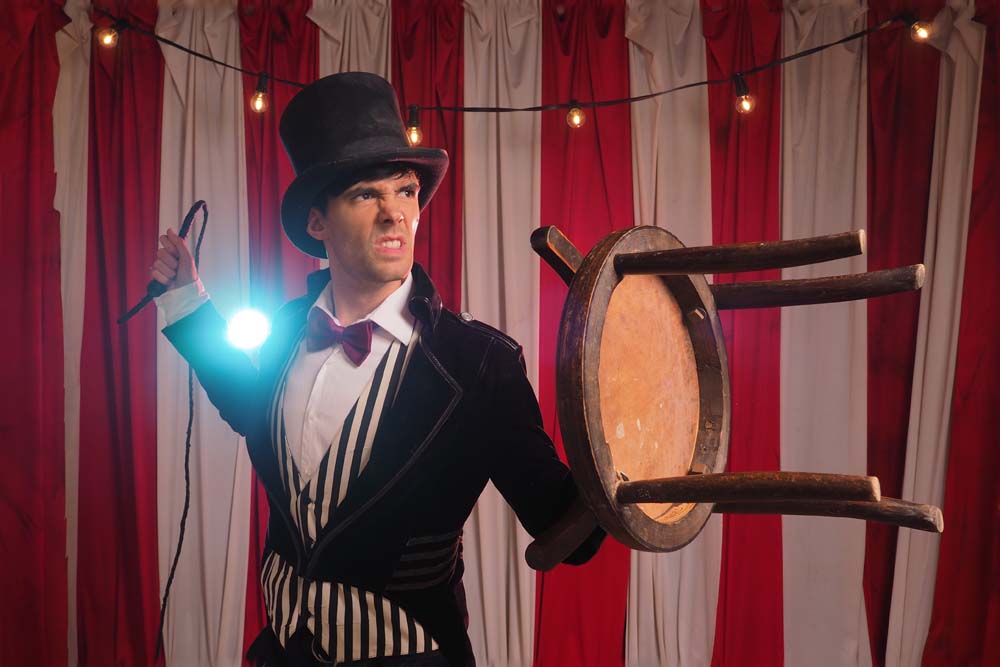
Brian became the circus ring master and carnival carnie. Being outside in the barn meant we could put straw on the floor and had room behind for some creative back lighting and LOTS of smoke.
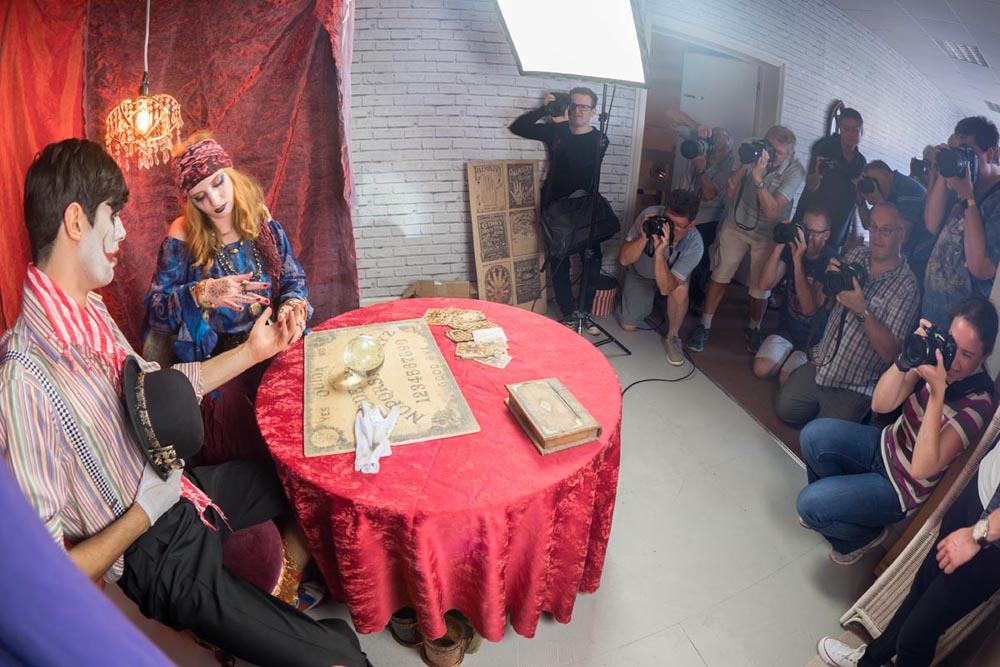
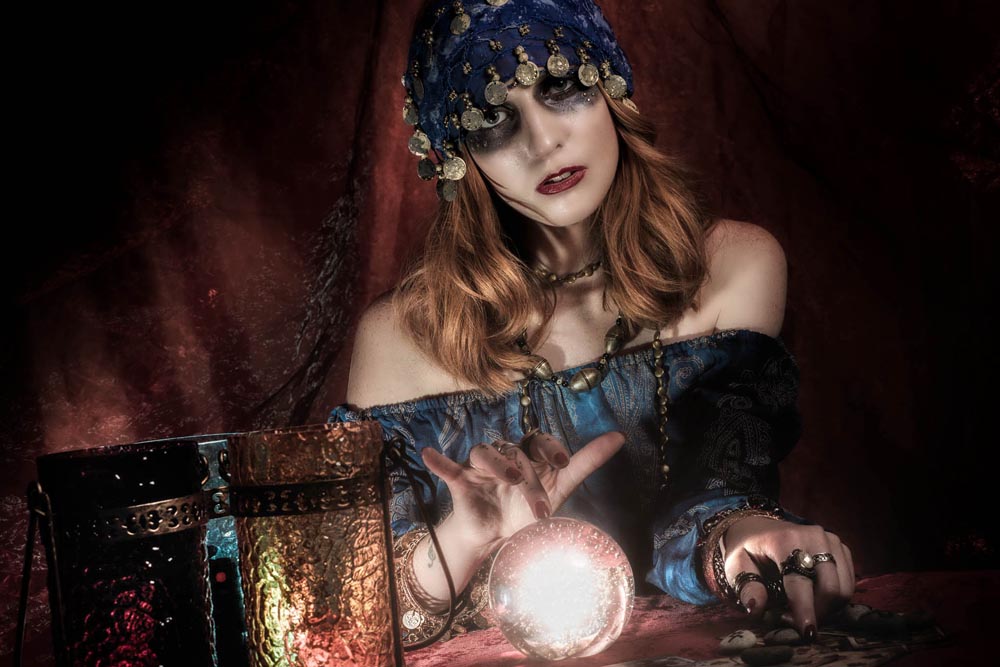
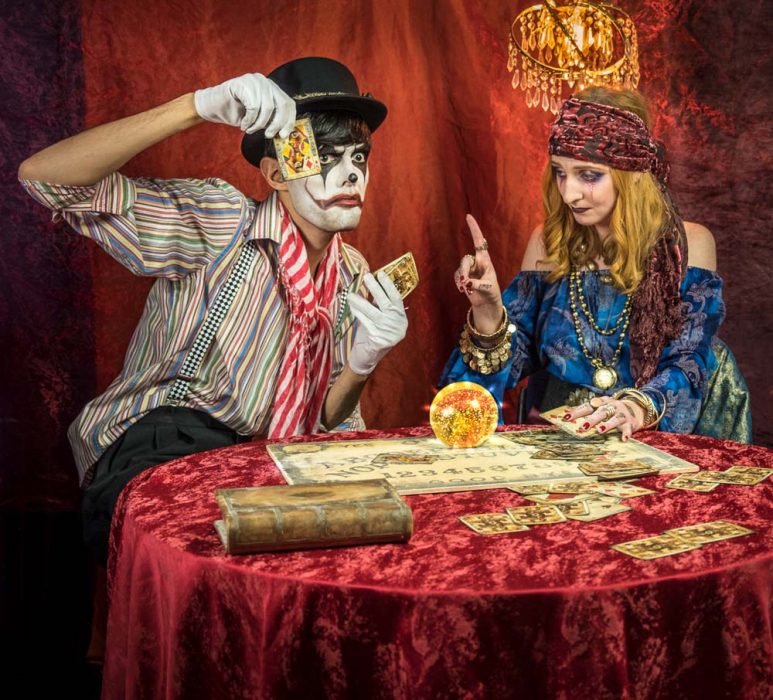
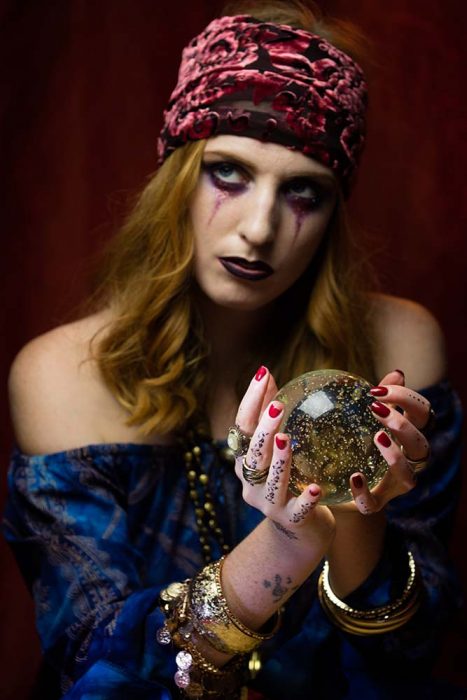
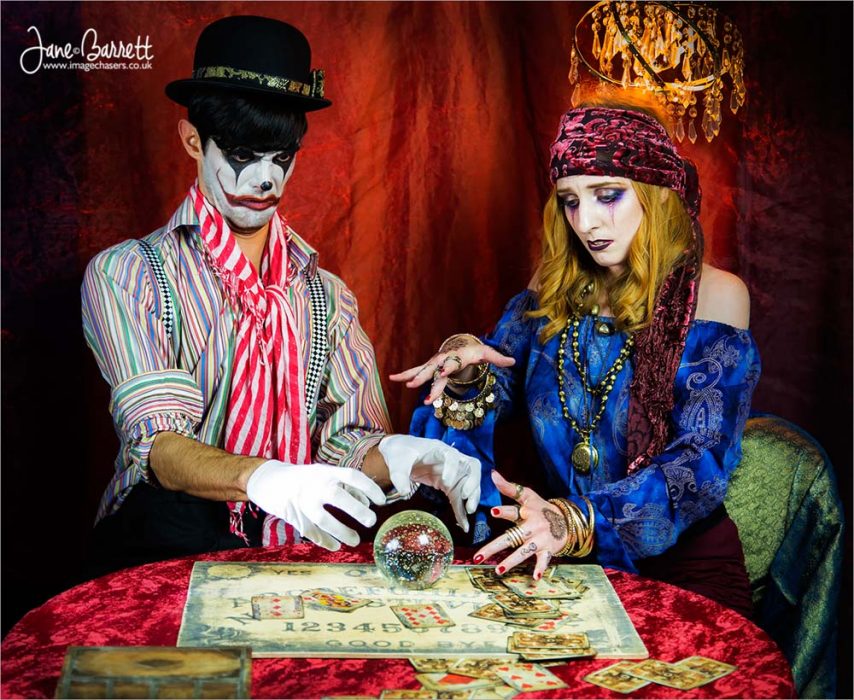
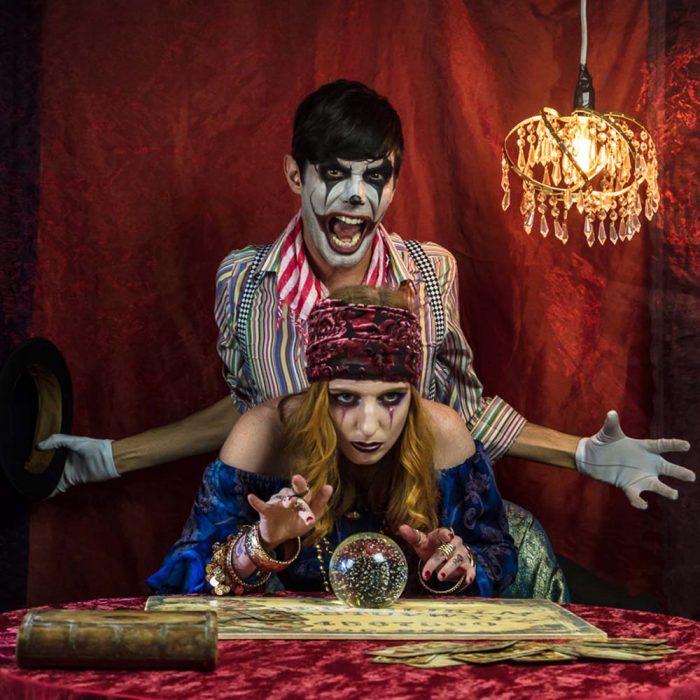
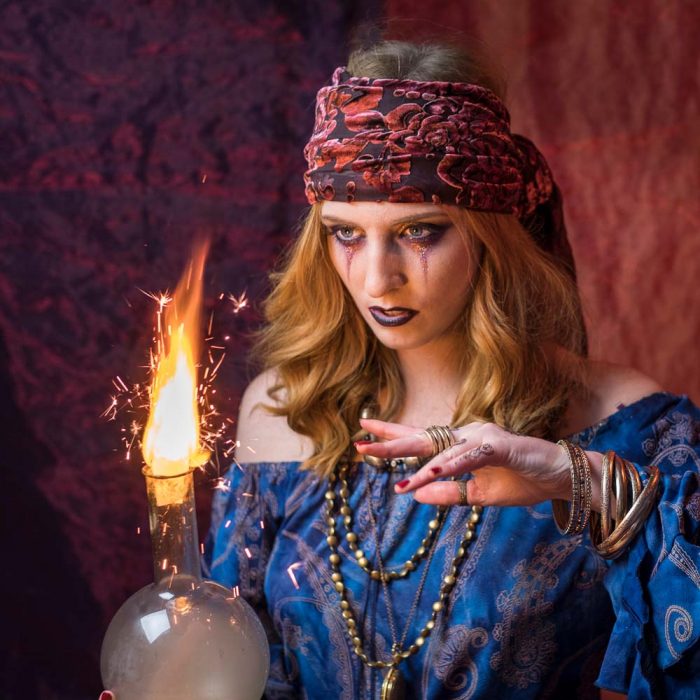
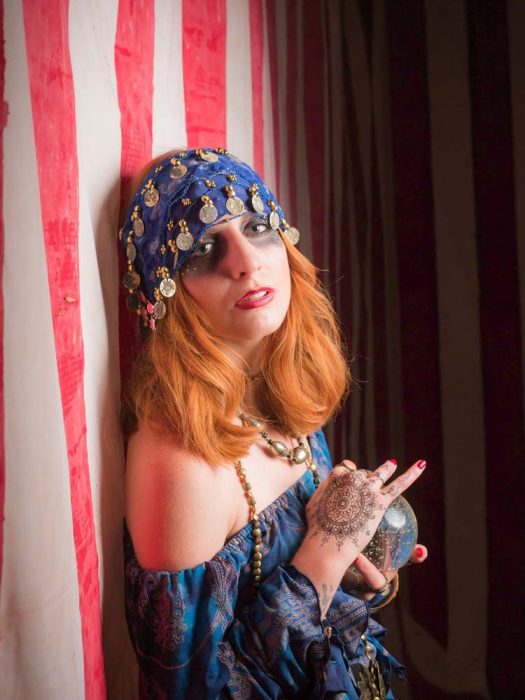
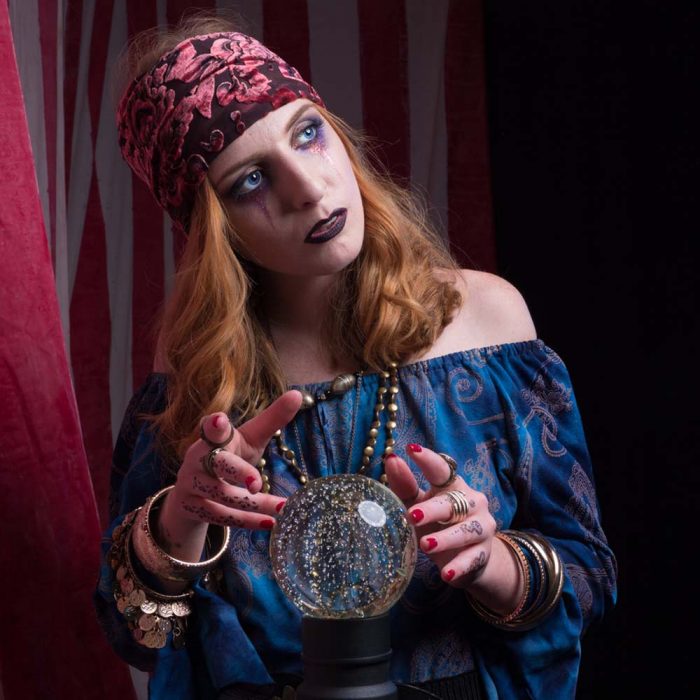
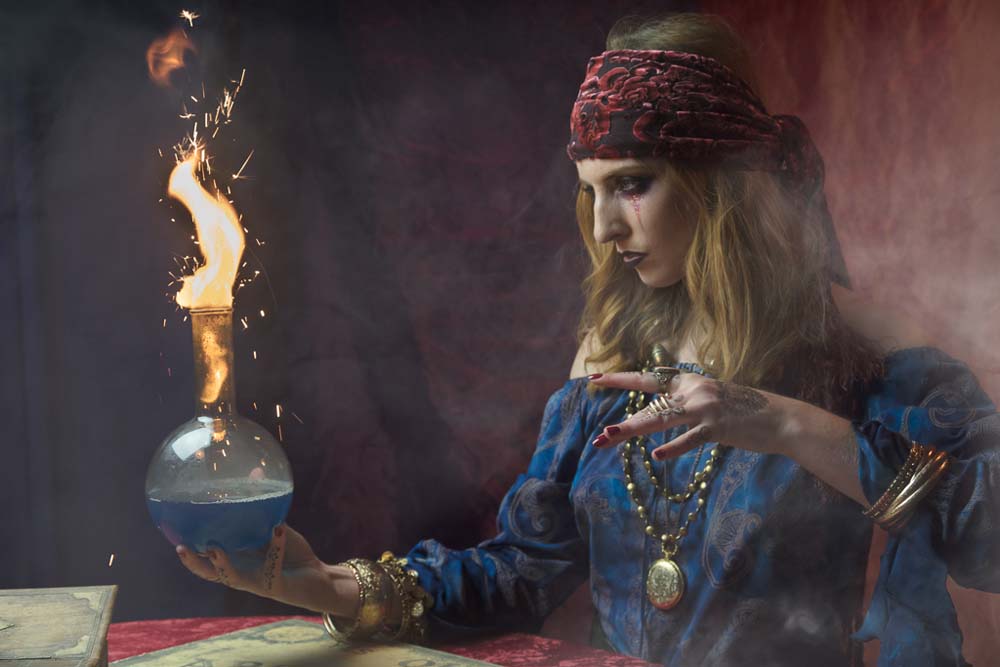
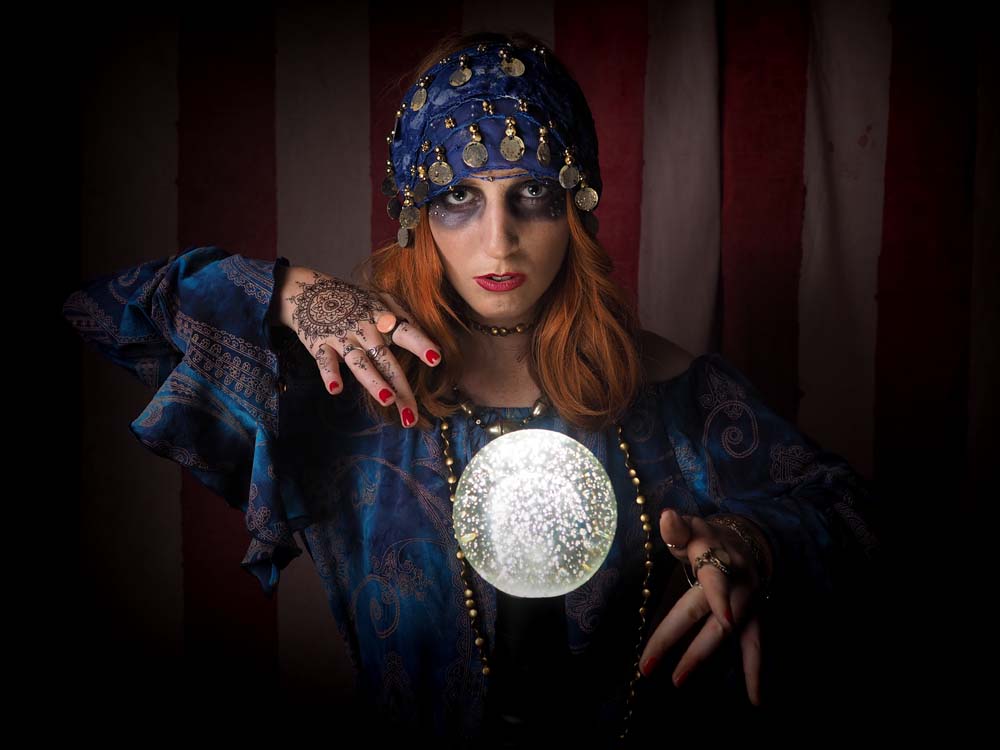
After lunch it was all change. Beth was in the second studio which we’d set up as a fortune-teller’s tent. Ouija boards, crystal ball and even a little bit of fire added to the shoot. For the second shoot, we made time at the end to bring Beth and Brian together. It was a bit of a bun fight for the photographers but brilliant fun.
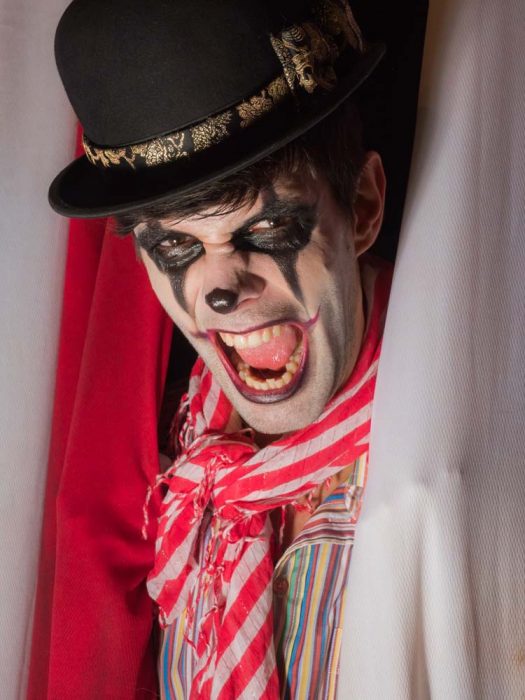
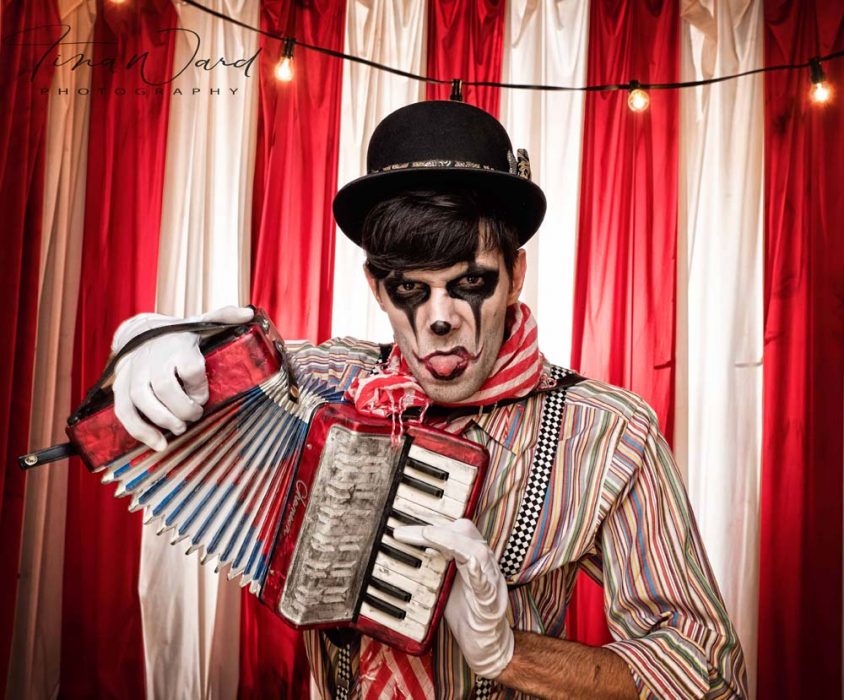
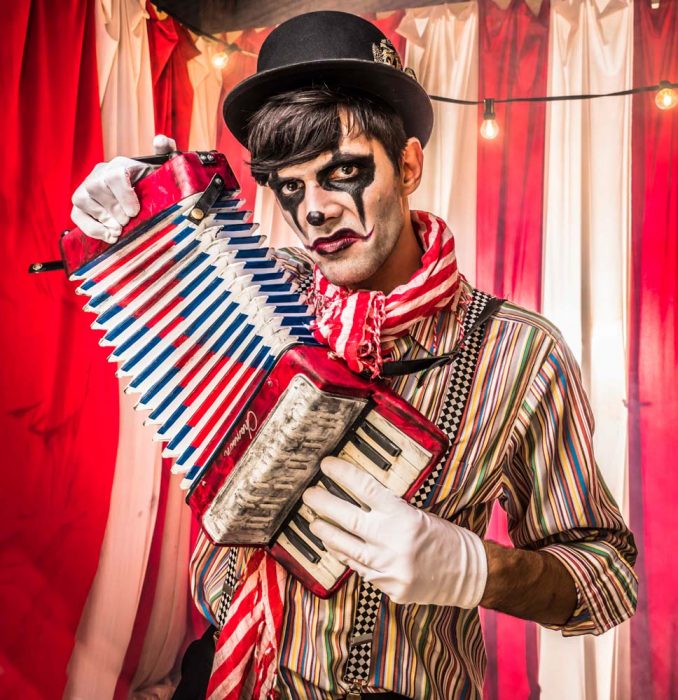
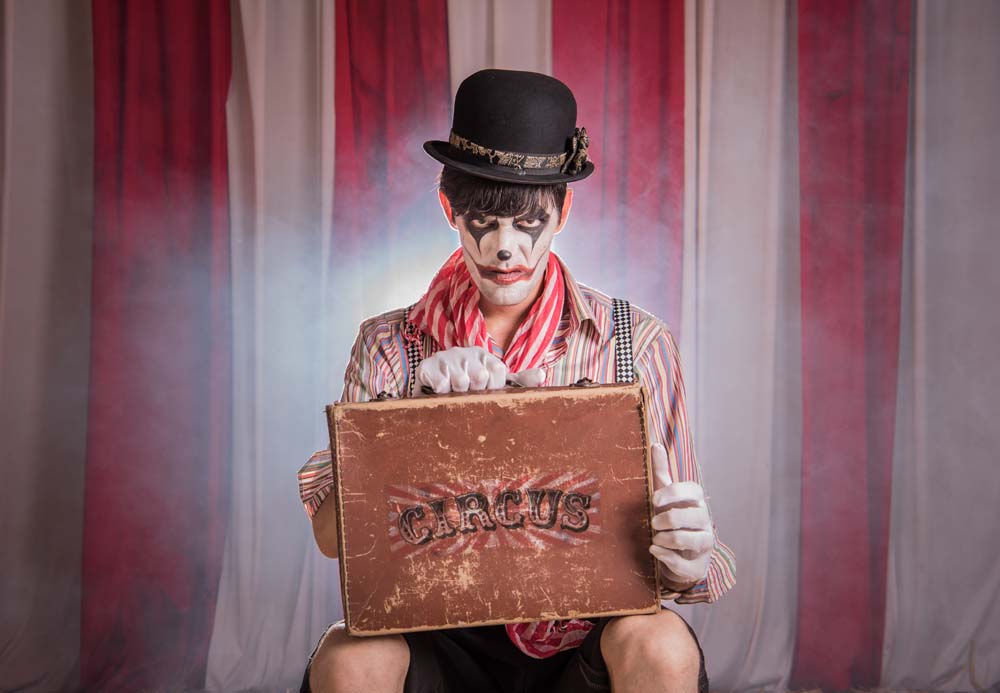
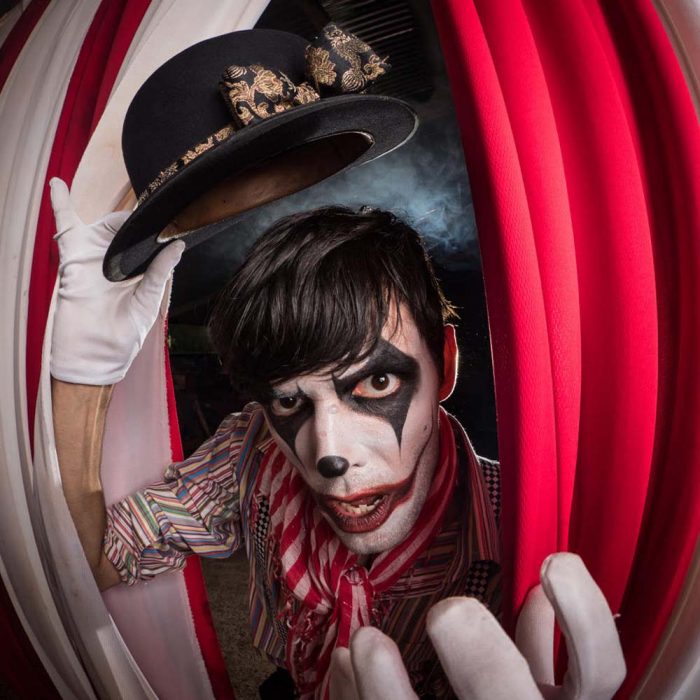
Who doesn’t love a clown? Well lots of us don’t and Brian played that hand to perfection. Miserable, angry and at times a little bit scary, it’s exactly what the faded circus theme was all about.
There’s nothing more frustrating to me than seeing a workshop organiser shooting photos for themselves at the expense of the attendees. As a result I only took a few shots. Fortunately, the photographers who joined us took thousands of photos and below are a few that I’ve been sent so far.
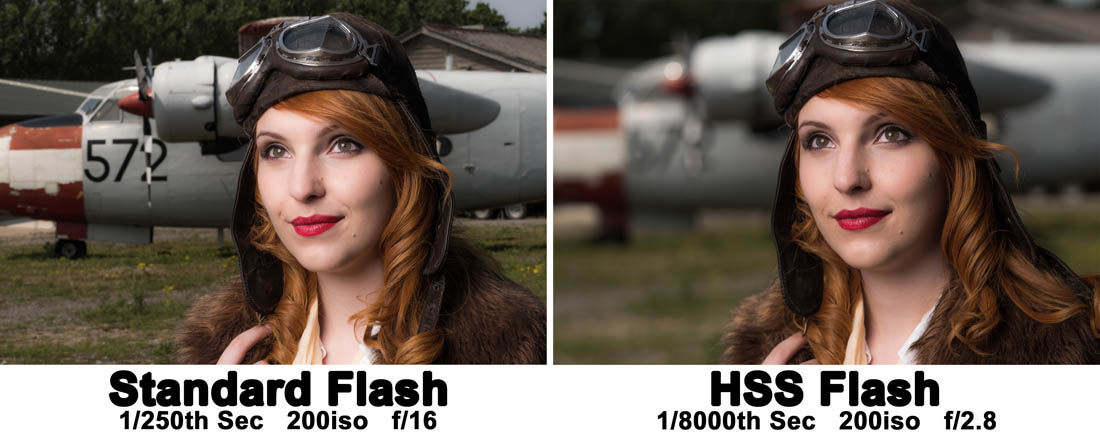
High speed sync is the one flash feature I’ve been missing since swapping to Olympus from Canon a few years back. Yes I could work around it with ND filters or shooting at either end of the day but neither worked as conveniently as high speed sync.
Also known as FP flash or just HSS, flash manufacturers have been slowly catching up and now there are a couple of brands supporting Olympus, Panasonic and Fuji. The first I came across was Profoto but sadly they’re way beyond my budget. Then Godox introduced the TT350o which works like a charm.
As you can see in the video above, HSS allows the camera to shoot at shutter speeds far beyond the tradition flash sync speed of around 1/250th sec. The upshot of reducing the exposure time is that you either reduce the ambient light contamination (perfect when shooting inside with large apertures) or if you want to record the ambient and flash together, you can shoot with wider apertures for less depth of field.
The Godox TT350o flash/trigger that I used here is branded as the Adorama Zoom Mini o (O for Olympus… and Panasonic) there’s also a f version as well as a C, N and S version.
Since then Godox have launched the X1T-o also known as the Adorama Flashpoint R2-oin the USA or the Pixapro ST-iii T in the UK
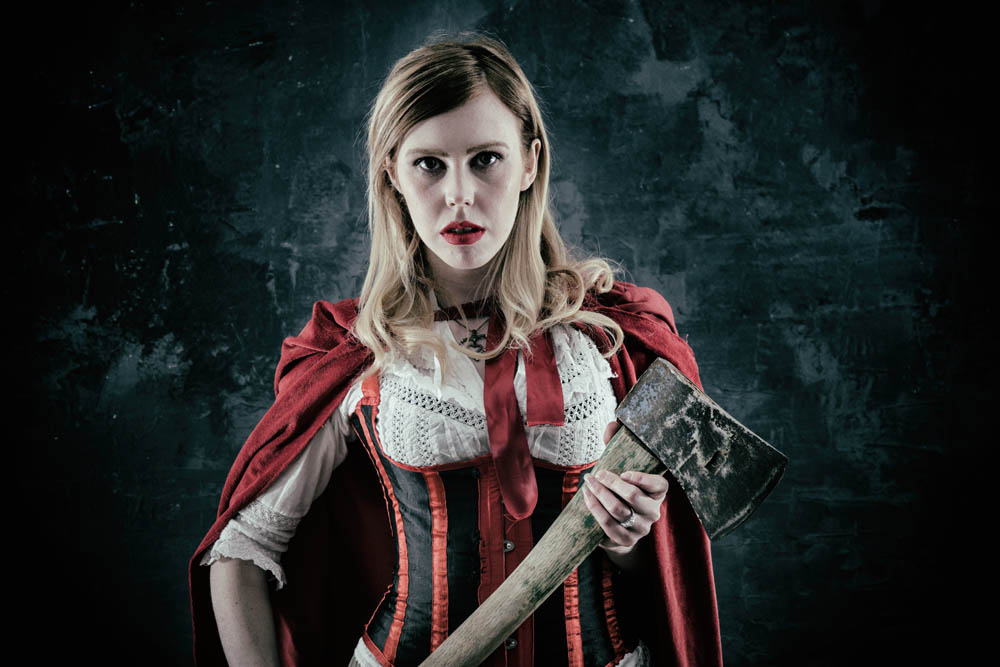
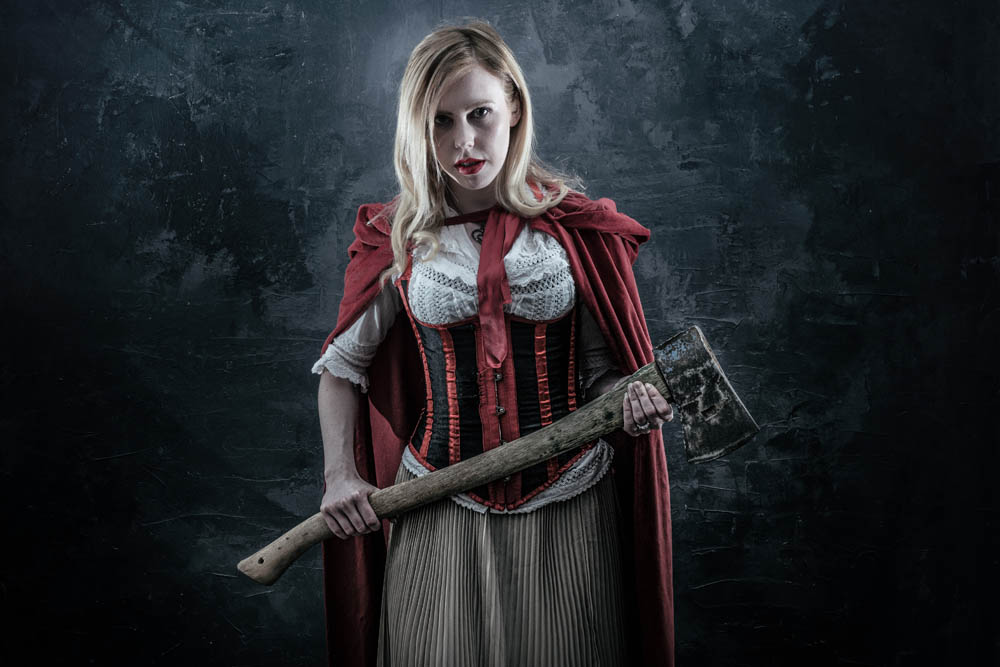
So you only have two bare speedlights and you want to shoot some creative portraits. That’s the challenge I faced recently after discussing how a fellow photographer could get started in portrait photography without spending too much on new equipment.
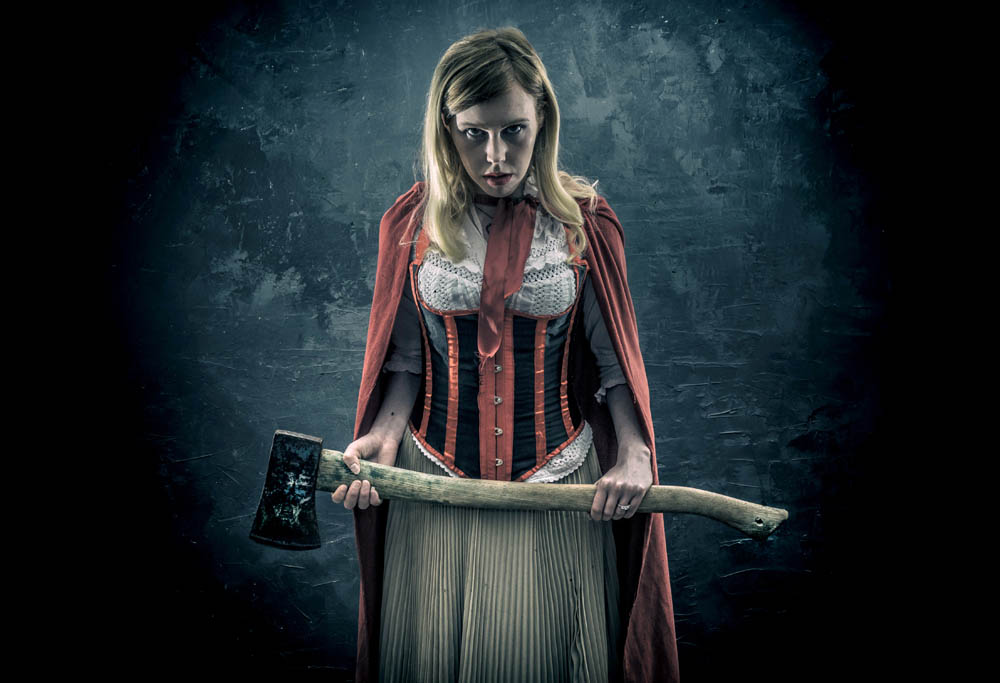
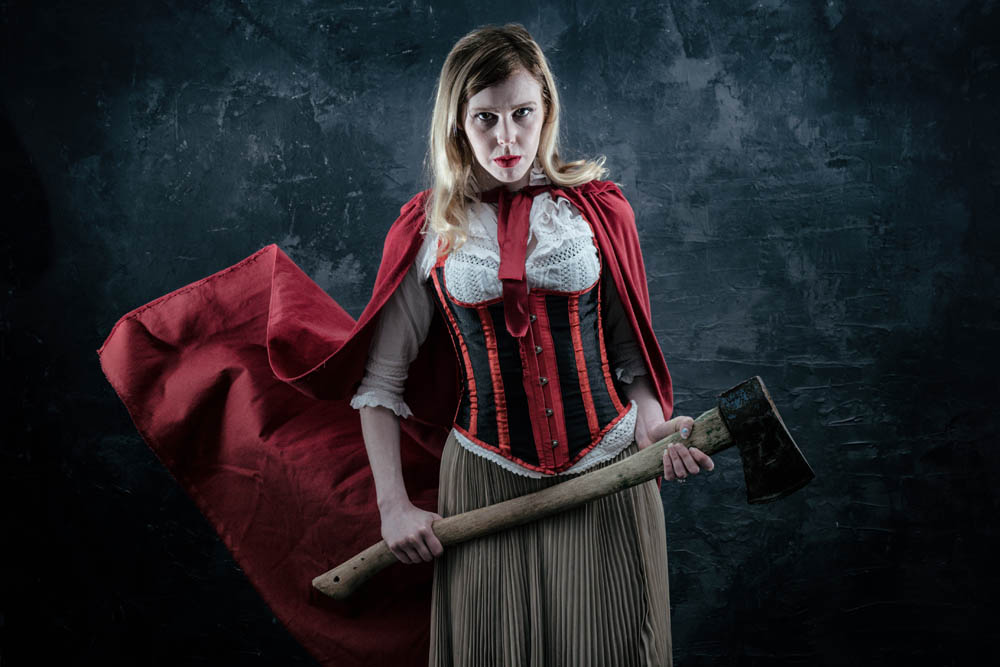
Don’t get me wrong, bare speedlights will obviously limit how you can light your subject and won’t beat better strobes and a choice of light modifiers but I figured that if I can generate the initial excitement for shooting portraits with basic kit, the rest will grow in time.
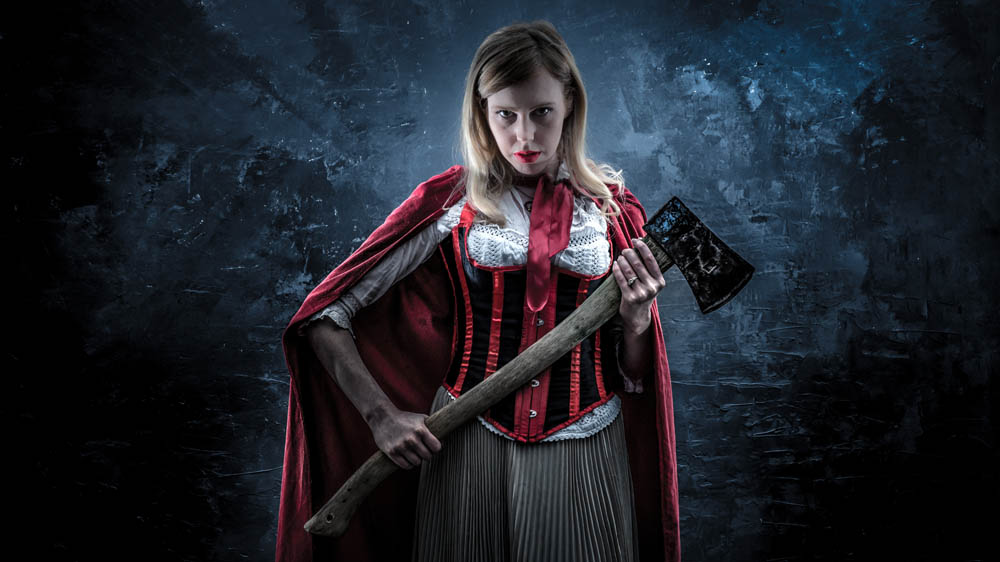
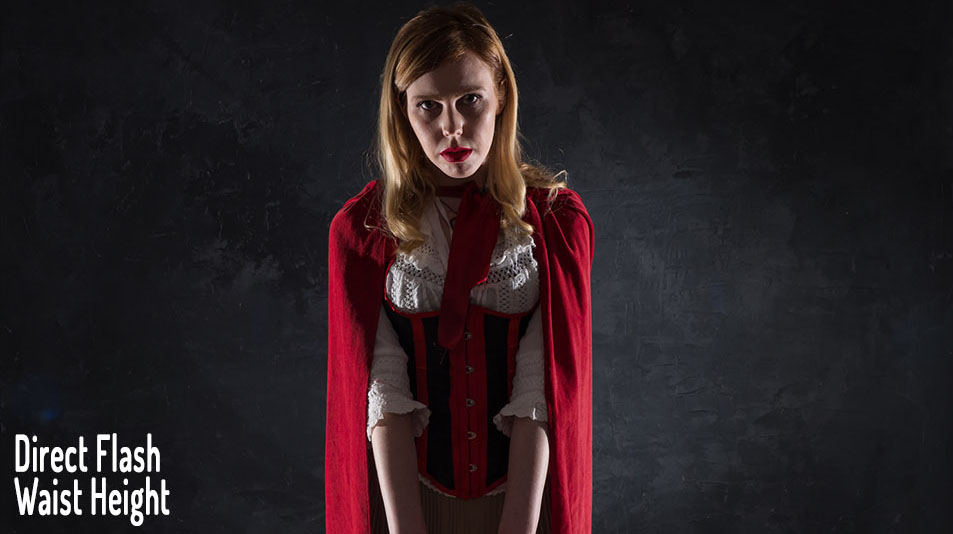
So with a bit of help from model Fern we dusted down the Red Riding Hood cape and set to work.
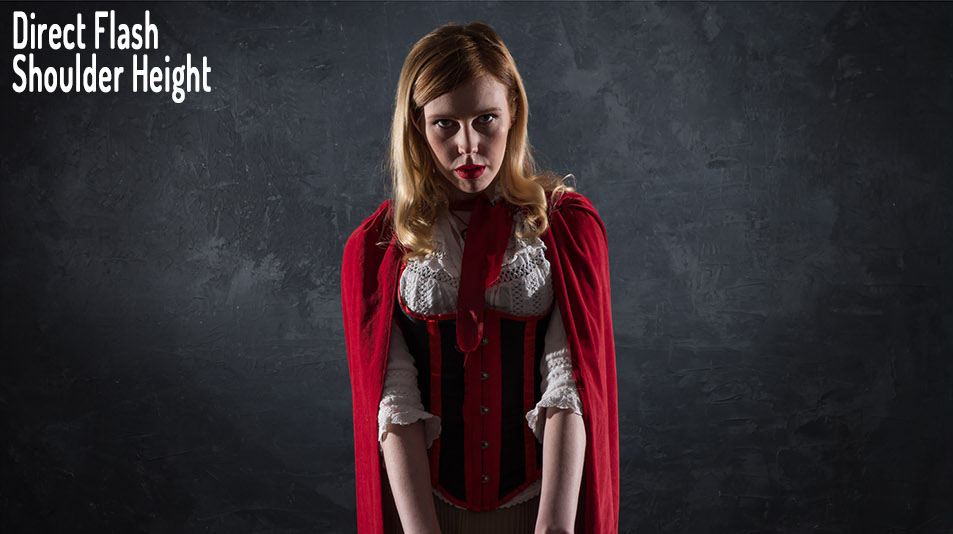
I started by putting the two lights either side of Fern, at 90 degrees to the camera and in line with her shoulders. I carefully made sure they were evenly spaced and that Fern was evenly lit. The end result was a bit too much contrast but very dramatic.
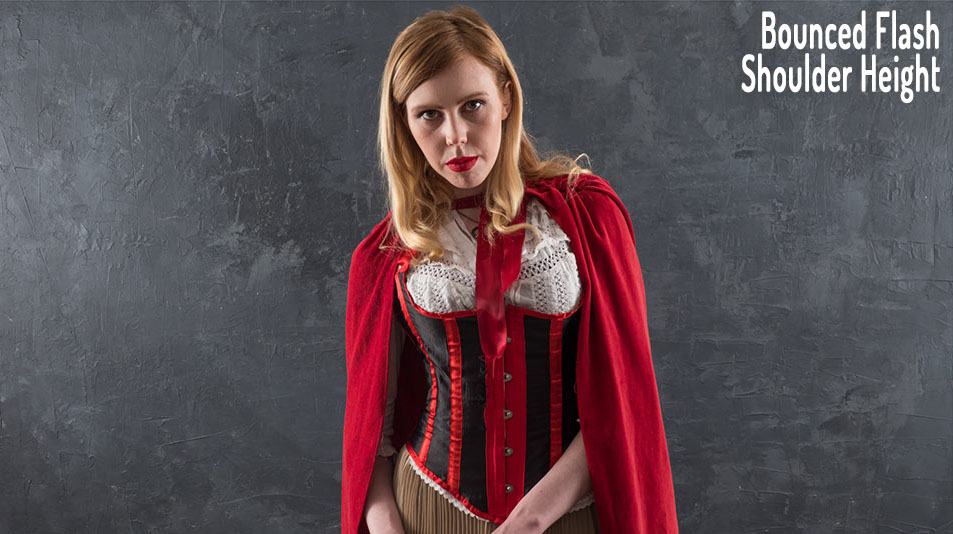
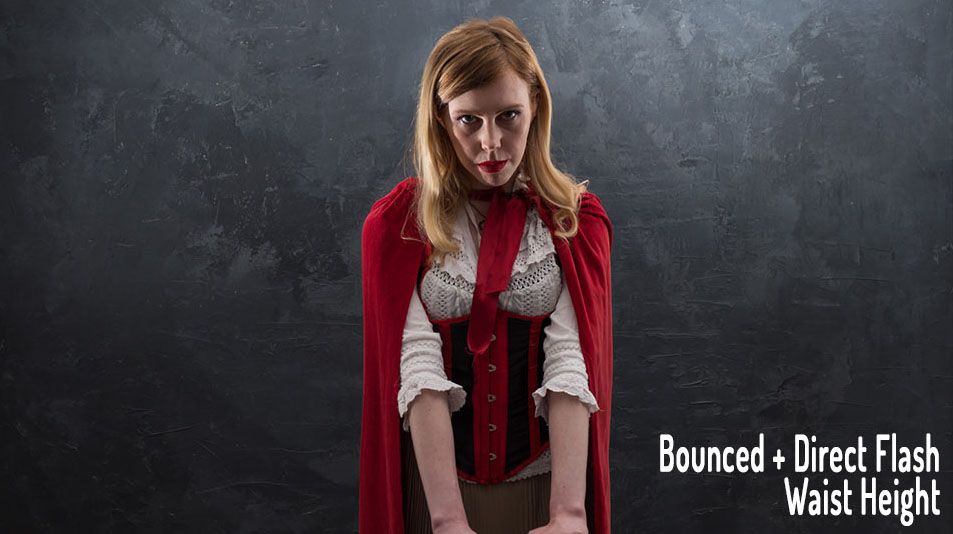
Next I spun the lights around and pointed them at the white walls of my studio. The light was bouncing off the walls which simulated the look of light coming from a source much bigger then a small speedlight. Bigger means softer when it comes to light but it also means more spread and sure enough the photo looked much flatter.
I turned the light back around. If you want a sinister look, put the lights low. It’s not a lighting position I regularly use but in this case it felt right. However the direct light from the bare flashes still looked a bit too harsh for my taste.
To soften the light a little on Ferns face I kept the lights low but angled them up to the ceiling. The result was a mixture of hard light and soft light that worked perfectly for the look we were going for.
For more information on the shoot and the post processing, check out the video below
[youtube]www.youtube.com/watch?v=LKNSqE8sdrc[/youtube]