Photoshop vs Make-Up

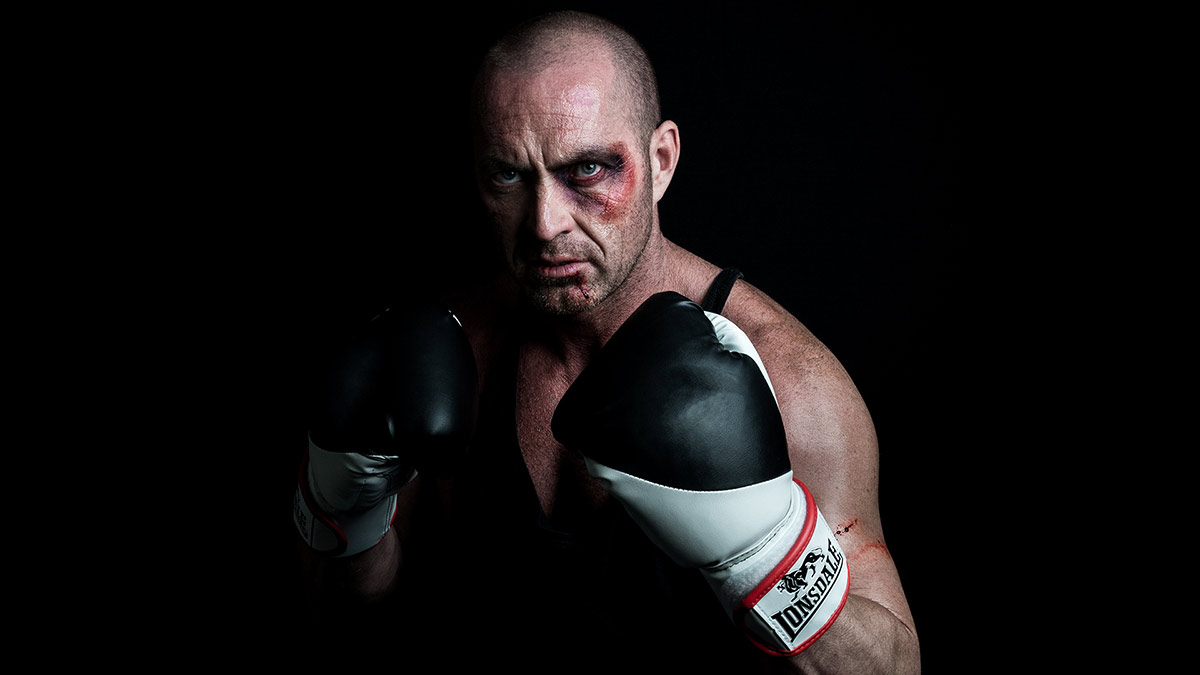
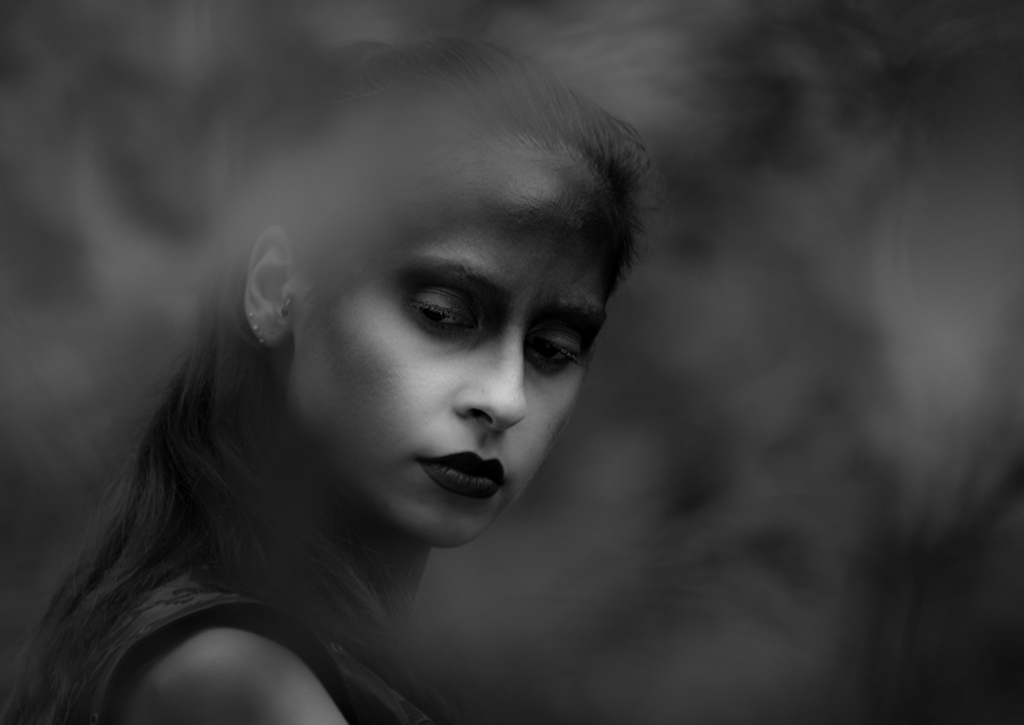
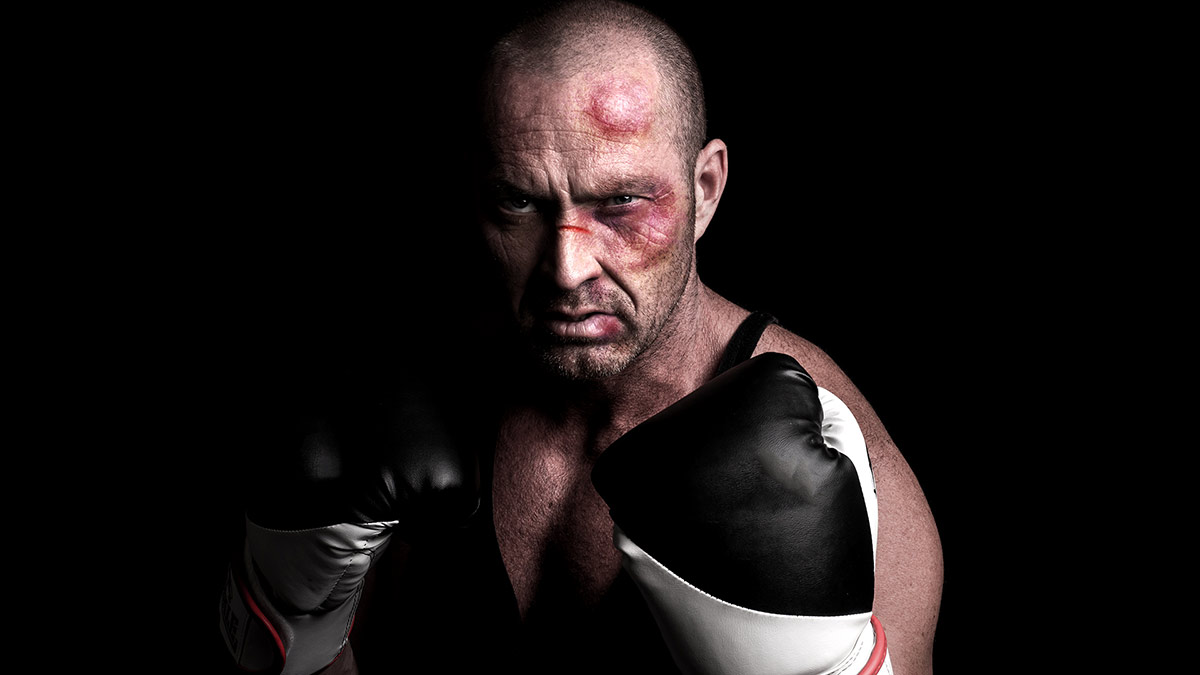
If you’re shooting any kind of portrait, the value of good quality make-up can’t be underestimated. For example, editing time can be massively reduced in family photo shoots by applying a little powder to reduce shiny skin on men. More creative photo shoots often demand more elaborate make-up and whilst I always try and get things as good as possible in camera, I do enjoy a spot of Photoshop fun.

So I decided it put make-up and Photoshop head to head in a battle to see which was better. You can see the results in the video below.
[youtube]https://www.youtube.com/watch?v=PUWY5jvCdG4[/youtube]

Photoshop
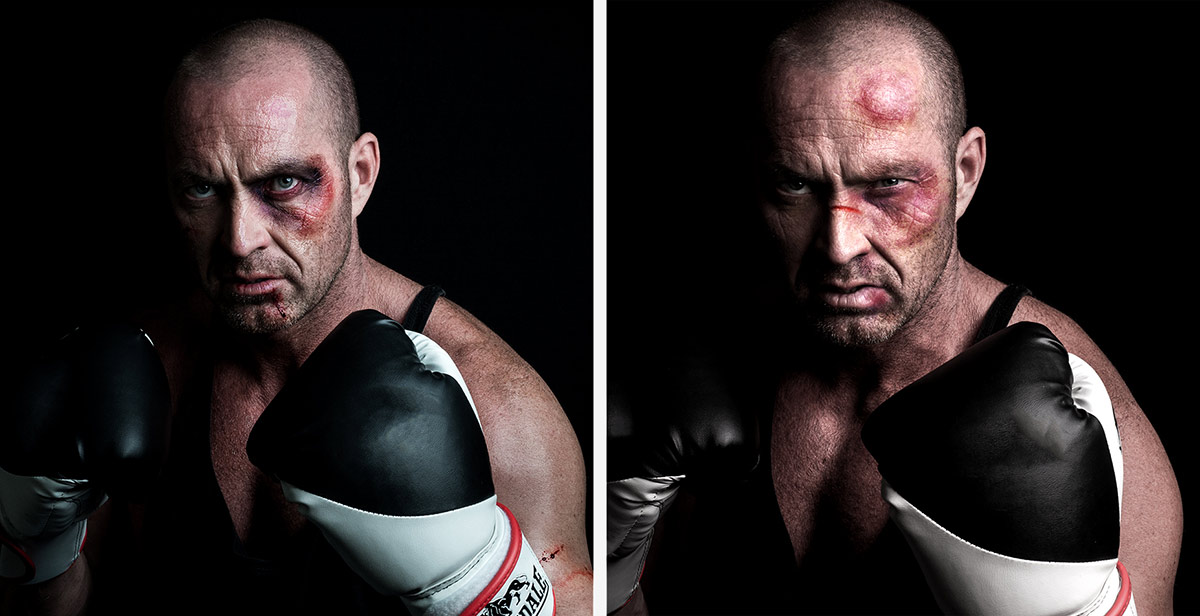
For a single photo, given enough time and skill it’s perfectly possible to create the effect of bruises. In fact using tools such as liquify I could create some pretty convincing swelling that make-up alone couldn’t do.MUA-vs-PS-2

Of course the downside is I’d need to do this to every photo and there are plenty of make-up styles that would be far harder (if not impossible) to recreate in post-production.


Make-Up

Give the choice, this is the way to go. An experienced make-up artist will be able to create amazing looks and once applied the make-up is there shot after shot, after shot.MUA-vs-PS-3

Of course there’s no reason why Photoshop and make-up can’t be combined and that has the potential to take your portrait photography to a whole new level.MUA-vs-PS-1

5 Questions about flash meters

One of the very first lighting accessories I brought was a flash meter, in fact the same meter gets used and abused almost every time I use manual flash. I’ve used my handheld flash meter with speedlights and studio flashes of all makes, I use it in the studio and on location. Honestly, I couldn’t work without it.

If you’re thinking of getting your own flash meter or already own one but are not sure how to get the best from it the video below should help answer some of the most common quesions.

[youtube]https://www.youtube.com/watch?v=UG4P-Odutr8[/youtube]

Not a video viewer? No problem, try this instead.

1 Can’t I just use my camera meter?
Nope, you’re camera meter is designed to work with continuous light and can’t react fast enough to meter flash. However you can use your cameras LCD to review the photos and adjust the flash power based on what you see. This trial and error approach is OK but does have its drawbacks… see the video for more on this.

2 Do all meters work the same?
Well, they all meter the light so at a basic level they’re all the same. In my case I simply set the meter to match my camera’s ISO and shutter speed and when the flash fires I can read off the aperture.

Of course there’s plenty of advanced flash meters around that have features that might make life a lot easier for you. Some meters can measure the amount of ambient contamination in your shot, others can figure out lighting ratios and there’s even some which have pocket wizard radio triggers built into the meter itself.

3 How do I fire the flash?
That largely depends on the flash meter. On my Sekonic L-308s I prime the meter by pressing a button on the side and then fire the flash by pressing the “test” button on either the flash or radio trigger.

Other firing options include attaching a PC Sync cable from the flash to the meter or as I previously mentioned, finding a meter that has a built in radio system (such as Pocket Wizard)

4 Where do I point the meter?
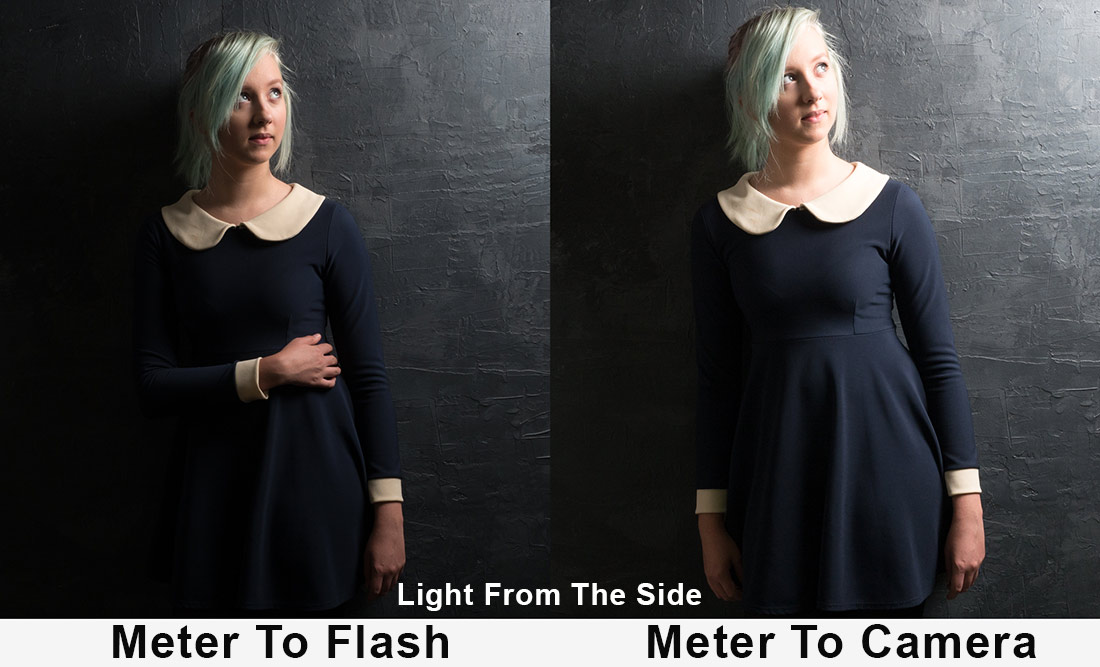
This is the question that usually sets off much debate among photographers. For me it’s always… Point the meter at the light, however as you’ll see in the video, if the light is mostly coming from the camera position, the same exposure is recorded by pointing the meter at either the flash or the camera.
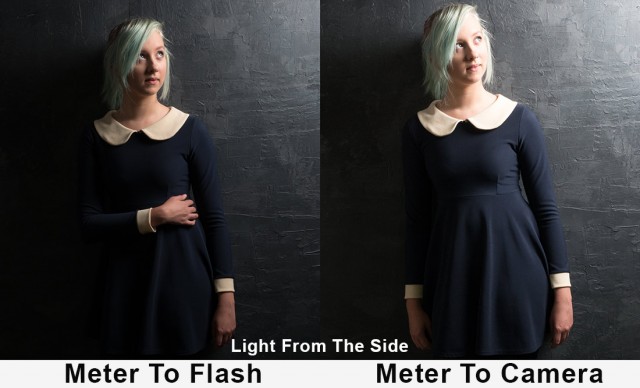
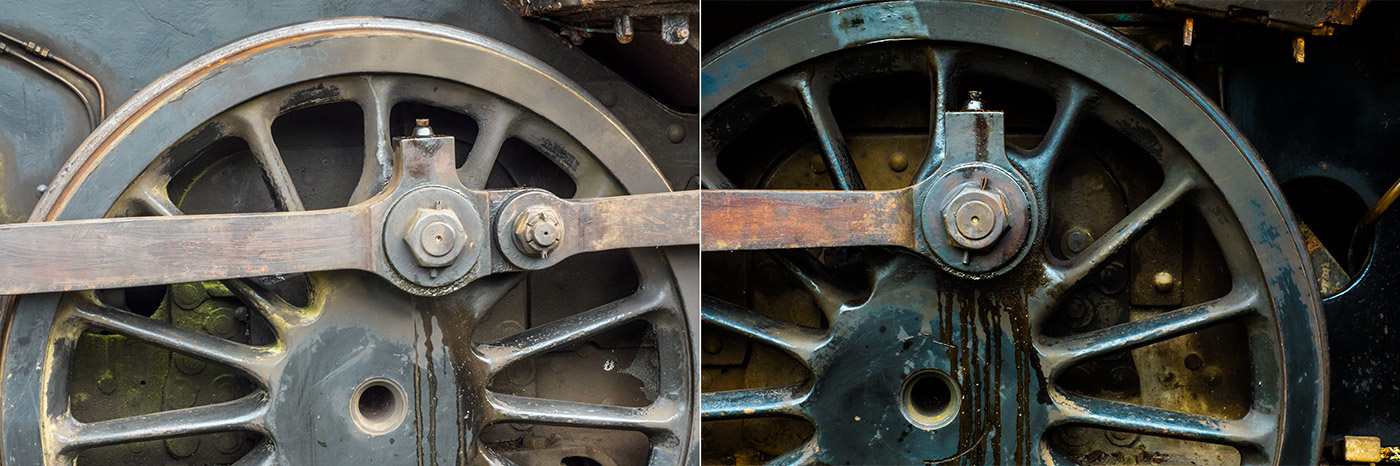
Meter-Before-After

One mistake a lot of photographers make is to place the meter in the shadow cast by the chin or by the models hair etc. It’s easy done, so if the meter is telling you something that feels wrong, move the meter and try again.

5 Do I really need one?
No, you can do the trial and error way of working and get very good exposures. However if you move or modify the light you’ll need to do the same work all over again.

A flash meter saves time on a shoot and gives you extra confidence in nailing the correct exposure. However it’s always worth remembering that correct exposure isn’t the same as perfect exposure so it’s a good idea to ignore the meter from time to time and get a little experimental with your shots.

Lastly there’s one more reason for using a flash meter and it has nothing to do with how it works… Just like shooting with a big camera, the untrained eye can equate using a flash meter to knowing what you’re doing. Now, whether that’s a good or bad thing I’ll leave up to you.
5 times your camera meter will be wrong

Camera metering systems are pretty amazing and I’m usually very happy for the evaluative metering systems in my cameras to figure out the exposure and leave me to get on with sorting the composition.
But no matter how smart modern metering systems become, there are still times when they can get fooled, so here’s 5 times you might want to ignore what the camera tells you and go your own way.

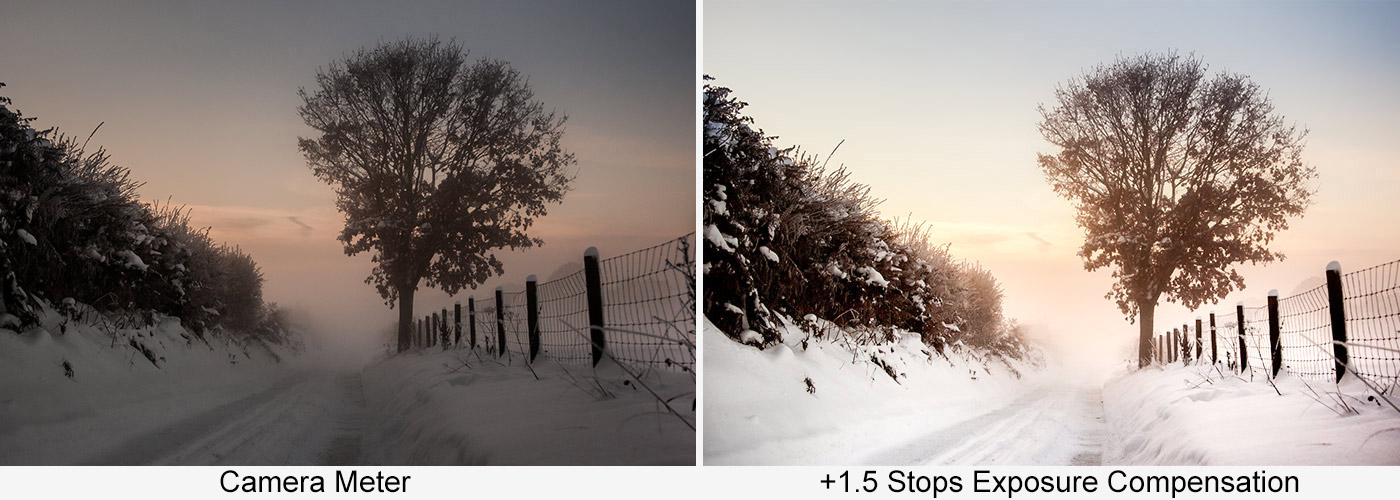
1: Light coloured subjects
Meter-1White in a photo looks amazing especially when it’s clean and pristine. The trouble starts when there are lots of white or light colours in your shot. Why? Because cameras assume that most photos average out to a middle grey tone. Whilst that’s more or less true most of the time, large amounts of bright colours can fool the meter into under exposing and making your photos darker than expected
Solution: Dial in positive exposure compensation

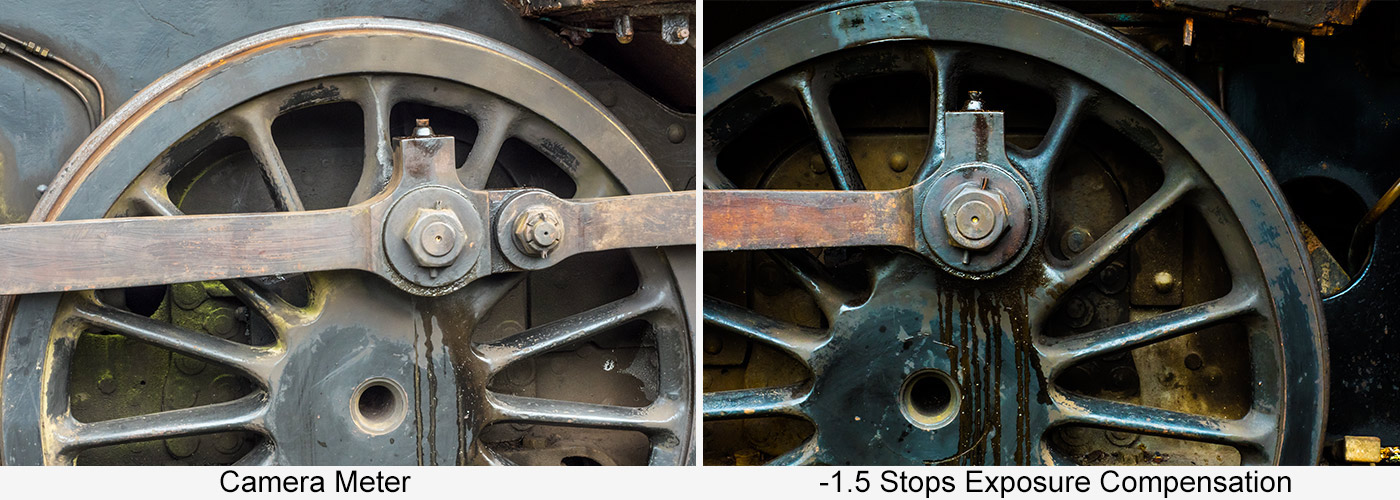
2: Dark subjects
Meter-2The other side of the coin is also true. Dark, low key subjects will become artificially bright (over exposure) if the meter is left to its own devices. Just like with light tones, the more dark tones you have in the shot, the more incorrect your meter will become.
Solution: Dial in negative exposure compensation

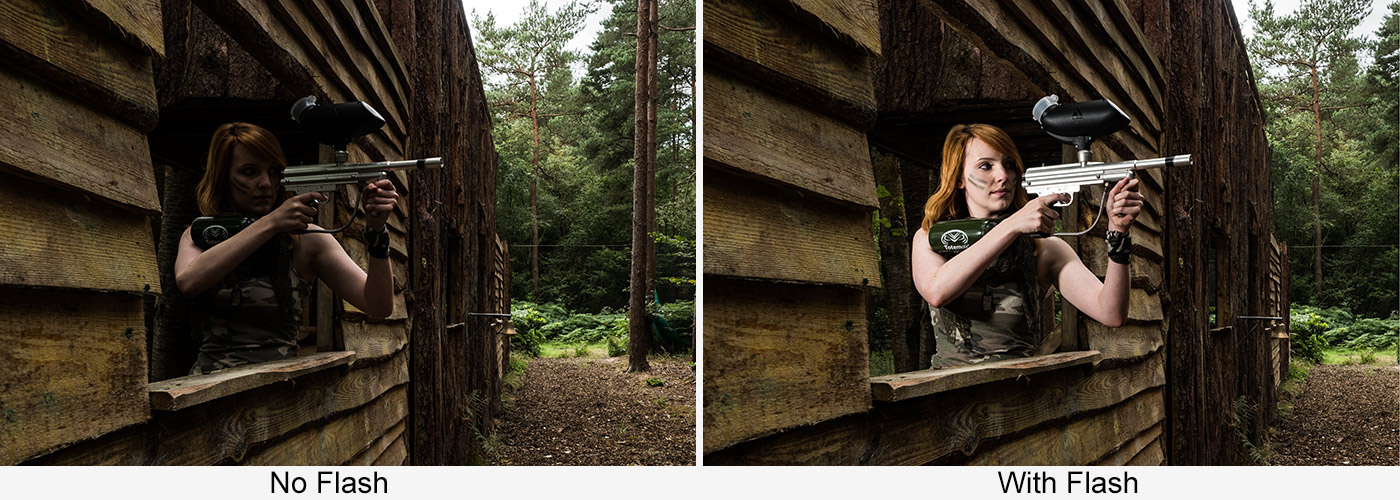
3: Off camera Flash
Meter-3Camera meters work great with ambient light but flash is a very different animal. If you have a dedicated speedlight attached to the cameras hotshoe, then things generally go well but take the flash off the camera and you’ll find yourself on your own for metering. Put simply, the flash of light is way too short a time for the cameras meter to measure the light.
Solution: Switch to manual mode and use a flash meter

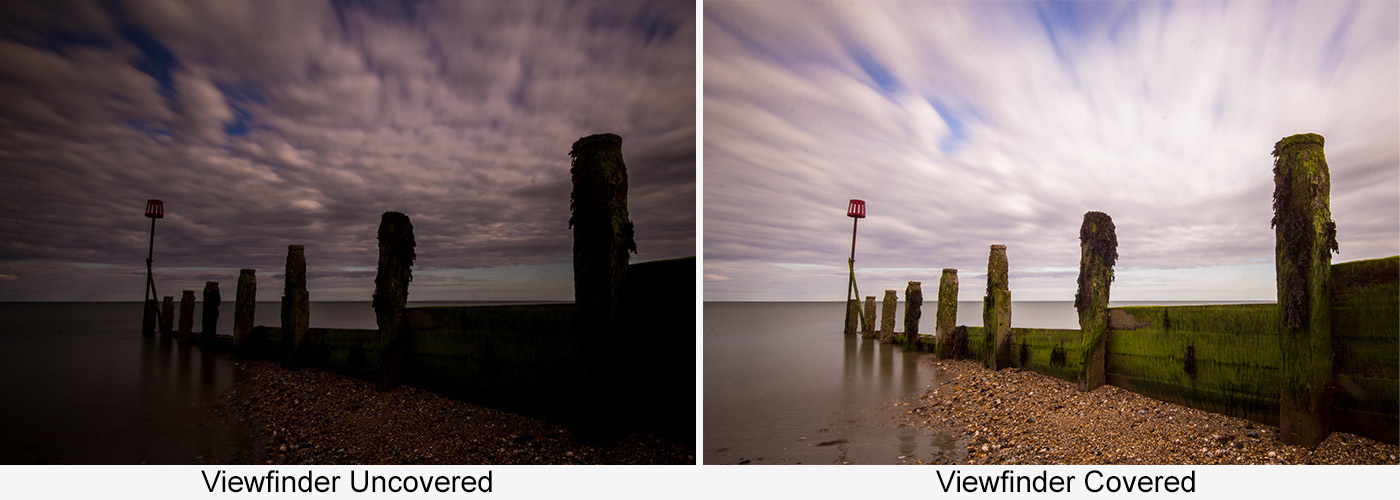
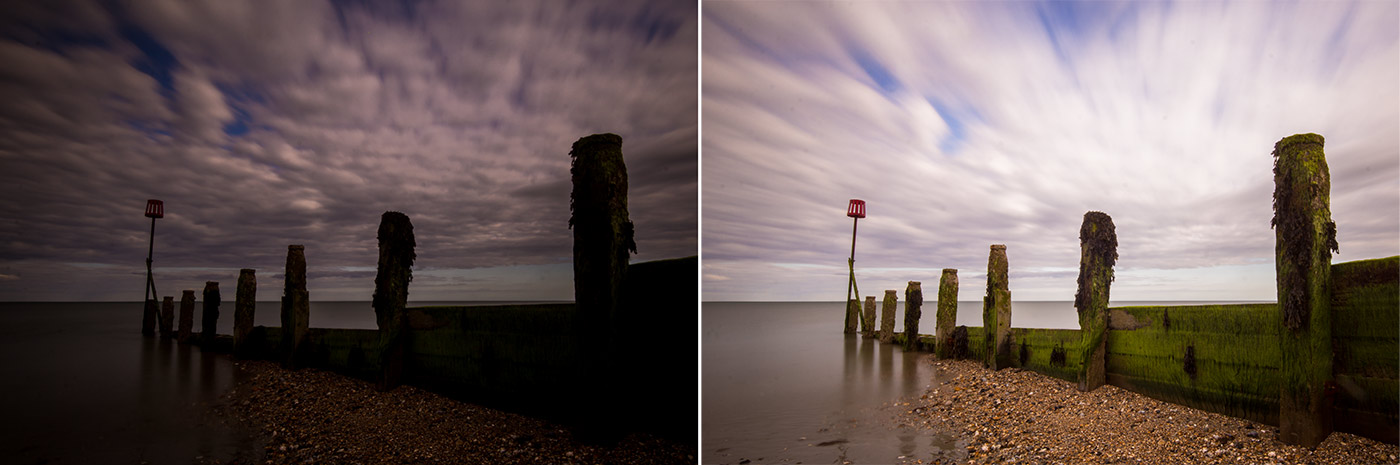
4: Long Exposure with ND Filters
Meter-4Super dark 9 and 10 stop Neutral Density filters can push shutters speeds to extreme lengths and create amazing eye catching shots, they can also cause exposure issues. This problem is confined to DSLR shooters and happens because light can leak back through the viewfinder bounce off the mirror and cause an exposure error.
Solution: Cover the viewfinder… or go mirrorless!

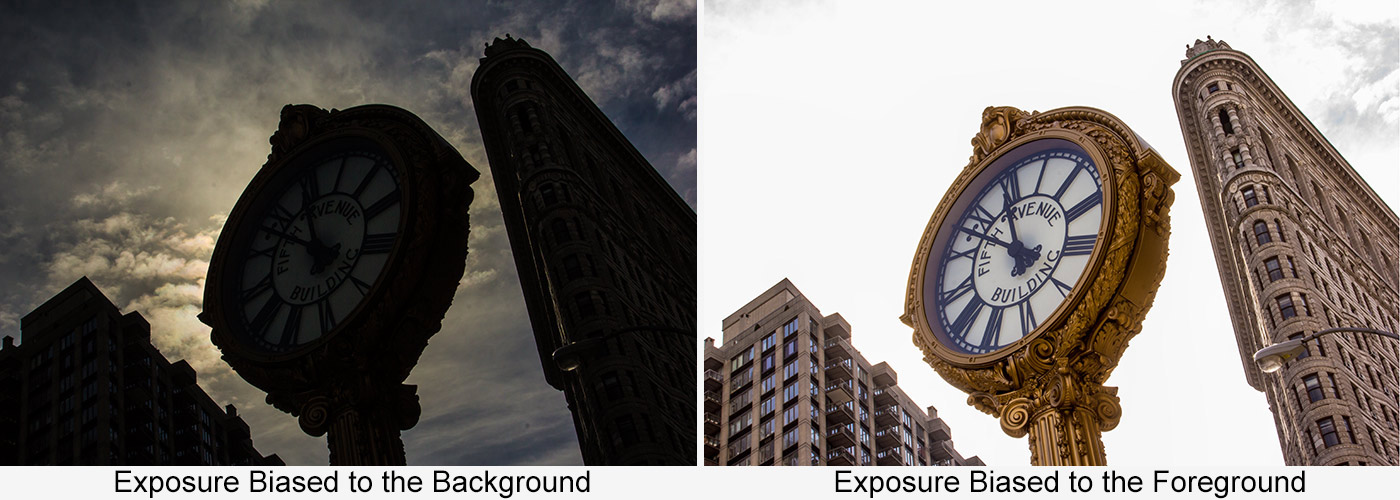
5: Back light
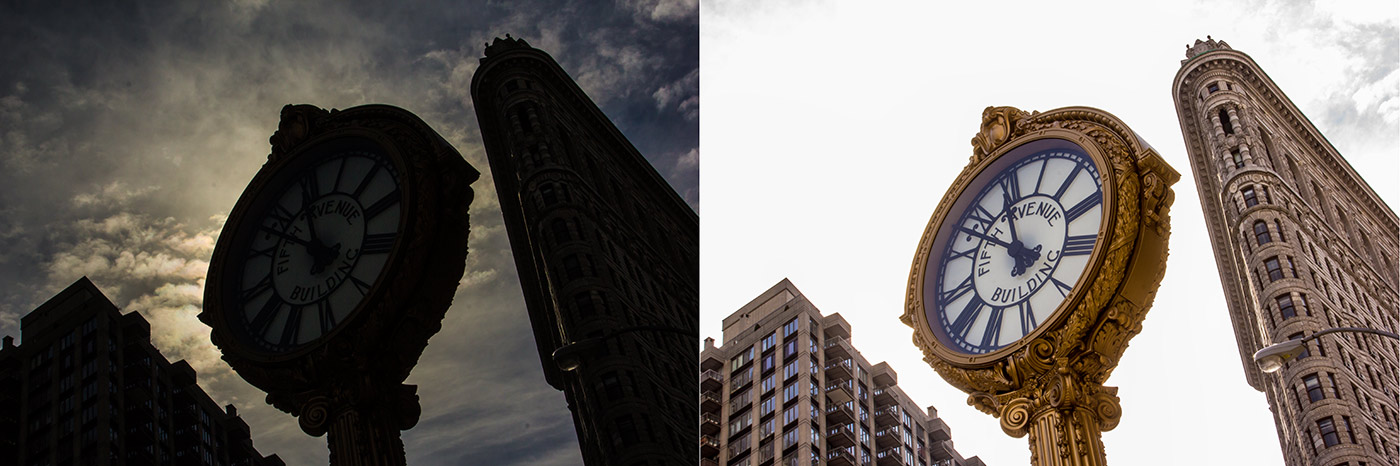
Meter-5This is where random things can happen. Picture the scene. You have a background that’s brighter than your subject, perhaps it’s a building against the sky. One of two things can happen if you let the meter do its own thing. Either you get detail in the sky and the buildings go black or you get detail in the buildings and the sky goes white. Murphy’s Law dictates whichever happens you wanted the opposite.
Solution 1: Dial in positive exposure compensation if you want more detail from the shadows
Solution 2: Dial in negative exposure compensation if you want more detail from the highlights

Wild Woodland Workshop Wrap-Up

UPDATE:
Scroll down to see the gallery from the September woodland workshop

It may have taken months of planning but last Sunday everything came together perfectly for the Wild Woodland Workshop. A group of 12 photographers descended on Driver Wood Paintball for a day of photography among the trees, paths and paint balls.

I was joined by Robert Pugh, who is a brilliant photographer, educator and Olympus ambassador, not to mention all round good guy. Having a second photo trainer on-board gave the day extra value in so many ways, not least that we could split into two groups so everyone got plenty of time to work with both models.

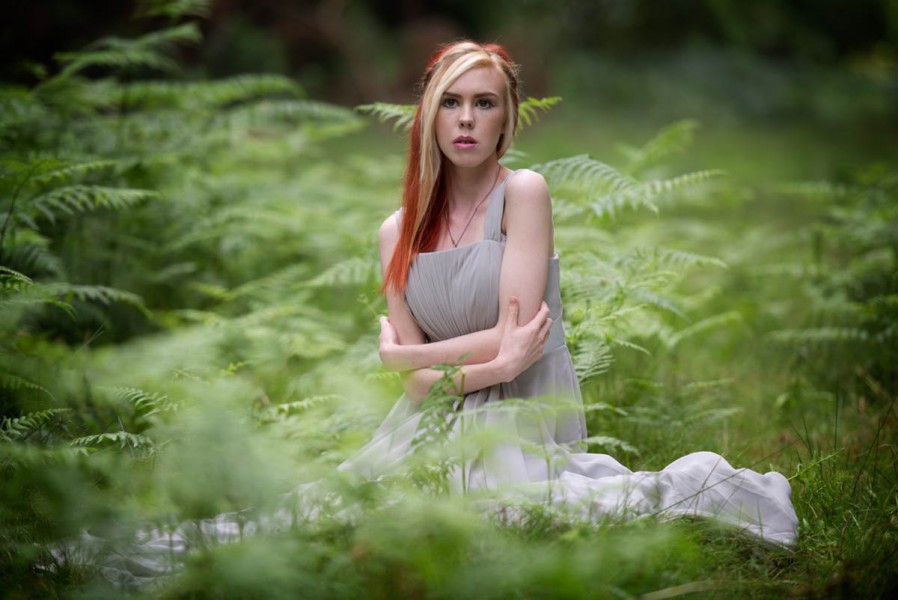
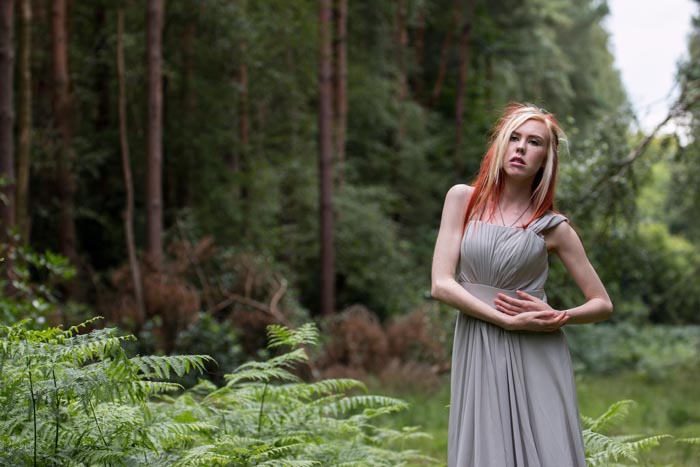
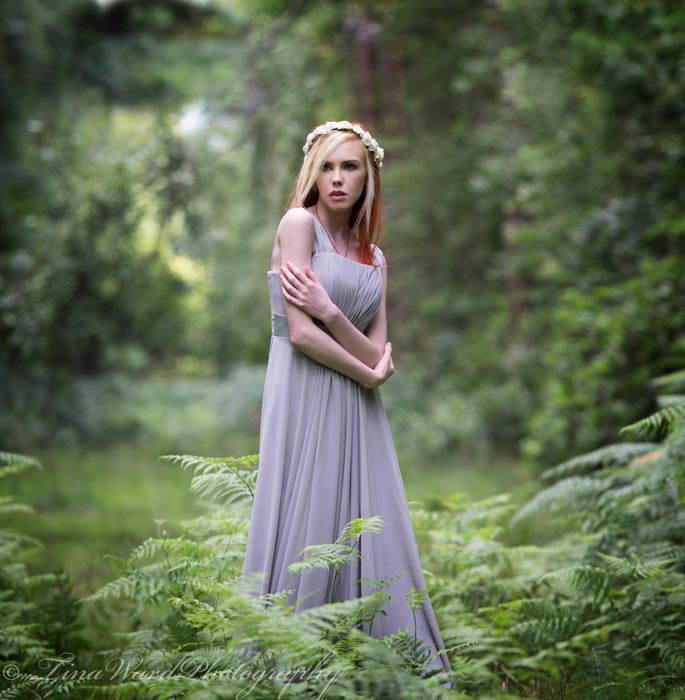
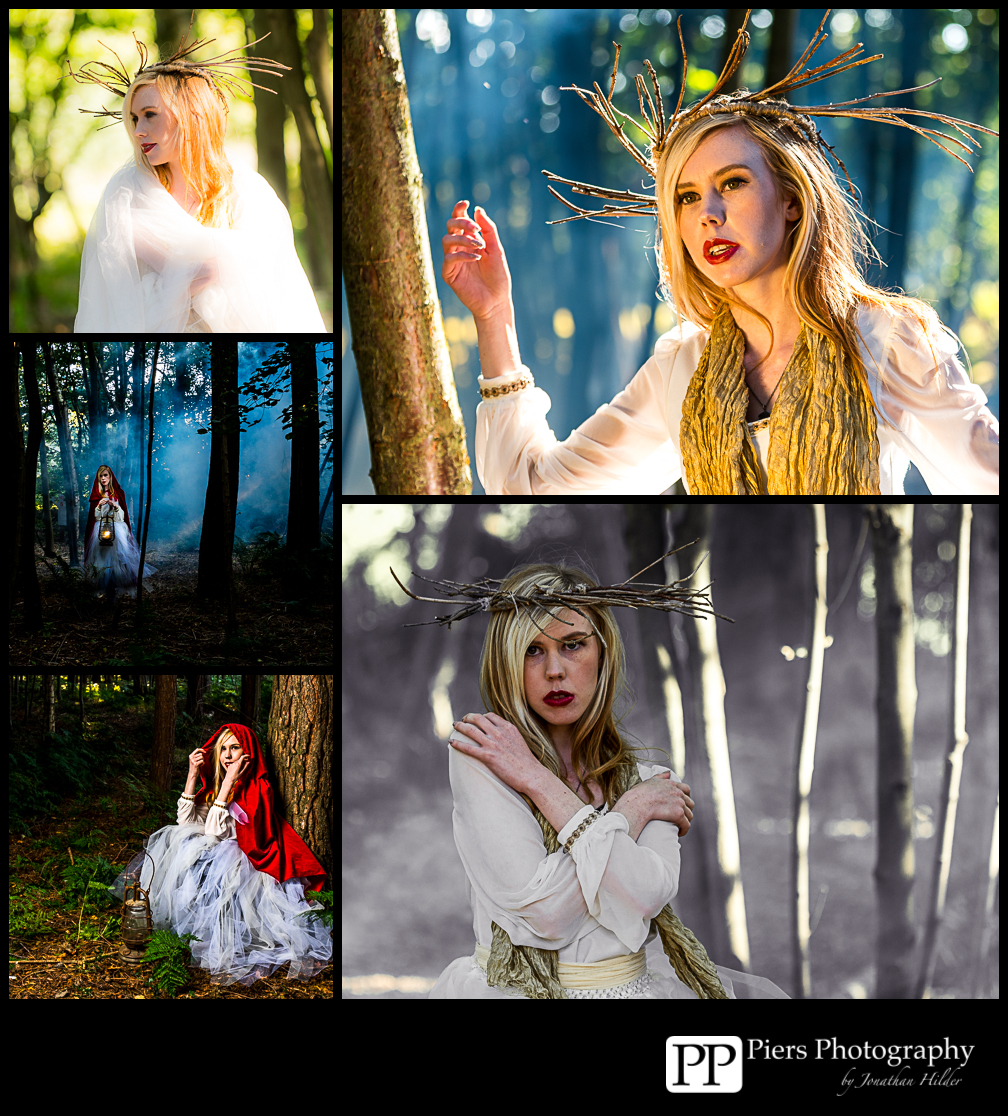
Rob’s morning was spent with model Fern Meaeve in a grassy clearing and some wonderful overcast light. It was the perfect light for a workshop with everyone being able to shoot with ambient light or with a splash of fill flash.IMG_2794

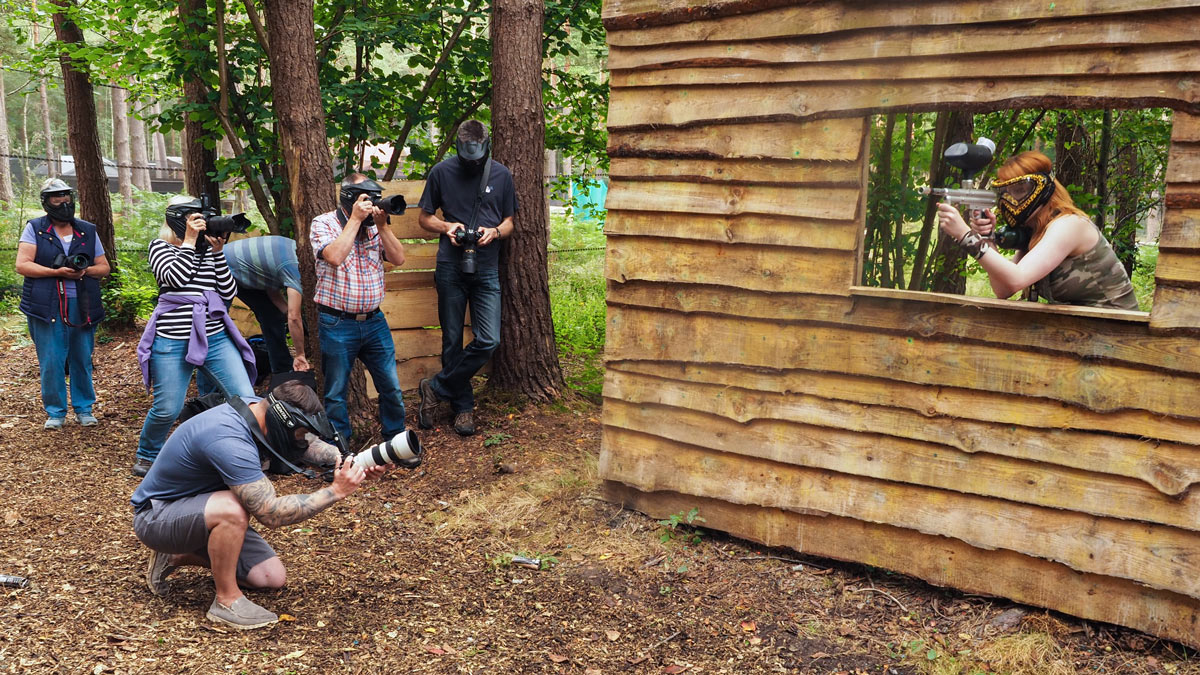
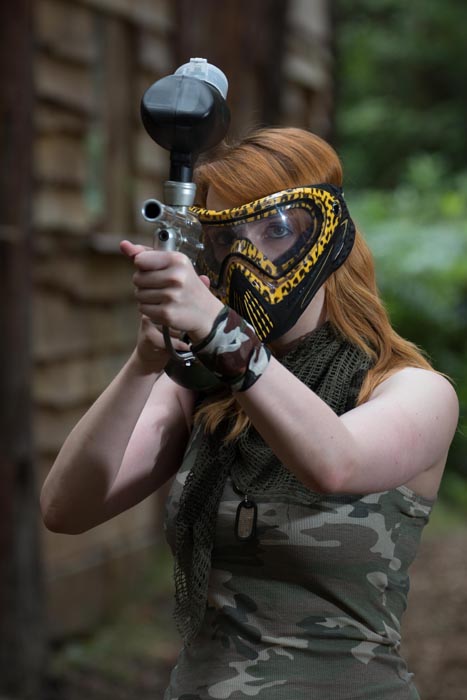
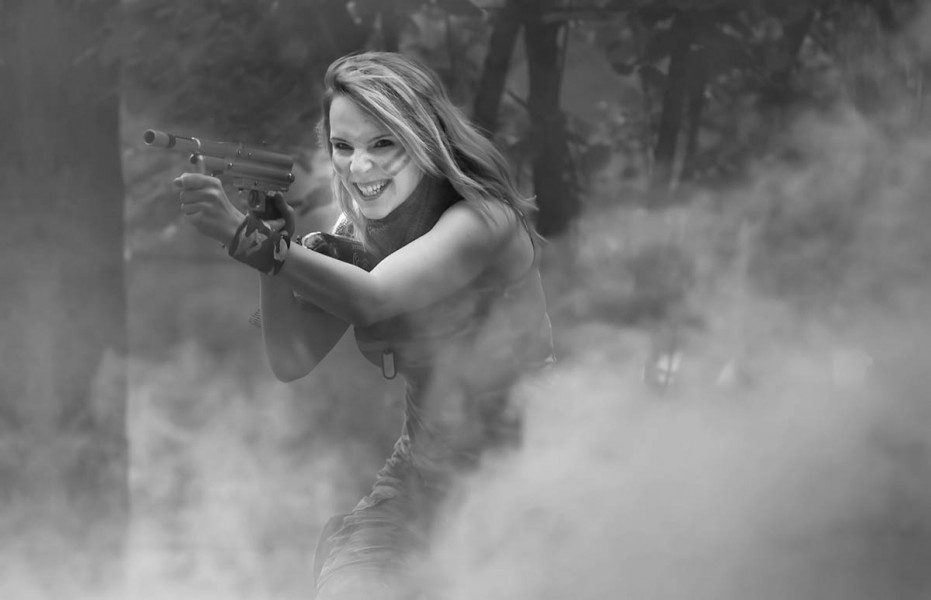
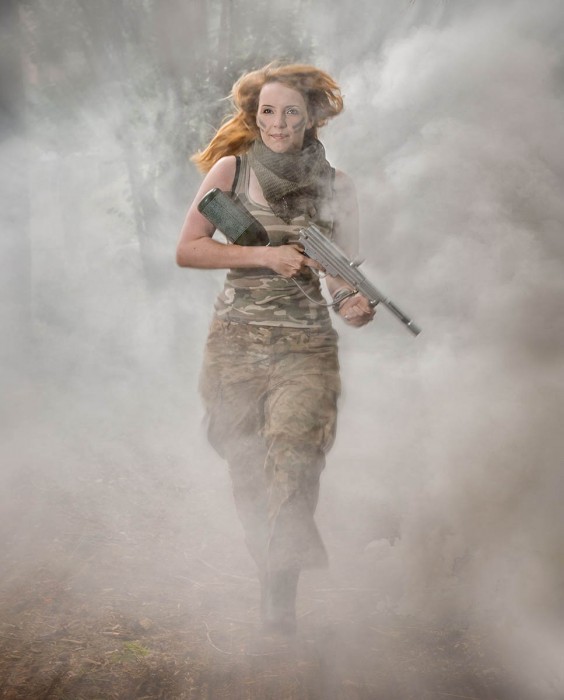
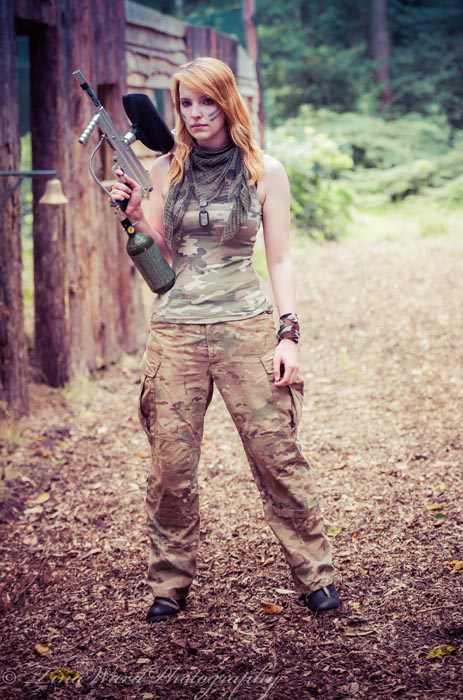
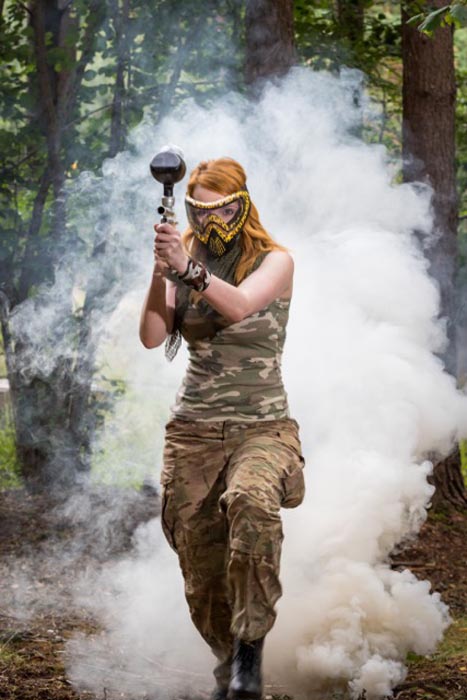
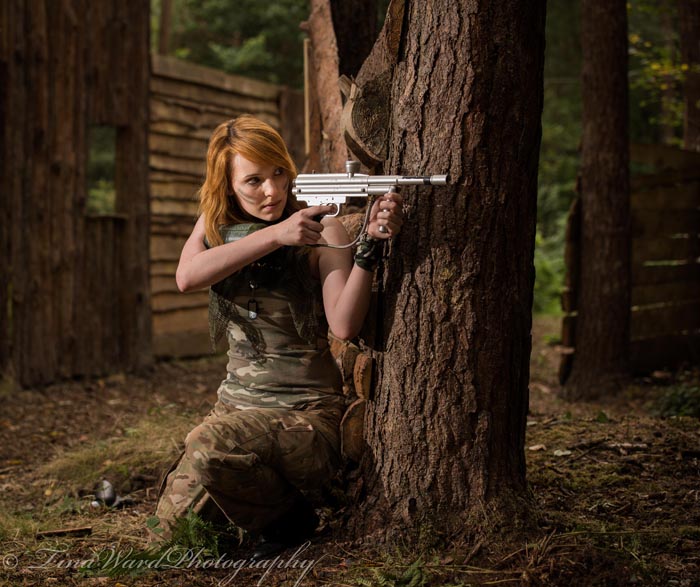
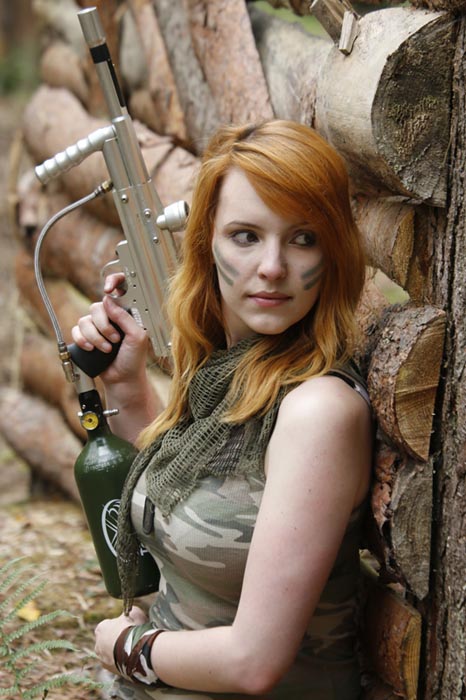
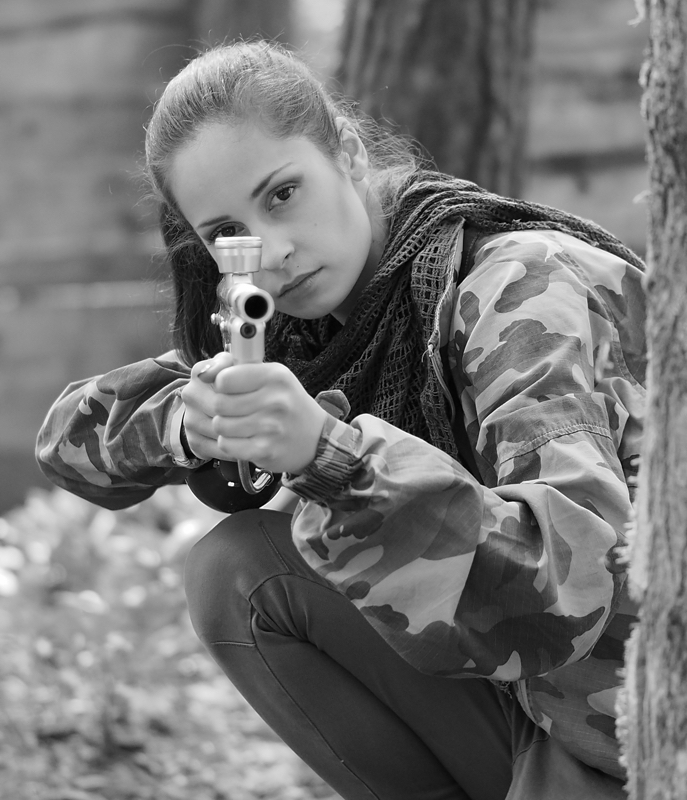
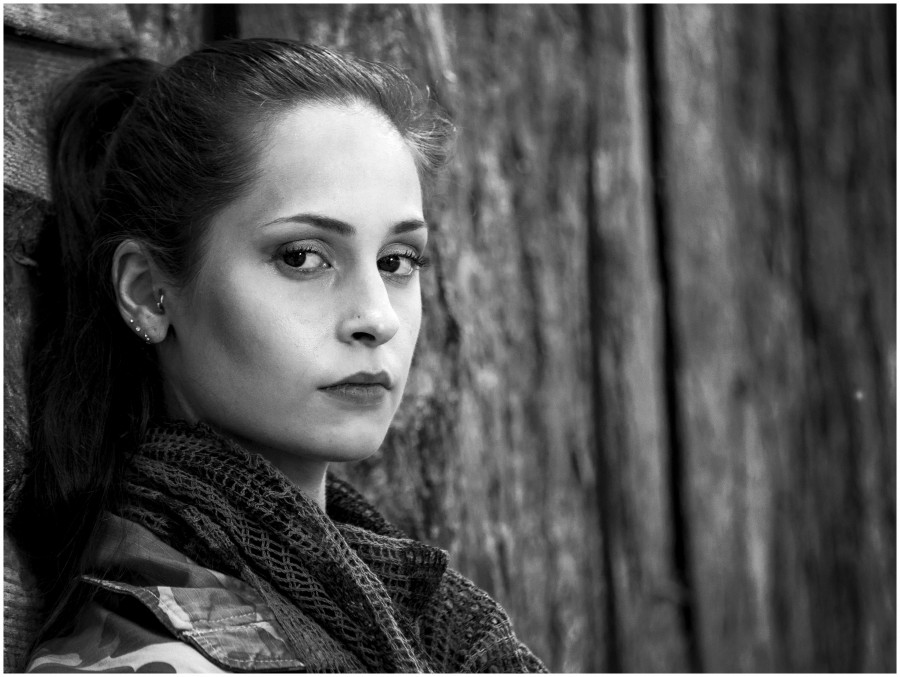
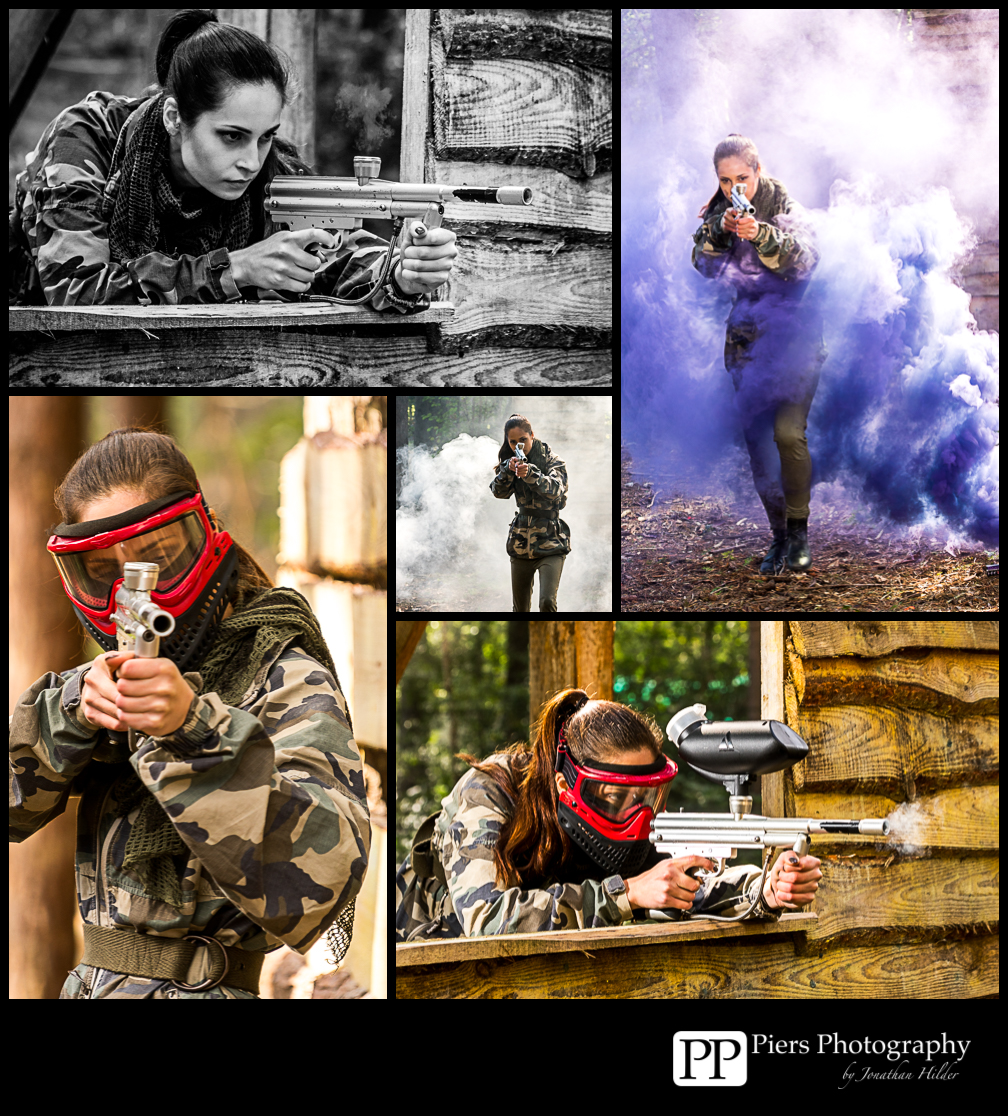
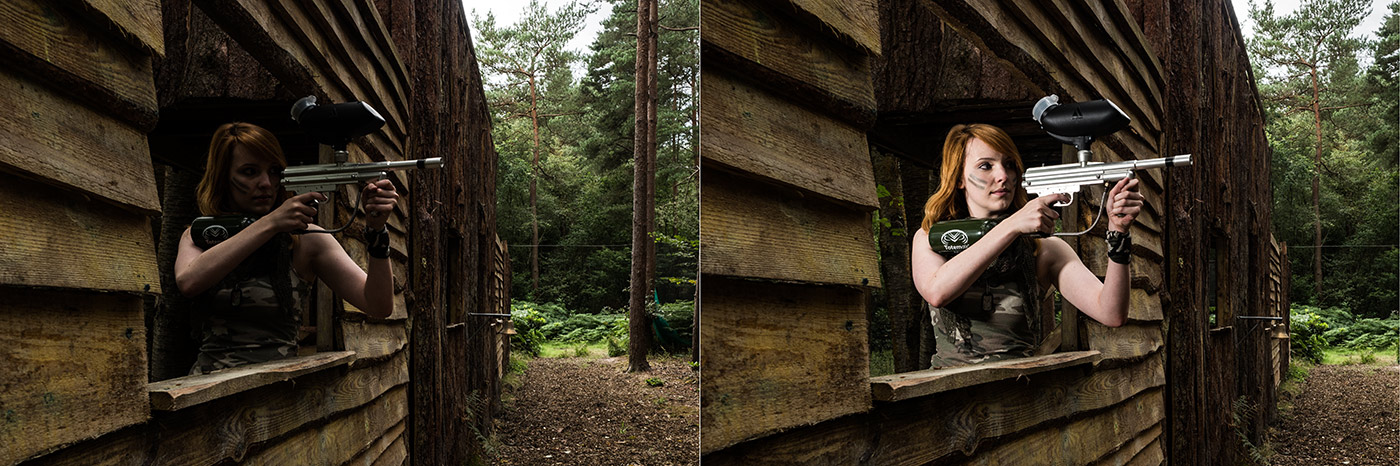
For me it was a little more rough and tough as I worked with model Kerry Allingham at the paintball parks wooden fort. Luckily for us, Kerry is an experienced paintball marshal and knew how to handle the guns. None the less, everyone wore protective eye wear during the live fire session.P8160112

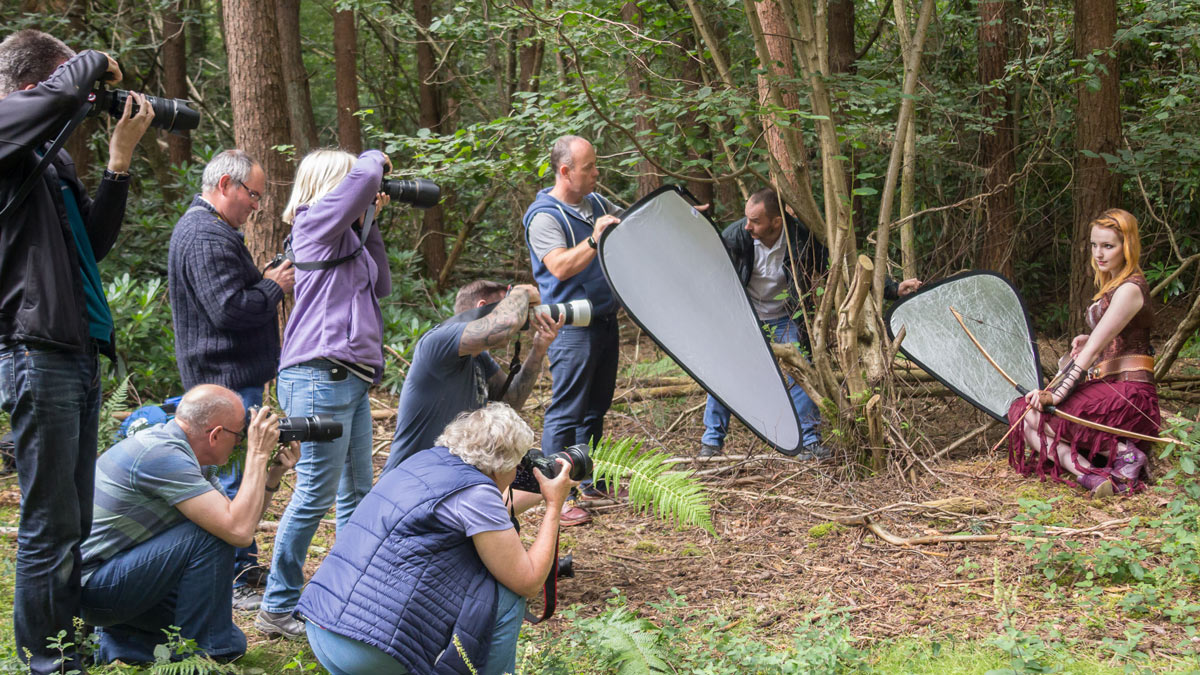
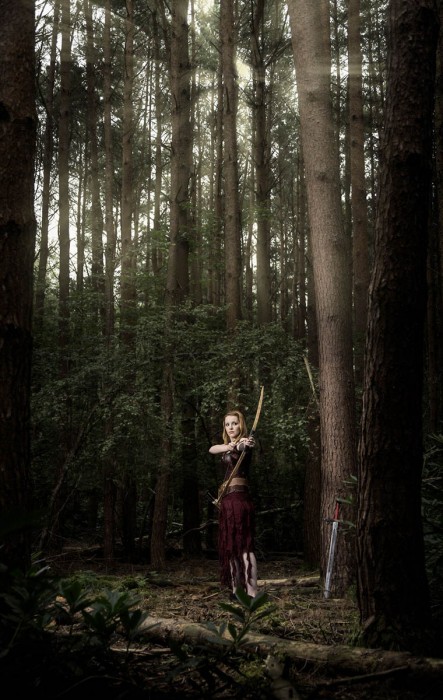
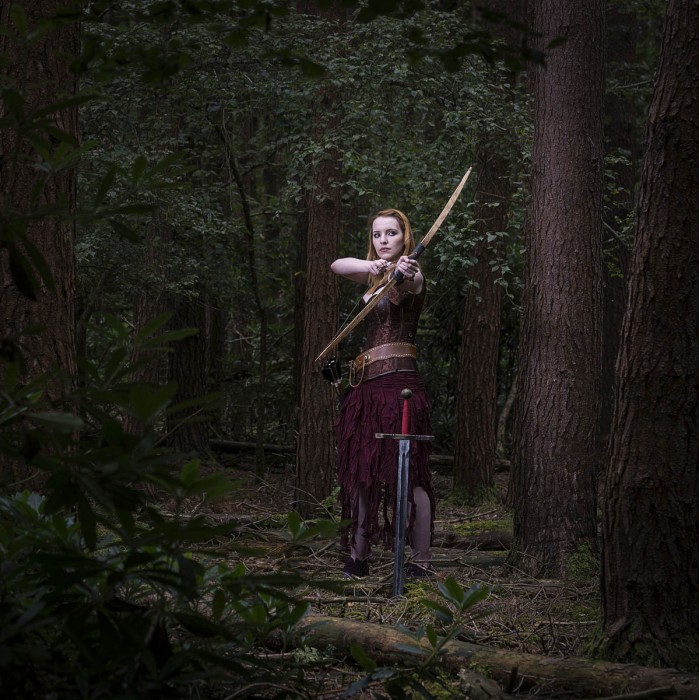
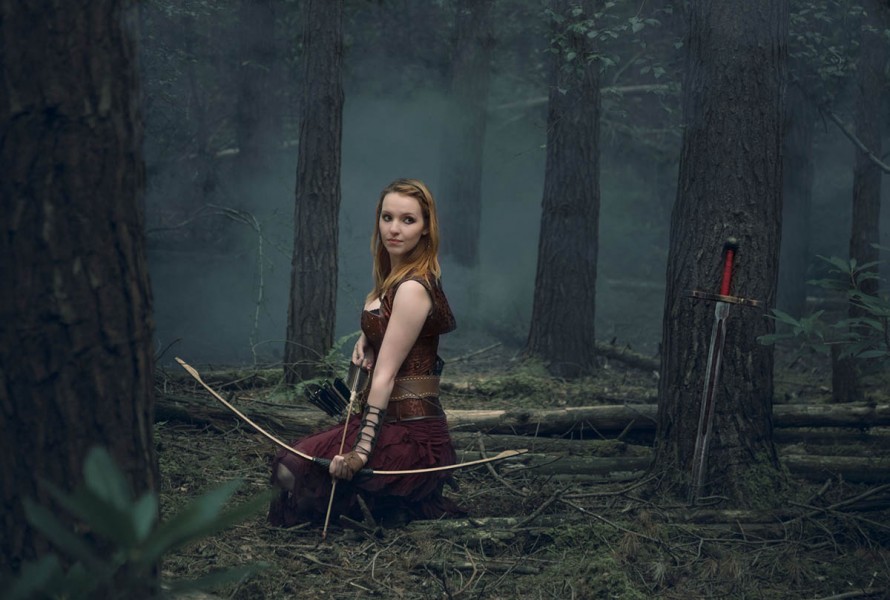
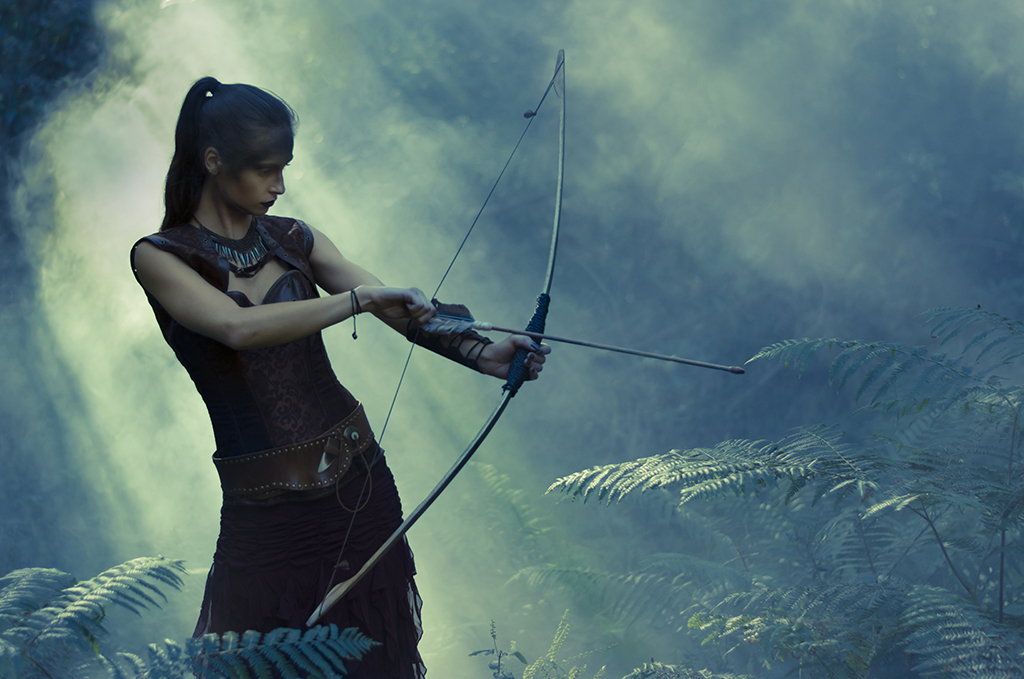
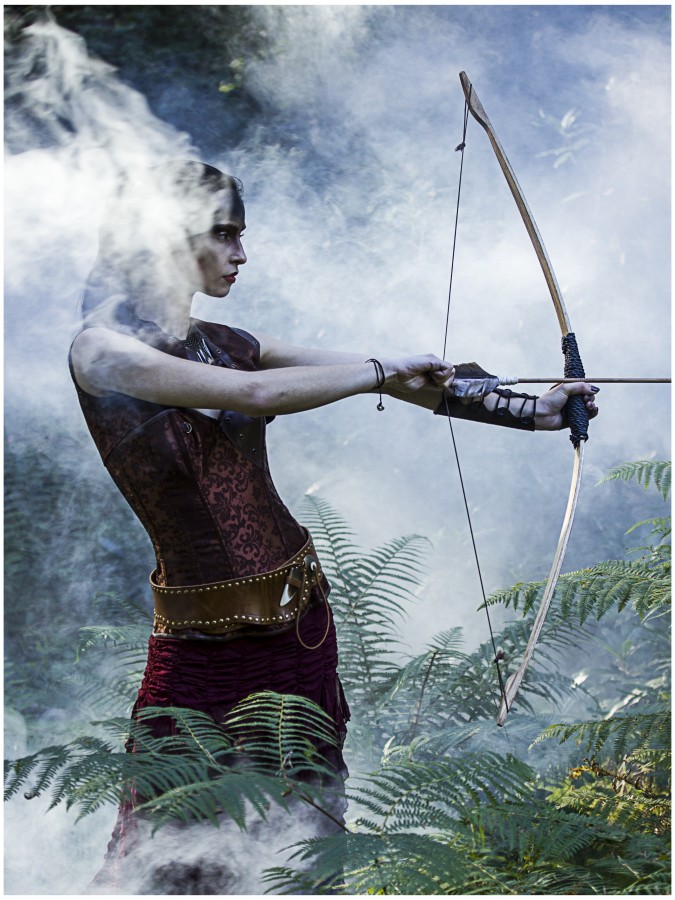
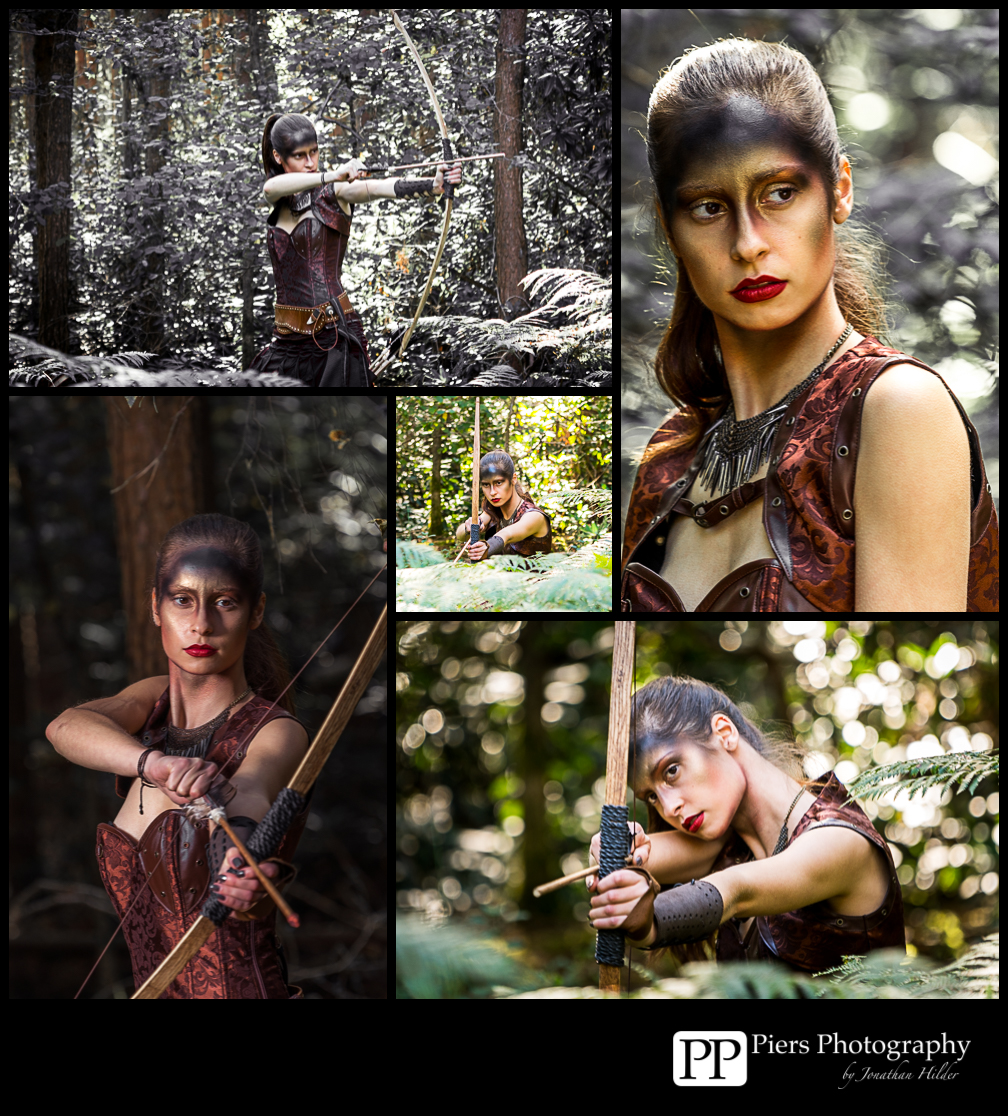
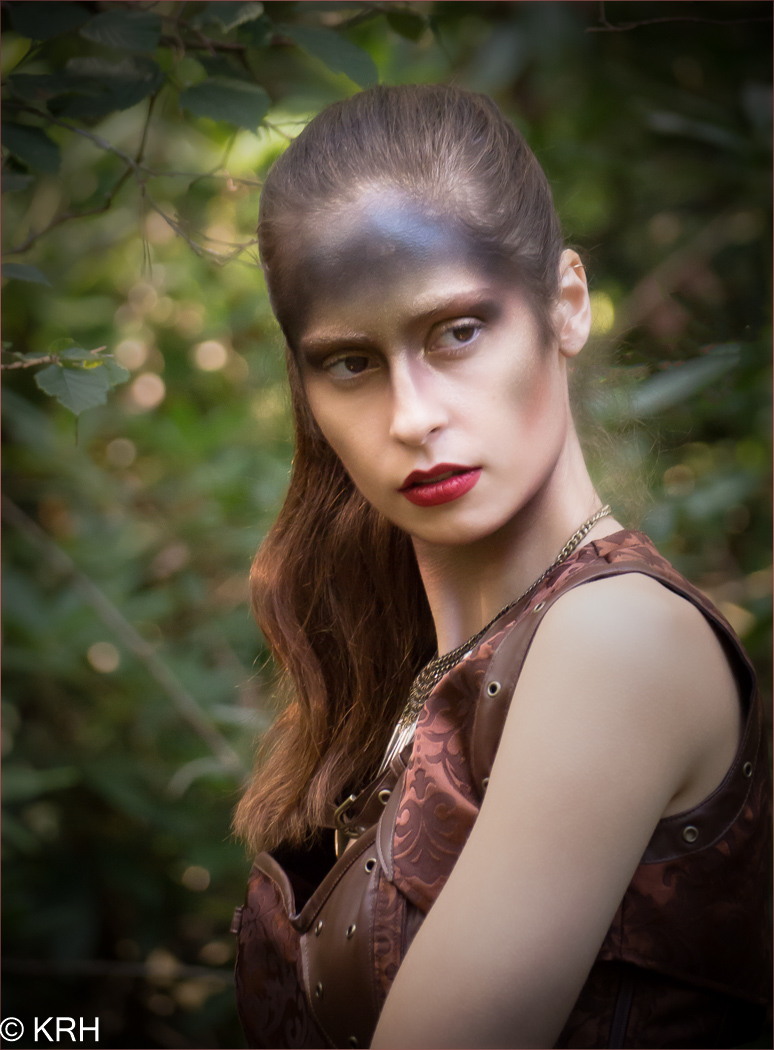
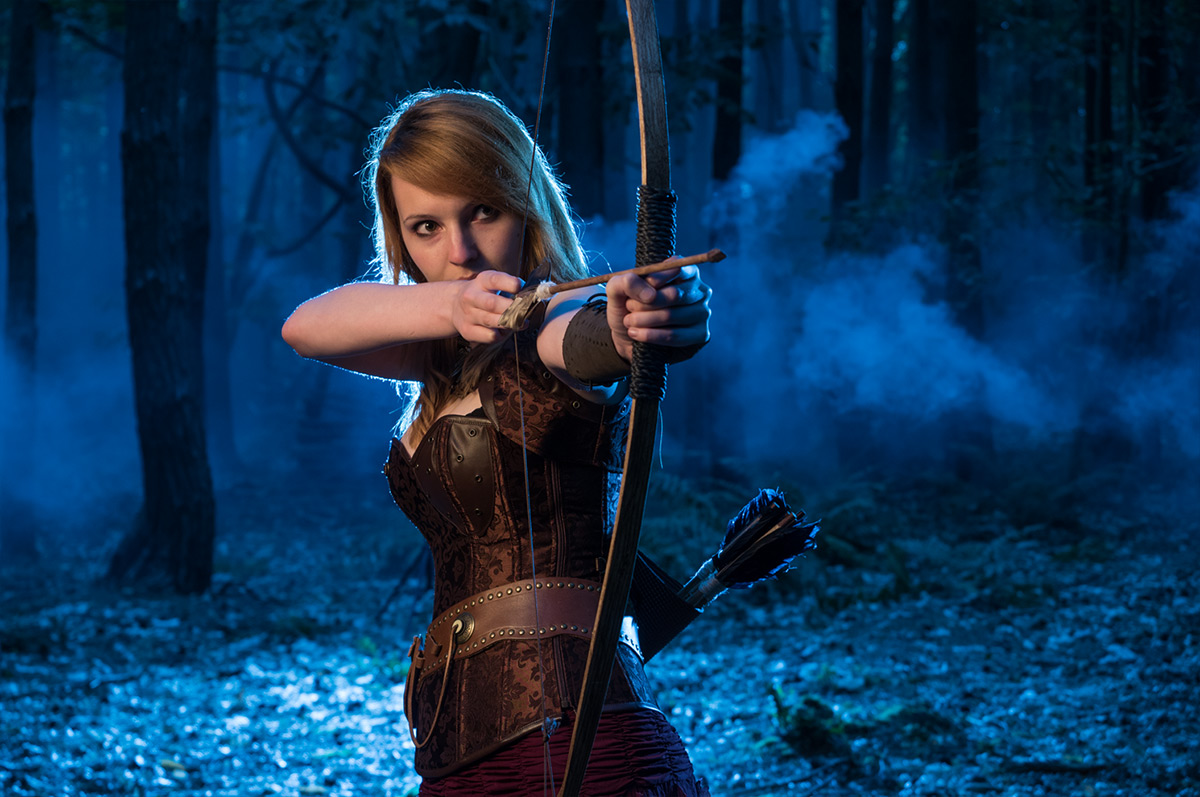
The afternoon saw a change of look. Kerry was transformed into an archer and disappeared deeper into the forest. Only the plumes of smoke from the colourful smoke grenades gave them away.IMG_2819

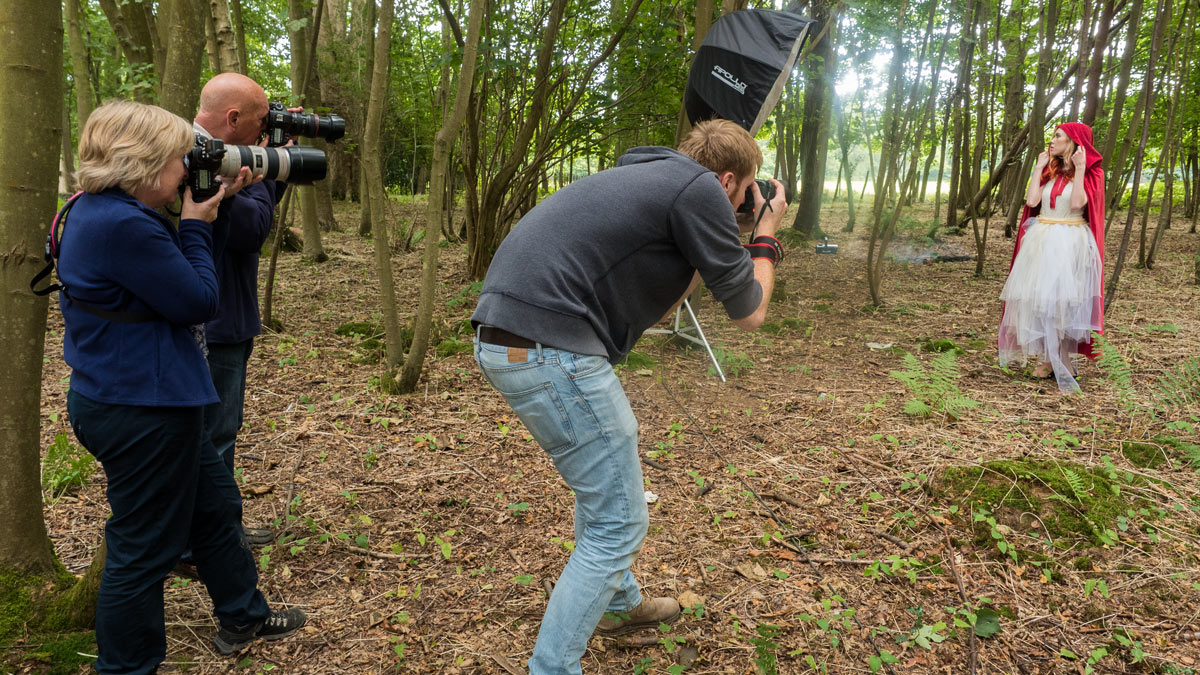
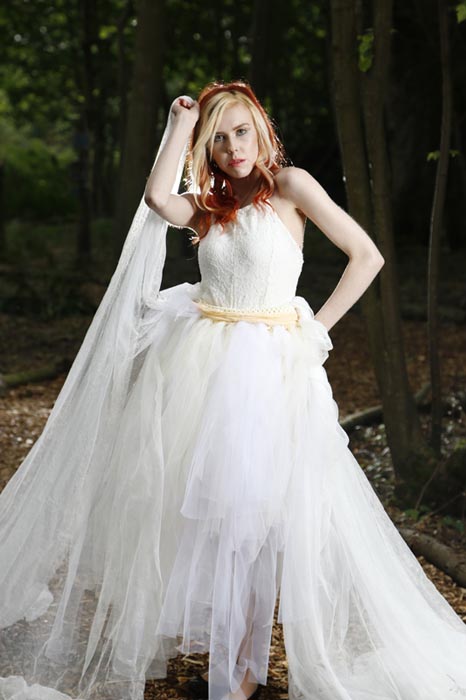
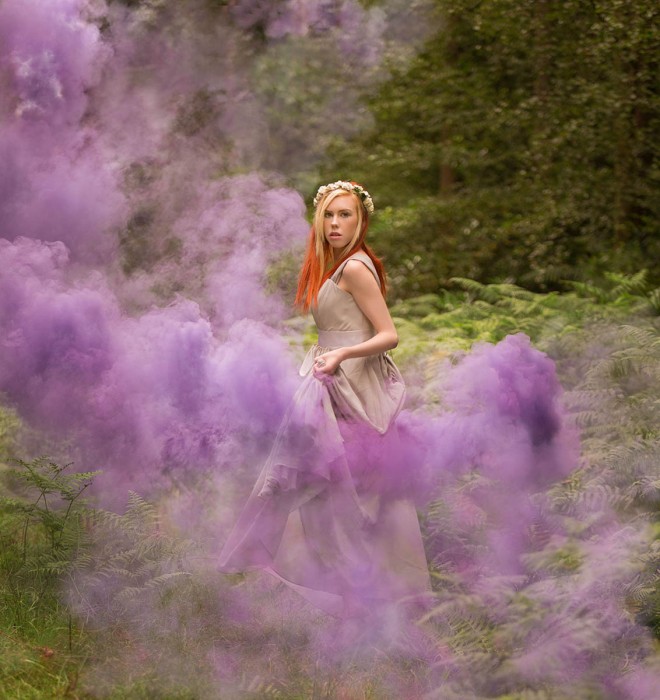
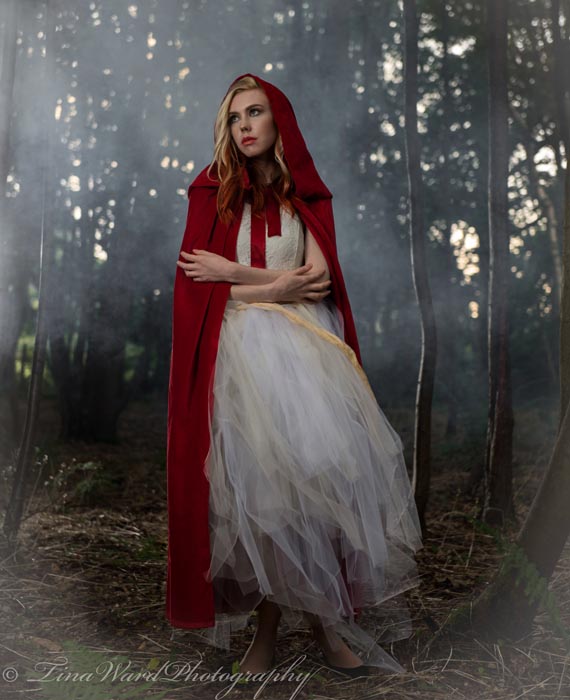
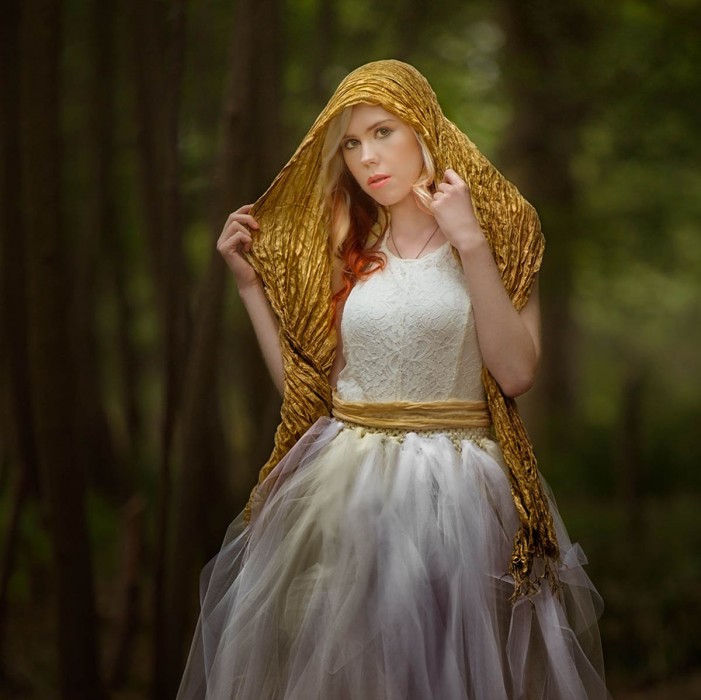
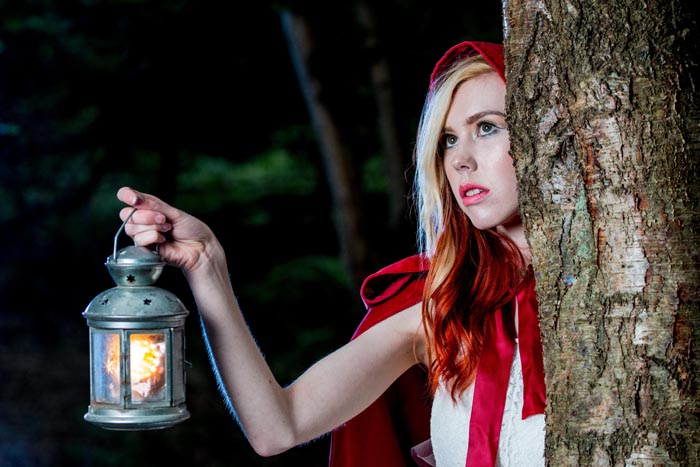
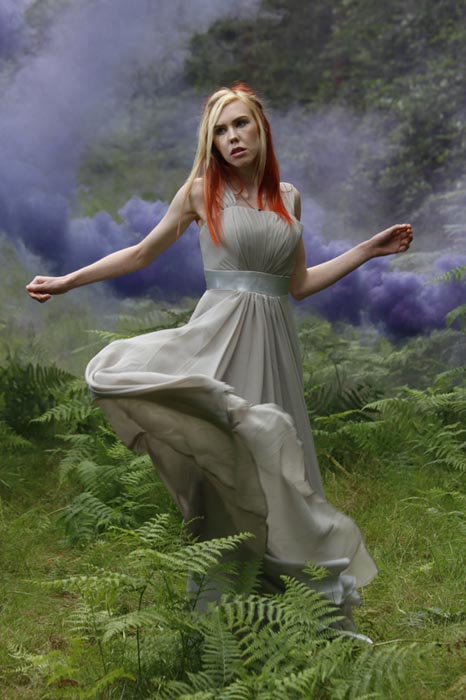
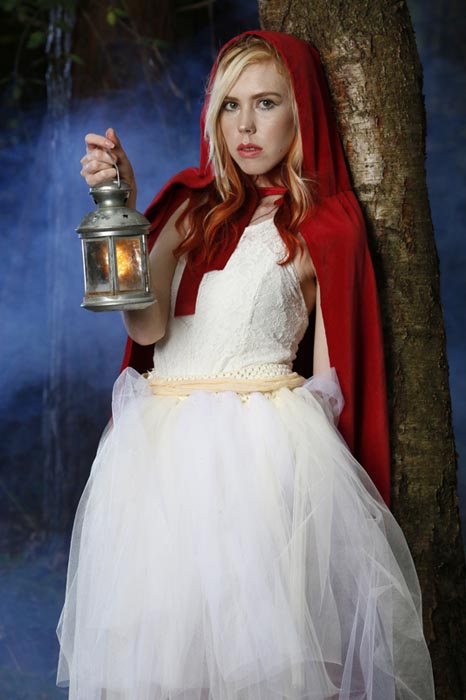
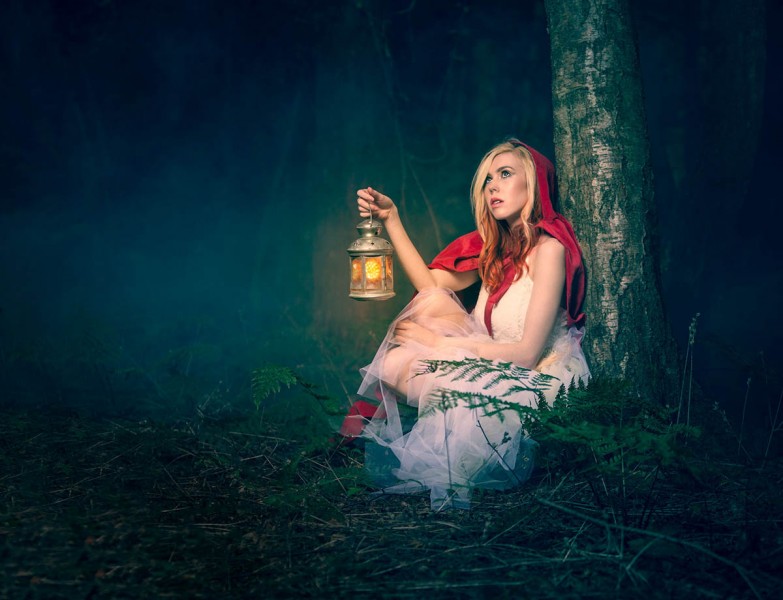
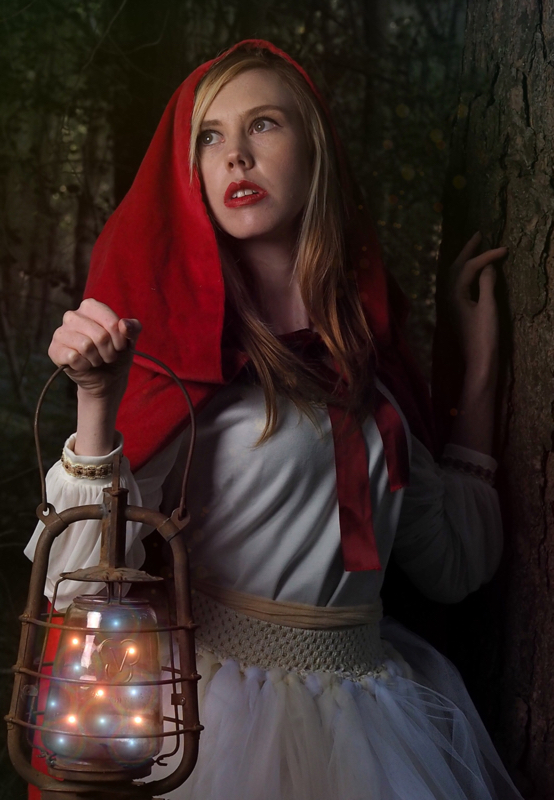
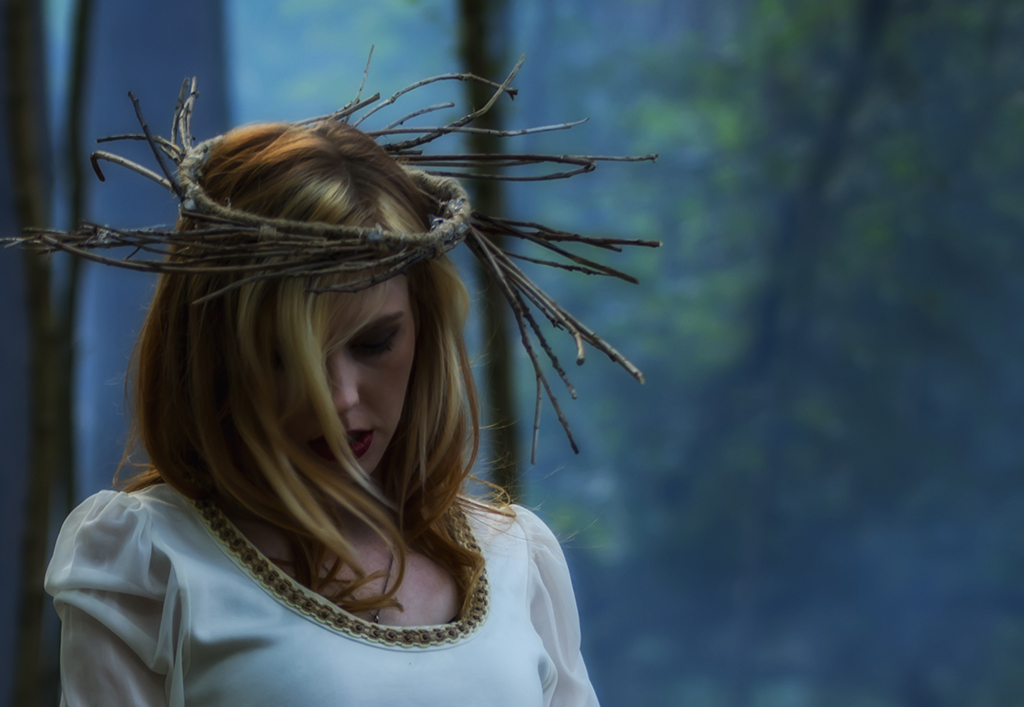
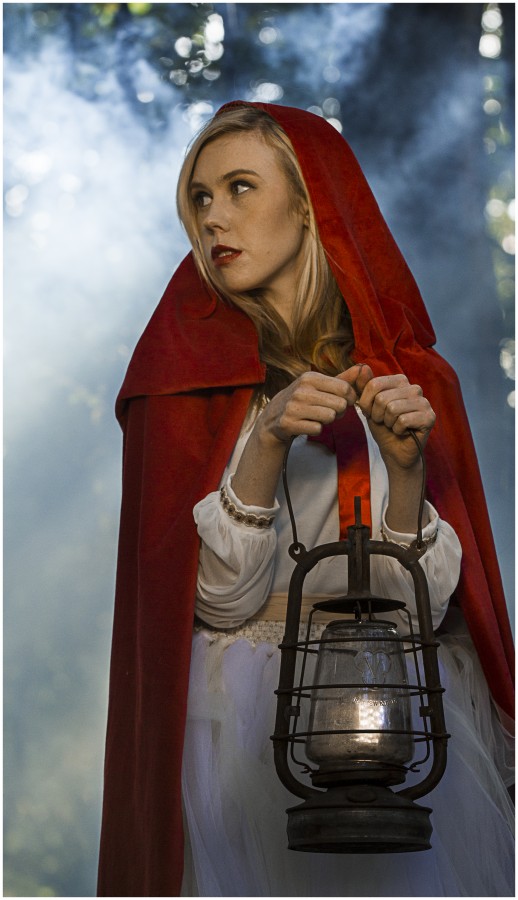
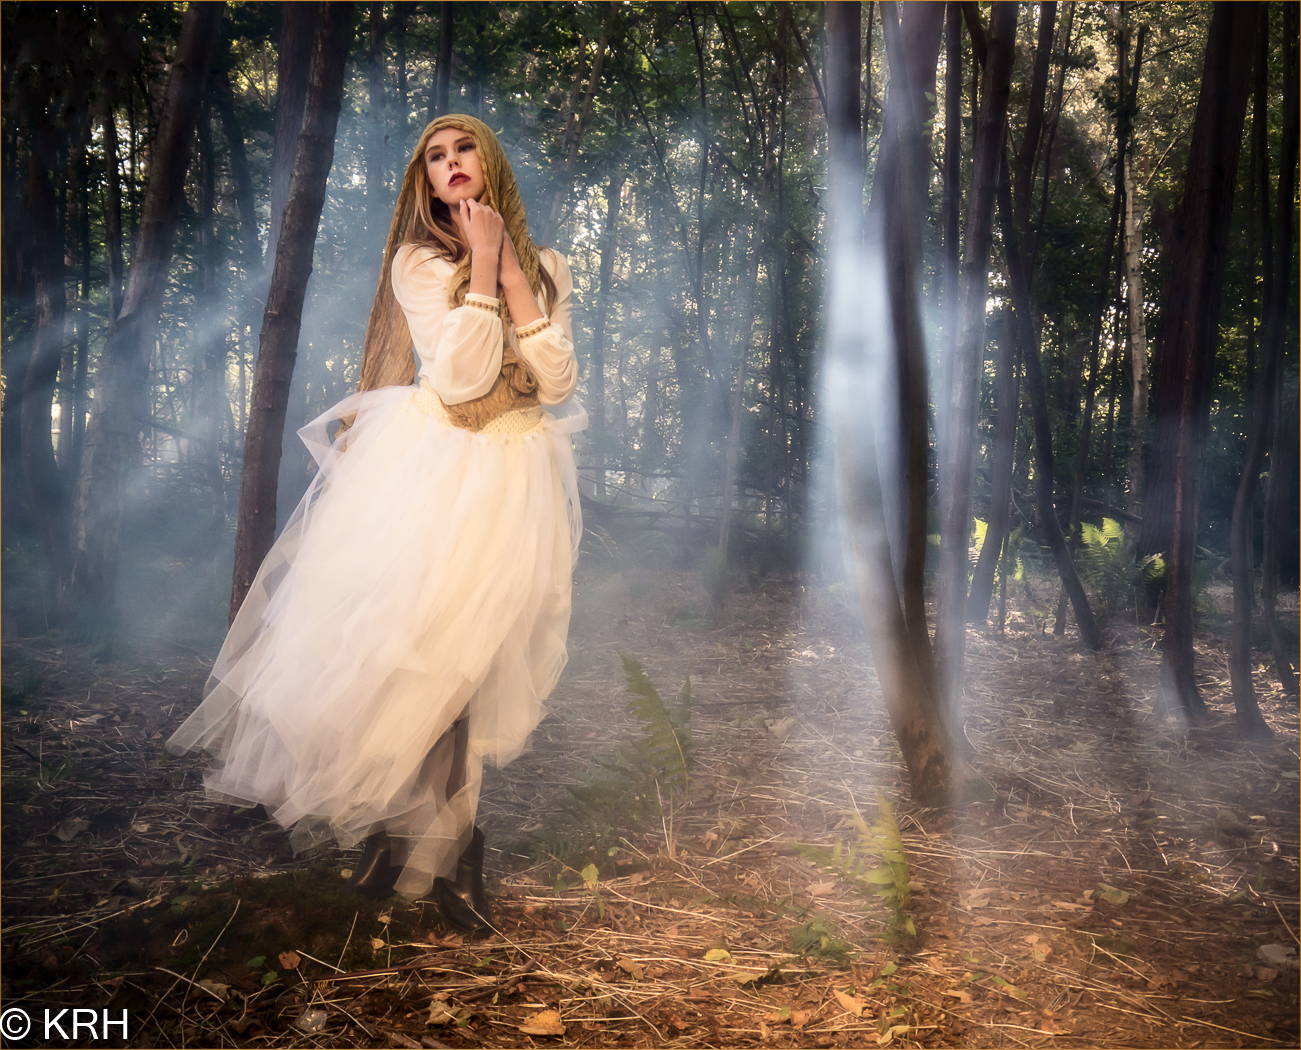
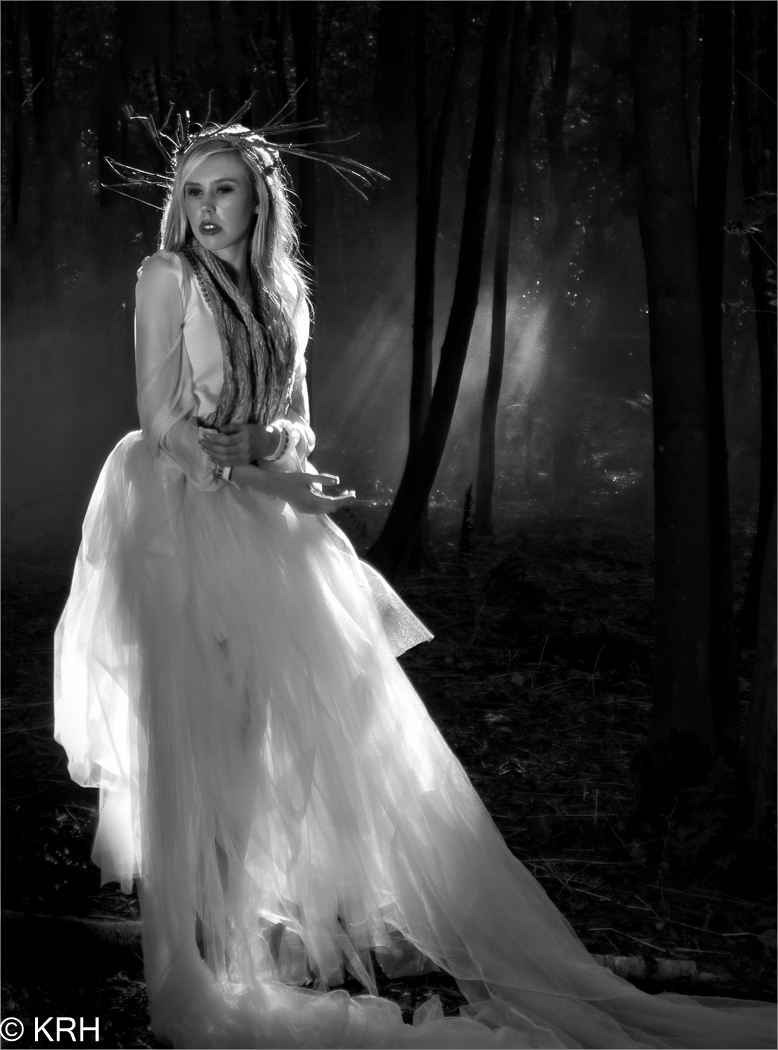
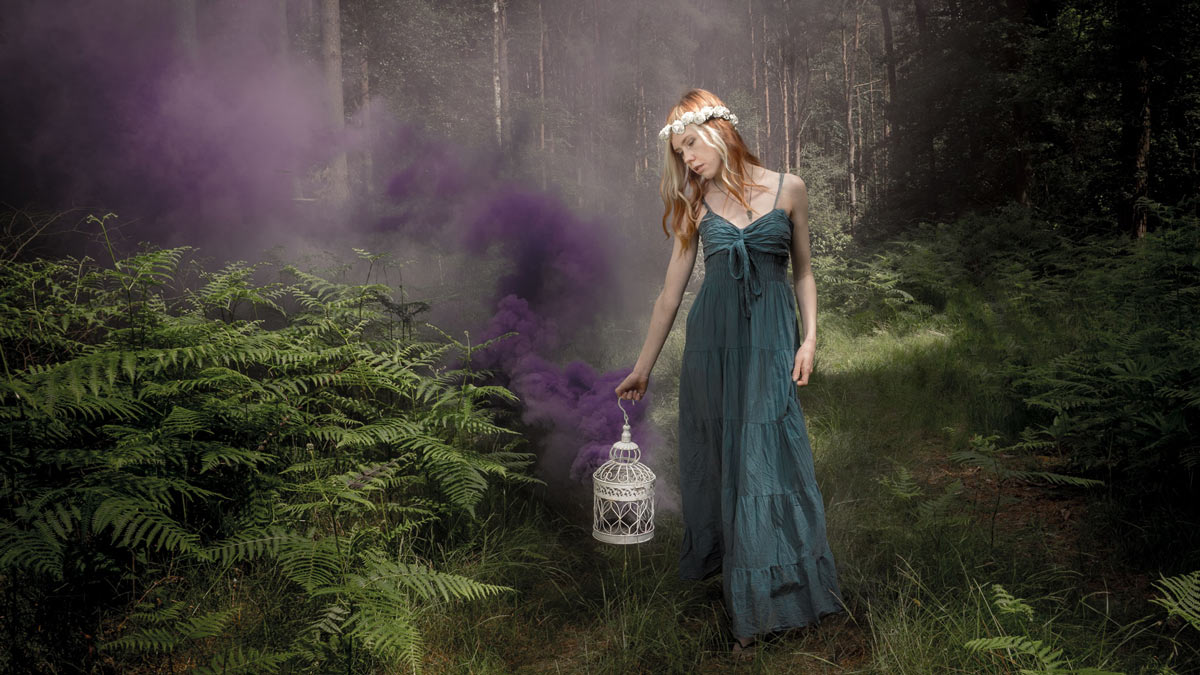
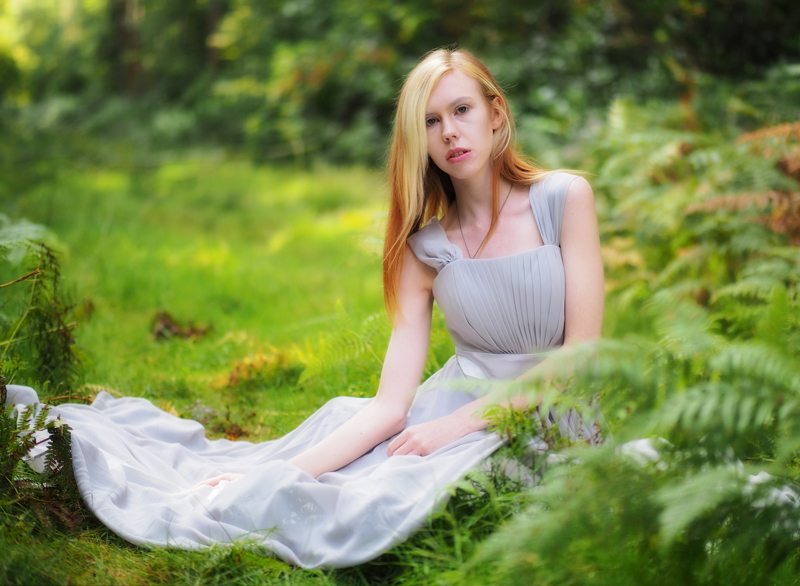
My afternoon was spent with Fern who had a lovely fairy-tale look. We stayed close to the paintball offices and thanks to a lovely long power cable, I was able to run an electric smoke machine to add a layer of mist to the scene.P8160173

There’s nothing more frustrating to me than seeing a workshop organiser shooting photos for themselves at the expense of the attendees. As a result I hardly have a single “good” photo from the day. Fortunately, the photographers who joined us took thousands of shots and below are a few that I’ve been sent so far.

Finally I’d like to thank the unsung heroes of the day. They include the staff at Driver Wood who allowed us use their facilities as a photo location. Anna Matos and here amazing box of make-up. My friends Steve and Stevie, who assisted brilliantly all day. Finally my biggest thanks goes to Sam, who pulled my crazy ideas together and created a workshop unlike any other!

UPDATE
Such was the demand, we ran the workshop for a second time in late September. Once again I was joined by Rob Pugh and Fern who worked just as hard as ever to make the day as brilliant as before. Joining us was model Charlotte Baker and make-up artist Alex Vleck.


Below are a selection of photos from the 12 photographers who came along and made the whole day another massive success.

Day to night in a flash

Shoots at night can yield some stunning photos but the lack of light has a bunch of problems that can easily trip you up… literately. However if you have a little bit of flash know how, it is possible to do a portrait shoot and make day turn to night in just a few steps. Here’s how I did it in four steps

Step 1 – Underexpose the ambient

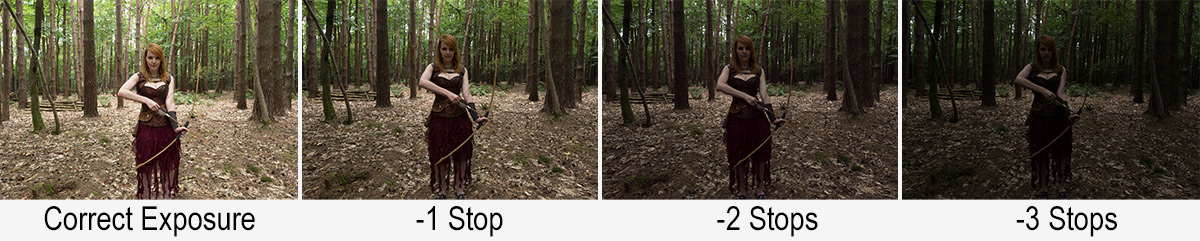
Unless you live in the Polar regions night time is usually associated with a lack of light, so the first thing I had needed to do was convince my camera to see less light. One way to do this is by using exposure compensation and dialing in a negative amount but because I was going to use flash to light the model I took a different route.

Day-Night-1

Flash and Manual mode go hand in glove, so switching to manual is the way to go. After setting the aperture to f/4 and the ISO to 200 the correct shutter speed turned out to be a feeble 1/10th second. By halving the shutter speed to 1/20th I underexposed the ambient light by 1 stop. 1/40th second gave me another stop and finally 1/80th second underexposed by three stops and gave a shot that was dark but not black.

Step 2 – Set the flash

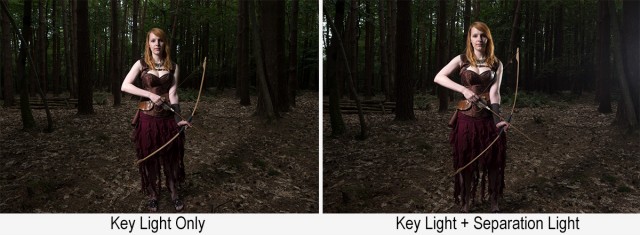
1/80th second gave a nice dark background but also underexposed the model, that’s where flash comes in. With the key light in place all I had to do was set my flash meter to match my camera (1/80th sec, 200 ISO) and adjust the flash power until I hit f/4 on the meter.

Day-Night-2

So now I’ve got the flash power to match my camera setting and giving a perfect exposure on the model, however the same camera settings are under exposing the background keeping it dark.

Once the key light was in I added a second light to separate the unlit side of the model from the dark background.

Step 3 – Moon light

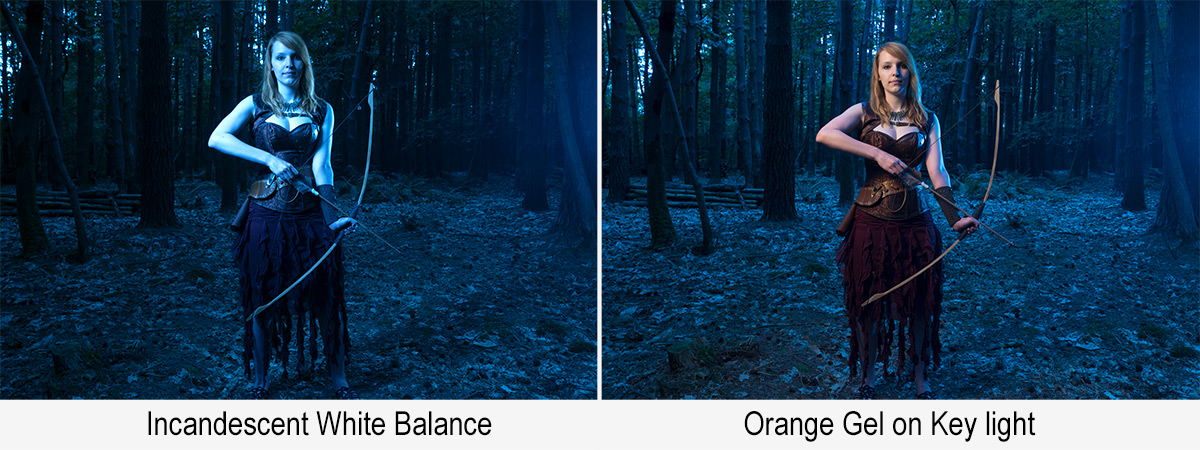
Thanks to Hollywood we assume that the moon always comes out at night and it produces blue light. Of course neither is true but let the dream live I say. Turning the warm afternoon light blue is as simple as setting the wrong white balance. Switching to Tungsten or Incandescent white balance will do the job in camera or it can be changed in Lightroom / Photoshop Camera RAW.

Day-Night-3

The blue looks great on the background but a bit odd on the model, so to warm her up I added an orange gel to the main flash. There are gels marked as CTO (Colour Temperature Orange) which should perfectly balance out the white balance but I don’t have one.  Luckily Lightroom / Photoshop Camera RAW can easily fine tune the colours, especially if you do the same as me and shoot a gray card in the same light.

Step 4 – Moody Mist

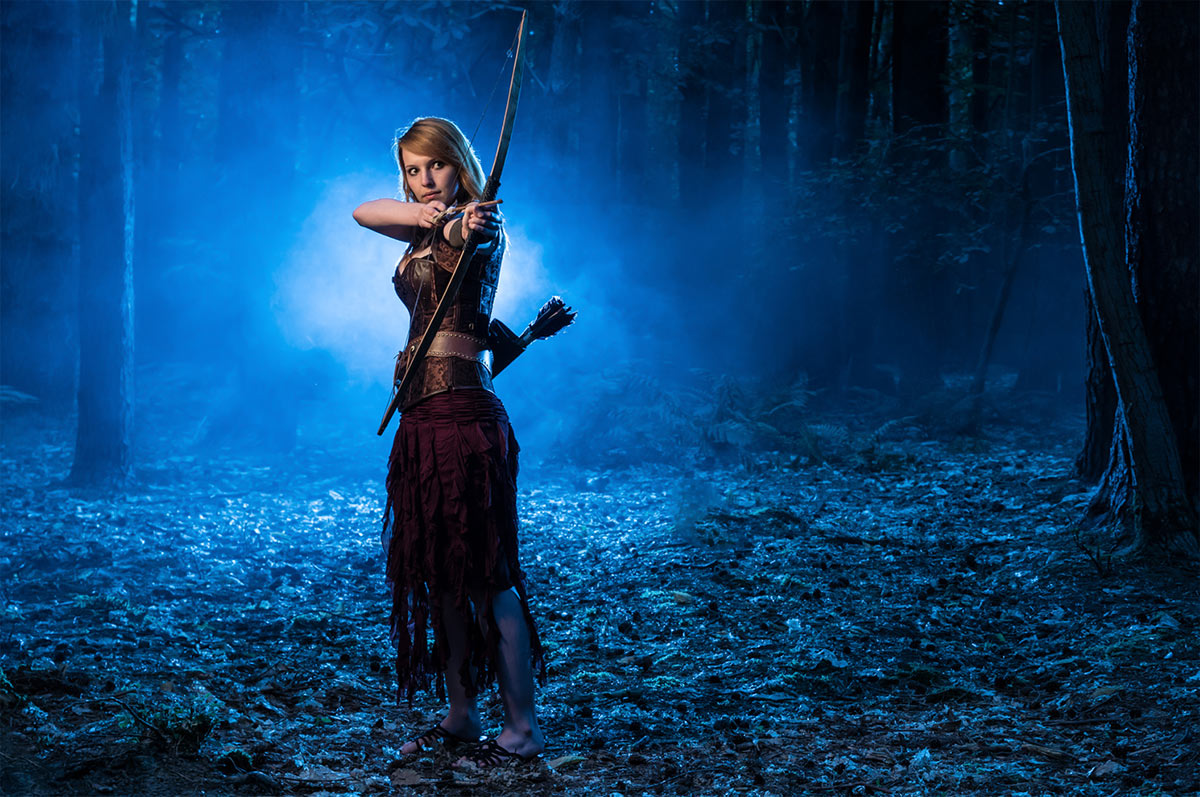
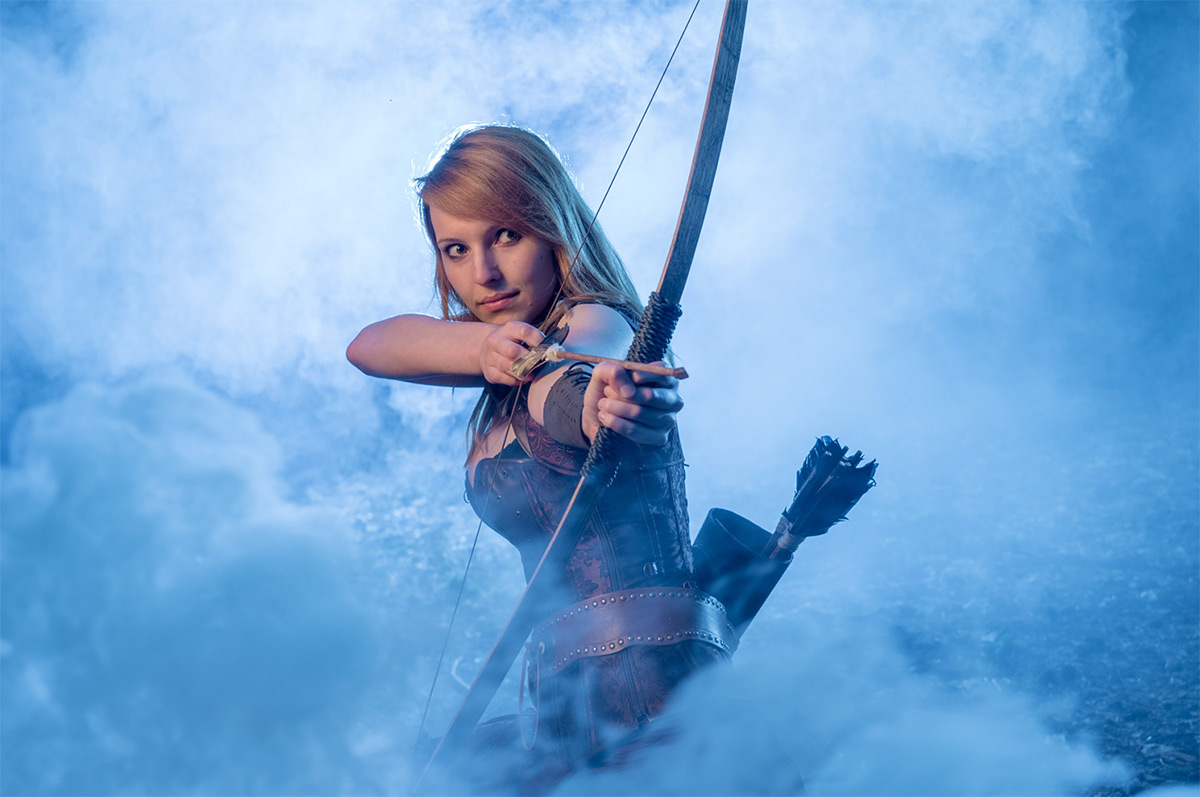
This is the fun bit. Again I’ve got the movies to thank for this but adding a little bit of mist seems to sell us the whole night feeling. It also helps to cover up anything distracting in the background and by adding a third light right behind the model (and the smoke) adds a splash of light to an otherwise dark scene.

There are many ways to make smoke. Being a long way from a power supply I opted for smoke grenades. You’ll find them at your local paintball / airsoft park and whilst they’re not cheap, they do offer a safe and reliable source of smoke. I used two Enola Gaye smoke grenades which gave around 90 seconds of smoke each. Yes after all that setting up the whole shoot was over and done in under three minutes!

So there you have it, day to night is perfectly possible and whilst the results are very different from really shooting after dark, they look pretty darn good to me.

[youtube]https://www.youtube.com/watch?v=aGsQxXUEvc4[/youtube]

Smoke on location

It’s amazing how adding a little bit of smoke can completely alter the look of a portrait shoot and a few months back I made a little video showing how I use a smoke machine in my studio.

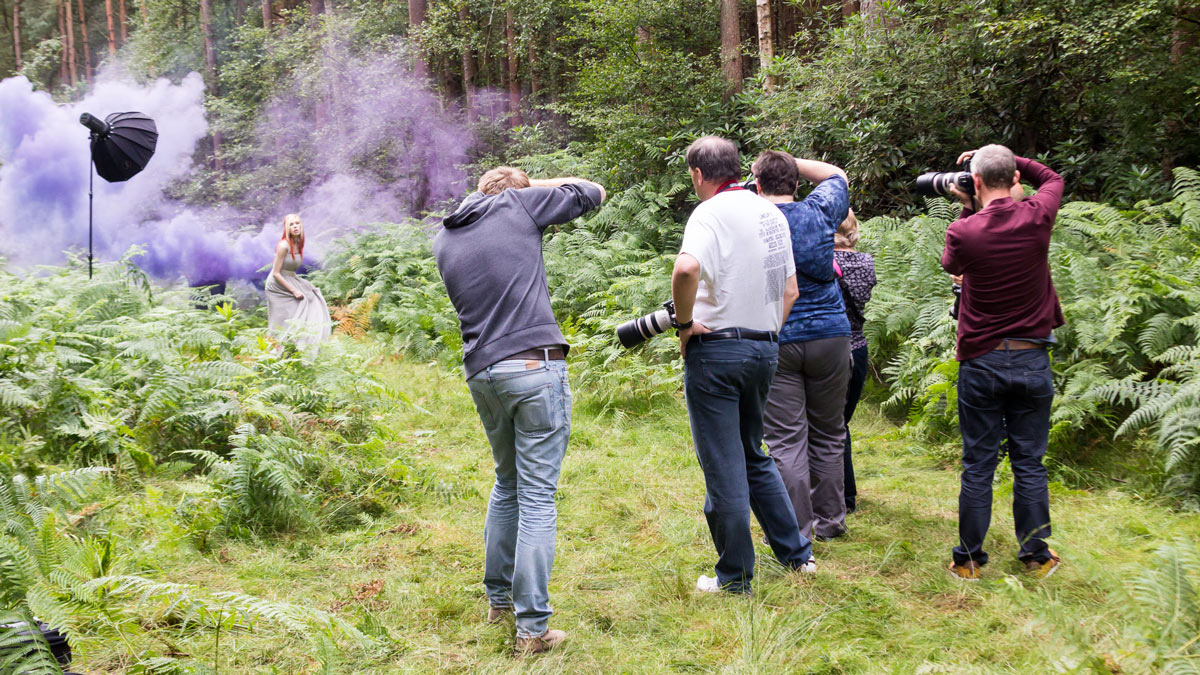
But with the long summer days and warm weather I love to get out of my home photo studio and into the great outdoors. Of course shooting portraits in the woods makes using an electric smoke machine a real challenge but I found an alternative that’s even better.

Smoke-Granade-Portrait

The smoke in the photo above comes from a small smoke bomb. Also called smoke grenades, it’s basically a firework without the explosion. I used smoke bombs from Enola Gaye which is a UK company that sells their non-toxic smoke granades around the world. You can get them online but if you head along to your nearest paint ball or airsoft park you should be able to pick them up fairly inexpensively and in smaller quantities.

[youtube]https://www.youtube.com/watch?v=f064pZ41Fz4[/youtube]

If you’re going to use smoke bombs in your photography, do so responsibly. I cover most of the important stuff in the video above but read the instructions on the smoke bombs before use. If nothing else follow the final bit of advice written on the side of every Enola Gaye smoke bomb… Don’t be a dick with this product.

How Focal Length Affects Your Background

There are many reasons for choosing one lens over another and which one you shoot with can have a massive impact on the final photo. Like many photographers I love the flexibility of zoom lenses and often have to make the choice of shooting with a wide angle and short telephoto lens. At first glance the choice of lens is pretty obvious… if I want to go close I shoot with a telephoto focal length and if I want to see more I zoom out with a wide angle focal length.

Look around on the internet or ask your photography peers and you’ll find that the general consensus is that wide angle lenses increase perspective distortion and telephoto lenses compress background. It’s common knowledge but sadly, it’s also not true… although I completely understand why so many photographer think it is.

[youtube]https://www.youtube.com/watch?v=GbESqYkodmQ[/youtube]

In the video above I explain and show how changing focal length alone doesn’t affect compression or distortion but moving your feet does

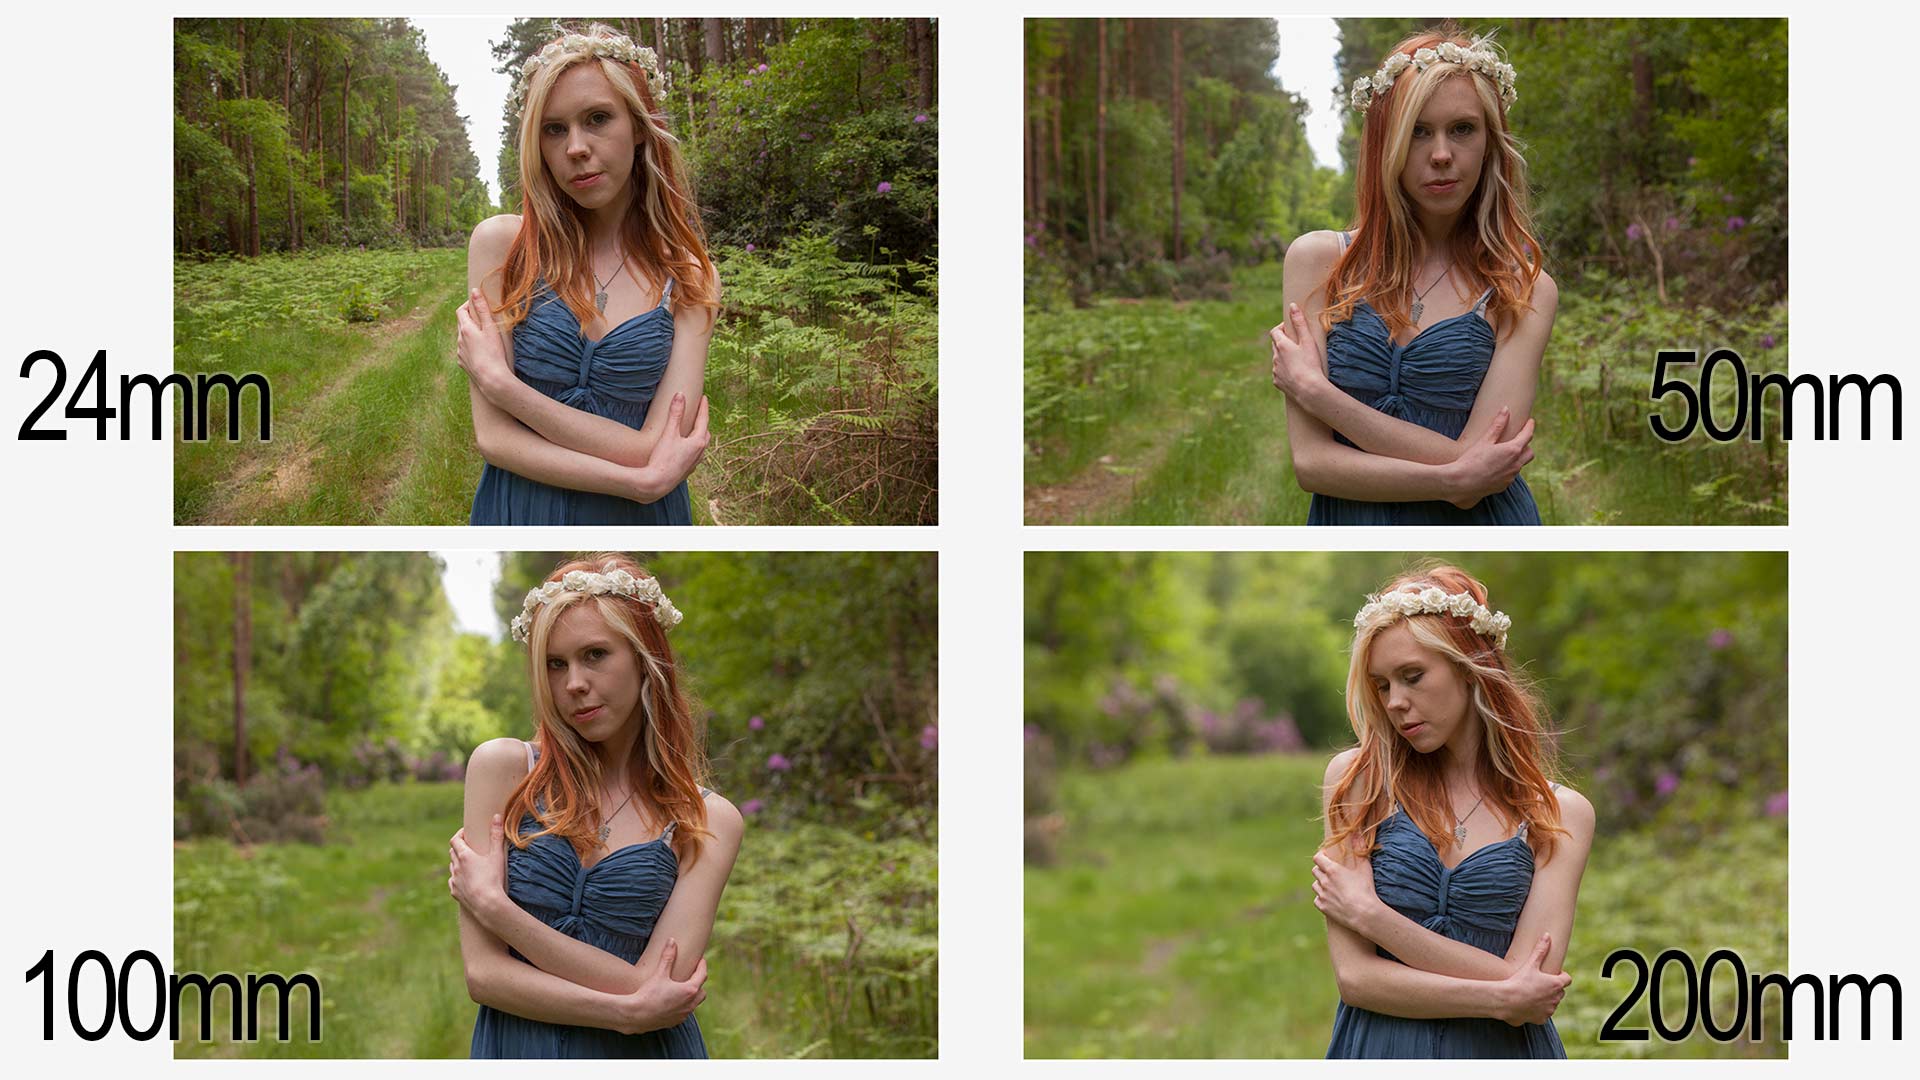
Google focal length compression and you’ll see photos like the one below and as you can clearly see the more I zoom in the more the background appears to grow in relation to the model. We call it background compression and it’s a really handy trick to learn.
Compression-ALL

But in order to keep my model (The amazing model Fern Meave ) the same size I had to increase my shooting distance as I zoomed in and it’s that increase in distance that causes the background to compress. Let me say that again…
Increasing your focal length does NOT compress your shot, increasing your distance from the subject does. Unless you want your subject to be small, once backed up you have to zoom in to maintain the composition and that’s why so many photographers will tell you telephone lenses compress your shot.

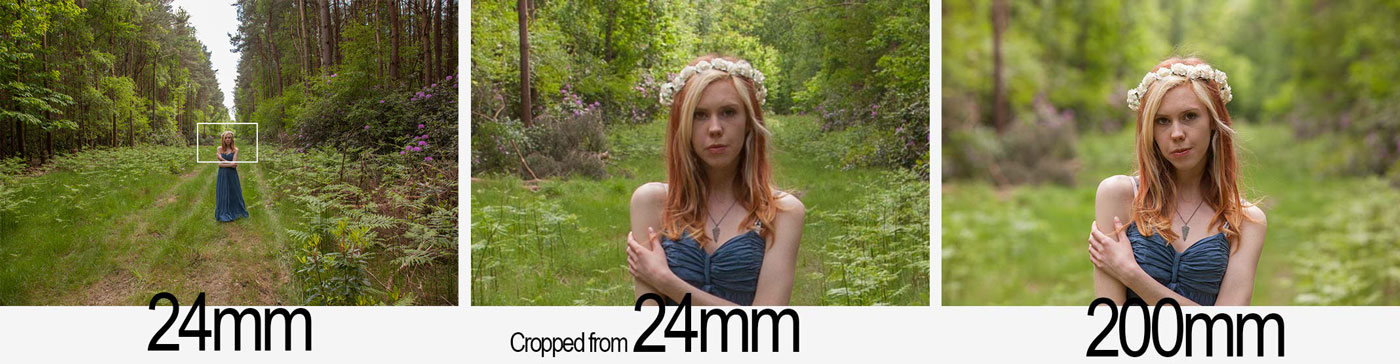
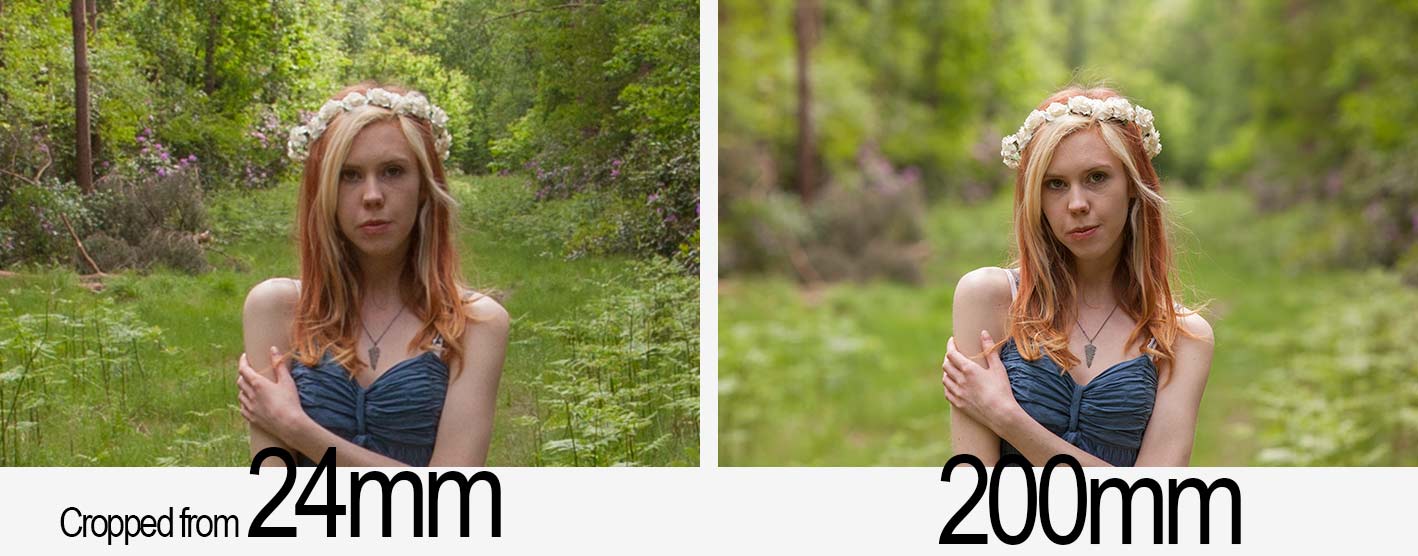
To prove the point. Take a look at the photos below. For the one on the right I used a 200mm lens, the one on the left is a from a shot taken with my 24mm lens and the middle image is a tight crop from the centre.

lens-compress-debunk

The distance from myself and the model was the same in each shot, only the focal length changed. Spot the difference?  Ignore the the depth of field difference between the two shots, that’s a side effect of the different focal lengths and I’ll save that for a future blog post. There really is no difference in compression and perspective distortion when you change lens focal length.

So if background compression isn’t caused simply by zooming in, do wide angle lenses increase perspective distortion? No they don’t (excluding exotic lenses such as fisheye’s). With a wide angle lens you often go close to fill the frame and that increases the distortion. In theory you could take a wide angle shot using a 200mm lens, you’d just need to take lots and lots of images and join them together like a jigsaw puzzle. Search Google for Gigapans to see this in action.

Still not convinced? Here’s a simple test to try, no camera required… next time you’re in front of the bathroom mirror, get your head really, REALLY close. Close one eye and look around at your refection. Your nose will look huge, your ears will look small and all because you’re close to the mirror. Step back and your face will appear as normal as it was before.

Bluebell 15 Minute Photo Challenge

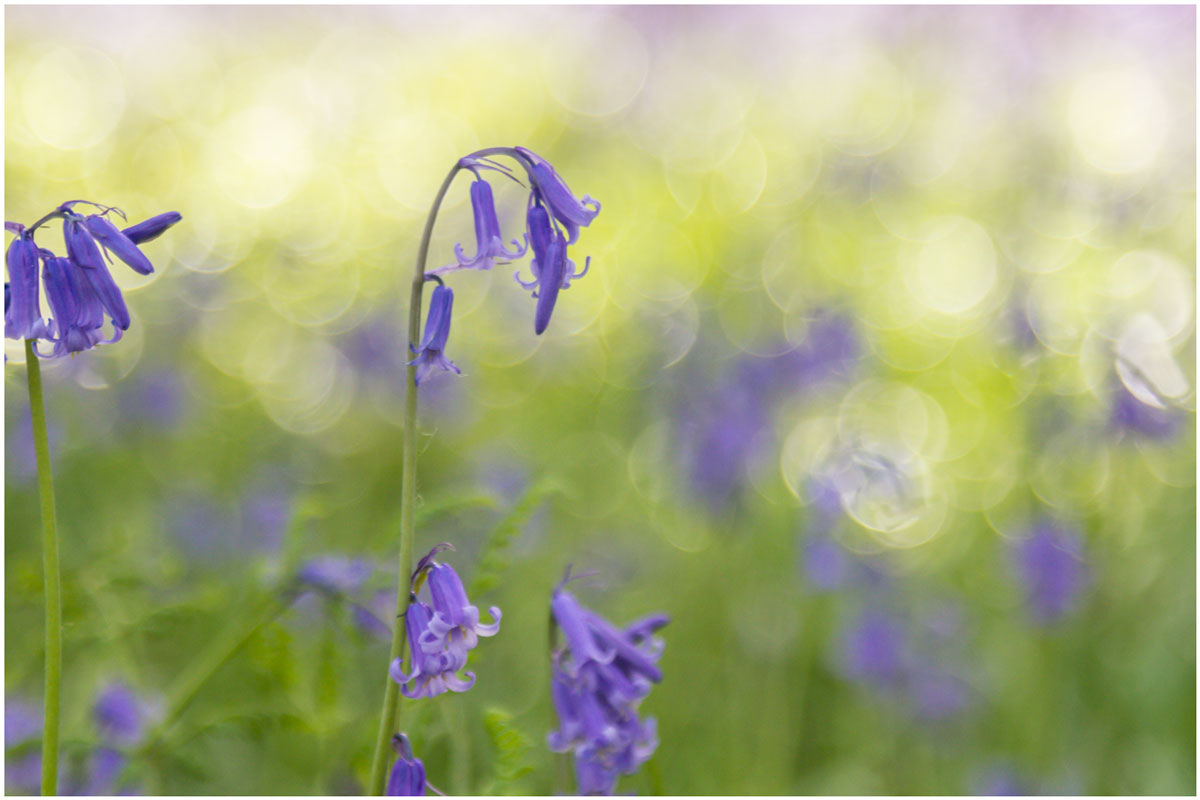
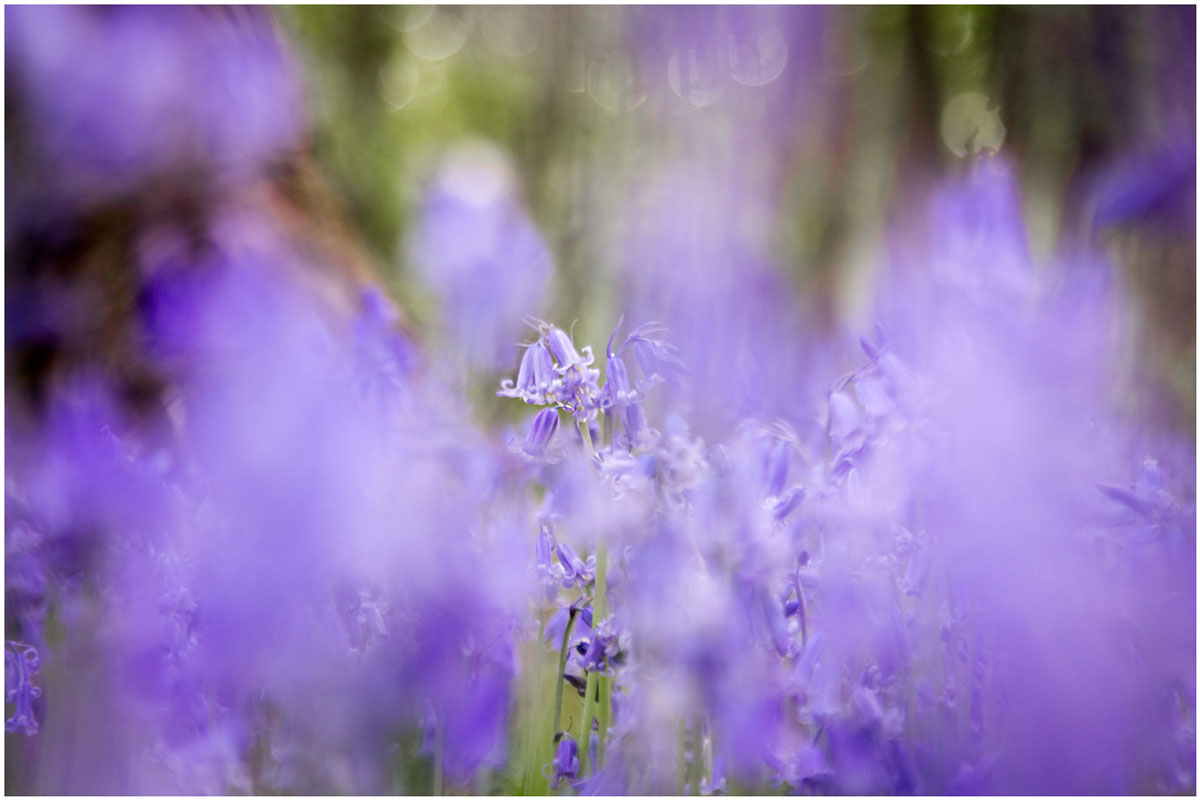
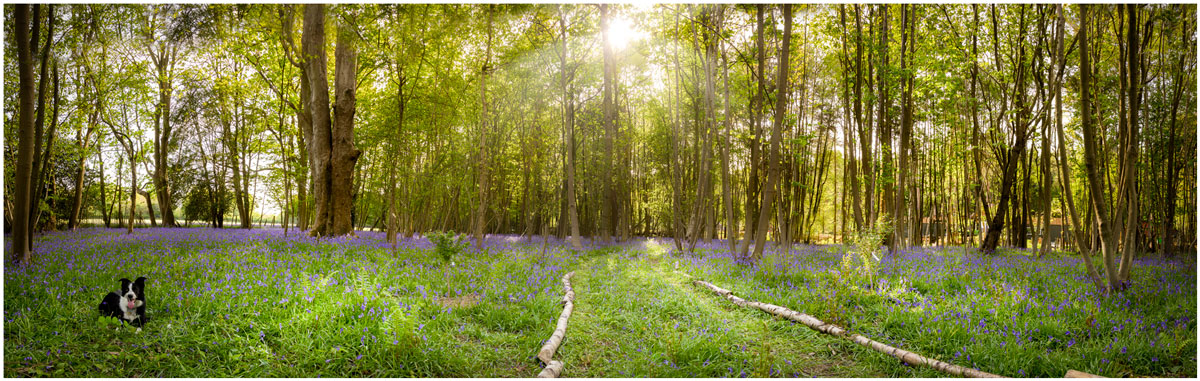
I’m a sucker for bluebells, so when I got the chance to shoot some at a local wood I grabbed it. The bluebell season can be very short but there’s still something to be said for waiting for the right light and shooting at the right time of day. For me that meant late afternoon when the sun was low but not so low that it would make the woods very dark.

Bluebells, like many flowers, are a bit top heavy so as well as picking the right light I wanted to avoid shooting on a windy day. Luckily everything came together so I packed my camera and by 24-105mm lens and set off to do another 15 minute photo challenge.

[youtube]https://www.youtube.com/watch?v=2b0trjfaRok[/youtube]

Bluebell-1jpgBluebell-2Bluebell-Pano

Food Photography Workshop

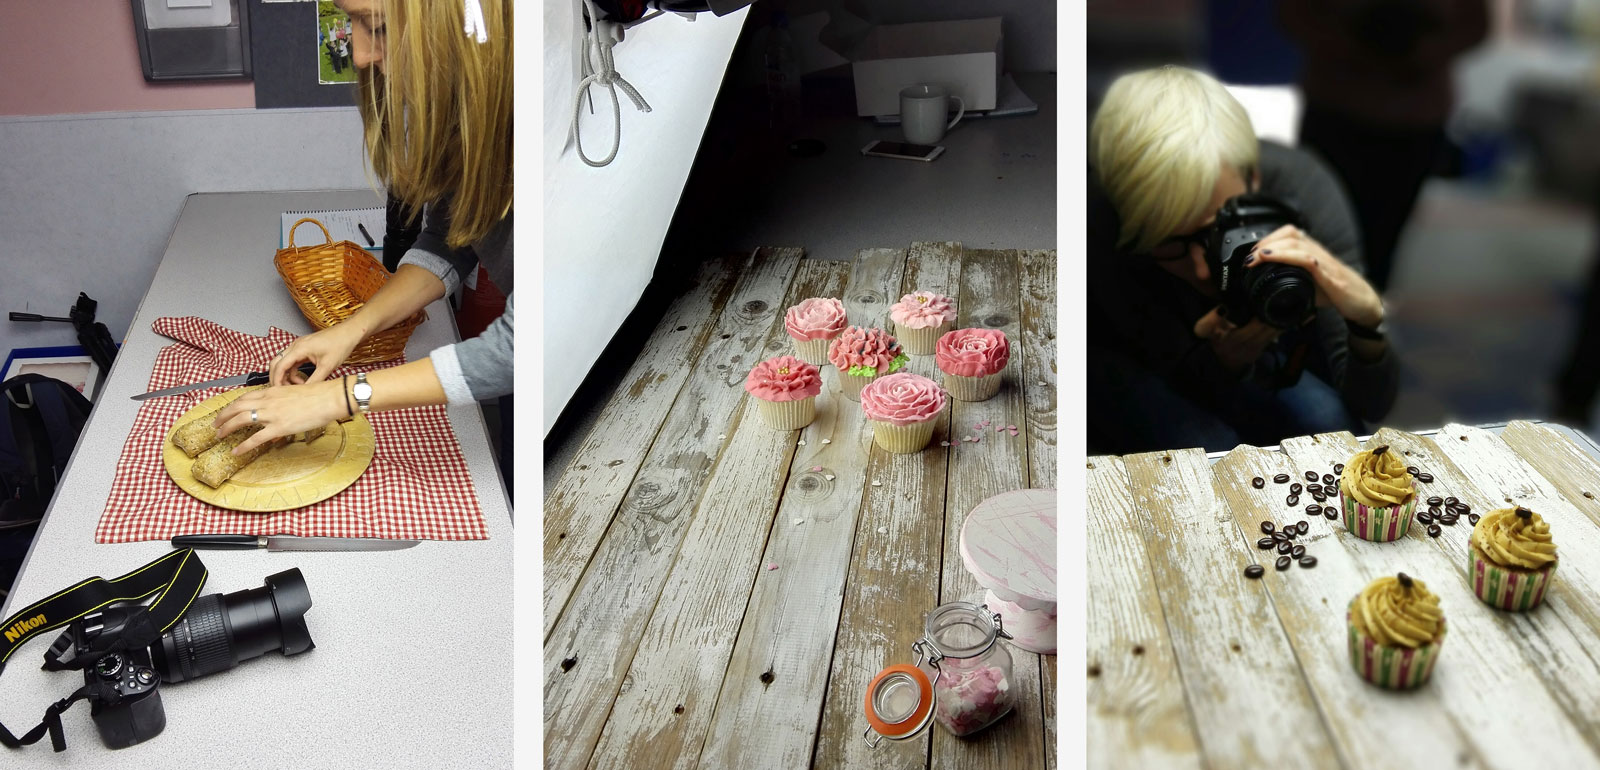
One area of photography that you may not know that I work in is food photography. You’ll rarely see any food photos on this blog but there’s plenty over at Sams Kitchen, which is the blog run by my wife Sam.

Sam is a food writer and recipe creator and also a darn good food photographer. Her work regularly appears in various foodie magazines as does her (and my) photos.

A few weeks back we ran a food photography workshop and will be running it again on the 13th June… Details of the next food photography workshop are here.Food-workshop-1

The workshop was aimed at bakers who wanted to improve their food photography and photographers who wanted to learn the real basics of how the camera worked whilst photographing some great looking baked goodies.

The day was great fun with Sam demoing various food set ups and style tips, whilst I ran around answering camera questions and running through some really quick and simple post processing trick in Photoshop Elements.
[youtube]https://www.youtube.com/watch?v=ziA0gCr2X28[/youtube]
It was really great to see people getting excited about food photography and discovering how really simple changes in styling and shooting made huge improvements to the photos.

If you’d like to get involved in the next workshop visit www.samskitchen.net/?page_id=1682 for more information.

Making The Most of Motivated Lighting

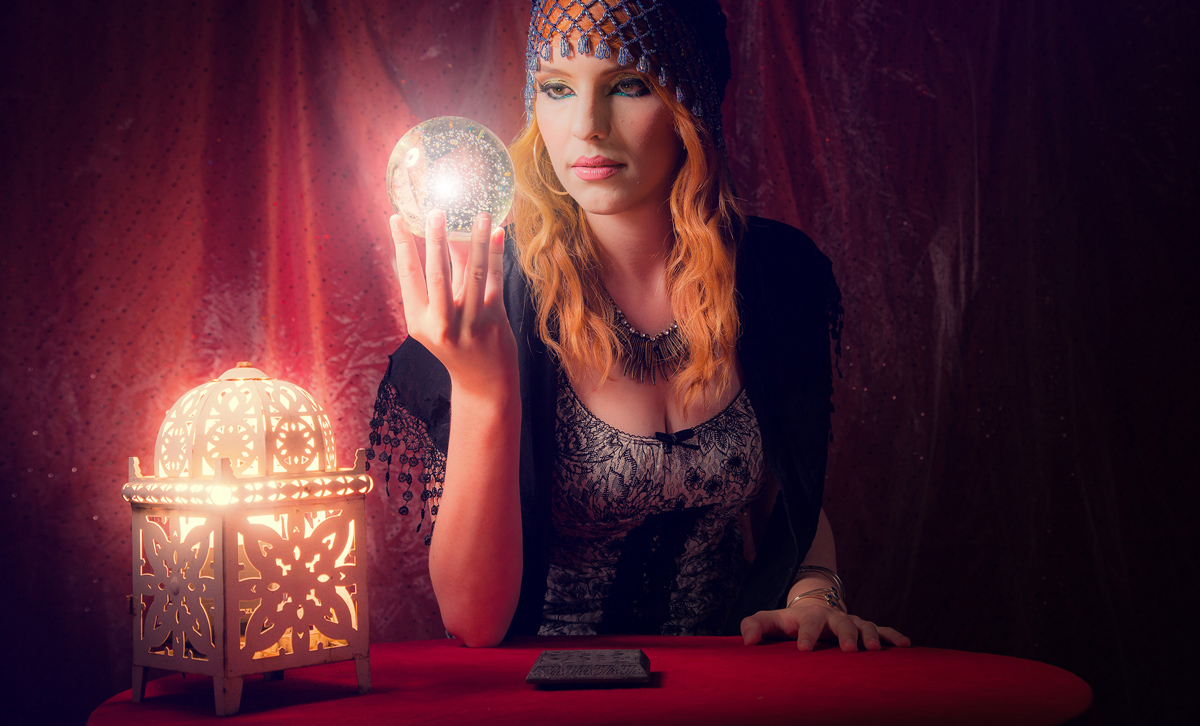
Motivated light is a term that’s more normally used in the world of the movies but there’s no reason for us stills photographers not to be aware of it and use it to create some great effects.

So what is motivated light? Put simply if you can see (or think you can see) the source of the light that’s illuminating the scene, you’re looking at a motivated light. But there’s a bit more to it than that.

Kerry-Fortune-Teller-(2)

Usually I go to great lengths to avoid seeing my lights in the shot, especially if the light is directed towards the camera lens. Even a tiny edge of light in the frame can play havoc with contrast and flare. If I have to see a light I can minimise flare by turning the power right down but then it doesn’t produce the light needed to get the exposure right. So how can I have the motivated light source in the scene and keep control of the exposure?

The answer is… I cheat!

In the video below I’ll look at two ways to create motivated light. The first way is in camera by teaming a low powered flash with a high powered flash that’s out of shot but in the same direction. The second way is by creating the effect in Photoshop.

[youtube]https://www.youtube.com/watch?v=U6sZlhhe3h4[/youtube]

Of course motivated light doesn’t have to be done like this and by definition motivated light can be something as simple as a window or room light that’s in the shot. So the chances are you have used motivated light in the past without even knowing it.

Model: Kerry Allingham
Make-Up: Anna Matos

Gear used in this video

Canon 5D Mark III www.adorama.com/ICA5DM3.html?KBID=67338

Canon EF 24-105mm f/4L IS USM Lens www.adorama.com/CA24105AFUC.html?KBID=67338

Flashpoint Light Stand www.adorama.com/FPLS9.html?KBID=67338

Black Rapid RS-7 Strap www.adorama.com/BRRS7.html?KBID=67338

Flashpoint StreakLight 360 Ws Creative Collection www.adorama.com/FPLFSL360K2.html?KBID=67338

Sekonic L-308S Flashmate www.adorama.com/SKL308S.html?KBID=67338

Flashpoint Zoom Li-on Manual On-Camera Flash http://www.adorama.com/FPLFSMZL.html?KBID=67338