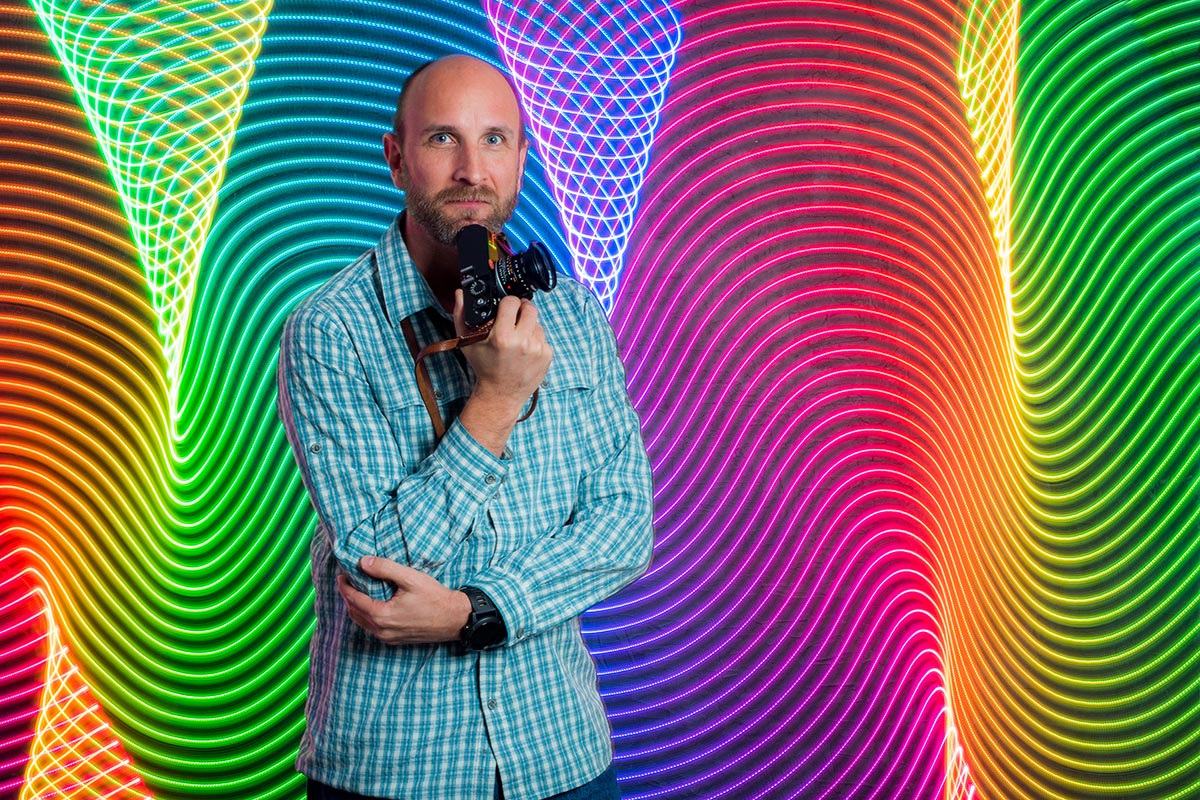
Make a simple LED Background

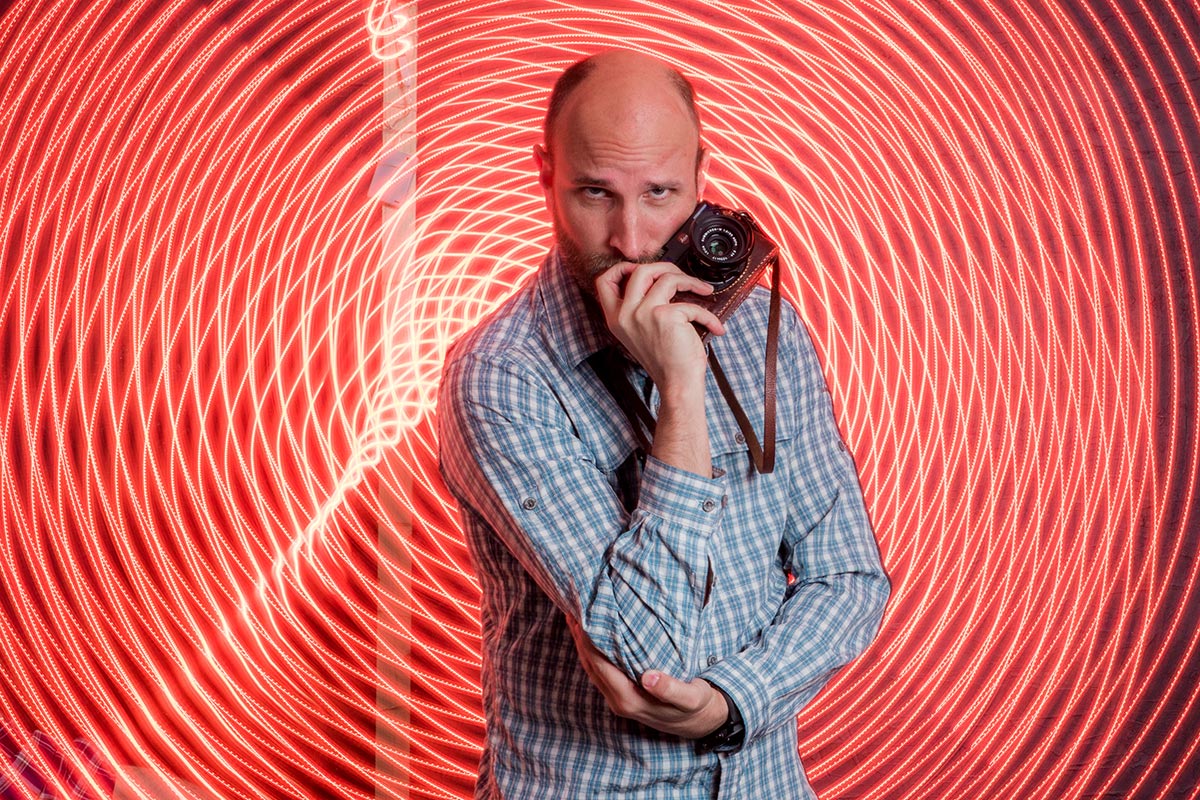
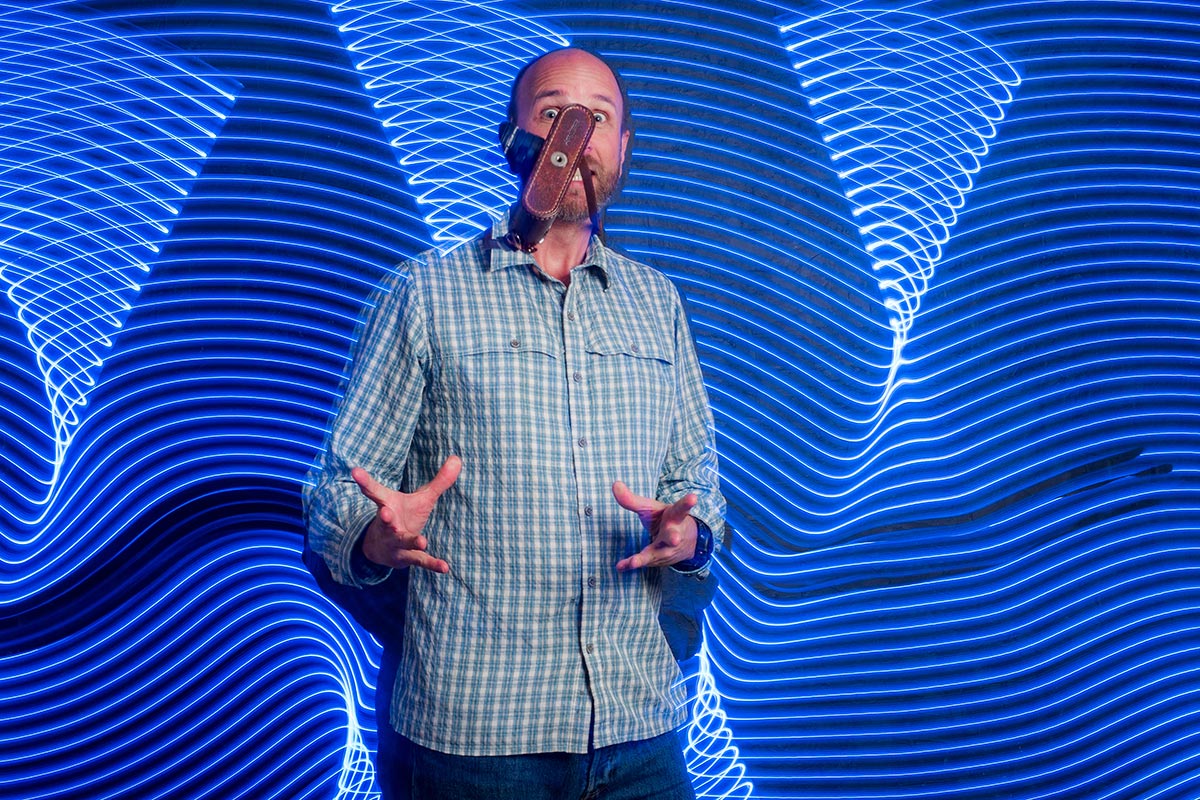
All sorts of random things can be turned into an amazing  portrait background but last year I was shown something called the Pixel Stick which looked amazing. It was a Kickstarter backed project that combined LED’s and long exposures in a way I’ve never seen before. Although the pixelstick was out of my budget the basic idea wasn’t.

My low tech LED stick took just a few minutes to make and worked amazingly. Take a look at the Adorama TV video I made with the spectacular Mark Wallace to see for yourself.

I’ve had loads questions all asking the same thing… How do you make my LED stick?

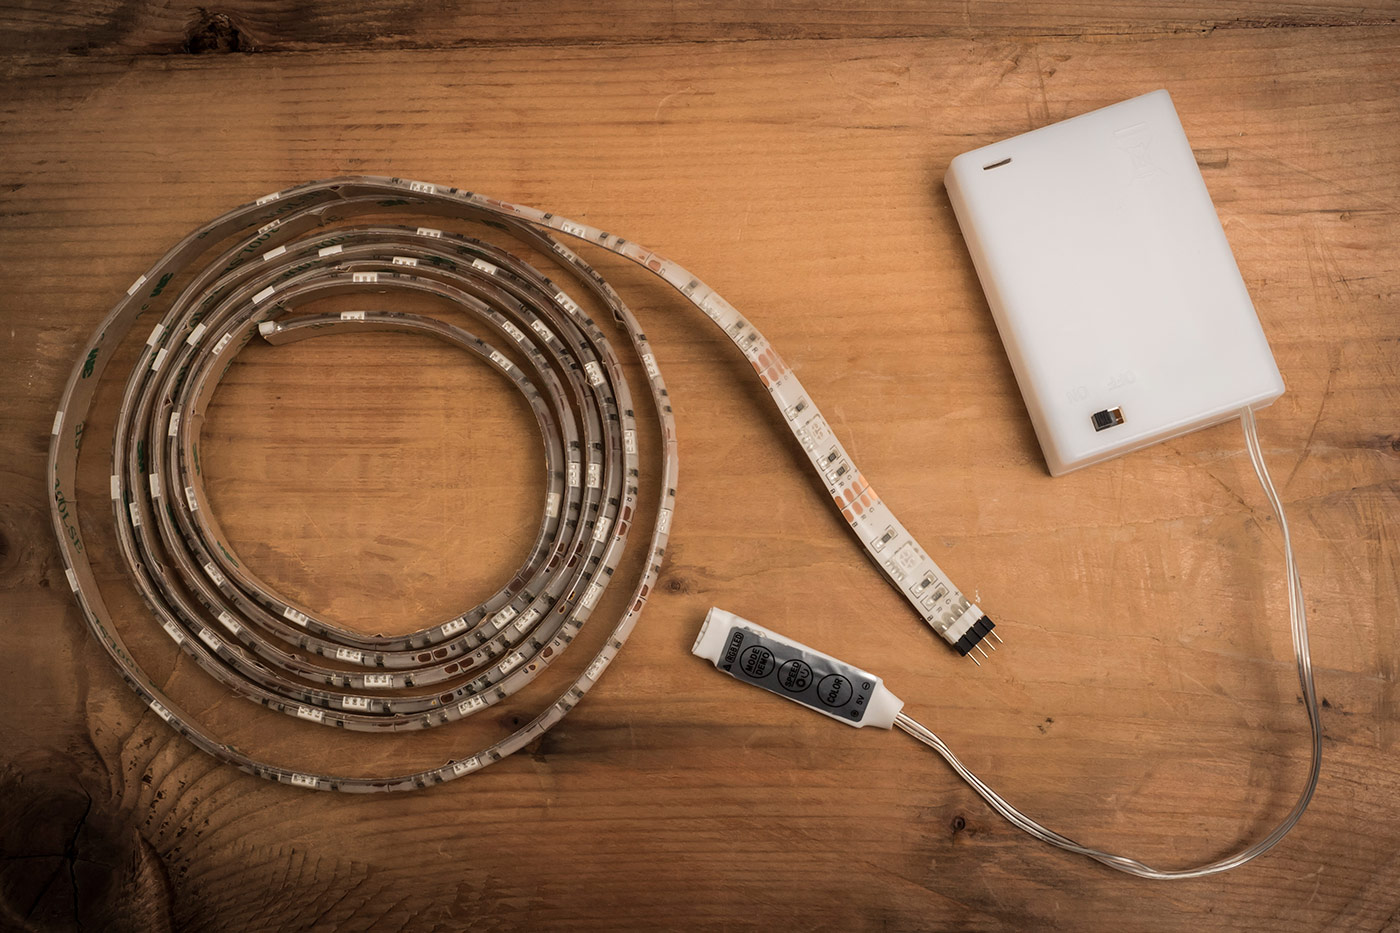
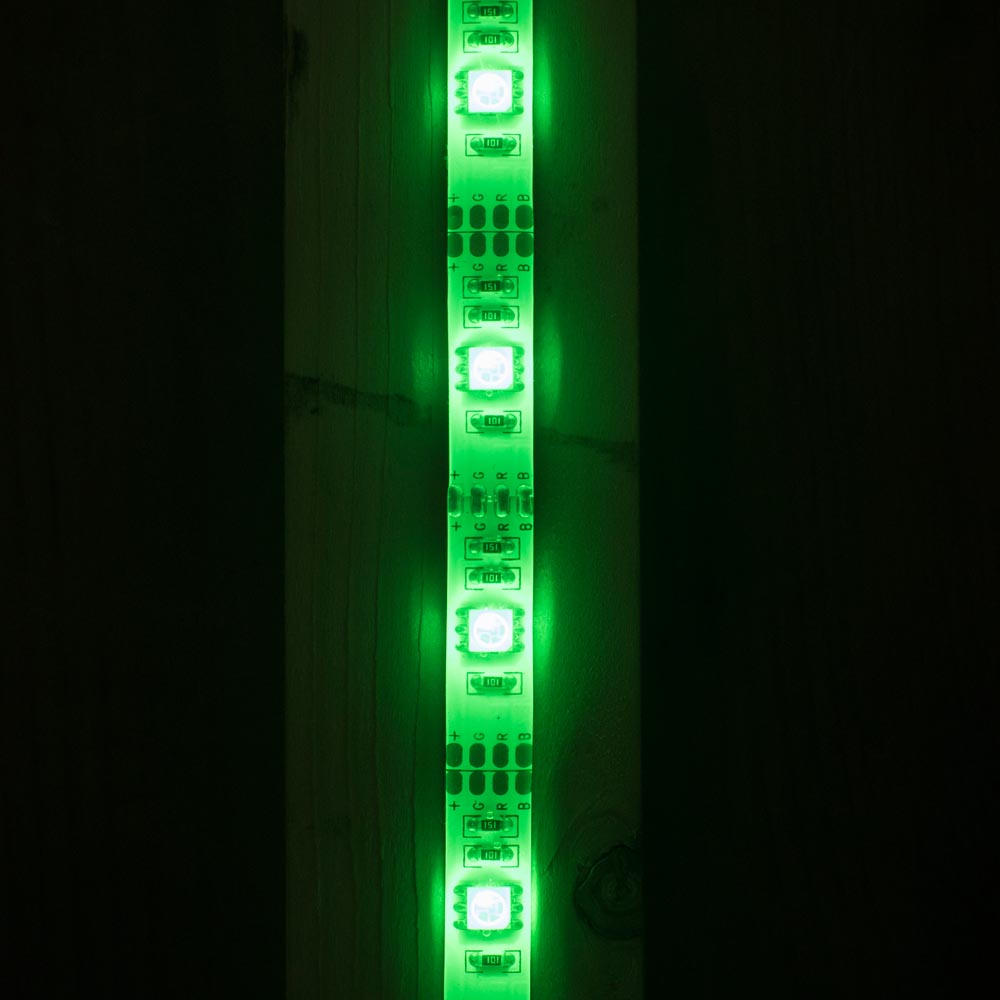
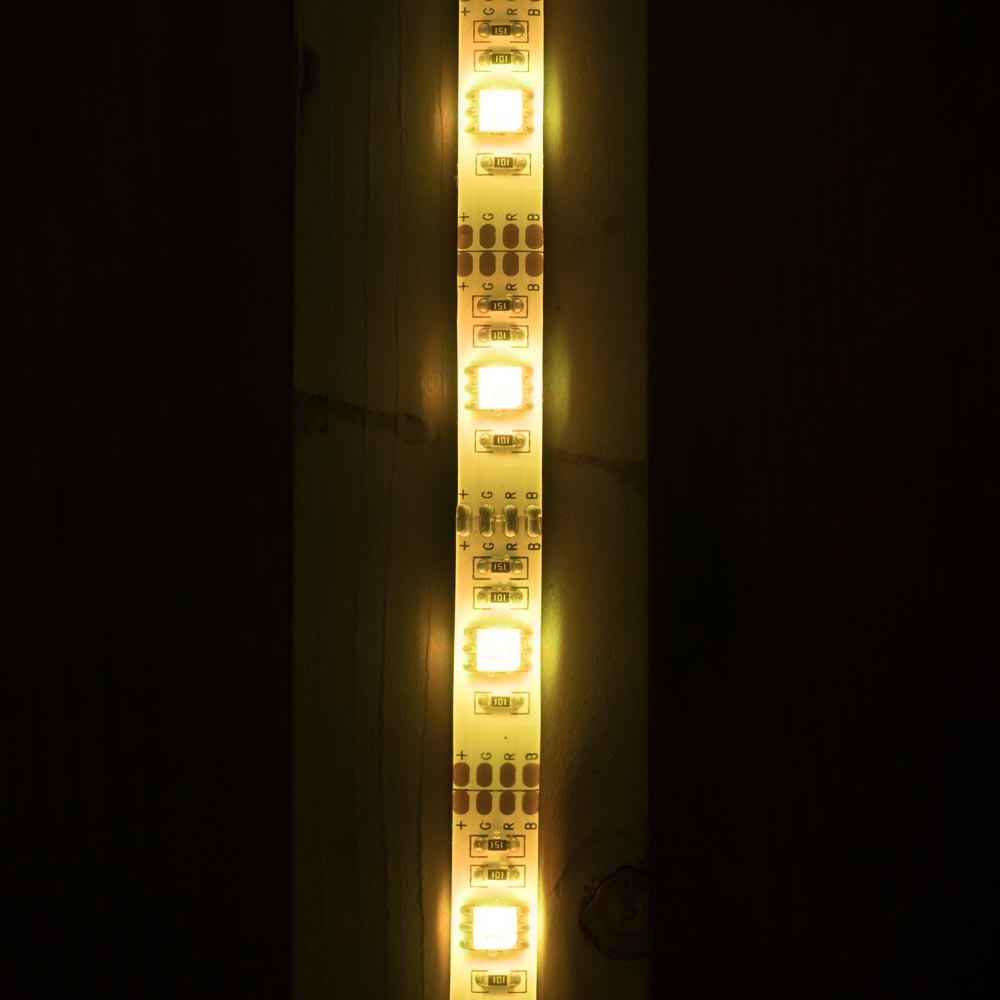
eBay proved to be the perfect place to start my search. There are loads of low cost LED’s on the market and I found a 2 meter roll of multi-coloured LED’s complete with battery box and controller for about £17.00.LED-Setup

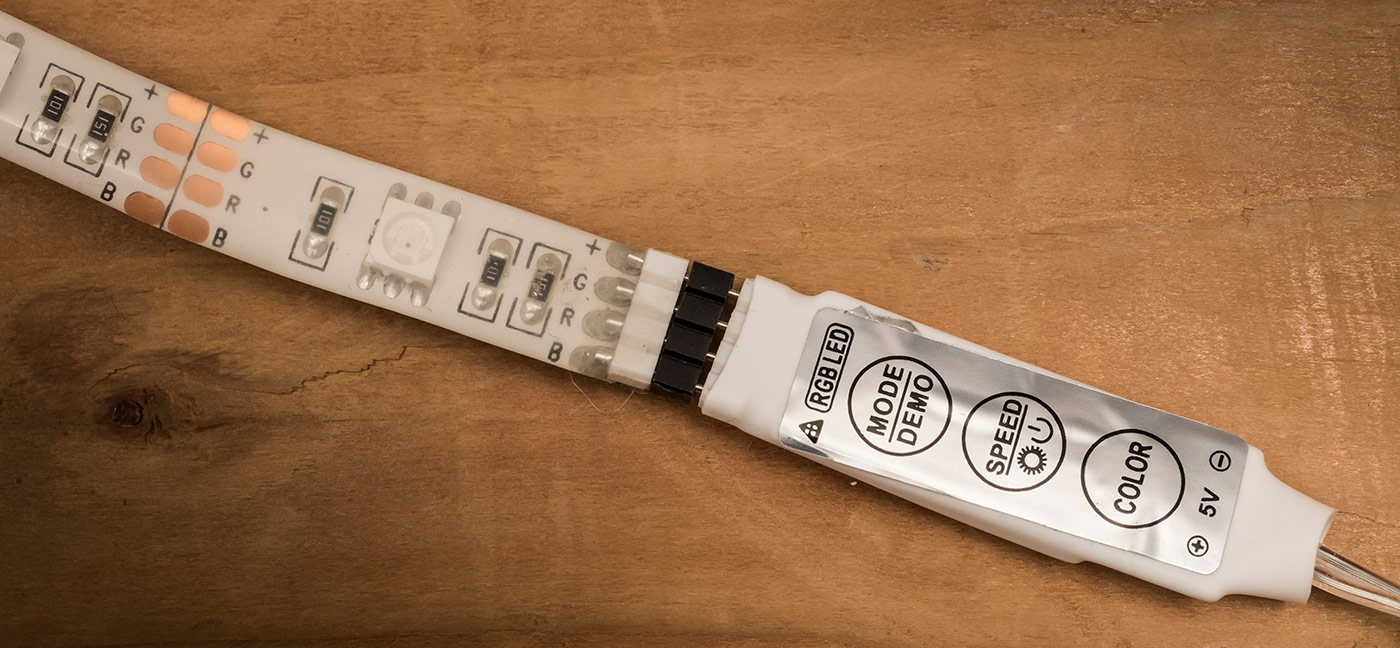
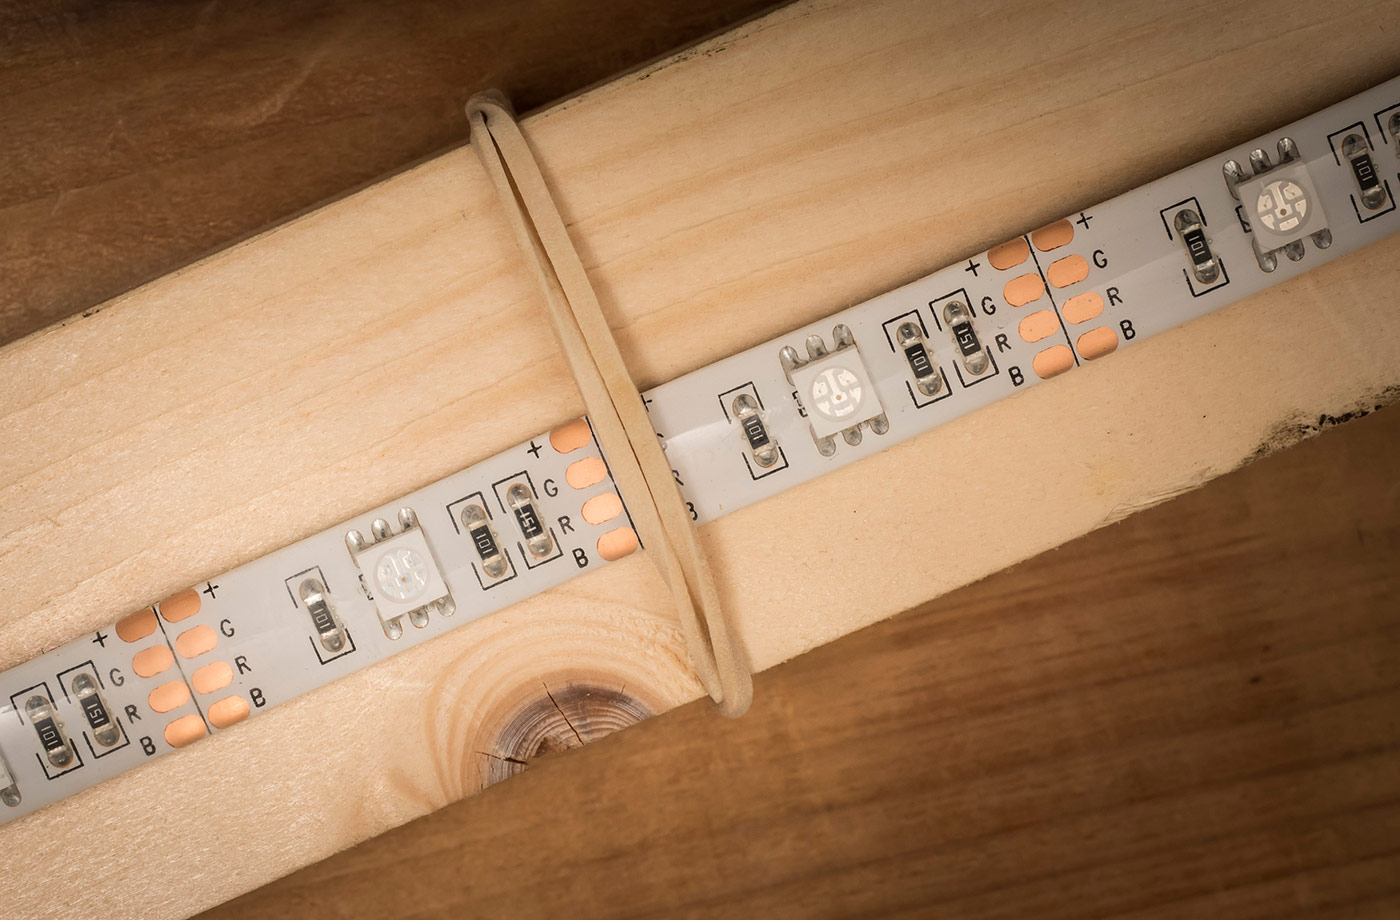
Each LED is actually several coloured LED’s clustered together which turn on or adjust their brightness to change the colour. The controller is very basic but allows you to set the colour, brightness and any effects such as flashing or fading through the spectrum.

LED-Setup-2

The LED strip is very flexible and sealed inside clear silicone (or something like it), so I found a spare bit of 1.8m timber and attached the LED strip to that. There’s adhesive on the back of the strip but I just used a few rubber bands to hold it place. Just make sure the bands don’t cover the LED’s!

LED-Setup-3

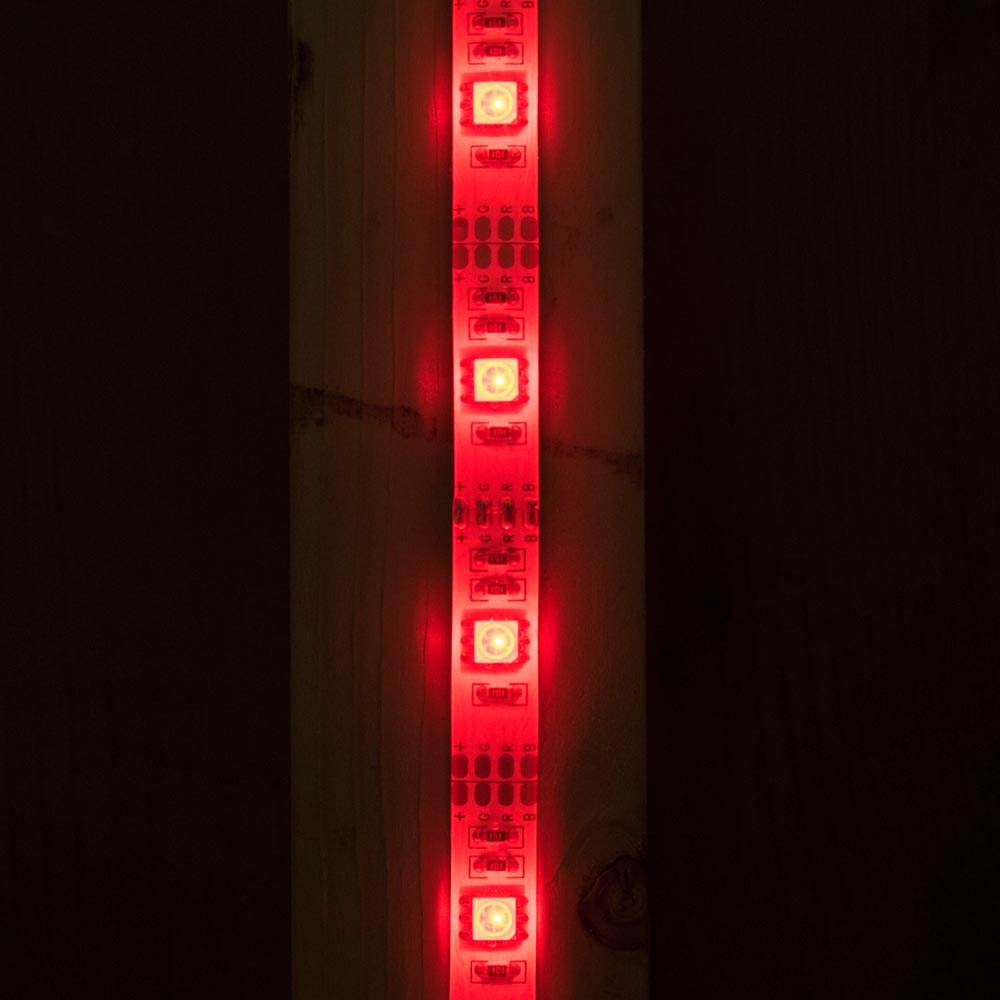
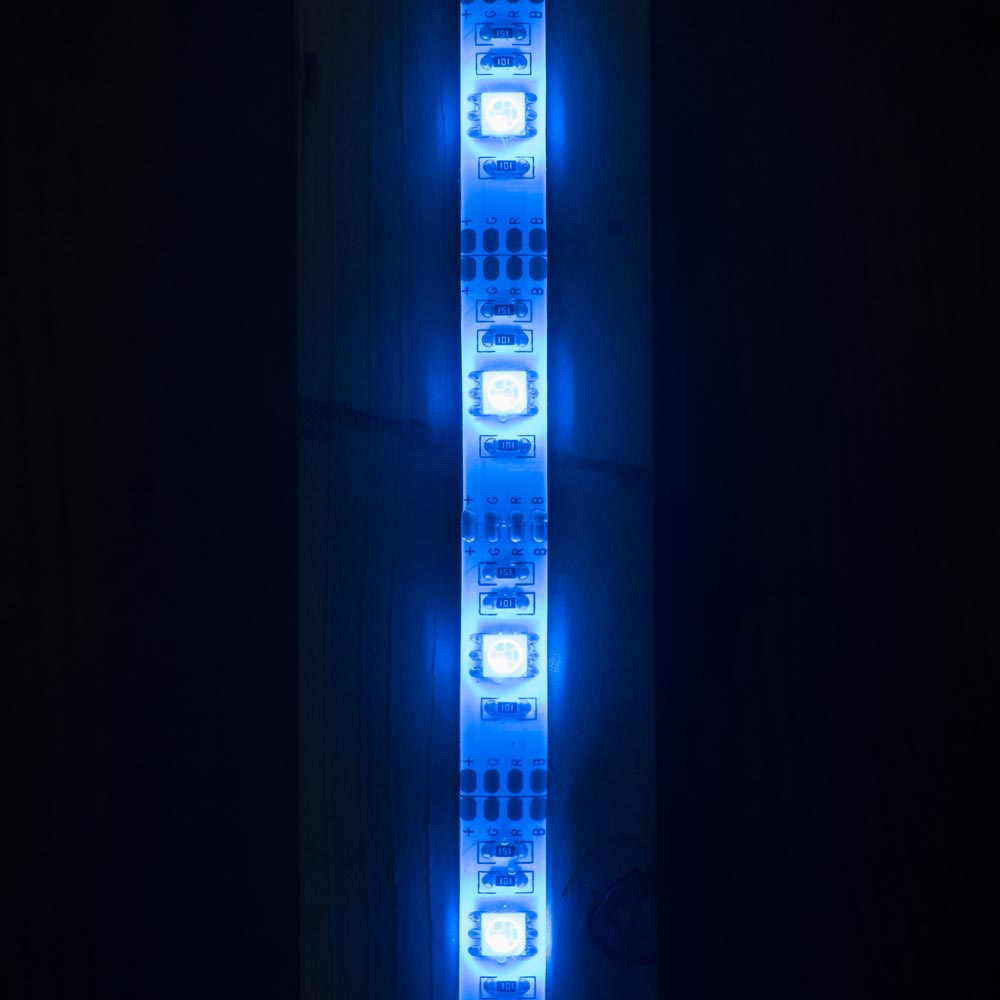
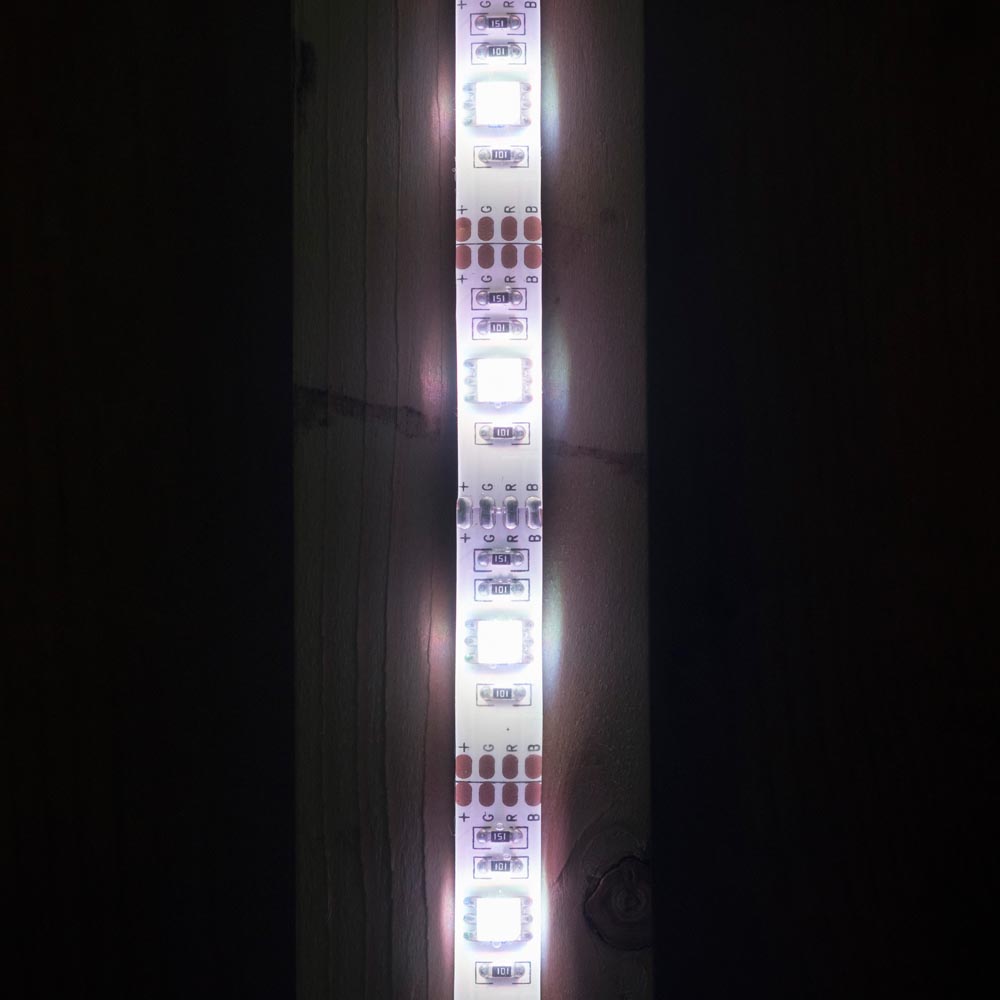
Then it’s just a matter of attaching the batteries and choosing a mode. Some colours worked better then others as did some modes. The key as always is to experiment and have some fun!

5 FAQ’s (and answers) about flash meters

If you shoot with flash you may well be aware that speedlights and (increasingly) studio strobes come in either manual or TTL versions. If you’re shooting weddings, events or any sort of running and gunning photography, TTL is brilliant but for me manual flash teamed with a flash meter is how I like to work in the studio.

If you’re thinking a flash meter might be what you need to improve the consistency of you shots or you already have a flash meter but aren’t sure on how to get started with it, then I’ve got you covered.

[youtube]https://www.youtube.com/watch?v=UG4P-Odutr8[/youtube]

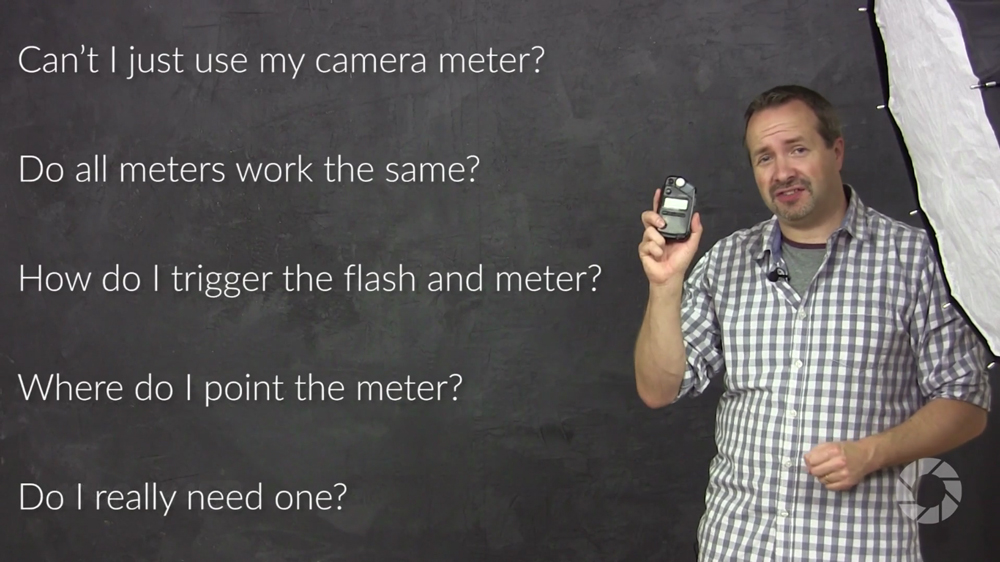
In the video above I cover the top 5 questions I hear from photographers and flash meters.

  • Can’t I just use my camera’s meter?
  • Do all flash meters work the same?
  • How do I trigger the flash and the meter?
  • Where do I point the meter?
  • Do I really need one?

My flash meter of choice is the Sekonic L-308S Flashmate. It’s about as basic as a handheld meter can be but it’s super reliable and excellent value for money. More information can be found over at Adorama http://www.adorama.com/SKL308SN.html?KBID=67338

Flash-Meter-Cover

5 Questions about flash meters

One of the very first lighting accessories I brought was a flash meter, in fact the same meter gets used and abused almost every time I use manual flash. I’ve used my handheld flash meter with speedlights and studio flashes of all makes, I use it in the studio and on location. Honestly, I couldn’t work without it.

If you’re thinking of getting your own flash meter or already own one but are not sure how to get the best from it the video below should help answer some of the most common quesions.

[youtube]https://www.youtube.com/watch?v=UG4P-Odutr8[/youtube]

Not a video viewer? No problem, try this instead.

1 Can’t I just use my camera meter?
Nope, you’re camera meter is designed to work with continuous light and can’t react fast enough to meter flash. However you can use your cameras LCD to review the photos and adjust the flash power based on what you see. This trial and error approach is OK but does have its drawbacks… see the video for more on this.

2 Do all meters work the same?
Well, they all meter the light so at a basic level they’re all the same. In my case I simply set the meter to match my camera’s ISO and shutter speed and when the flash fires I can read off the aperture.

Of course there’s plenty of advanced flash meters around that have features that might make life a lot easier for you. Some meters can measure the amount of ambient contamination in your shot, others can figure out lighting ratios and there’s even some which have pocket wizard radio triggers built into the meter itself.

3 How do I fire the flash?
That largely depends on the flash meter. On my Sekonic L-308s I prime the meter by pressing a button on the side and then fire the flash by pressing the “test” button on either the flash or radio trigger.

Other firing options include attaching a PC Sync cable from the flash to the meter or as I previously mentioned, finding a meter that has a built in radio system (such as Pocket Wizard)

4 Where do I point the meter?
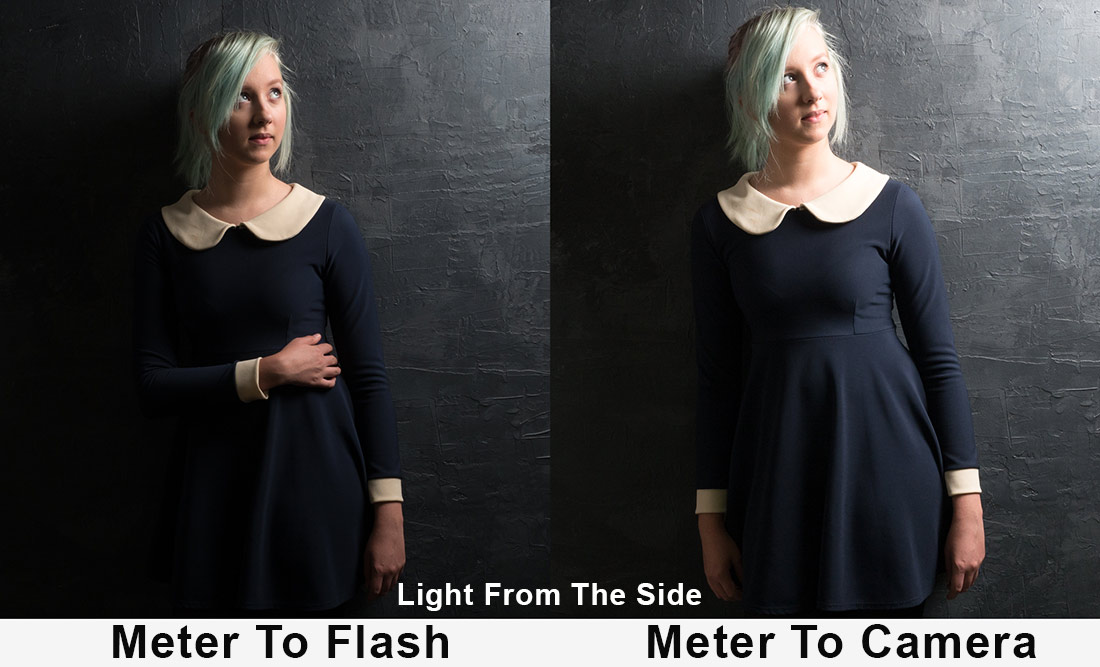
This is the question that usually sets off much debate among photographers. For me it’s always… Point the meter at the light, however as you’ll see in the video, if the light is mostly coming from the camera position, the same exposure is recorded by pointing the meter at either the flash or the camera.
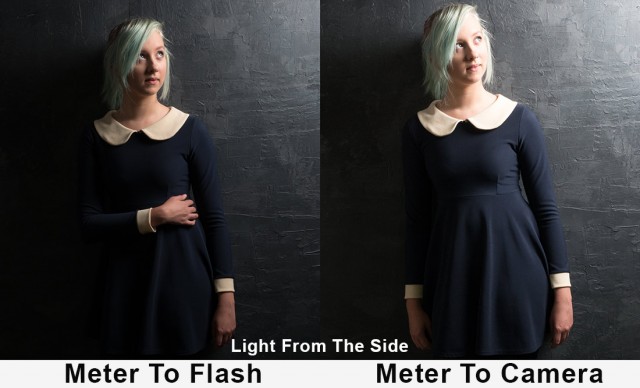
Meter-Before-After

One mistake a lot of photographers make is to place the meter in the shadow cast by the chin or by the models hair etc. It’s easy done, so if the meter is telling you something that feels wrong, move the meter and try again.

5 Do I really need one?
No, you can do the trial and error way of working and get very good exposures. However if you move or modify the light you’ll need to do the same work all over again.

A flash meter saves time on a shoot and gives you extra confidence in nailing the correct exposure. However it’s always worth remembering that correct exposure isn’t the same as perfect exposure so it’s a good idea to ignore the meter from time to time and get a little experimental with your shots.

Lastly there’s one more reason for using a flash meter and it has nothing to do with how it works… Just like shooting with a big camera, the untrained eye can equate using a flash meter to knowing what you’re doing. Now, whether that’s a good or bad thing I’ll leave up to you.
Wild Woodland Workshop Wrap-Up

UPDATE:
Scroll down to see the gallery from the September woodland workshop

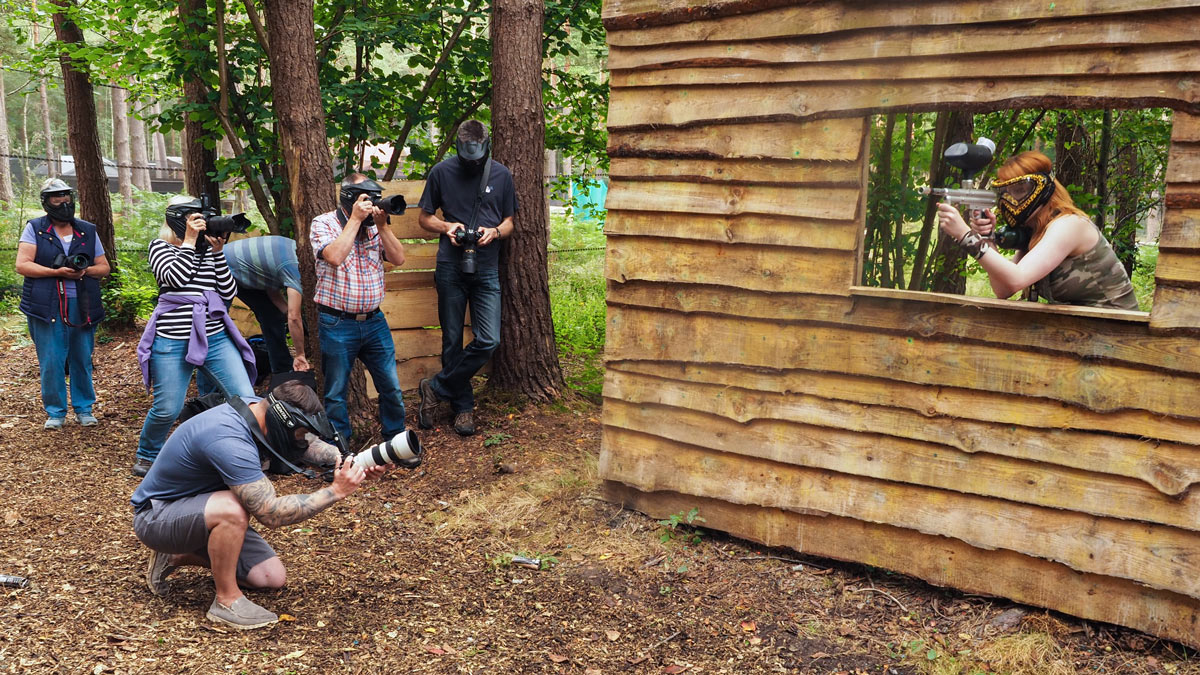
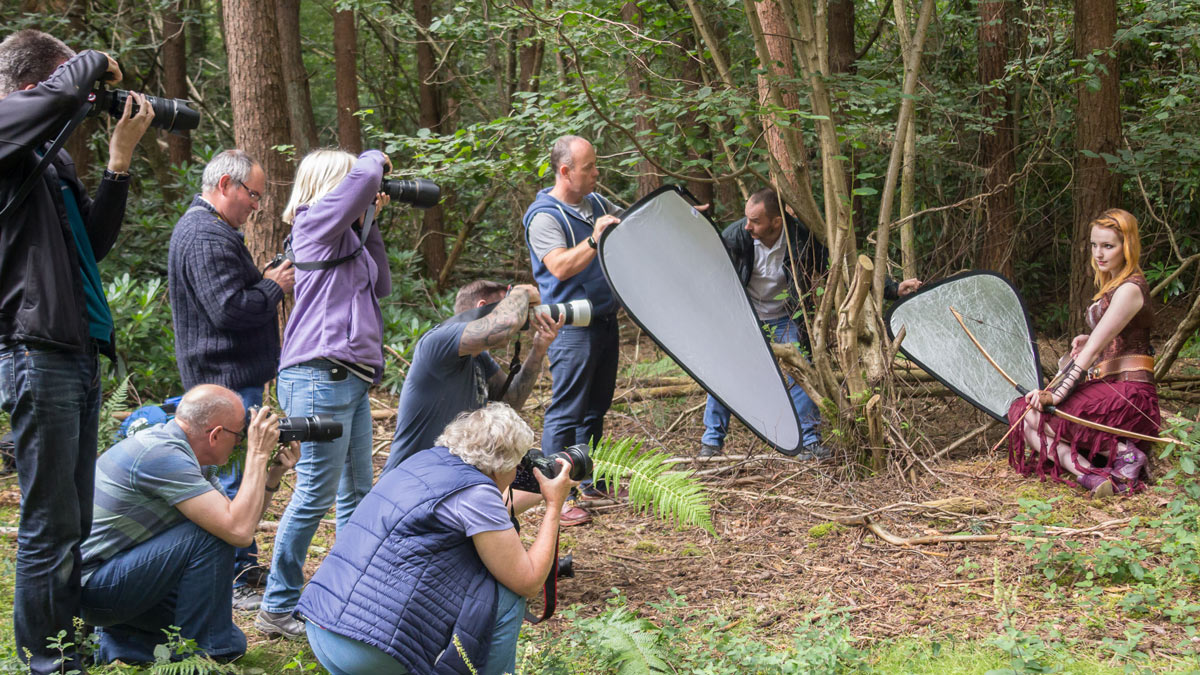
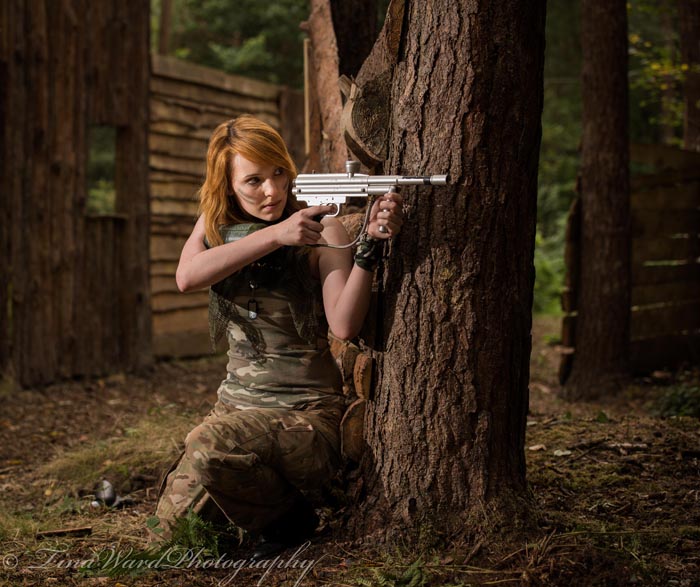
It may have taken months of planning but last Sunday everything came together perfectly for the Wild Woodland Workshop. A group of 12 photographers descended on Driver Wood Paintball for a day of photography among the trees, paths and paint balls.
I was joined by Robert Pugh, who is a brilliant photographer, educator and Olympus ambassador, not to mention all round good guy. Having a second photo trainer on-board gave the day extra value in so many ways, not least that we could split into two groups so everyone got plenty of time to work with both models.

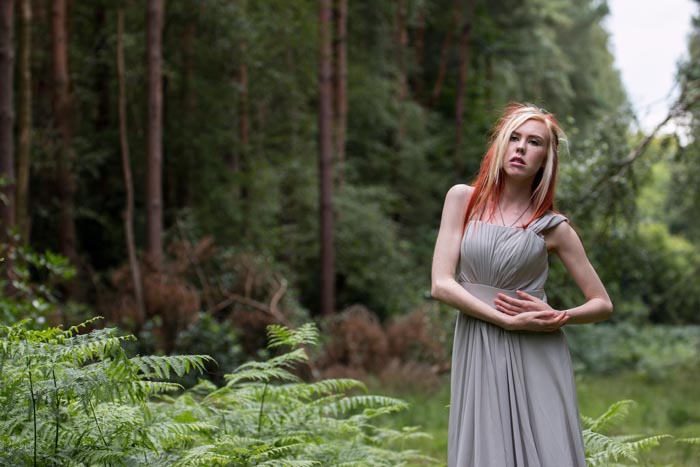
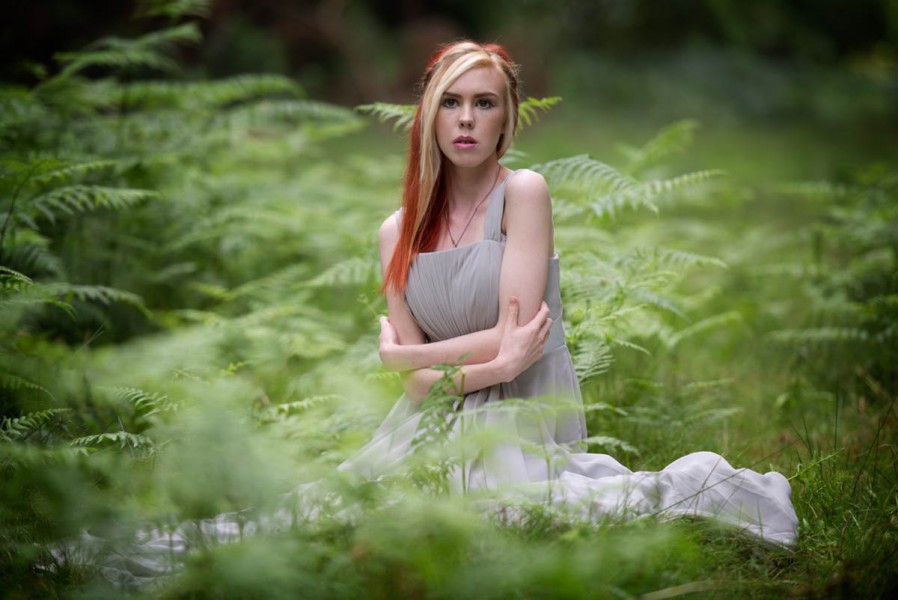
Rob’s morning was spent with model Fern Meaeve in a grassy clearing and some wonderful overcast light. It was the perfect light for a workshop with everyone being able to shoot with ambient light or with a splash of fill flash.IMG_2794

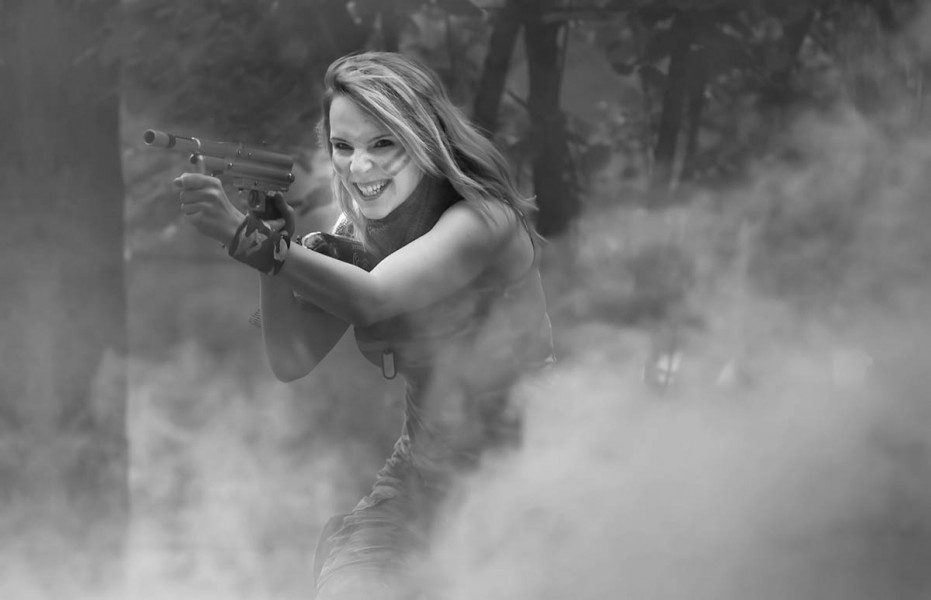
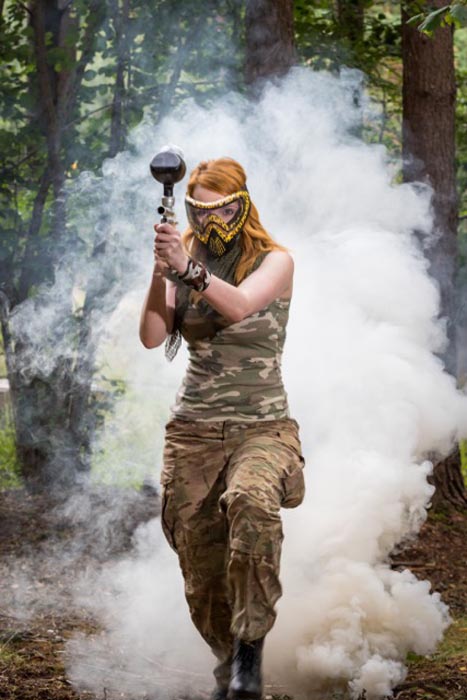
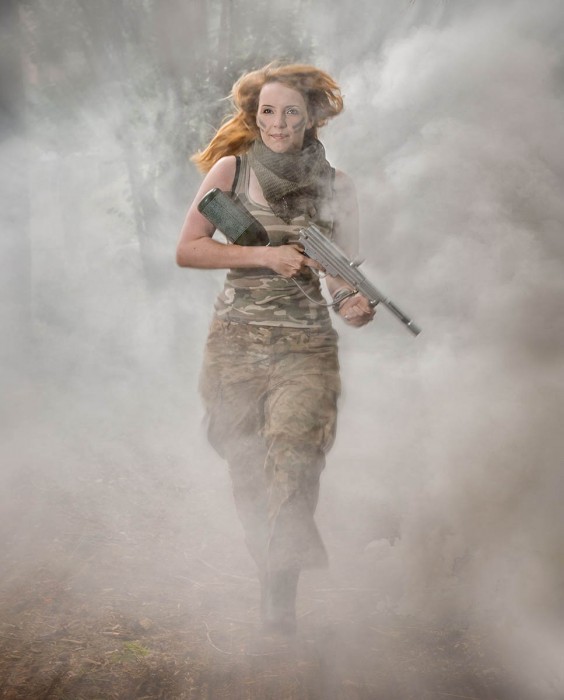
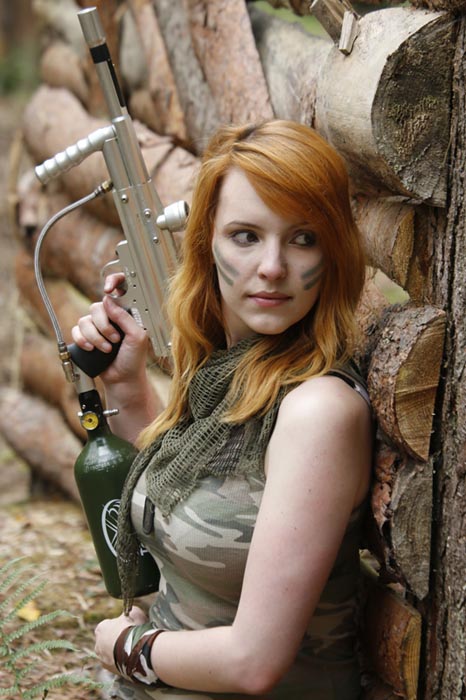
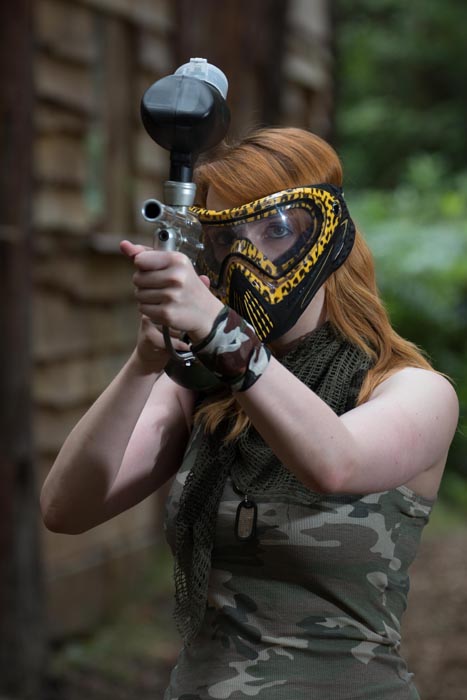
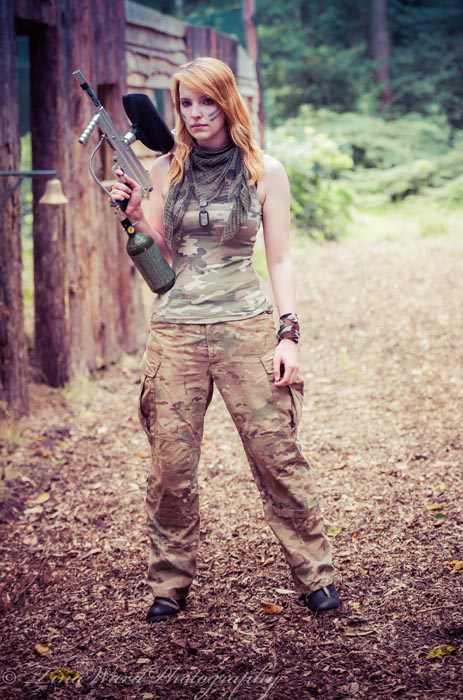
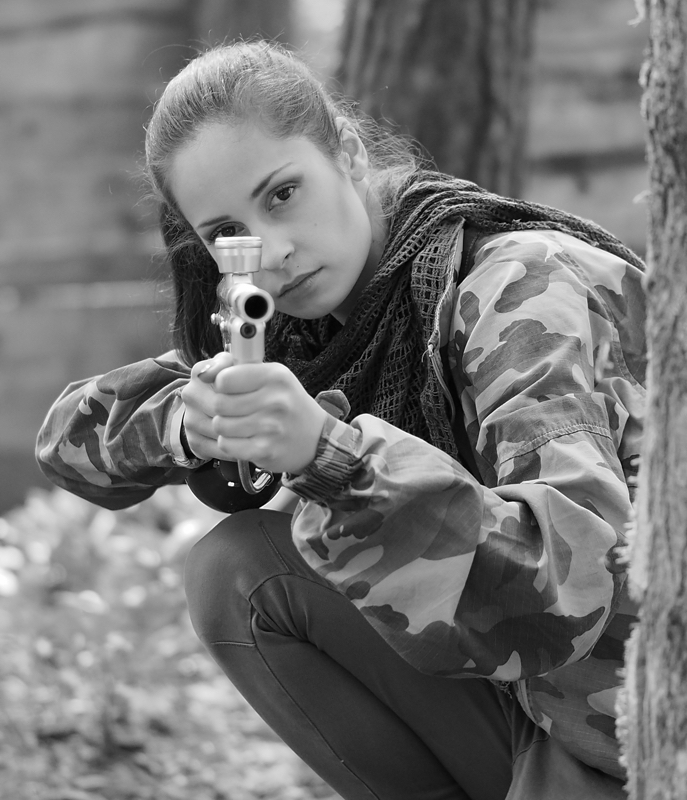
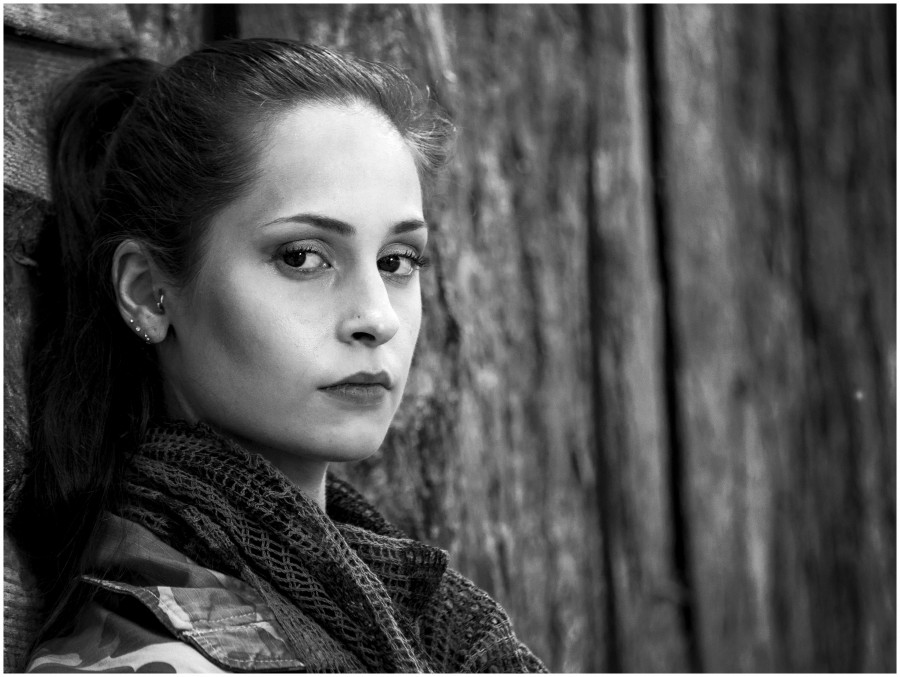
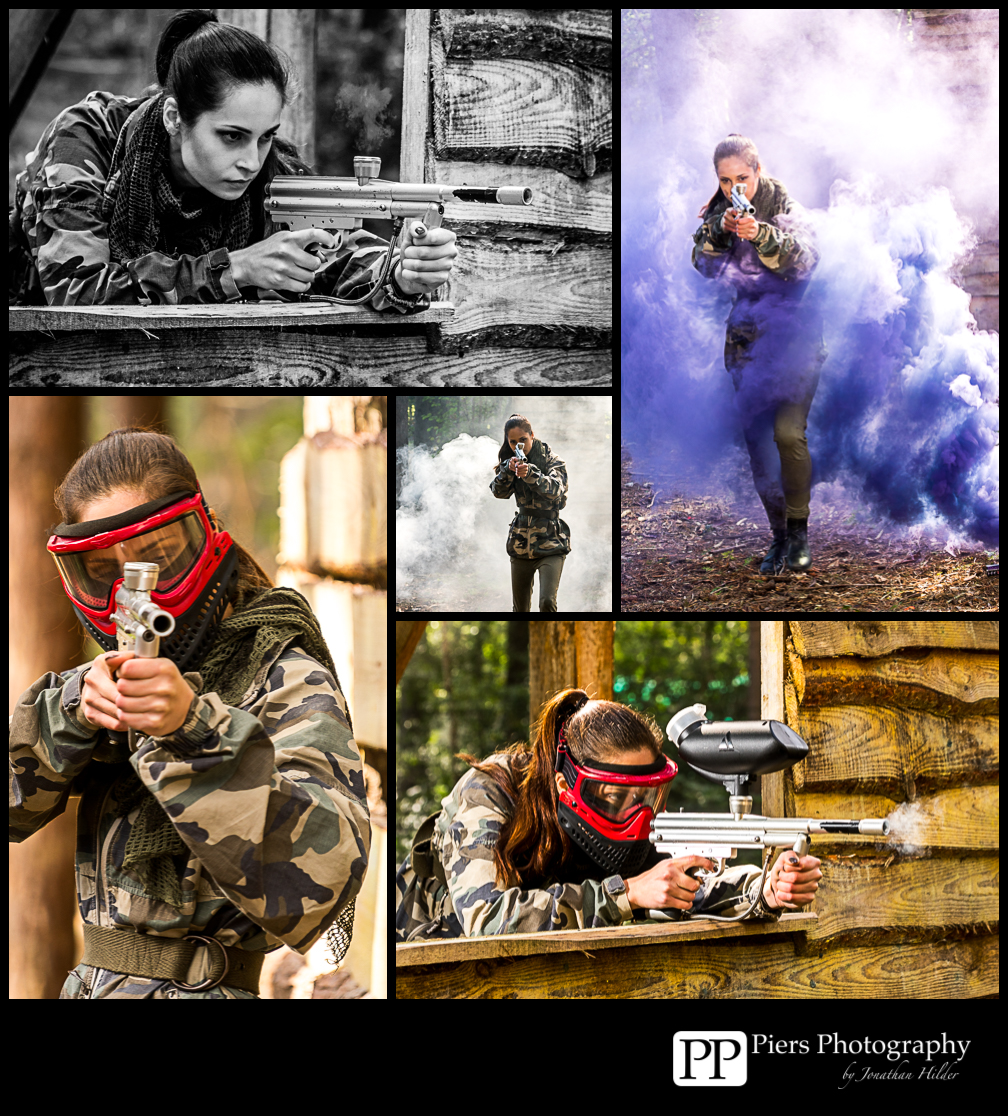
For me it was a little more rough and tough as I worked with model Kerry Allingham at the paintball parks wooden fort. Luckily for us, Kerry is an experienced paintball marshal and knew how to handle the guns. None the less, everyone wore protective eye wear during the live fire session.P8160112

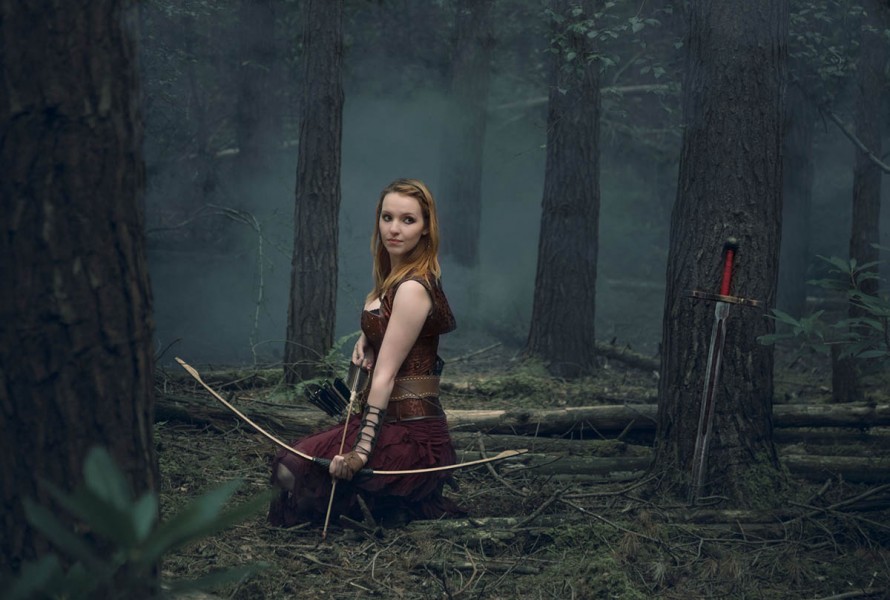
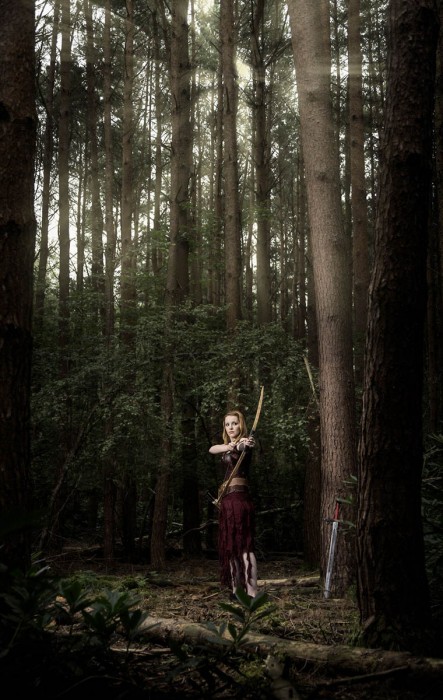
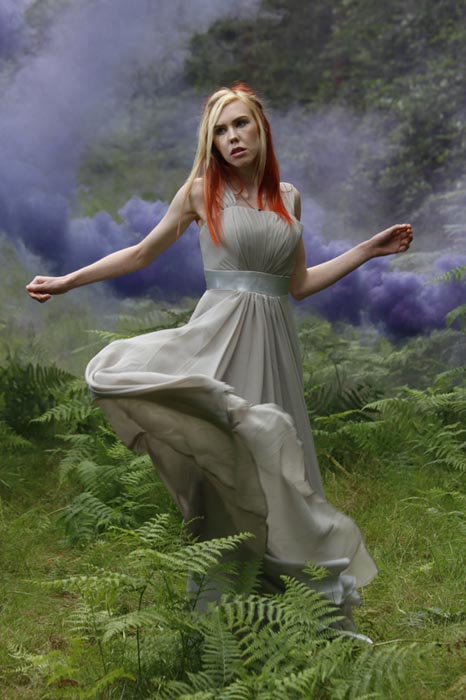
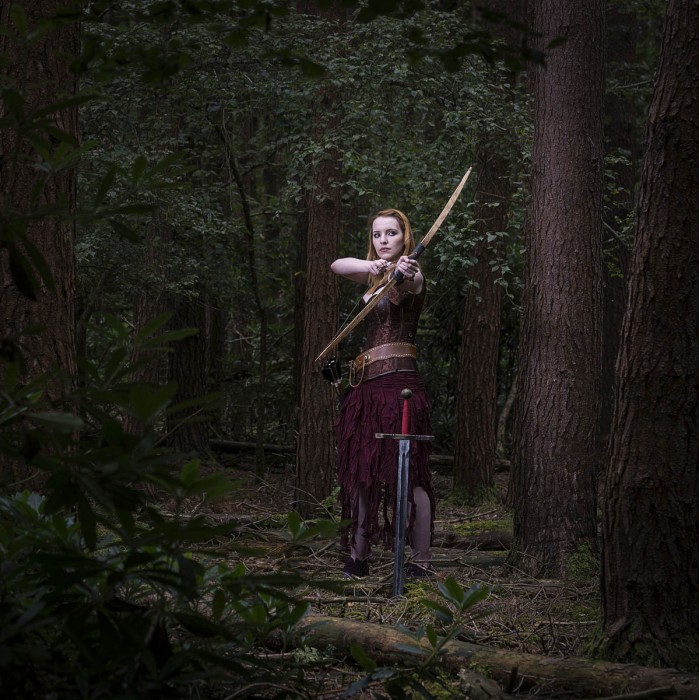
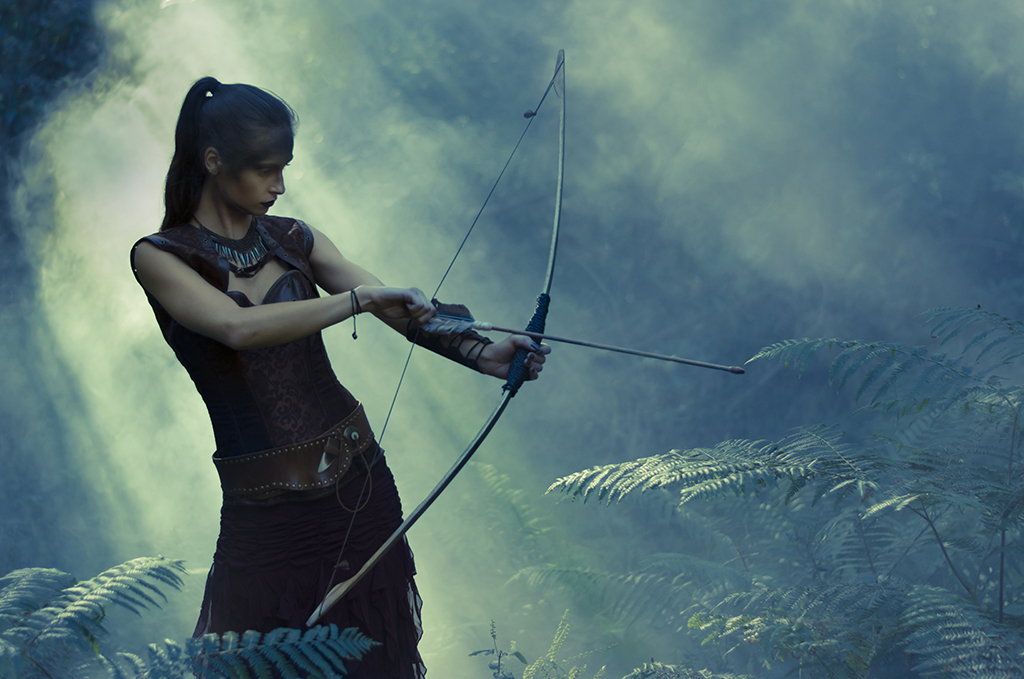
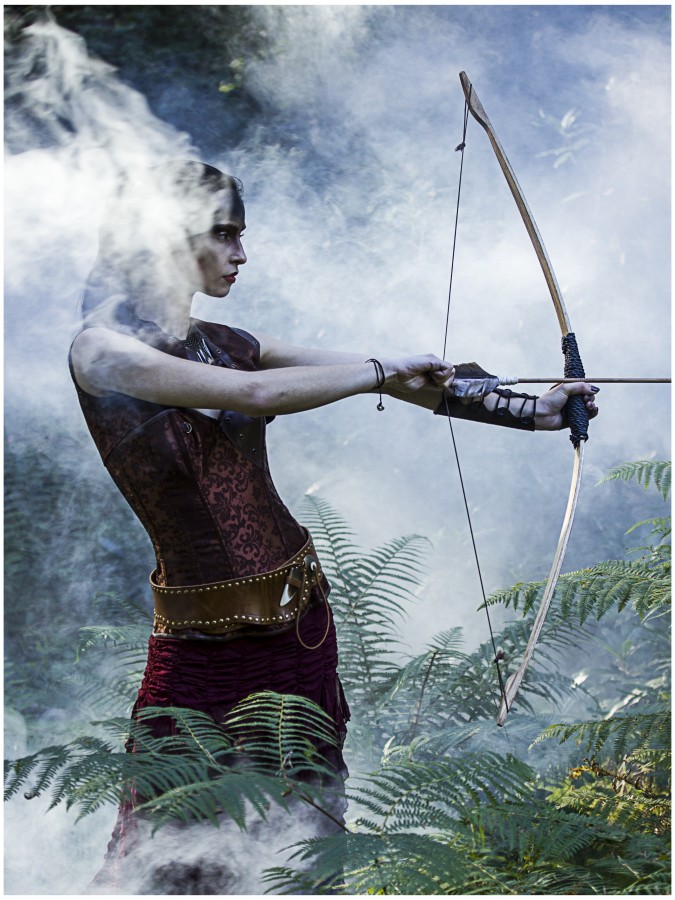
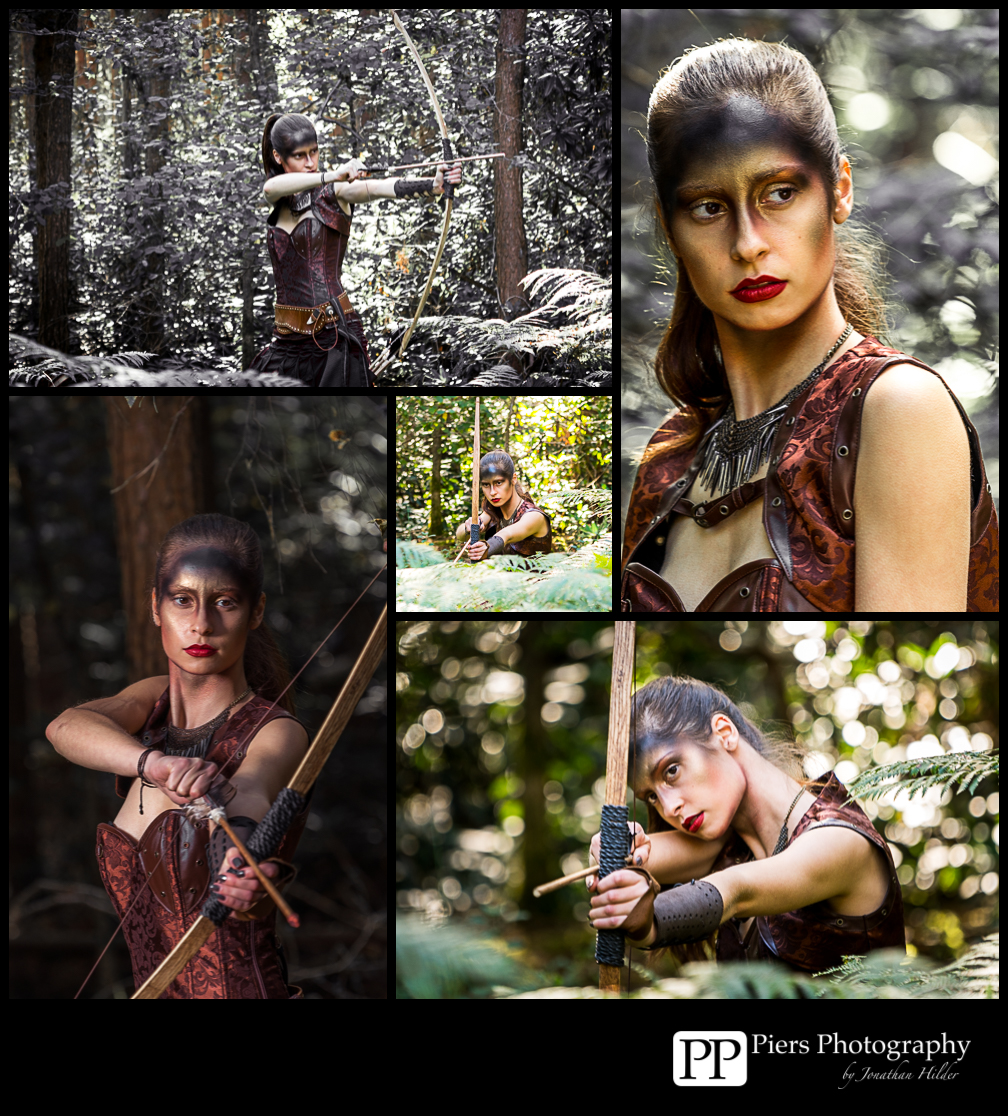
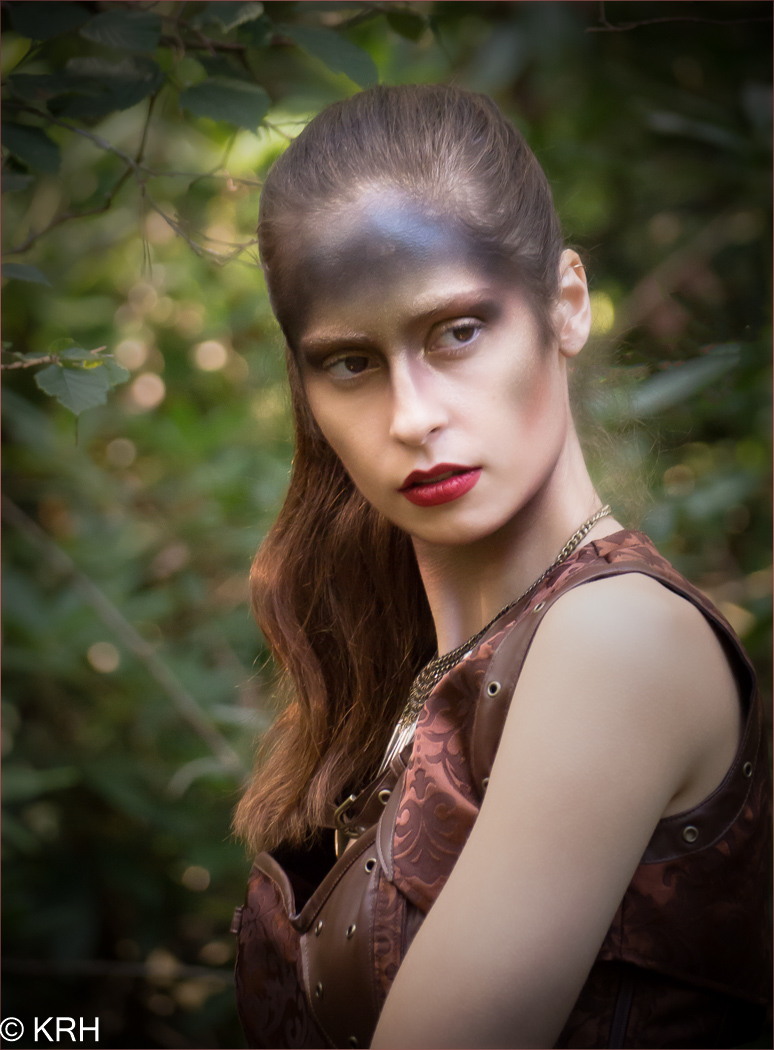
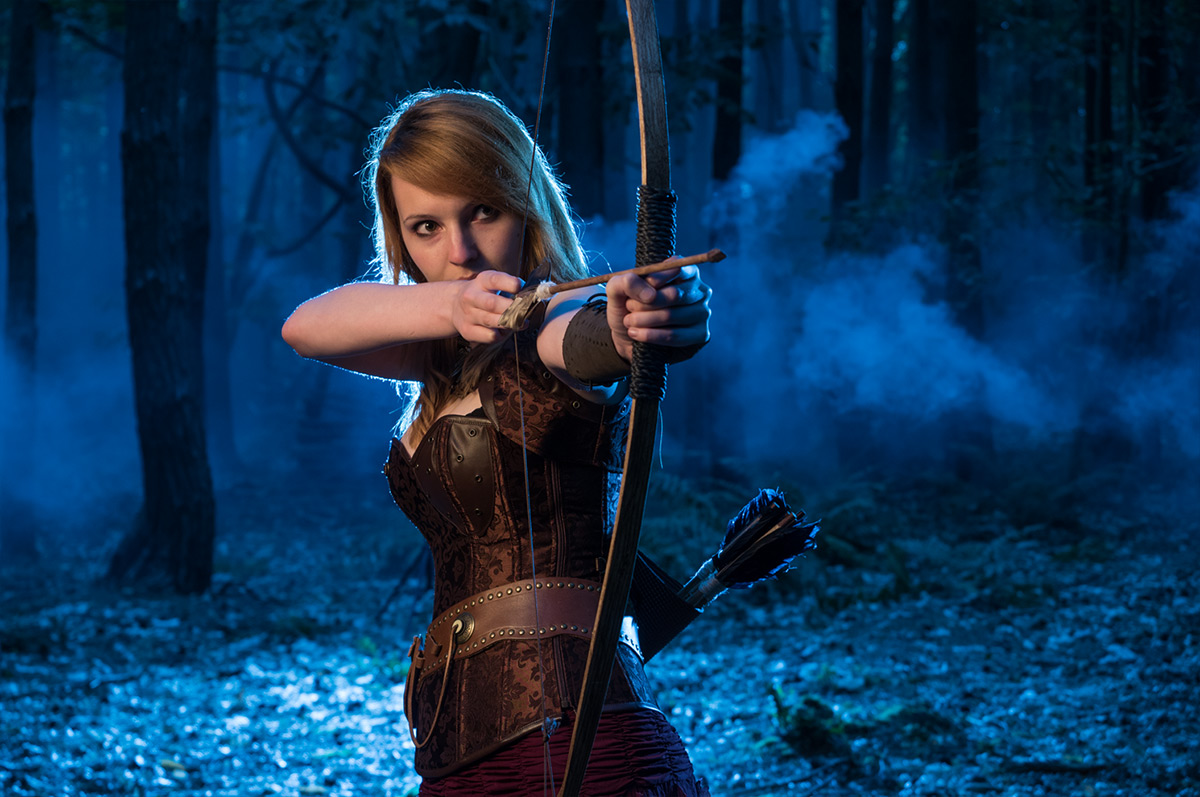
The afternoon saw a change of look. Kerry was transformed into an archer and disappeared deeper into the forest. Only the plumes of smoke from the colourful smoke grenades gave them away.IMG_2819

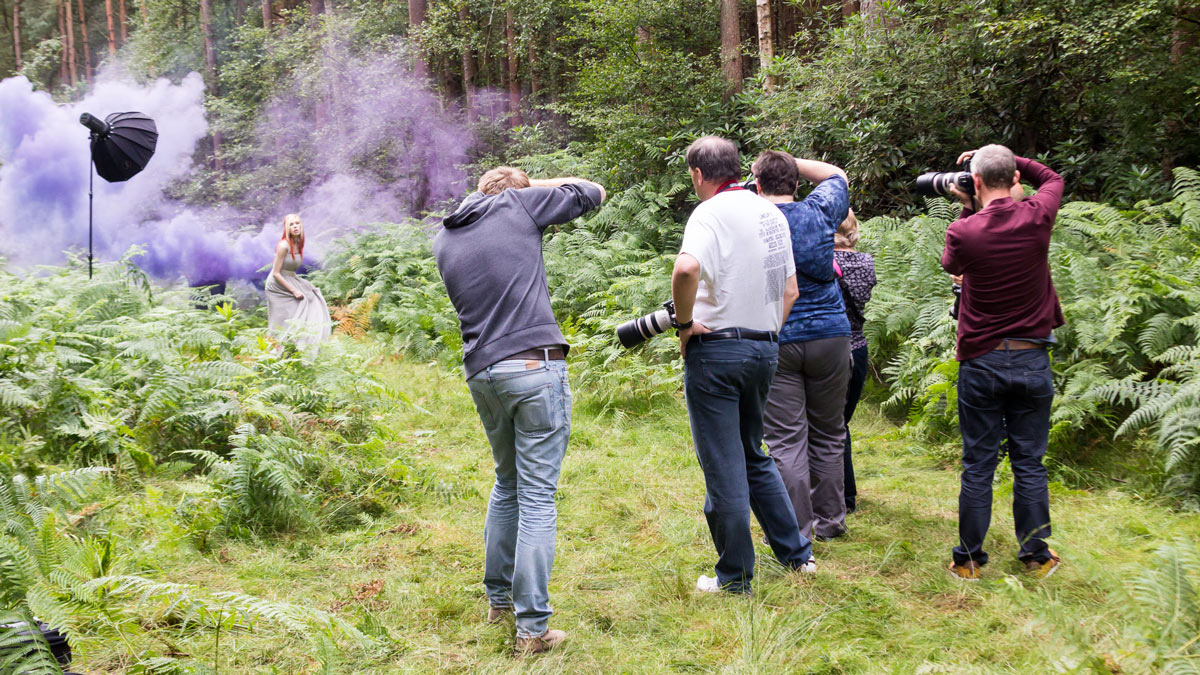
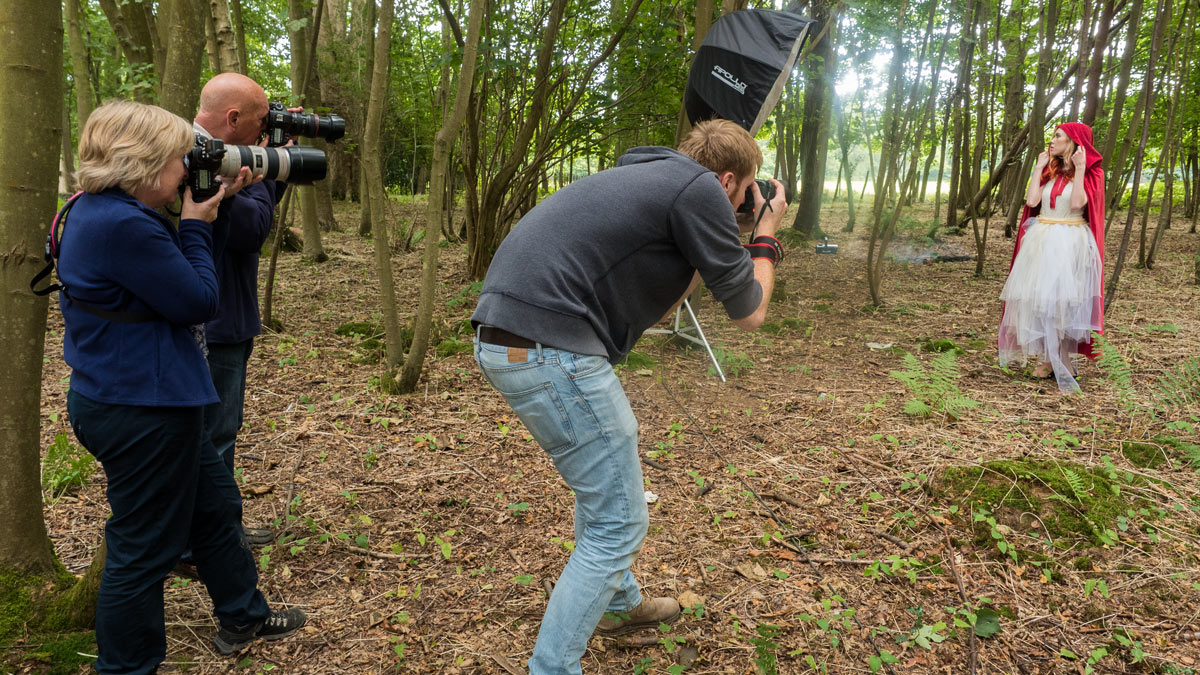
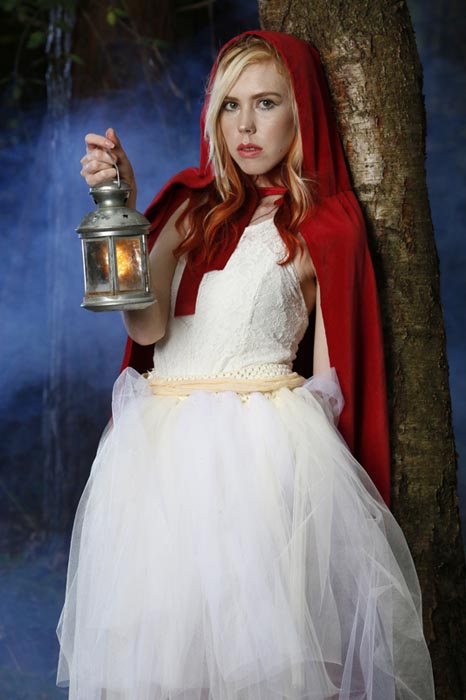
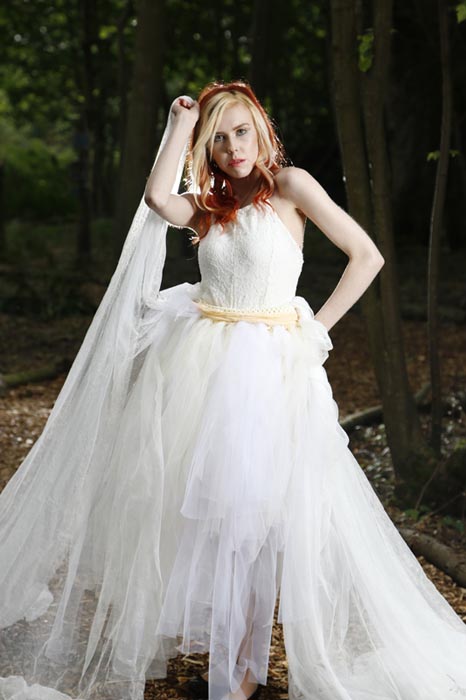
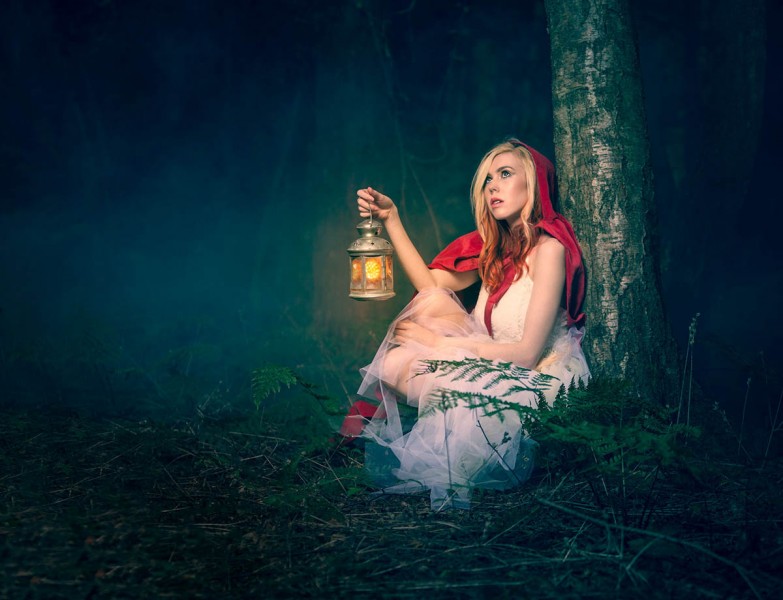
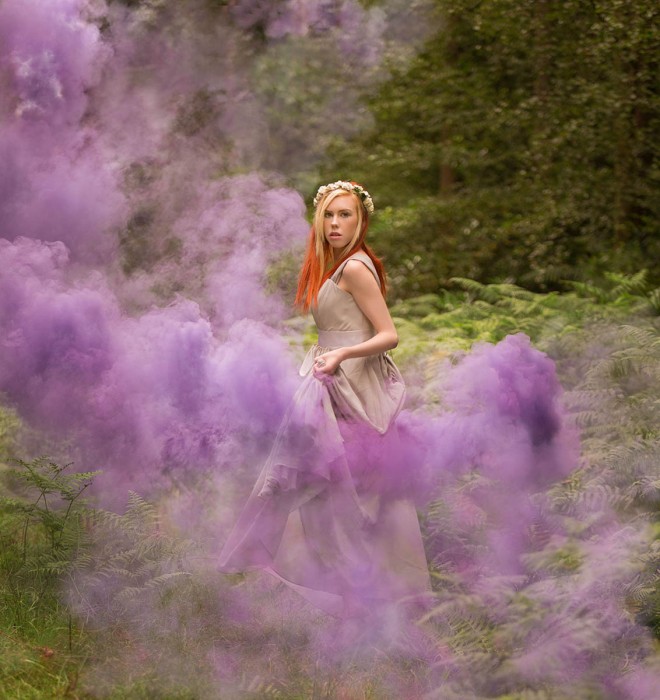
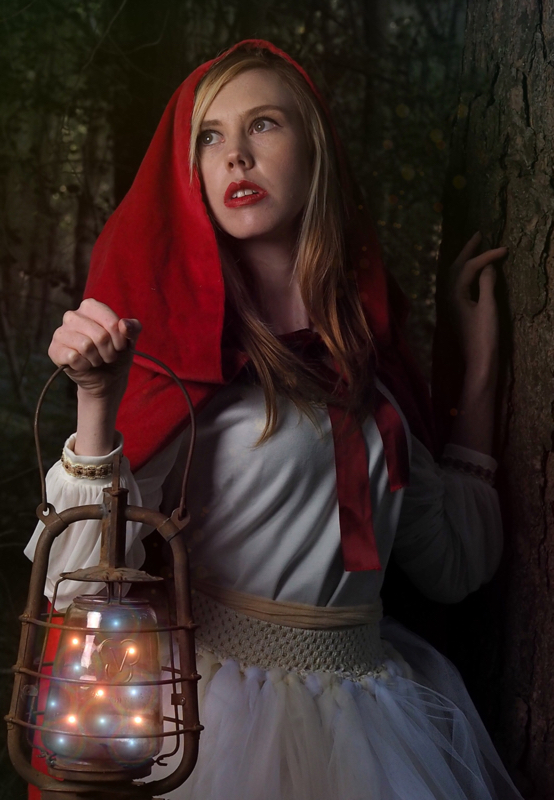
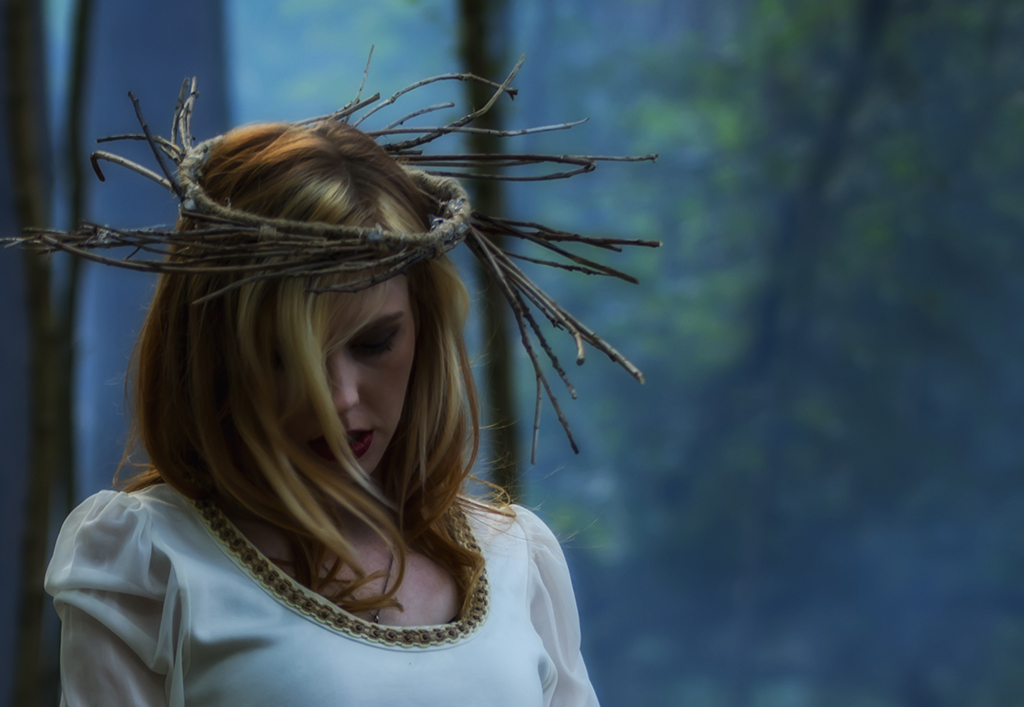
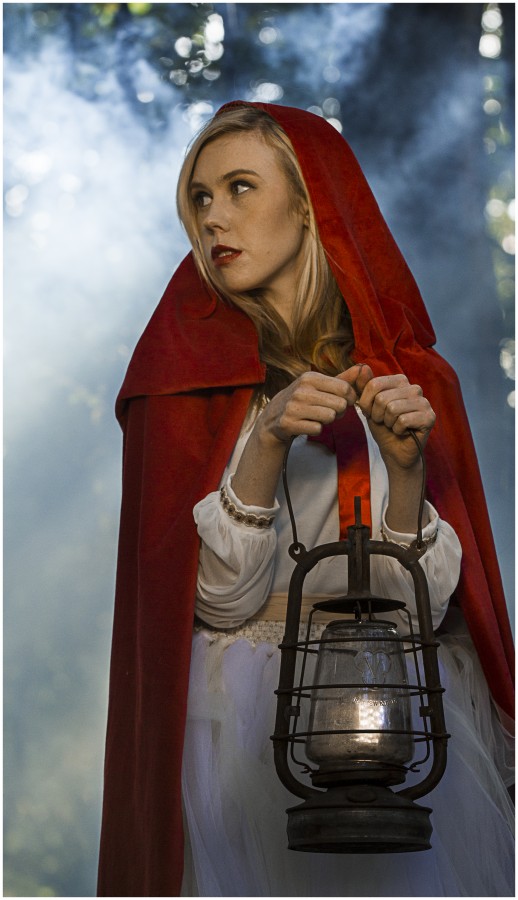
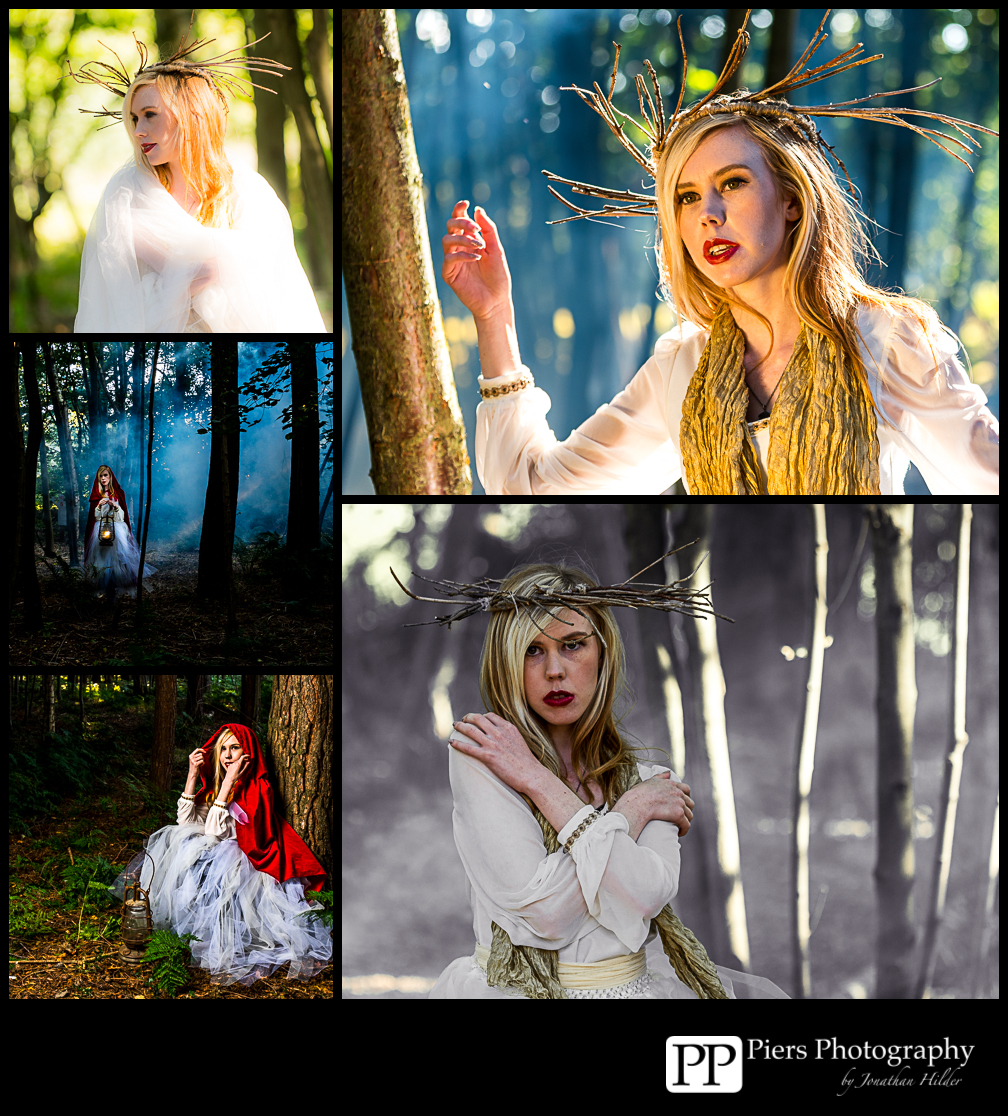
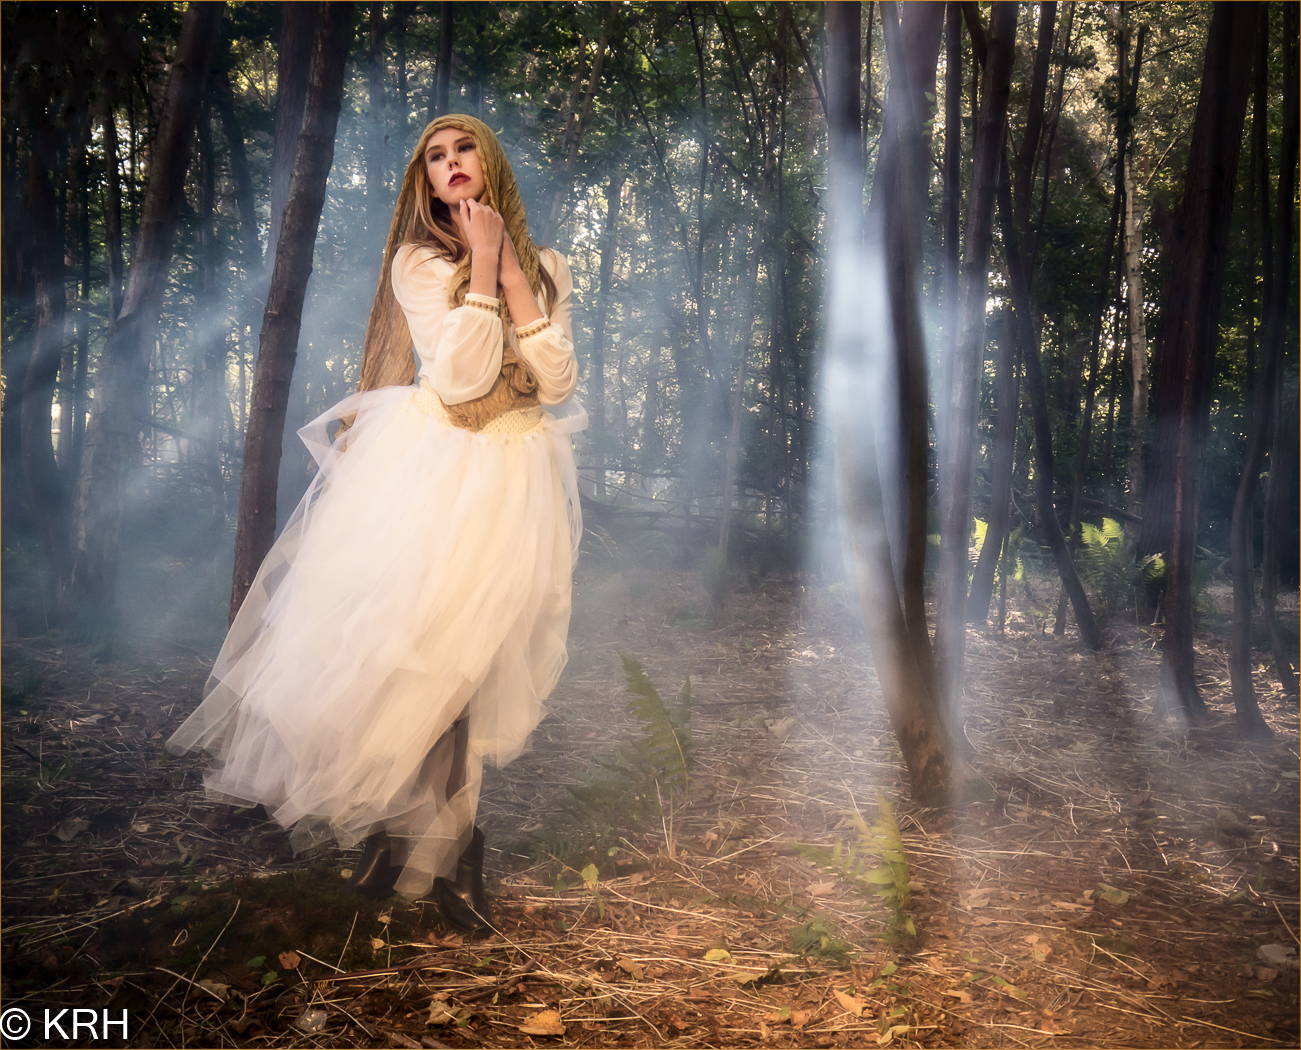
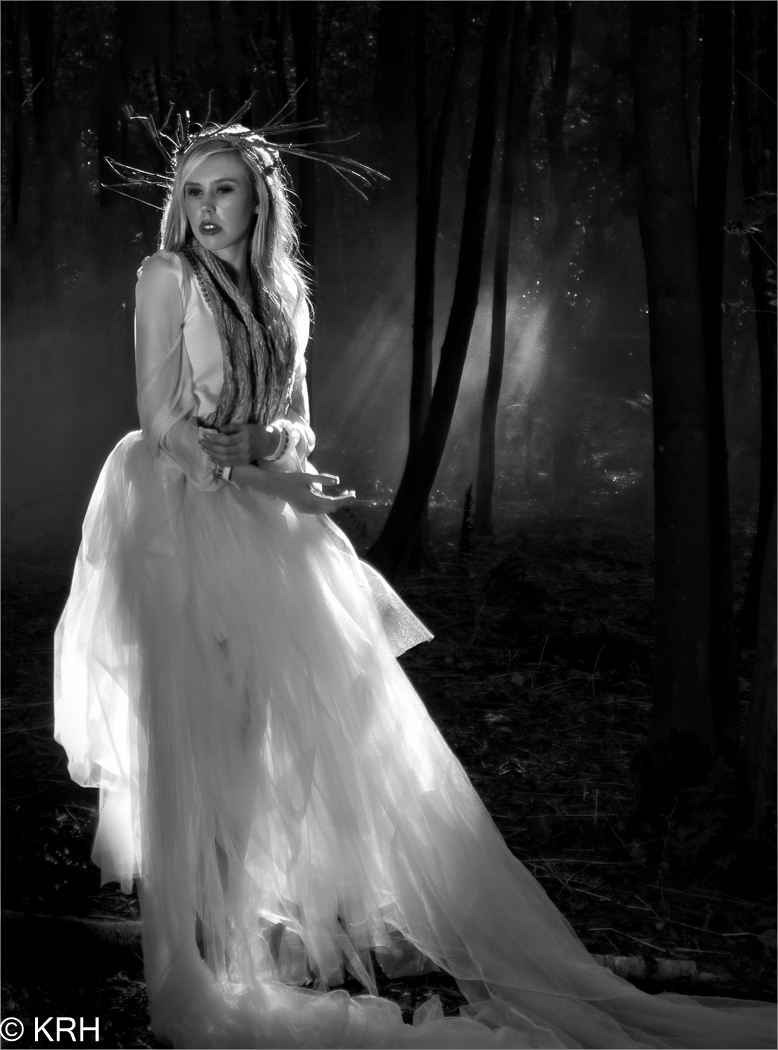
My afternoon was spent with Fern who had a lovely fairy-tale look. We stayed close to the paintball offices and thanks to a lovely long power cable, I was able to run an electric smoke machine to add a layer of mist to the scene.P8160173

There’s nothing more frustrating to me than seeing a workshop organiser shooting photos for themselves at the expense of the attendees. As a result I hardly have a single “good” photo from the day. Fortunately, the photographers who joined us took thousands of shots and below are a few that I’ve been sent so far.

Finally I’d like to thank the unsung heroes of the day. They include the staff at Driver Wood who allowed us use their facilities as a photo location. Anna Matos and here amazing box of make-up. My friends Steve and Stevie, who assisted brilliantly all day. Finally my biggest thanks goes to Sam, who pulled my crazy ideas together and created a workshop unlike any other!

UPDATE
Such was the demand, we ran the workshop for a second time in late September. Once again I was joined by Rob Pugh and Fern who worked just as hard as ever to make the day as brilliant as before. Joining us was model Charlotte Baker and make-up artist Alex Vleck.


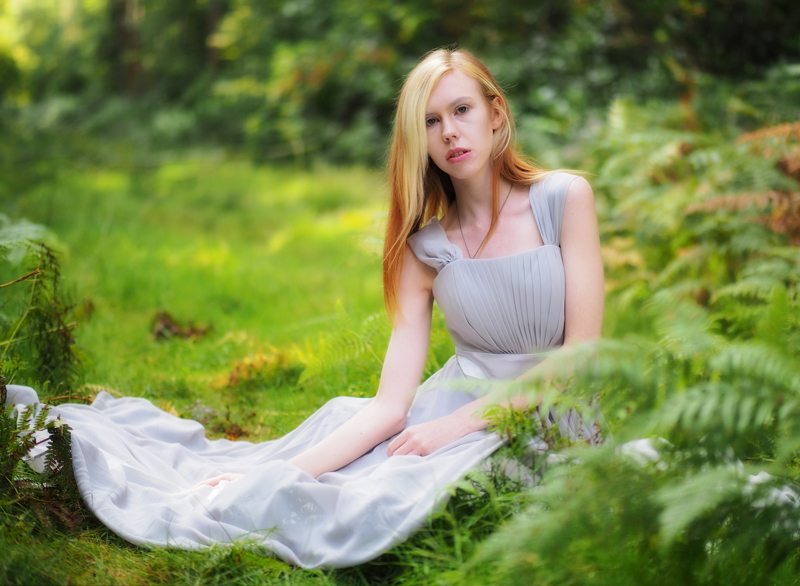
Below are a selection of photos from the 12 photographers who came along and made the whole day another massive success.

Day to night in a flash

Shoots at night can yield some stunning photos but the lack of light has a bunch of problems that can easily trip you up… literately. However if you have a little bit of flash know how, it is possible to do a portrait shoot and make day turn to night in just a few steps. Here’s how I did it in four steps

Step 1 – Underexpose the ambient

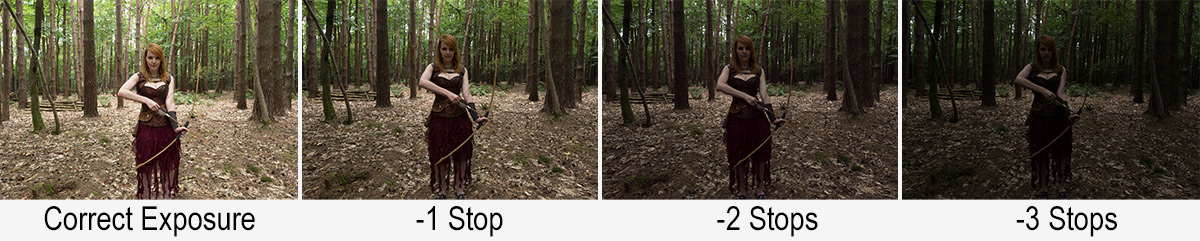
Unless you live in the Polar regions night time is usually associated with a lack of light, so the first thing I had needed to do was convince my camera to see less light. One way to do this is by using exposure compensation and dialing in a negative amount but because I was going to use flash to light the model I took a different route.

Day-Night-1

Flash and Manual mode go hand in glove, so switching to manual is the way to go. After setting the aperture to f/4 and the ISO to 200 the correct shutter speed turned out to be a feeble 1/10th second. By halving the shutter speed to 1/20th I underexposed the ambient light by 1 stop. 1/40th second gave me another stop and finally 1/80th second underexposed by three stops and gave a shot that was dark but not black.

Step 2 – Set the flash

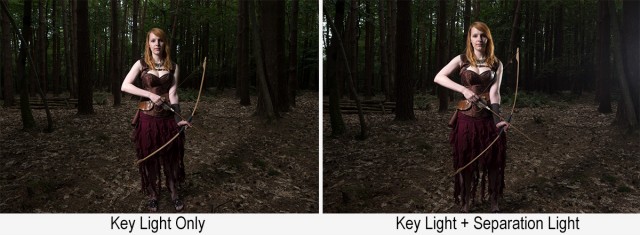
1/80th second gave a nice dark background but also underexposed the model, that’s where flash comes in. With the key light in place all I had to do was set my flash meter to match my camera (1/80th sec, 200 ISO) and adjust the flash power until I hit f/4 on the meter.

Day-Night-2

So now I’ve got the flash power to match my camera setting and giving a perfect exposure on the model, however the same camera settings are under exposing the background keeping it dark.

Once the key light was in I added a second light to separate the unlit side of the model from the dark background.

Step 3 – Moon light

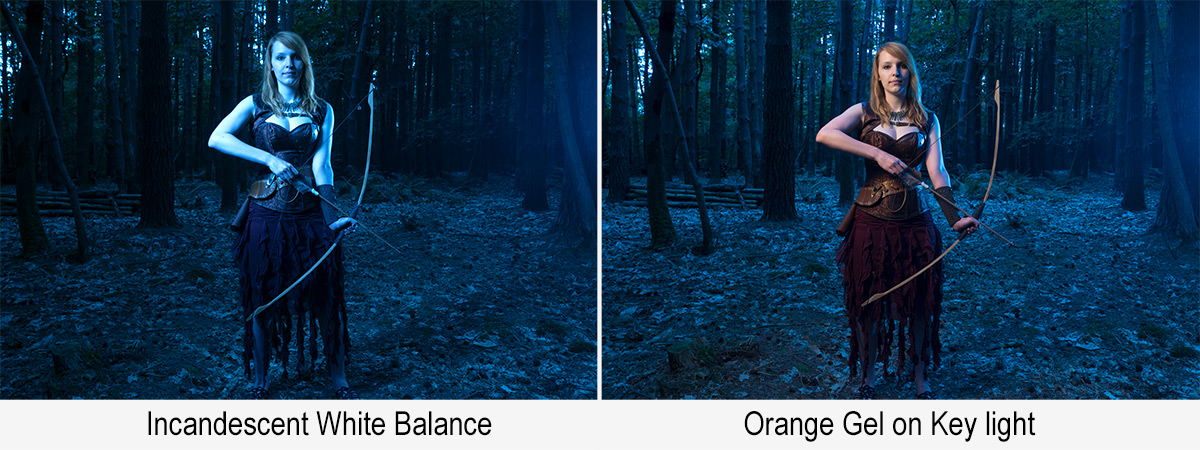
Thanks to Hollywood we assume that the moon always comes out at night and it produces blue light. Of course neither is true but let the dream live I say. Turning the warm afternoon light blue is as simple as setting the wrong white balance. Switching to Tungsten or Incandescent white balance will do the job in camera or it can be changed in Lightroom / Photoshop Camera RAW.

Day-Night-3

The blue looks great on the background but a bit odd on the model, so to warm her up I added an orange gel to the main flash. There are gels marked as CTO (Colour Temperature Orange) which should perfectly balance out the white balance but I don’t have one.  Luckily Lightroom / Photoshop Camera RAW can easily fine tune the colours, especially if you do the same as me and shoot a gray card in the same light.

Step 4 – Moody Mist

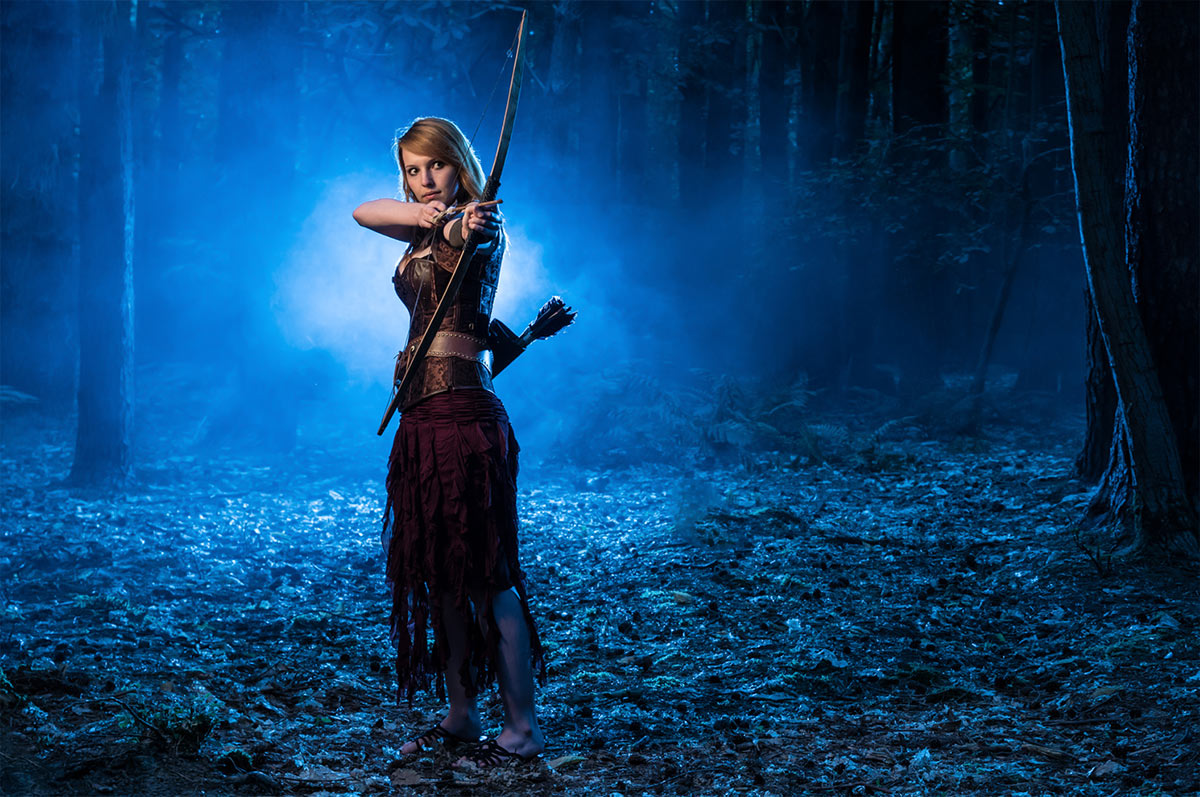
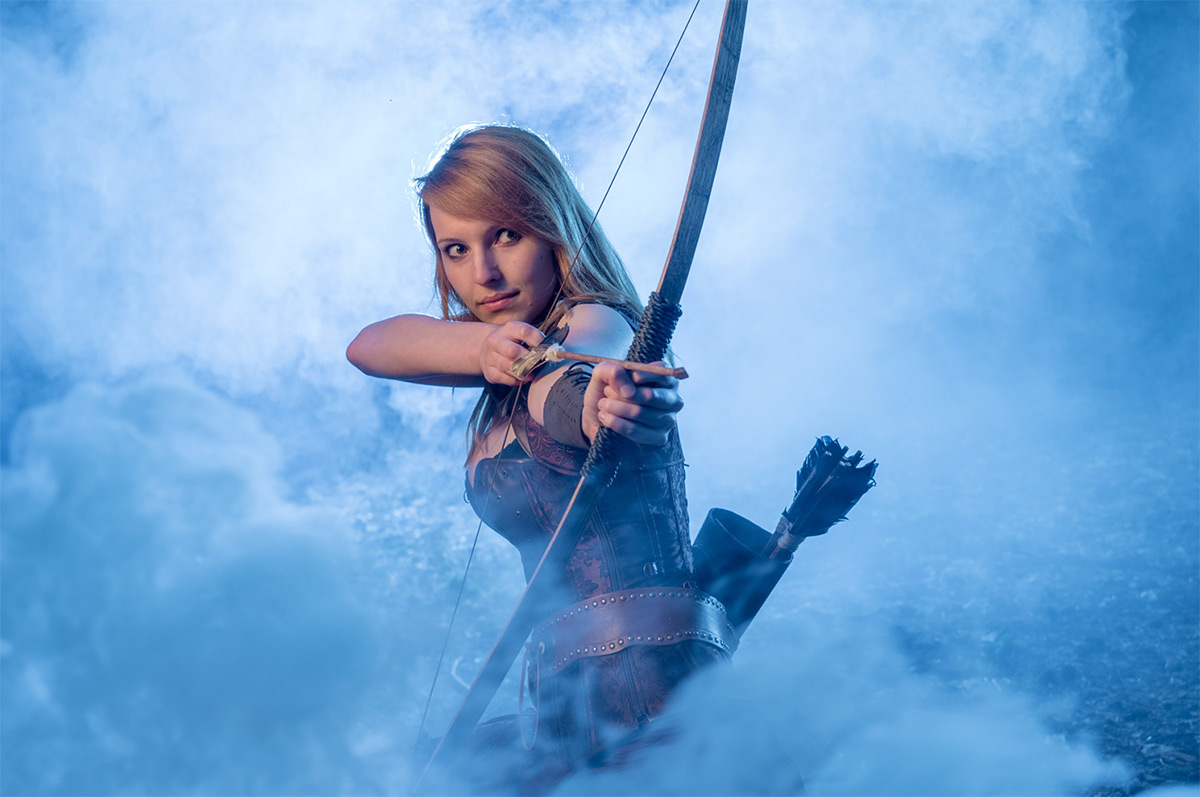
This is the fun bit. Again I’ve got the movies to thank for this but adding a little bit of mist seems to sell us the whole night feeling. It also helps to cover up anything distracting in the background and by adding a third light right behind the model (and the smoke) adds a splash of light to an otherwise dark scene.

There are many ways to make smoke. Being a long way from a power supply I opted for smoke grenades. You’ll find them at your local paintball / airsoft park and whilst they’re not cheap, they do offer a safe and reliable source of smoke. I used two Enola Gaye smoke grenades which gave around 90 seconds of smoke each. Yes after all that setting up the whole shoot was over and done in under three minutes!

So there you have it, day to night is perfectly possible and whilst the results are very different from really shooting after dark, they look pretty darn good to me.

[youtube]https://www.youtube.com/watch?v=aGsQxXUEvc4[/youtube]

Controlling reflections in glasses

So you’ve got the lights, you have your model and you’re ready to shoot. Then you take a test photo and all you see is huge white reflections. It’s a problem that happens all too often but fortunately there are a couple of solutions that are quick, easy and effective.

Let’s start with the simplest solution. Get your subject to remove their glasses. It sounds obvious but it’s surprising how many photographers don’t have the nerve to ask. Whilst this can work wonders with occasional spec wearers, anyone who wears glasses full time will look most weird without their specs on. It’s also not going to work with the cool crowd who wear sunglasses all year round.

If you’re using flash or continuous light the chances are the reflections are likely to be from your lights and where you position the lights will affect the reflections you see in the photo.

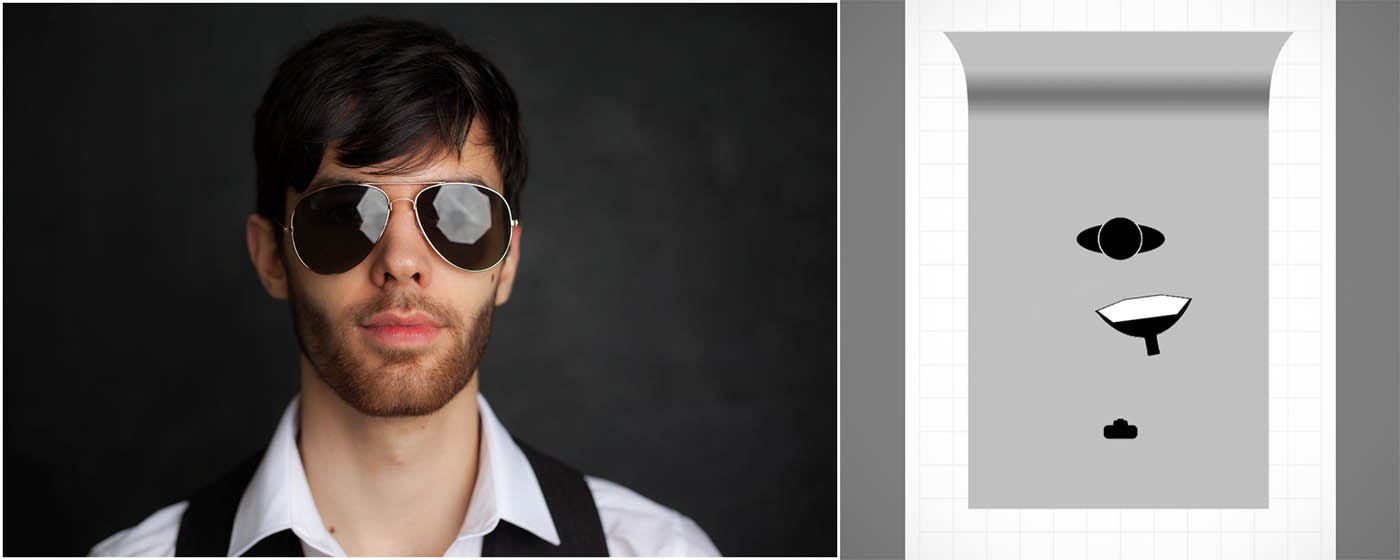
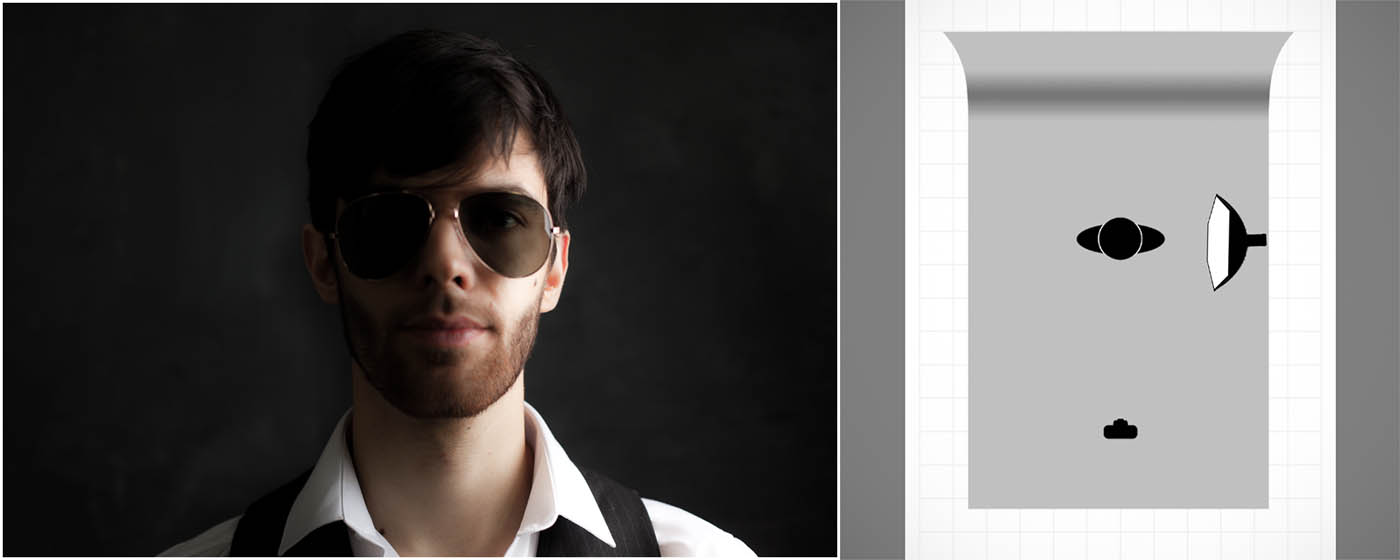
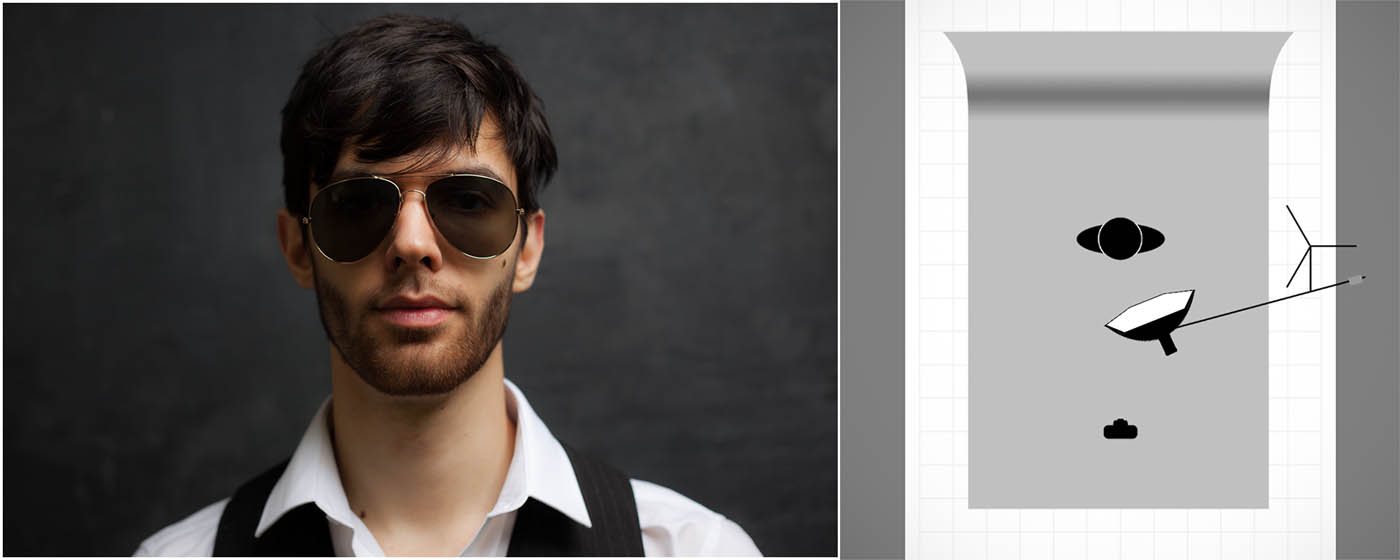
photo-1Light from the front (including on camera flash) will produce the biggest, brightest and least attractive reflections. Because light travels in straight lines it’s going to hit the front of the spectacle lenses and bounce right back in to the camera. This really is one lighting position to avoid.

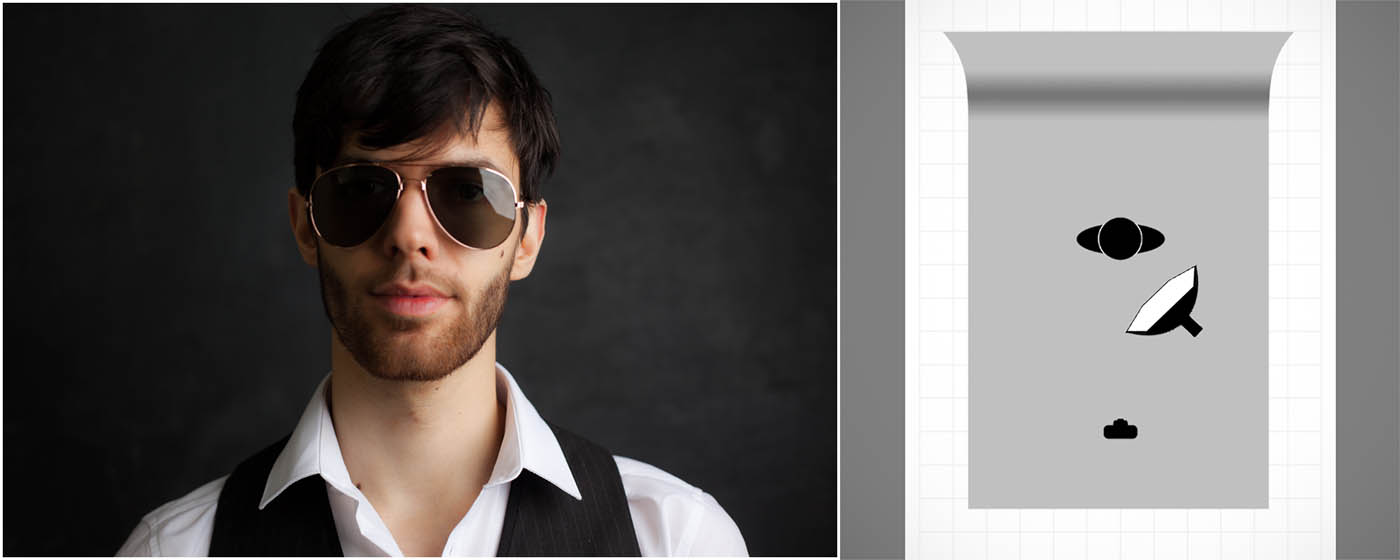
photo-2Knowing that light travels in straight lines means that moving the light source to the side will move reflection. Here the light is at about 45 degrees and the result is a reflection that’s much reduced in size.

photo-3Taking the idea a bit further, if the light is fully 90 degrees to the glasses results in a tiny reflection but also produces a split light effect which might not be the look you’re after. If you look really close you’ll still see a slight reflection. Why? Well the surface of glasses isn’t flat like a window, it’s curved so you’re never at a 90 degree angle across the whole surface of the lens.

photo-5To minimise and remove reflections the best position for the light is up high. By elevating the light the reflections will disappear and the lighting pattern remains flattering too. Asking the model to drop their chin or slightly angle the glasses down can have a similar effect.

In the video below I go through all of the tips in this post in more detail and even give you some tips on how to add a reflection of your own choosing.

[youtube]http://youtu.be/kOzPWkkmZPE[/youtube]

Gear used in this video

Canon 5D Mark III www.adorama.com/ICA5DM3.html?KBID=67338

Canon 50mm f/1.8 II www.adorama.com/CA5018AFU.html?KBID=67338

Flashpoint Light Stand www.adorama.com/FPLS9.html?KBID=67338

Black Rapid RS-7 Strap www.adorama.com/BRRS7.html?KBID=67338

Flashpoint StreakLight 360 Ws Creative Collection www.adorama.com/FPLFSL360K2.html?KBID=67338

Sekonic L-308S Flashmate www.adorama.com/SKL308S.html?KBID=67338

Westcott Rapid Box 26″ Octa Softbox www.adorama.com/WERB26OM.html?KBID=67338

Red Riding Hood Photo Shoots

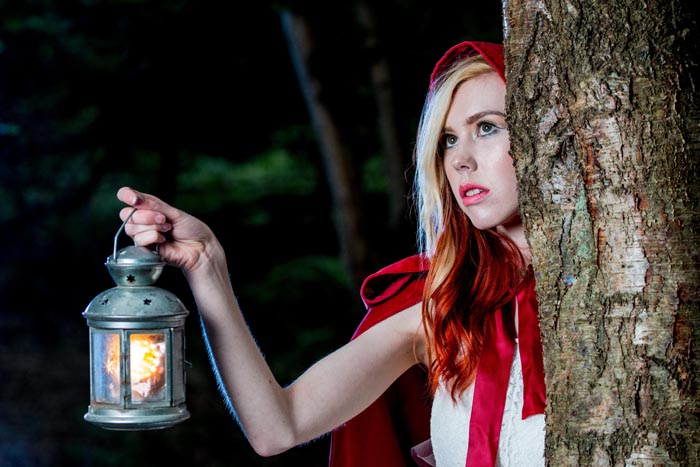
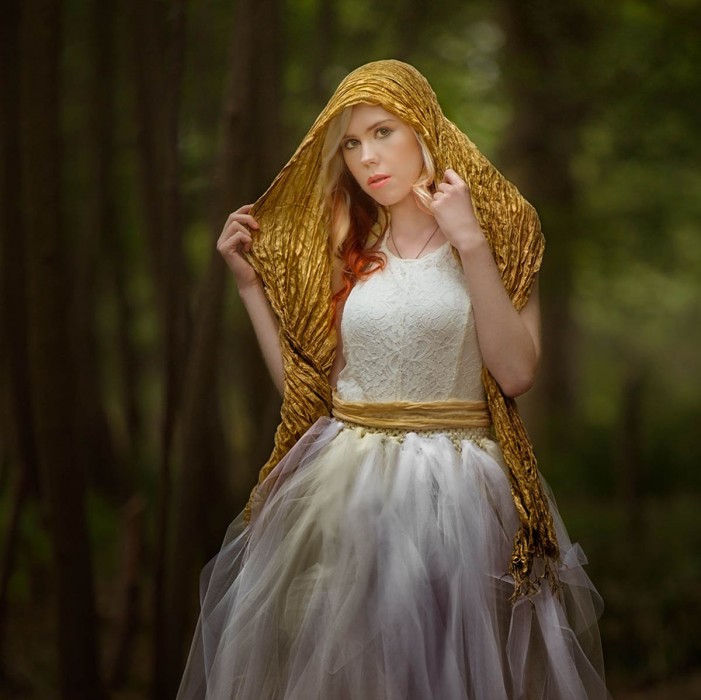
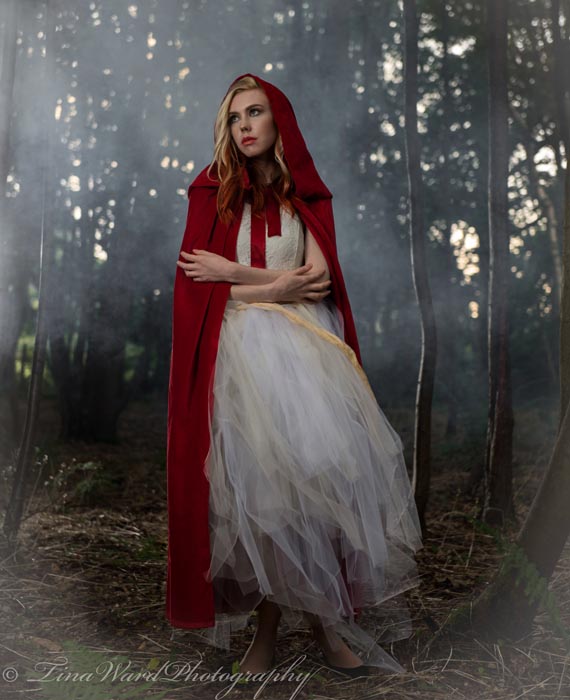
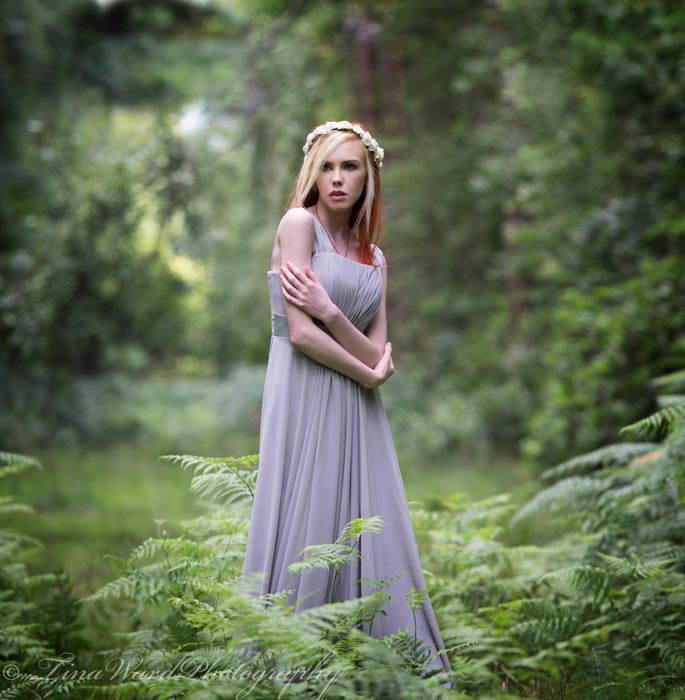
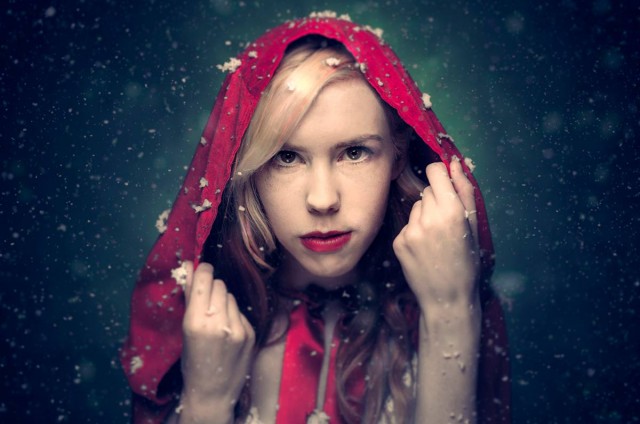
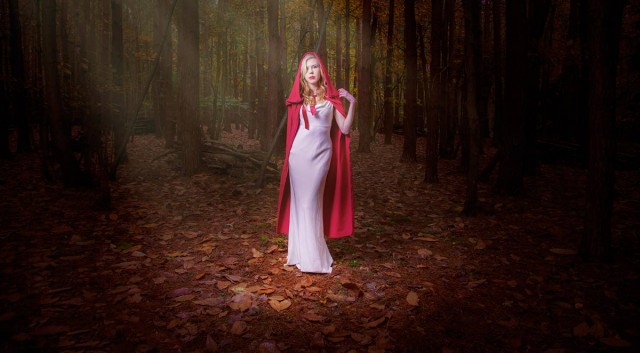
You probably already know the story of Red Riding Hood, it’s a timeless fairy tale about a girl and a big bad wolf. It’s also a popular subject for photography and something I wanted to take on too.

Traditionally the Red Riding Hood story takes place in the woods but I’m lucky enough to have access to my own studio space and that’s where I started. I also had a can of fake falling snow, which is actually foam and a home made red velvet cape.

For my Red Riding Hood I called upon the services of local model Fern Meave who was amazingly talented and suited the role perfectly. For the lighting I went with my two Streaklights, a small beauty dish and some coloured gels.

[youtube]https://www.youtube.com/watch?v=8t29AbUGJJg&list=PL821B7D720DEA39FA[/youtube]

Fun as the studio shoot is it’s never going to be the same as shooting on location in the woods. So for the second video that’s exactly what we did.

Weeks of planning went into the shoot but the weather was out of our control and sure enough on the day of the shoot the sky was grey and it was freezing cold. None the less we pressed on with the shoot and in the video I also pass on plenty of tips for balancing flash with low levels of ambient light.

Fern was my model once again but this time I swapped my Streaklights for a more powerful Rovelight which I reviewed a few weeks back. As it turned out I didn’t need the extra power of the Rovelight but that’s the weather for you

[youtube]https://www.youtube.com/watch?v=ywShIOcqLBU[/youtube]

Below a few photos from the shoots which you can see in more detail by clicking.

Adorama-Red_final

RRH-PT2-Sample

Halloween Shoot

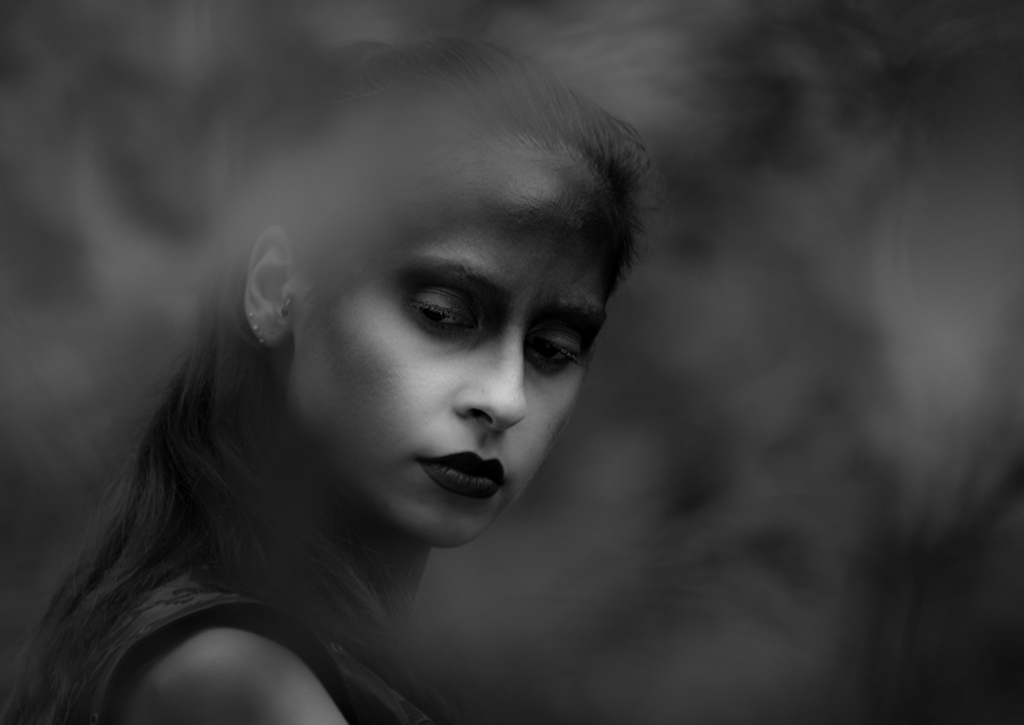
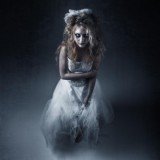
Last Friday was Halloween and I spent the evening taking some suitably spooky portraits. The location for the shoot was the recently opened Square 1 Studio near Dorking, an amazing place and one of the best studios I’ve used.

The evening was a free form event rather than a workshop with photographers popping in and out, sharing ideas and learning from each other. To that end I have to say a huge thank you to Andrew Dobell from Creative Edge who arranged for three models, a make-up artist and hairdresser to be on hand as well as a raft of props, all we had to do was supply the ideas

With around ten photographers moving between two shooting areas, there was lots of sharing of thoughts, tips and creative ideas. I also shared my Adorama Streaklights which once again proved their worth doing the whole three hour shoot and still having 2/3rd battery power left.

Below are a small selection of the photos. Click to enlarge… if you dare!

Halloween (5) Halloween (4) Halloween (3) Halloween (2) Halloween (1)


My Adorama Streaklight Bundles

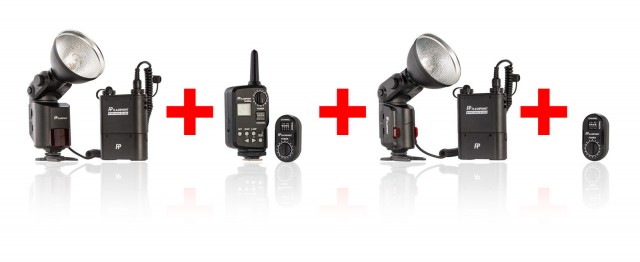
After a bit of arm twisting Adorama has just released the “Gavin Hoey Recommends…” Streaklight Essentials Bundle and the Streaklight Twin Kit Bundle.

If you’ve been watching any of my recent videos you’ll have seen me shooting with one or two Streaklight flashes.You can checkout my review of the Streaklight 360ws here but if you just want the headline reasons I use the streaklights it’s the amazing power (equivalent to six speedlights), battery powered and incredibly small. In fact I loved it so much I ordered a second Streaklight, the lower powered 180ws. It’s a bit less powerful but also a bit cheaper, perfect for someone like me who’s outside the US and has to factor in shipping & tax.

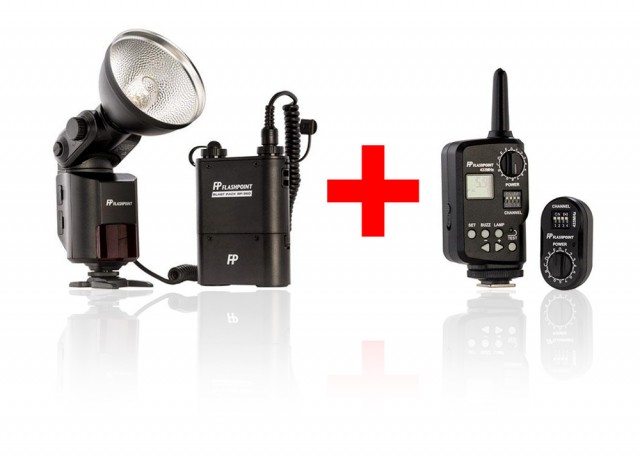
Streaklight-1My essentials bundle contains the Streaklight 360ws, blastpack battery and a remote trigger that doubles up as a full remote control and you’ll save $20 USD along the way.

Streaklight-2

My twin light kit consists of a Streaklight 360ws, Streaklight 180ws, two blastpack batteries, a Remote control and a second remote receiver. It’s everything I use day to day in my small home studio and bags you a saving of $100USD off the list price.

If you’re looking for the power of a studio light but with the wireless convenience of a speedlight the Streaklights are hard to beat in my book.

Speedlights, brollies and zooming flashes

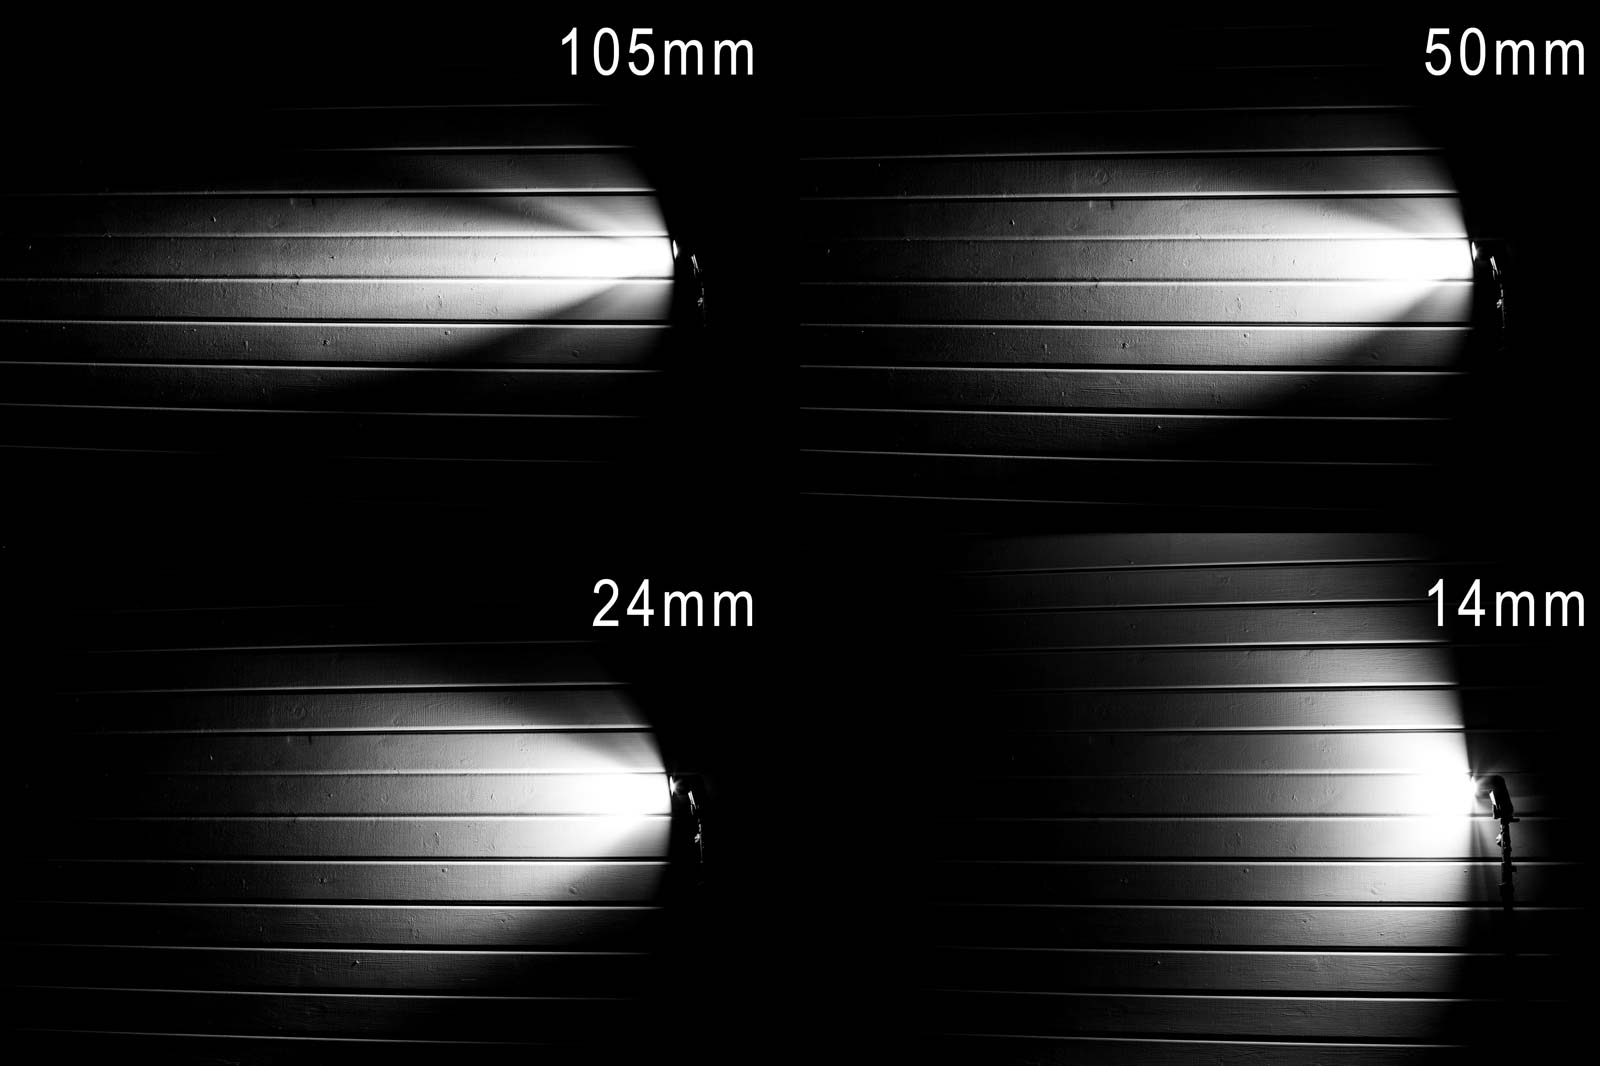
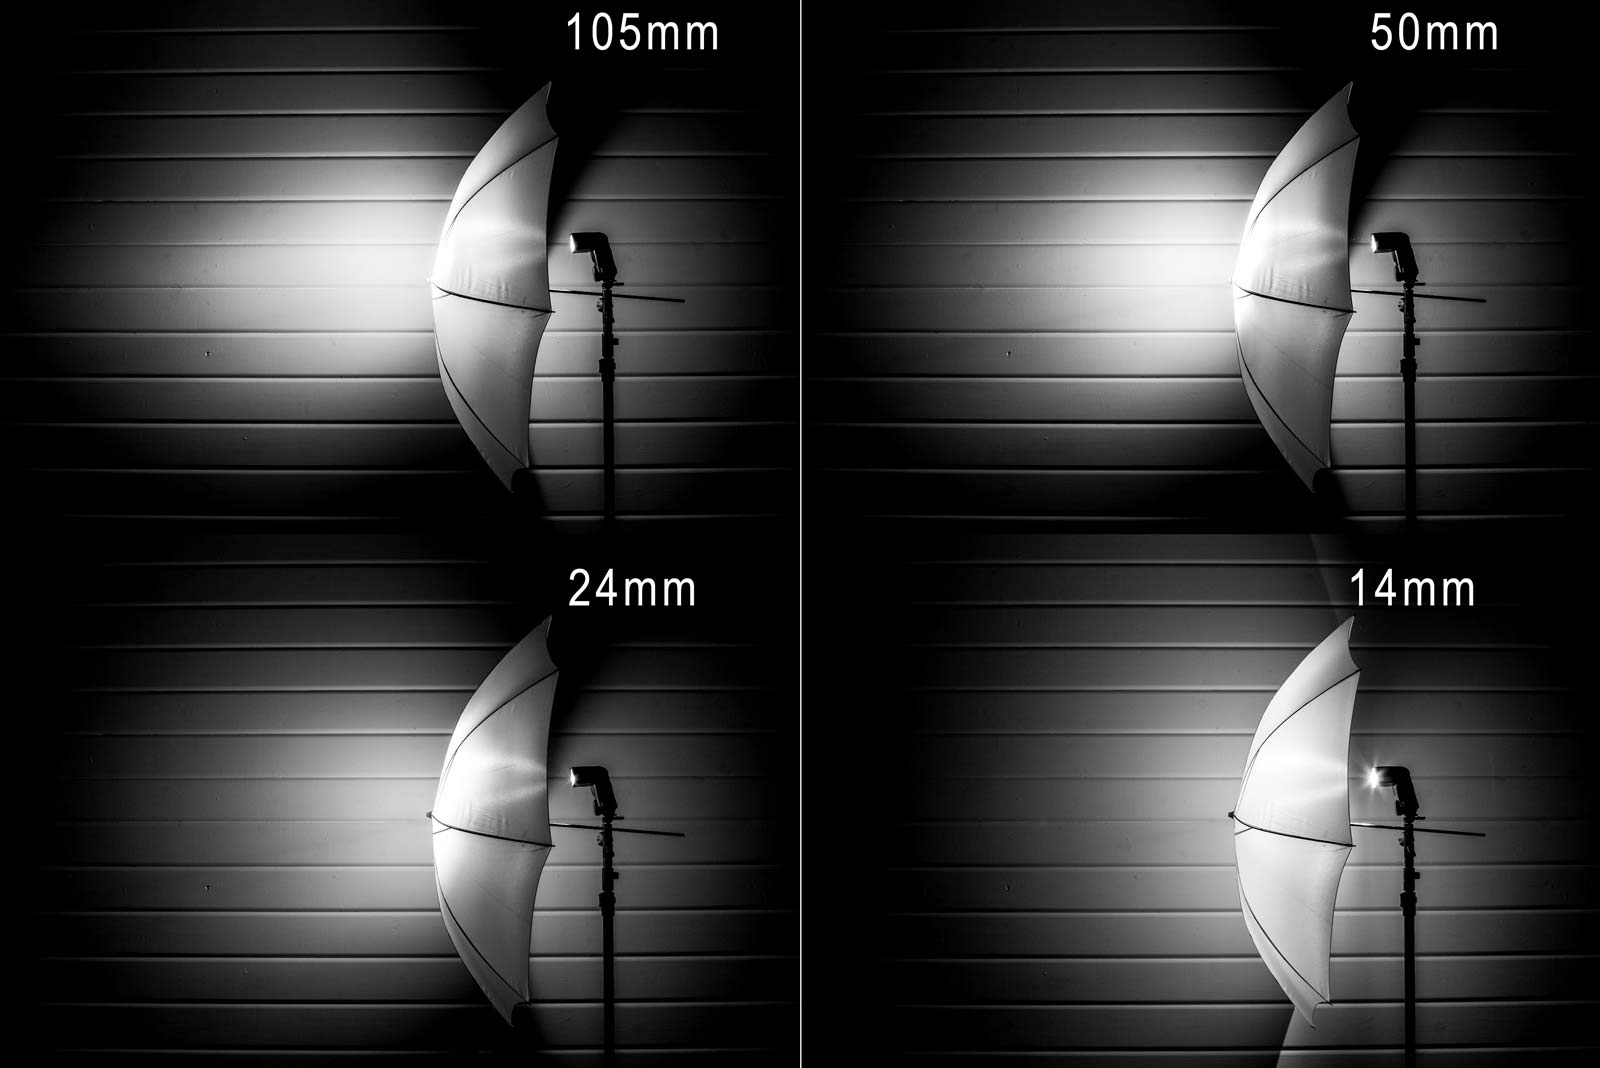
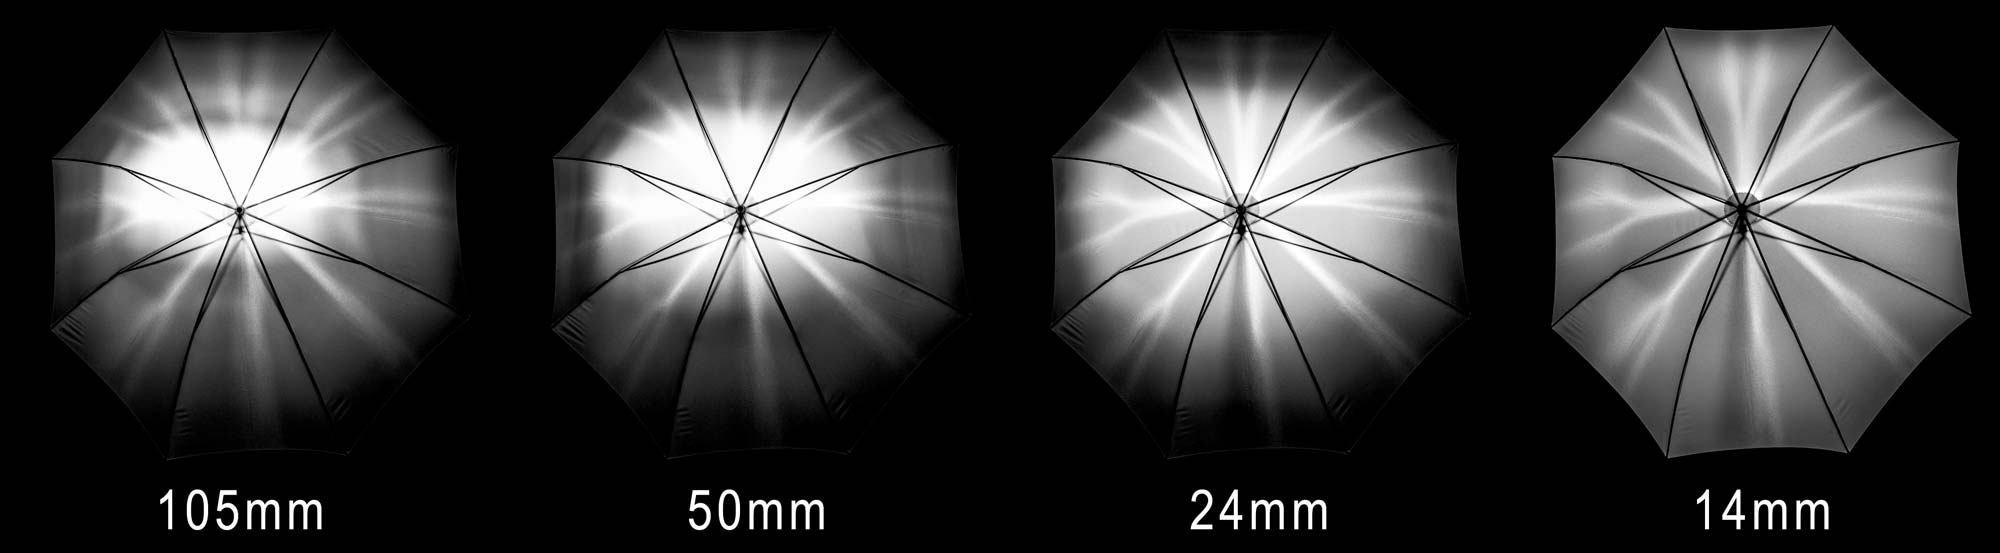
If you’ve used a Speedlight then you’ll have spotted the zoom setting which can be used to make the spread of light from the flash match the angle of view from your lens. When it comes to on camera flash that’s great news as it helps to maximise tFlash-Bare-1he efficiency of the flash but go off camera and it’s something that can easily get over looked. Setting the zoom for off camera speedlite work is one of the handy tools in a photographer’s bag of tricks. It can be used to shape the light into a tight rectangle or spread it wider and rounder. Most speedlight’s even have a pull out diffuser for a crazy wide spread of light. So what should you do with the zoom setting when you’re shooting your flash into an umbrella or softbox? In a nutshell I tend to zoom out to the wider end of the flashes zoom range but I wanted to see how things changed at different zoom settings so I did a little experiment. Flash-Brolly-1 Let’s start with the side view. At my Canon 580EXII’s maximum zoom of 105mm the flash is diffused fairly well but it’s noticeably bright in the centre with a lot of fall off at the edges. Things don’t change much even at 50mm zoom but by 24mm zoom the light spread from the umbrella is a lot more even. Flip out the wide angle diffuser and zoom reads 14mm, now that’s wide! The resulting light is amazingly soft and diffused but it’s so wide it actually passes the edges of the umbrella completely! Flash-Softbox-1 It’s the front view which probably make things clearest. The hot spot at 105mm to 50mm is clear to see. At 24mm the flash coverage is better but at 14mm it’s very VERY even. So what conclusions can I draw from this? Well the obvious one is don’t zoom the flash when using an umbrella or softbox. 14mm looks very tempting but one thing to note is the flash power was roughly a stop less than at 24mm. So I’ll be sticking to 24mm for my brollies but I might consider going for 14mm in softboxes when I can accept shallower depth of fields or higher ISO in my photo.